How to Cut a Sheet of Glass
Cutting a sheet of glass accurately for repairs, such as a broken window pane, or for new construction requires a few basic tools and a careful, step-by-step approach. The process, while straightforward, necessitates attention to detail and safety precautions like wearing gloves to prevent injuries. The essential tools include a tape measure for precise dimensions, a permanent marker or wax pencil for marking the cutline, and a clean, flat work surface that is not too hard, such as cardboard or foam core. Rags or paper towels and glass cleaner are also needed to prepare the glass surface.
A specialized glass cutter is central to this task, and its wheel needs to be lubricated with oil or kerosene before use to ensure smooth operation and prolong the tool's lifespan. A straight edge, thick enough to guide the cutter without interference but not so thick as to impede the handle, is also crucial for achieving a straight cut. Before beginning, the glass should be placed on the designated work surface and cleaned thoroughly where the cut will be made.
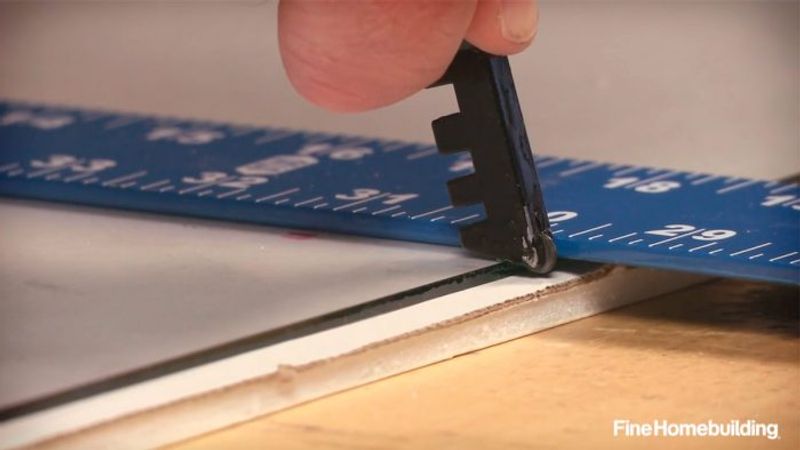
Marking the cutline accurately involves using the measuring tool to establish the desired dimensions and then transferring these marks to both ends of the glass sheet. The straight edge is then positioned on the glass, ensuring that the glass cutter's wheel will align with these marks when guided along it. Lubricating the cutter's wheel is the next step in preparation.
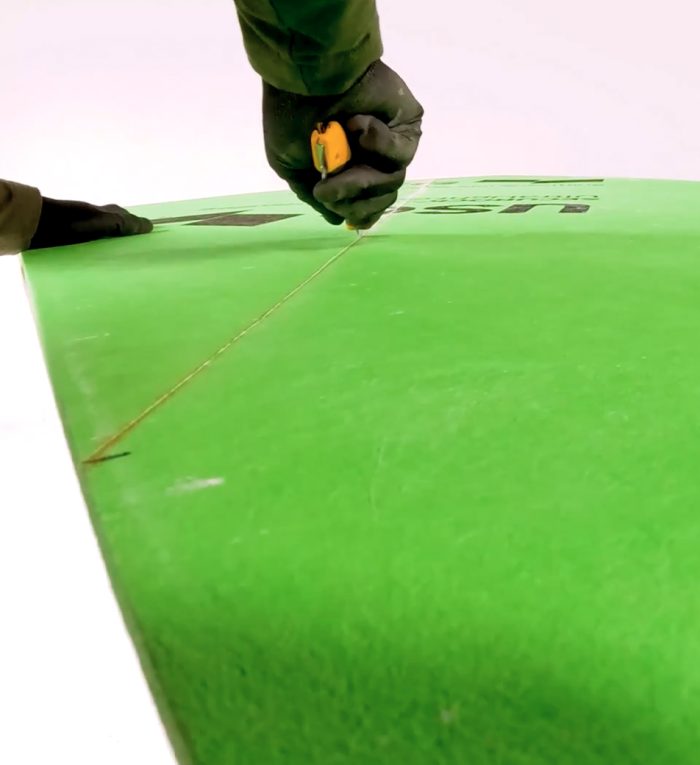
The actual scoring process begins with resting the glass cutter's wheel just off the edge of the glass. The cutter is then drawn across the glass towards the user, applying consistent, downward pressure. The correct technique results in a single, continuous score line, which should produce a sound similar to tearing paper and appear as a small scratch on the glass surface. It is important to avoid double-scoring the line.
To complete the cut, a pencil or small dowel is placed directly underneath the scored line, close to the edge of the glass. Pressure is then applied evenly and increasingly on both sides of the score line until the glass snaps cleanly along the scored path. This method ensures a controlled break.
Additional insights from experienced glaziers suggest purchasing a high-quality glass cutter, preferably with a wooden handle, from a specialized glass retailer rather than a general hardware store. For lubrication, an alternative to dipping the wheel is to apply oil along the full length of the straight edge using a brush, which helps clear debris and maintain the cutter's sharpness. The scoring process relies on tactile feel and auditory feedback; a skipping sound indicates an improper score. If a section is missed, only that specific part should be re-scored, and the glass should then be snapped over the edge of a table, aligning the score line parallel to the edge. Attempting to peel a poorly scored cut can lead to an uneven break or flaring. When working with thinner glass, such as single-strength (1/16-inch) or double-strength (1/8-inch), less pressure and a sharper wheel are required, as excessive force can cause microscopic fissures and lead to breaks that deviate from the score line. Practicing on scrap pieces is recommended to develop the correct feel for the pressure required for different glass thicknesses.
#GlassCutting #WindowRepair #DIYHomeImprovement #HomeMaintenance #GlassWork #ToolUse #MaterialHandling #HomeProjects #GlassCutting #WindowRepair #DIYHomeImprovement #HomeMaintenance #GlassWork #ToolUse #MaterialHandling #HomeProjects
 No comments yet
Glass-Mat Sheathing for Residential Construction