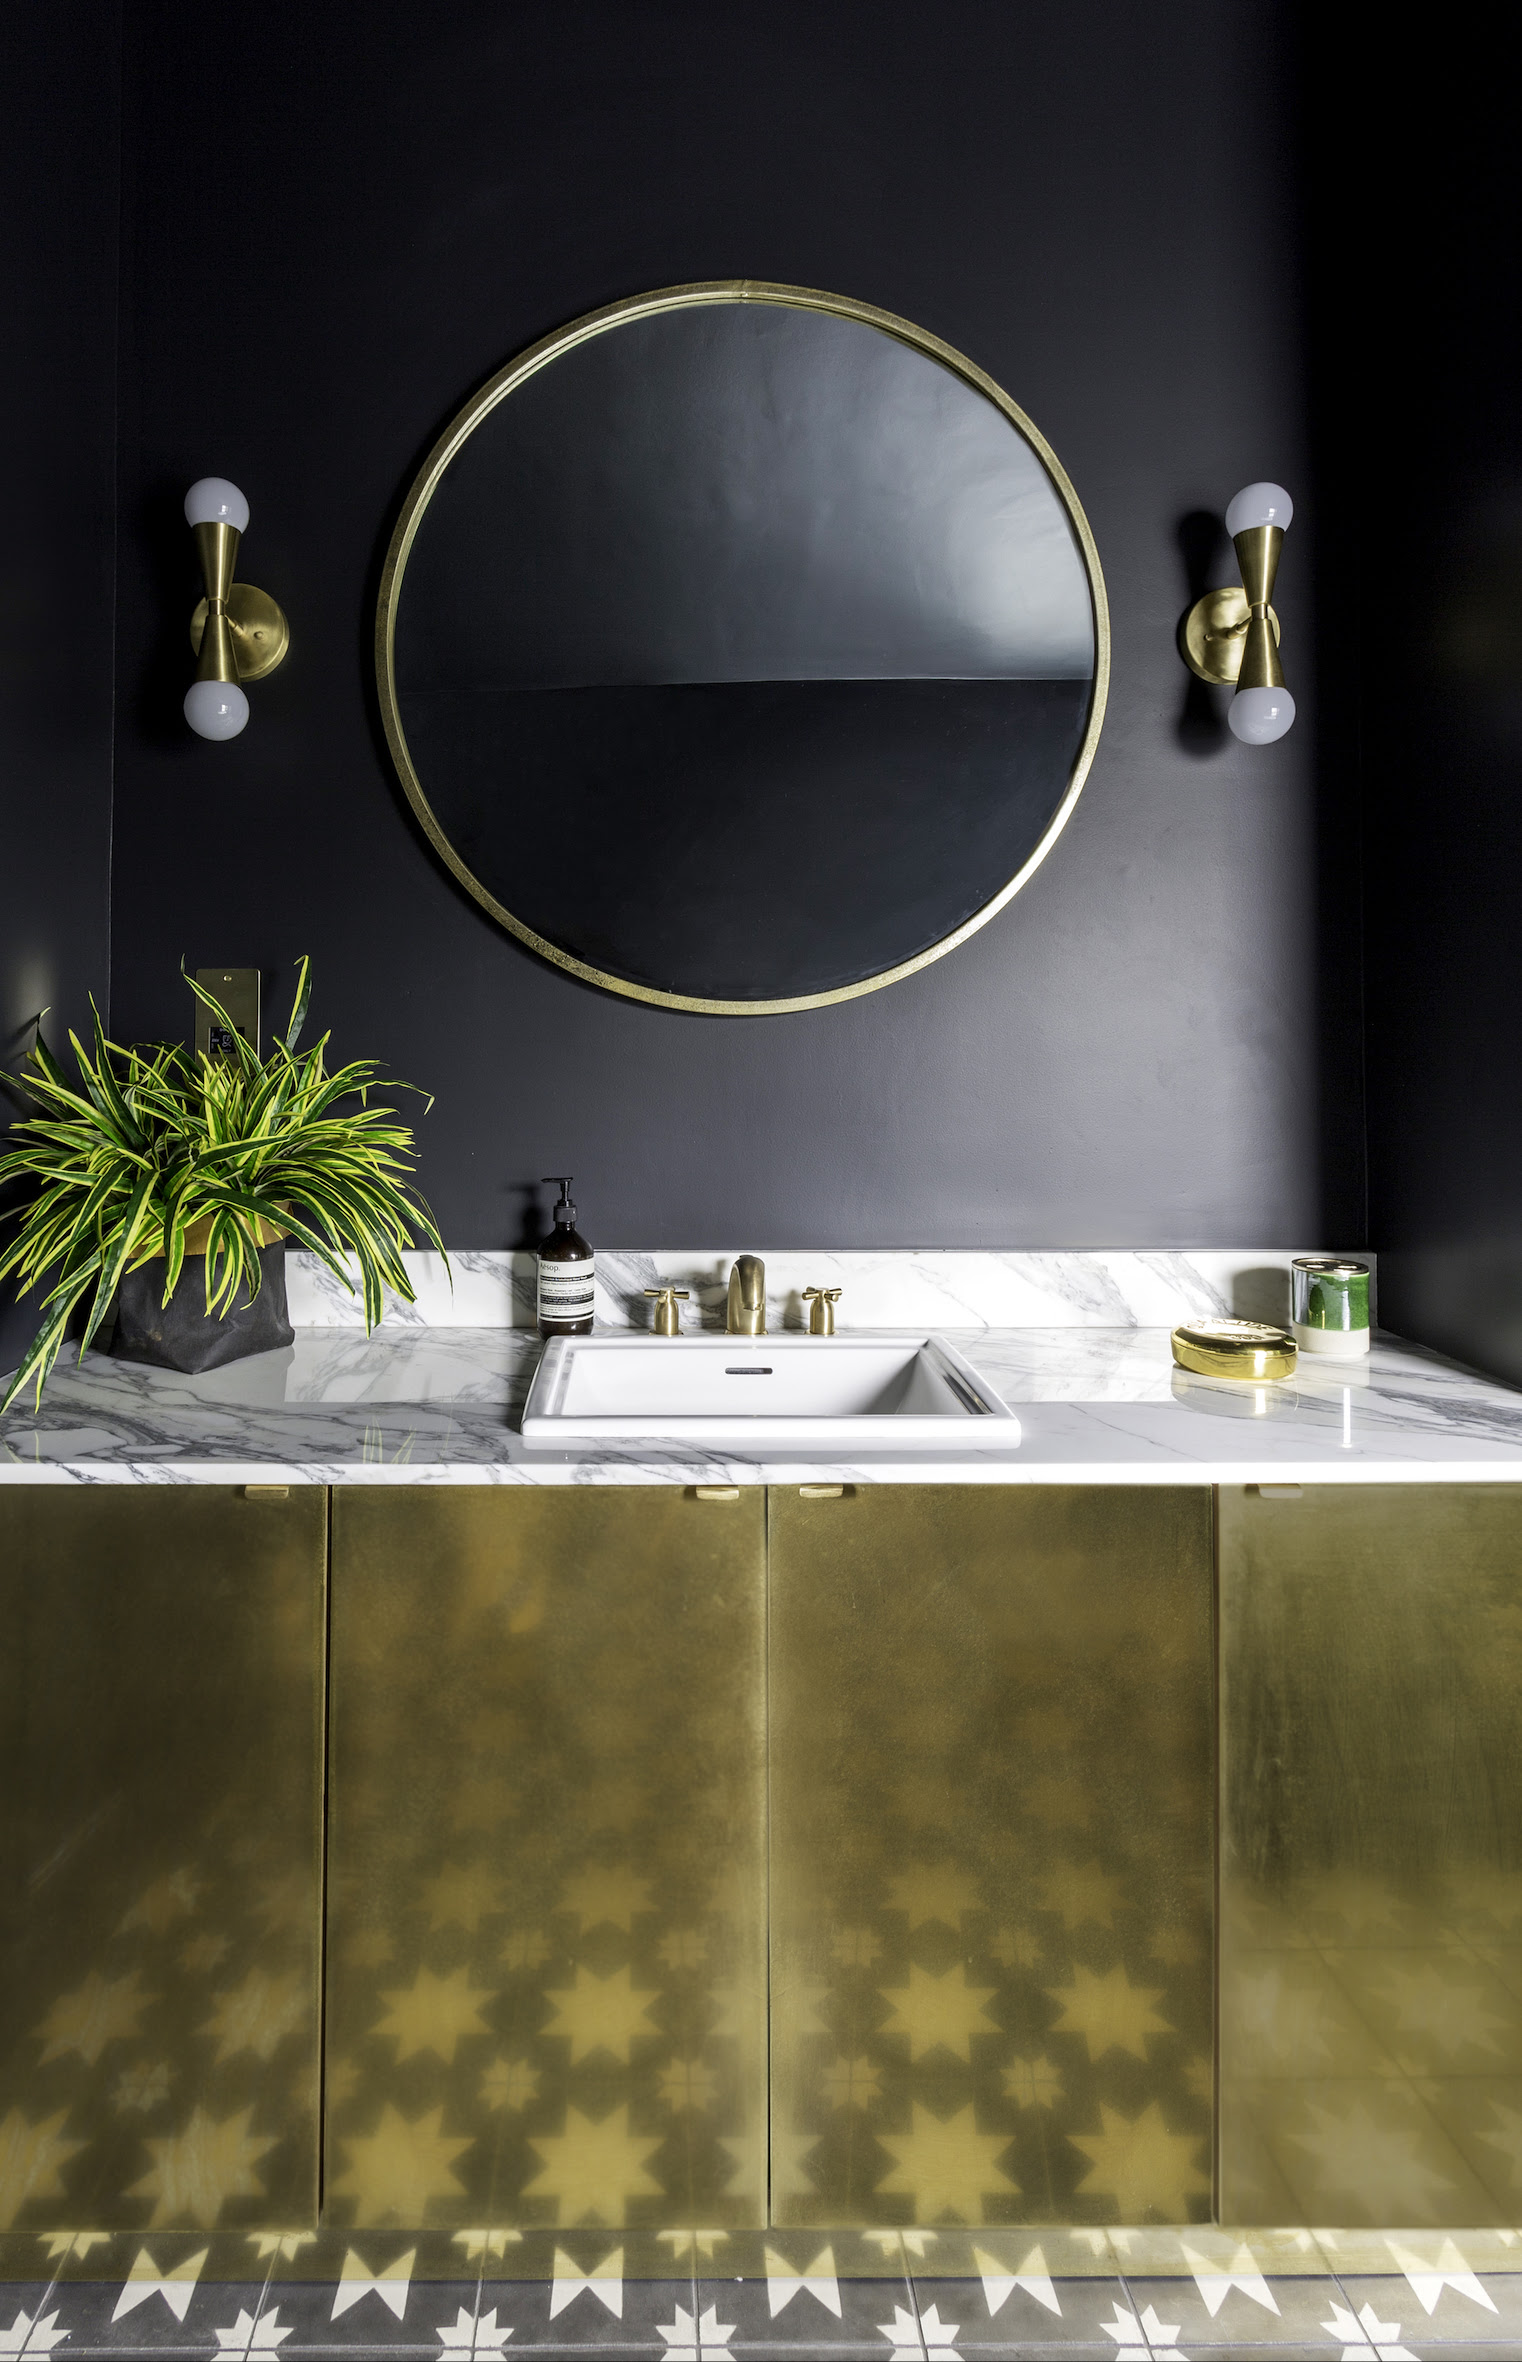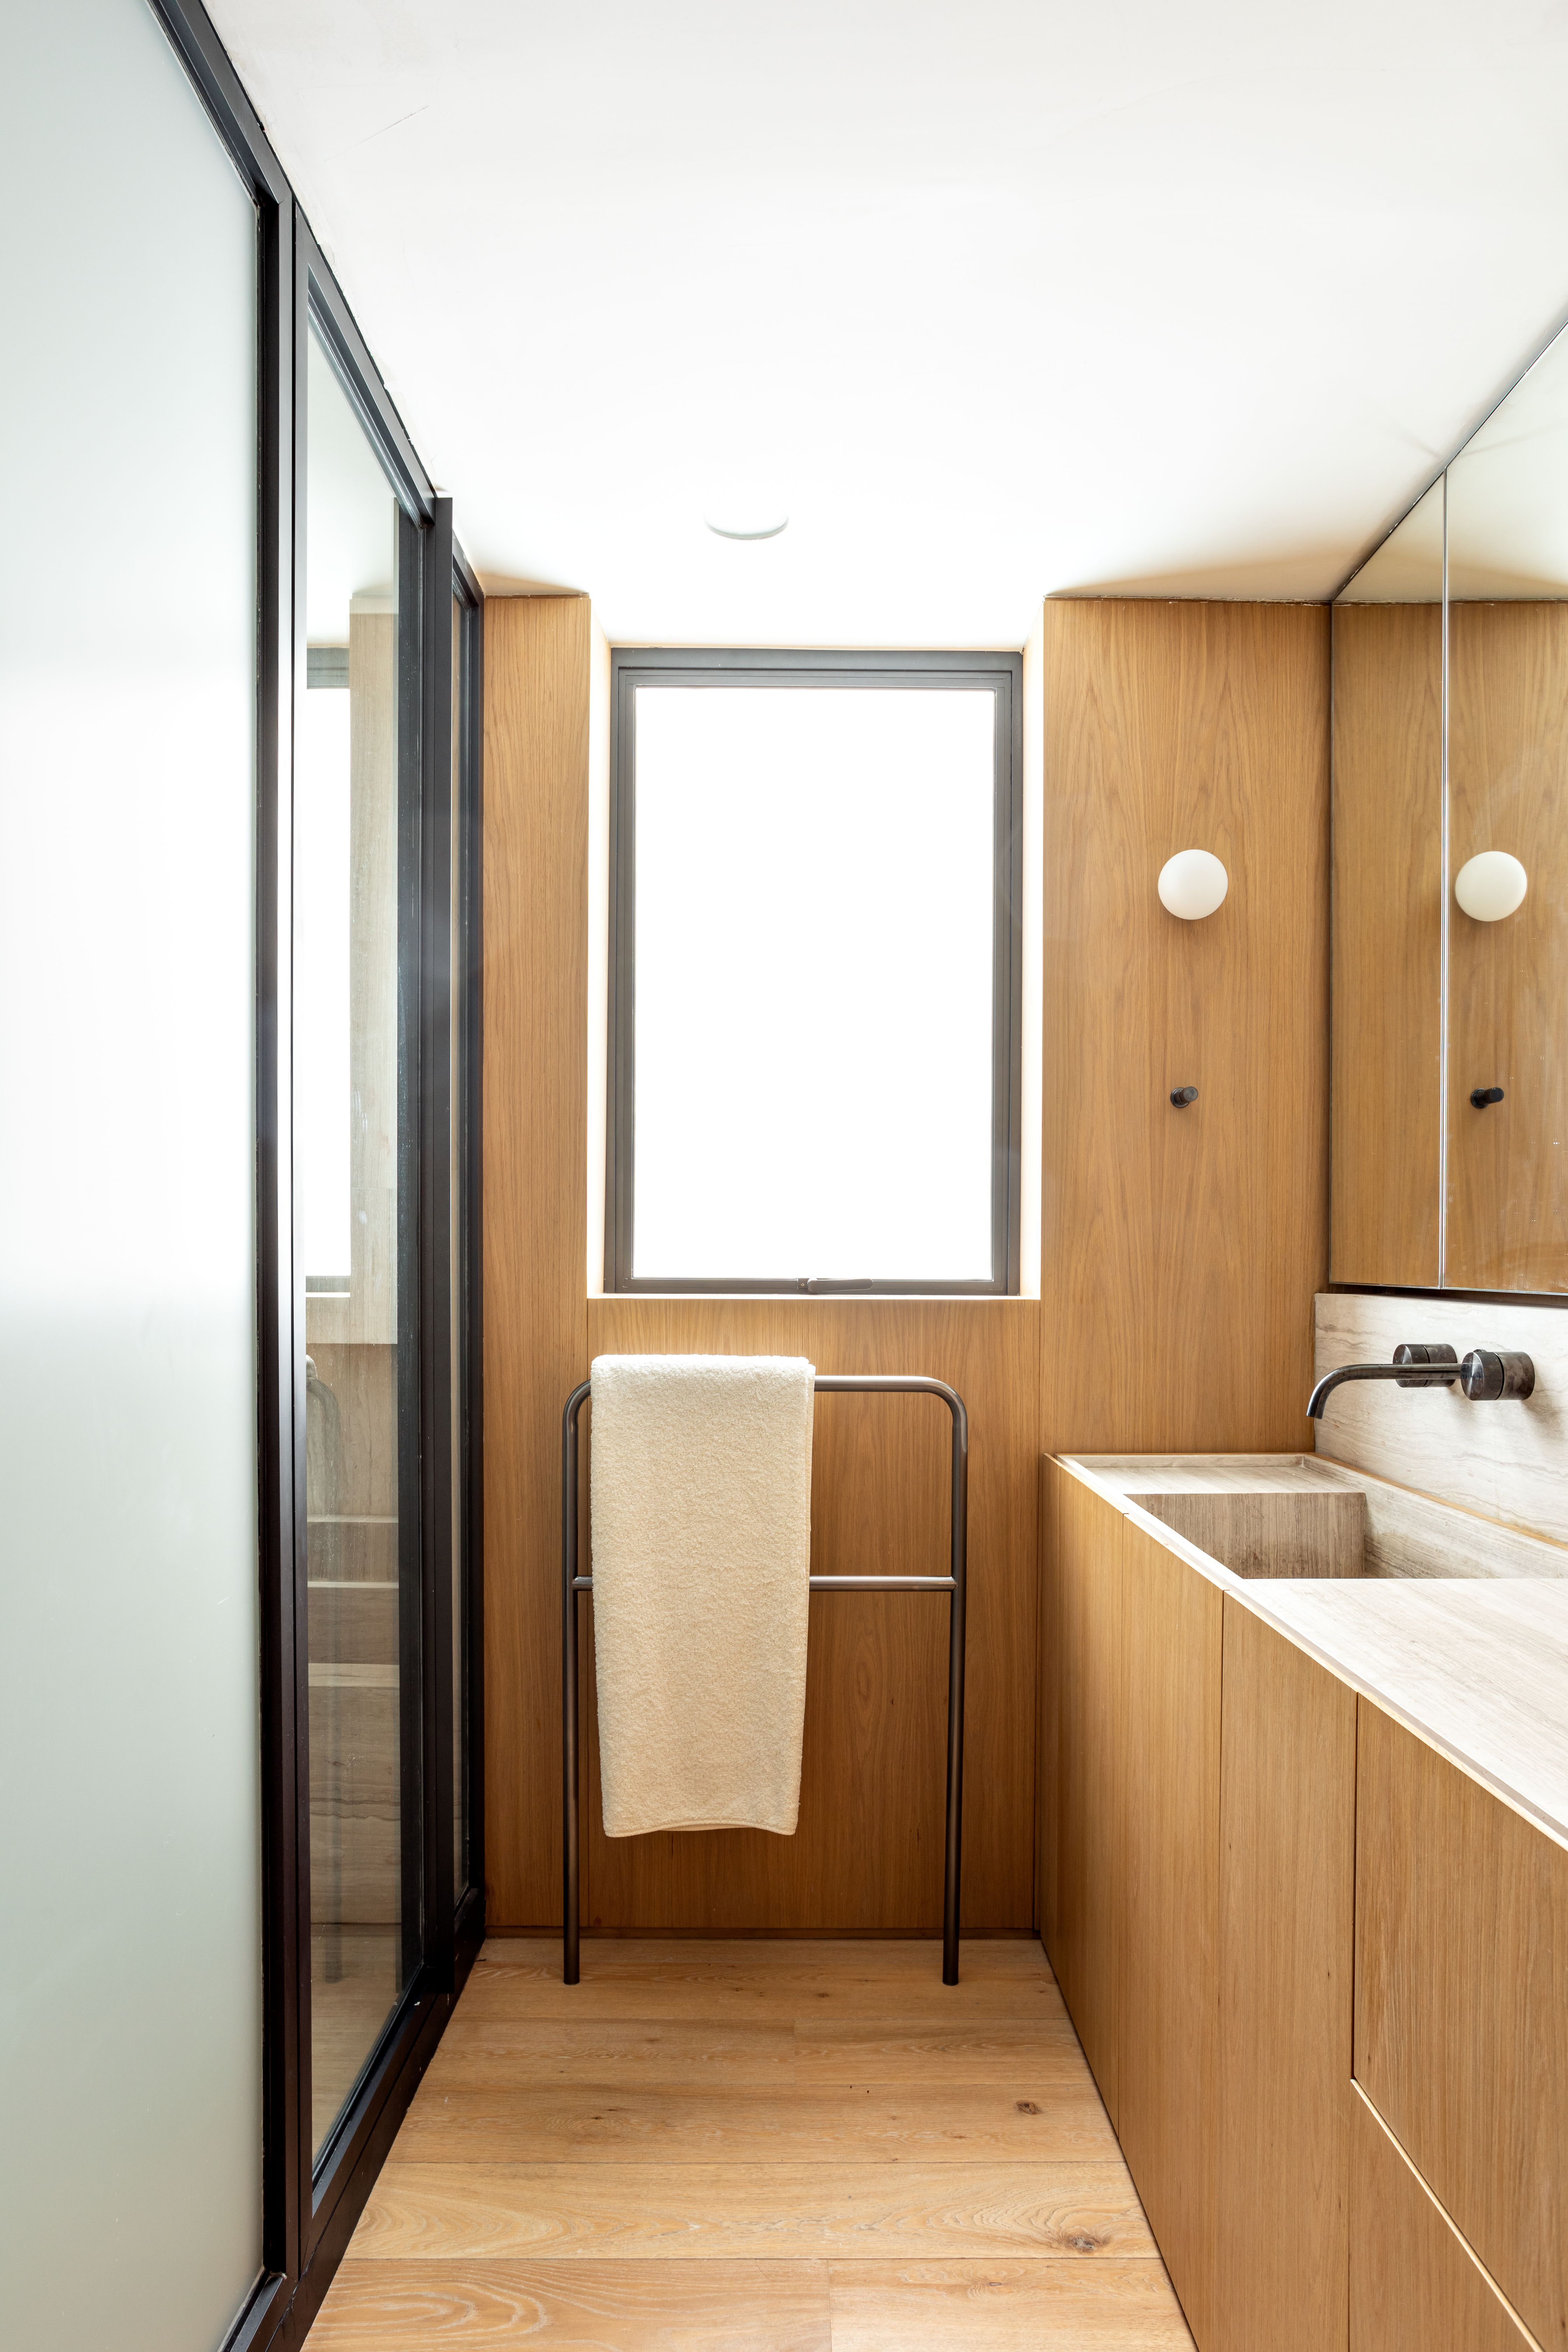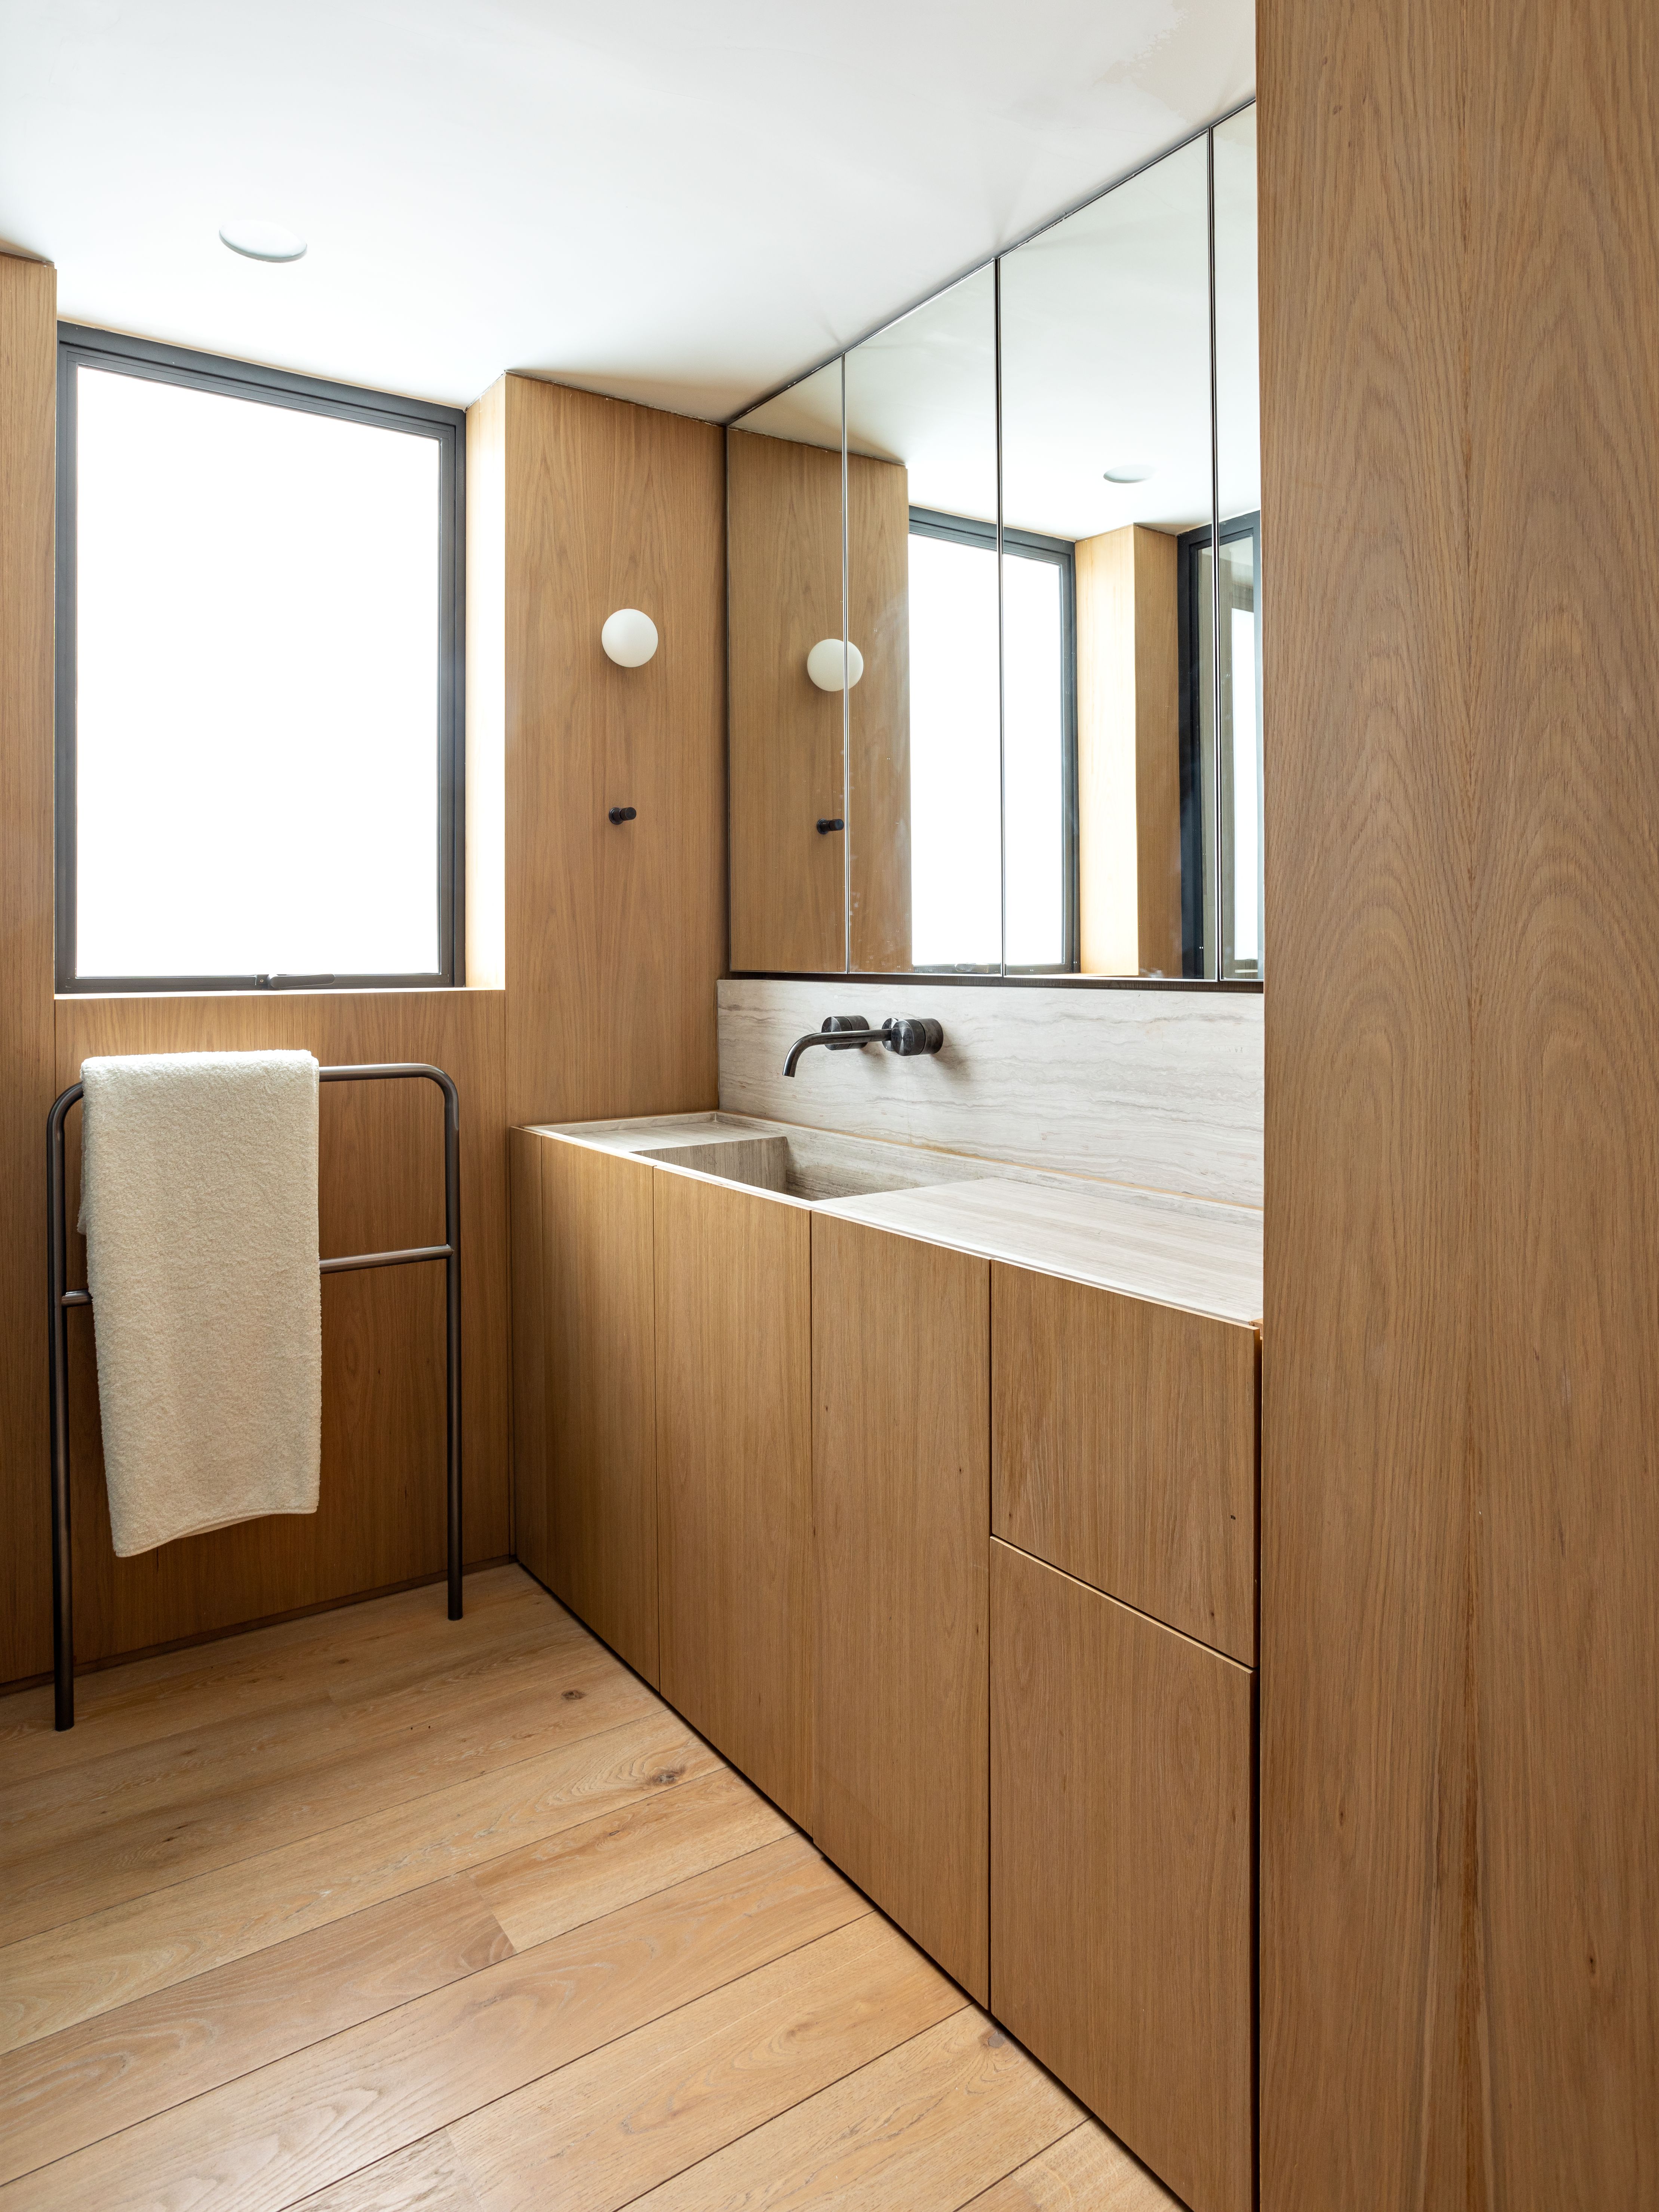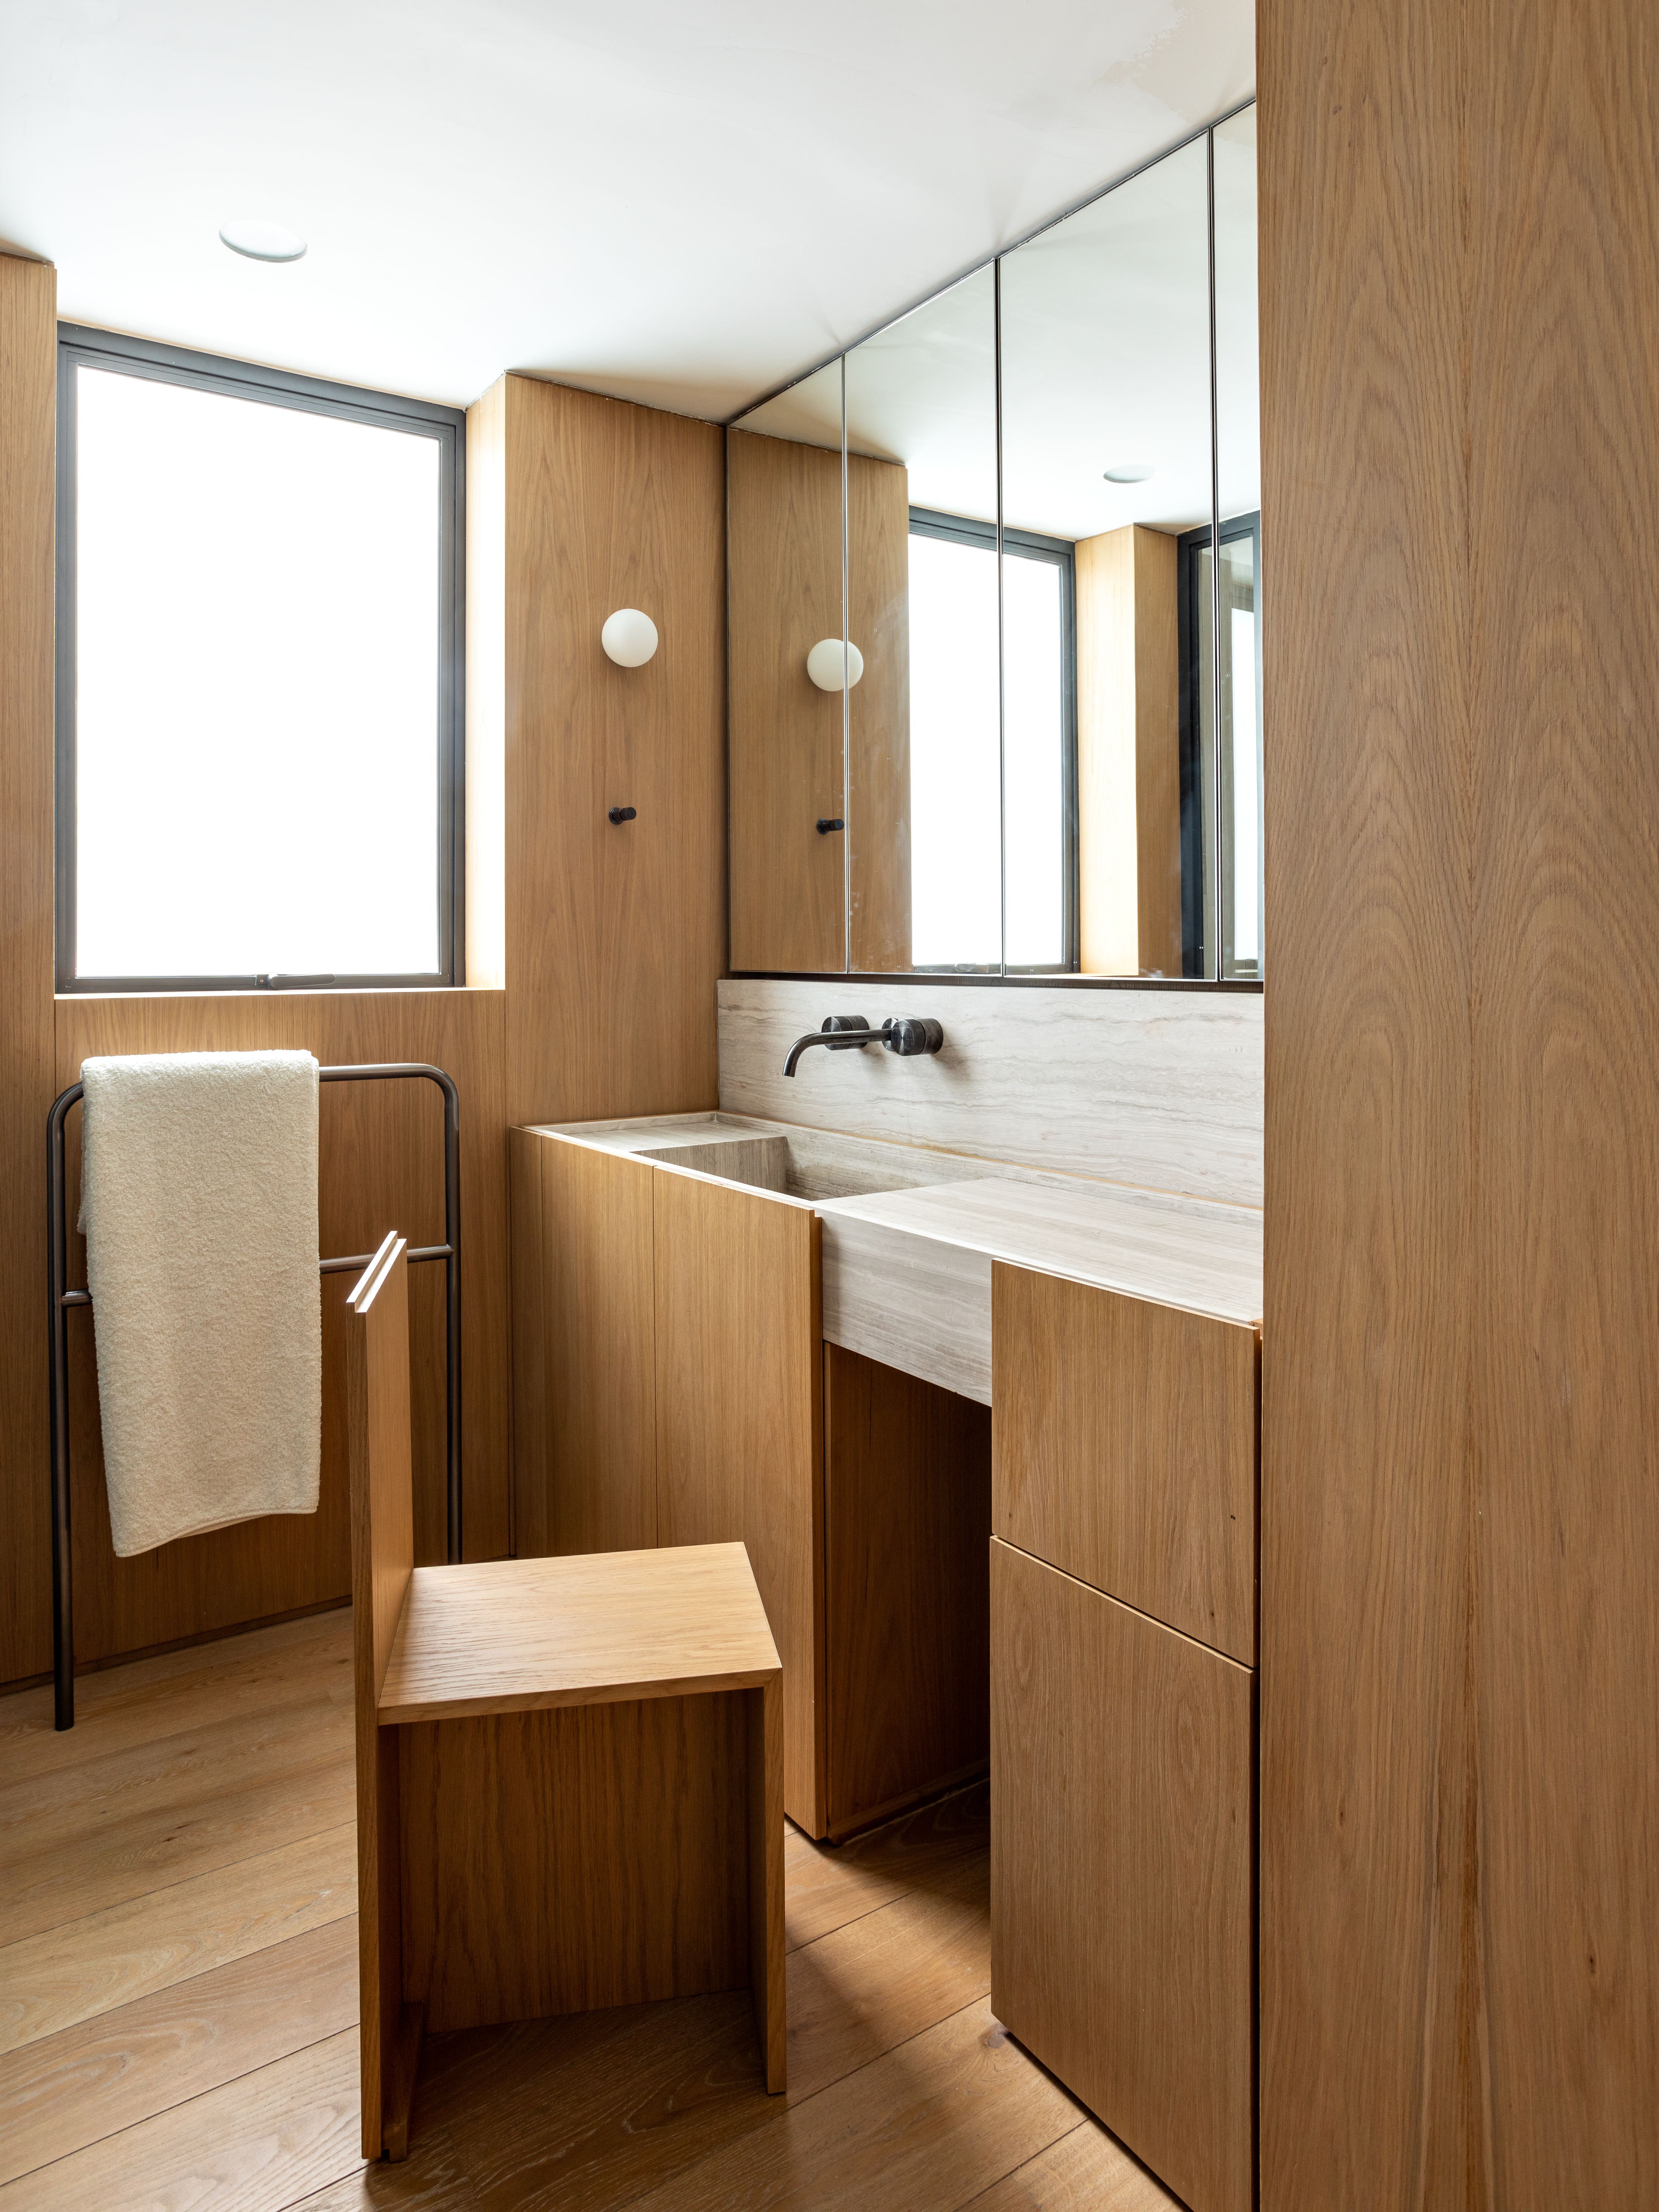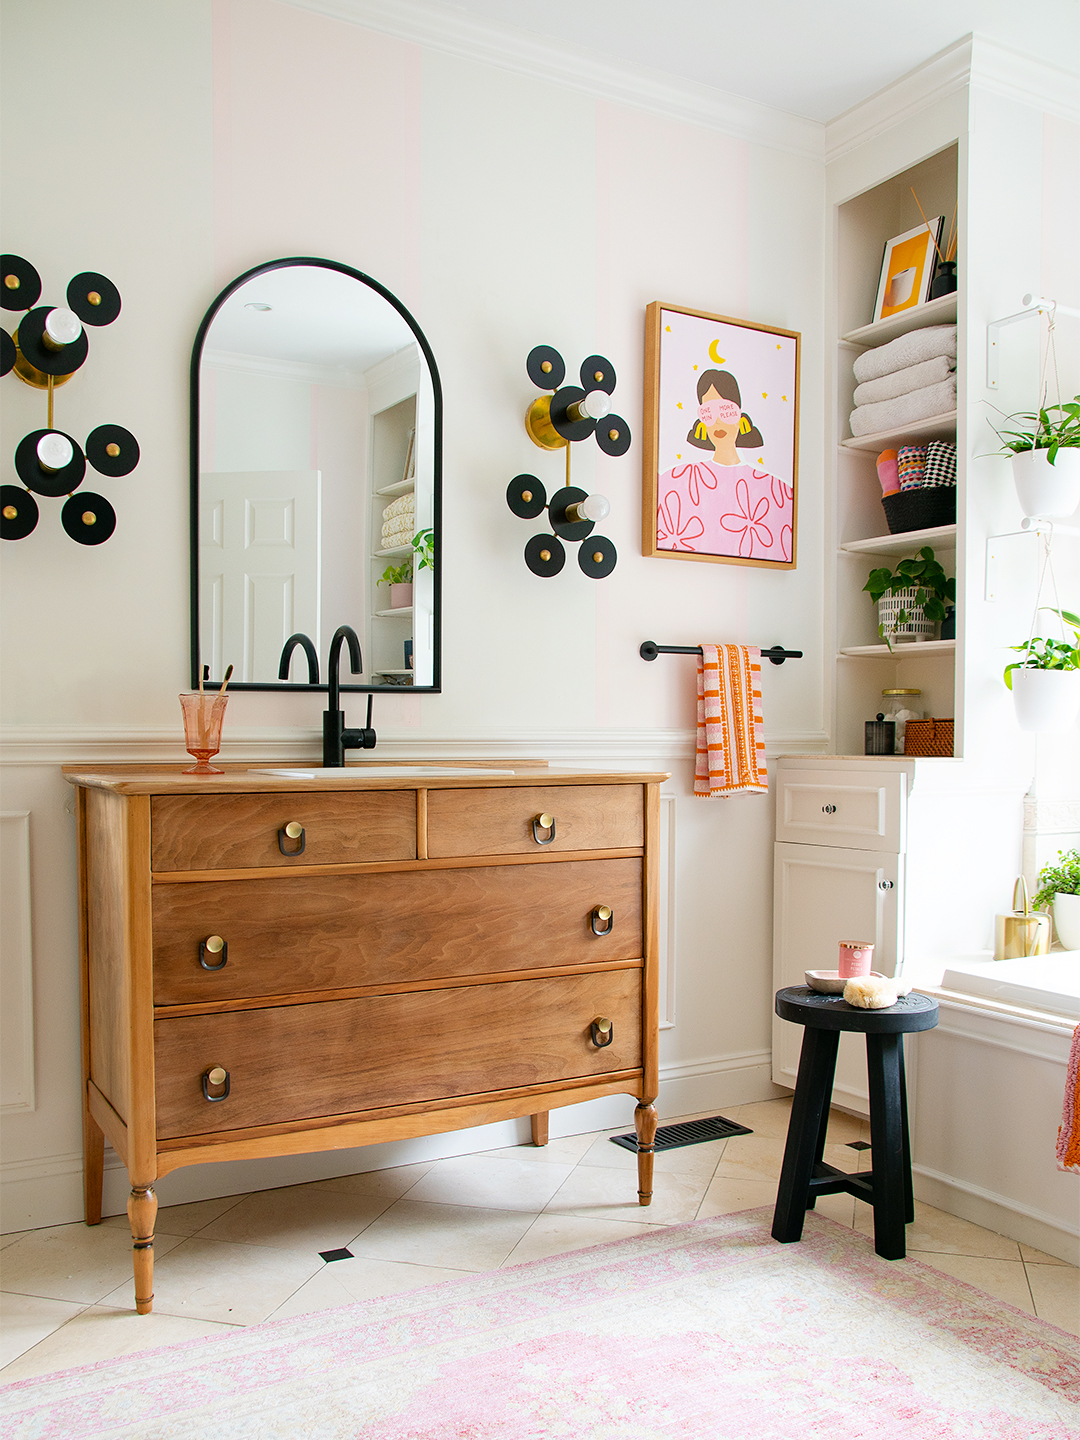
1/4
For Maximum Bathroom Storage, This DIYer Turned a $100 Dresser Into a Vanity
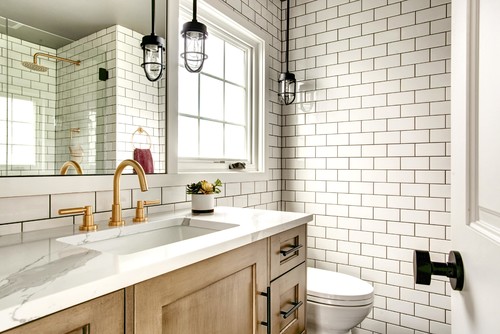
This blog post details a DIY project undertaken by blogger Charlotte Smith, transforming an antique dresser into a bathroom vanity to enhance storage and update the aesthetic of her primary bathroom. Faced with a dated tile and a pedestal sink offering no storage, Smith sought an affordable and less invasive alternative to a full bathroom renovation. Her goal was to introduce a wood element that would complement the warm-toned travertine flooring and provide much-needed storage in the small space.
Smith sourced a $100 antique dresser online that matched the height of her existing sink, recognizing its potential for repurposing. The project commenced with preparing the dresser by removing all hardware and thoroughly cleaning it. Following this, the entire surface was sanded to eliminate the old finish. To achieve a rustic look, wood bleach was applied to lighten the wood grain, with careful attention to product instructions to ensure the desired effect and prevent damage. After bleaching, the dresser was sanded again to achieve a smooth finish.
A crucial step involved customizing the dresser for plumbing. A hole was cut in the center of the dresser top to accommodate the sink, with additional considerations for faucet holes if necessary. To maximize the internal storage, the dresser's drawers were retrofitted. This involved carefully cutting and repositioning sections of the drawers to create space for the sink's plumbing while retaining as much drawer capacity as possible. Wood glue and clamps were used to reattach the modified drawer components.
Recognizing the challenges of using wood in a high-moisture environment, Smith emphasized the importance of proper sealing. She recommended a durable sealant, specifically Master’s Armour with an added hardener, applied in multiple thin, even coats to create an epoxy-like finish for maximum durability. The final steps involved installing the sink into the prepared opening, securing it with silicone adhesive, and then installing the faucet and handles. The article suggests that while plumbing might seem daunting, it can be learned through online resources like YouTube tutorials or guides from hardware stores, making the entire project accessible to DIY enthusiasts.
#BathroomVanity #DIYProject #DresserRepurposing #HomeRenovation #StorageSolutions #Woodworking #BudgetDesign #FurnitureFlip #RusticDecor #BathroomVanity #DIYProject #DresserRepurposing #HomeRenovation #StorageSolutions #Woodworking #BudgetDesign #FurnitureFlip #RusticDecor
0 comment in total
 No comments yet
You may also like
What Is a Bathroom Vanity? Adding Power (and Extra Storage) to the Powder Room
How a Designer Turned a Wasted Room Into a Walk-In Pantry for $170

This $100 Storage Cabinet Keeps Shoppers' Bathrooms and Hallways 'Neat and Tidy'
7 Ways to Easily Upgrade Your Bathroom Vanity When You Hate It, According to a Designer

$5 Dividers Worked Magic in Both This Mini Vanity and Pantry Makeover
Organizing a bathroom vanity – 10 ways to order essentials
6 Bathroom Vanities With Room for Everything
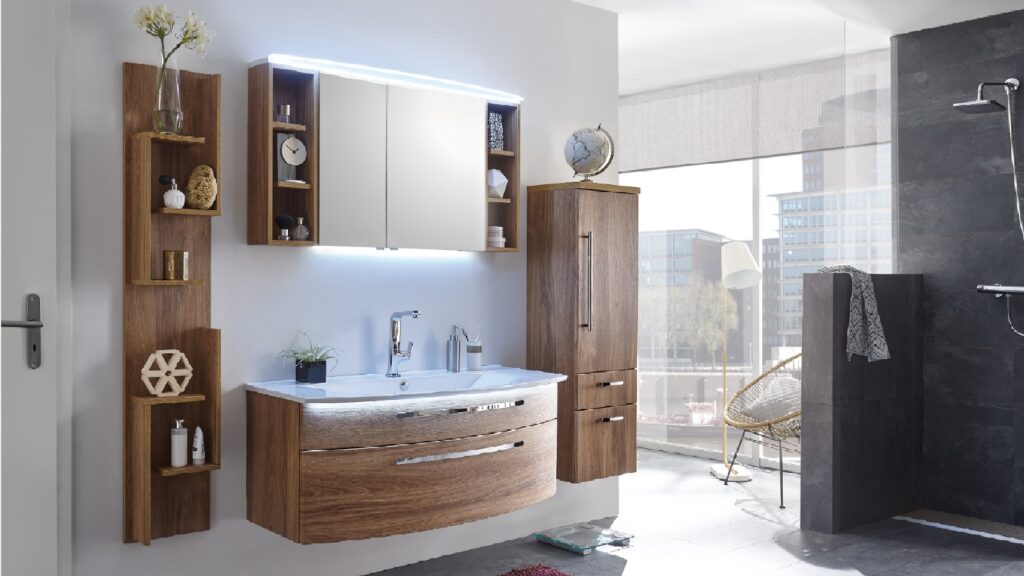
Bathroom furniture | How to enhance luxury with storage

Vanity Units


I Tripled My Storage Space in My Tiny Bathroom with This Ingenious Wayfair Find

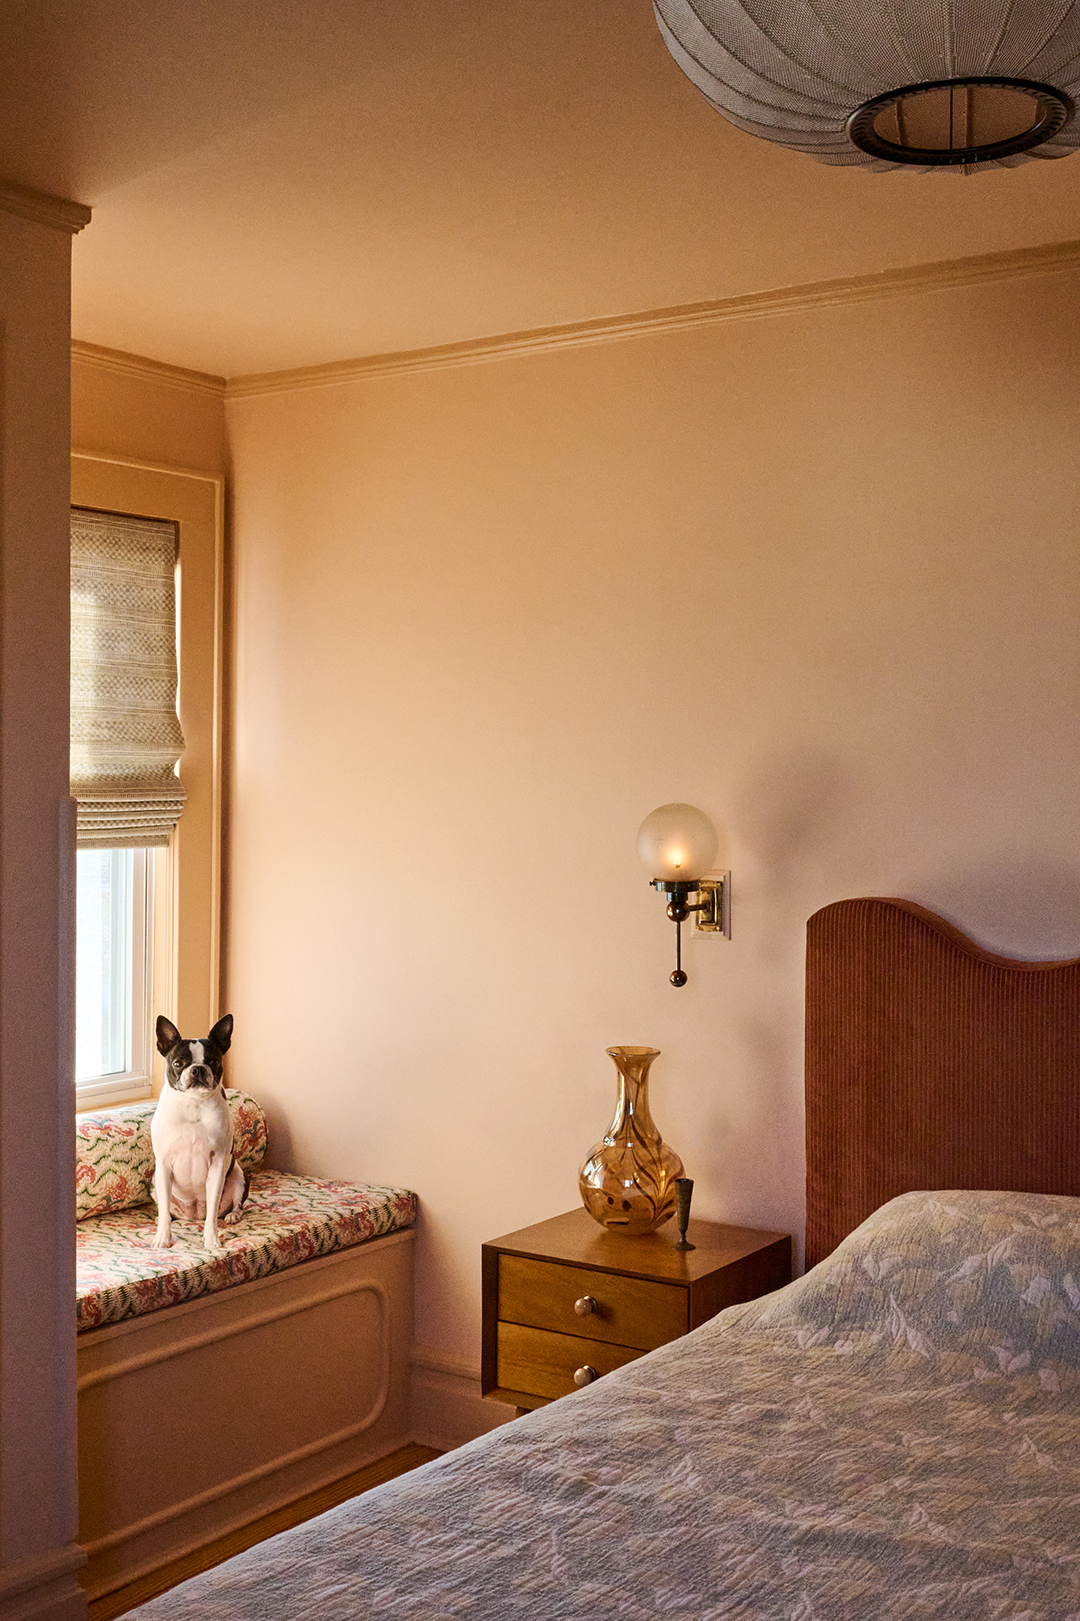
In This Space-Savvy Primary Suite Remodel, the Bathroom Had to Get Smaller to Feel Bigger | domino
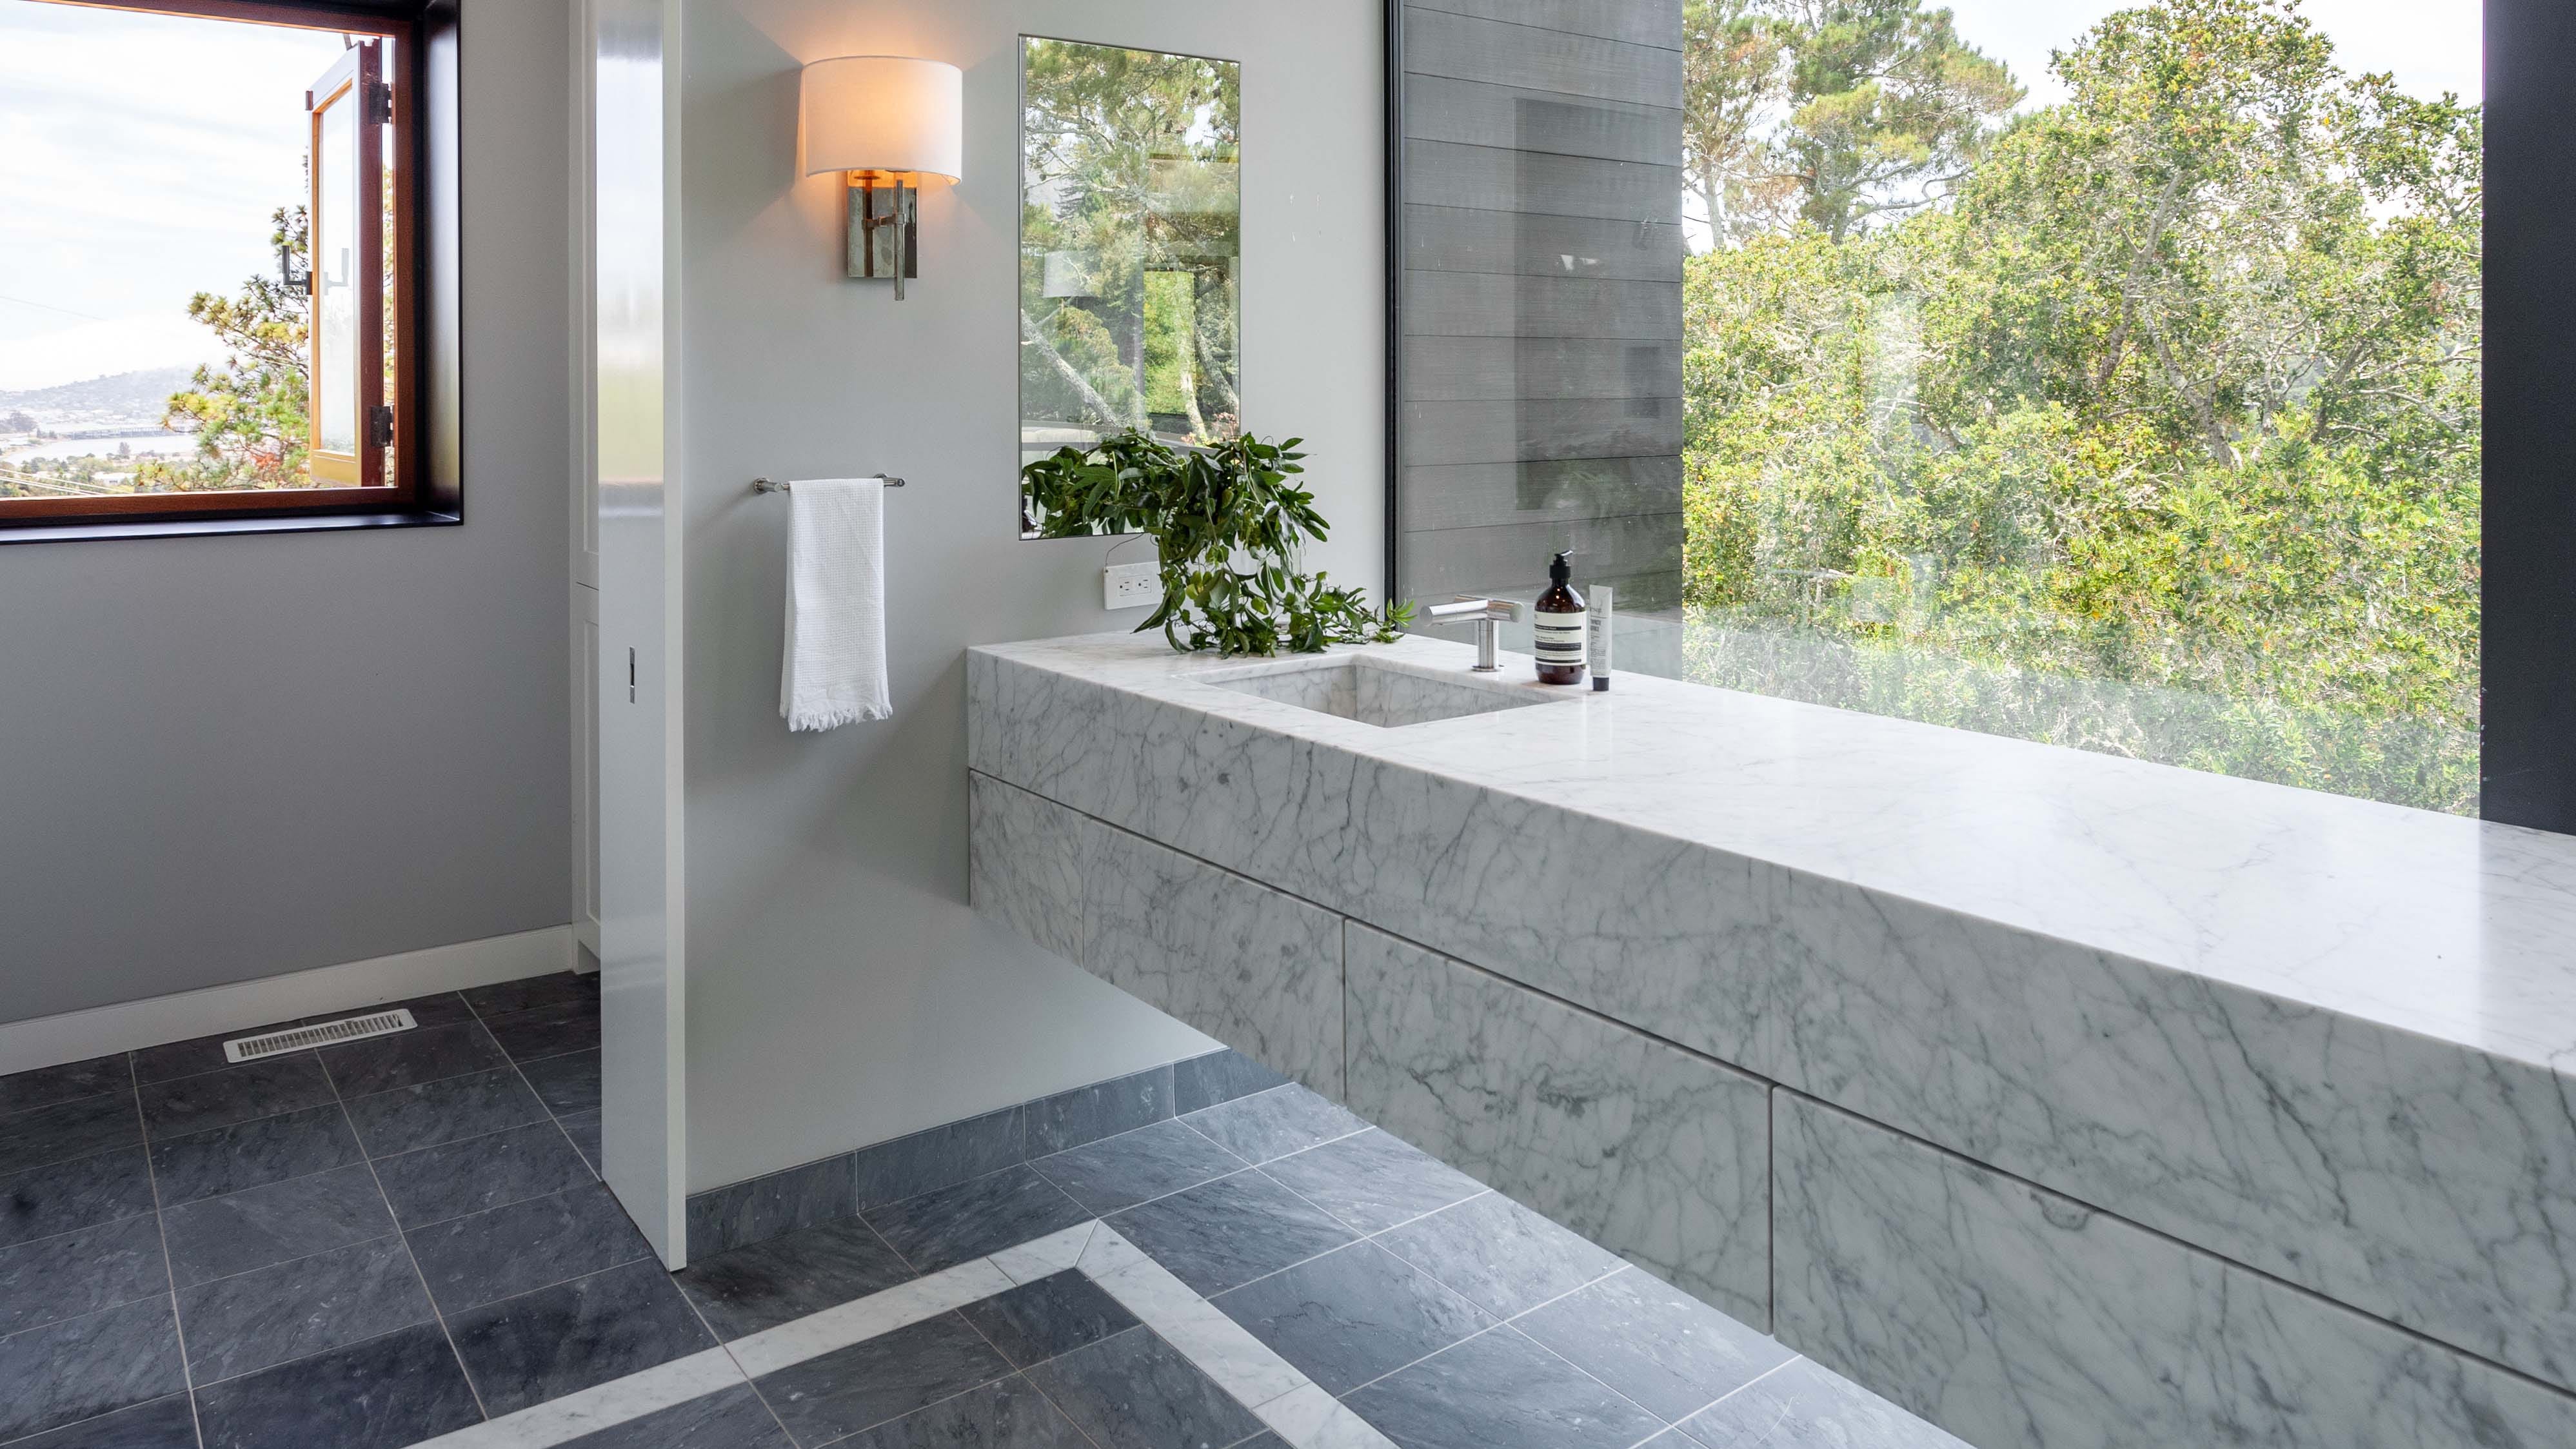
These 14 Double Vanity Ideas Could Prevent a Bathroom Divorce

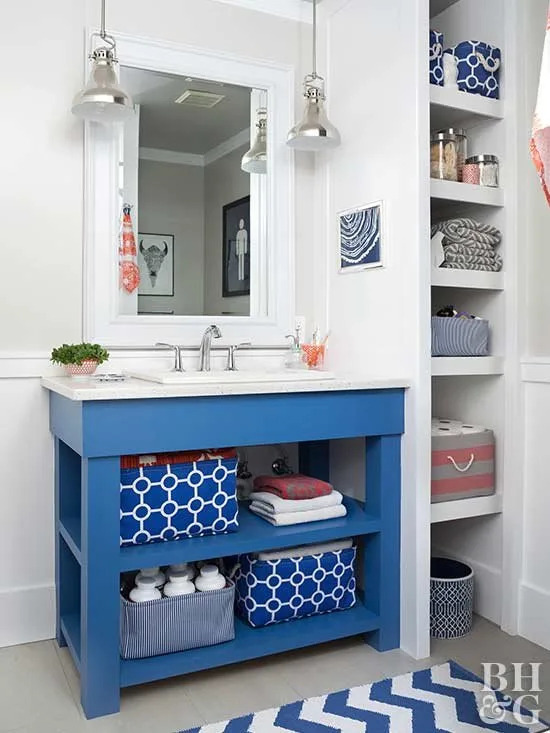
18 DIY Bathroom Vanity Ideas
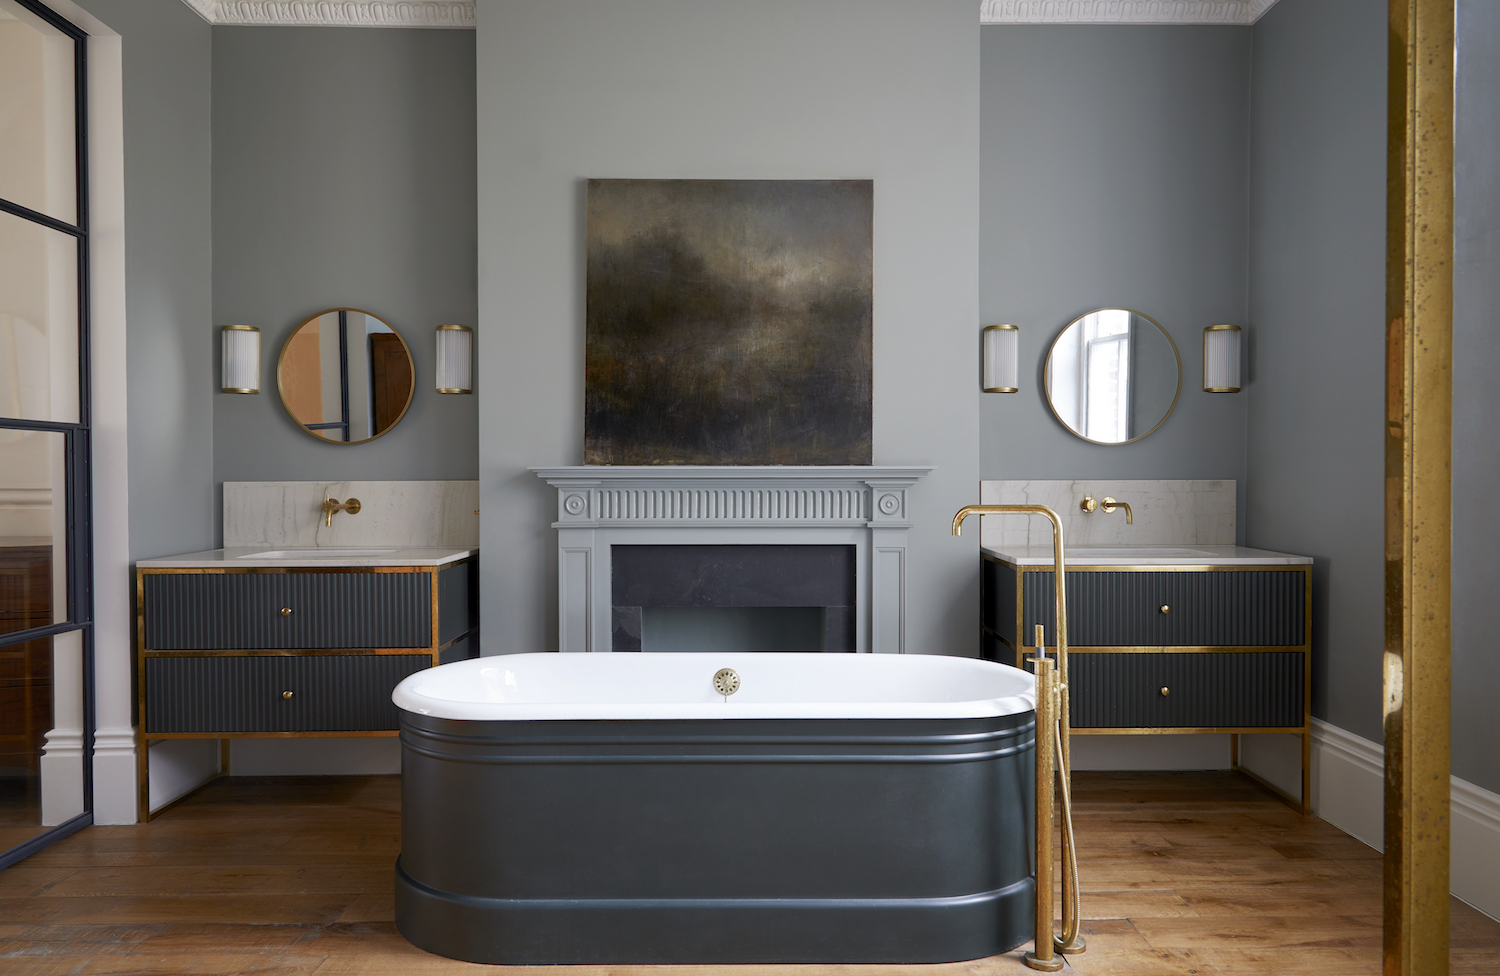
Bathroom vanity ideas - experts explain how to use the most stylish materials and smartest designs

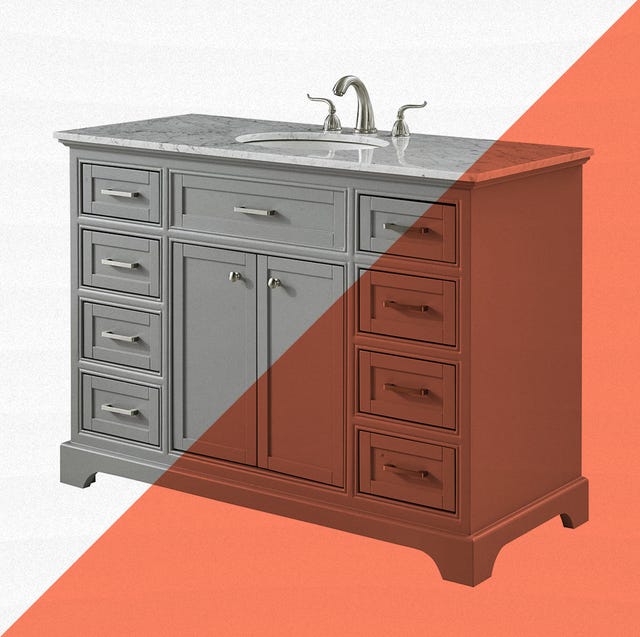
Transform Your Bathroom's Style and Storage Capacity with These Bathroom Vanities
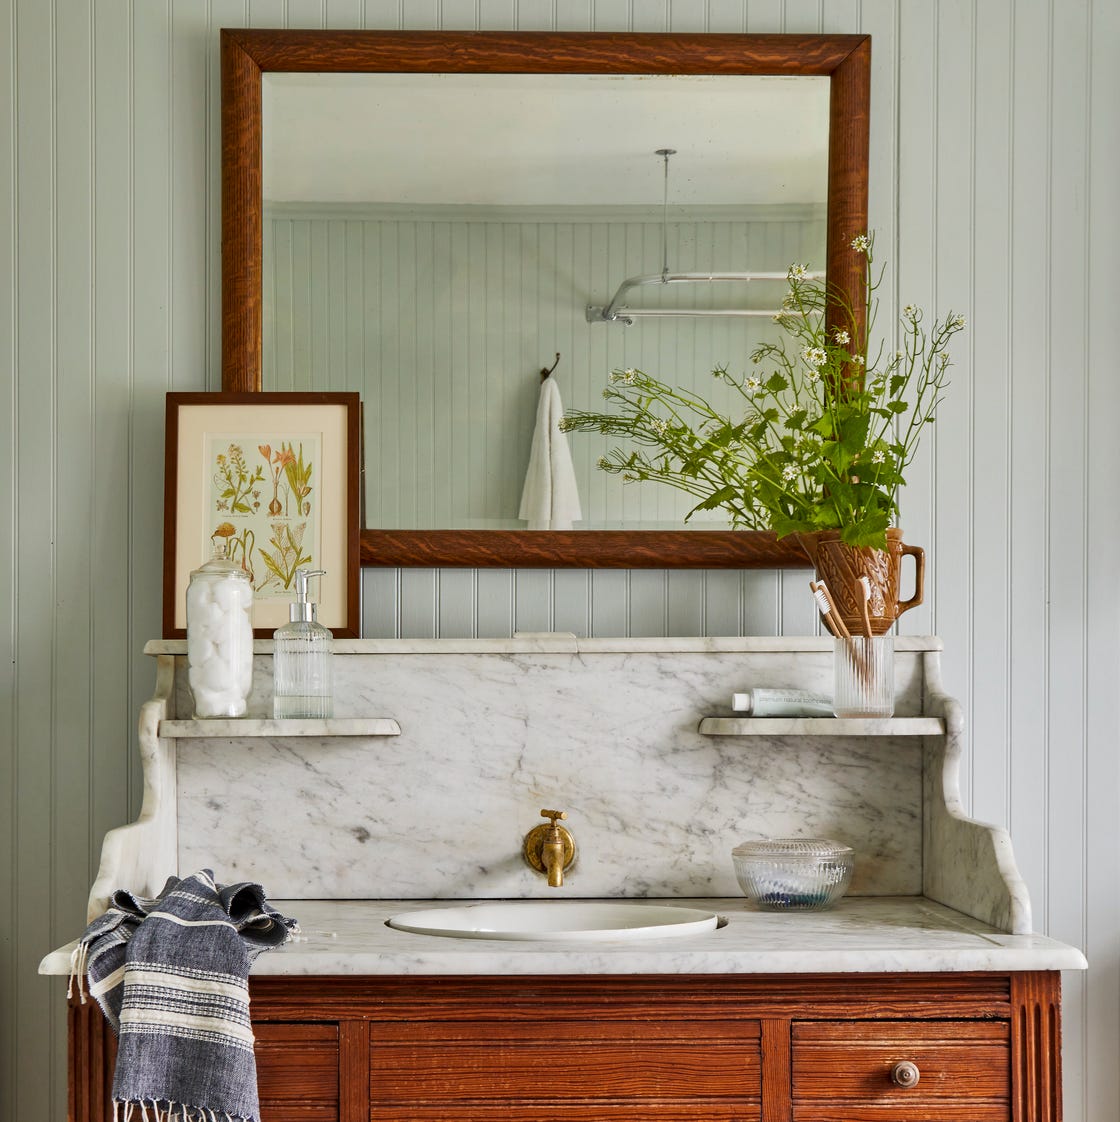
These are the Best Bathroom Vanities on the Market
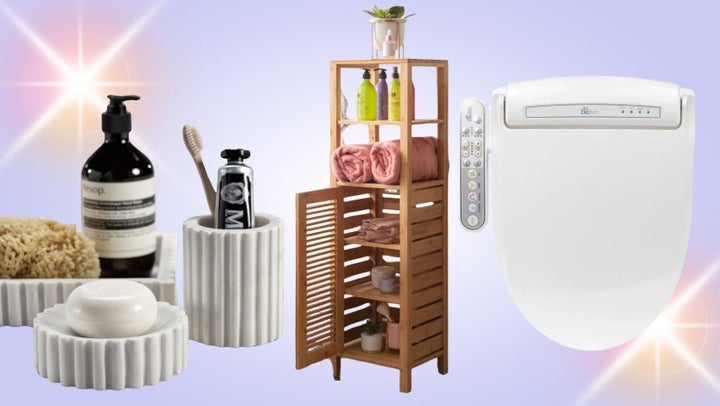
These Items From Wayfair Will Update And Transform Your Bathroom
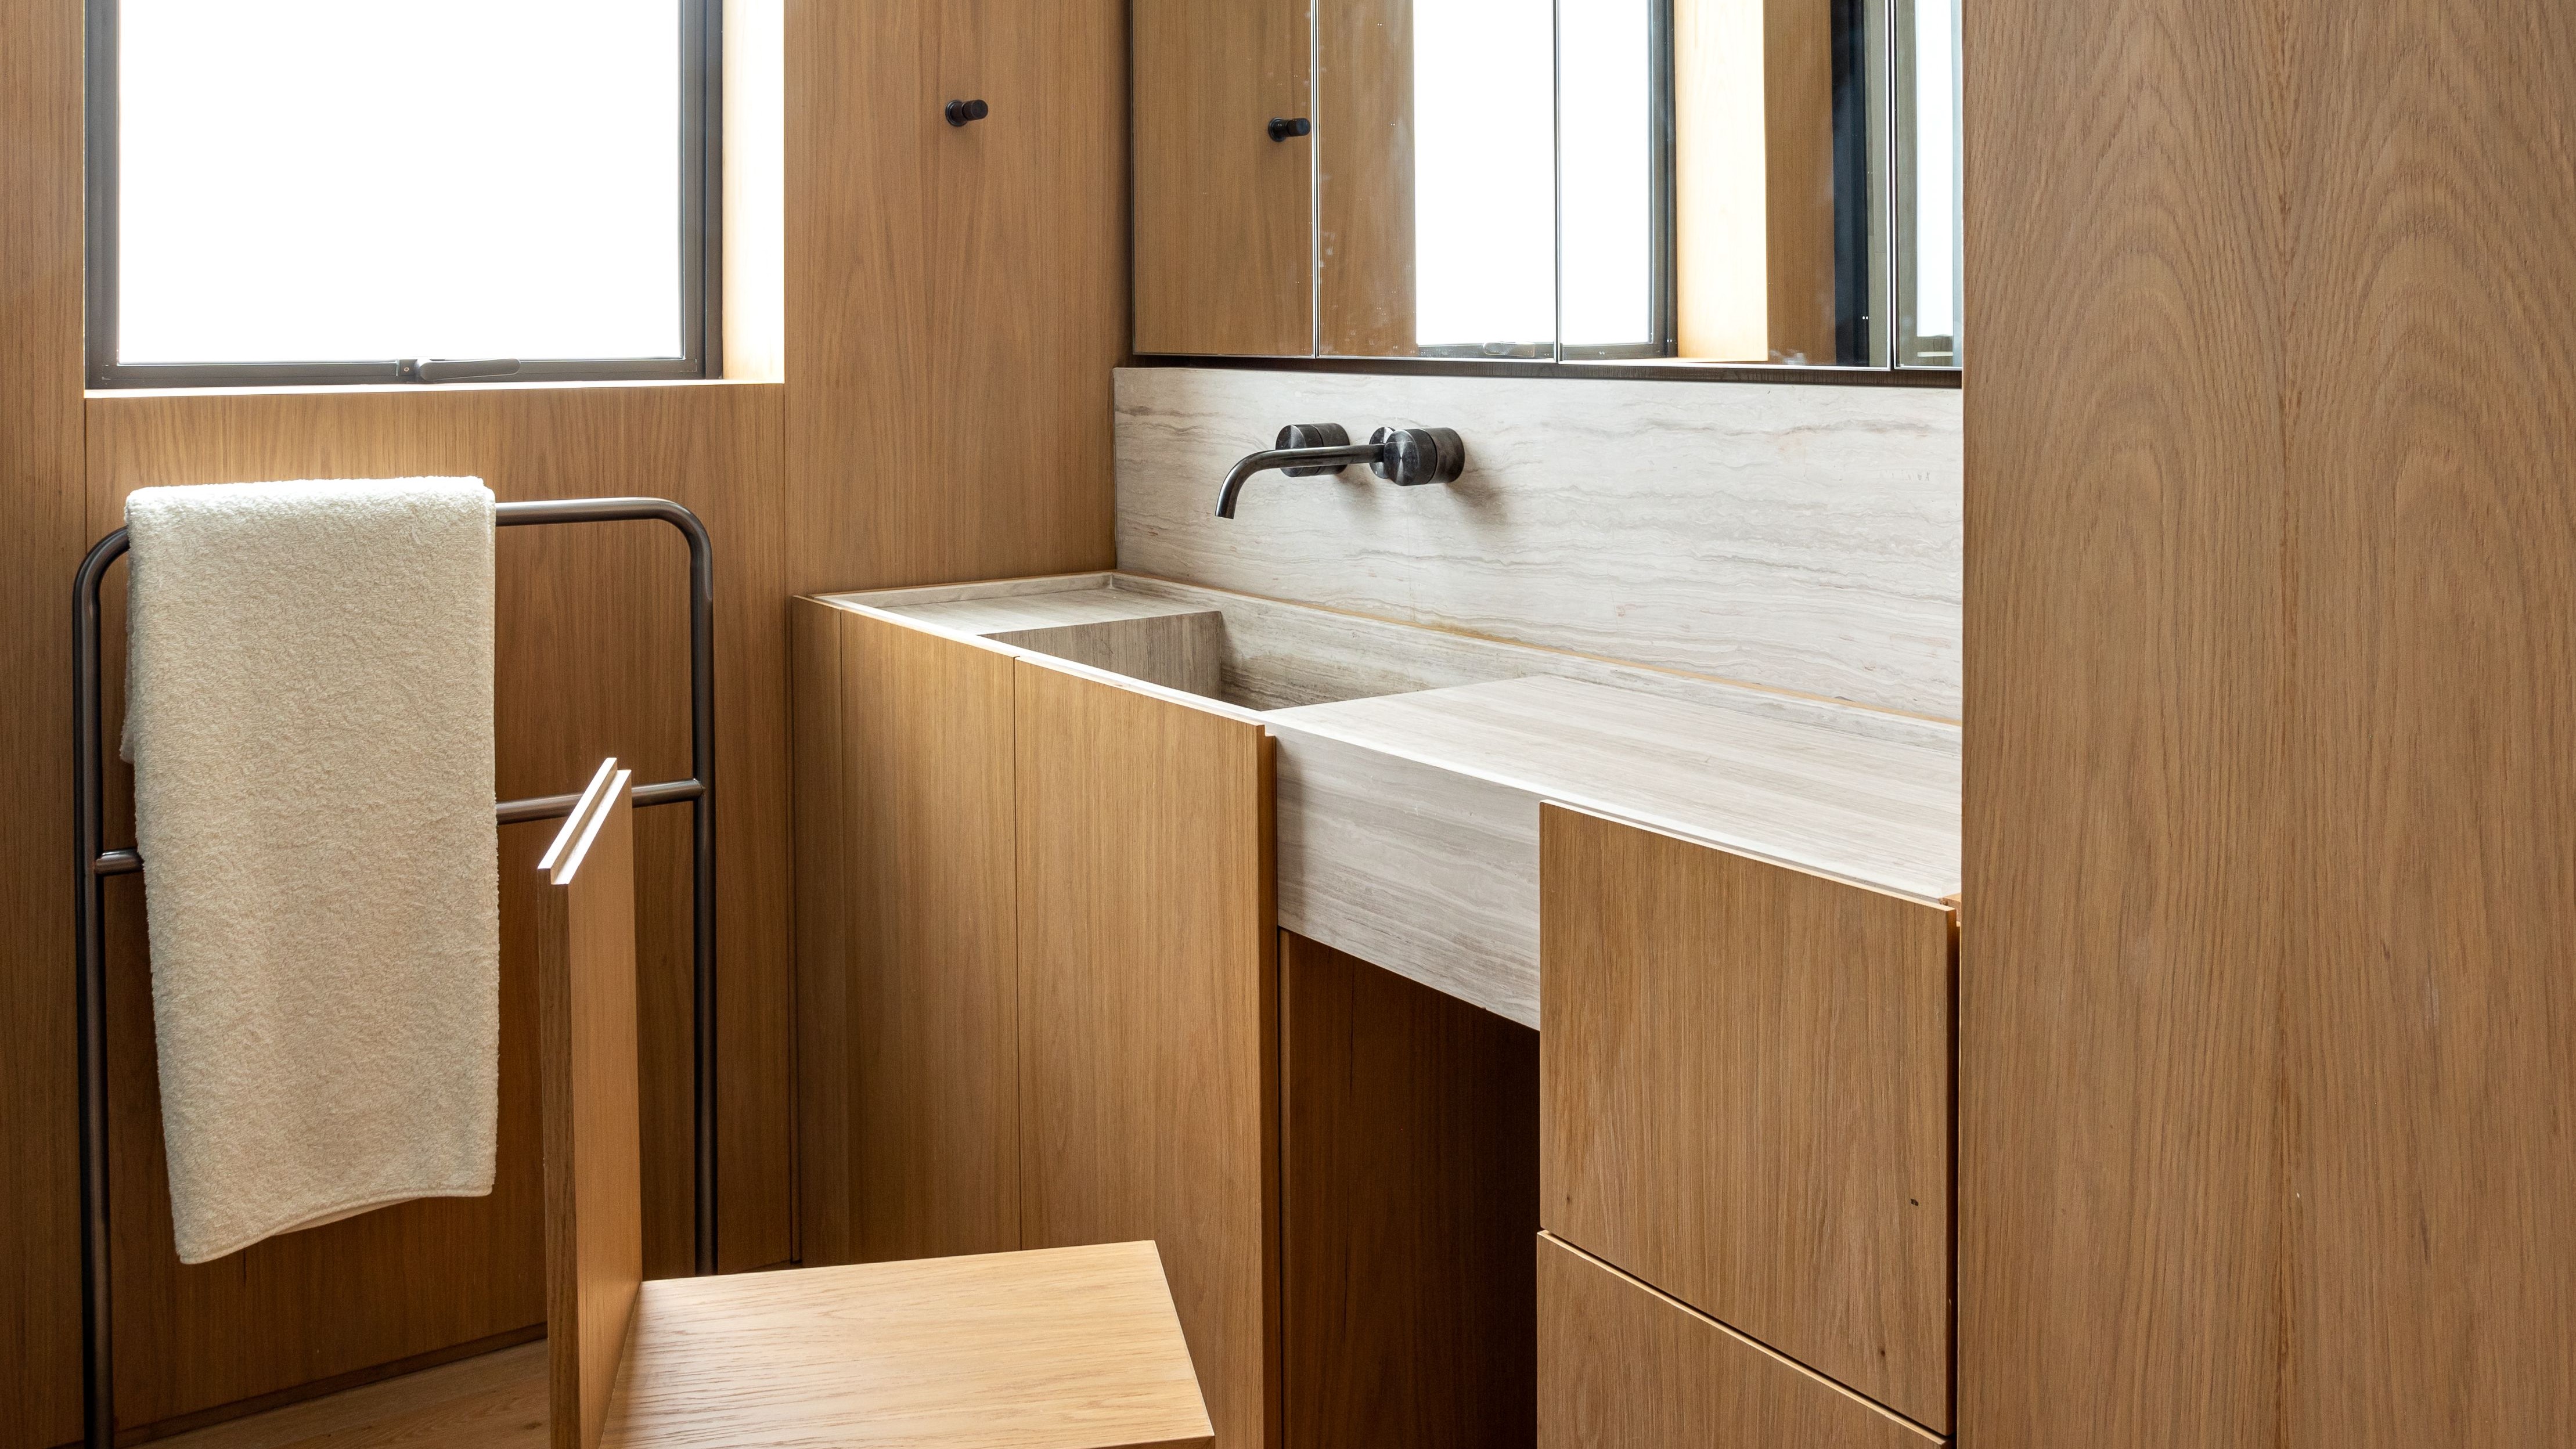
This tiny bathroom has the cleverest storage that makes it work a hundred times harder – including a genius vanity
Combined Vanity Units
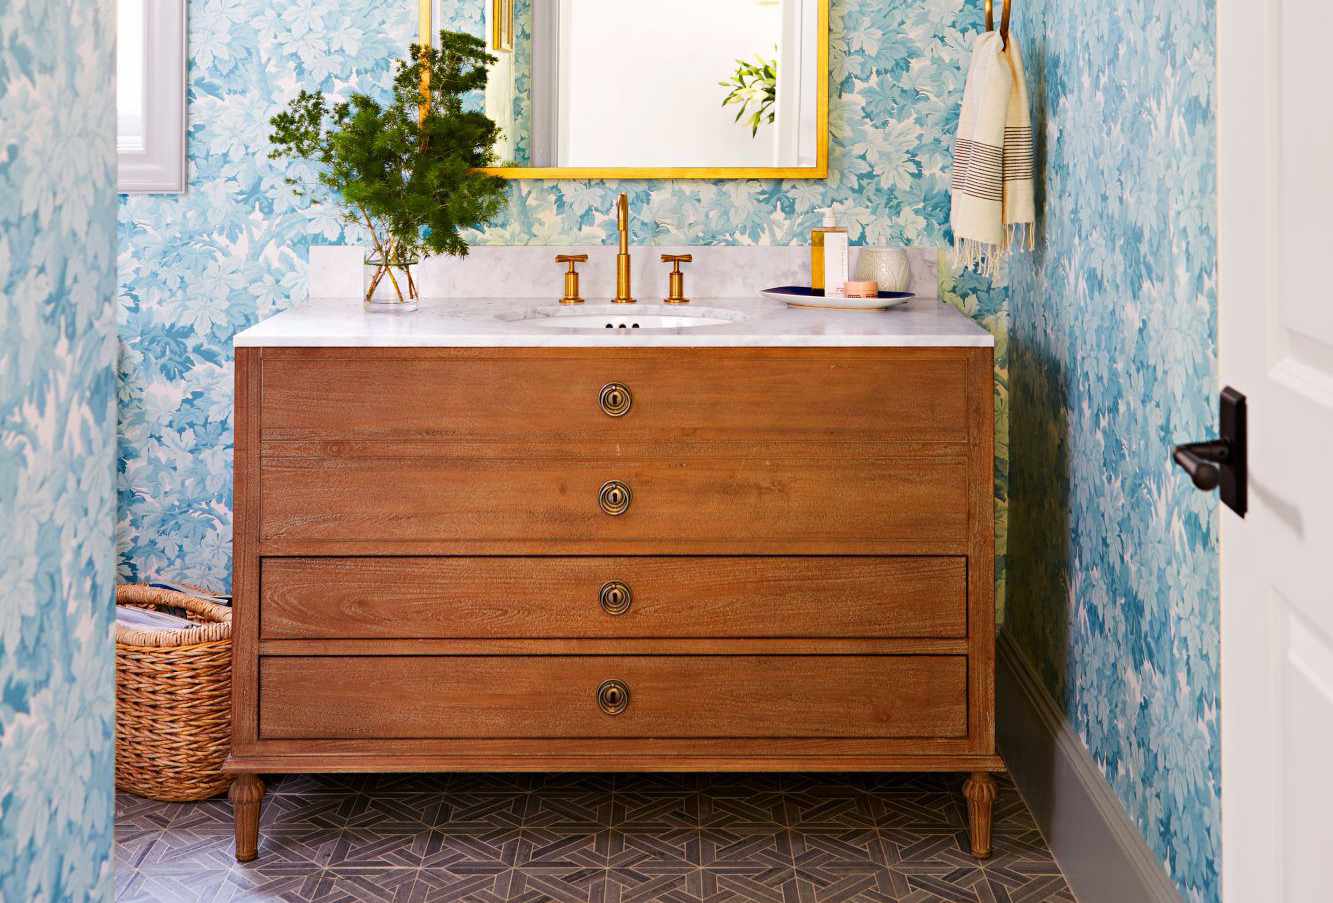
30 Bathroom Vanity Ideas To Elevate Your Storage Space