The Easiest Ways to Install a Corner Shelf in Your Shower
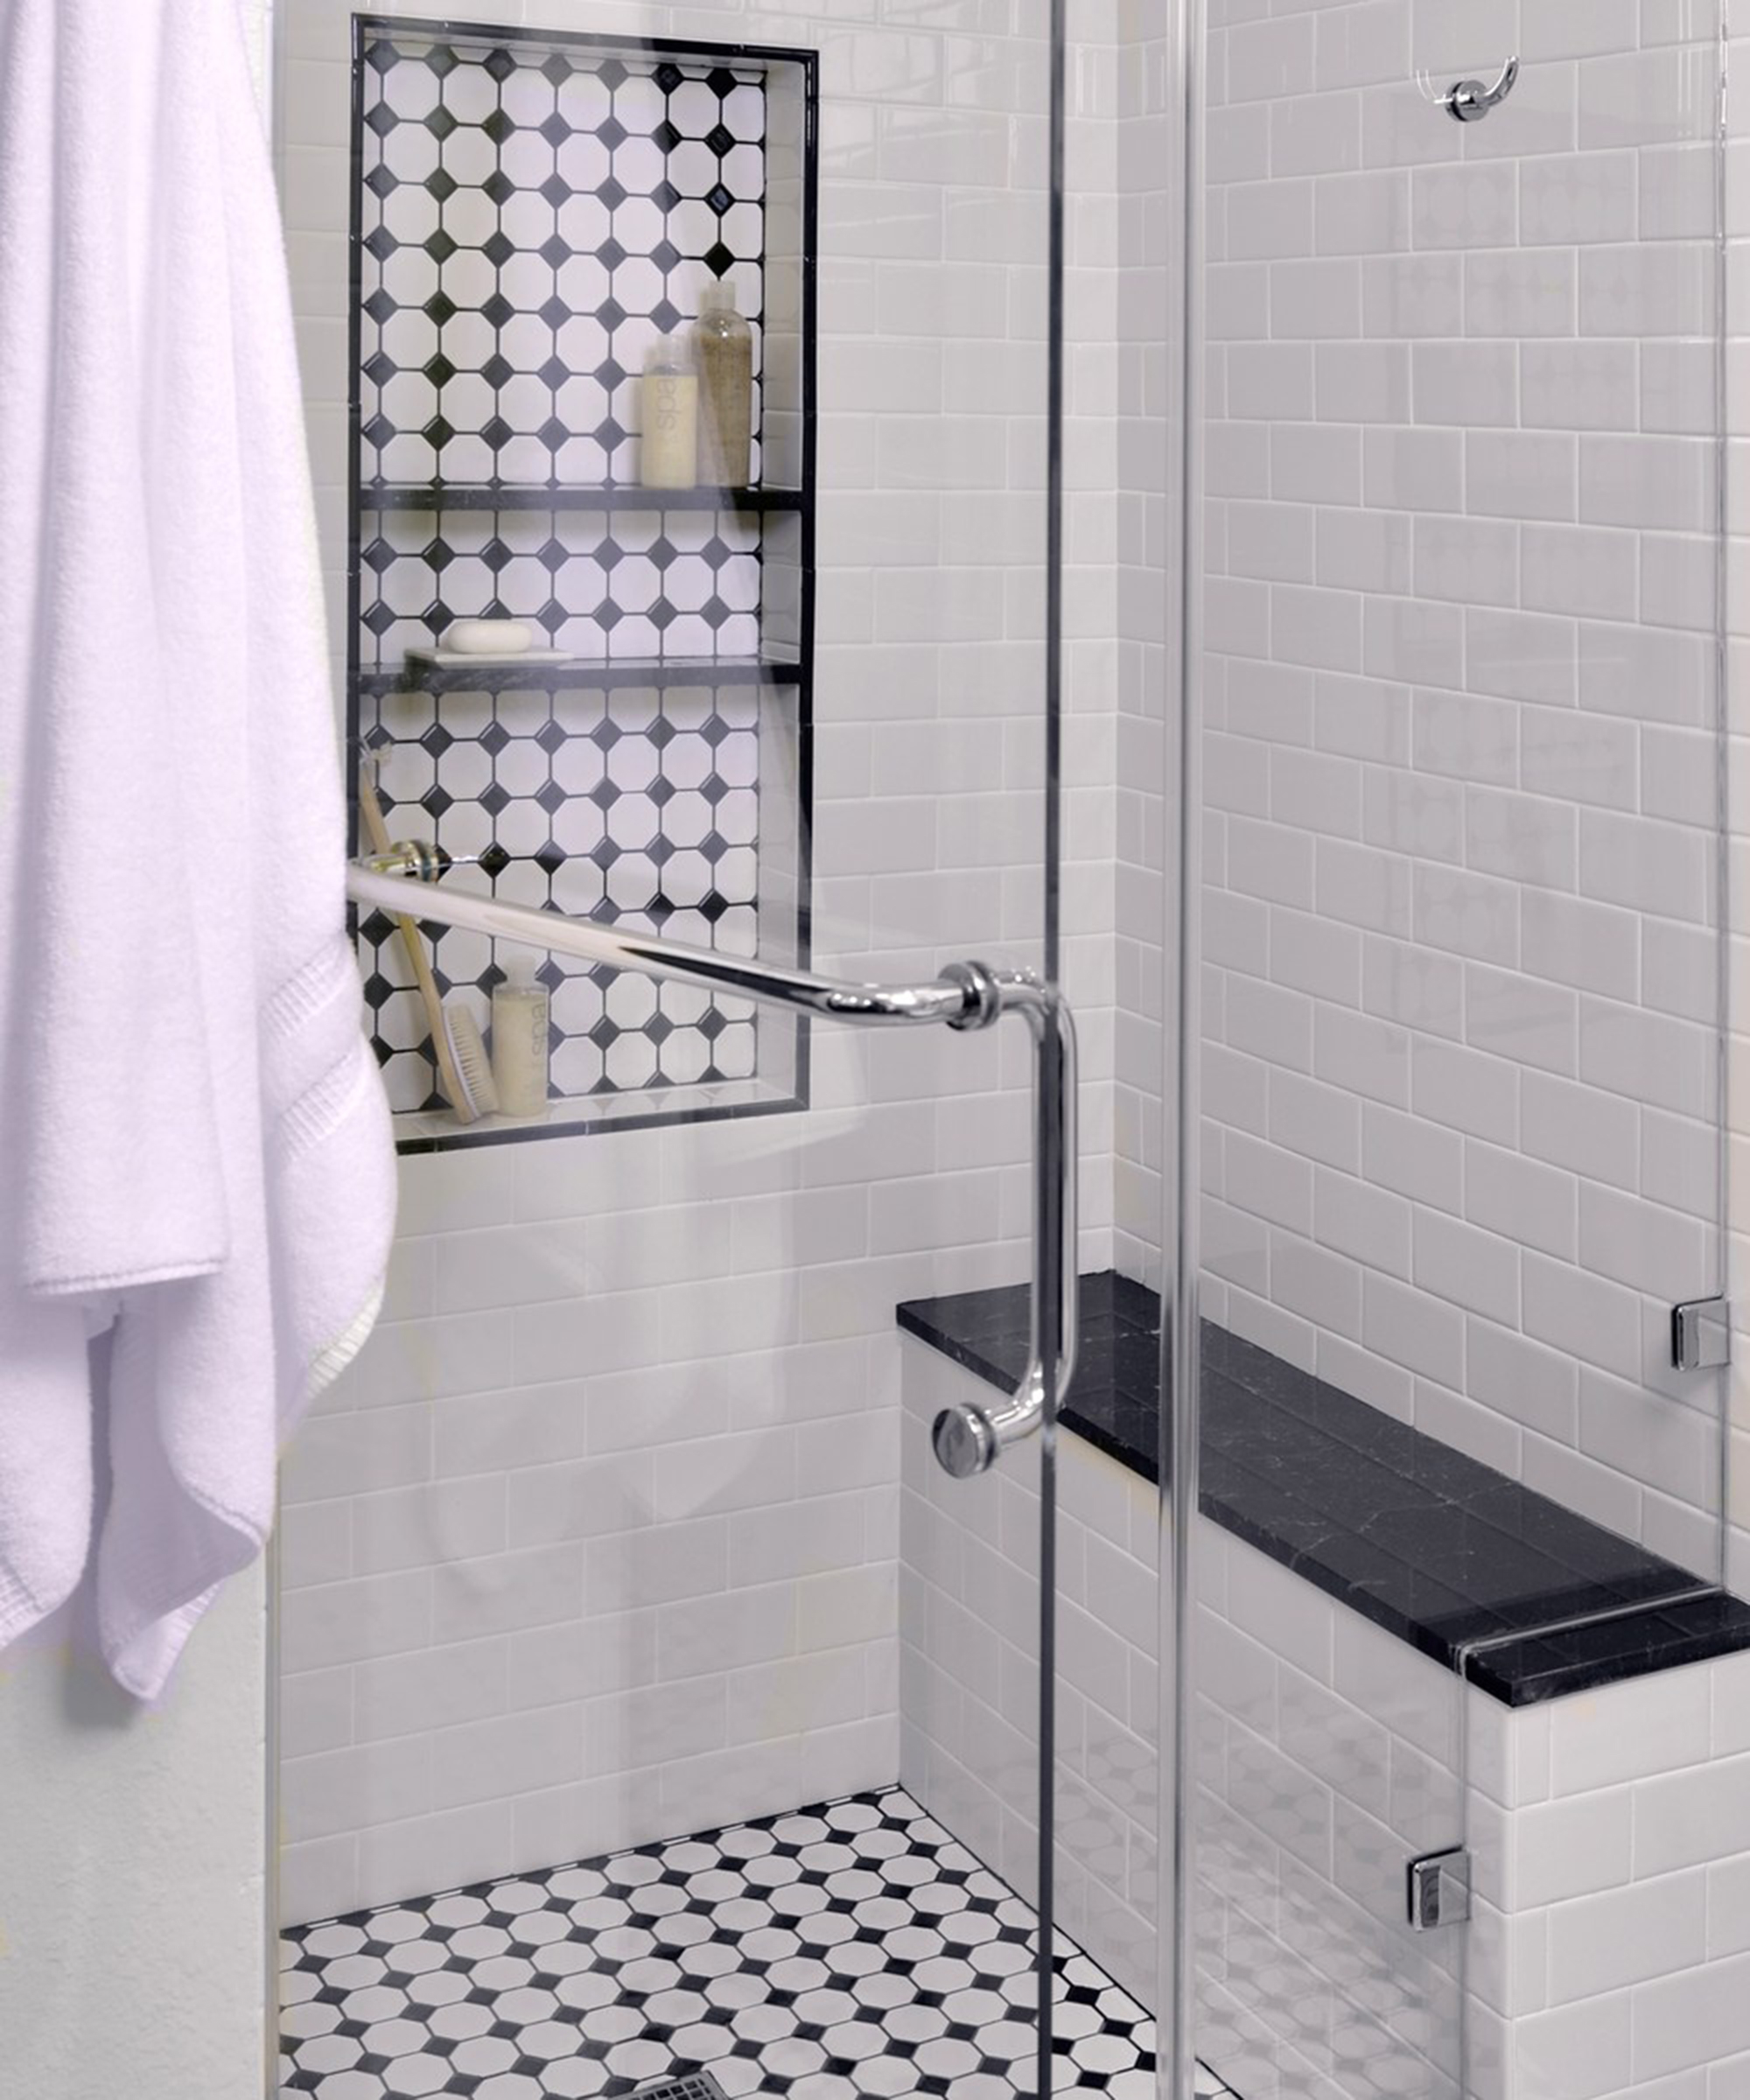
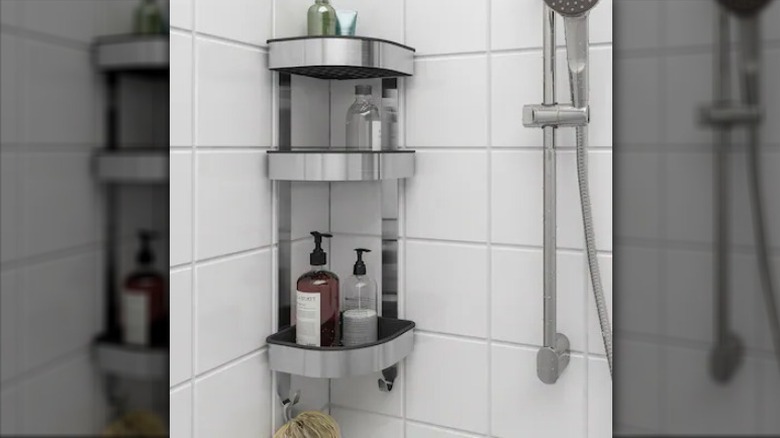
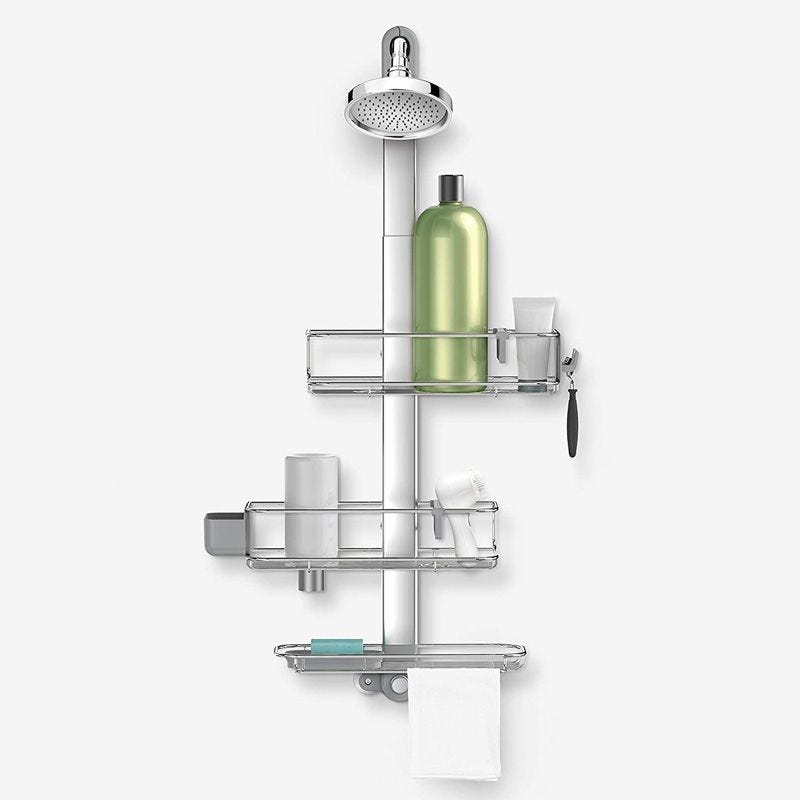
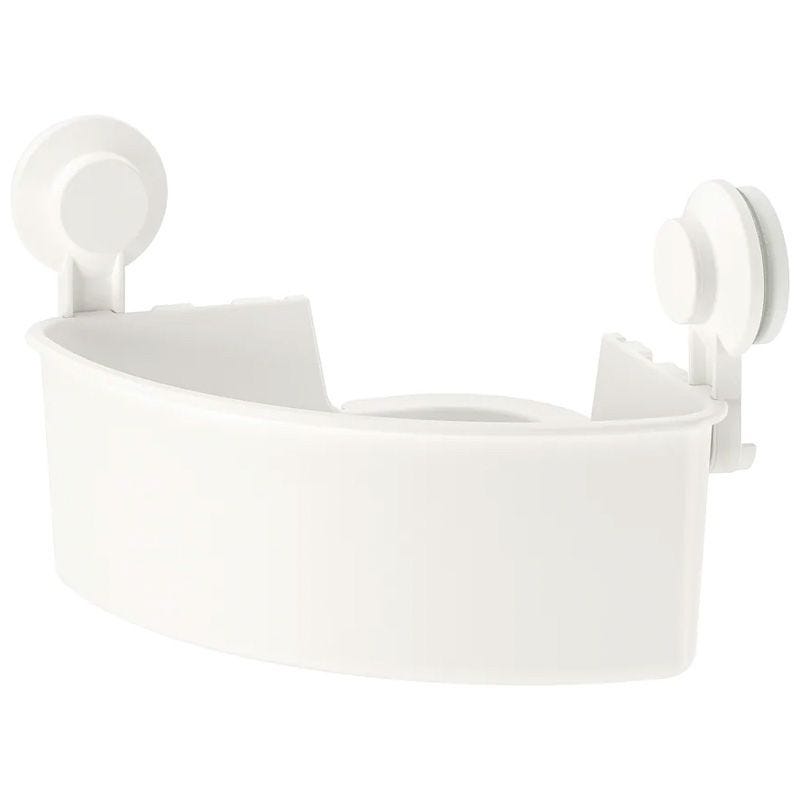
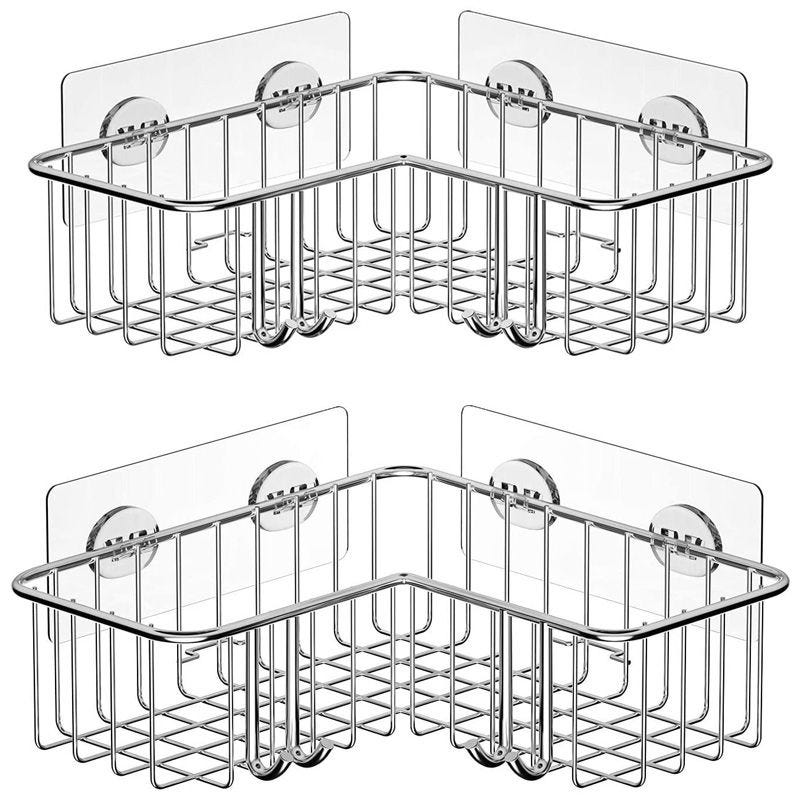
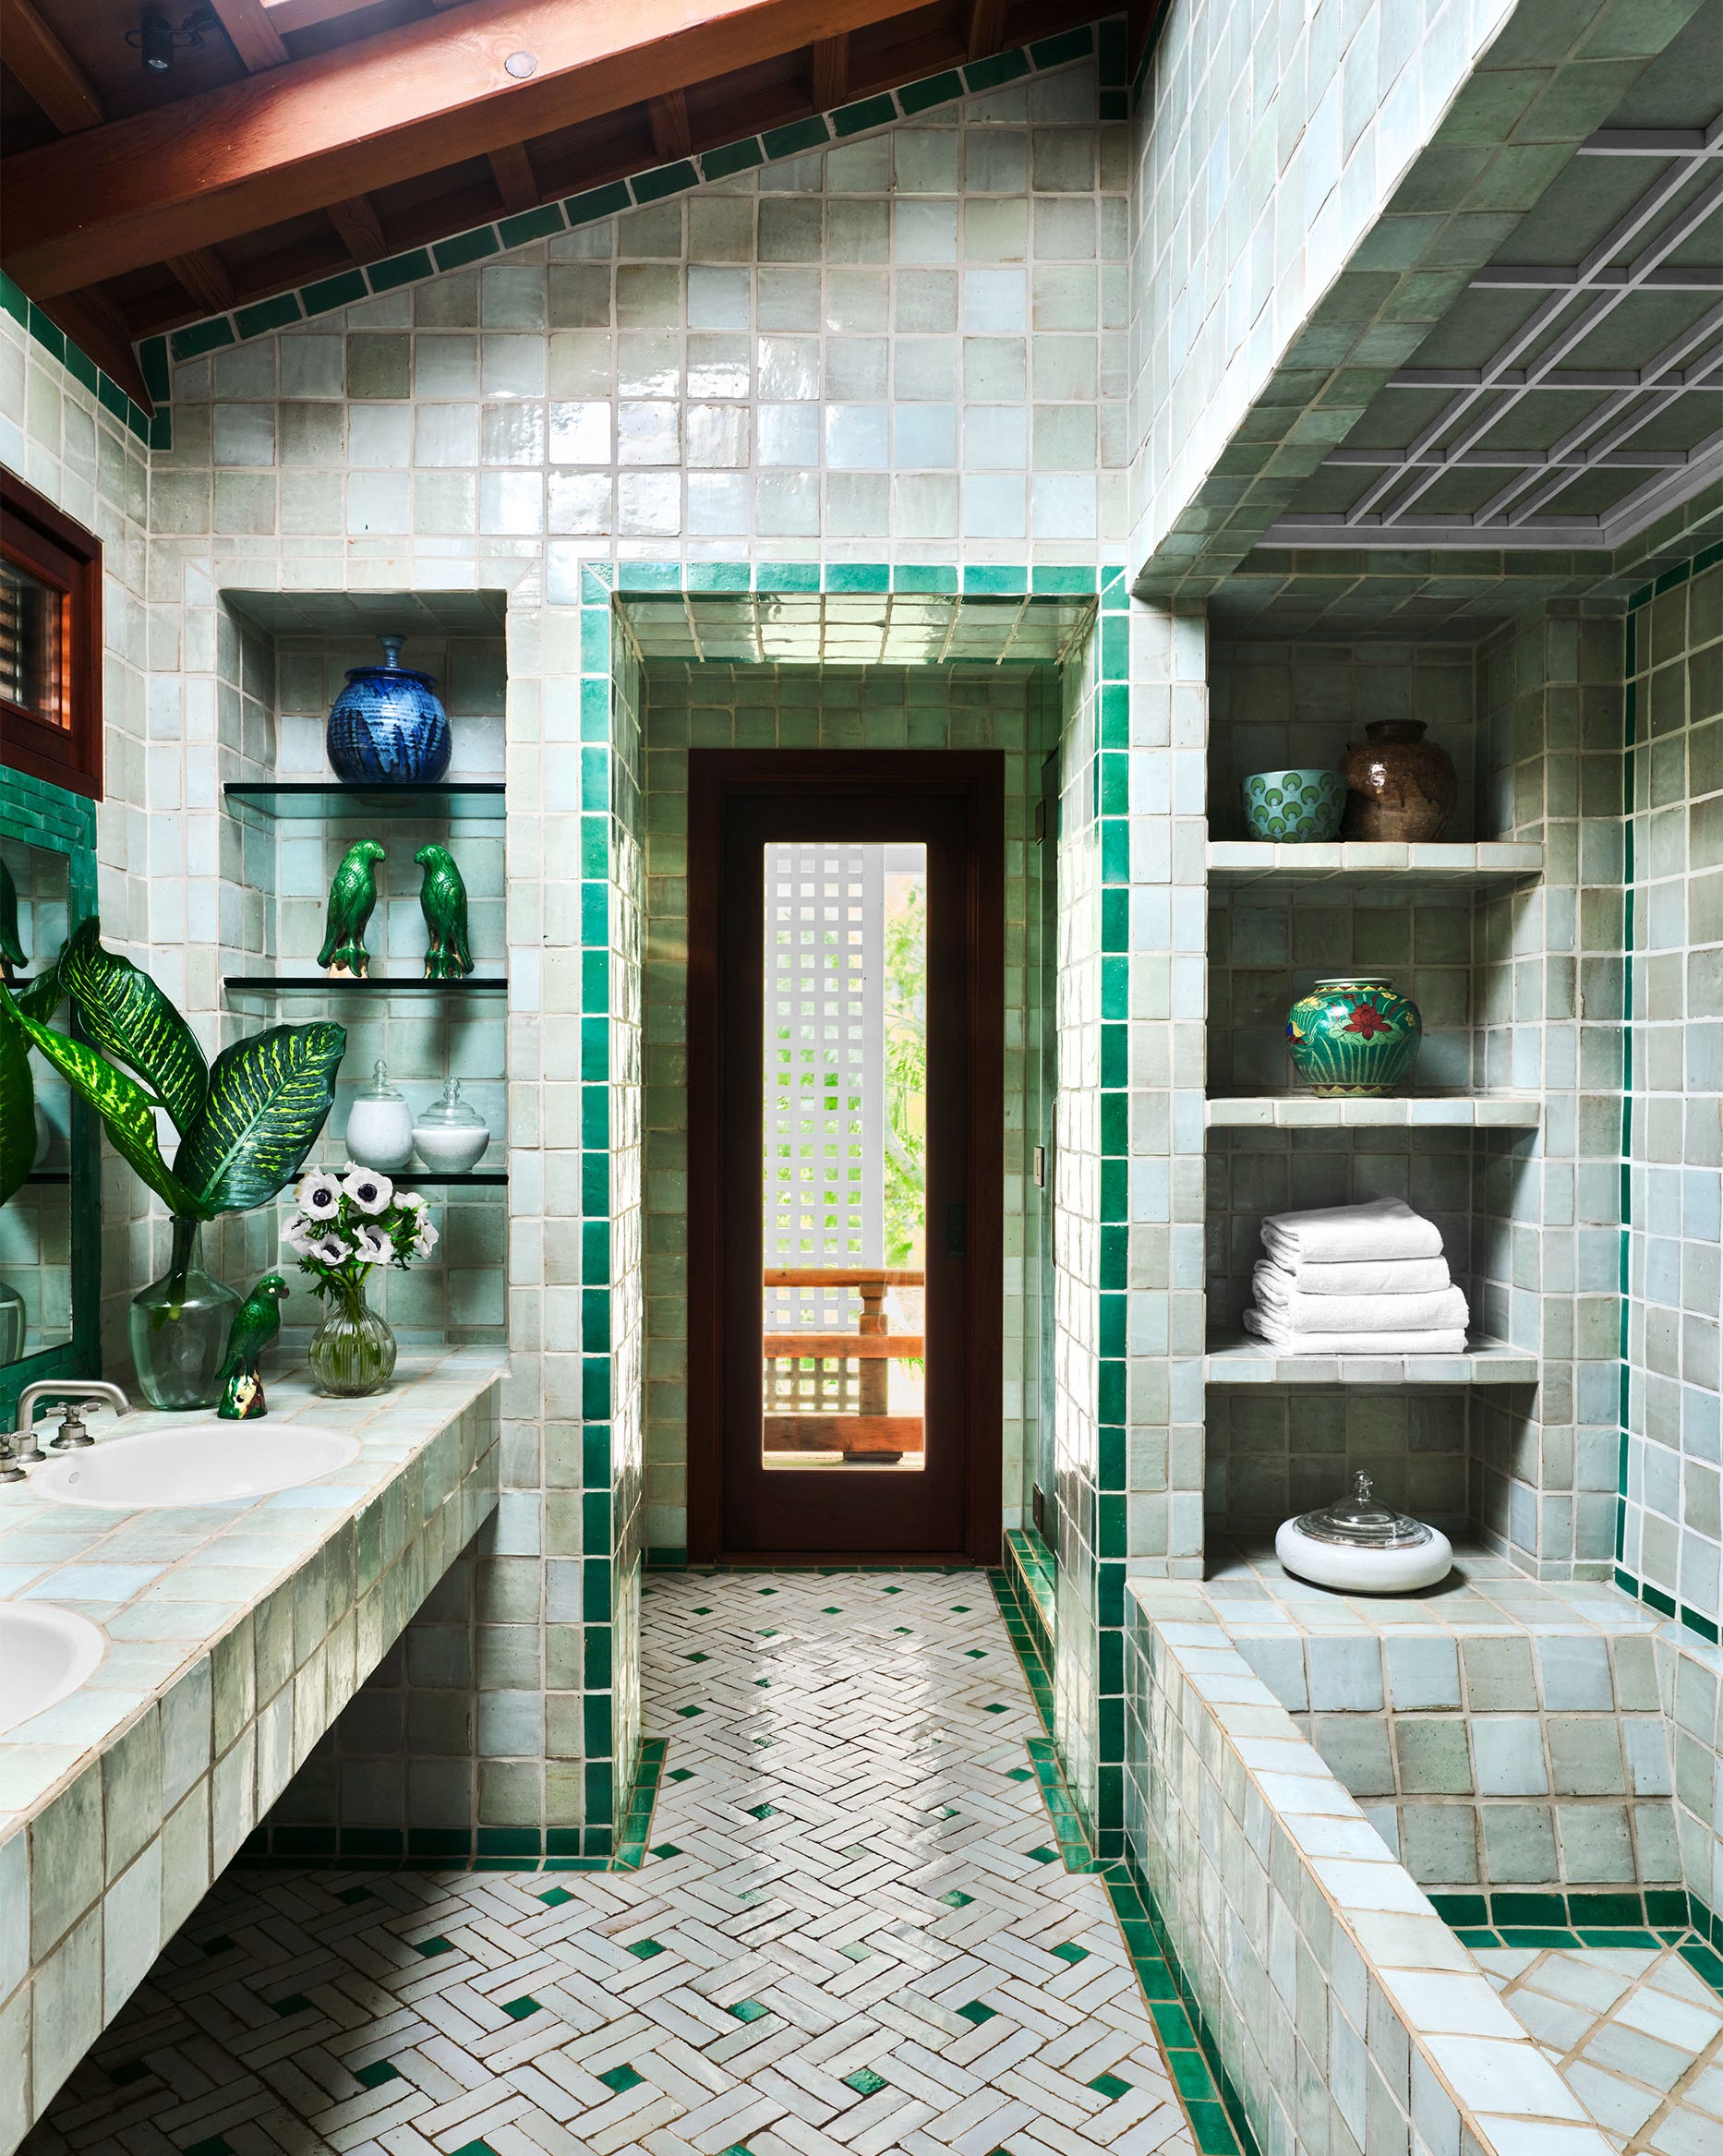
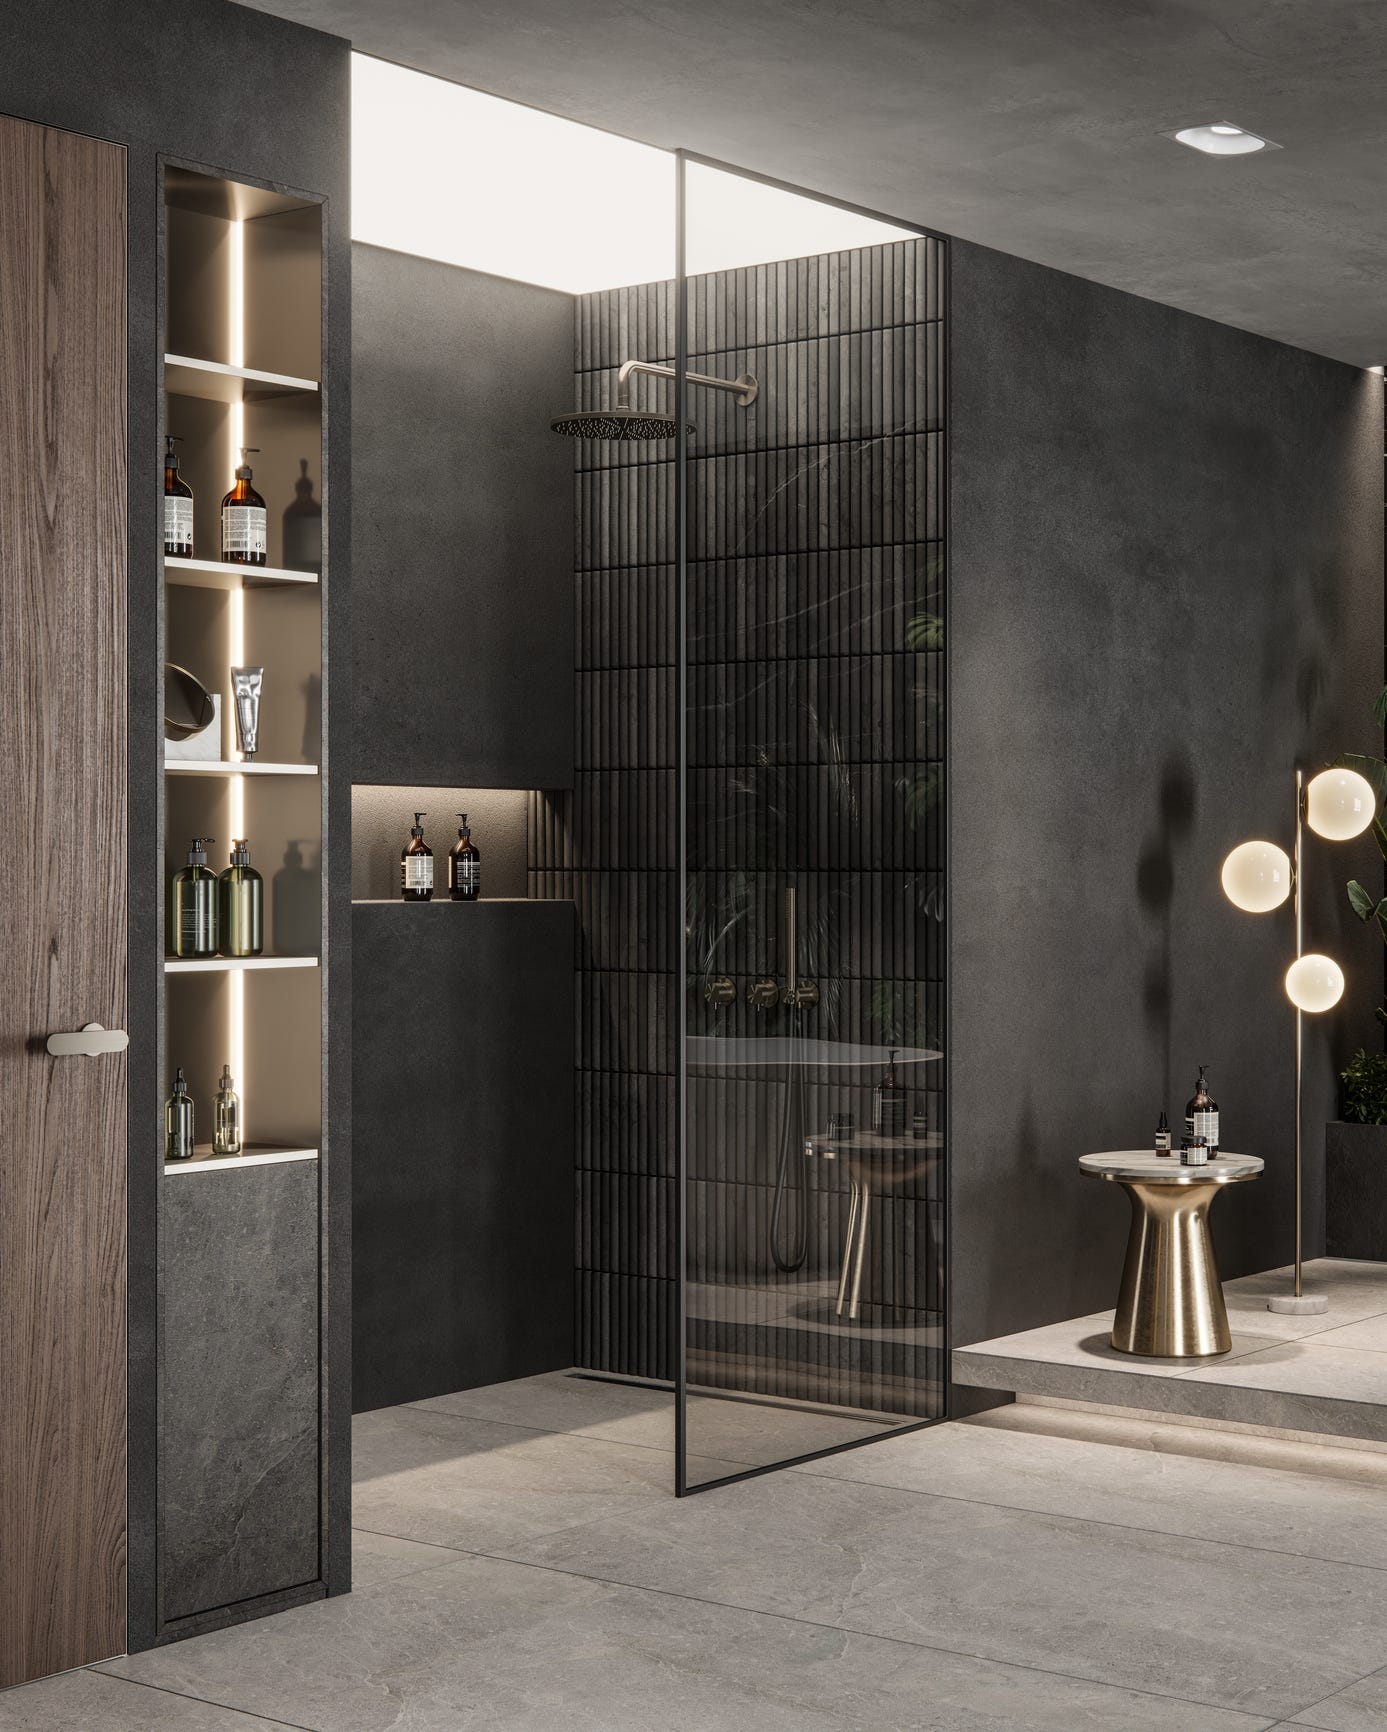
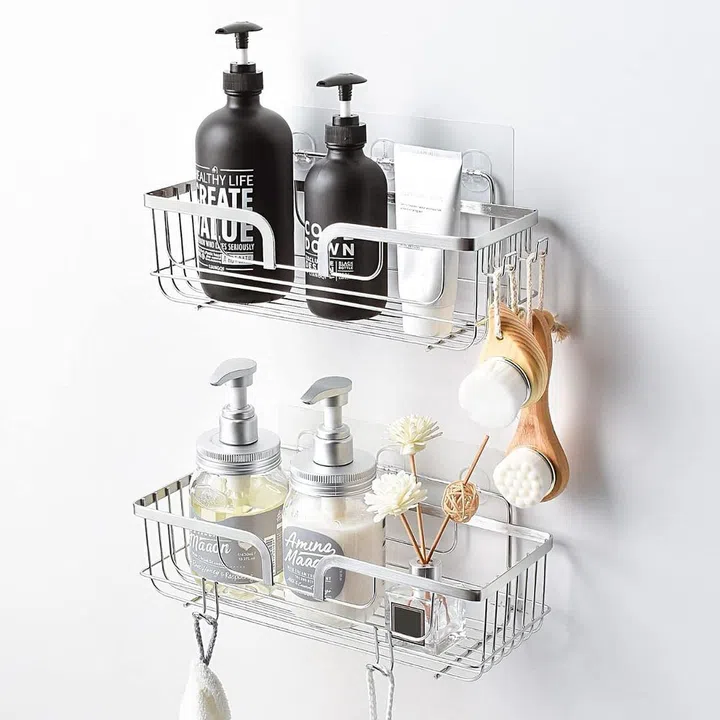
Many homeowners encounter a common issue in their bathrooms: insufficient storage space in the shower. This problem often arises either from a renovation that overlooked adequate shower storage or from an existing shower with a single, small niche incapable of holding all necessary toiletries. Rather than resorting to cumbersome metal caddies, the solution lies in adding more shelving. This article outlines two straightforward methods for installing a corner shelf in an existing shower, requiring minimal expertise and effort.
The first method involves utilizing the Schluter SHELF-E system. Schluter is a well-known company in bathroom renovations, recognized for its waterproofing systems and accessories. While some of their shelves are designed for installation during the renovation process with hidden supports, their SHELF-E series of corner shelves is specifically engineered for retrofitting into existing showers. These shelves feature tabs that are inserted directly into the grout lines. The necessary tools for this project include the shelves themselves, which are available in various styles and shapes, a grout saw (either manual or a multitool blade), 100% silicone caulk (clear or tinted to match the shower’s design), and a caulk gun. The installation process is simple: mark the grout lines where the shelf tabs will sit, use the grout saw to remove the grout in those areas, tape the tile, fill the created gaps with silicone caulk, and then fit the shelf into place, allowing the tabs to secure it. Finally, fill any remaining gaps with caulk, smooth it, remove the tape, and if needed, add temporary support until the caulk sets.
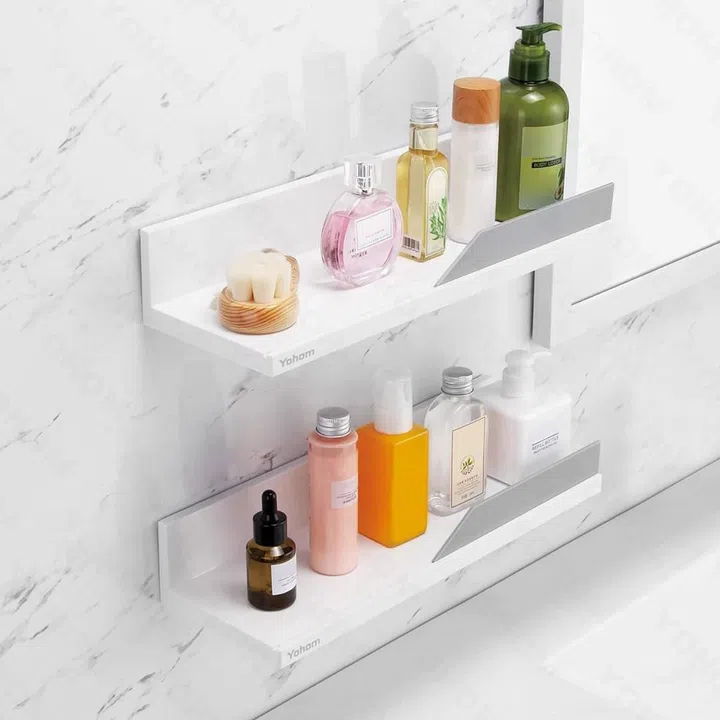
The second method, known as the “glue job,” is suitable for those less comfortable with cutting grout lines. This approach involves gluing a corner shower shelf into position, a process that takes approximately 30 minutes and does not compromise the integrity of the grout or tile. It is crucial to avoid “self-adhesive” shelves, as they often prove to be a temporary and unreliable solution. For a more permanent installation, one will need a “flat back” ceramic corner shelf, chosen for its appropriate style and color, double-sided water-resistant mounting tape, soap scum remover, 100% silicone caulk, and a caulk gun. The installation begins by thoroughly cleaning the wall area where the shelf will be placed using soap scum remover to ensure optimal bonding. Next, apply a strip of mounting tape to both sides of the shelf’s back, leaving the exterior backing in place. A test fit of the shelf is recommended to ensure it sits flush against the wall, shimming with additional tape if necessary, and marking the precise location. Finally, apply thick lines of caulk to the shelf’s edges, remove the tape backing, and press the shelf onto the wall using the marked guides. The tape will provide immediate grip, while excess caulk will push out. Support the shelf if required until the caulk sets, then clean and smooth the caulk. Once the caulk has cured, the shelf will be securely installed.
#ShowerRenovation #CornerShelfInstallation #BathroomStorage #DIYHomeImprovement #SchluterSHELF-E #SiliconeCaulk #GroutSaw #HomeMaintenance #ShowerOrganization #ShowerRenovation #CornerShelfInstallation #BathroomStorage #DIYHomeImprovement #SchluterSHELF-E #SiliconeCaulk #GroutSaw #HomeMaintenance #ShowerOrganization
0 comment in total
 No comments yet
You may also like
Shower shelf ideas – 17 designs to inspire better bathroom organization

The Best Shower Caddy for Every Bathroom
This no-drill tiered shower caddy is ideal for small rental properties – it quickly quadruples your storage for less than $70

How To Plan For A Curbless Shower Installation
How to fit a shelf in a small bathroom — 5 expert-approved tips

Install Renter-Friendly Shelves Like a Pro—Here's What You Need

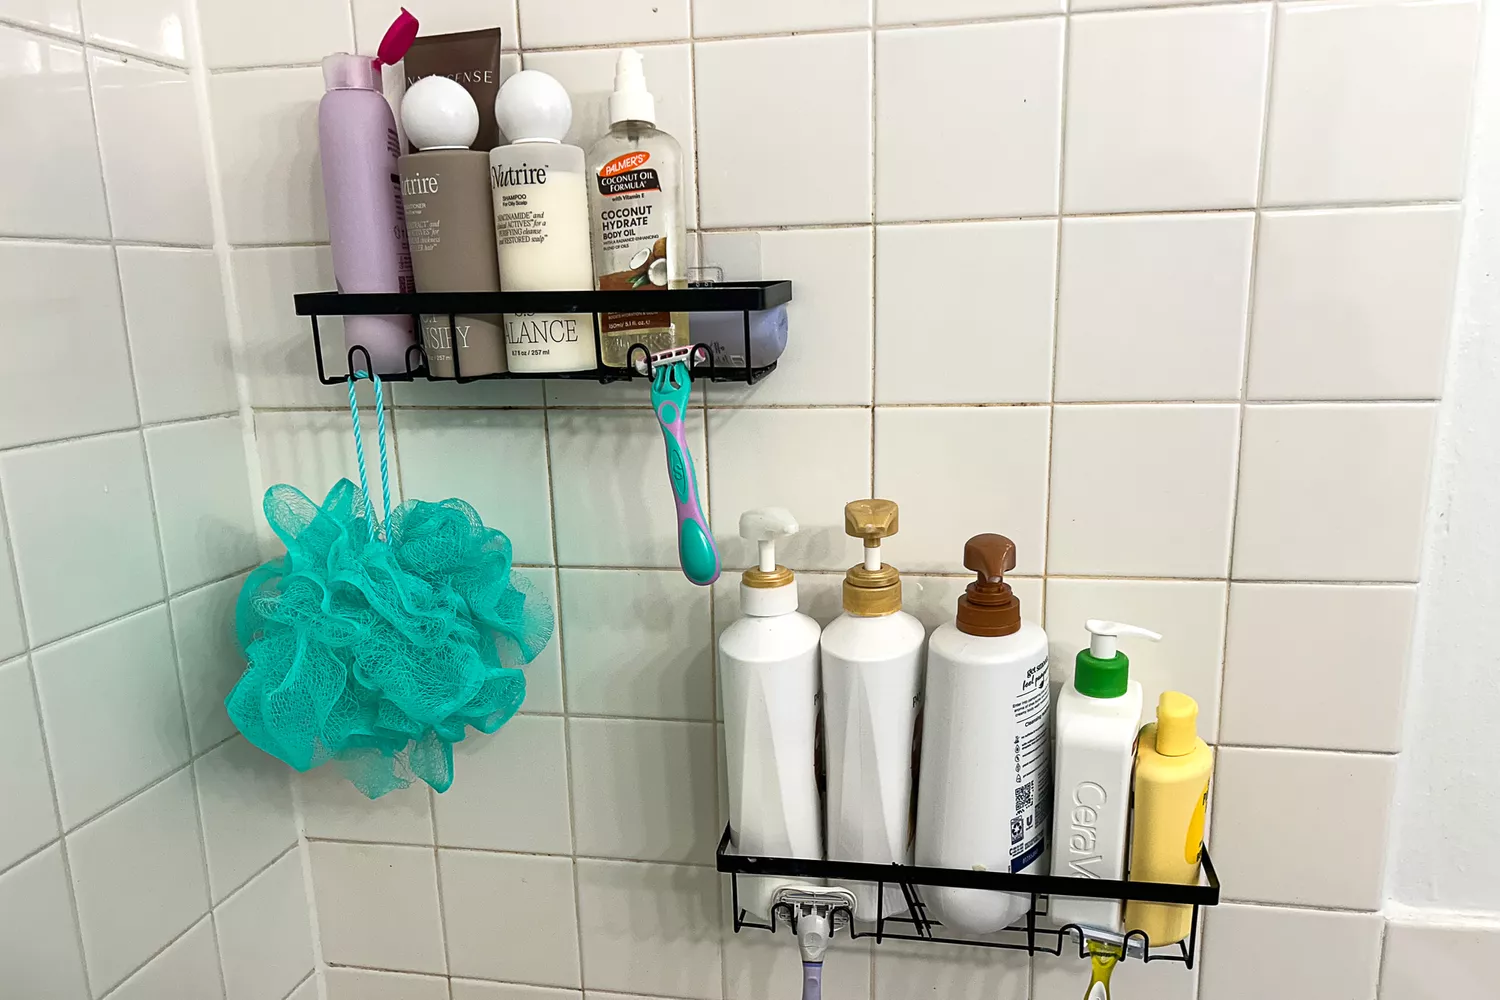
This Editor-Tested Shower Caddy Hasn’t Budged in 9 Months—and It’s Only $9

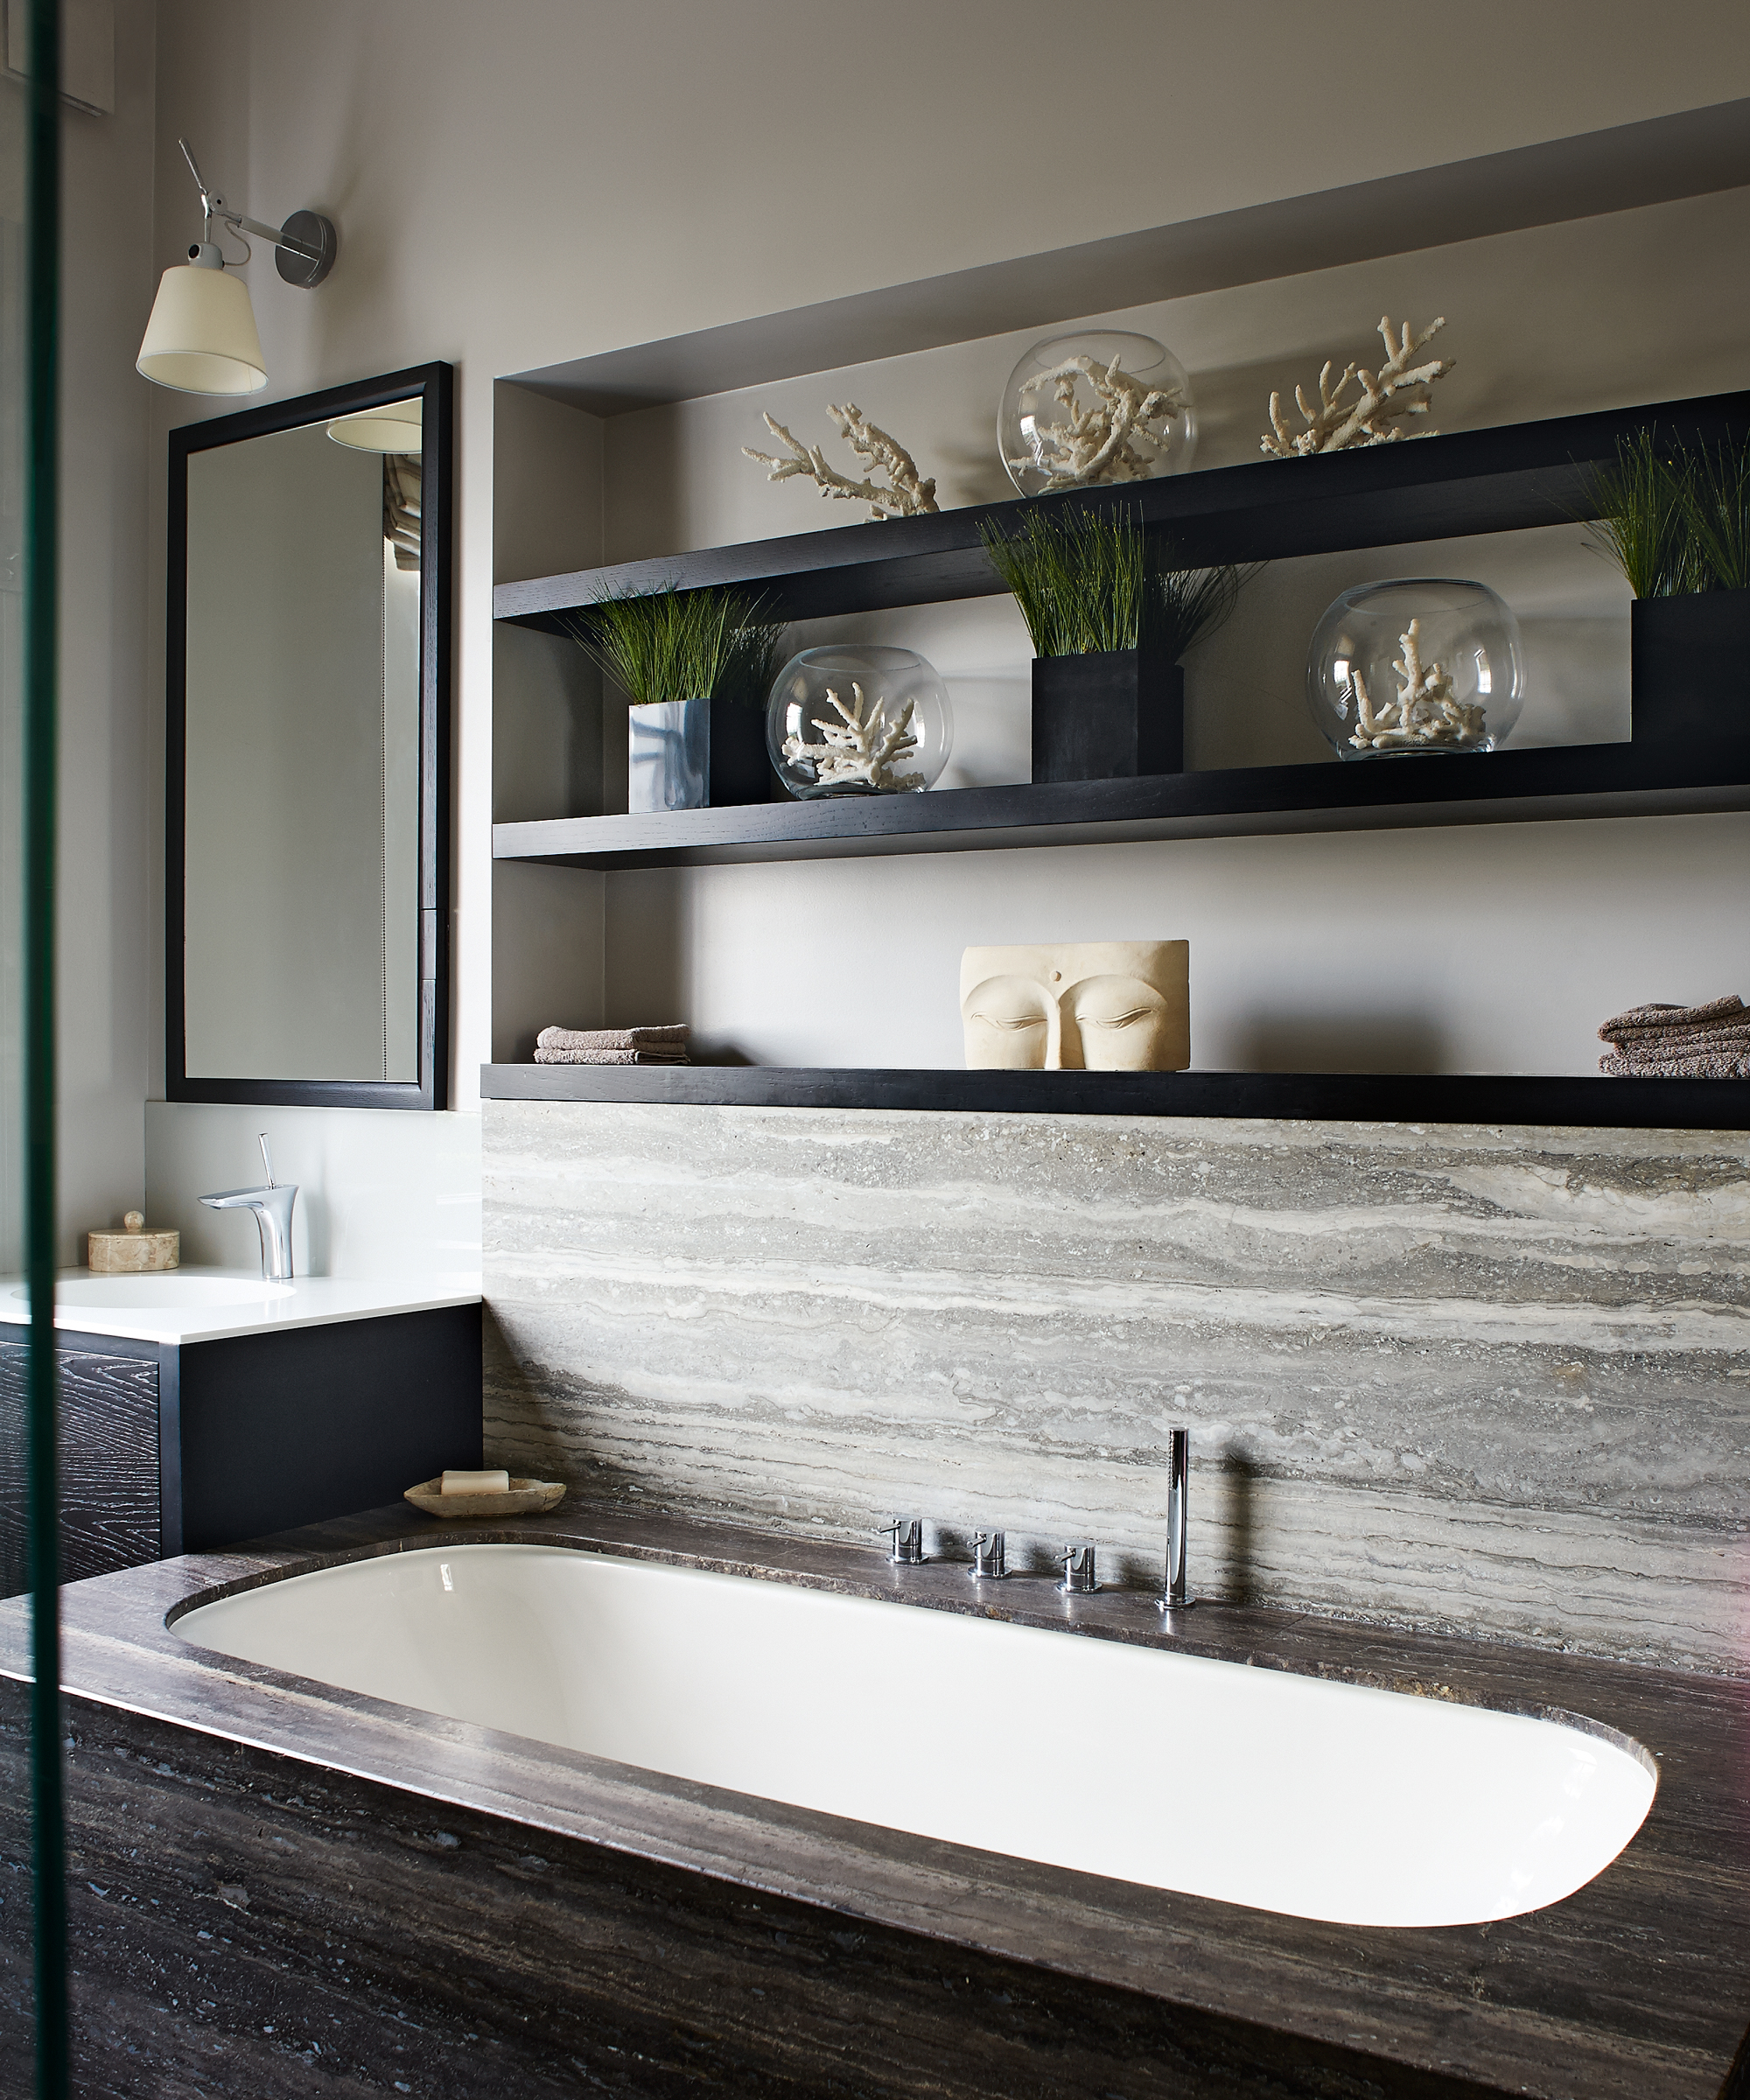
Organizing bathroom shelves – 10 clever editing and arranging strategies
4 successful, simple and impactful organizing tools our home editors love using in their bathrooms
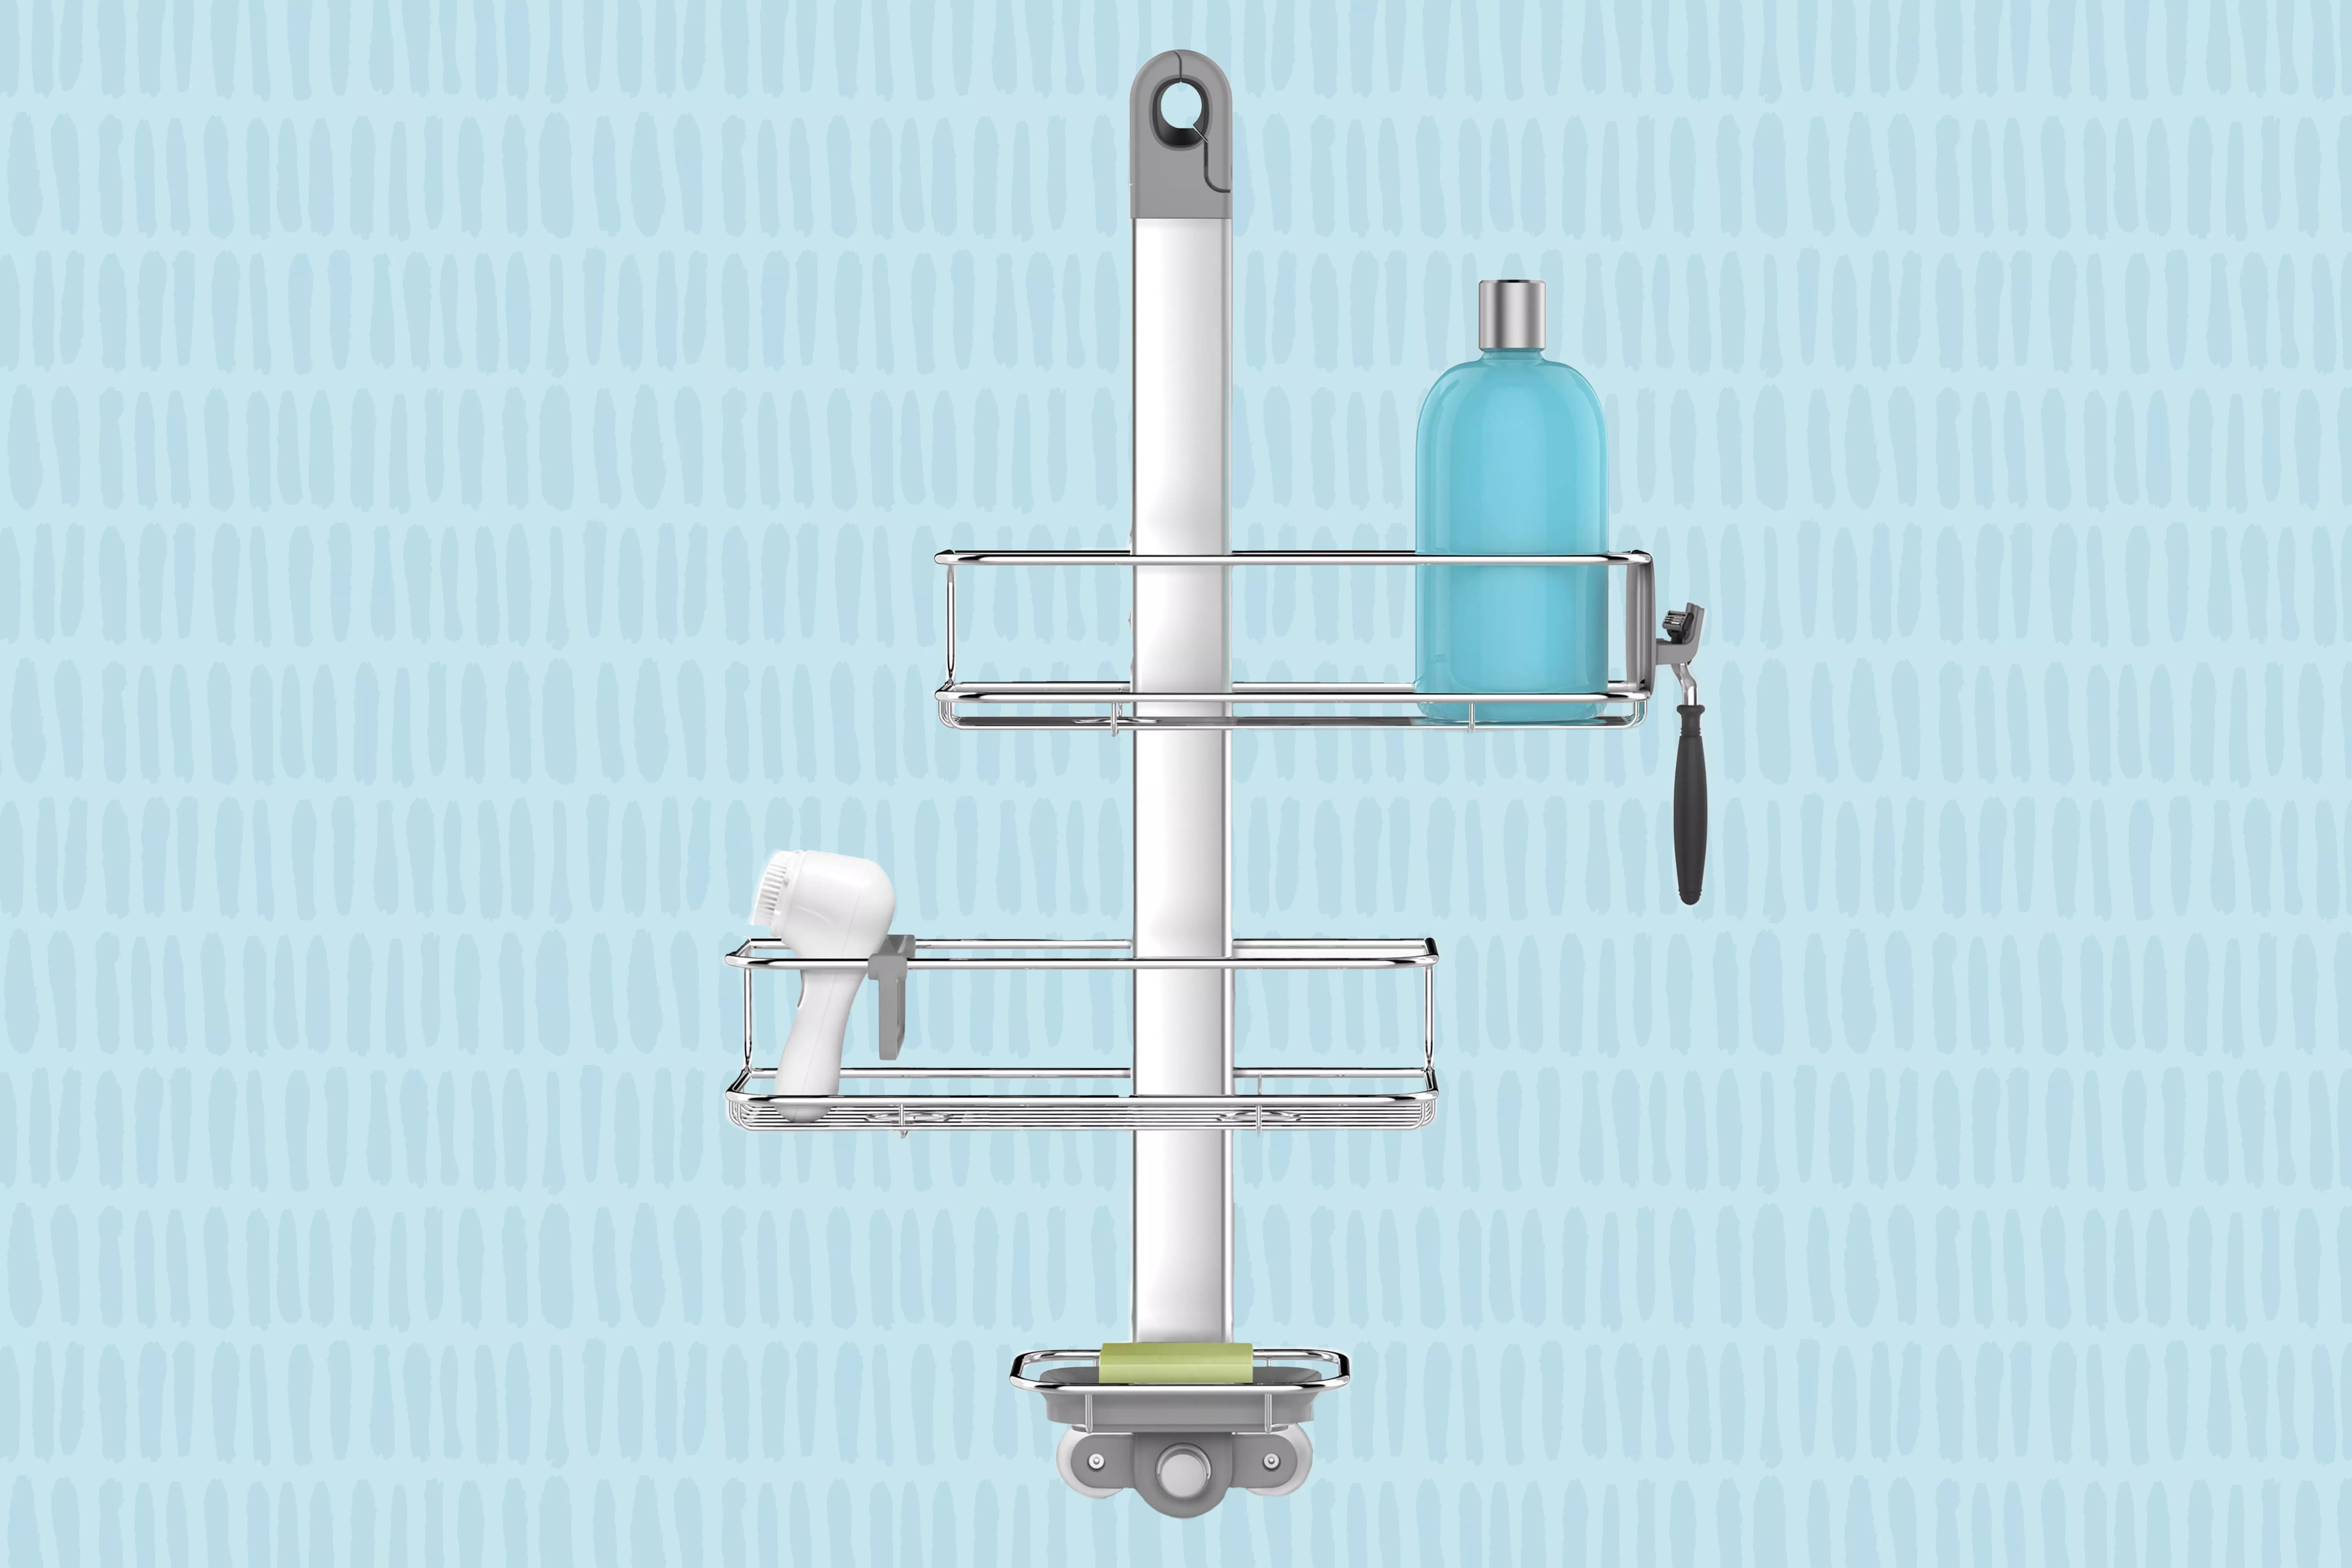
Organize Your Shower Must-Haves with Our Favorite Caddies

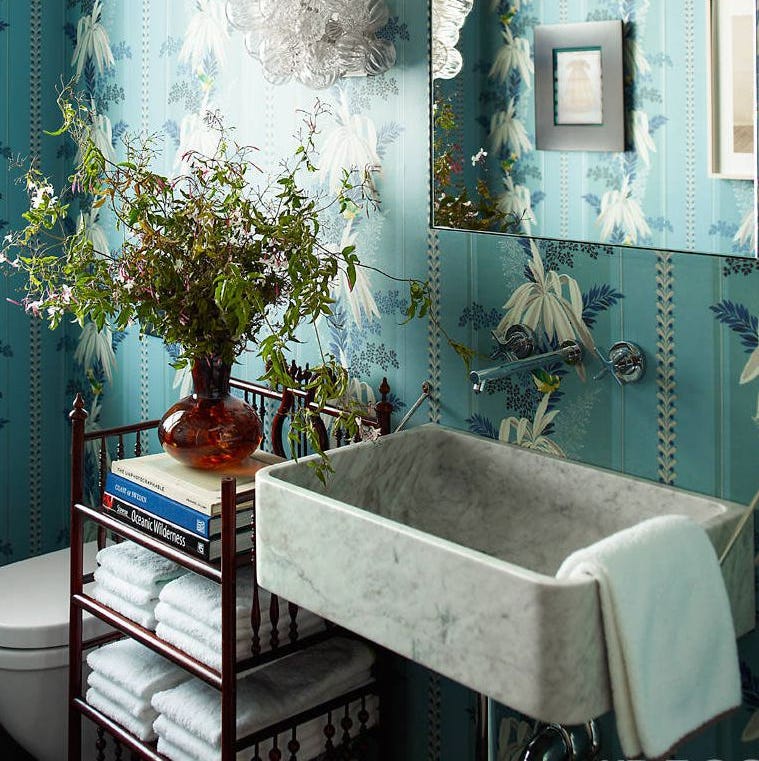
These 20 Bathroom Shelf Ideas Are the Epitome of the ‘Clean Girl Aesthetic'

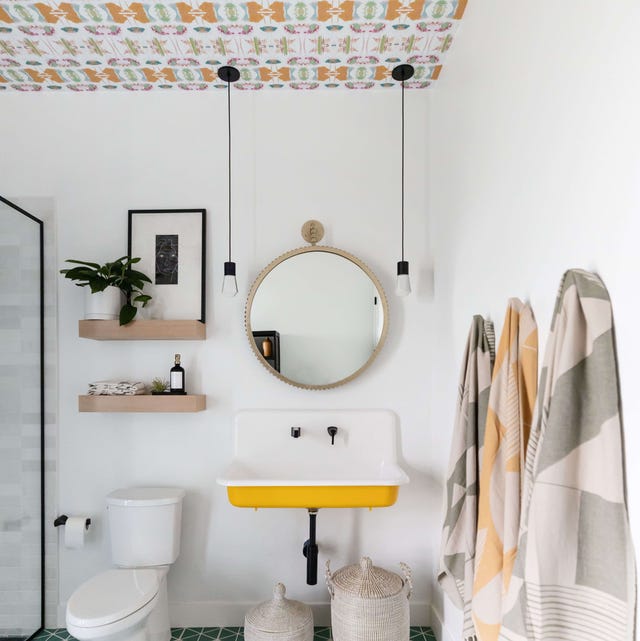
Chances Are Your Bathroom Could Benefit From Stylish Shelving

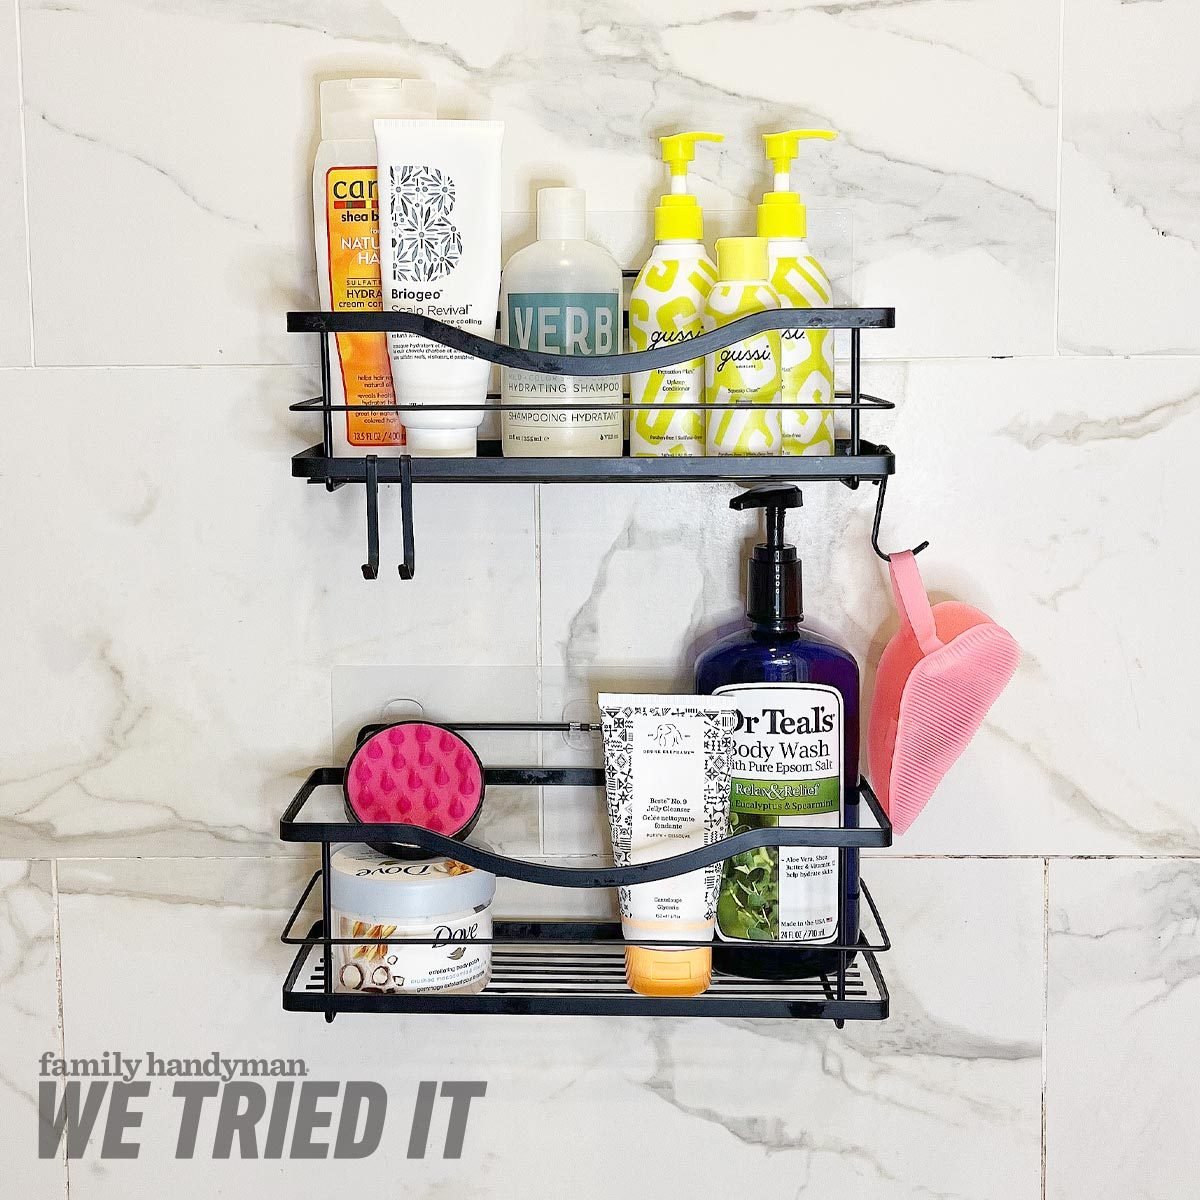
These Shower Shelves Are the TikTok Viral Bathroom Upgrade Everyone Needs


Putting up shelves? Here's what you need to know first
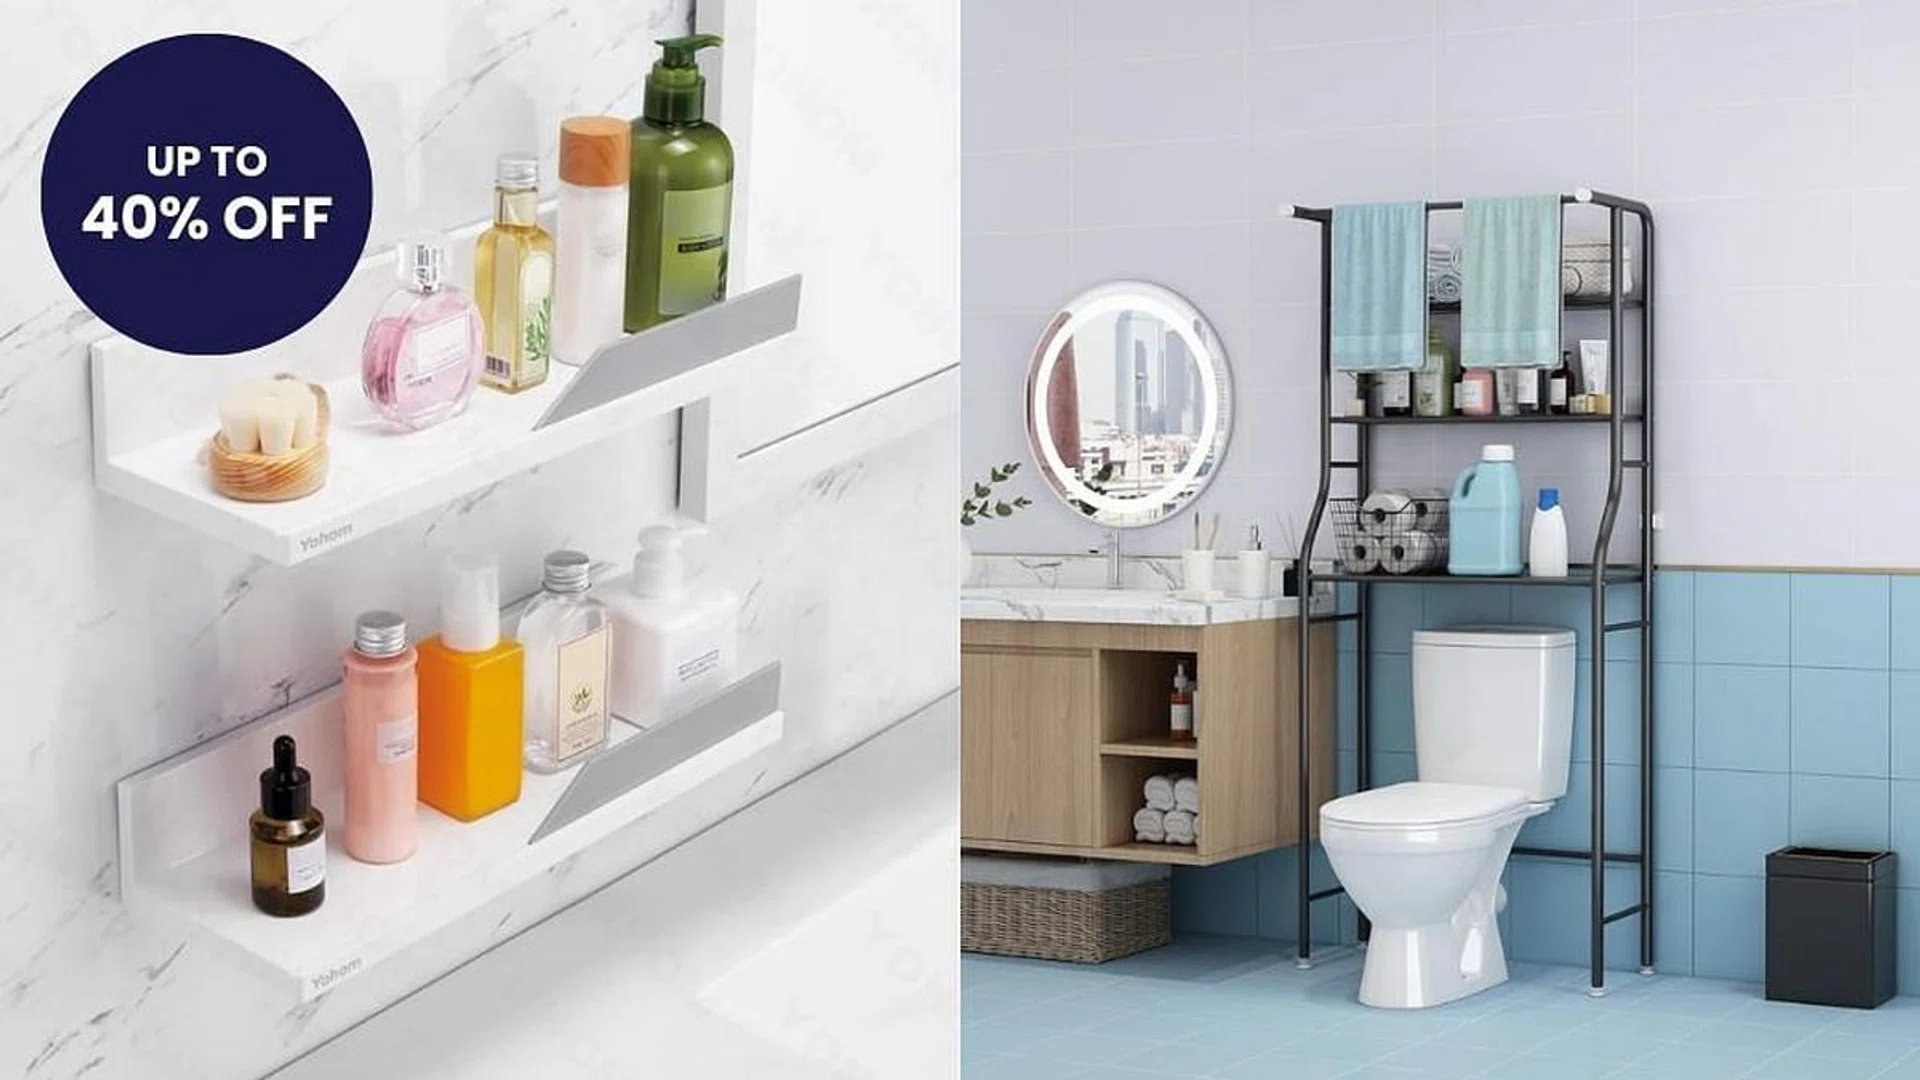
7 Bathroom Storage Deals To Organise A Small Toilet
14 Sleek shower storage ideas to keep your bathroom in tip top condition
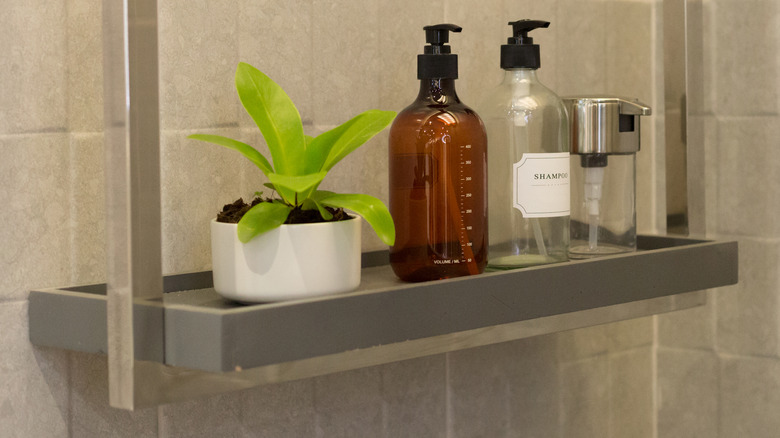
15 Stylish Shower Shelves That Add Storage To Your Bathroom (Without Looking Like A College Dorm)


The Best Shower Caddy | Reviews by Wirecutter
I Just Discovered the Smartest Trick for Organizing a Corner Cabinet in My Kitchen
How to Organize a Corner Cabinet for Maximum Storage