1/5
Stylish DIY Outdoor Shower
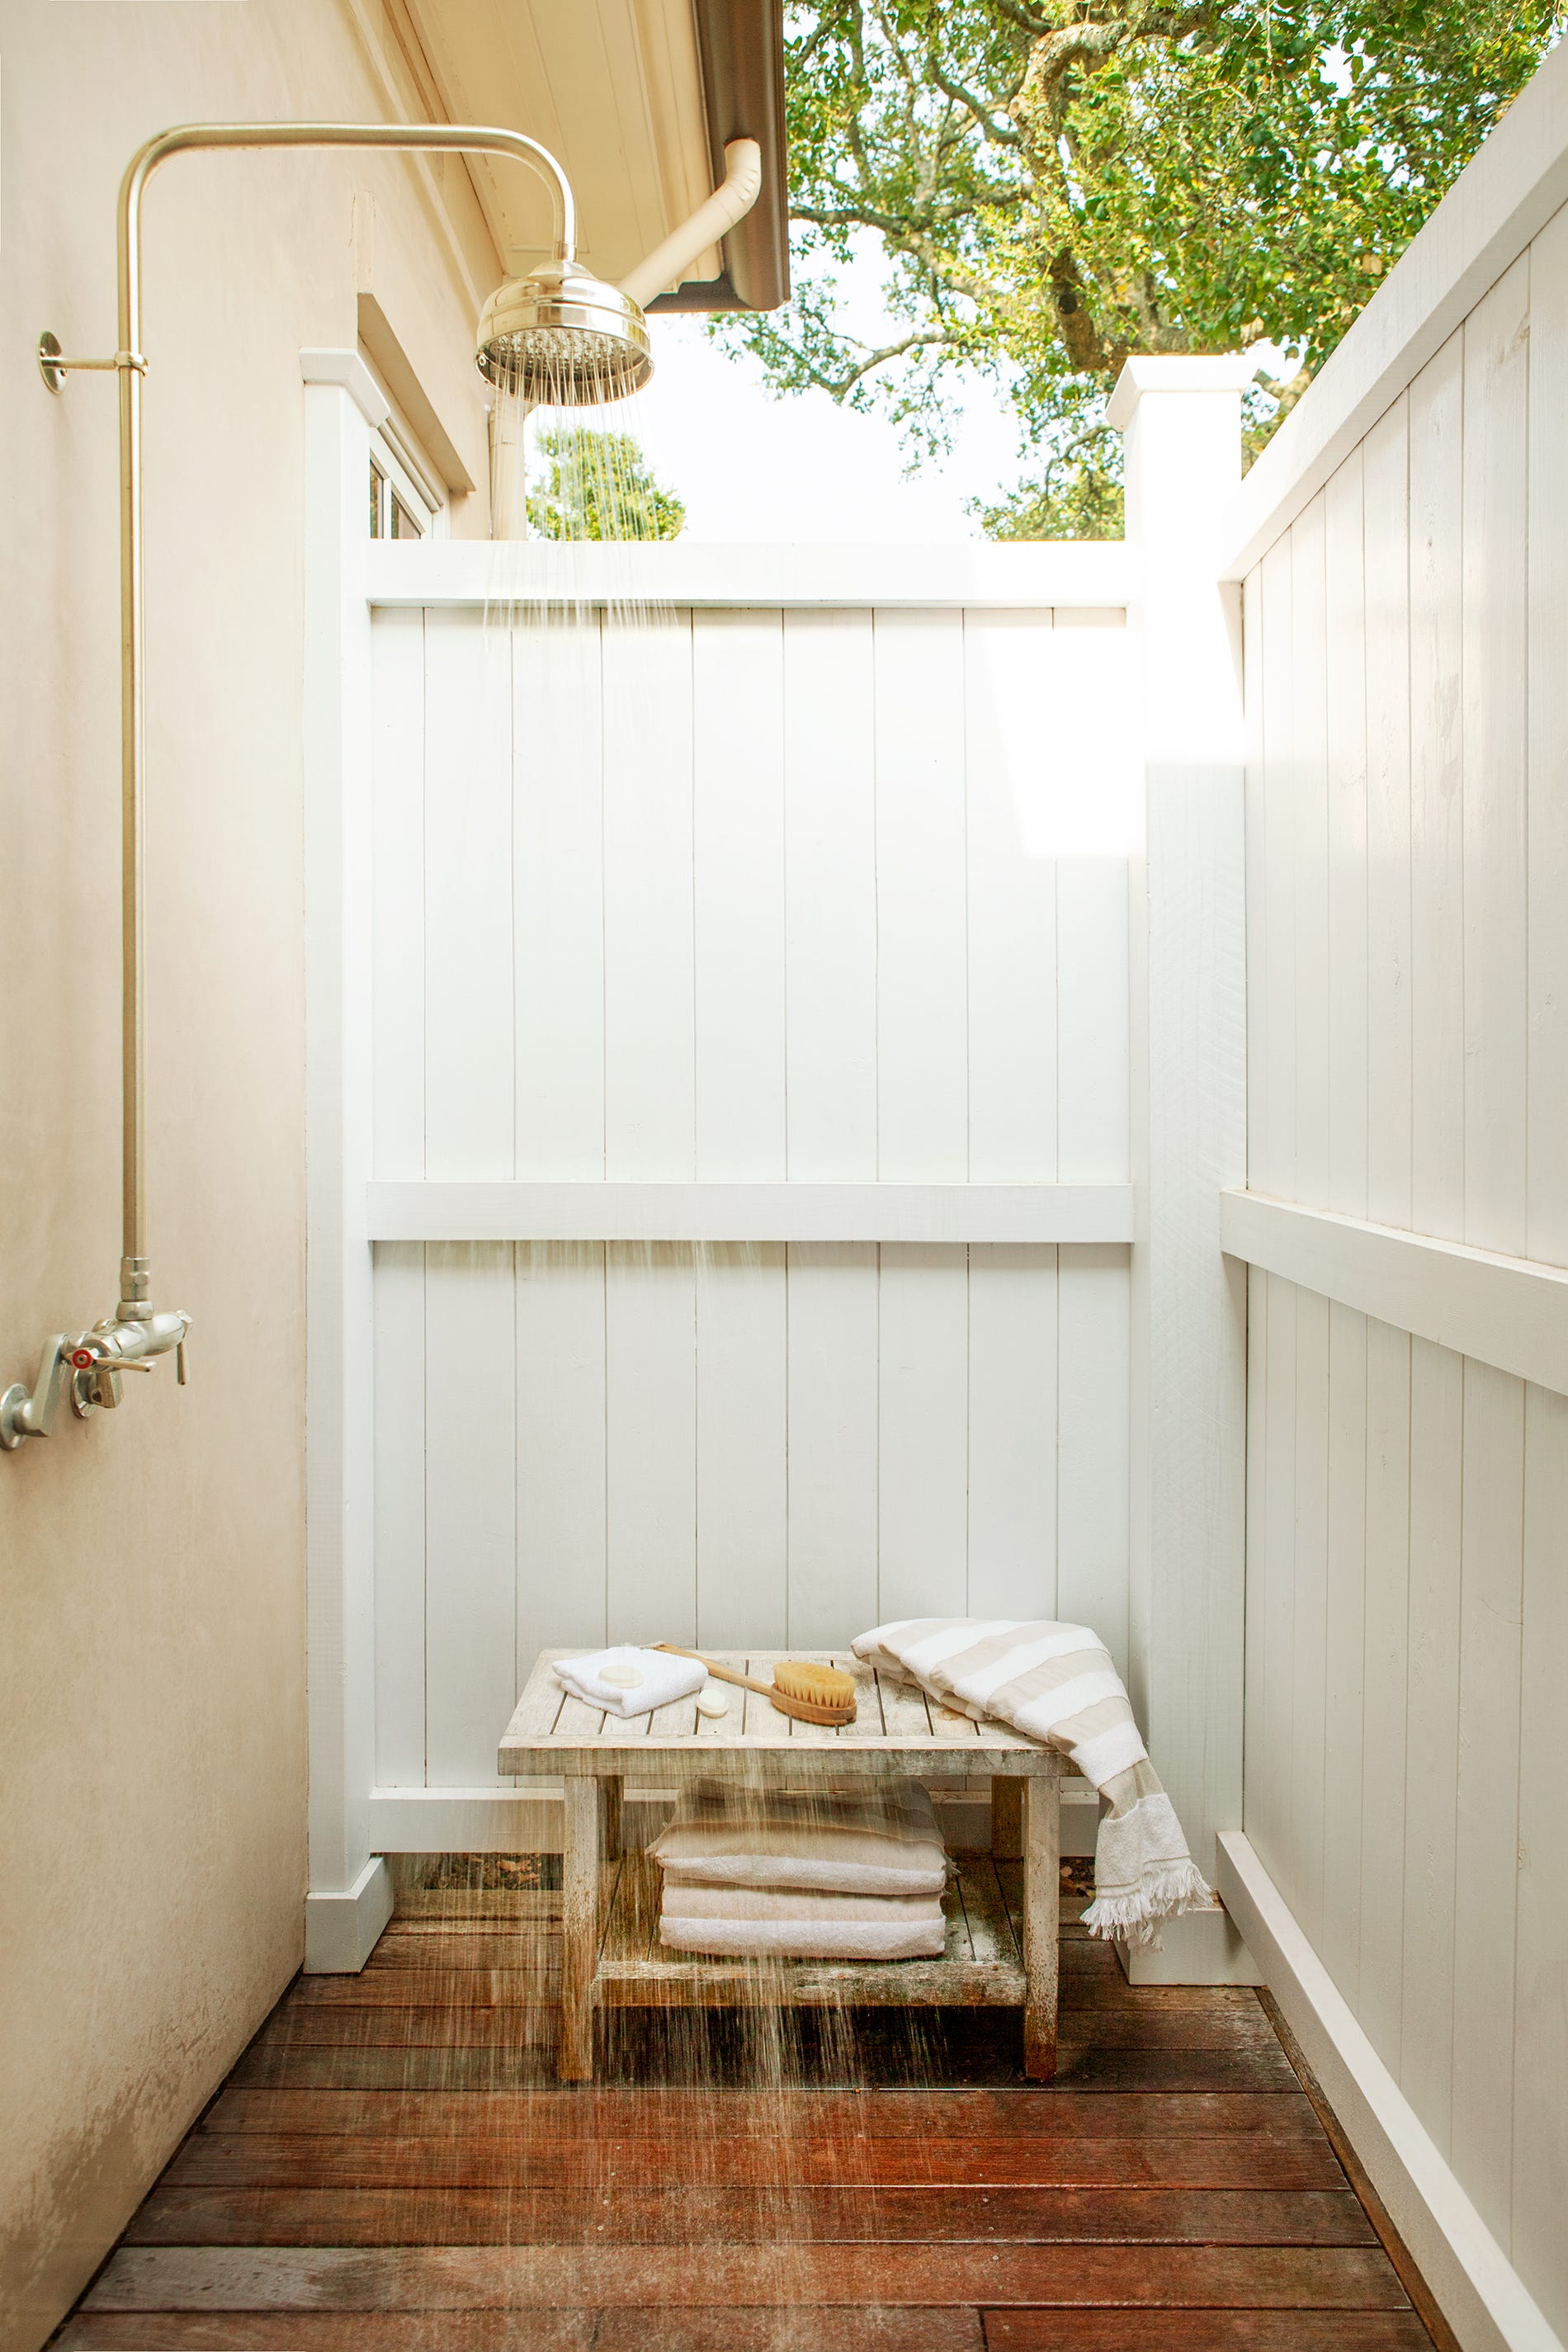
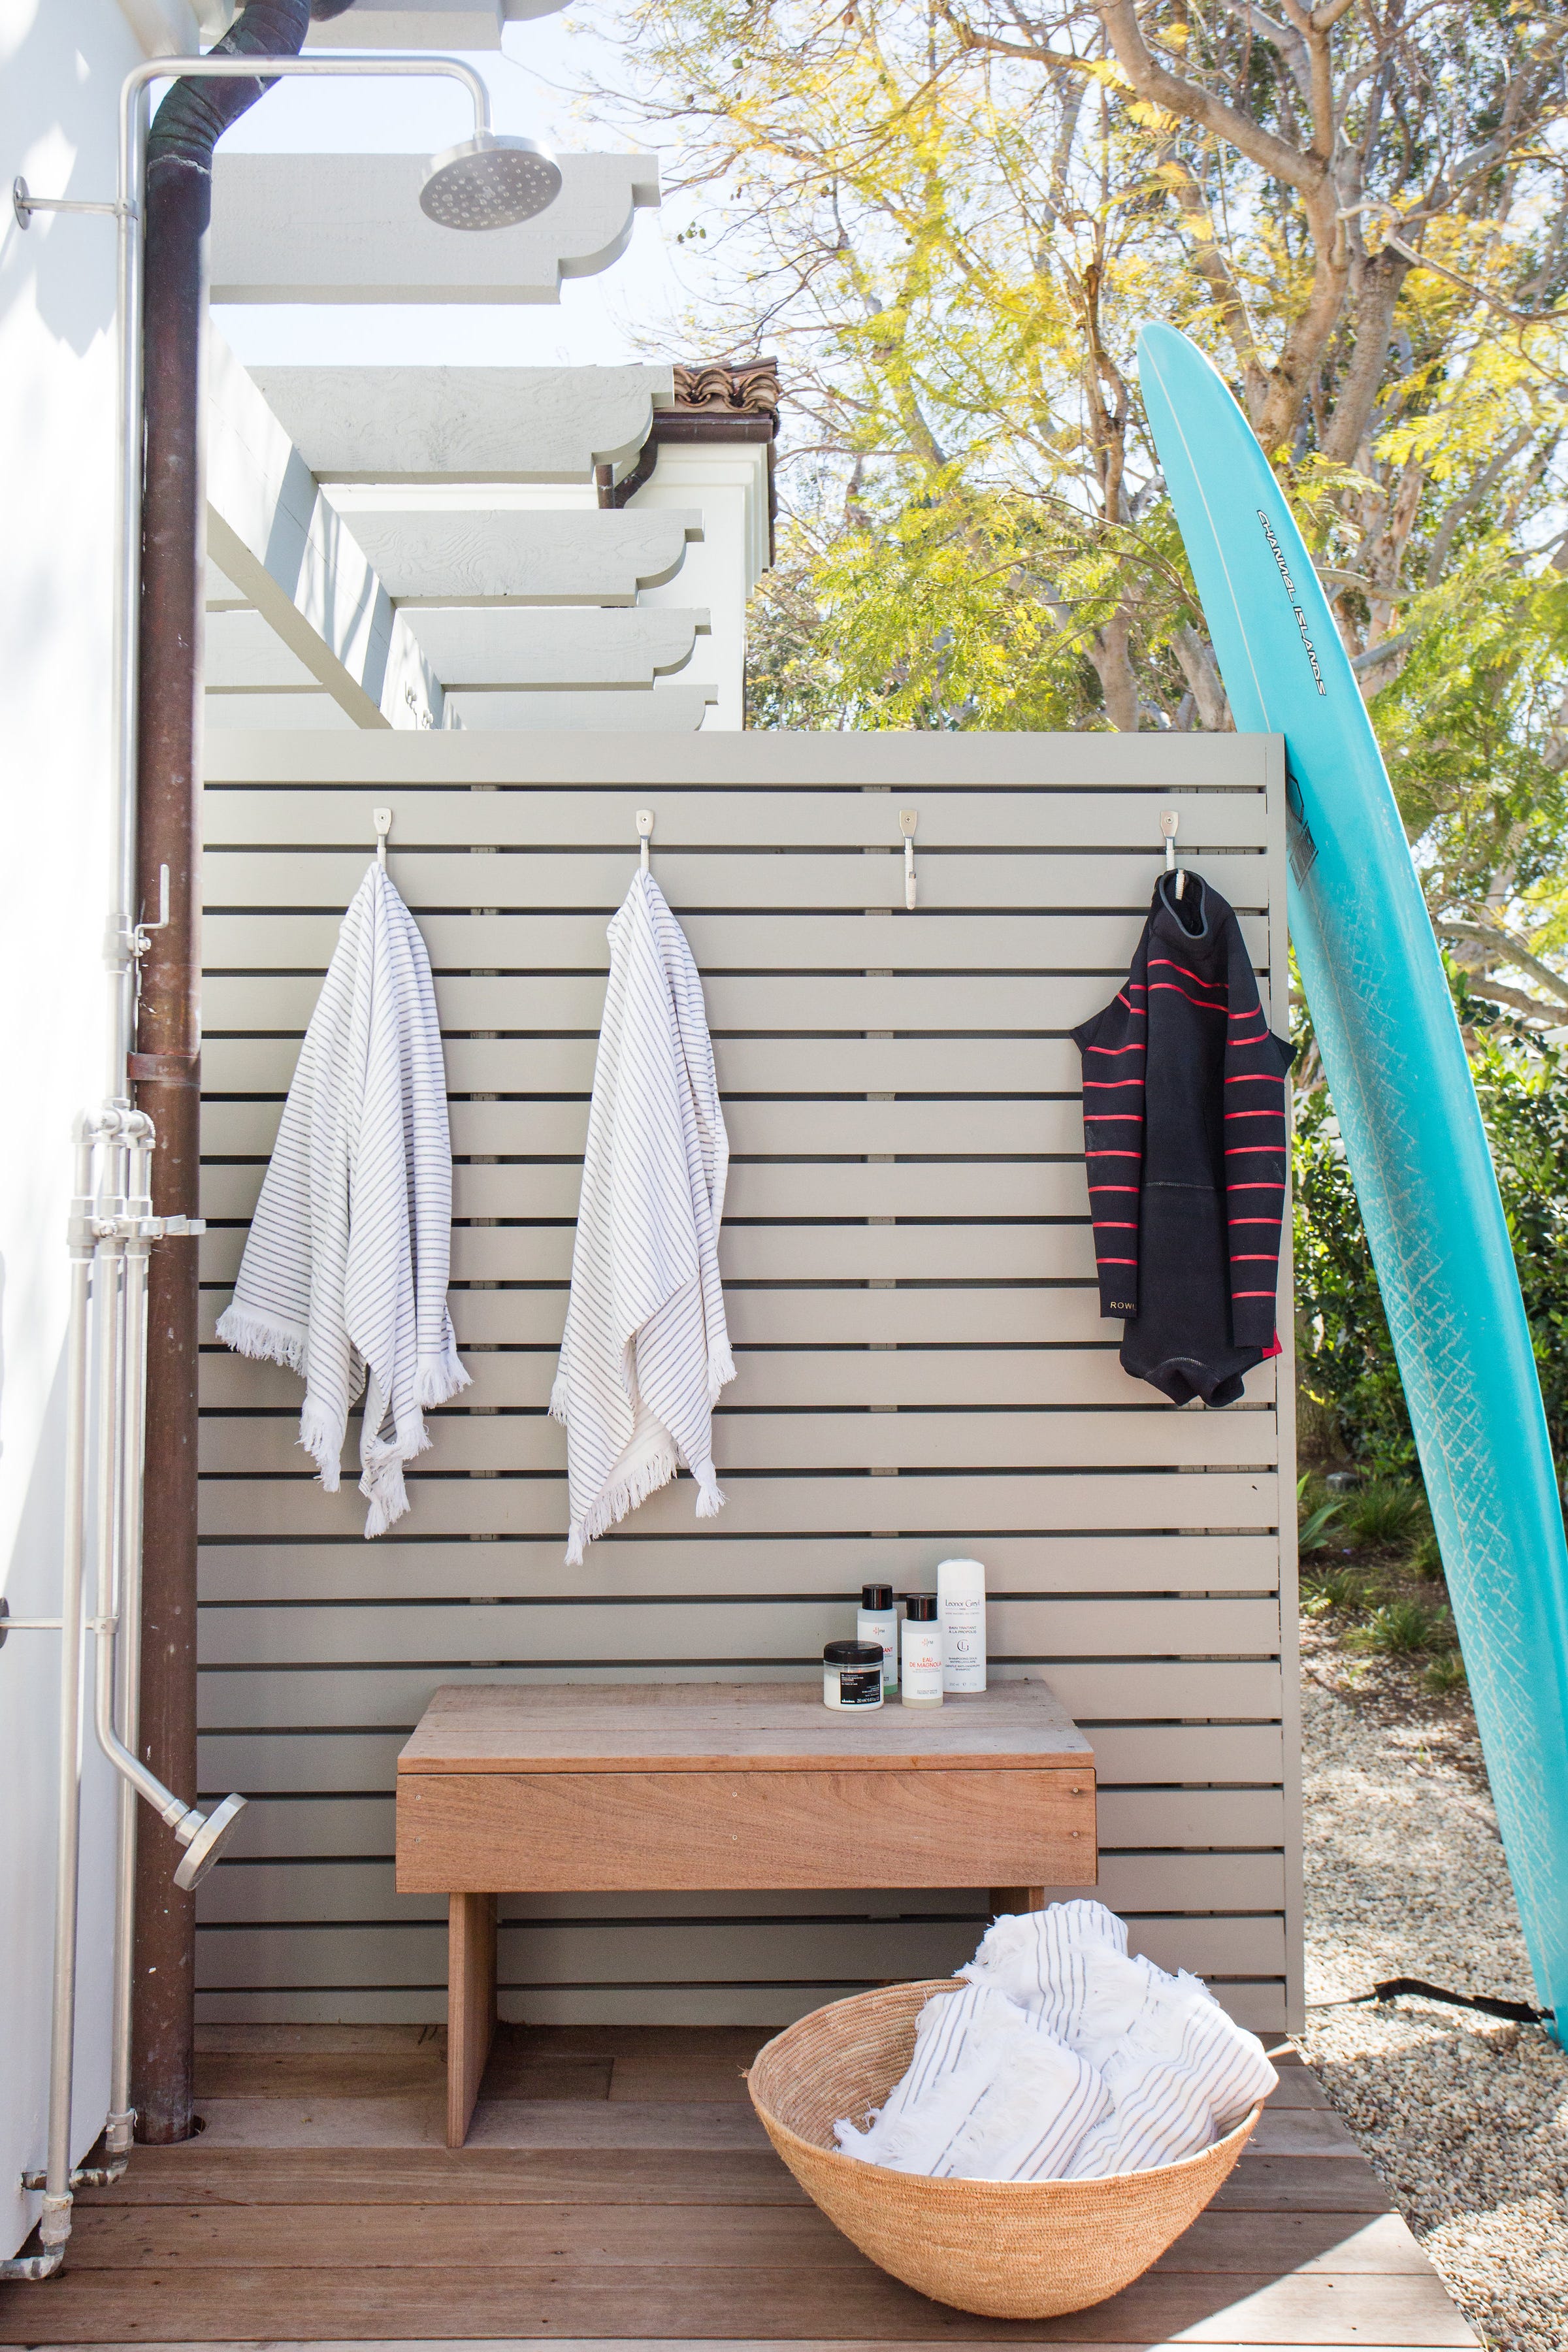
This article outlines the process of building a stylish DIY outdoor shower, a project that can be completed in a weekend with modest woodworking skills. The estimated time for completion is four hours of labor, plus drying time for the sealer, with a total cost of approximately $170. All necessary materials are readily available at major home improvement stores like Home Depot.
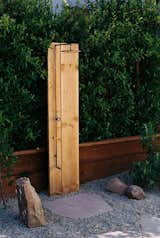
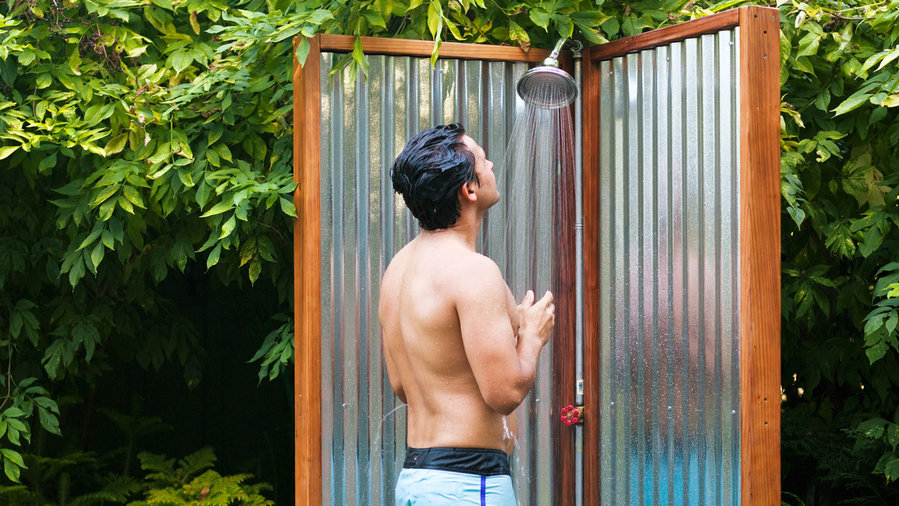
The outdoor shower design consists of three primary components: two wing walls and a central pole that houses the plumbing. Each wing wall incorporates a 6-foot-long corrugated metal roof panel, which is securely attached to a frame constructed from 2-by-4 lumber. For each frame, two 90-inch side pieces and four 26½-inch crosspieces are required. The frames were built using redwood, which was pre-treated with a water-based sealer for protection before the panels were attached. An alternative and more economical option is pressure-treated lumber. Various panel options are available to suit different aesthetic preferences, including clear, frosted, or colored fiberglass roofing, aluminum flashing, or vibrant oil or acrylic cloth.
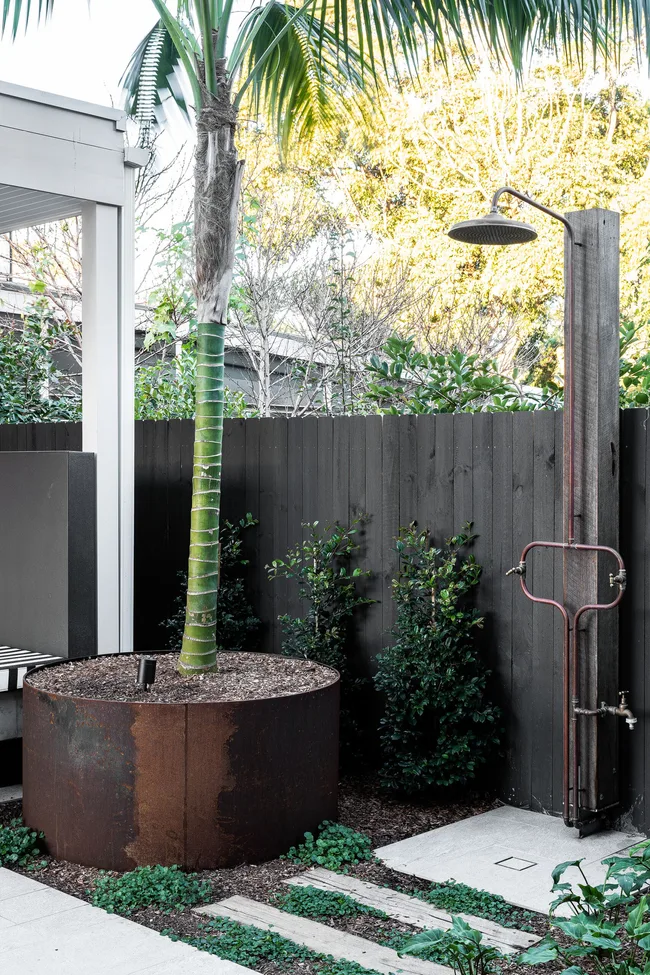
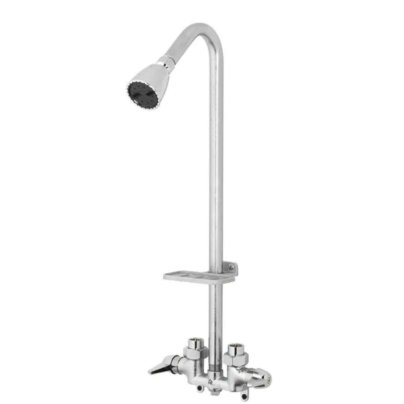
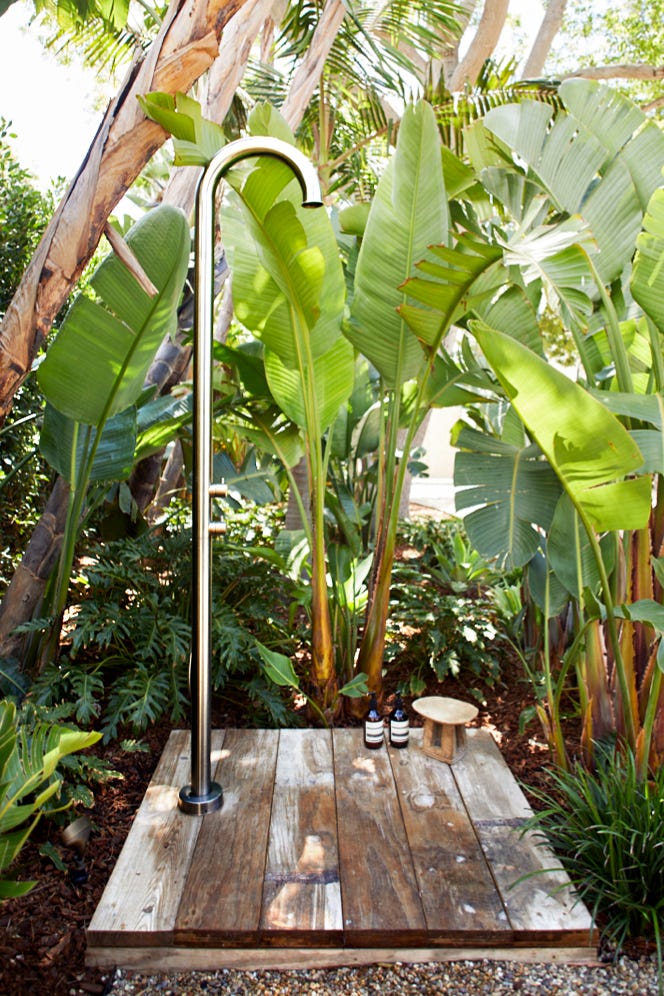
The central element of the shower is an 8-foot-long pressure-treated peeler-core log. This log is fitted with 1/2-inch galvanized metal piping, a faucet, and a showerhead. The plumbing system is designed for cold water lines, connecting directly to a garden hose, and is not intended for extended showers. The drainage system is simple, allowing water to flow into the gravel and soil beneath, which serves the dual purpose of watering plants while cooling off the user.
Assembling the plumbing involves laying out and connecting the galvanized piping using nylon plumbing tape at each joint. A hose coupling is added to the end of the 8-inch bottom pipe after initial assembly. A 3/4-inch-diameter hole is drilled through the pole, 78 inches from the top, through which the short leg of the pipe is slipped. The pipe and faucet are then centered on the pole and secured with C-shaped pipe hangers. After attaching the hose coupling, the system is connected to a garden hose and pressure-tested for any leaks.
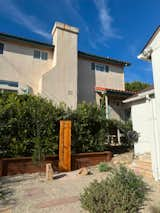
For positioning the shower, a suitable location is selected. The example provided suggests placing it on a gravel pad to facilitate drainage, with additional concrete pavers for standing. A 12-inch-deep hole is dug for the central shower pole, ensuring that the faucet handle will be positioned outwards at a 45-degree angle between the wing walls. The wing walls are then set at a right angle to each other and attached to the pole using three 12-inch screws each, ensuring their legs extend only 6 inches into the ground. Before tamping and compacting the soil, the vertical alignment of the structure is verified with a level.
#DIYProject #OutdoorShower #BackyardDesign #HomeImprovement #WeekendProject #PlumbingInstallation #Woodworking #OutdoorLiving #DIYProject #OutdoorShower #BackyardDesign #HomeImprovement #WeekendProject #PlumbingInstallation #Woodworking #OutdoorLiving
0 comment in total
 No comments yet
You may also like
An Outdoor Shower Is Just What Your Backyard Is Missing—Here Are 7 of Our Favorites

This One Outdoor Upgrade Can DRAMATICALLY Boost Your Resale Value

15 stunning outdoor baths that will convince you to install one for yourself

This shower head will instantly boost your bathing experience — and it's only $16

This Is the Coolest Design Feature You Could Have This Summer
The Best Outdoor Showers for Pools, Camping, and More

25 Outdoor Bathroom Ideas for 2026 People Only Share in Private Group Chats

Backyard hot tub ideas – 11 smart ways to install a spa in your outdoor space

15 outdoor shower ideas to elevate your backyard design
Home design ideas: The next best thing to an outdoor shower in an indoor bathroom

No Lie, This Study Says an Outdoor Shower Can Double the Value of Your Home
A Rainforest-Inspired Bathroom That Re-creates Showering Outdoors Inside

Sudsy obsessions: Why Cape Codders adore their outside showers

My DIY Outdoor Shower Cost $1,000 and Makes Me Feel Like a Million Bucks—Year-Round

Showers

A Rainforest-Inspired Bathroom That Re-creates Showering Outdoors Inside

25 outdoor shower ideas that will inspire a backyard overhaul

Four Backyard Showers With Style
Rules for buying a hot tub – pro tips on selecting the best
20 Doorless Walk-In Shower Ideas for a Modern Retreat