1/6
Will vinyl floor panels look good? I've tried them instead of tiling my bathroom and have a very strong opinion
The author shares her experience and strong opinion on using self-adhesive vinyl floor panels as an alternative to traditional bathroom tiles. As part of a new column series called "Open House" on Ideal Home, the author, Lara Winter, details her journey of transforming her country cottage with clever and charming decor ideas, often focusing on budget-friendly solutions. This particular entry addresses a common DIY debate: the efficacy of self-adhesive tiles.
The narrative begins with the author’s dissatisfaction with her bathroom's aggressively beige aesthetic, inherited when she moved in. The bathroom featured beige tiles from floor to ceiling, which the author deemed far from her personal style. Her initial attempt to personalize the space involved hand-stenciling a delicate green pattern on the tiles. However, this project proved to be excessively time-consuming and mind-numbing, leading her to abandon it after only completing the shower area. The floor remained plain white, a less than ideal situation for a household with two energetic young boys, a fluffy cat, and a husband prone to flooding the bathroom during baths.
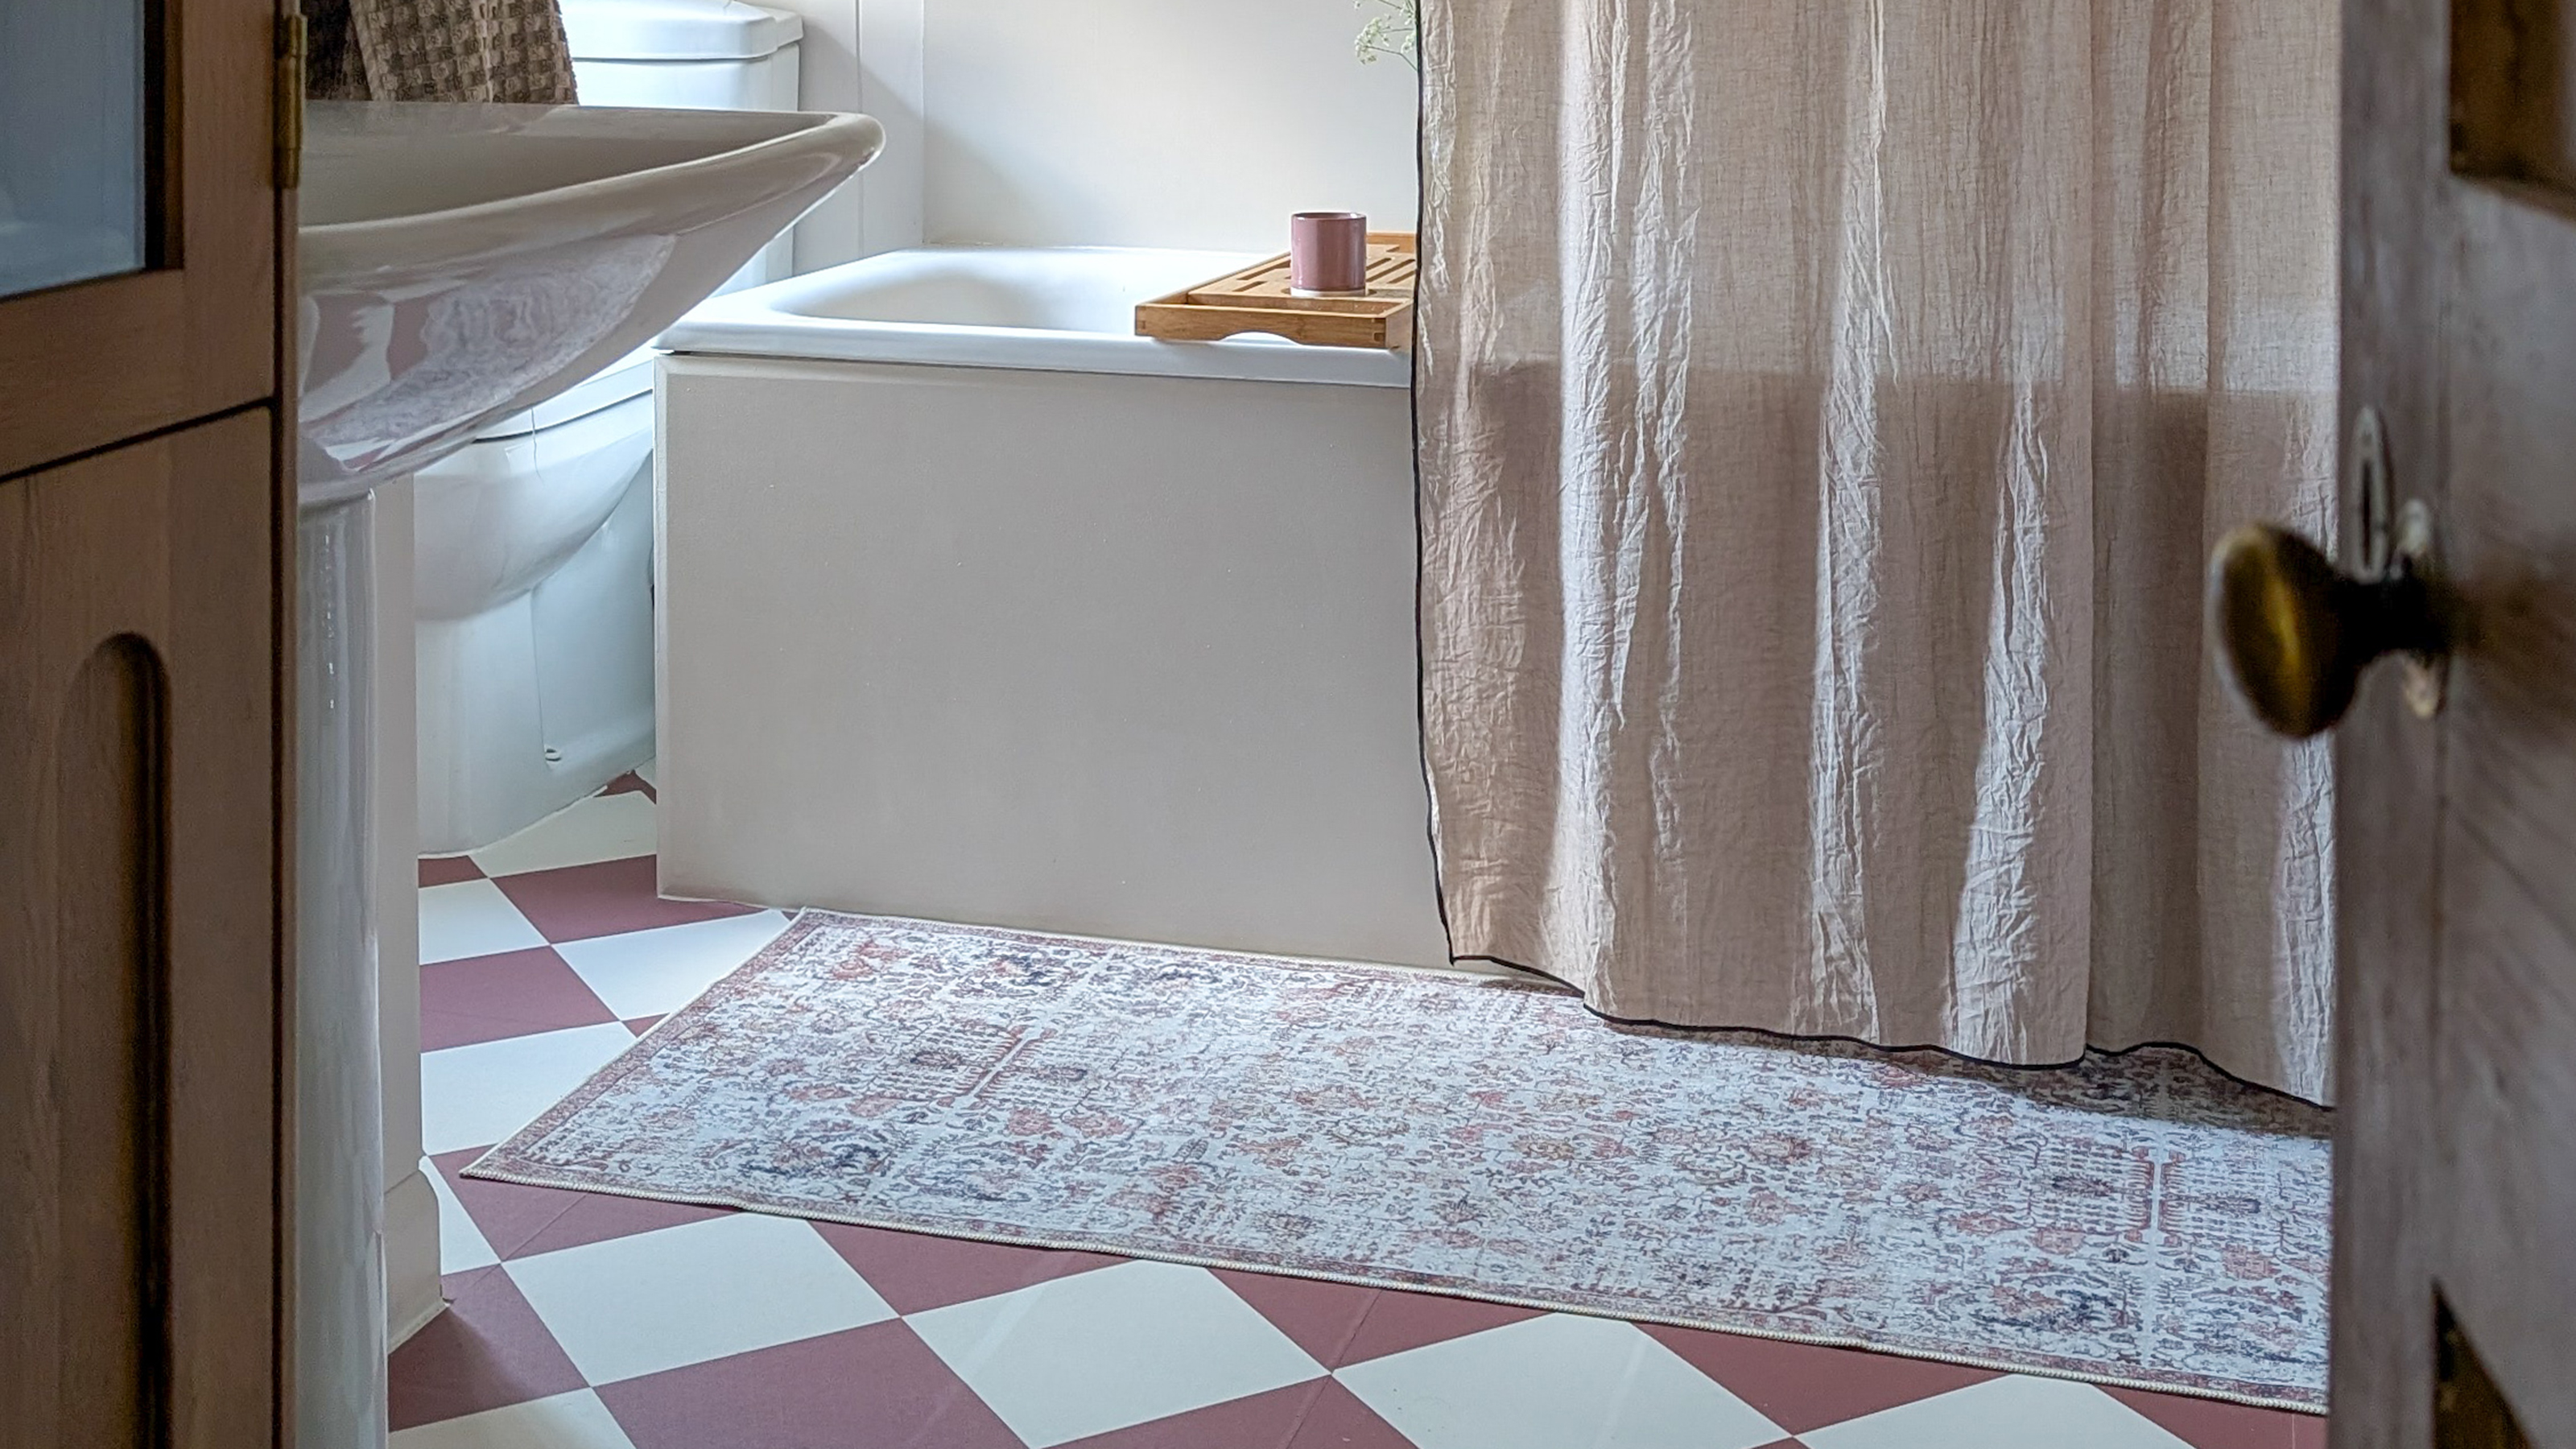
The author sought a faster, cleaner, and more economical solution than ripping out the existing tiles. This led her to discover self-adhesive vinyl floor panels. She specifically chose panels over individual tiles to minimize joints, hoping to prevent curling edges over time. The author was particularly excited to find a checkerboard pattern in terracotta and cream, which perfectly matched her vision for the room’s redecoration. Despite initial doubts about the ease of installation, the durability, and the potential for a cheap appearance, her decisive nature led her to order the panels immediately.
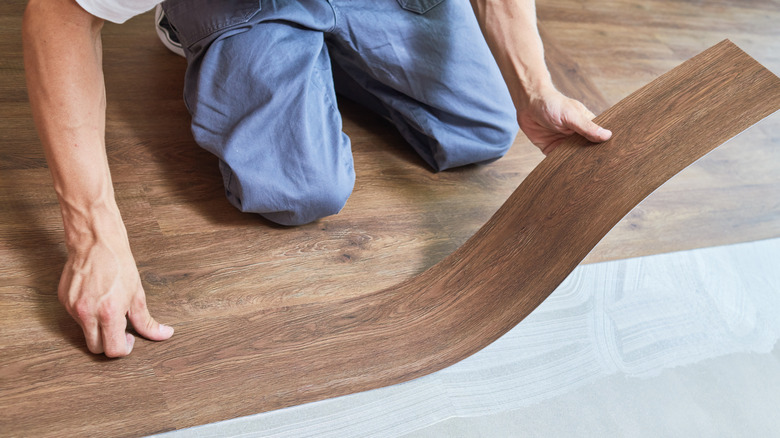
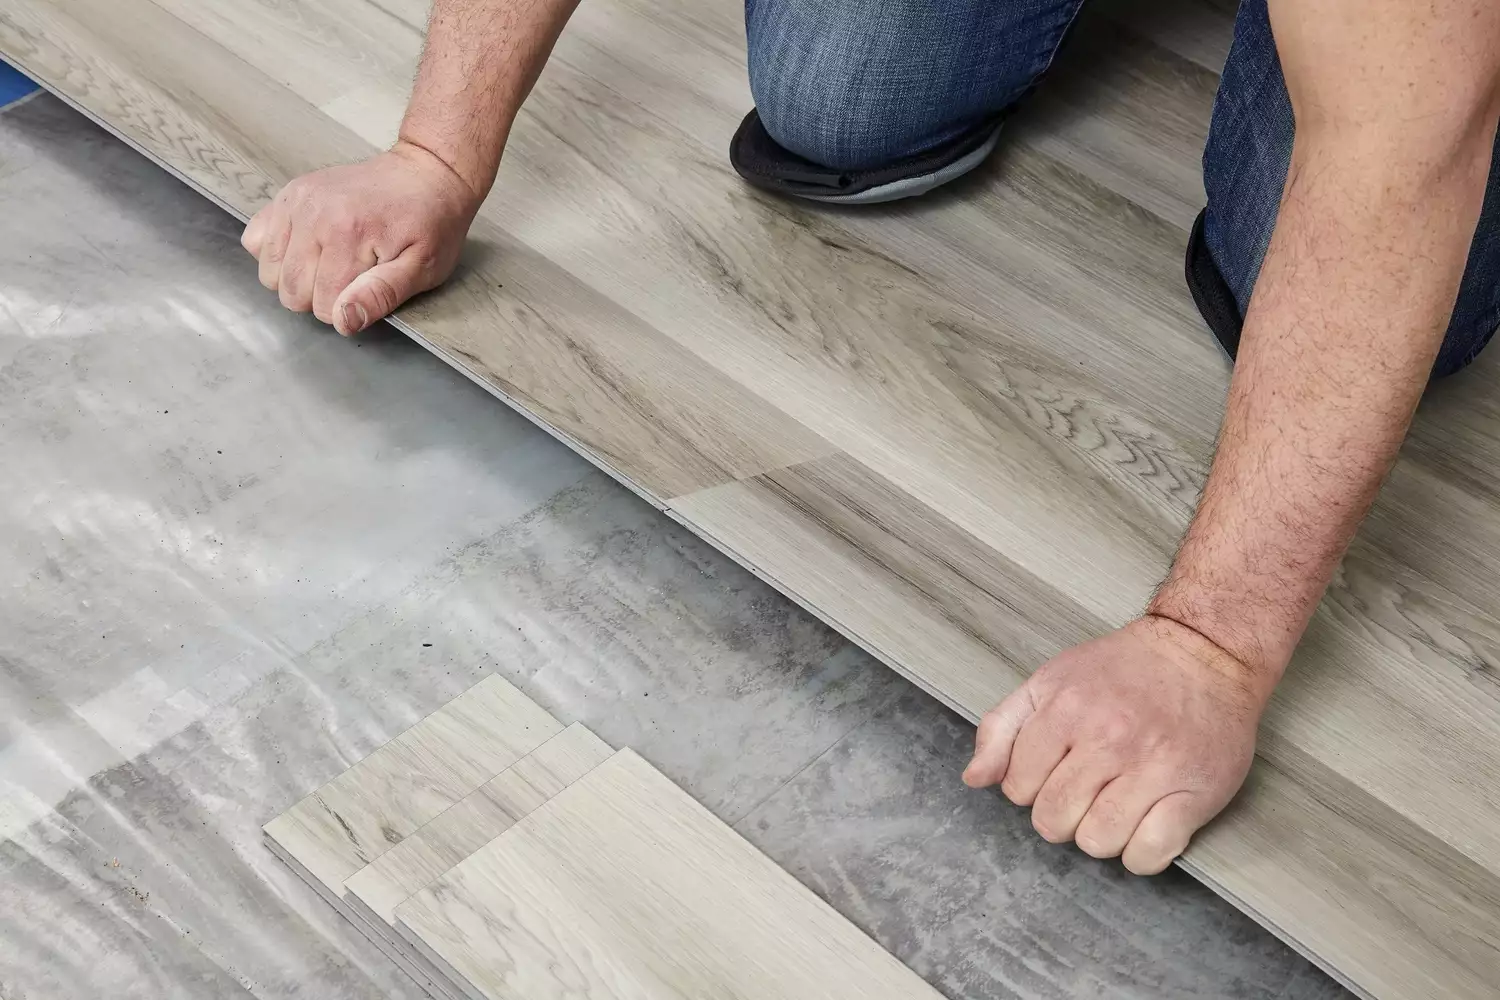
The installation process is described as a manageable DIY task, especially in comparison to her previous stenciling attempt. The author recounts laying the panels on a quiet evening, finding her rhythm after some initial trial and error. Her technique involved peeling back about 10cm of the backing paper, pressing the panel down, and smoothing it with a kitchen towel. The trickiest aspects were navigating the uneven surfaces of her old house and ensuring neat joins by slightly overlapping the panels. Cutting the vinyl to fit around obstacles like the sink, toilet, and pipes was surprisingly easy with a sharp Stanley knife and patience.
The author expresses immense satisfaction with the final result, stating that the new floor exceeded her expectations. The terracotta and cream checkerboard pattern provided the warm, earthy aesthetic she had envisioned, and she felt it looked utterly perfect rather than cheap. This success motivated her to further style the bathroom with cozy, lived-in touches.
Three months post-installation, the author reports positively on the durability of the vinyl floor panels. The only damage noted was a small mark from a dropped toothbrush holder, an incident that she believes would have equally affected ceramic tiles. Crucially, there has been no peeling, bubbling, or significant signs of wear. The panels are also easy to clean. The author highly recommends them, particularly for bathrooms or other areas not subjected to frequent heavy furniture movement. Her enthusiasm for the outcome is evident in her admission that the bathroom door now remains permanently open, allowing her to frequently admire her DIY masterpiece.
#HomeDIY #BathroomRenovation #VinylFloorPanels #SelfAdhesiveTiles #BudgetDecor #HomeImprovement #InteriorDesign #CottageStyle #CheckerboardFloor #HomeDIY #BathroomRenovation #VinylFloorPanels #SelfAdhesiveTiles #BudgetDecor #HomeImprovement #InteriorDesign #CottageStyle #CheckerboardFloor
0 comment in total
 No comments yet
You may also like
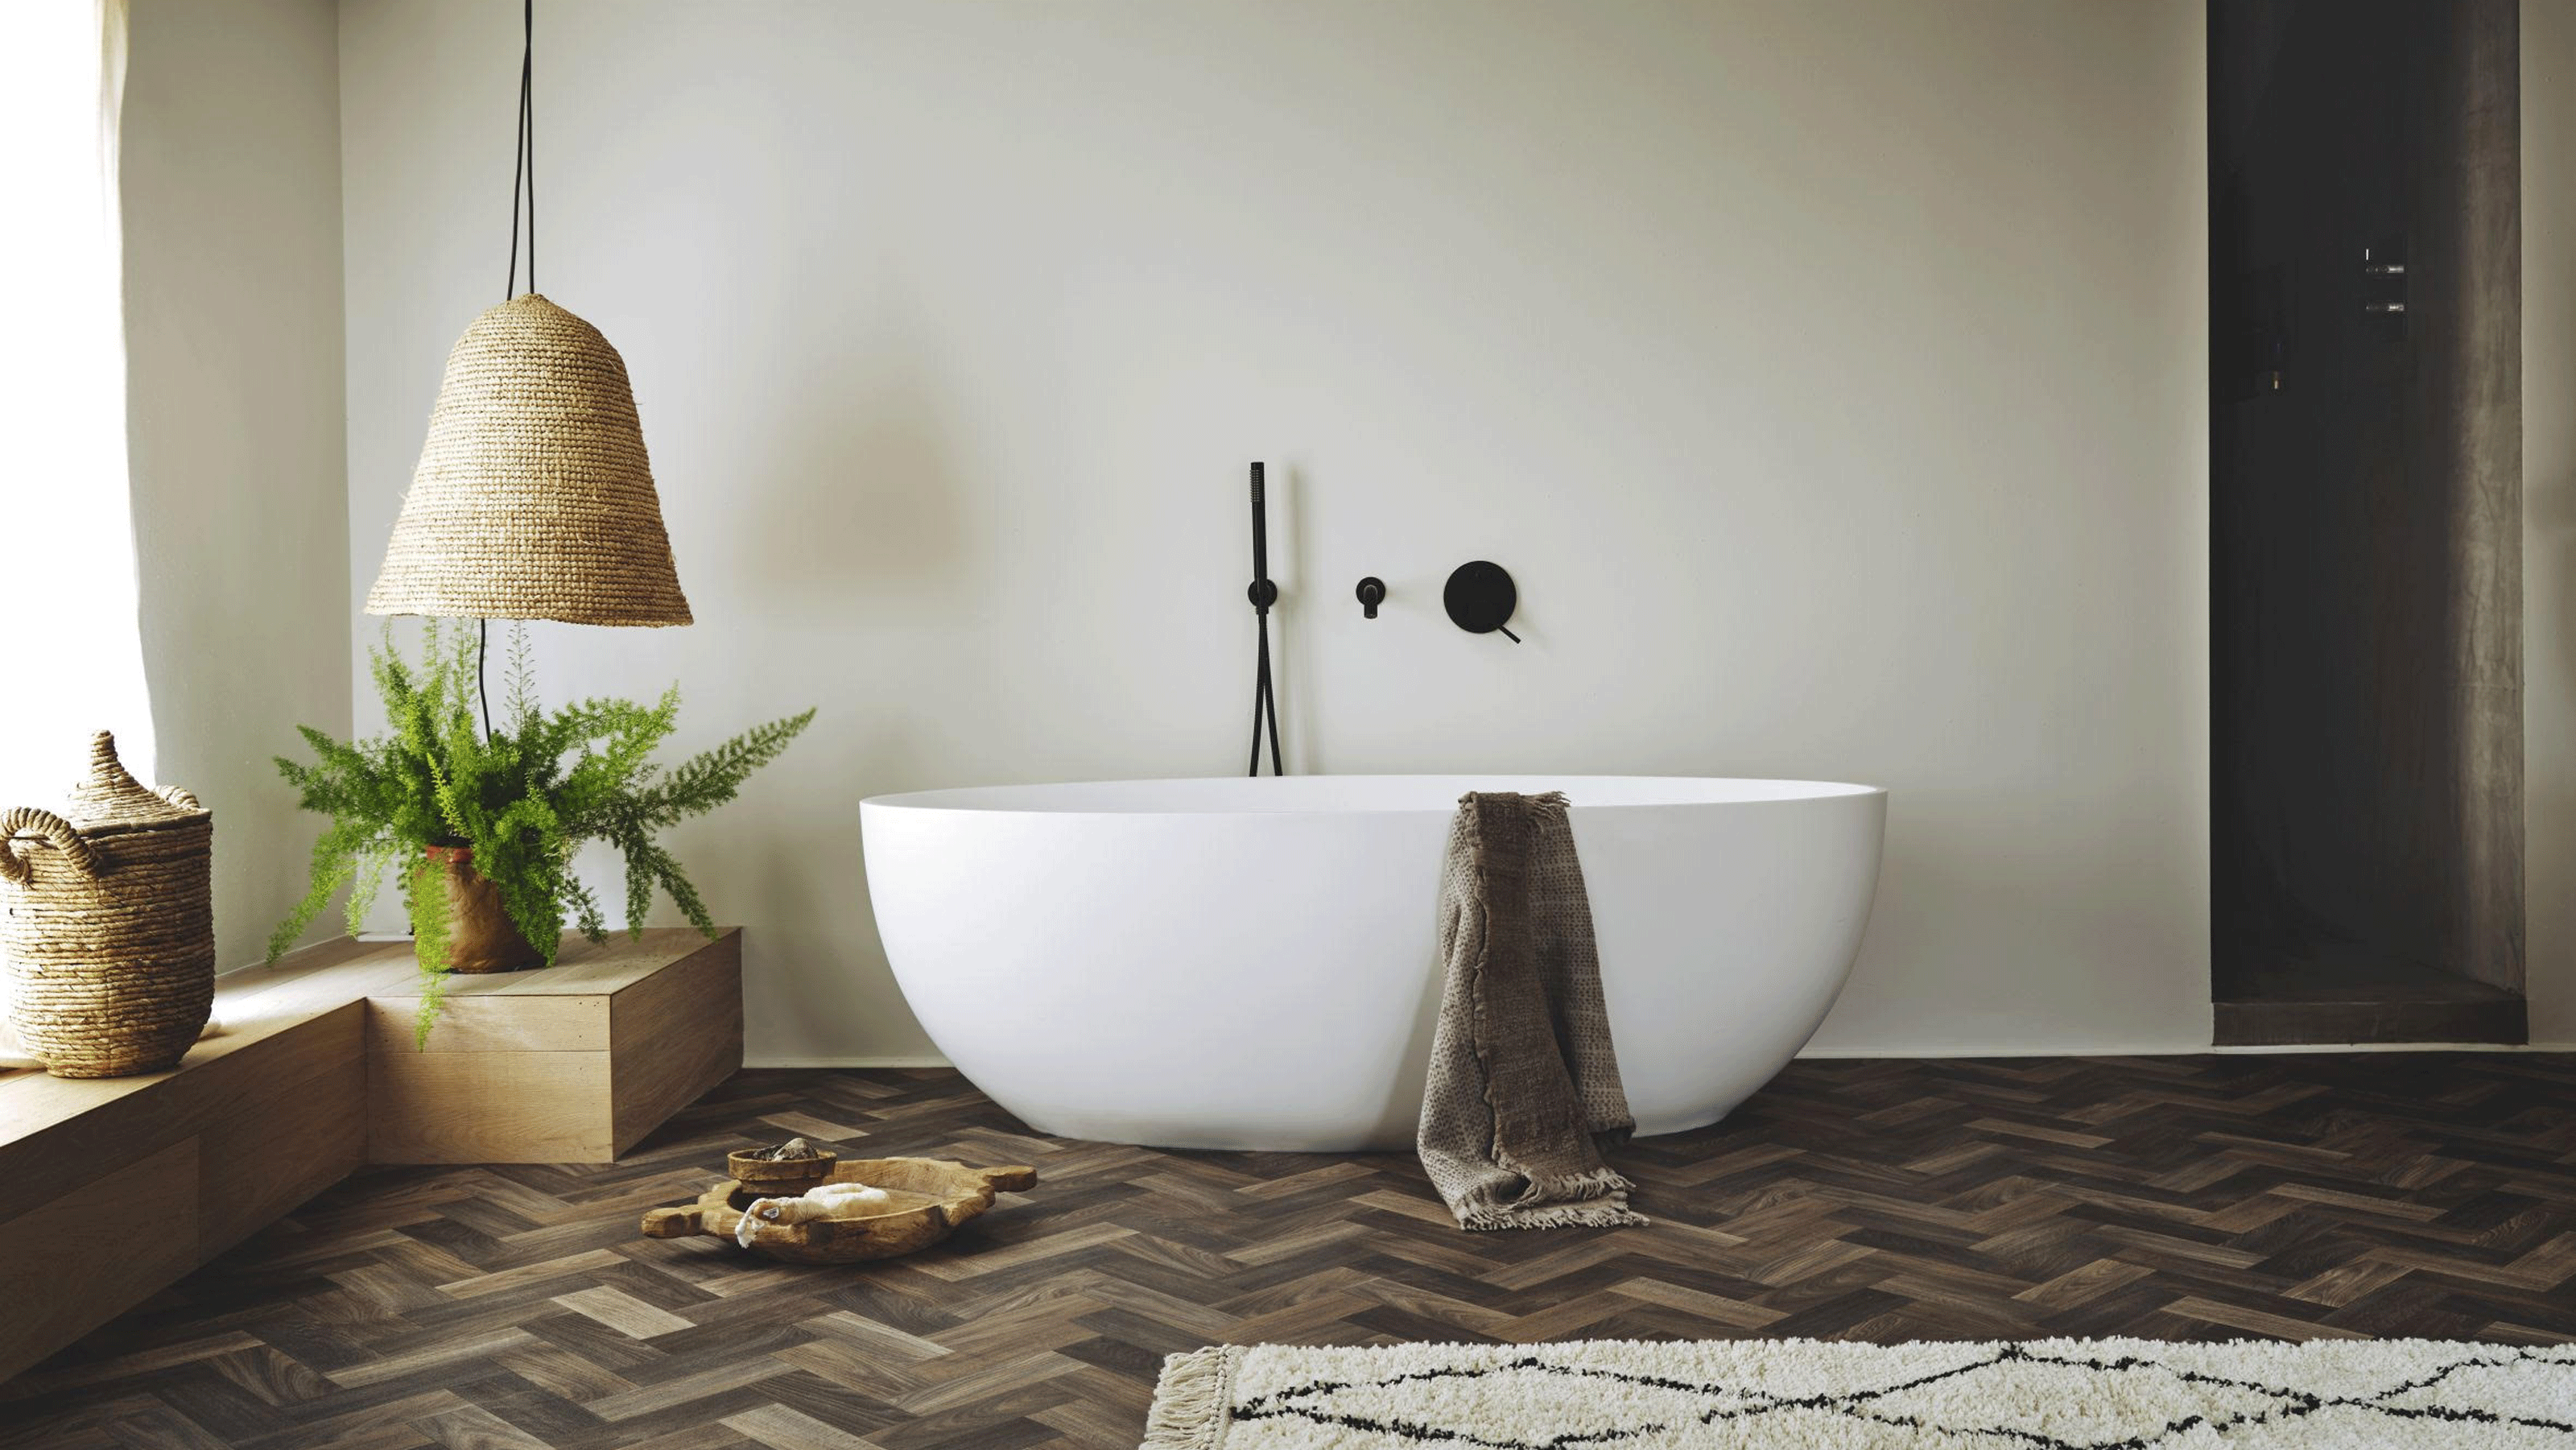
Vinyl bathroom flooring ideas – 10 ways to use the new flooring trend about to take over tiles

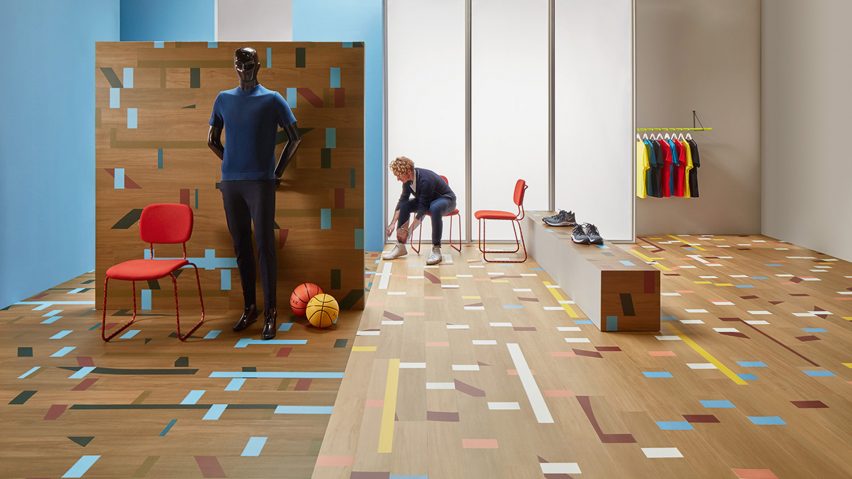
Vinyl Allura tiles mimic the look of a reclaimed gym floor
I Was Dead Set On Stone Floors—Until I Saw These Options

The Top 3 Worst Vinyl Flooring Brands To Avoid (And Better Options To Consider)
Vinyl Plank Floor Brands That Look The Most Like Real Wood
The Best Vinyl Plank Flooring for Your Home

I Tested 12 Vinyl Plank Floor Samples—This Pick Deserves a Spot in Your Home

Atrafloor Debuts Patterned Vinyl Flooring

The Best Vinyl Plank Flooring Brands
Forget Hardwood: HGTV's Erin And Ben Napier Have A Better Idea For Your Floors

Vinyl kitchen flooring ideas – 17 practical, easy to clean floors that emulate luxury materials

You Don’t Have to Demo Your Old Floors to Get New Ones

Pros and Cons of Vinyl Plank Flooring

The Best Vinyl Plank Flooring Options, Tested by Home Experts

Stylish new vinyl flooring from the Carpetright x House Beautiful collection

11 Vinyl Floor Ideas That Perfectly Fit The 80s Aesthetic
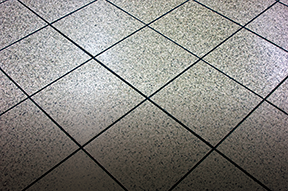
Walk This Way: New trends in vinyl flooring
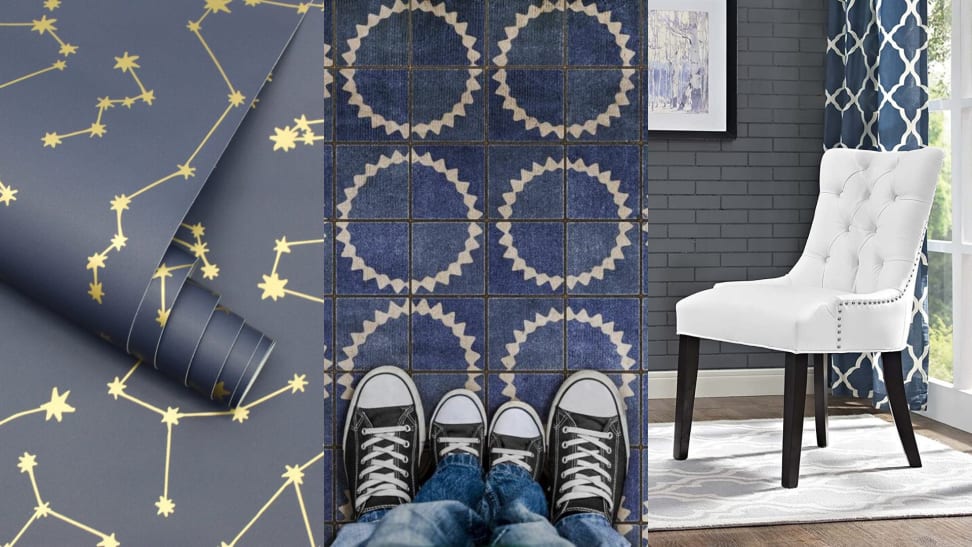
Vinyl’s gotten gorgeous—here’s how to use it at home and fool everyone

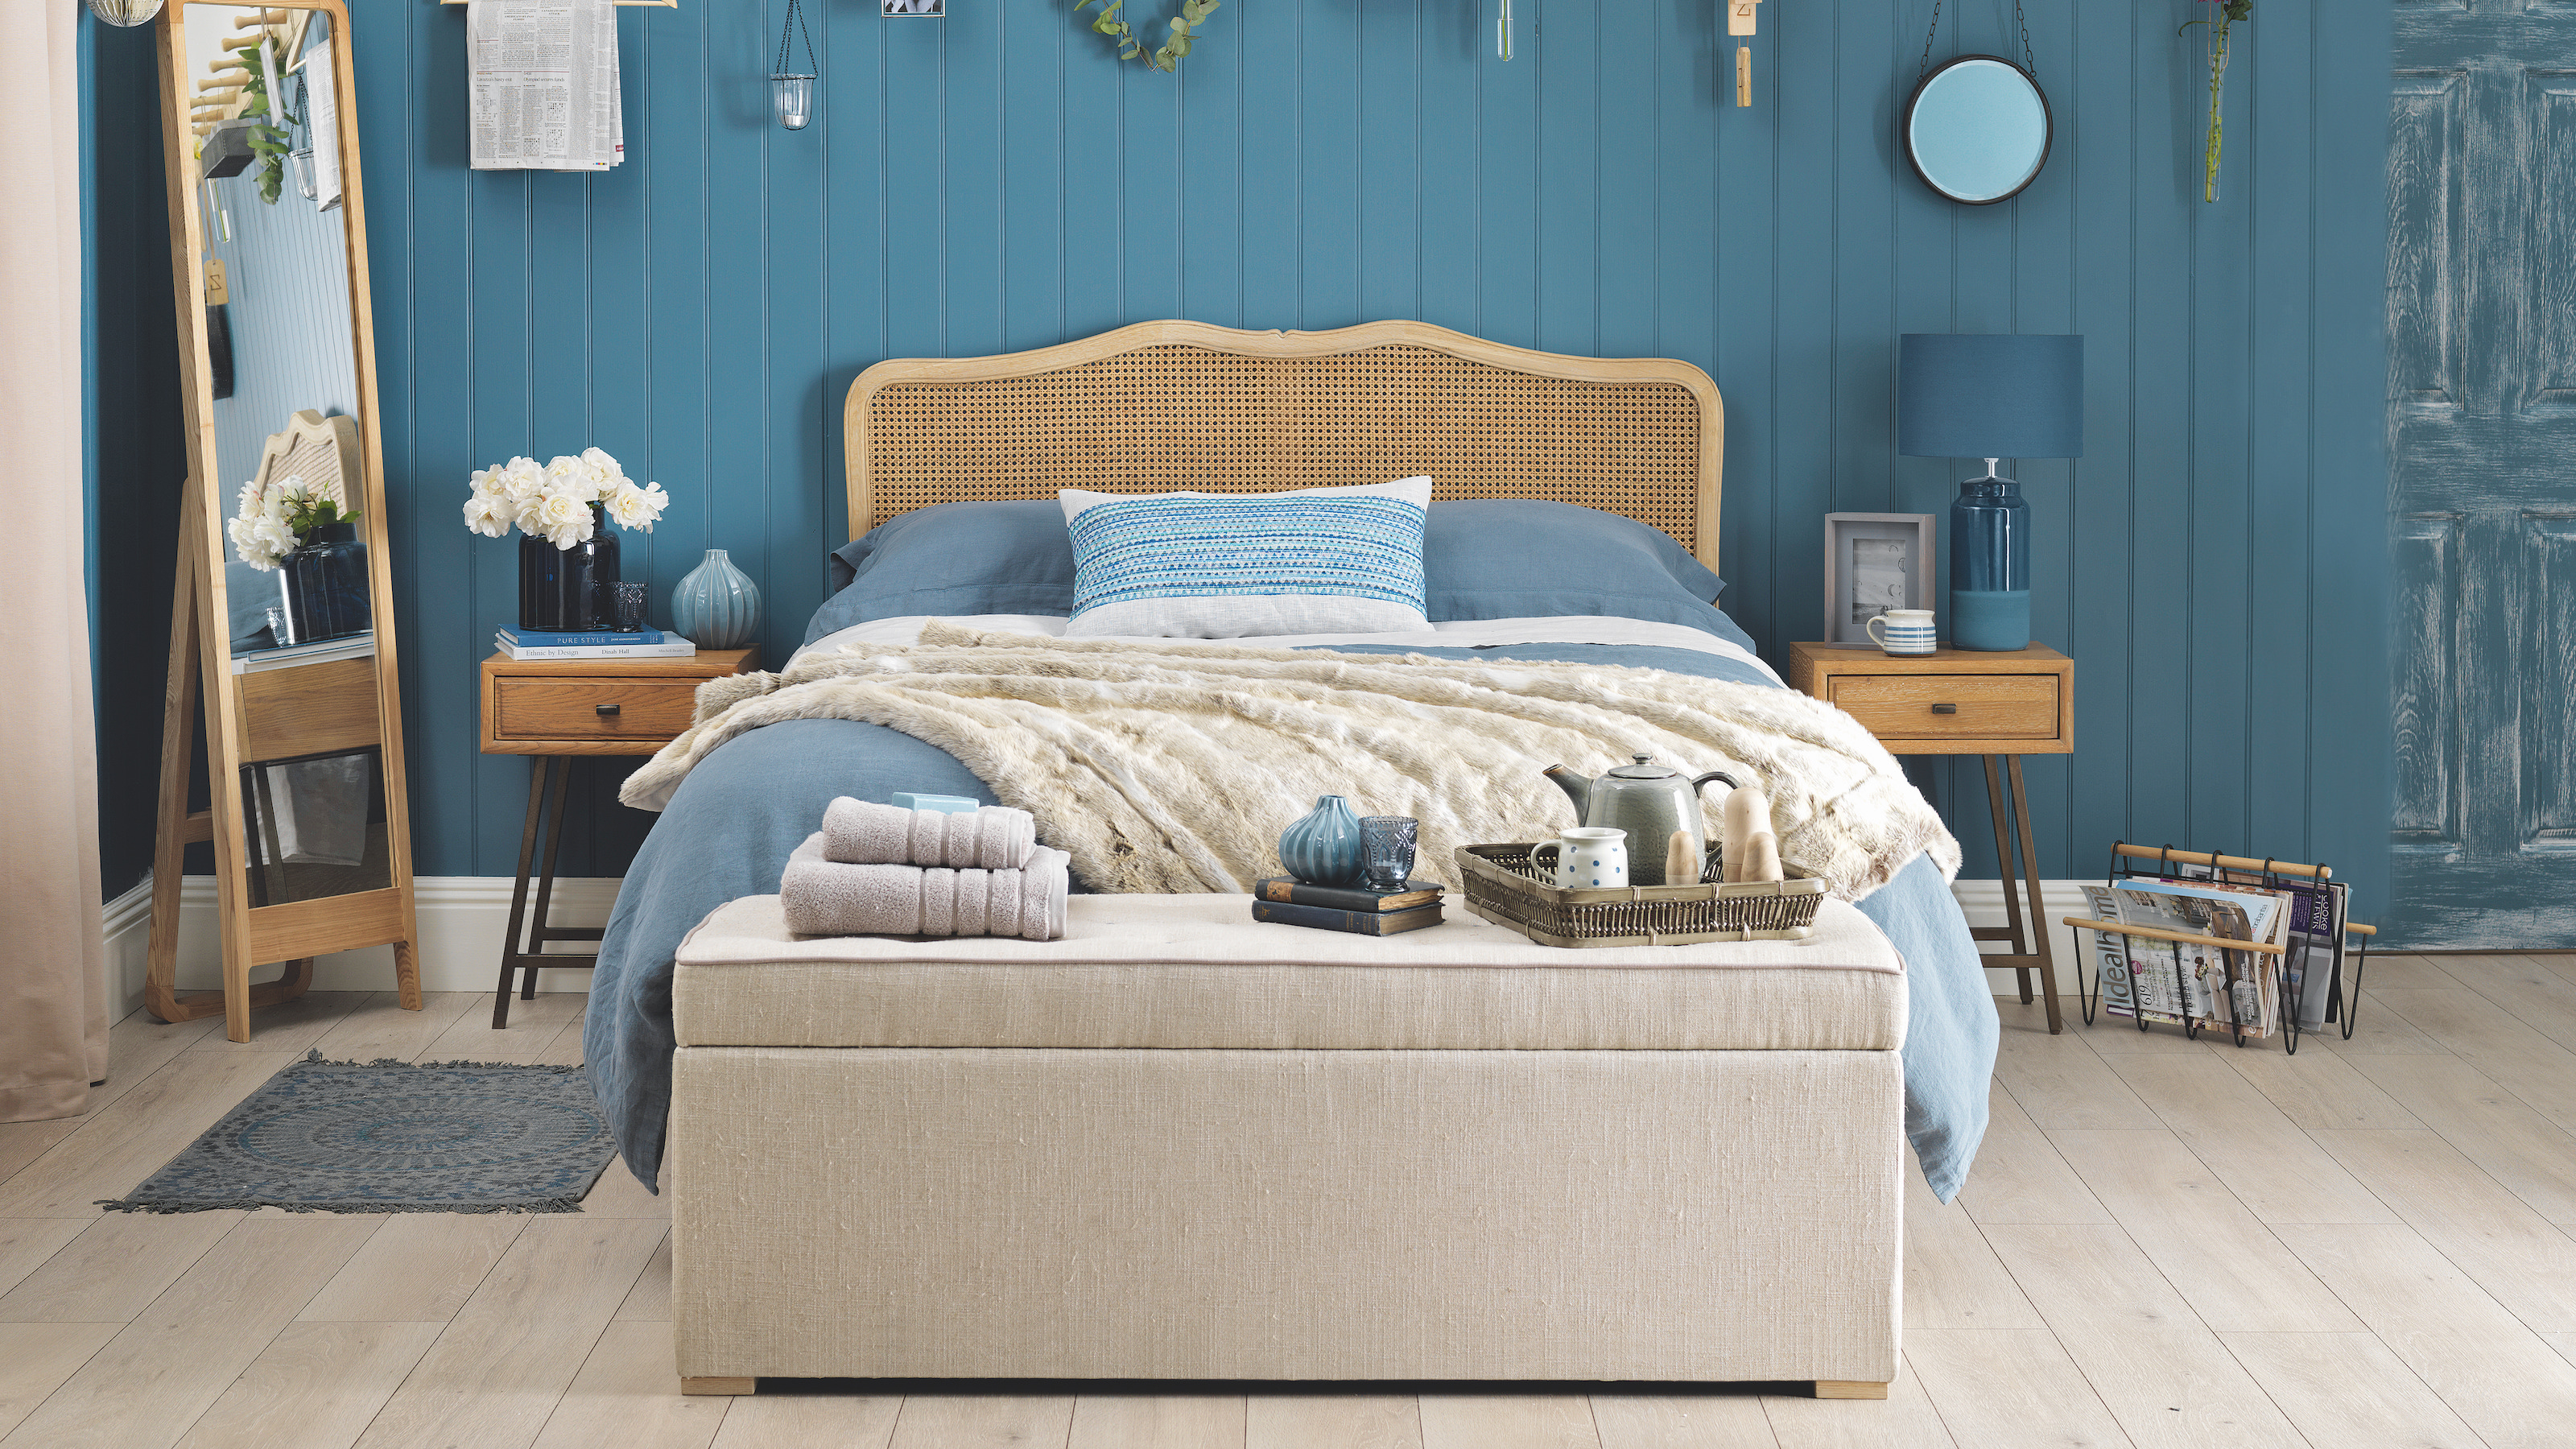
10 vinyl flooring ideas for bedrooms that will persuade you to ditch the carpet for easy-to-care for vinyl
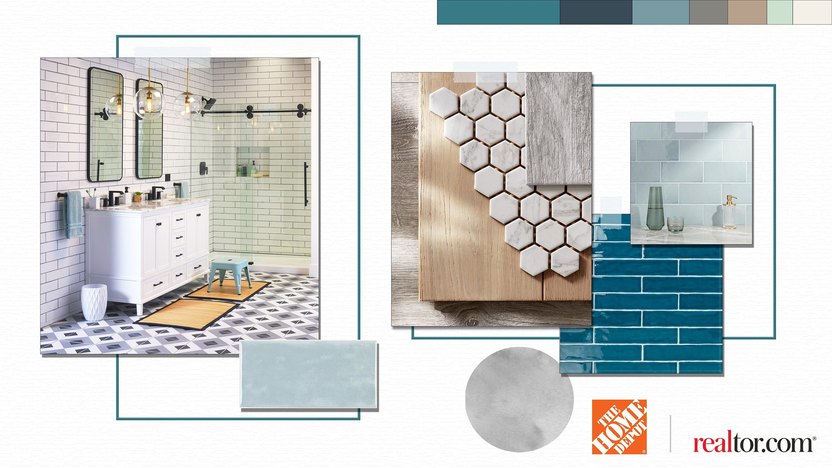
Flooring Forecast 2021: Here’s What’s Trending in Bathroom Floors