1/13
Step-by-step: The ultimate DIY guide for hiding your TV
This article details a step-by-step DIY guide to cleverly conceal a television behind decorative artwork, a project undertaken by Daniel Matthews of @a.modest.semi, who is known for renovating his Edwardian home with a keen eye for original features, color, and pattern. The project aims to integrate modern technology seamlessly into a traditional living space, addressing the common desire to hide unsightly electronics.
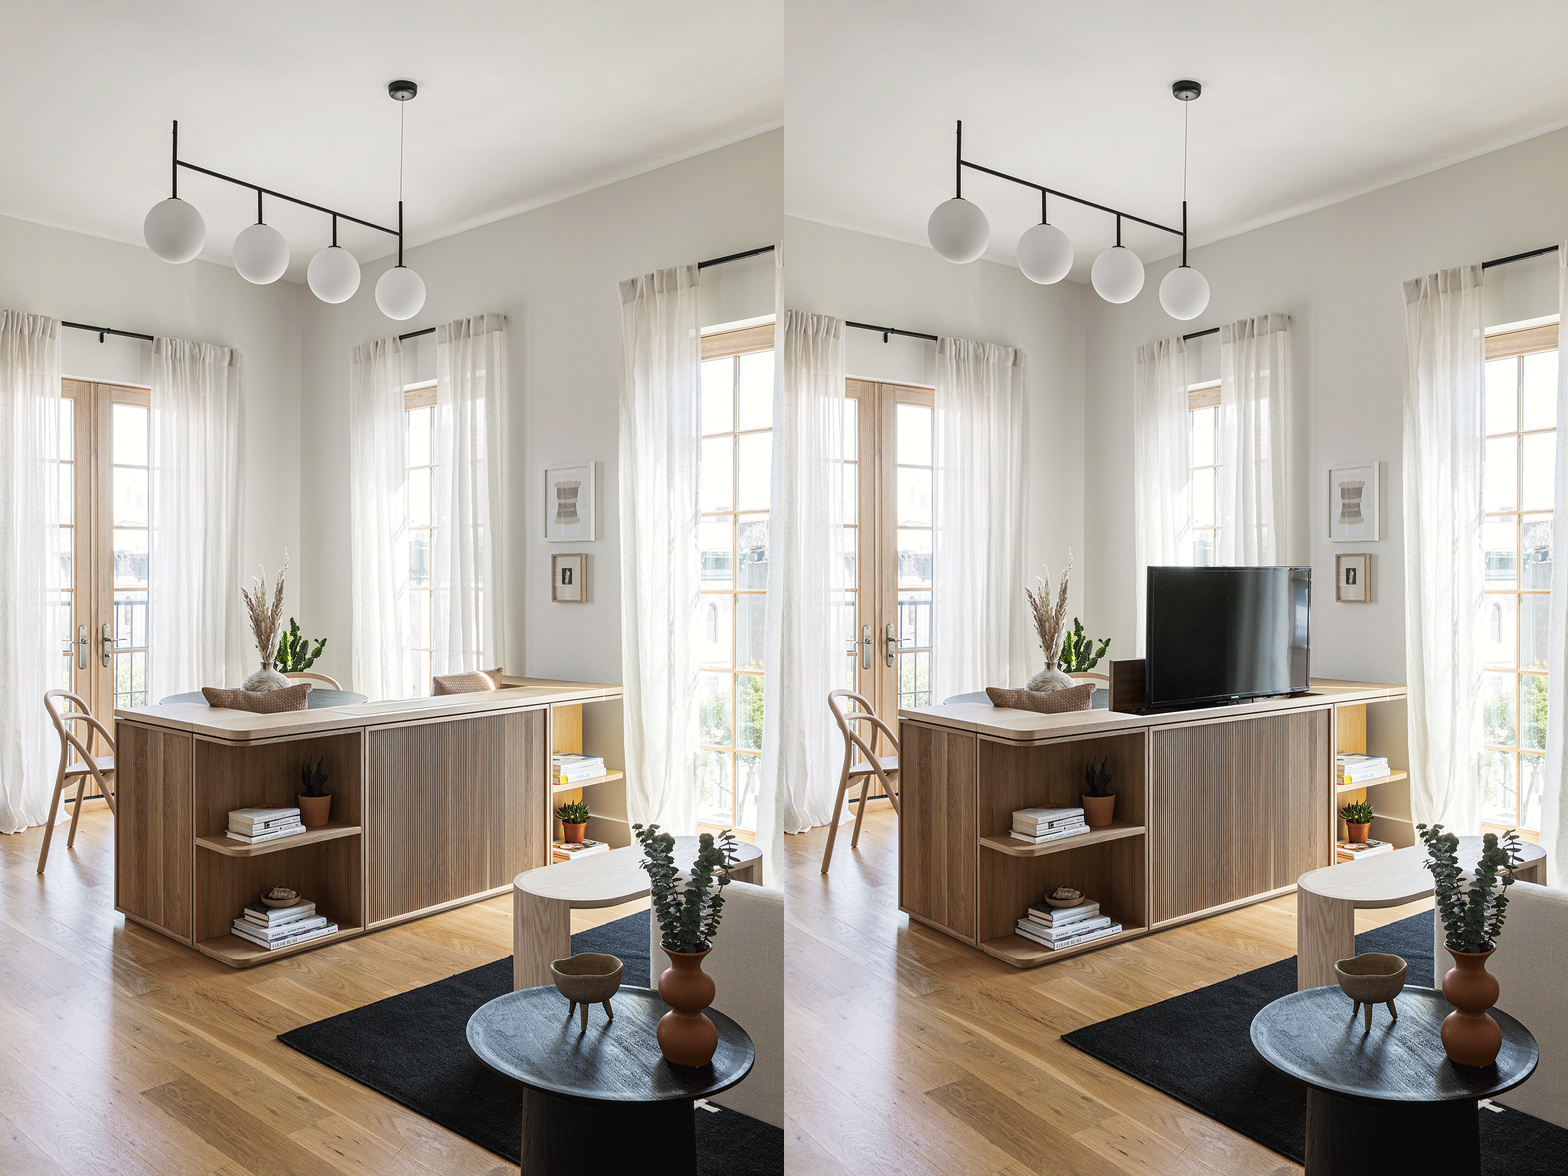
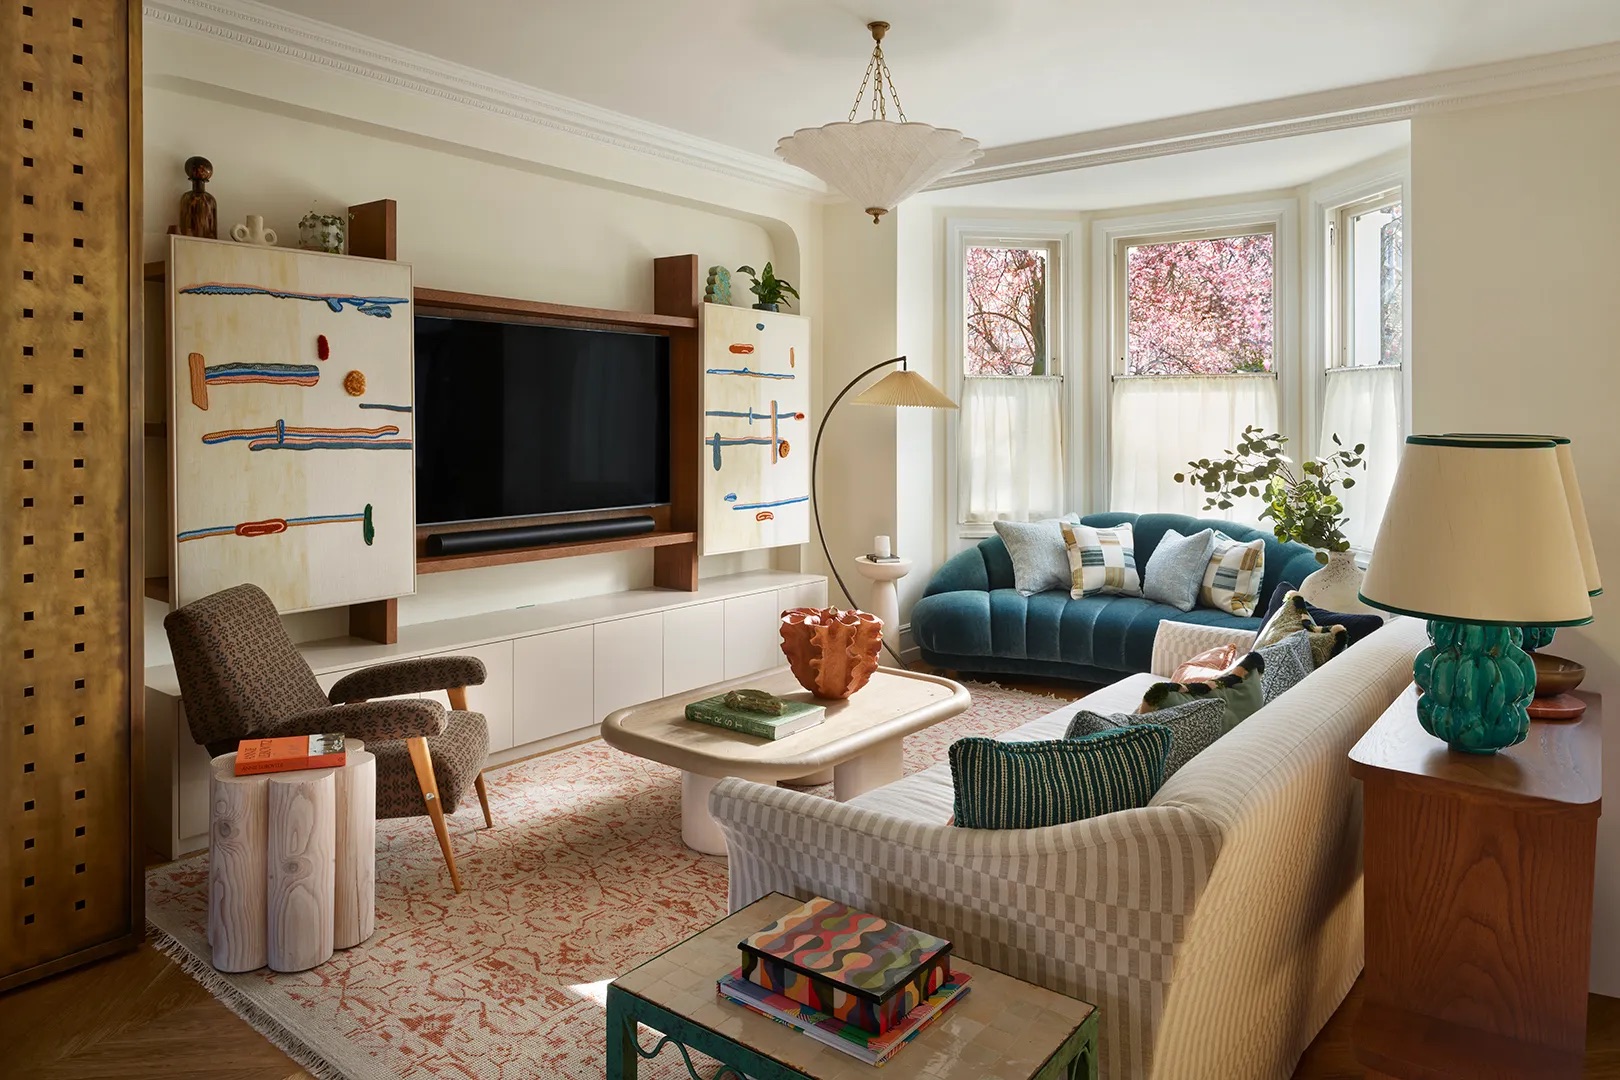
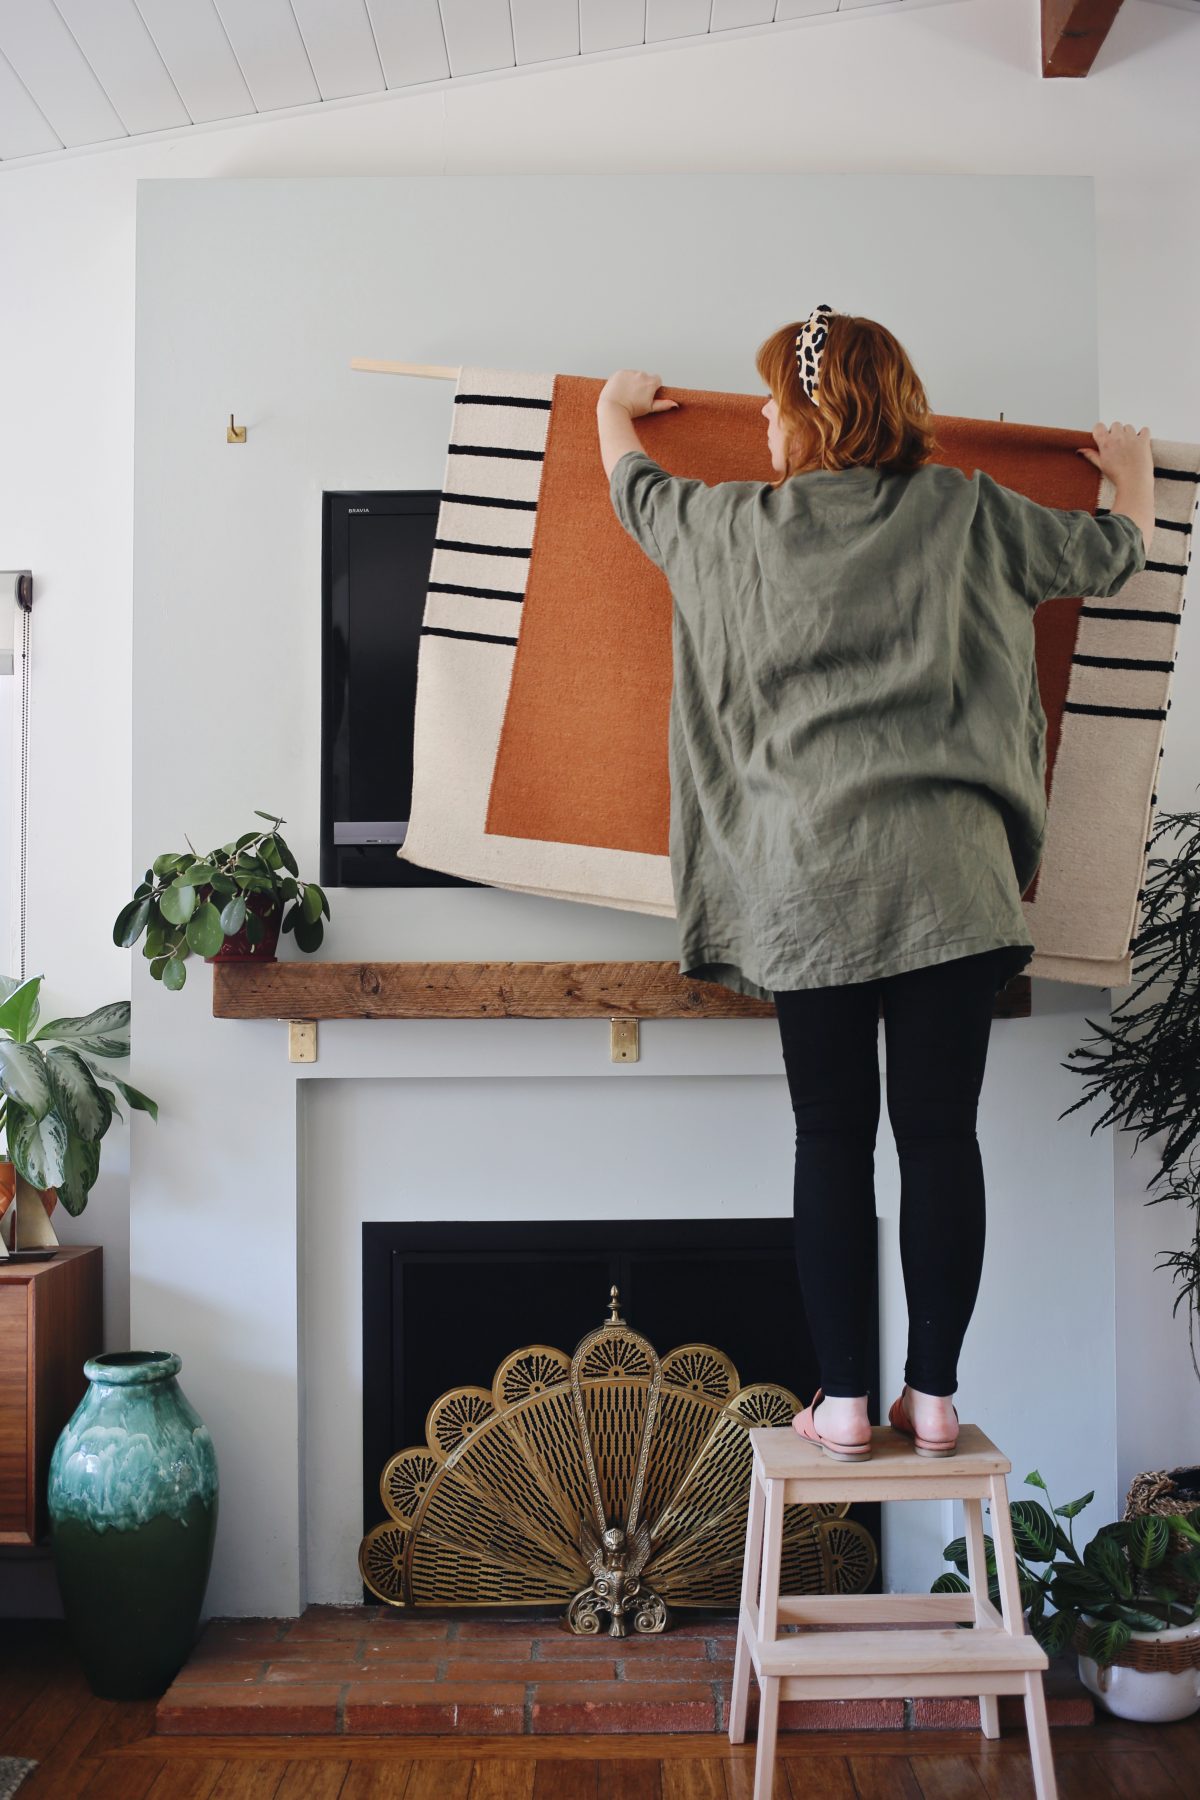
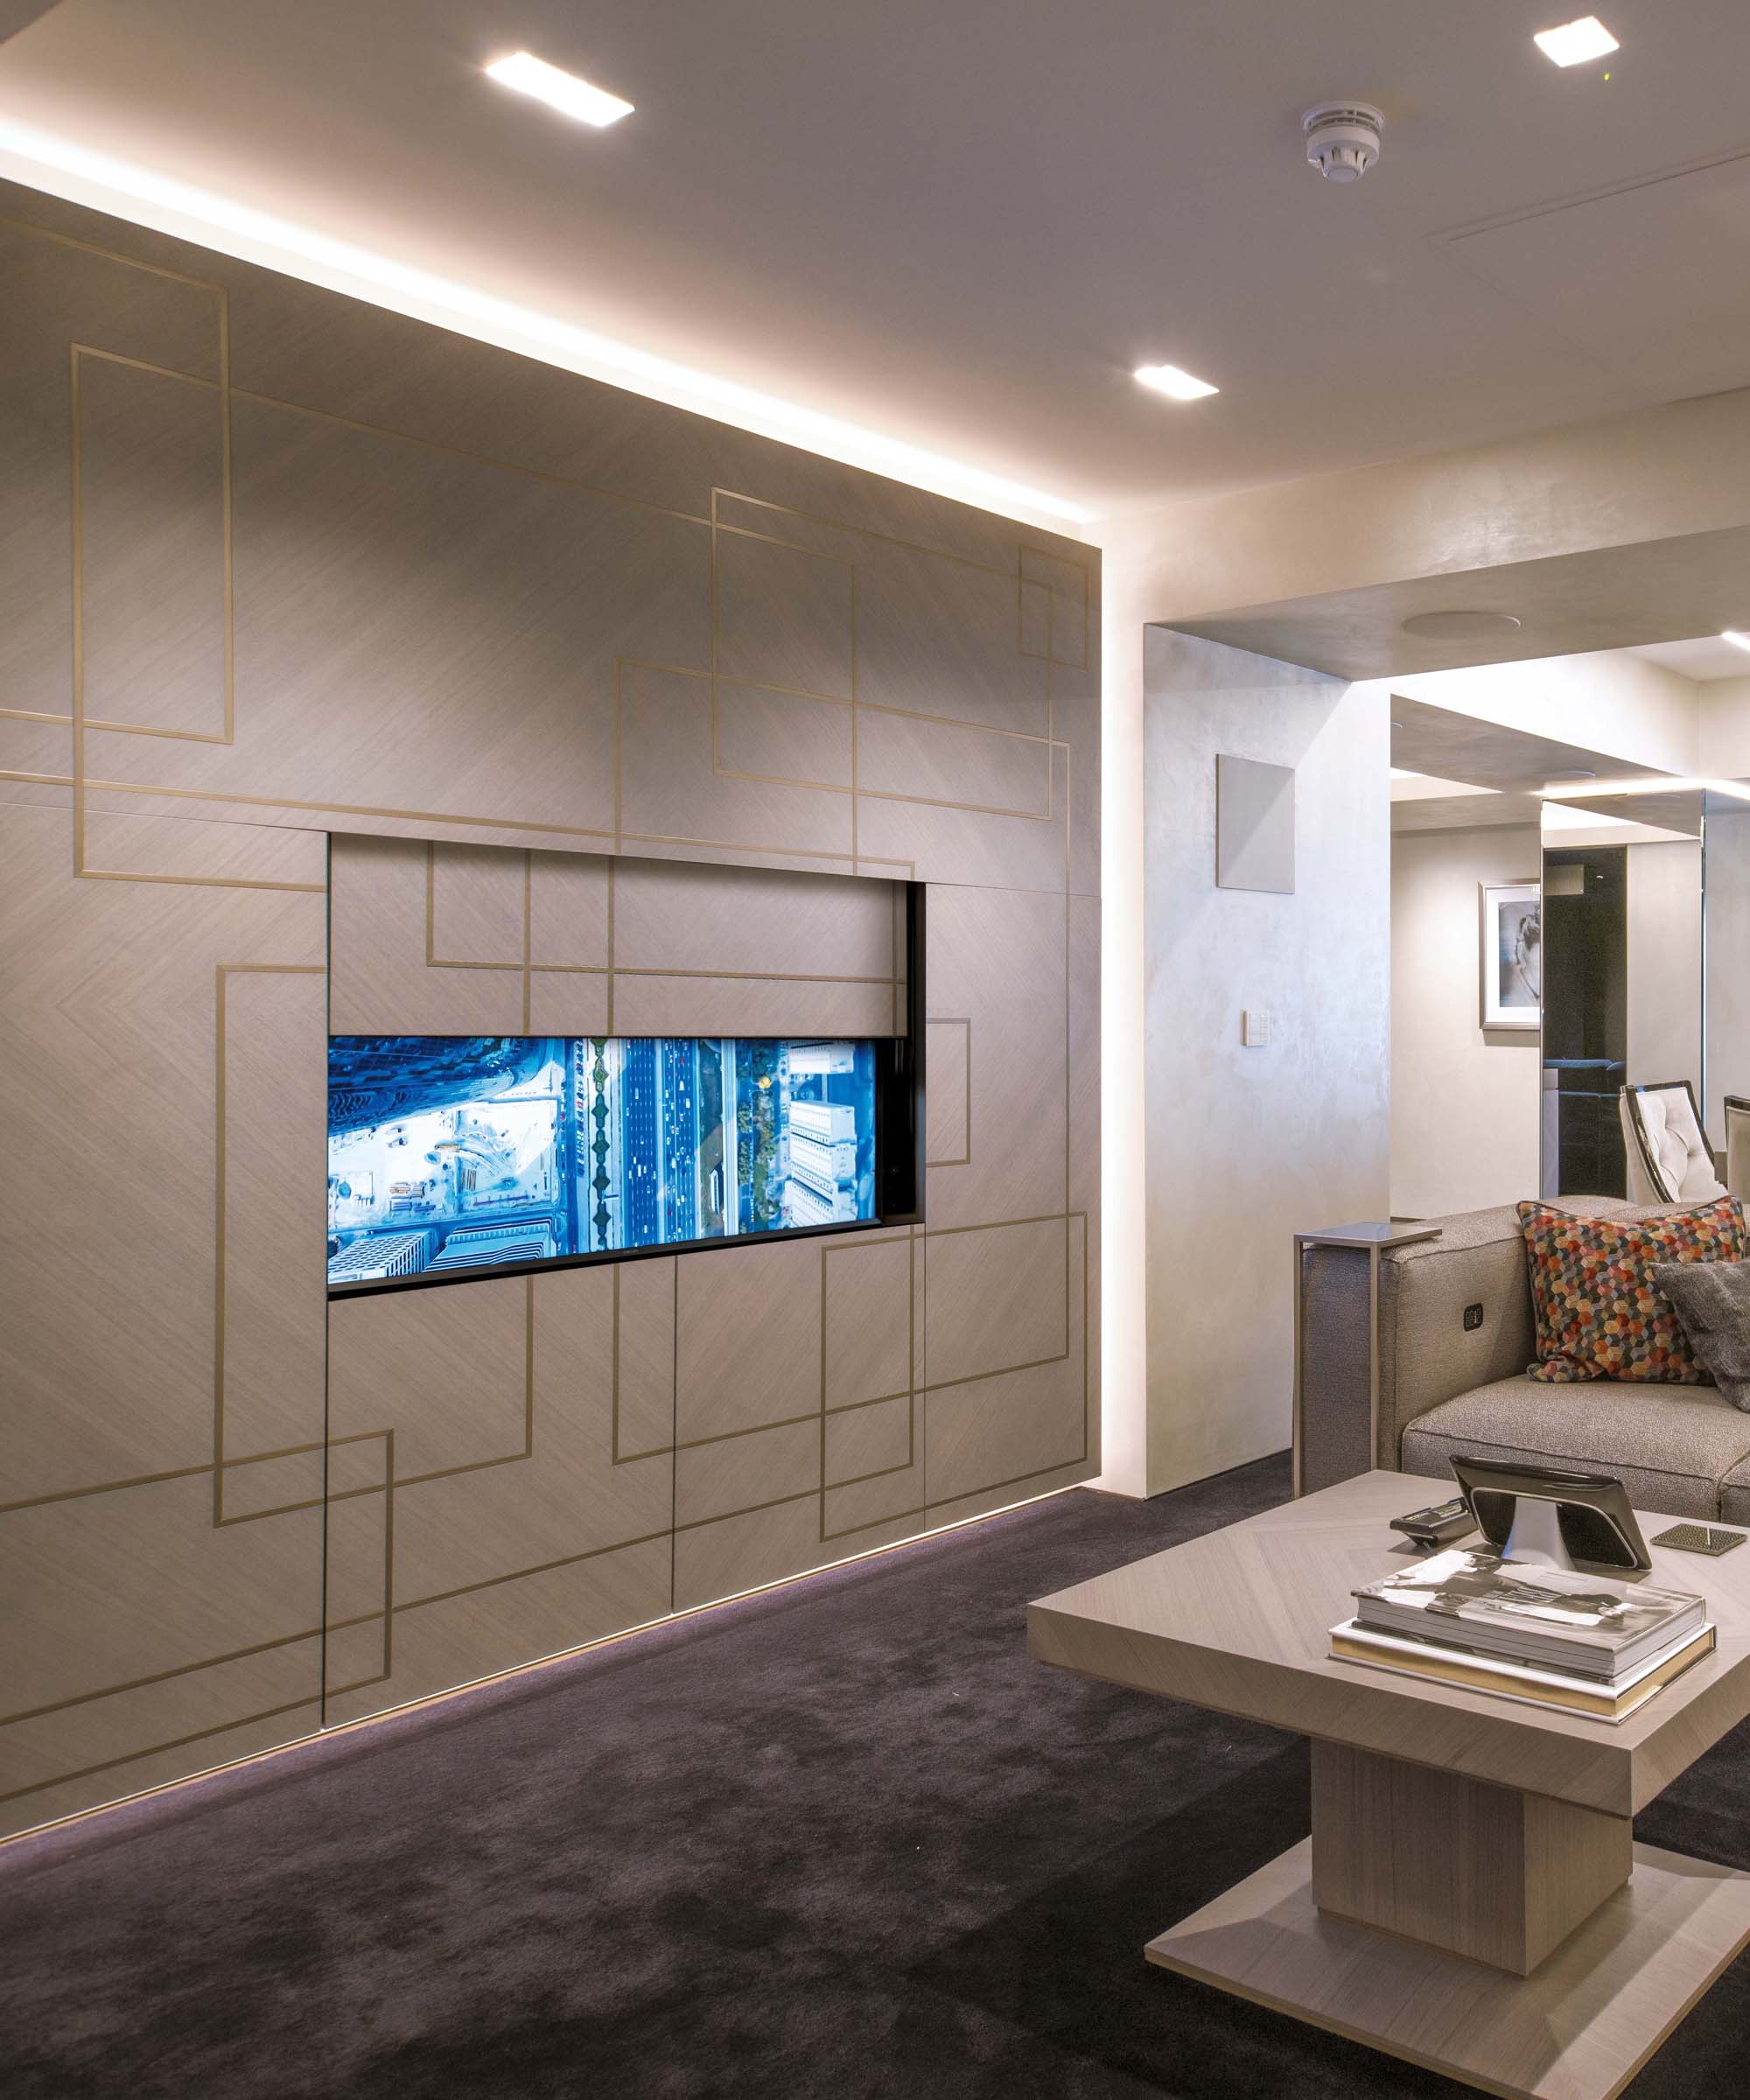
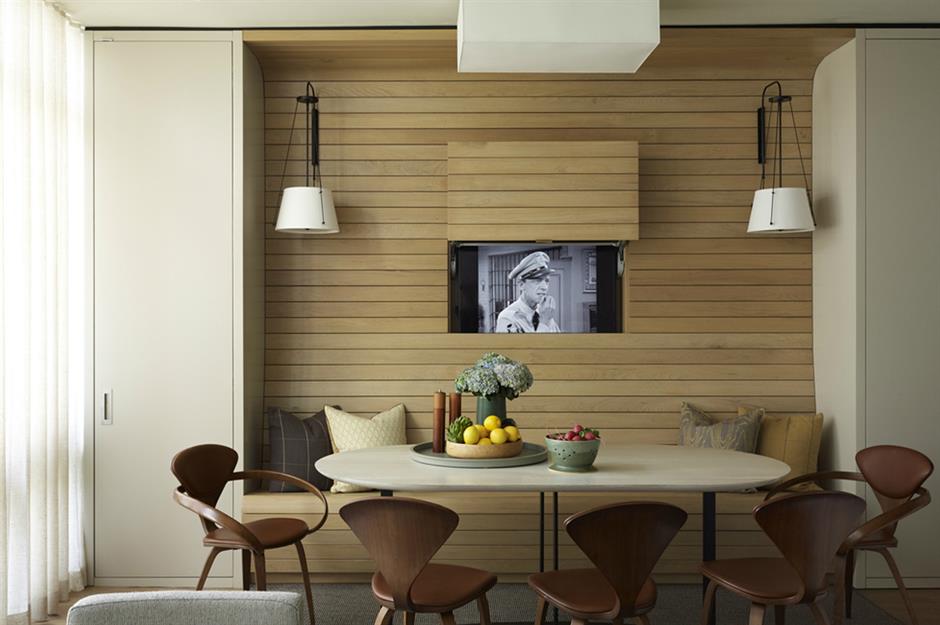
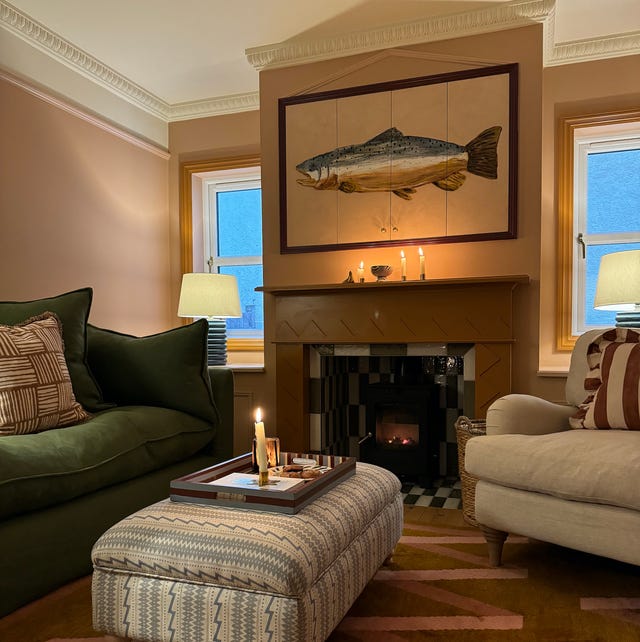
The inspiration for this project stemmed from Daniel's experience renovating his dining room, which lacked personality. By blocking a window and adding two new ones framing a chimney, he created an ideal niche for the hidden TV. This aligns with a broader trend in home design to tuck away bulky appliances and tech, preventing them from dominating a room's aesthetic. Daniel's solution involves a shutter-style MDF board designed to resemble an oil painting when closed, which then folds open to reveal the television.
He expresses satisfaction with the outcome, highlighting how the hidden TV prevents the appliance from monopolizing the room, particularly when entertaining guests or seeking a more serene atmosphere. The article then provides a comprehensive list of supplies needed for the project, including timber, plasterboard, plasterboard screws or adhesive, plaster filler, MDF sheets, decorative beading, all-purpose primer, paint, kitchen cabinet hinges, and piano hinges. Daniel, who utilizes CAD for his design schemes, begins the process by building a timber frame. Instead of boring into the existing chimney, he extended the chimney breast by 30cm to create a dedicated niche for the TV, recommending that those less confident in woodworking consider hiring a carpenter for this initial structural step.
Following the frame construction, plasterboard is used to cover the new extended breast and integrate it with the rest of the room, creating a cohesive look that suggests the TV niche has always been part of the chimney. The article notes the affordability and versatility of plasterboard for DIY projects, detailing how to cut, fix, and finish it, including filling joints and priming before painting. Next, an MDF box is constructed to fit within the niche, with decorative beading added around the opening to create a picture-frame effect.
The entire structure is then painted. Daniel used a specific eggshell paint (V&CO paint x Molly Coath Shade 4) suitable for wood surfaces, applying an all-purpose primer first. The final stage involves crafting the shutters from MDF. Four identical panels are cut and assembled, with kitchen cabinet hinges attaching them to the niche's interior and piano hinges allowing the central doors to fold completely back. The existing TV is then carefully mounted within the niche. The concluding step involves personalizing the shutters with artwork. Daniel painted a large trout, inspired by Sammy Little Art, directly onto the shutters, ensuring the image aligned across all panels when closed. He suggests alternative decoration options for the shutters, such as leaving them plain, adding picture frames, wallpaper, or mirrors, emphasizing the endless creative possibilities.
#DIYHomeImprovement #HiddenTV #HomeRenovation #InteriorDesign #LivingRoomDecor #MDFProjects #SpaceSaving #EdwardianHome #CustomFurniture #DIYHomeImprovement #HiddenTV #HomeRenovation #InteriorDesign #LivingRoomDecor #MDFProjects #SpaceSaving #EdwardianHome #CustomFurniture
0 comment in total
 No comments yet
You may also like
This Is the Ultimate Way to Hide Your TV

Living room design ideas: 6 ways to conceal your TV
Genius ways to integrate your TV into your living room | loveproperty.com

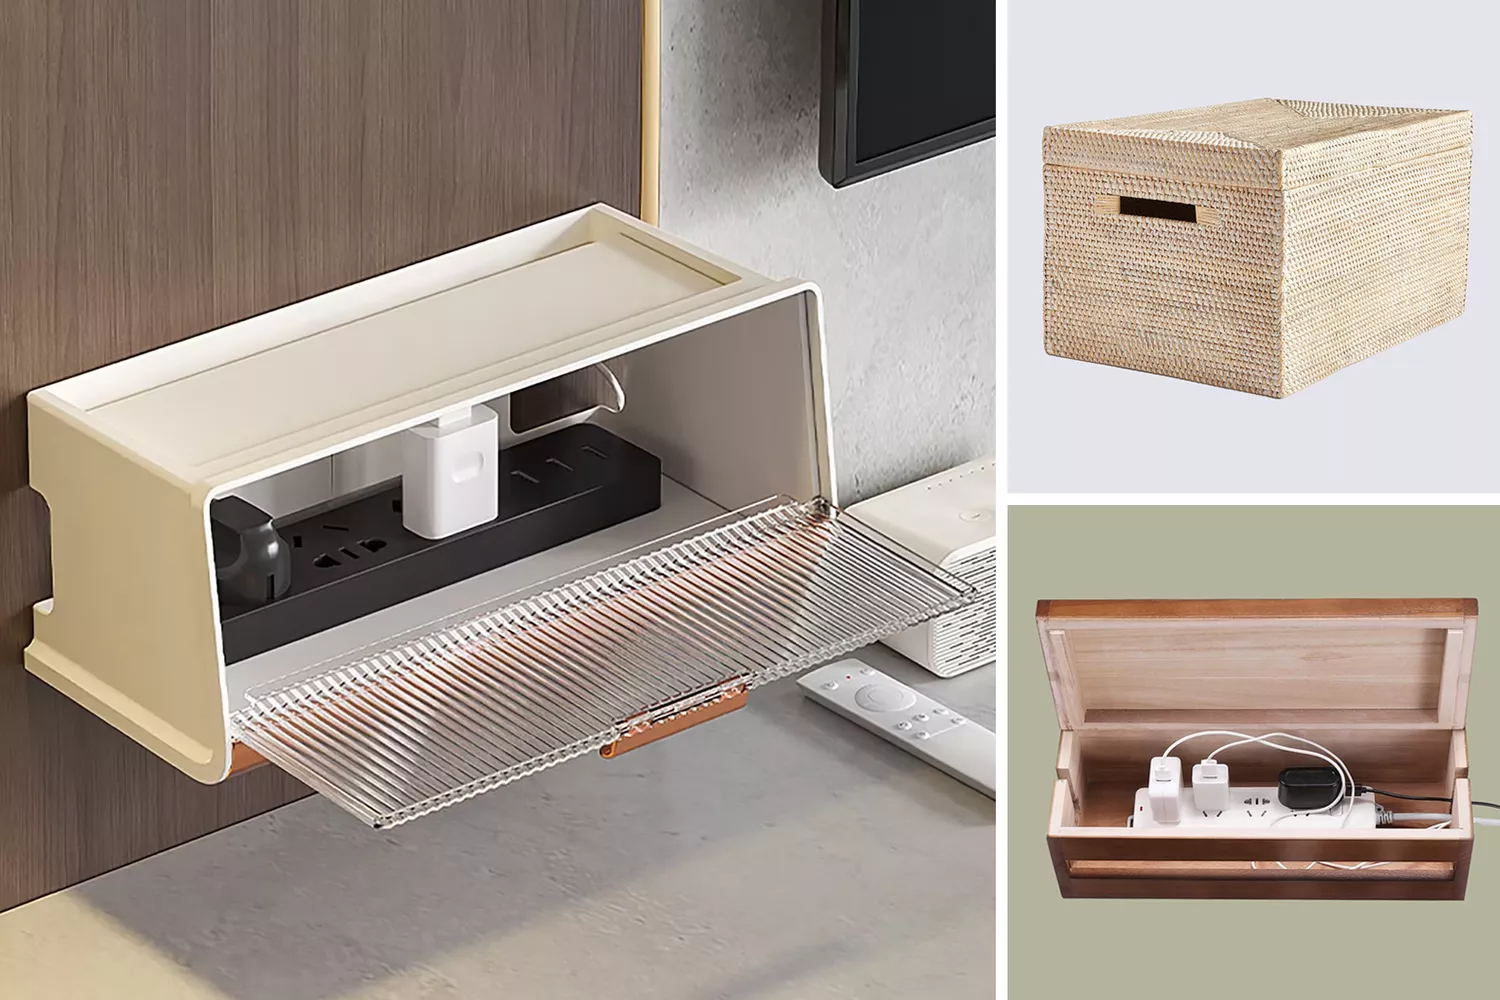
15 Solutions for Hiding Unsightly TV Cords, Wires, and Other Electronics
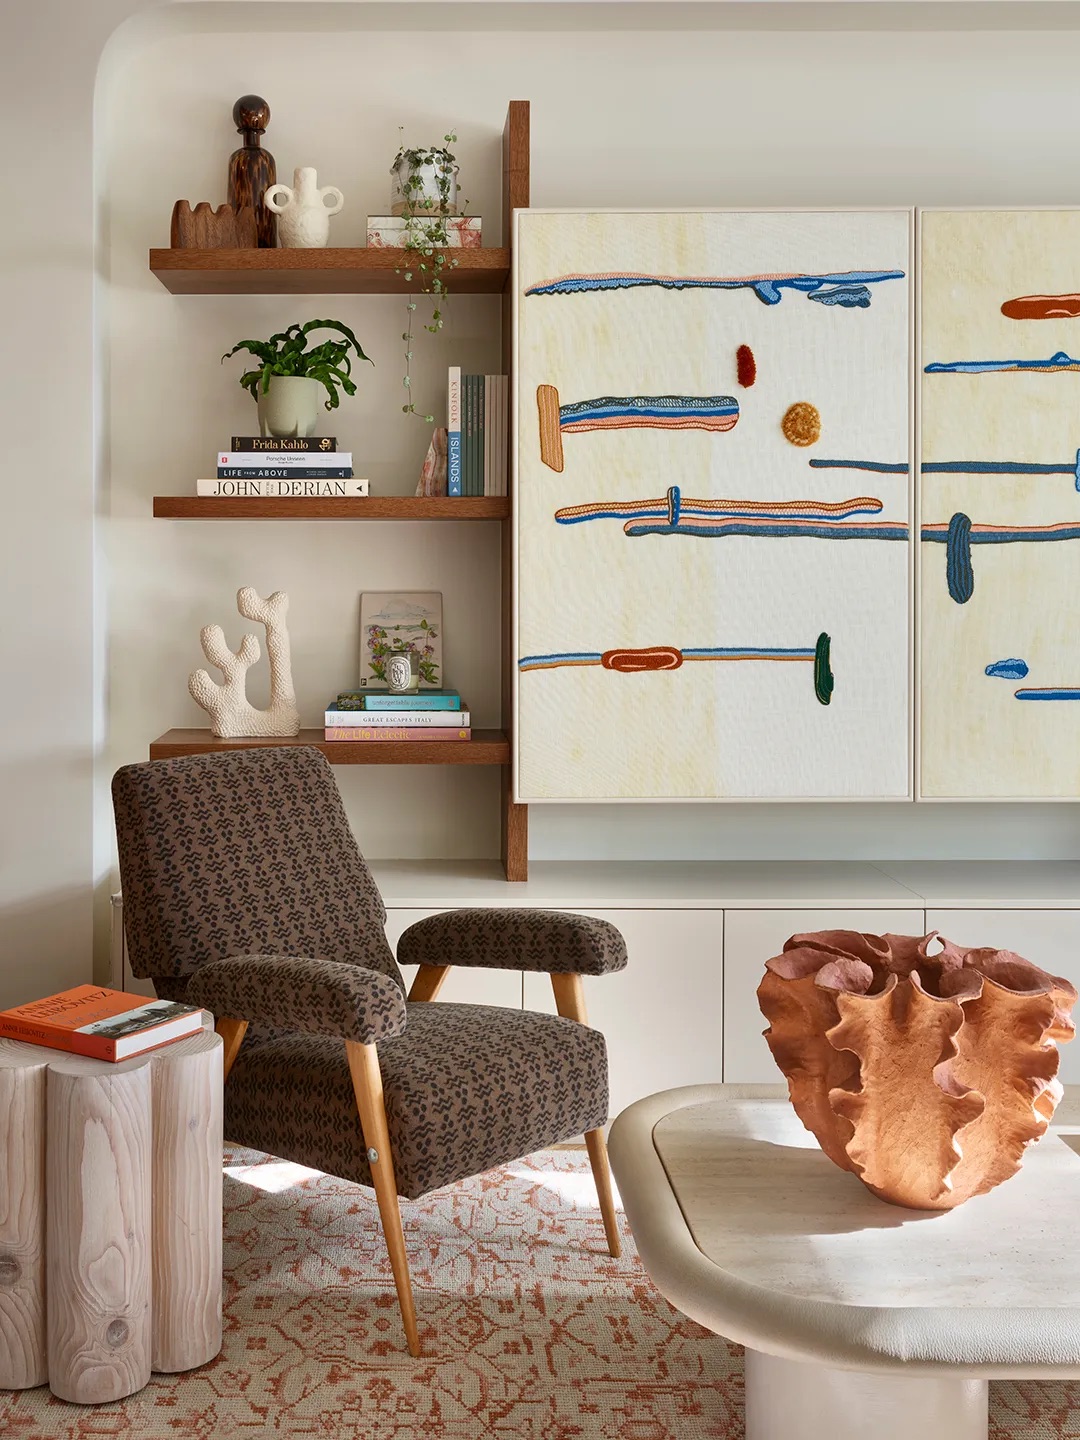
24 Ways to Hide Your TV in Plain Sight

Here's How to Hide Your Ugly TV Cables and Wires

How to Mount a TV Without Making a Mess (Published 2019)

Where should your living room TV go? Designers weigh in on the best spots
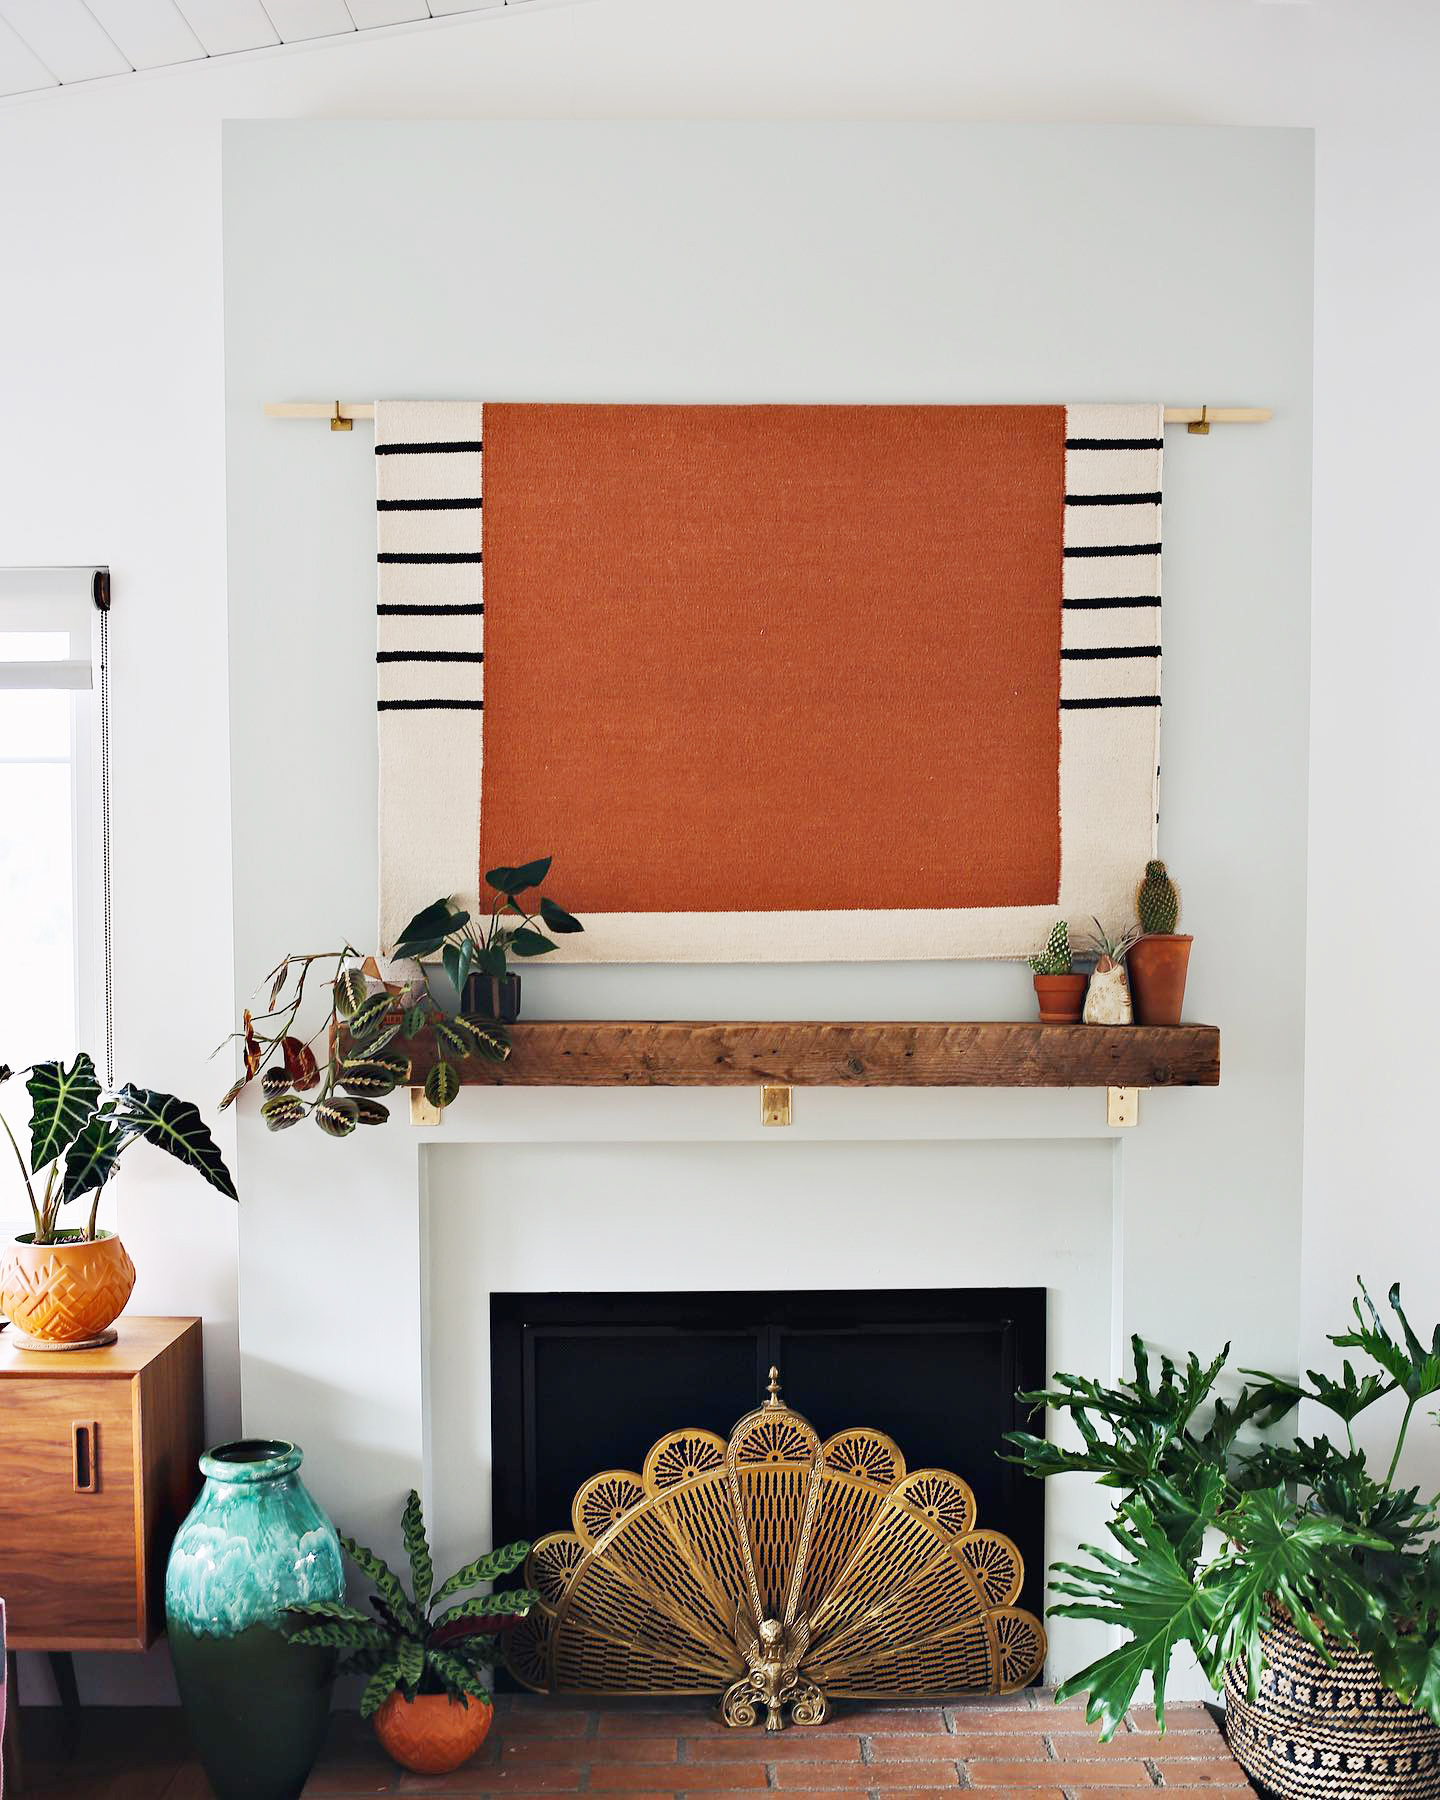
Try This 5-Minute Hack to Disguise Your TV
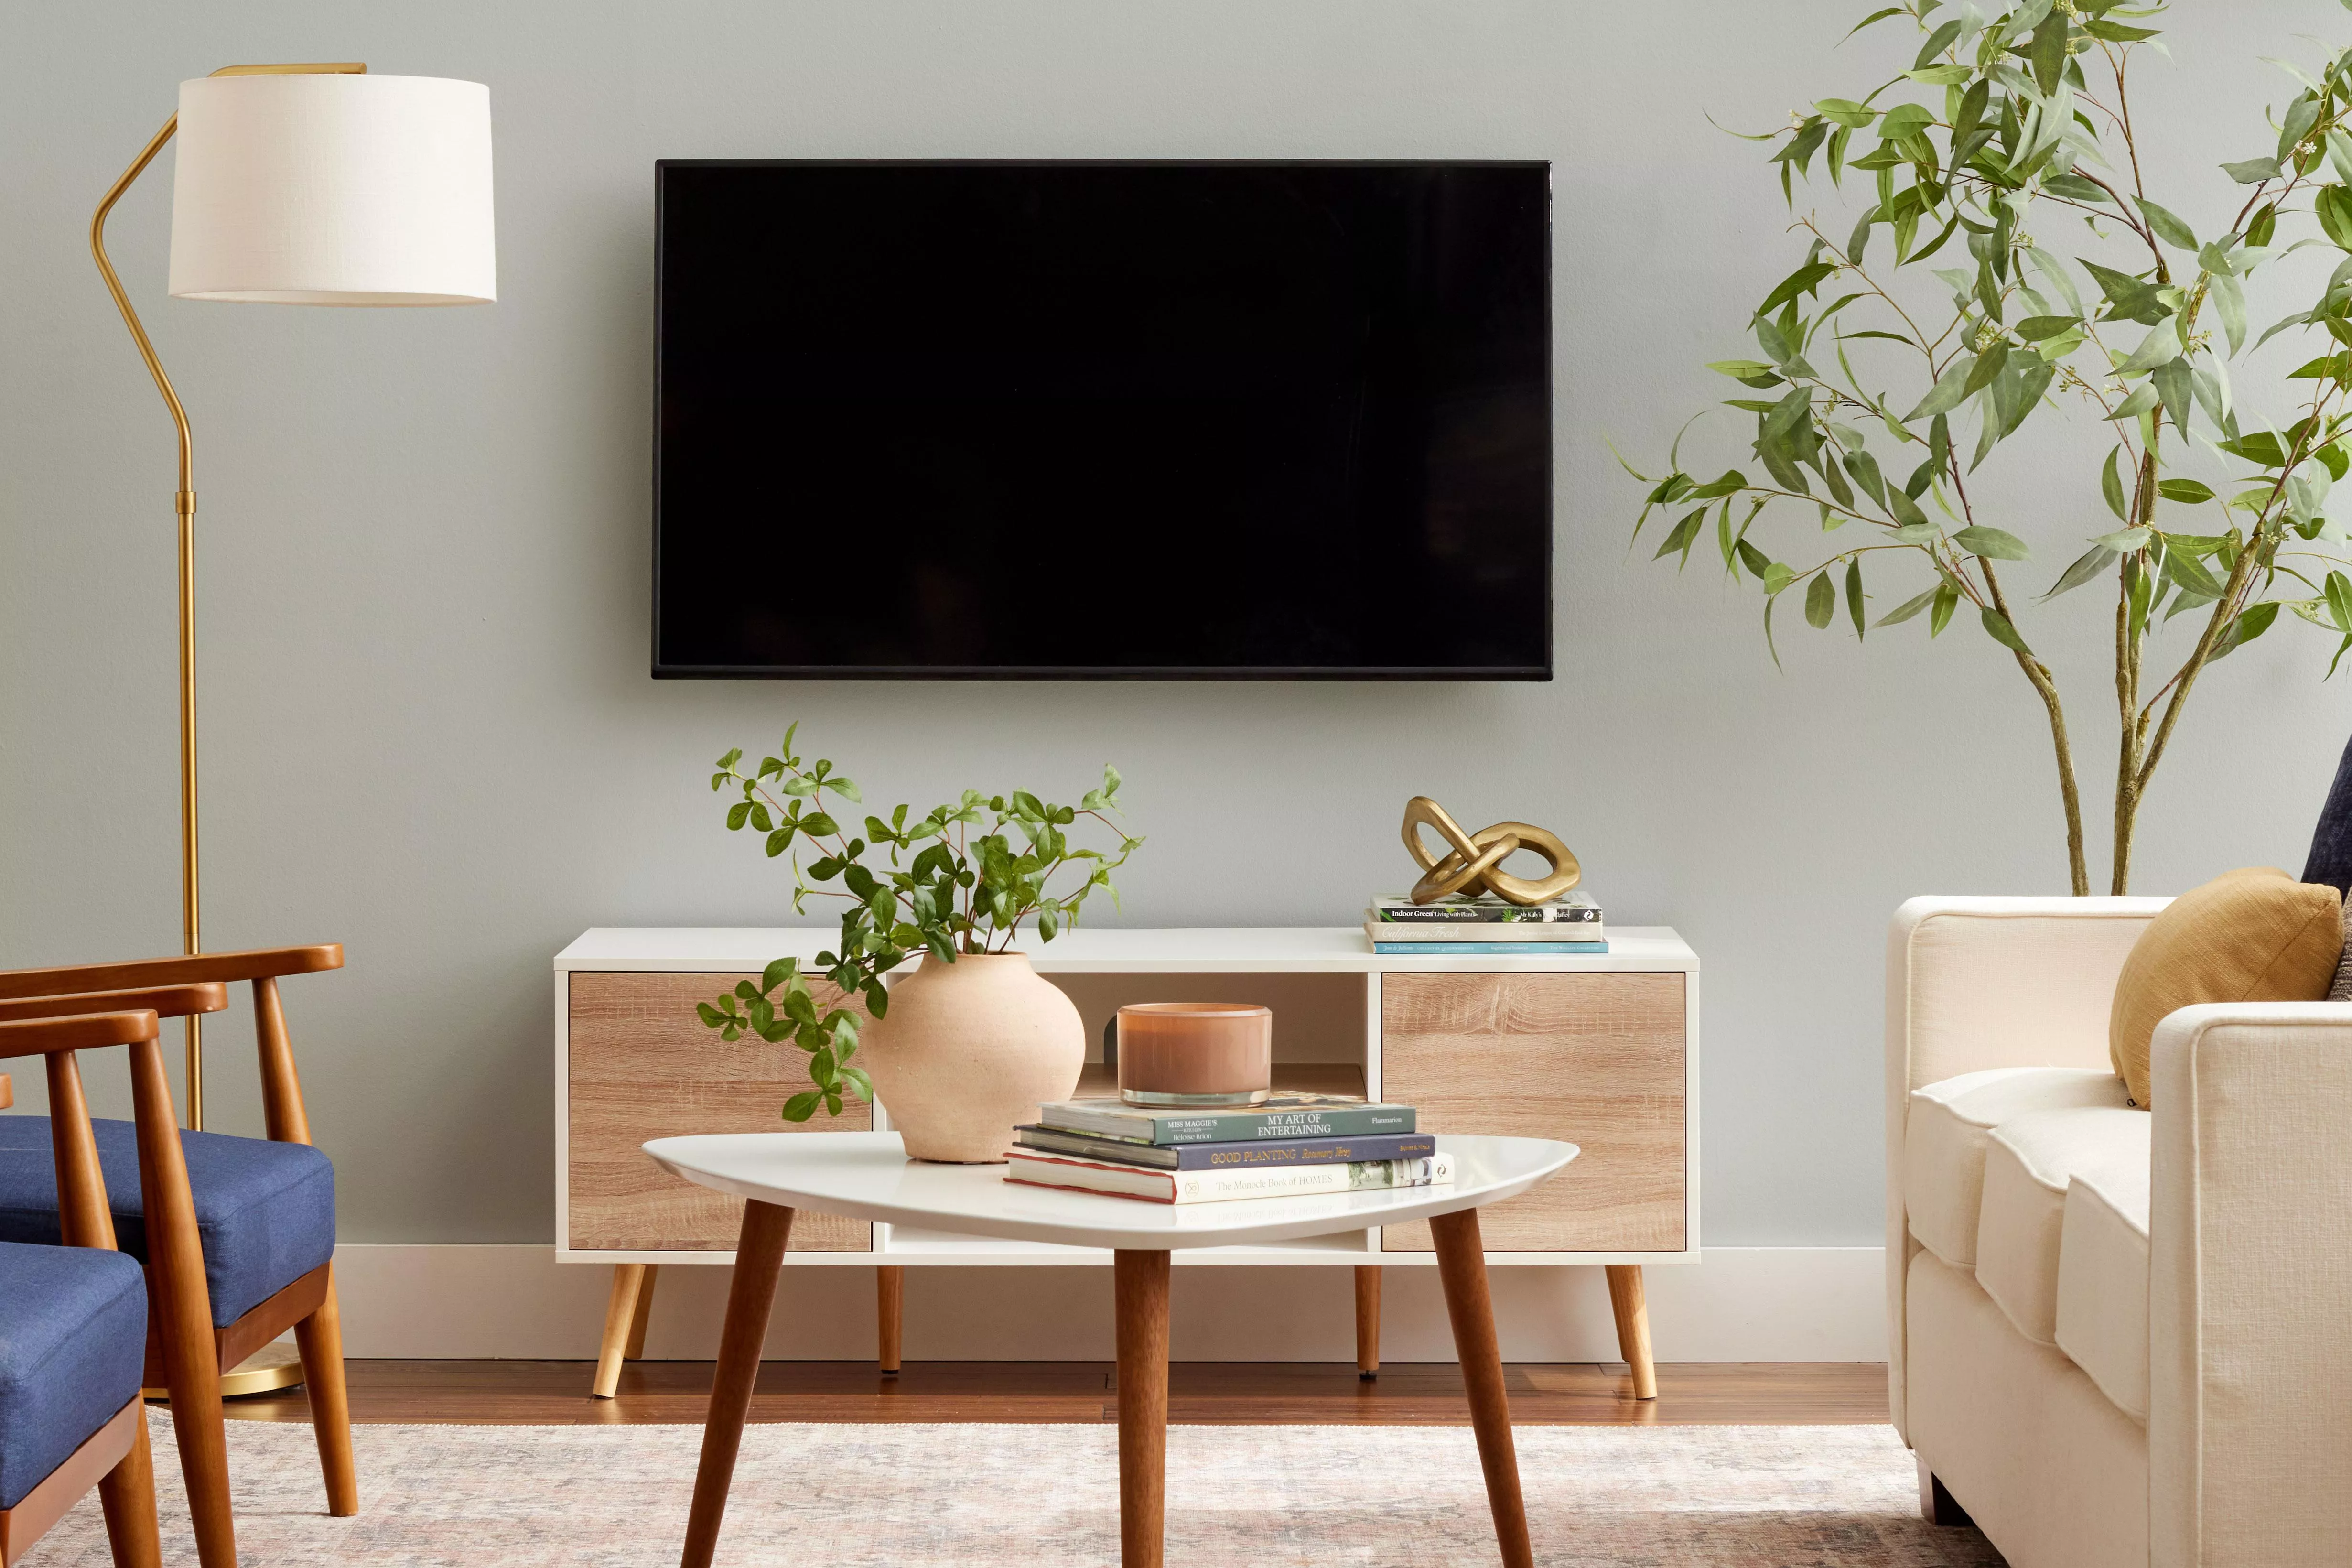
7 Clever Ways to Hide TV Cords

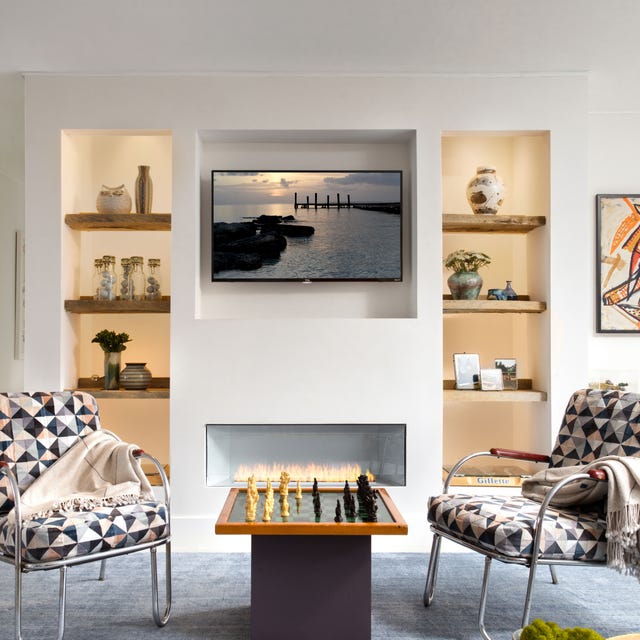
The Internet May Be on Fire About This, But There Are Actually Cool Ways to Hide Your TV

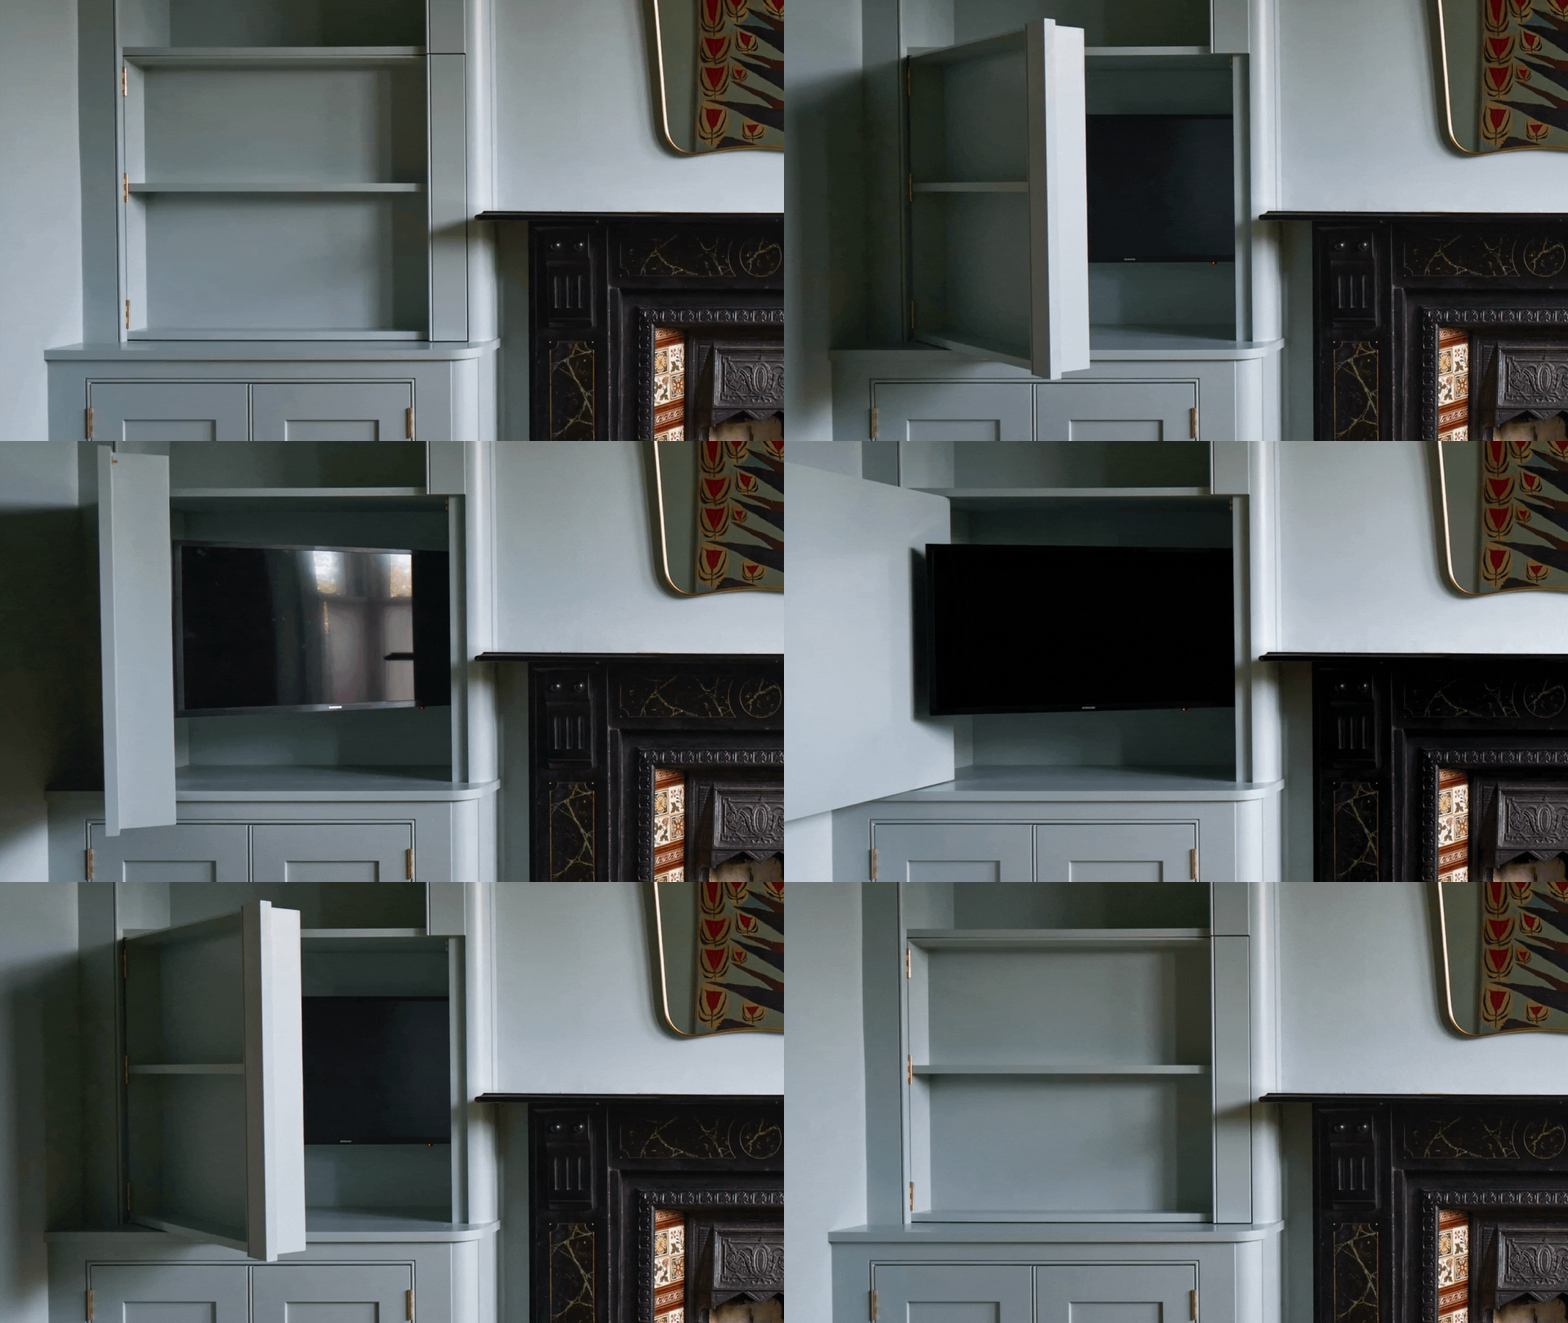
Oh Wow, This Secret TV Storage Is the Genius Idea Everyone With a Living Room With Fireplace Alcoves Will Want to Copy

10 Clever Ways to Hide a TV in Plain Sight
Hide Your TV in Plain Sight With This DIY Plaster-Coated Bookcase | domino
How to hide TV wires – 5 ways to eliminate messy cords from your living room for a clean and seamless look

Here’s How to Not Mess Up Mounting Your TV on the Wall | Reviews by Wirecutter
8 stylish ways to hide your TV around your home
Bedroom TV ideas to hide or display your screen
Creative ways to hide TV cords on walls
Should You Really Put Your Television Over Your Mantel?