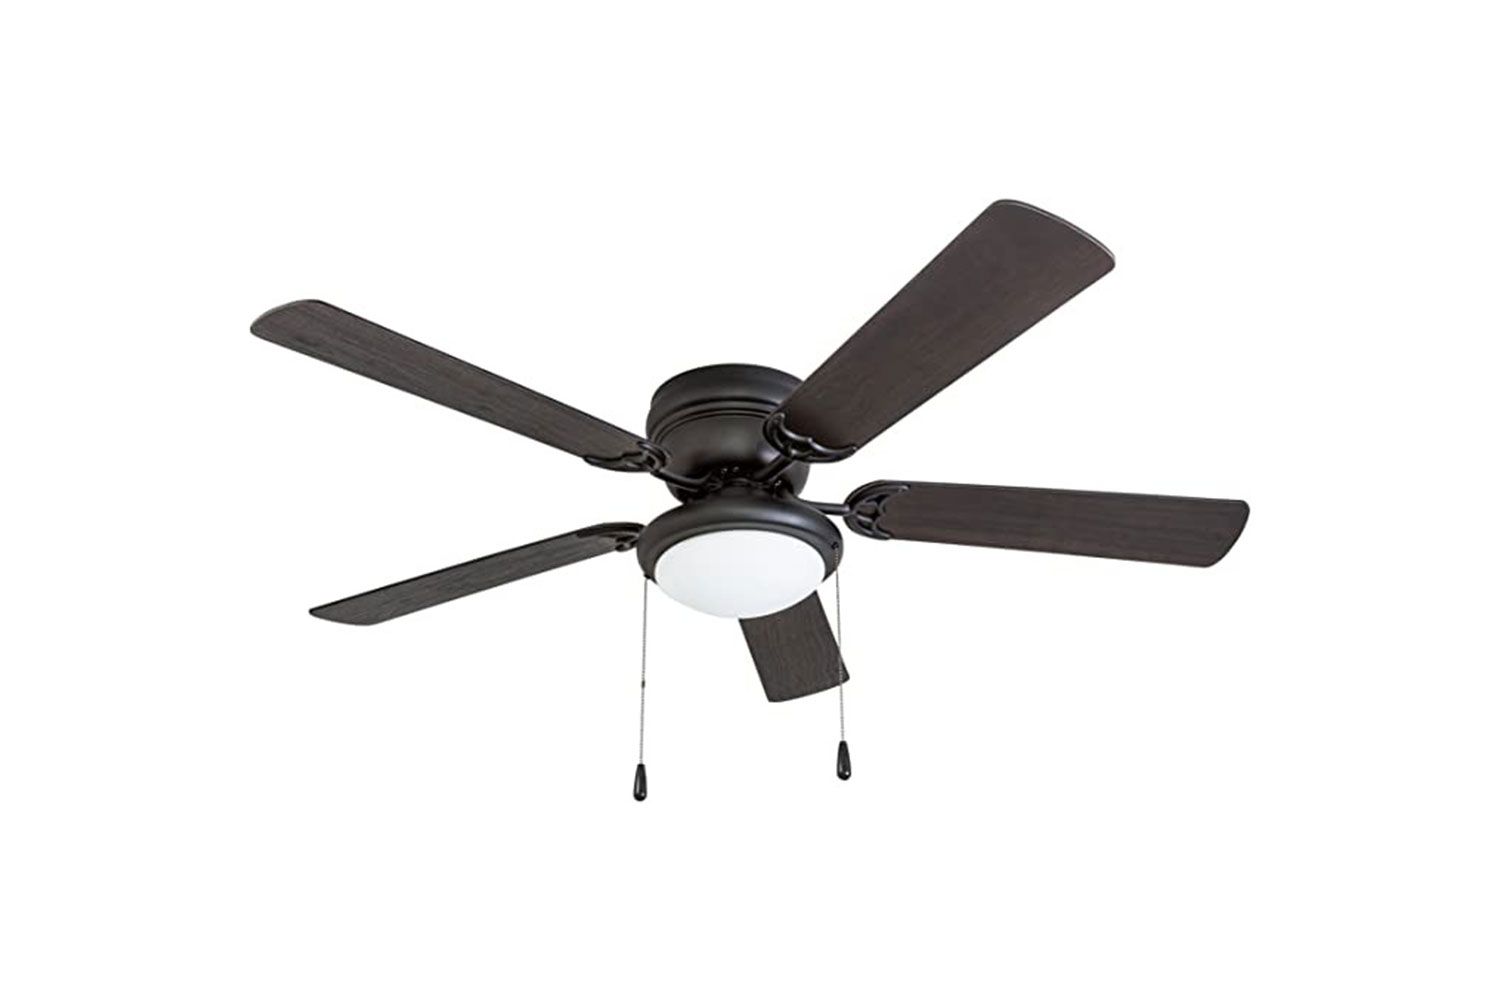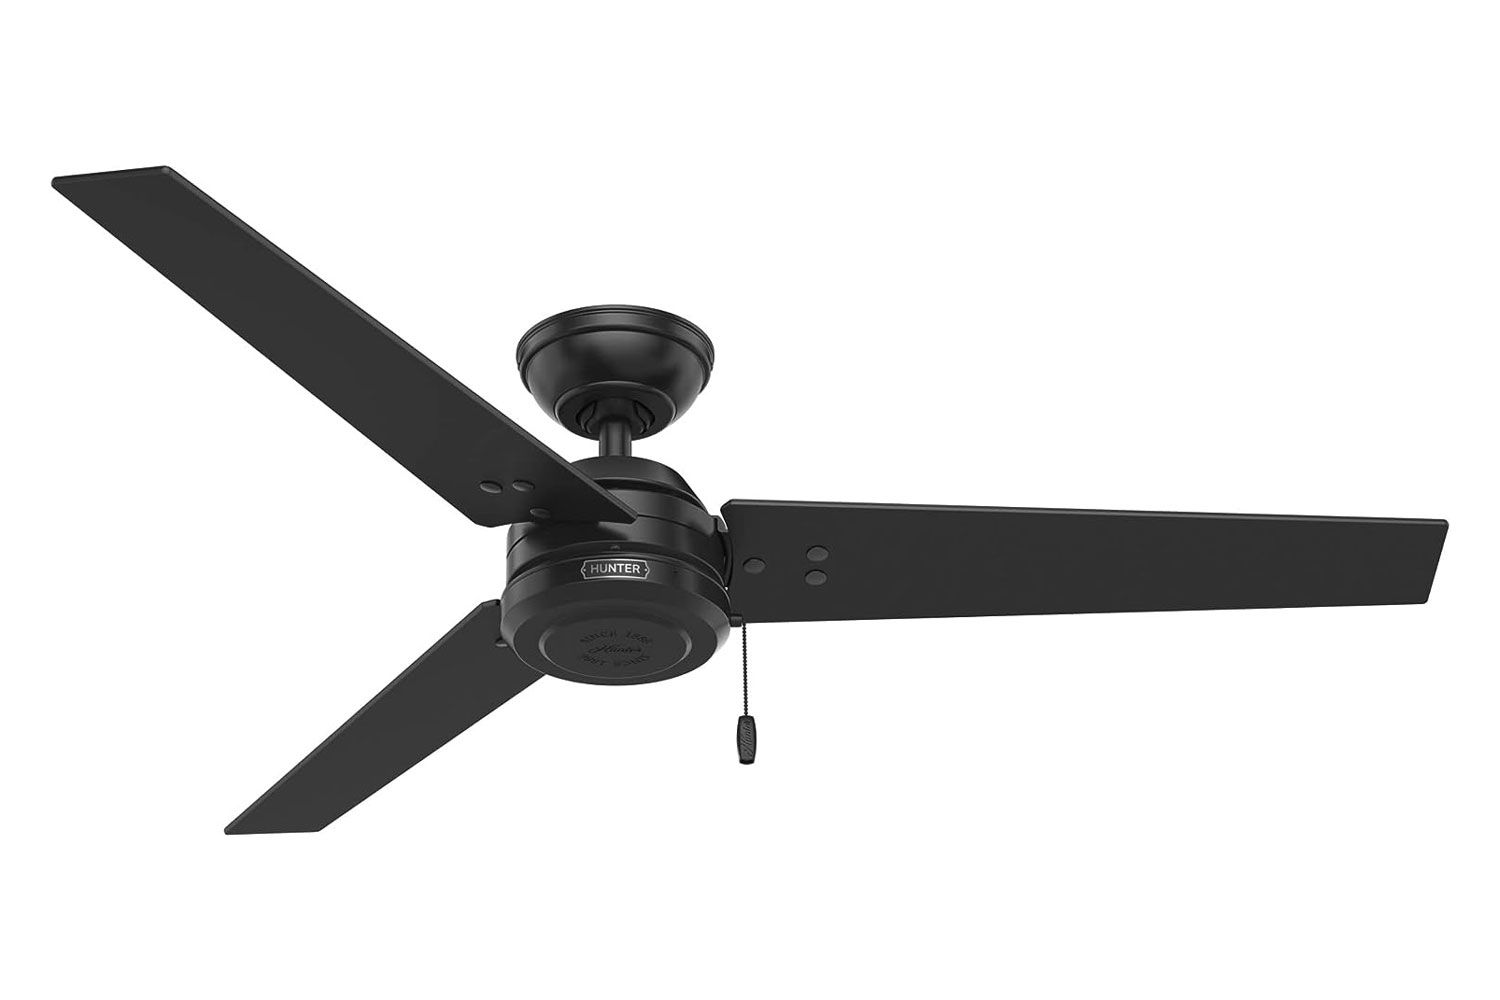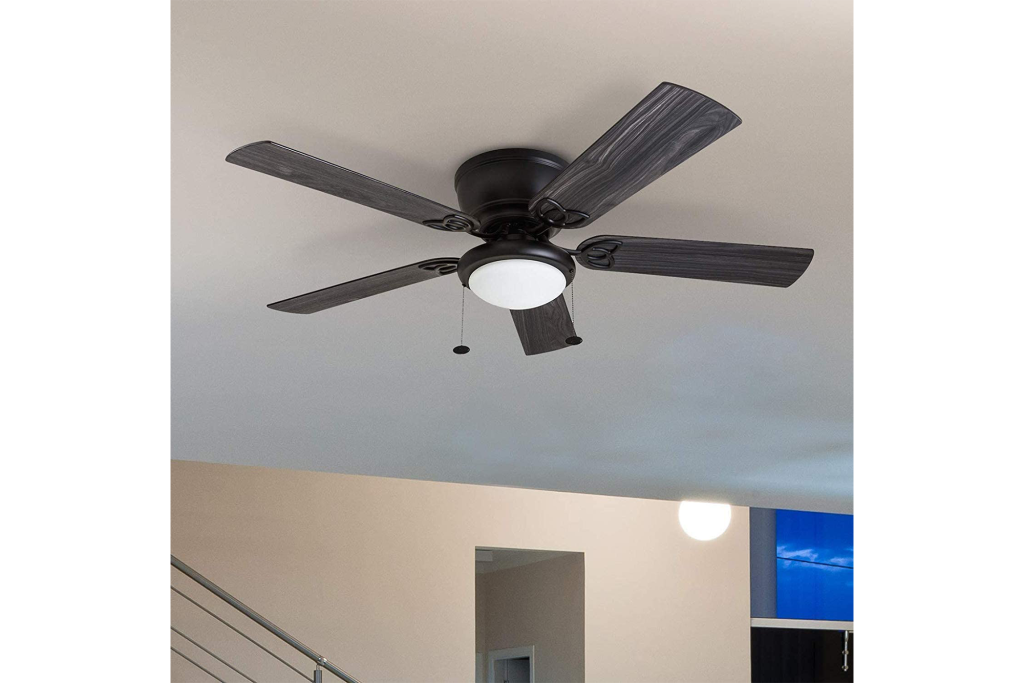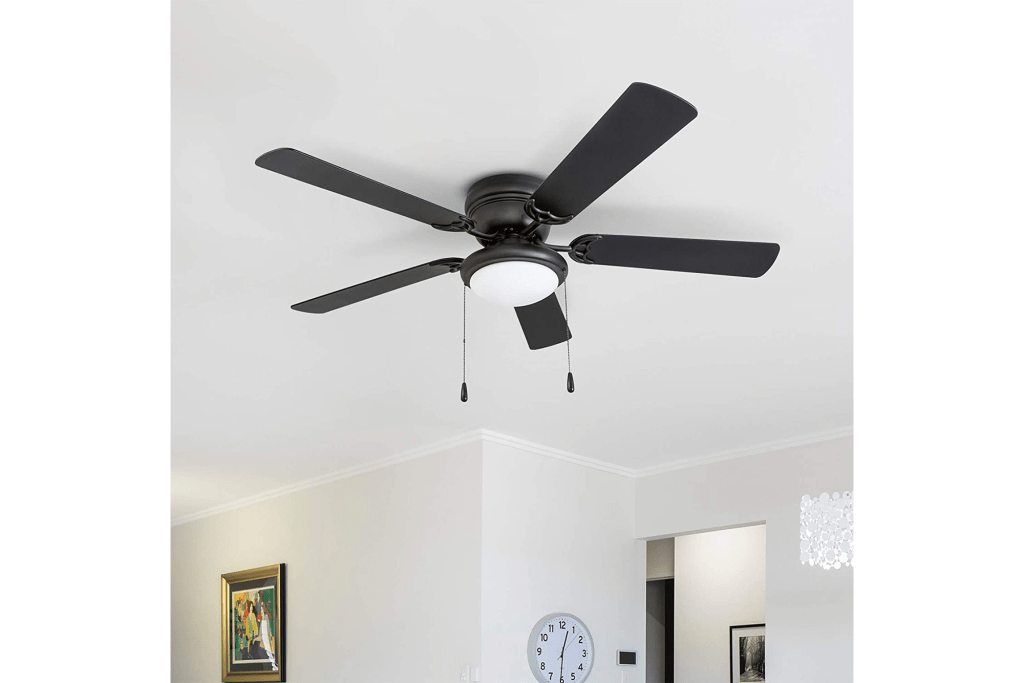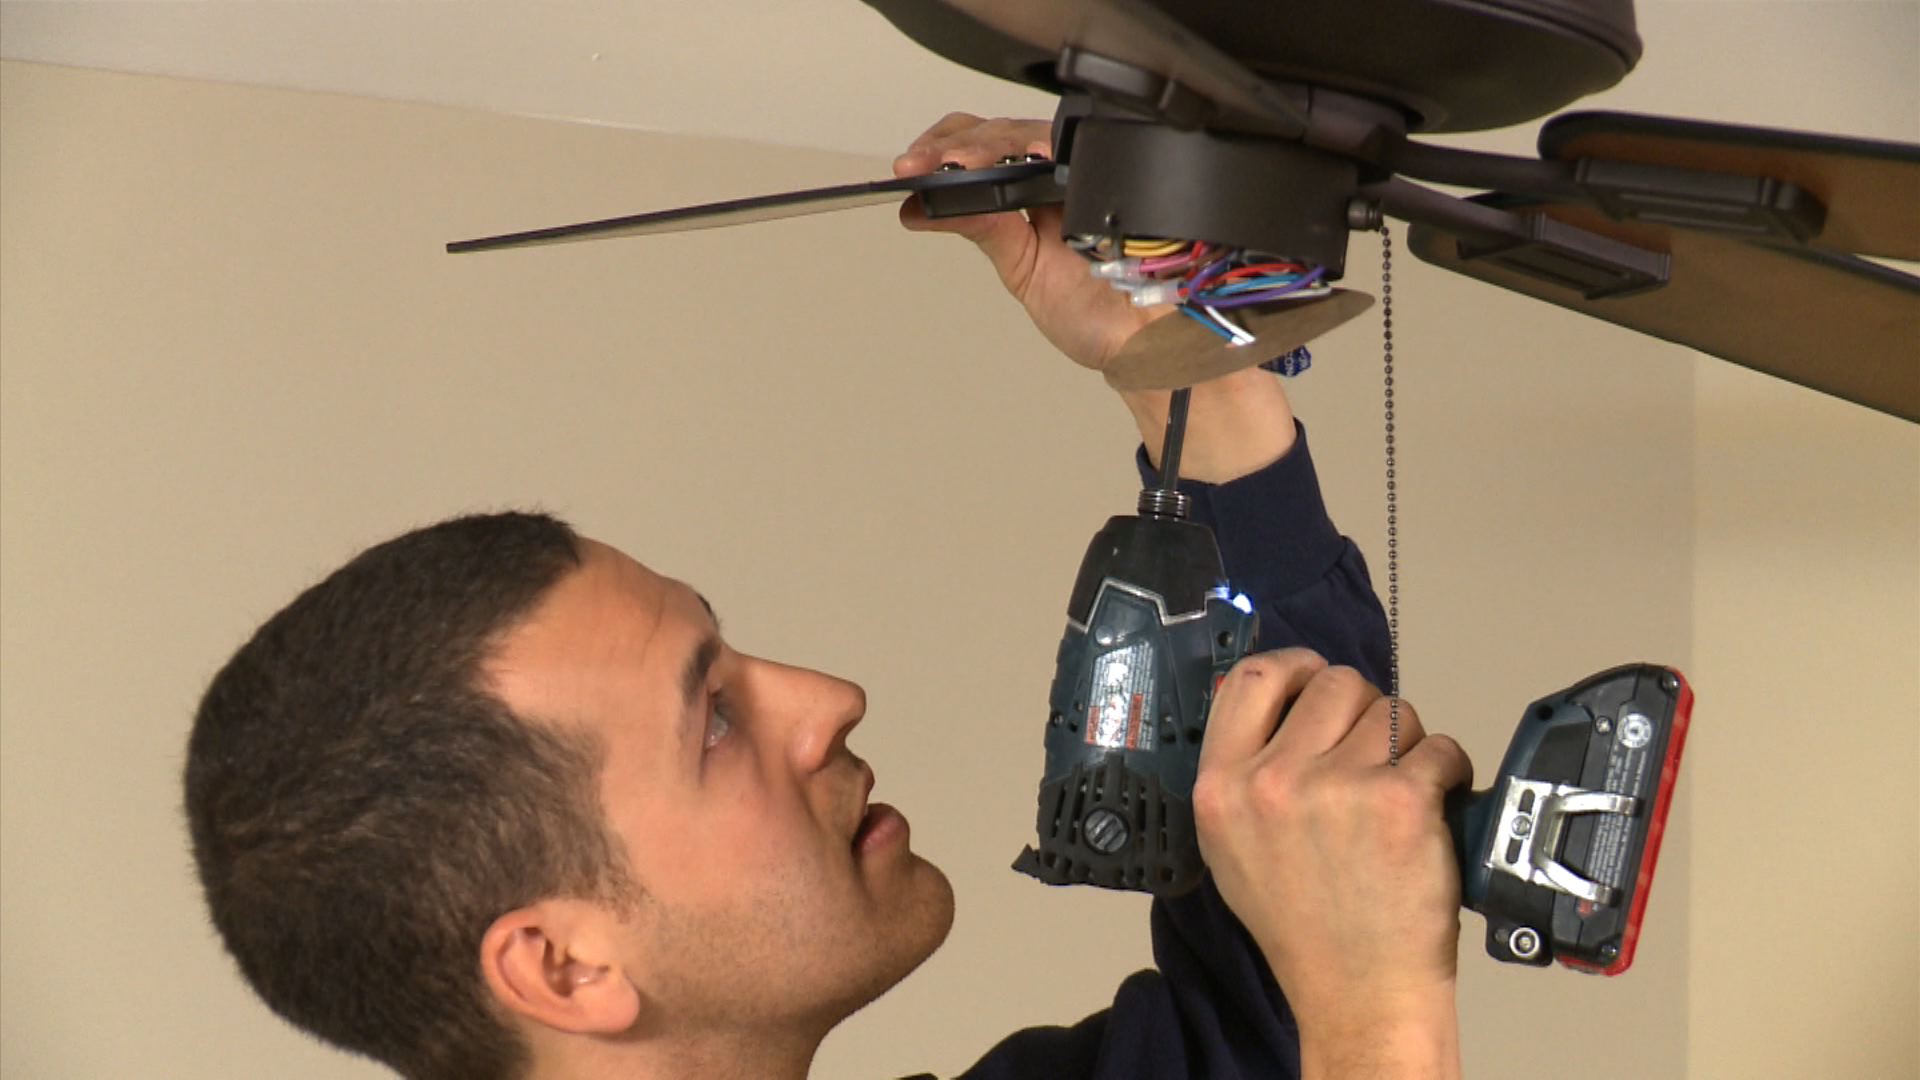
How to Install a Ceiling Fan with Mensch with a Wrench
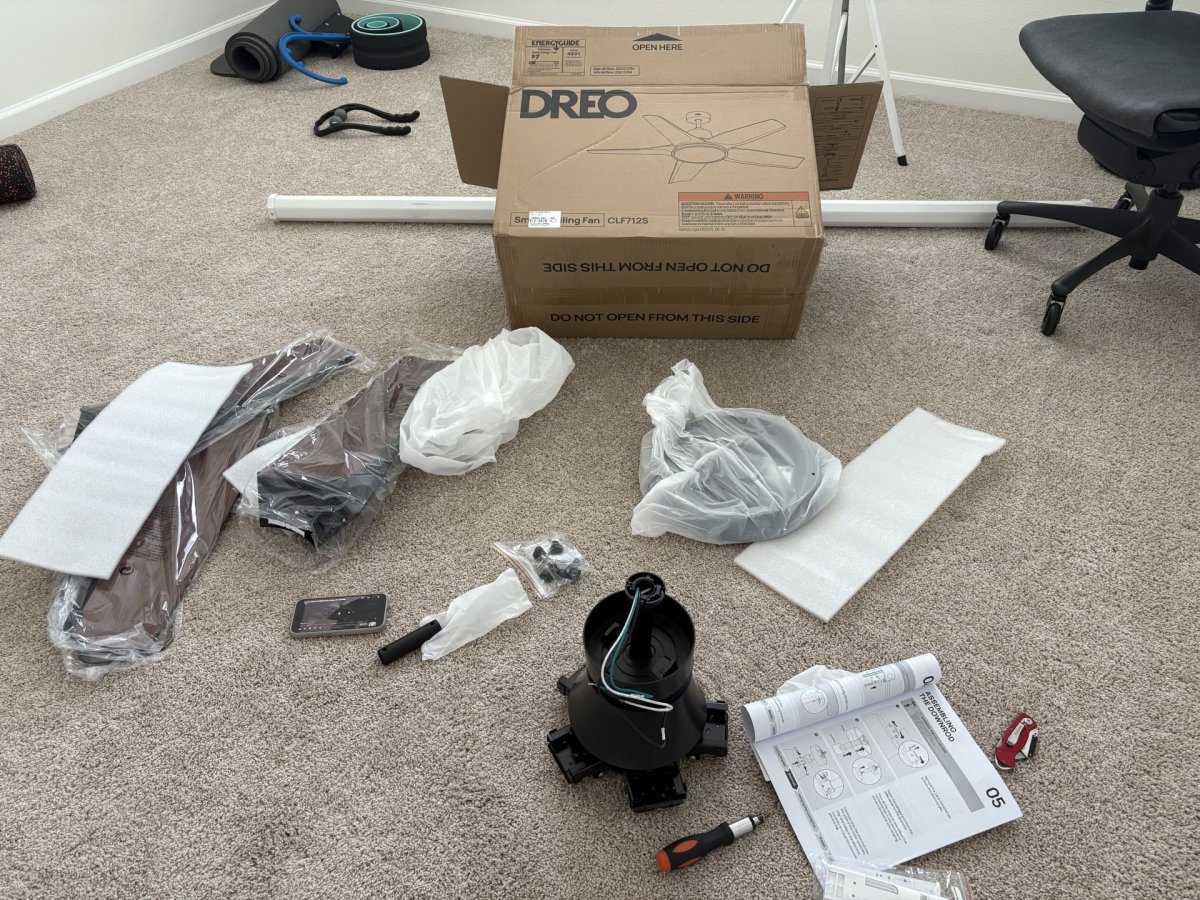
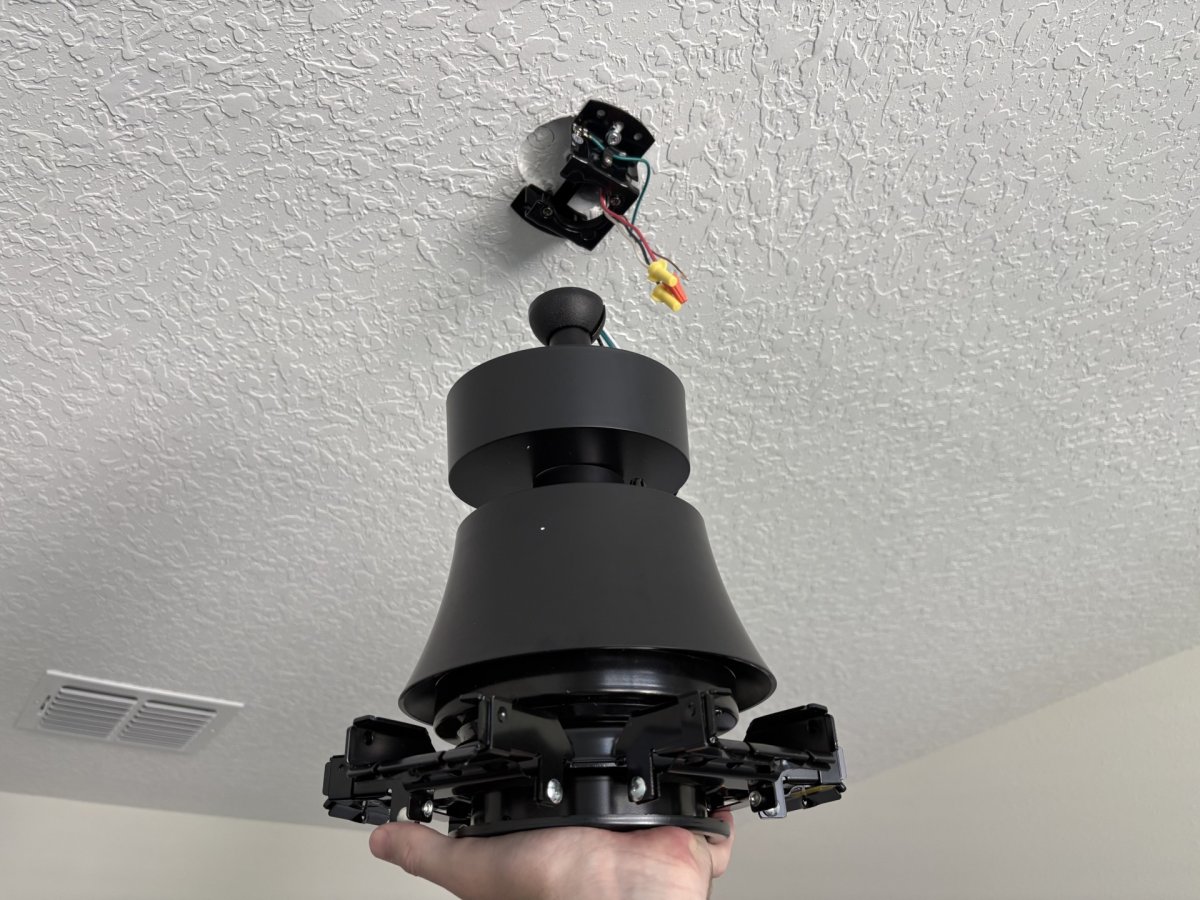
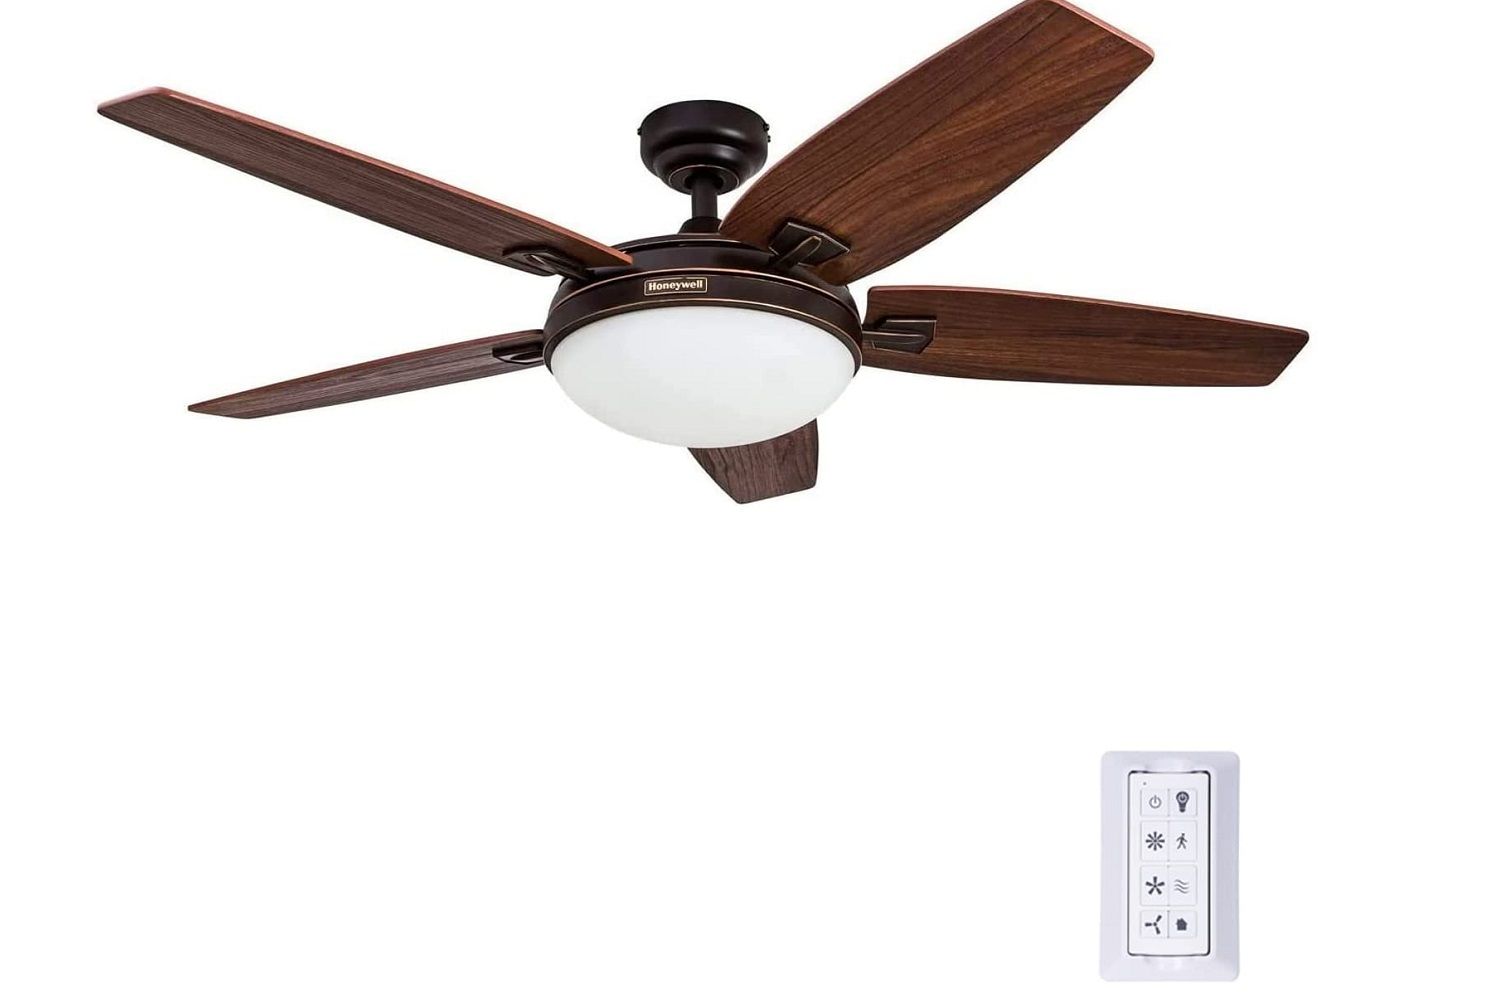
This guide, presented by Michael Goldstein, known as the "Mensch with a Wrench" and a Weekend Workbench expert, details the process of installing a ceiling fan. The installation is described as relatively easy, primarily involving light electrical work at the ceiling. The necessary tools and supplies for this project include Phillips and flat head screwdrivers, electrical tape, an electrical tester, a drill, and the fan unit itself. Before commencing any work, the crucial first step is to turn off the power at the breaker to ensure safety. Following this, the mounting bracket is secured to the ceiling. The next step involves preparing the fan unit by cutting the necessary wires and attaching the down rod to the fan base. Once the down rod is securely in place, the fan base is locked in, and the electrical connections are made. After the electrical work, the fan blades are assembled and then attached to the fan base. The subsequent steps involve mounting the light fixture to the fan unit. Finally, light bulbs are screwed into the fixture, and the glass cover is attached, completing the installation process. The entire installation is estimated to take a beginner approximately one hour, with the overall cost depending on the chosen fan unit. The article emphasizes the importance of remembering to purchase light bulbs, as they are often overlooked. The guide provides a clear, step-by-step approach for individuals looking to undertake a ceiling fan installation.
#CeilingFanInstallation #DIYHomeImprovement #ElectricalWork #HomeRenovation #MenschWithAWrench #WeekendWorkbench #CeilingFanInstallation #DIYHomeImprovement #ElectricalWork #HomeRenovation #MenschWithAWrench #WeekendWorkbench
0 comment in total
 No comments yet
You may also like
How to Install a Duct Booster Fan (DIY)

Our Editor Recommendations for Ceiling Fans Can Supplement or Even Replace an A/C
We Spent 1,200 Hours Testing Which Ceiling Fans Are the Most Cooling — These Are Our Winners
The 1 Super-Quick Thing You Should Do To Your Ceiling Fan In The Winter

The Best Ceiling Fans For Each Room Of Your Home
Finally, a Smart Ceiling Fan That Is Seriously Smart

Bedroom ceiling fans: Here's what you need to know
The 16 best ceiling fans for extra airflow, plus expert tips

Stylish ceiling fans for modern spaces
Installing a new fan? Tips to stay cool in Arizona's summer heat

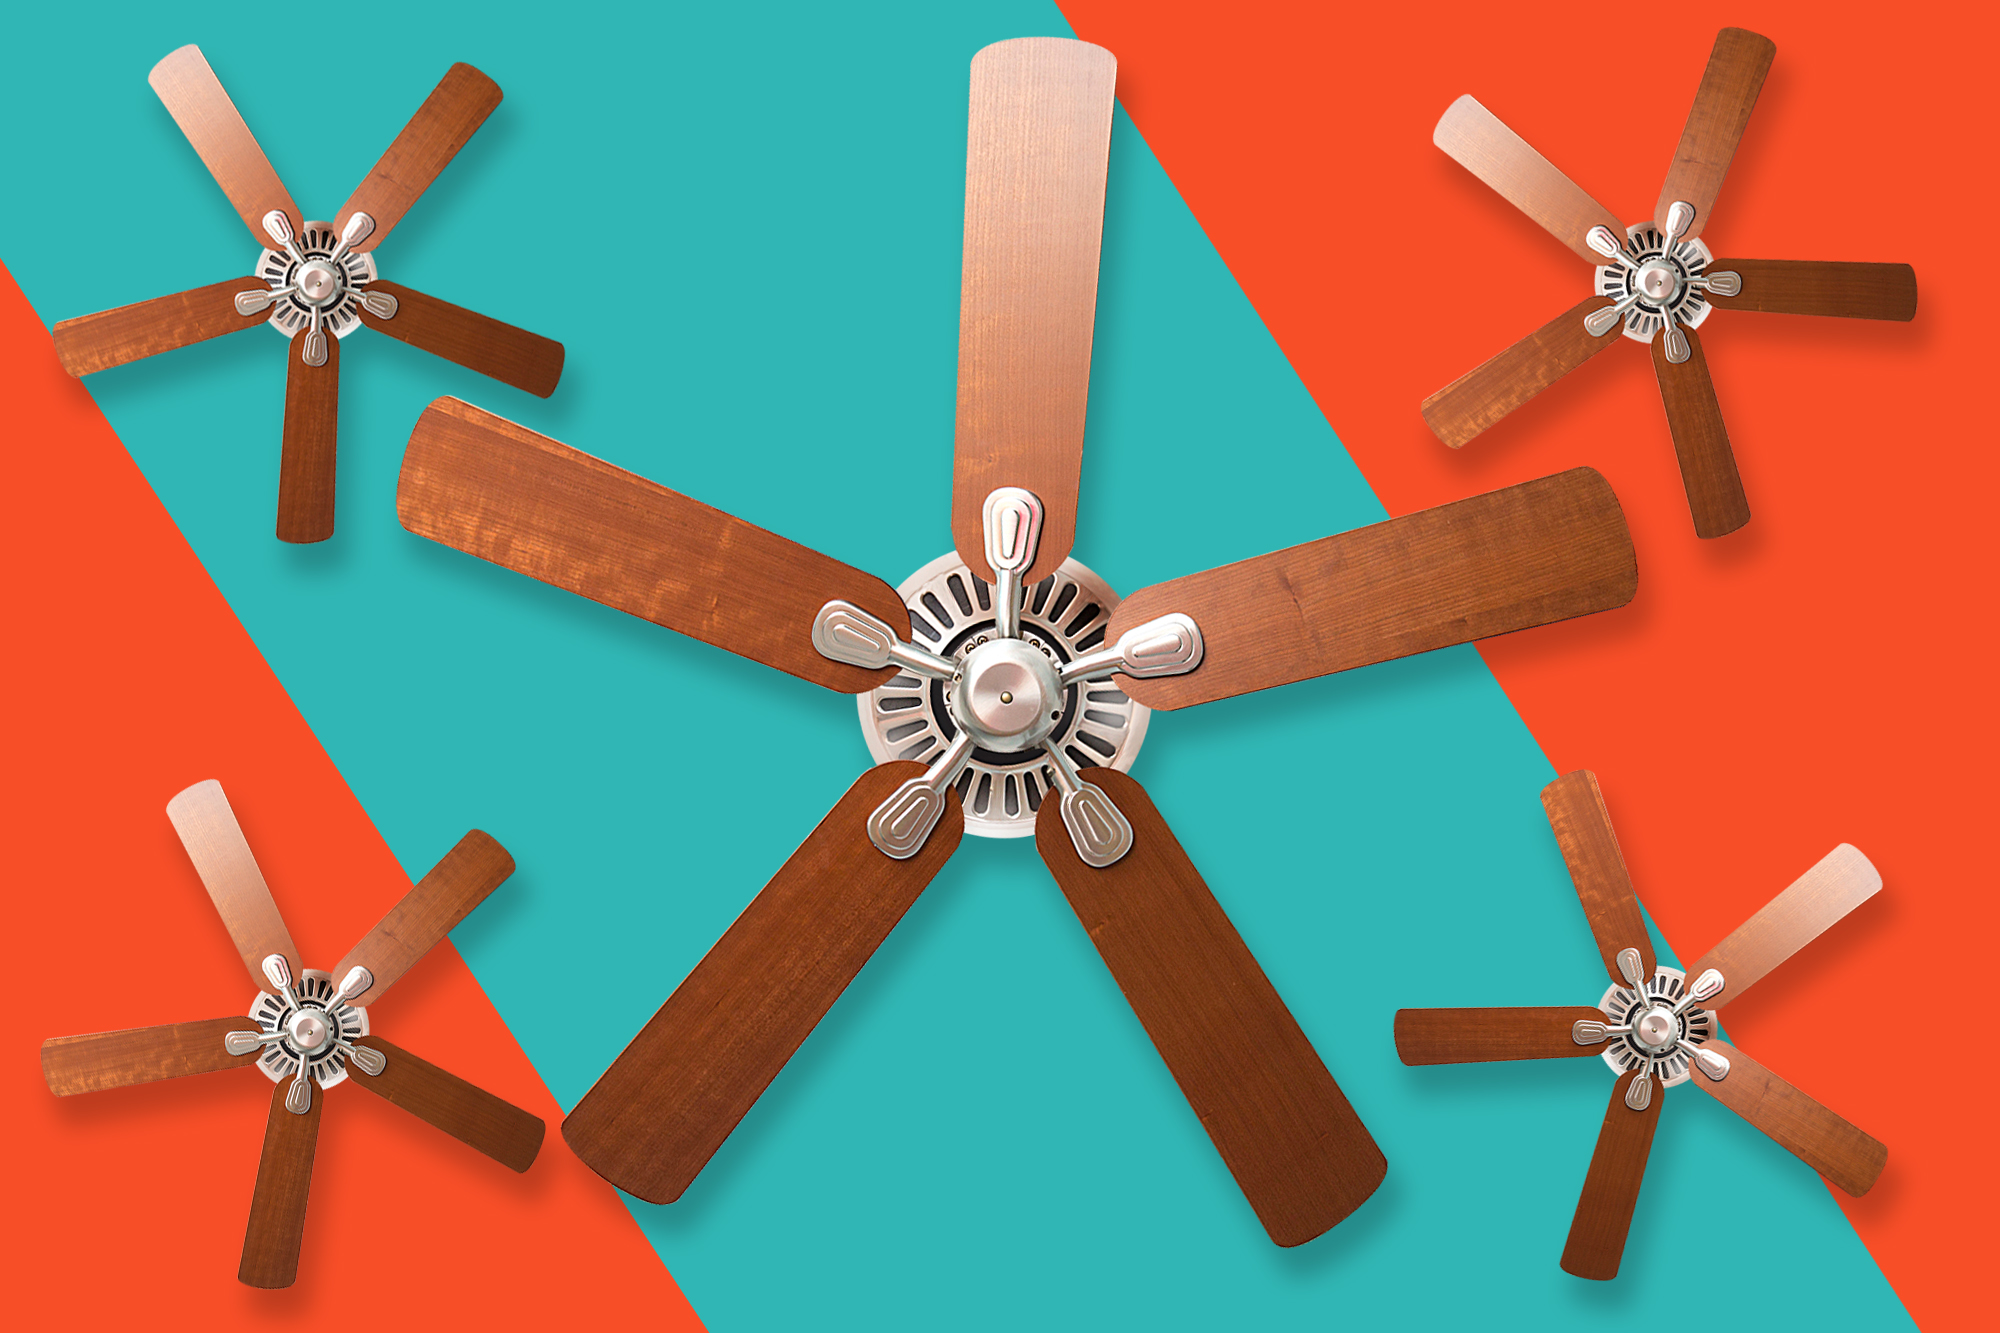
The 16 best ceiling fans for extra airflow in 2023, plus expert tips
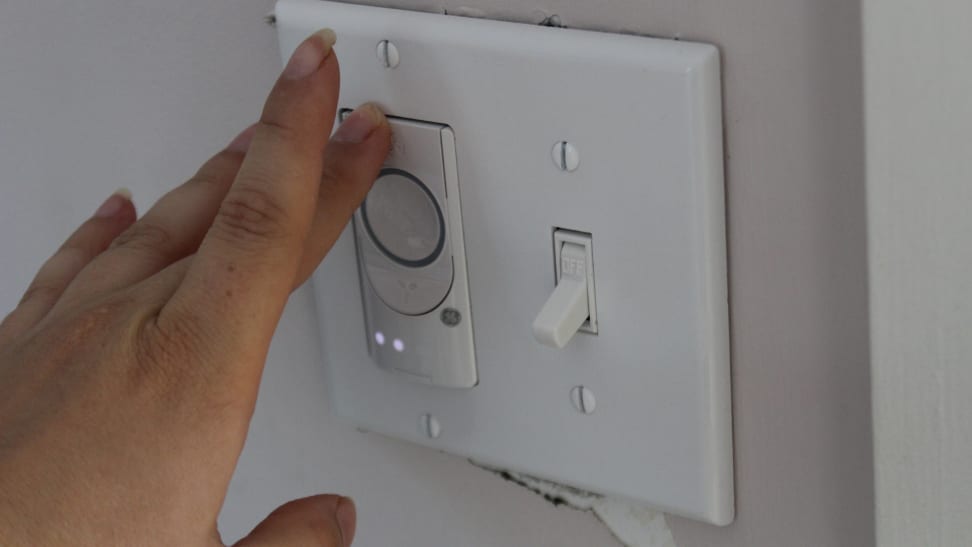
I tried a smart ceiling fan switch—here's how it went

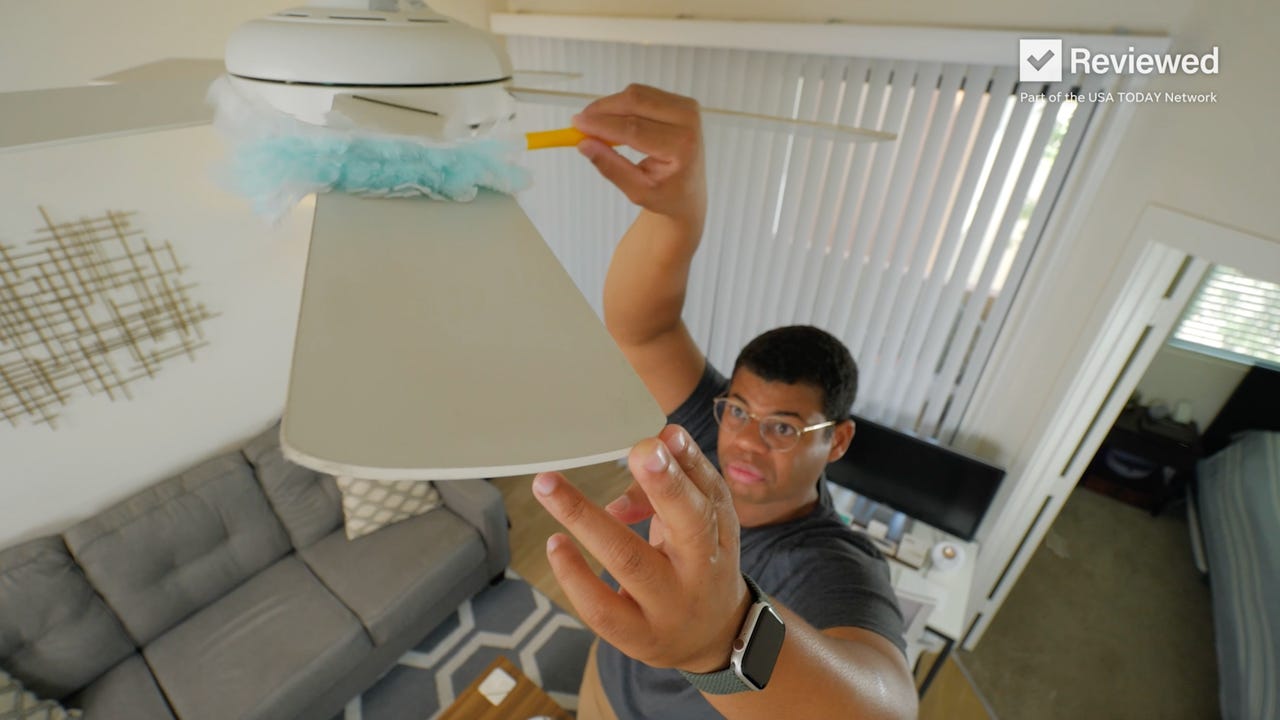
This simple trick will clean ceiling fans without a mess


The Best Ceiling Fans to Keep You Cool All Year Round


16 Best Ceiling Fans You Can Buy Online Right Now

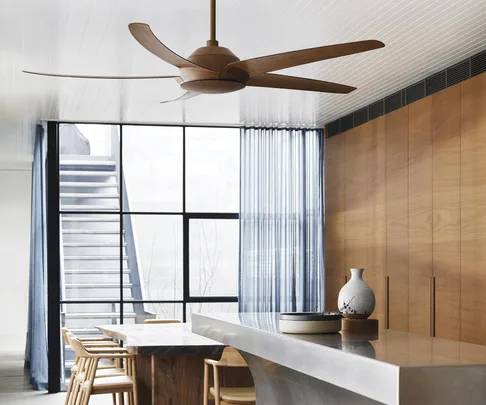
Ceiling fans 101: a guide to choosing the right one

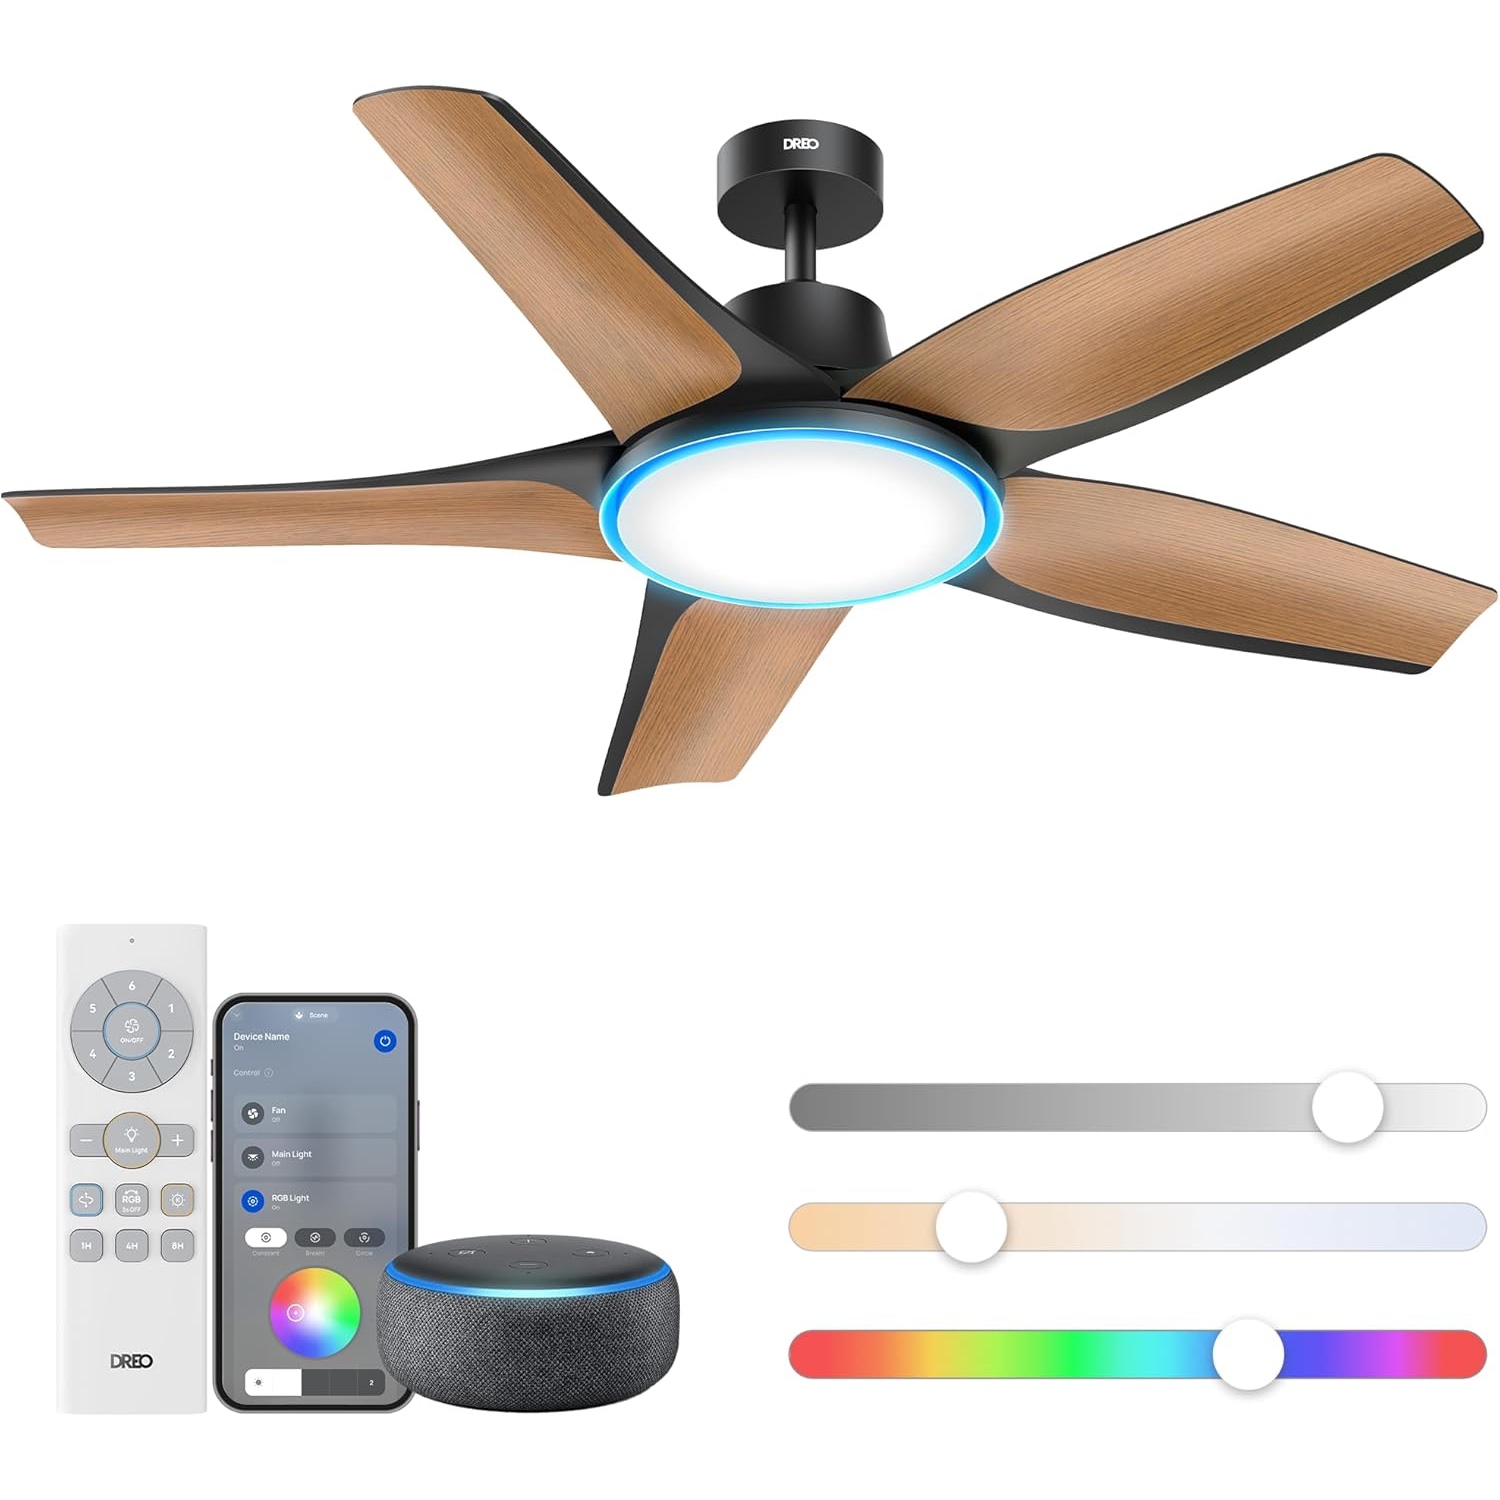
Spin Smarter, Not Harder: Our Favorite Smart Ceiling Fans


How to install a skylight

The Best Ceiling Fans for a Breezy, Comfortable Home


Shopping for Ceiling Fans (Published 2019)