1/6
This $150 IKEA Pax Hack Stars Decorative Molding You Can Cut With Simple Shears
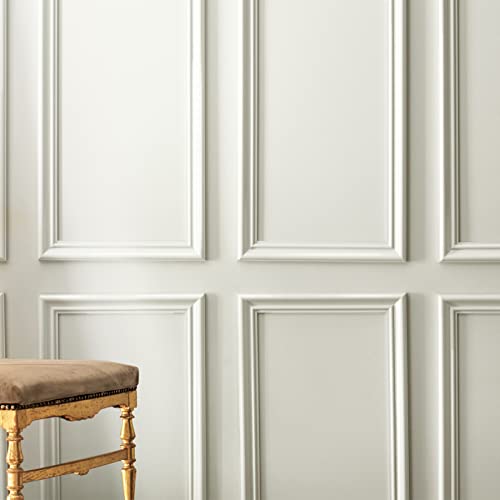
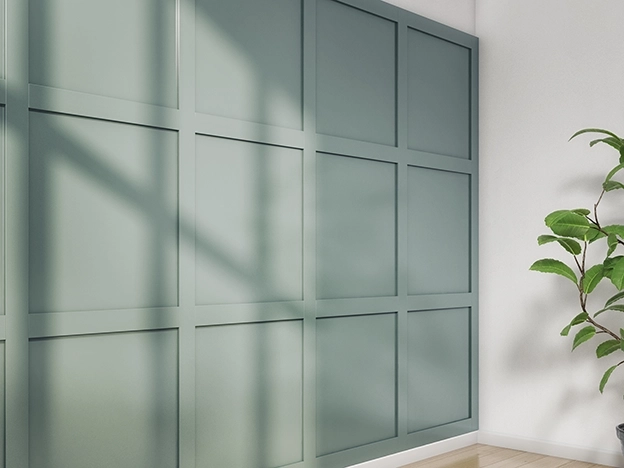
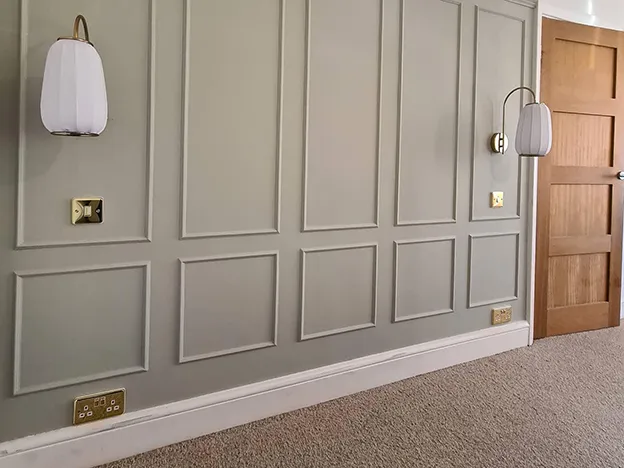
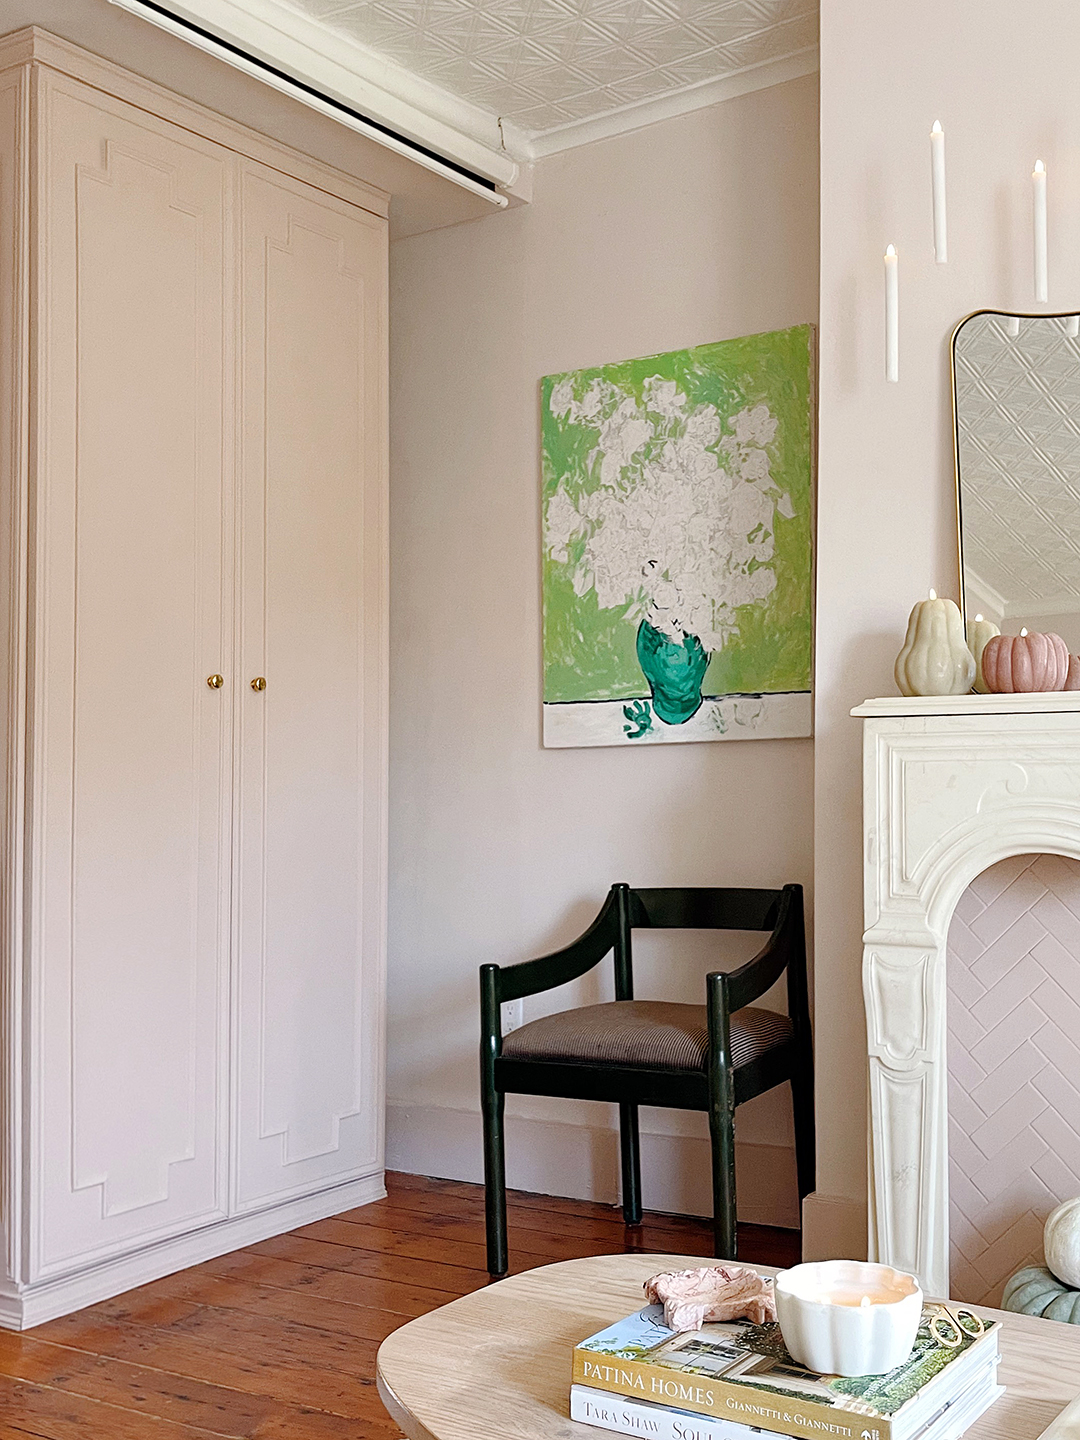
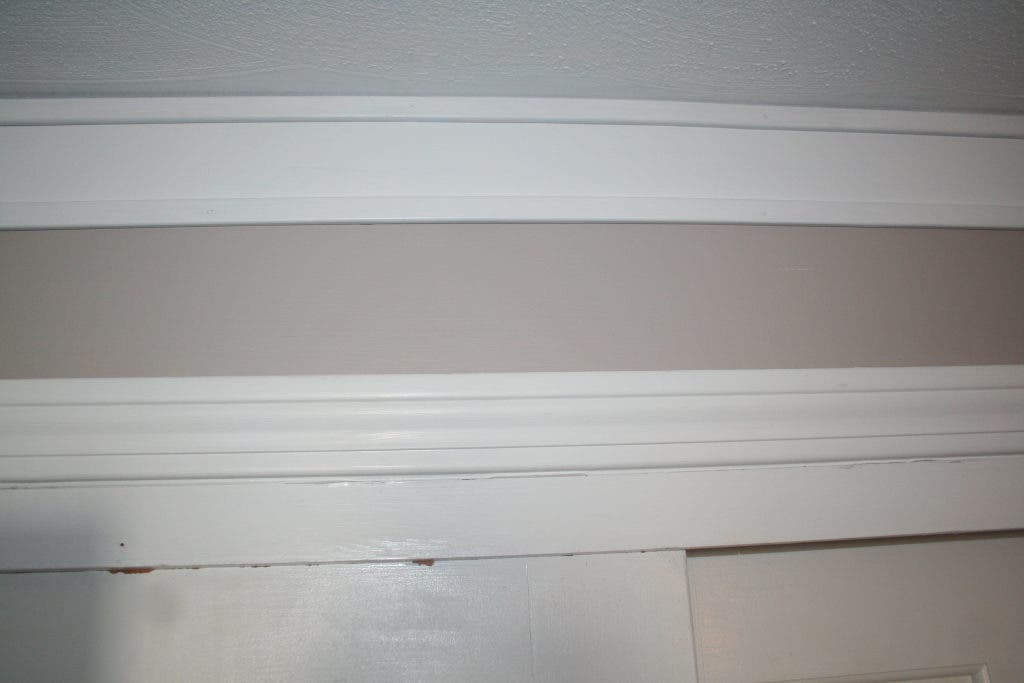
Mallory Fletchall, known for her Instagram account @reserve_home, transformed IKEA Pax wardrobes in her two-bedroom Brooklyn apartment to appear as custom-built fixtures. Faced with a lack of closet space, Fletchall and her husband, David, utilized affordable IKEA Pax units and added a personal touch by cladding them in trim and picture frame molding. This DIY project aimed to make the wardrobes blend seamlessly with the existing architecture, giving them the appearance of being original to the home. The couple previously applied this hack to a Pax closet in their primary bedroom and subsequently updated a wardrobe in their spare bedroom, which functions as a movie lounge. The design for the second wardrobe was directly inspired by the original molding details found in their kitchen.
The entire project, including the storage unit, cost approximately $400, with the DIY materials themselves amounting to about $150. Fletchall outlined a step-by-step process for replicating this hack. The necessary supplies included an IKEA Pax wardrobe (the 93-inch-tall version), 3/8” x 1 1/4” x 8′ general-purpose solid wood molding for the edges, and 5/16” x 11/16” x 8′ general-purpose solid wood molding for the interior shapes. Other essential items were 1 gallon of Valspar Interior-Exterior Bonding Primer, 1 gallon of desired paint color (they used Setting Plaster by Farrow & Ball), miter shears, 1” x 3 1/2” x 8′ wood trim pieces for the base and crown, and a 1 1/2” x 1 1/2” piece of wood for the crown molding's attachment point. Additional tools and materials included a paintbrush, nail gun, blue painter’s tape, caulk gun, drill, chop saw or hacksaw, and knobs of choice, along with optional items like a level, tape measure, and hammer.
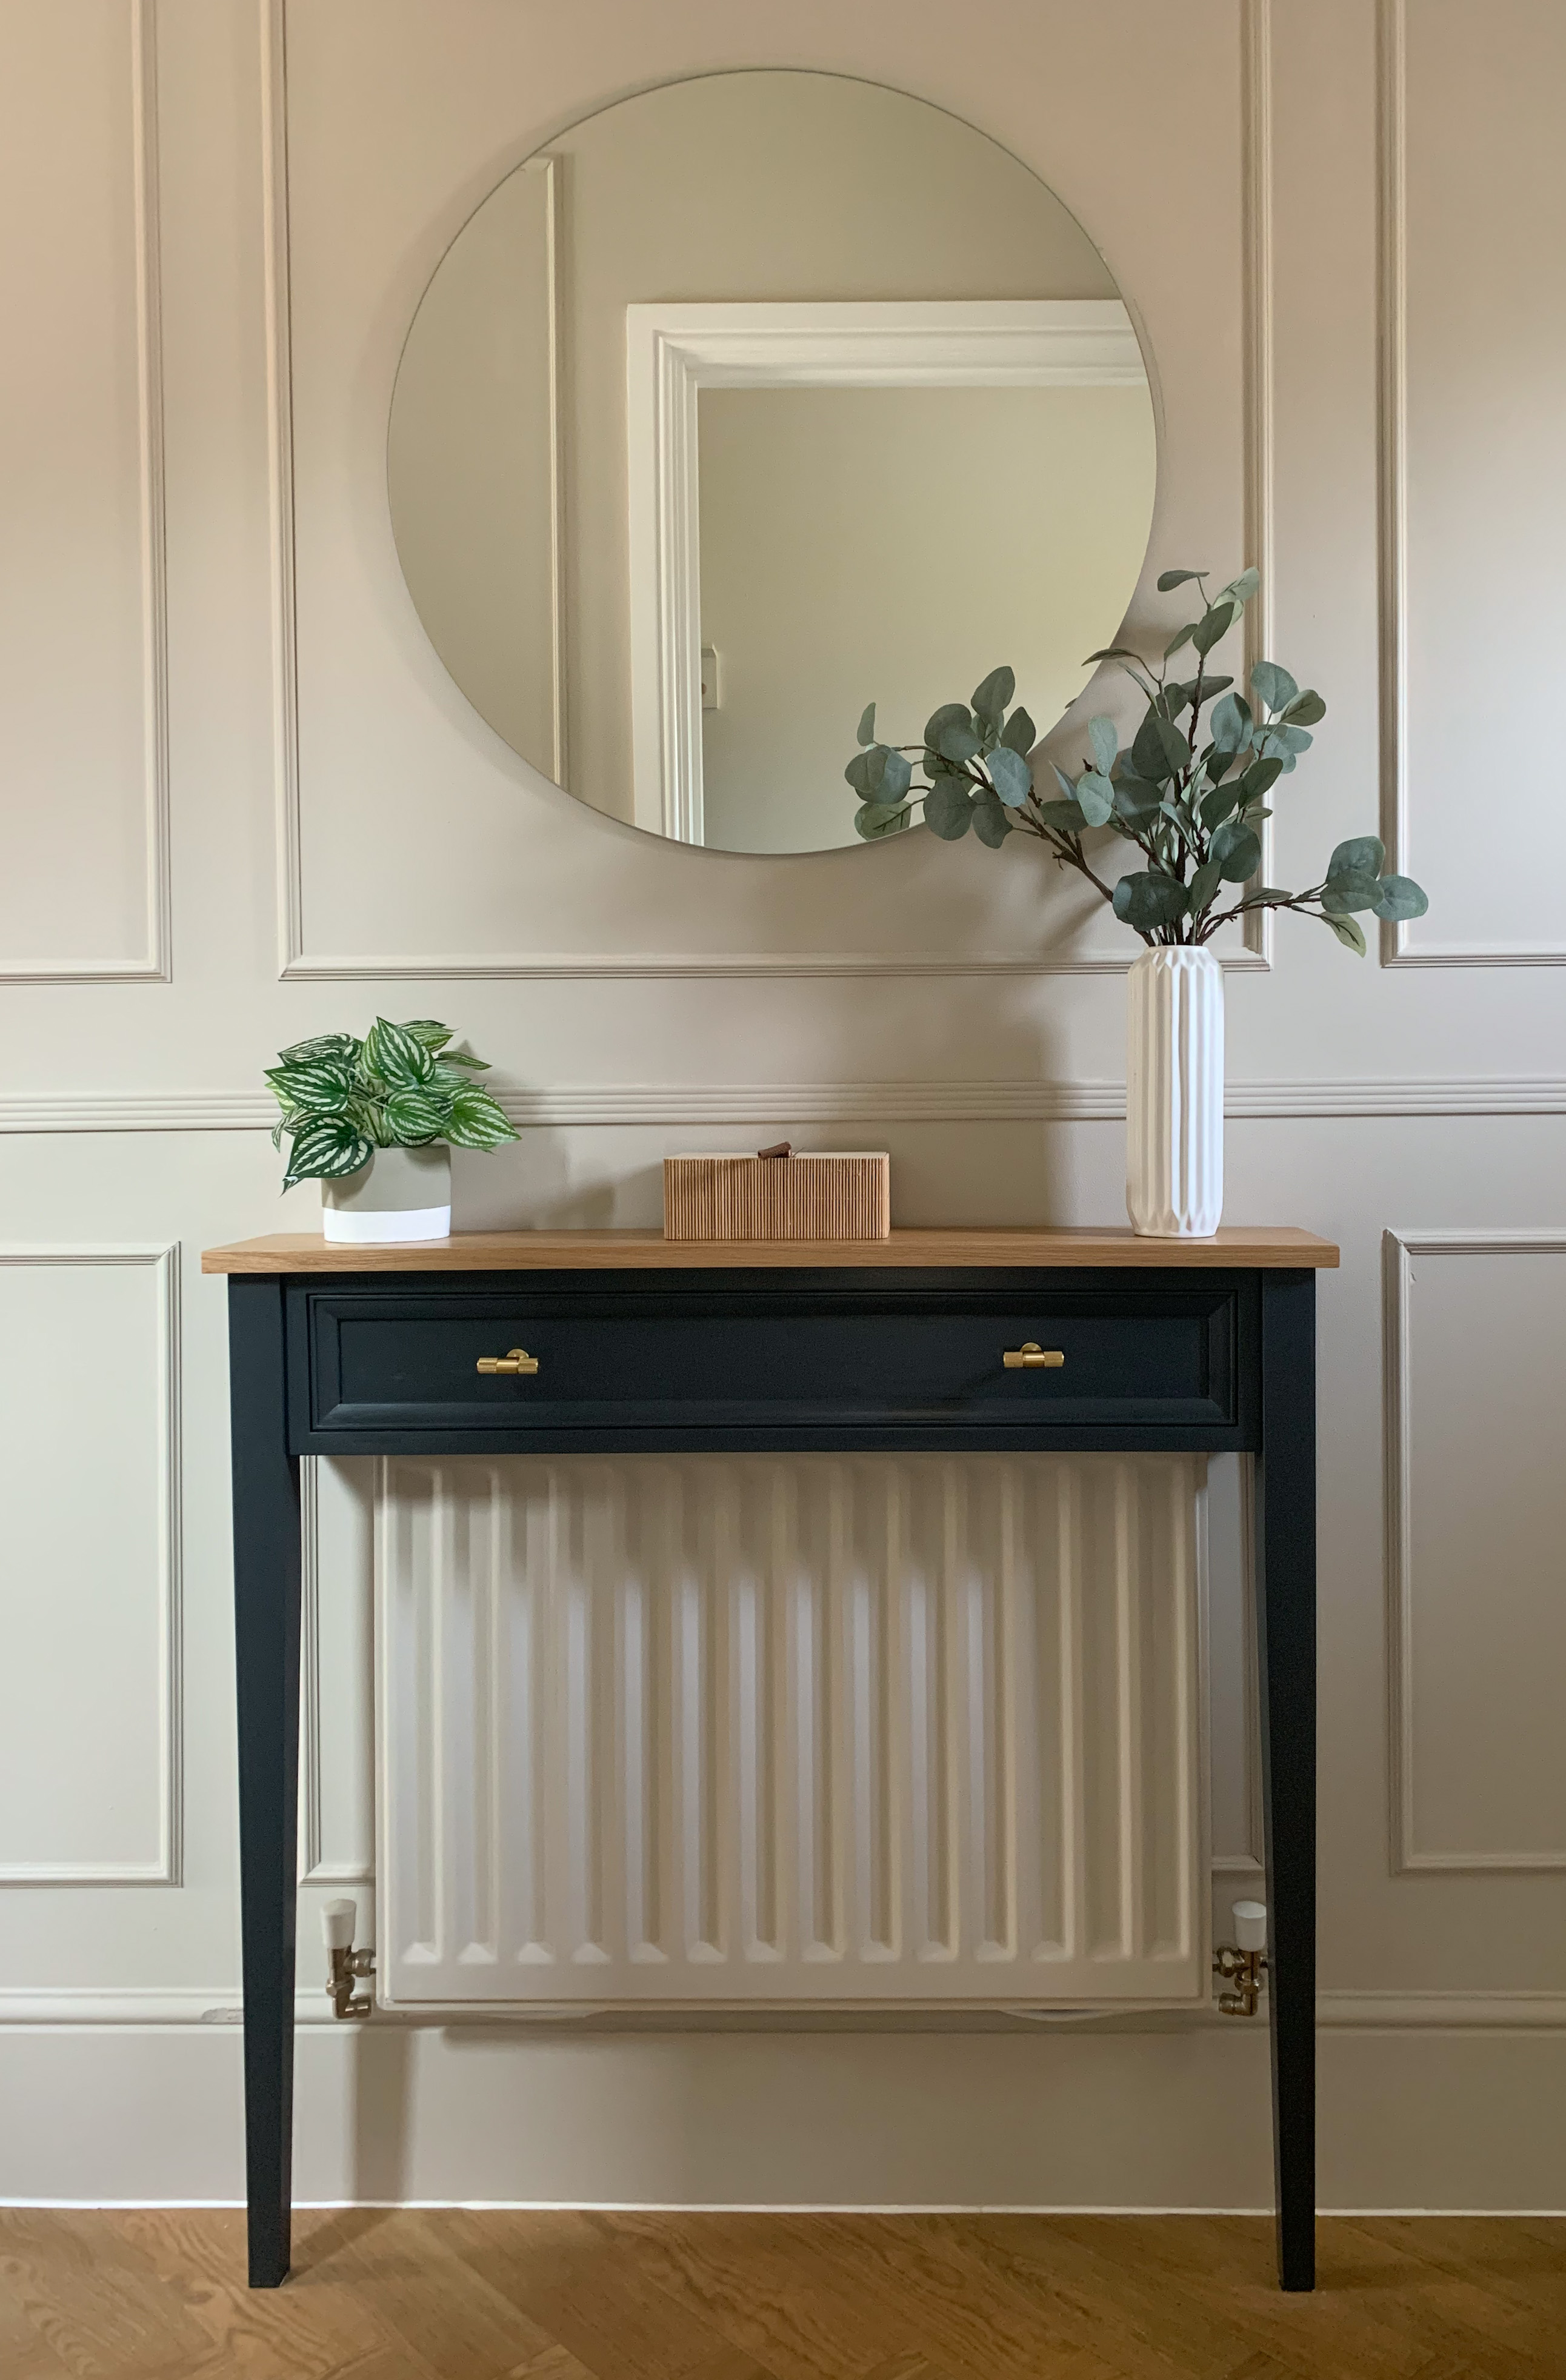
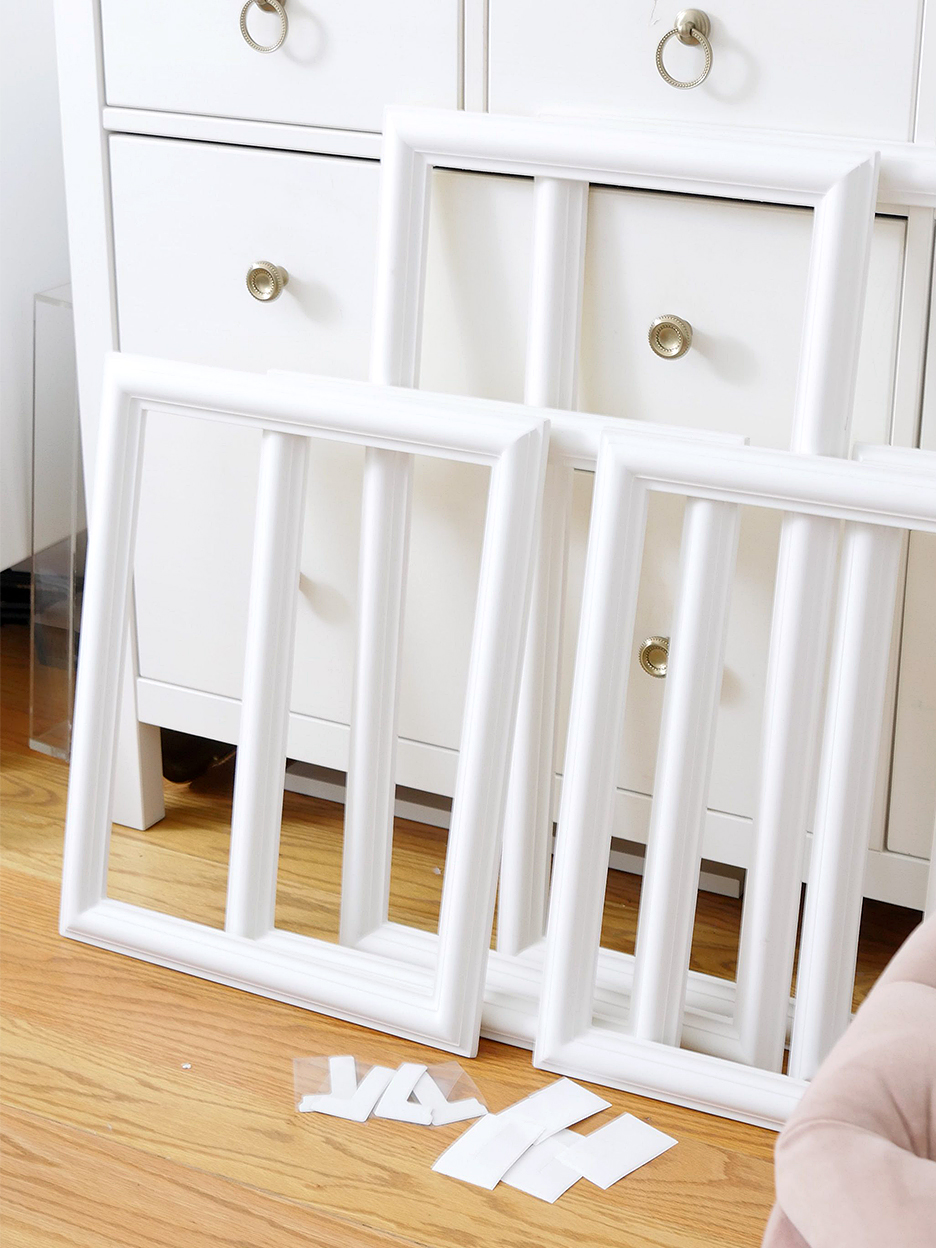
The first step involved assembling the IKEA wardrobe according to the manufacturer's instructions. Following assembly, blue painter’s tape was used to map out the desired molding design on the wardrobe doors, allowing for a visual preview of the placement. Fletchall and David replicated the exact dimensions of their kitchen's existing wall moldings, experimenting with both simpler and more ornate designs before finalizing their choice. The second step focused on creating and attaching the embellishments. Wood moldings were cut to size using miter shears, a tool that functions like heavy-duty scissors. These cut moldings were then secured to the doors with a nail gun. The outer edges received 3/8” x 1 1/4” moldings, maintaining a 2 1/4″ gap before the application of the interior 5/16” x 11/16” moldings.
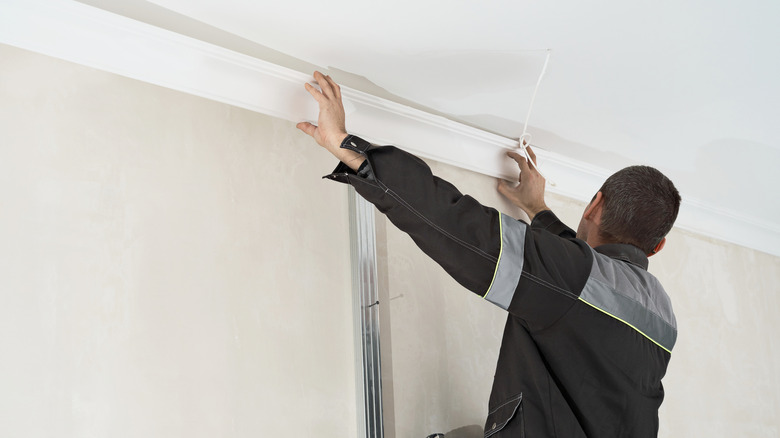
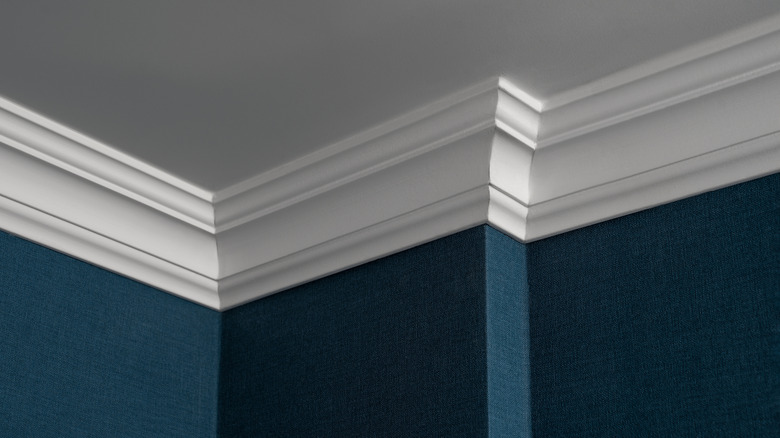
To achieve a built-in appearance, it was crucial to eliminate any gaps around the wardrobe. A 1 1/2” x 1 1/2” x 8′ wood plank was cut into three pieces (for the front and two sides) using a chop saw or hacksaw and drilled into the top of the wardrobe to serve as an anchor for the crown molding. Next, 1” x 3 1/2” x 8′ wood trim pieces were cut to cover the top front, sides, and bottom front and sides, and attached to the wood plank or the floor using a nail gun. All nail holes were then spackled and sanded, and any cracks around the floor, wall, and ceiling were filled with caulk. The final step involved priming and painting. Due to the challenging, sleek laminate finish of IKEA products, a strong primer was essential. Valspar’s Extreme Bond primer was applied in one coat. Once dry, two coats of Farrow & Ball’s Setting Plaster paint were applied with a brush. After the paint dried, the chosen knobs were drilled and screwed into place, completing the transformation with minimal power tools required.
#IKEAHack #PaxWardrobe #DIYHomeDecor #MoldingTrim #HomeRenovation #BrooklynApartment #CustomCloset #AffordableDesign #IKEAHack #PaxWardrobe #DIYHomeDecor #MoldingTrim #HomeRenovation #BrooklynApartment #CustomCloset #AffordableDesign
0 comment in total
 No comments yet
You may also like
Designers Love This Clever Decorating Trick (It Takes Up Zero Space)

Peel On, Peel Off: The Indecisive Person's Cheap Solution To Trendy Home Decor

Get Prewar Architecture in Any Rental With This $150 Wainscoting Hack
This $20 DIY hack adds instant character to any room, creating timeless picture frames and paneling

This Décor Hack is So Easy, It's Barely Even a DIY — But The Results Look *So* Bespoke (No Skills Required)
I’m Blown Away by This Sneaky Space-Dividing IKEA Hack (That Only Cost $200!)
This TikTok Hack Lets Renters Create Crown Molding with Command Strips

A homeowner shares how she chopped up a $10 Ikea rug and transformed it into a work of art
A $120 IKEA Malm Hack That Requires Little to No Upholstery Knowledge


IKEA’s New Under-$15 Table Lamp Looks Just Like Origami


The Resourceful Way Chip And Joanna Gaines Save Money While Elevating An Interior Space
How To Repurpose Inexpensive IKEA Photo Frames Into Viral Accent Wall Art

Mouldings | Decorative Moulding

Faux Crown Molding is Cheap & Easy
Mums are sharing their stunning Ikea hacks as they use the storage to make beds, desks and kids’ room dividers

2 Basic Craft Materials Turned These IKEA Ivar Cabinets Into Sculptural Statements

2,000 IKEA Hangers Upcycled Into Dynamic Chromatic Screen Room Divider