1/12
A $120 IKEA Malm Hack That Requires Little to No Upholstery Knowledge
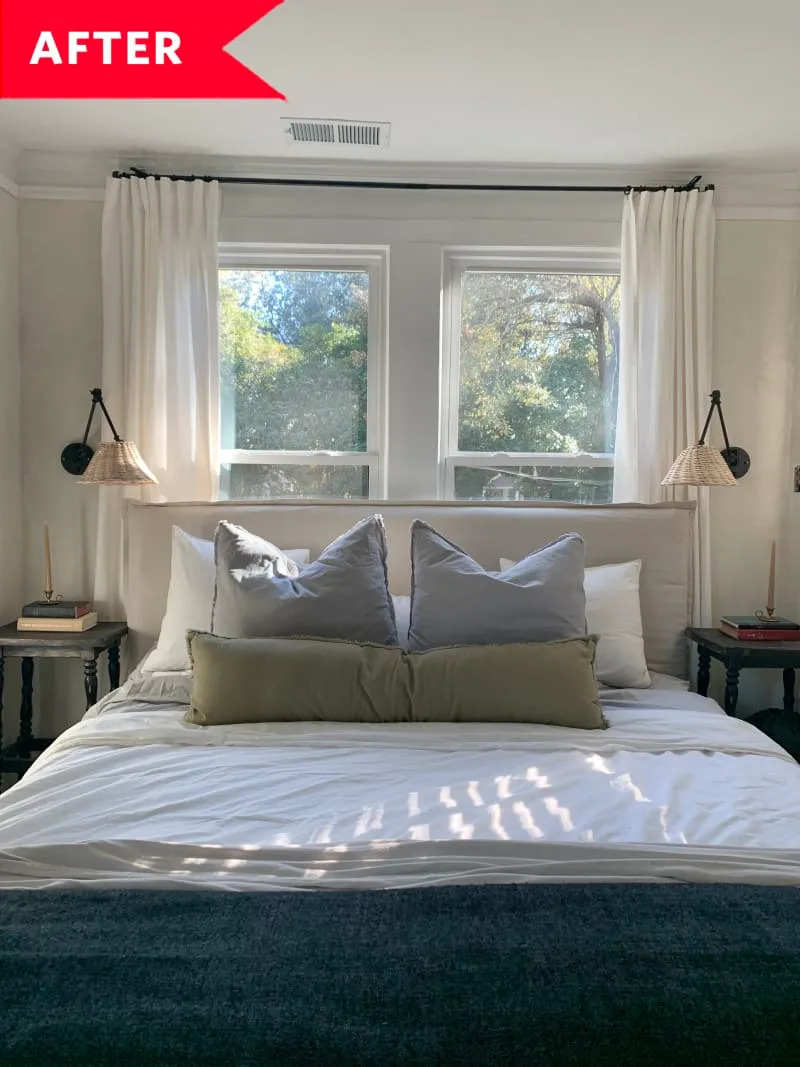
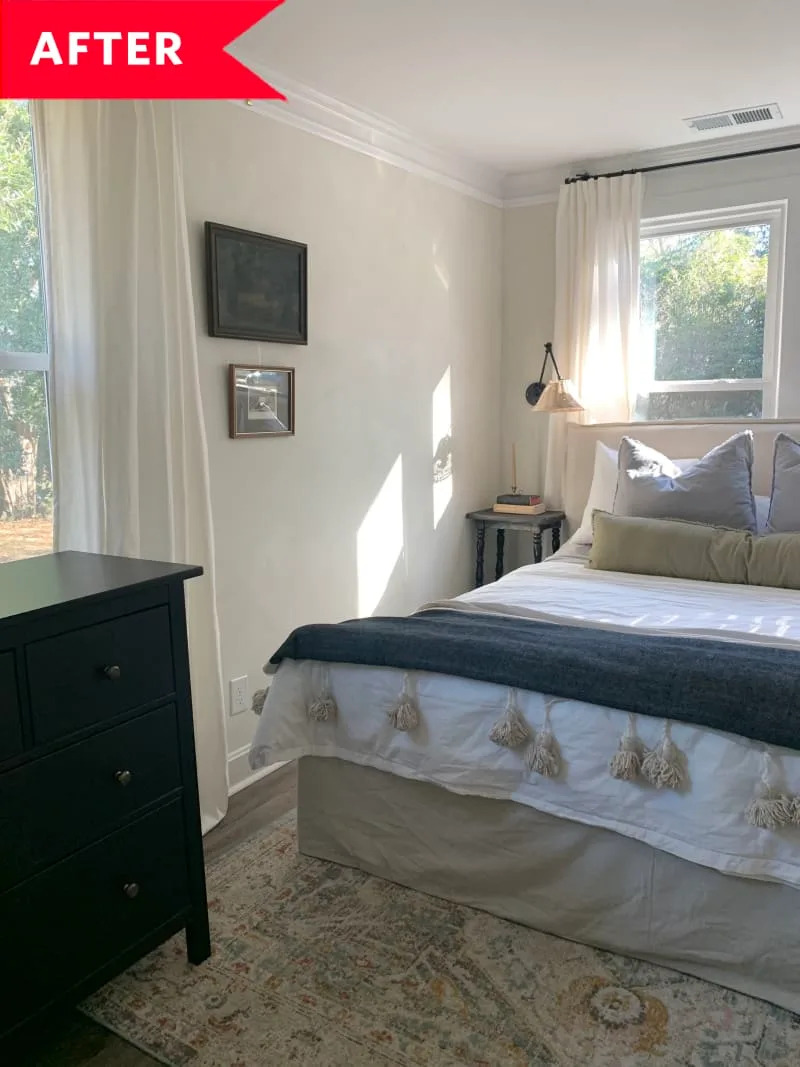
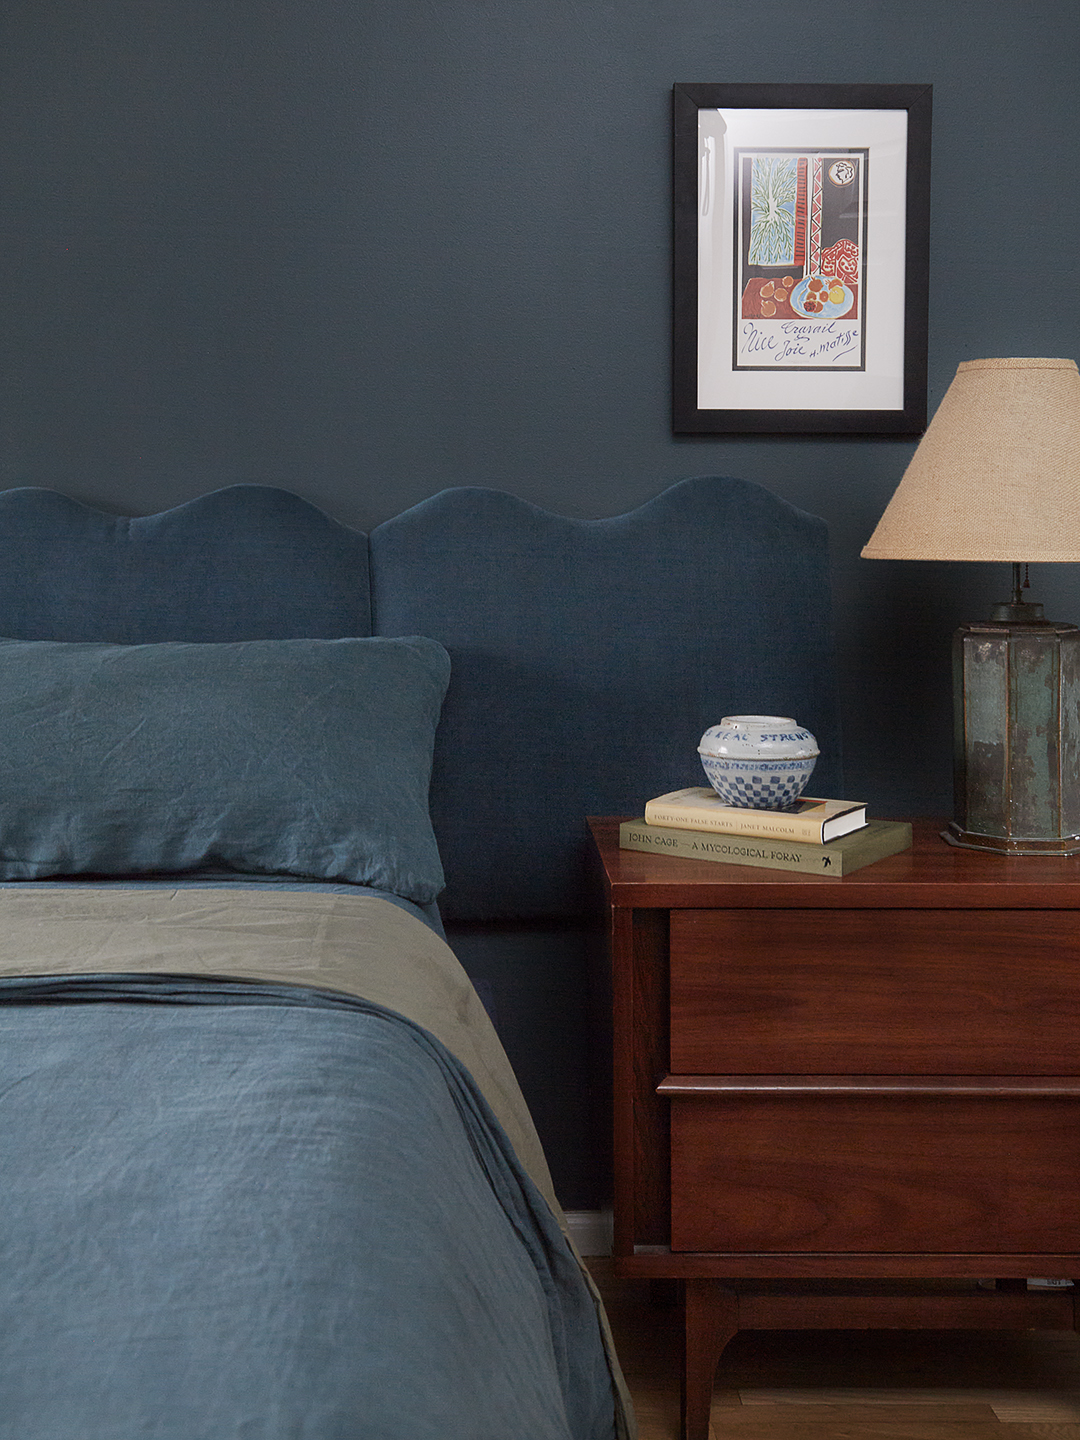
This article details a DIY project to transform an IKEA Malm storage bed into a custom upholstered piece with a wavy headboard for a total cost of $120. The inspiration for this hack came from Garance Doré’s monochromatic bedroom and a whimsical wavy headboard by Giancarlo Valle. Liz Mundle initially purchased a $100 aluminum platform bed frame to keep her mattress off the floor but found it lacked storage. She then upgraded to an IKEA Malm bed, which offered valuable storage with its hydraulic system but still had a generic appearance.
The project begins by preparing the bed base for upholstery. The first step, 'Batter Up,' involves assembling the bed frame's base to determine the fabric dimensions. Batting is cut into generously sized slivers, wide enough to wrap around the edges of the bed frame, and secured with a staple gun. The second step, 'Connect the Dots,' focuses on the upholstery fabric. Three long rectangles of fabric are cut, with extra coverage for the edges. Before stapling, these pieces are sewn together at the corners to ensure a seamless finish. Liz Mundle used a sewing machine, but hand-stitching is also an option.
Step three, 'See the Big Picture,' recommends painting the walls if a monochromatic look is desired. Mundle chose 'Saturday on Sunday' by Backdrop, a color that closely matched her dark blue-green faux performance velvet fabric, aiming to create a cozy, cave-like bedroom atmosphere conducive to sleep. The fourth step, 'Ride the Wave,' addresses the headboard. Instead of using a single piece of plywood, Mundle divided it into four smaller pieces for easier handling and future transport. A curved cardboard template is used to draw a shallow, sloping wavy shape onto each plywood piece, which is then cut using a jigsaw.
The fifth step, 'Wrap Up,' involves upholstering the headboard. Adhesive spray is applied to the plywood to prevent the upholstery from shifting. A single layer of batting is wrapped around the forward-facing part of the board, with a caution against using foam to avoid an overstuffed look. The fabric is then cut into large squares, pulled taut, and secured around the batting with staples. The final step, 'Lean Back,' describes the installation of the headboard. A level line is drawn on the wall, and four French cleats are mounted along this line. The metal backing part of each cleat is screwed to the uncovered side of the plywood headboard pieces, allowing them to be hooked onto the wall, completing the custom IKEA bed transformation.
The article emphasizes the cost-effectiveness and relatively simple nature of the DIY, making it accessible even for those with limited upholstery experience. The result is a personalized, stylish bed with integrated storage, demonstrating how to elevate a basic IKEA item into a unique design statement. The detailed steps and material list provide a comprehensive guide for readers interested in replicating this home design project.
#IKEAHack #DIYUpholstery #MalmBed #HeadboardDesign #BedroomRenovation #HomeDecor #StorageSolutions #WavyHeadboard #BudgetDecor #IKEAHack #DIYUpholstery #MalmBed #HeadboardDesign #BedroomRenovation #HomeDecor #StorageSolutions #WavyHeadboard #BudgetDecor
0 comment in total
 No comments yet
You may also like
I’m Blown Away by This Sneaky Space-Dividing IKEA Hack (That Only Cost $200!)
The Ikea-hacking companies you need to know about
I Love This $35 IKEA Headboard Hack That Transforms a Basic Bed Frame

This clever Ikea hack shows how to turn a £35 drawer into a dressing table

How can I make a KALLAX unit look more expensive? 6 simple tricks to get this IKEA favorite to feel more luxurious

Best IKEA dresser hacks - 9 ways to create a design-driven piece for your bedroom
25 IKEA Dresser Hacks That Anyone Can Do
I Love the Neutral Color Palette in This Chicago Living Room Makeover
10 IKEA Besta hacks – bespoke storage solutions for every room

Transform An Ordinary IKEA Planter Into A Trendy End Table With A Simple DIY

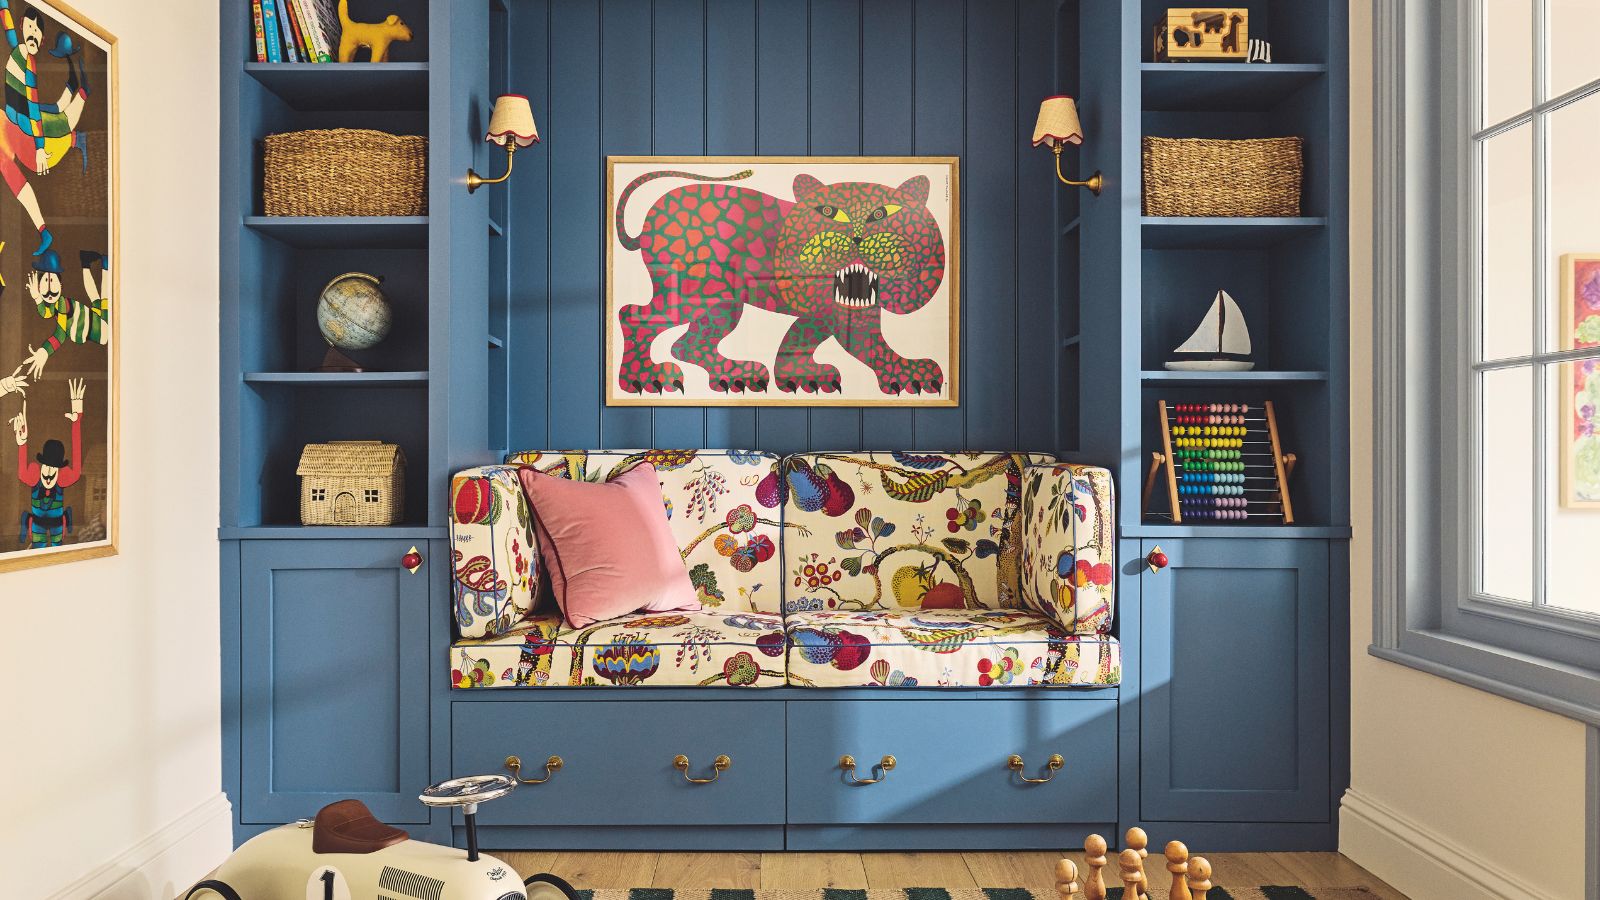
I’m not the biggest IKEA fan, but these are the pieces I’ve repurchased for both my remodel projects as someone with designer taste on a DIY budget

The rainbow dressing room of dreams that you won't believe is IKEA
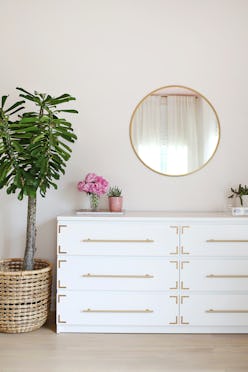
6 DIY Hacks That Make This Ikea Dresser Look So Expensive
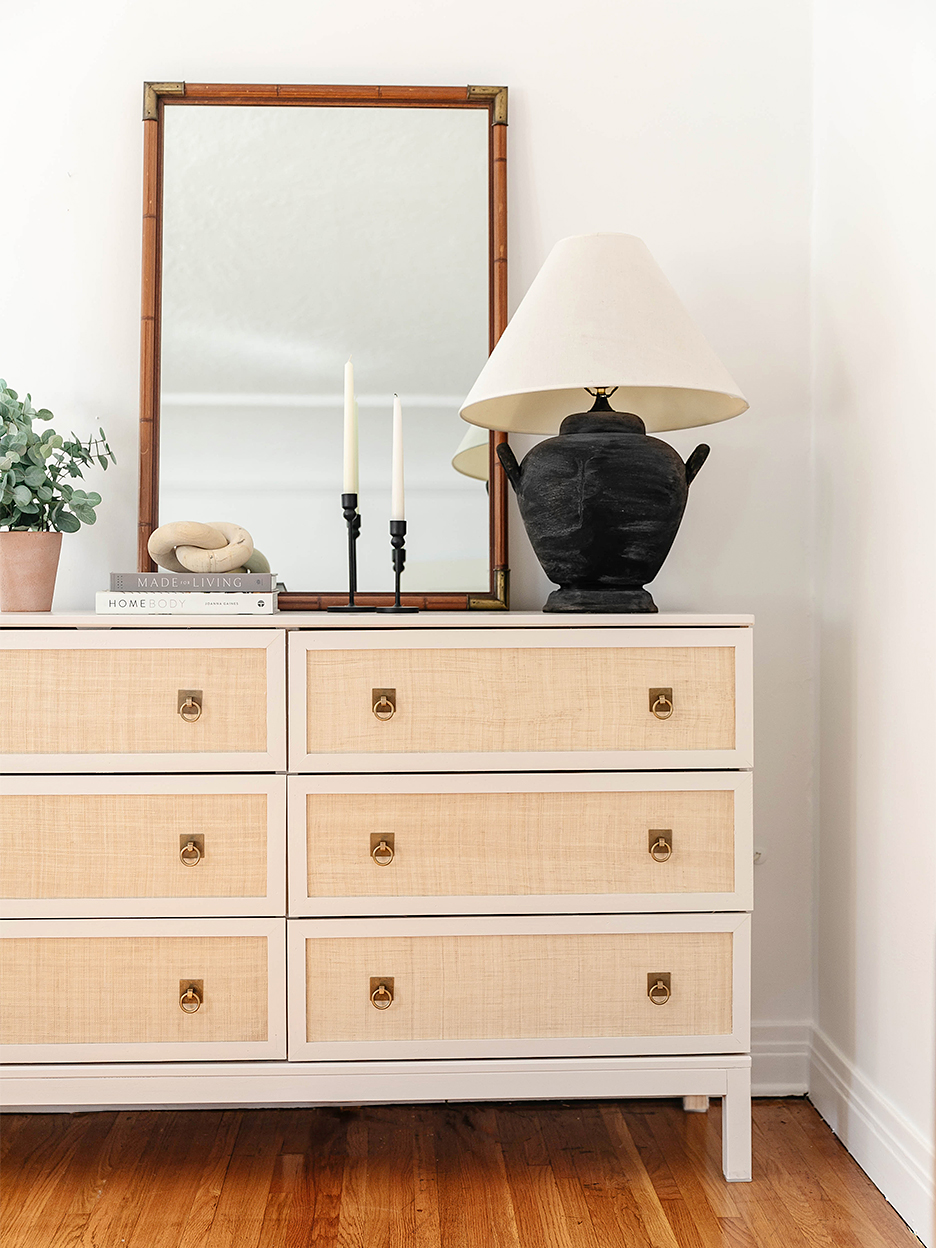
This $200 IKEA Hack Is Almost Identical to This $4K Woven Raffia Dresser
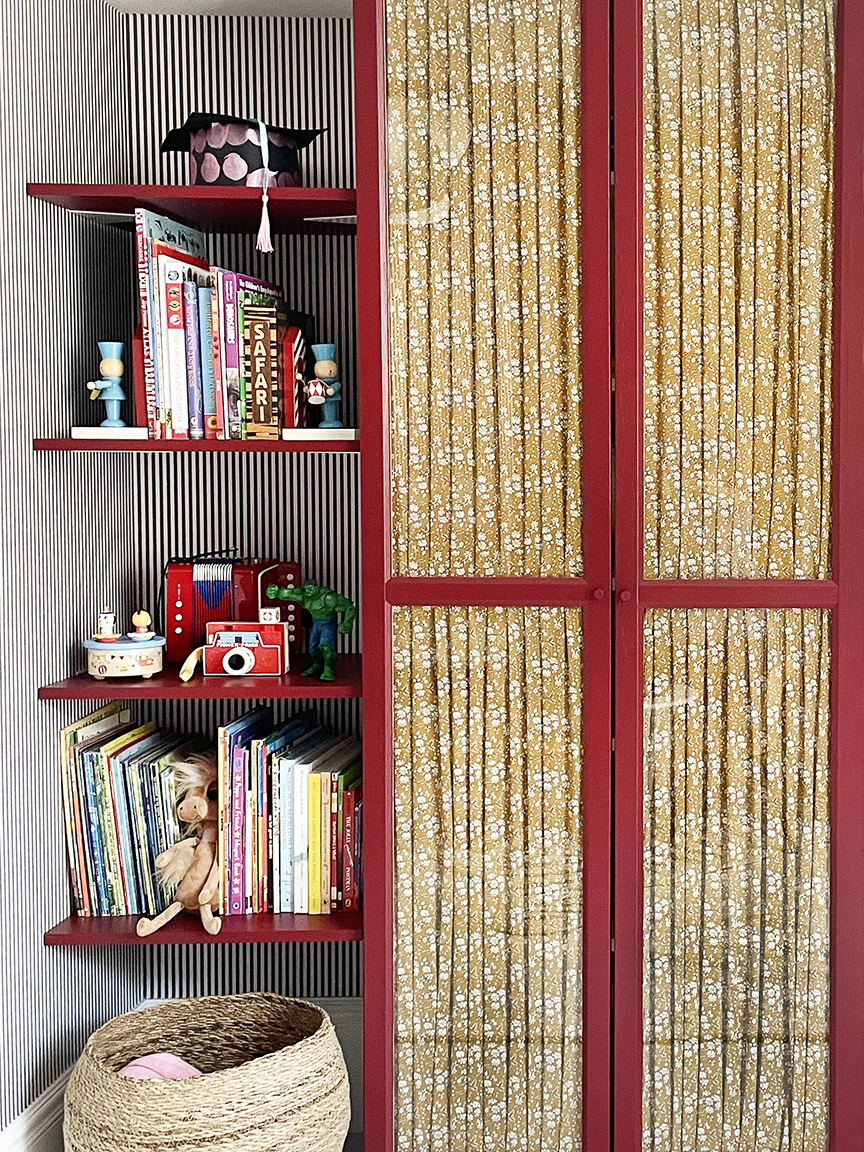
Liberty Fabric and a Lick of Cherry Red Paint Make This IKEA Hack Shine

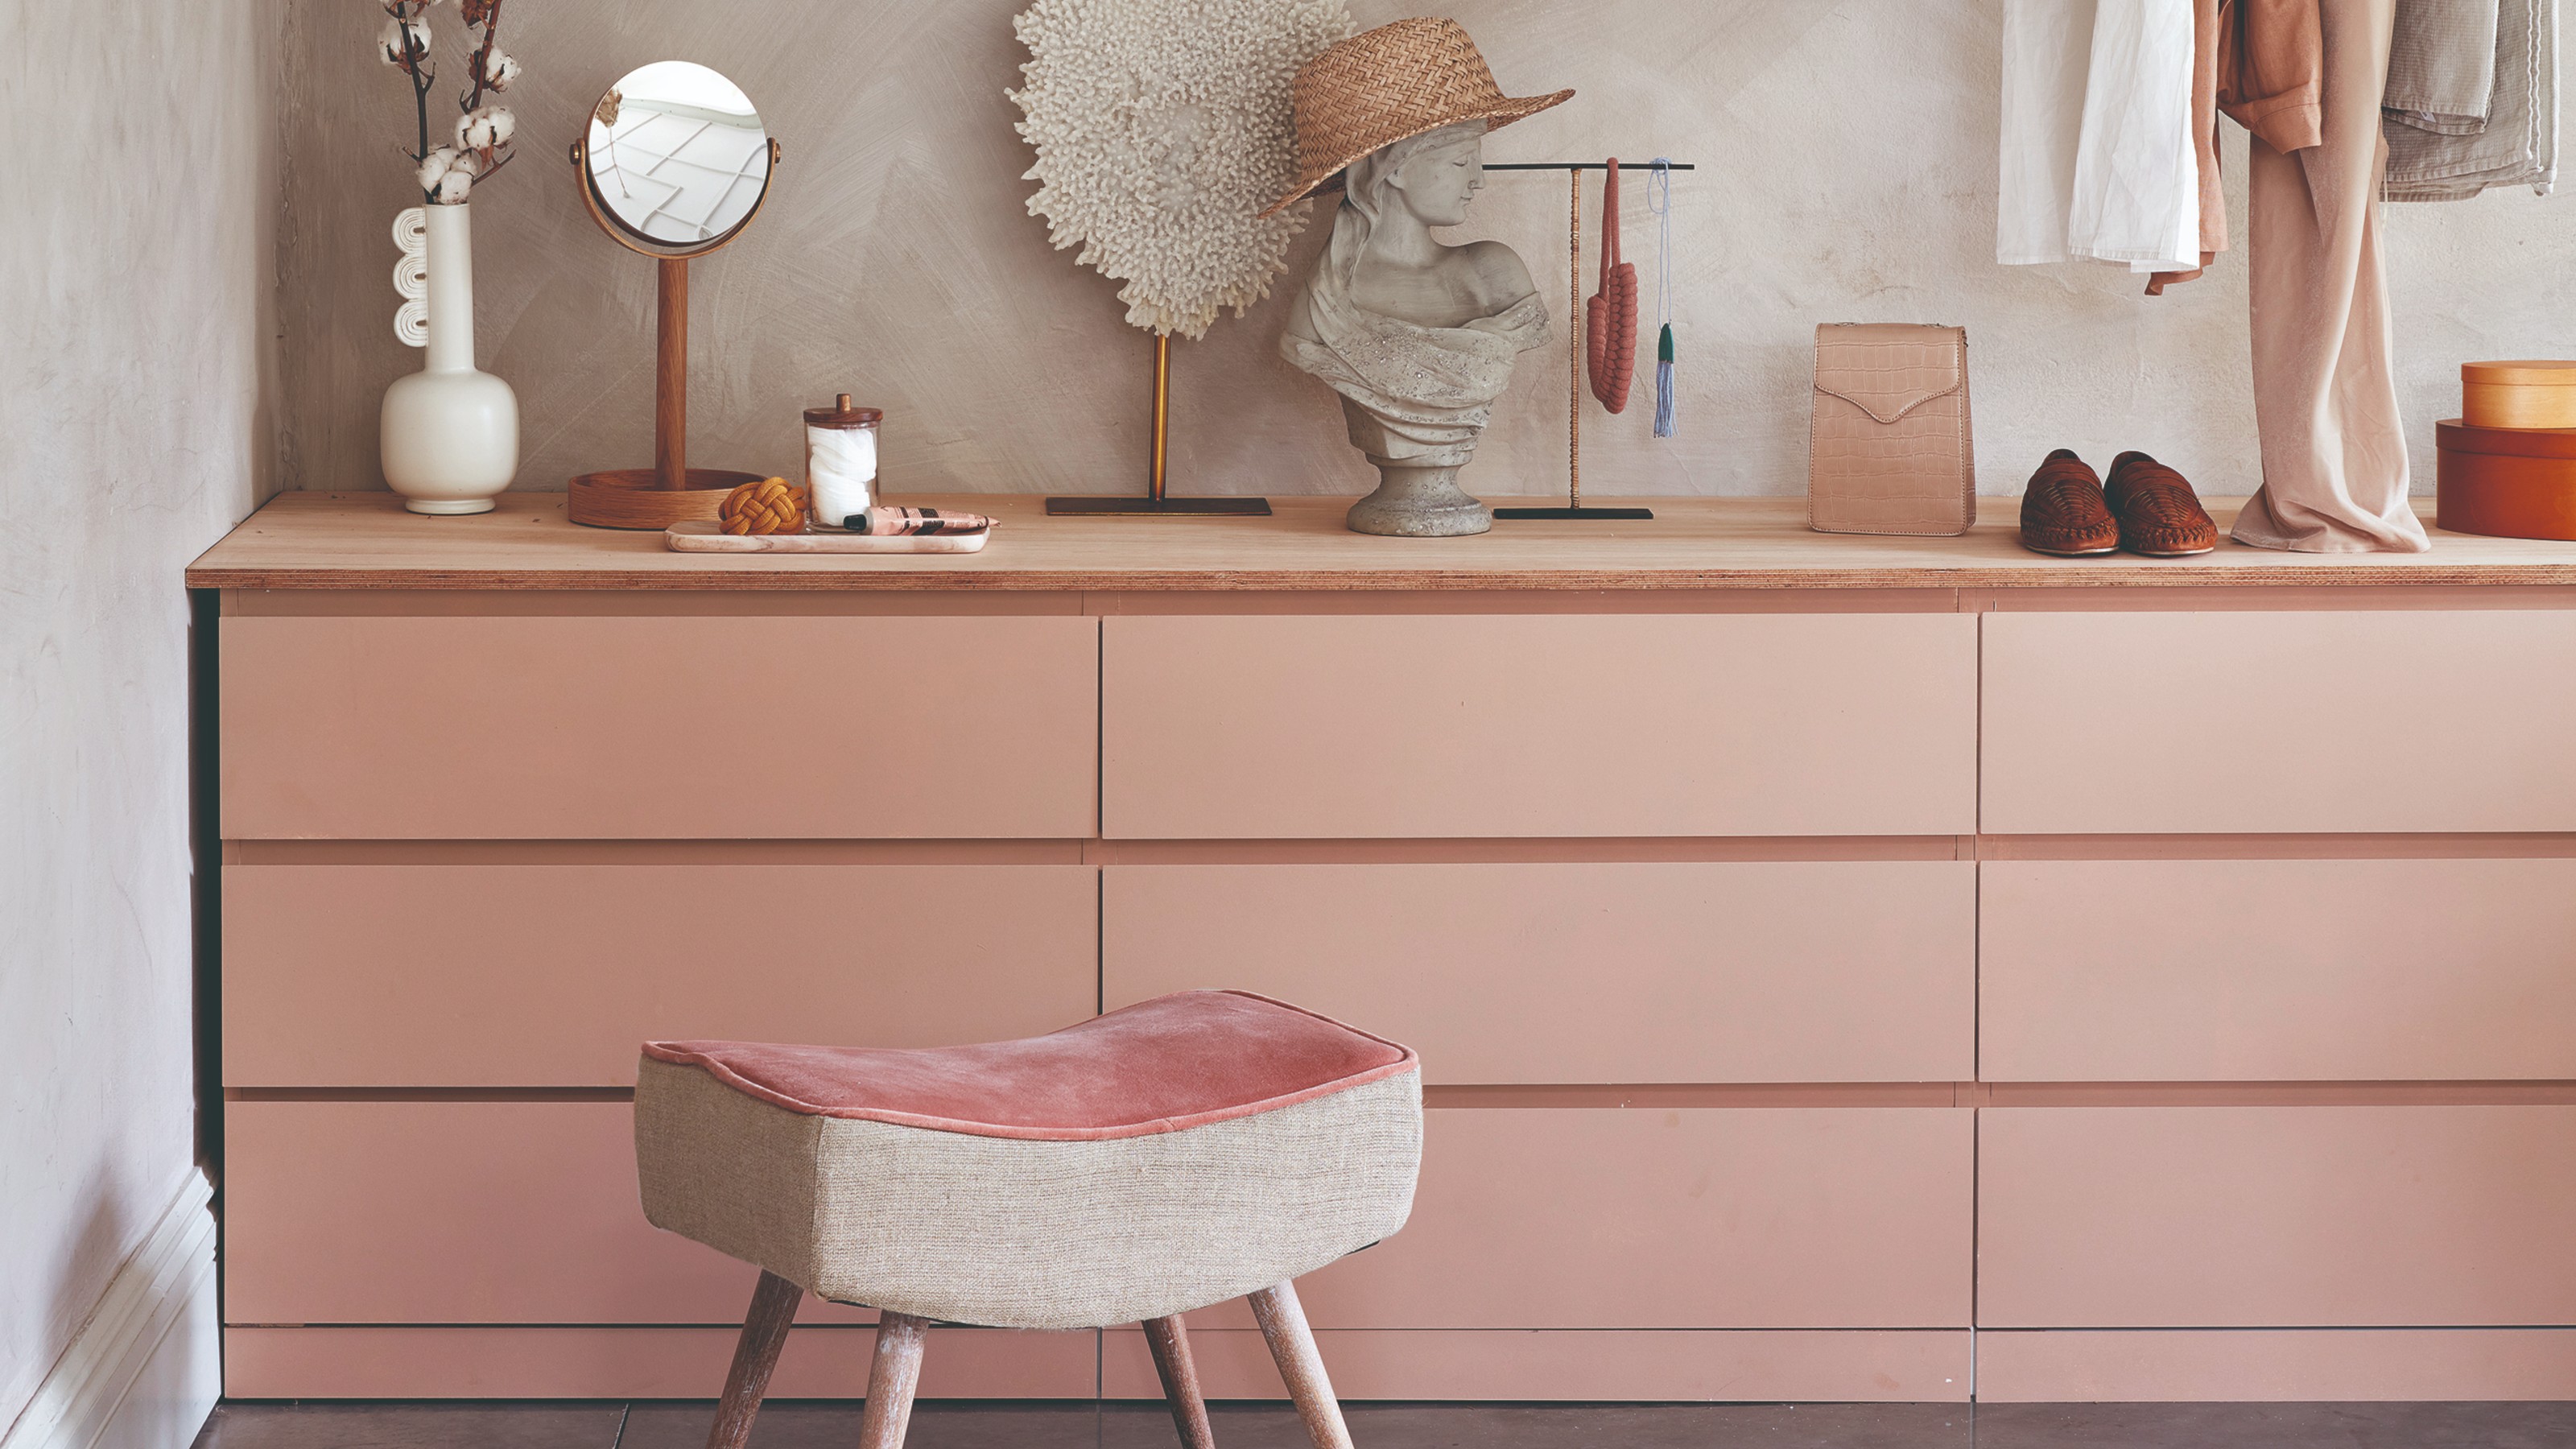
6 clever ways to elevate the IKEA MALM chest of drawers so that nobody will know it’s flat-pack
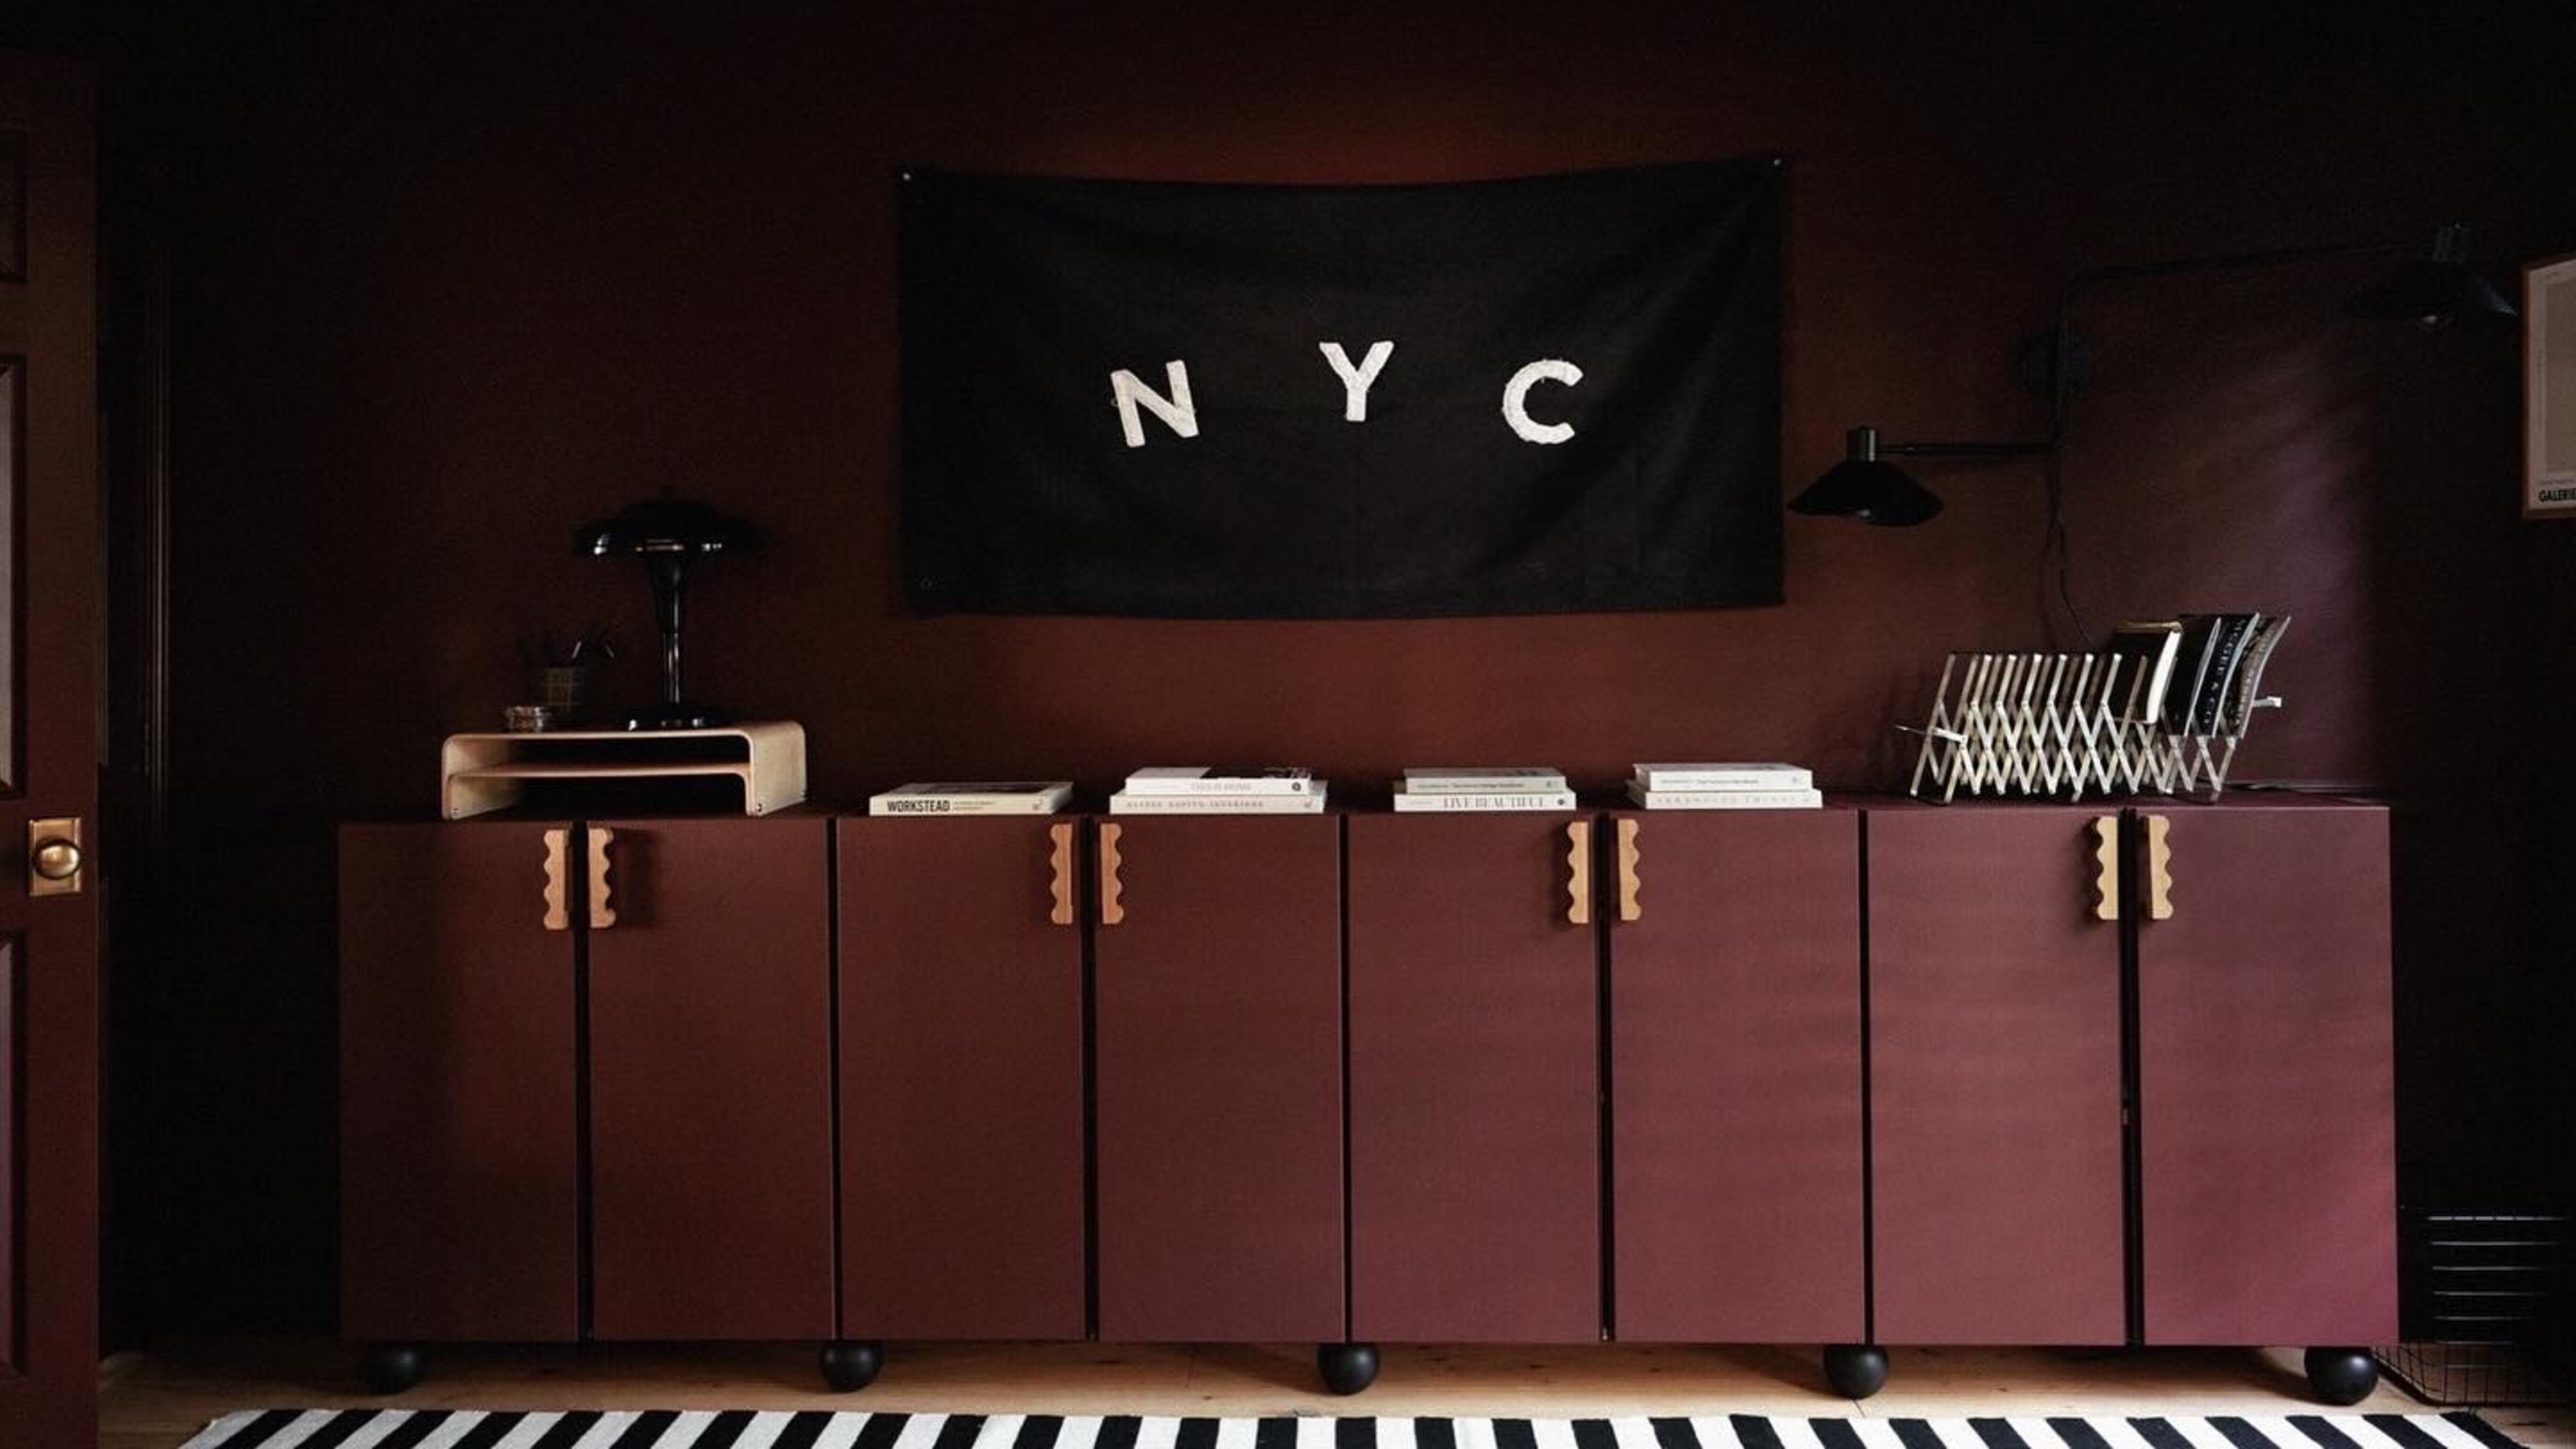
7 smart IKEA IVAR hacks that transform this blank canvas into a striking piece of furniture
The Stuff of Life: Stylish Improvisations With IKEA Furniture

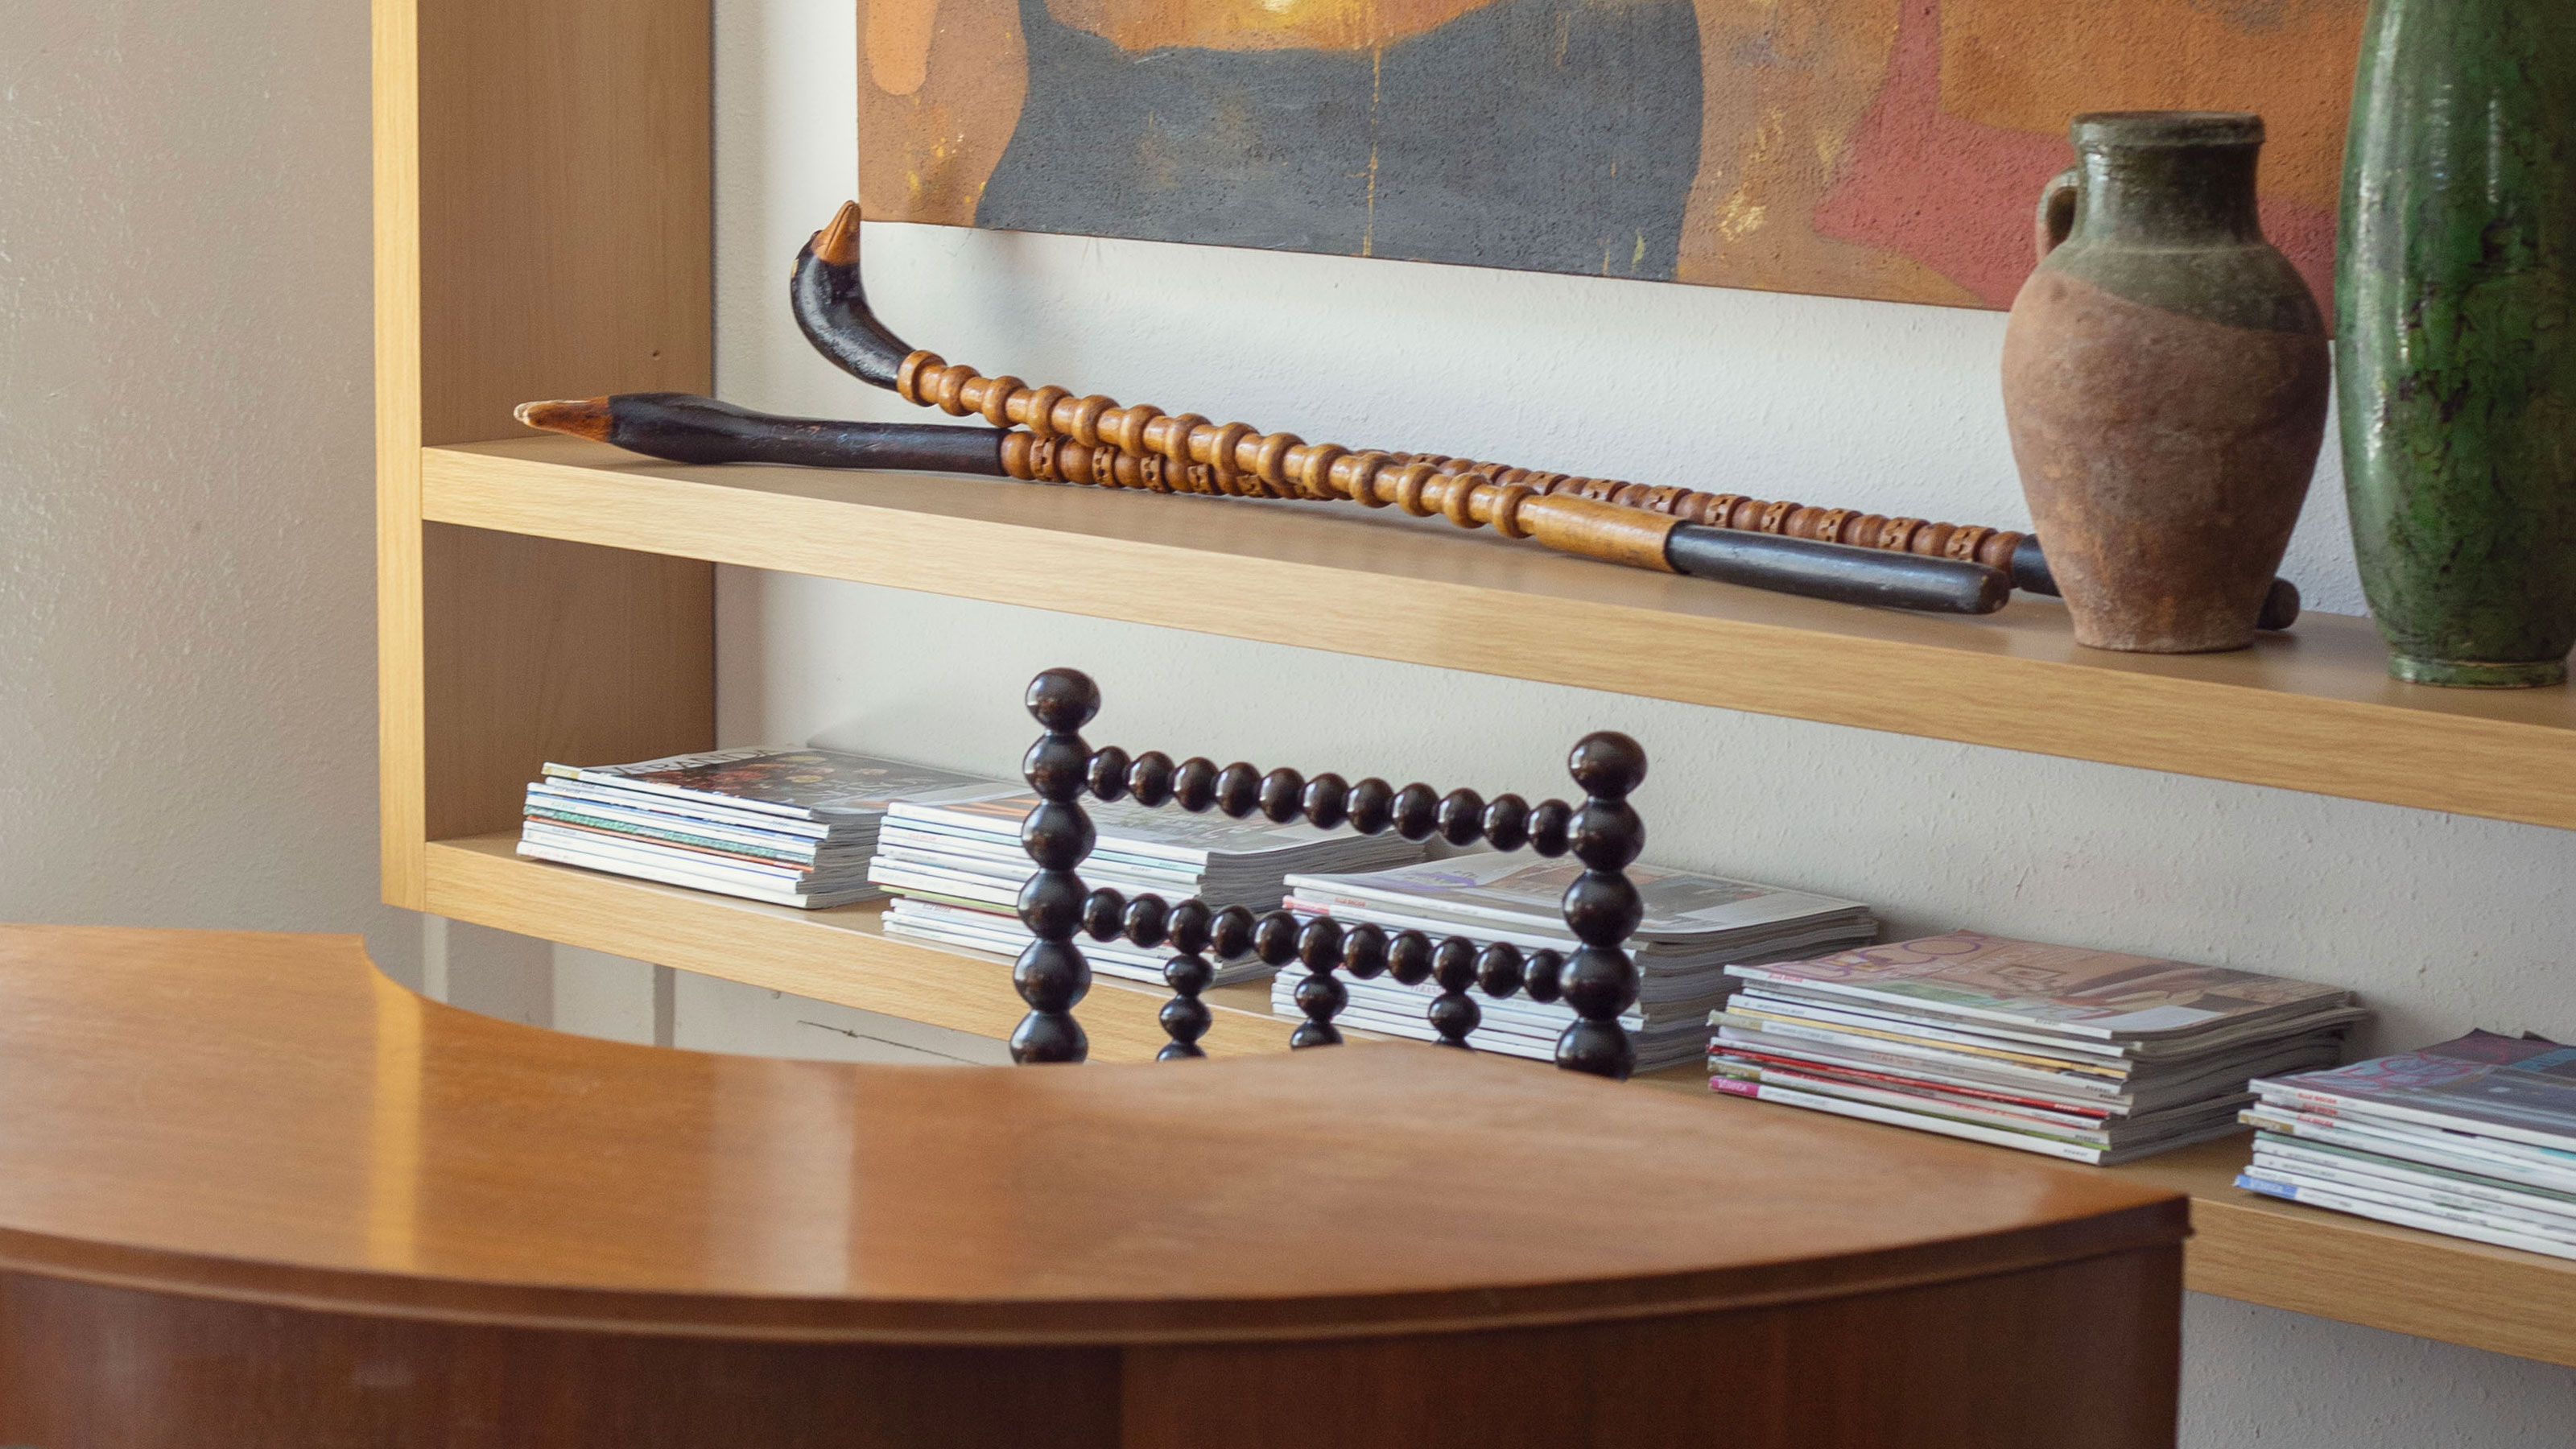
42 IKEA Hacks That Prove Even Inexpensive Flatpack Can Still Create a Designer-Look Home
25 Hacks That Will Give Your Old IKEA Hemnes Dresser a New Life