1/6
How to paint a radiator - an easy guide to update an ugly radiator in an afternoon
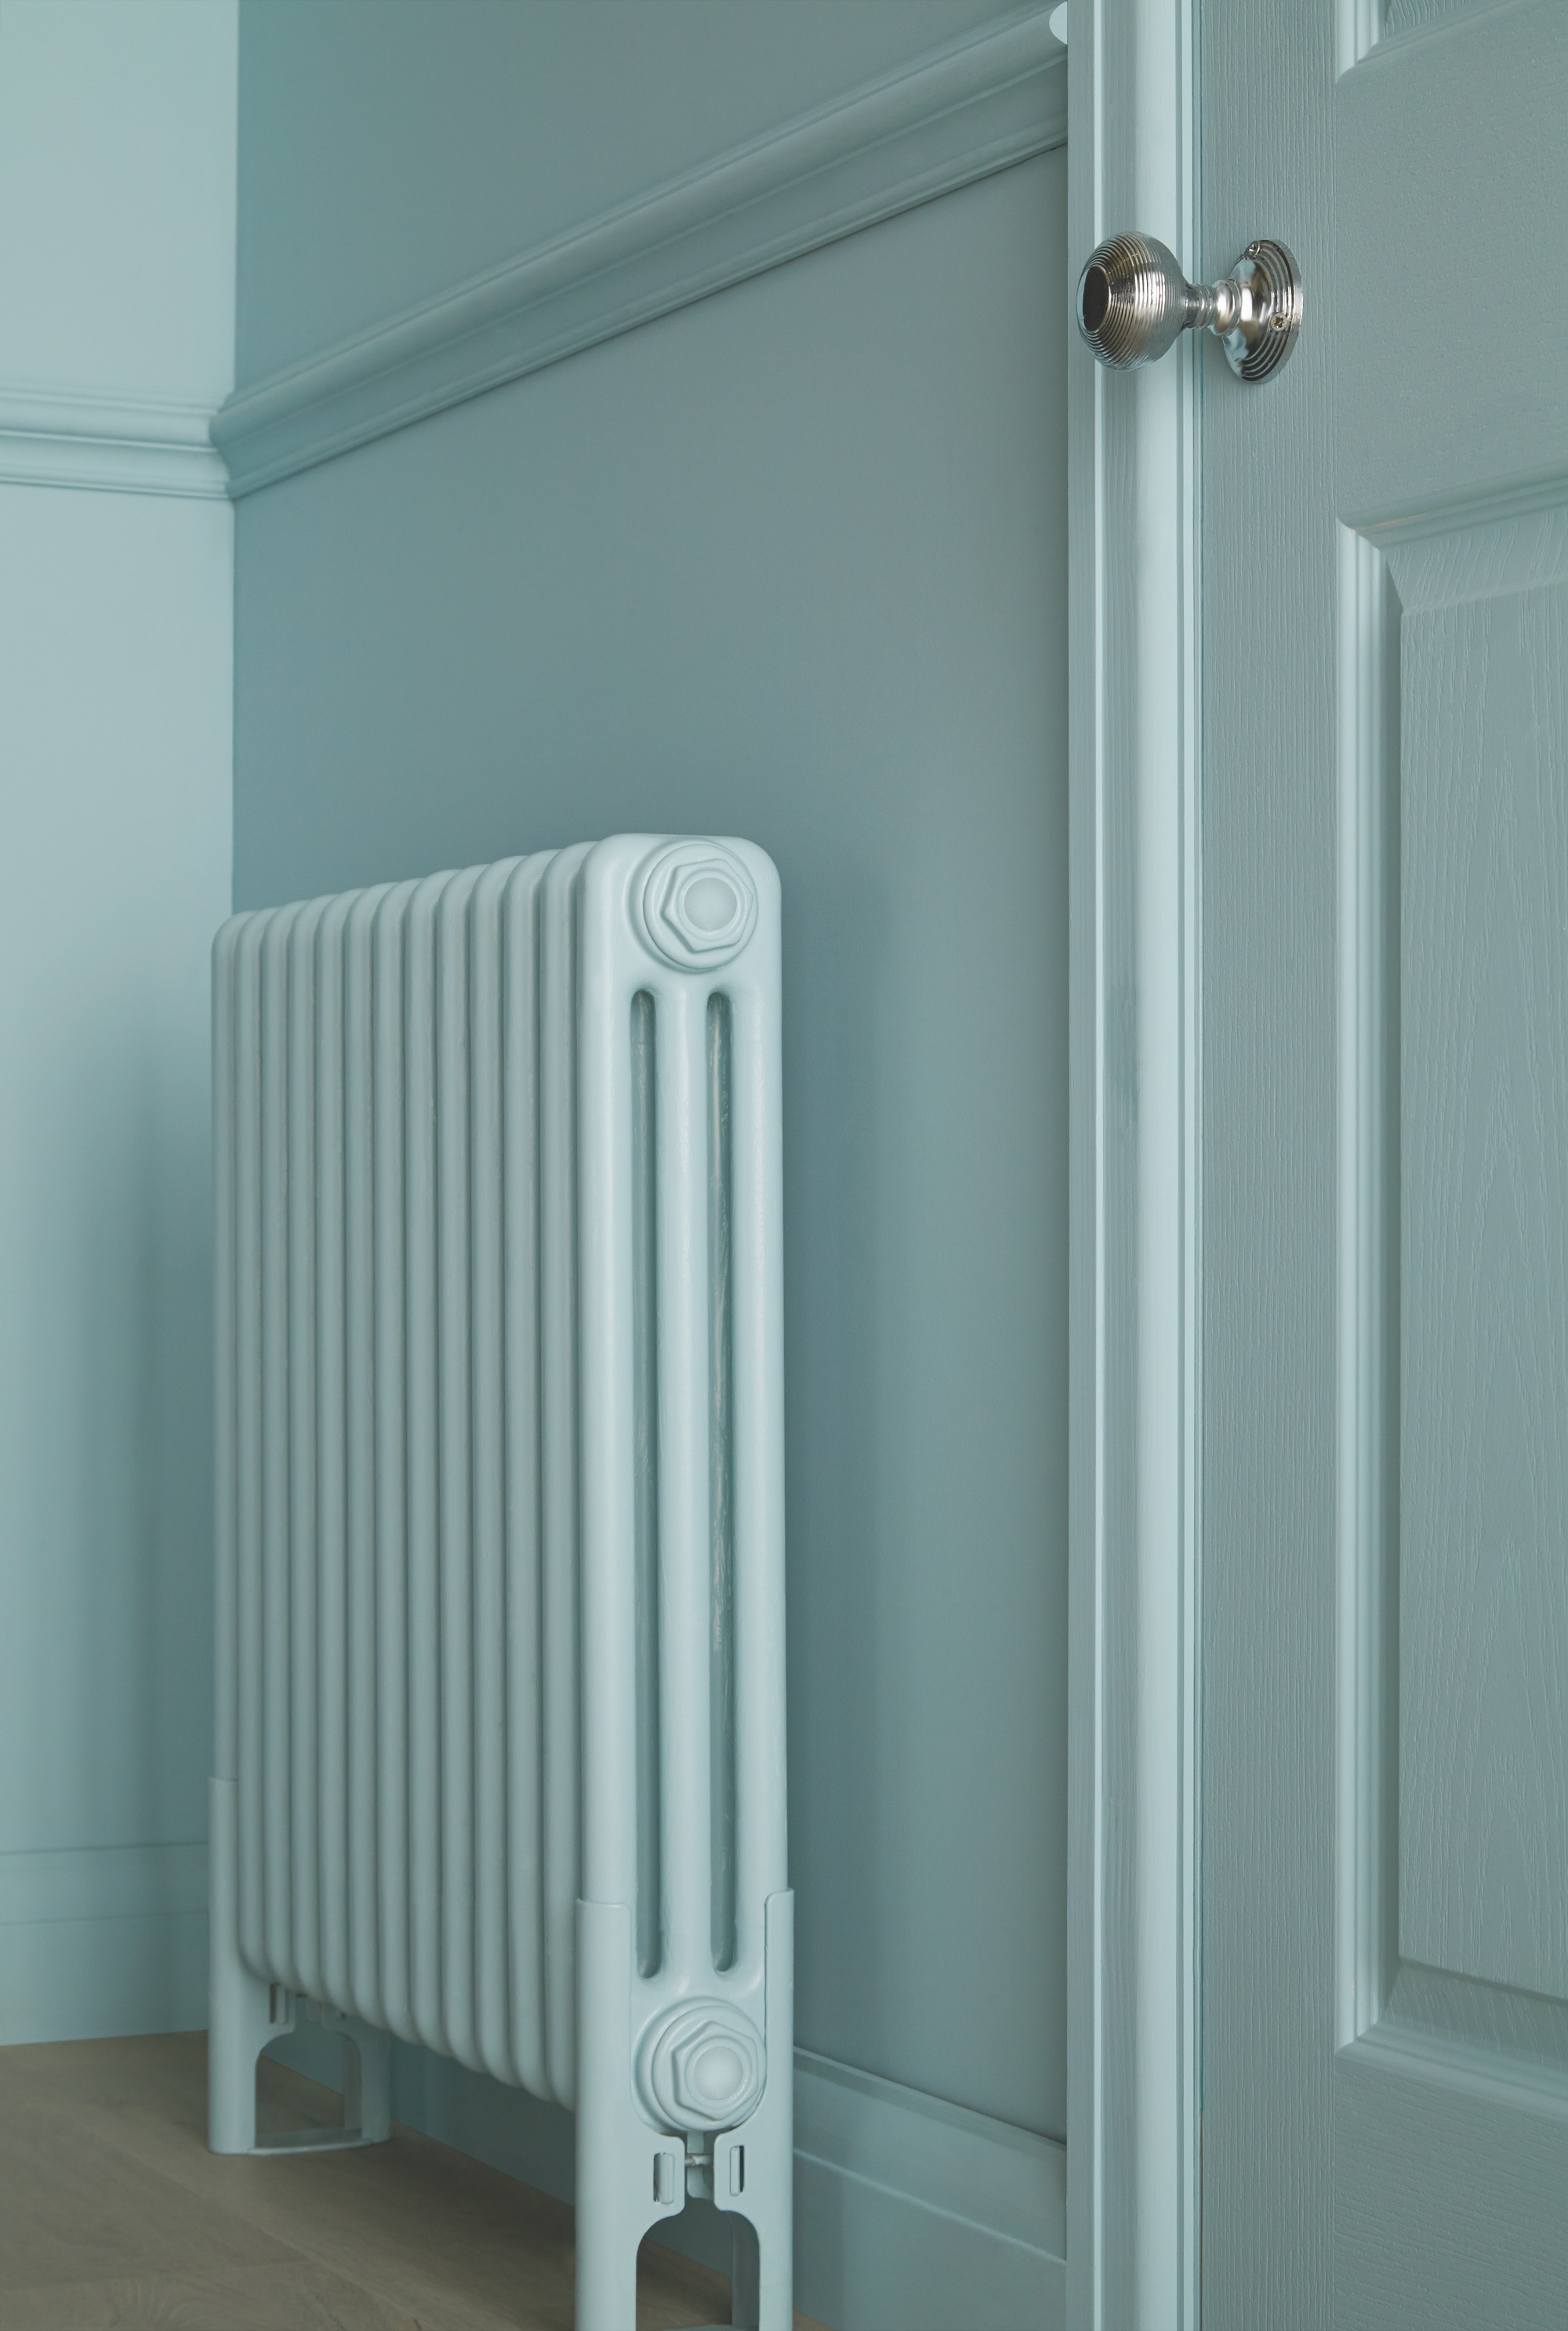
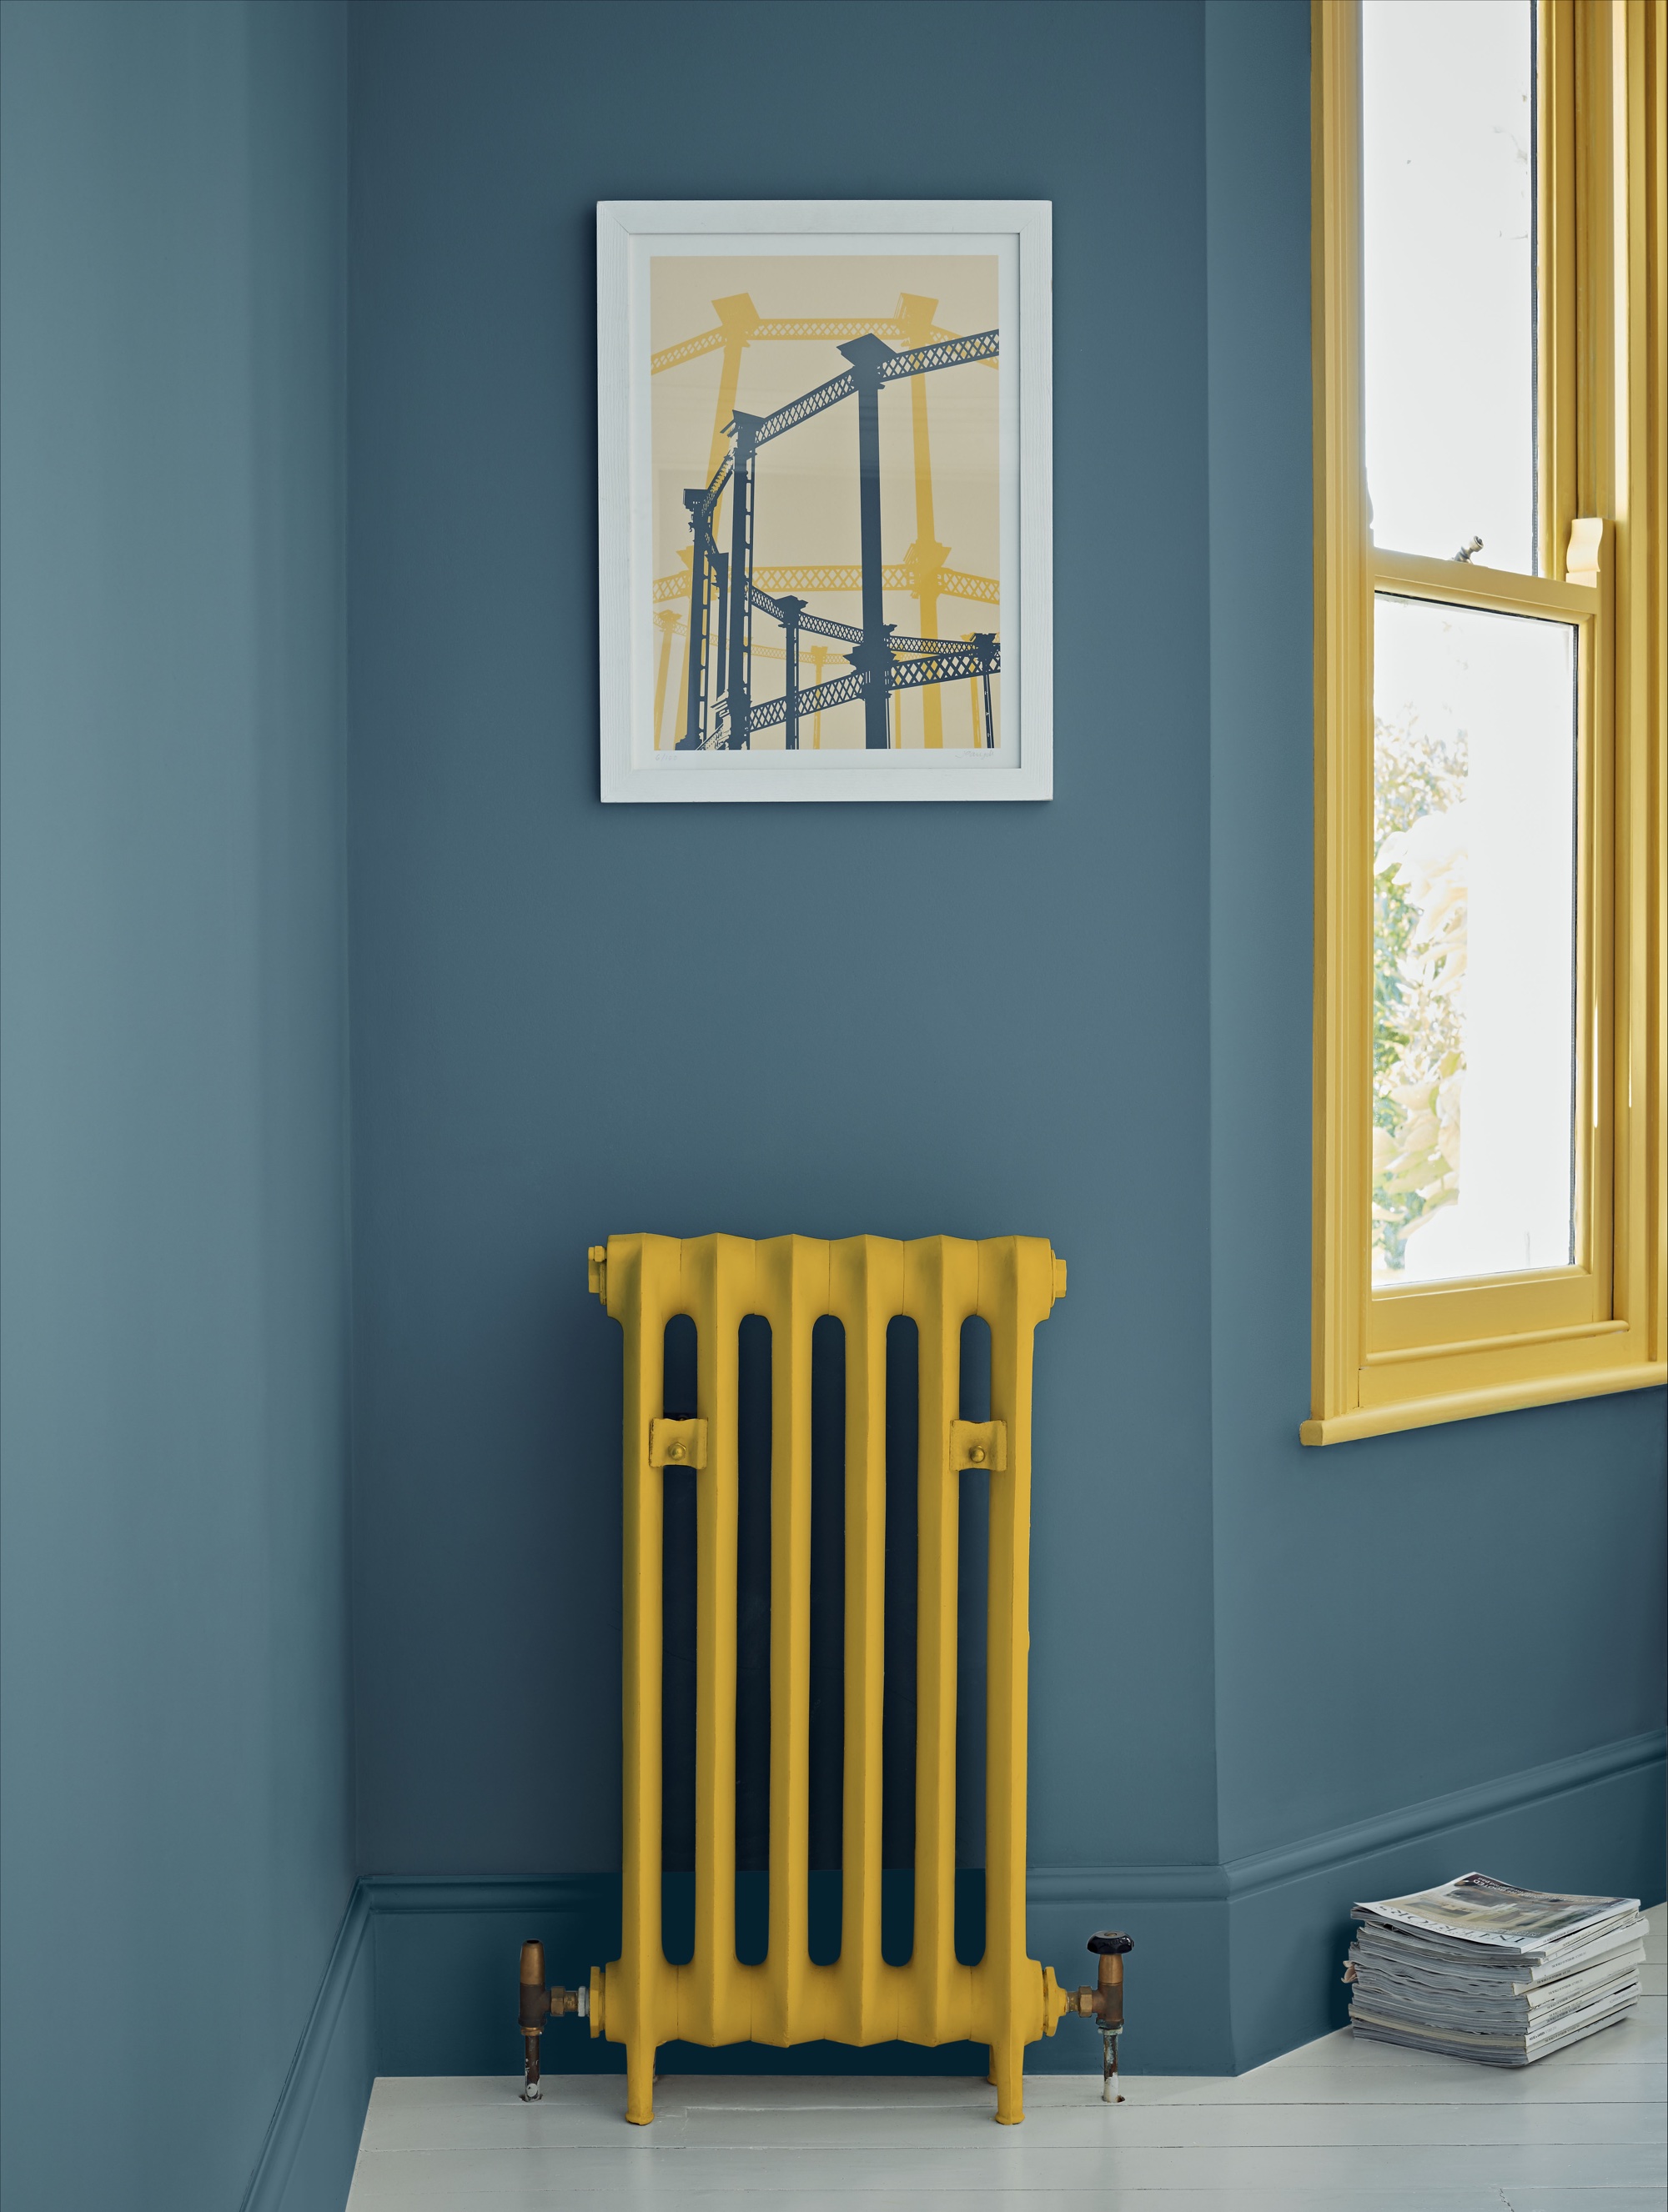
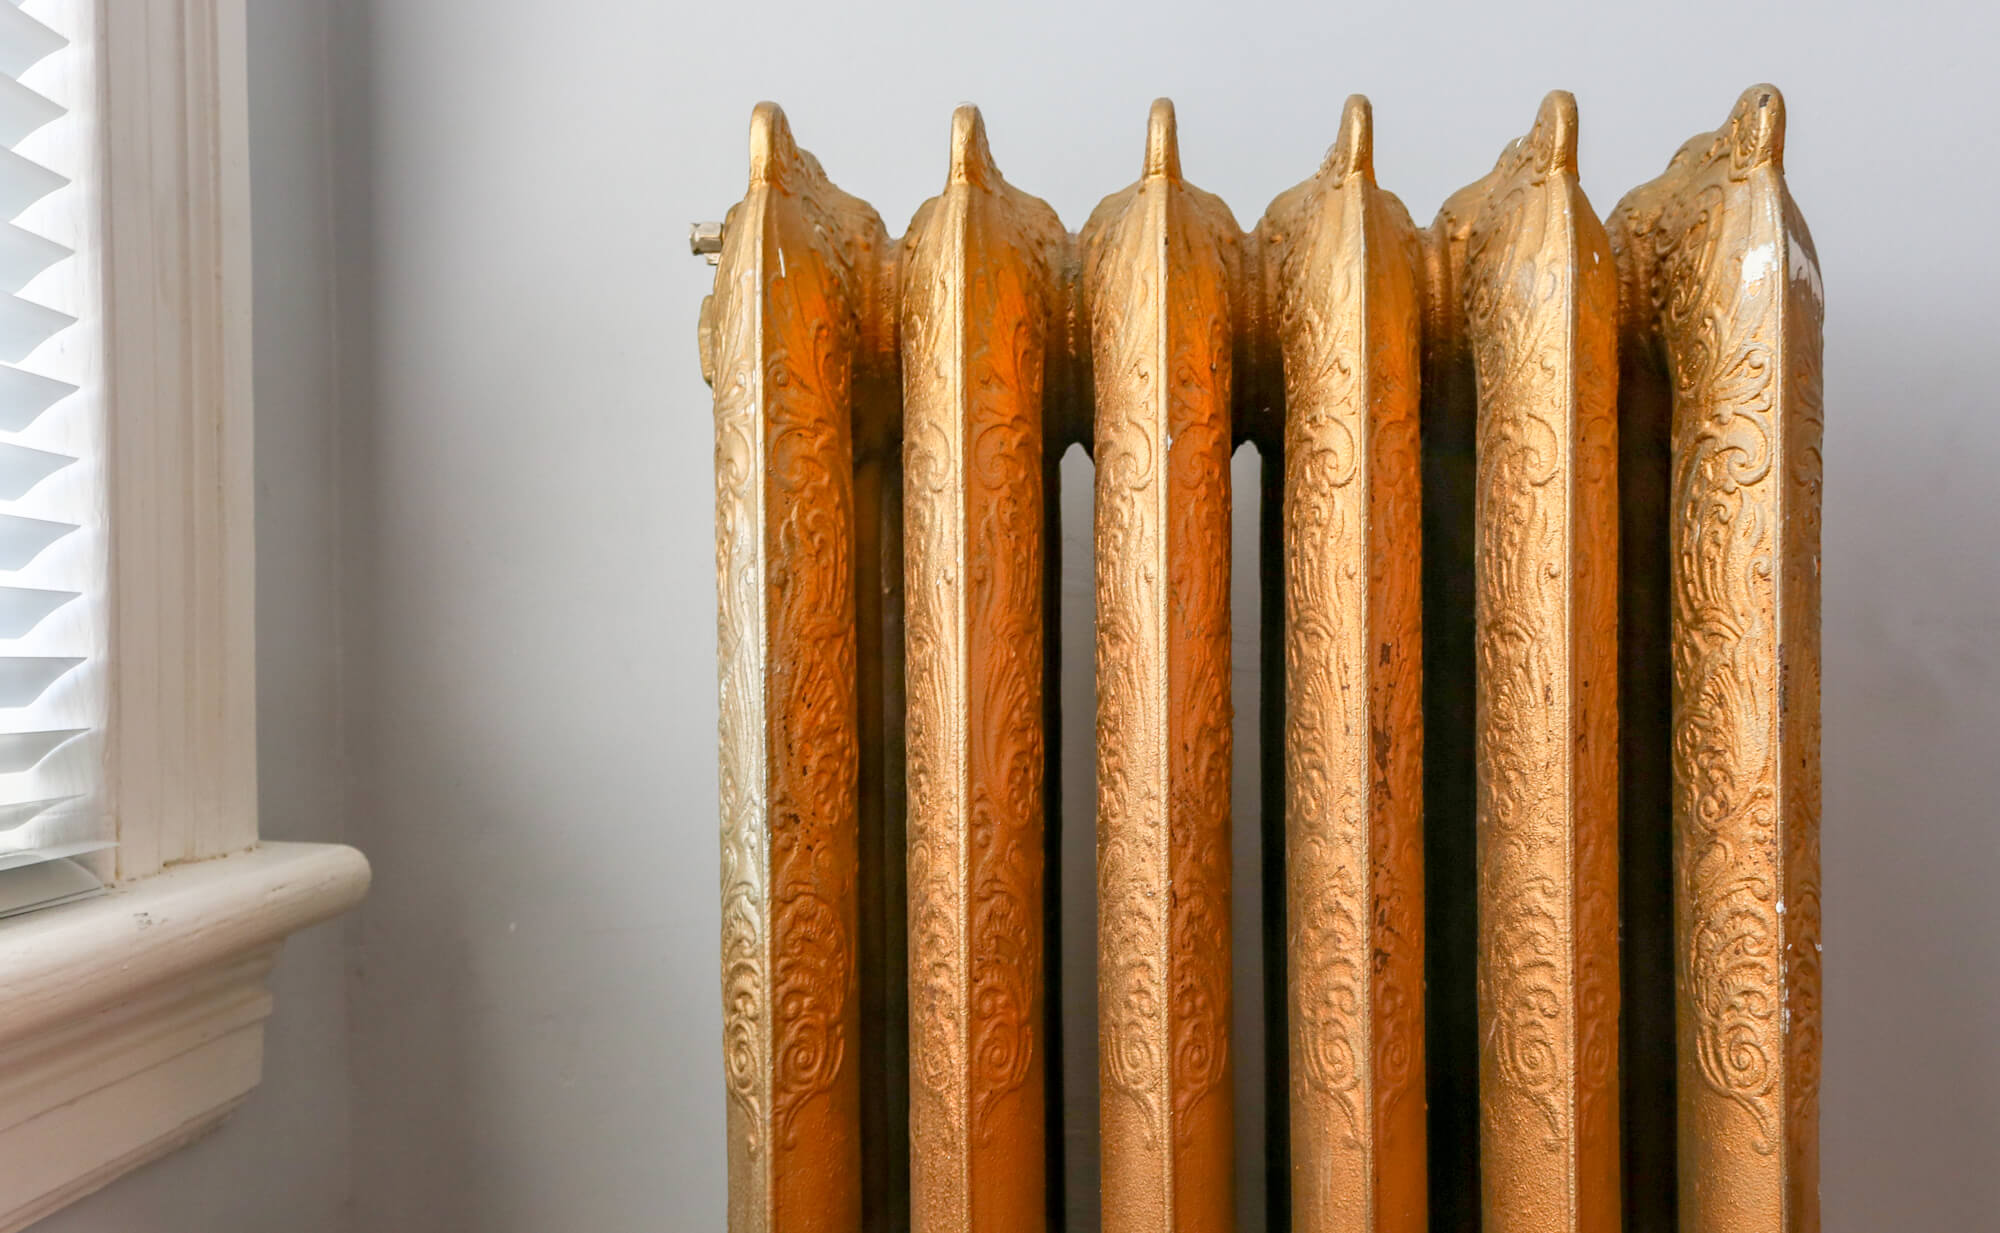
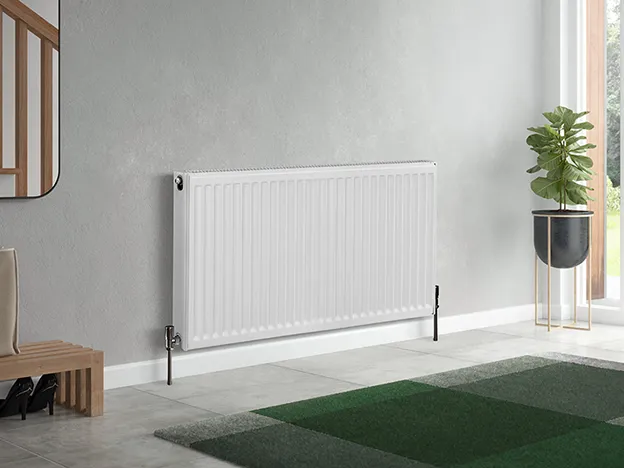
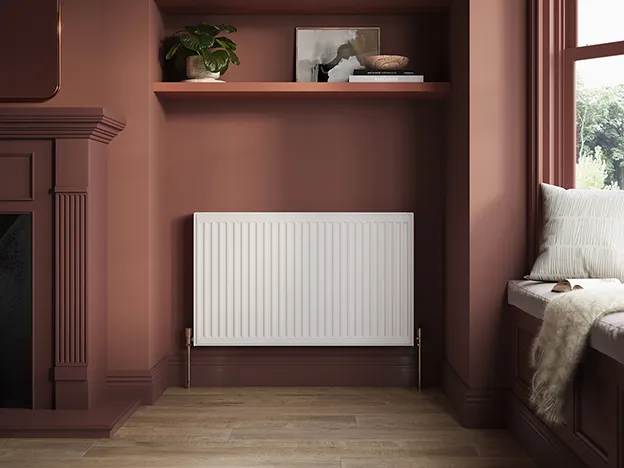
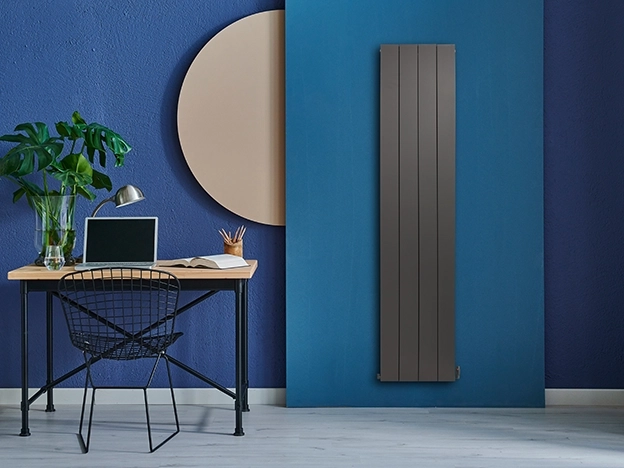
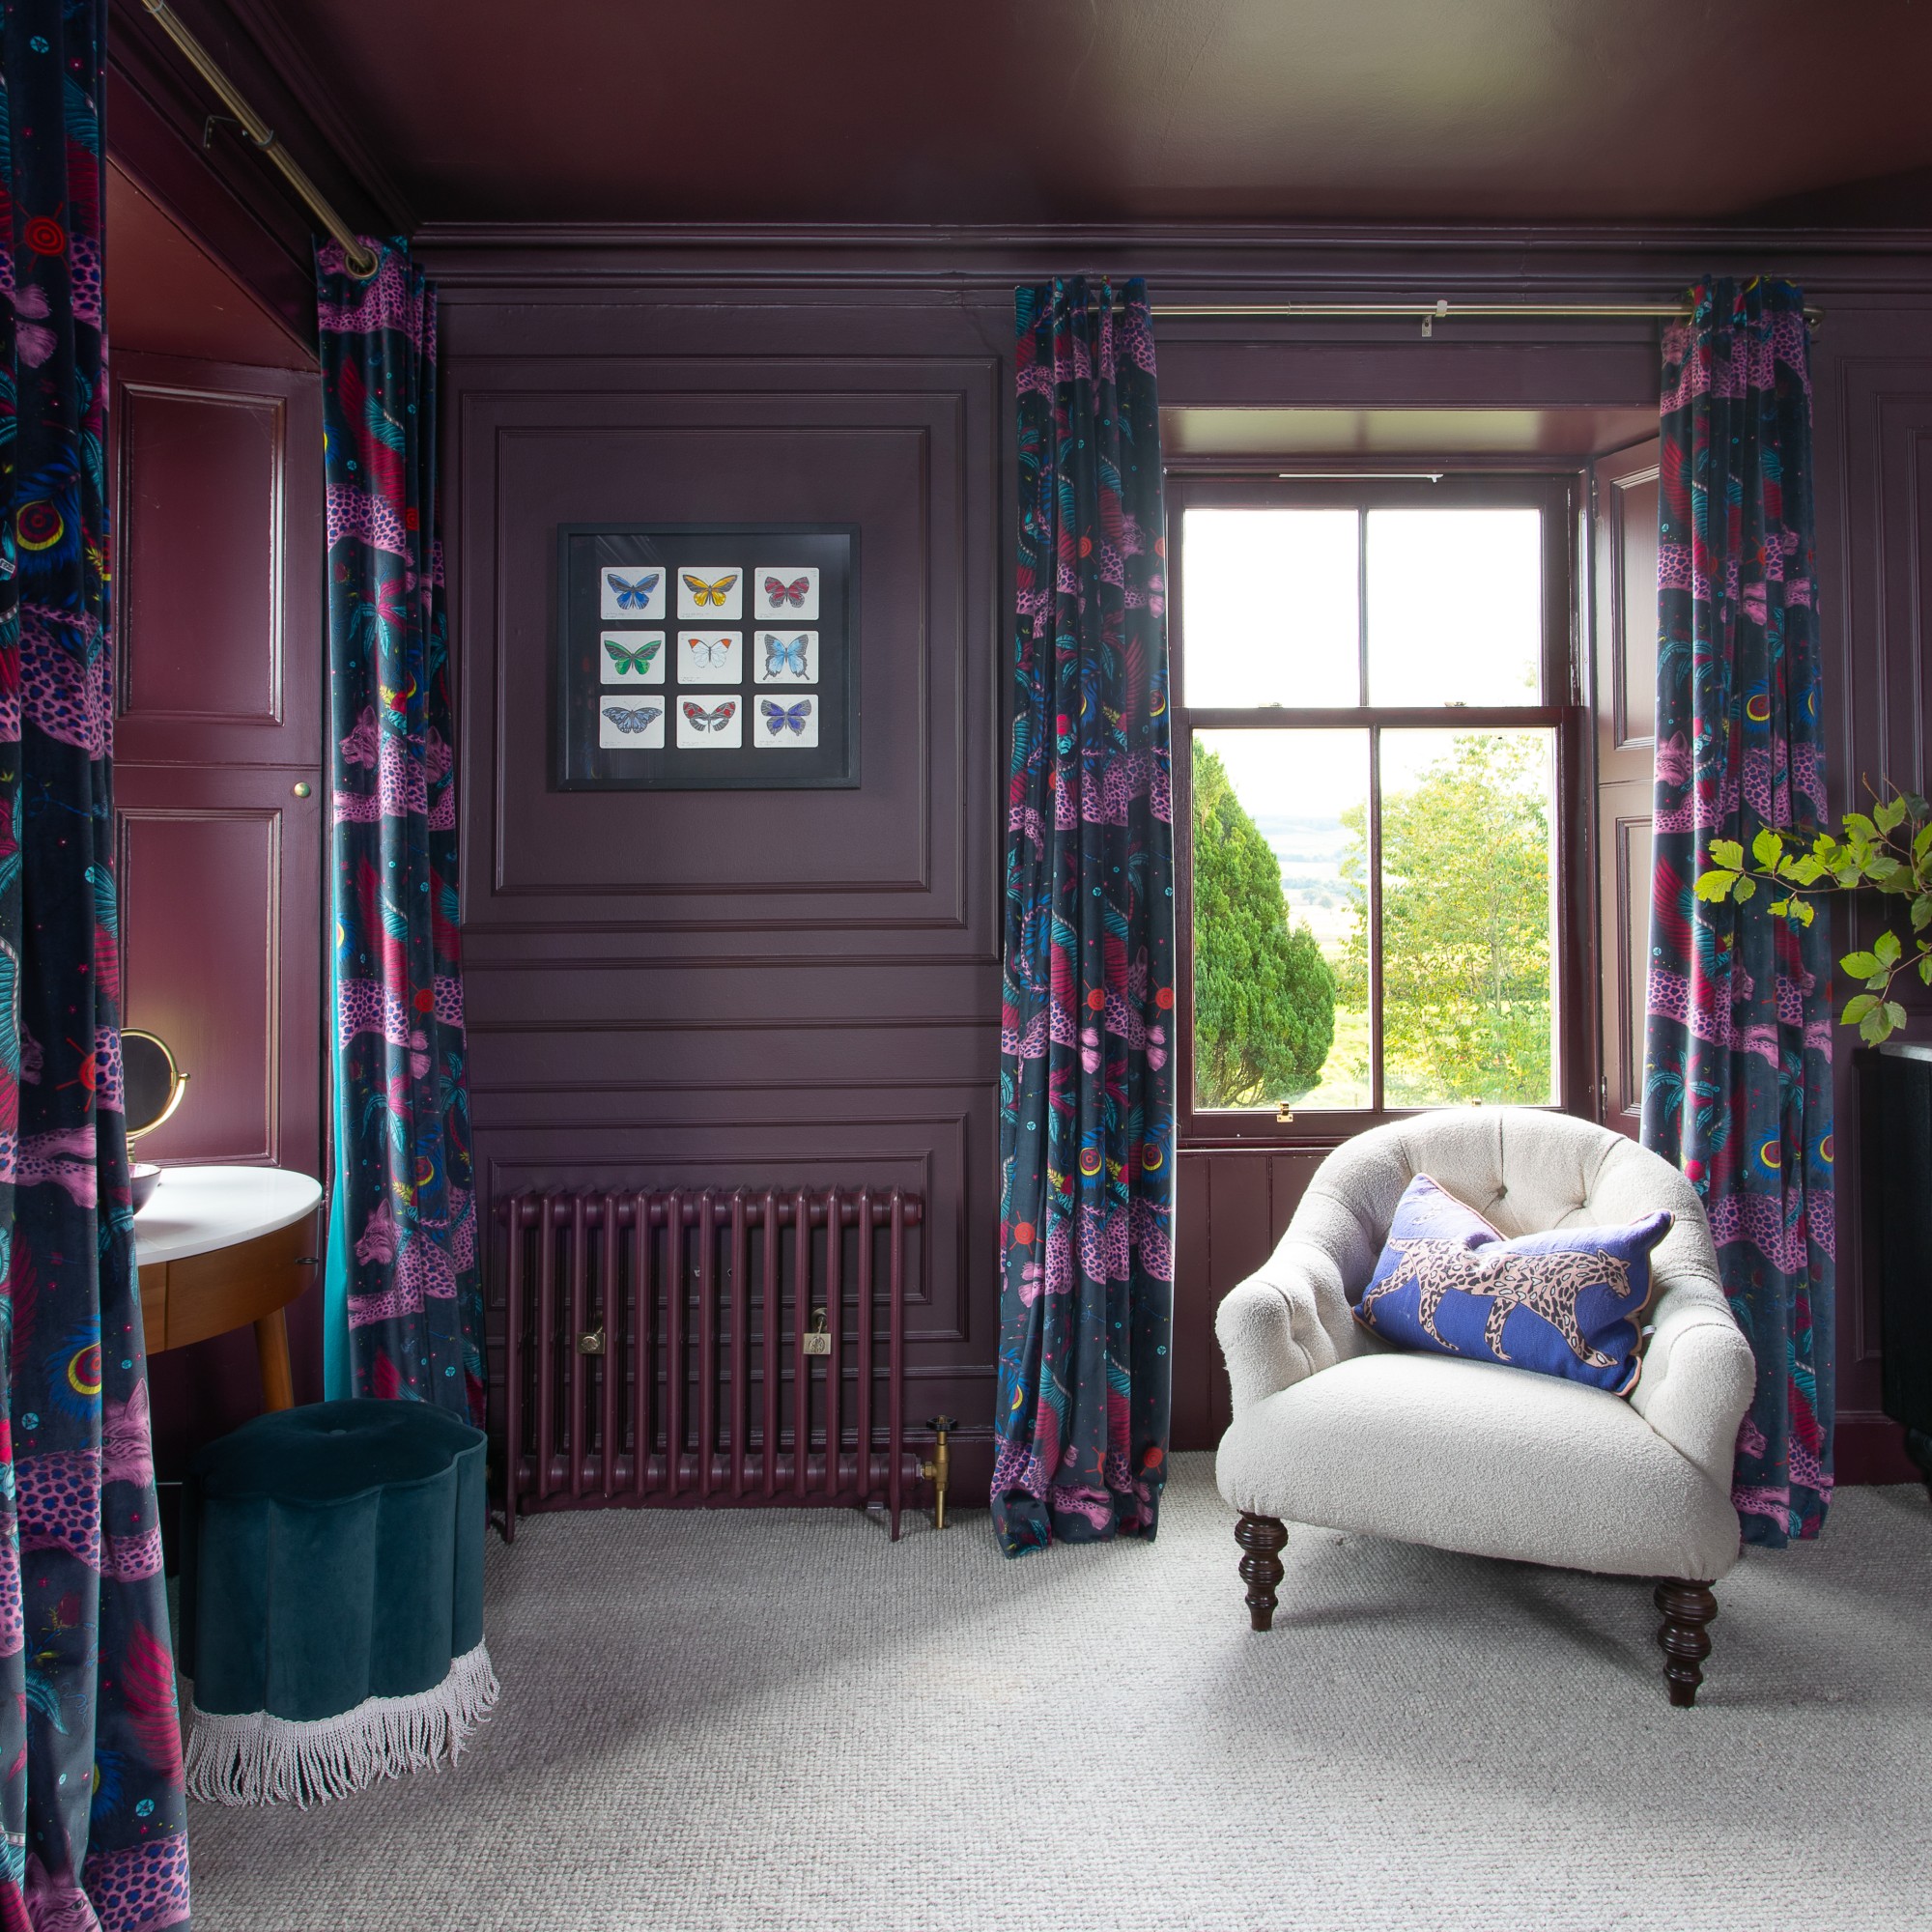
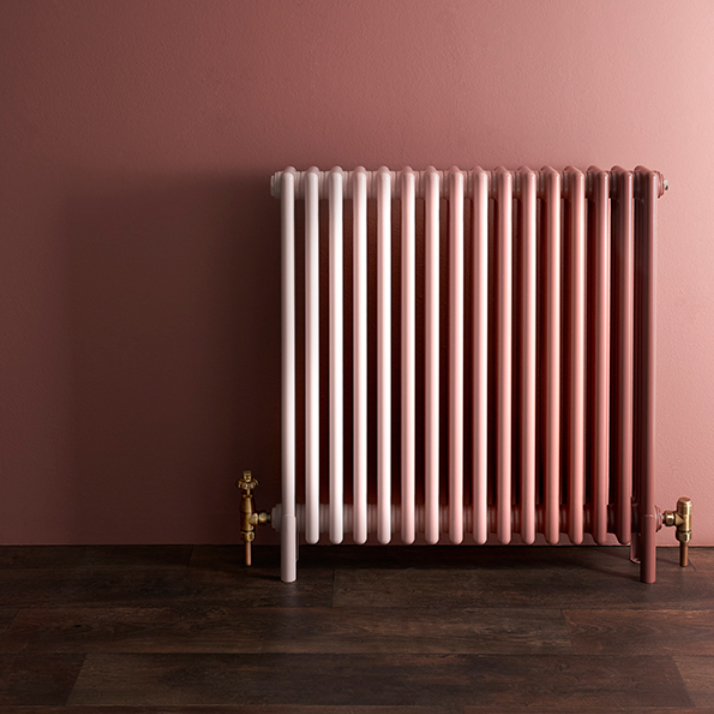
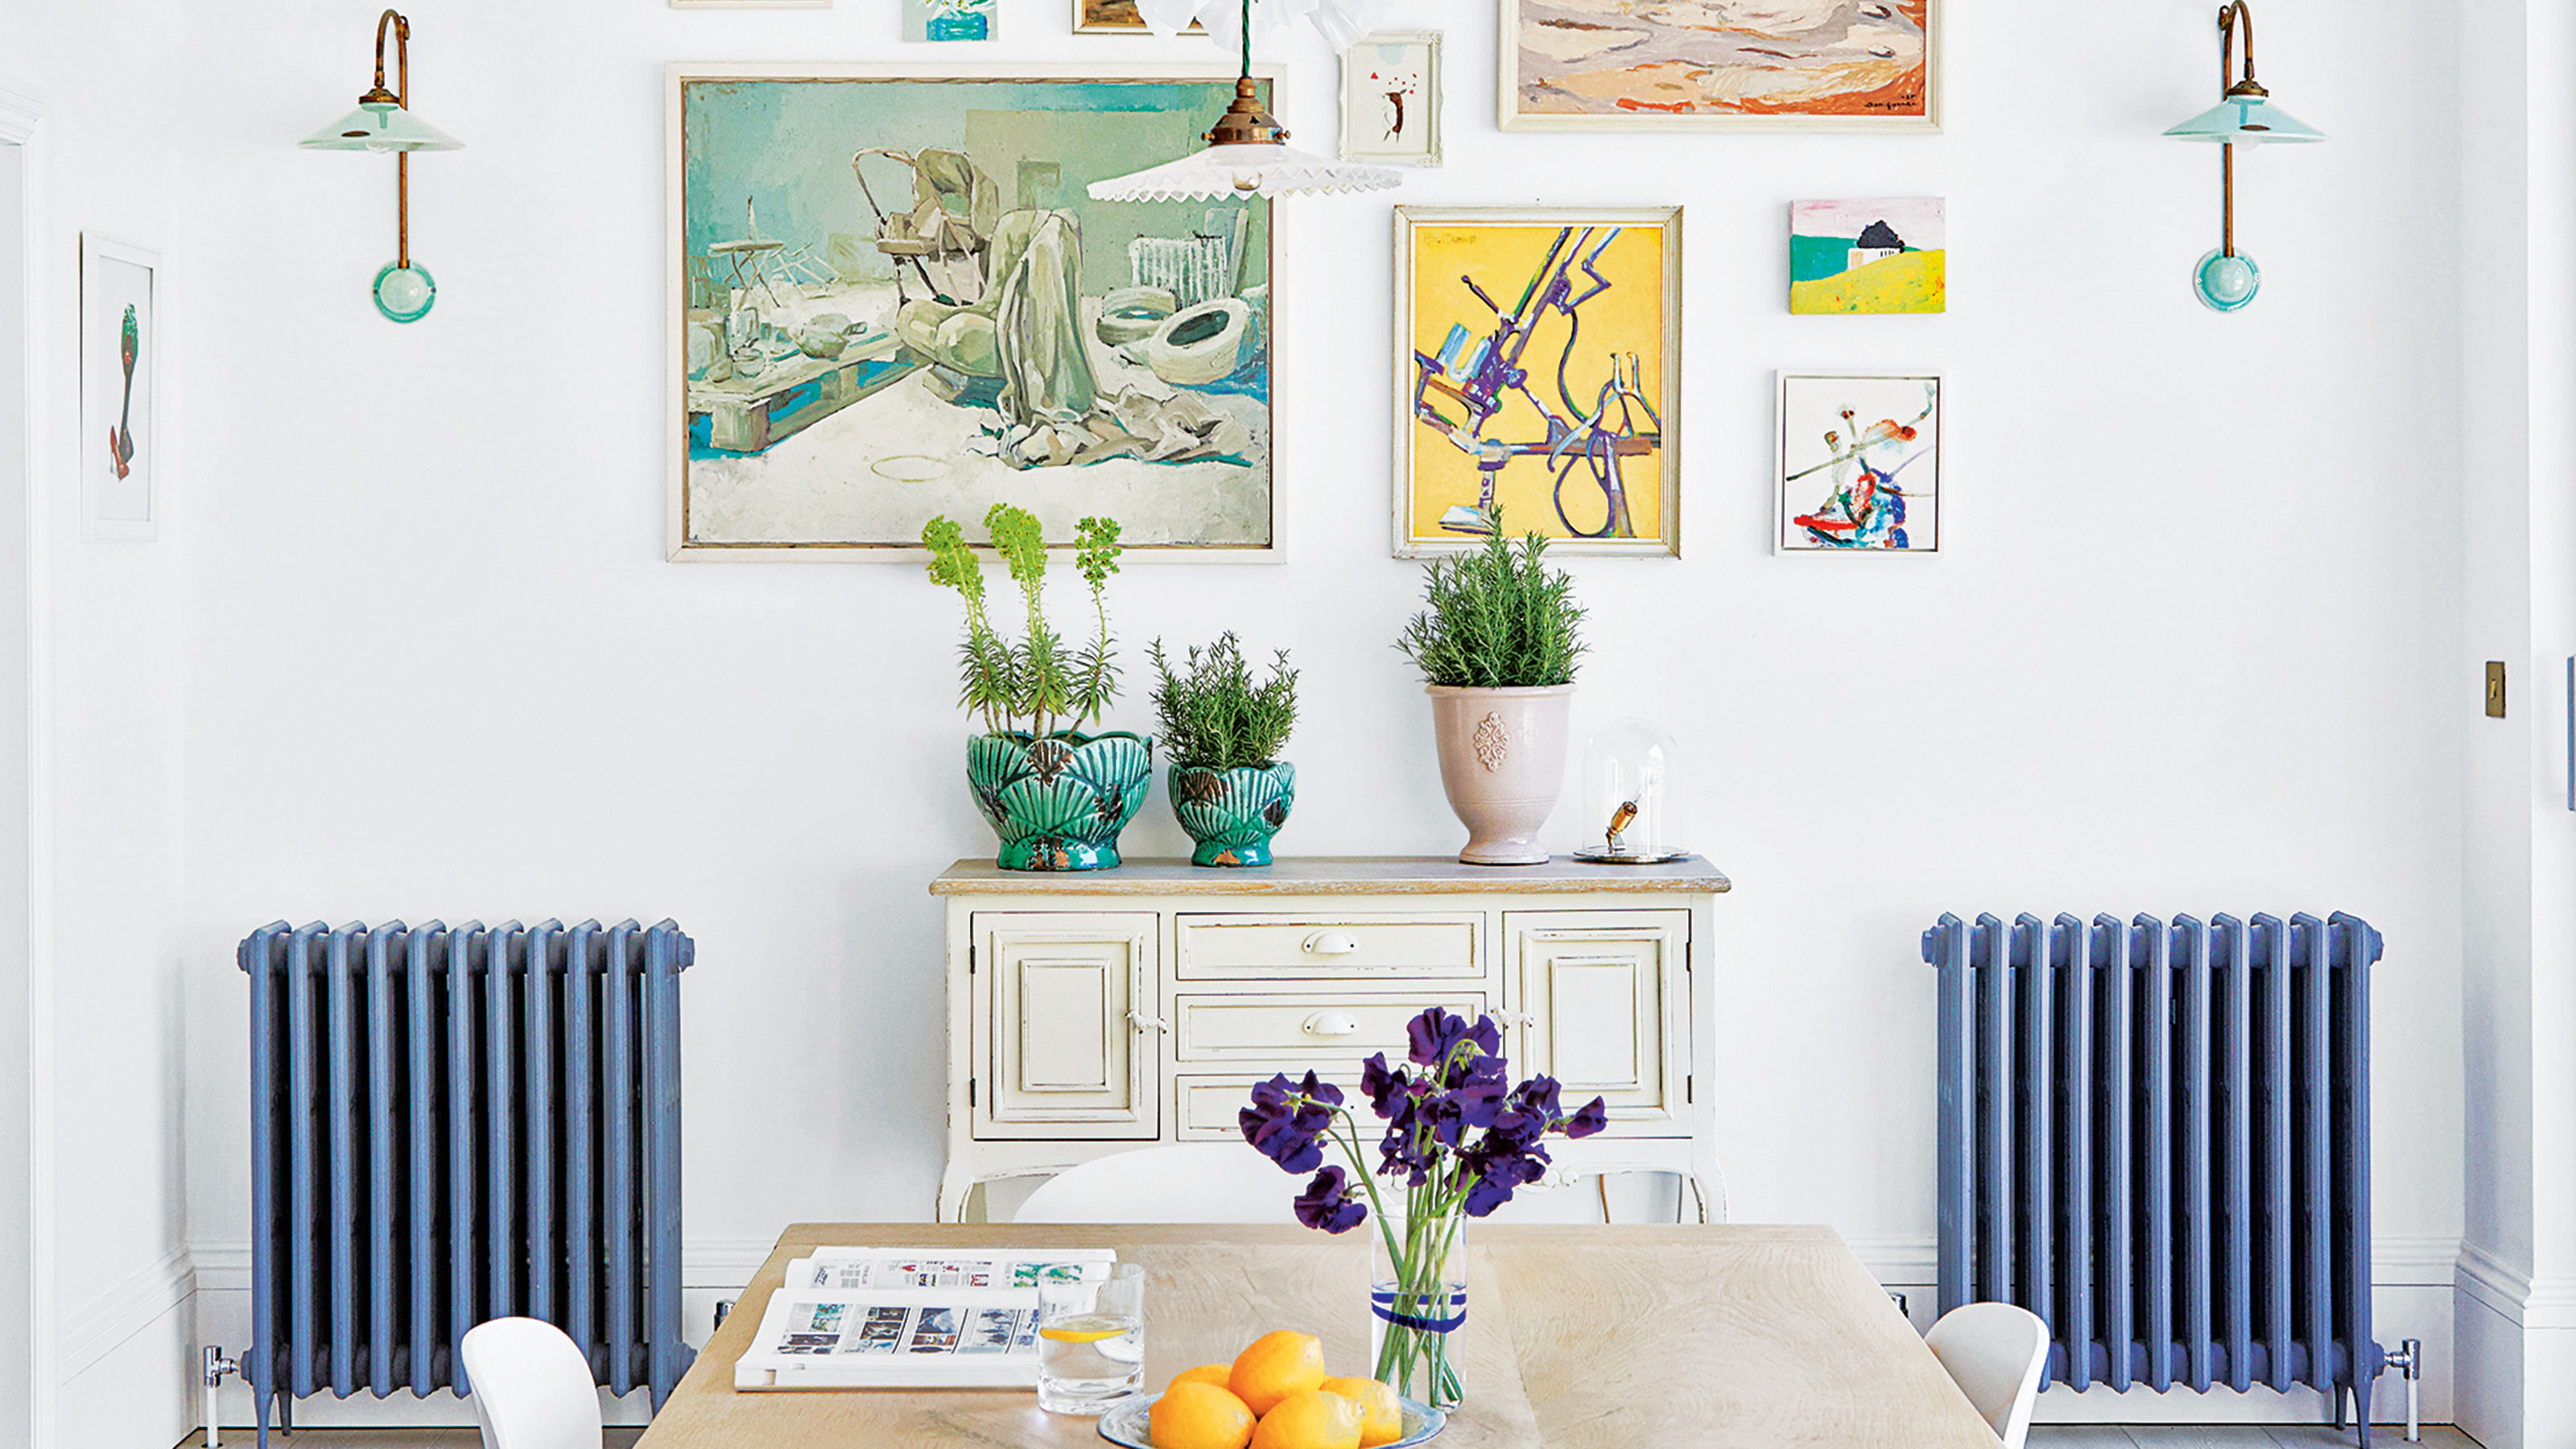
Radiators, while essential for home comfort, can often be an eyesore, diminishing the aesthetic appeal of a room. Replacing them can be expensive, but painting offers a cost-effective and straightforward solution to refresh their appearance and integrate them seamlessly into a room's design. This DIY guide details the process of painting a radiator, transforming it from a drab necessity to a complementary or even statement feature.
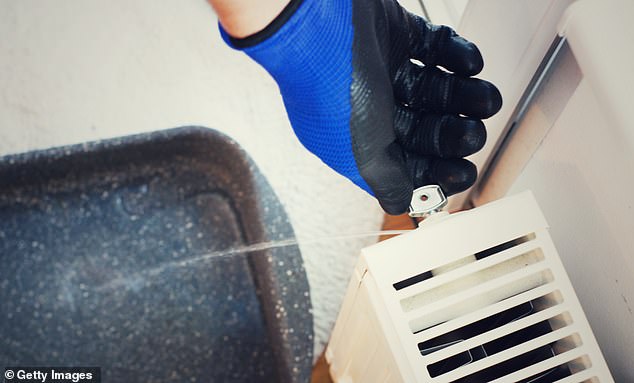
Before embarking on the painting project, it is crucial to understand the necessary preparation. The first and most vital step is to ensure the radiator is turned off and completely cold. Painting a warm radiator can lead to blistering and dripping paint, compromising the finish. Ideally, the radiator should be left off overnight to cool thoroughly, and any heating schedules should be checked to prevent it from activating during the process. While not strictly mandatory for painting, it is also recommended to bleed the radiator beforehand to ensure optimal efficiency and to identify any underlying issues that might necessitate replacement, preventing wasted effort.
Once the radiator is cool, protective measures are essential. Dust sheets or newspapers should be laid around the radiator, covering the floor and securing them with tape to prevent paint splashes. Using a 'paint-proof' type of dust sheet is advised to protect flooring and skirting boards. Additionally, placing card or newspaper between the radiator and the wall, secured with masking tape, safeguards the wall paint. Any valves or vents should also be covered with masking tape.
Cleaning the radiator is the next step to ensure a smooth, lasting finish. The radiator should be vacuumed to remove dust and debris, followed by a thorough wipe-down with warm water and a mild detergent to eliminate any sticky marks or grime.
Surface preparation continues with sanding. If the radiator has multiple layers of old paint, a paint stripper might be necessary, adhering to the manufacturer's instructions for application and removal. For radiators with only one or two previous paint layers, a light sanding with 120-grade sandpaper is sufficient to buff away lumps or bumps, creating a smooth surface for new paint to adhere to. The dust sheet will catch any debris generated during this process.
Priming is the final preparatory stage. A metal primer is essential, especially if any bare metal is exposed after sanding. This primer protects the radiator and provides an optimal surface for the topcoat. It is crucial to use a primer specifically designed for metal surfaces, as wood primers are unsuitable.
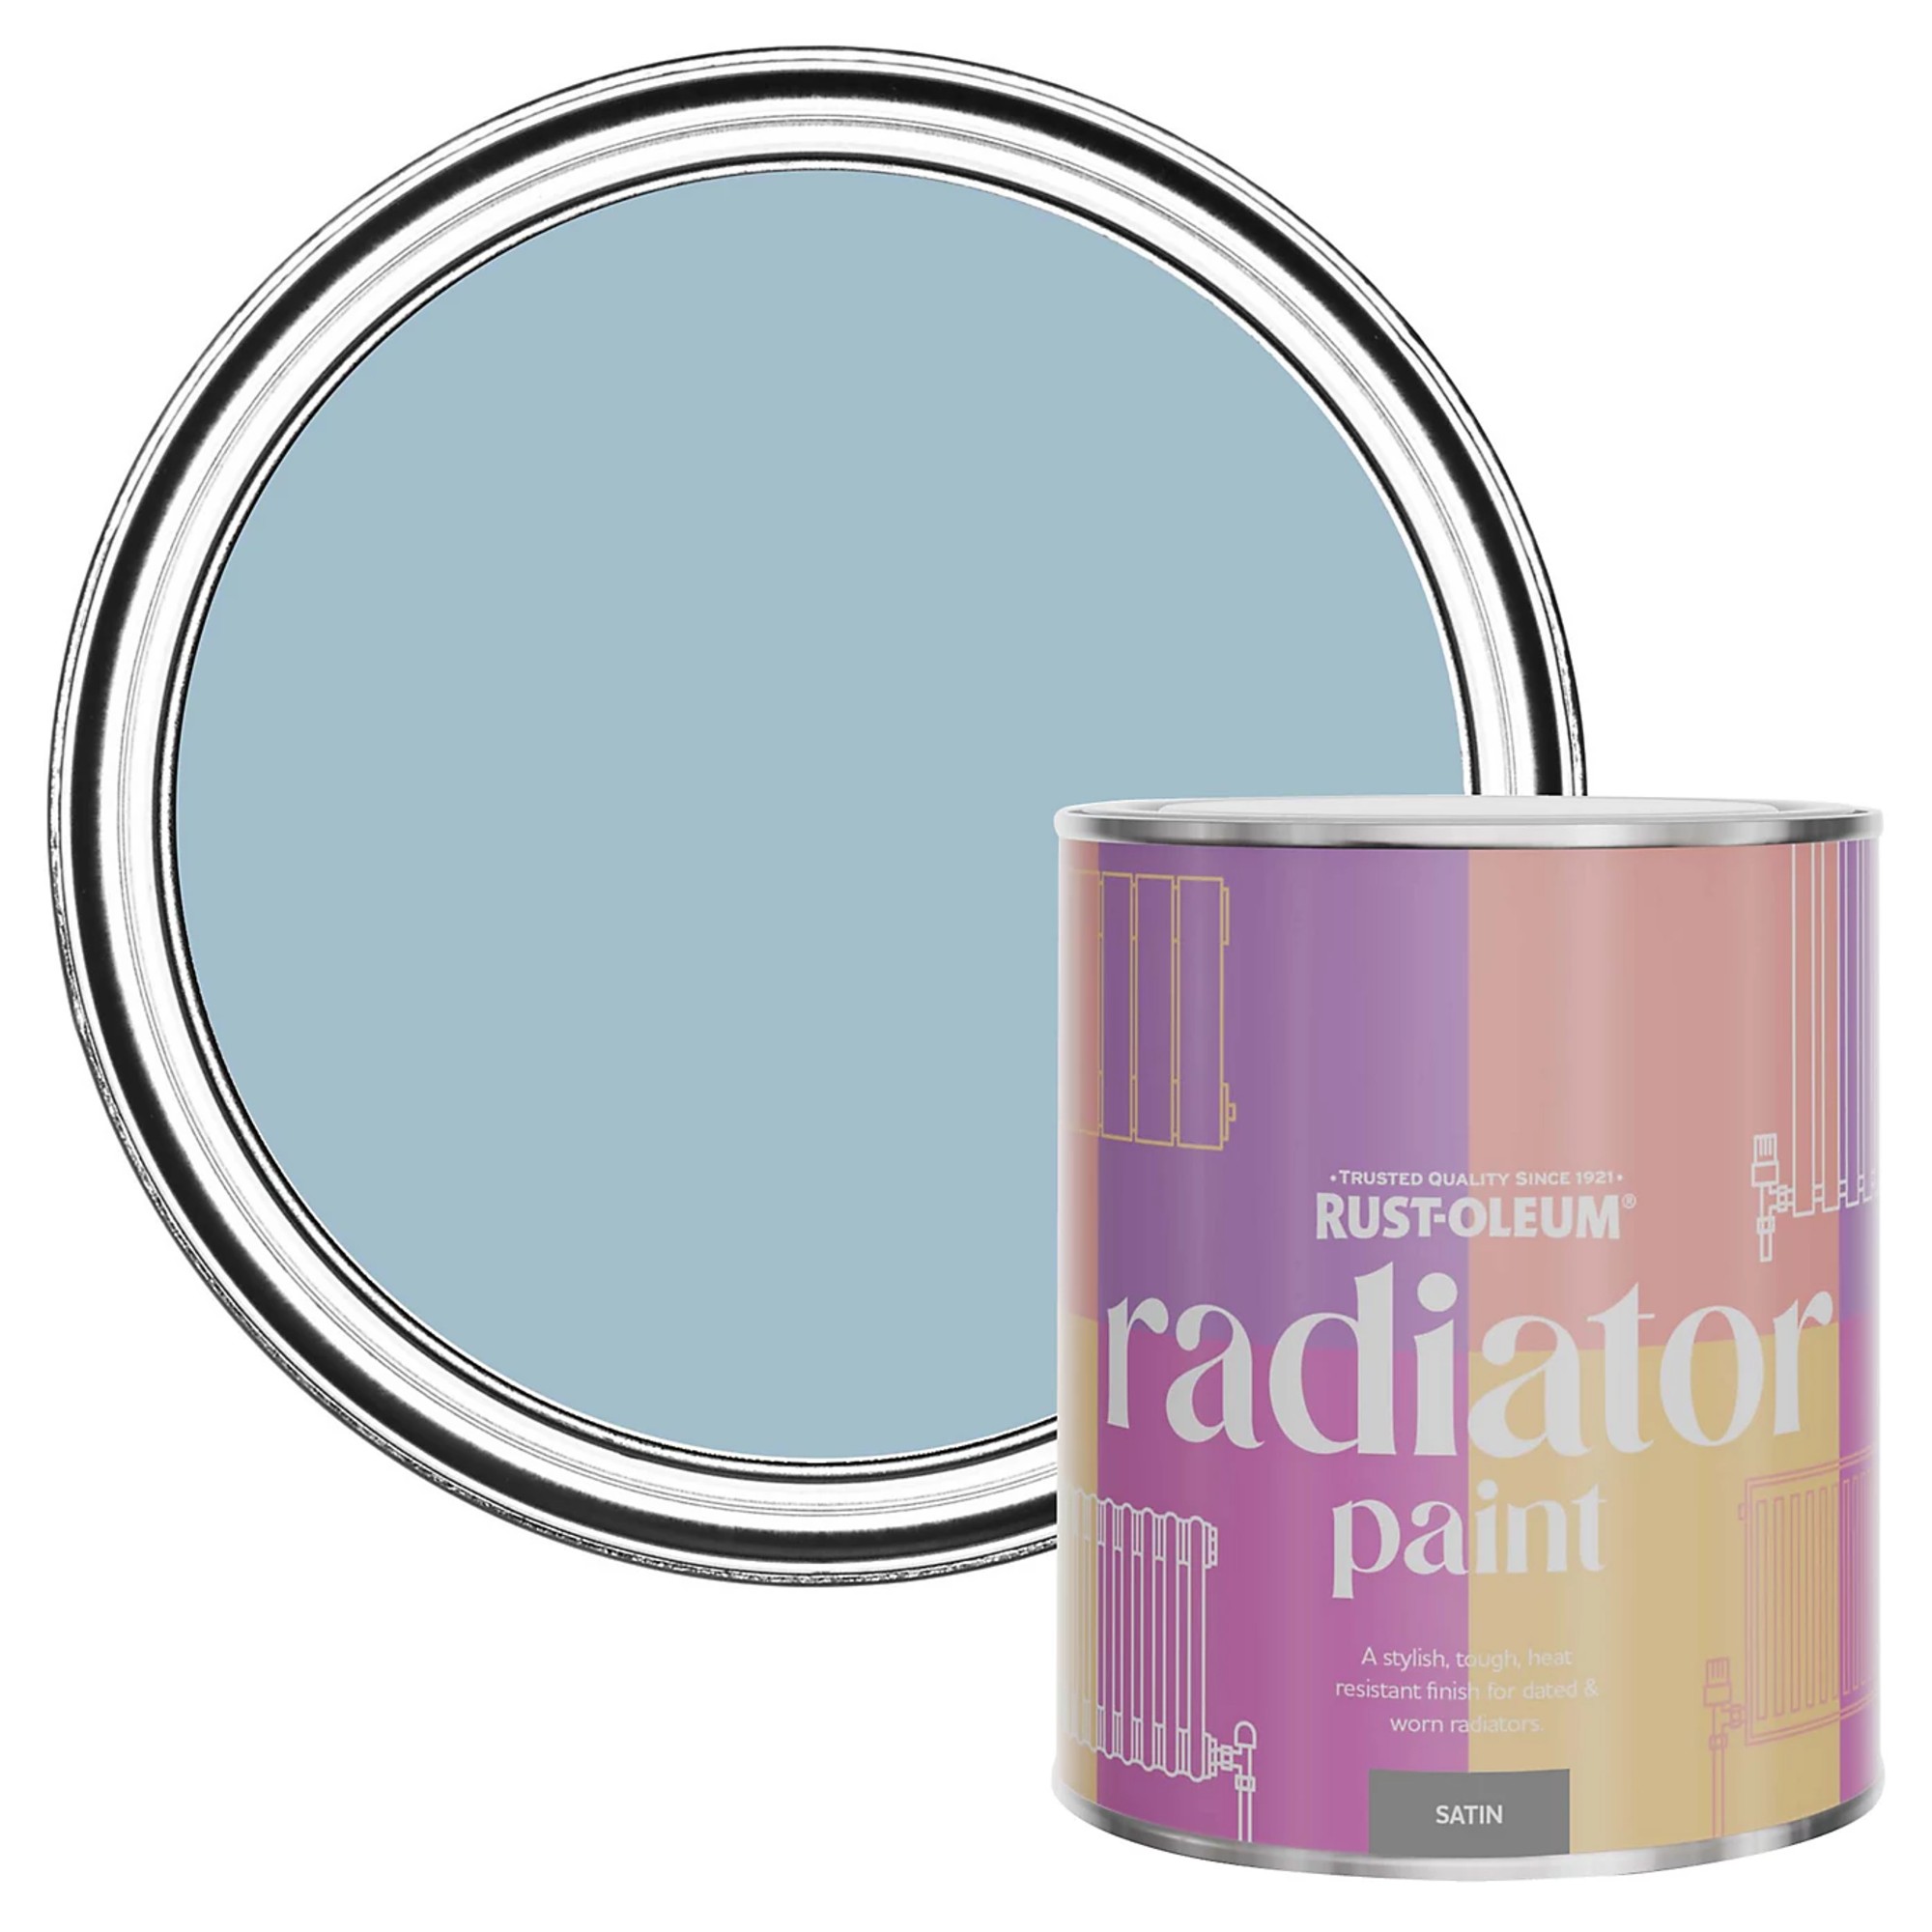
With the radiator clean, prepped, and primed, the painting can begin. A water-based satin or gloss finish metal paint is recommended due to its durability and ability to withstand temperature fluctuations. The paint should be stirred well before and during use. Applying paint with a synthetic paintbrush, starting with the edges and then moving to the face, is advised. Light application is key; only one-third of the brush bristles should be dipped to prevent drips. For intricate areas and the back of the radiator, a long-handled mini roller frame with a microfibre cover or a small brush for hard-to-reach spots can be used.
After the first coat, the radiator should be left to dry overnight before applying a second coat. Multiple thin coats are preferable to one or two thick ones, as this achieves a smoother finish and a more chip-resistant surface. It is critical to allow each coat to dry completely before applying the next. Once the painting is finished, the radiator should be allowed to dry for at least 24 hours before turning the heating back on to prevent damage to the new paintwork. A strong paint smell might be noticeable when the heating is first reactivated, but this will dissipate within a few days if the paint is fully dry.
Regarding paint type, normal emulsion is unsuitable for radiators due to constant temperature changes that can cause cracking. Metal paint or specialist radiator paint designed for high heats is best. An undercoat-primer combination can allow for normal emulsion, but using metal paint is generally the wisest choice for superior results. If any raw metal is exposed, priming is always recommended. While spray paint can be an option, it often requires removing the radiator, which may necessitate professional assistance.
#RadiatorPainting #DIYHomeImprovement #HomeDecoration #InteriorPainting #HomeMaintenance #EnergyEfficiency #DIYProject #HomeRenovation #PaintShed #RadiatorPainting #DIYHomeImprovement #HomeDecoration #InteriorPainting #HomeMaintenance #EnergyEfficiency #DIYProject #HomeRenovation #PaintShed
0 comment in total
 No comments yet
You may also like
How to paint behind a radiator - expert tips for a pro-worthy finish

11 Stylish Ways to Enhance—or Hide—Your Radiators
How to clean radiators inside and out – to ensure better efficiency this winter

Turn Your Ugly Radiator Into Something Beautiful—a Functional Seat

5 Ways to Make Radiators Actually Look Good —…

How to hide a radiator - the expert guide to decorating tricks to help them blend in
How to Dress Up Your Baseboard Radiator Space
The best radiator covers – modern, rustic and affordable options to disguise your heating in style
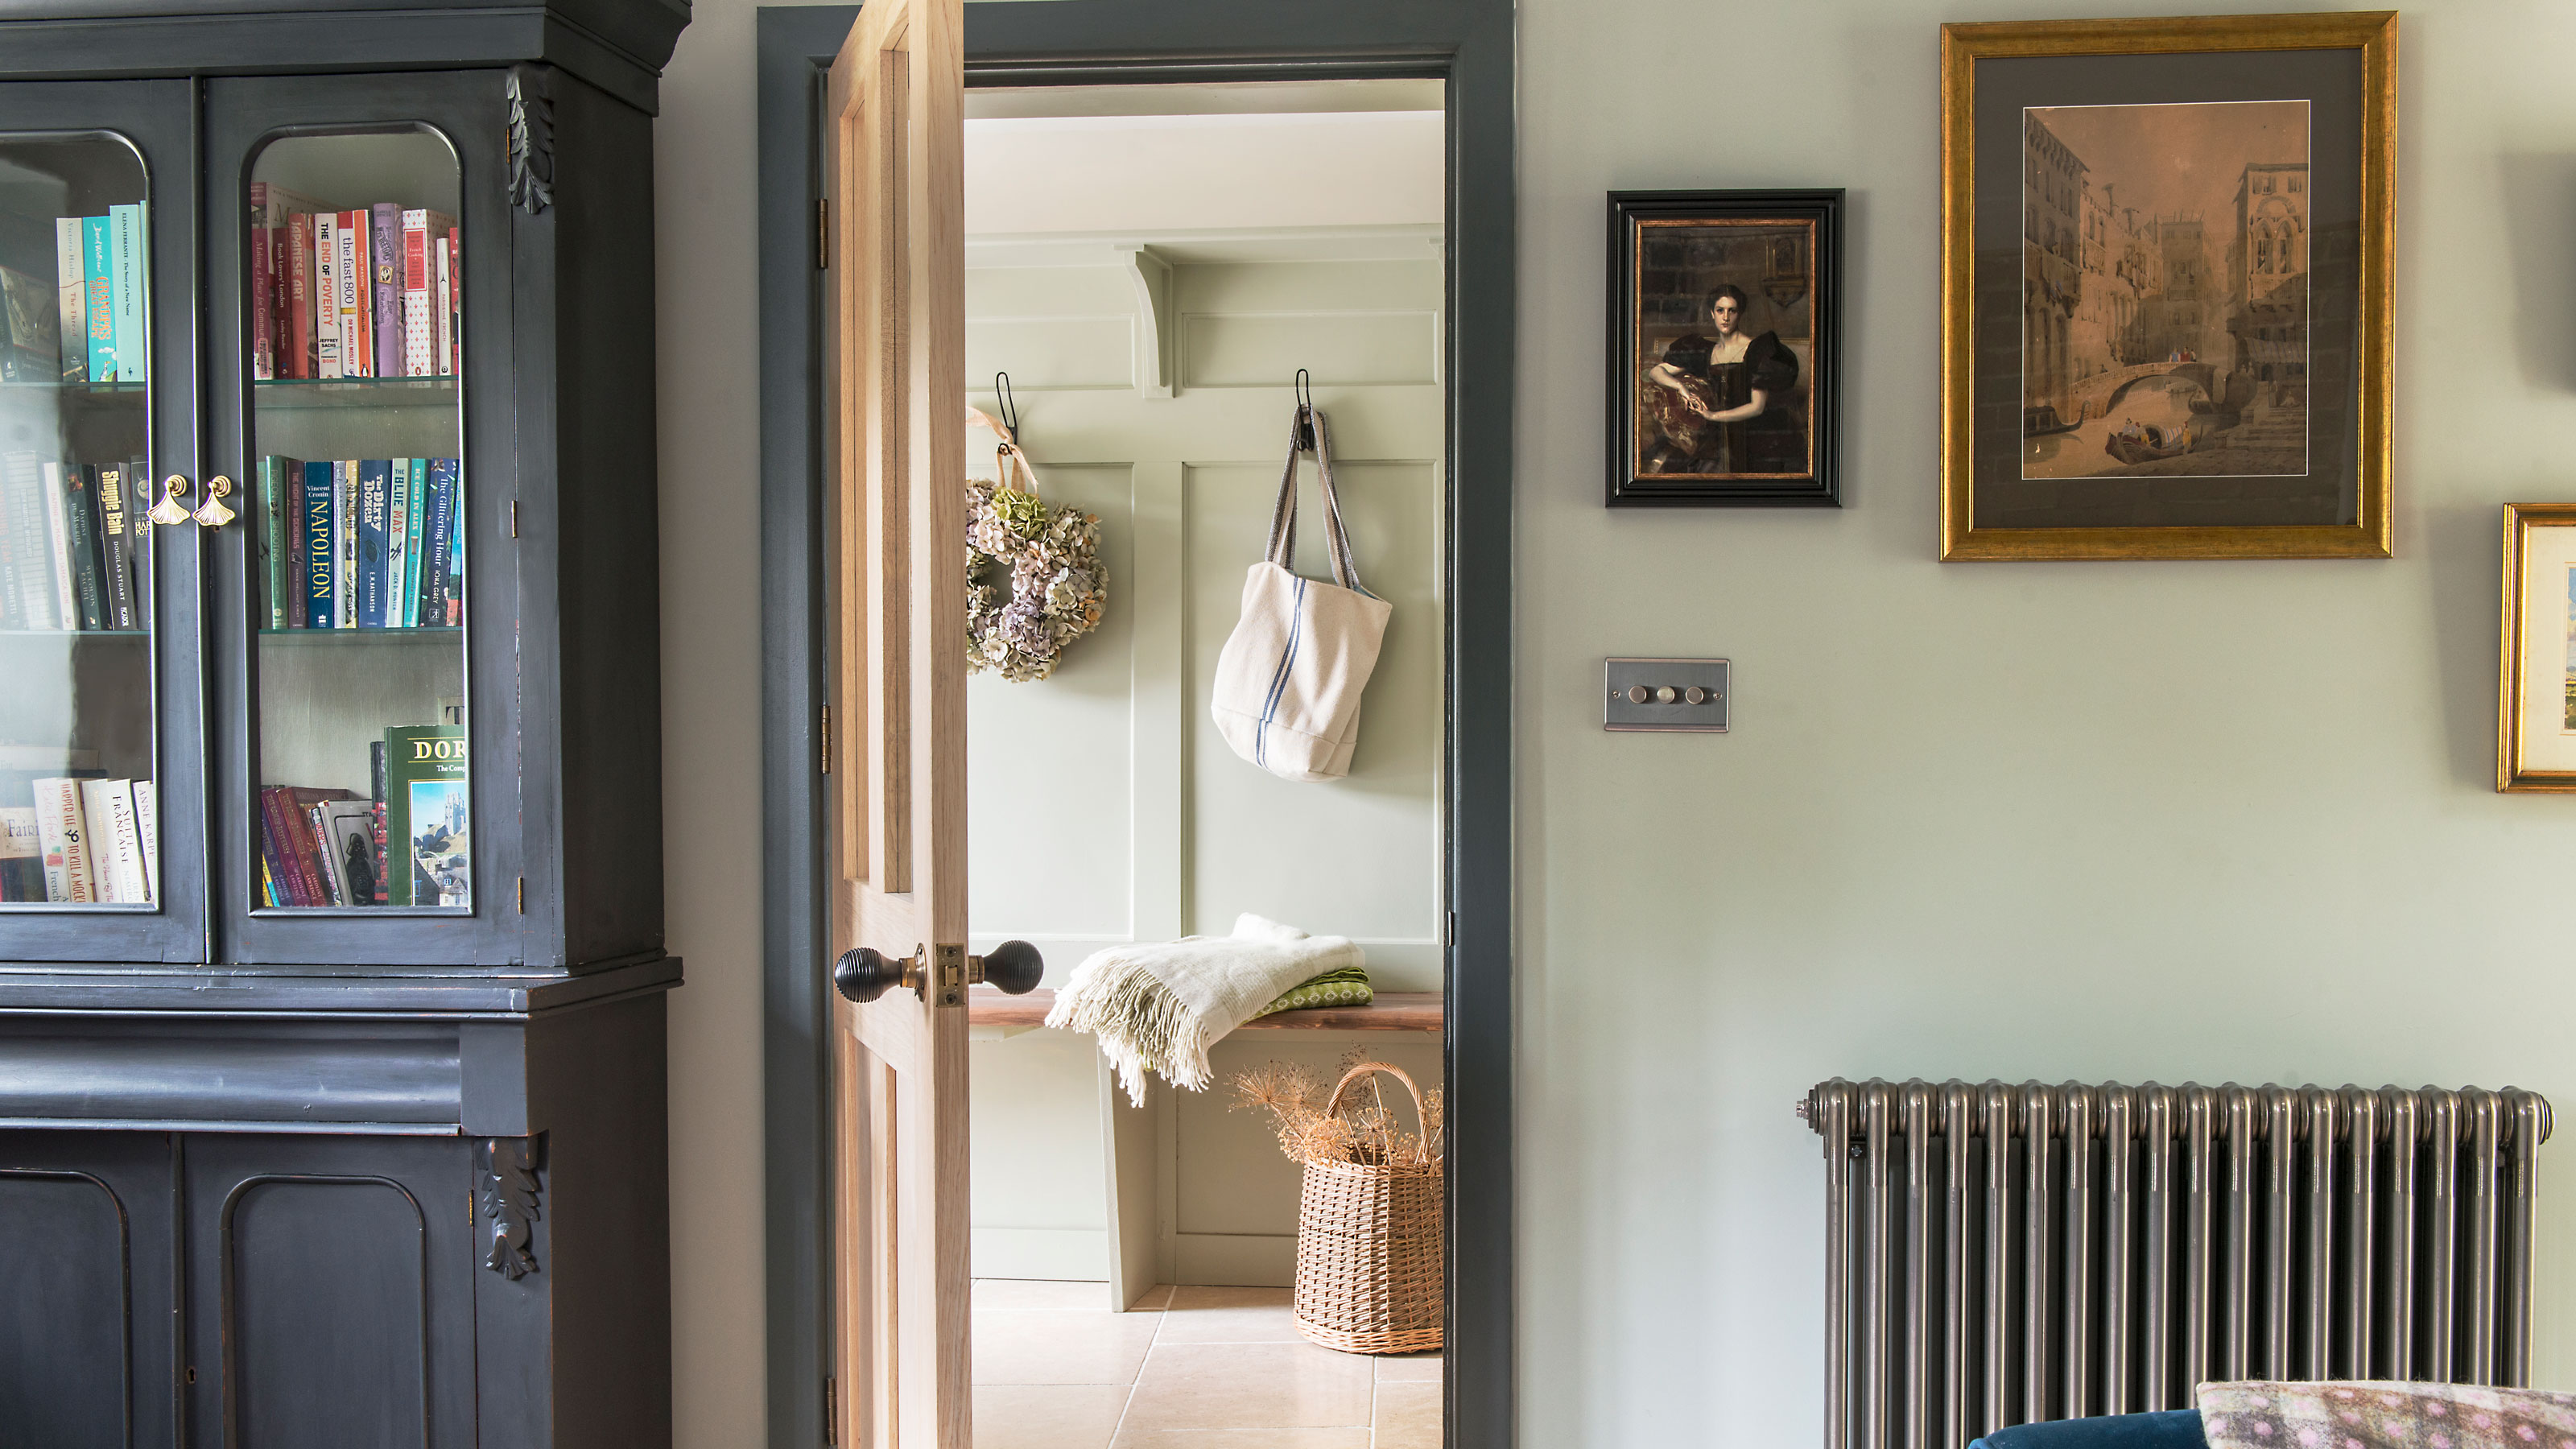
6 clever ways to make a radiator look good – there is no excuse for an ugly radiator to sabotage your scheme
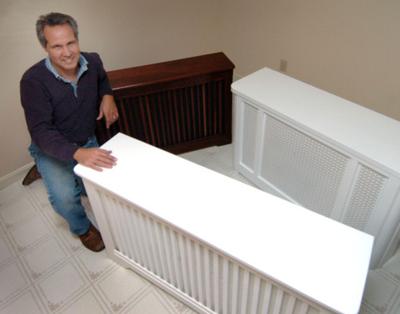
Take cover / Turn your unsightly radiator into a thing of beauty with an enclosure

Radiators

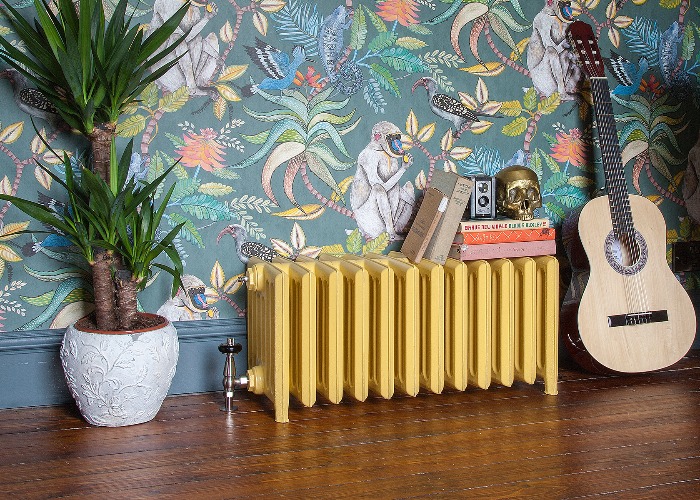
10 modern radiators that make a room

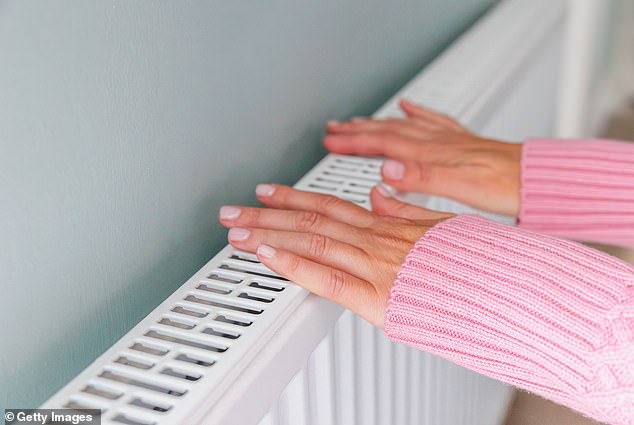
How do I bleed my radiator? We asked a plumbing expert for their top tips
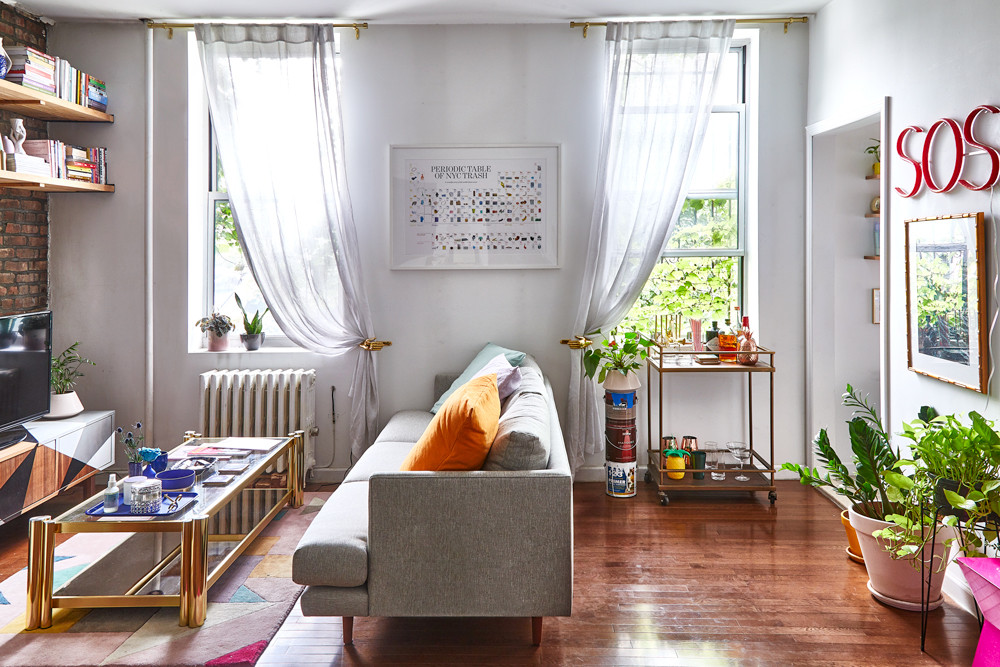
Stylish Ways To Hide Your Ugly Radiator And Other Common Household Eyesores

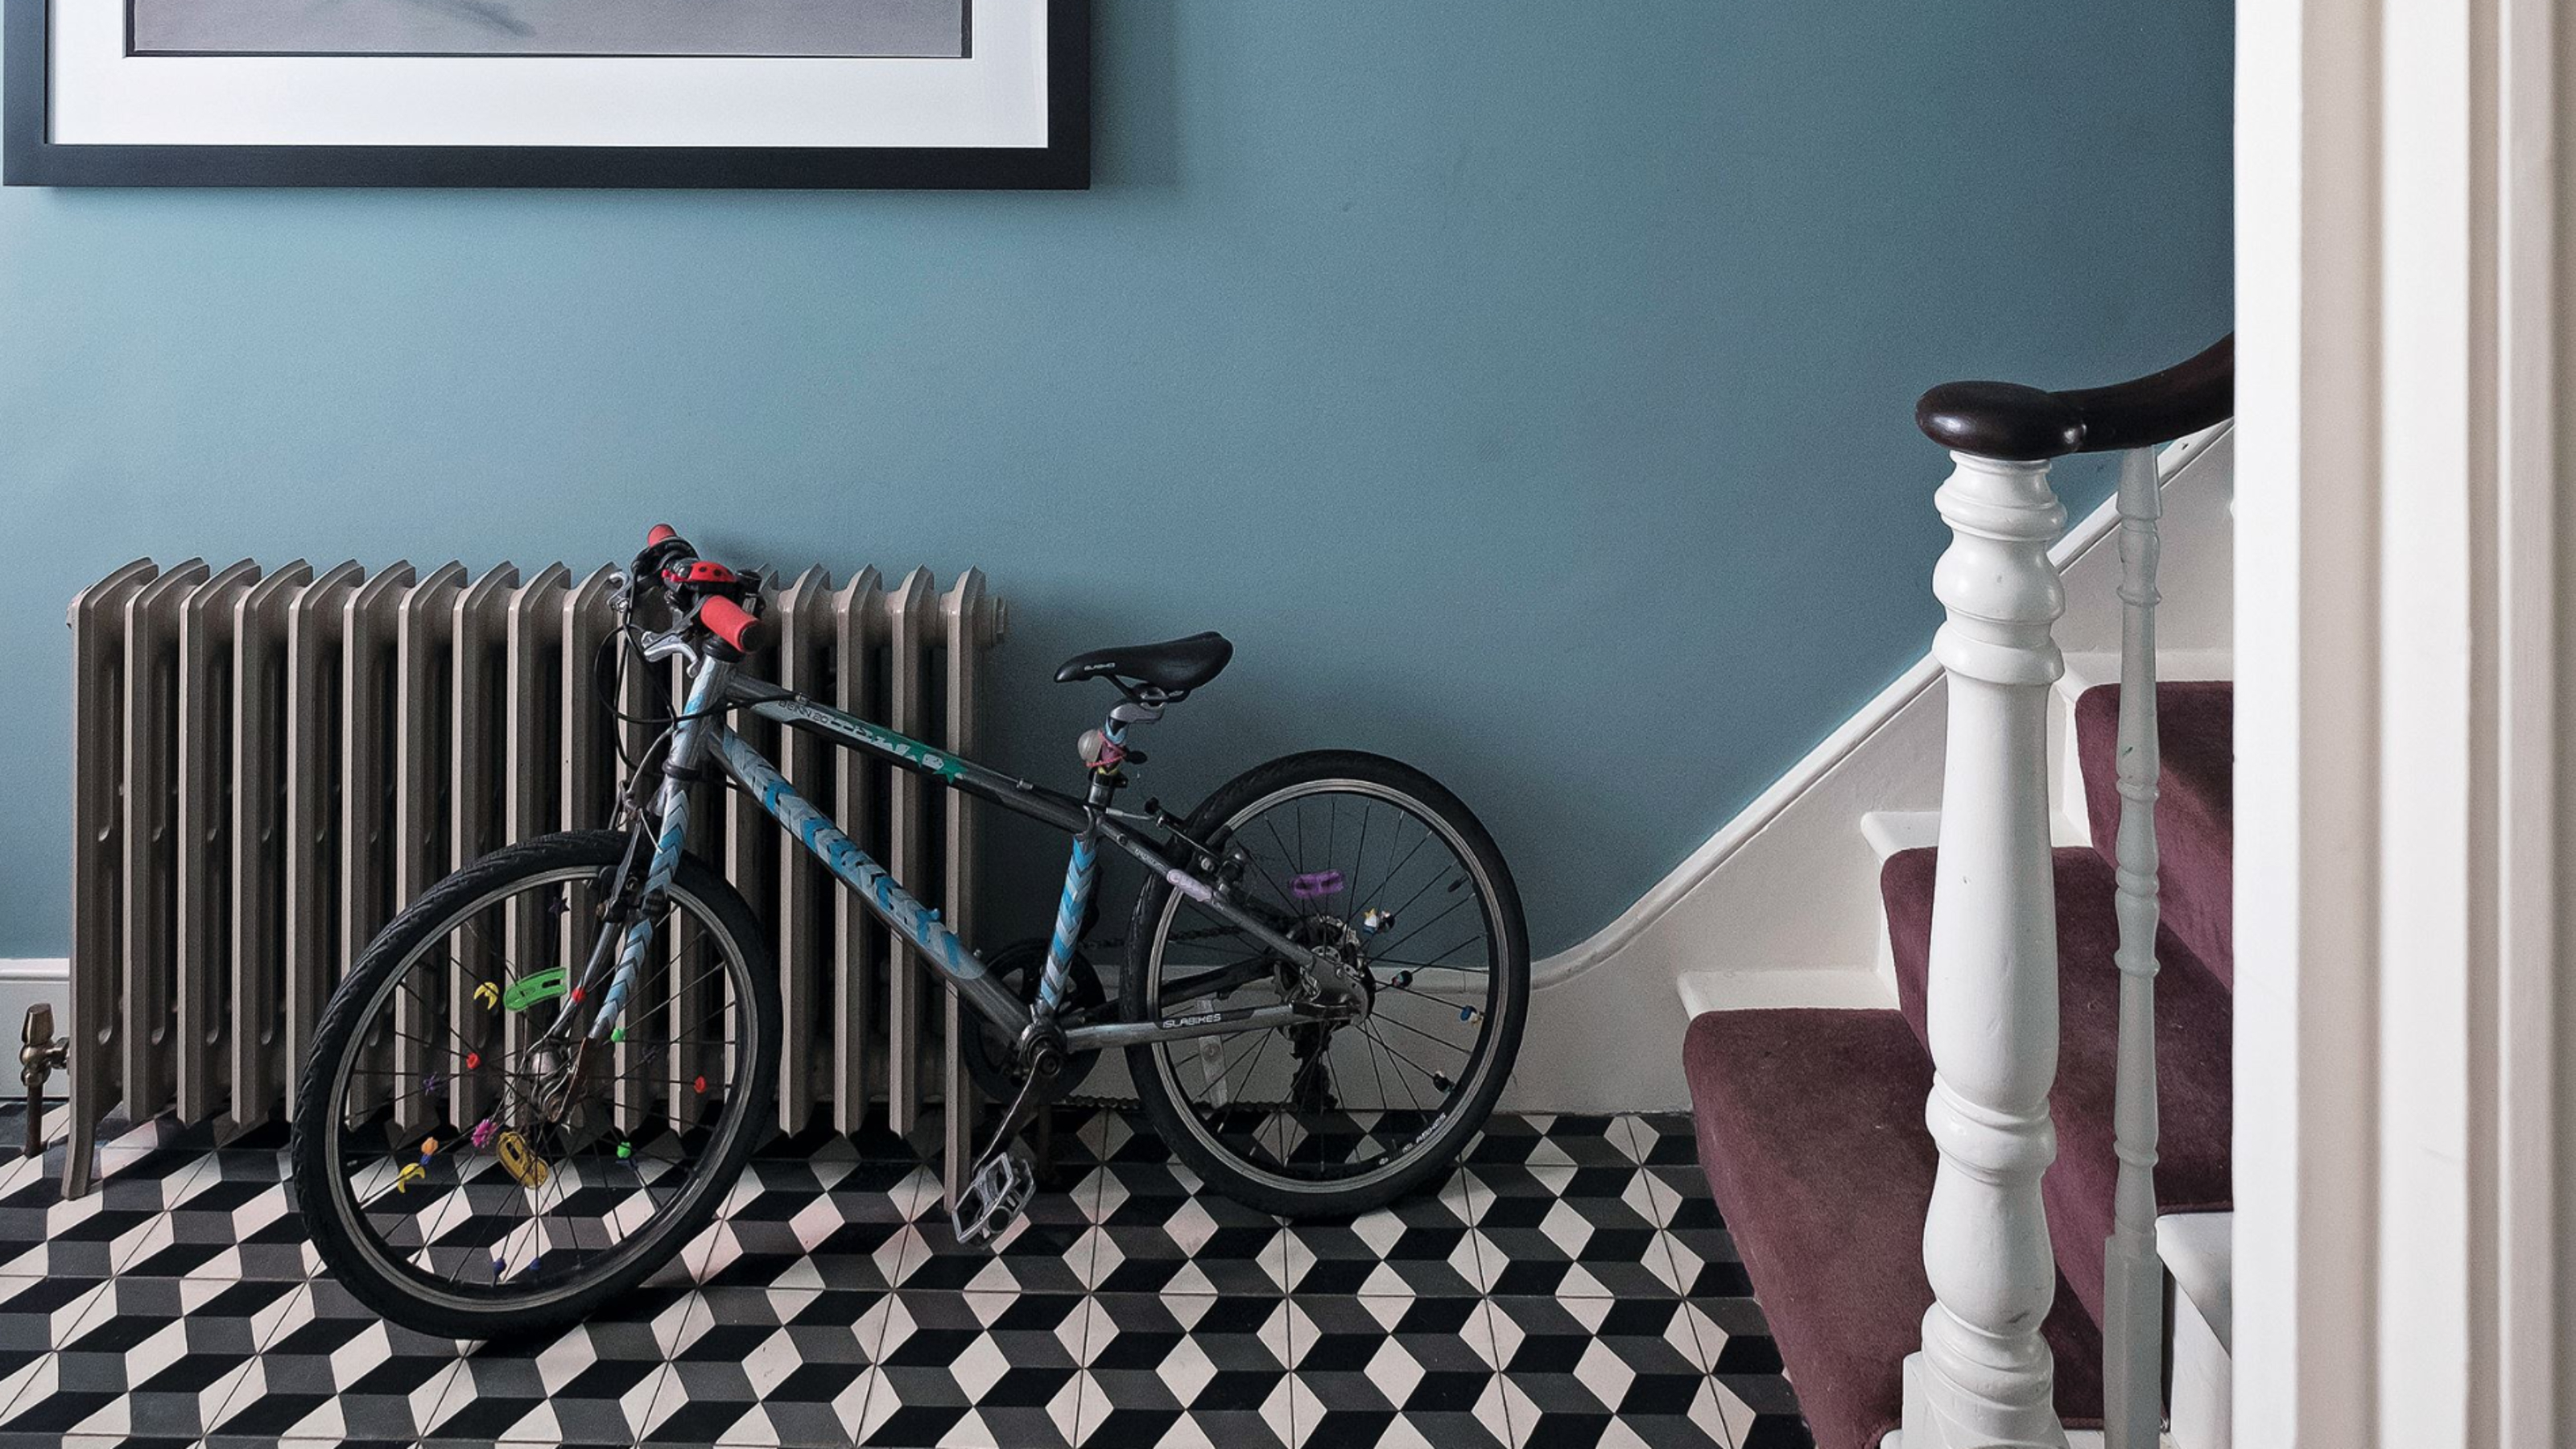
7 places in your home you’re probably forgetting to paint – but design experts say you really shouldn’t
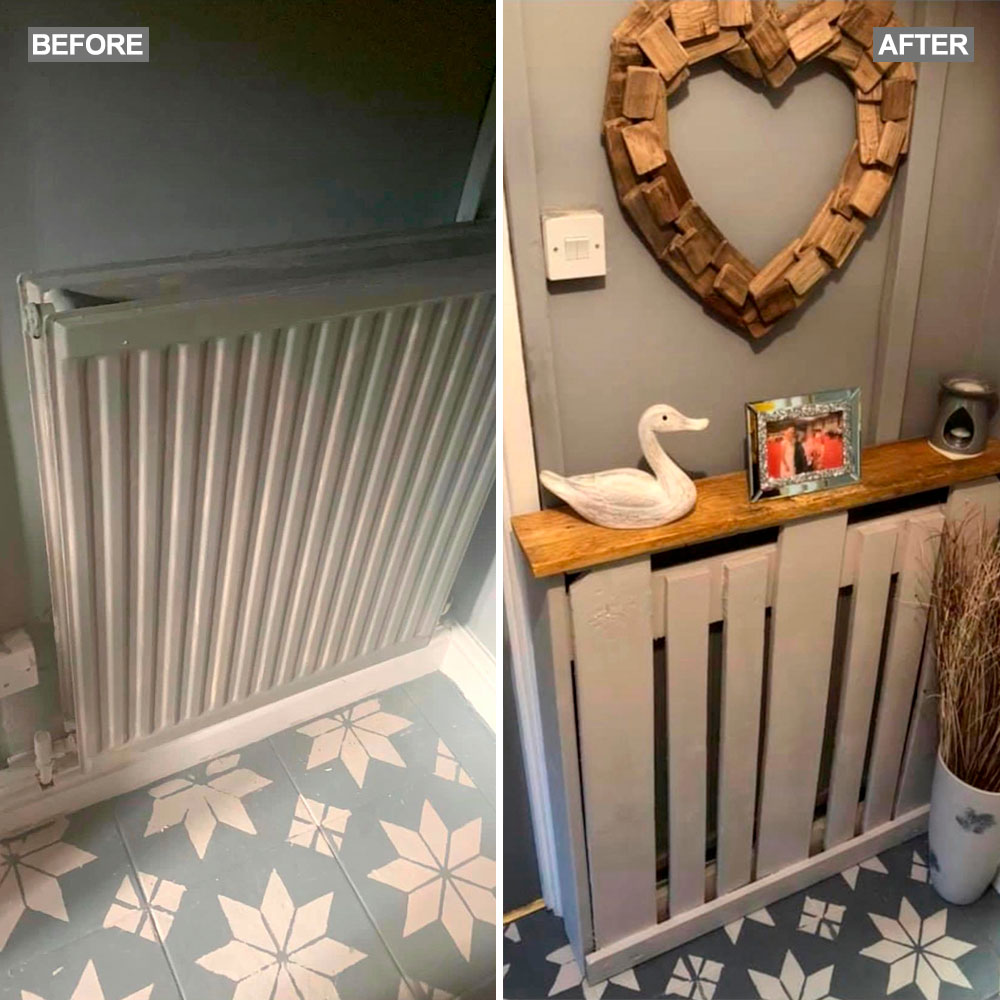
Homeowner upcycles free wooden pallet into a bespoke radiator cover – genius!
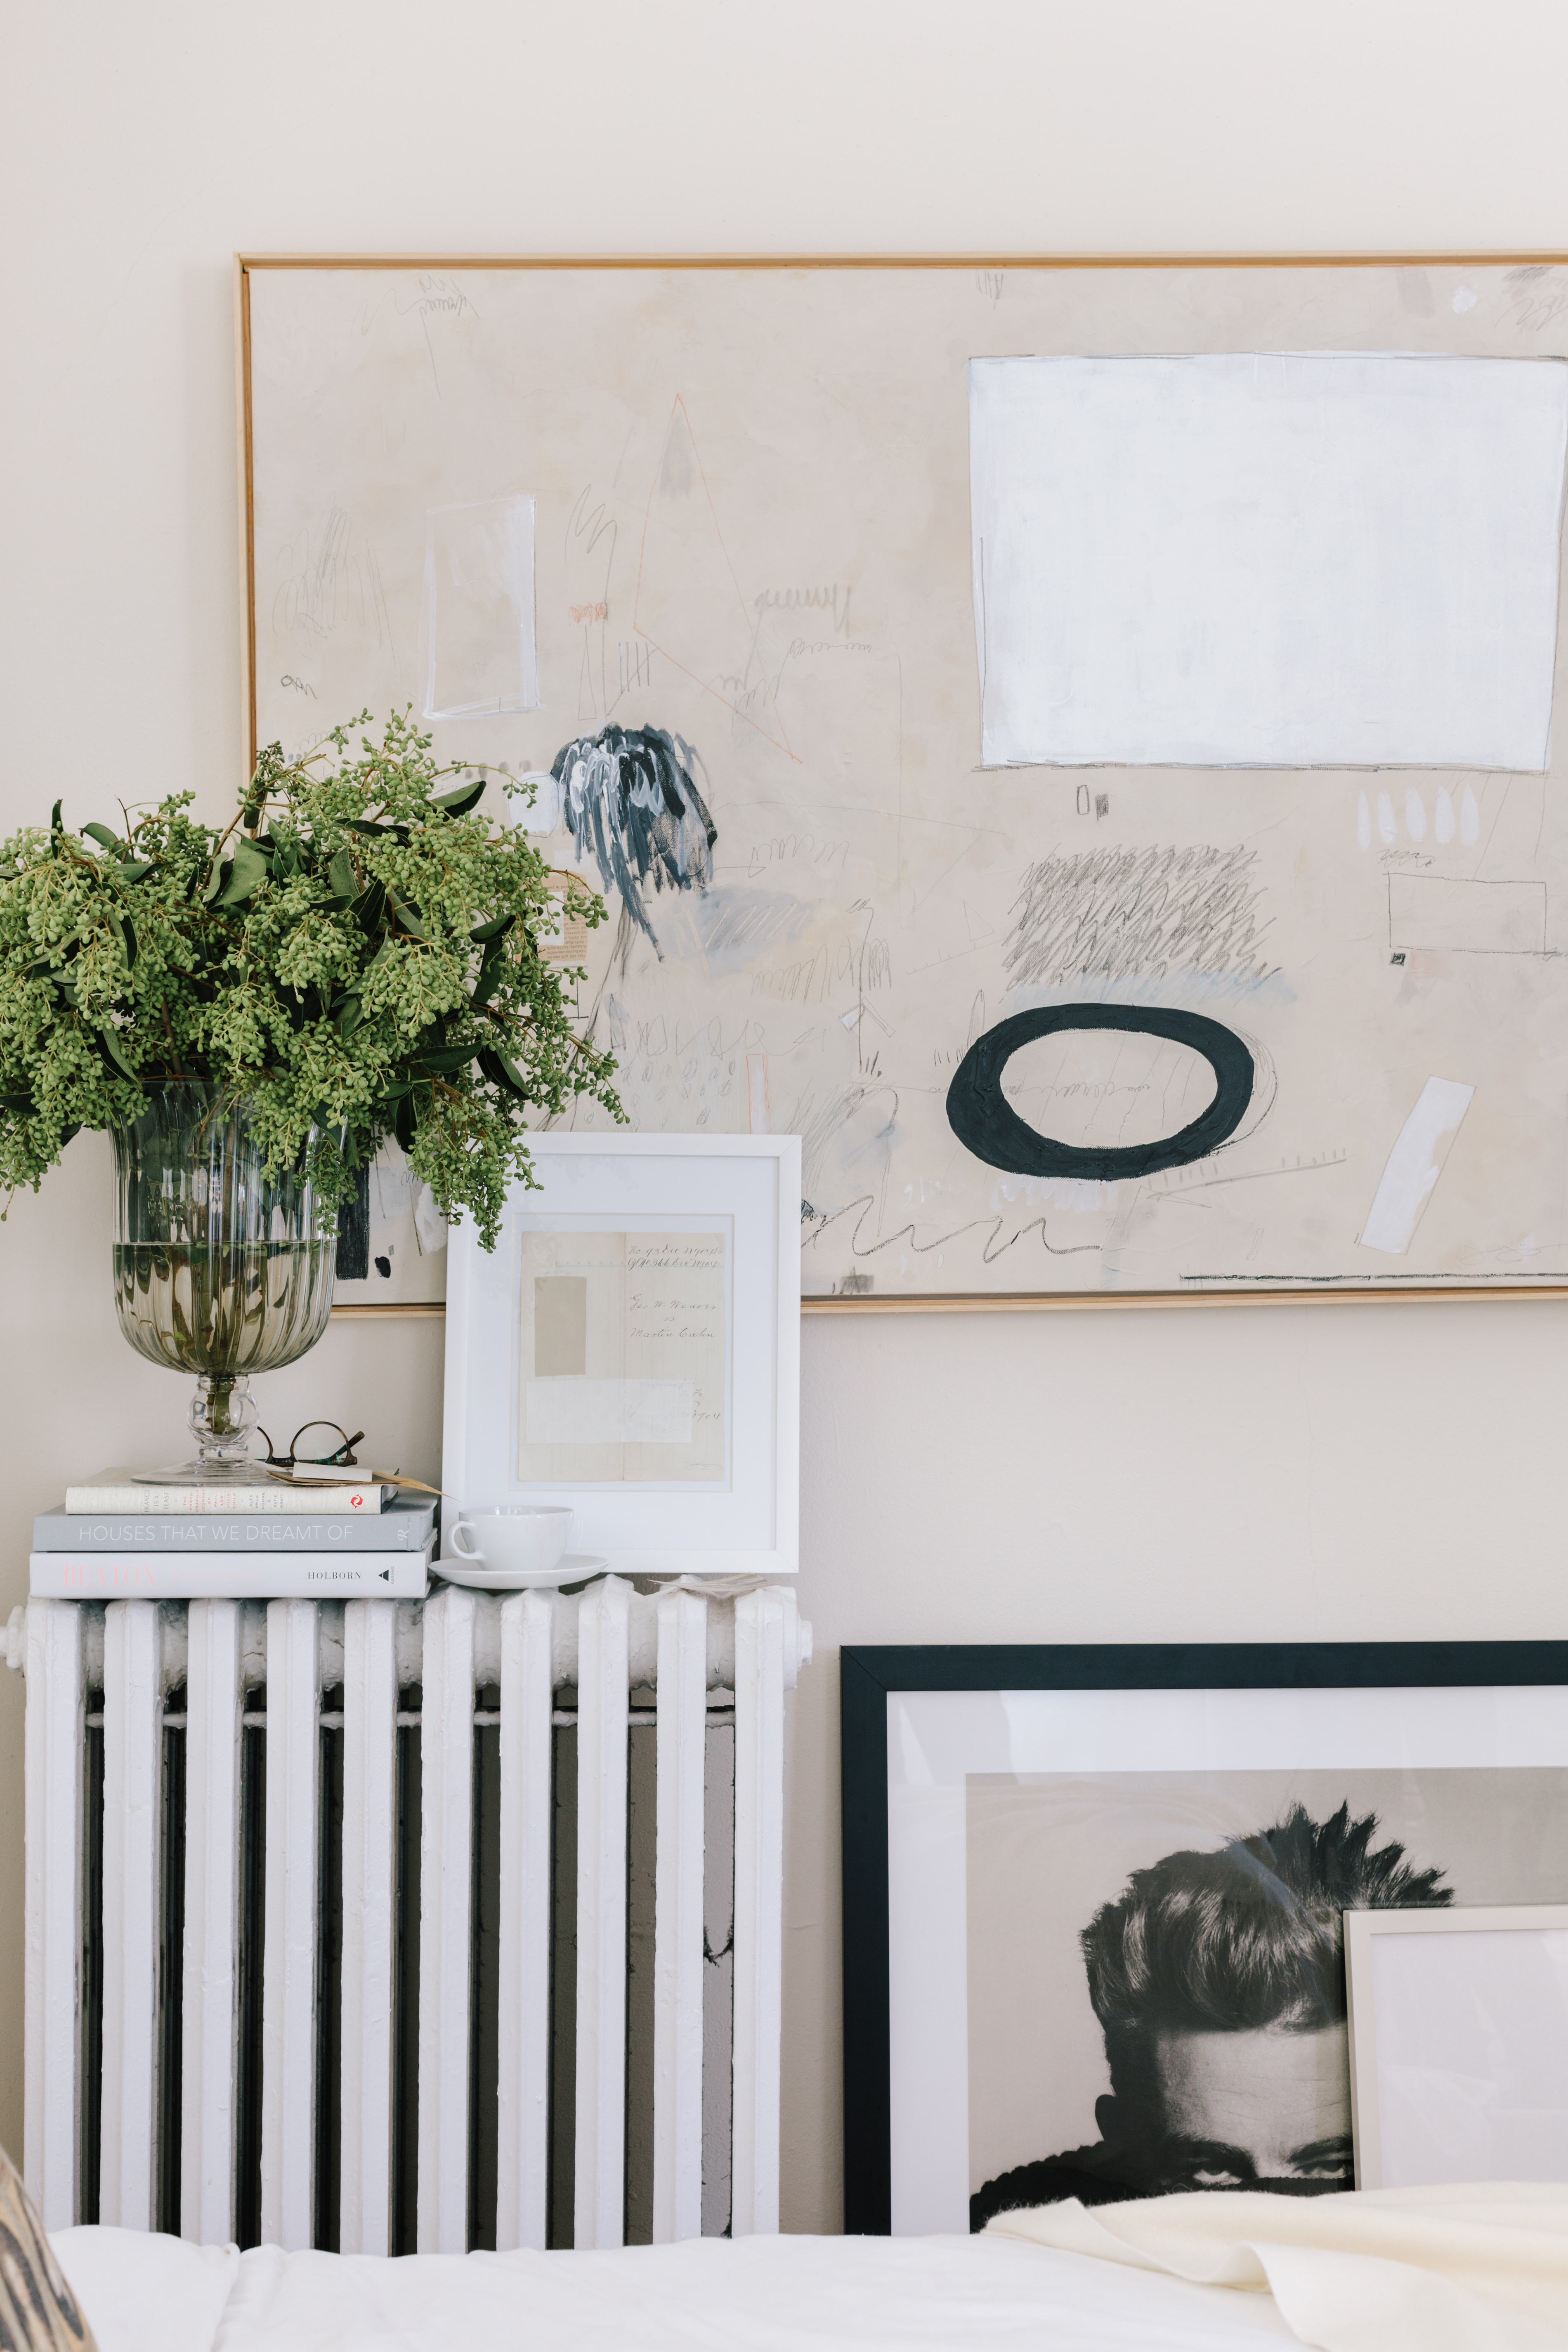
How to Transform Your Radiator from Eyesore to Eye Candy

Here’s What to Do With the Radiators When You Renovate a Brownstone or Townhouse
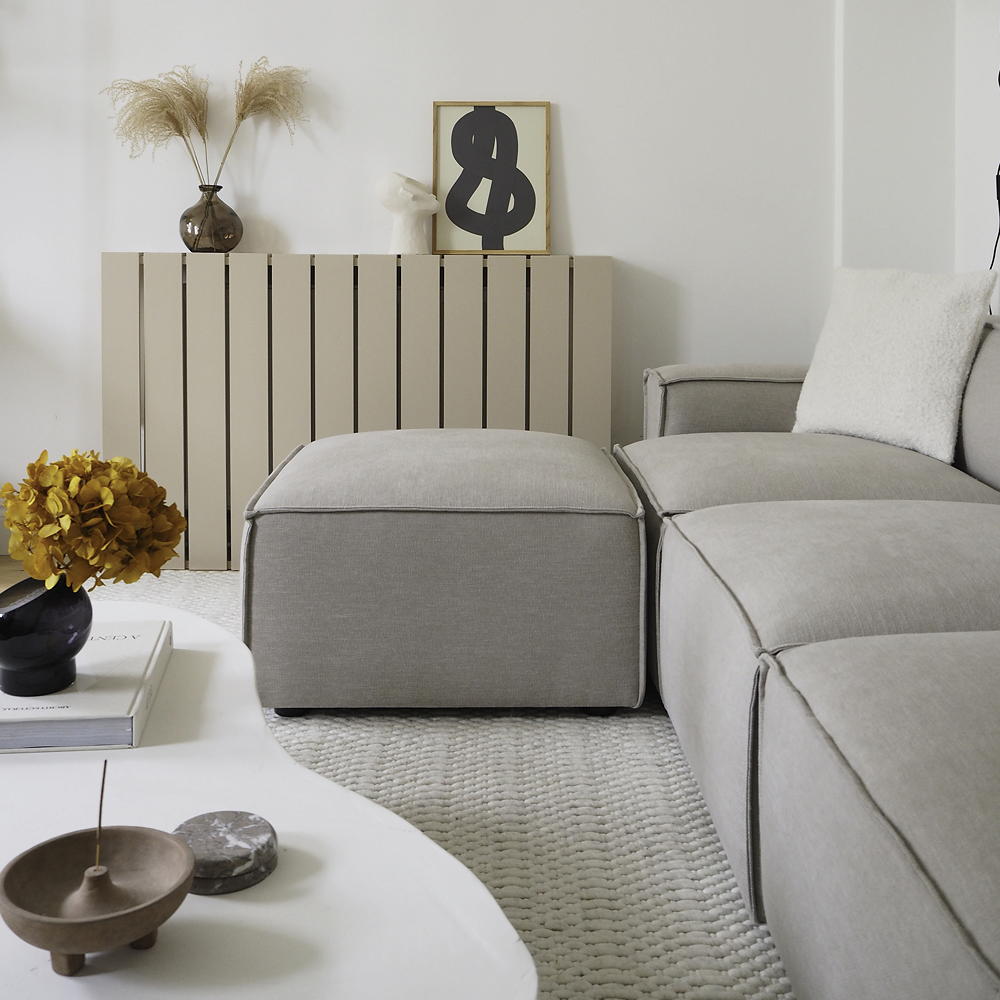
See how this savvy Instagrammer created a stylish radiator cover using pre-cut panels
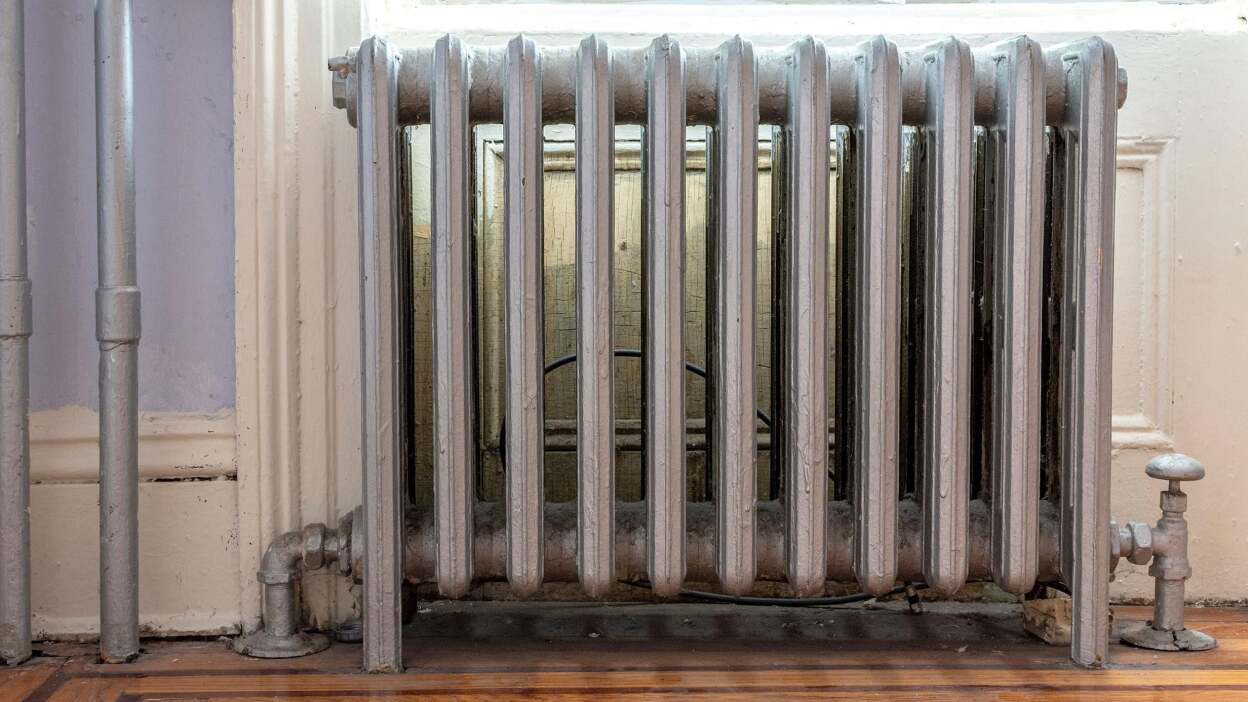
How to Fix Your Noisy Radiator Based on the Sound It’s Making