1/4
How to Install a Duct Booster Fan (DIY)
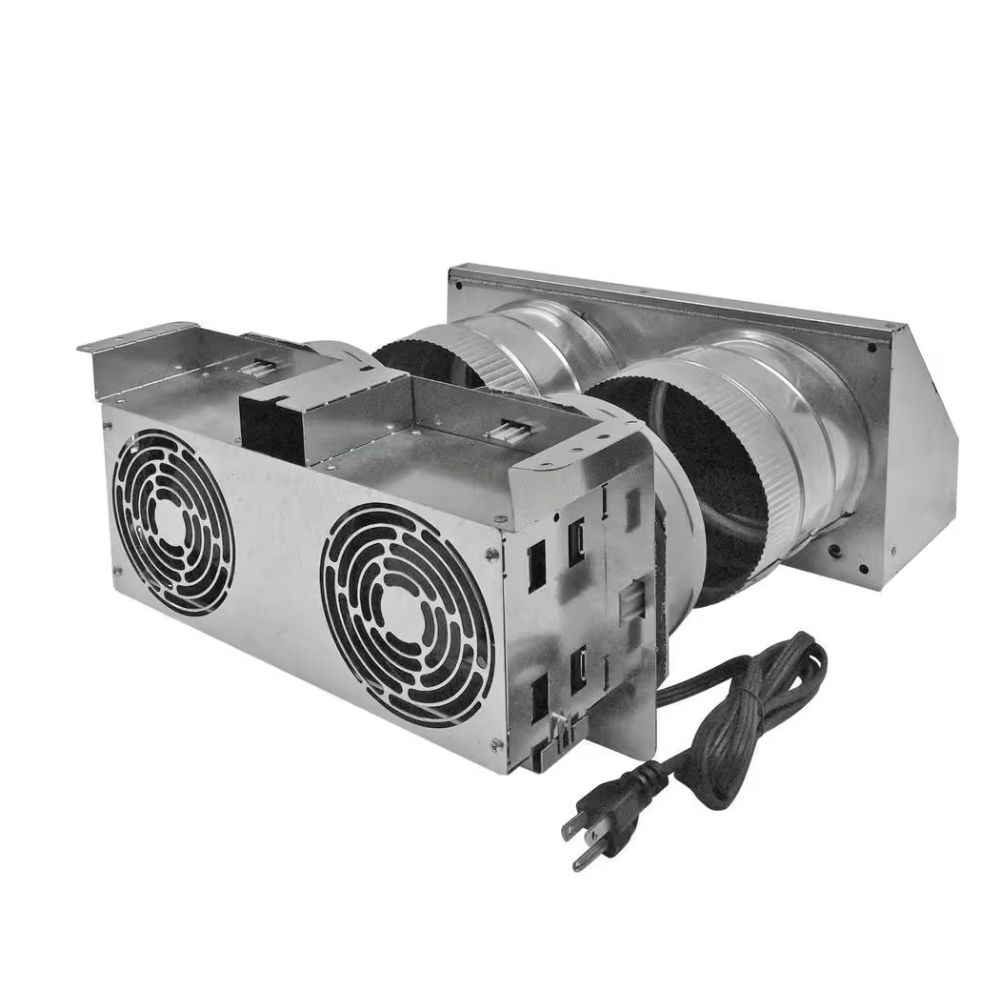
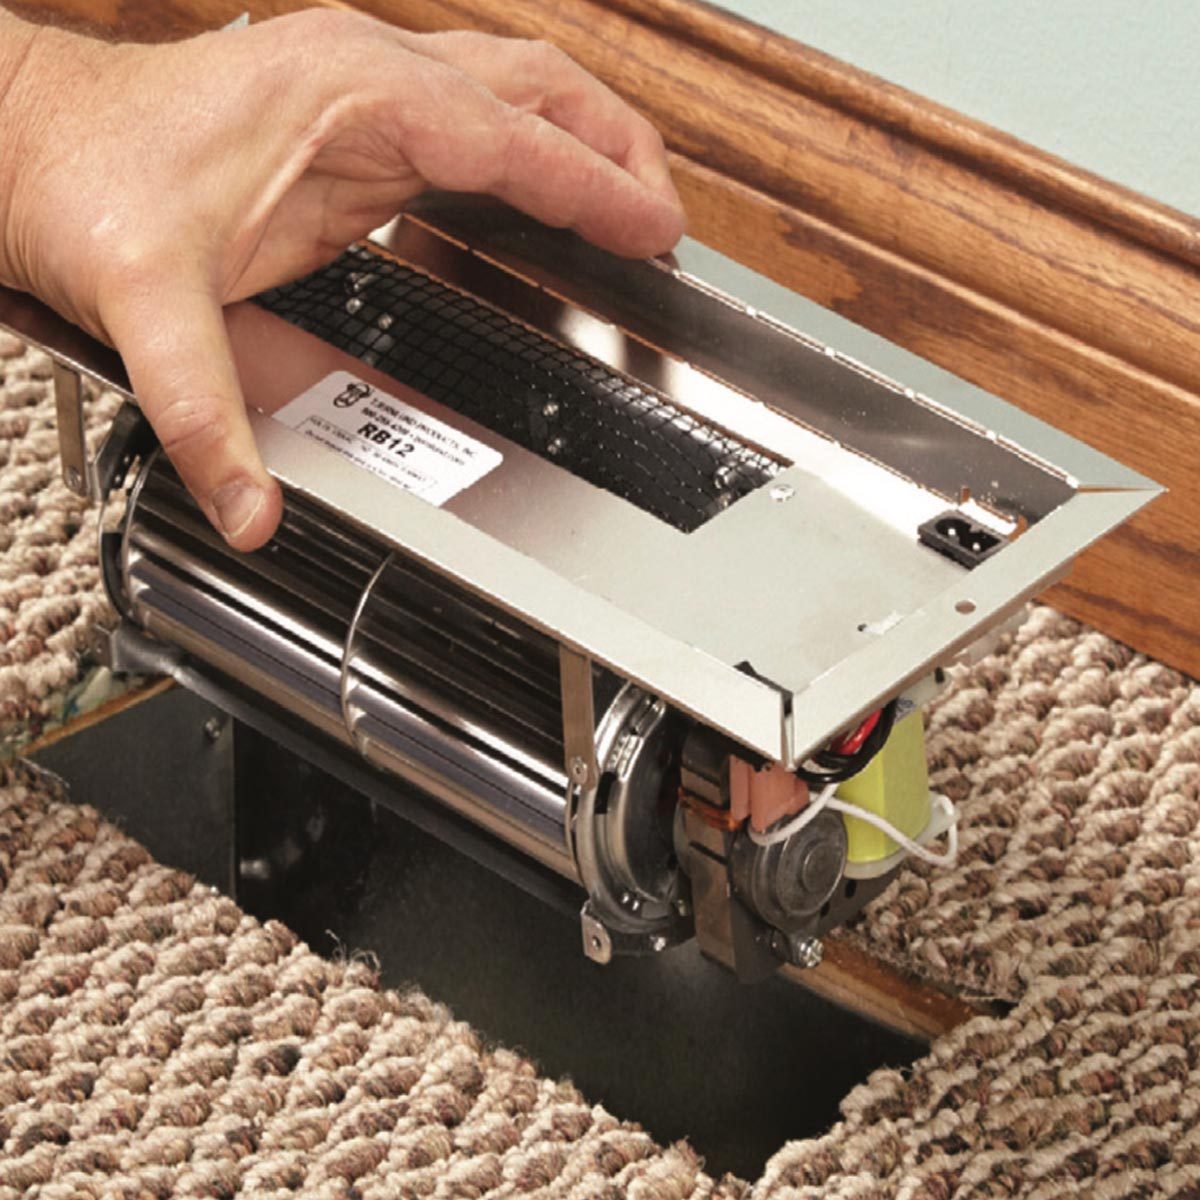
This article provides a step-by-step guide on how to install a duct booster fan to improve the heating and cooling efficiency of a specific room. Duct booster fans are designed to increase airflow to rooms that are consistently too cold in winter or too hot in summer, thereby enhancing comfort. The article categorizes booster fans into three main types: register-top fans, in-line fans, and recessed fans. The focus of this guide is on recessed fans, which are installed directly into the ductwork and sit flush with the floor.
The installation process begins by identifying the appropriate type of recessed booster fan based on the existing duct size. Recessed fans are commonly available for 4 x 10-inch or 4 x 12-inch floor ducts. If the existing duct matches these standard sizes, the installation is straightforward: remove the old register, drop the new booster fan into the boot, secure it to the floor with screws, and plug it into a nearby electrical receptacle. For added control, an optional fan speed controller can be installed to adjust airflow.
However, if the existing floor duct is smaller, such as a 2 x 10-inch or 2 x 12-inch size, the installation becomes more involved and requires replacing the undersized boot with a larger one. This necessitates cutting out a section of the floor to accommodate the new, larger boot. The article advises checking for open ceilings below the duct, as this can simplify the work. If the ceiling is finished, it might be necessary to open it for access and then patch it afterward. Before proceeding with any installation, it is recommended to inspect existing ducts for leaks and missing insulation, as these issues can also contribute to inefficient heating and cooling and should be addressed.
To replace an undersized boot, the first step is to acquire a larger right-angle boot (e.g., 4 x 10-inch or 4 x 12-inch) and a corresponding recessed booster fan, such as the Tjernlund RB12. The area around the duct is prepared by pulling up carpet and padding, and joists on either side of the duct are marked. A circular saw, with its cutting depth set to penetrate the subflooring and underlayment, is used to cut and remove the old flooring section and the existing duct boot. Tin snips may be required to dismantle the old boot if it's held by sheet metal screws. Once the old boot is removed, the larger boot is installed. The duct opening in the removed flooring pieces is enlarged to fit the new boot, and the flooring is then reinstalled with screws. The padding is stapled back into place, and the carpet is laid over the duct, with an opening cut to match the new register. Finally, the carpeting is tucked back onto the tack strip. The booster fan is then inserted into the duct, the register is installed, and the power cord is connected to a receptacle or an optional fan speed controller. This comprehensive process ensures effective air circulation in problematic rooms.
#DuctBoosterFan #HVACInstallation #HomeImprovement #DIYProjects #HeatingAndCooling #Ductwork #AirflowControl #HomeComfort #DuctBoosterFan #HVACInstallation #HomeImprovement #DIYProjects #HeatingAndCooling #Ductwork #AirflowControl #HomeComfort
0 comment in total
 No comments yet
You may also like

Experts explain how to install a basement extractor fan to remove damp and musty smells for good


The Best Ceiling Fans For Each Room Of Your Home
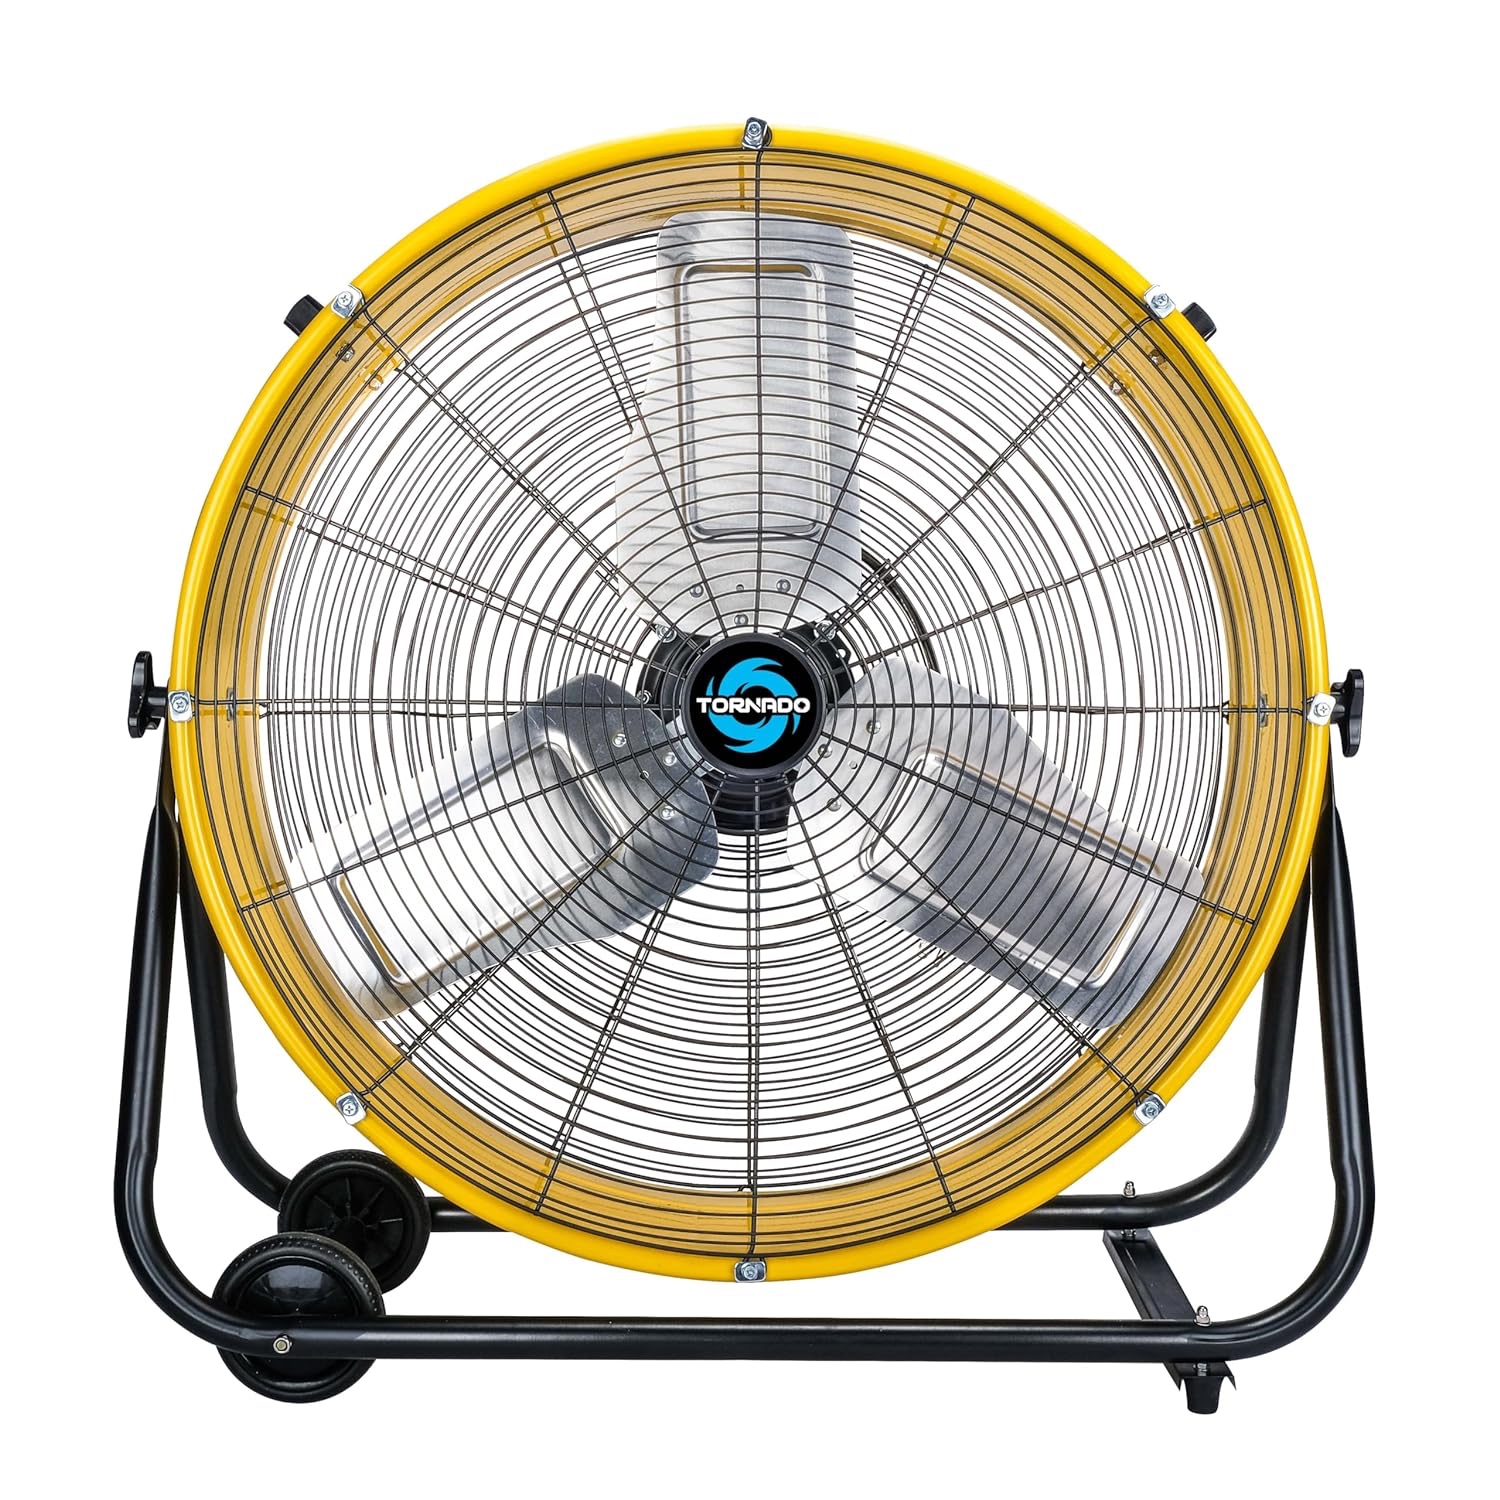
See the Best Garage Fans for Beating the Heat


Bedroom ceiling fans: Here's what you need to know
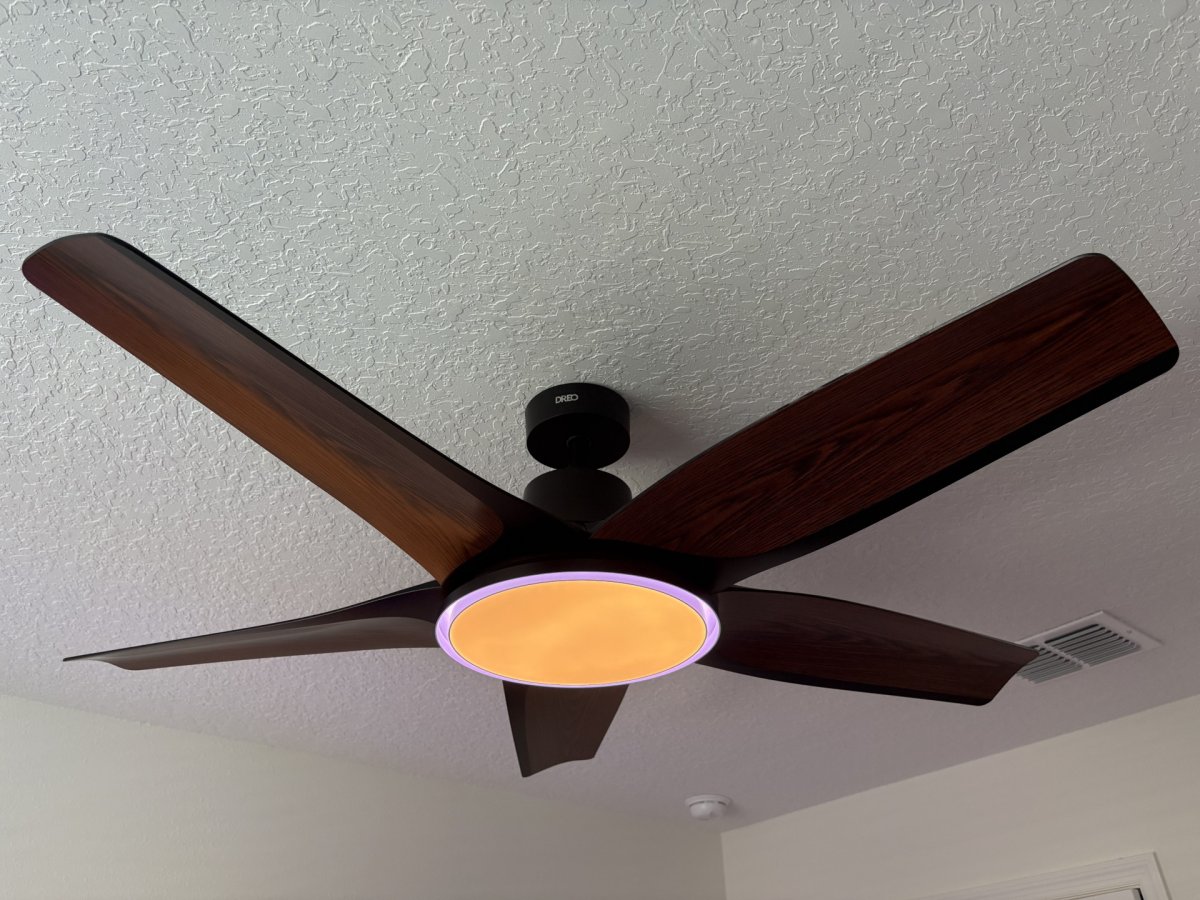
Finally, a Smart Ceiling Fan That Is Seriously Smart
The Best Ceiling Fans for a Breezy, Comfortable Home
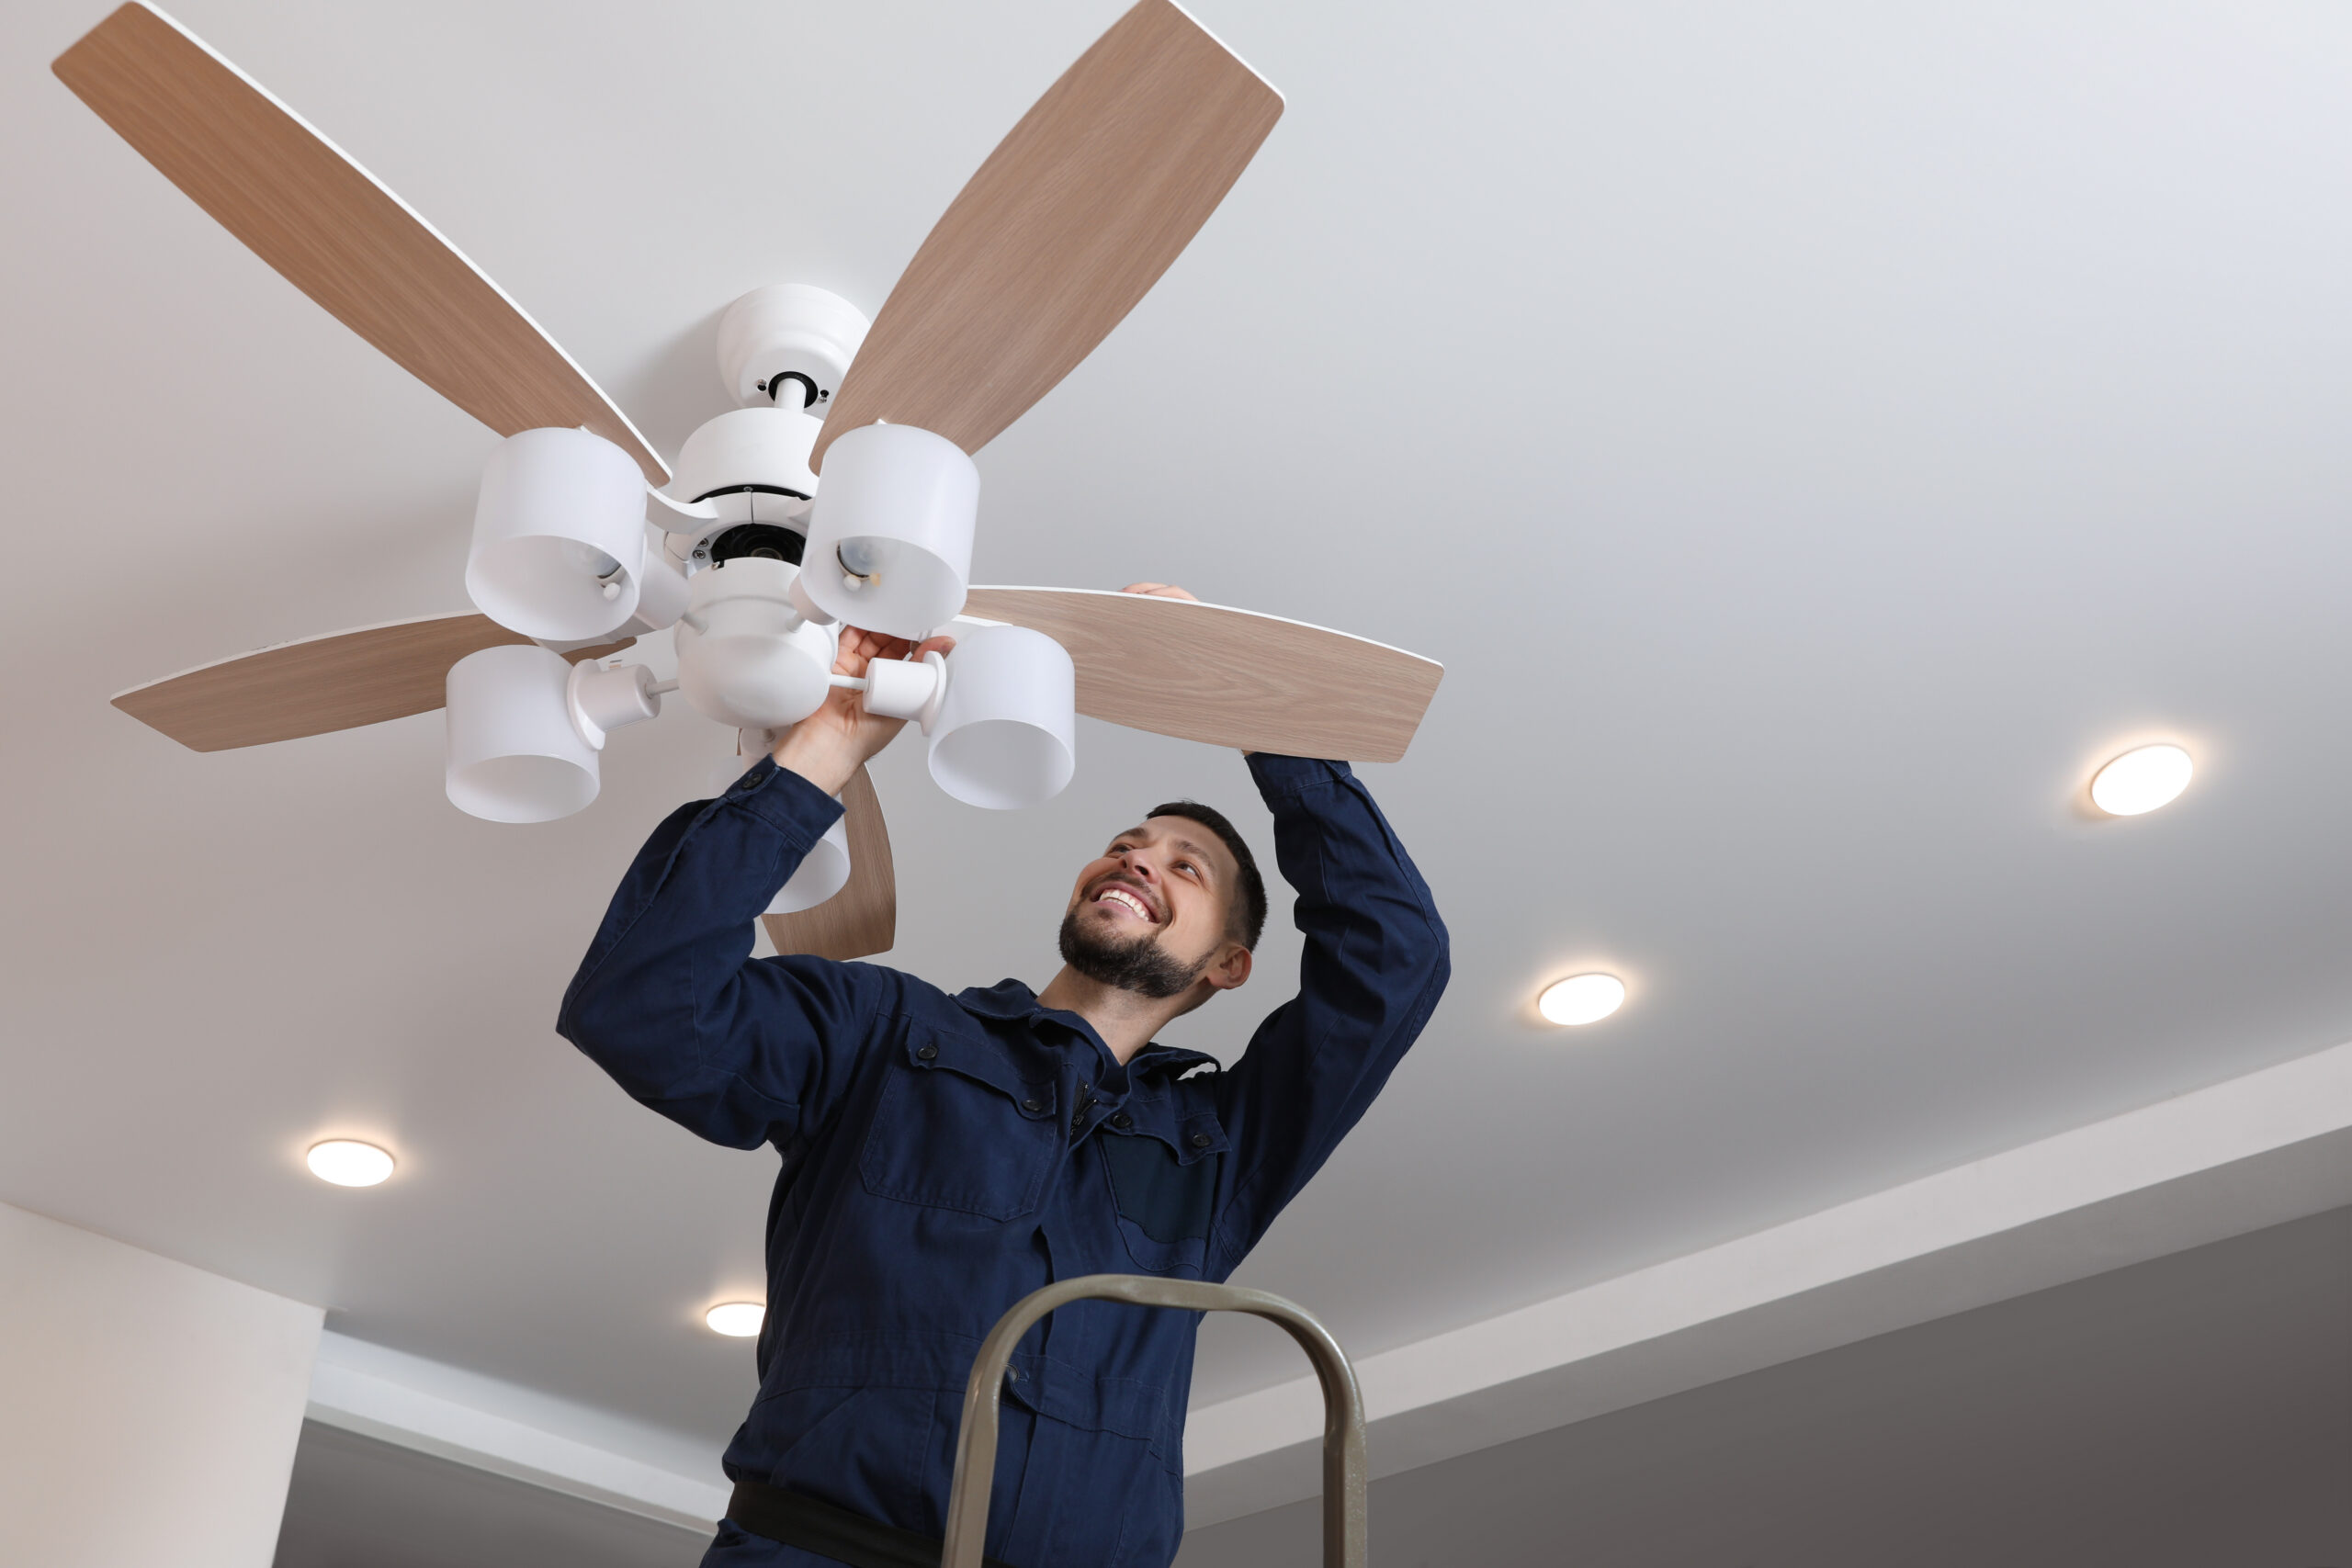
Stay cool this summer with ceiling fans


The 16 best ceiling fans for extra airflow in 2023, plus expert tips
Our Editor Recommendations for Ceiling Fans Can Supplement or Even Replace an A/C
How to Install a Ceiling Fan with Mensch with a Wrench
We Spent 1,200 Hours Testing Which Ceiling Fans Are the Most Cooling — These Are Our Winners

The 16 best ceiling fans for extra airflow, plus expert tips
Installing a new fan? Tips to stay cool in Arizona's summer heat

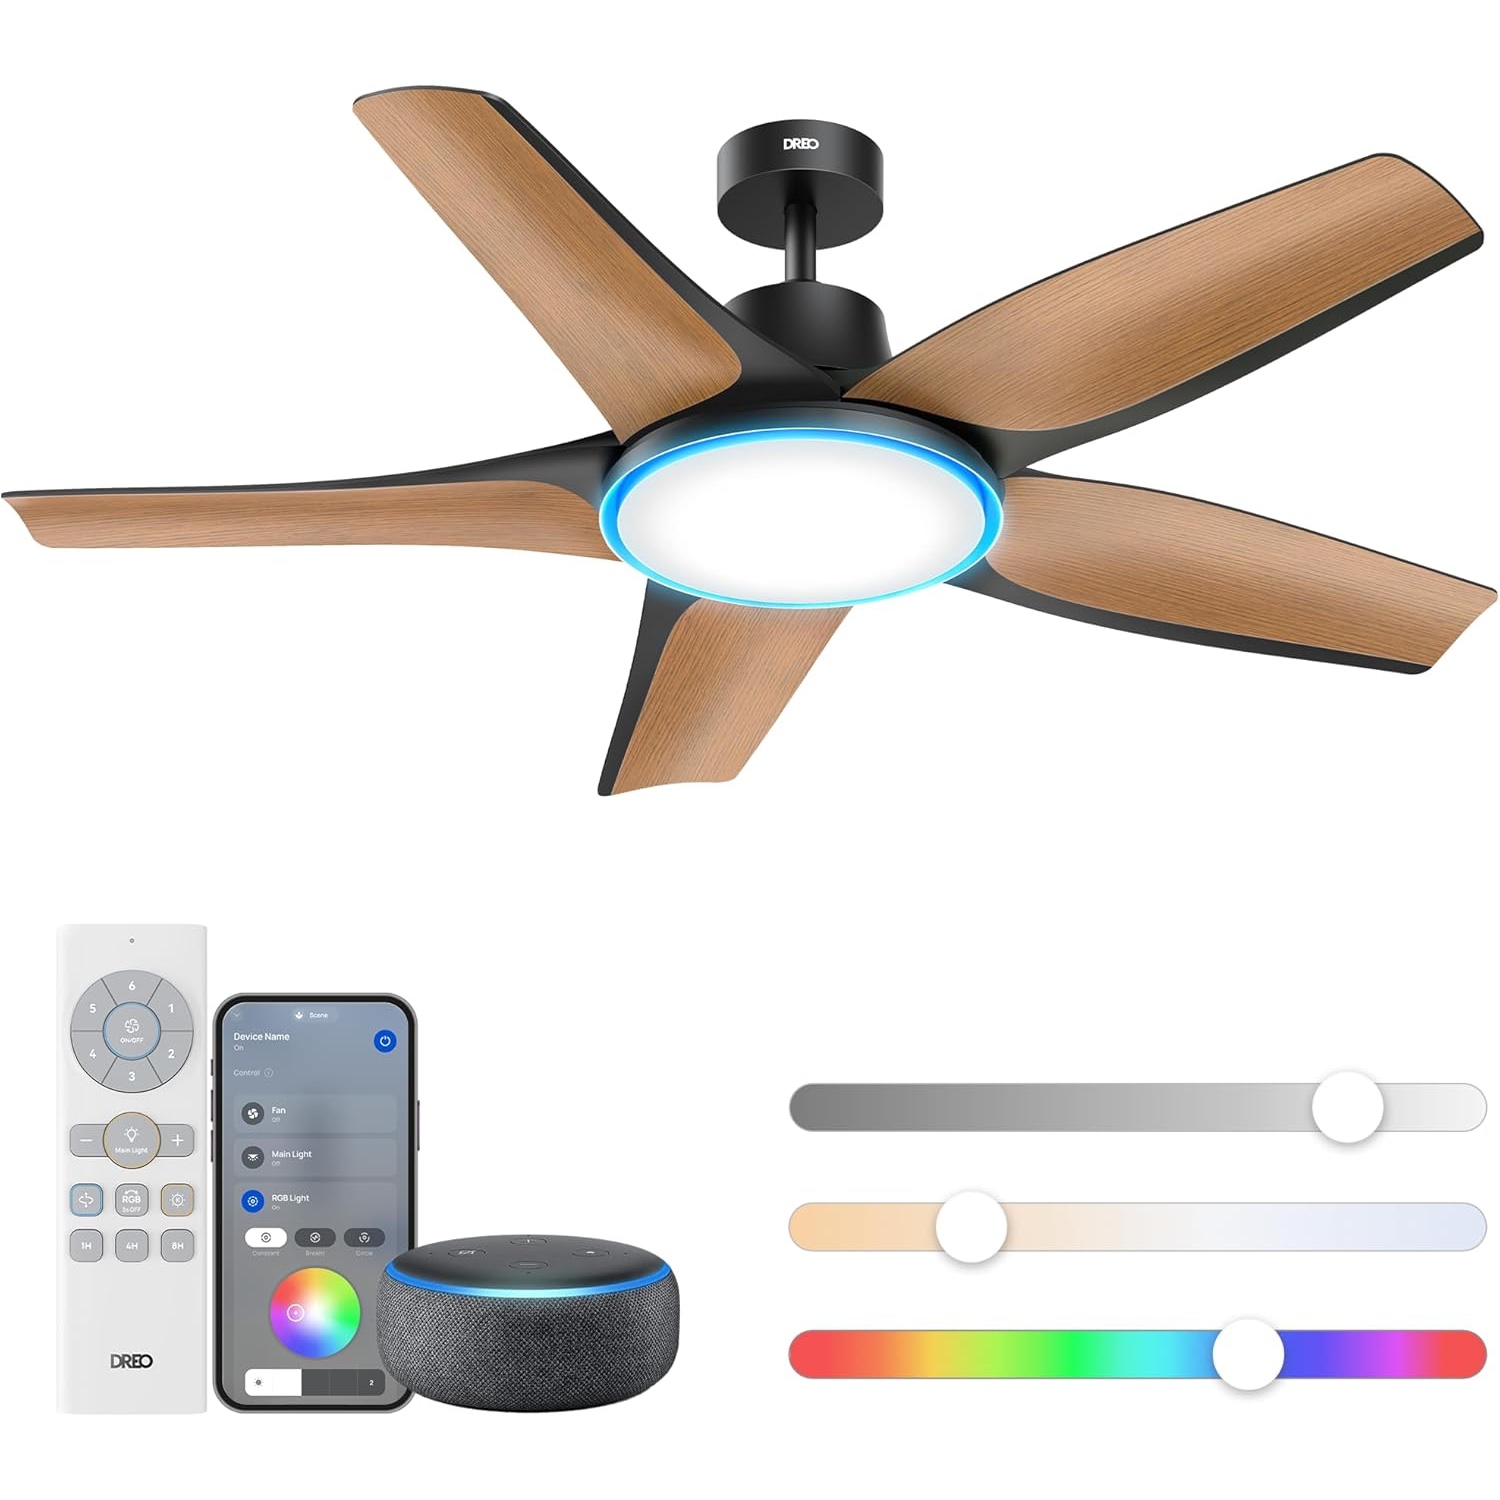
Spin Smarter, Not Harder: Our Favorite Smart Ceiling Fans


Stylish ceiling fans for modern spaces

The Best Ceiling Fans to Keep You Cool All Year Round

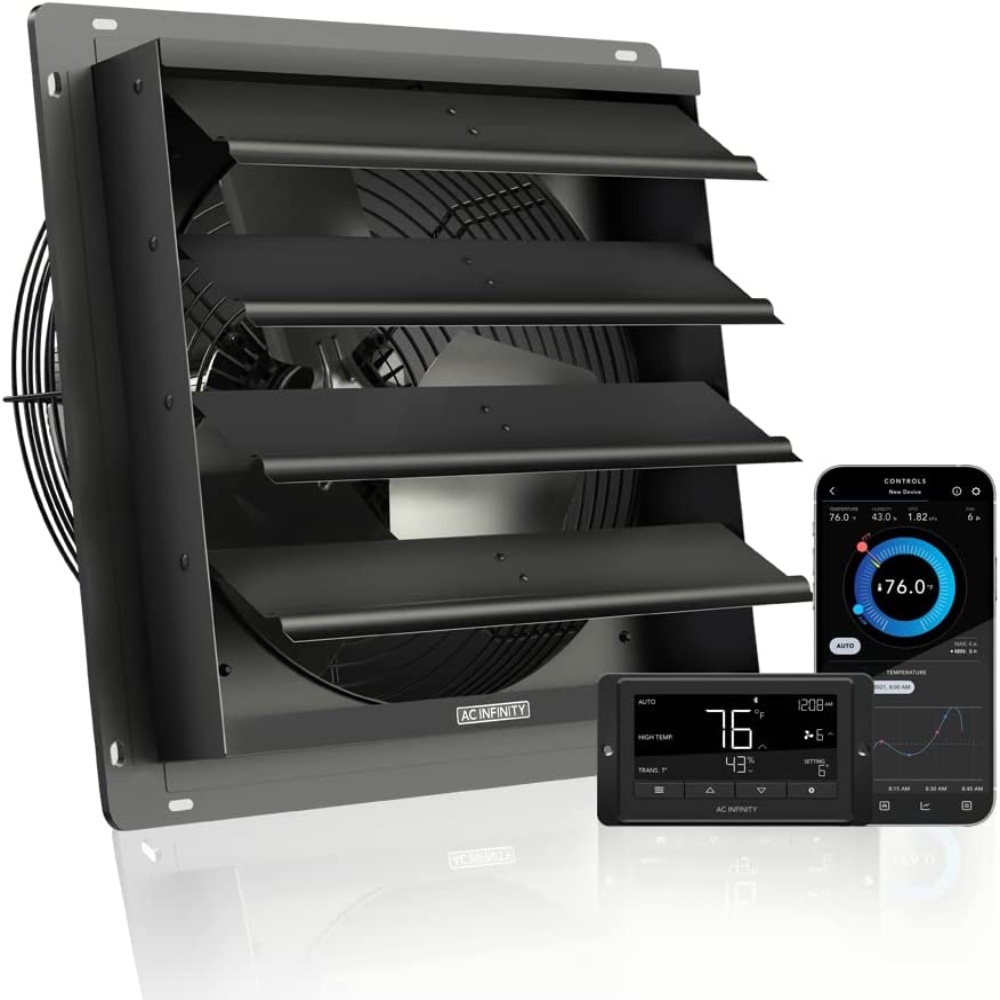
Our Favorite Attic Fan Offers Both Set-It-and-Forget-It and Remote Operation
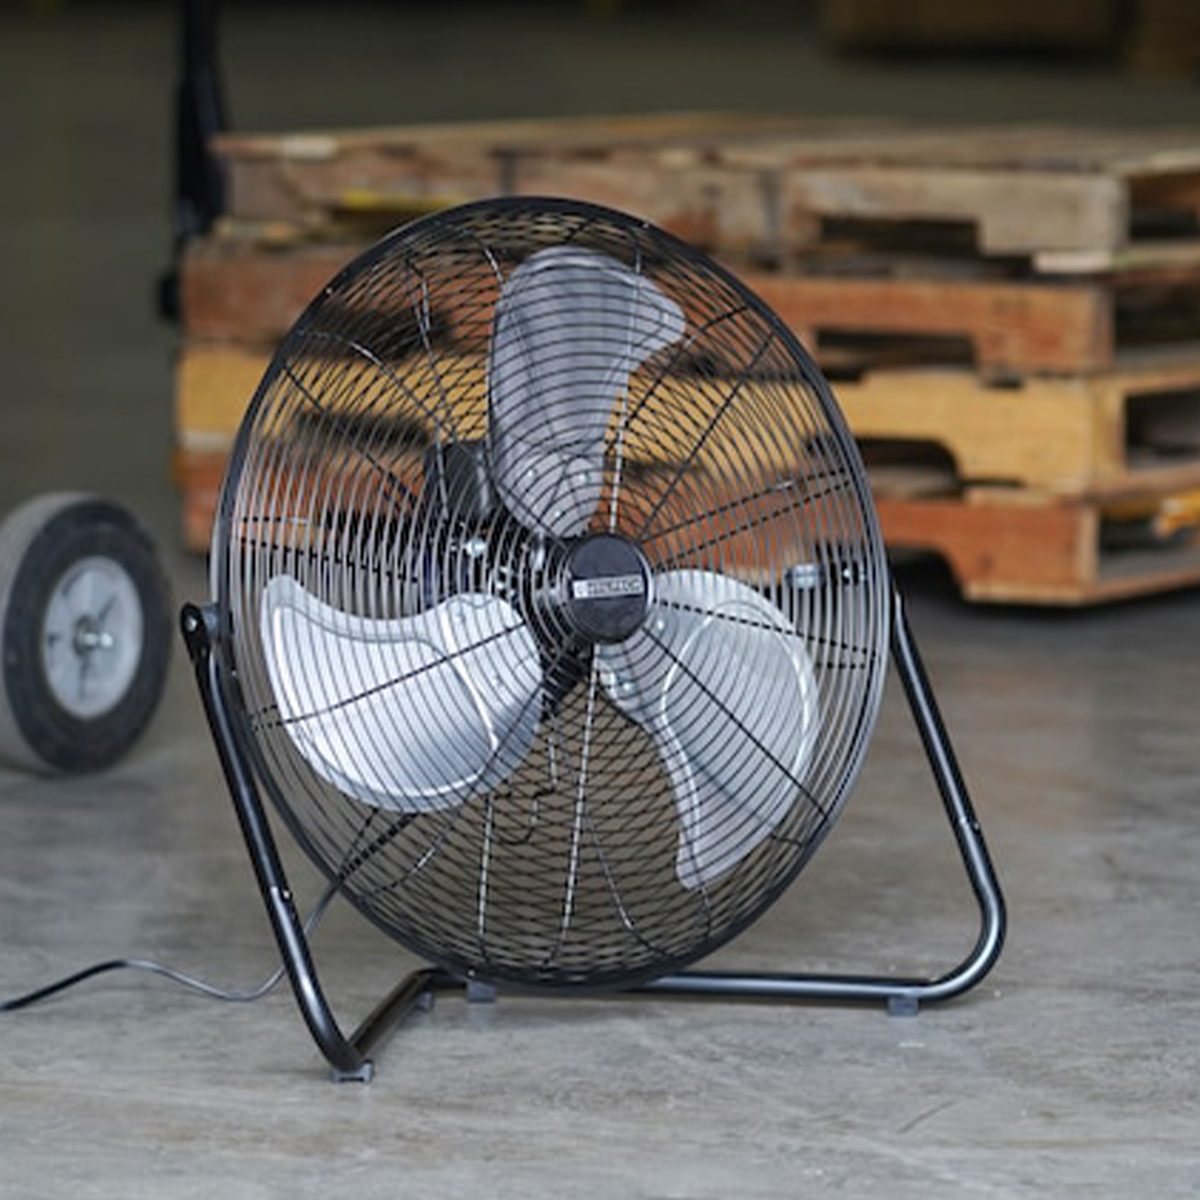
The 10 Best Garage Fan Picks to Keep You Cool During Hot Months 2025

8 Best Bathroom Exhaust Fans of 2025

The 10 Best Ceiling Fans We’ve Tested Firsthand—And Actually Recommend—for Cooler Rooms Year-Round