10 Things You Need to Know Before Building a DIY Walk-In Shower
Building a walk-in shower is a significant home improvement project that requires careful planning and consideration of various factors, ranging from construction costs and design to functionality and long-term accessibility. Before embarking on this DIY endeavor, it's crucial to understand the implications of each step.
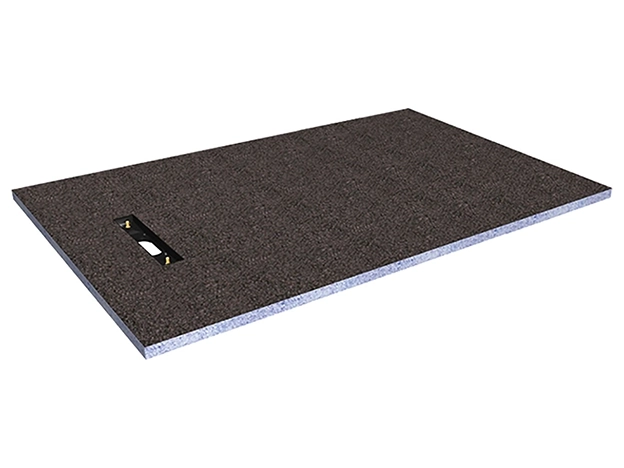
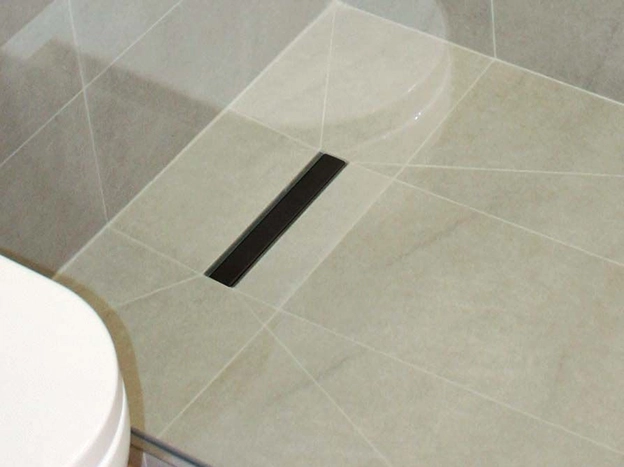
First, assess the construction costs and complexity. This project typically involves opening walls for plumbing access, applying waterproof sheeting, and rebuilding with moisture-resistant materials such as drywall or backer board. Installation of drains and pouring mortar for shower pans are also necessary. Relocating plumbing pipes might be required to accommodate showerheads and sprays. Finally, selecting appropriate waterproof surfaces, such as tiles, is essential. For a more straightforward and budget-conscious approach, consider prefabricated shower kits, especially if you are comfortable with basic framing and plumbing tasks.
Second, seek inspiration from various sources. Explore online platforms, social media, magazines, and visit bath showrooms or home centers to gather ideas. Consulting with a bathroom designer can help refine your vision and obtain contractor bids if professional assistance is needed.
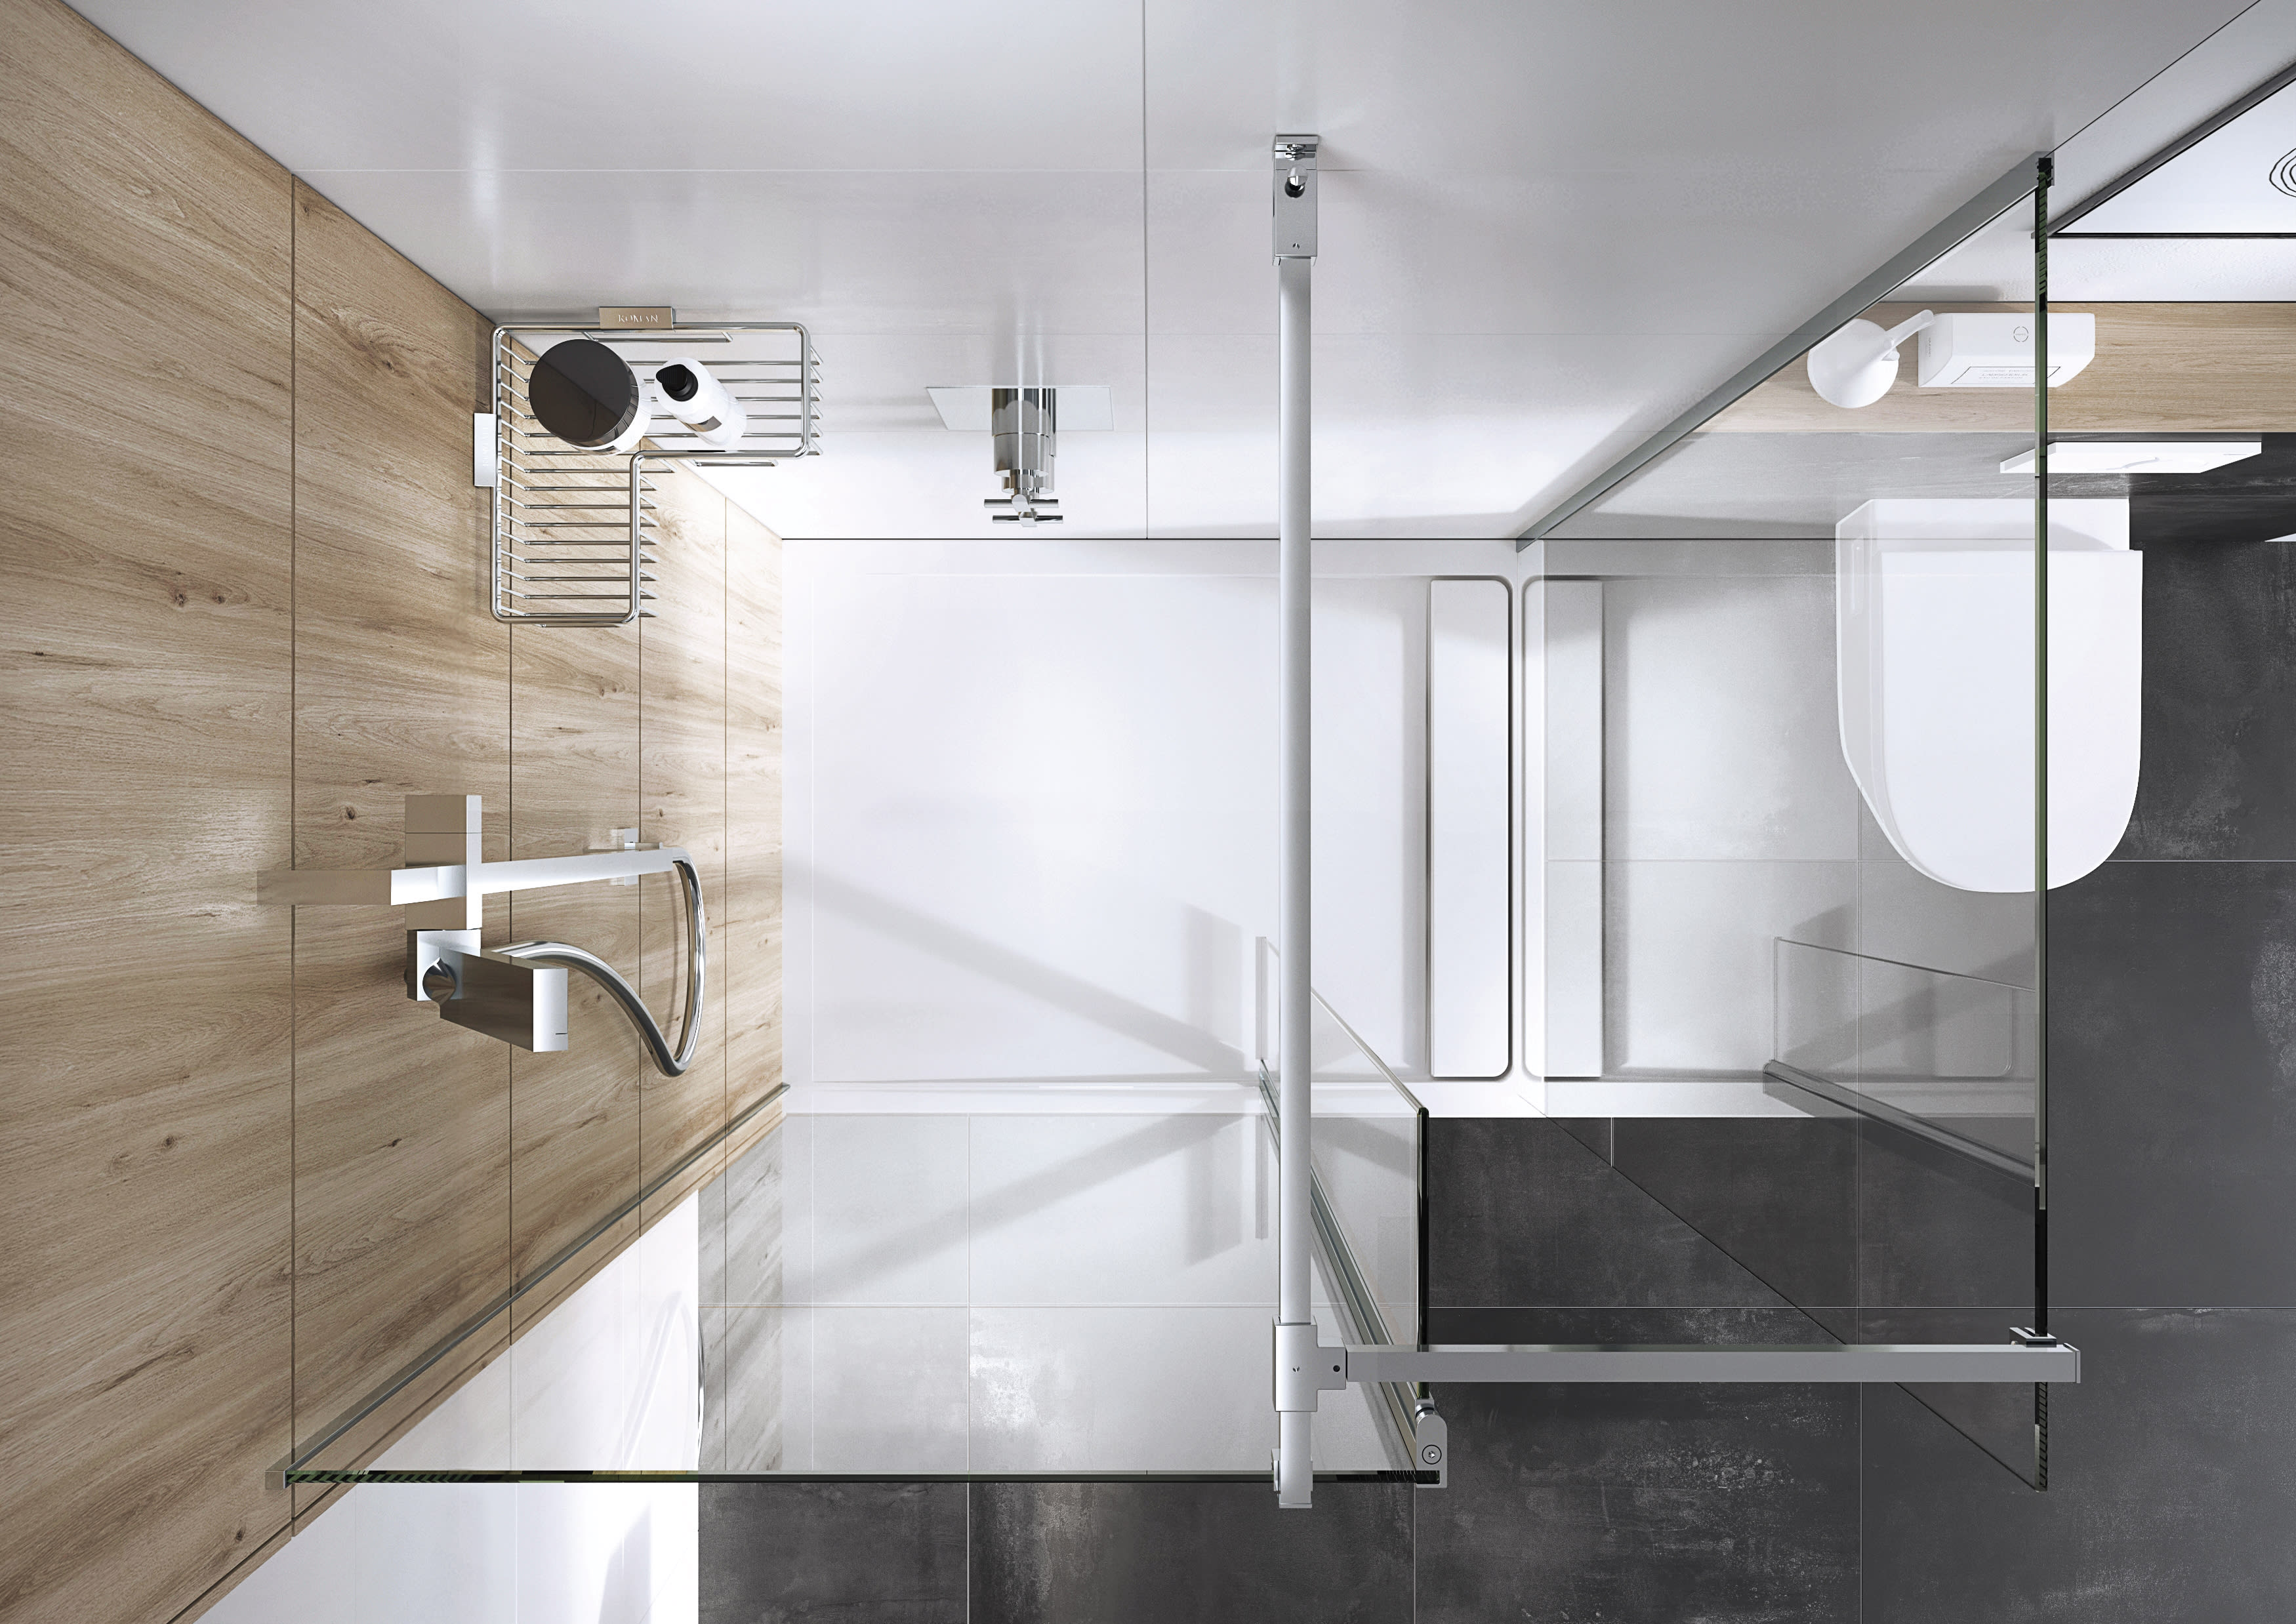
Third, be mindful of space requirements. A walk-in shower needs a minimum of 32 inches of clearance from other bathroom fixtures. Ensure at least a 36x36-inch area per person for comfortable showering. If the shower is intended for two users simultaneously, consider doubling these dimensions. If hinged doors are part of the design, allow approximately 30 inches of outward-opening space.
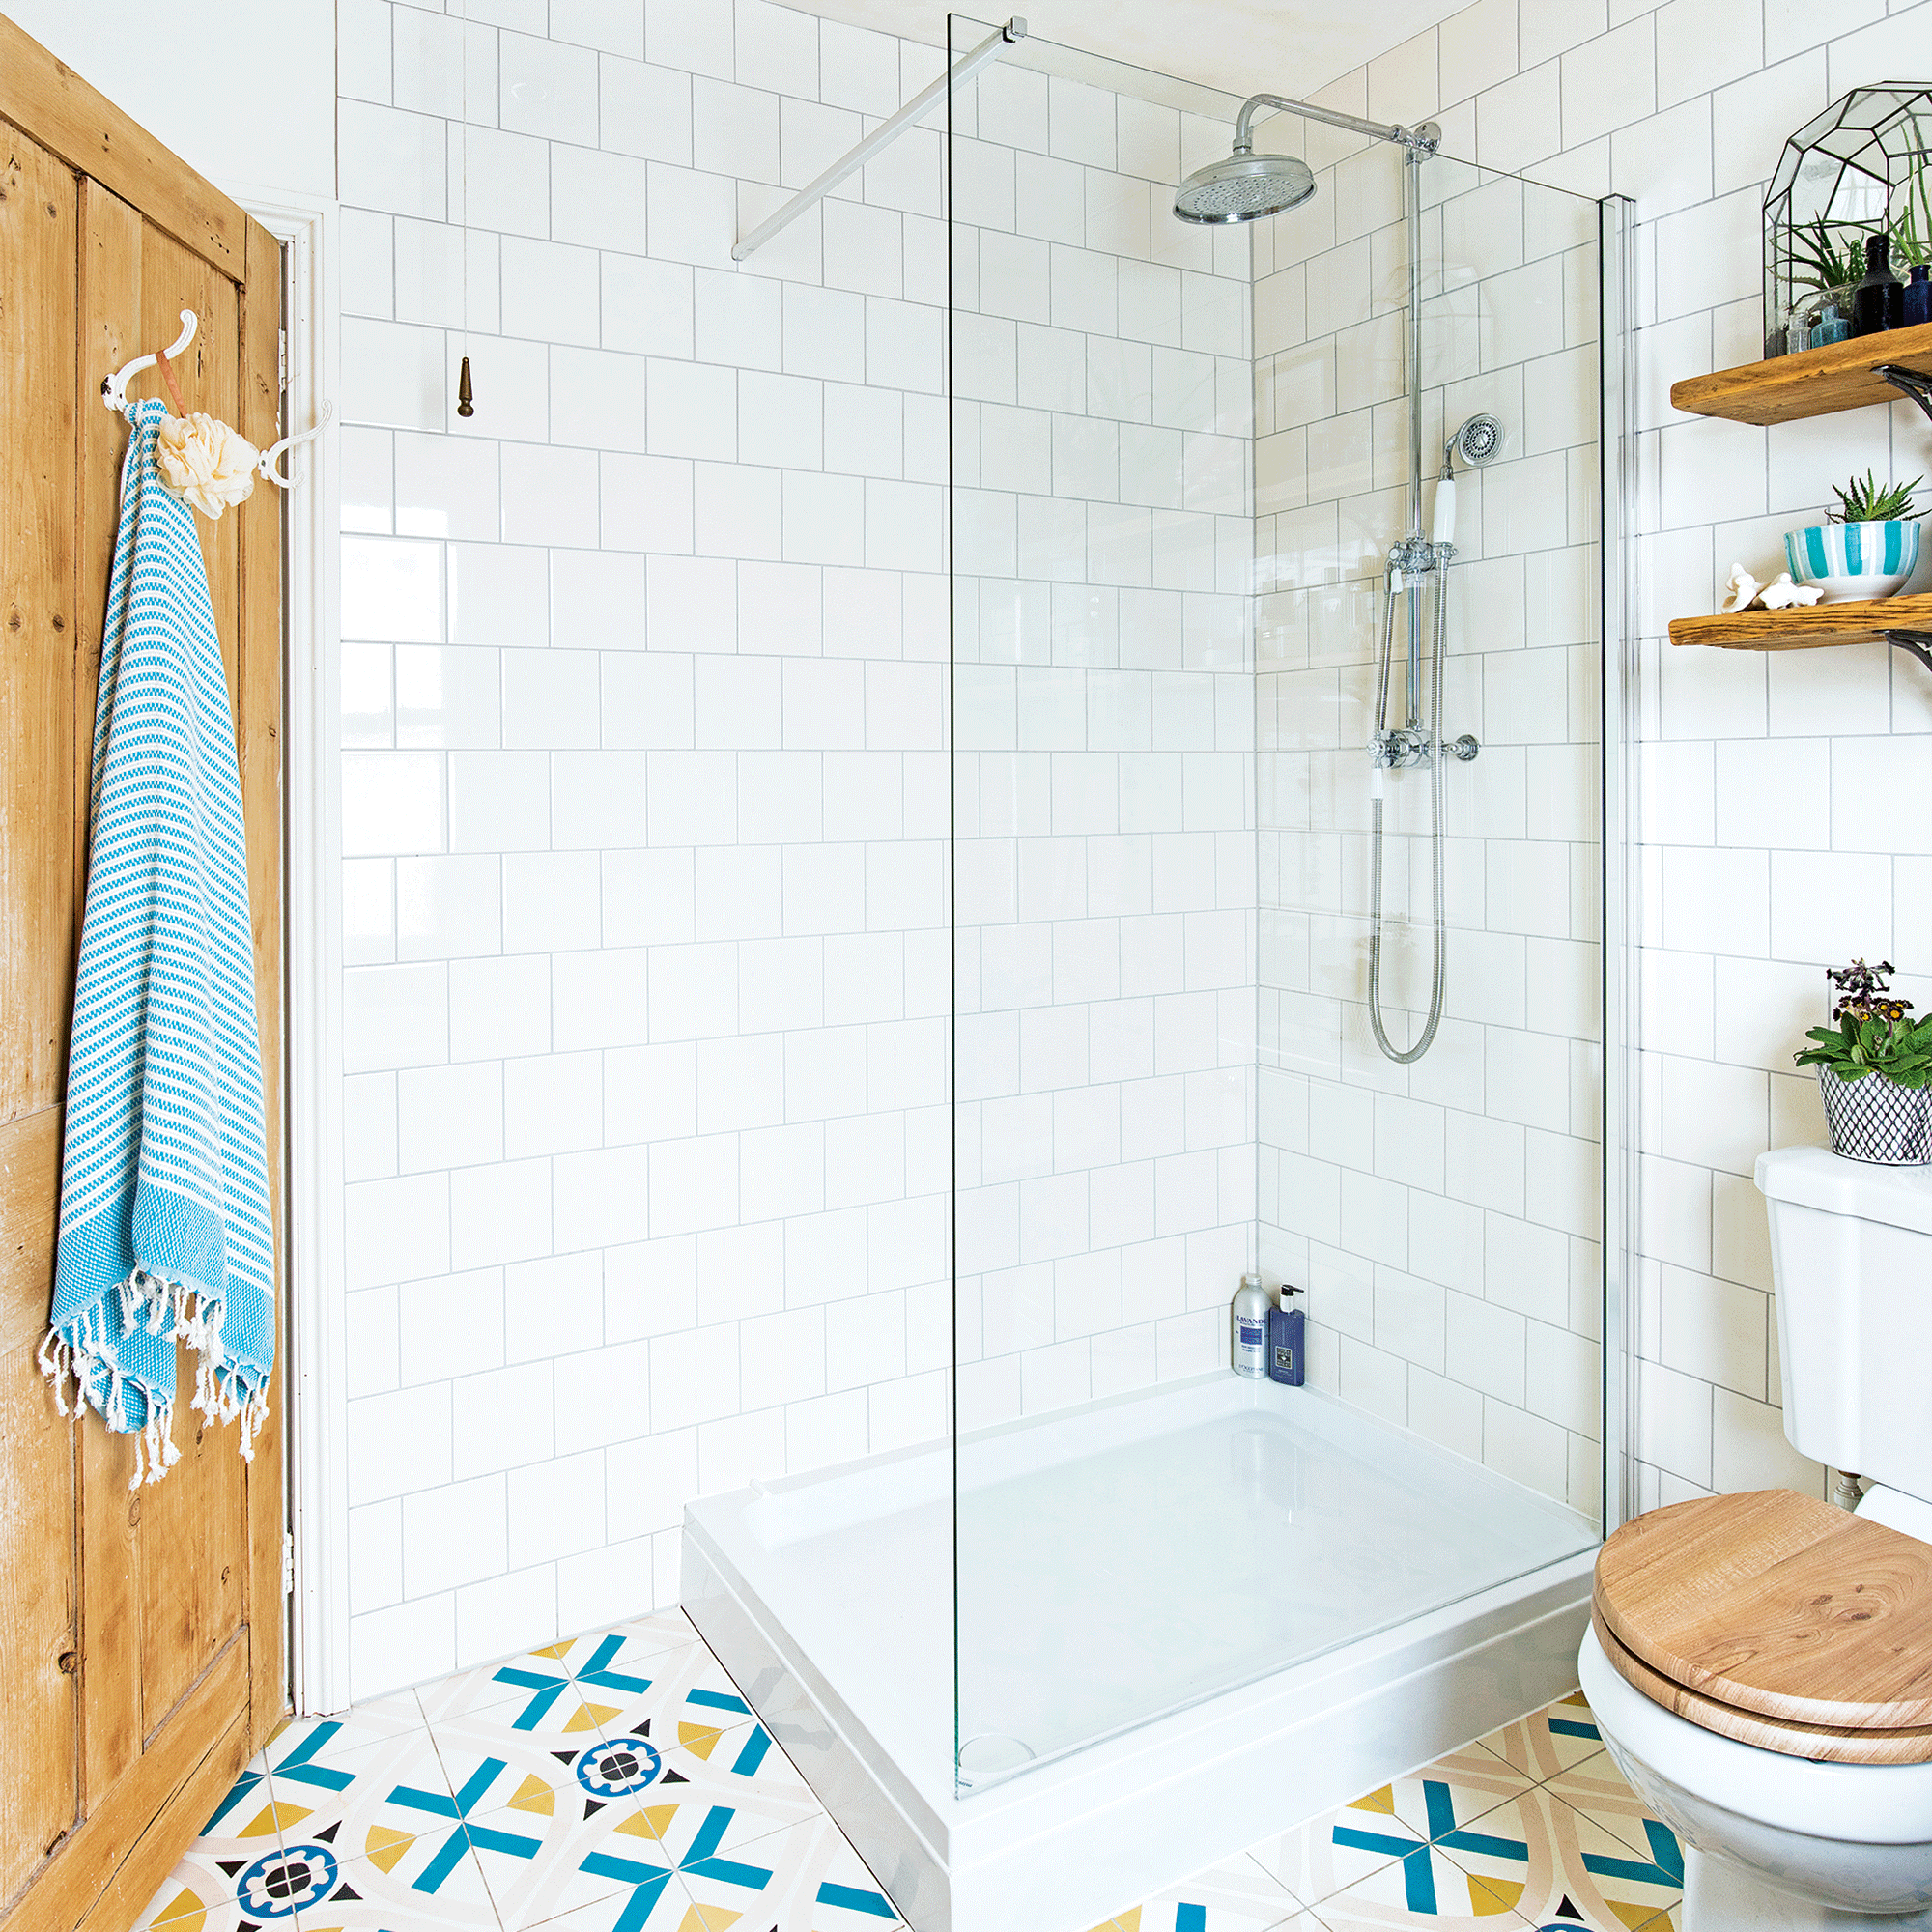
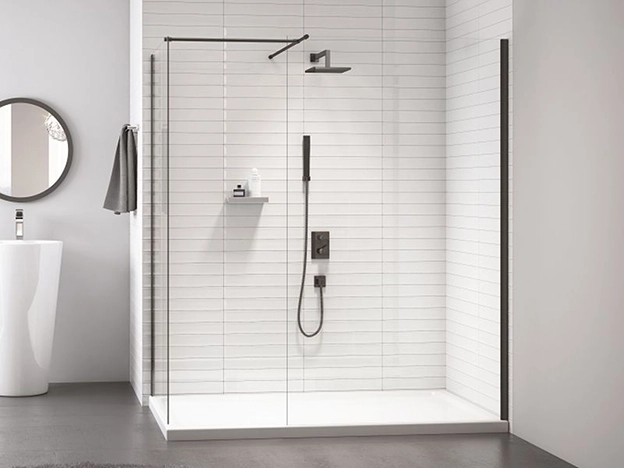
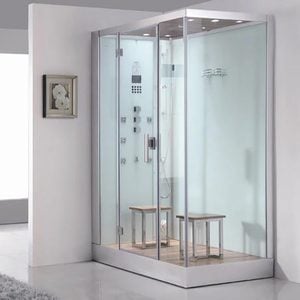
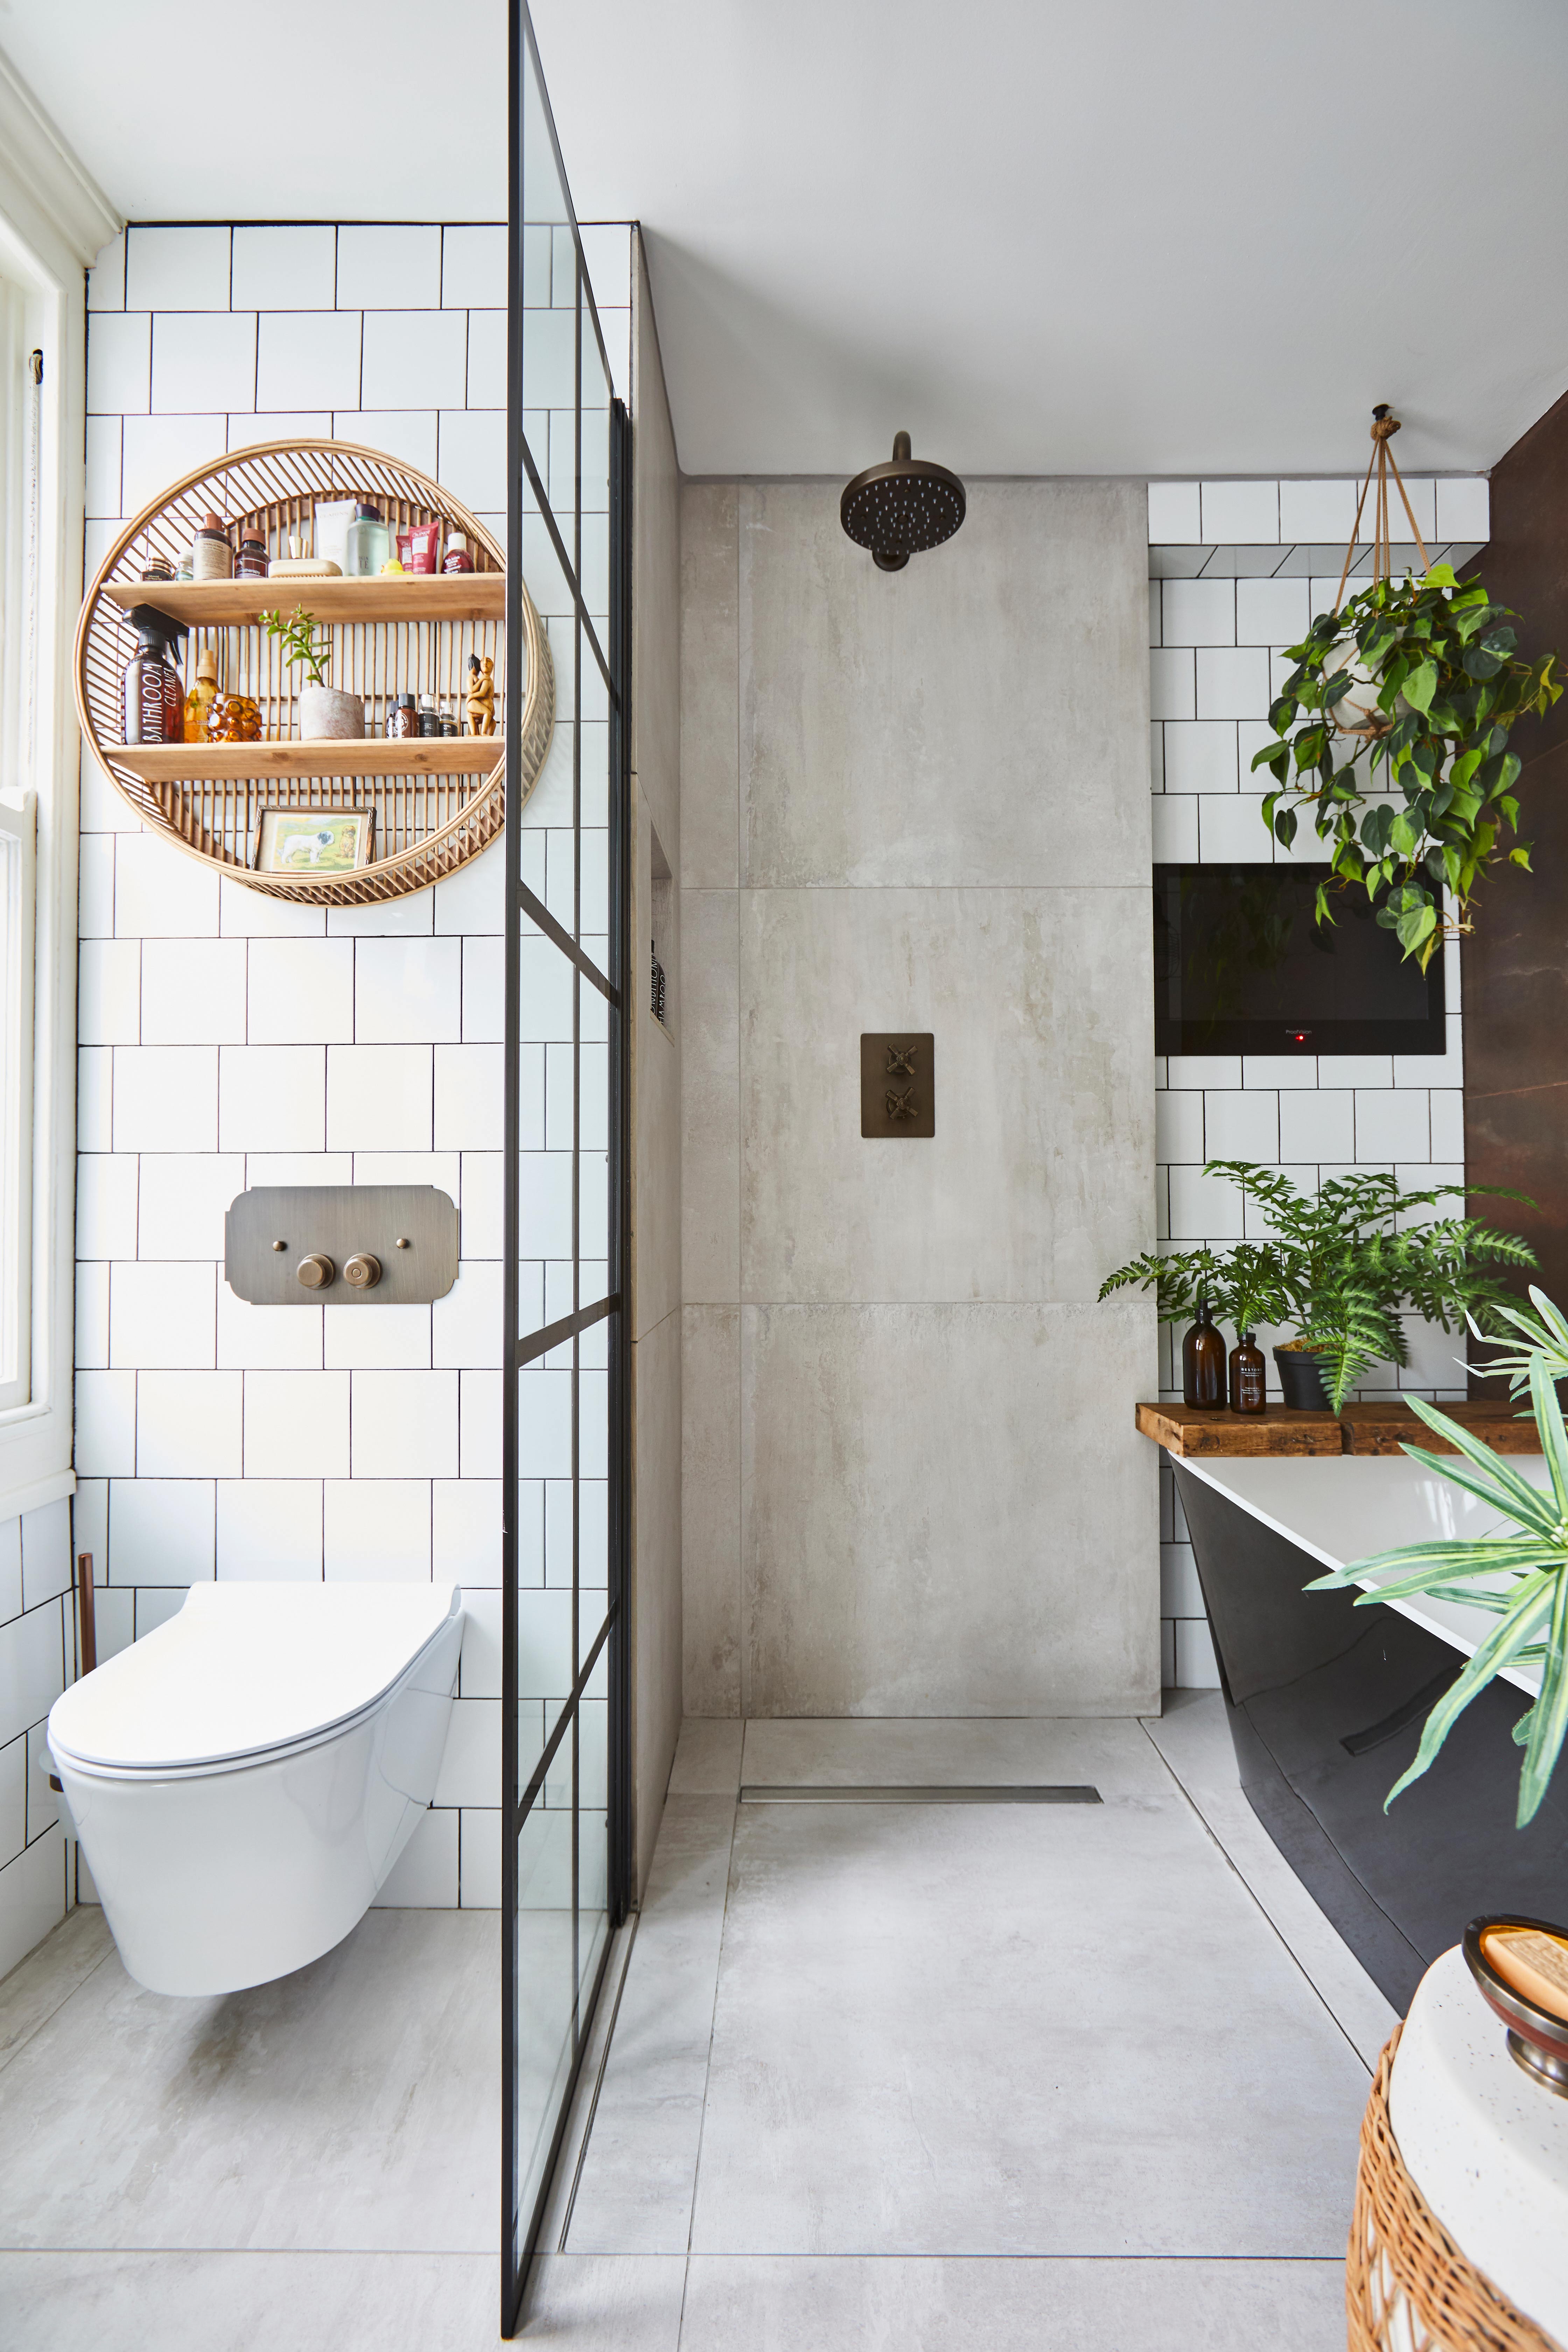
Fourth, review the available options. Prefabricated shower kits come in various sizes, typically from 31x31 inches to 36x48 inches, and can be single-piece units, kits with a pan and three walls, or customizable components. Alternatively, designing a custom walk-in shower from scratch allows for unique aesthetics and features, such as a wet-room design that integrates seamlessly with the rest of the bathroom.
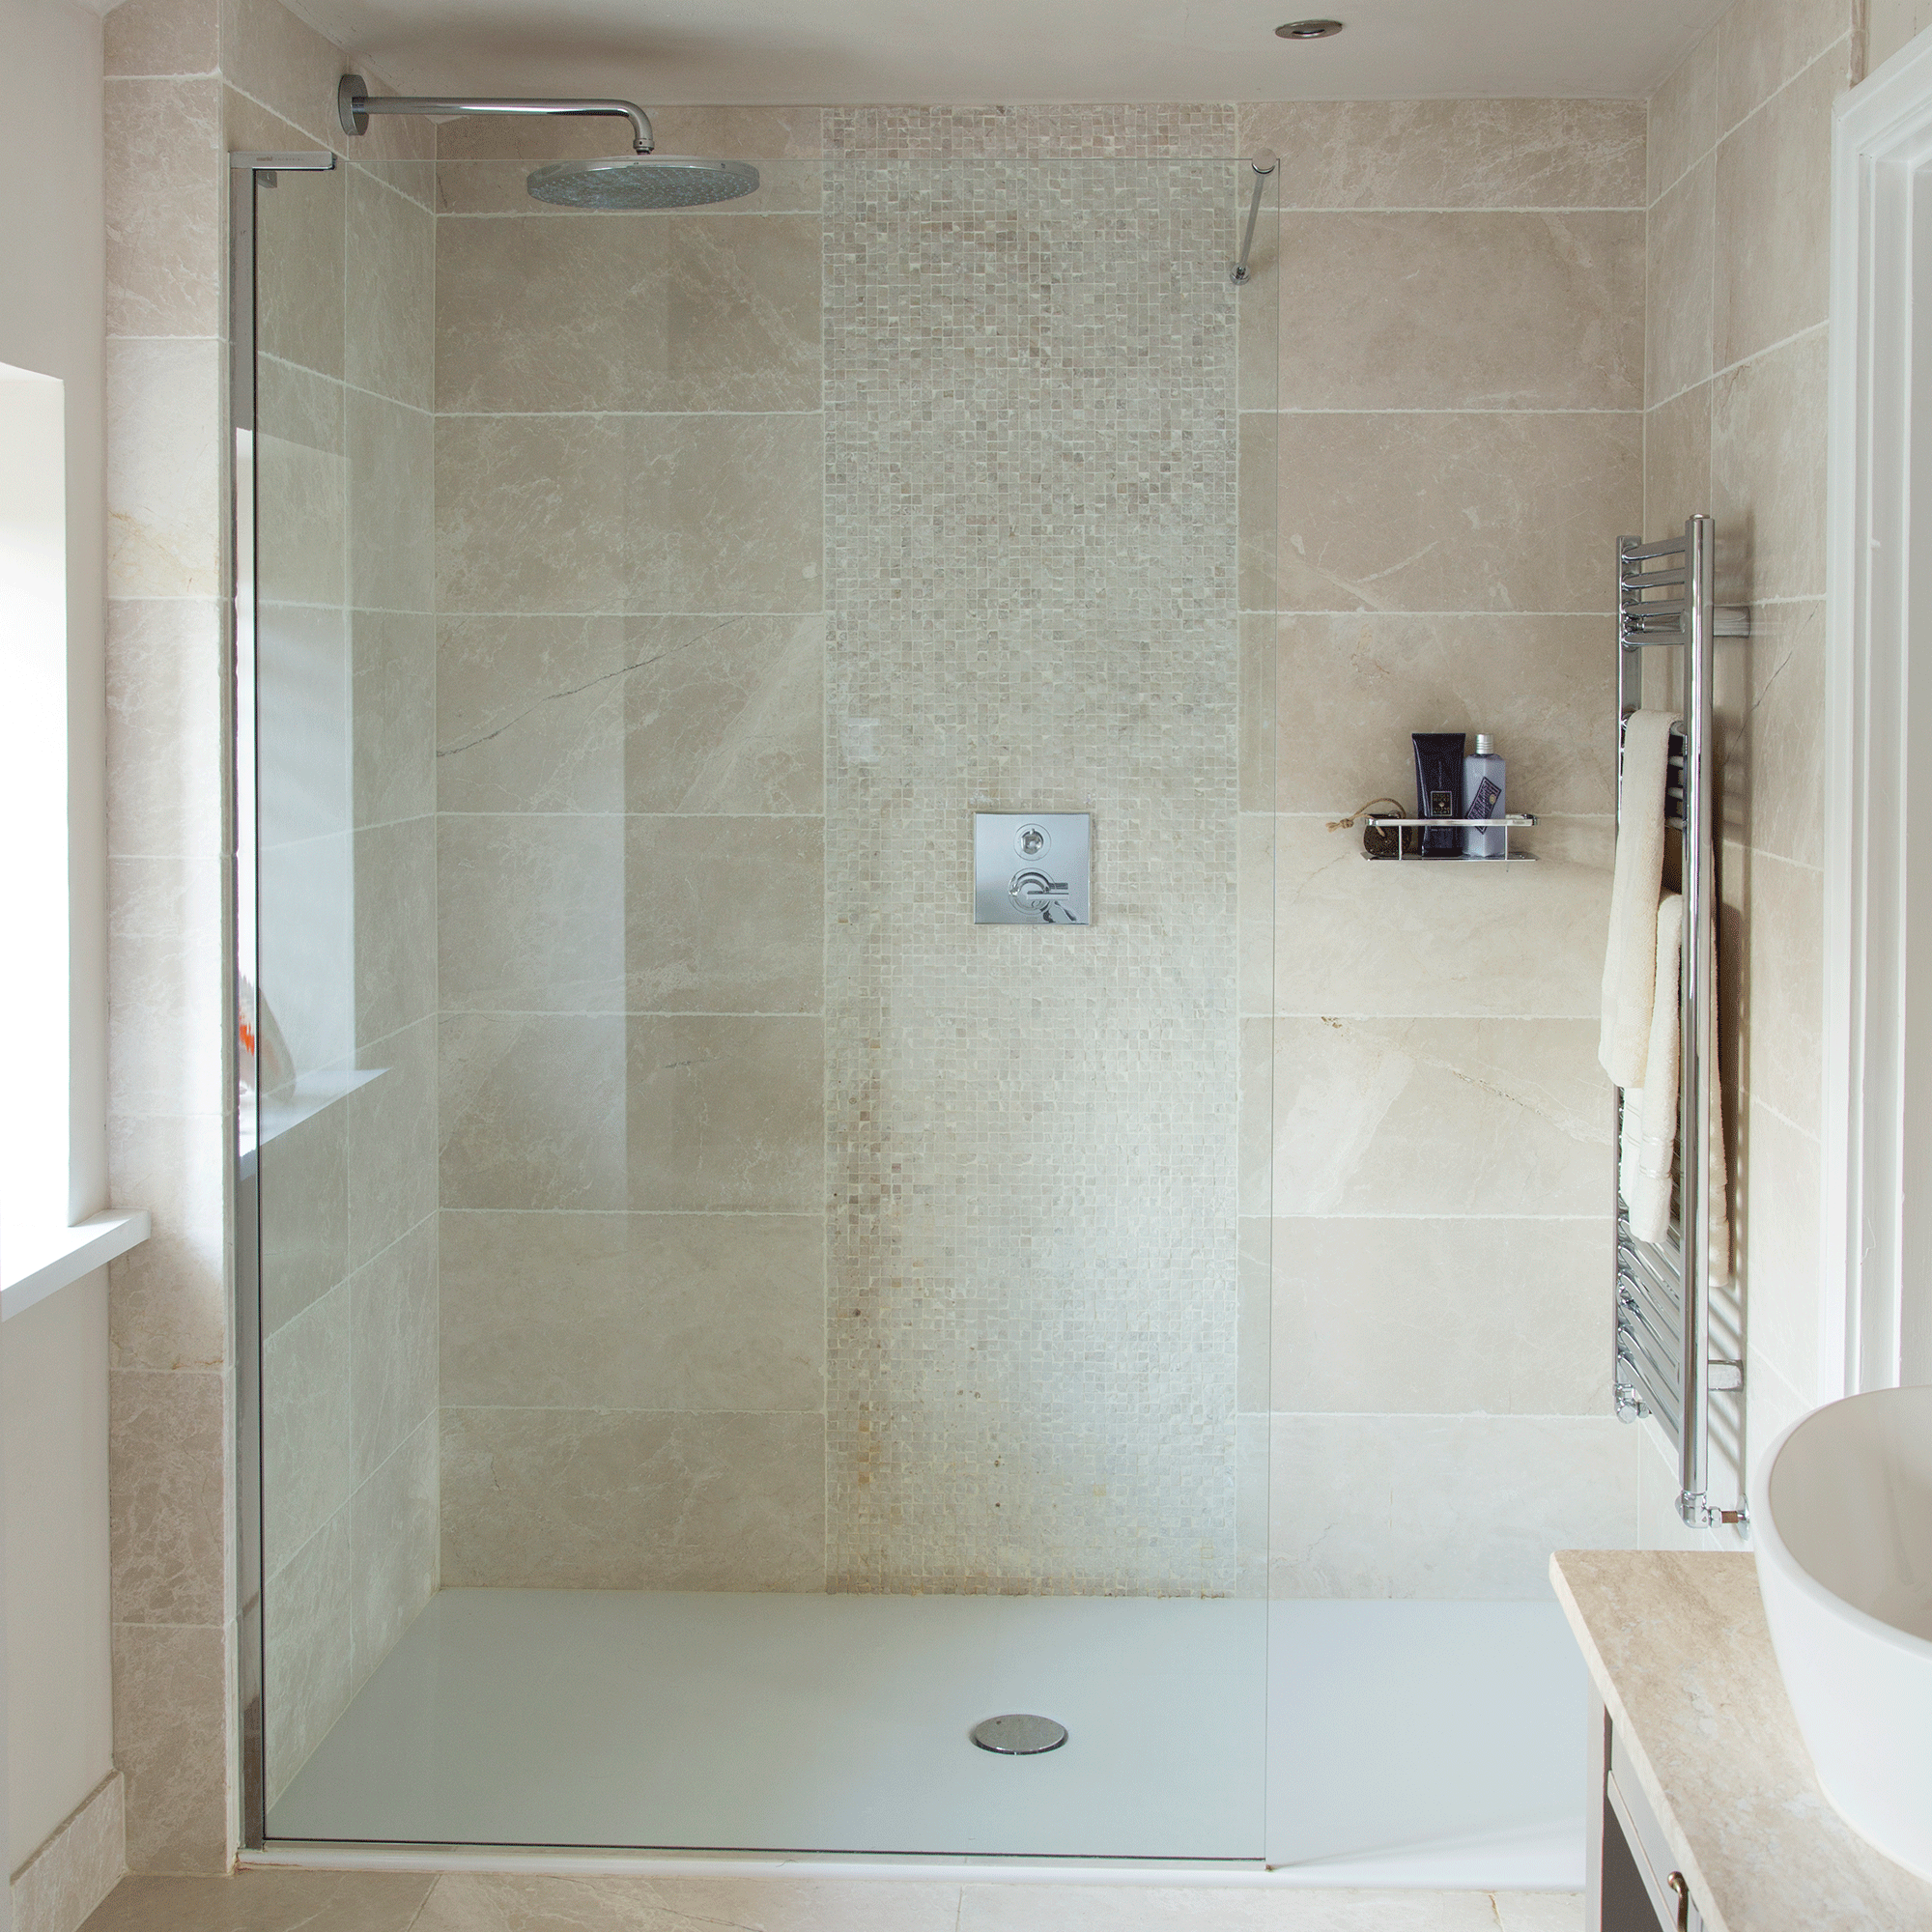
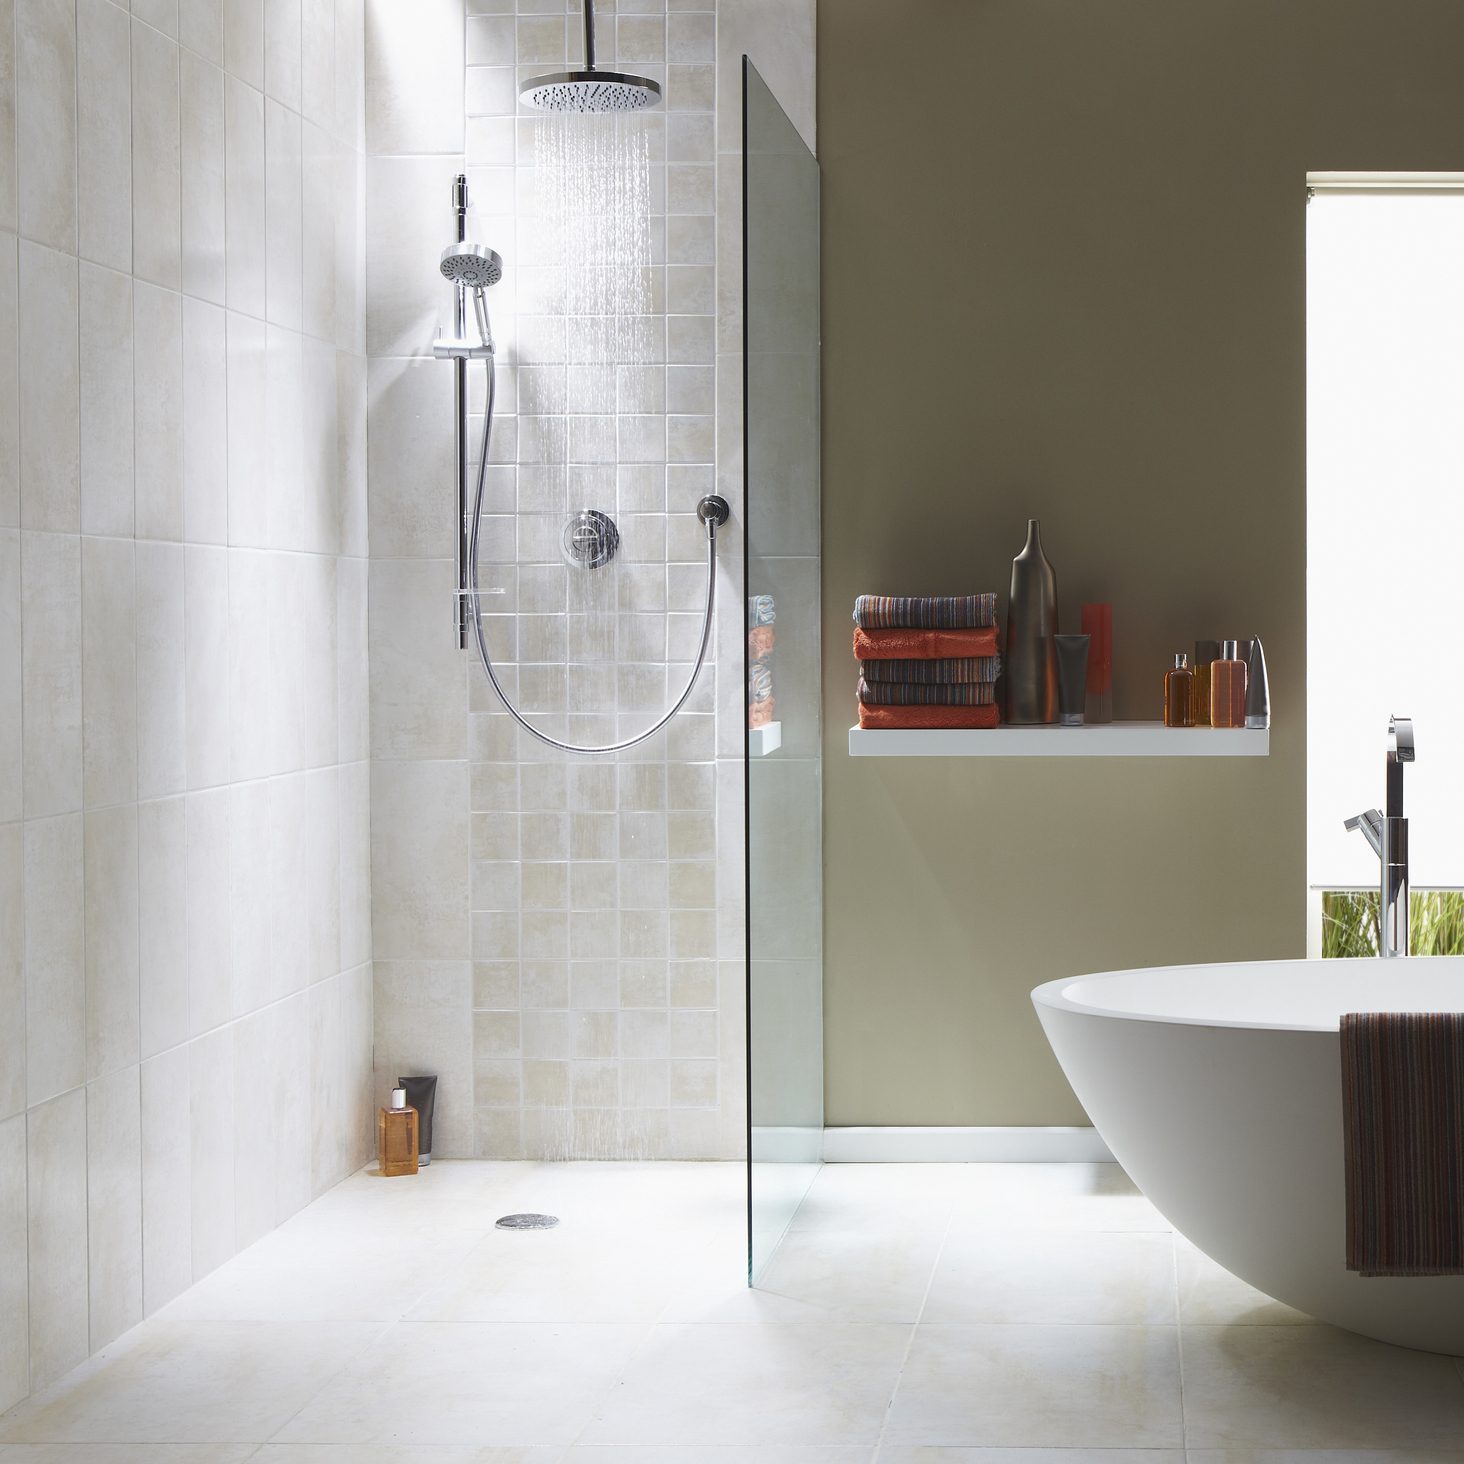
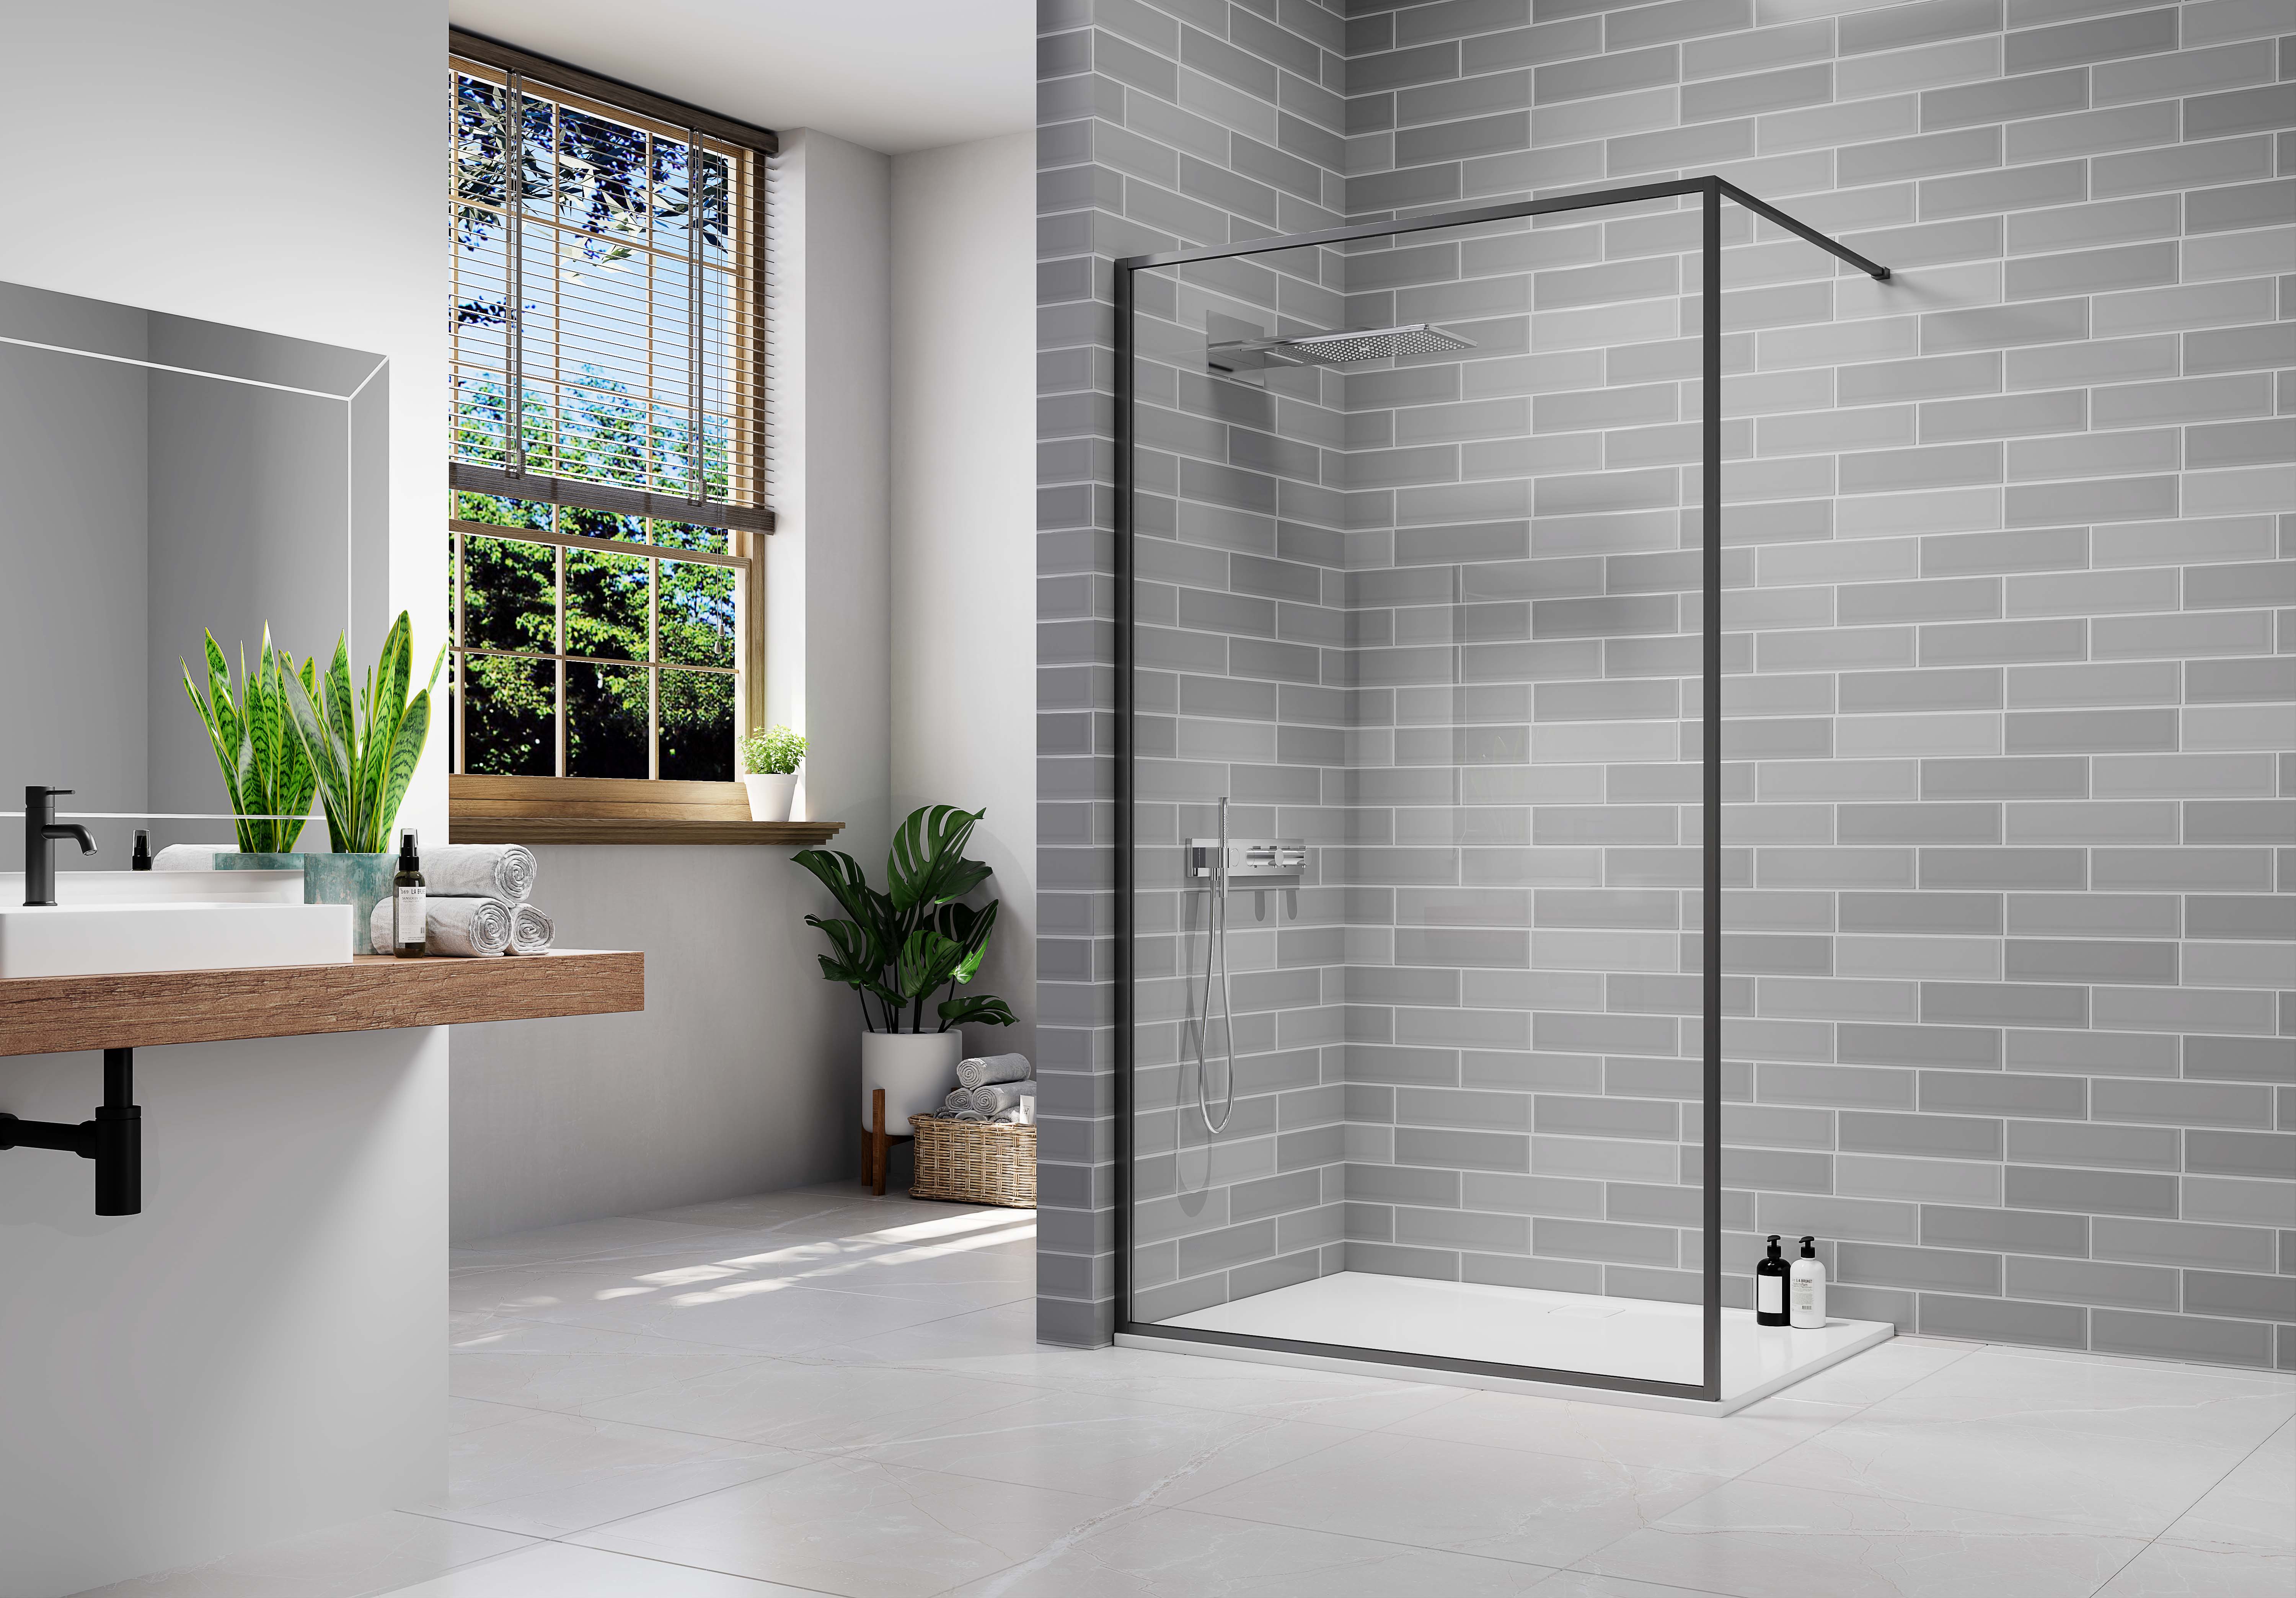
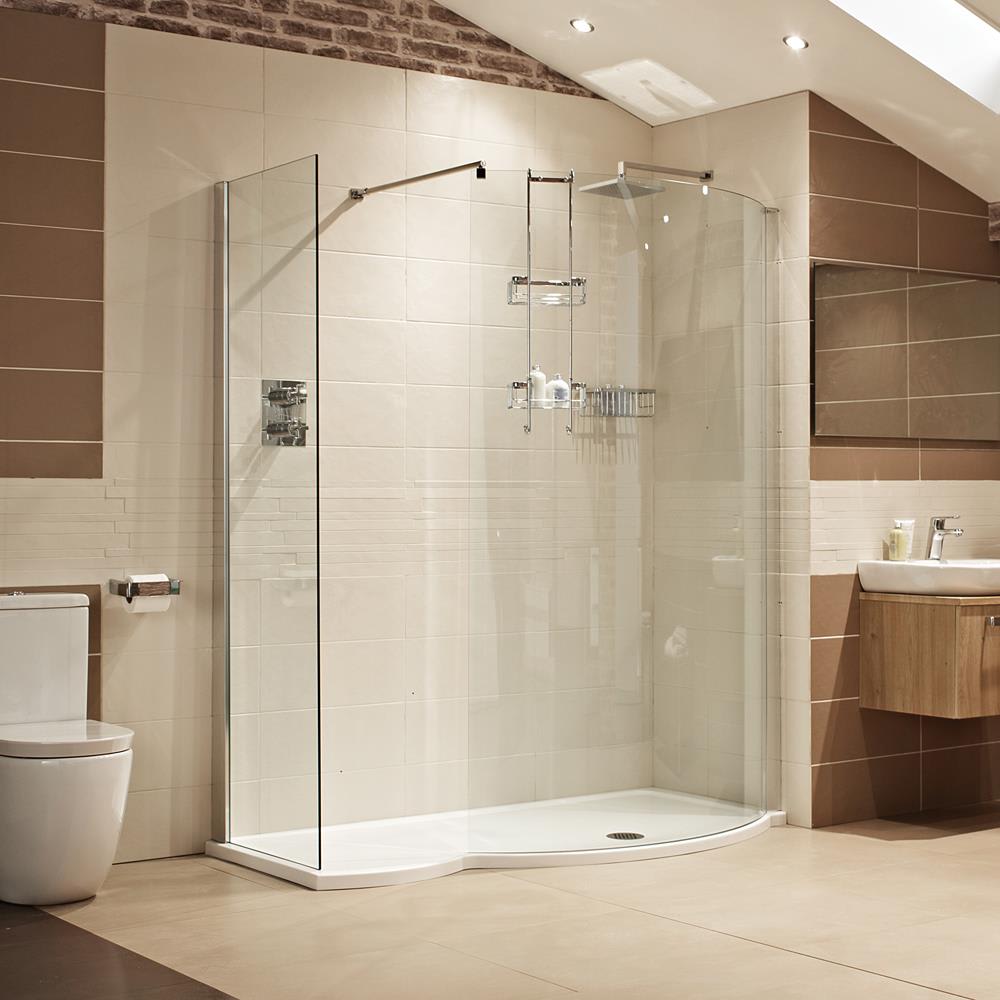
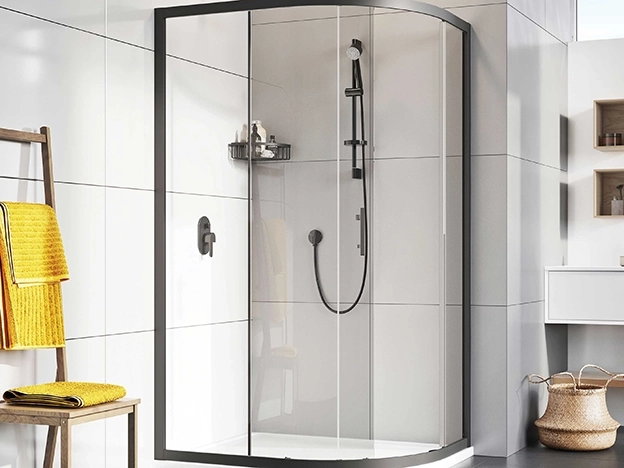
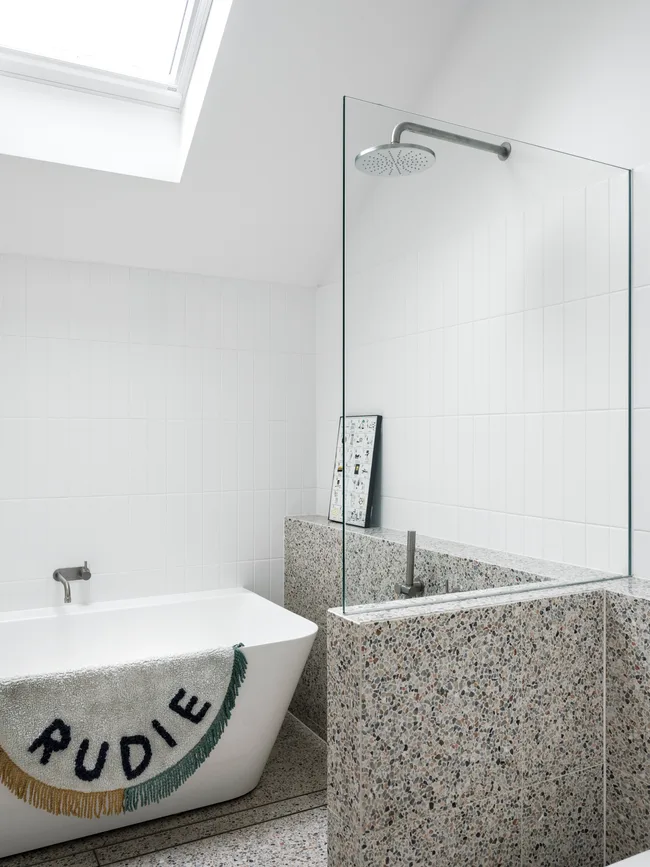
Fifth, plan for entry and accessibility. Curbless showers or those with low thresholds offer easy and safe access. Decide between an open entrance, a curtain, a hinged door, or a sliding door for privacy. If opting for an open doorway, ensure the shower's design, including flooring, walls, and showerhead placement, effectively contains water within the showering area.
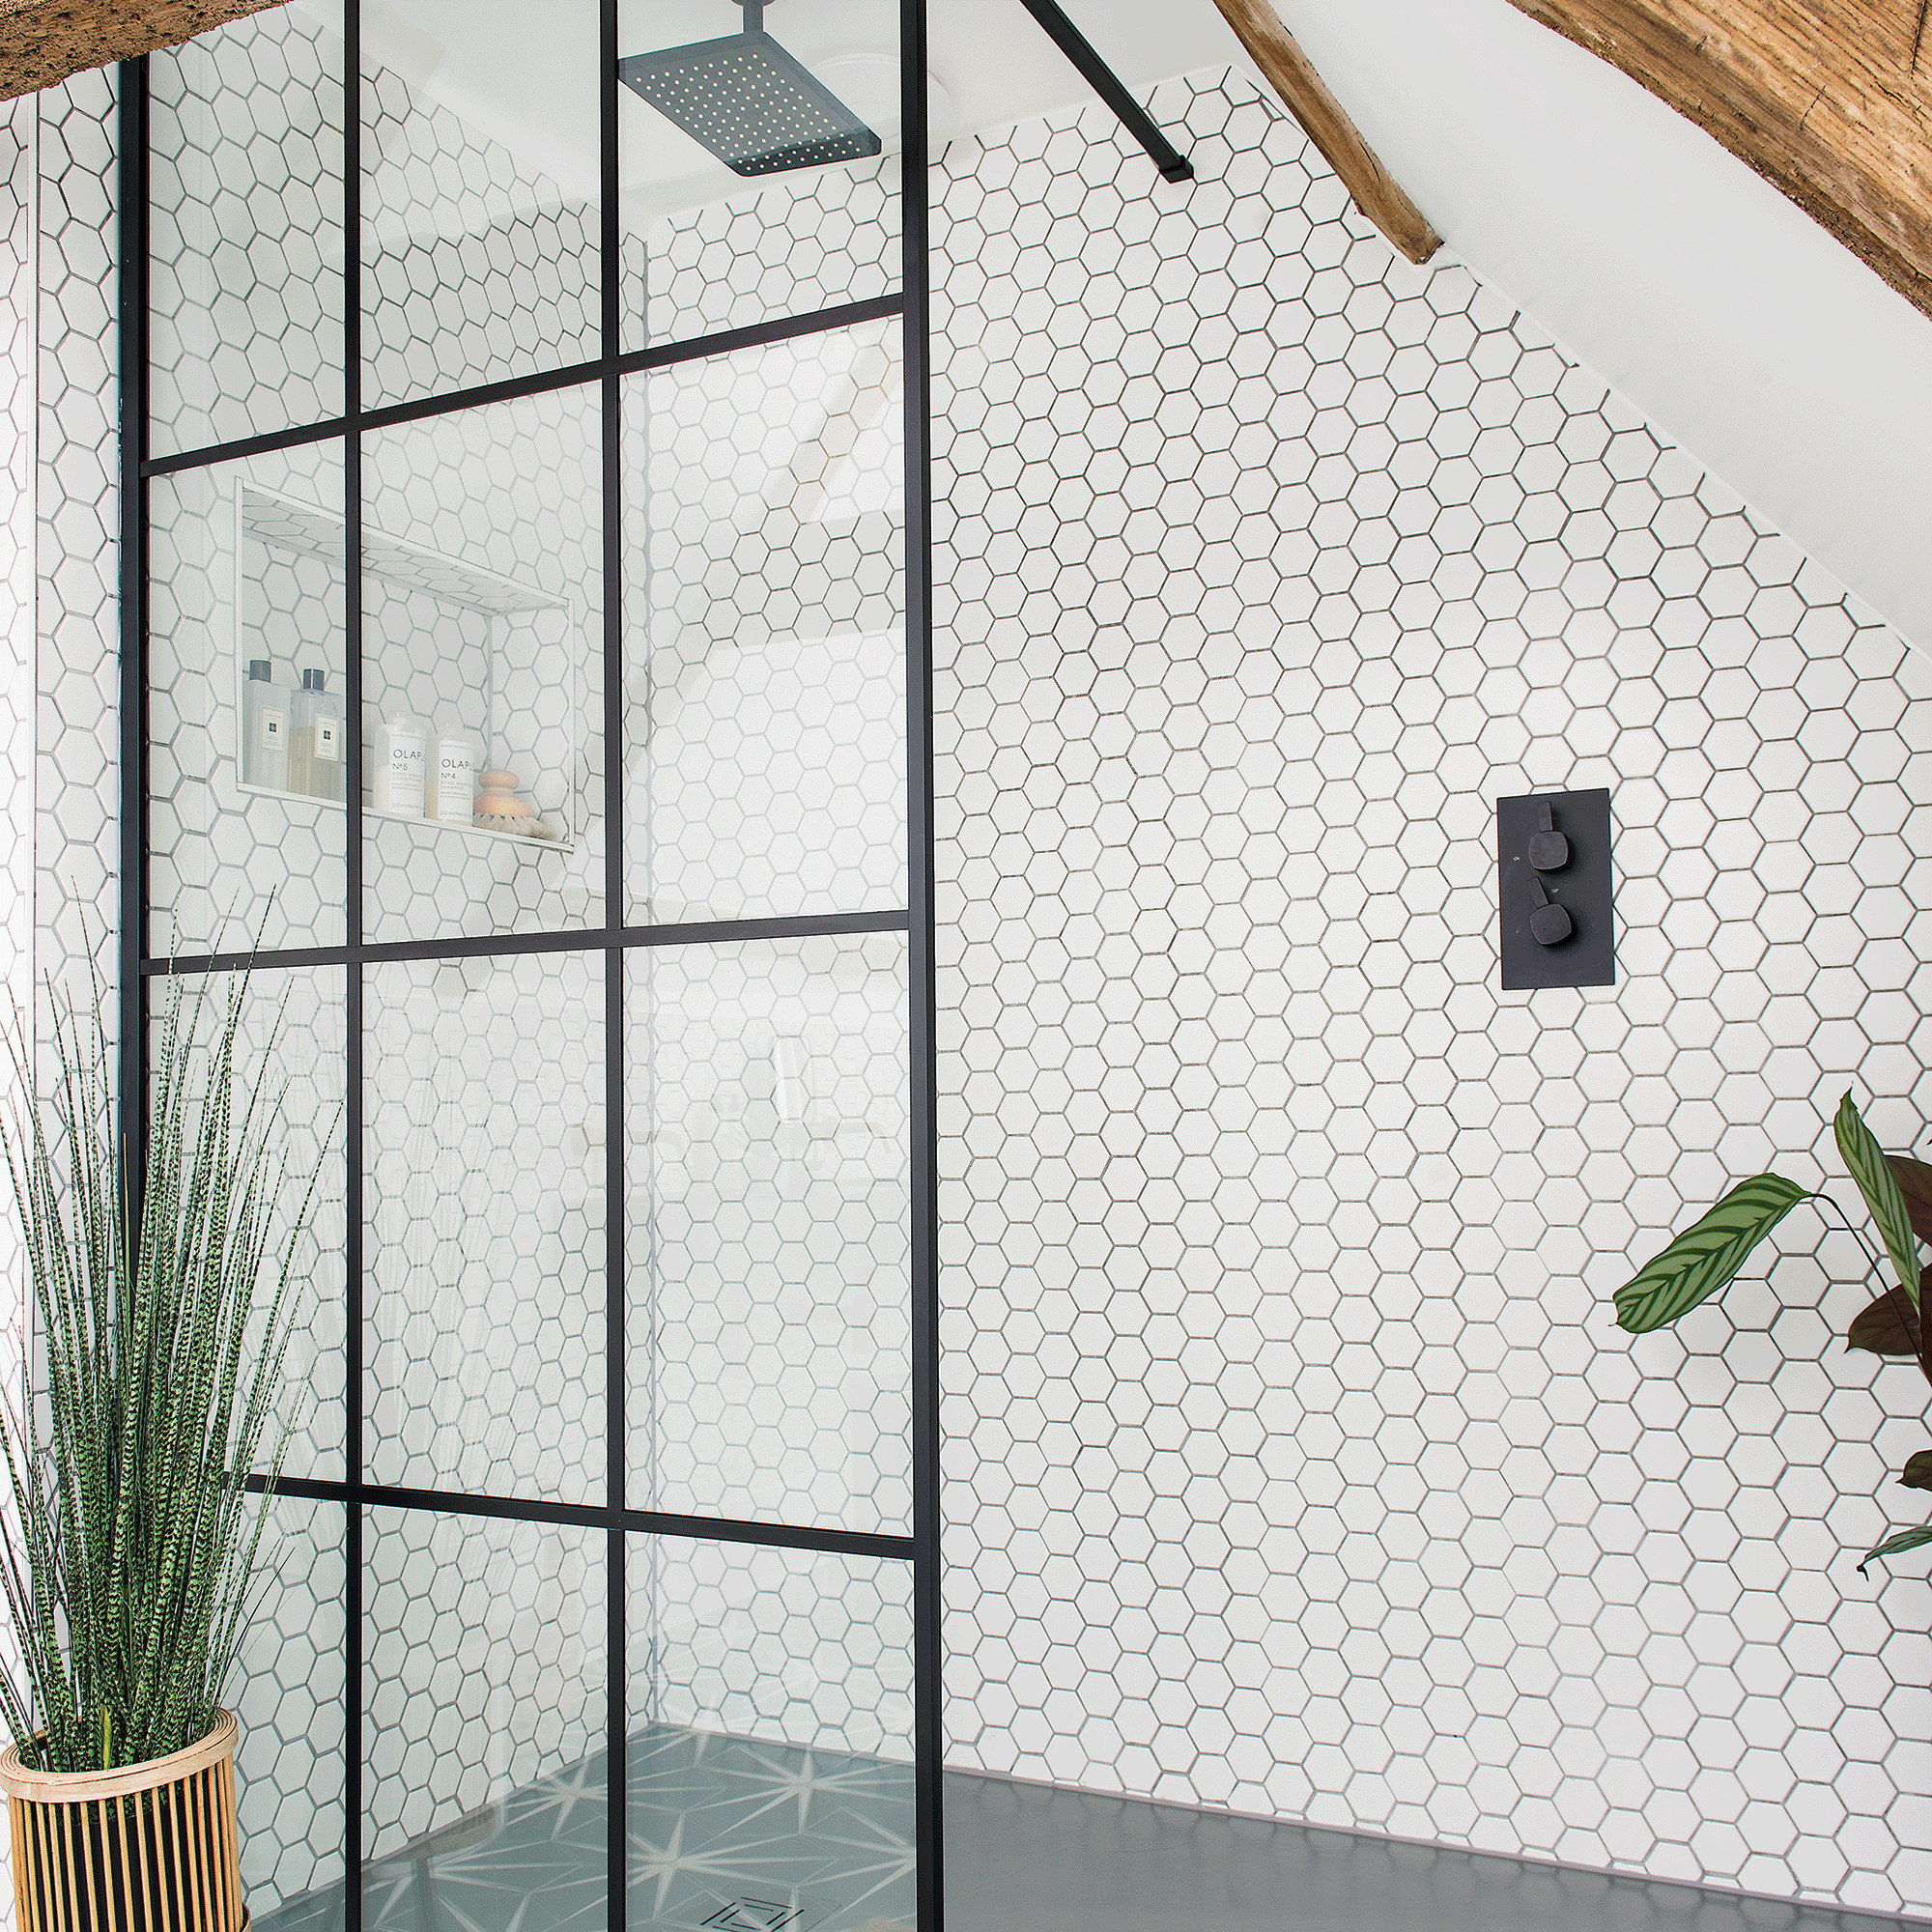
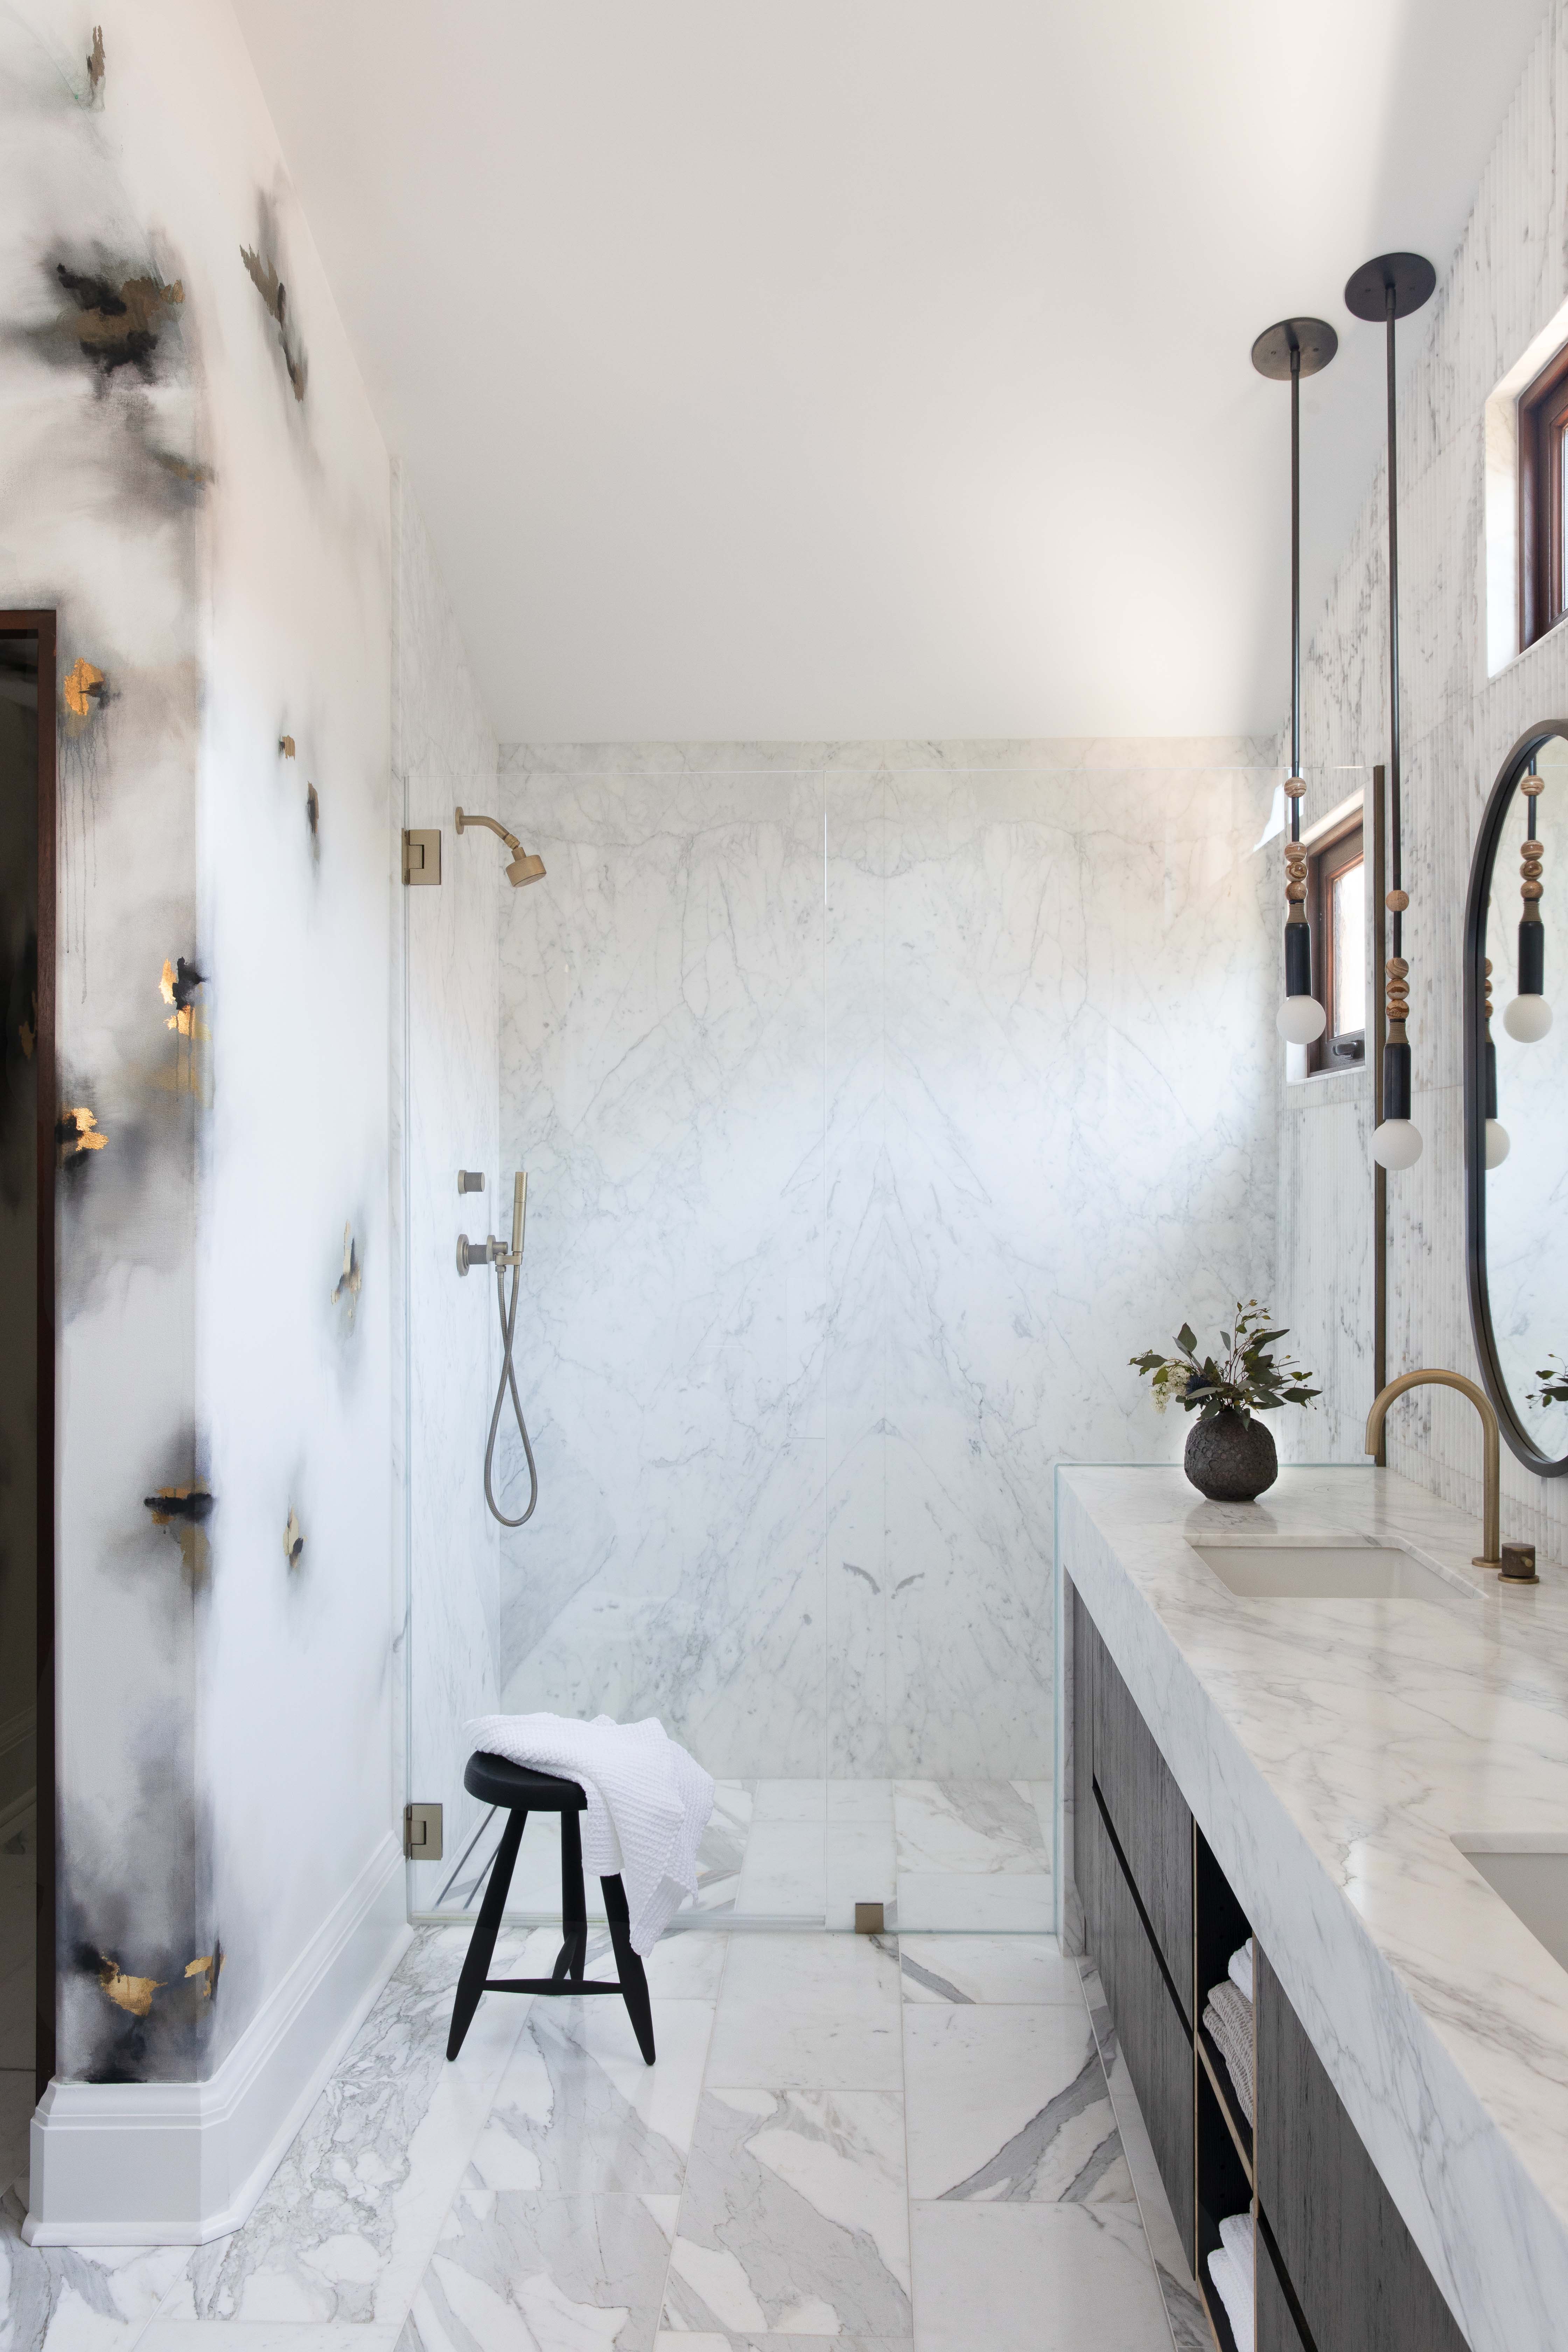
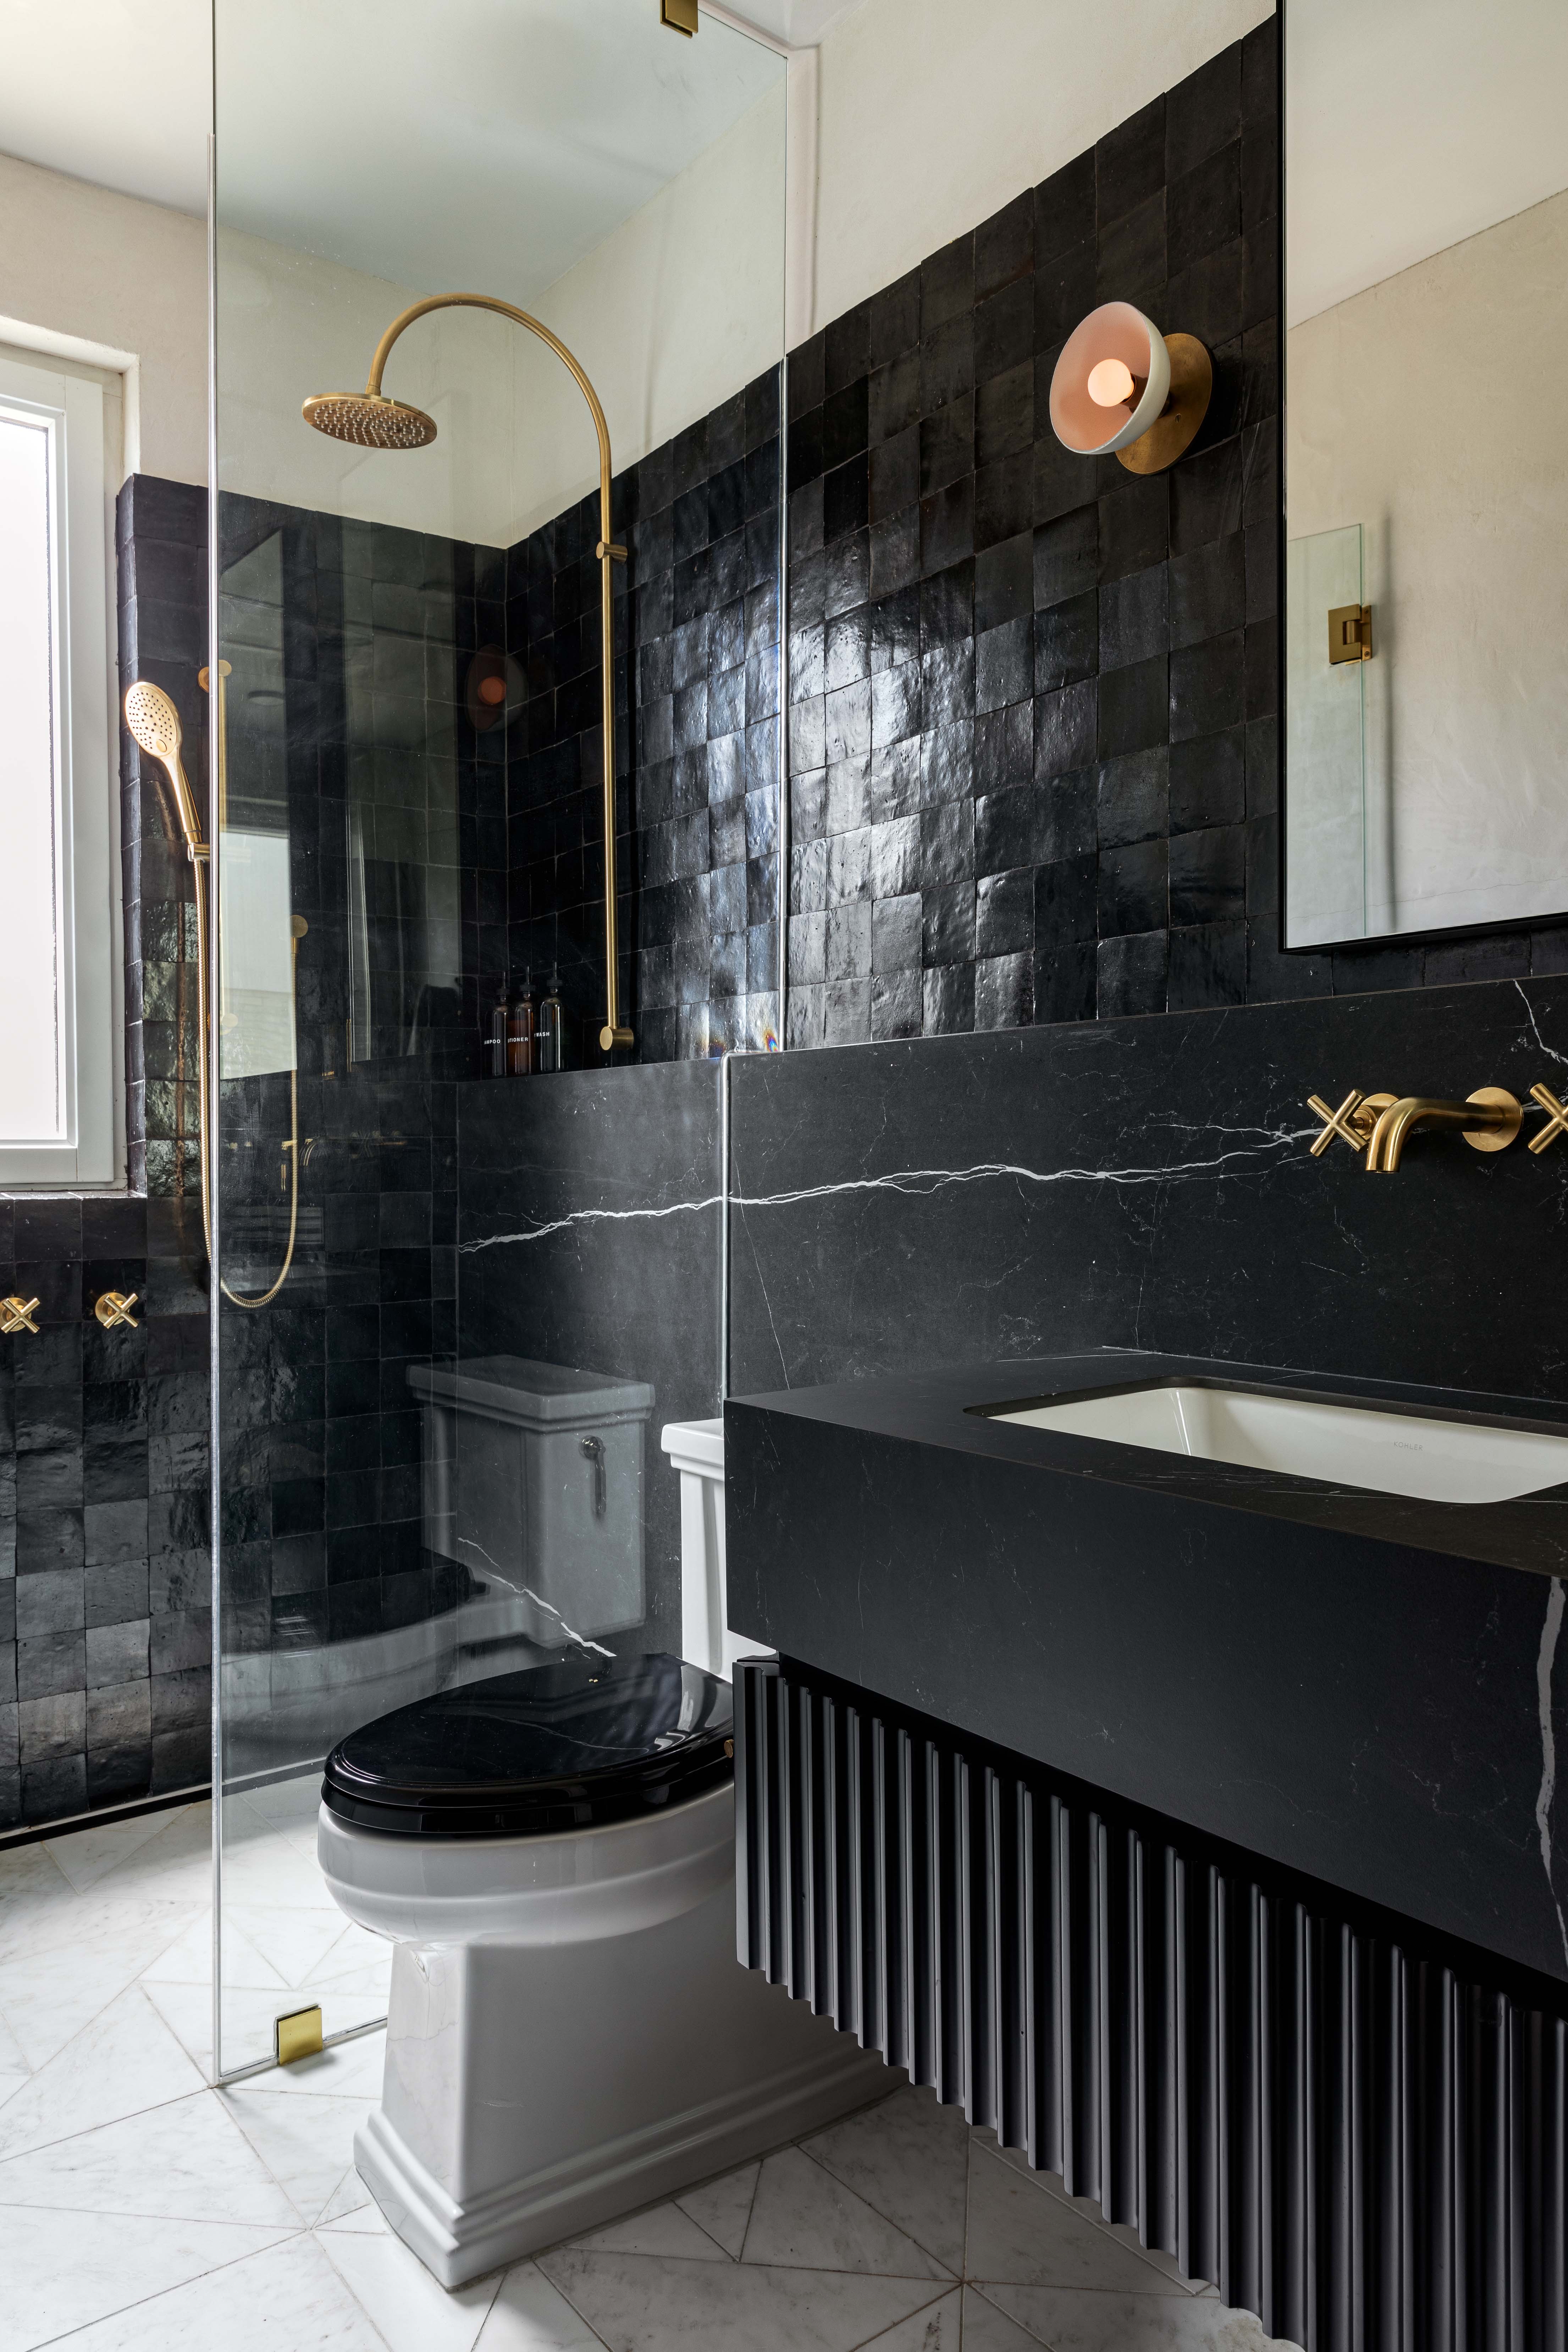
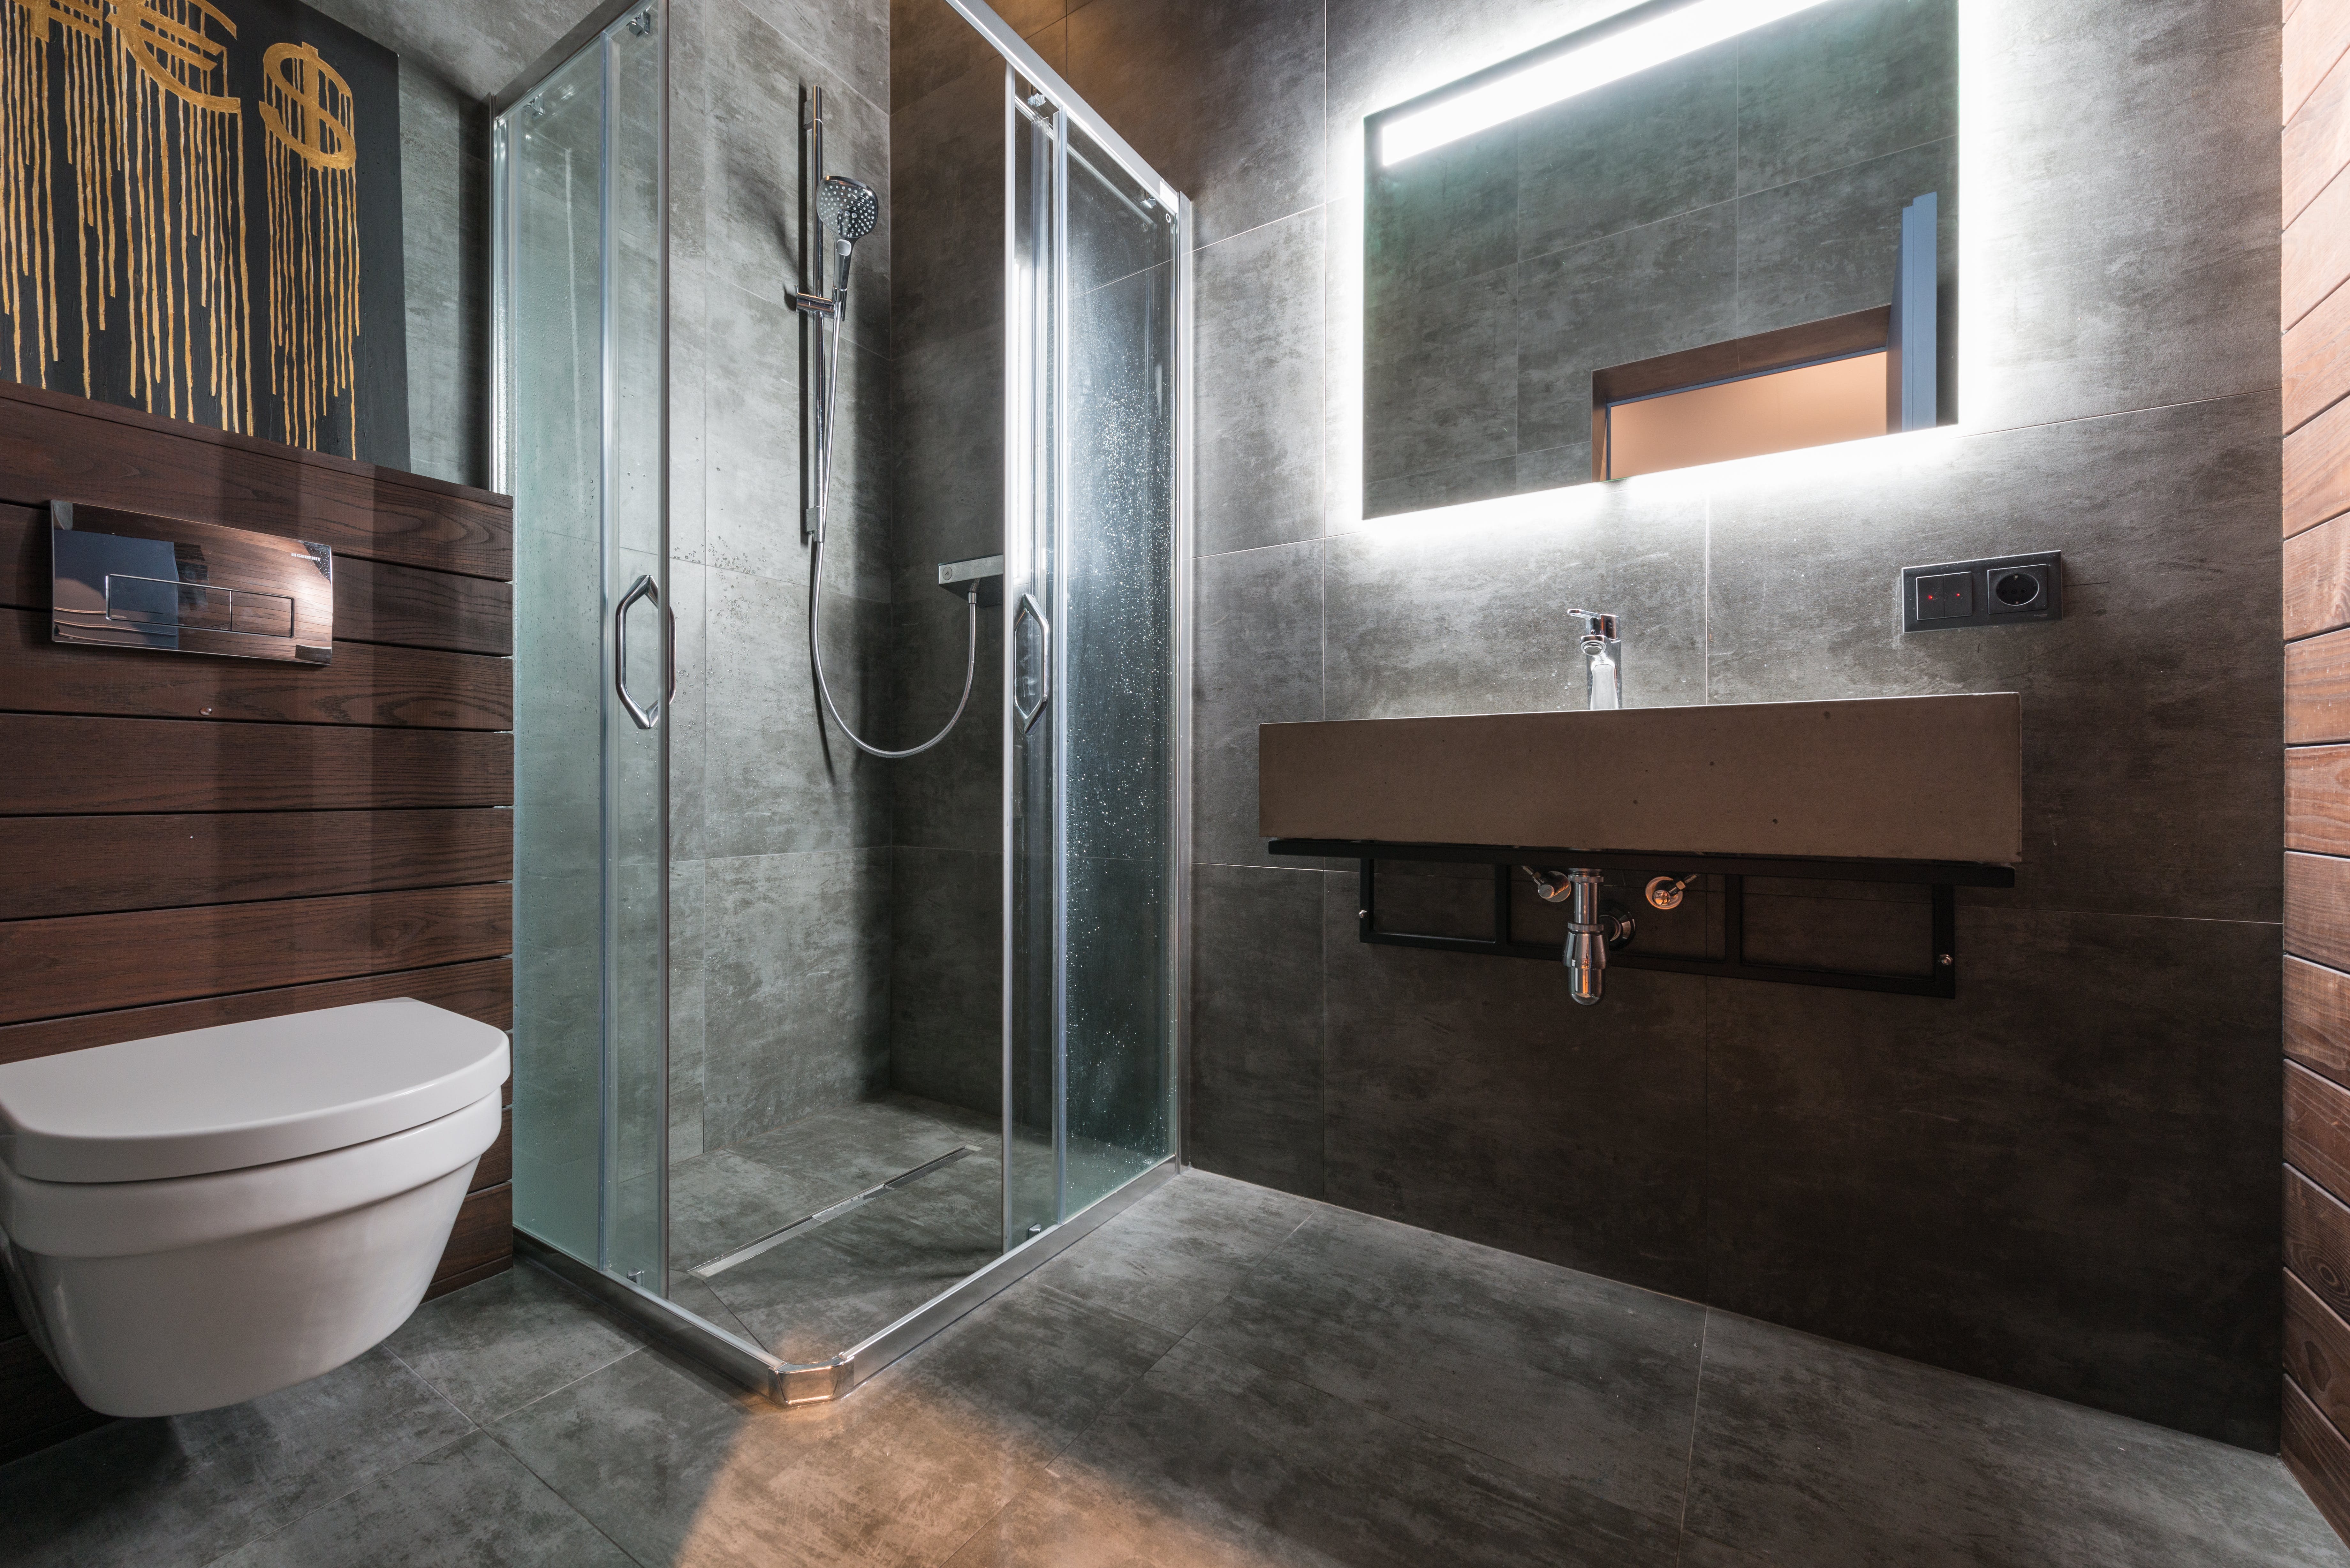
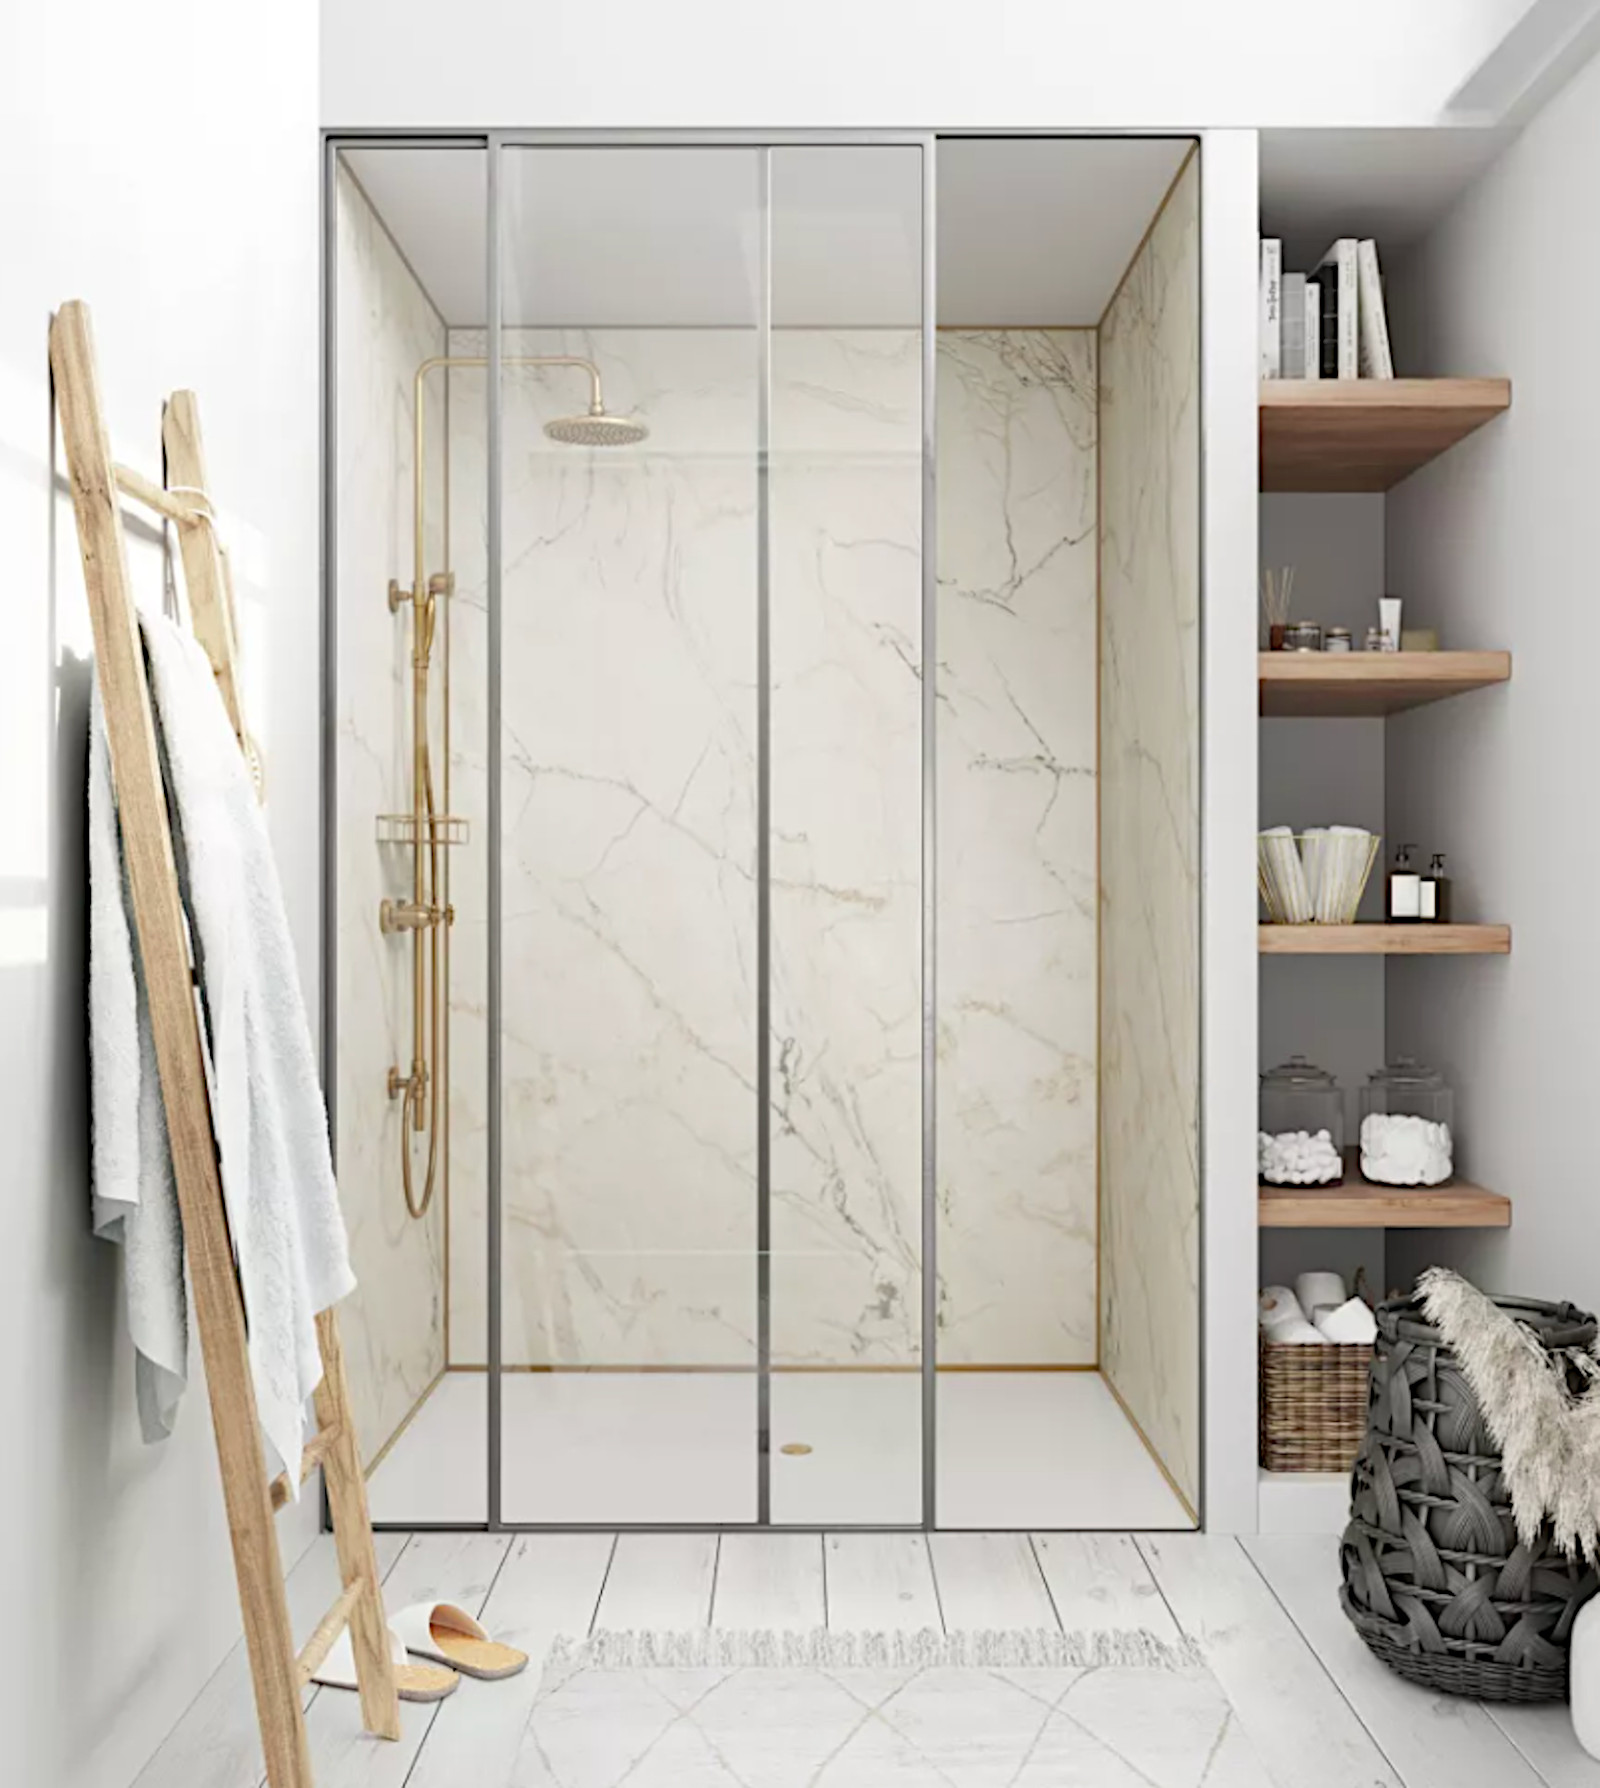
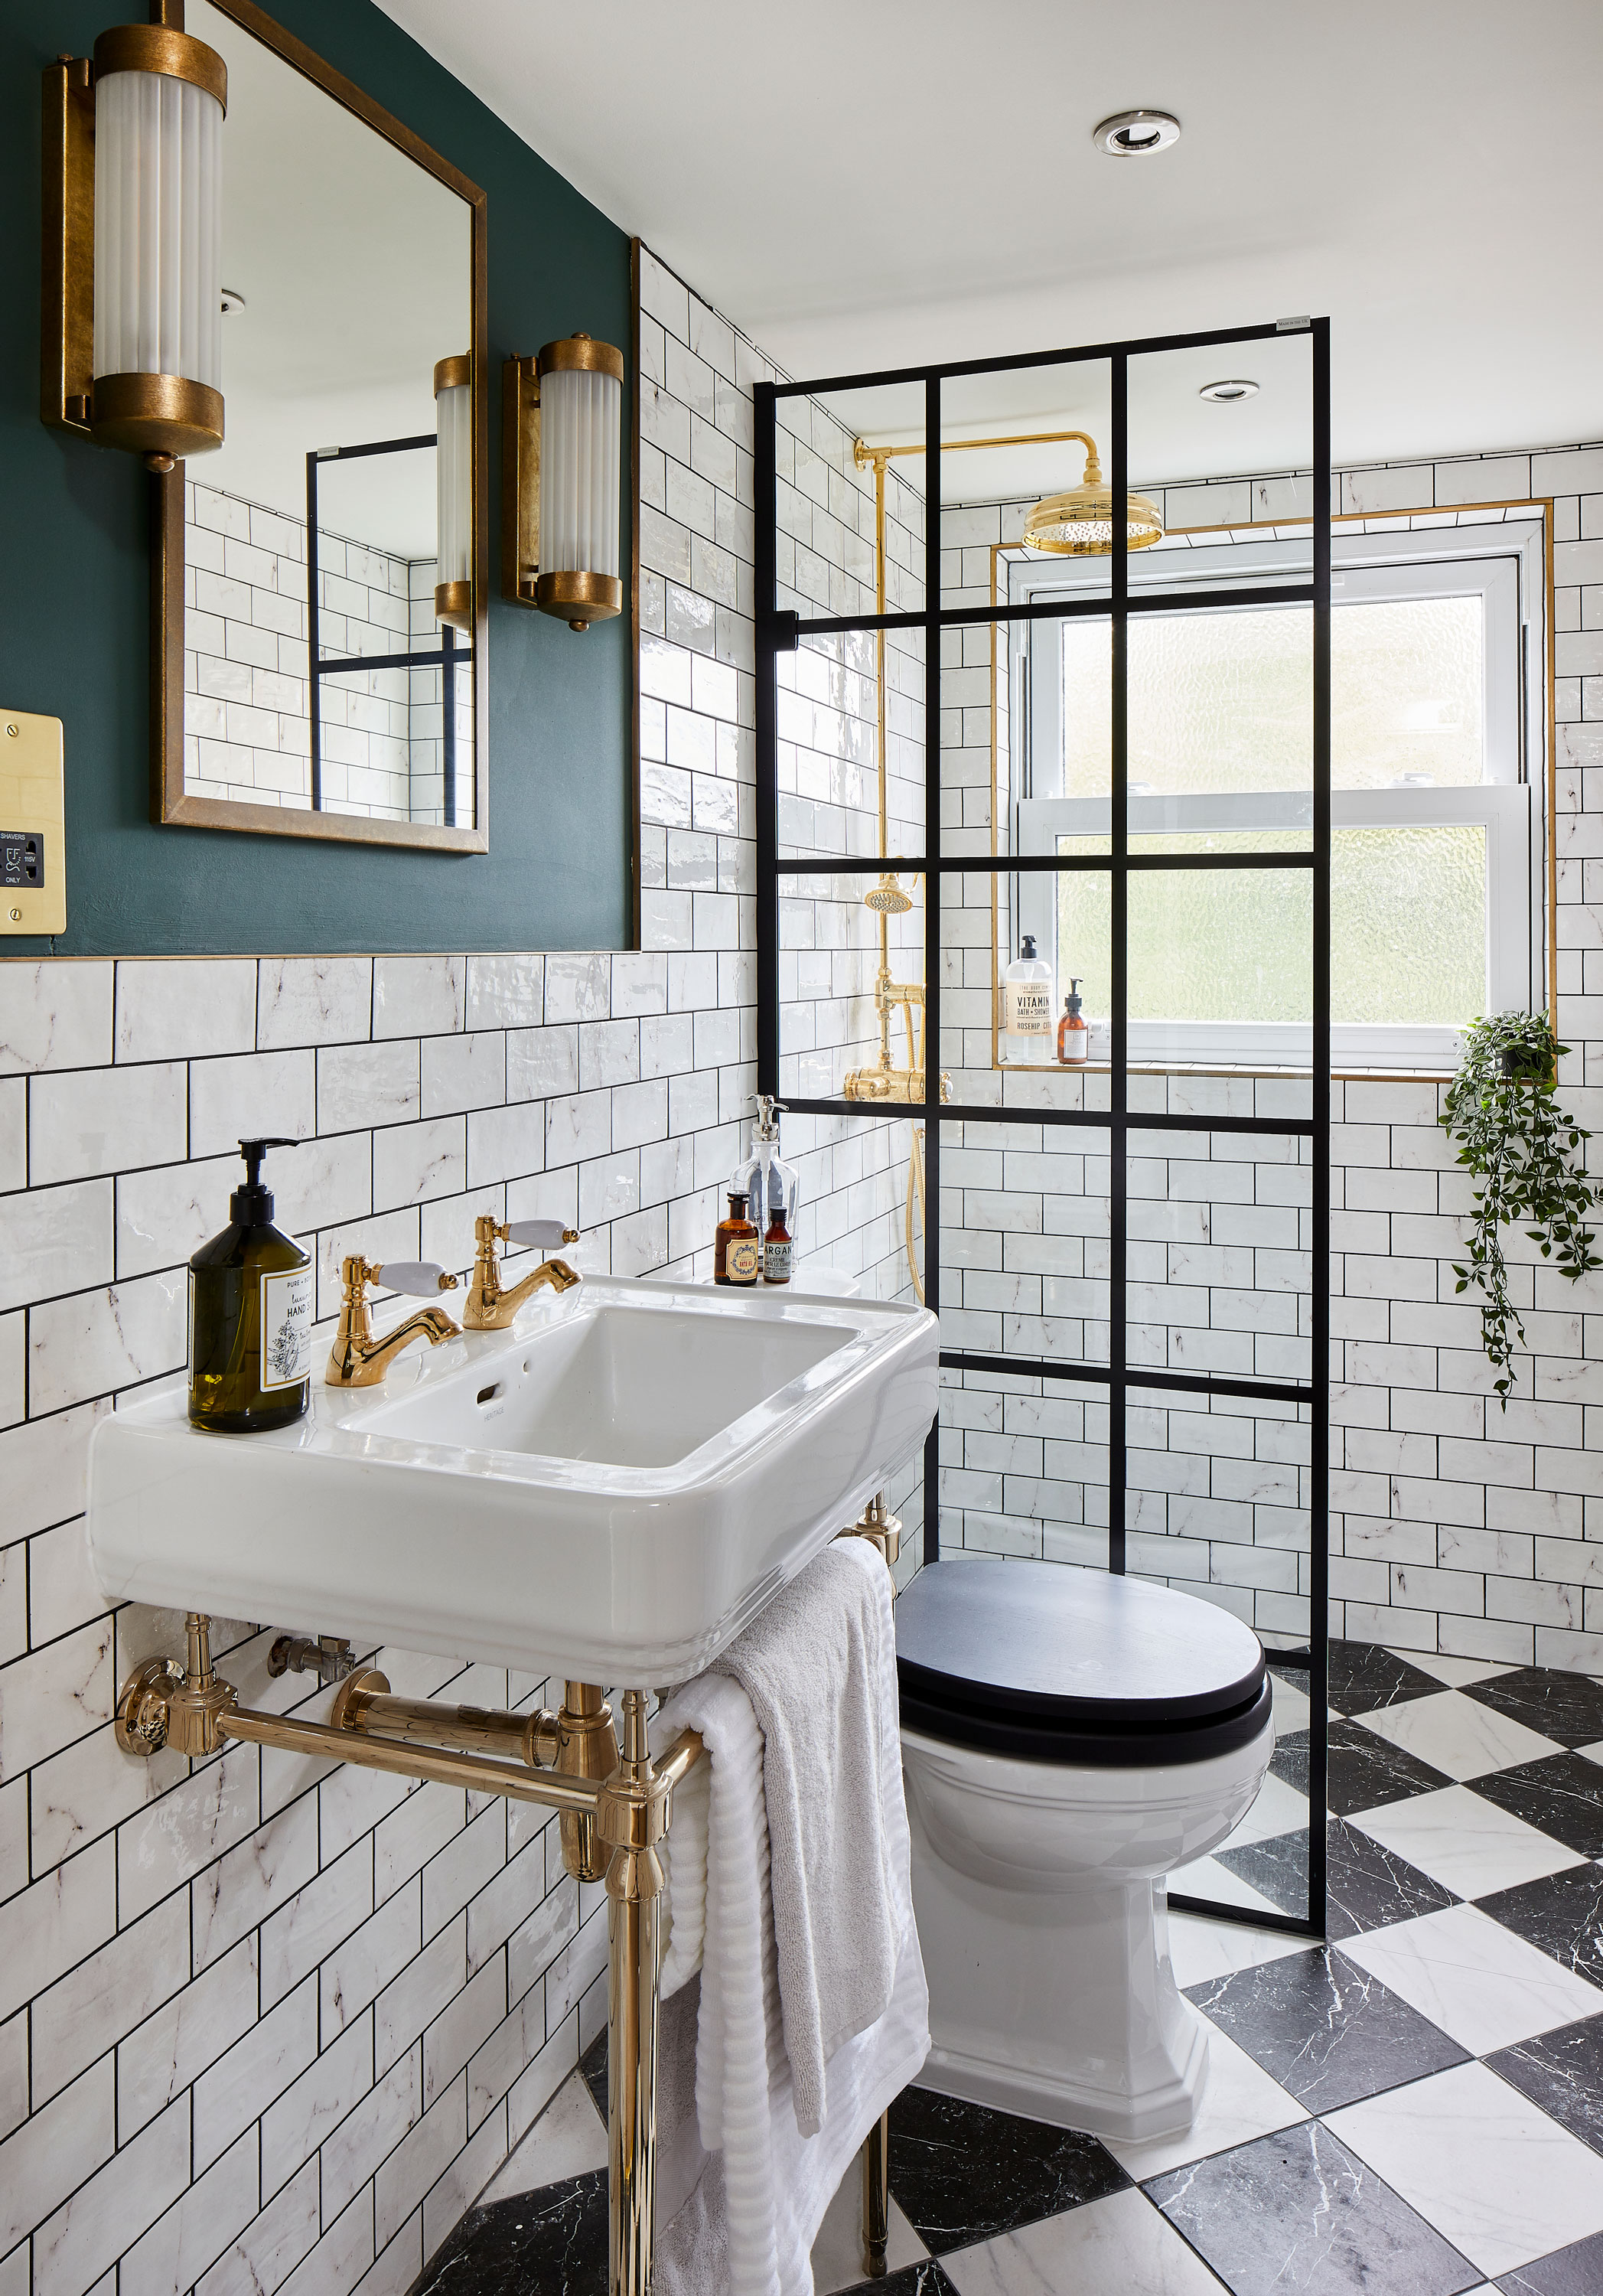
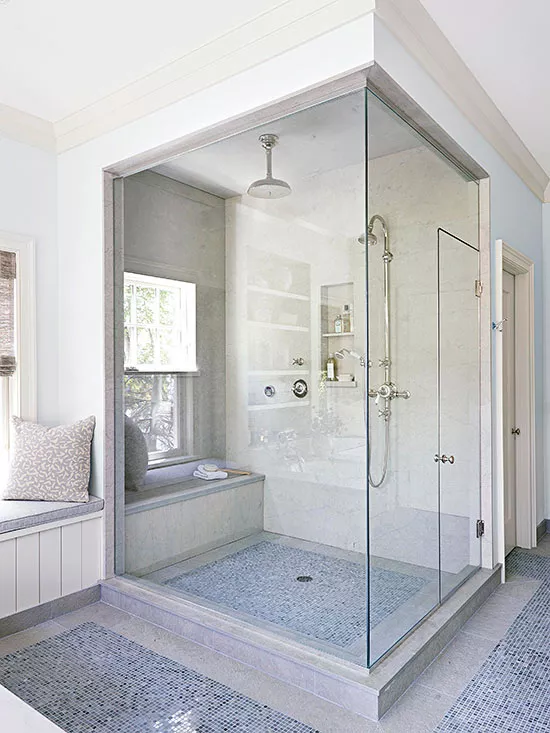
Sixth, consider the functional form. Custom walk-in showers can be shaped to fit various spaces and budgets. In smaller or darker bathrooms, a seamless glass enclosure can enhance light distribution. Glass-block walls or knee walls with frosted glass can provide privacy while allowing natural light to enter the shower area.
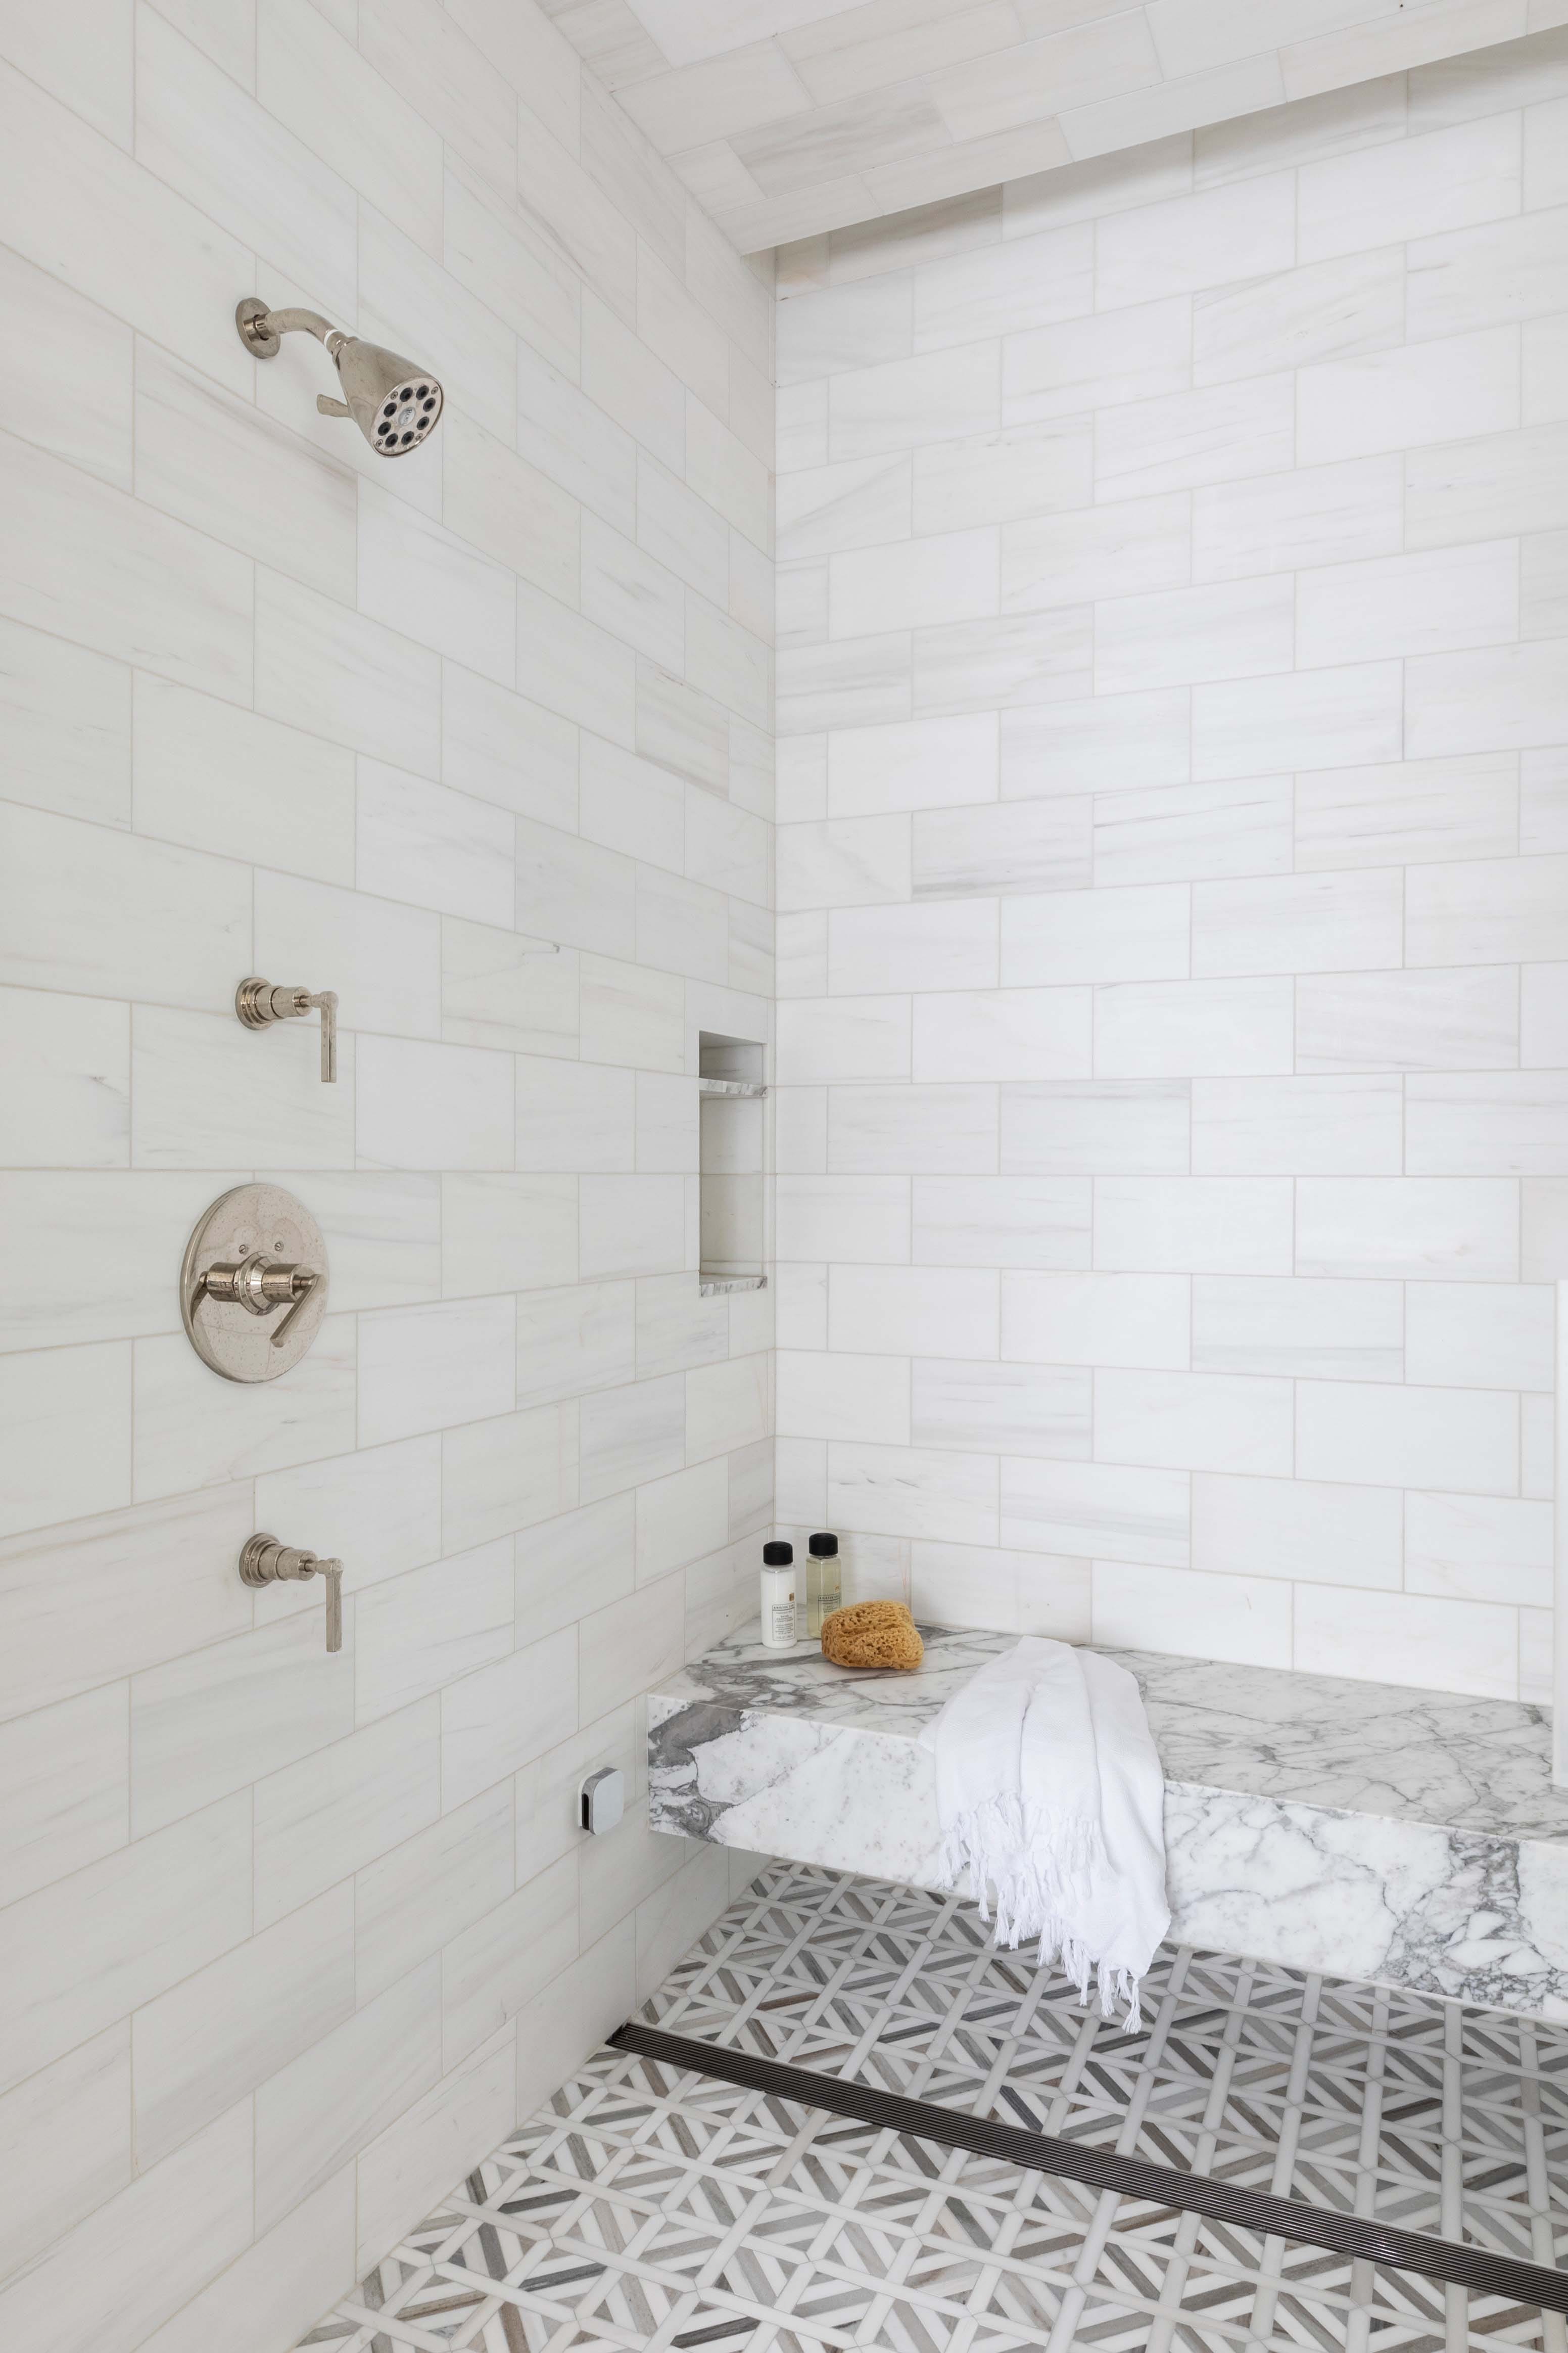
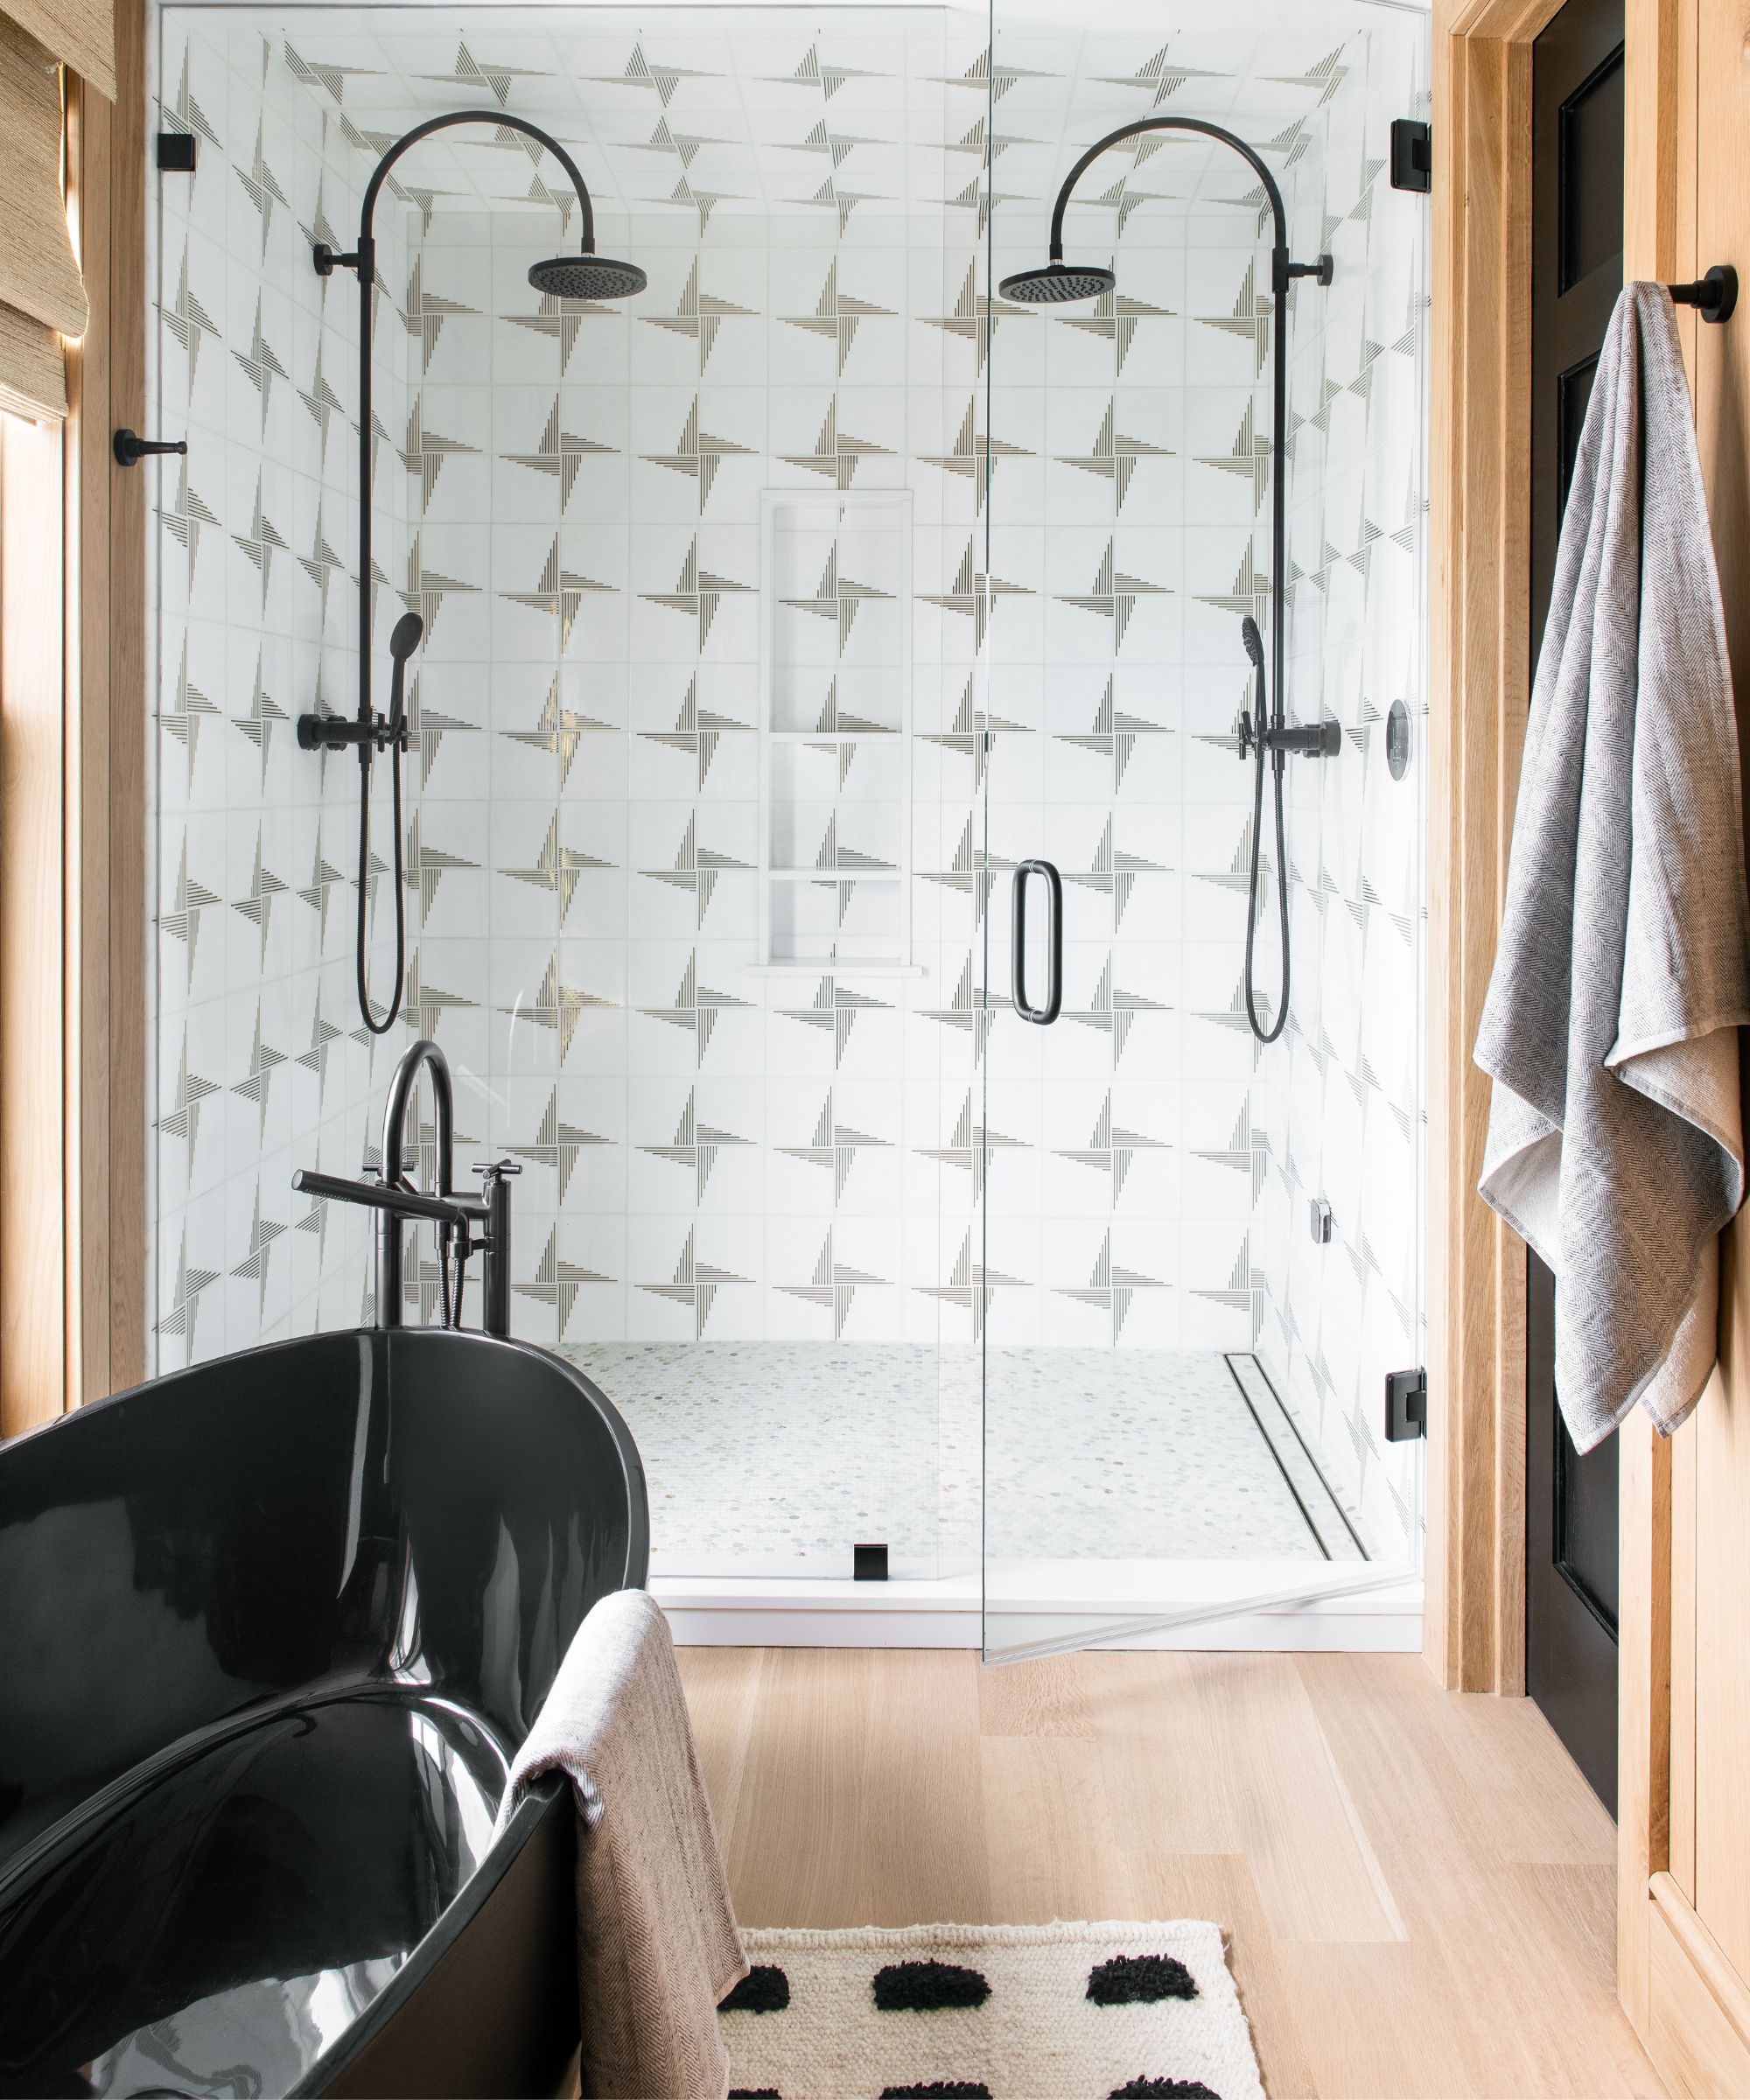
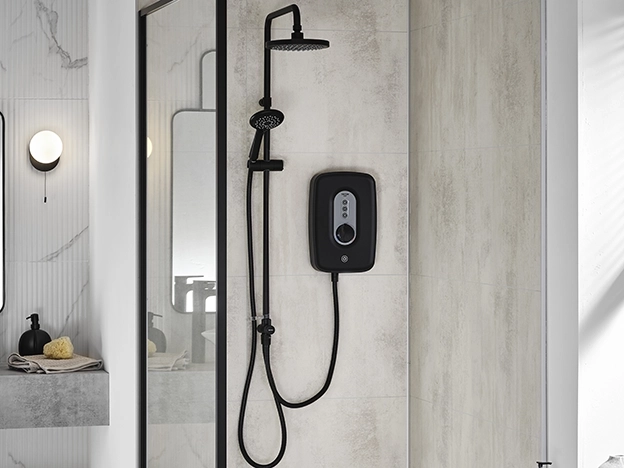
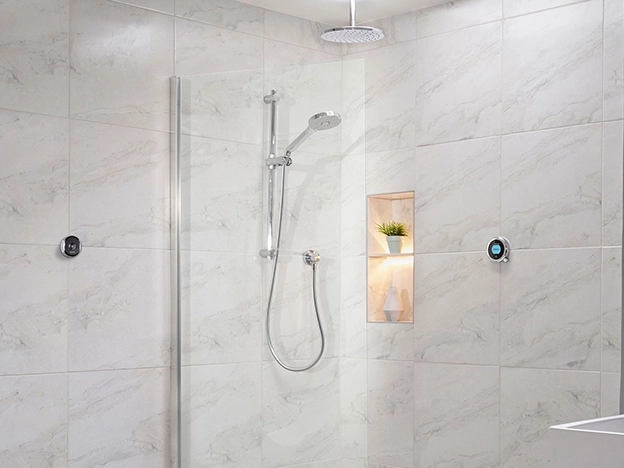
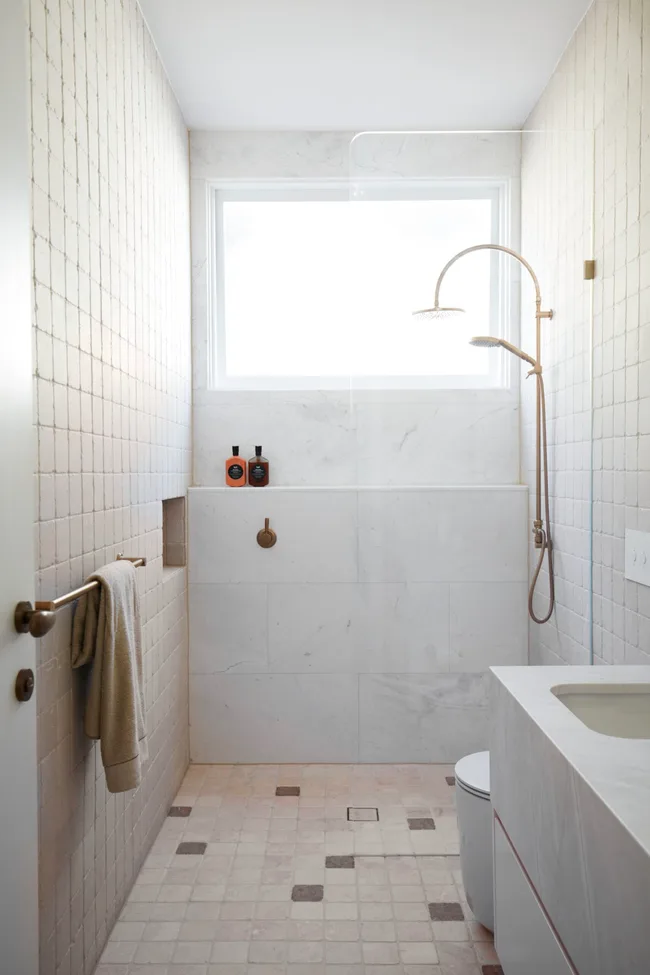
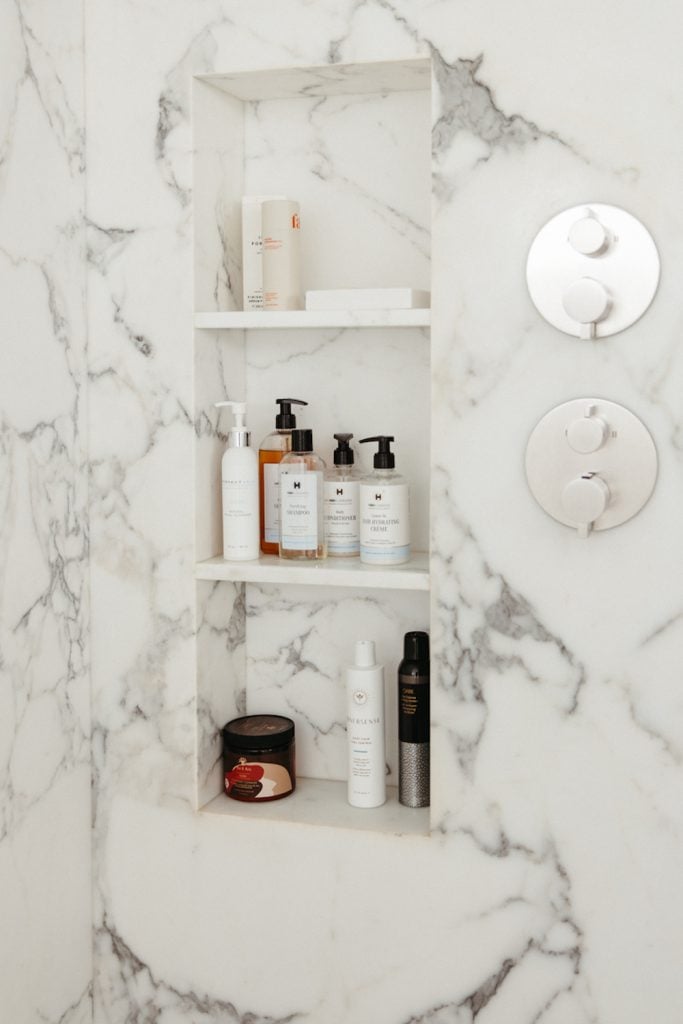
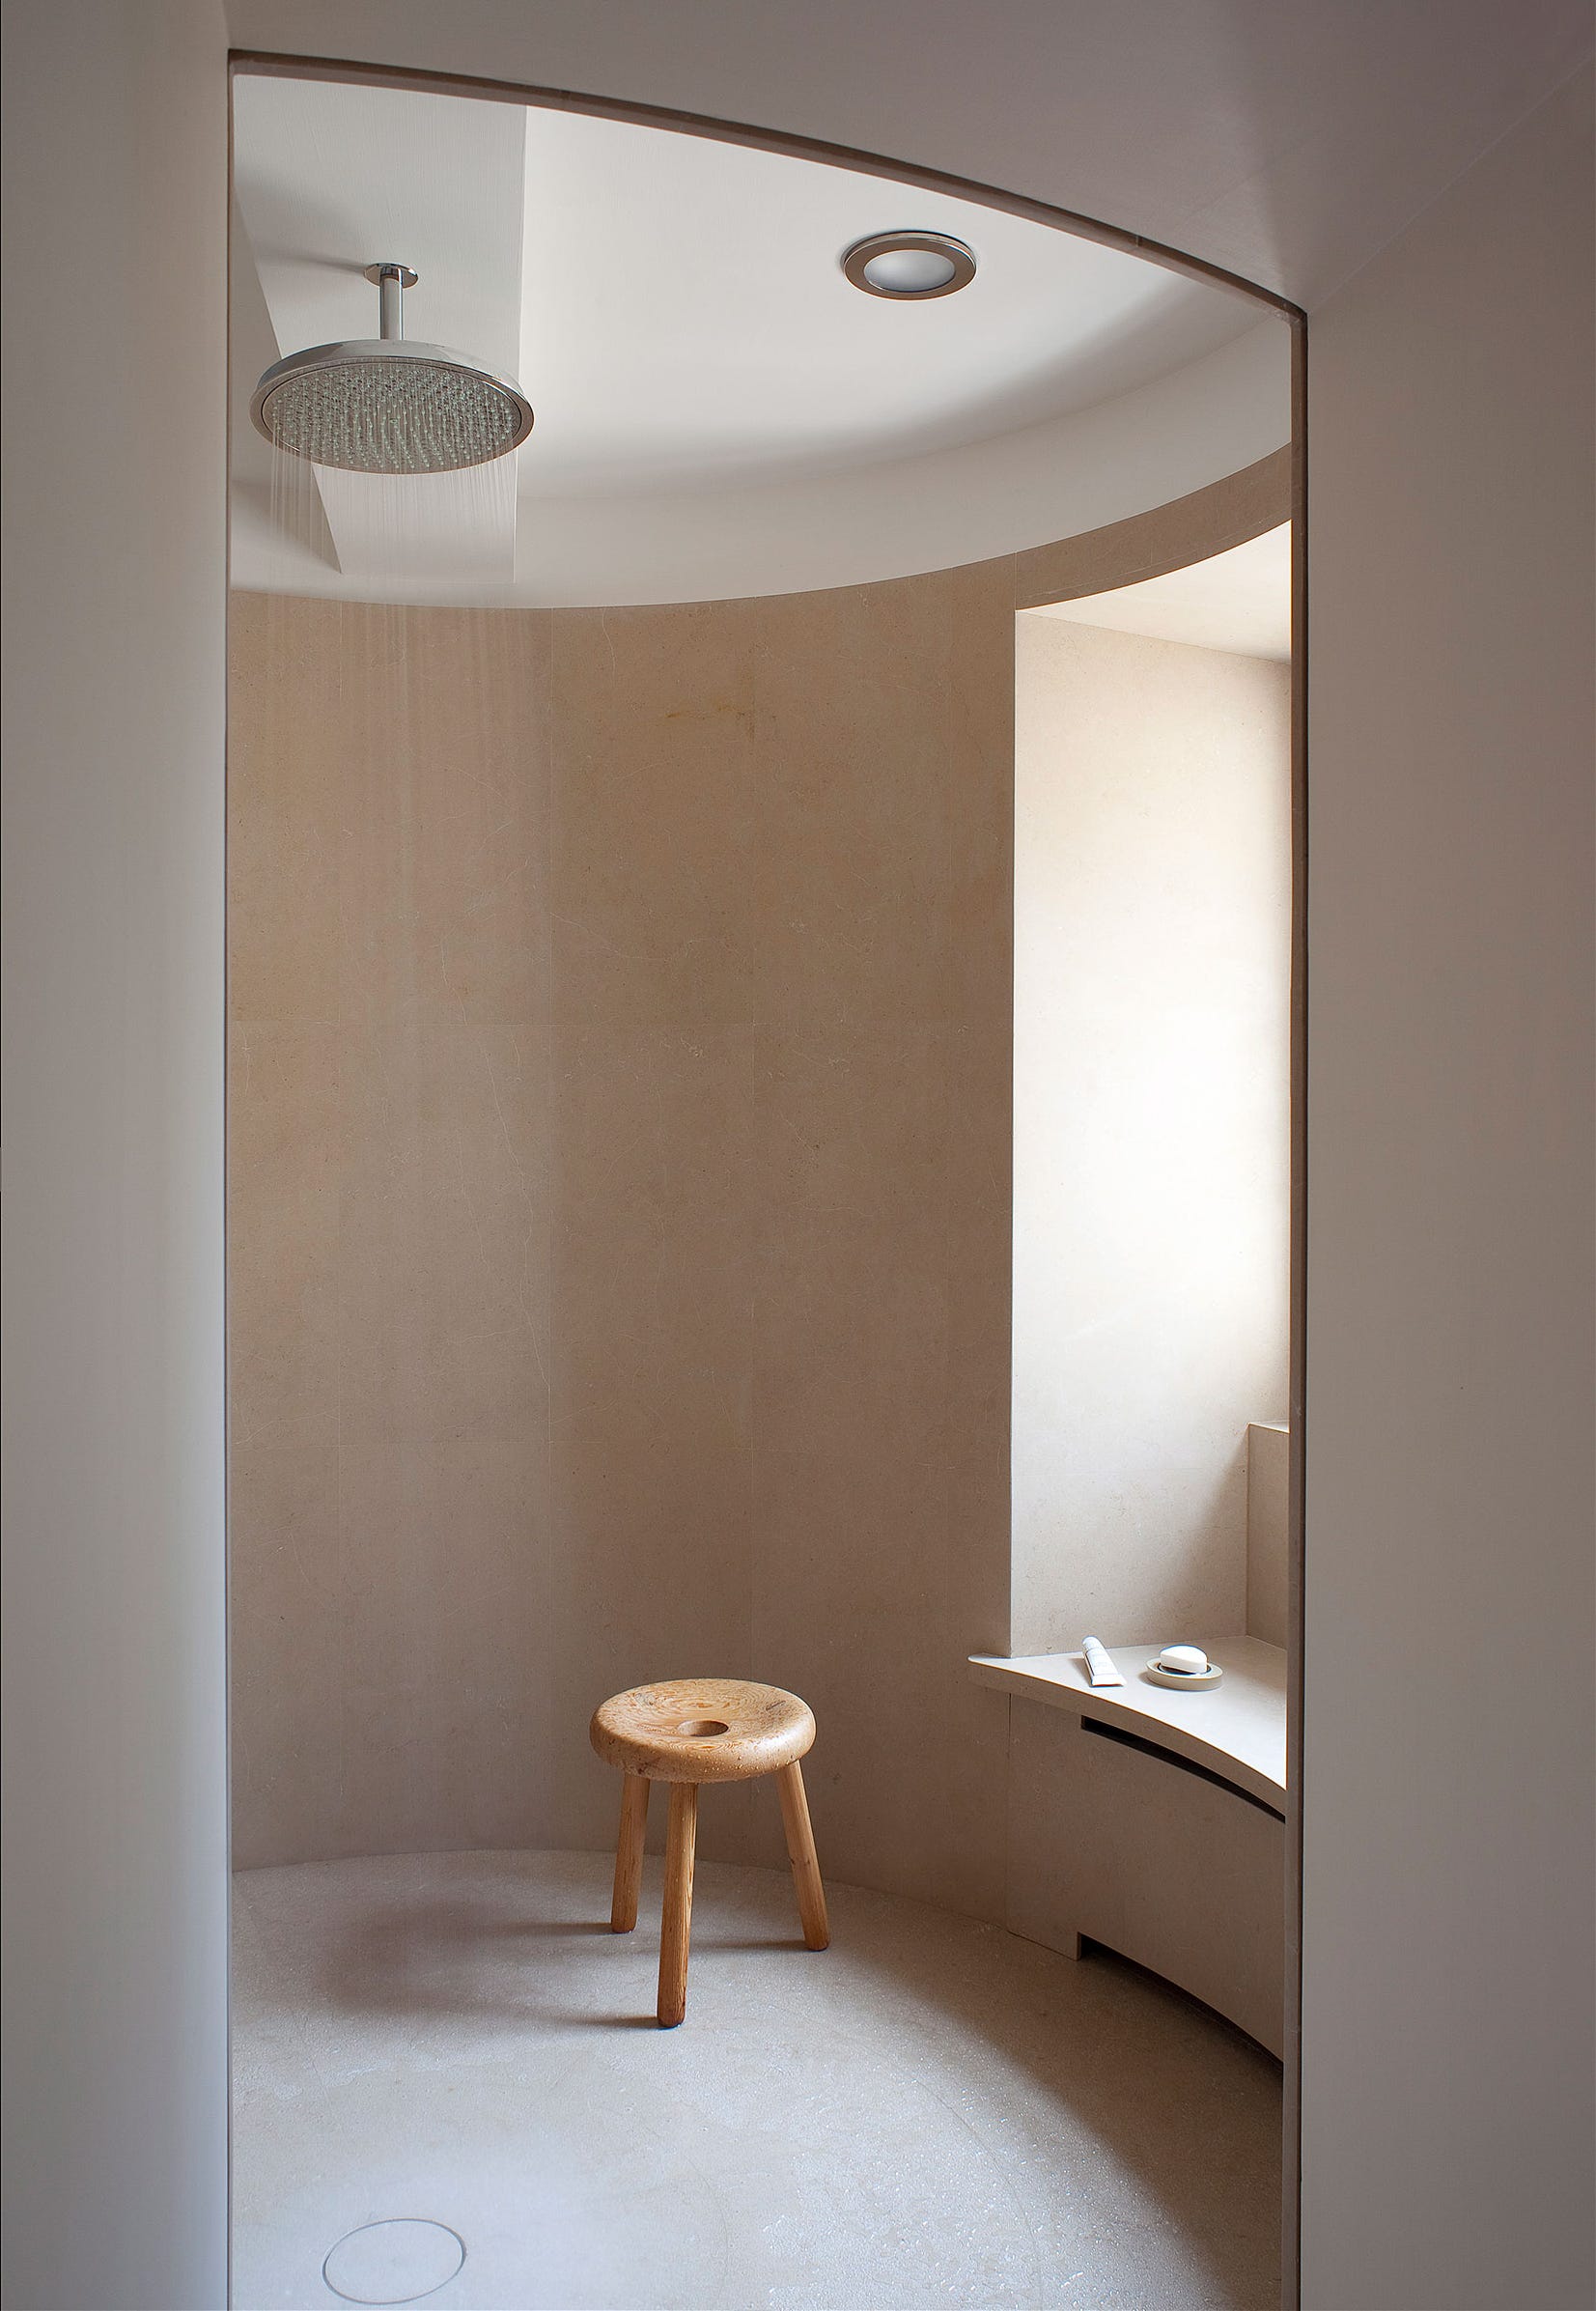
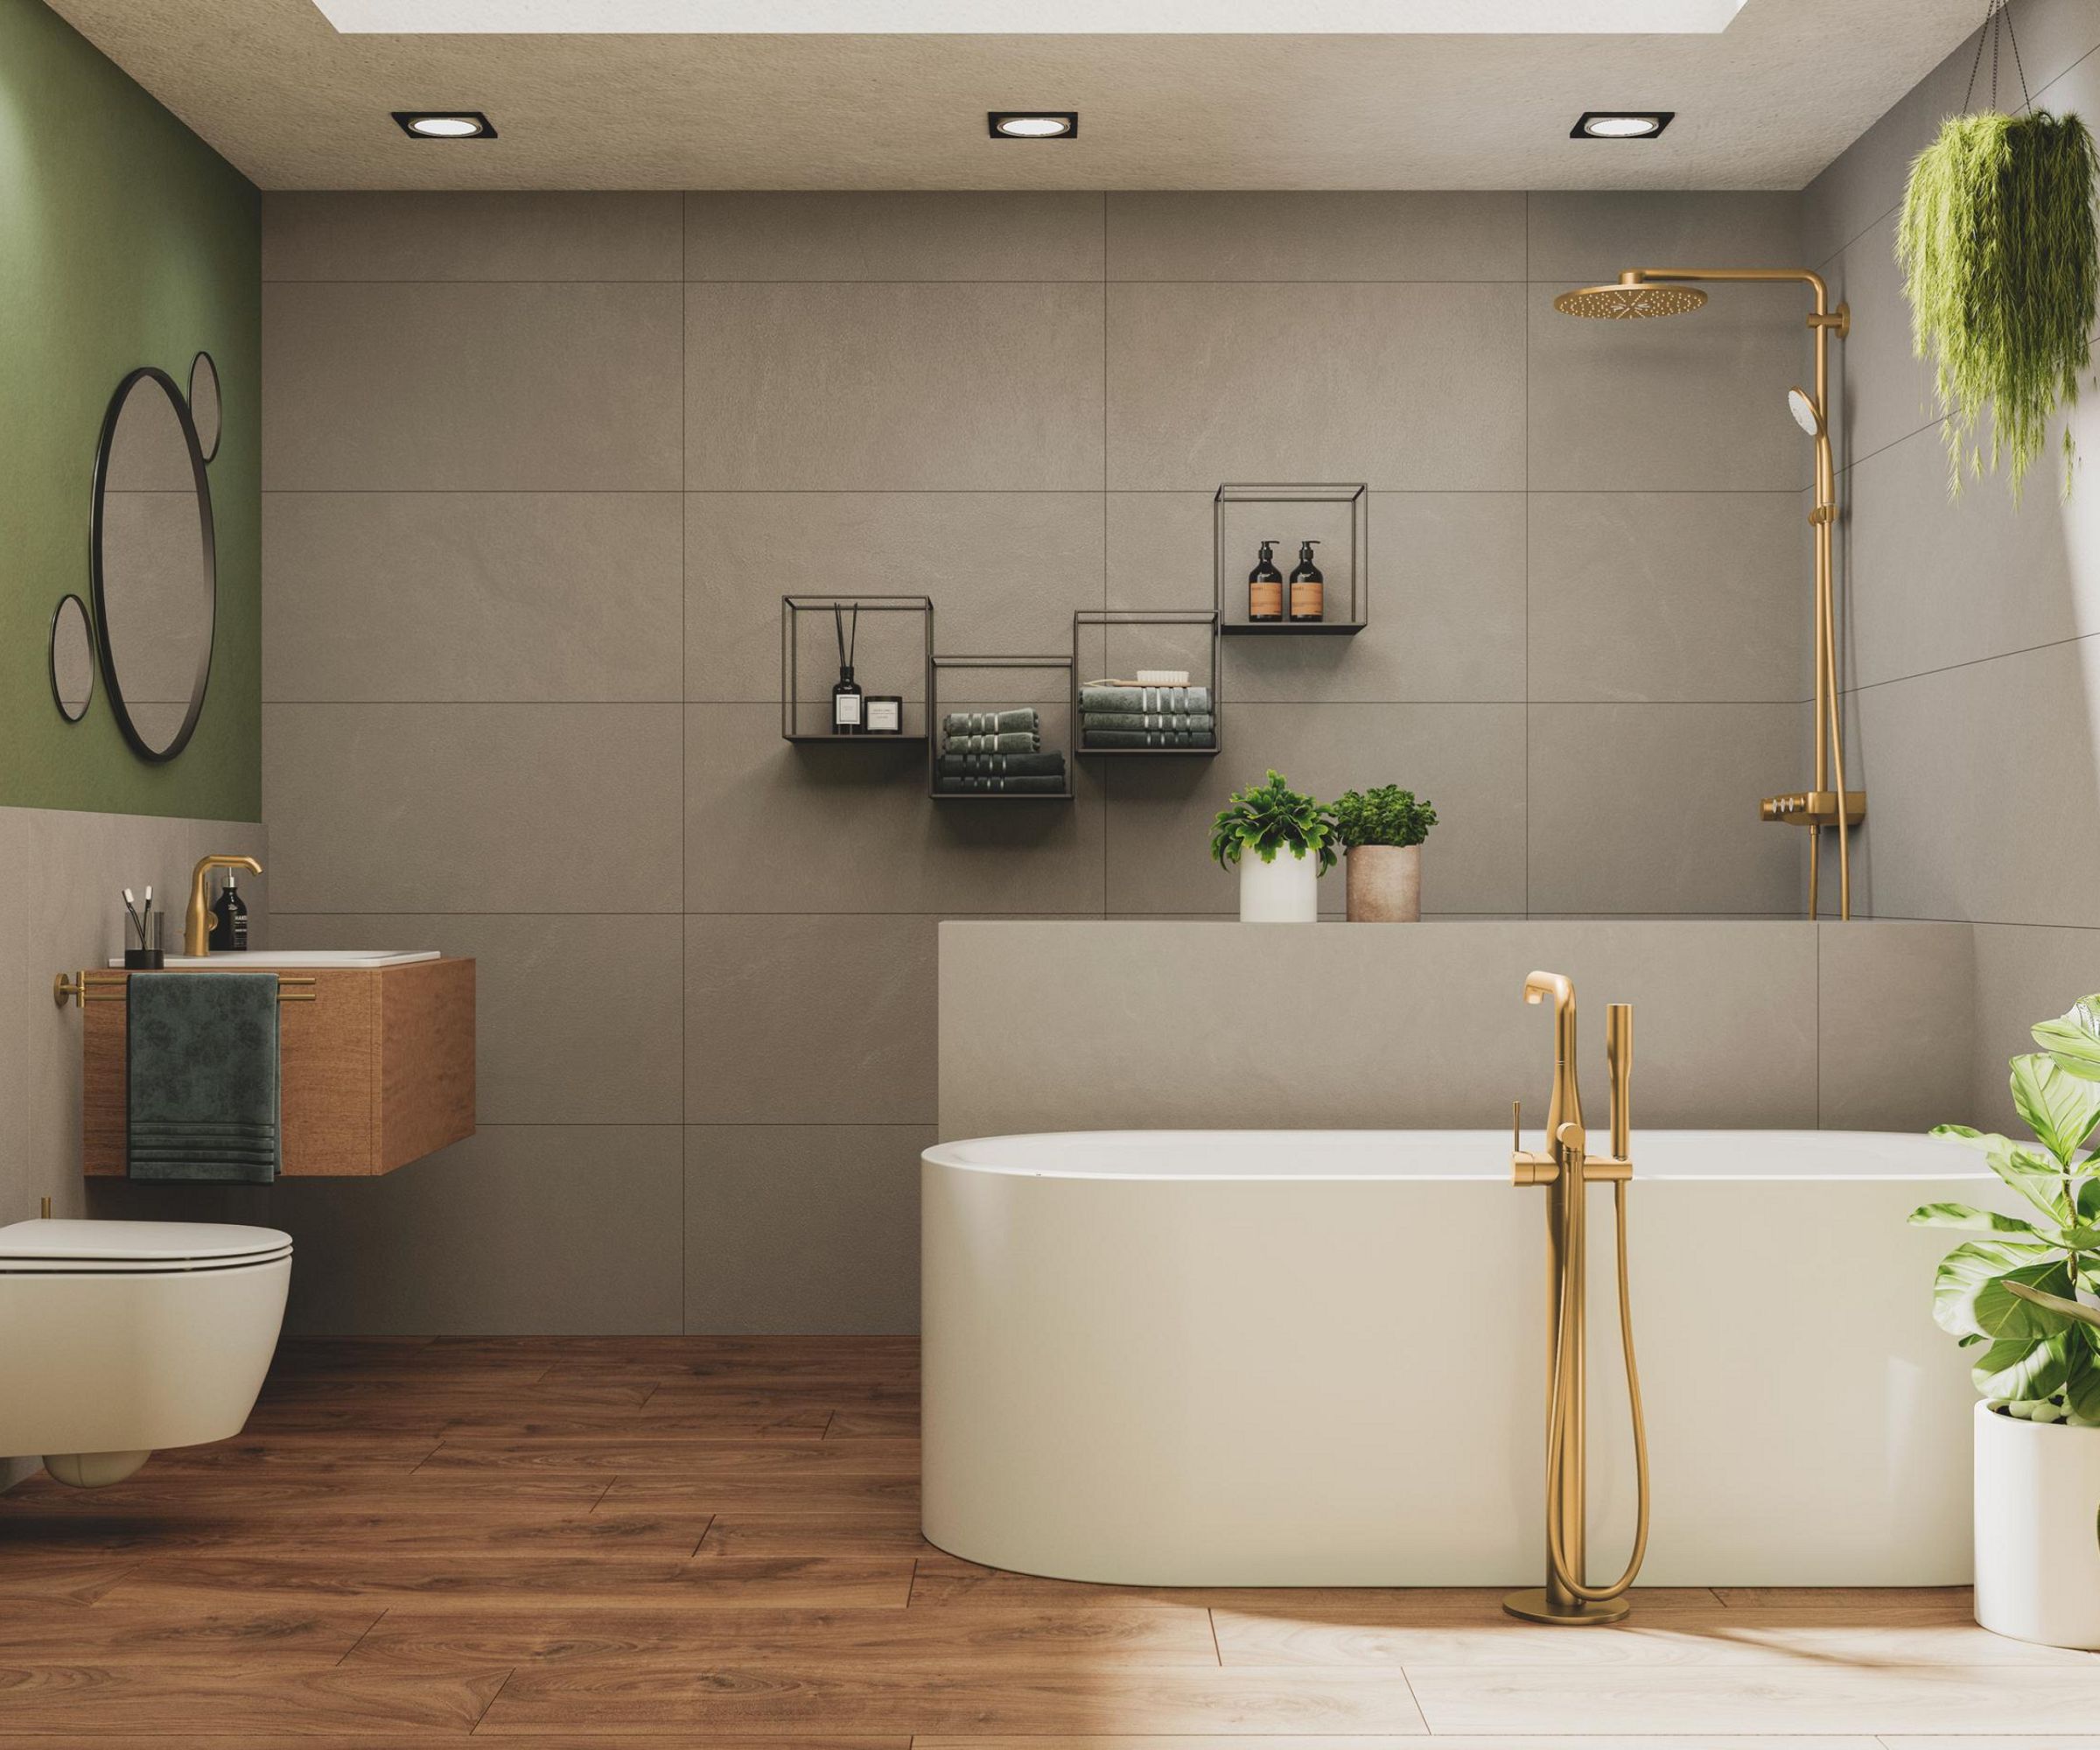
Seventh, meticulously plan the interior features. Decide on the type of showerhead, such as a rainfall or standard model, and consider steam fittings or a handheld spray. Incorporating a built-in bench, a ledge, or a shaving mirror can significantly improve comfort and utility. Adequate lighting, ventilation, and niches for toiletries are also important. Select fixtures that complement the metallic finishes in the rest of the bathroom for a cohesive look.
Eighth, correctly position the controls. Wall-mounted shower controls should be installed at a height of 48 to 52 inches from the floor, easily accessible from both inside and outside the shower. Showerheads should be mounted 69 to 72 inches above the floor, keeping in mind that traditional sprays can reach up to 4 feet.
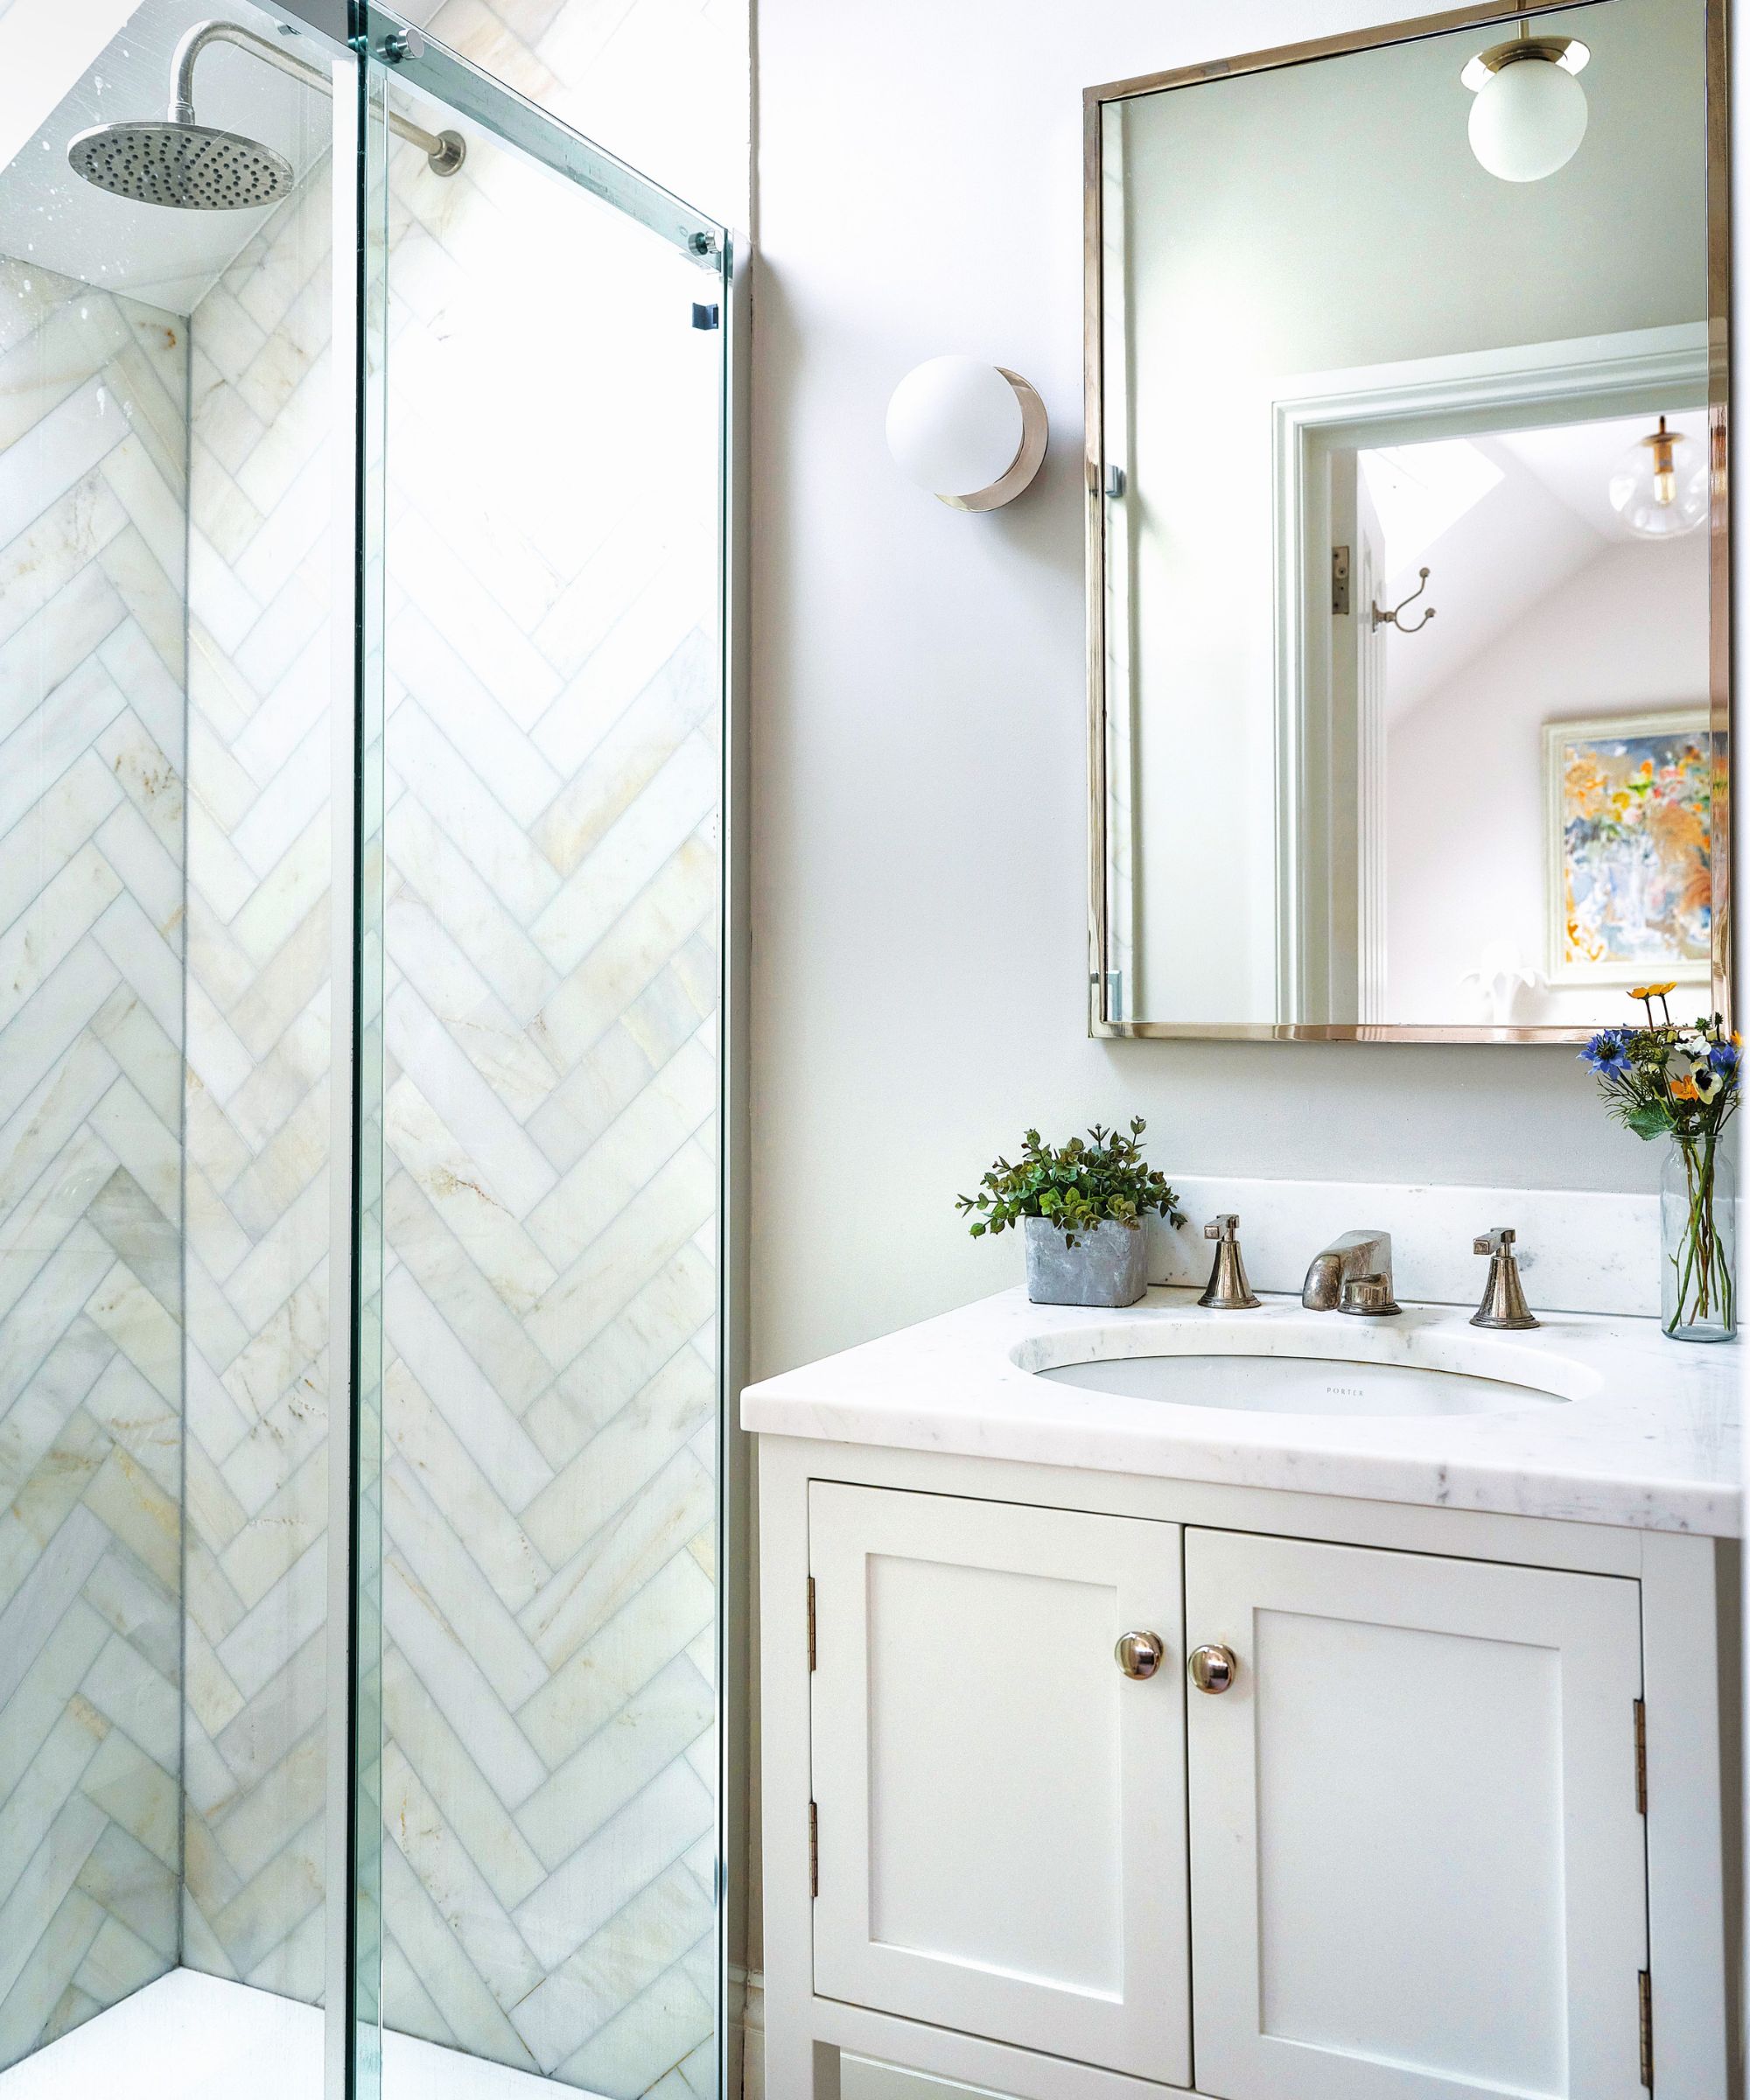
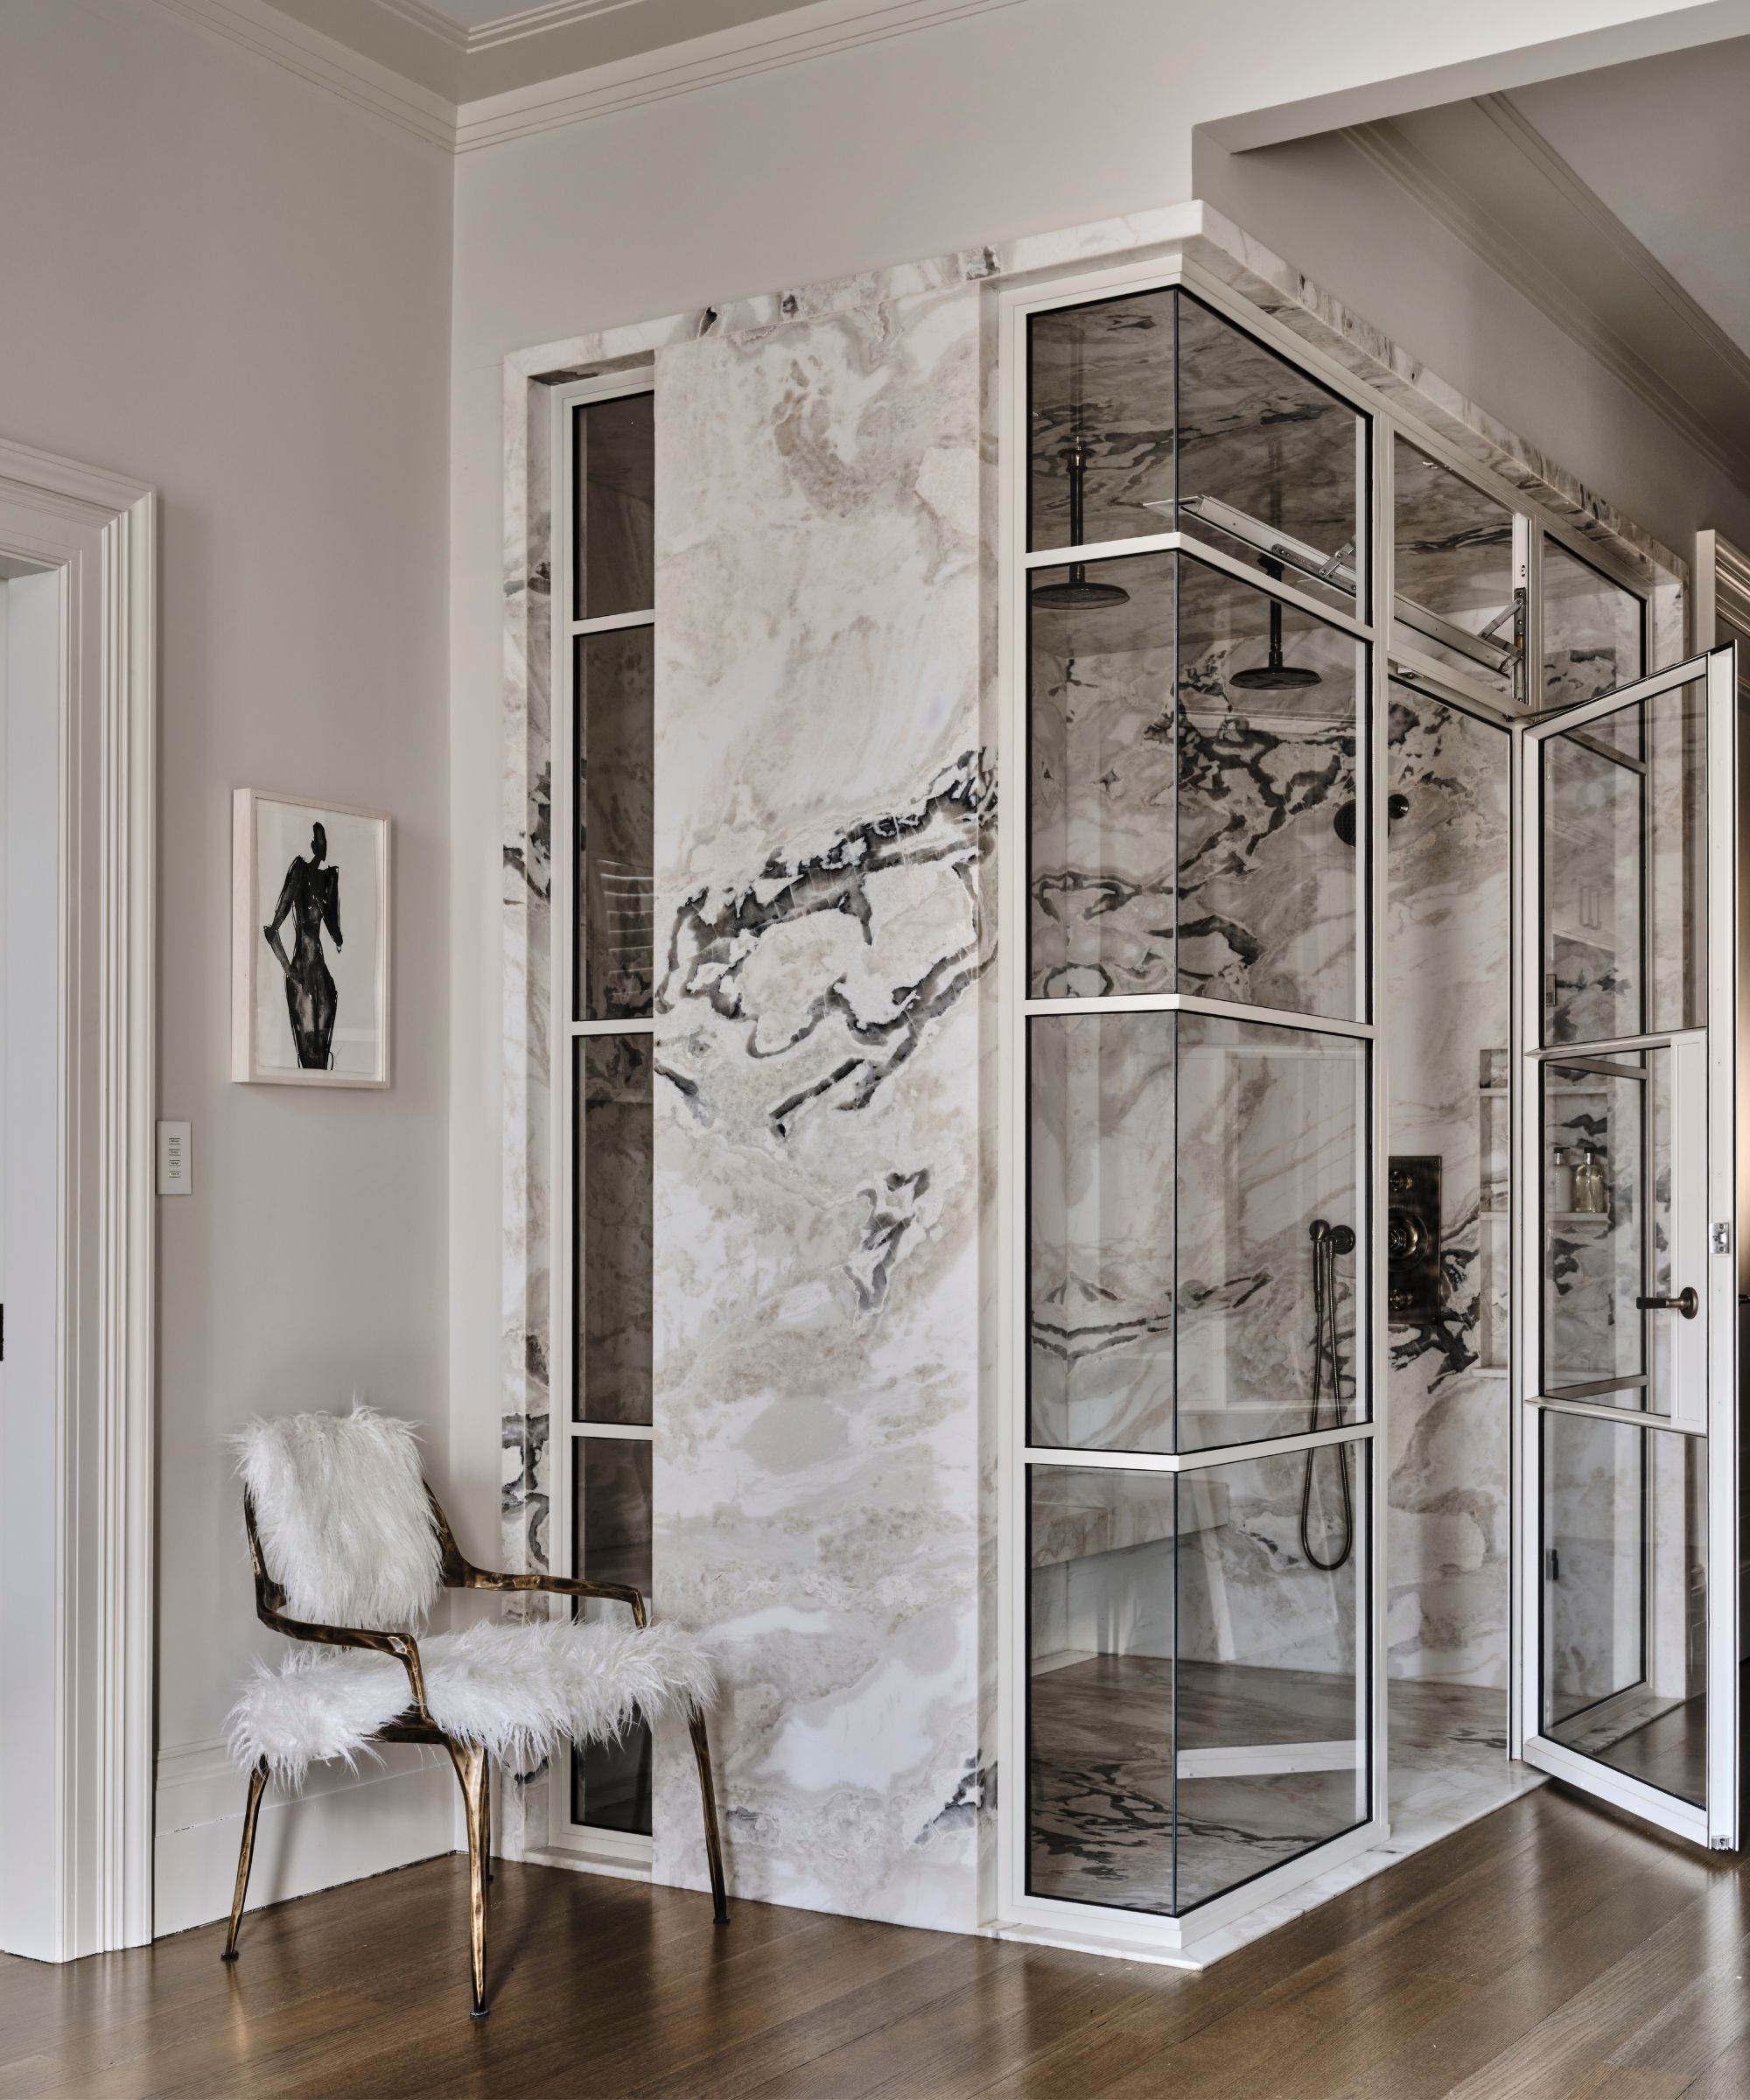
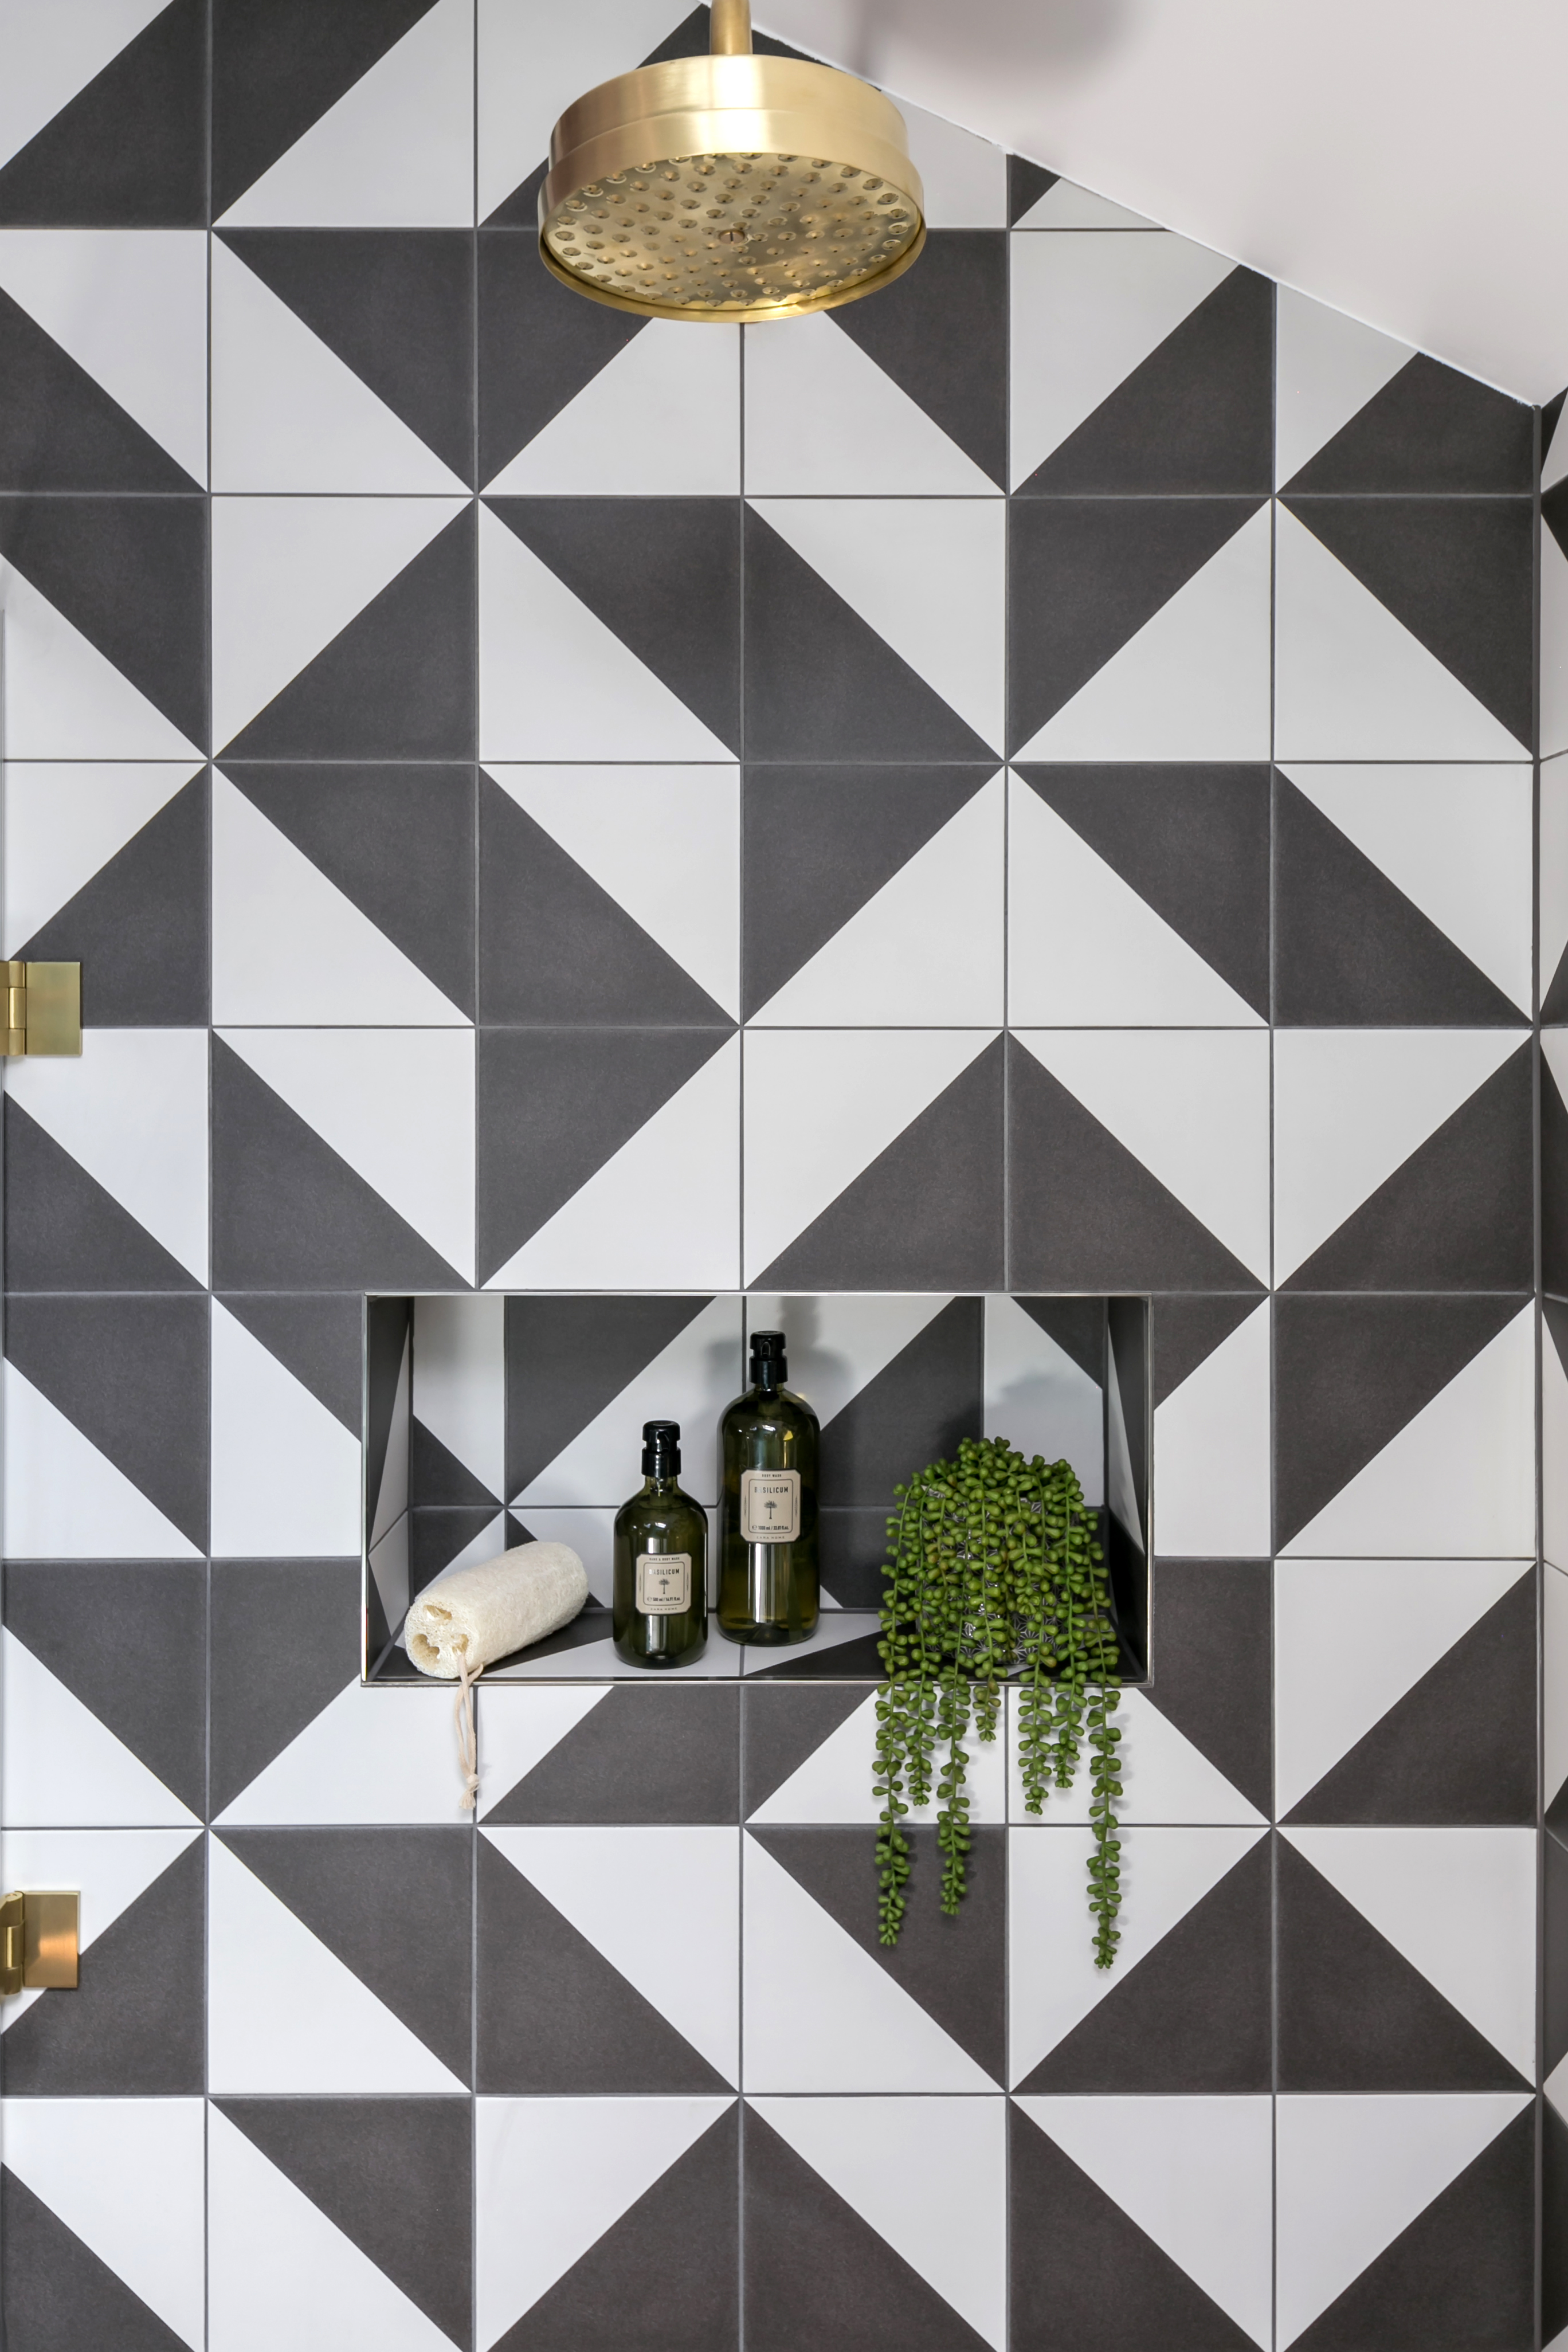
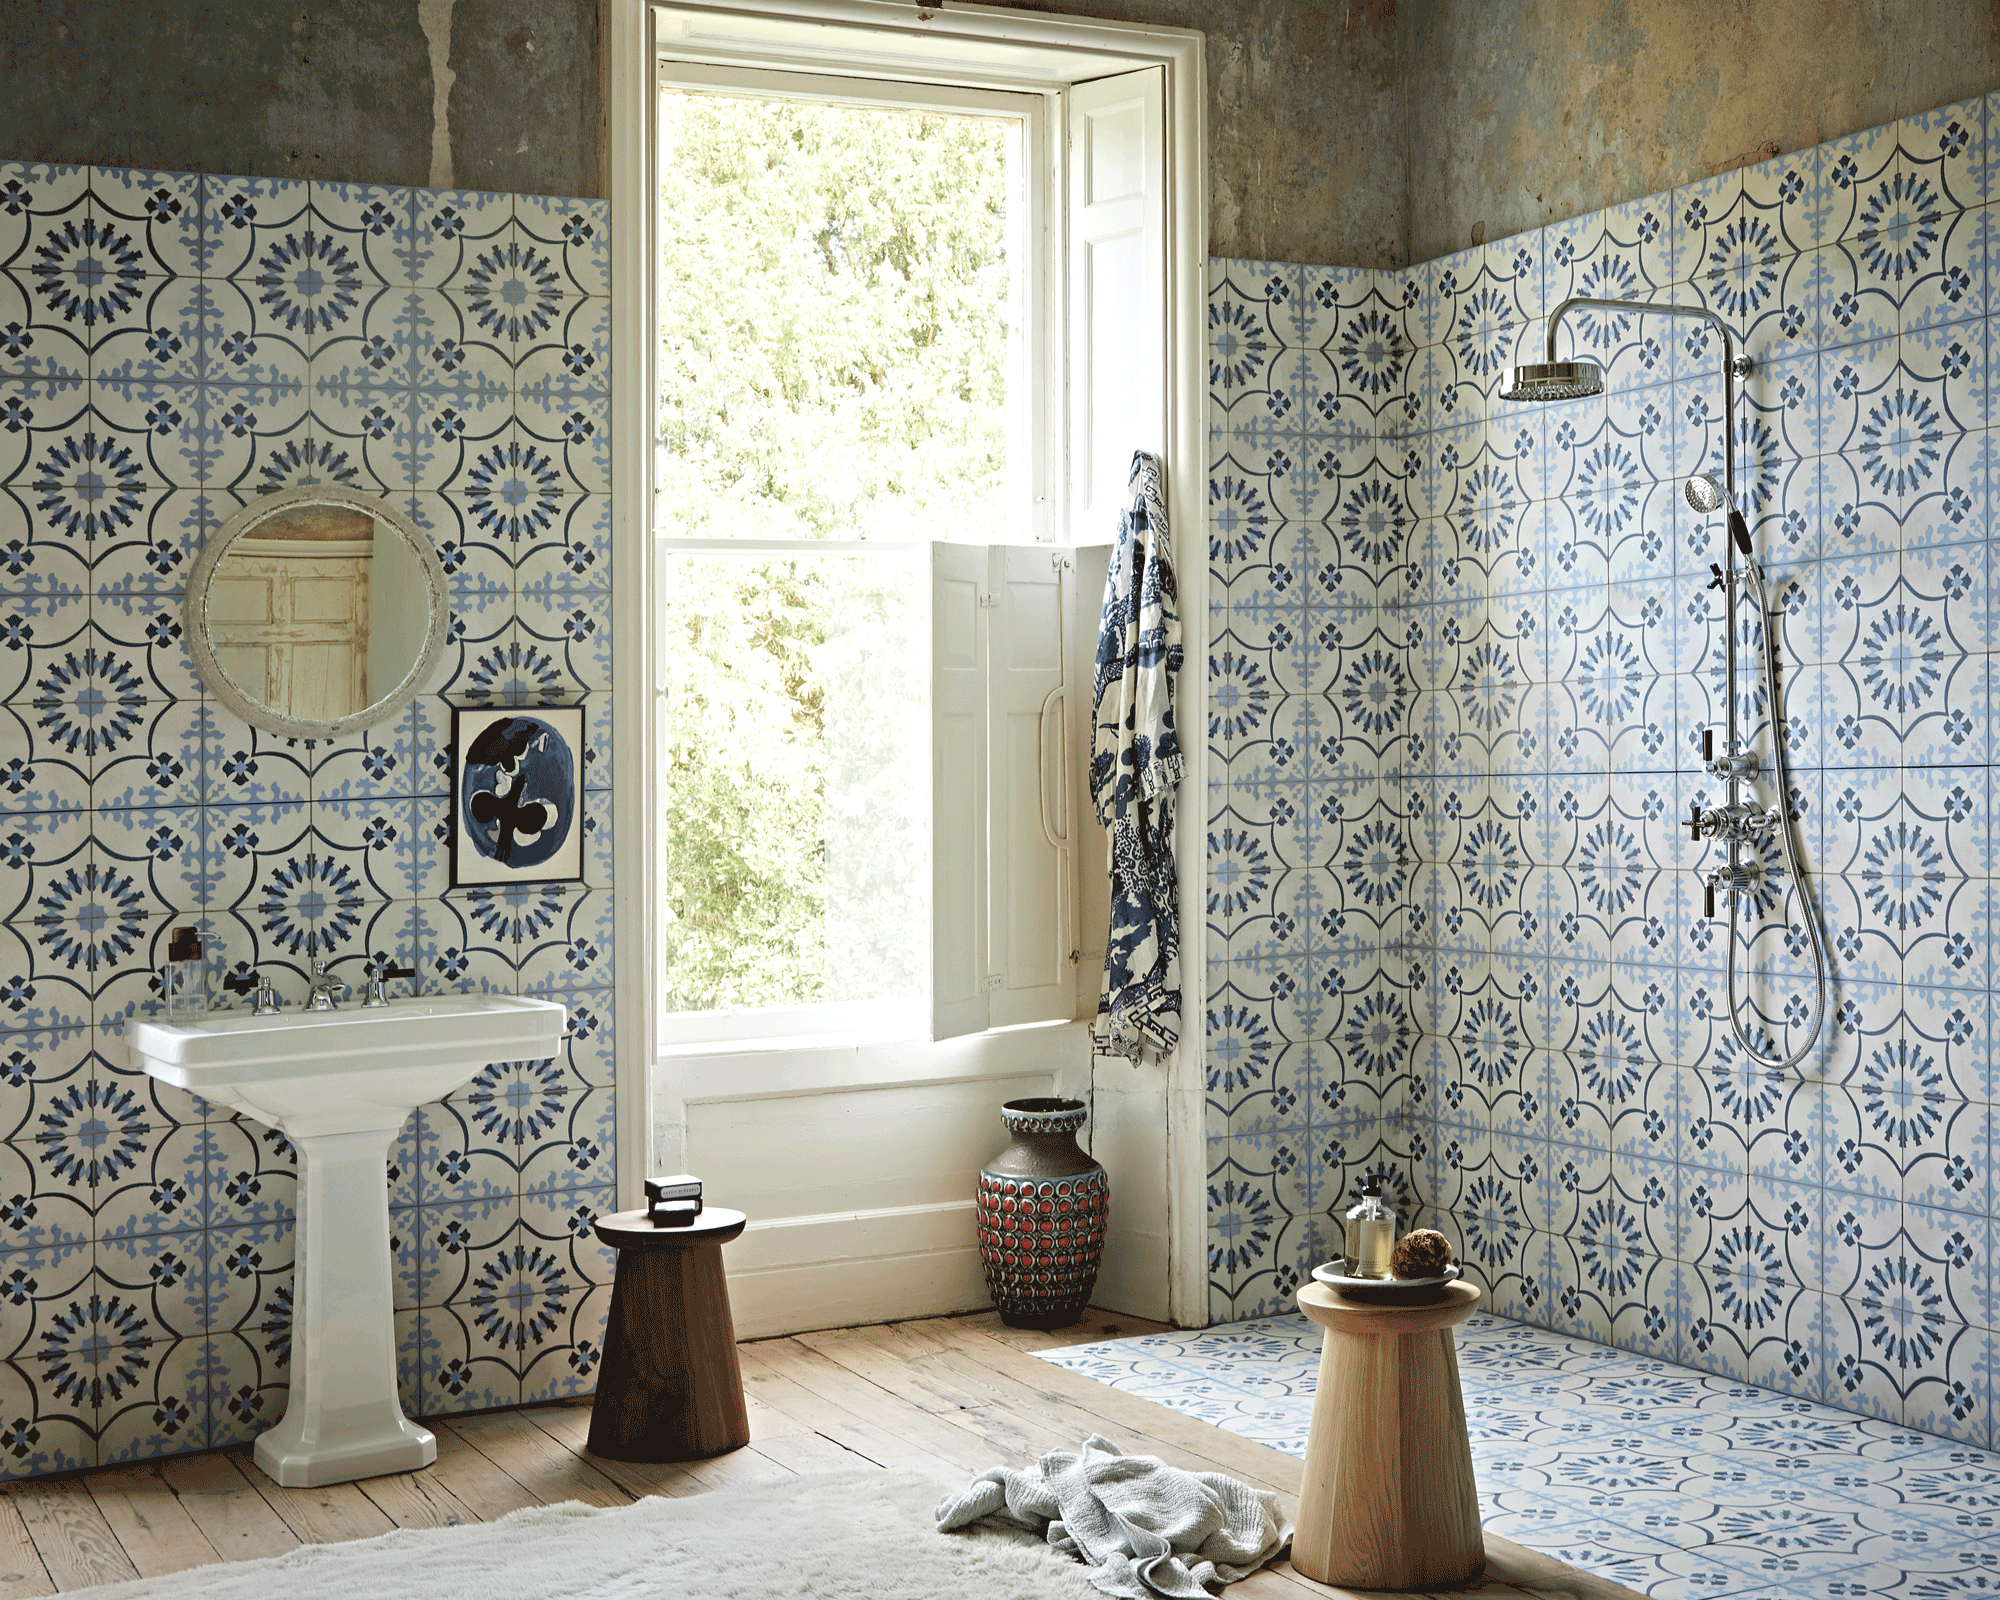
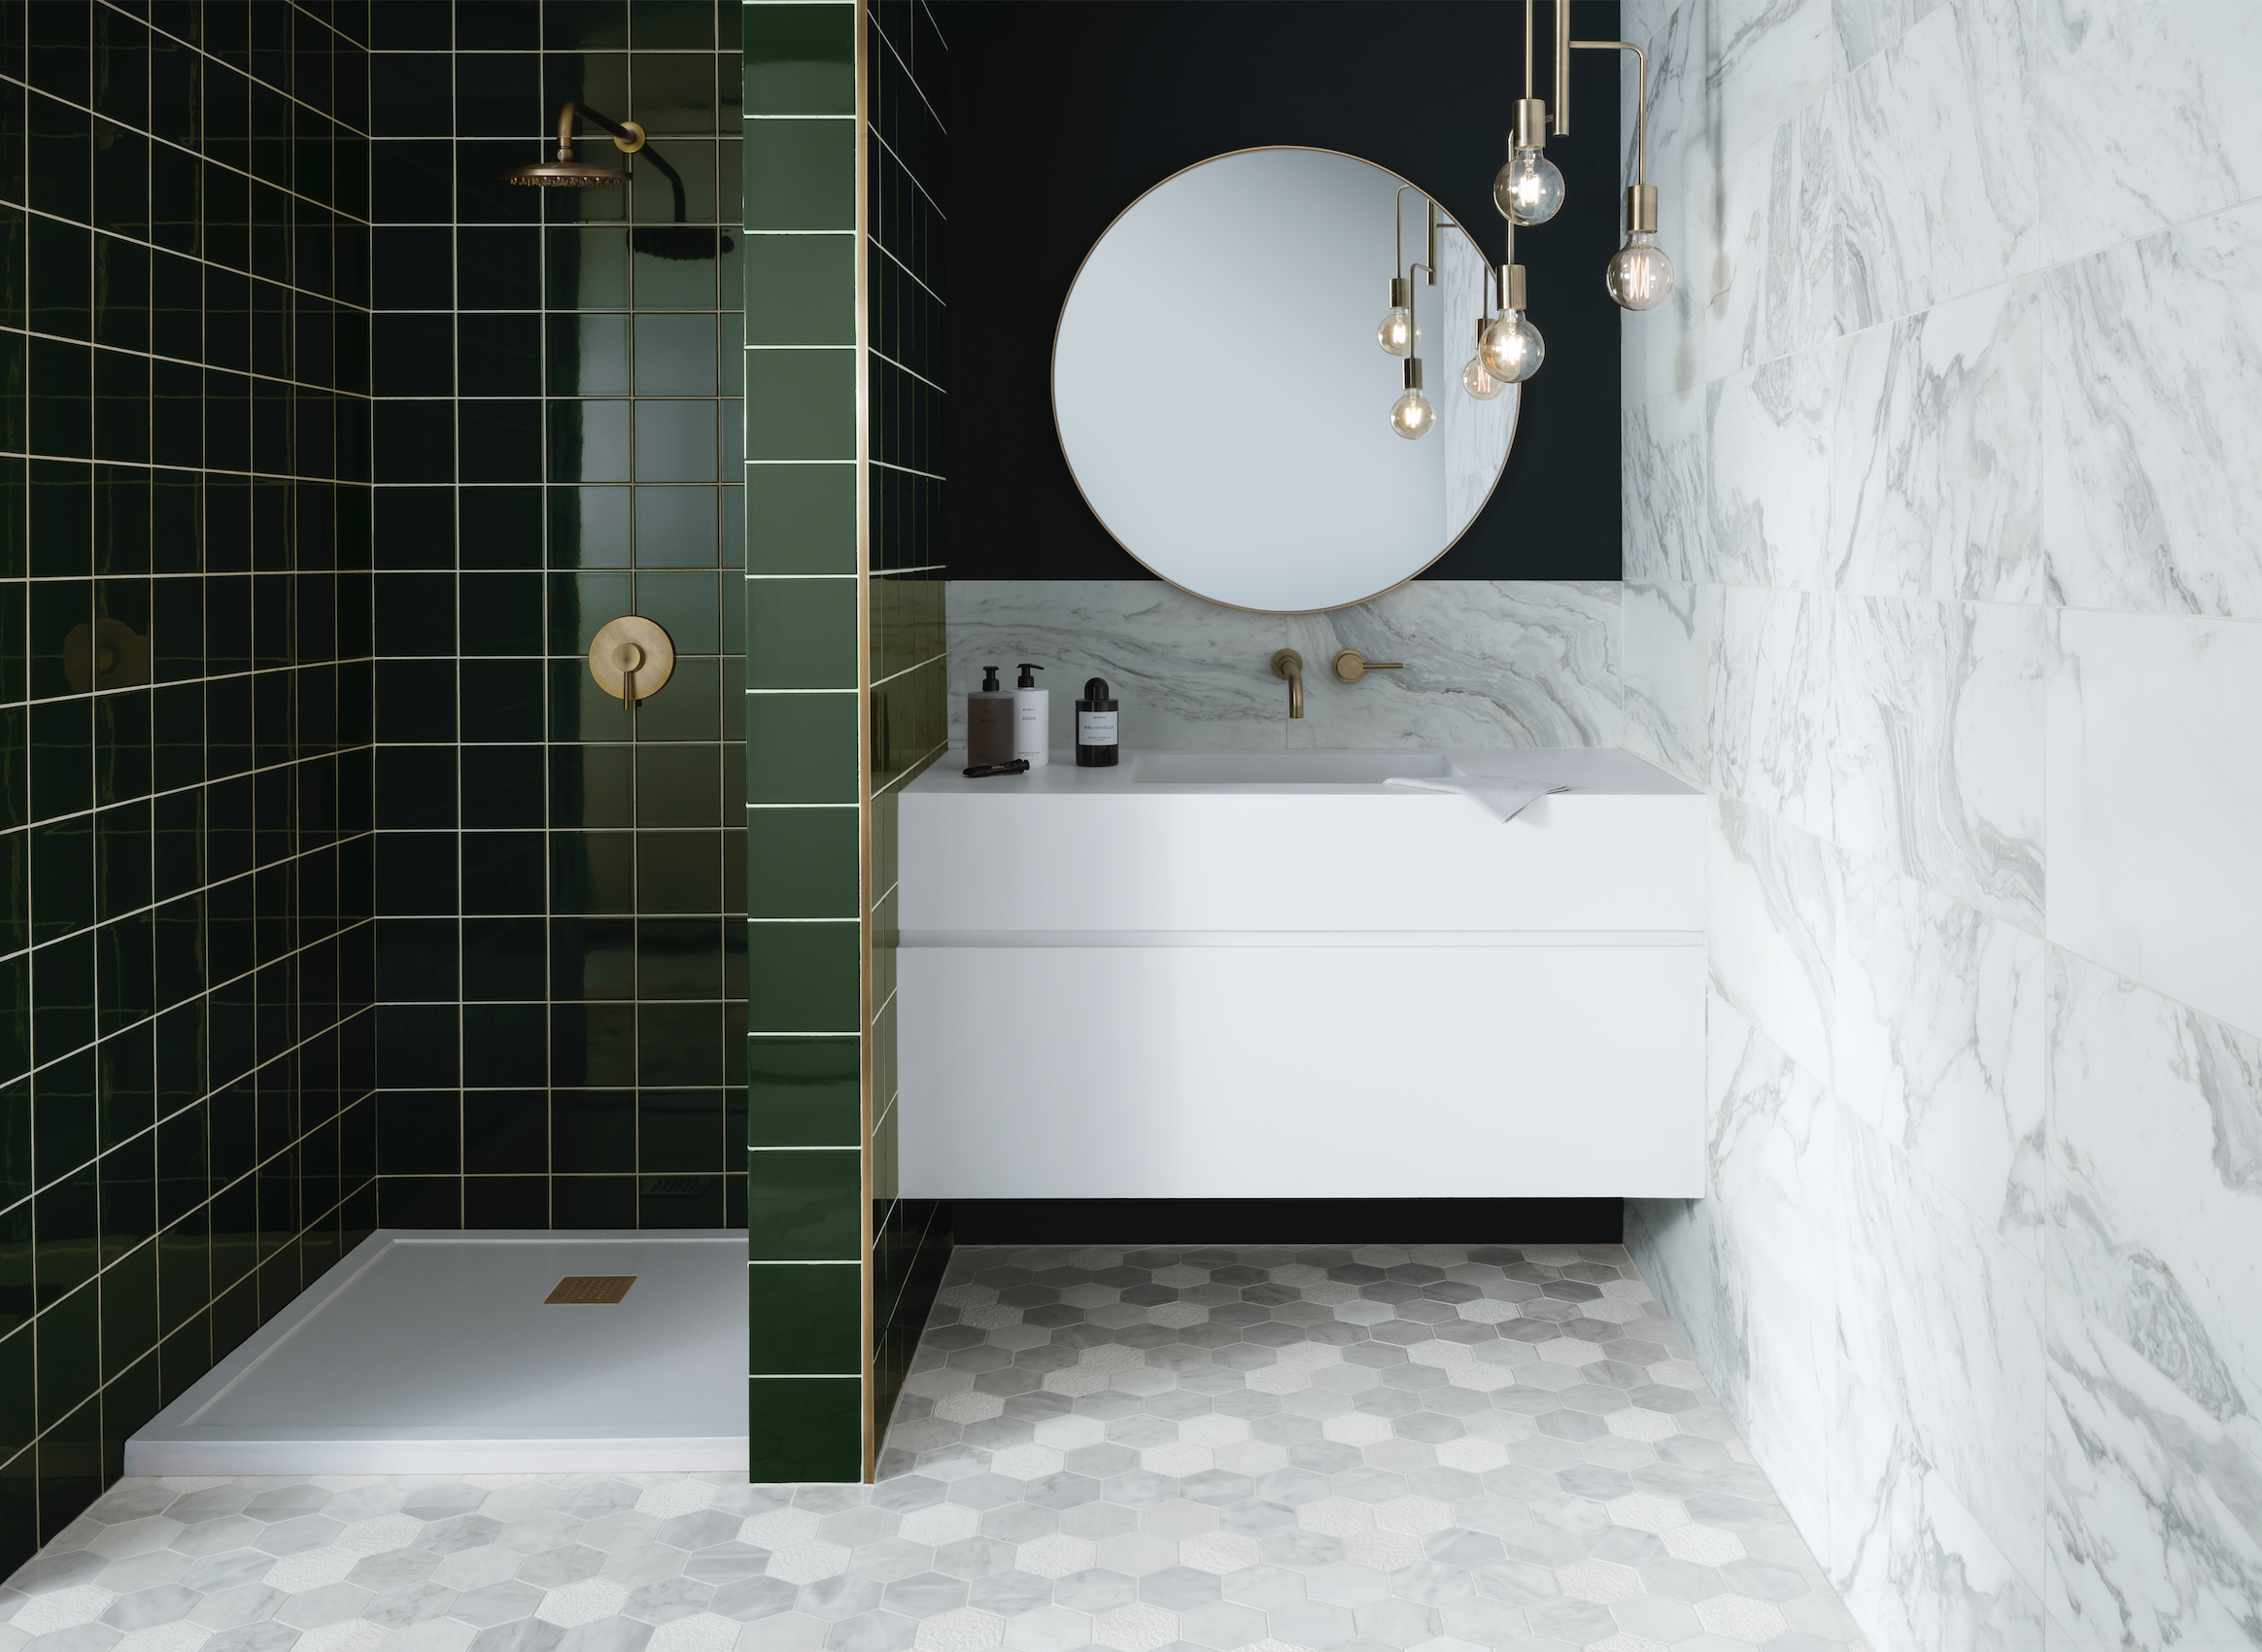
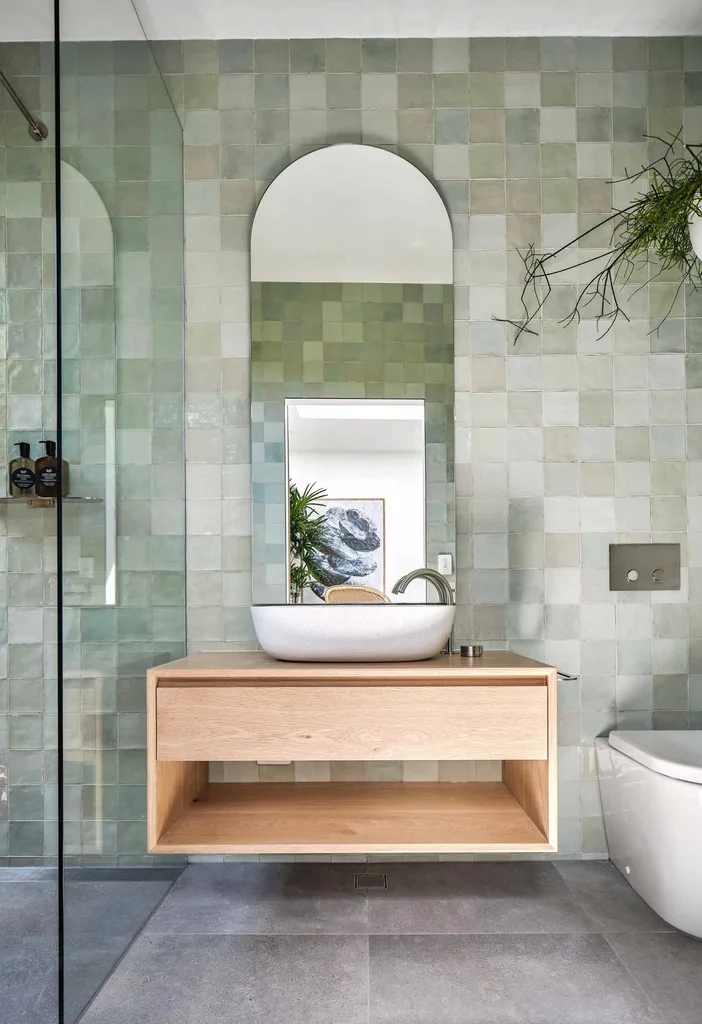
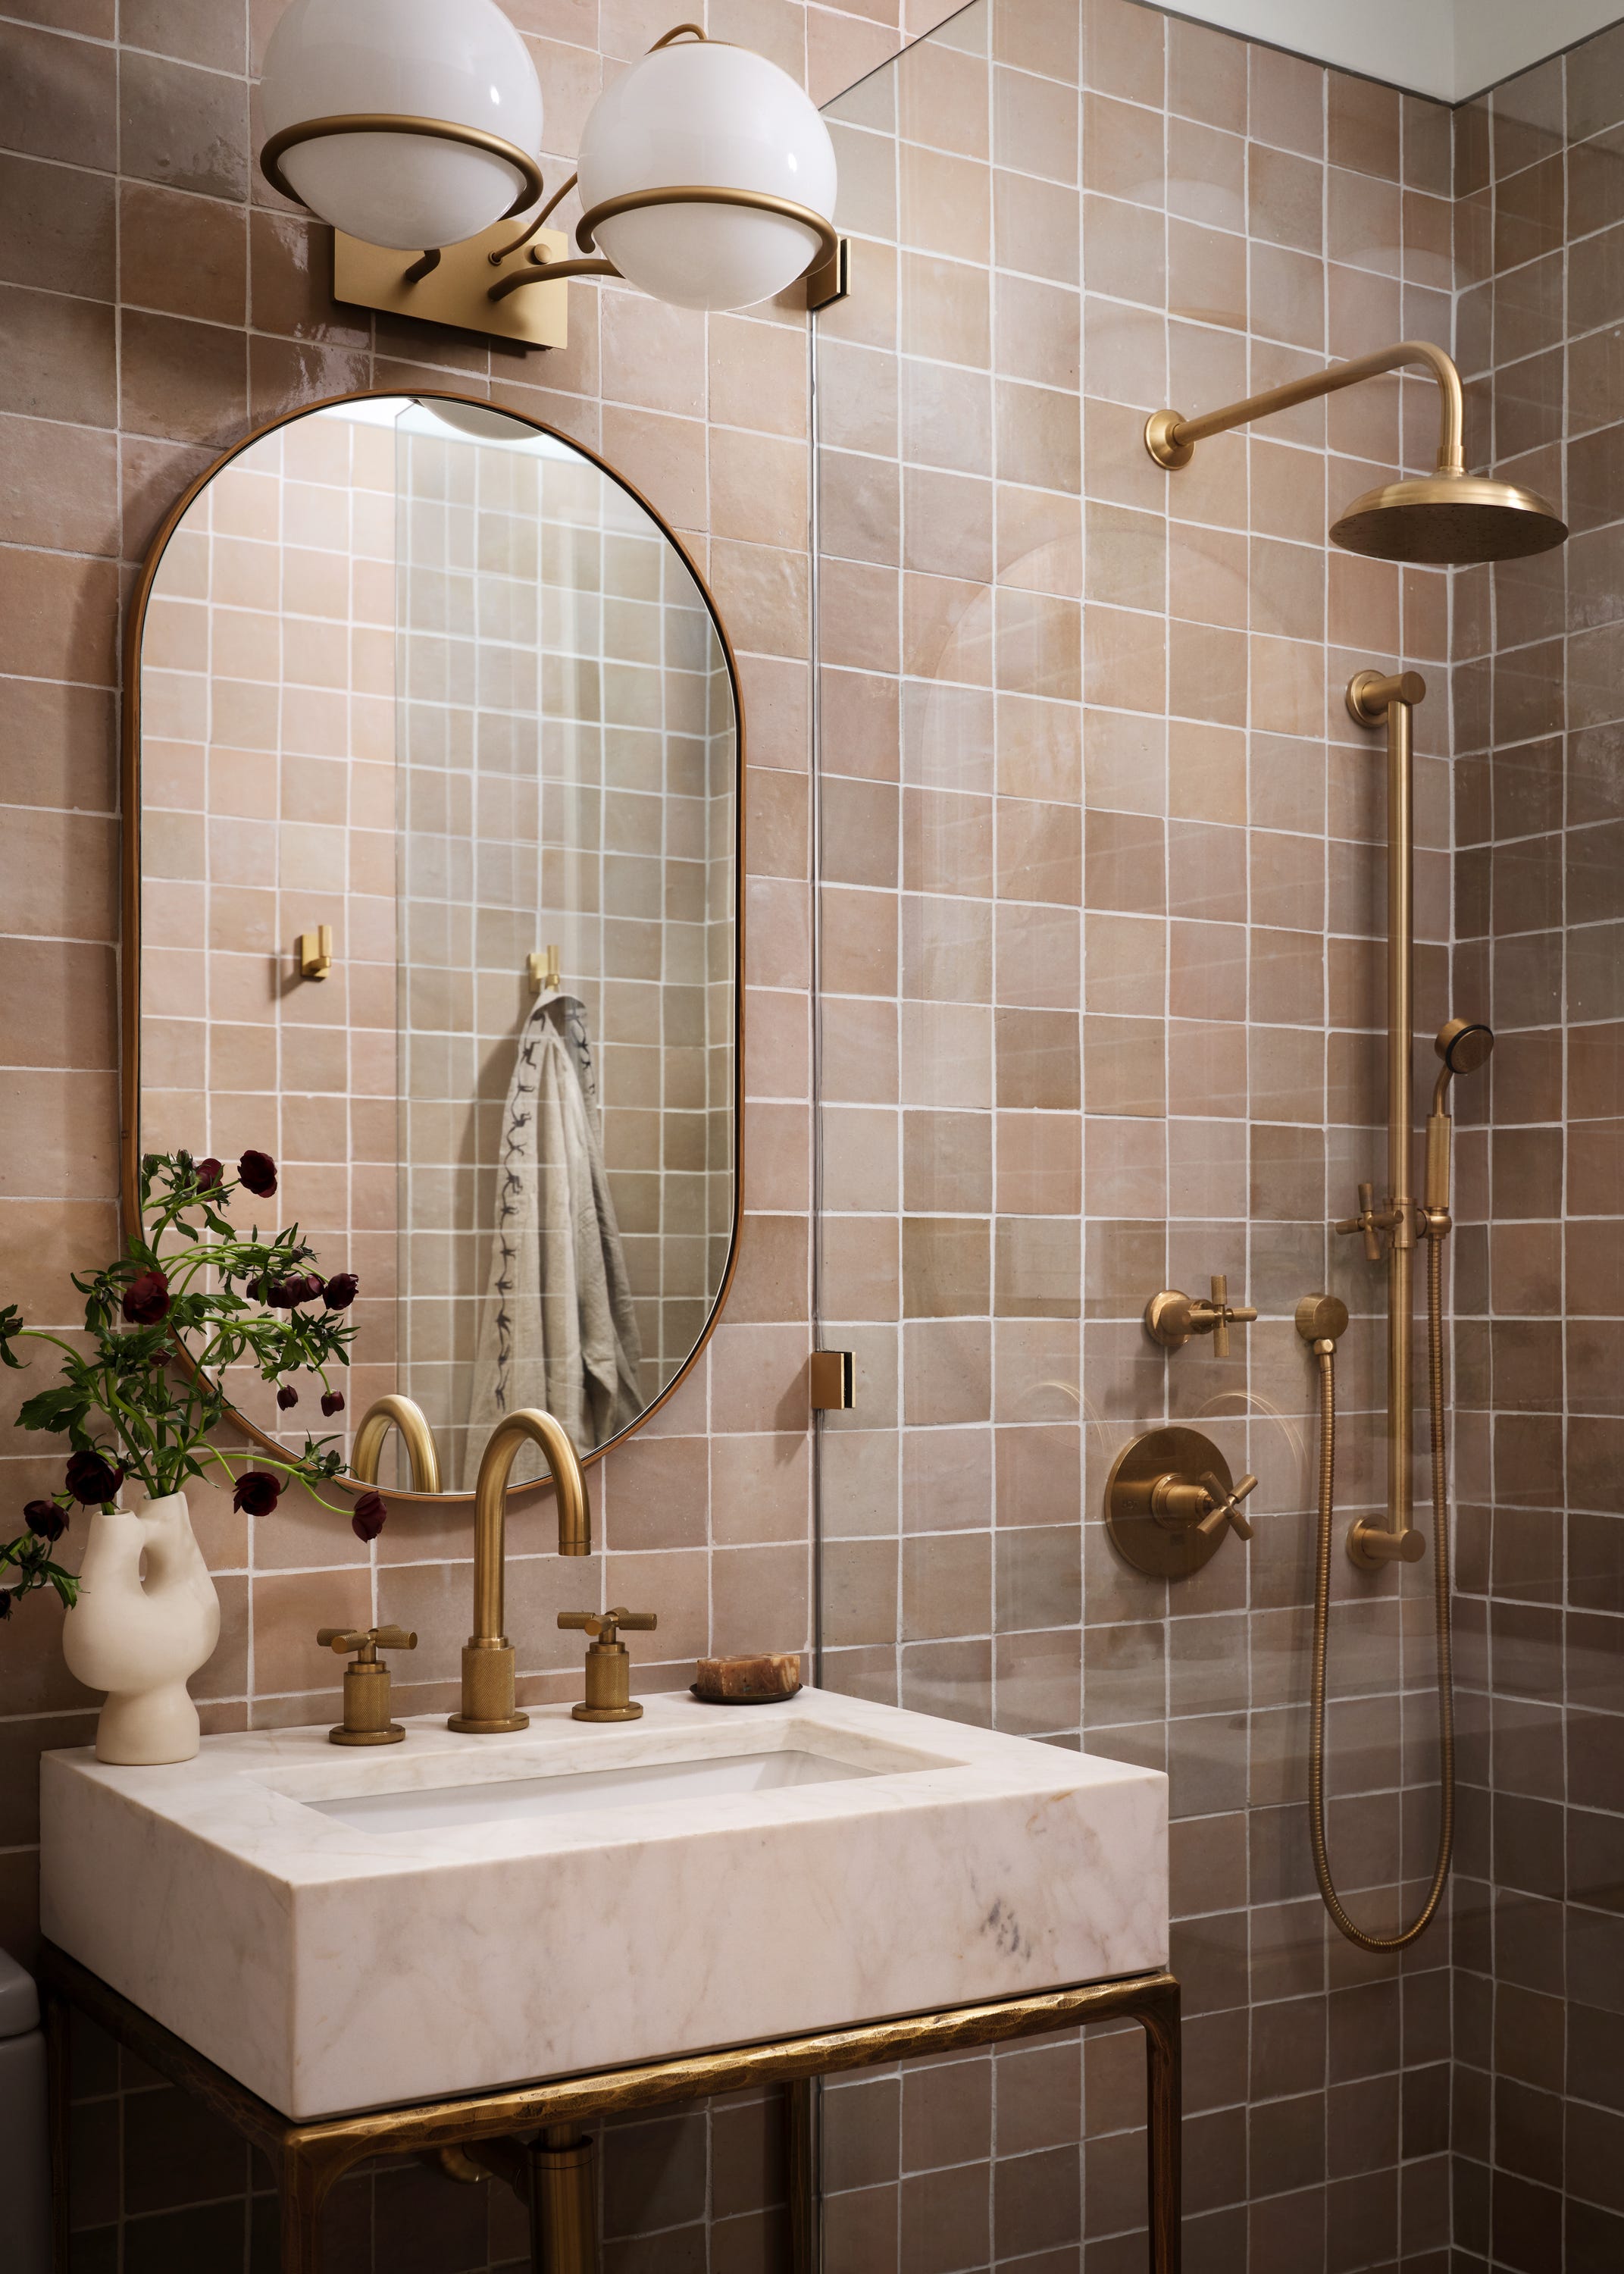
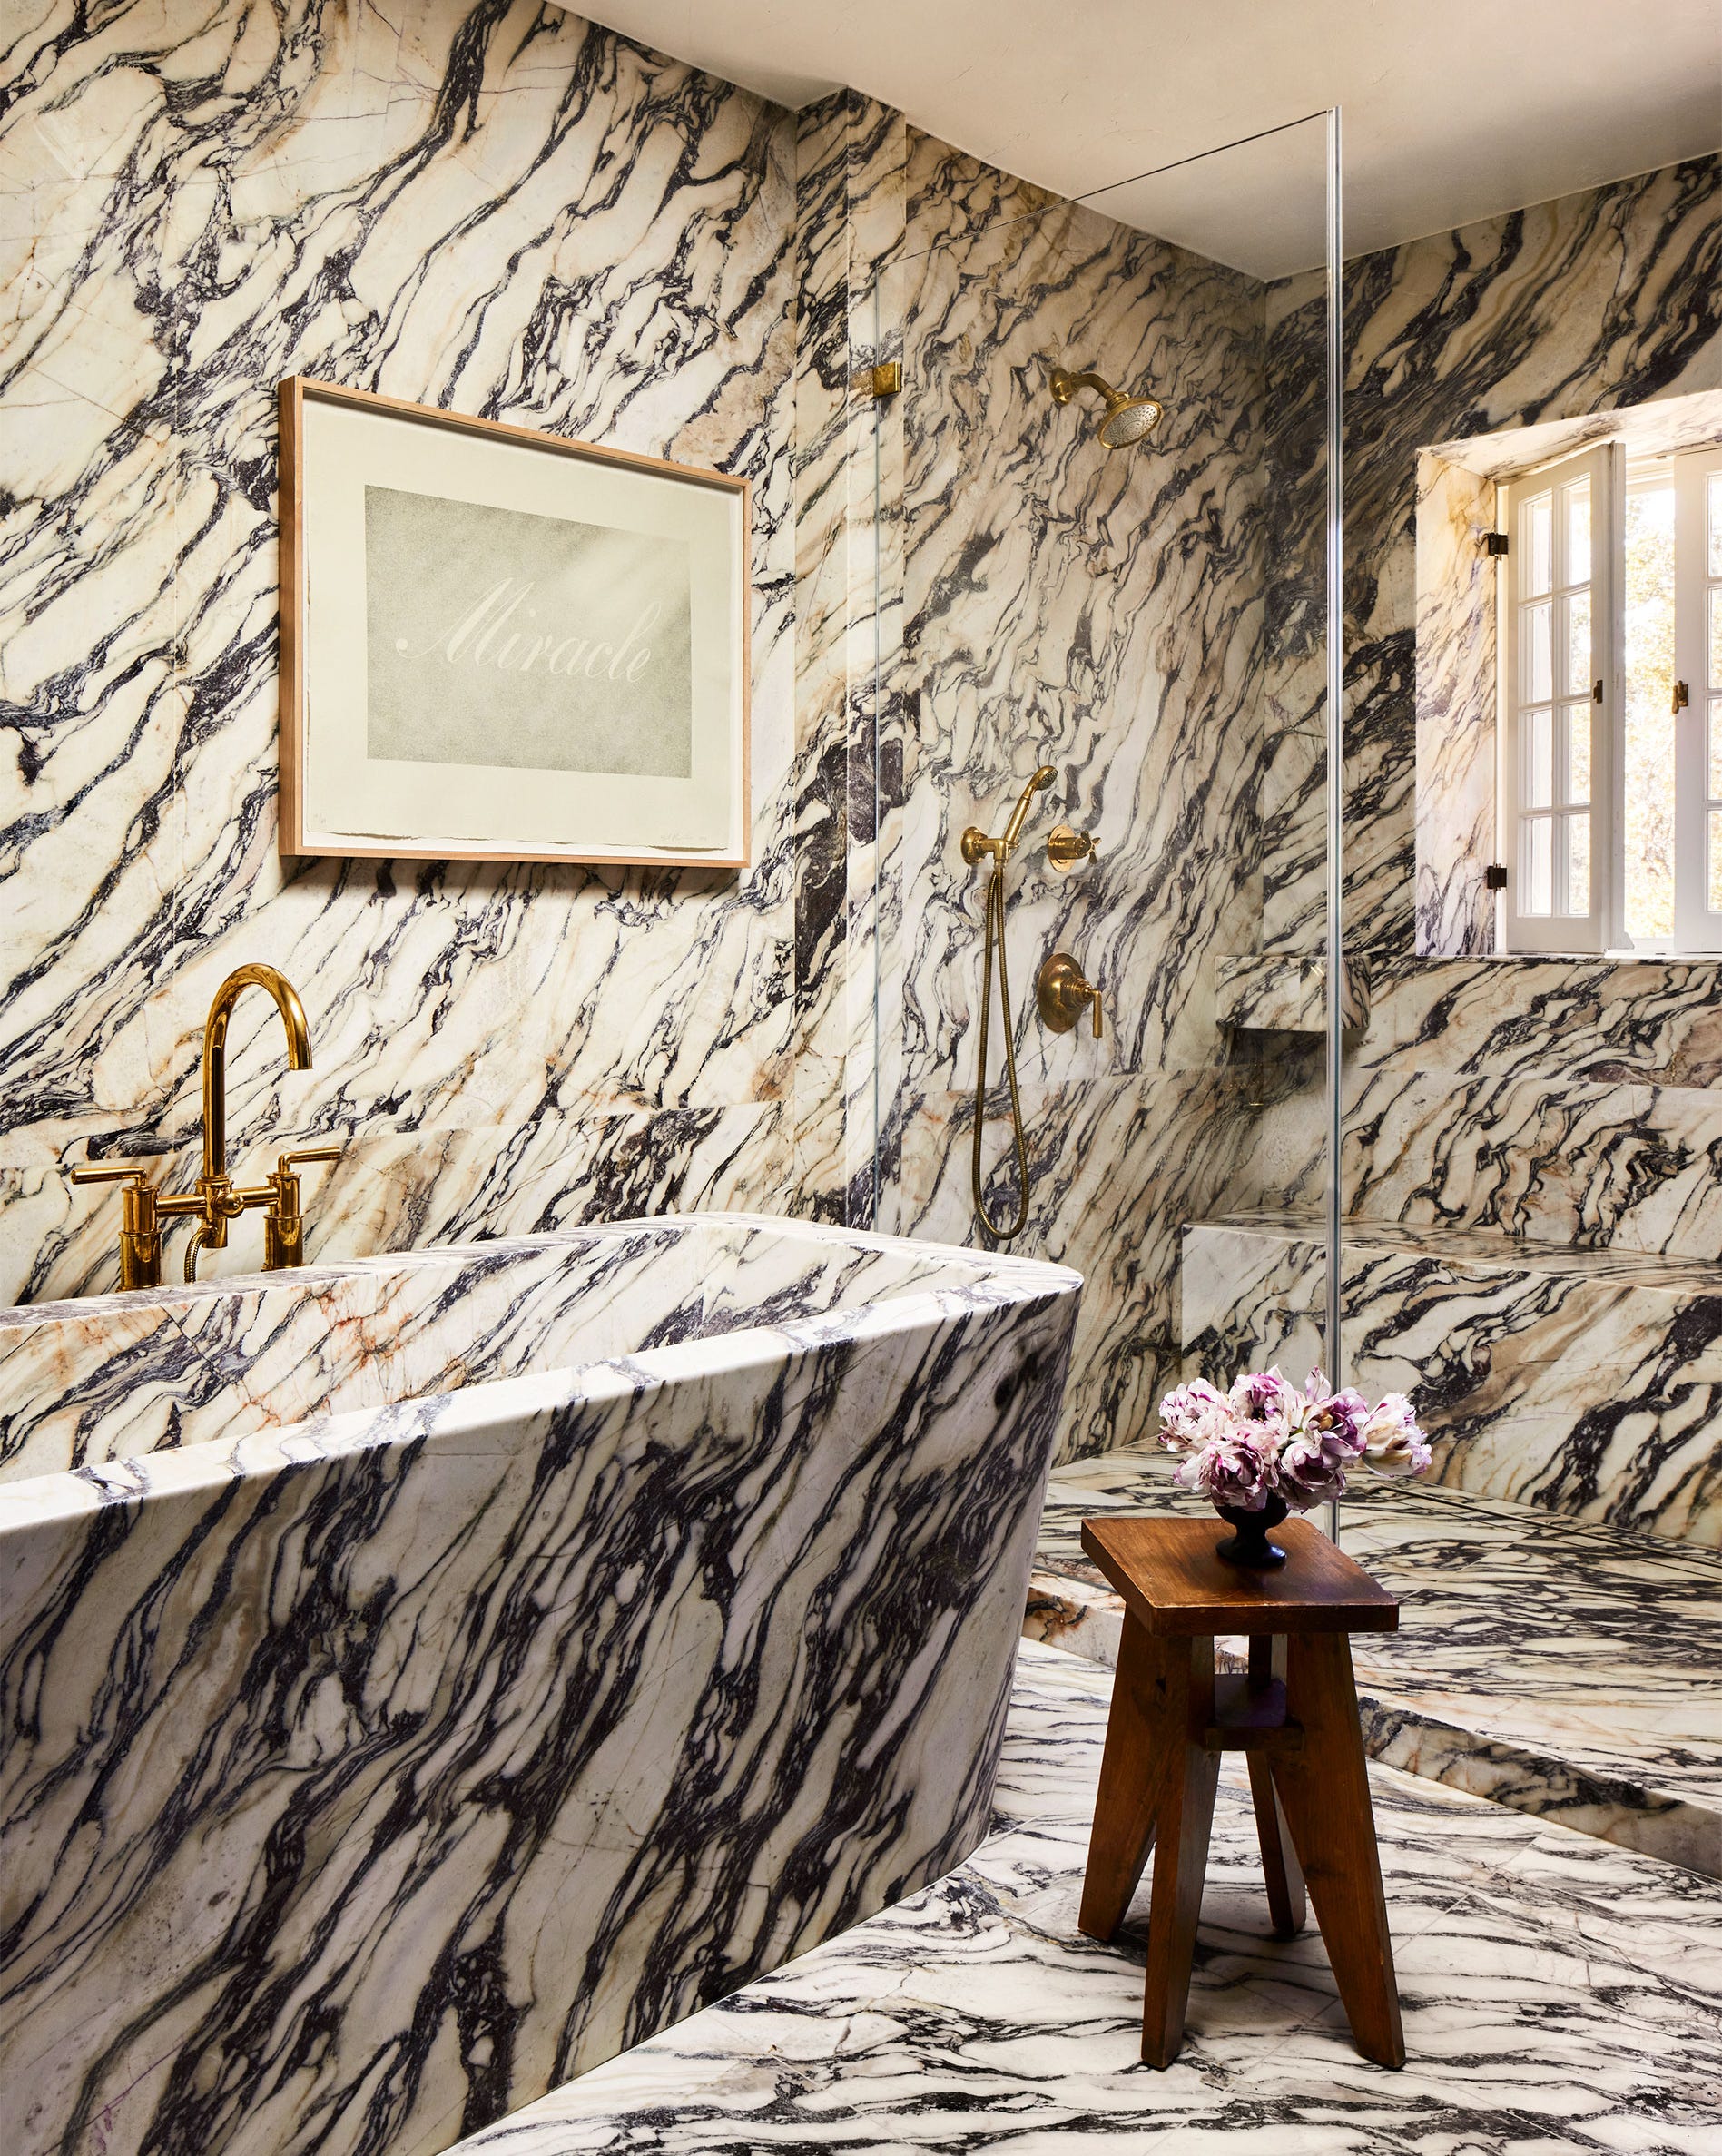
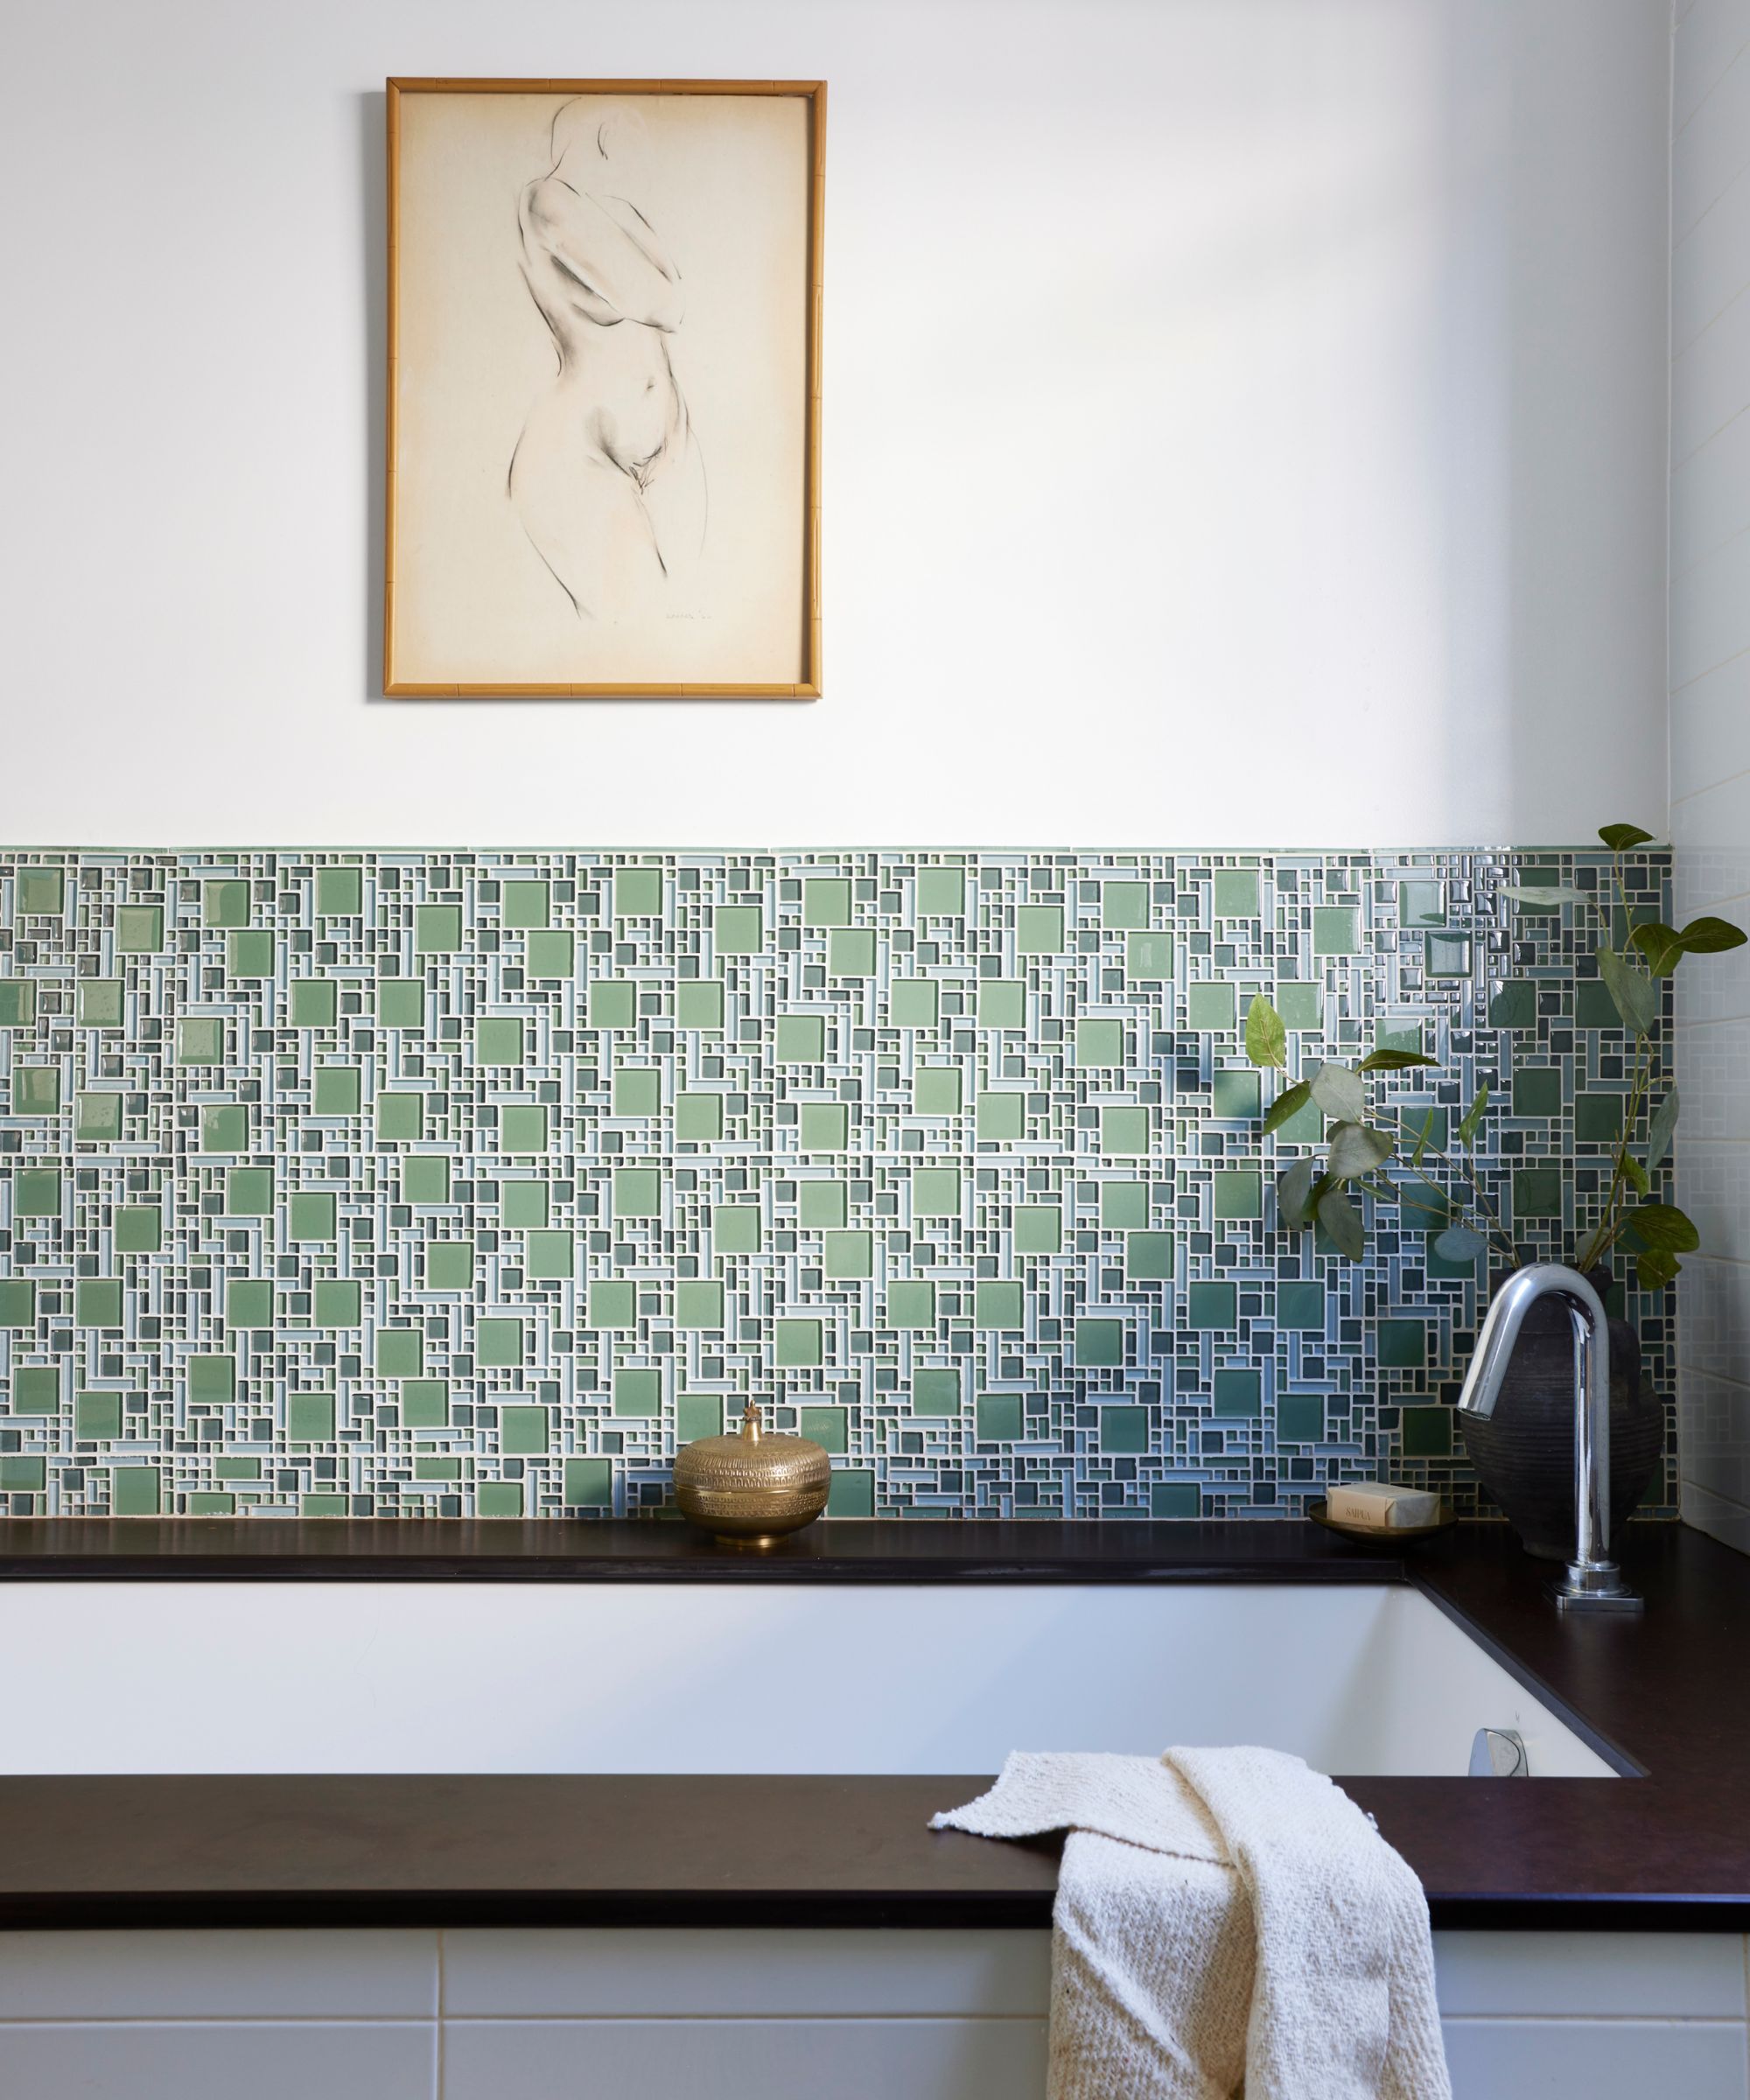
Ninth, choose stylish and durable surfaces. Walls and floors can be clad in materials like solid-surfacing, marble, quartz slabs, river rock, stone, glass, or glazed ceramic tiles. Creative tile designs can add an artistic touch, with cost-saving strategies including using inexpensive field tiles as a base and accentuating them with more decorative options in bands or borders.
Finally, think long-term about the investment. Incorporate universal design features like a wide entryway, level threshold, slip-resistant flooring, grab bars, a bench, and a handheld shower spray to ensure the shower remains functional and stylish for years to come.
#DIYHomeImprovement #WalkInShower #BathroomRenovation #HomeDesign #Accessibility #ShowerDesign #BathroomPlanning #InteriorDesign #UniversalDesign #DIYHomeImprovement #WalkInShower #BathroomRenovation #HomeDesign #Accessibility #ShowerDesign #BathroomPlanning #InteriorDesign #UniversalDesign
0 comment in total
 No comments yet
You may also like
7 walk-in shower mistakes to avoid, according to experts
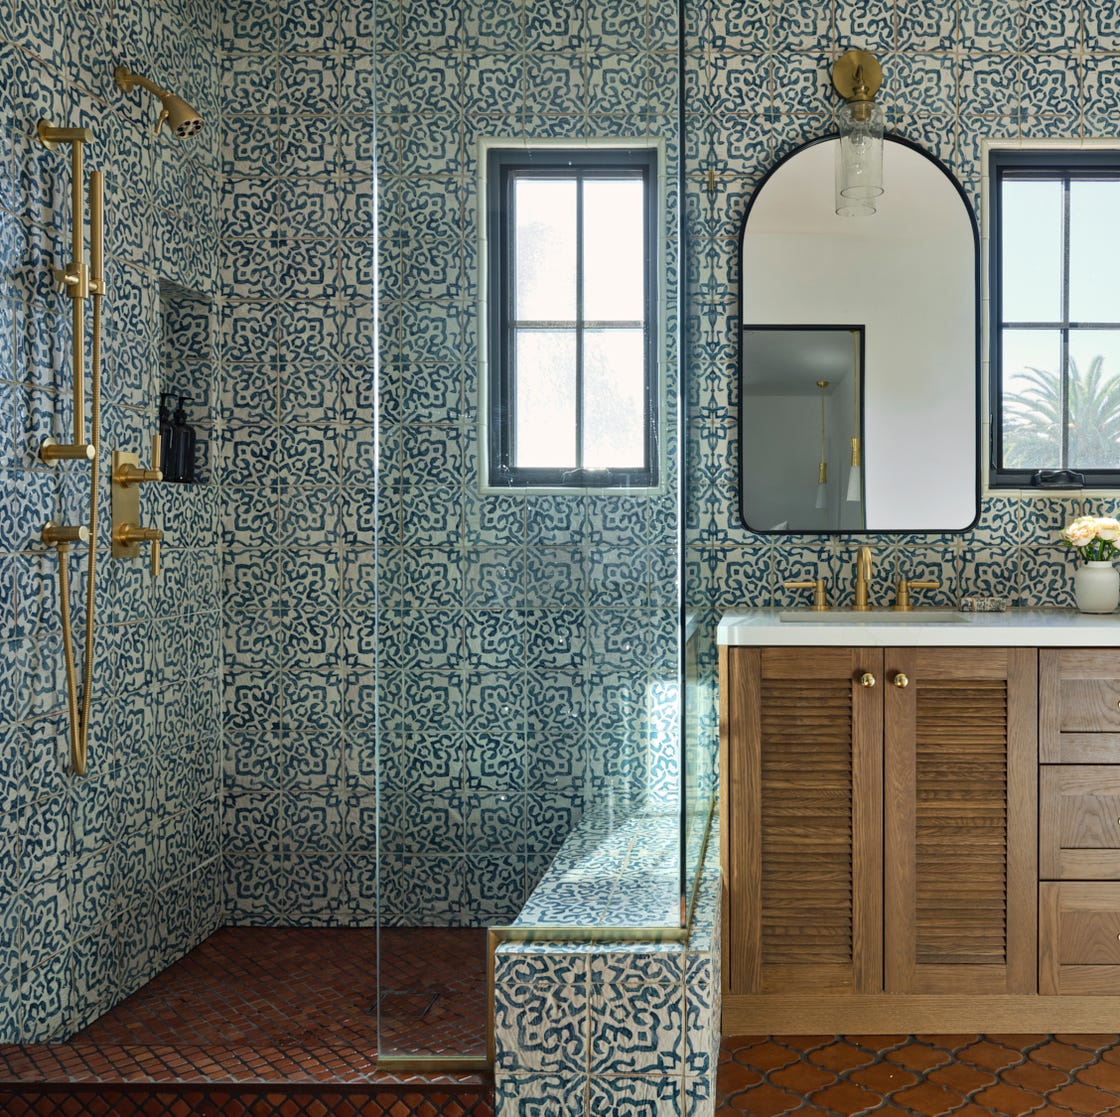
16 Doorless Walk-In Shower Ideas That’ll Make Your Bathroom Feel So Luxe

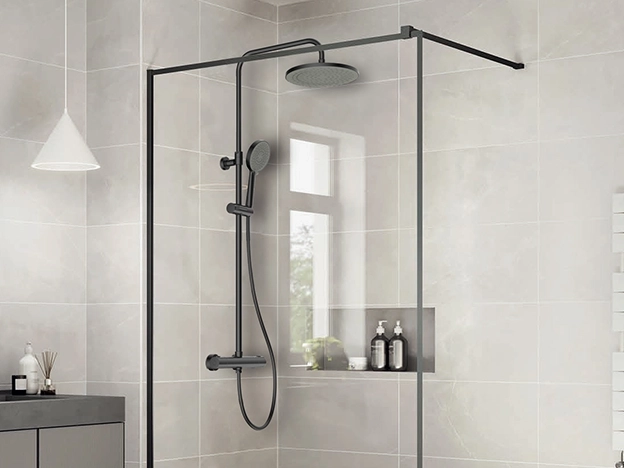
Showers

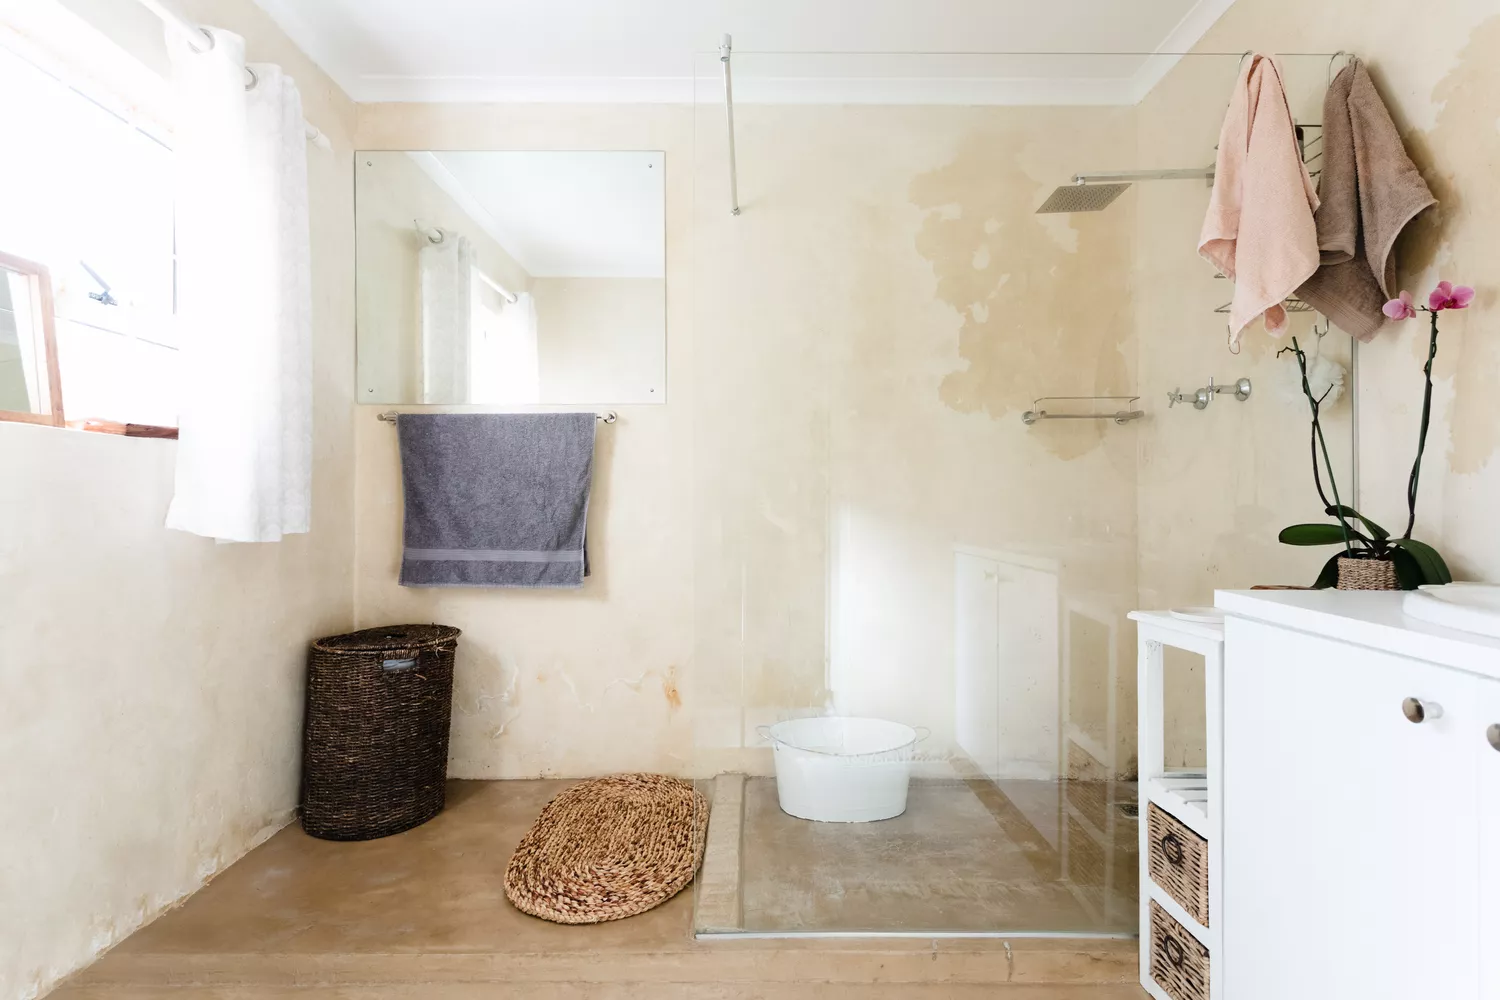
20 Doorless Walk-In Shower Ideas for a Modern Retreat


Remodel Your Bathroom And We'll Tell You Which Shower Routine You *Should* Have
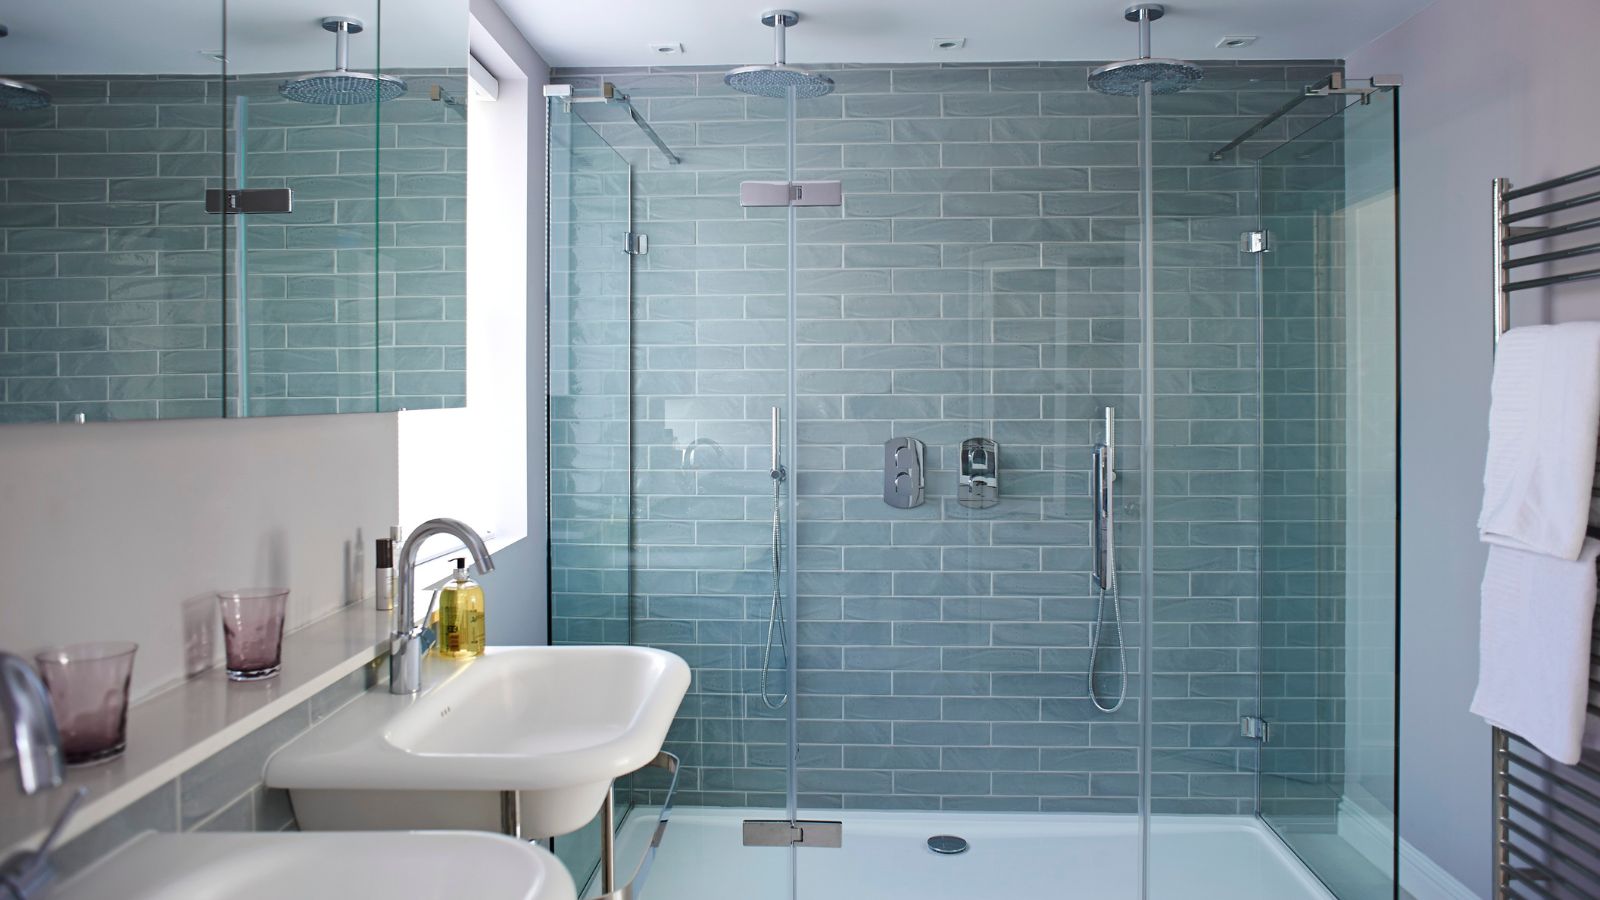
How much room do I need for a walk-in shower? The crucial dimensions revealed

Everything to Know Before Adding a Wet Bar to Your Home
"The Shower" Routine Aesthetic—How This Luxe Self-Care Trend Is Making Us Rethink Our Bathing Rituals

Walk-In Showers & Wet Rooms
Walk-in Showers & Shower Conversions with CustomFit Baths

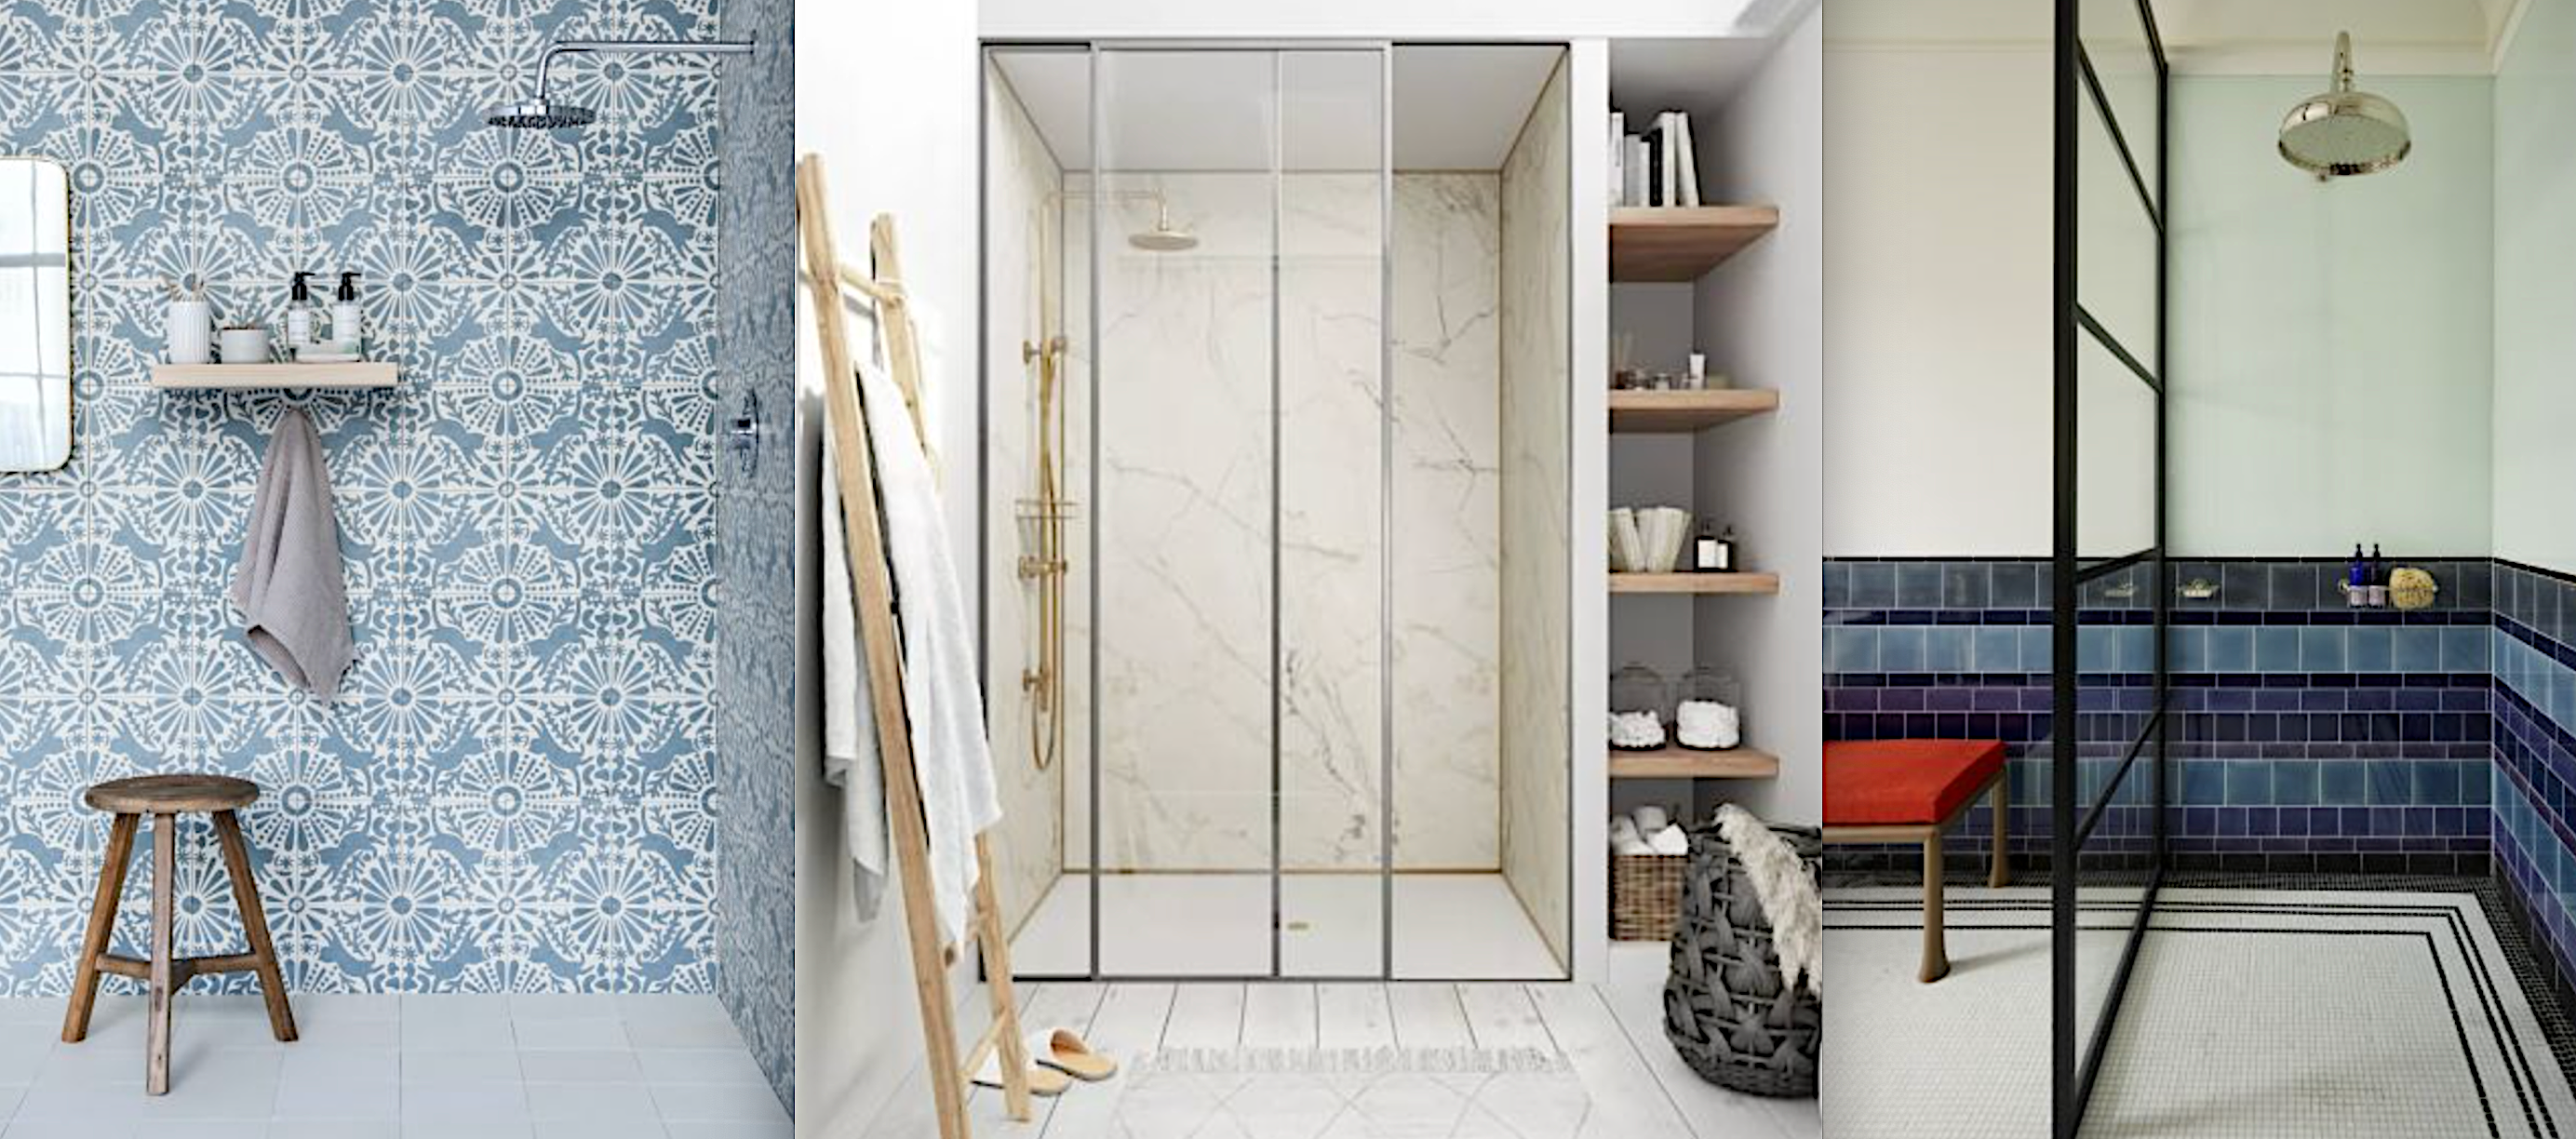
Shower storage ideas – 10 ways to keep your shower neat
36 Sophisticated Walk-in Shower Ideas That Are Dripping with Style

What To Know About Walk-In Showers


Walk-In Shower Enclosures

21 walk in shower ideas to add a luxury feel to your bathroom

The first things to consider when planning a new bathroom – according to experts

Steam Showers: What You Need To Know
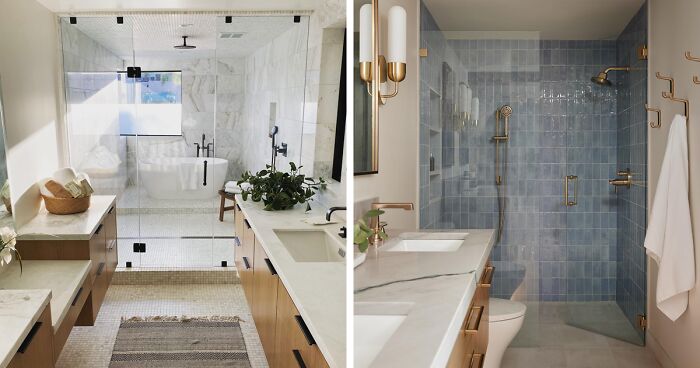
30 Stunning Walk-in Shower Ideas For A Bathroom Glow-up
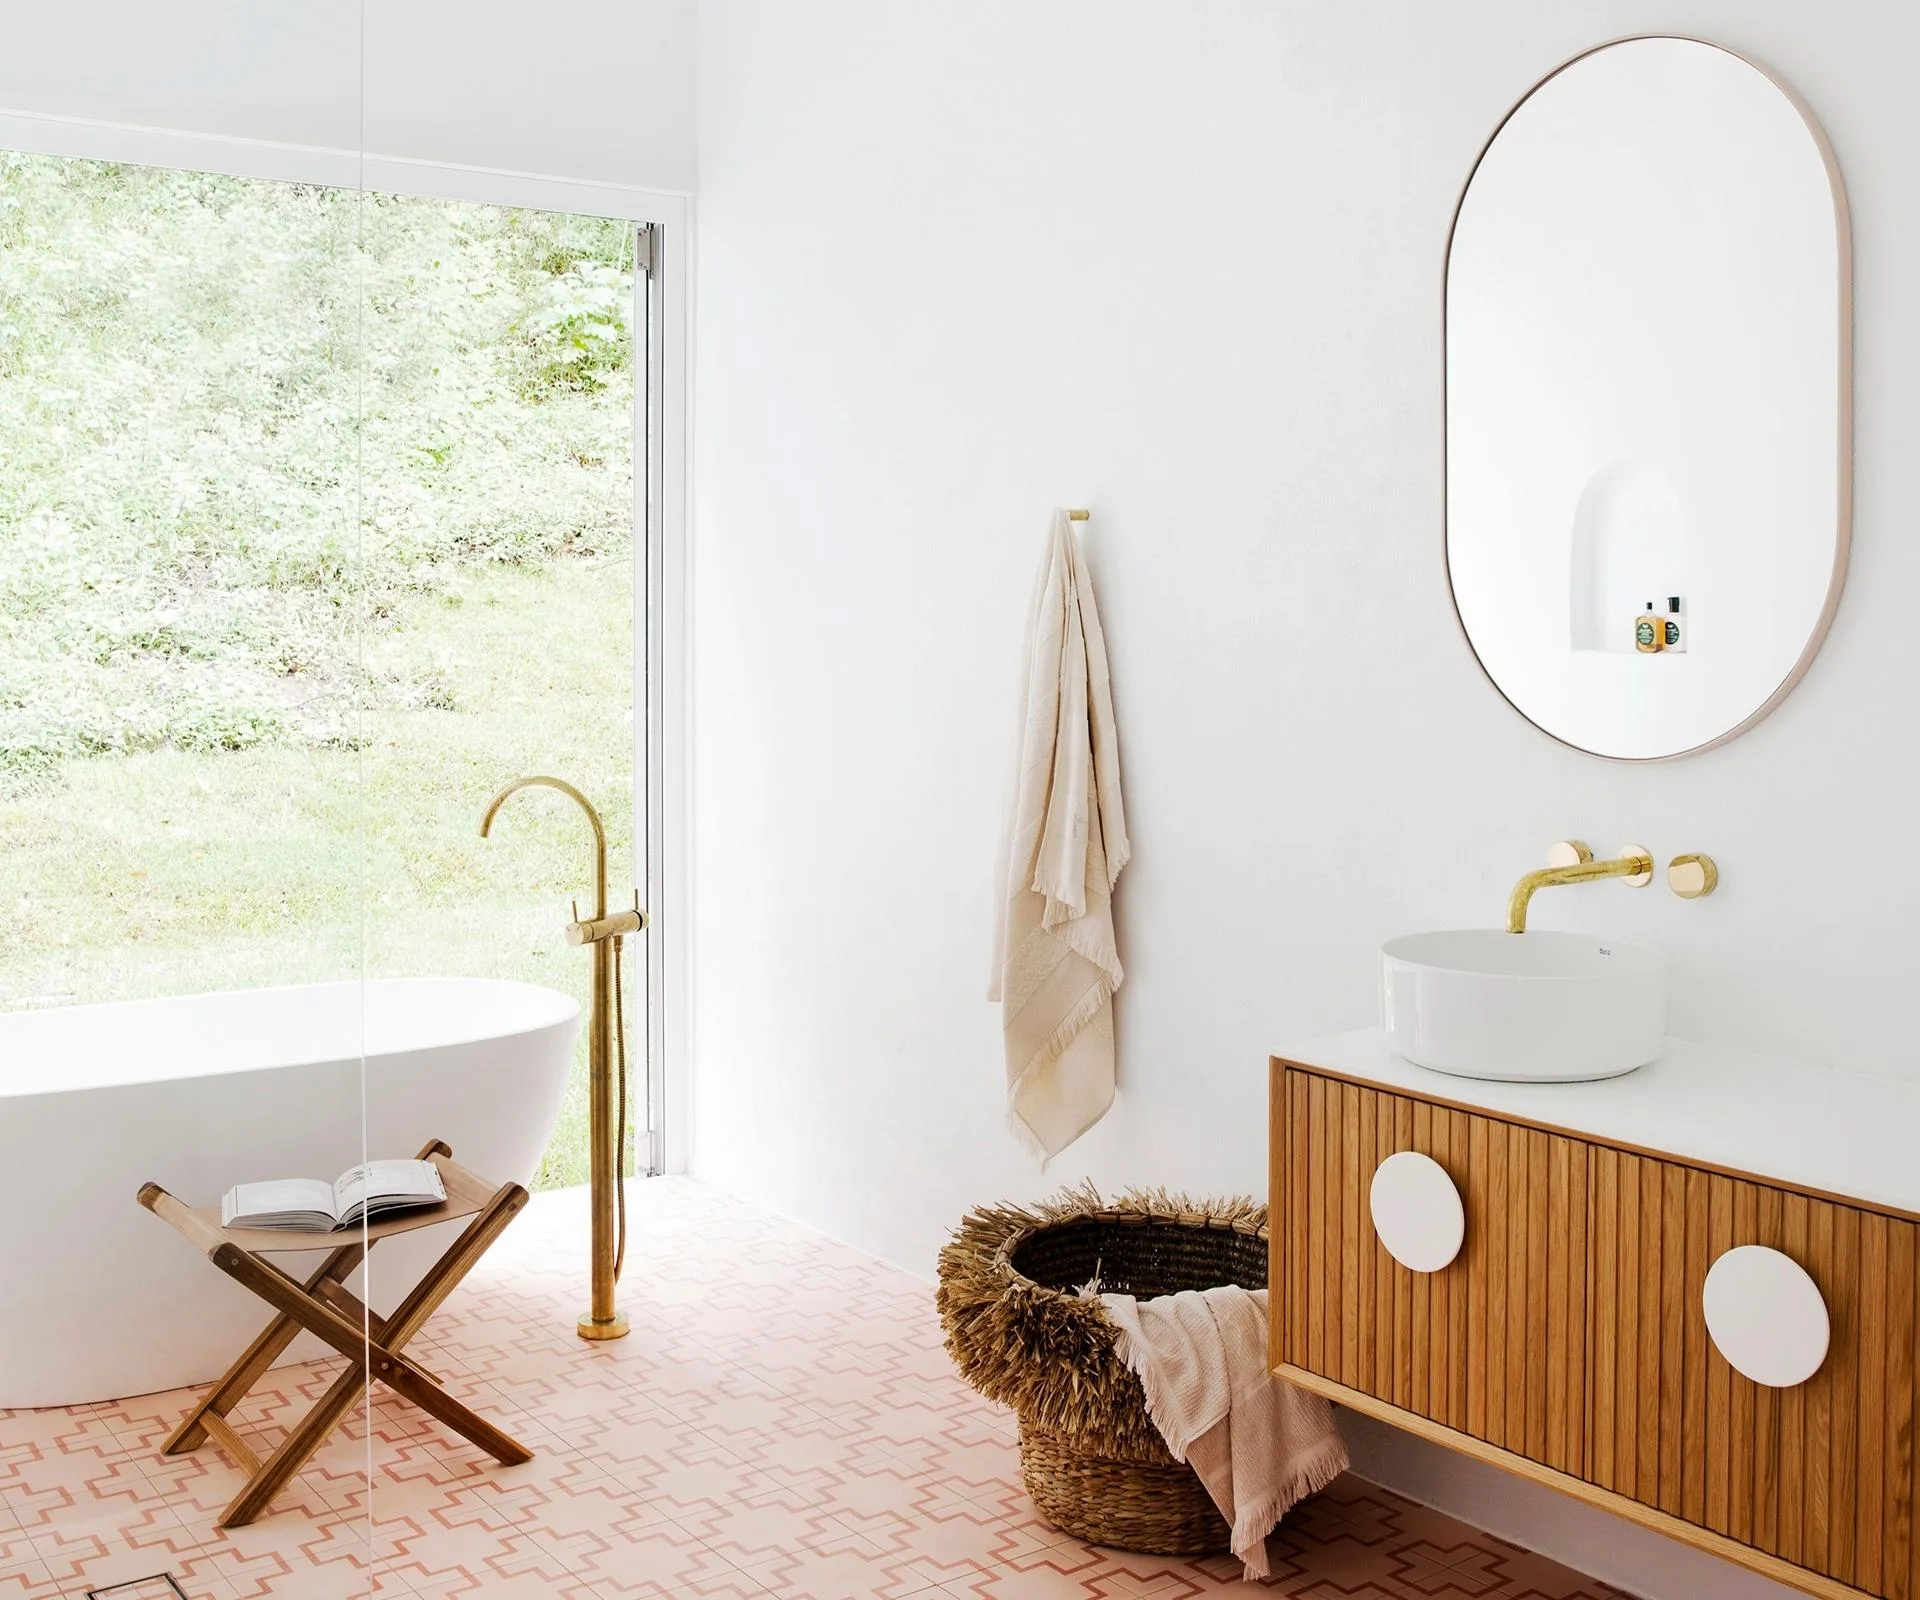
27 stunning walk-in shower ideas to revamp your bathroom

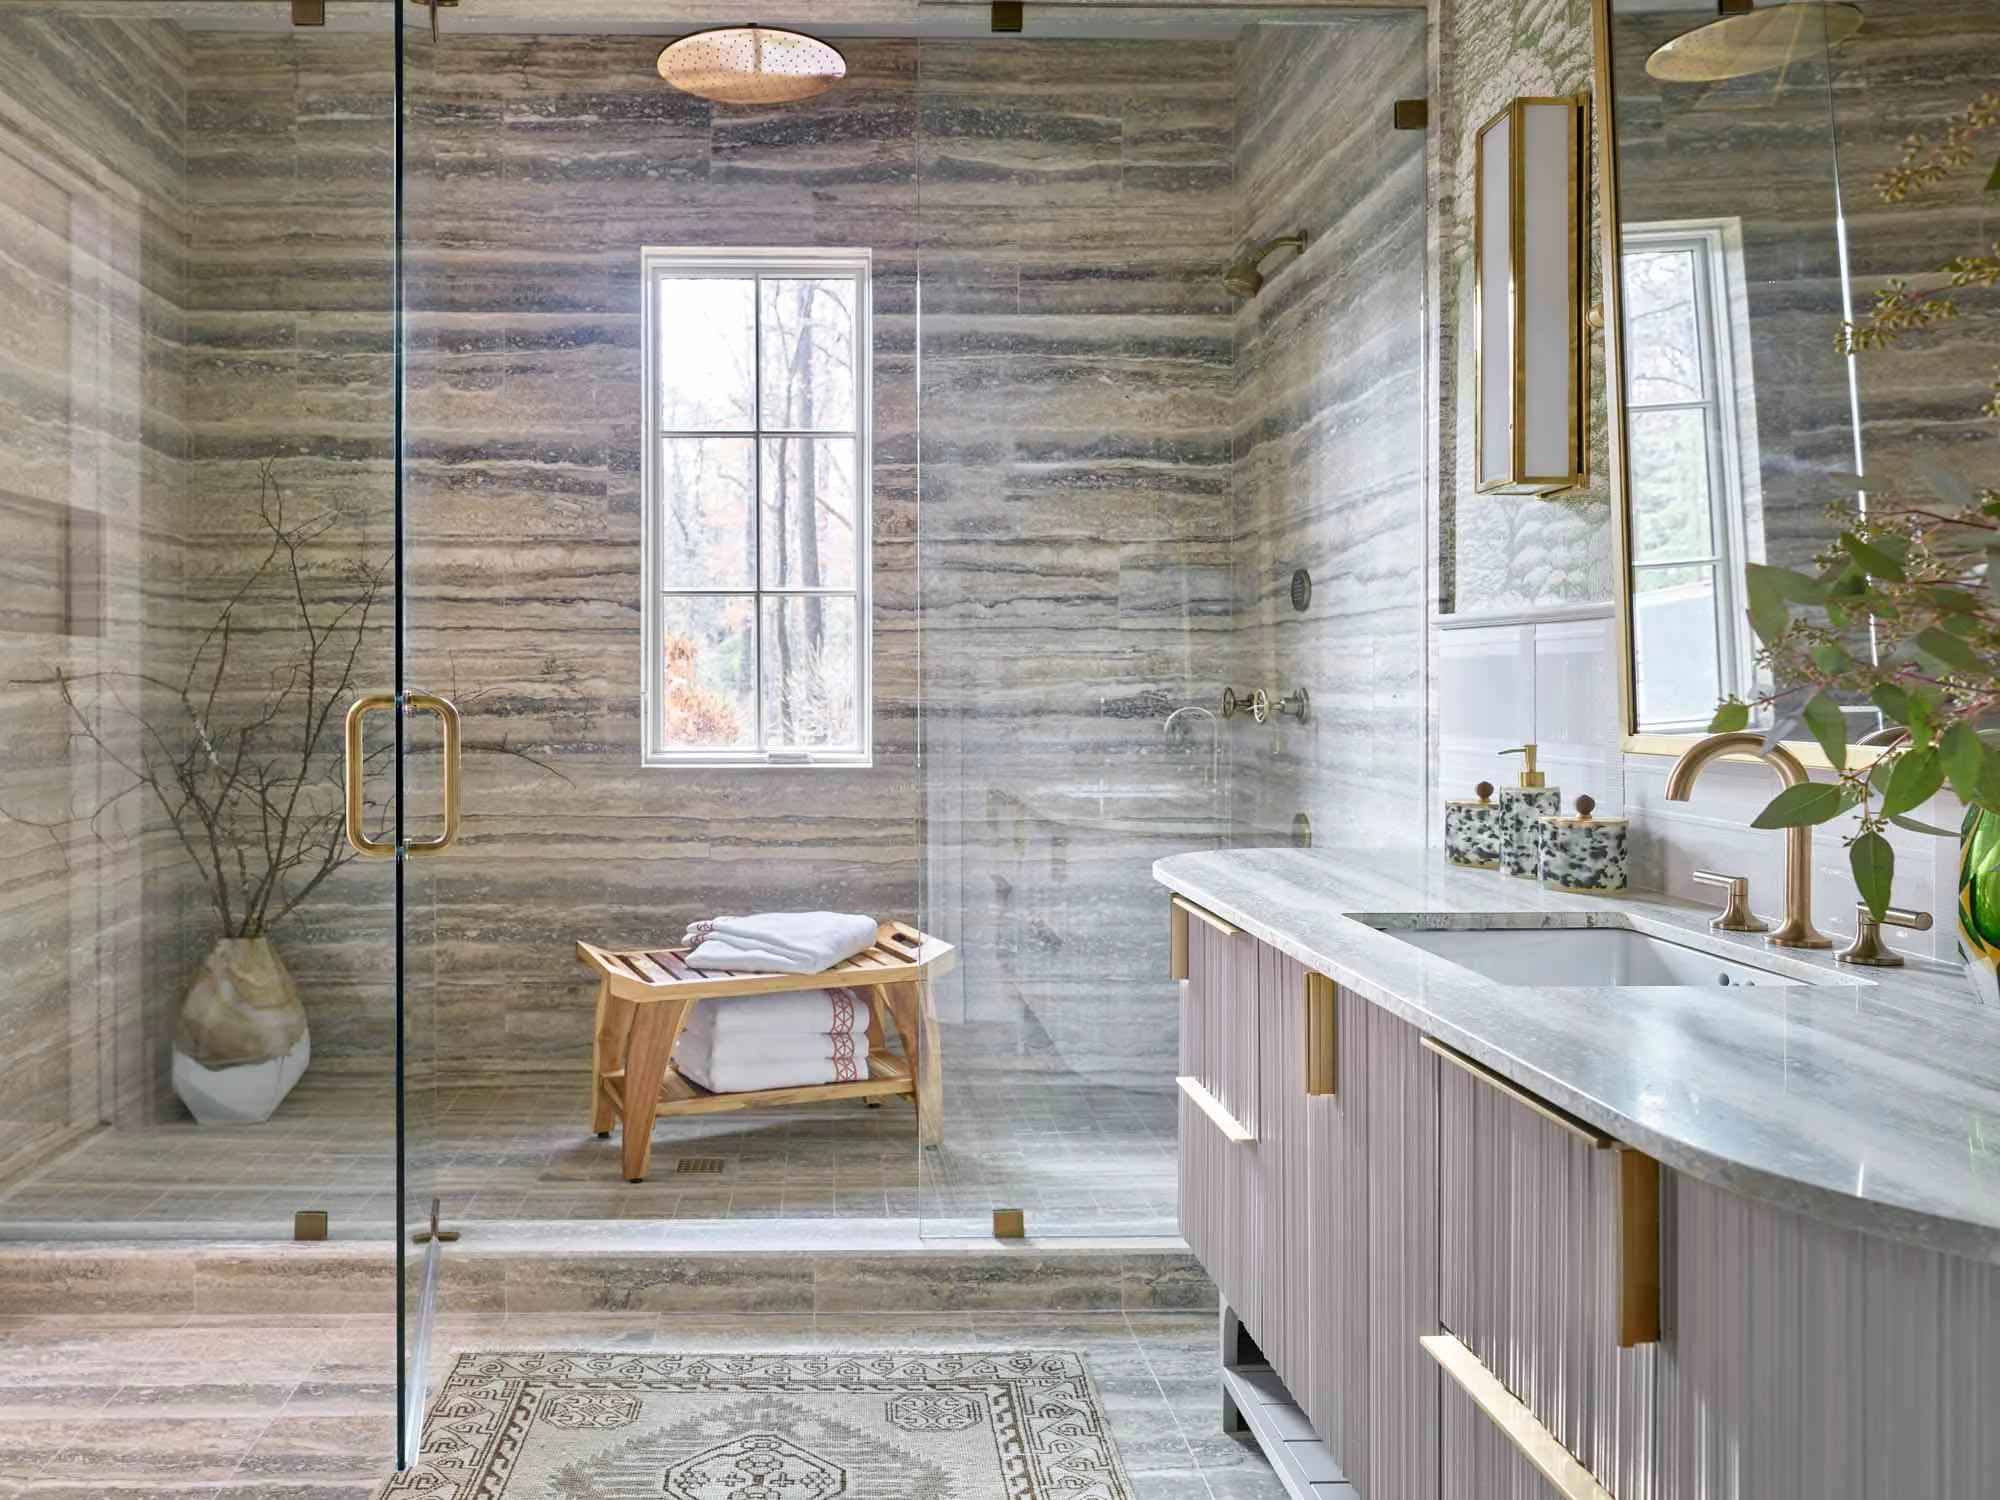
36 Walk-In Shower Ideas For Any Size Bathroom