1/7
Channel-Tufted Headboards Are the Next Big Bedroom Trend You Can DIY
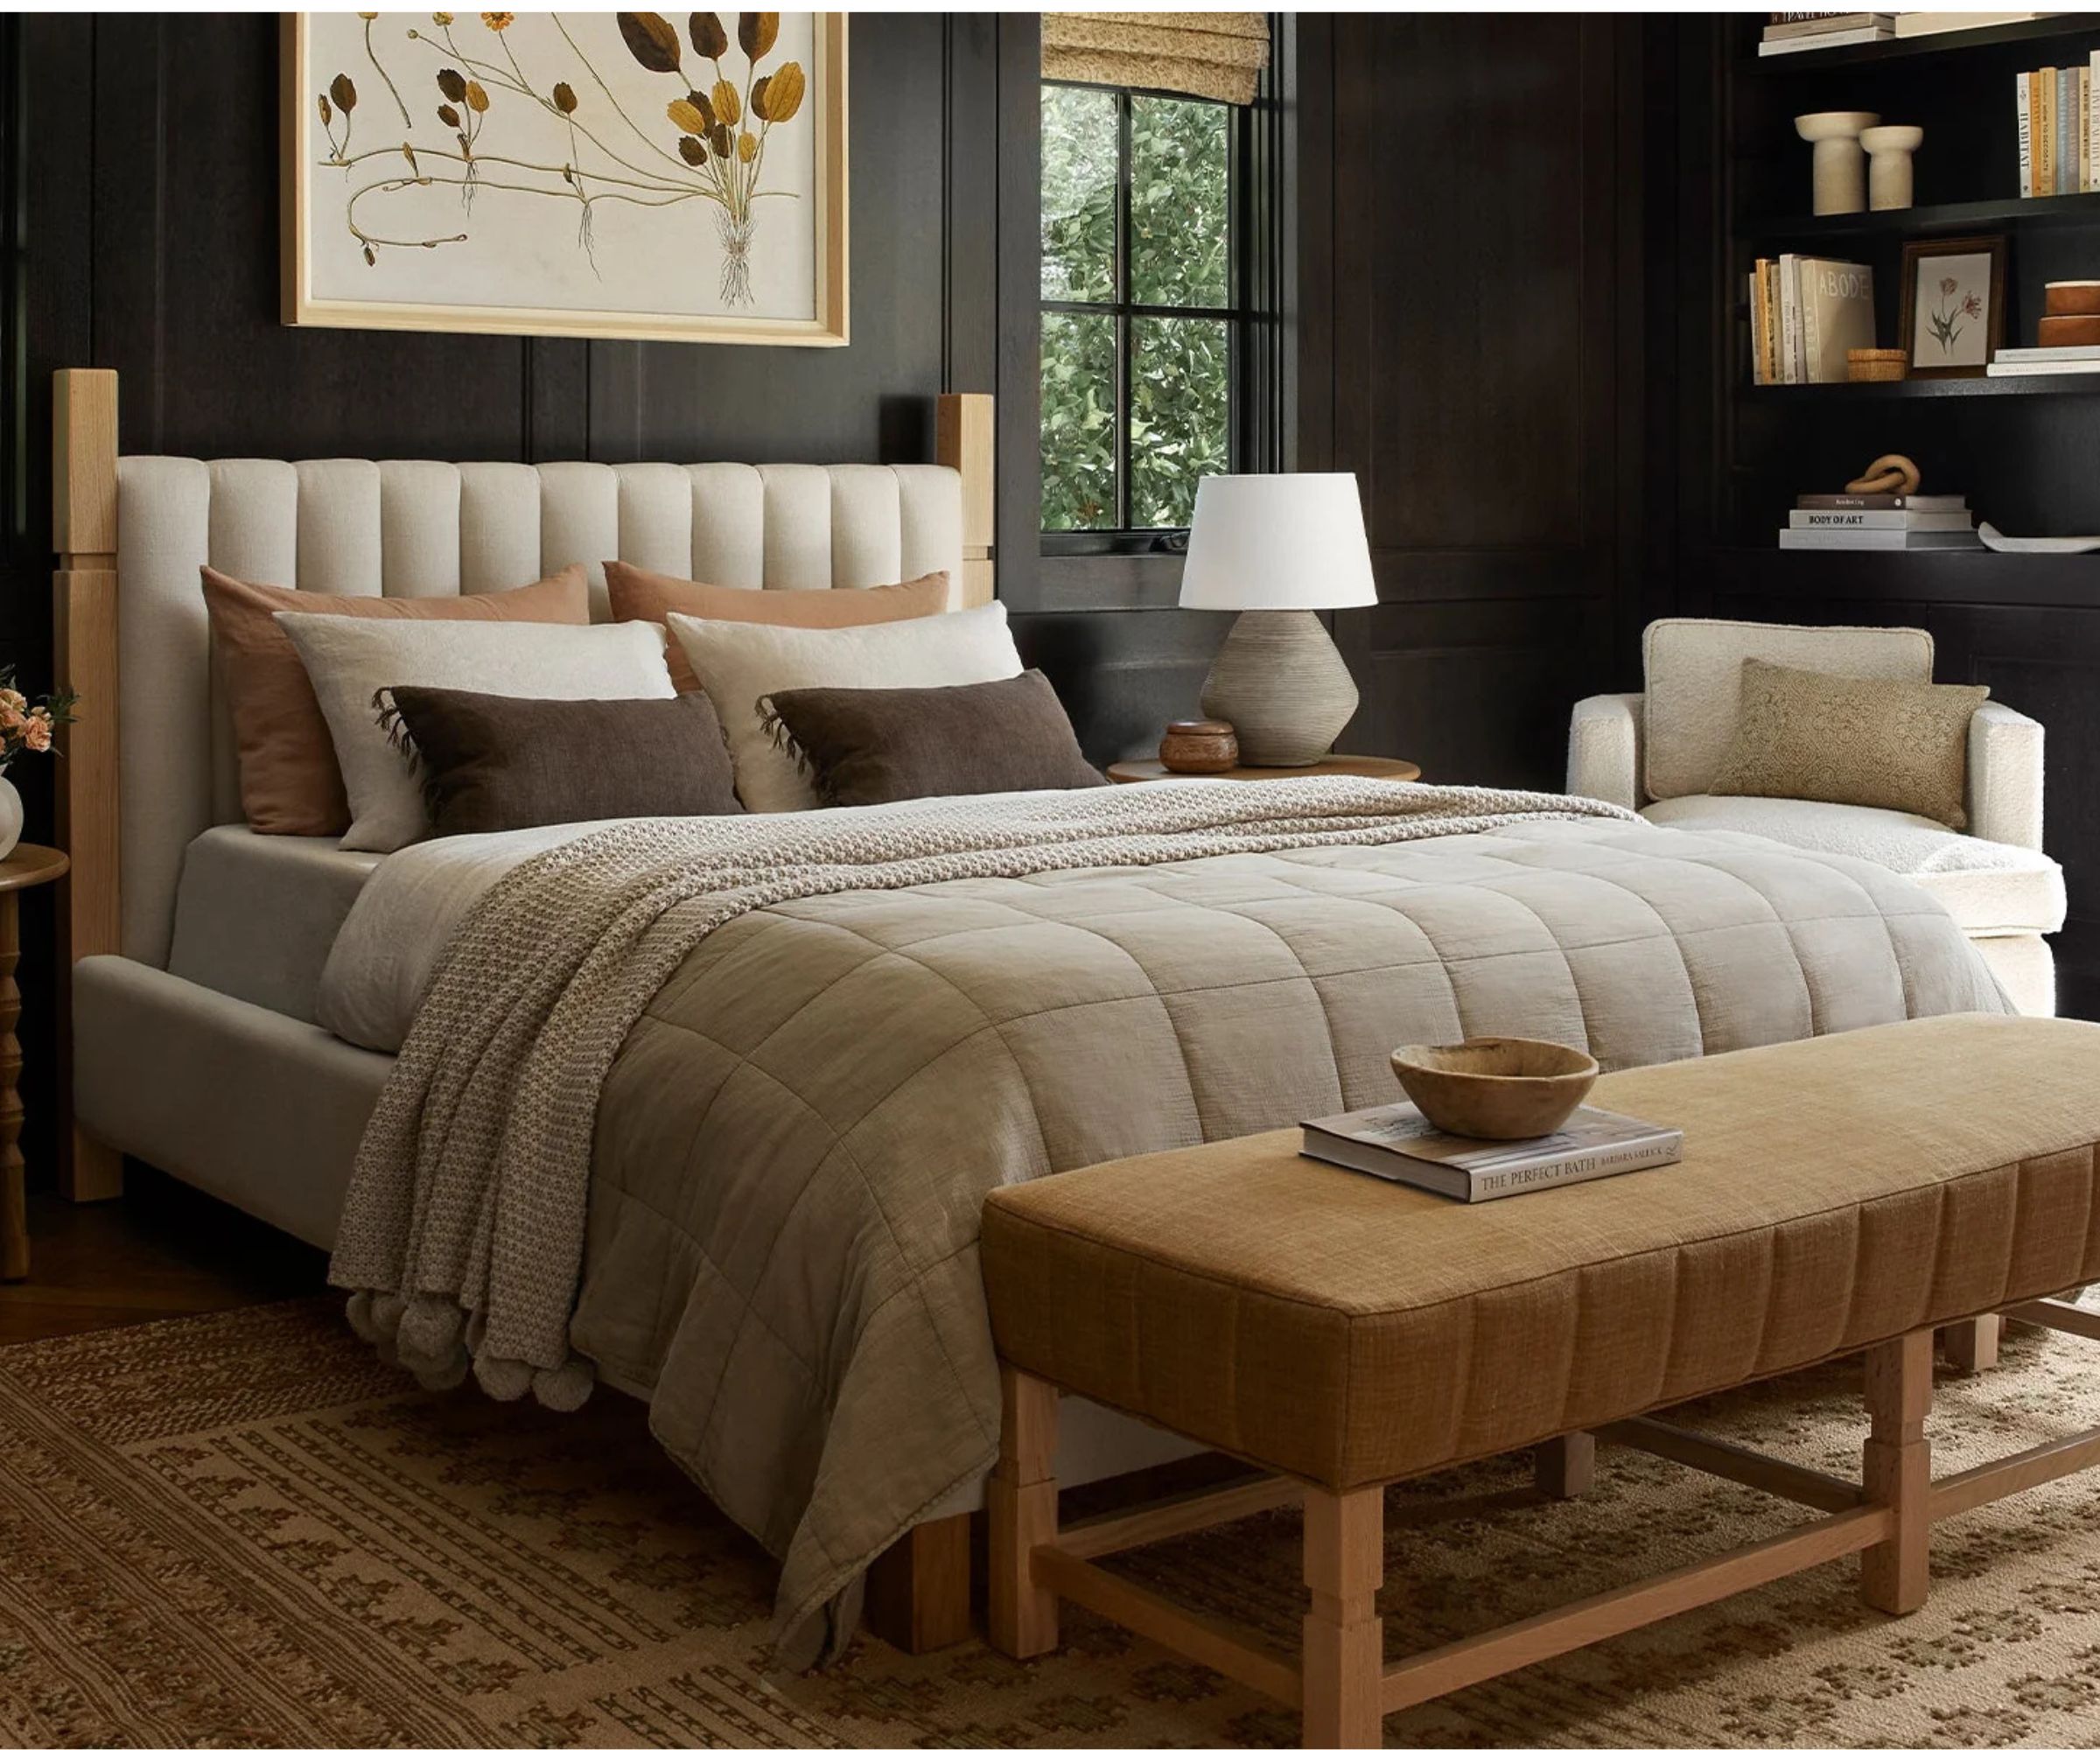
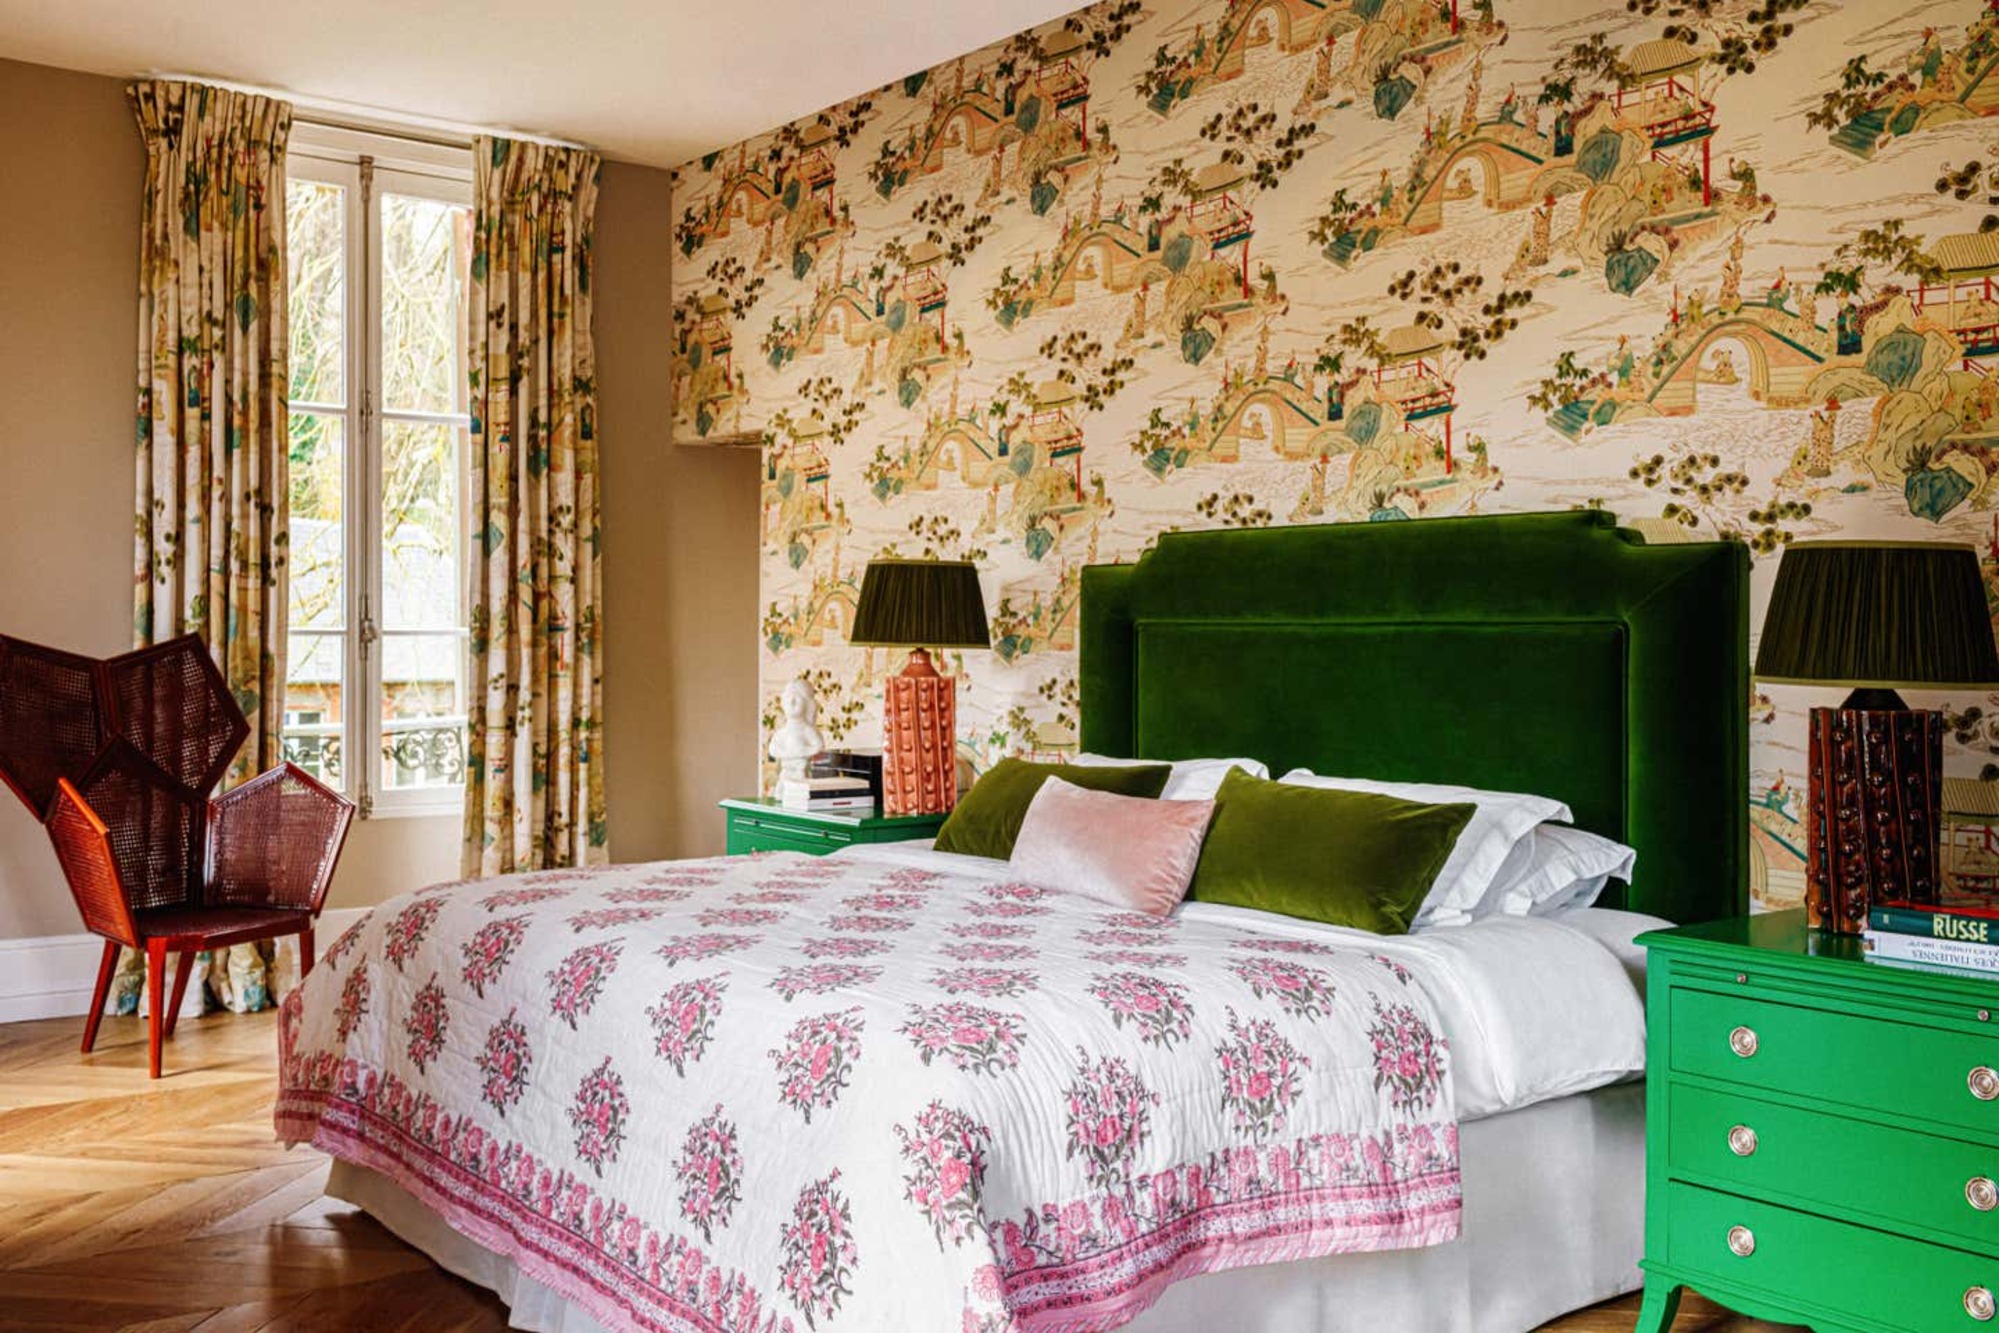
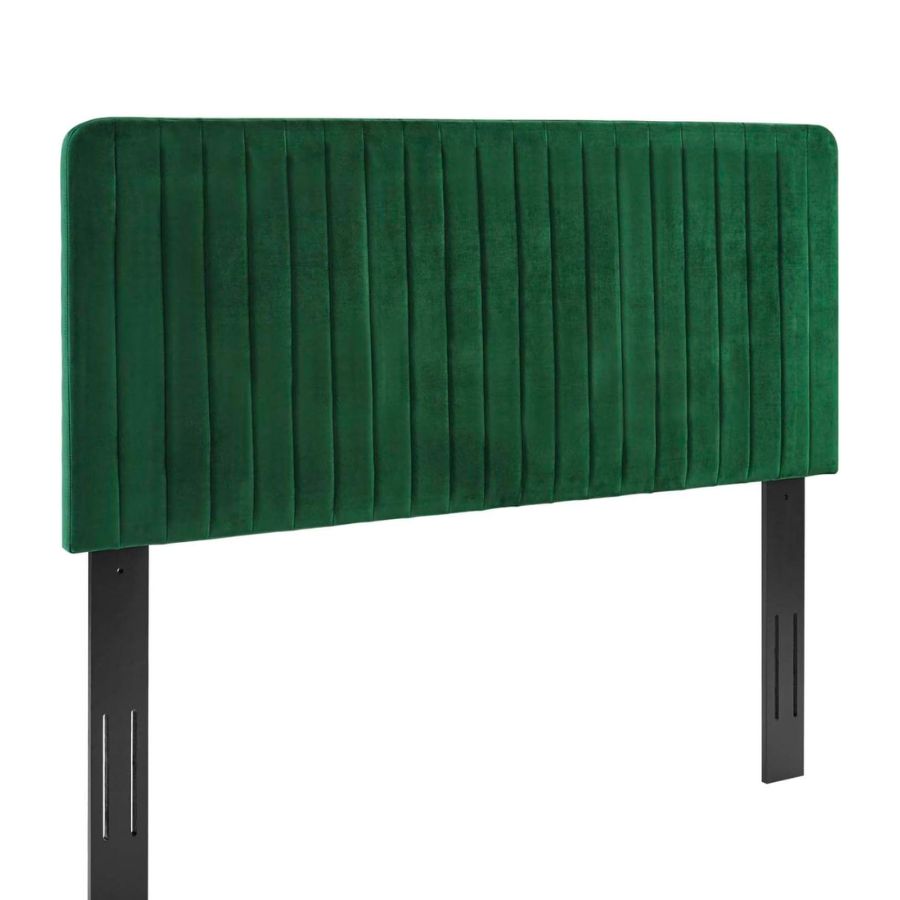
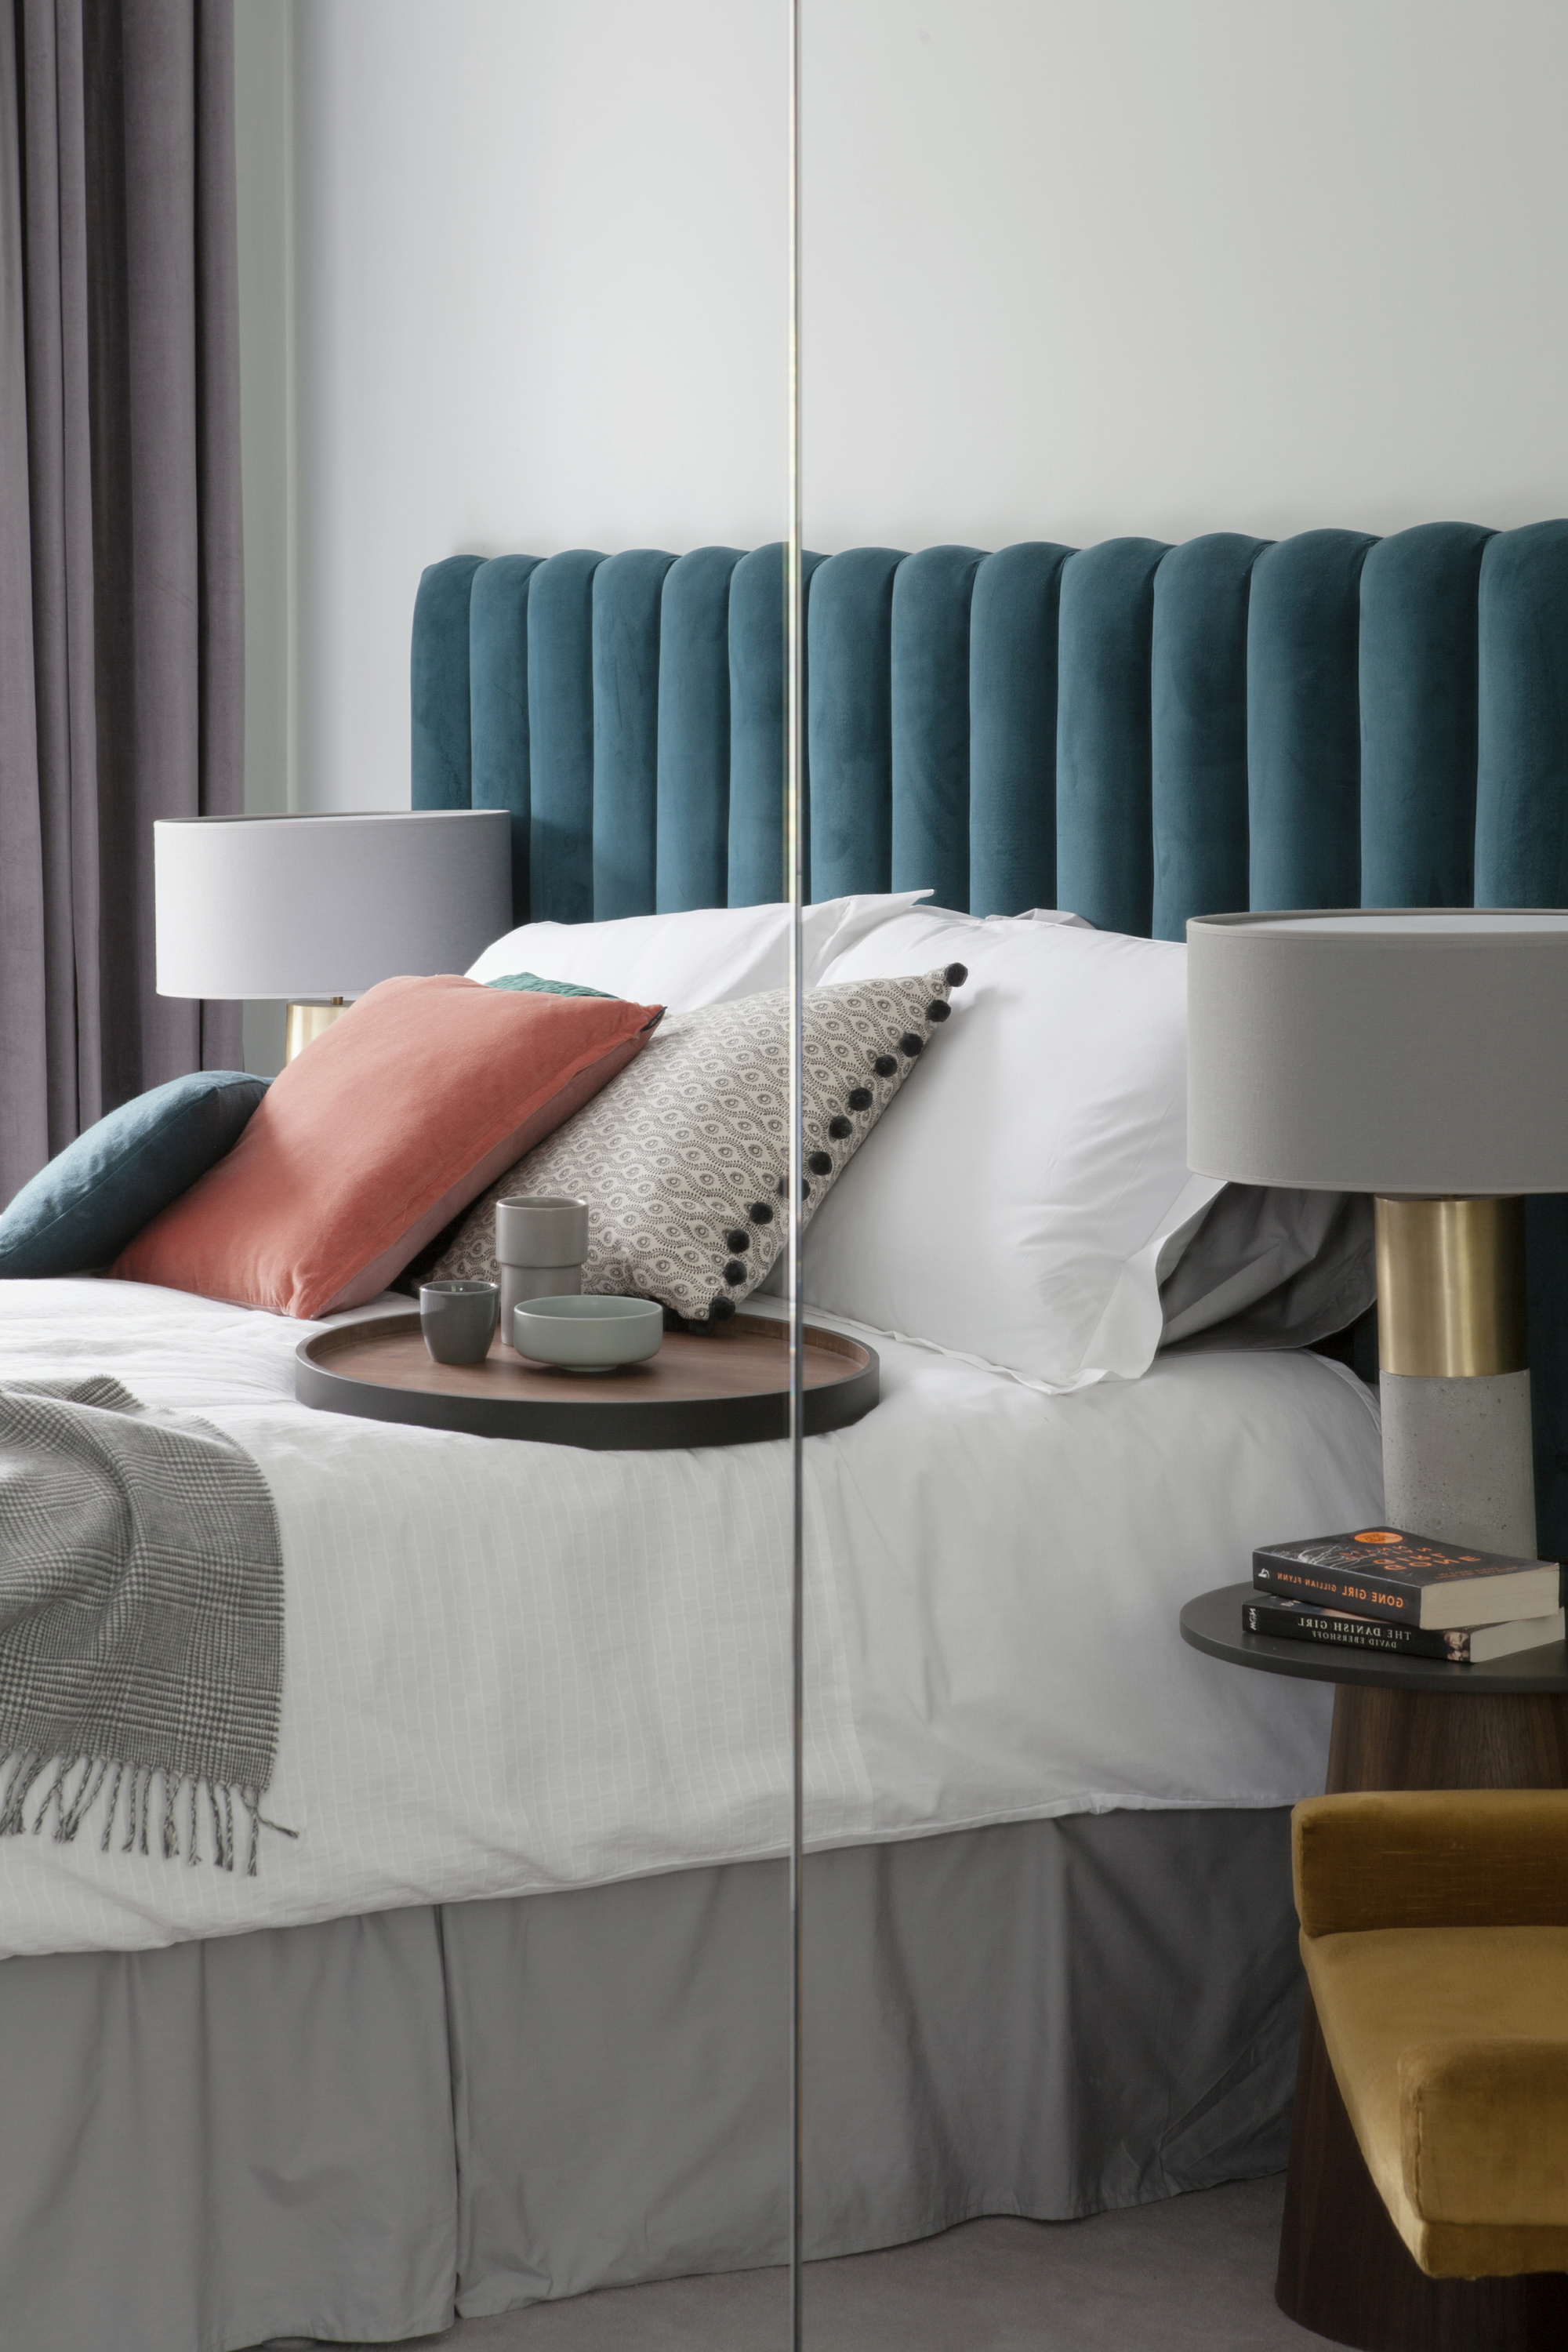
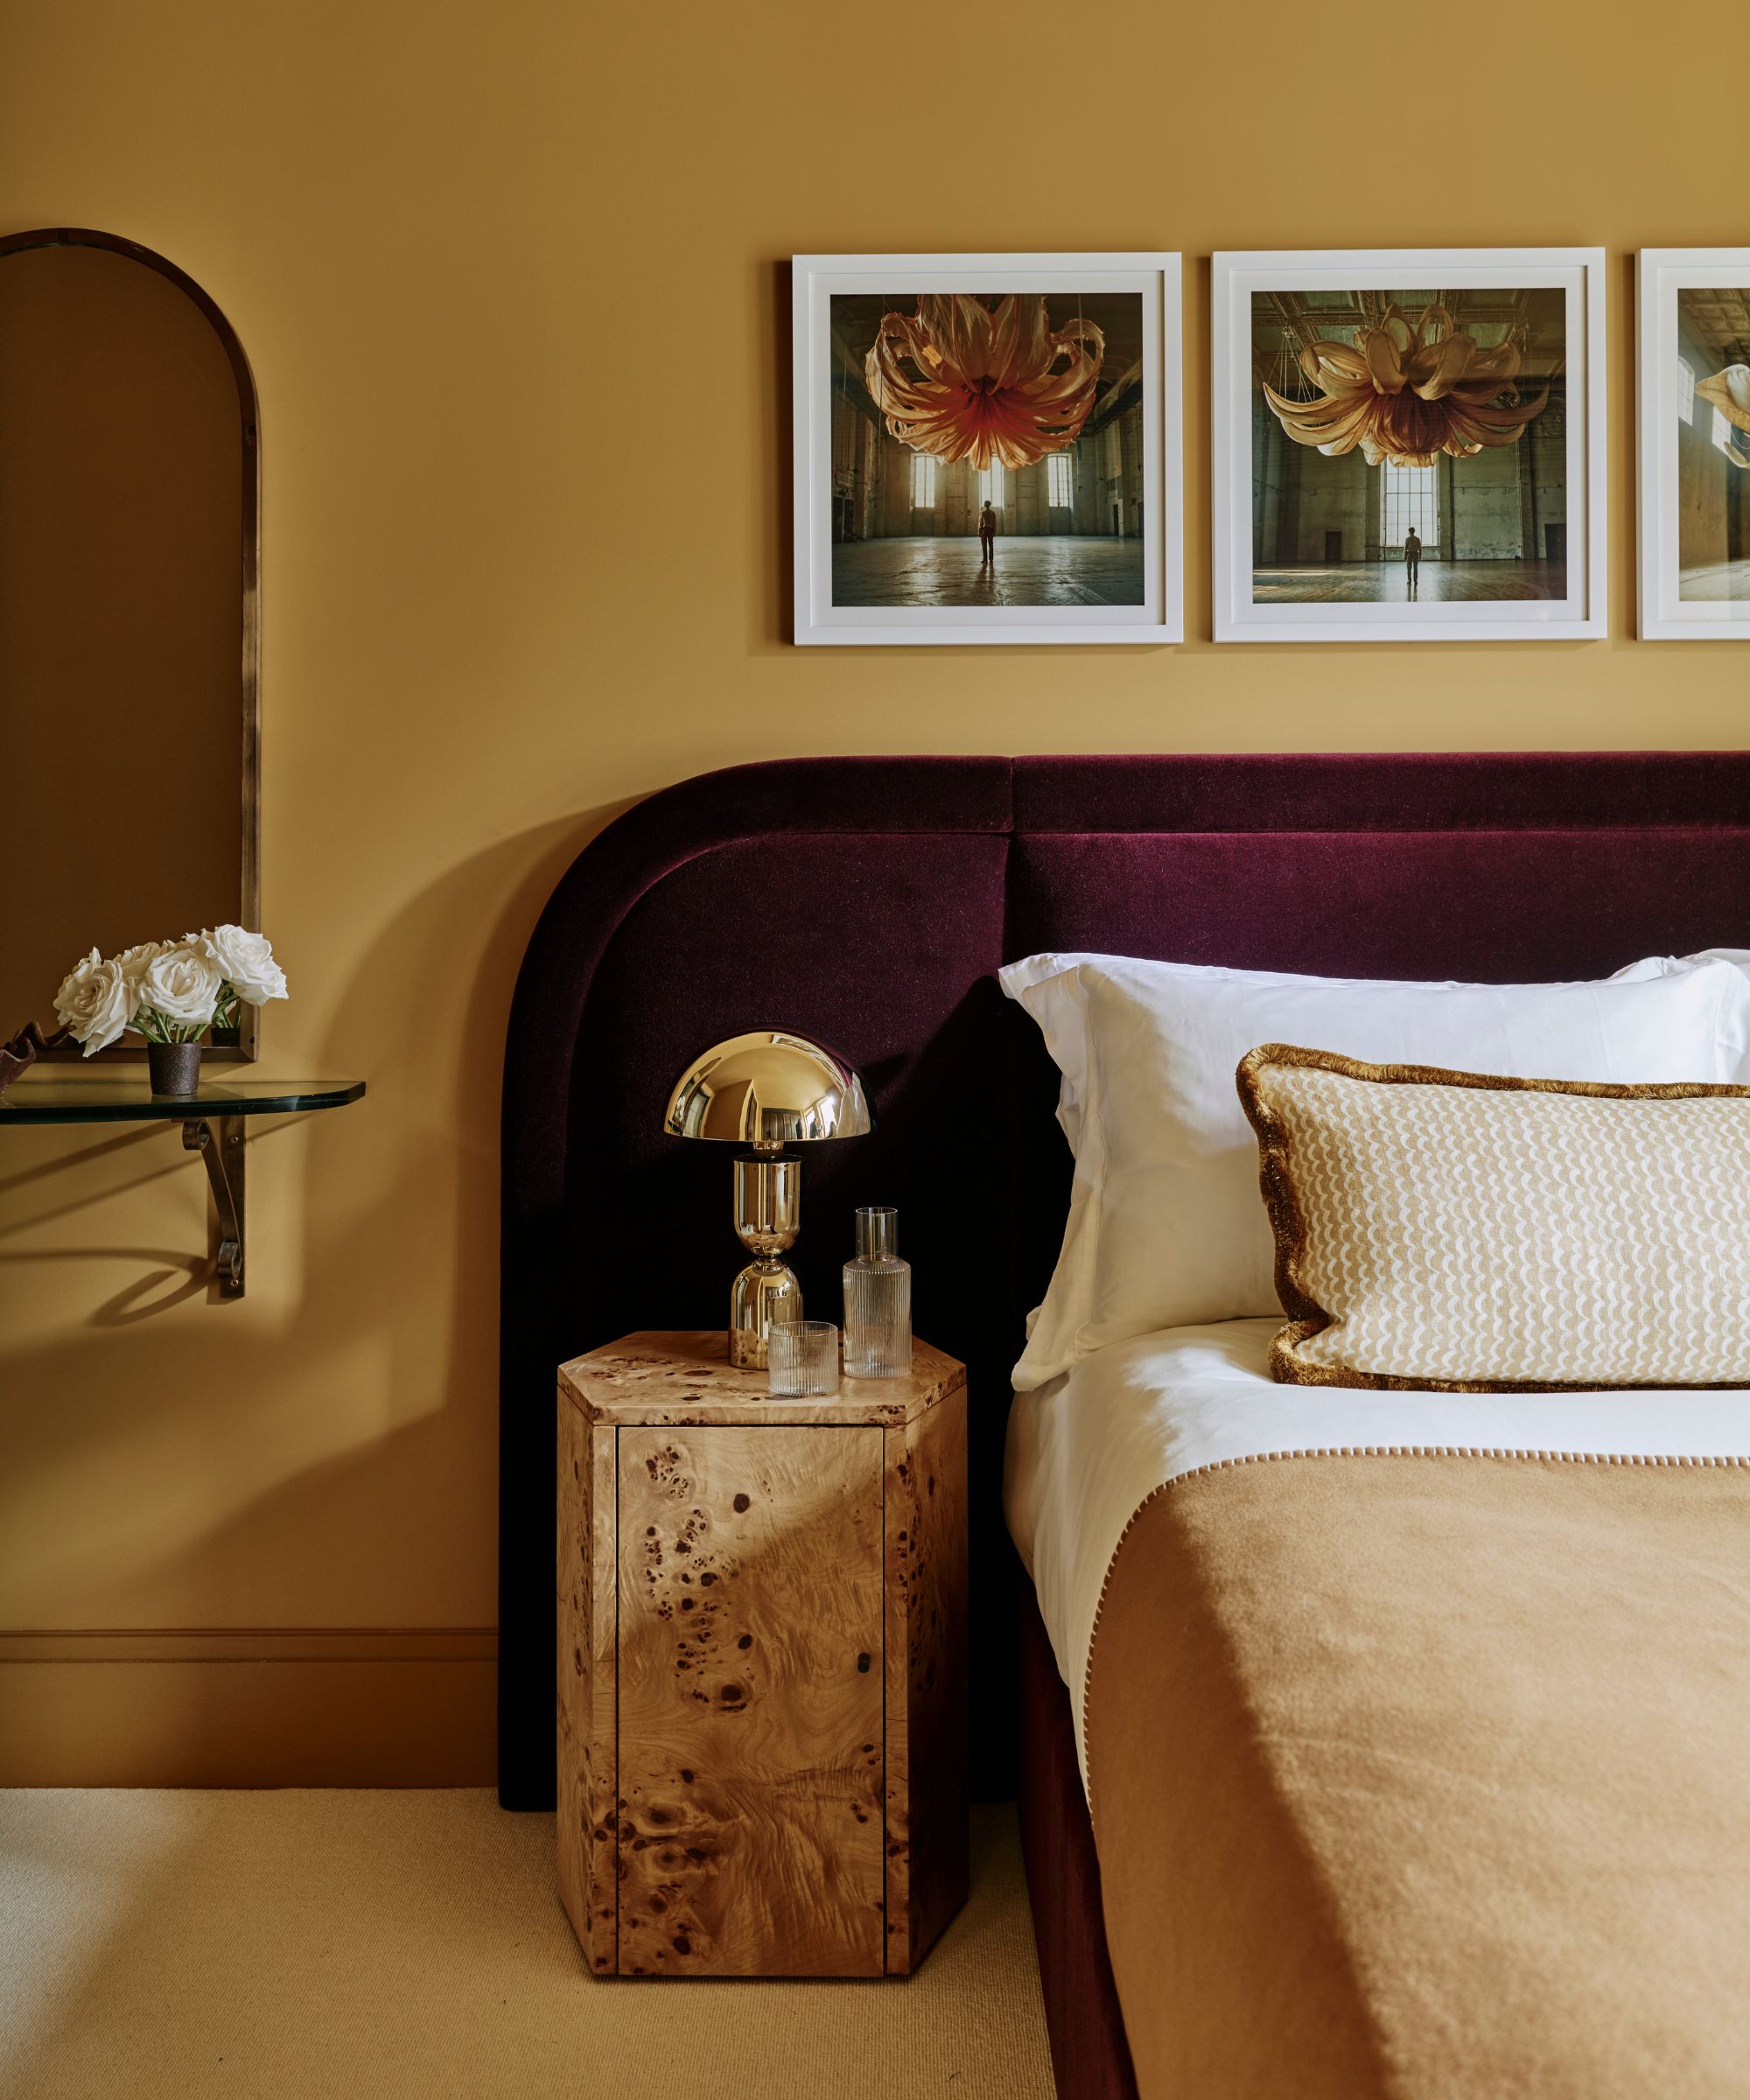
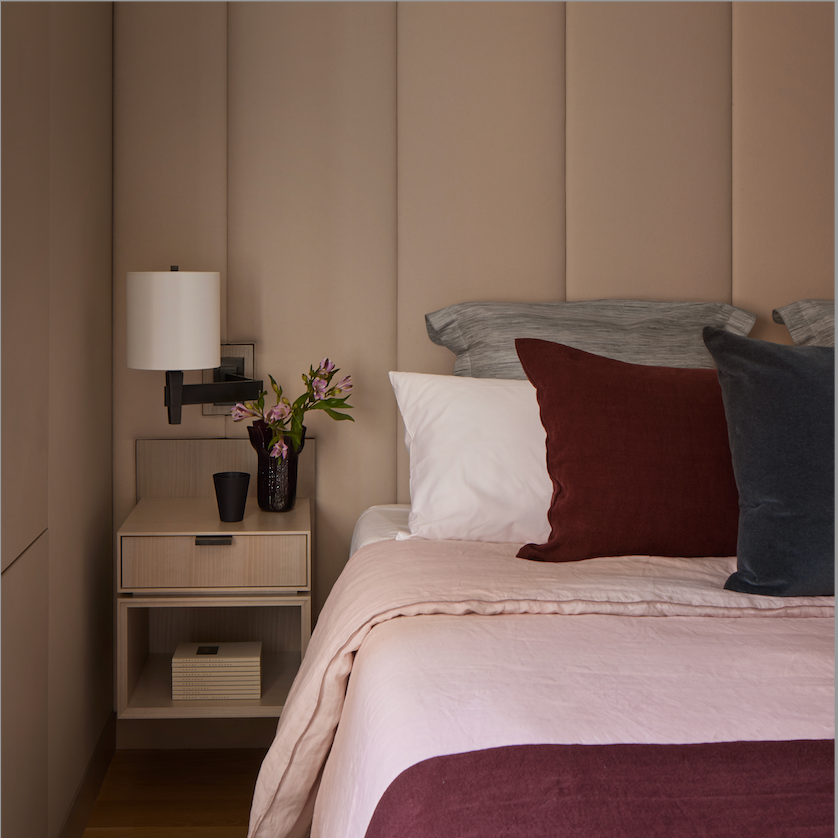
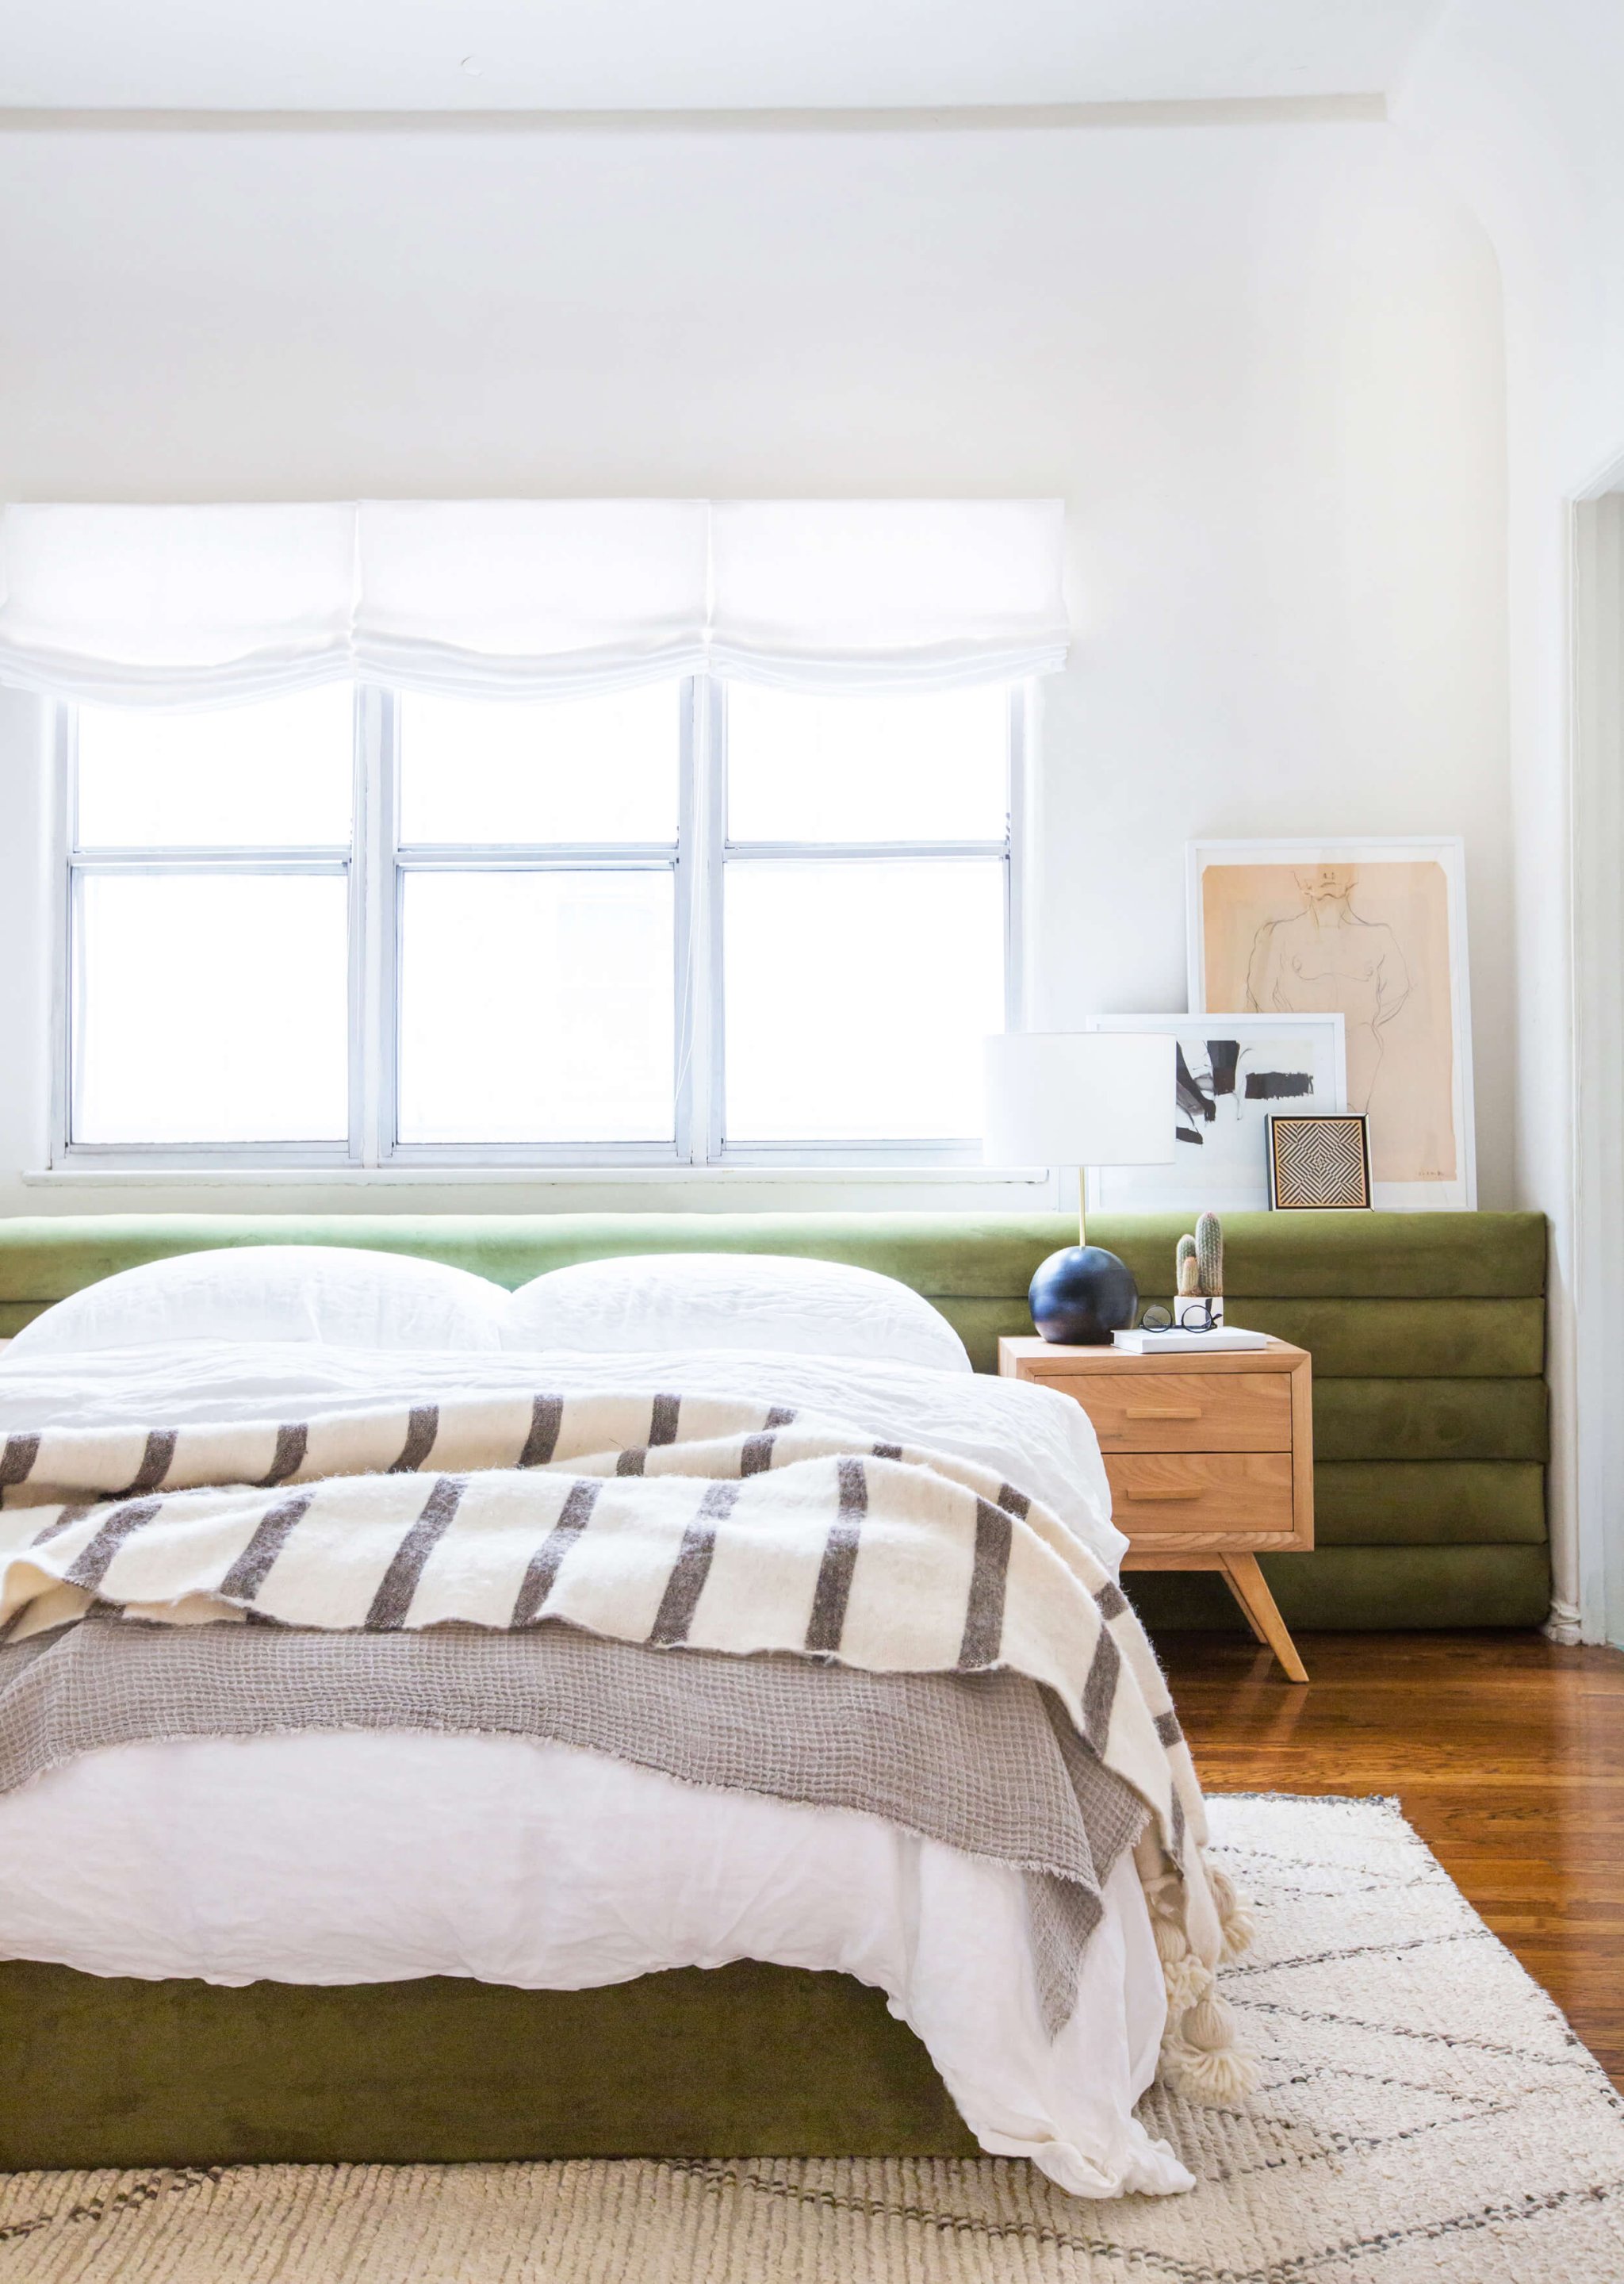
This article discusses the emerging trend of channel-tufted headboards in bedroom design and provides a DIY guide for creating one. It highlights the satisfaction of crafting something from scratch, contrasting it with the experience of online shopping for furniture. The piece references a notable bedroom transformation by LA-based designer and creative director Brady Tolbert, shared on Emily Henderson’s site, which featured a sumptuous, wall-spanning, velvet channel-tufted headboard constructed in half a day. Tolbert chose moss green velvet for its luxurious yet inviting and neutral qualities. His project gained significant attention on Pinterest, inspiring others, including blogger Jessica McGurn of Bright Green Door, to create their own versions, such as a faux leather channel-tufted headboard.
McGurn emphasizes empowering individuals to undertake DIY projects to create a beloved home on a budget. Both McGurn and Tolbert share their methods for crafting these headboards, detailing the necessary supplies and steps. Their budgets for the project were similar, with McGurn's totaling $318 and Tolbert's just under $500. Foam bolsters are identified as the most expensive component if using an affordable fabric. Essential materials include foam bolsters, liquid nails, a staple gun, wood boards, screws, a screwdriver/drill, hi-loft batting, fabric (7-8 yards recommended), an electric knife, scissors, and optional mounting brackets.
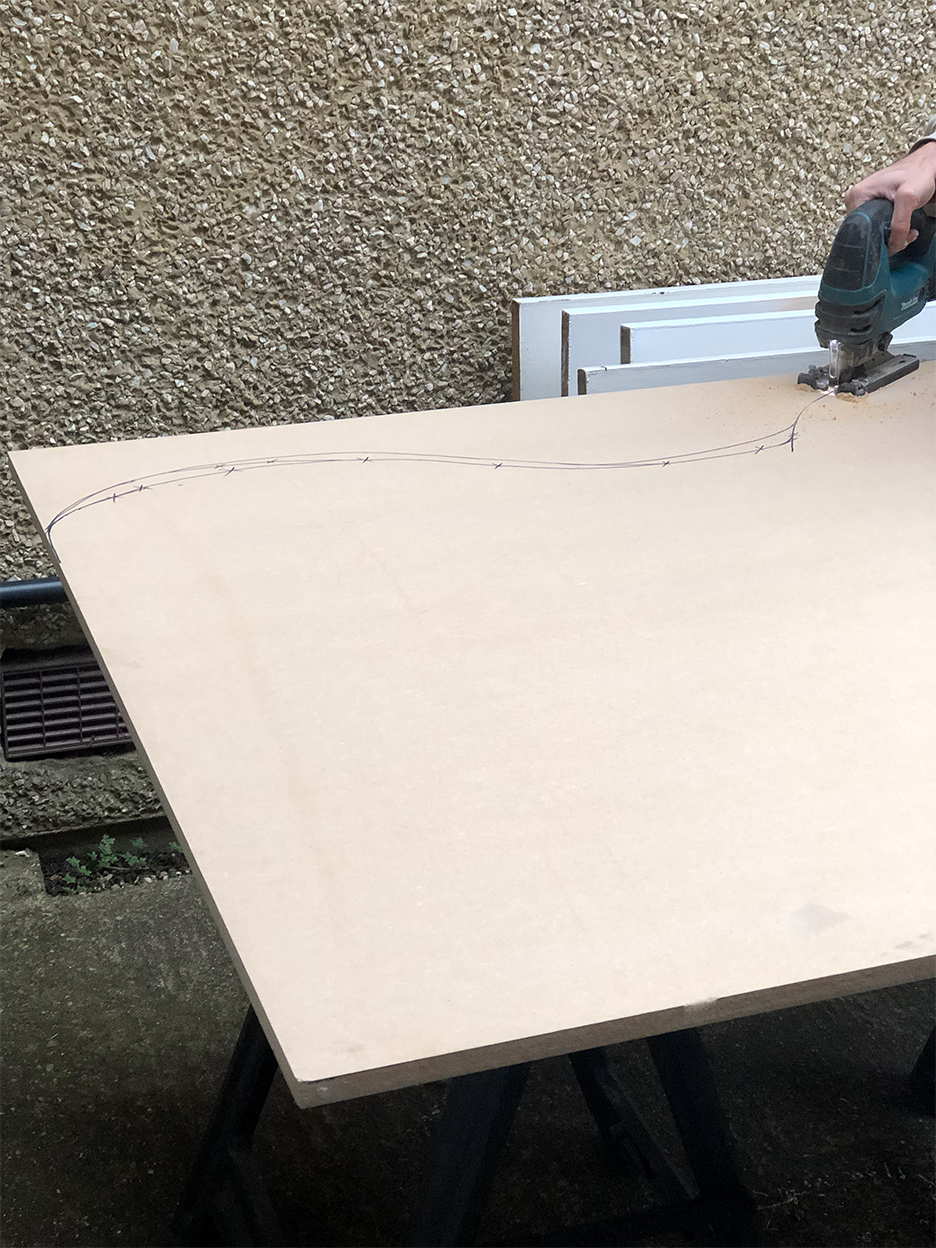
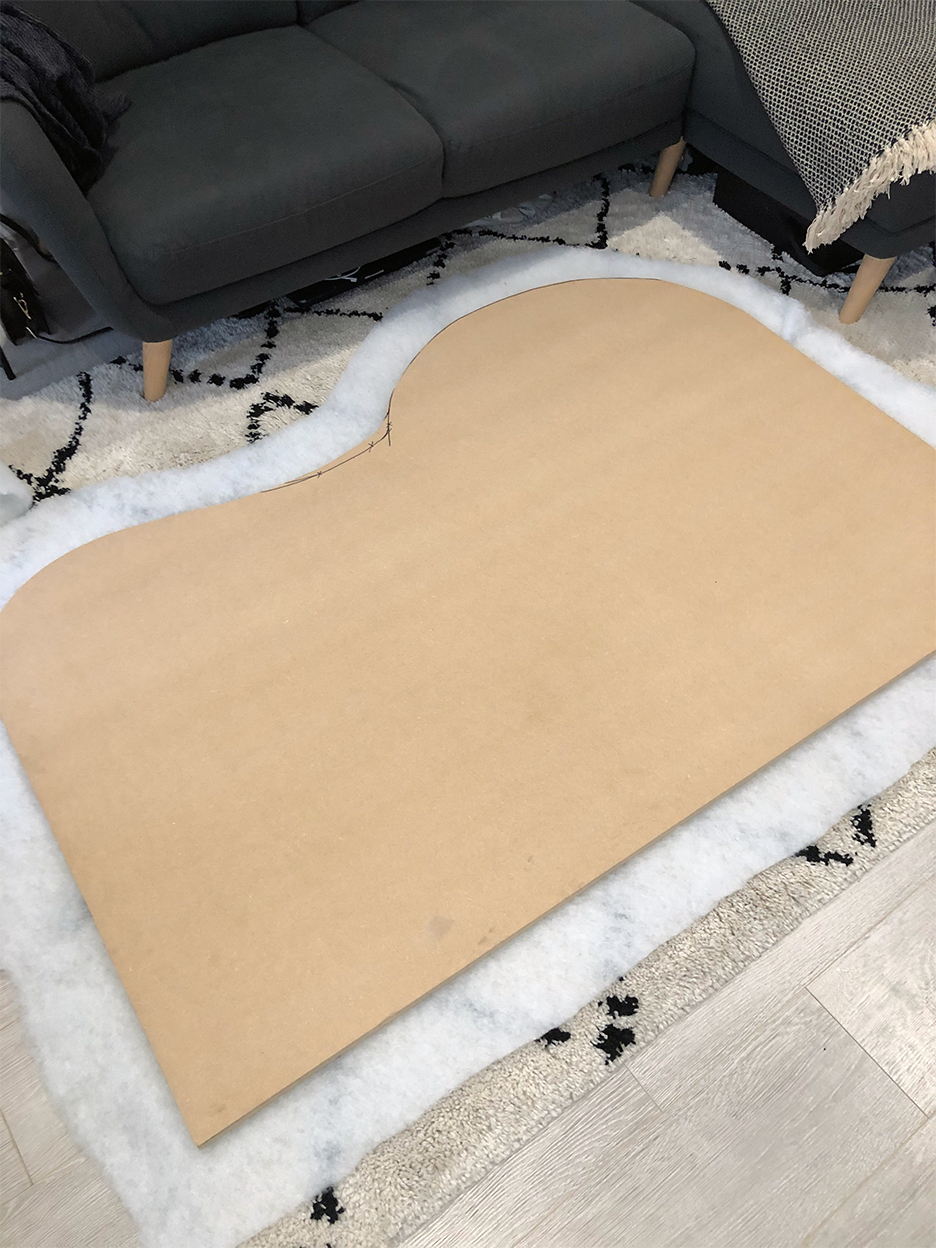
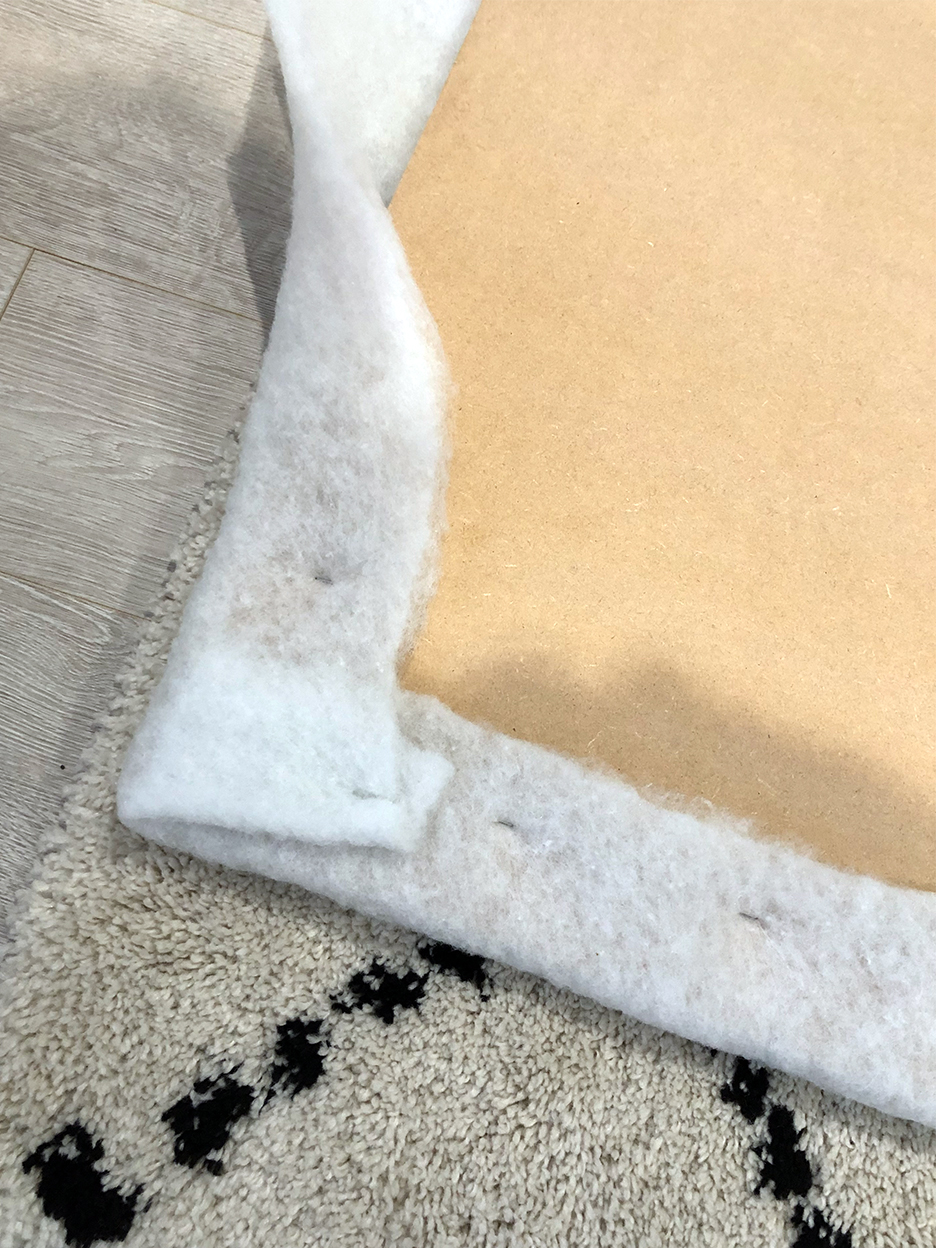
The initial step involves cutting materials to size, which primarily includes wood boards and fabric. The article notes that foam bolsters might already be pre-cut. Fabric should be cut with sufficient excess to wrap around the back of the board, and wood boards can be cut at home improvement stores for convenience. The next phase instructs on folding and stapling the fabric. This involves applying liquid nails to one side of the wood boards, adhering the foam, laying down the fabric, then the batting, and finally the foam board. The fabric is then pulled tautly around to the back and secured with a staple gun.
The most intricate part of the process, according to both designers, is locking the tufts in place. Tolbert connected individual channels with strap ties, while McGurn screwed her boards to a piece of plywood, stressing the importance of ensuring each channel is tight against the next to avoid gaps. McGurn added leather scraps to the plywood sides to conceal exposed wood. For those choosing a freestanding headboard, like Tolbert's, it's advised to be prepared for the significant weight once assembled, noting that a large headboard often requires two people for installation, even if one person attempts it alone. The article concludes by directing readers to McGurn’s full tutorial on Bright Green Door and Tolbert’s how-to on Emily Henderson’s site for more detailed instructions.
#ChannelTuftedHeadboard #DIYHomeDecor #BedroomDesign #HomeRenovation #InteriorDesign #CreativeProjects #BudgetDecor #TextileCraft #FurnitureDIY #ChannelTuftedHeadboard #DIYHomeDecor #BedroomDesign #HomeRenovation #InteriorDesign #CreativeProjects #BudgetDecor #TextileCraft #FurnitureDIY
0 comment in total
 No comments yet
You may also like
7 headboard trends to follow in 2025 for a luxurious bedroom refresh

The Biggest Headboard Trends for 2026
Headboard ideas: 10 ways to give your bed some serious style clout
Give your Bedroom an Upgrade With Our Favorite Headboards

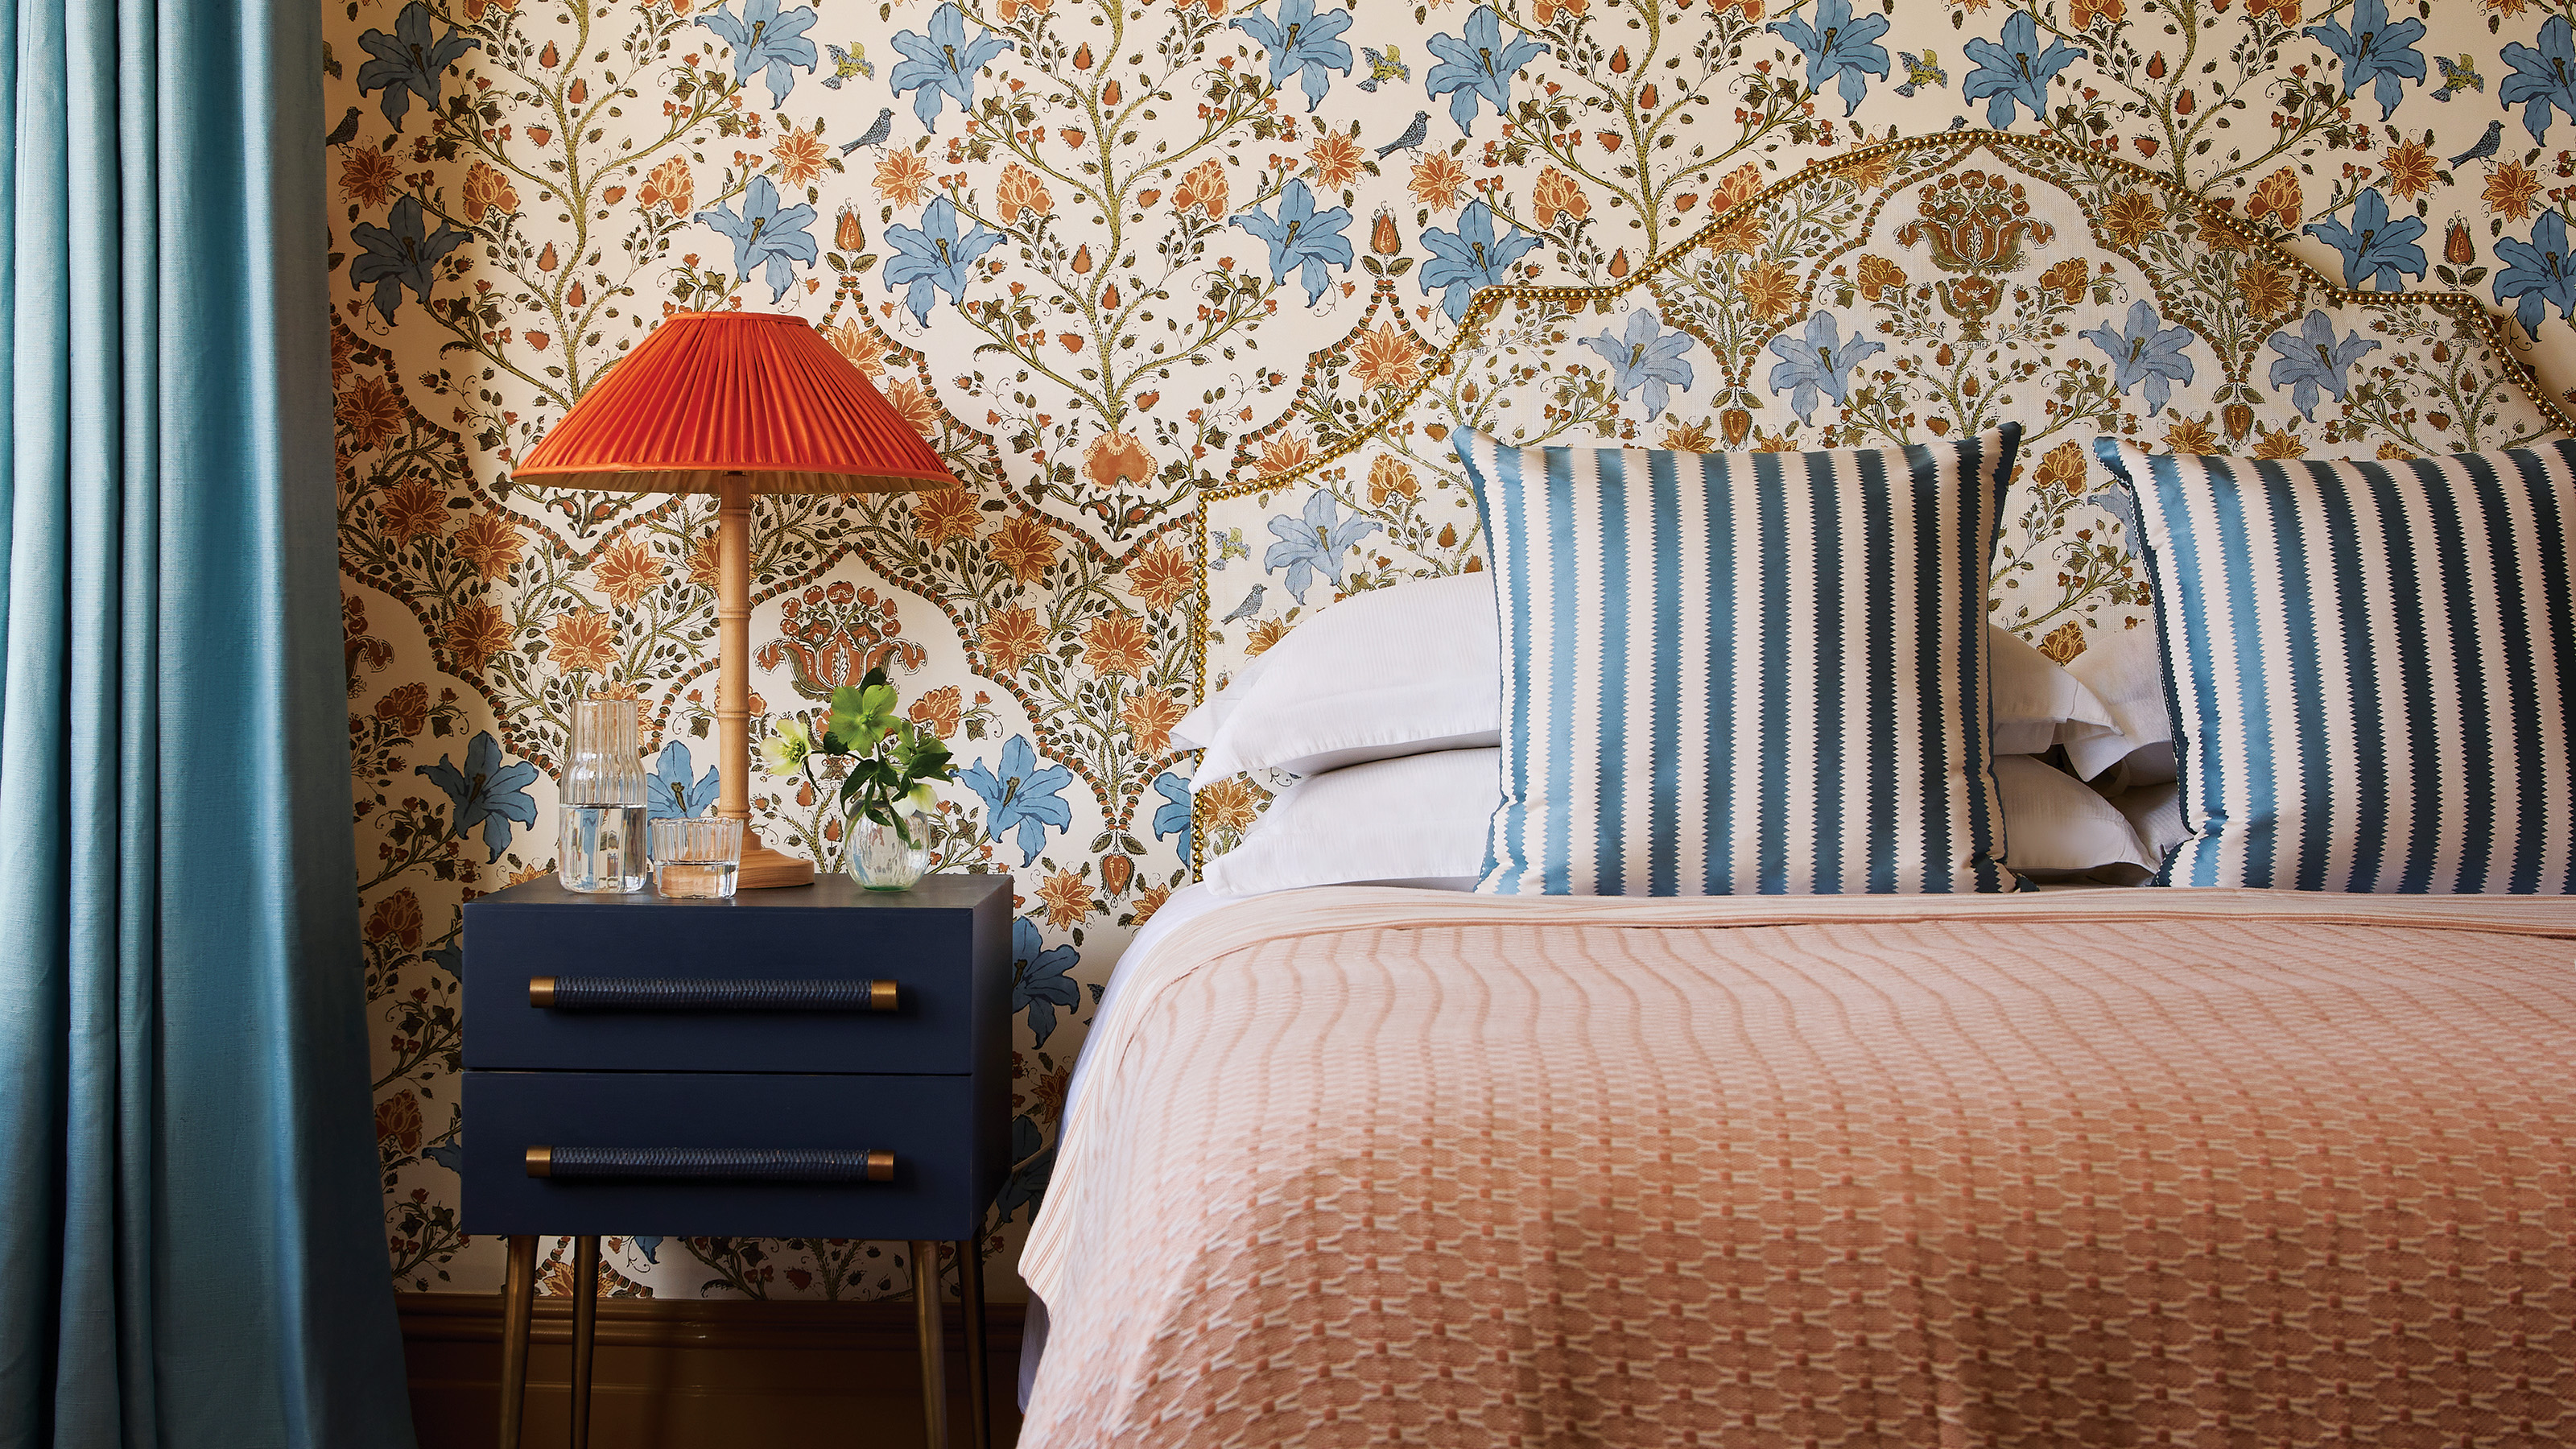
Pattern headboards are making a comeback – how to embrace the trend without making your bedroom look dated

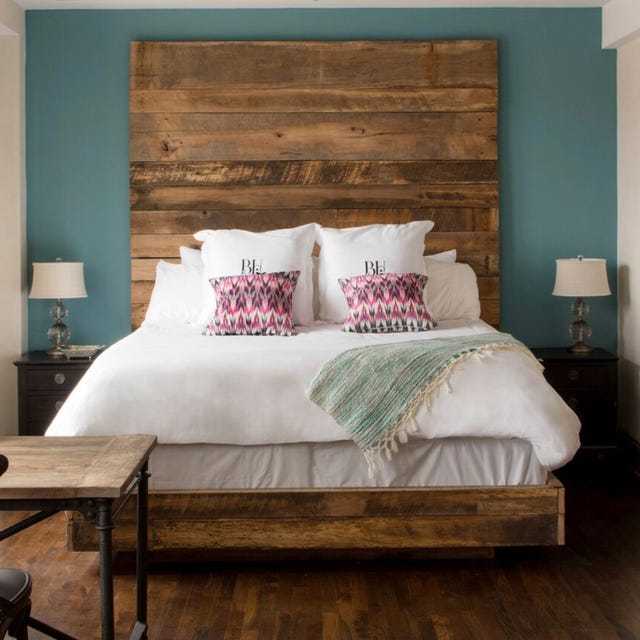
Try These Headboard Ideas to Instantly Update Your Bedroom

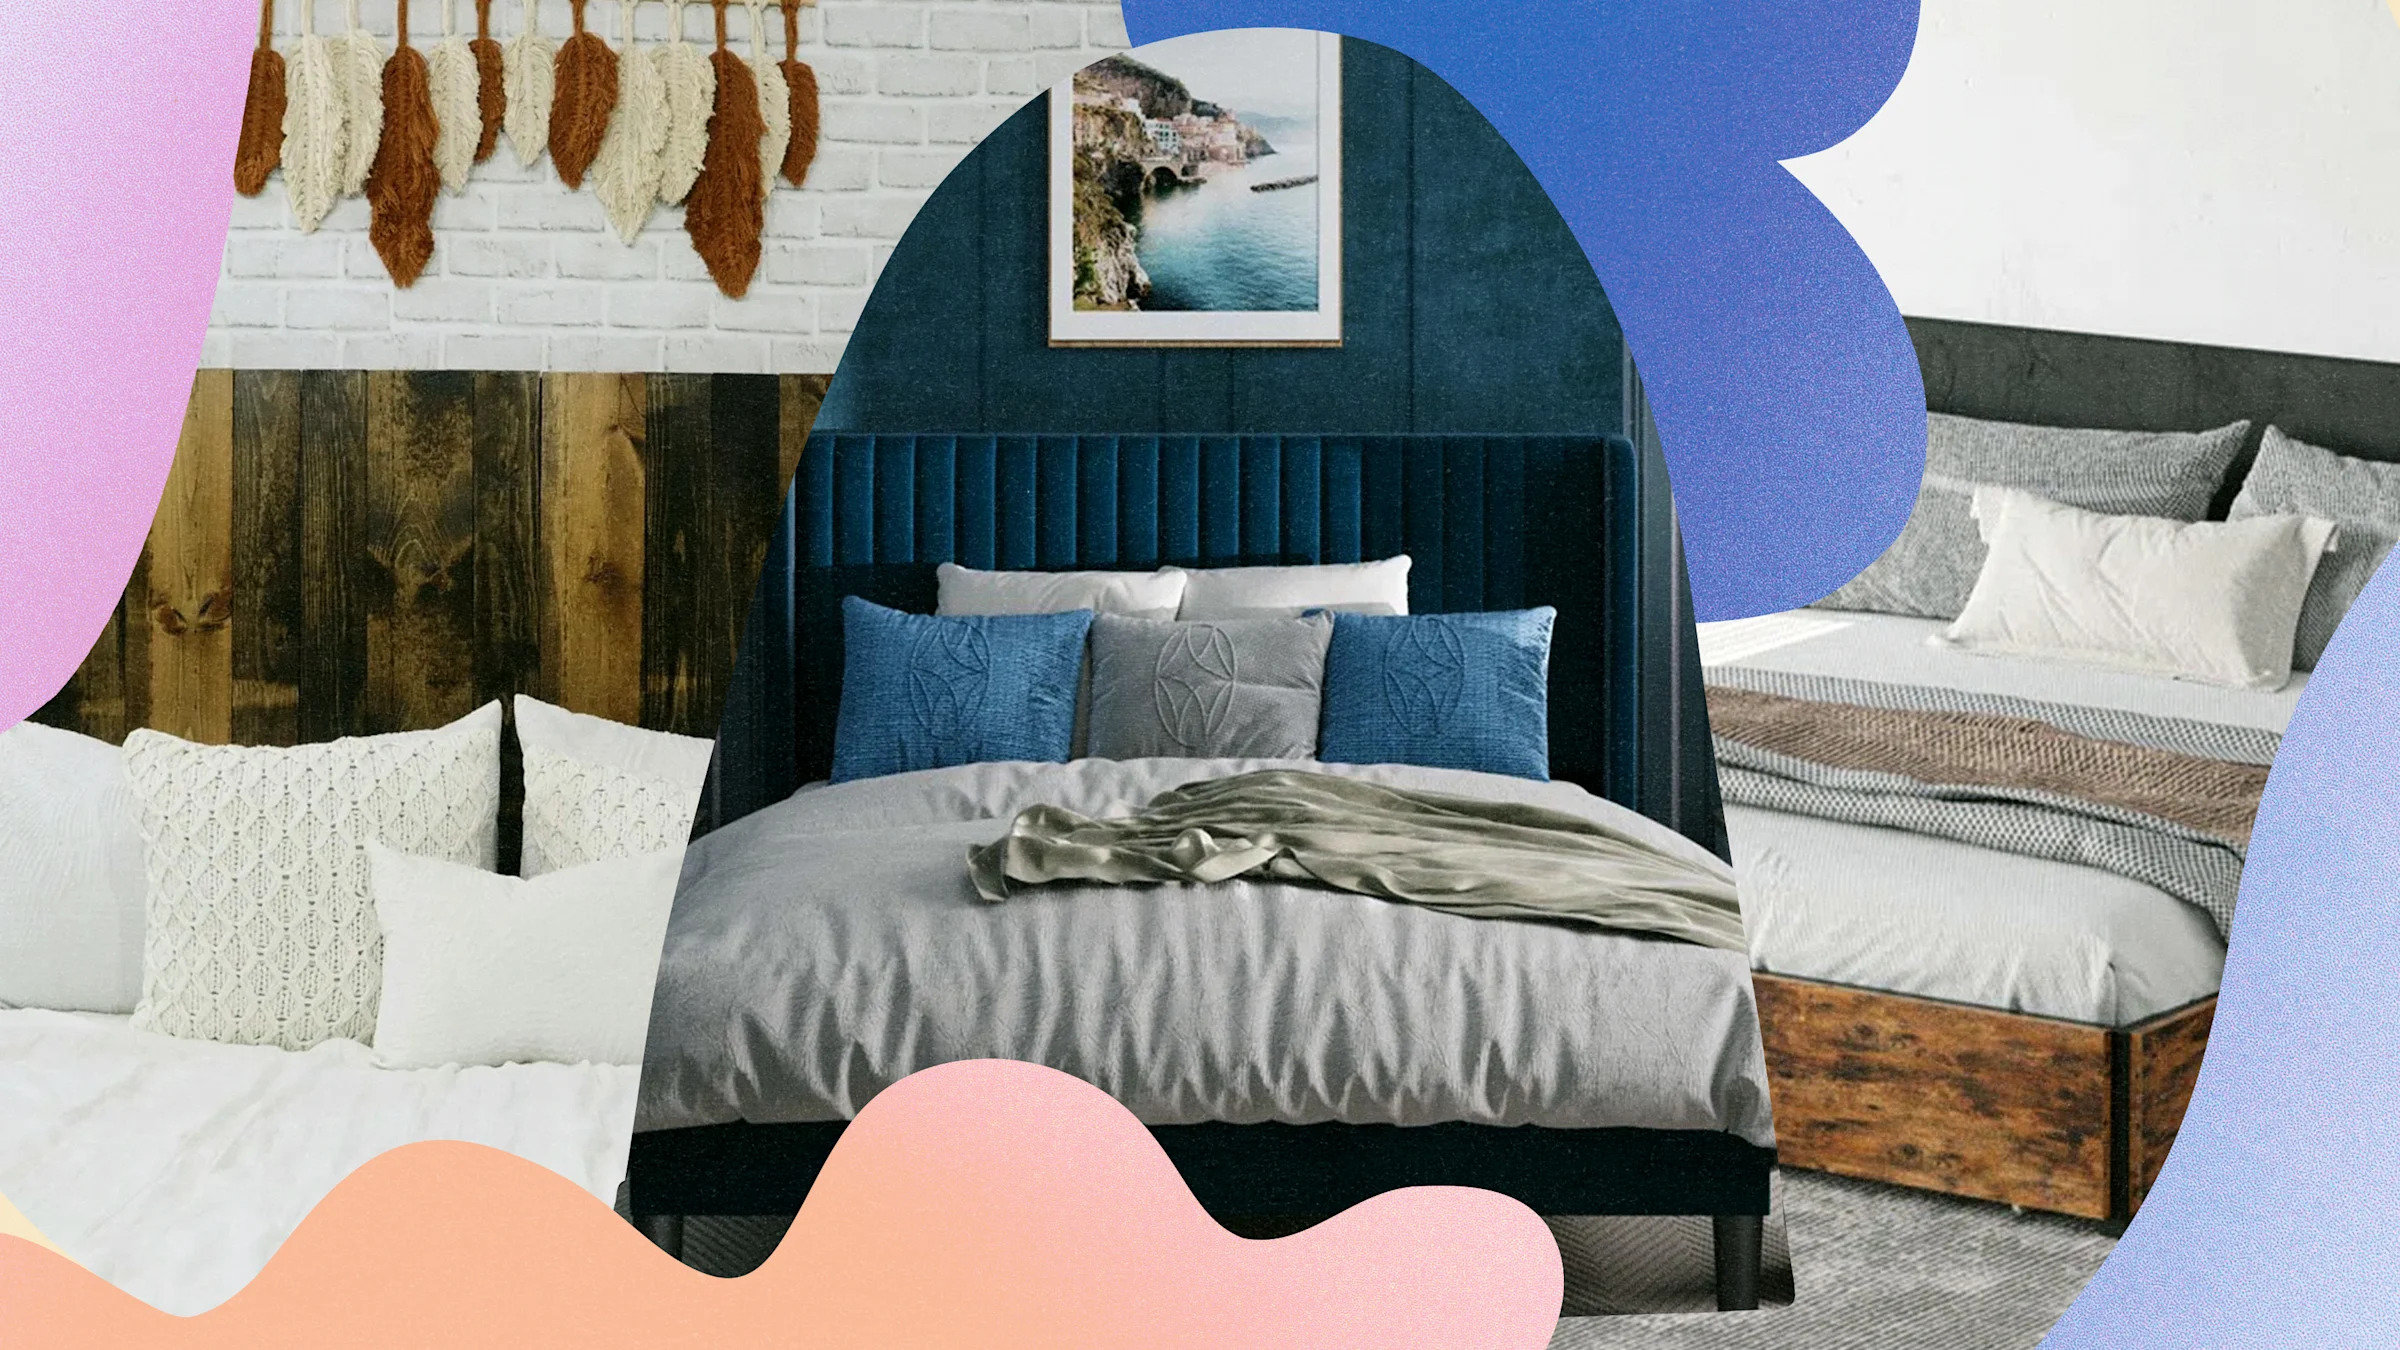
These 2025 Bed Trends Will Make Your Bedroom a True Oasis

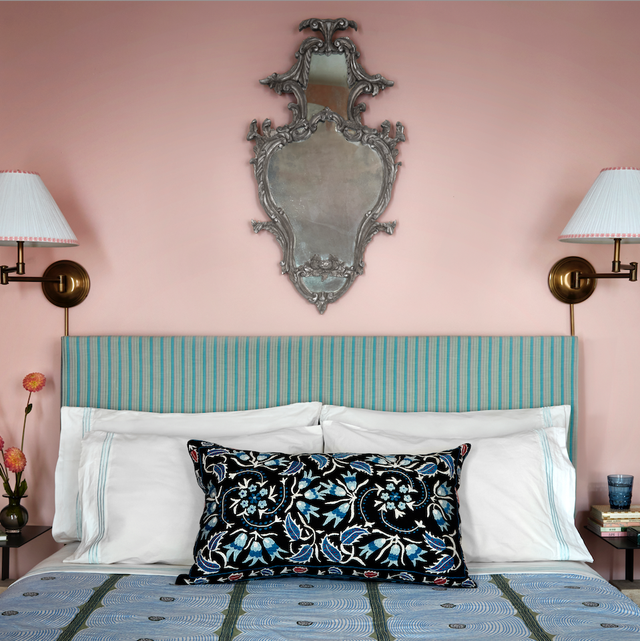
Home Gurus Are Saying These Will be the Hottest Bedroom Trends of 2024
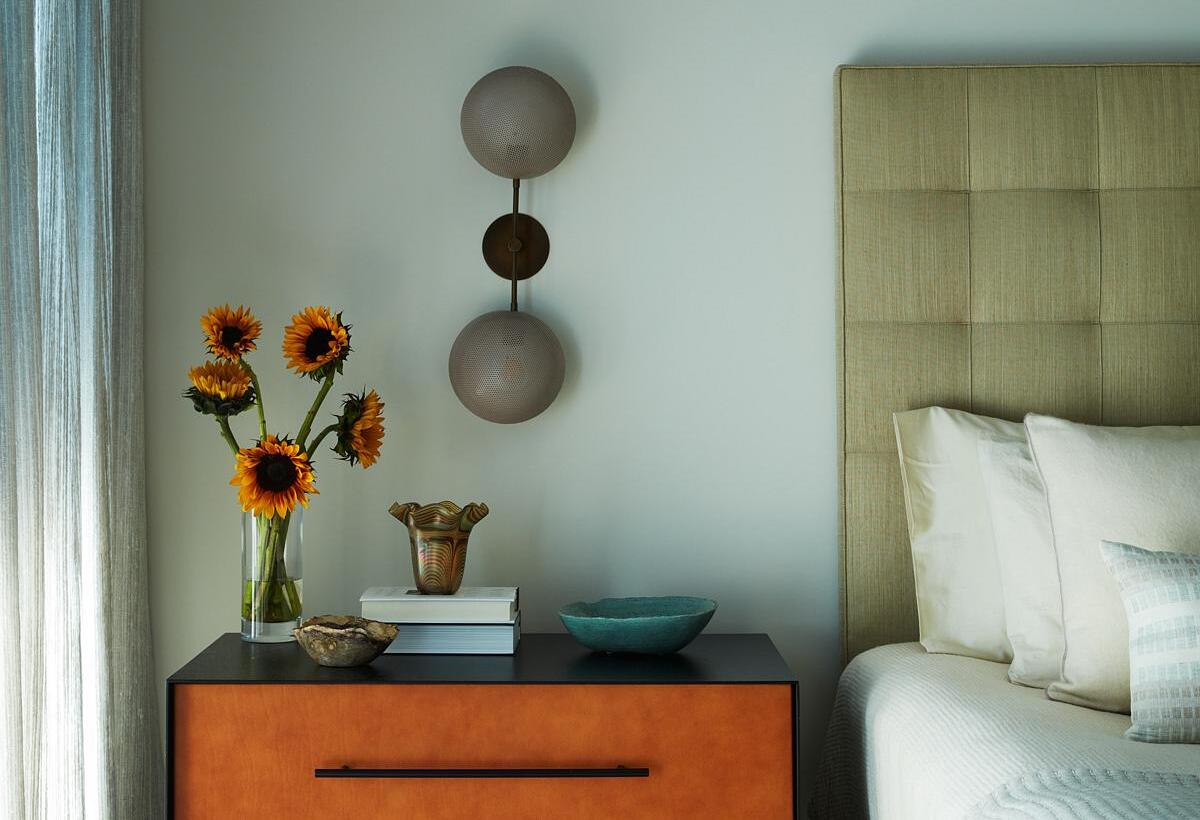
Are upholstered headboards outdated? Here's what interior designers say, and which beds they're choosing in 2023

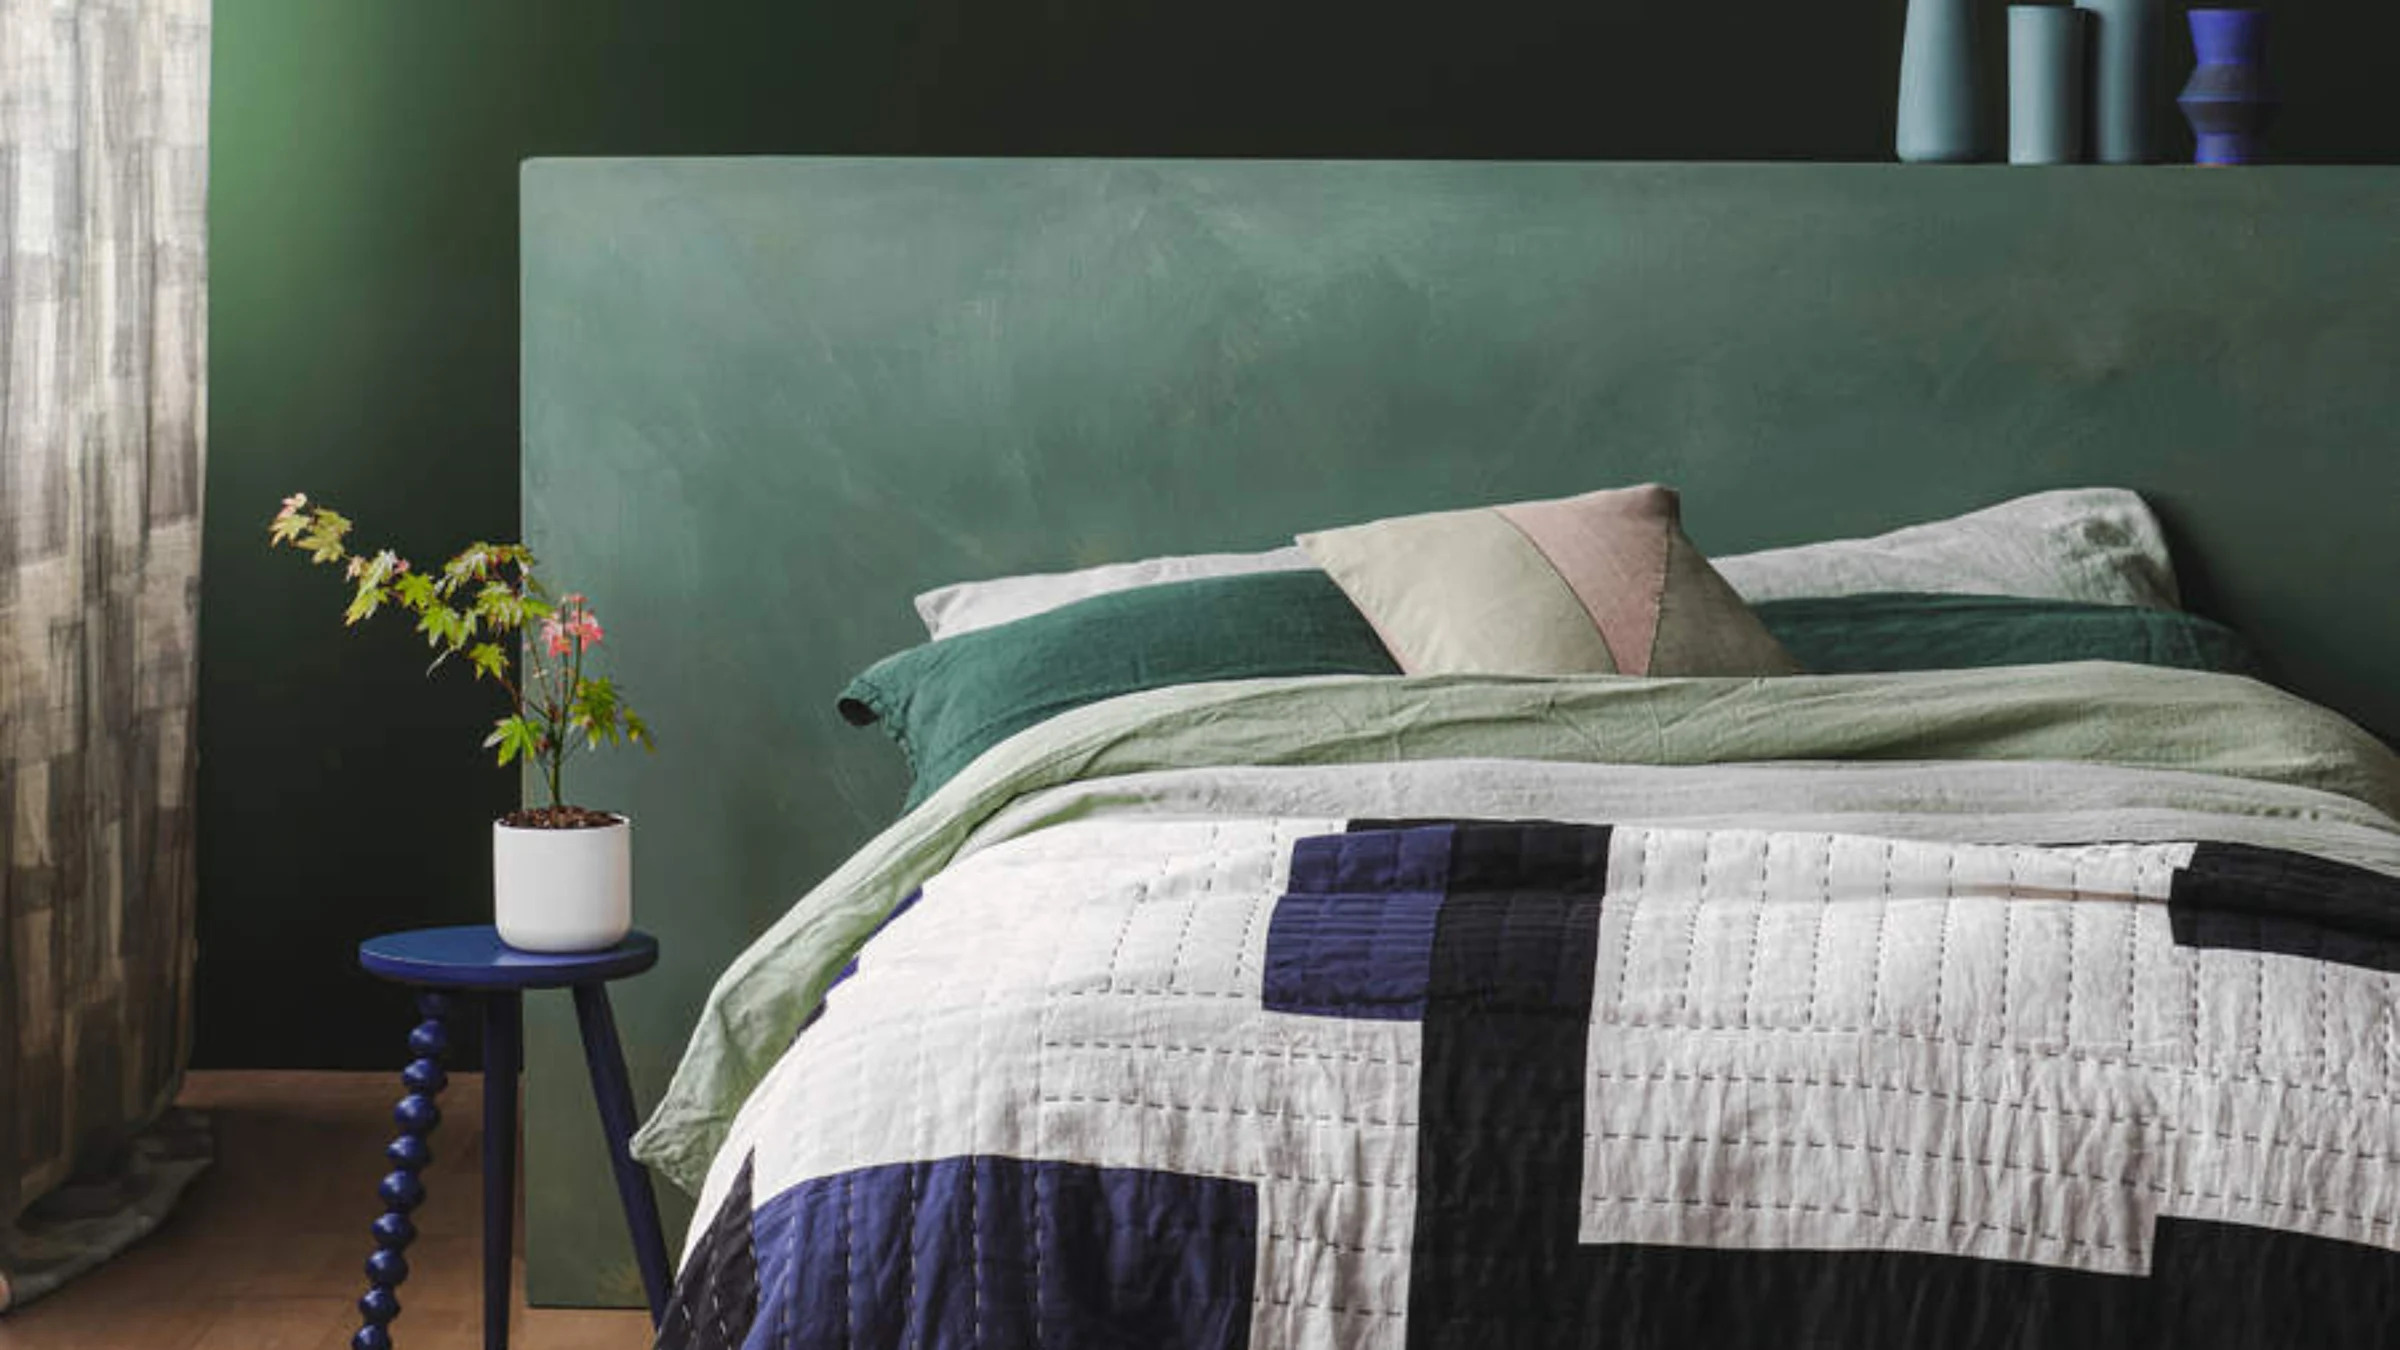
Extended Headboards Are Going to Be Big in 2025 — 5 Reasons Why They Make Every Bedroom Look Bigger, Better and More Expensive
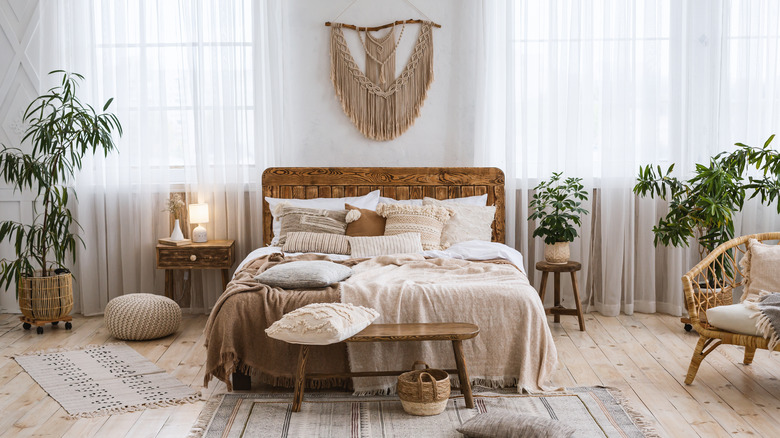
29 Statement Headboards For Your Bedroom Accent Piece
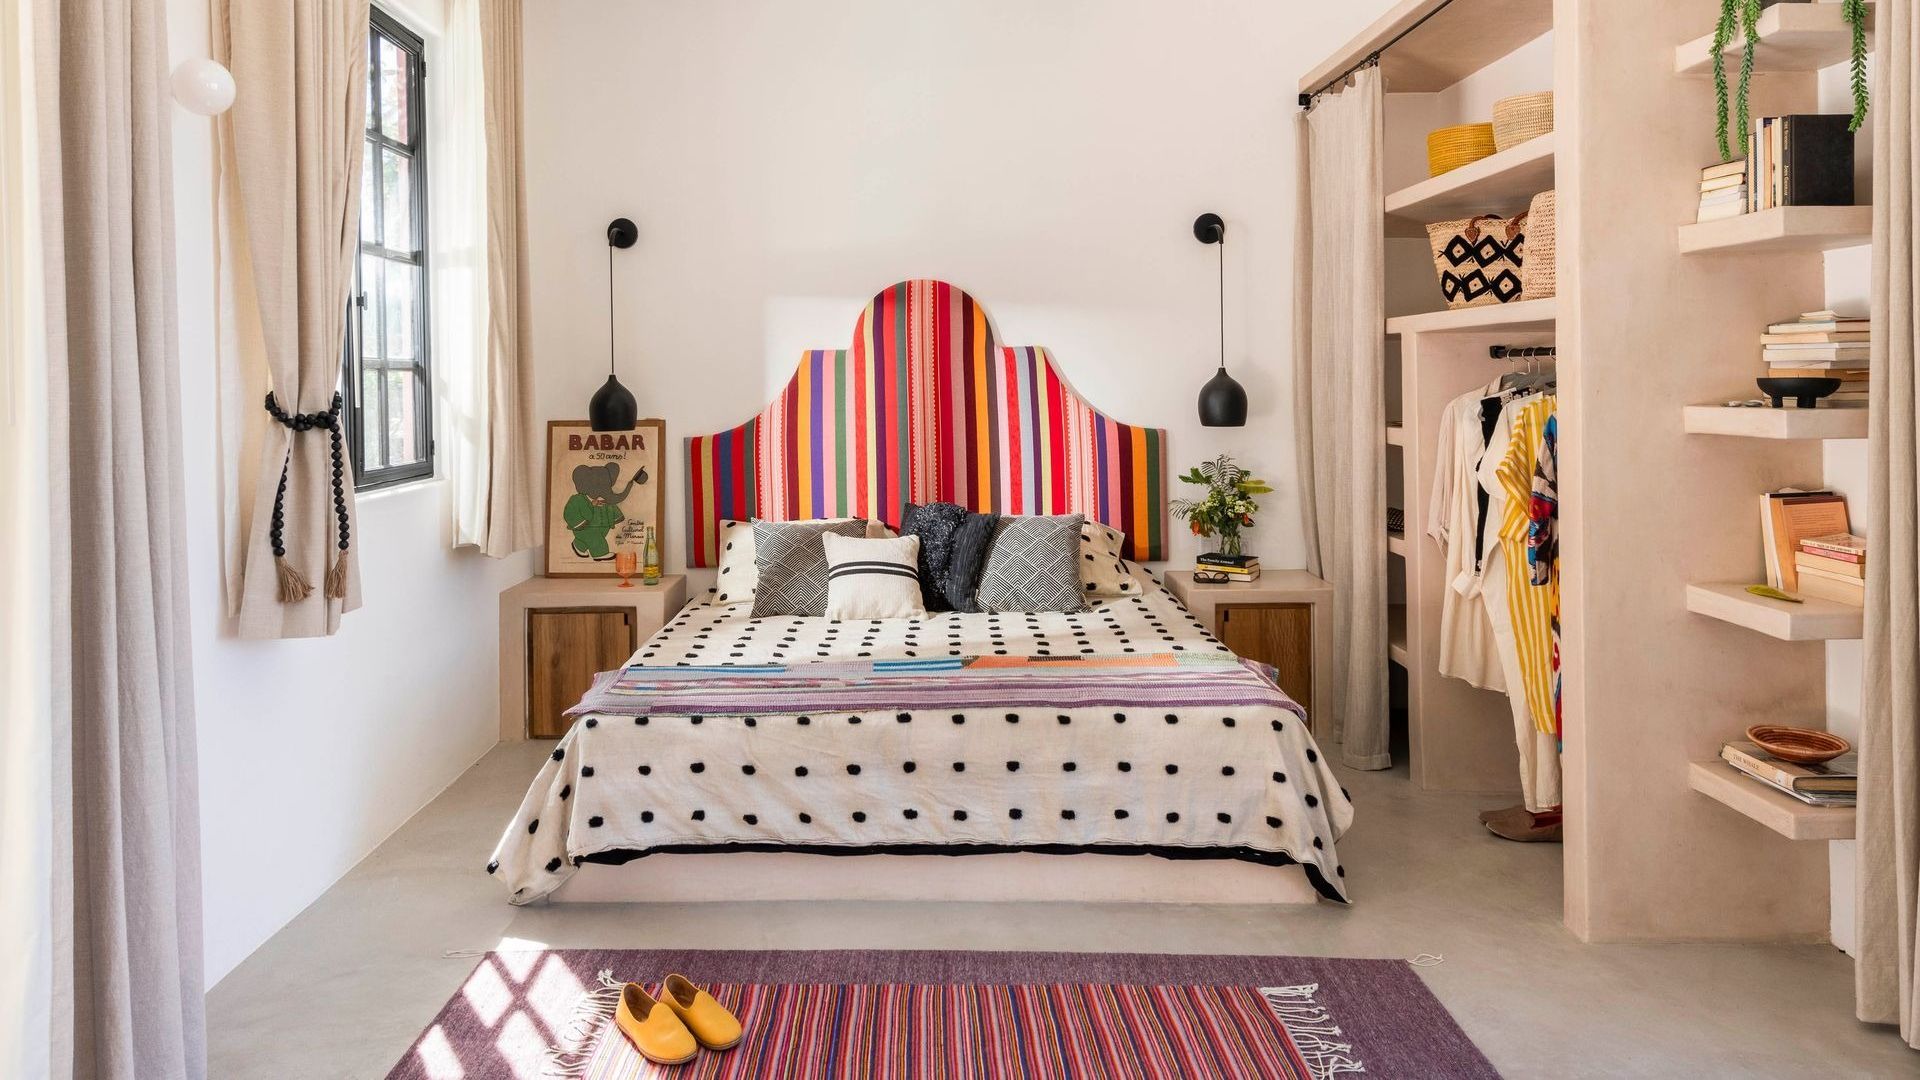
10 Best Headboards to Frame a Picture-Perfect Bedroom

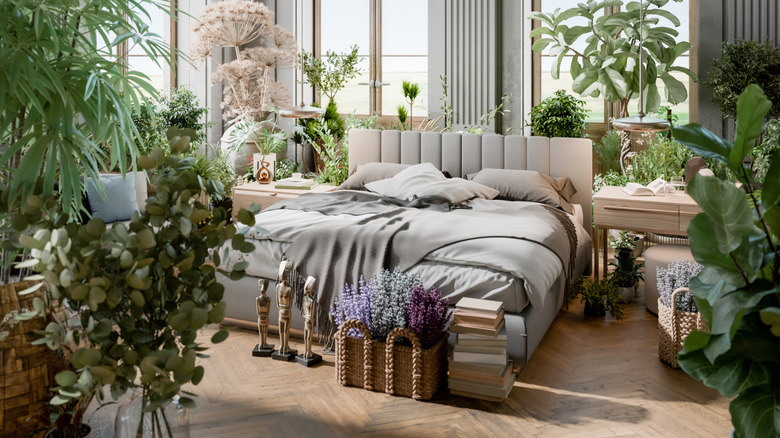
Hit The Thrift Store To Find One Of 2026's Hottest Bedroom Trends On A Budget

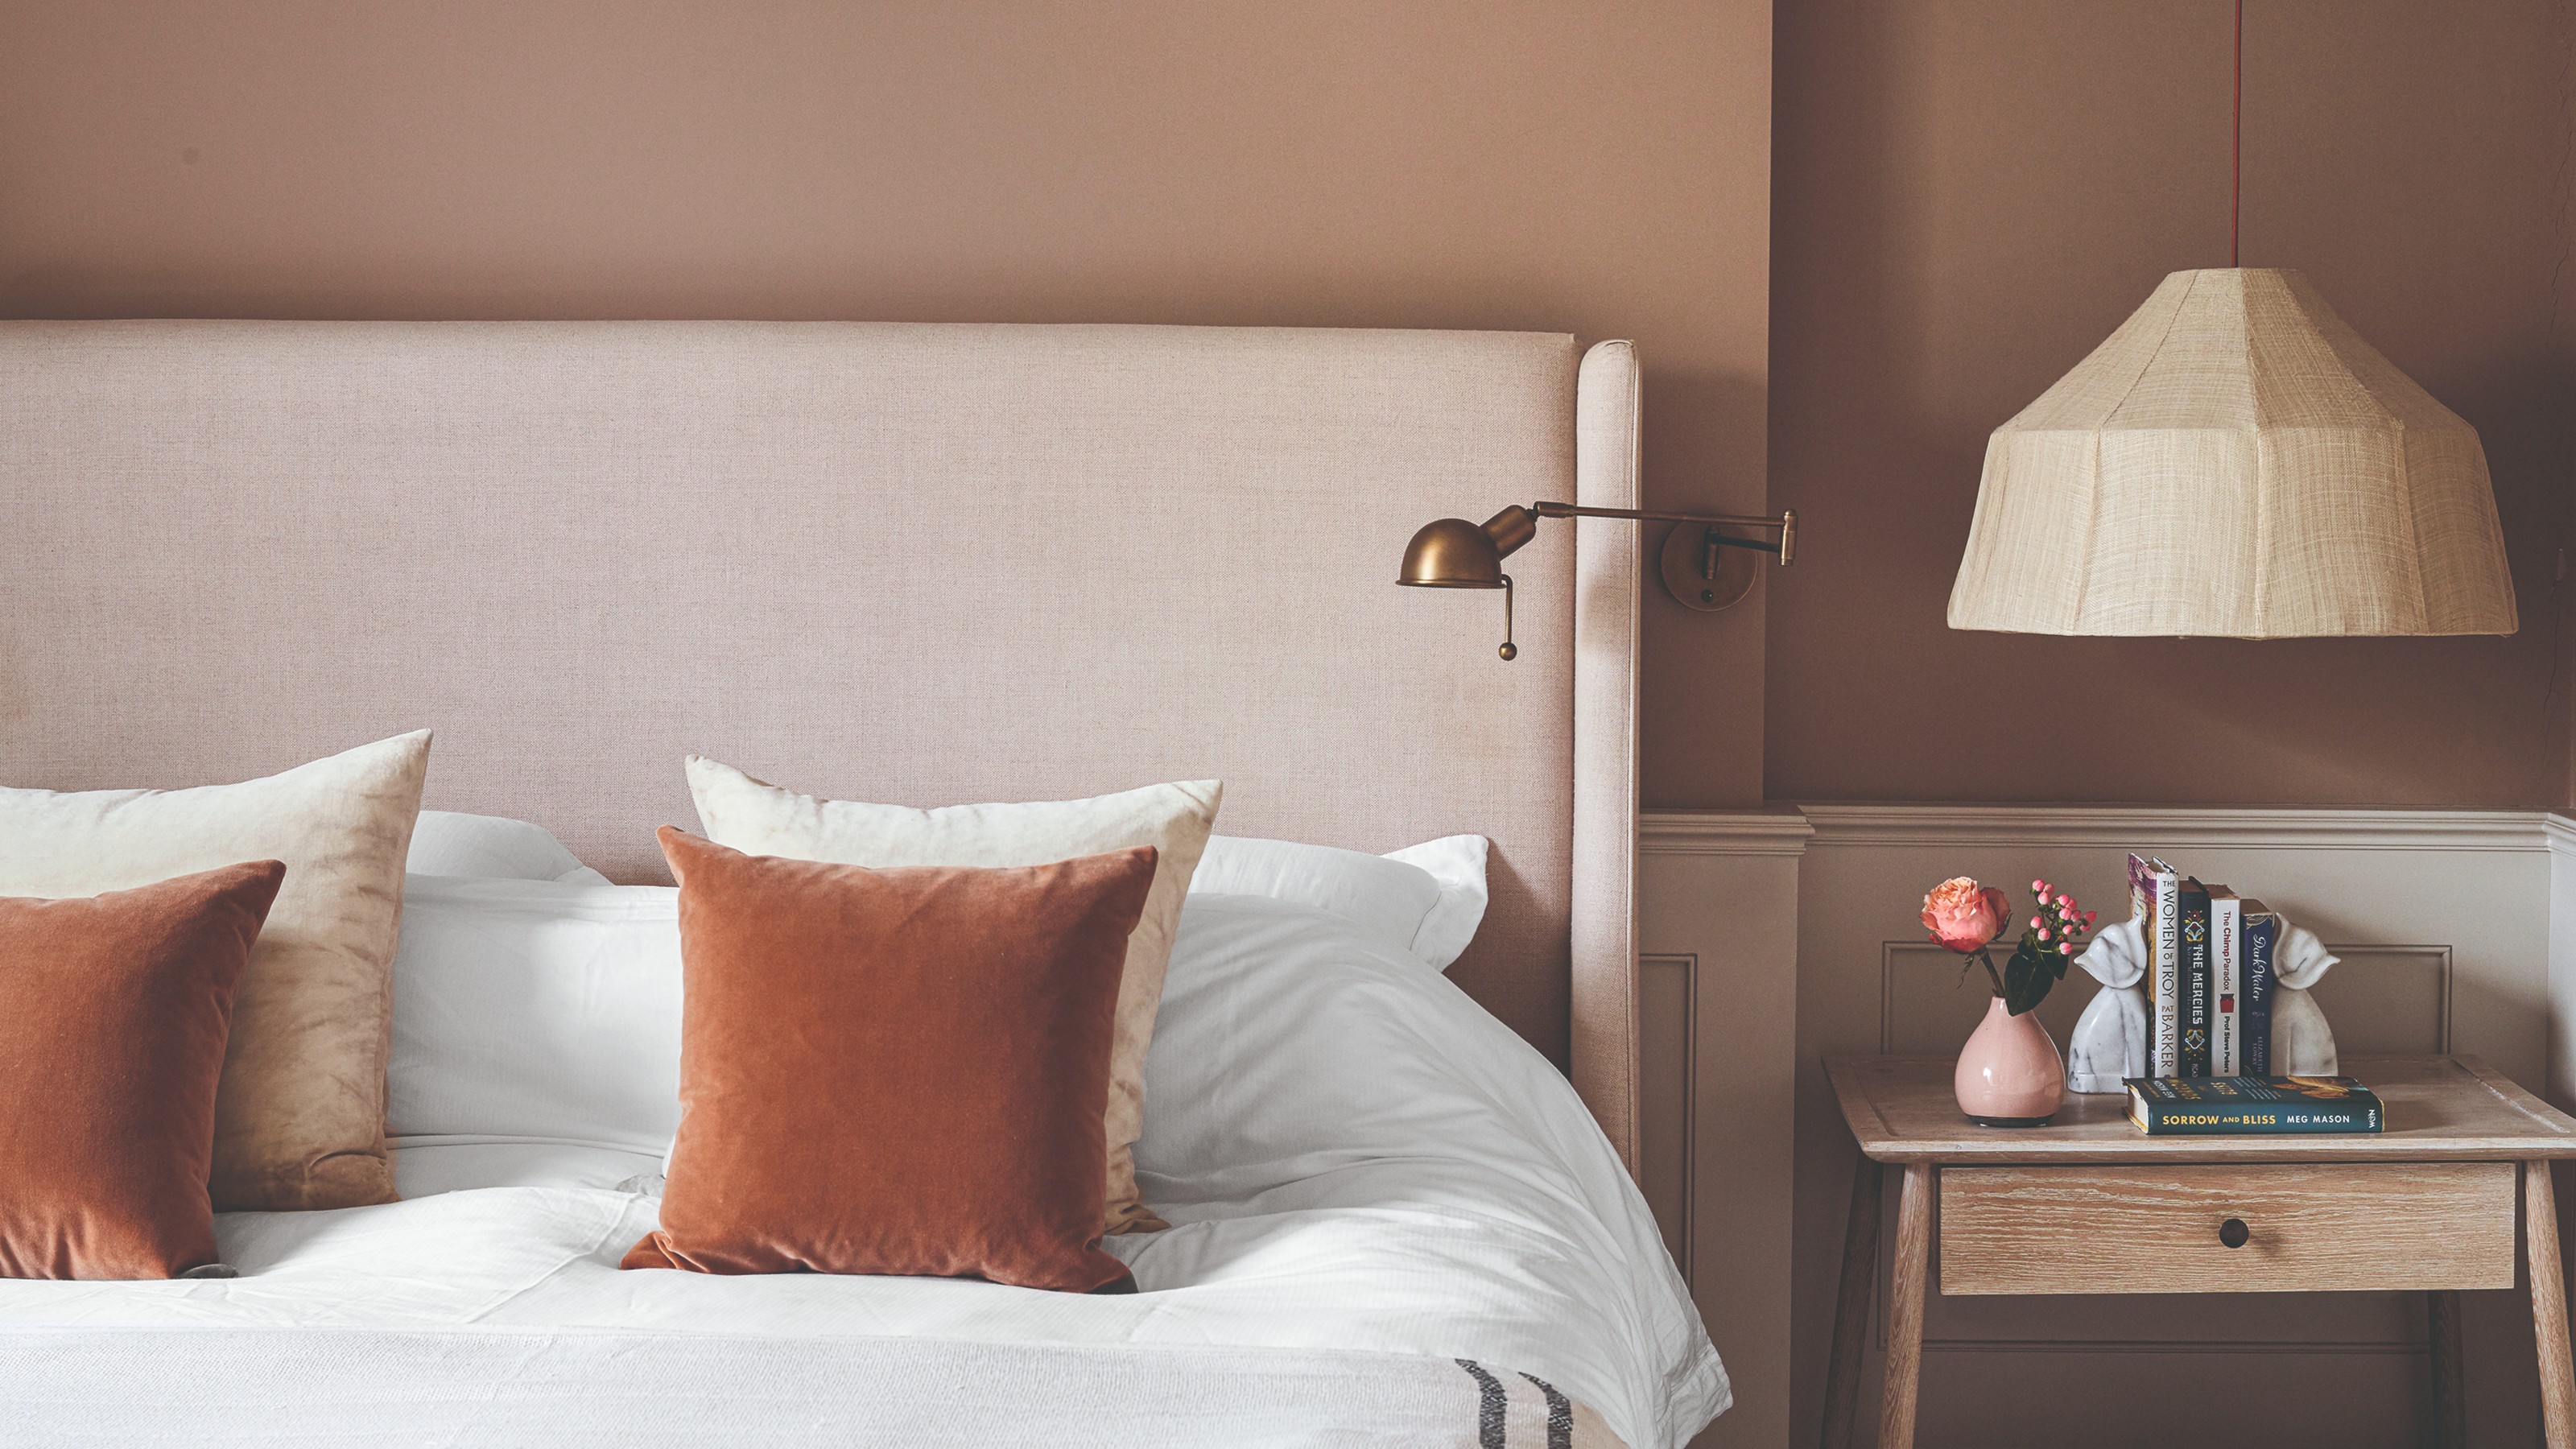
I'm calling it, 2026 is the year of the headboard – and I'm seeing one trend in particular taking bedrooms by storm
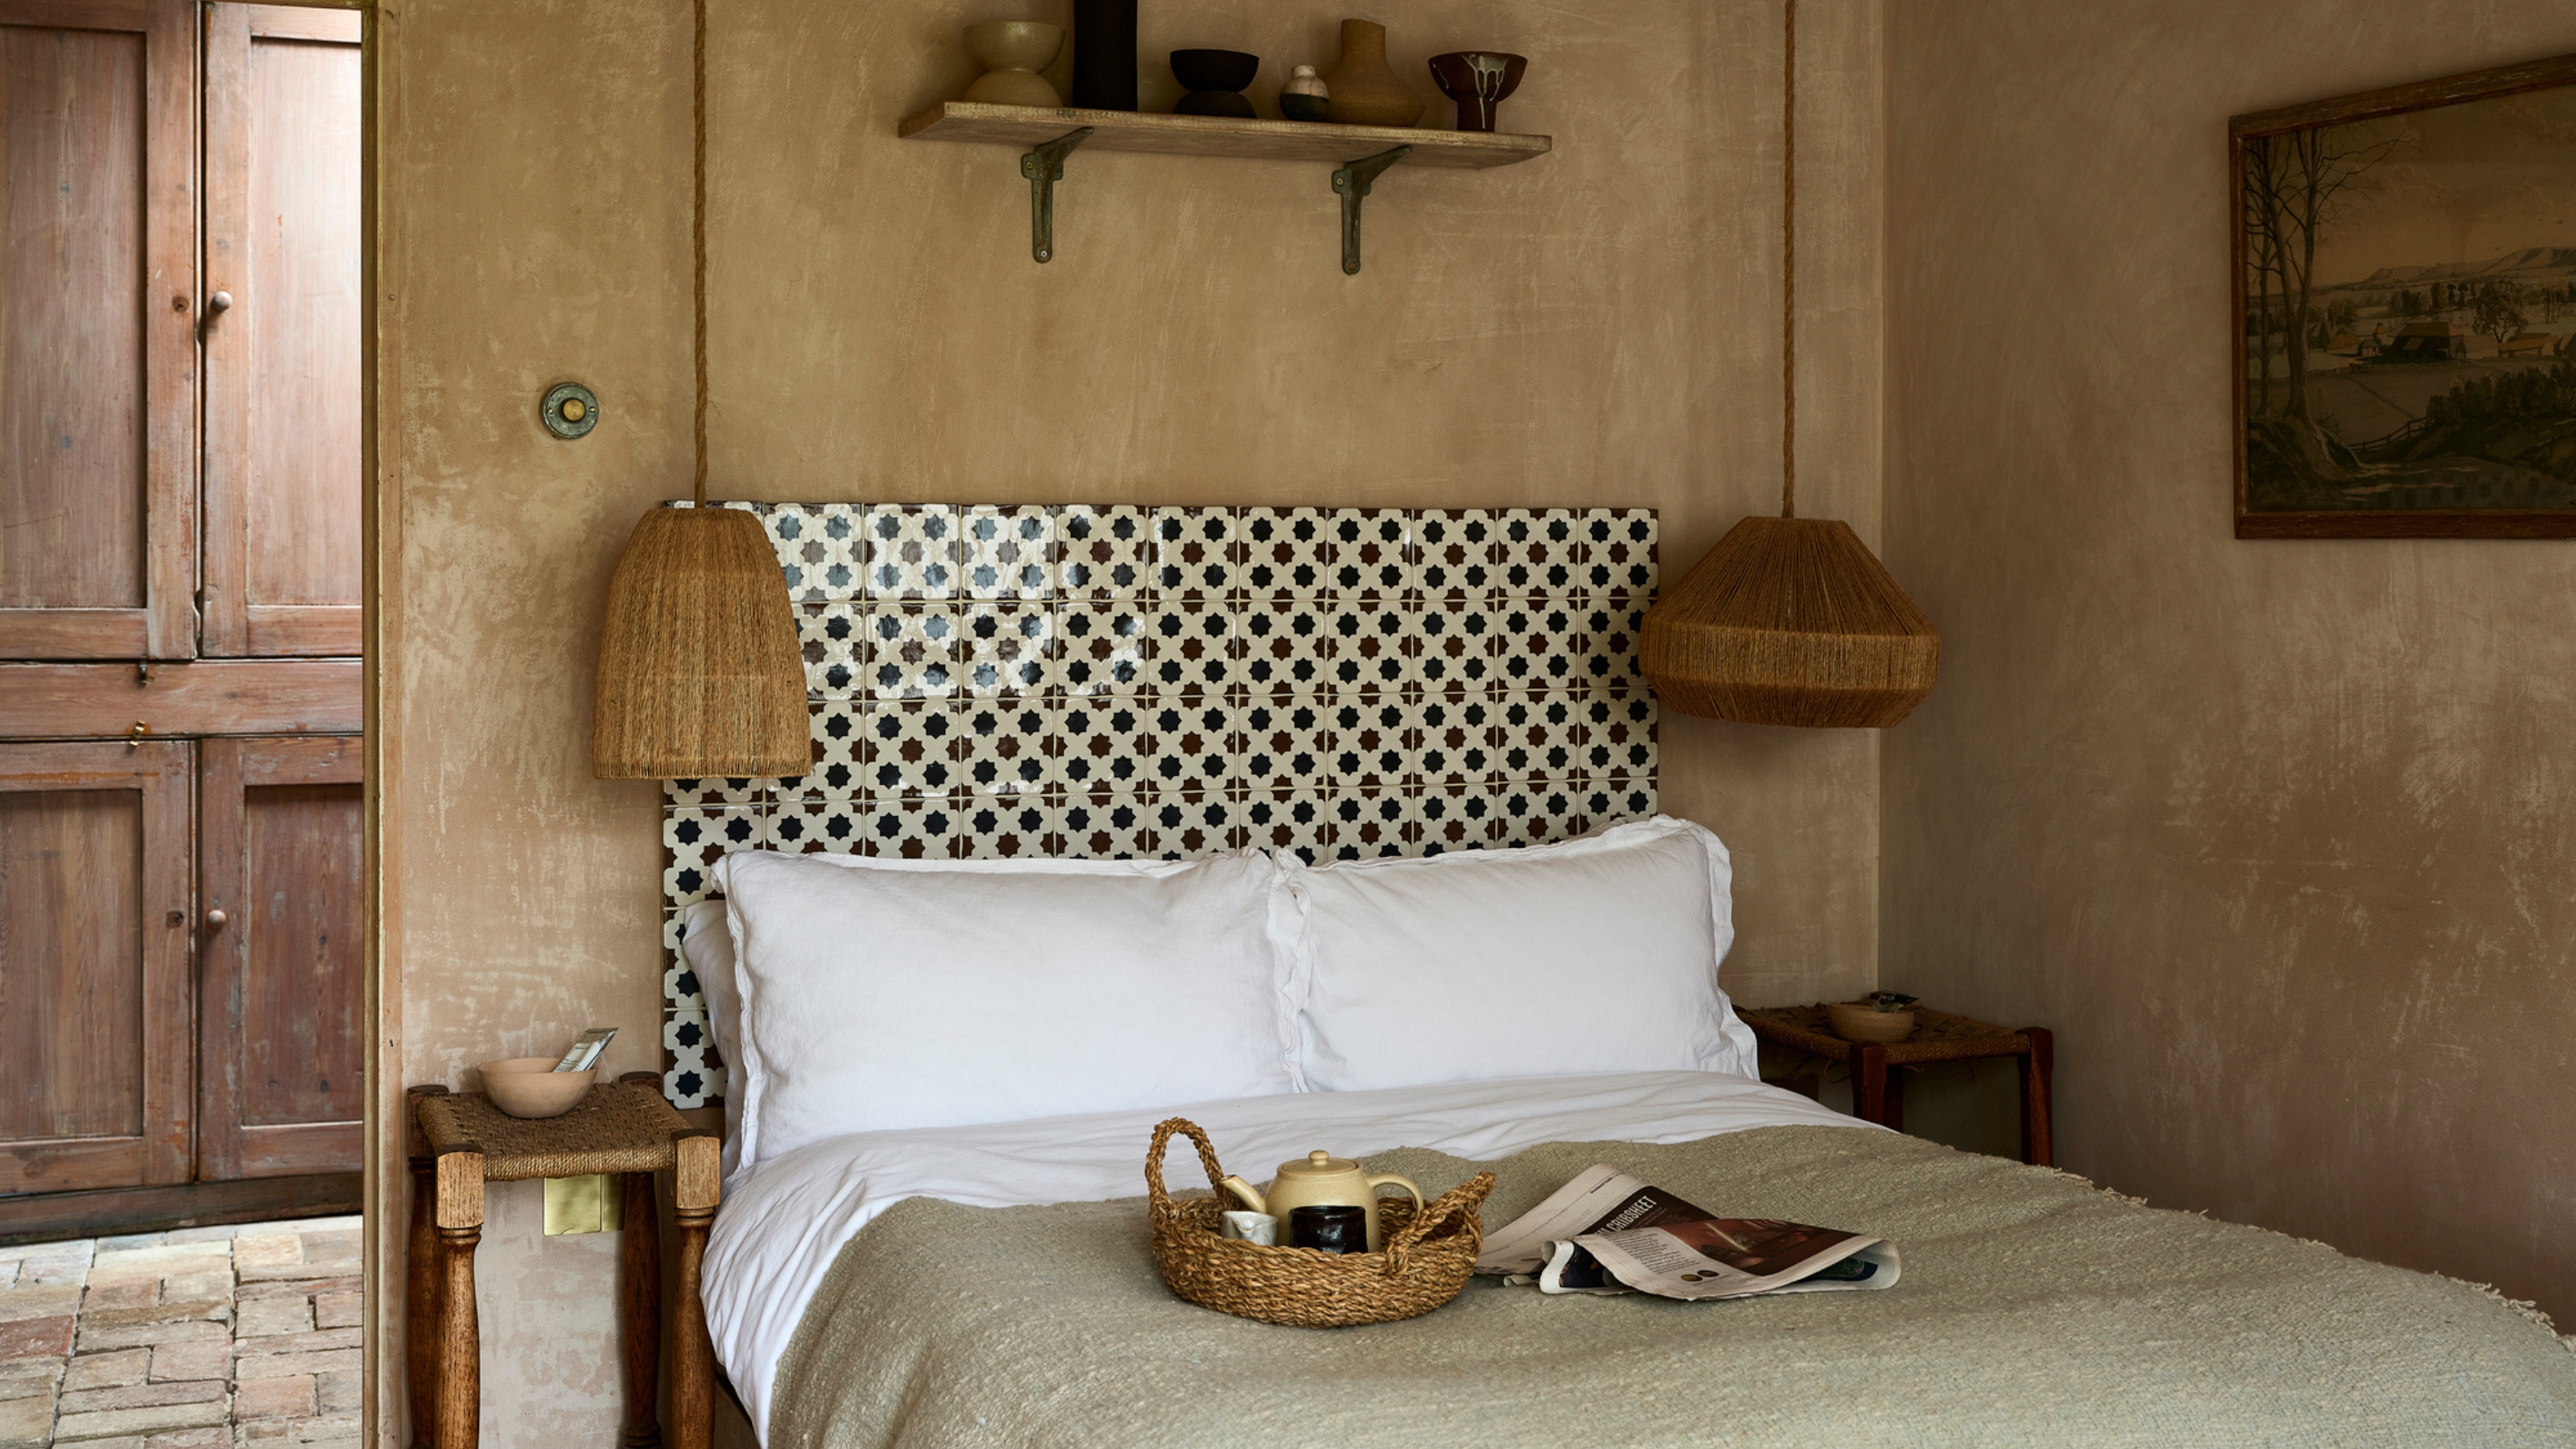
The Tiled Headboard Trend Is Entirely Unexpected, Inherently Cool, and Very 2025
“Bedscaping” Is the VIRAL Design Trend Taking Over Your Social Feed

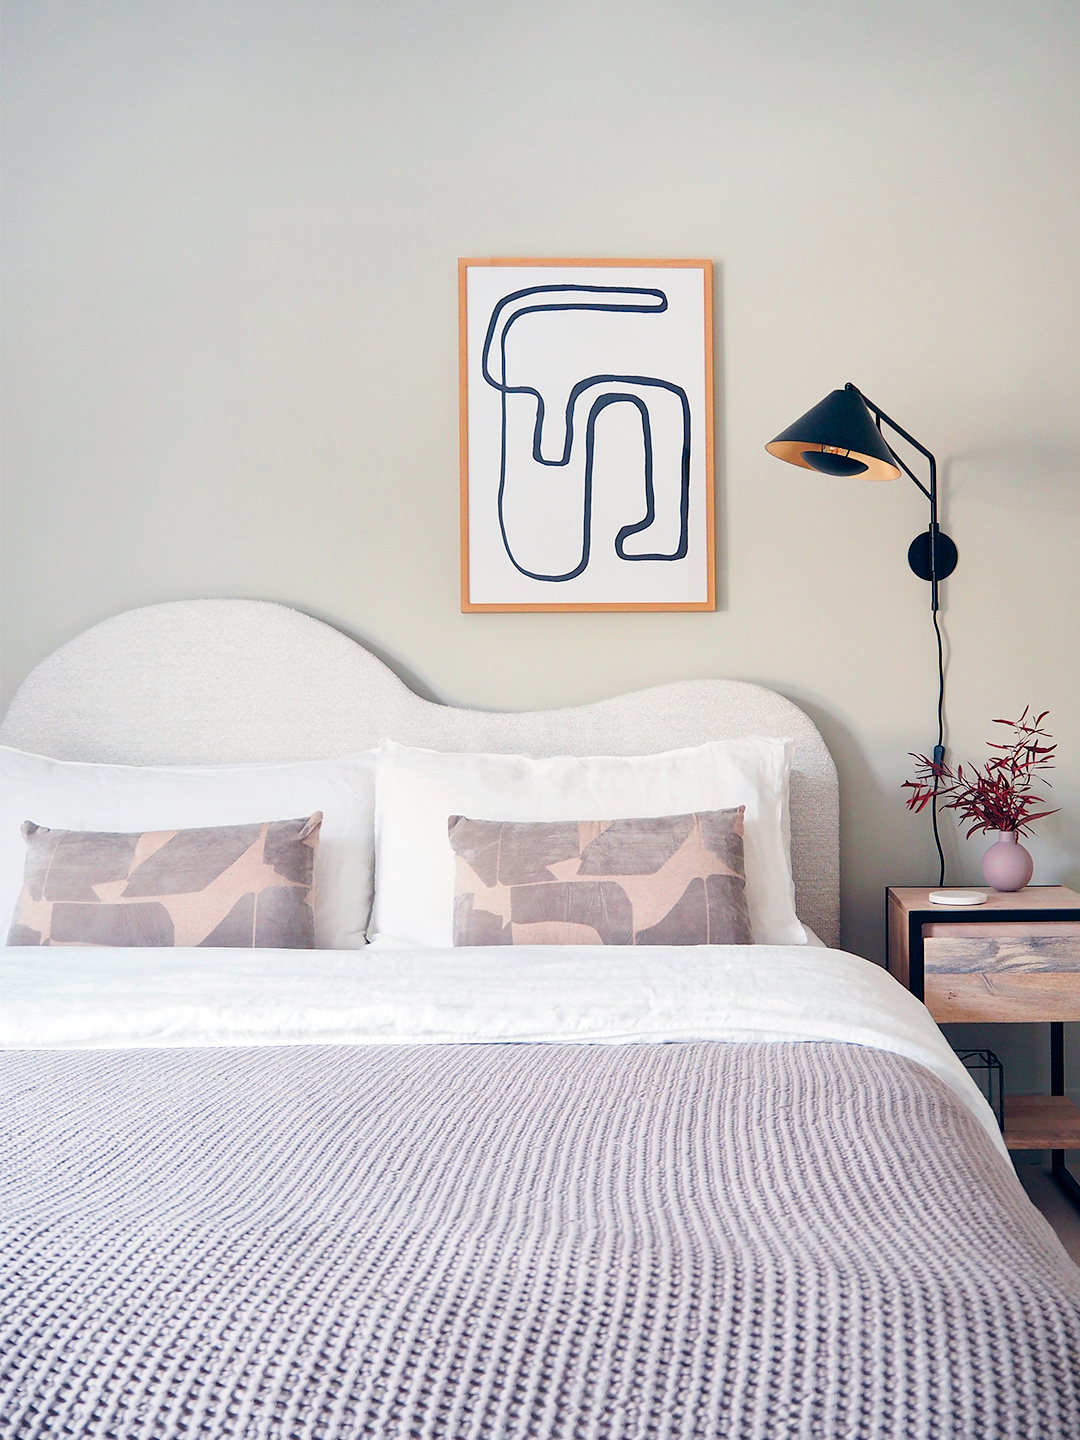
Get In on the Wavy Headboard Trend With This $275 DIY

Must-Try 2025 Trends To Create A Dreamy Bedroom You'll Never Want To Leave
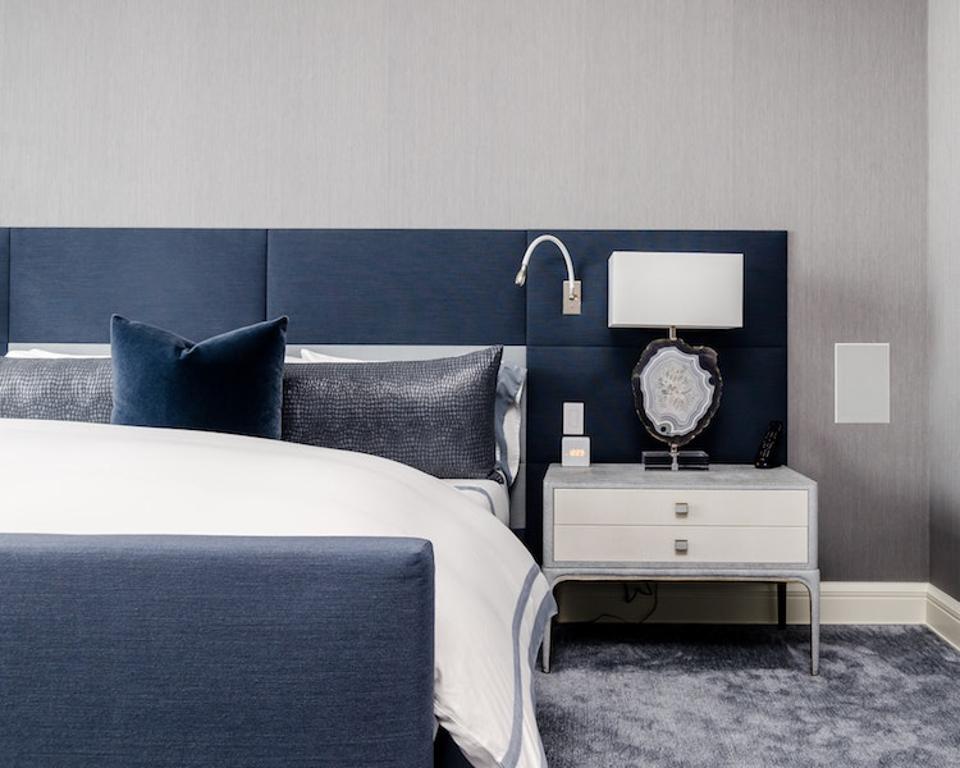
Interior Designers Share Their Favorite Bedroom Design Trends For 2020

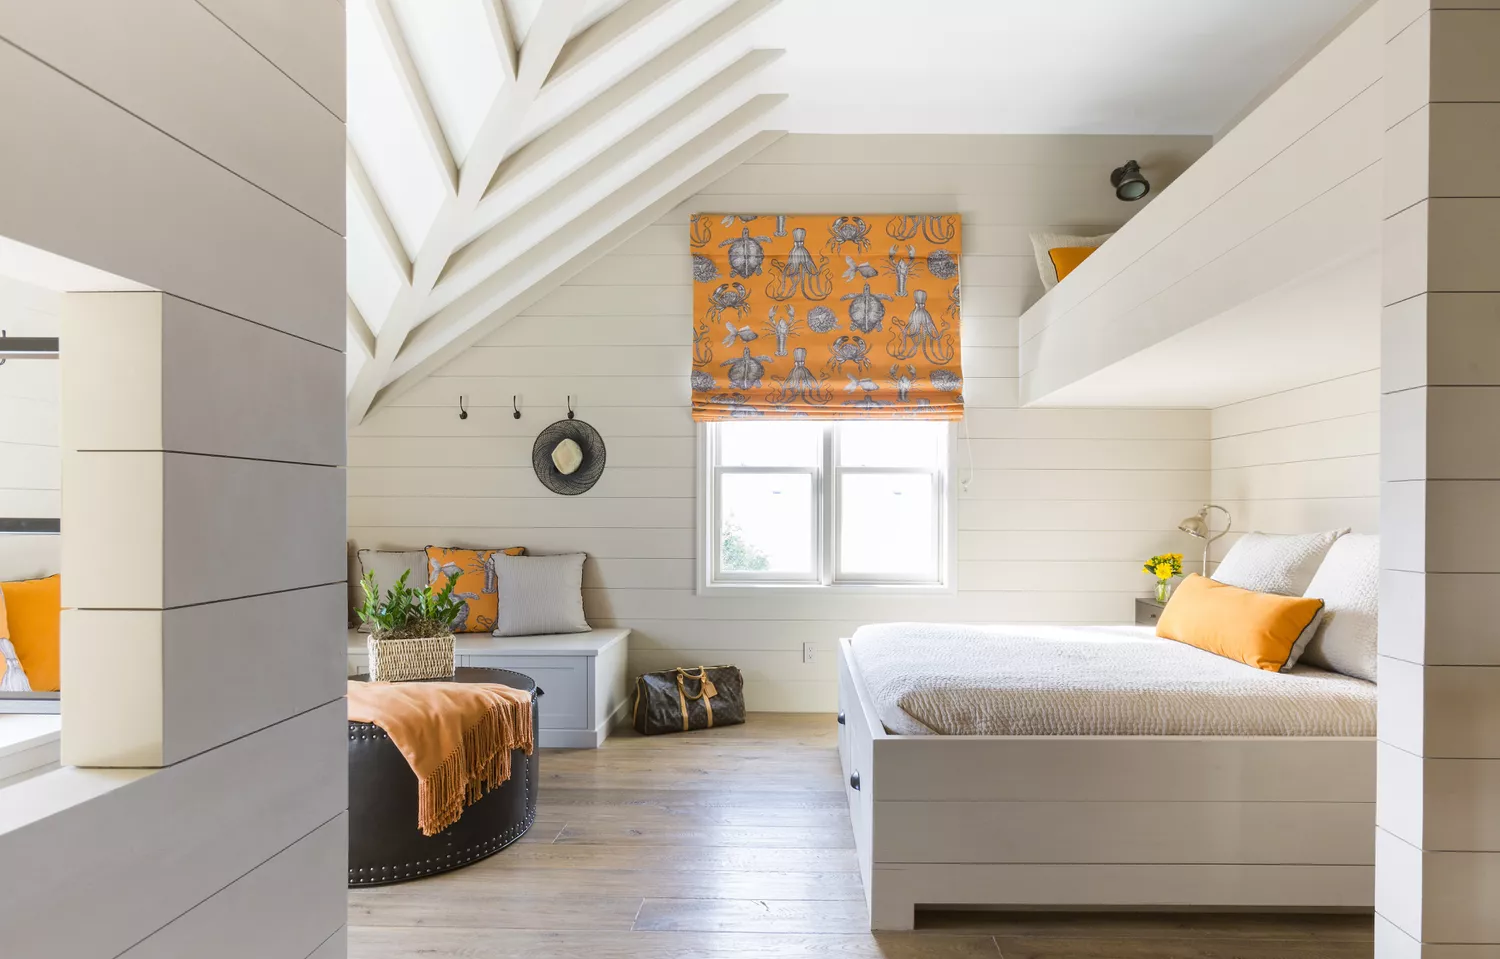
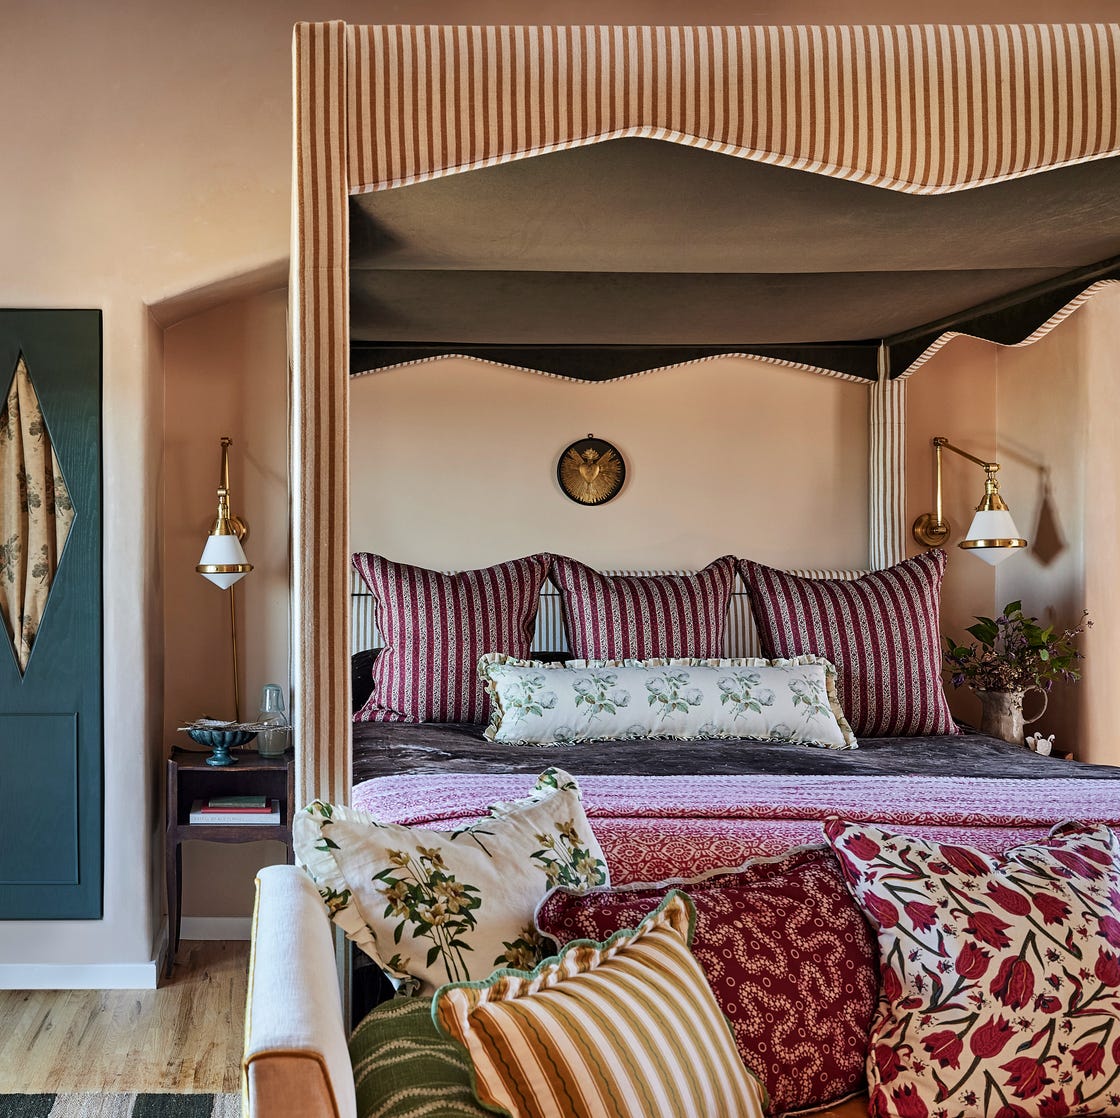
Move Over, Canopy Beds—This New Trend Will Give Your Space A Dreamy Edge