1/3
DIY Elegant Light-Up Corner Shelves On A Budget With Dollar Tree Items
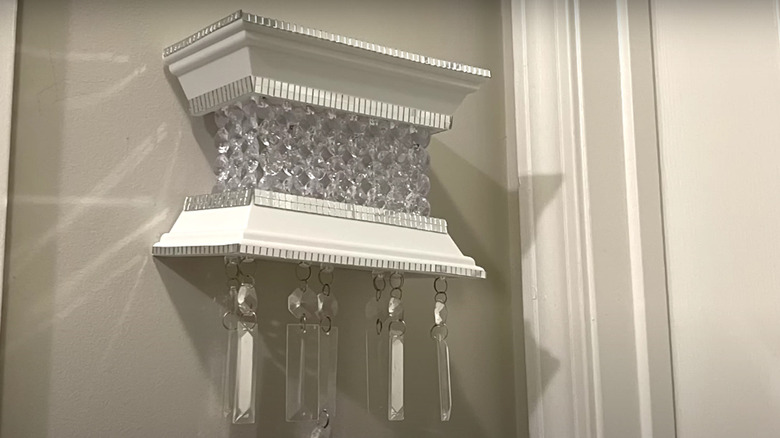
The article details a DIY project for creating elegant, light-up corner shelves using inexpensive items predominantly sourced from Dollar Tree. It highlights the potential of corners in any room as valuable storage or display spaces, often overlooked as "dead spaces." The project, inspired by a YouTube tutorial from Yoduvh Essentials, transforms simple Dollar Tree supplies into a visually appealing and functional shelving unit.
The core design involves creating a trio of triangular corner shelves that can be stacked to form a unified, elegant piece. Key materials include Jot Frameless Chalkboards, 8-by-10 silver picture frames, Crafter's Square DIY Wood Dice, silver adhesive jewel strips, and remote-controlled puck lights from Dollar Tree. Additional supplies needed from other sources are silver contact paper, silver spray paint, small adhesive plastic silver gems, and 1-inch metal corner braces with wood screws. Essential tools include a drill with drill and screwdriver bits, a saw, wood glue, and optionally, a nail gun.
The construction process begins with a crucial consideration: the crafter's discovery that the picture frames were heavier than the chalkboard pieces, suggesting the use of a heavier base material like Dollar Tree cutting boards for improved stability. From the chosen boards, four right triangles are measured and cut to form the shelf pieces and the top cap. These triangles are then covered on one side with silver contact paper. The backs and glass are removed from the picture frames, and two corner braces are screwed onto each frame, angled downwards, approximately 1.5 inches from the bottom corners. These frames with braces are then attached to the shelf pieces, with any visible screw tips on the frames being concealed by small plastic gems. Jeweled trim is also added along the exposed cut edges of the shelves to enhance their aesthetic.
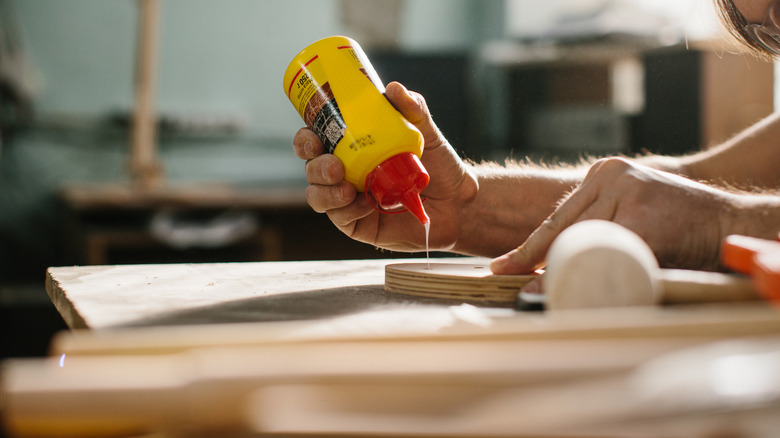
For installation, the corner where the shelves will be placed is measured, and horizontal lines are marked with a level on both walls to indicate the position of each shelf. Silver-painted wooden dice are then screwed flush beneath these lines on each wall. Specifically, for each side angle of the shelf, one die is placed about 2 inches from the edge, and another about 2 inches from the wall's corner. Wood glue is applied to the top of these dice, and the shelves are set into place. This process is repeated for each shelf, including the top cap. A nail gun can be used to further secure the dice if necessary. It is advised to install the lowest shelf first, ensuring that each subsequent shelf is aligned so its base sits slightly below the top of the frame of the shelf directly beneath it, creating a seamless look. Finally, puck lights are installed on the underside of all shelves except the lowest one to provide illumination, completing the light-up feature. The finished shelves are then ready to display decorative items, effectively utilizing an often-neglected space with a touch of elegance and light.
#DIYHomeDecor #BudgetDecor #CornerShelves #DollarTreeCrafts #HomeImprovement #InteriorDesign #StorageSolutions #LightUpDecor #DIYHomeDecor #BudgetDecor #CornerShelves #DollarTreeCrafts #HomeImprovement #InteriorDesign #StorageSolutions #LightUpDecor
0 comment in total
 No comments yet
You may also like

7 Best New Dollar Tree Living Room Finds Hitting Shelves This Week


9 Dollar Tree Decor Essentials You Should Be Snagging For The Fall
Install Renter-Friendly Shelves Like a Pro—Here's What You Need

Create A Unique Display Case With TikTok's Simple Dollar Tree DIY
13 Budget-Friendly Dollar Tree Solutions For Organizing Deep Pantry Shelves


11 Best New Dollar General Living Room Finds Hitting Shelves This Week
Dollar Tree's $1.25 Floating Shelves Are Perfect For Decorative Kitchen Storage

Where To Go For Affordable, Stylish Lighting
37 Chic Finds Under $100 That’ll Make Your Home Look Like A Million Bucks
Create A Cute And Affordable Countertop Organization Gem With A Dollar Tree DIY
31 Decor Pieces Under $50 For Anybody Who Can’t Escape Their Bougie Ways But Needs To Budget
Amazon home decor: here’s what we’re shopping
Illuminate Your Space By Transforming Dollar Tree Shelves Into A Floating Wall Light
Create the Most Stunning Holiday Light Display with These Home Depot Products

I just found my dream shell wall sconces on Amazon for $25
Stylish Ways To Decorate The Corners Of Your Home
7 Best Dollar Tree Christmas Decor Finds, According to Pro Decorators

Say Goodbye To Pantry Clutter With These 18 Affordable Dollar Tree Solutions
17 Chic Dollar Tree DIYs You Can Create Using A Cutting Board

7 Best New Dollar Tree Living Room Deals Hitting Shelves This Week