1/9
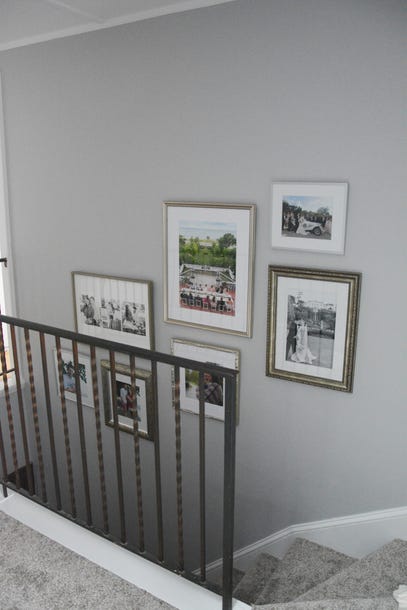
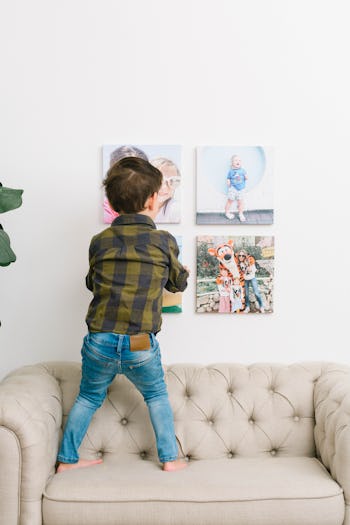
Build These Easy Photo Ledges This Weekend
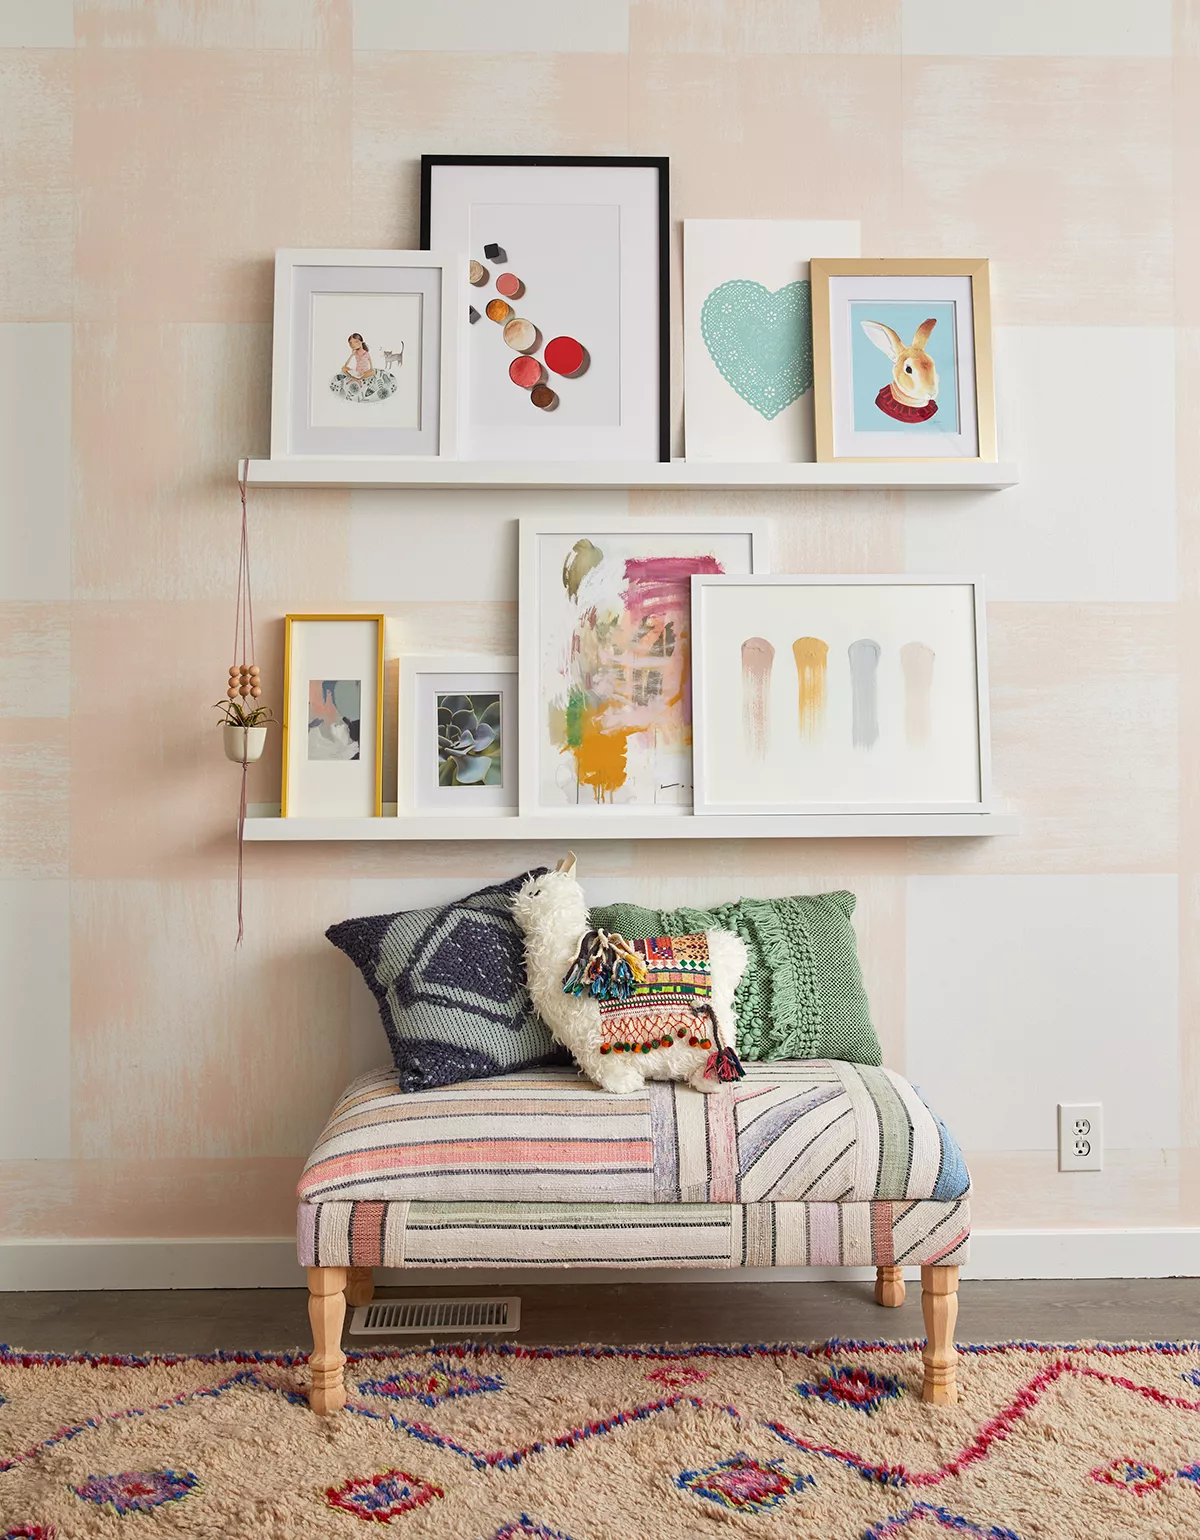
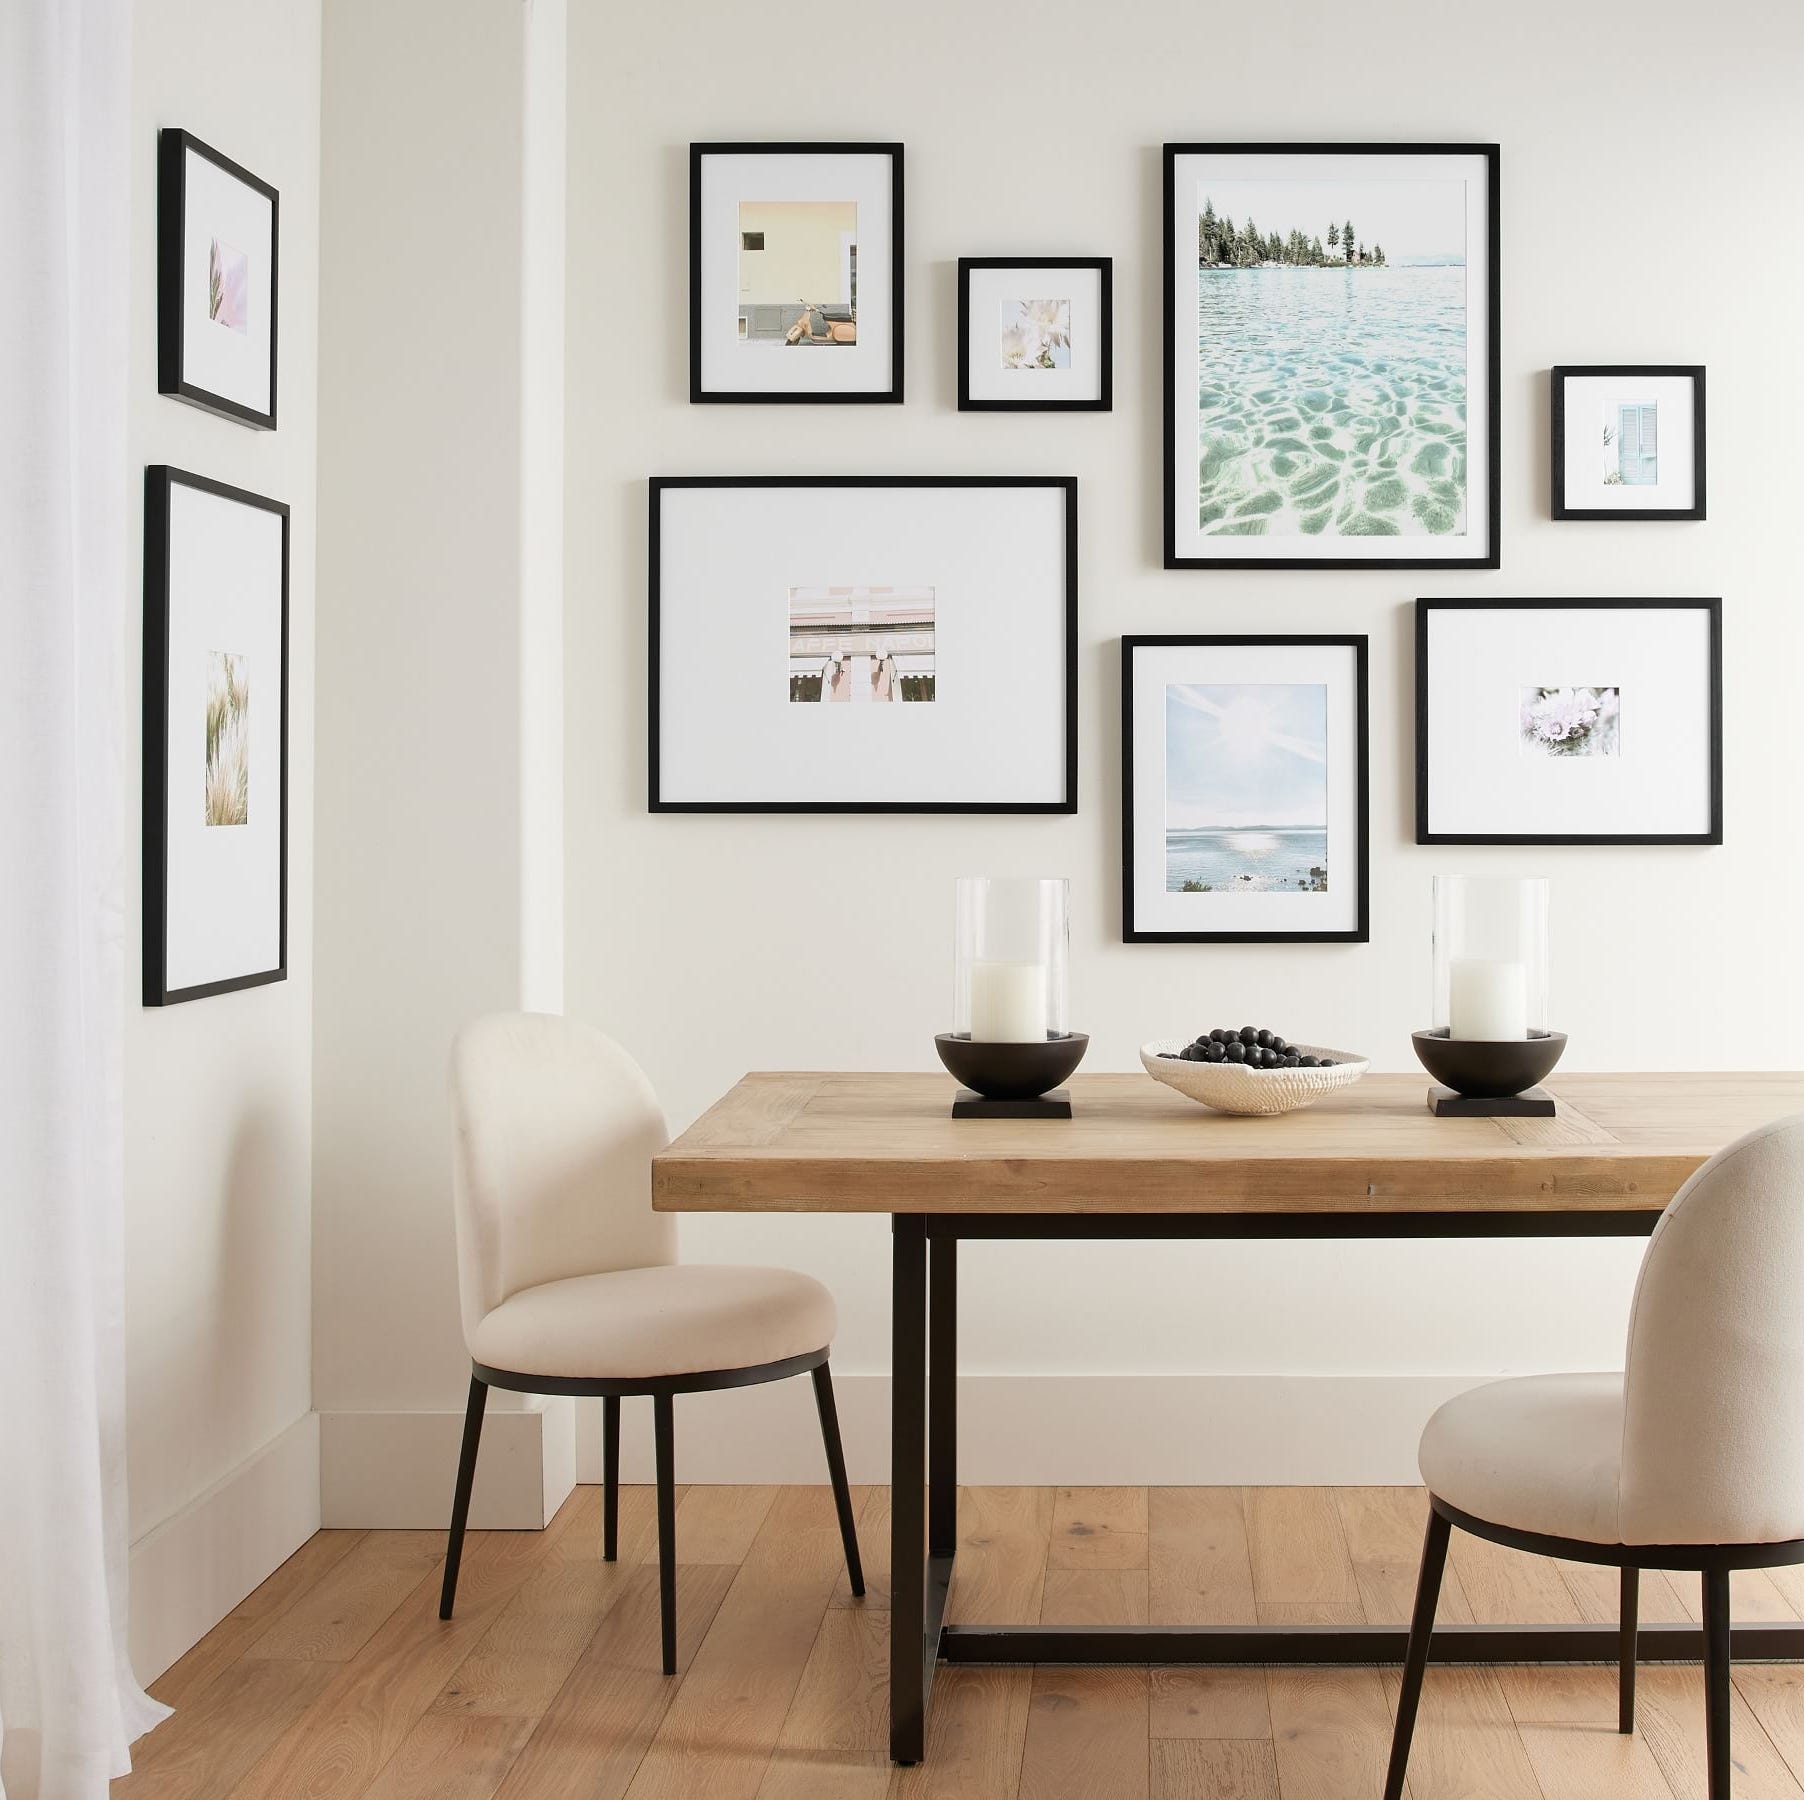
This article outlines a simple, inexpensive DIY project for creating photo ledges, offering a versatile decorating solution for any home. These ledges provide an easy way to display and frequently change photos, artwork, or various small items, making them an ideal alternative to individually hanging frames. The project is designed to be completed in an afternoon, with the longest duration typically attributed to paint drying times. The required tools include a tape measure, pencil, saw, clamps, nail gun, paintbrush, stud finder, drill, and level. For materials, one will need wood, sandpaper, wood glue, primer, paint (optional), and screws.
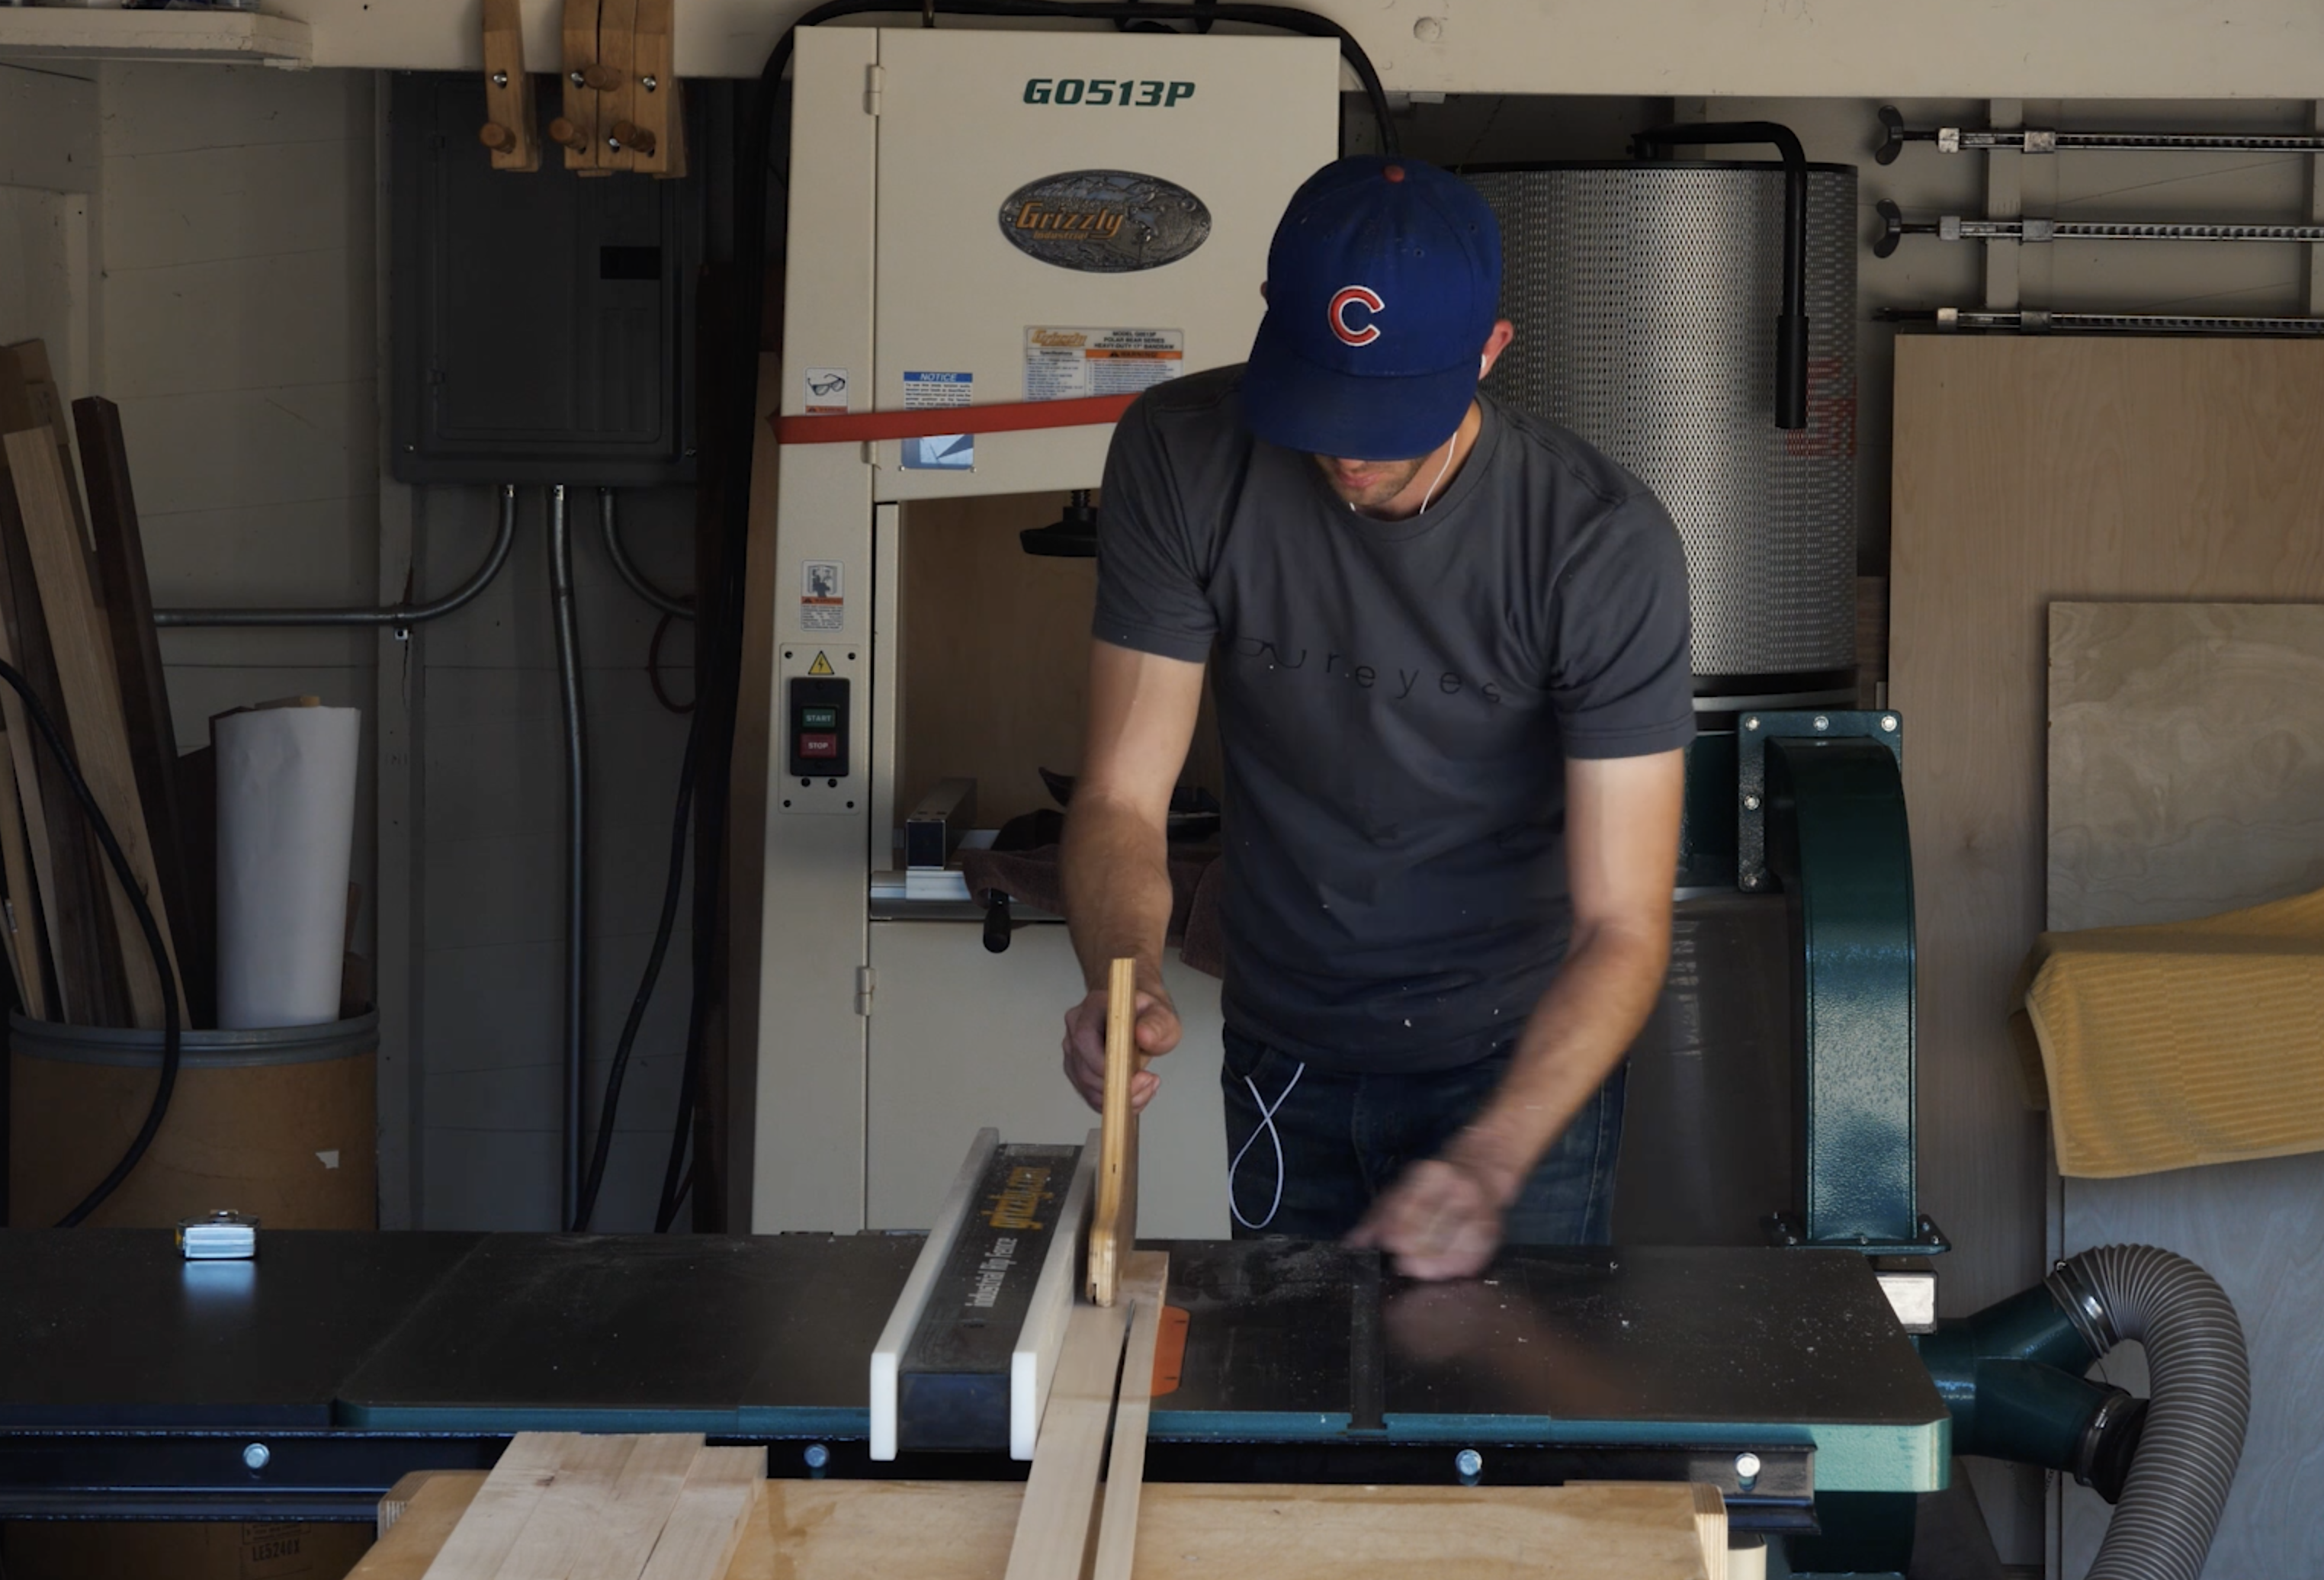
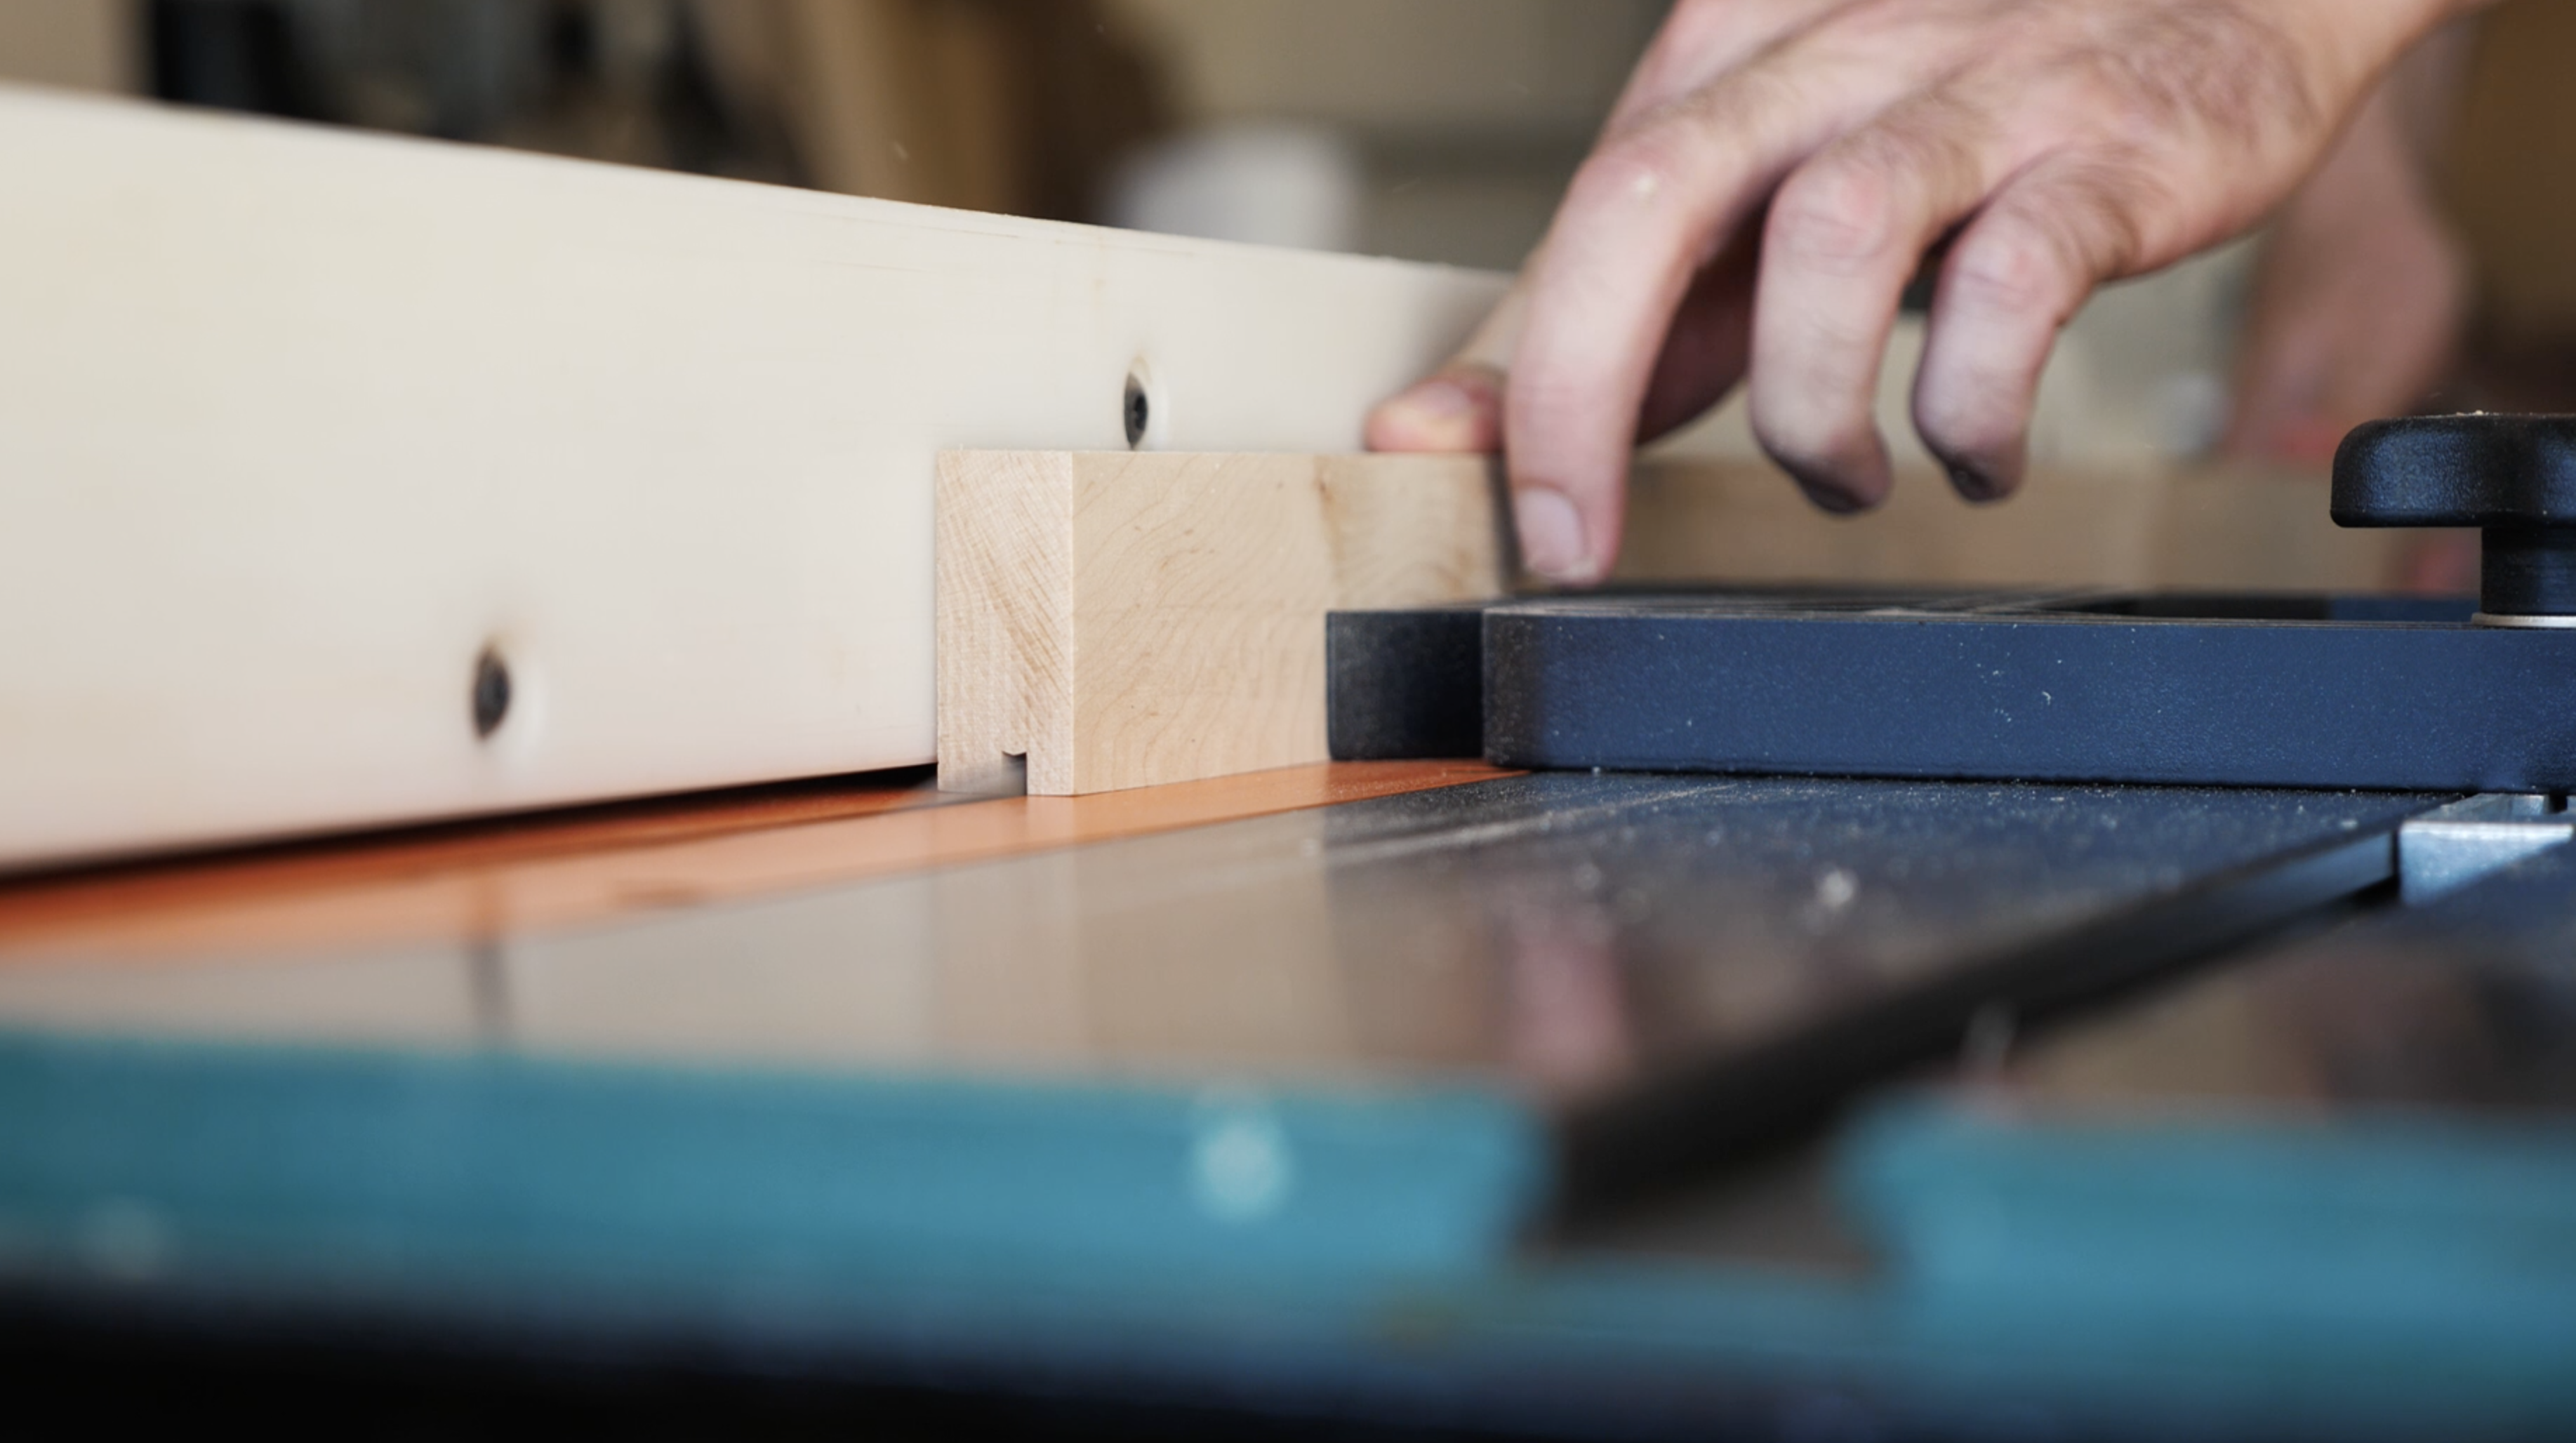
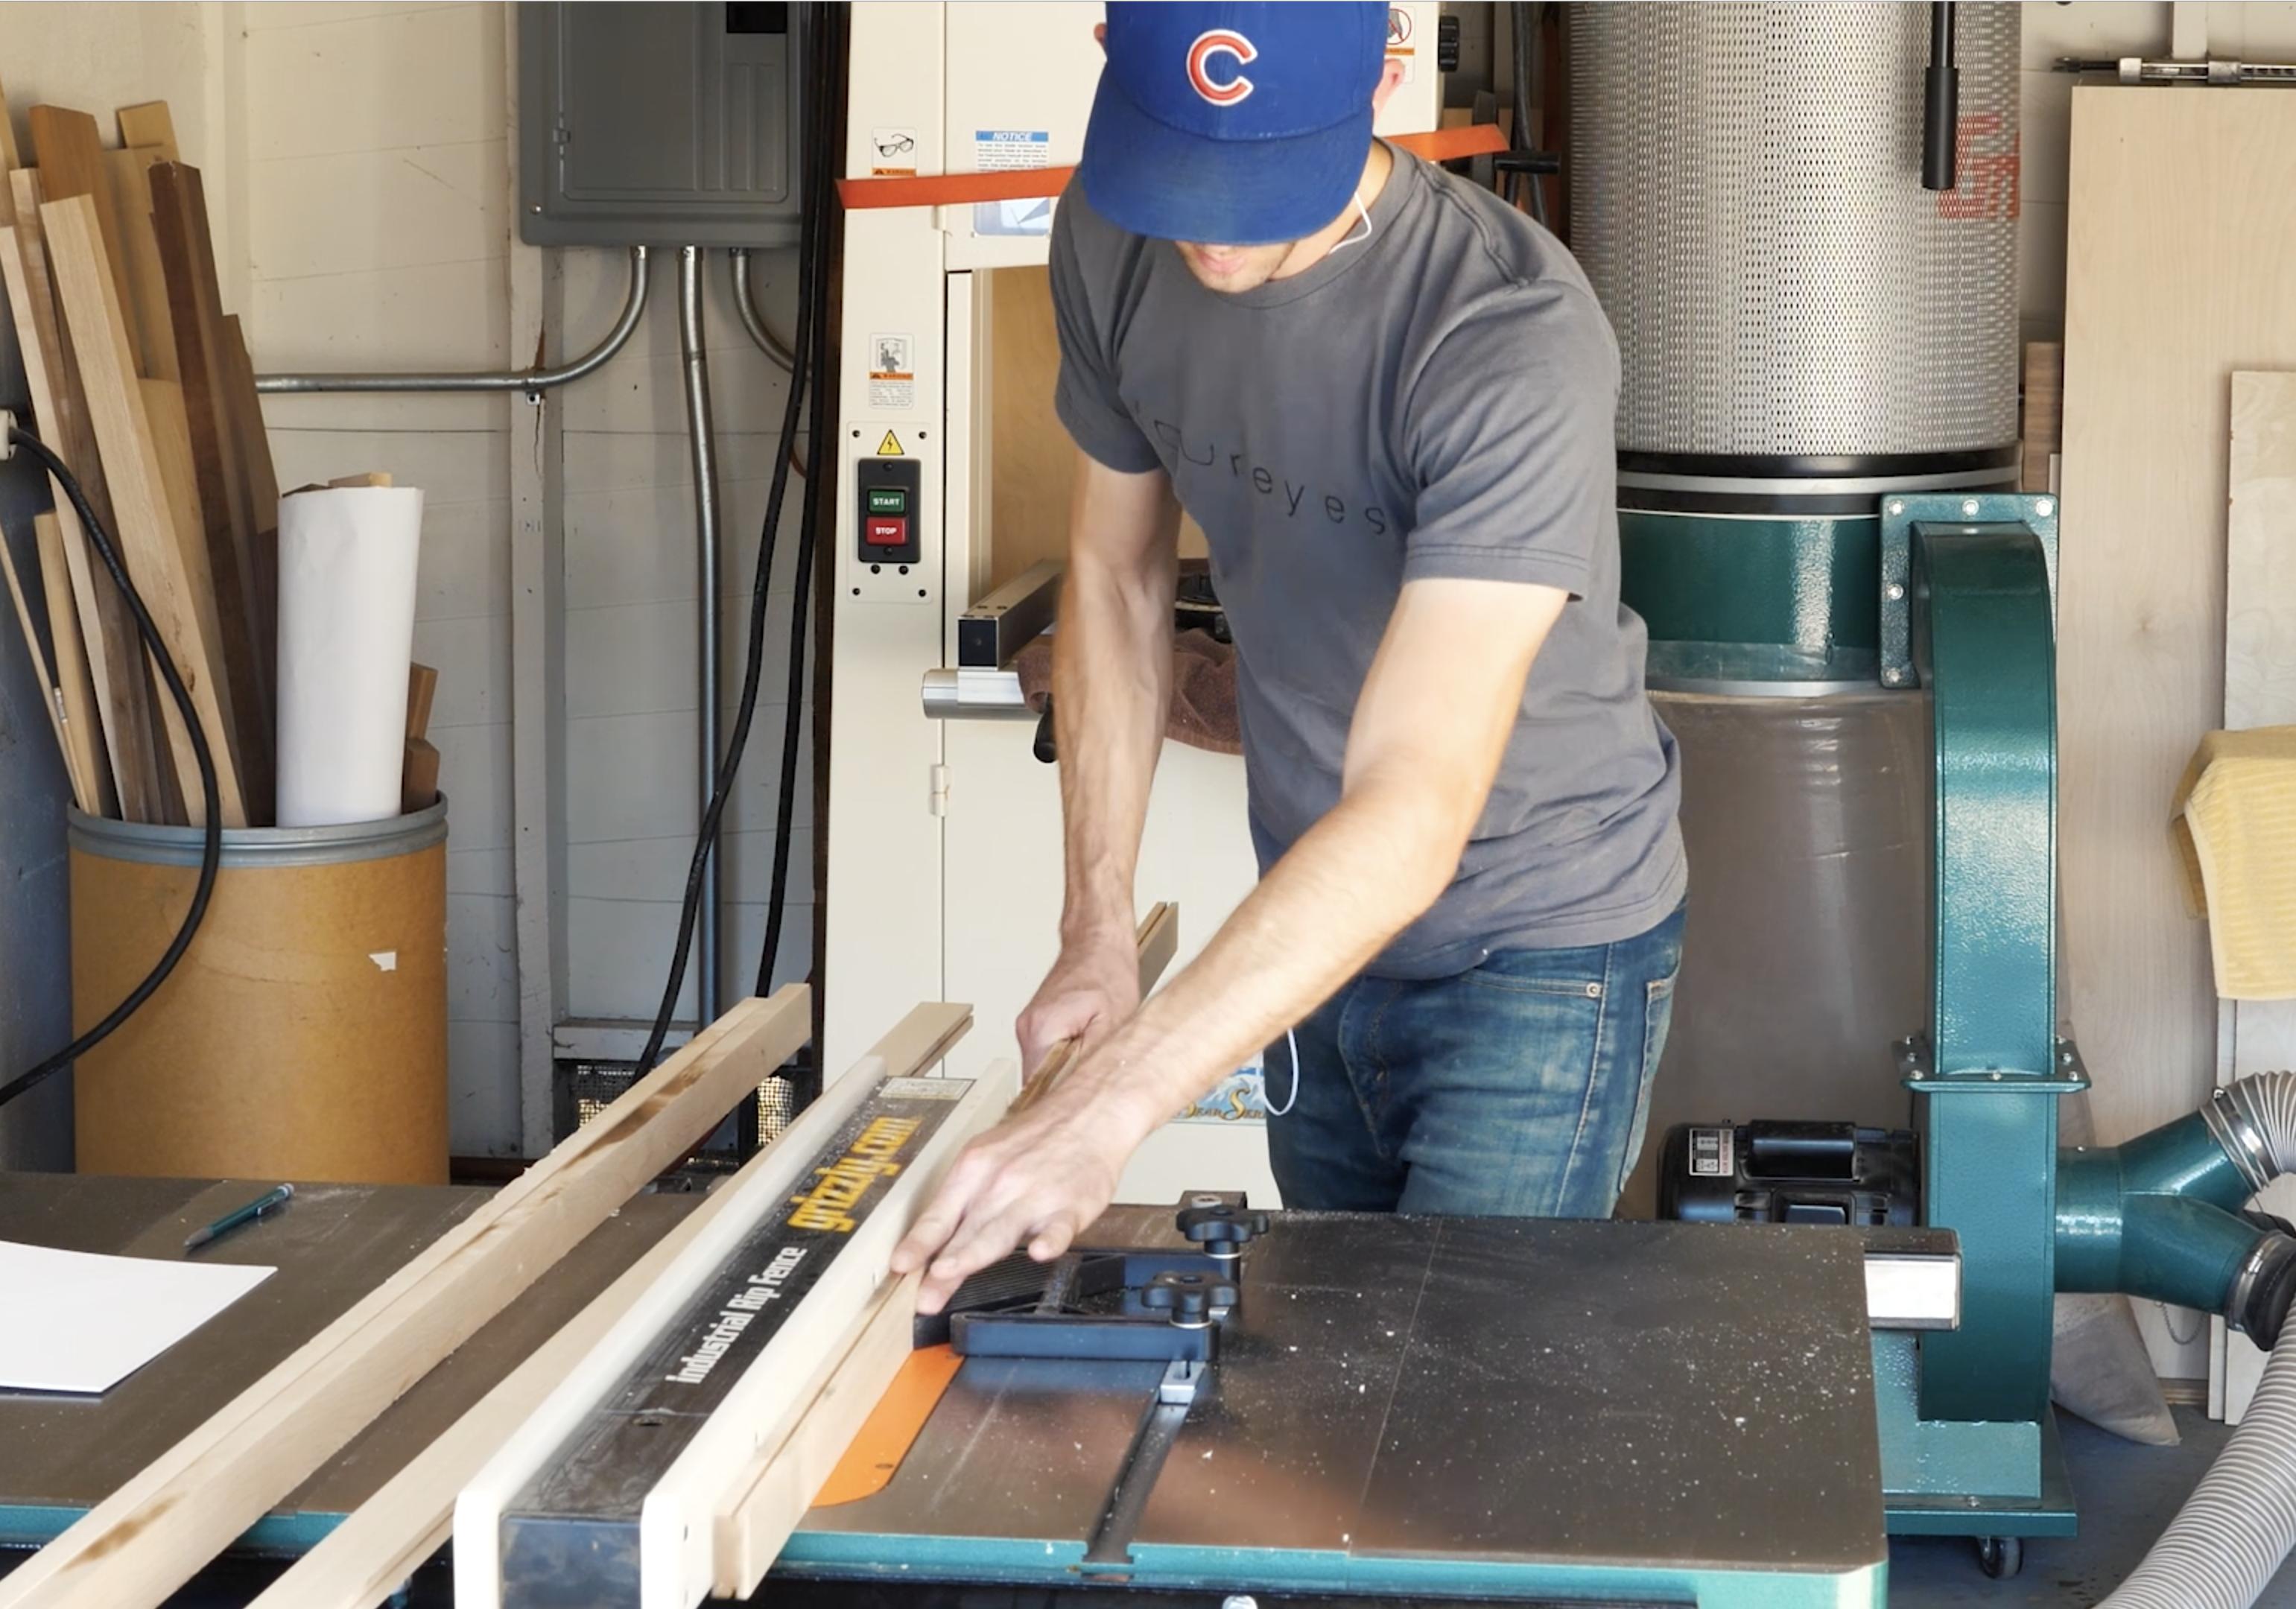
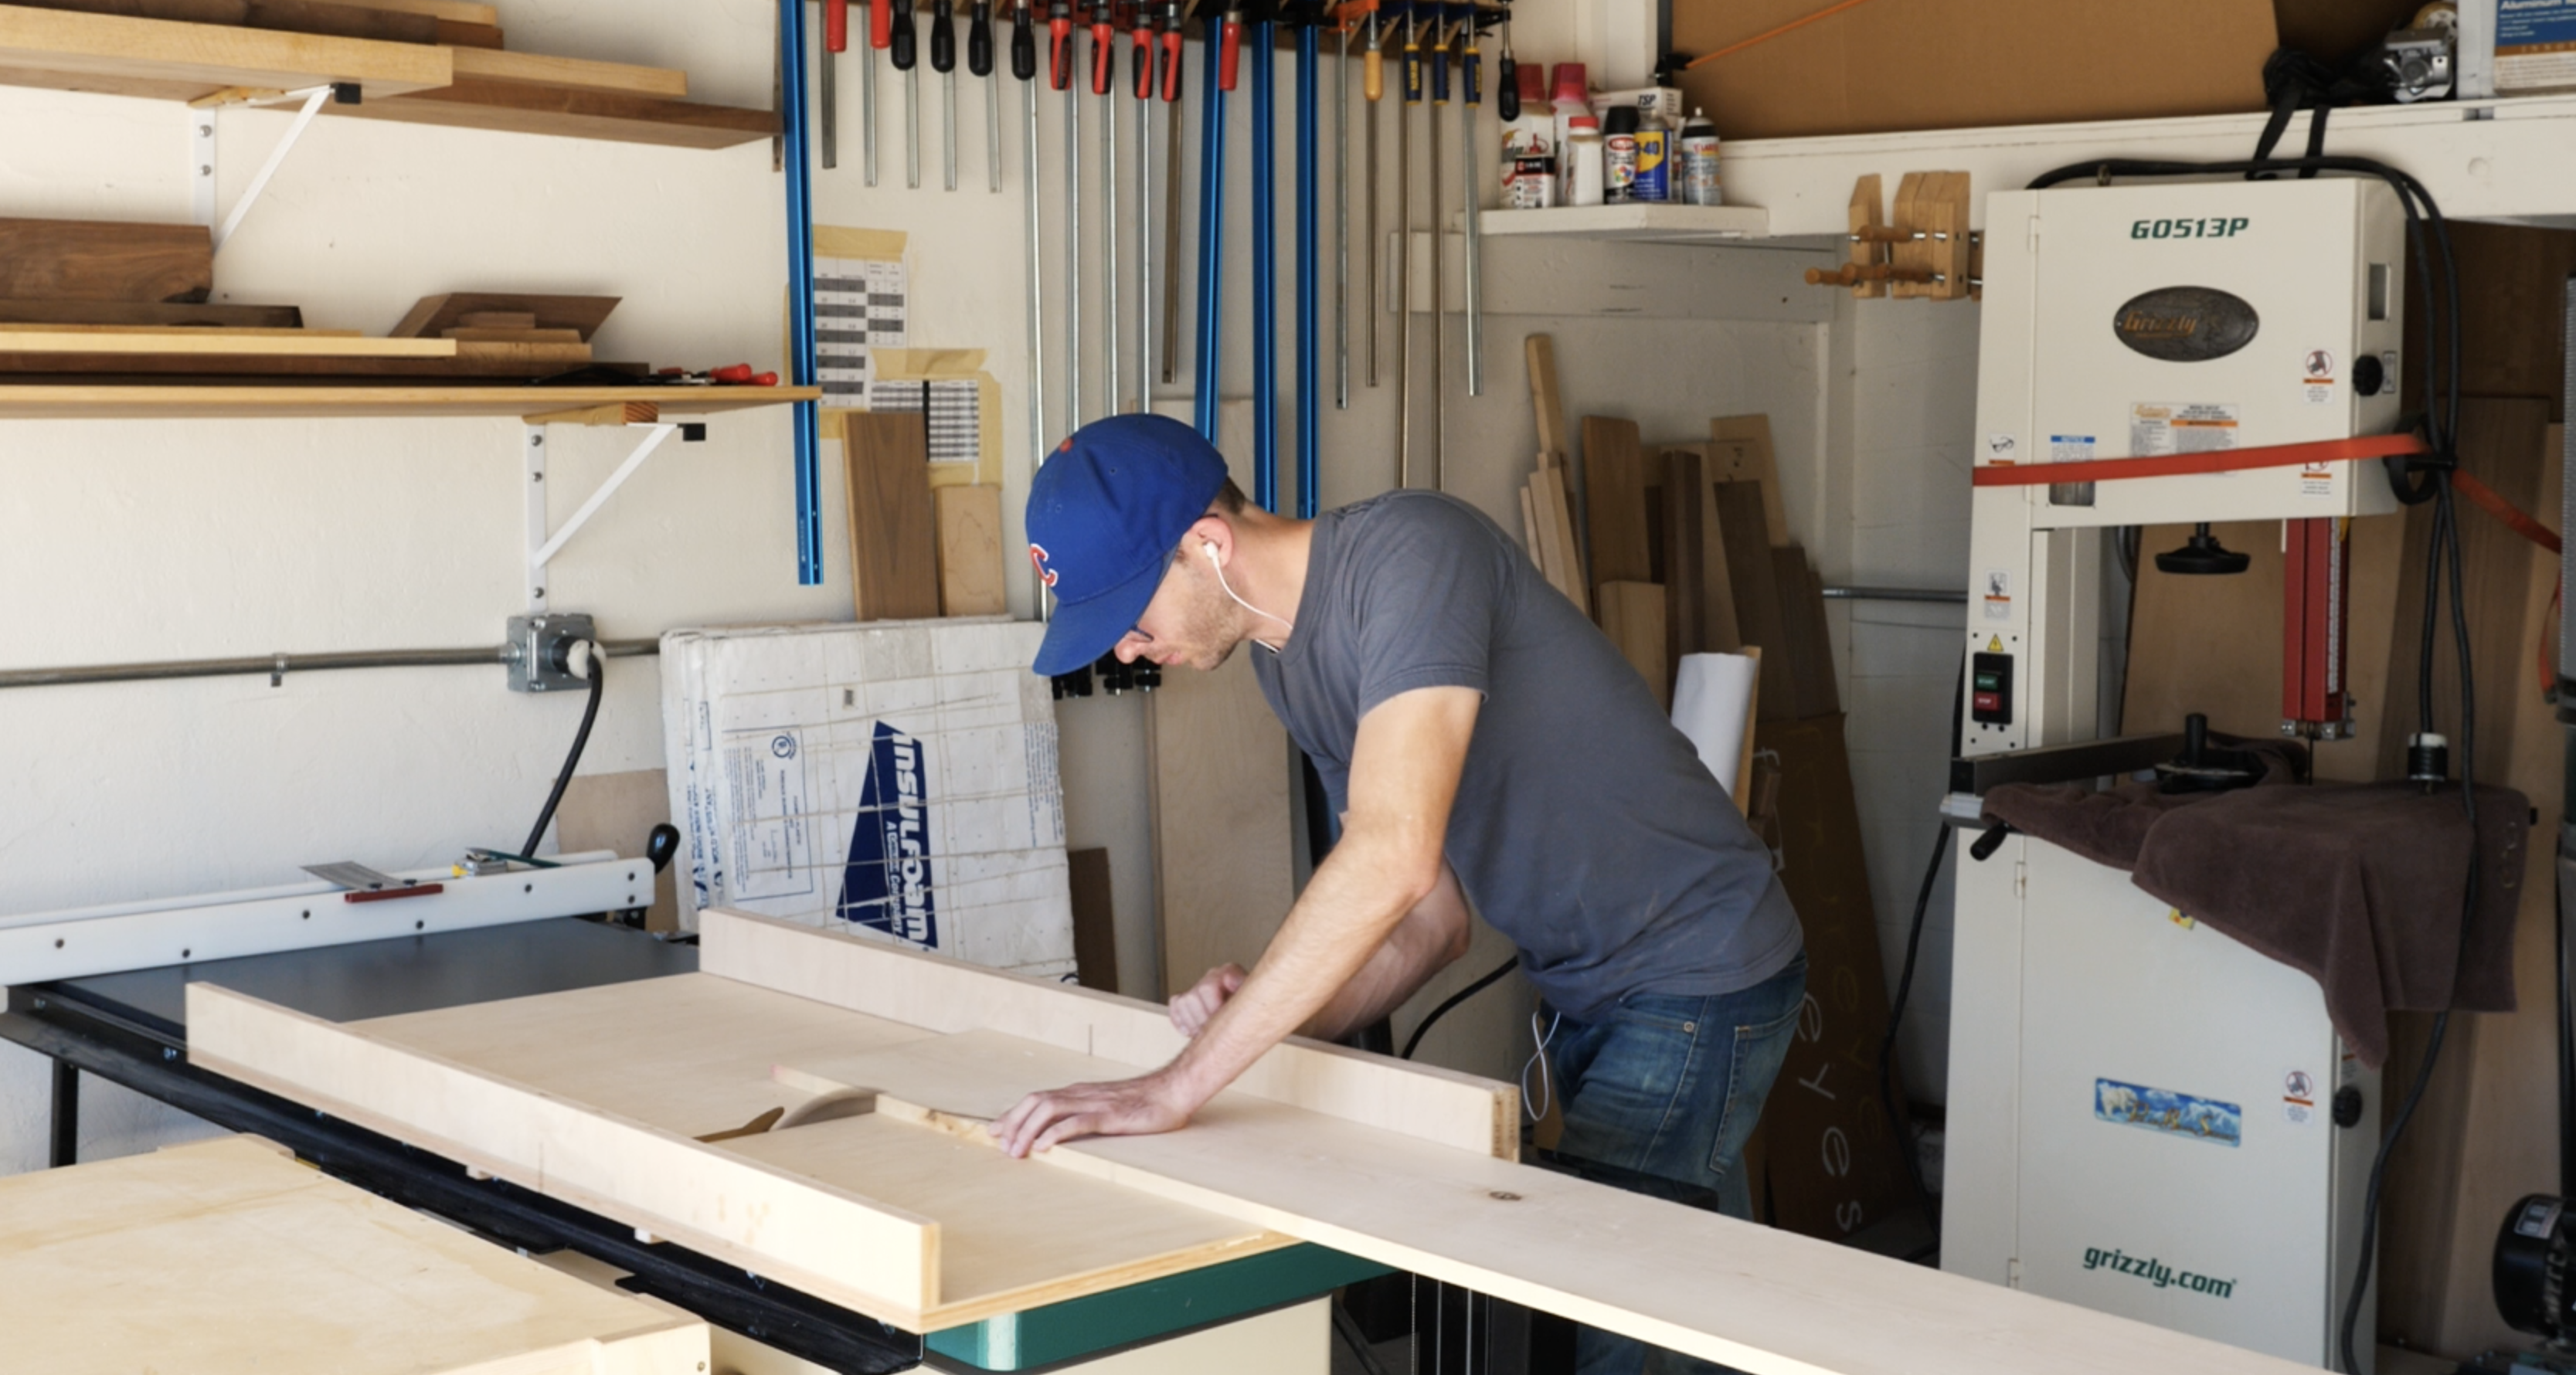
The construction process begins by cutting a 1x4-inch piece of wood into specific dimensions: one 30x4x1-inch piece and two 30x1.5x1-inch pieces. The instructions specify measuring, marking, and cutting a 1x4-inch board into two 30-inch long pieces. One of these 30-inch pieces is then cut in half to create two smaller pieces, each approximately 2 inches wide. All three pieces are sanded smooth.
Next, the ledges are assembled. One of the slim 2-inch pieces is glued flush with one edge of the wider piece to form a 'lip,' preventing items from sliding off. This piece is clamped and, once the glue becomes tacky, secured with a nail gun. Any nail holes are filled with wood filler and smoothed before drying. The second thin piece is then glued to the top of the 1x4 base, creating a taller back panel.
After assembly, the ledges are primed and painted or stained according to personal preference. For a natural wood look, sealing the wood is sufficient. Applying two to three coats of paint or stain ensures optimal coverage, with adequate drying time between each coat. A helpful tip suggests resting the photo ledge on scrap wood during painting to facilitate access to the edges.
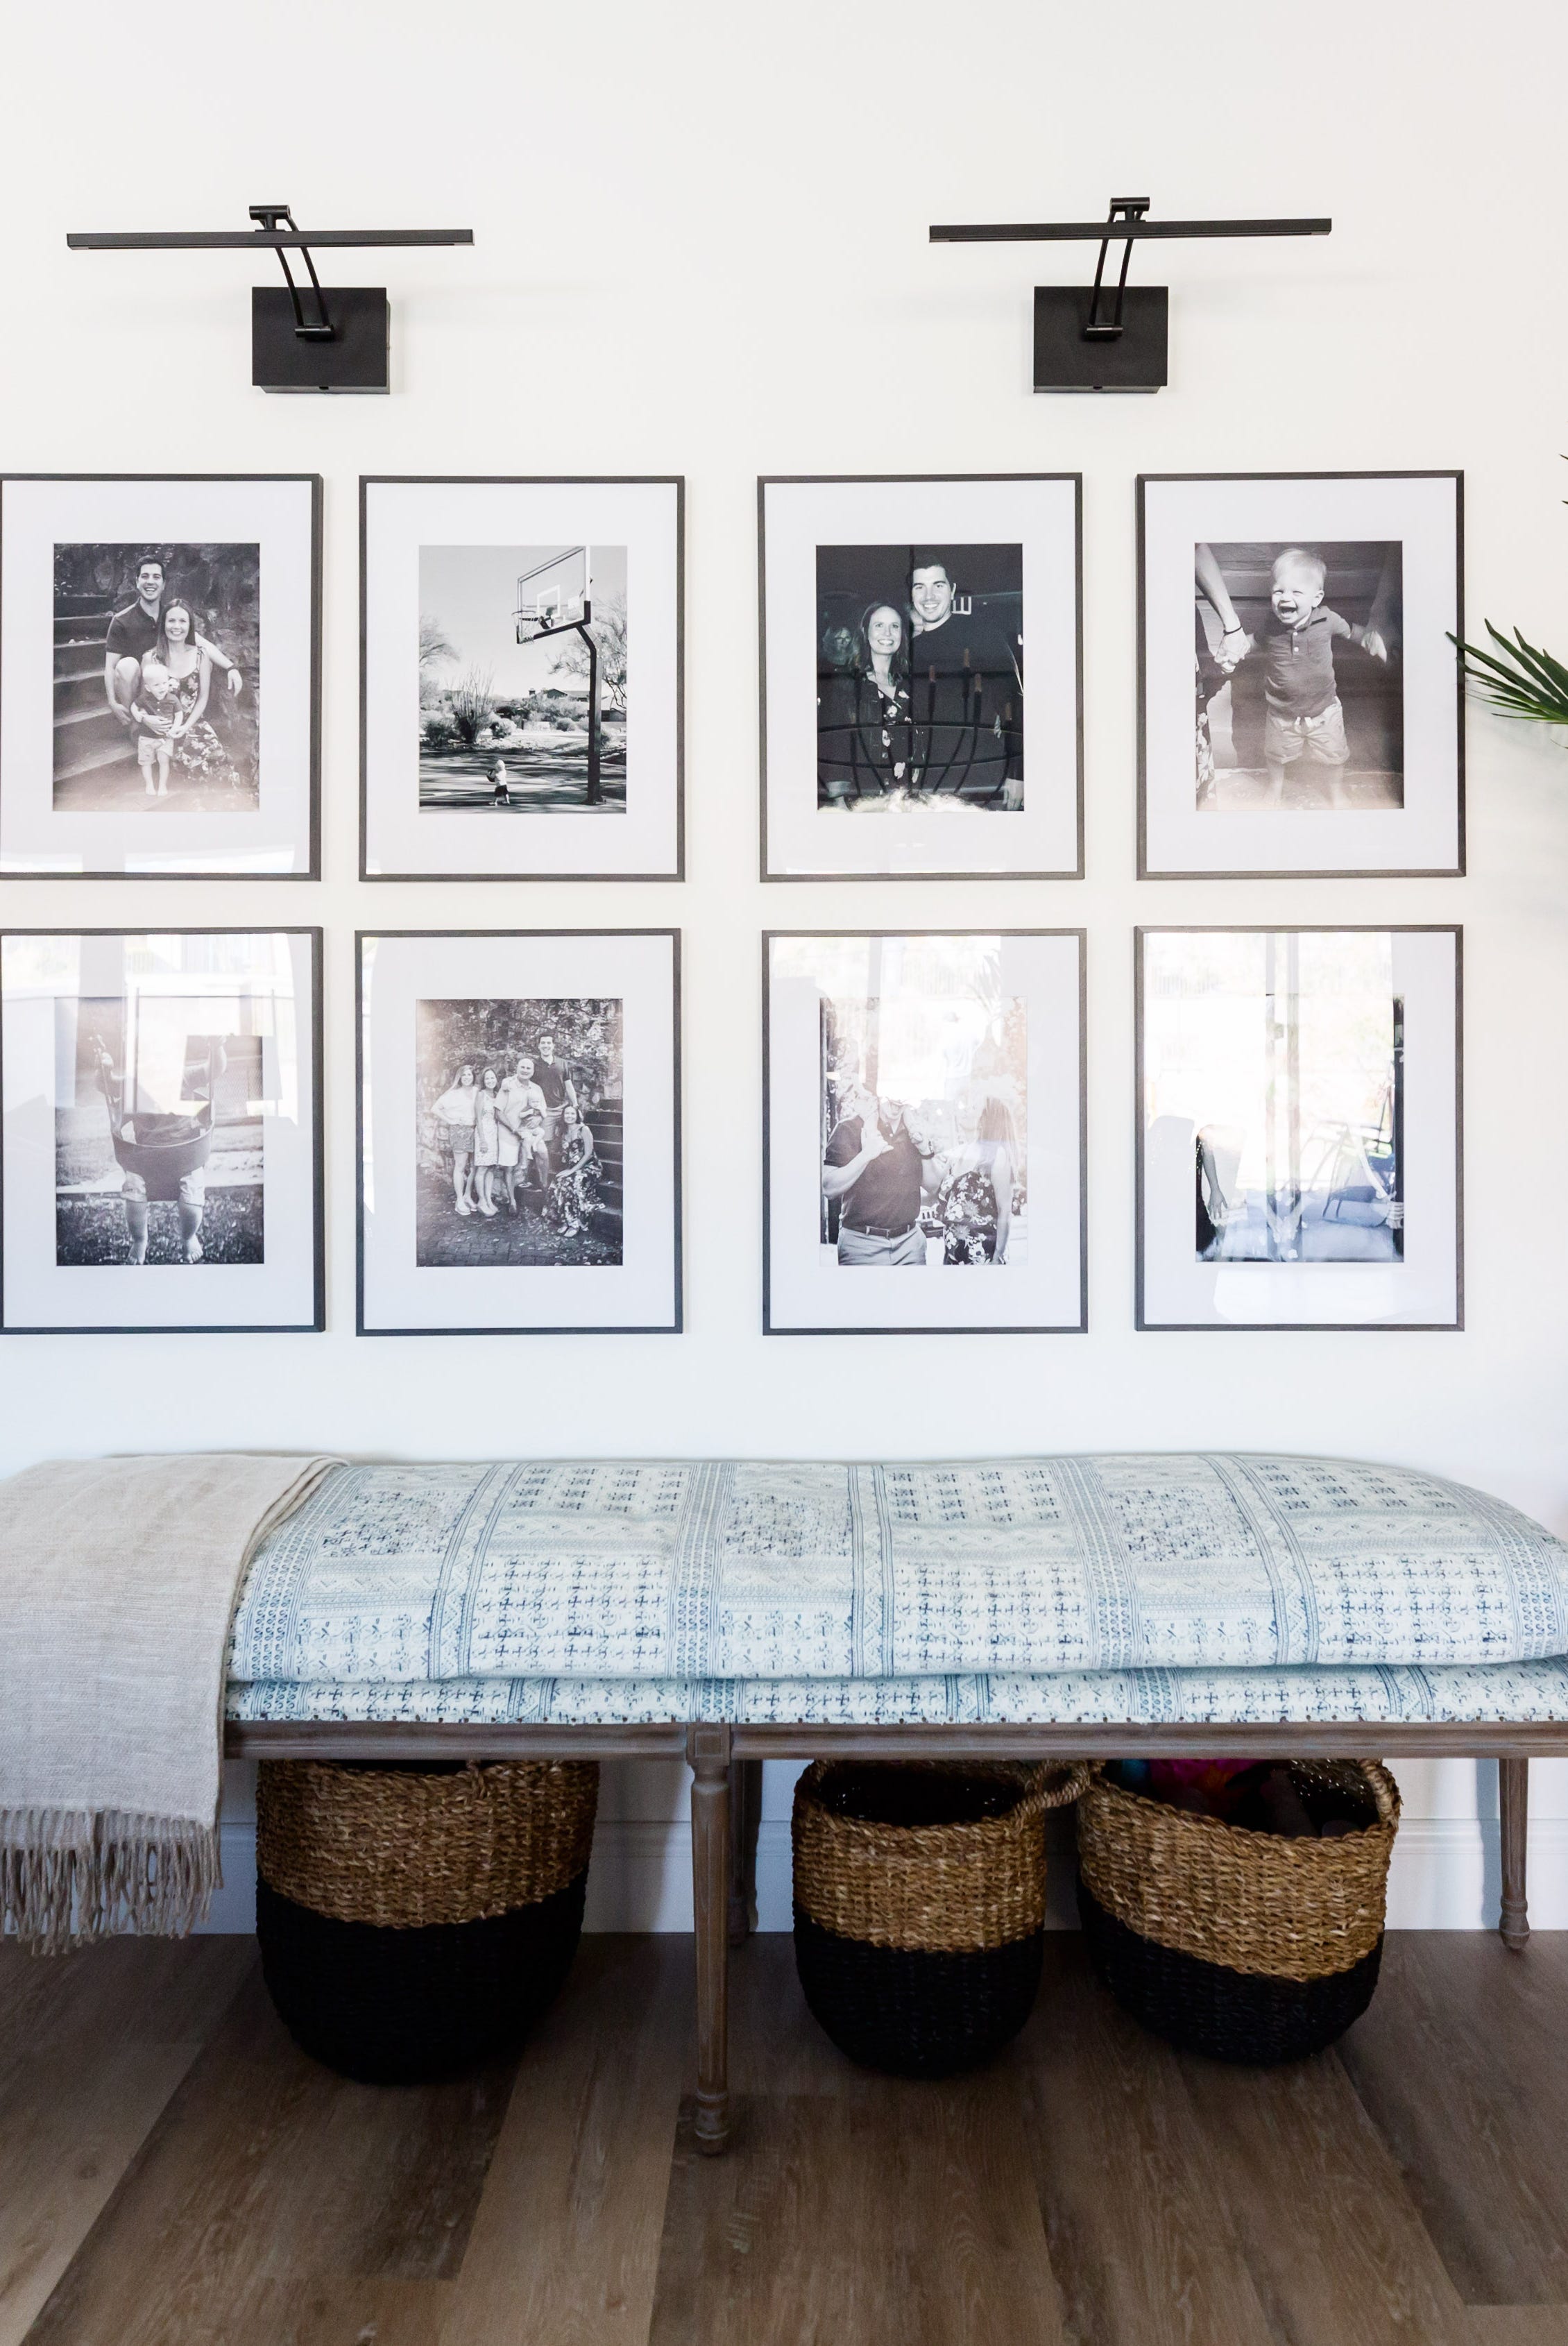
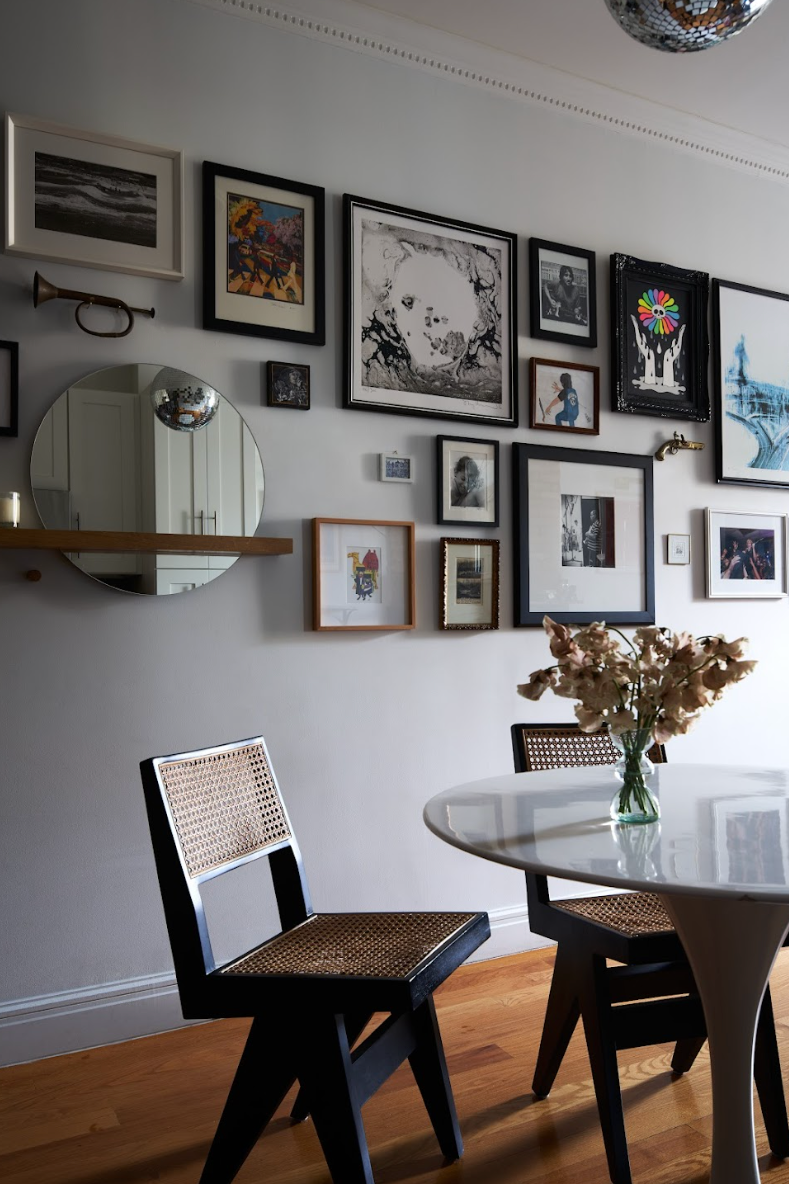
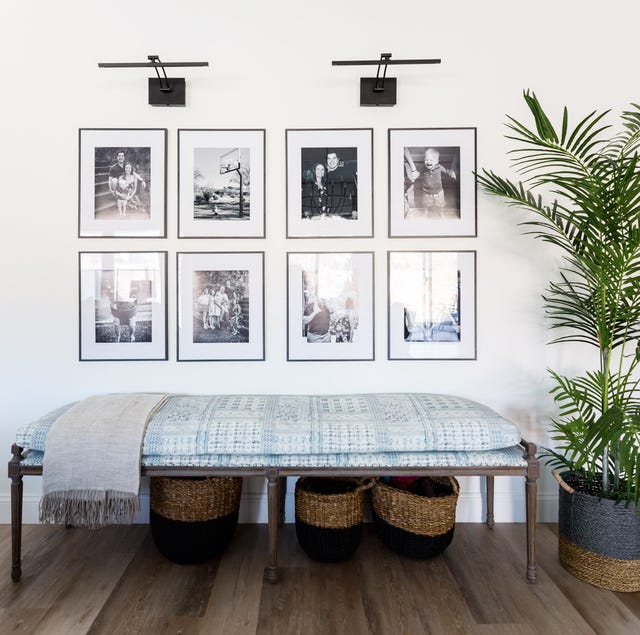
Finally, for secure installation, the photo ledges must be hung on wall studs, especially since they will support potentially heavy items. The process involves locating wall studs with a stud finder, marking their positions on the back panel of the ledge, drilling pilot holes, and then inserting screws into the wall. A level is used to ensure the ledge is hung evenly. These DIY photo ledges are not only functional for displaying pictures but also versatile enough for children’s books, record albums, spice jars, or collections of small toys and keepsakes.
#DIYHomeDecor #PhotoLedges #WoodworkingProject #HomeImprovement #WallDecor #StorageSolutions #PictureDisplay #CustomShelves #EasyDIY #DIYHomeDecor #PhotoLedges #WoodworkingProject #HomeImprovement #WallDecor #StorageSolutions #PictureDisplay #CustomShelves #EasyDIY
0 comment in total
You may also like
Shiner Wooden Photo Blocks Make An Easy Gallery Wall

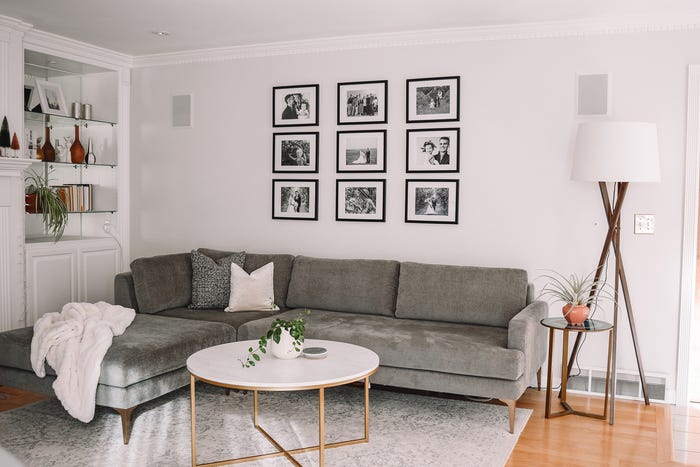
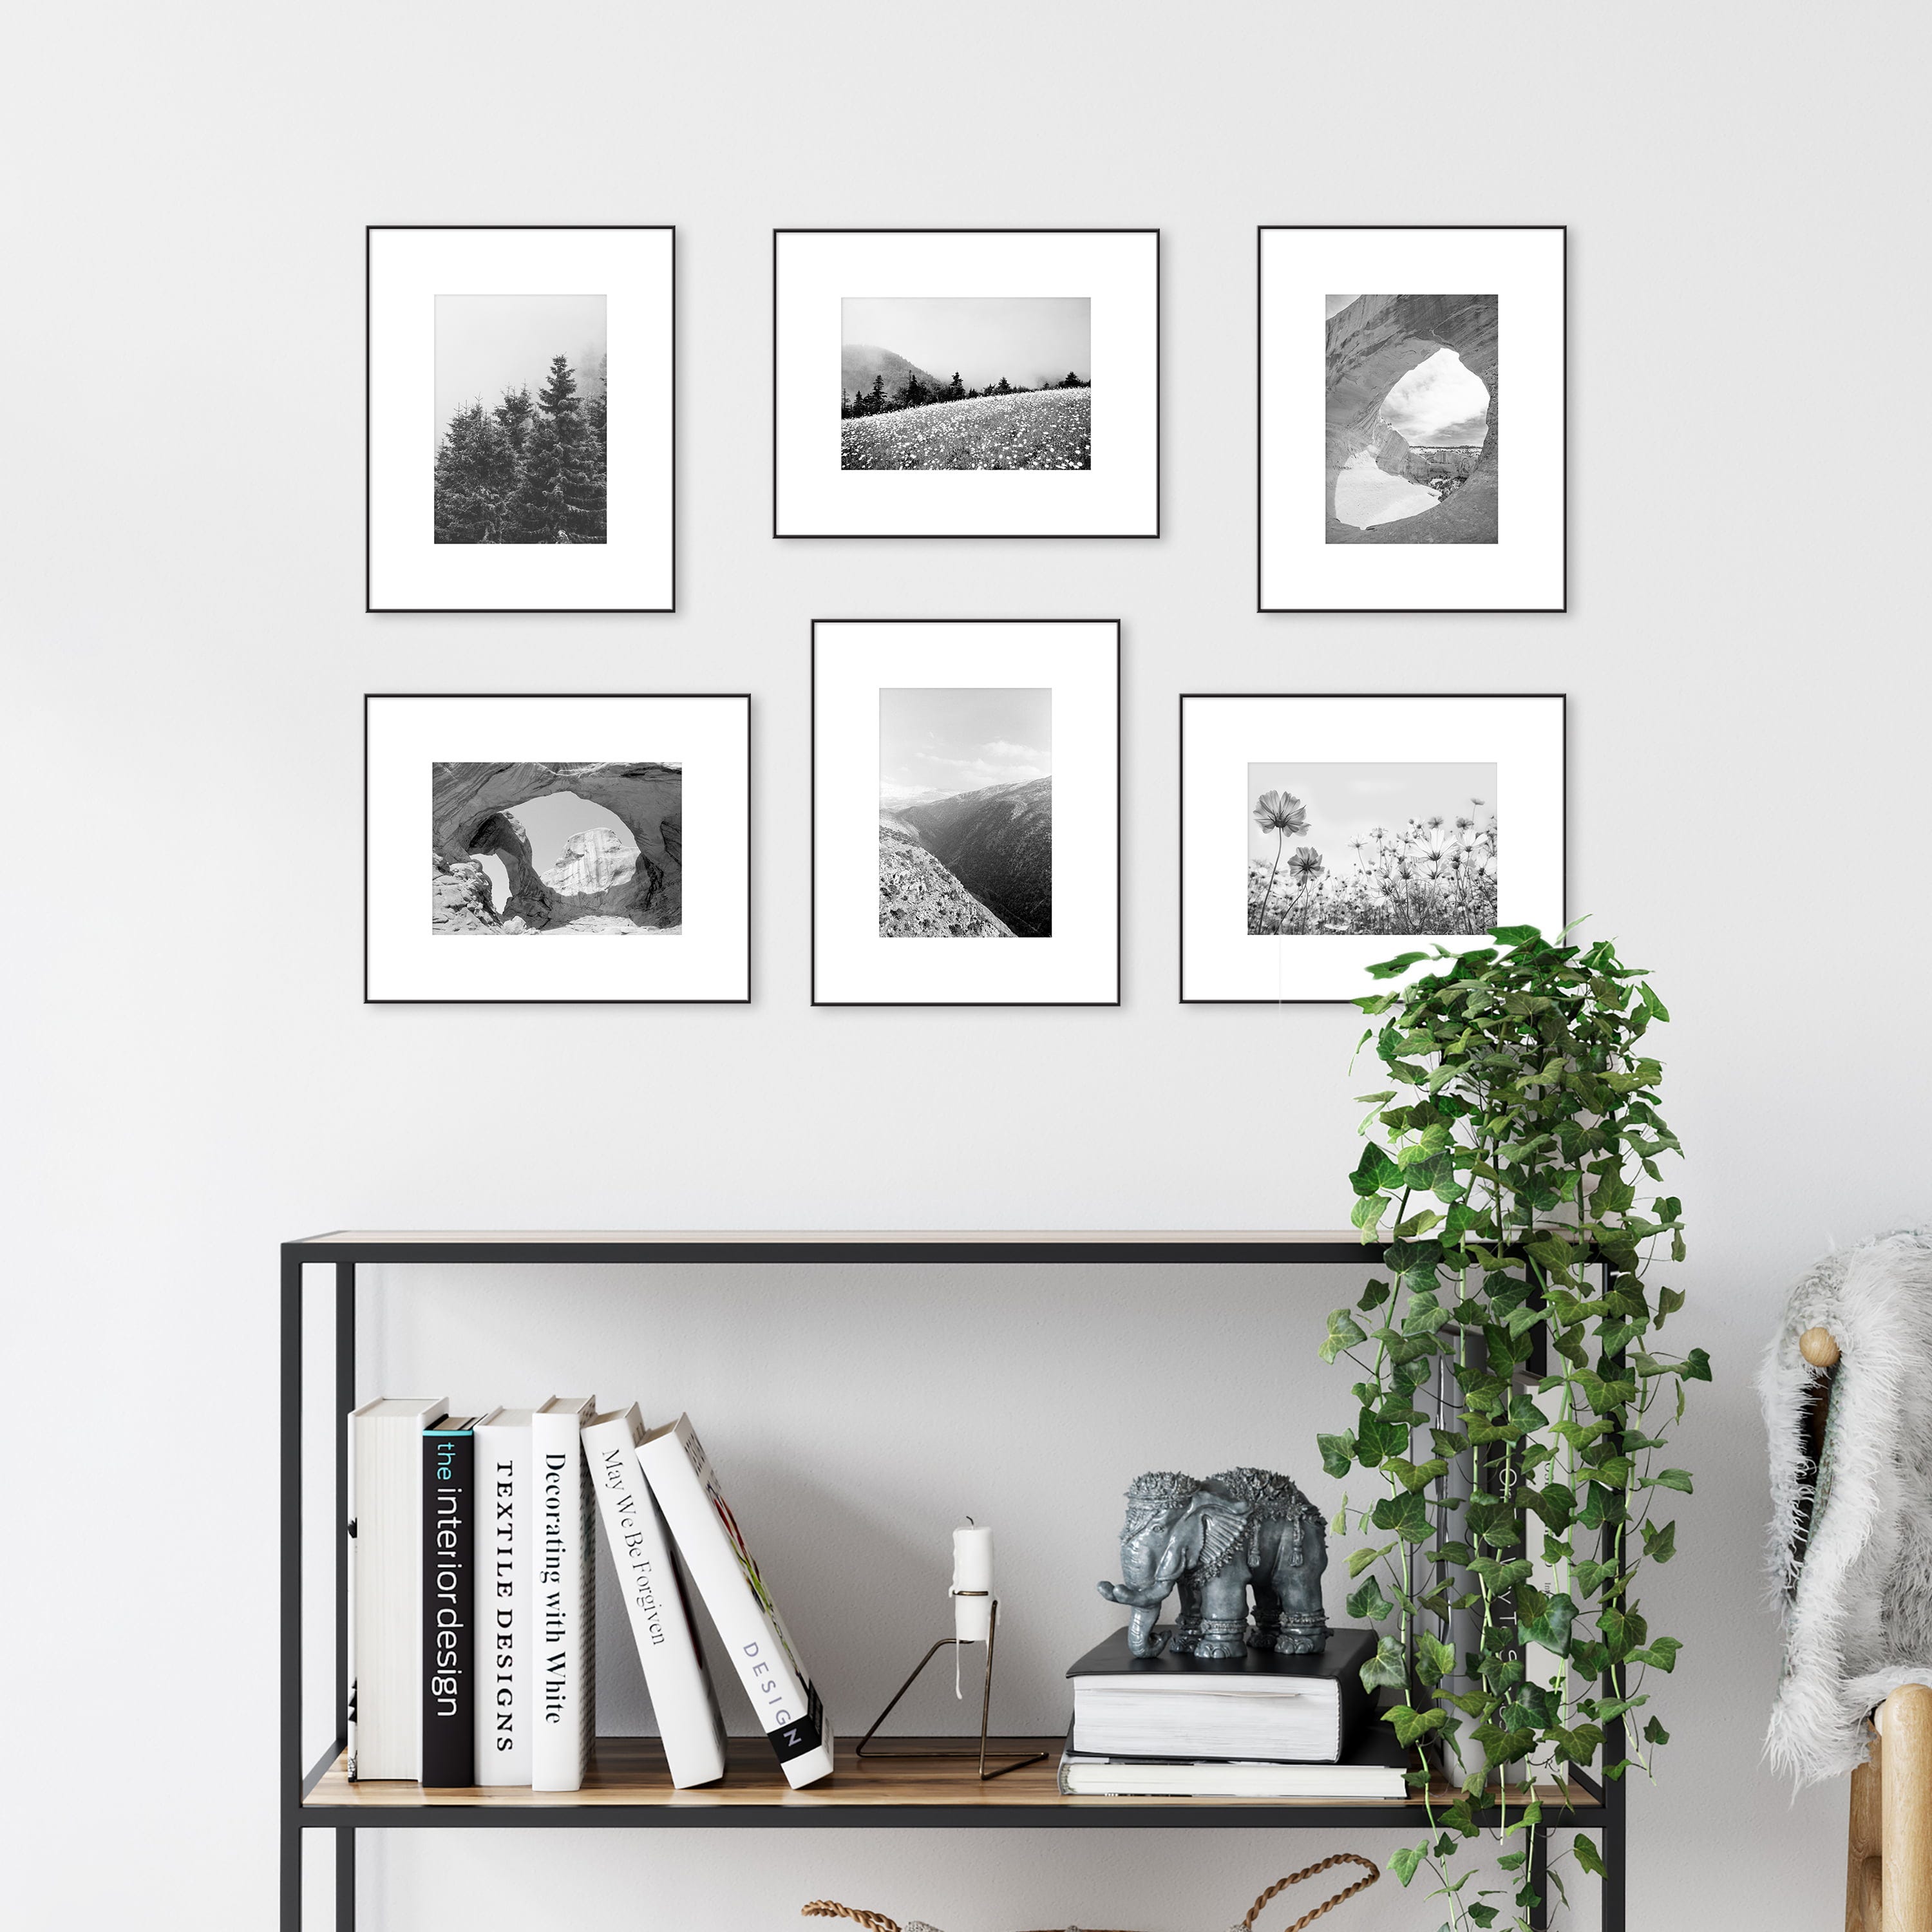
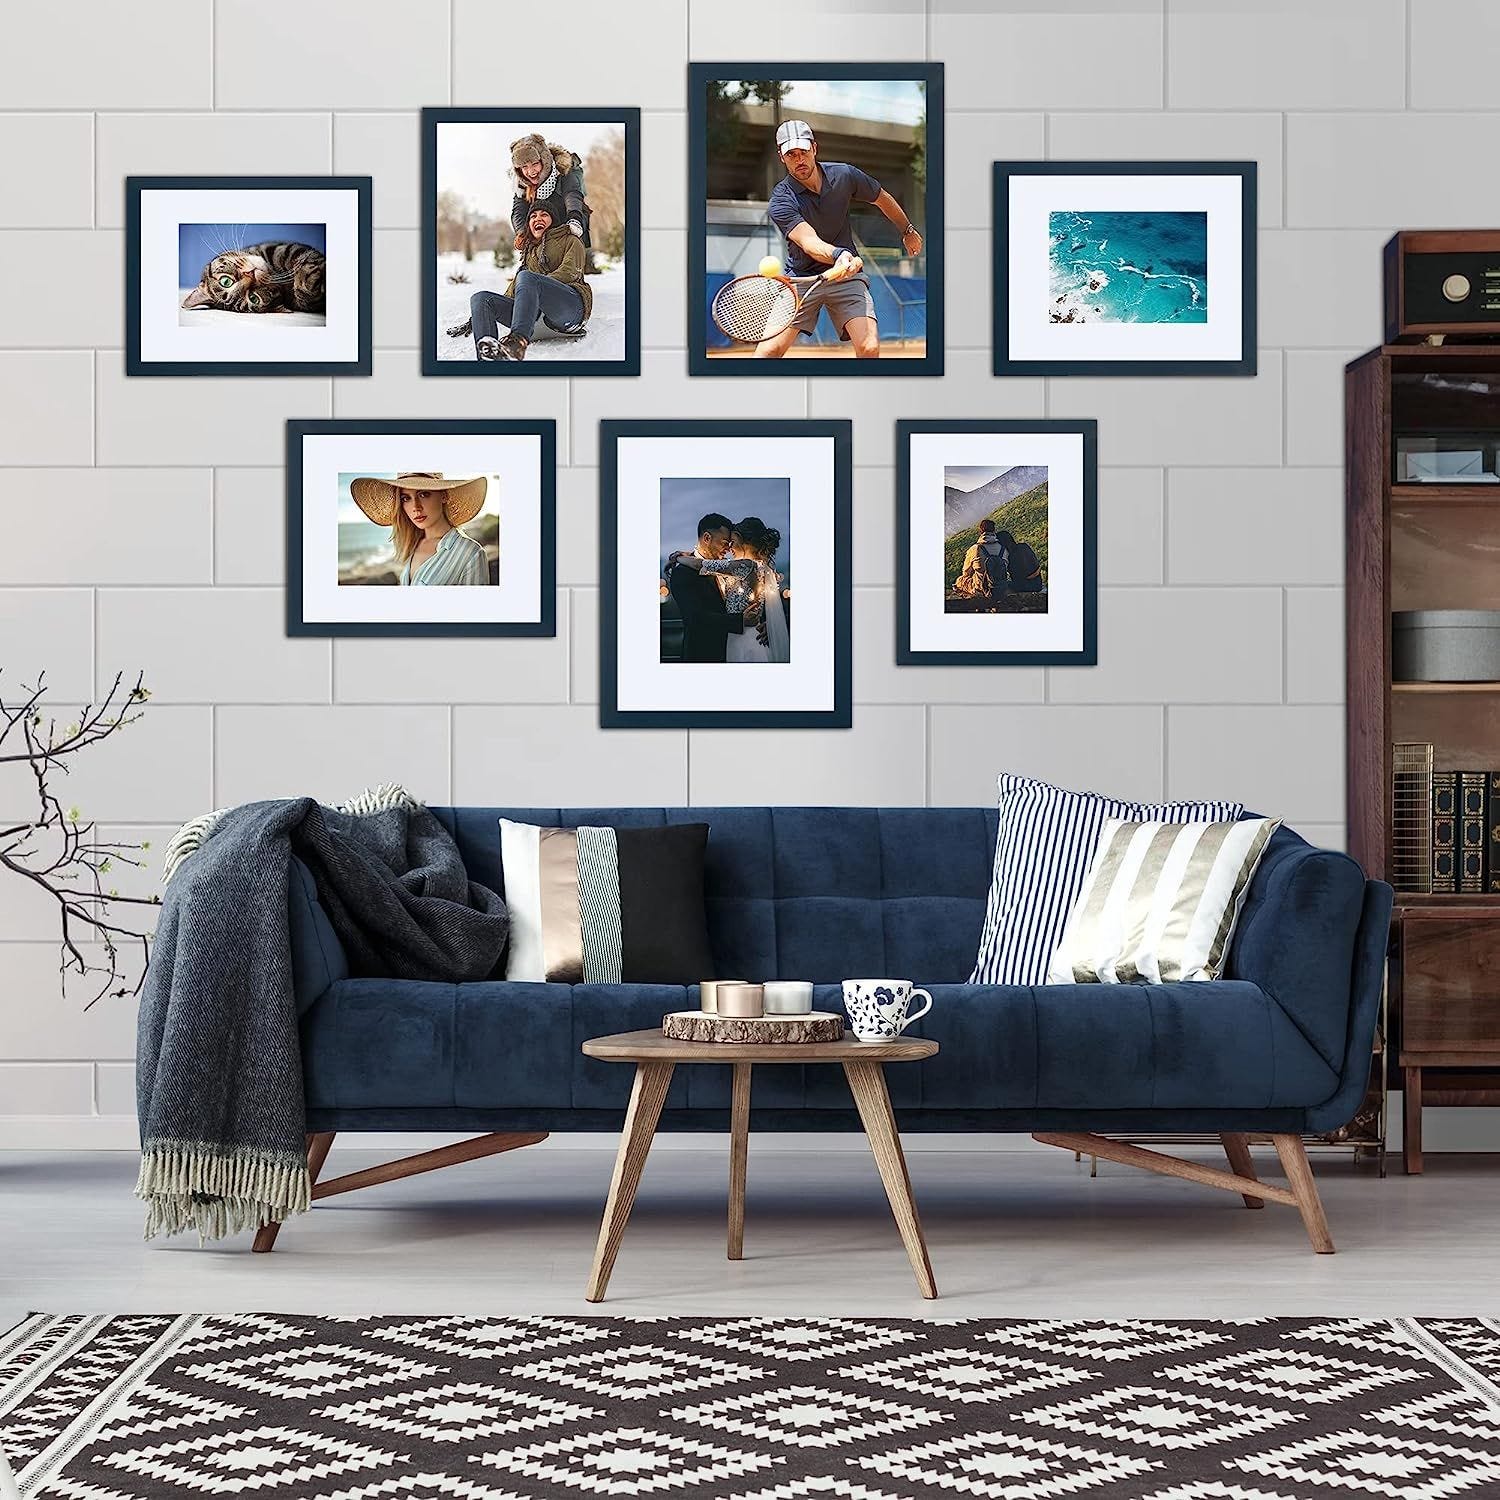
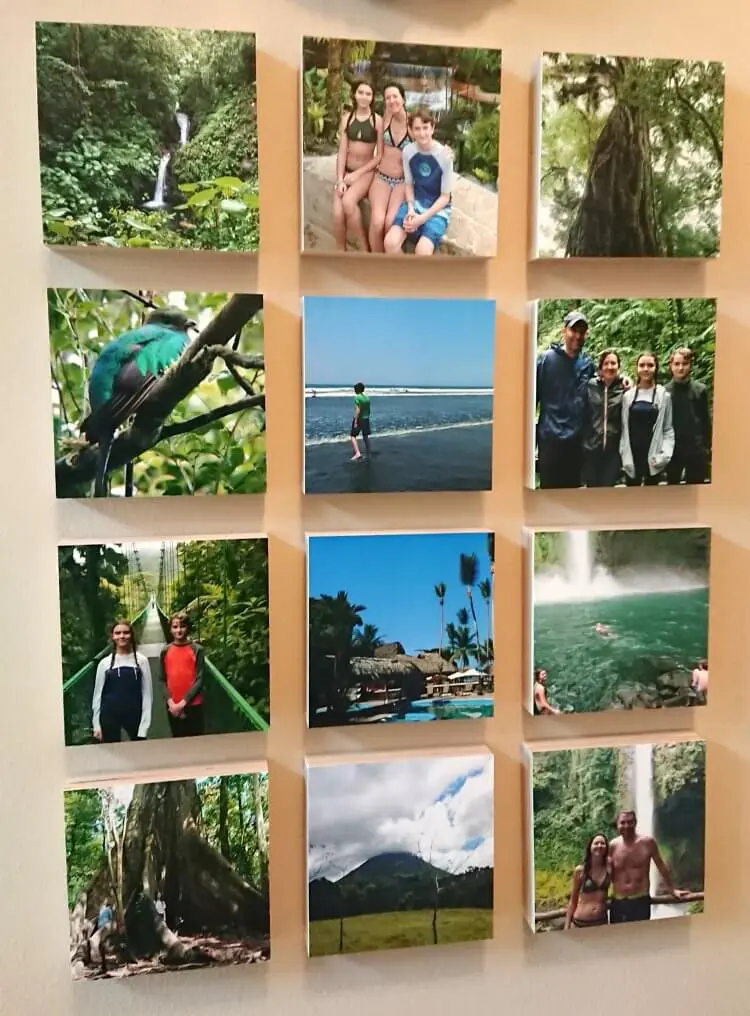
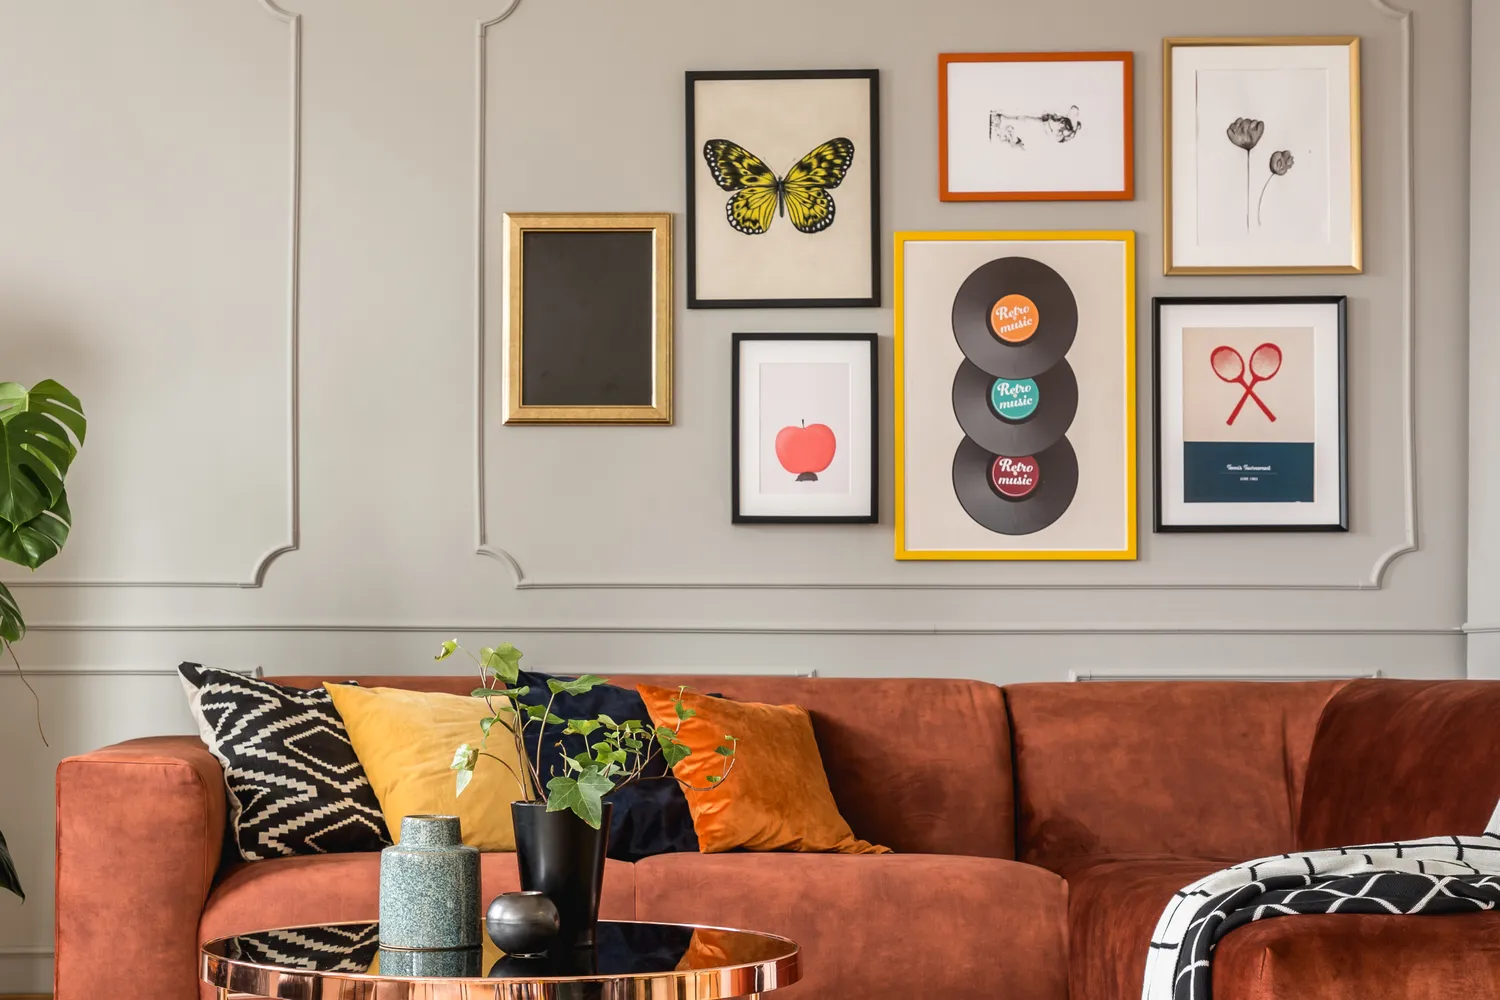
A look at various ways to display your photos
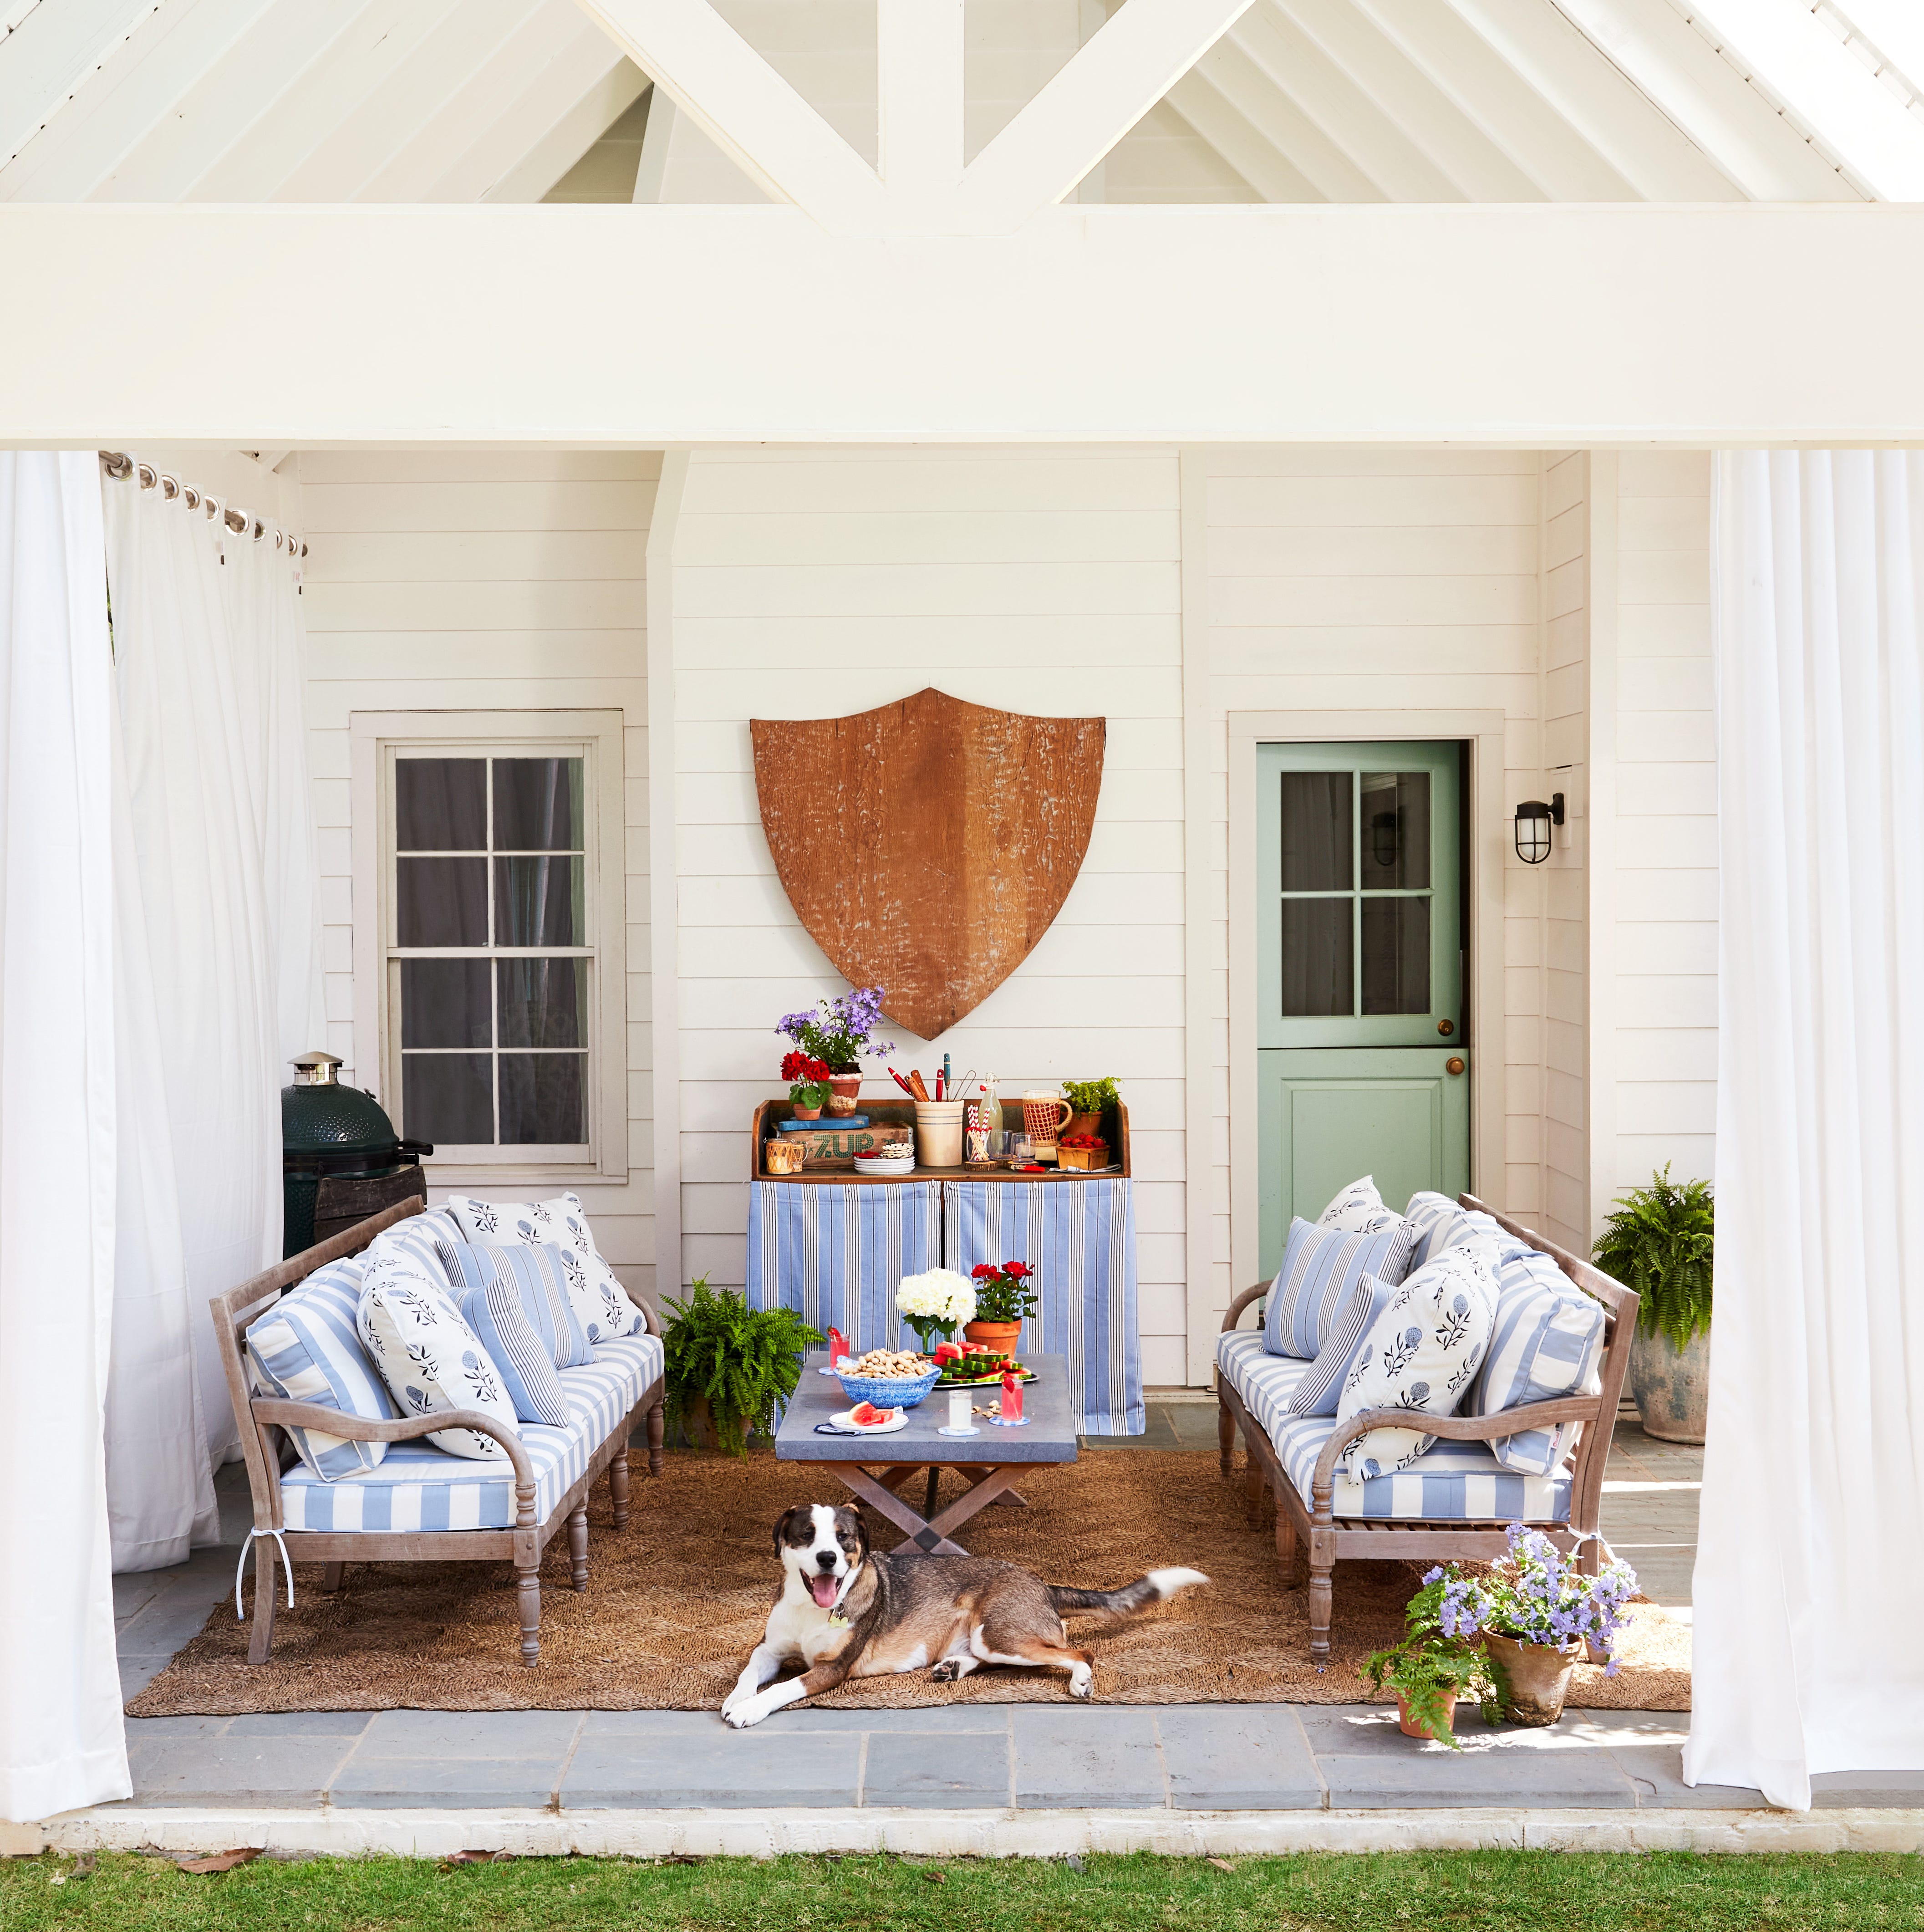
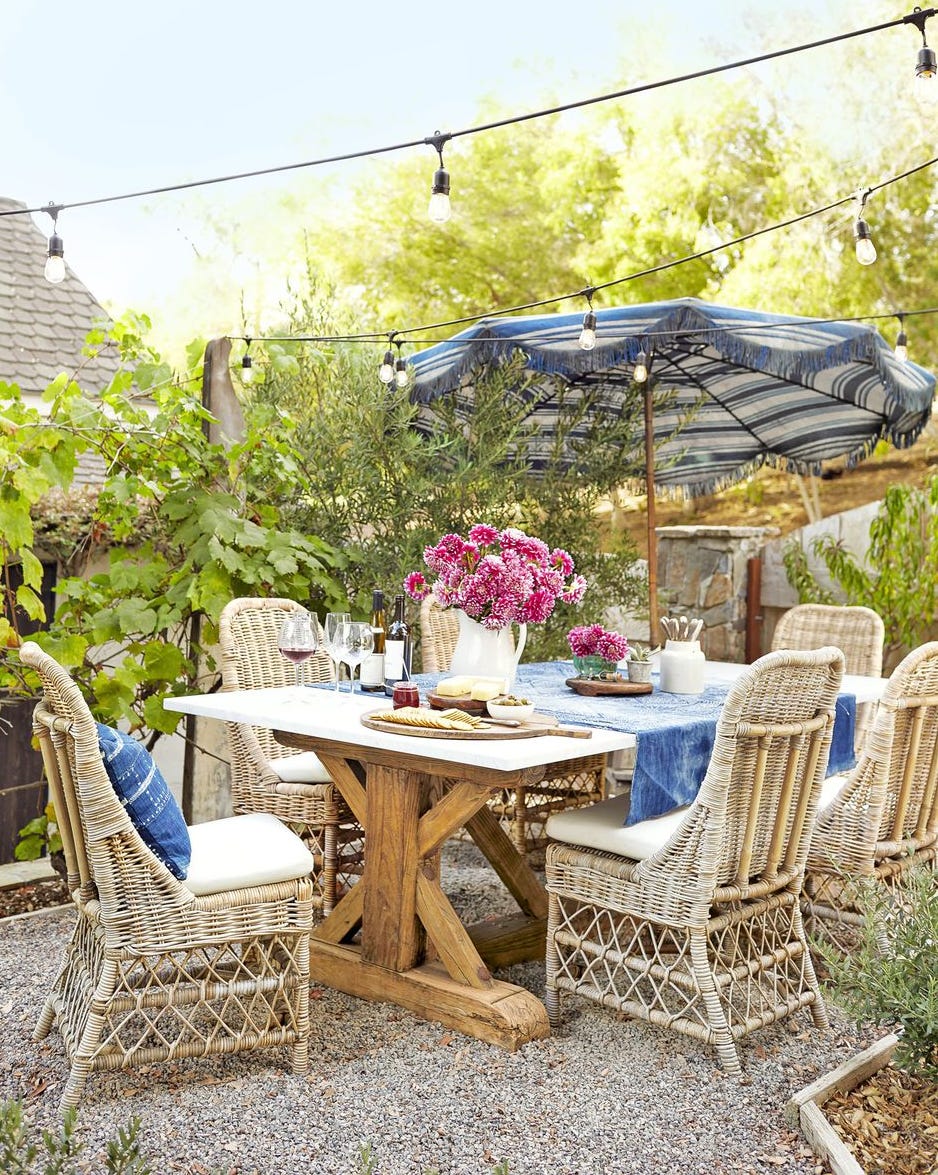
5 Weekend Backyard Makeover Projects So Good You’ll Be Canceling Plans Just to Hang Out
5 Ways to Make Hanging Picture Frames So Much Easier

38 Home Projects You Can Start And Finish In One Weekend
5 weekend DIY home projects under $200


Gallery walls just got way easier thanks to these genius Society6 sets

10 Unique Ways To Display Your Travel Photos

This Blogger Shows You How to Make a Sliding Collage Photo Frame in Just 30 Minutes


Wall decals, tea towels and other creative ways to display your pics

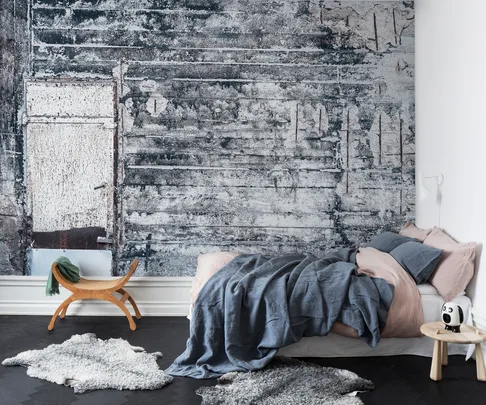
5 photo-realistic wallpaper designs to try


7 Great Weekend Solar Power Projects

Chatbooks Now Has Peel-&-Stick Photo Tiles To Create The Gallery Wall Of Your Dreams

Dwell Made Presents: DIY Picture Wall

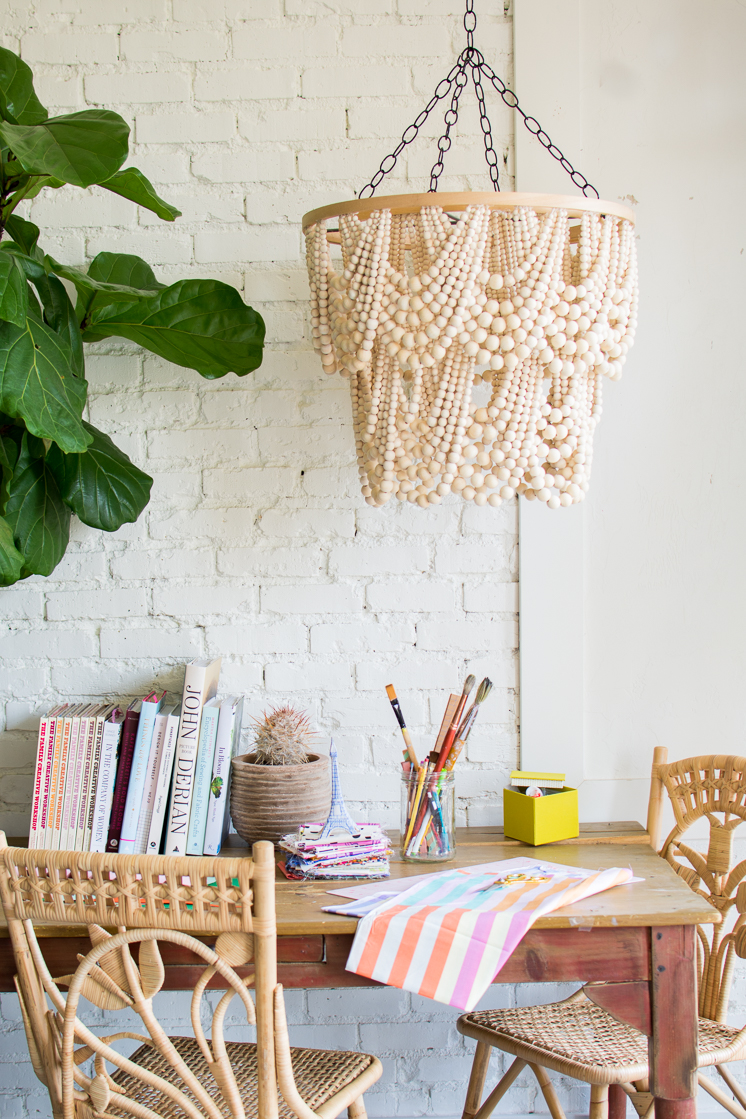
Your Weekend Project Is Here: 9 DIY Chandeliers You Can Make in an Afternoon
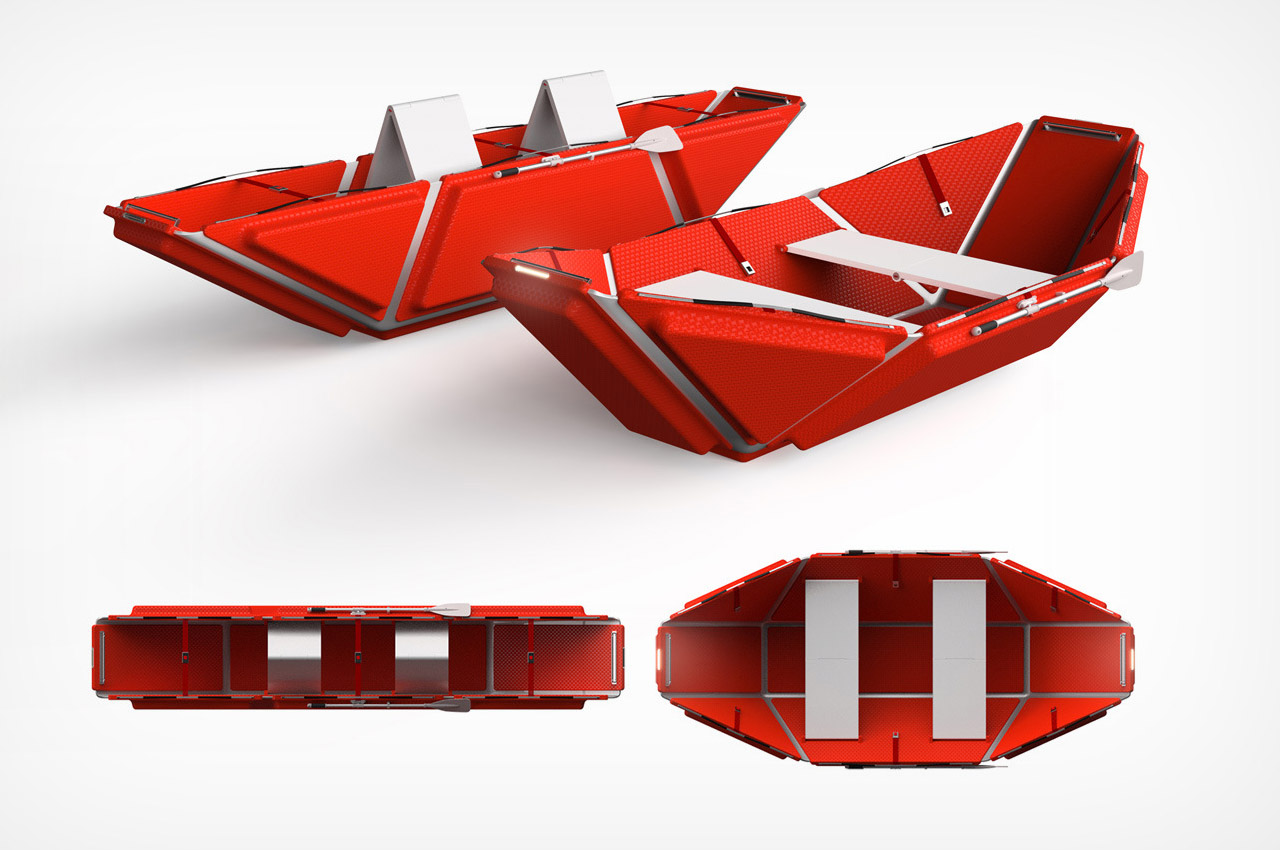
Top 10 flat-pack designs that are super easy to carry + assemble
15 Outdoor Bench Plans You Can Build This Weekend
Don't Spend Too Much on Picture Frames—Snag These 14 Finds on the Cheap

We Tried All Kinds of Digital Picture Frames. The Best Are Easy to Use and Look Great.
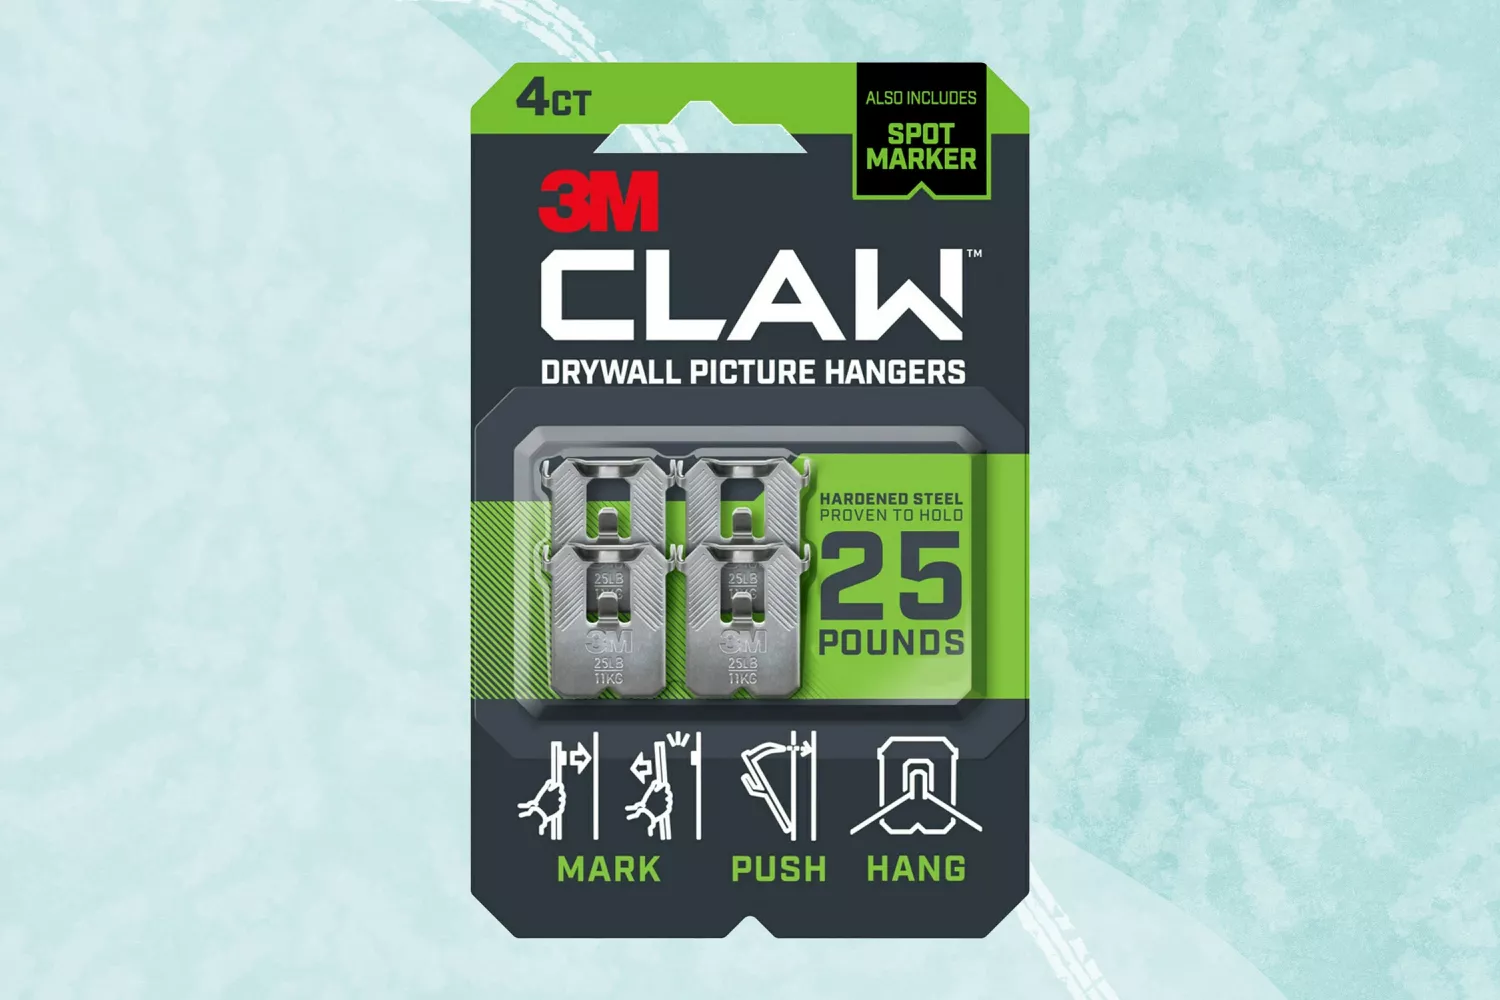
The 8 Picture Hangers We Trust to Hold It All Up