1/5
Hide Your TV in Plain Sight With This DIY Plaster-Coated Bookcase | domino
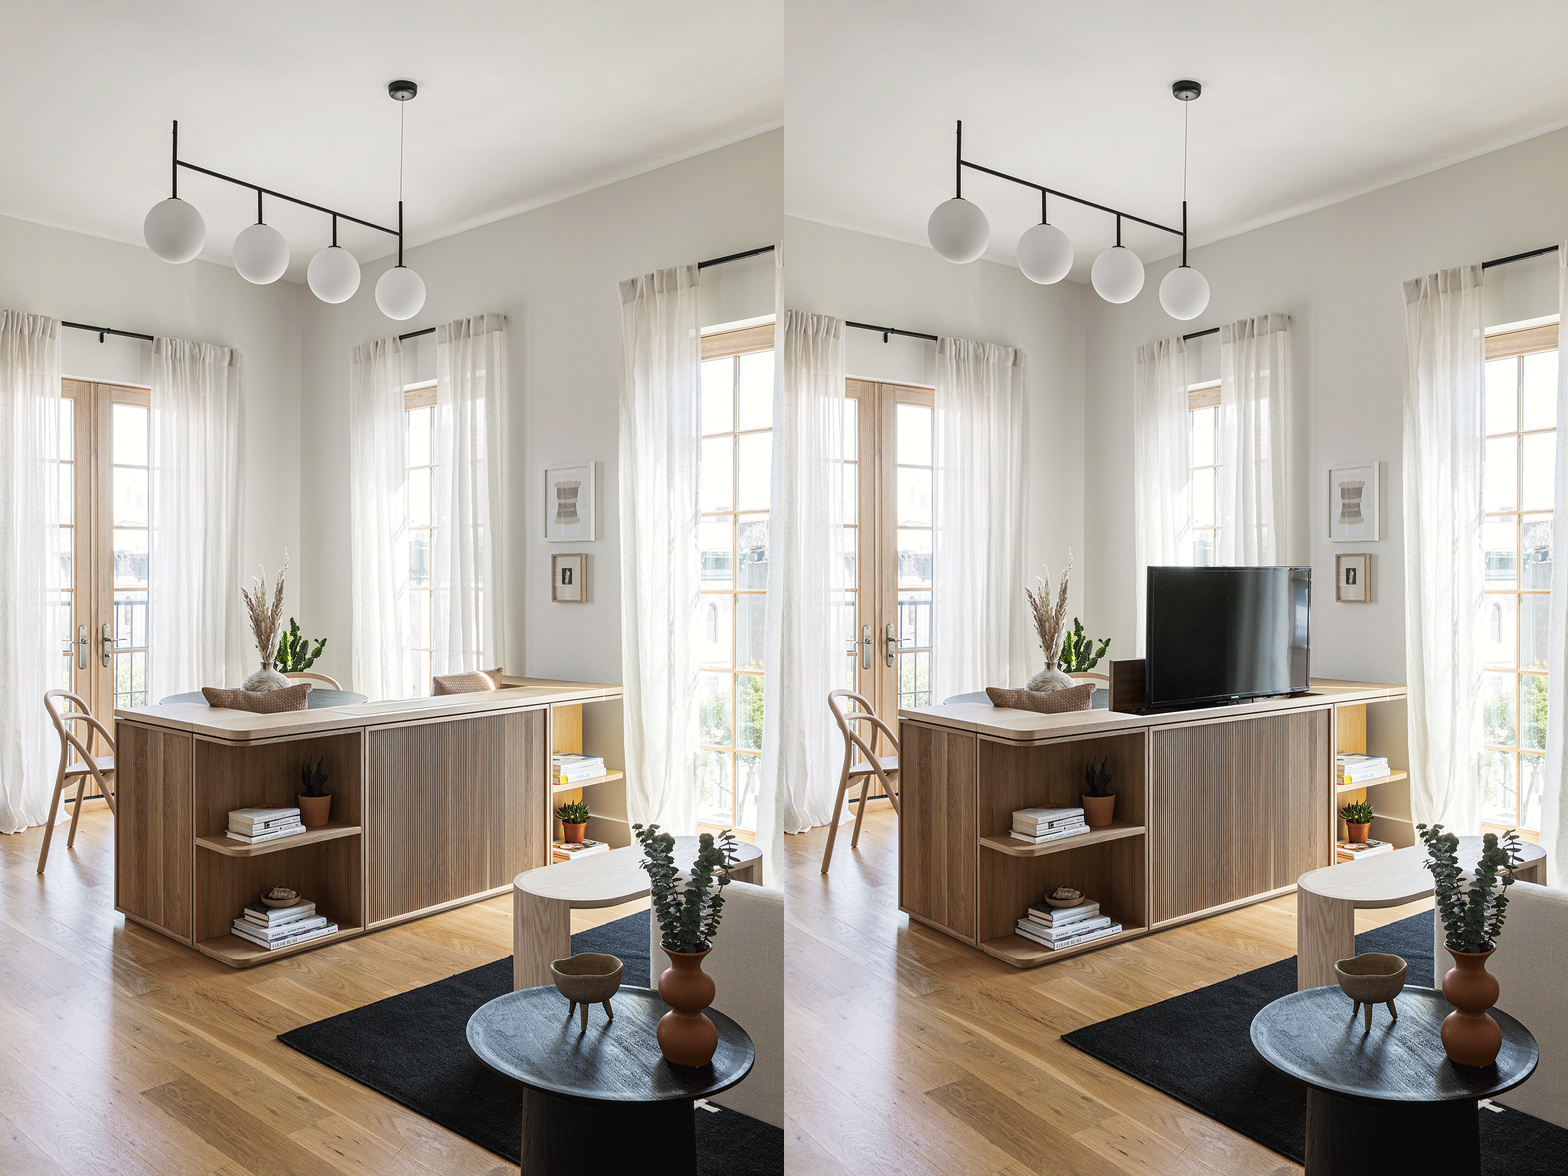
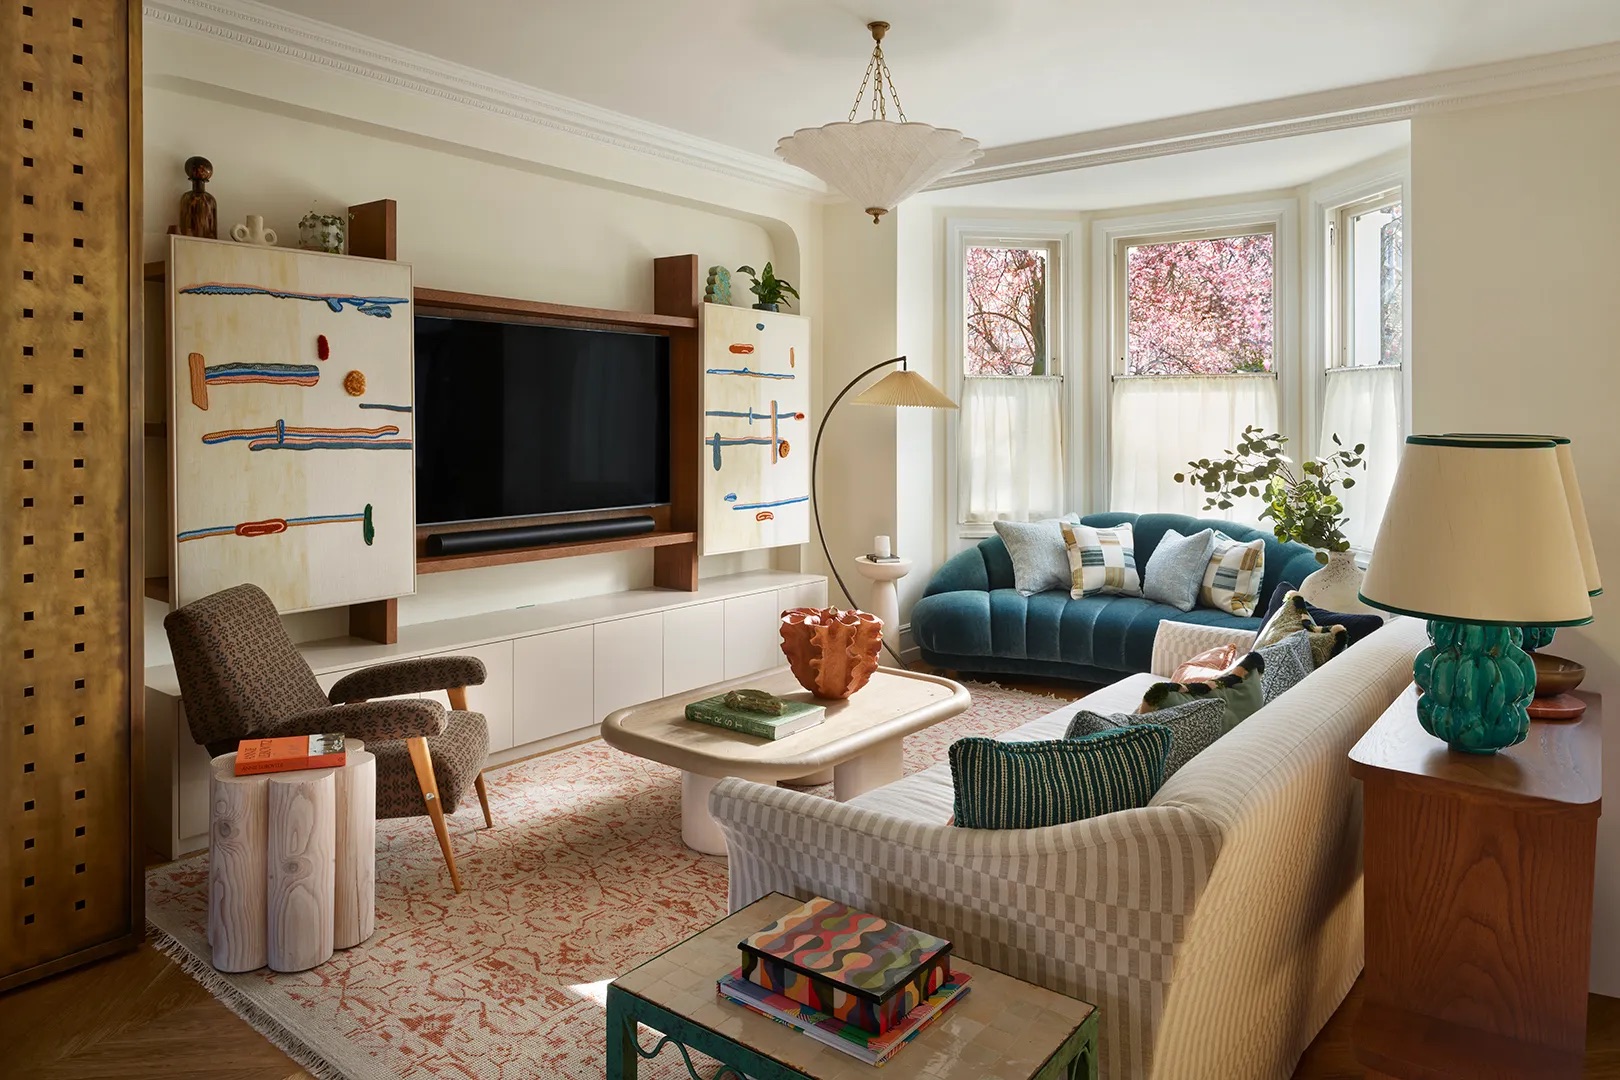
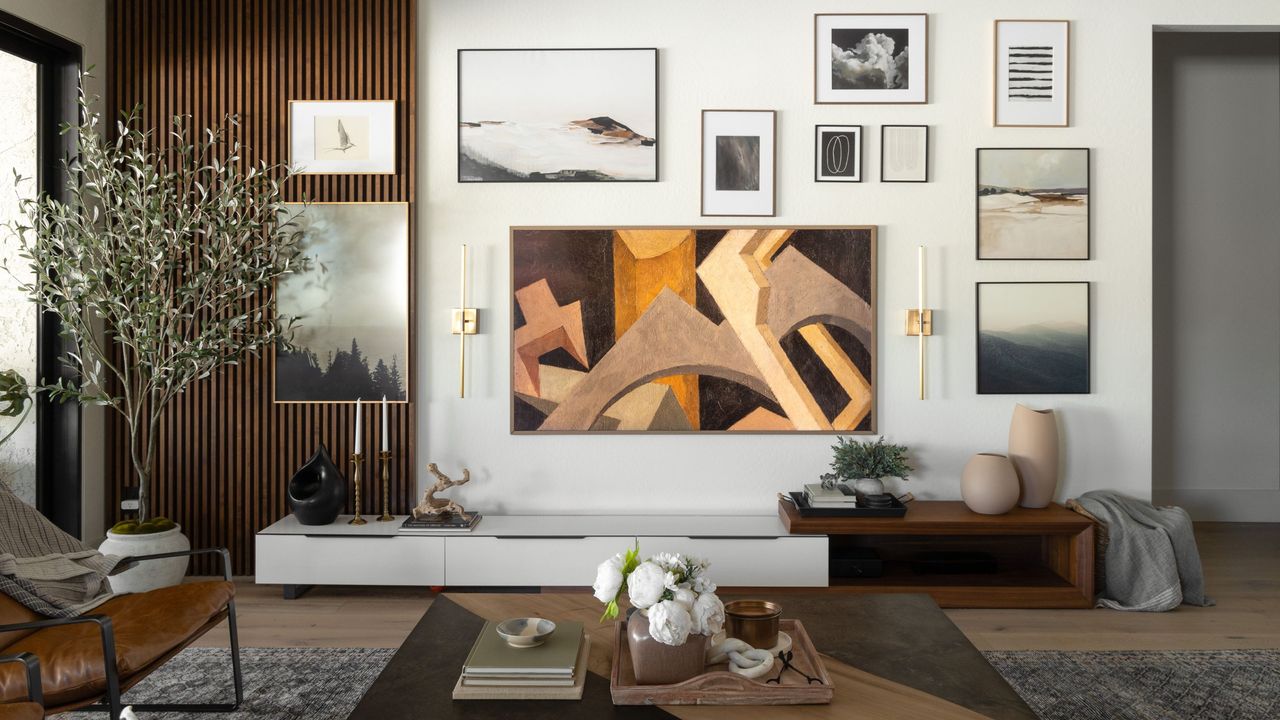
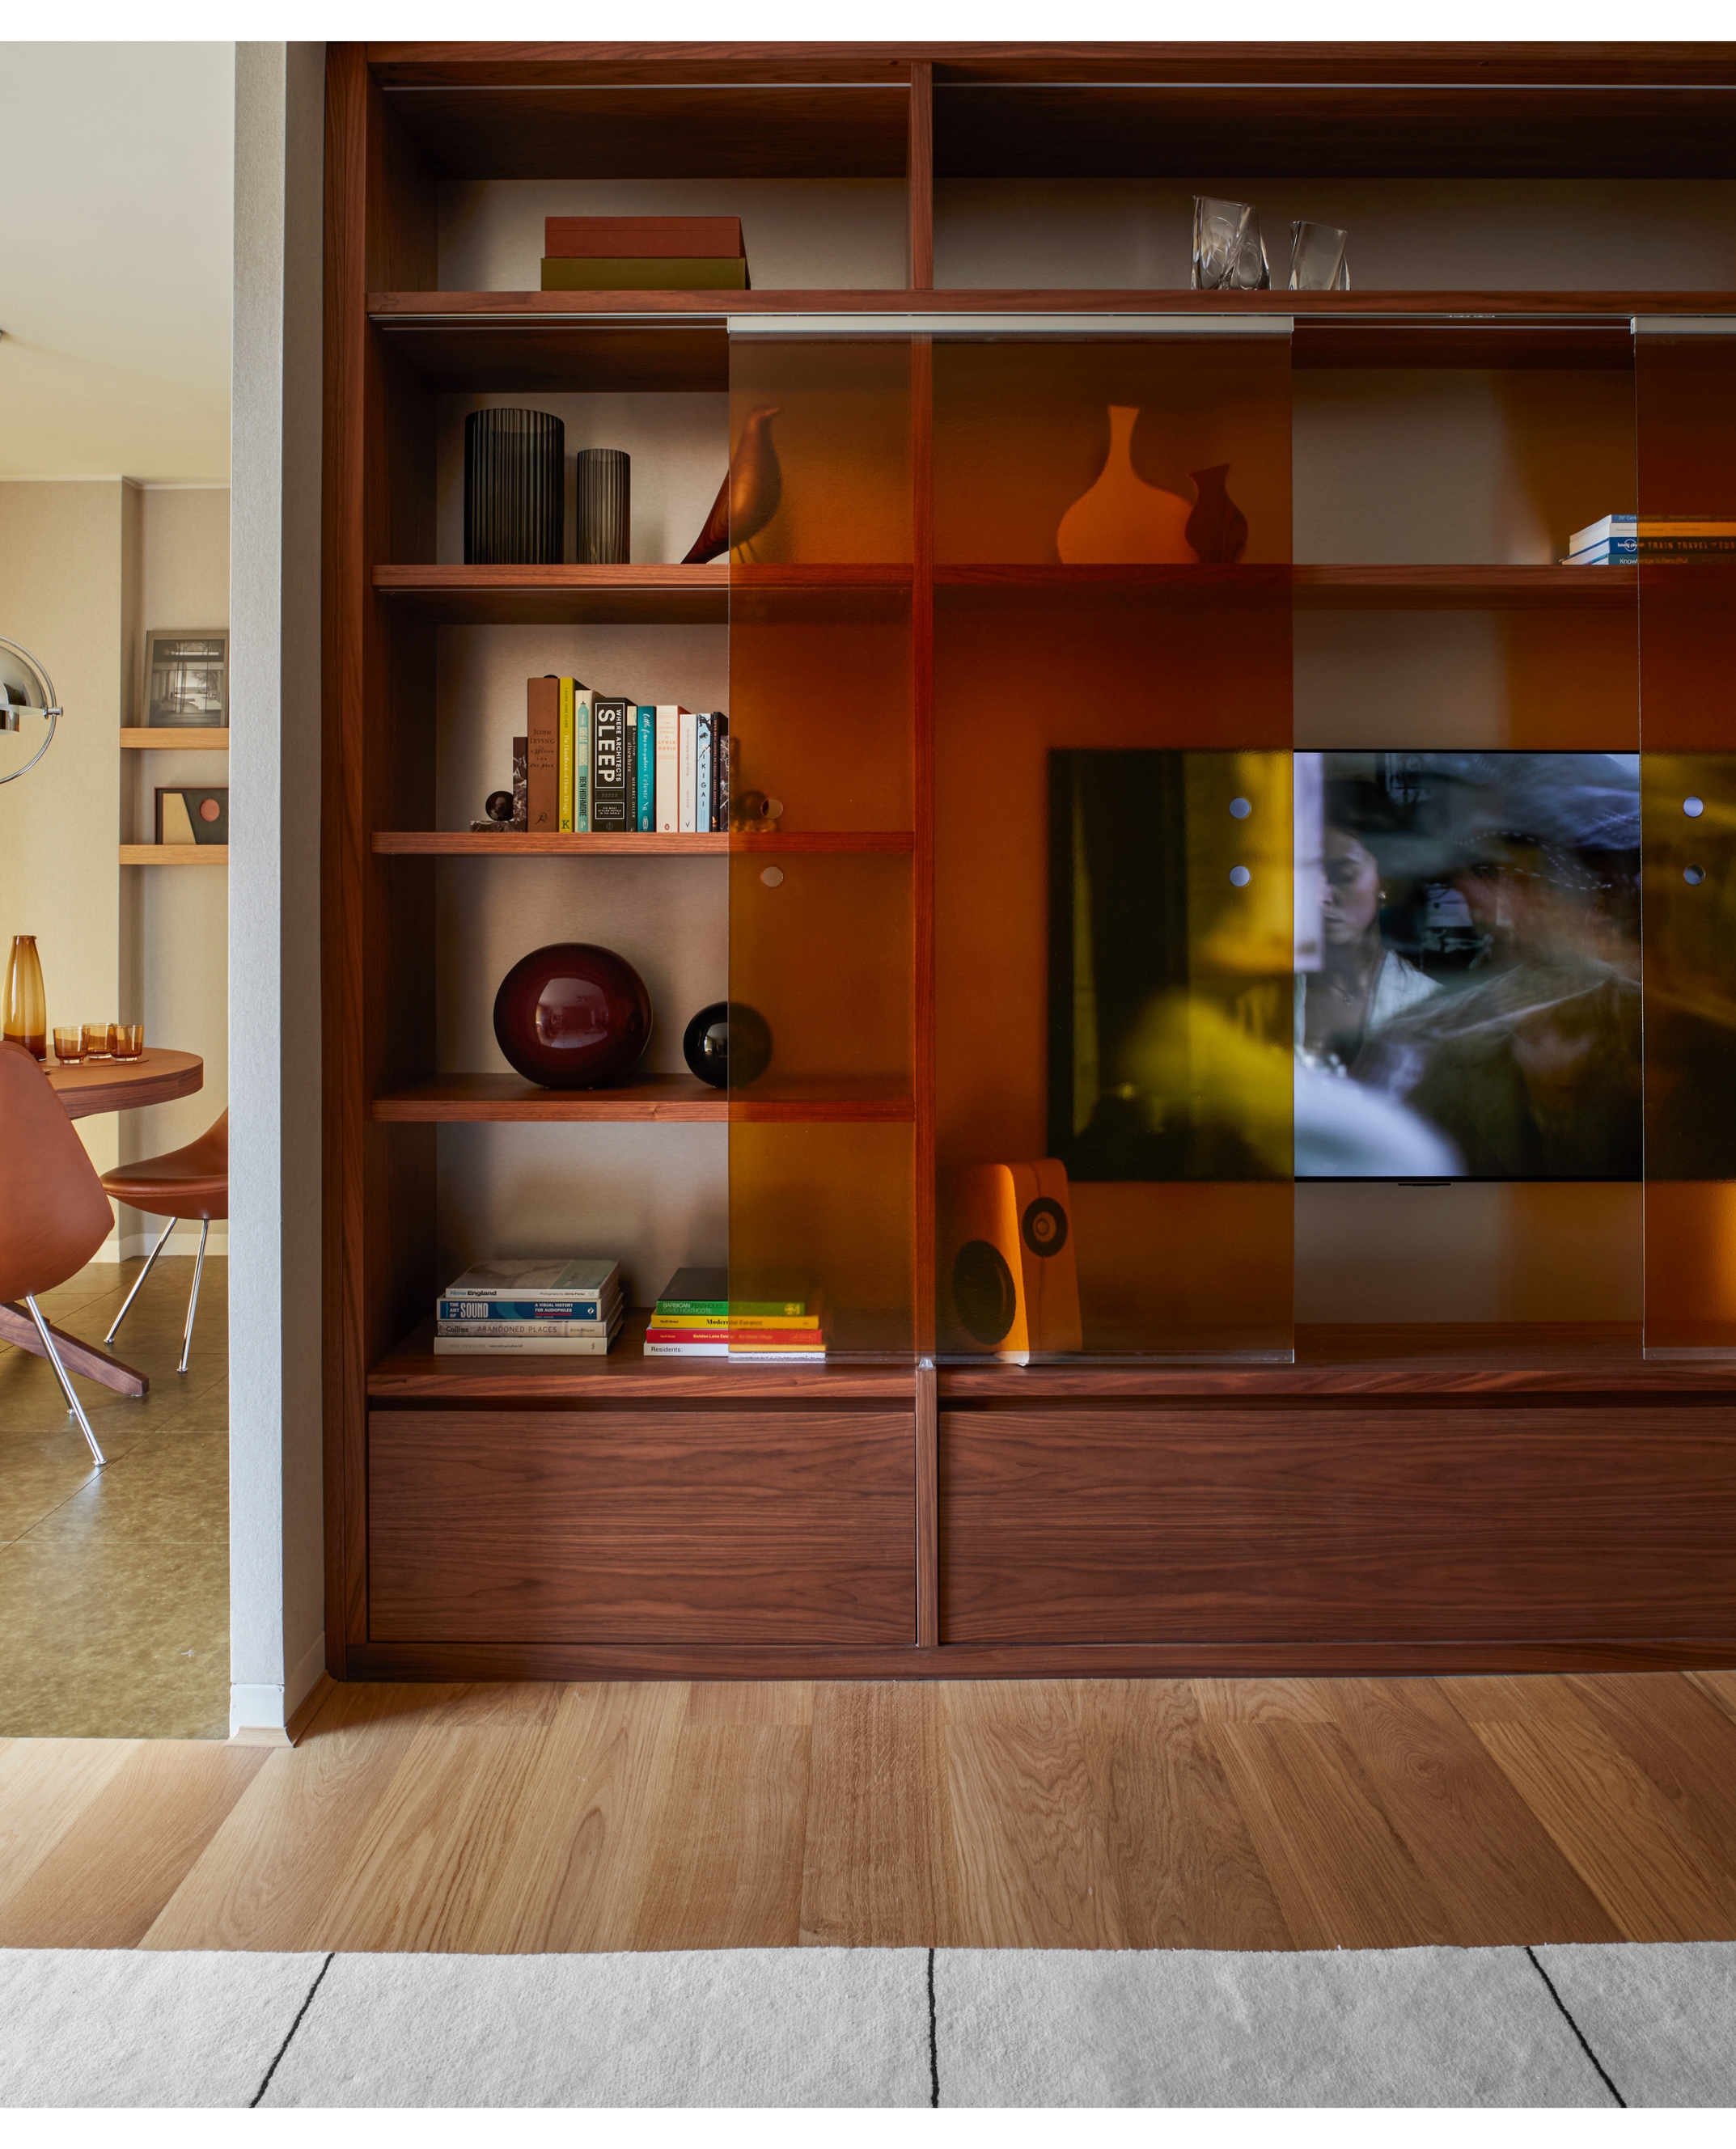
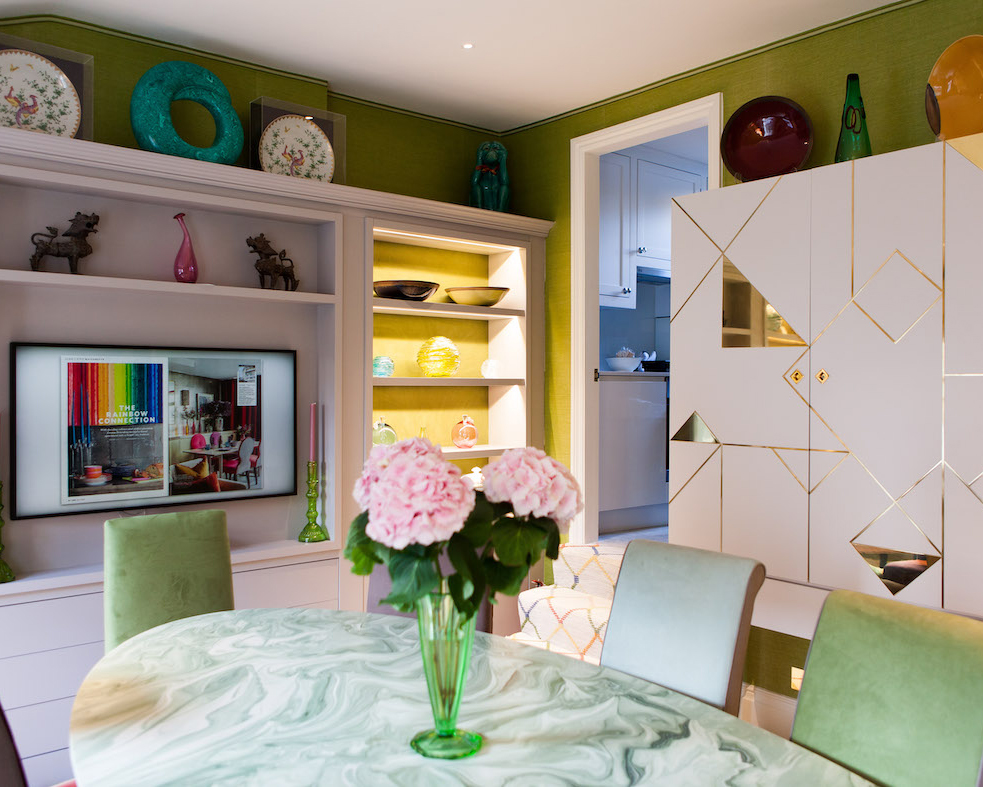
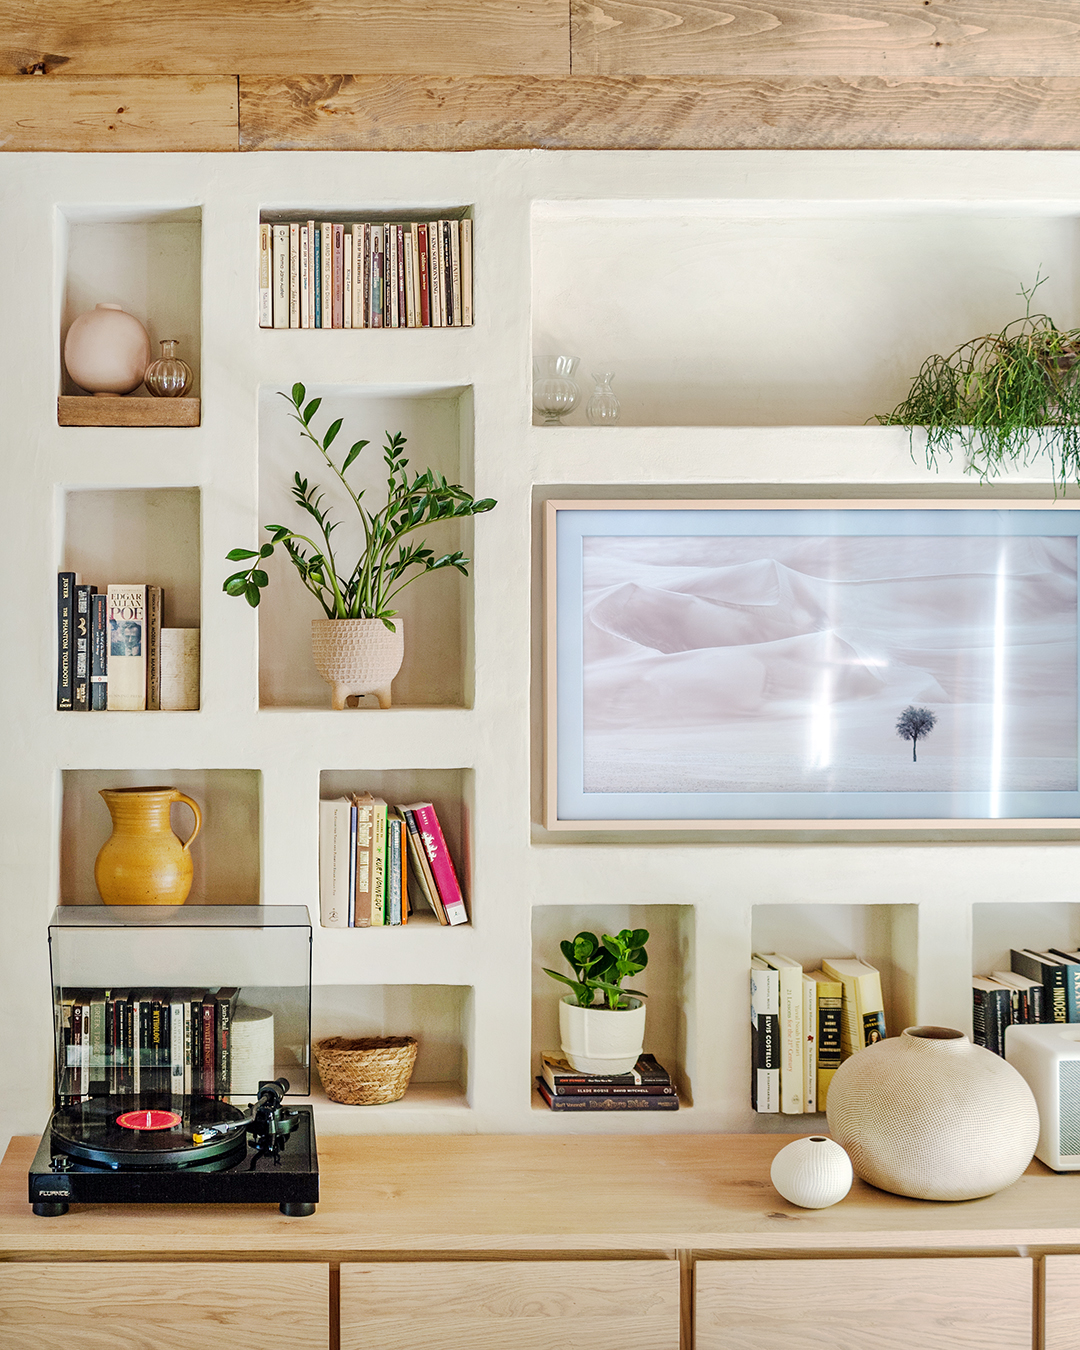
The article details a DIY project by Danielle and Ely Franko, creators of the Hunter Houses, on how to discreetly integrate a television into a living space using plaster-coated built-in niches. This approach offers a novel solution to camouflaging a TV, distinguishing itself from other methods that involve external coverings or lifts. The couple developed this technique while renovating one of their vacation rentals in the Catskills, aiming to achieve visual balance and incorporate diverse textures and tones into their design.
The process begins with meticulous planning, specifically measuring the television and other items intended for the shelves to ensure a seamless, built-in appearance. The Frankos prioritized selecting the TV, opting for Samsung's Frame TV, before constructing the wall unit. They also designed specific alcoves for a speaker, planters, and vases, arranging temporary wooden shelves to achieve an organic yet symmetrical layout. This initial step is crucial for the integrated look, allowing the niches to complement the items they house rather than merely containing them.
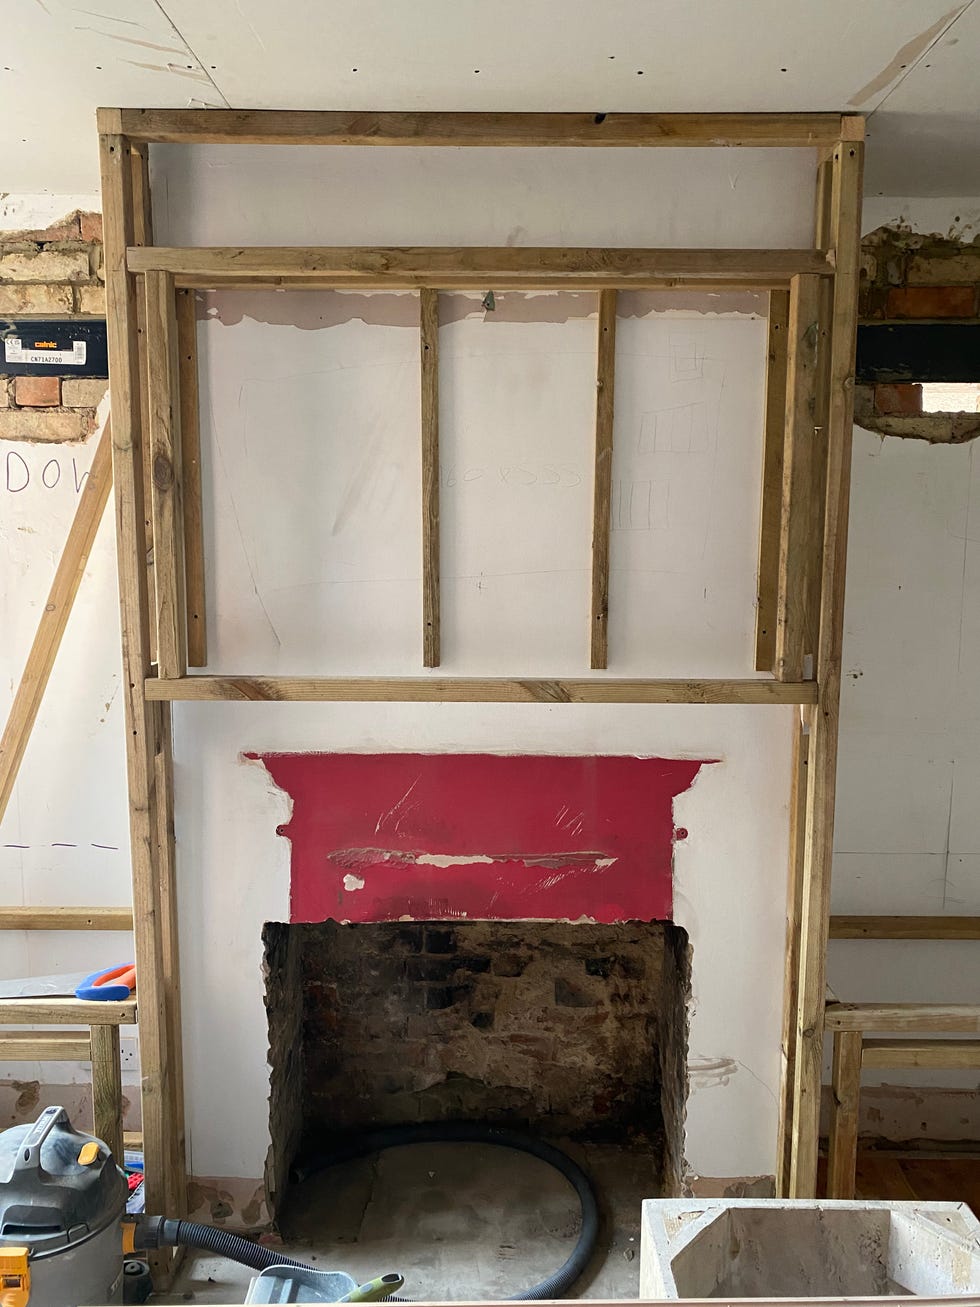
Following the measurement phase, the structural framework of the bookcase is constructed using plywood backing and 2-by-6 studs. To provide a suitable surface for the plaster, the wood is then covered with drywall. This step is highlighted as labor-intensive, particularly when cutting drywall for the numerous niches, but it is deemed essential to prevent plaster from cracking or peeling. Mesh tape is applied to all corners, followed by two coats of all-purpose joint compound, smoothed with a putty knife, to prepare the surfaces for plaster application.
The next stage involves preparing a solid base for the plaster. Danielle mixed one pound of American Clay's sand additive with one gallon of Kilz primer, creating a slightly gritty texture. This mixture was thoroughly stirred and then applied to the built-ins using a 6-inch short roller, ensuring an even and adherent base for the subsequent plaster layers.
Plastering commences once the primer is fully dry. Danielle prepared the base coat by gradually adding water to American Clay's Loma finish in Snow Canyon until it reached a soft-serve ice cream consistency, mixed using a heavy-duty drill attachment. After an hour of resting, she applied the plaster to the bookcase using a hawk and metal trowel, aiming for a credit card-thickness layer. The goal was a natural, suede-like finish, embracing slight imperfections. The complexity of plastering numerous nooks and crannies in a built-in bookcase, as opposed to a flat wall, was noted as the most challenging aspect.
A finishing coat, slightly lighter in color—Lomalina in Snow Canyon combined with Sugarloaf White pigment—is then applied. Danielle misted the work area with water to extend drying time, allowing for better manipulation of the material. This second coat focused on achieving an even texture and correcting any inconsistencies from the base layer. Once dry, the plaster was lightly sponged with a damp tile sponge in circular motions to achieve a matte, covetable appearance.
To ensure design continuity, Danielle extended this plastering technique to other areas of the home, such as a small niche in the adjacent open-layout kitchen. This repetition of elements helps create visual cohesiveness throughout the living spaces, effectively tying different rooms together with a consistent design language. The overall project transforms a functional item like a TV into an integrated design feature, enhancing the aesthetic appeal of the interior.
#DIYHomeDecor #PlasterFinishing #BuiltInFurniture #TVCamouflage #HomeRenovation #InteriorDesign #HunterHouses #DesignContinuity #DIYHomeDecor #PlasterFinishing #BuiltInFurniture #TVCamouflage #HomeRenovation #InteriorDesign #HunterHouses #DesignContinuity
0 comment in total
 No comments yet
You may also like
This Is the Ultimate Way to Hide Your TV

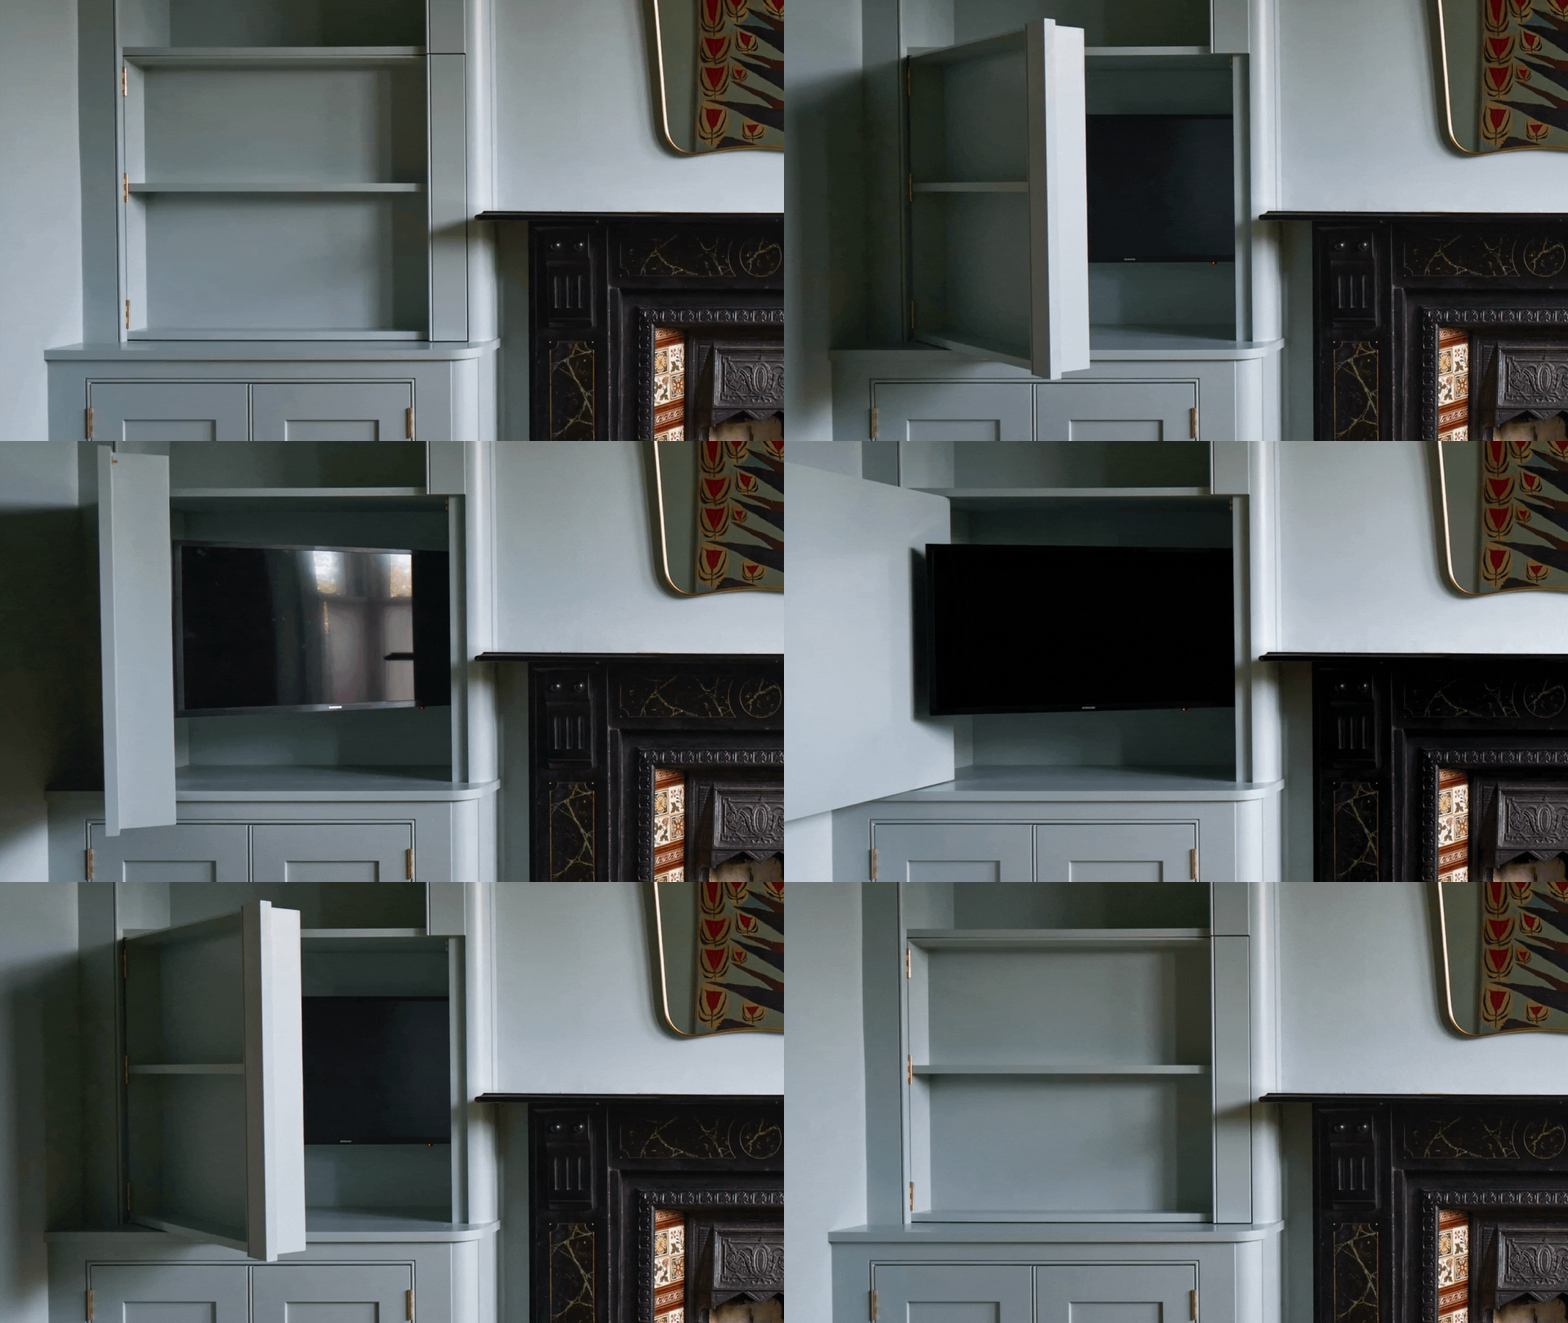
Oh Wow, This Secret TV Storage Is the Genius Idea Everyone With a Living Room With Fireplace Alcoves Will Want to Copy

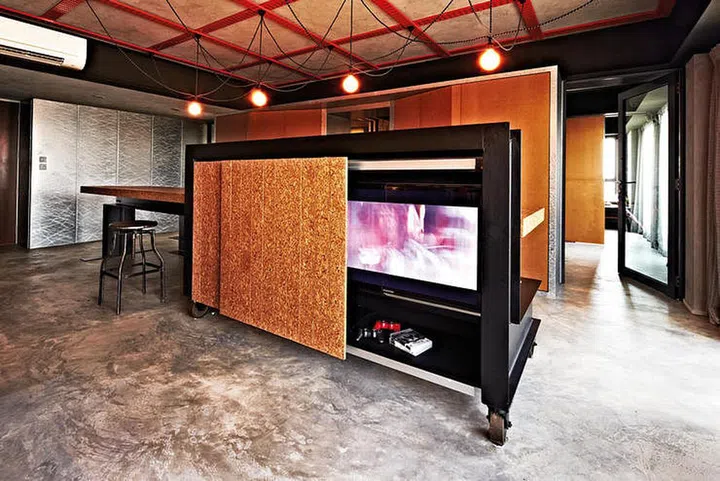
Living room design ideas: 6 ways to conceal your TV

Woman Makes A Gorgeous Bookcase Door For Her Linen Closet. – ‘I bet you can do it, too!’

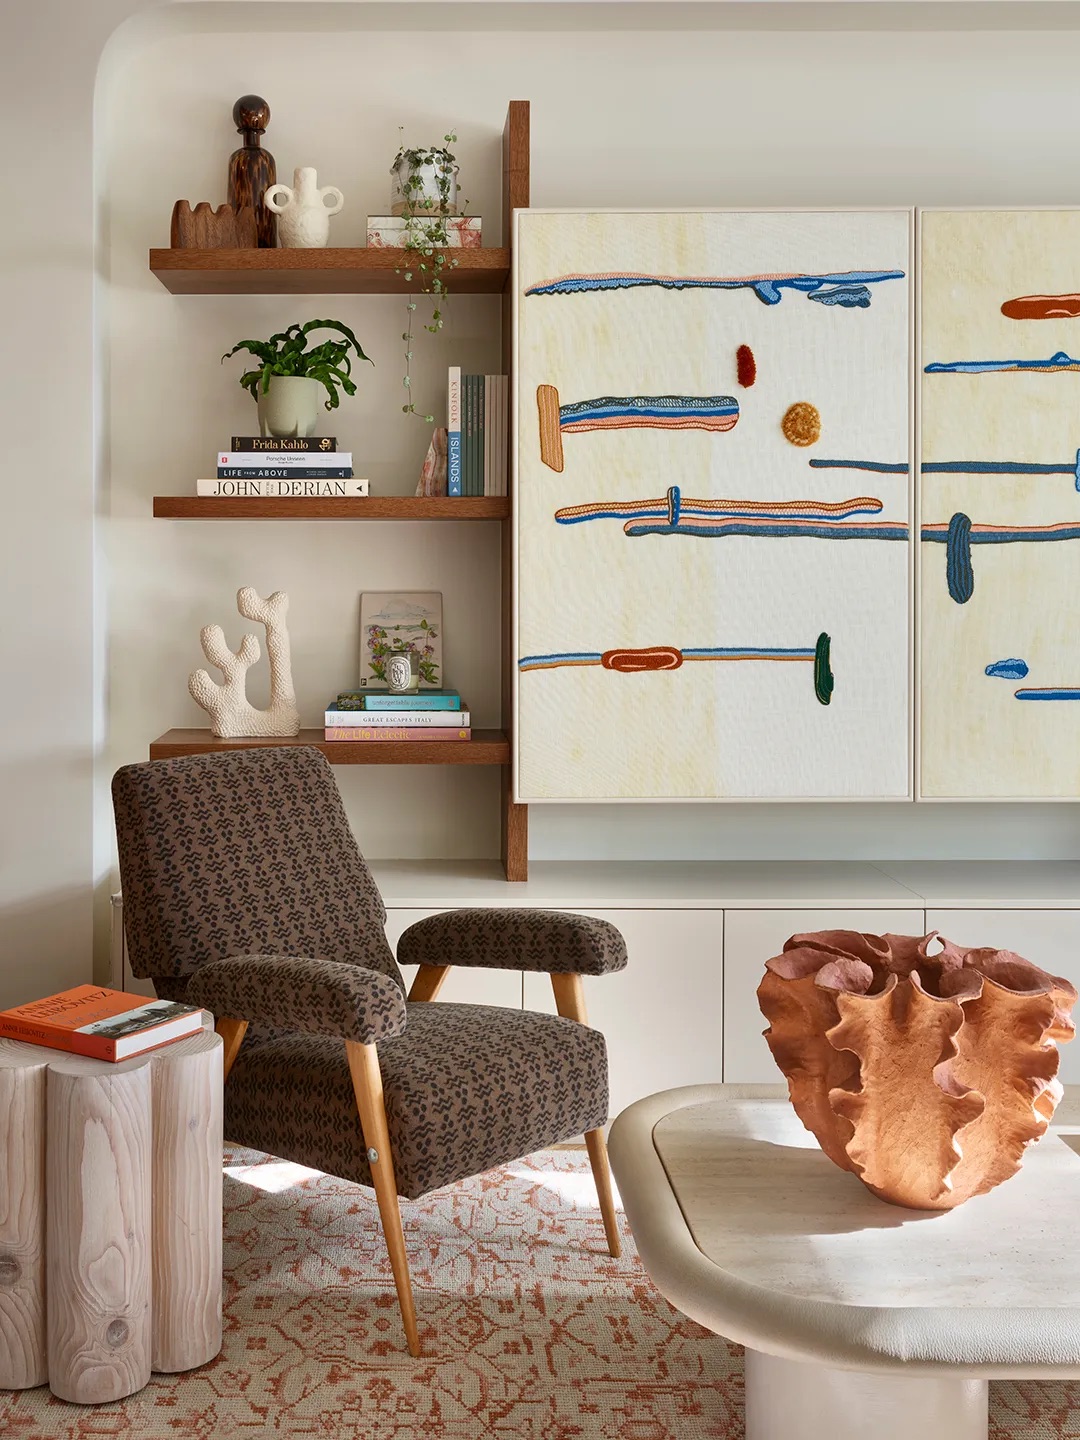
24 Ways to Hide Your TV in Plain Sight

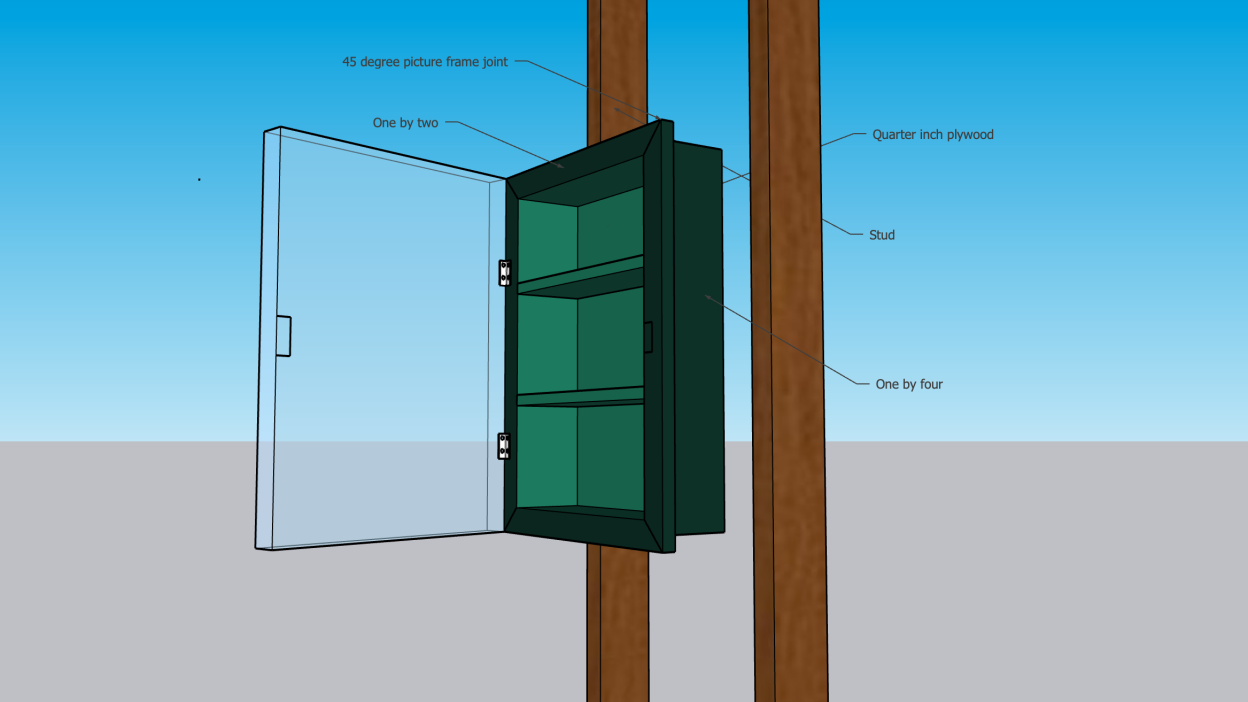
You Can Build a Hidden Cupboard Into a Wall

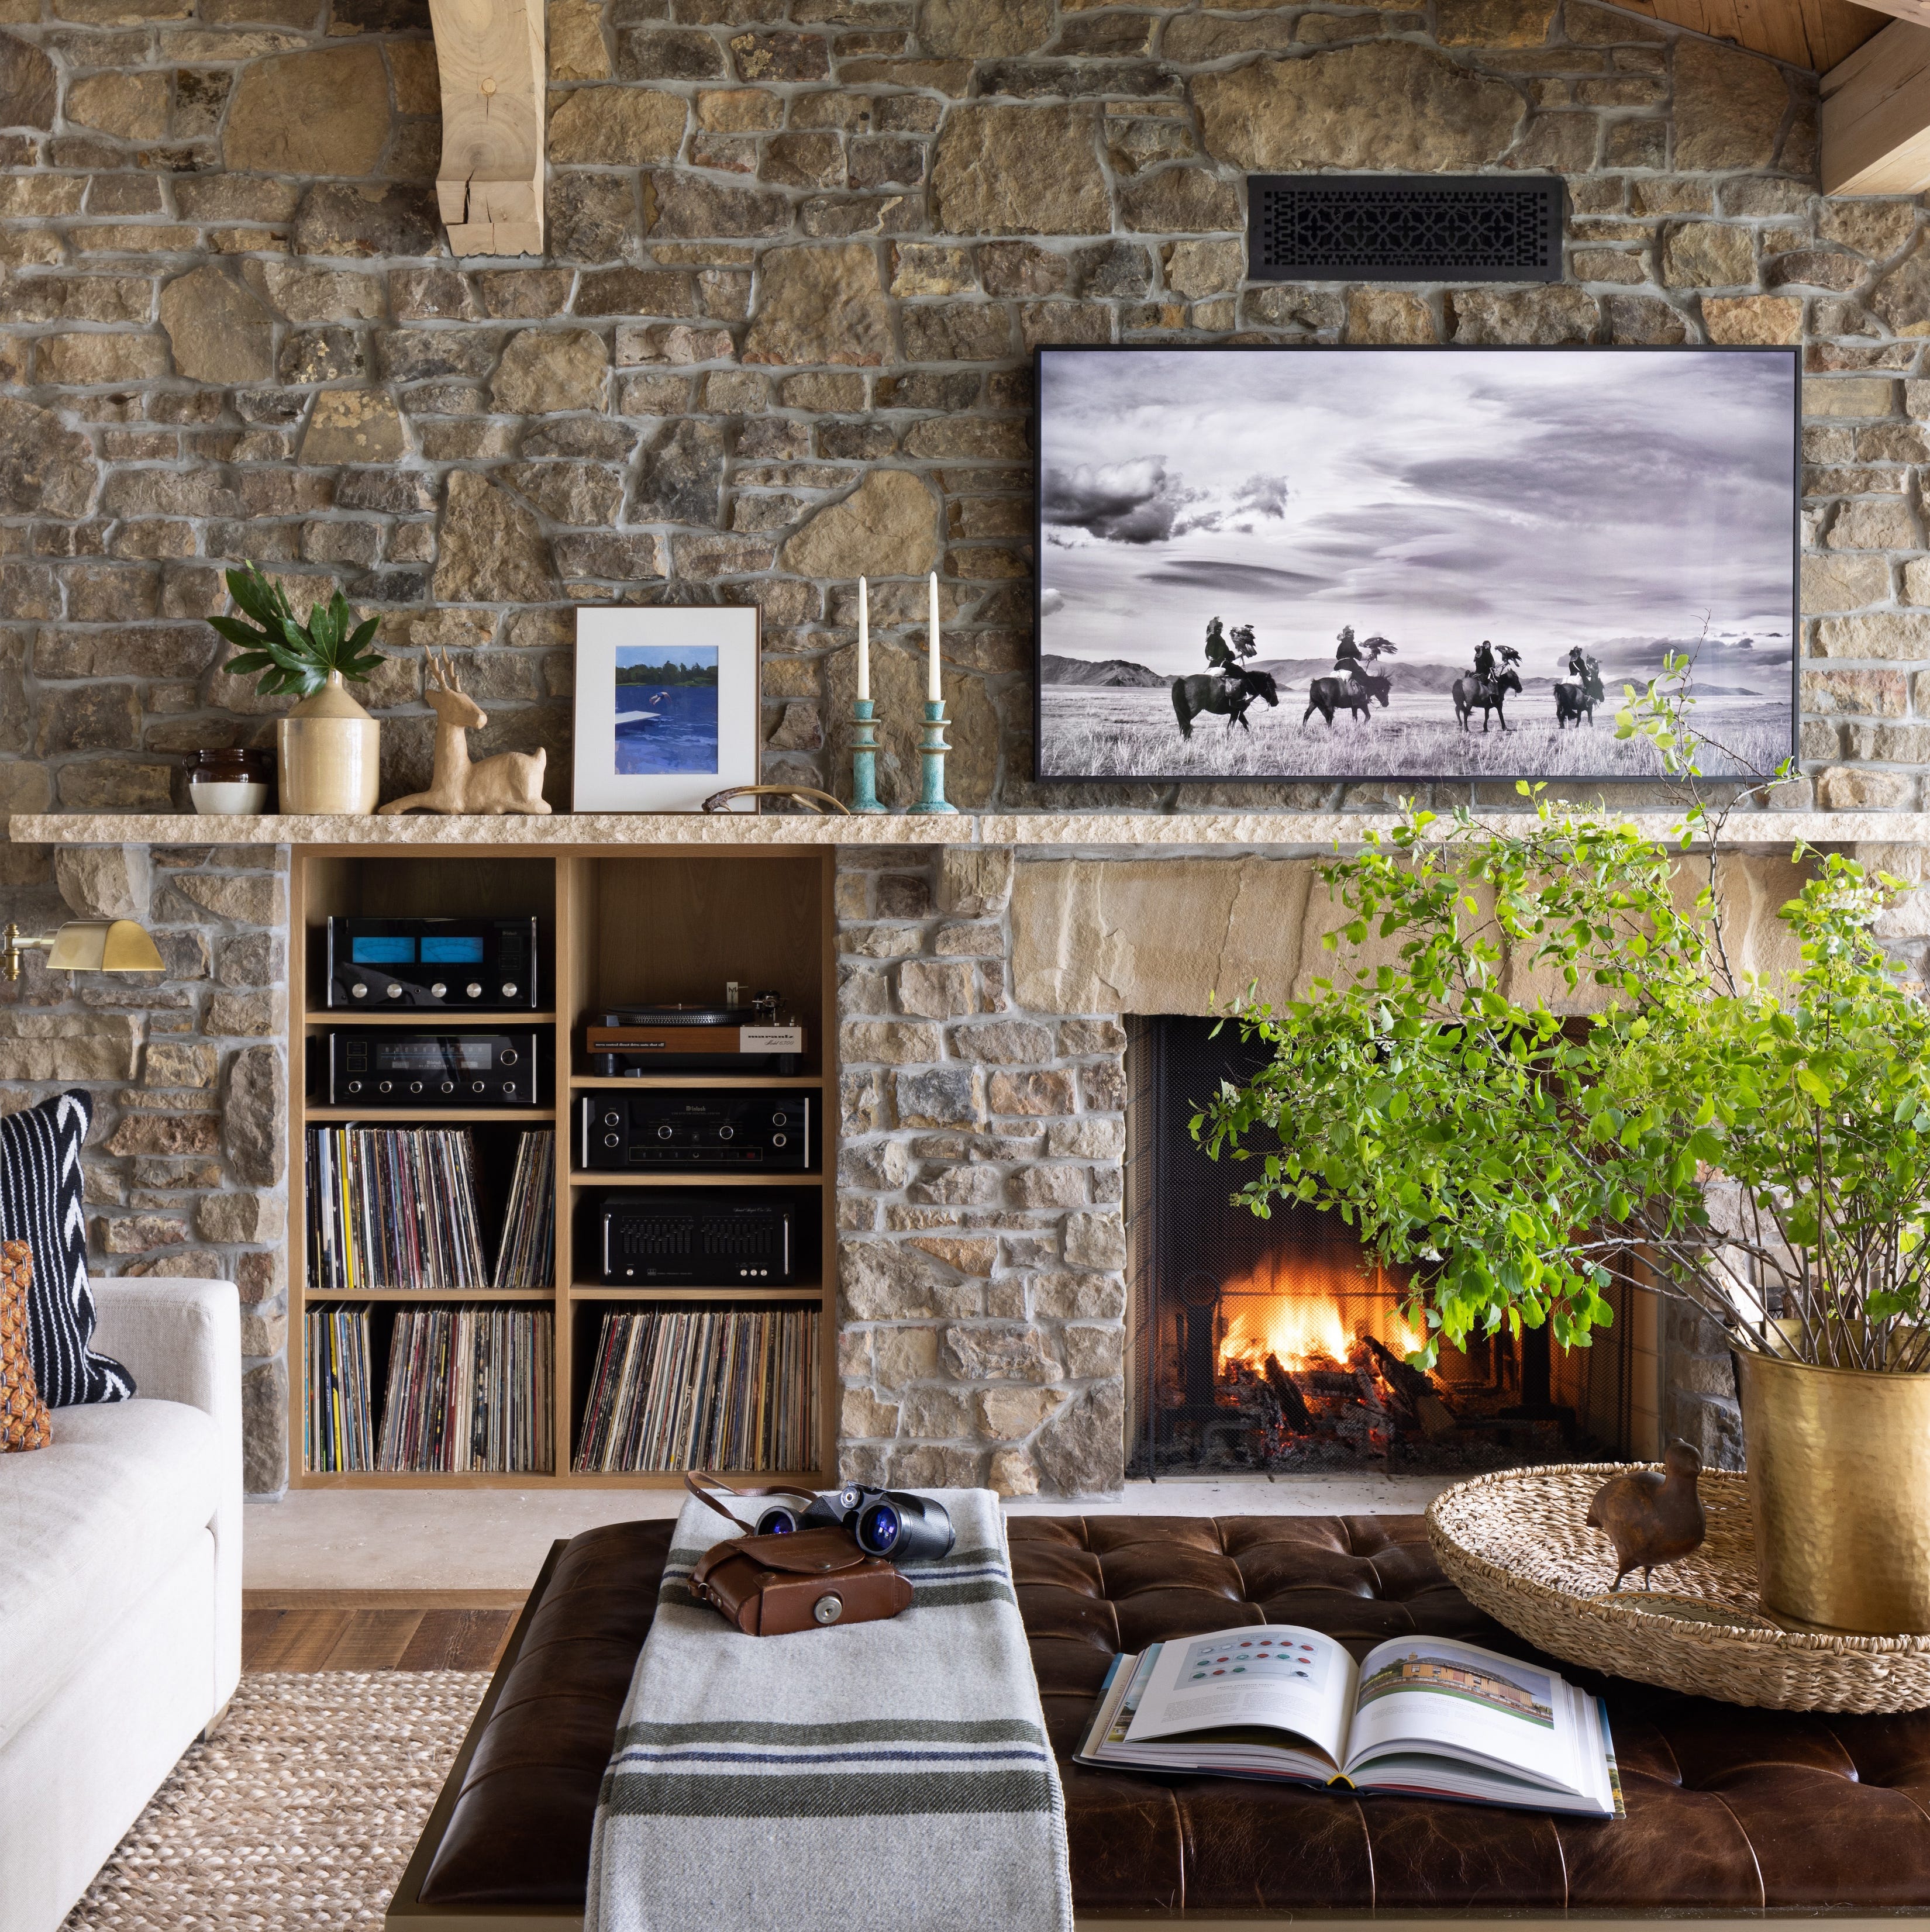
Should You Really Put Your Television Over Your Mantel?
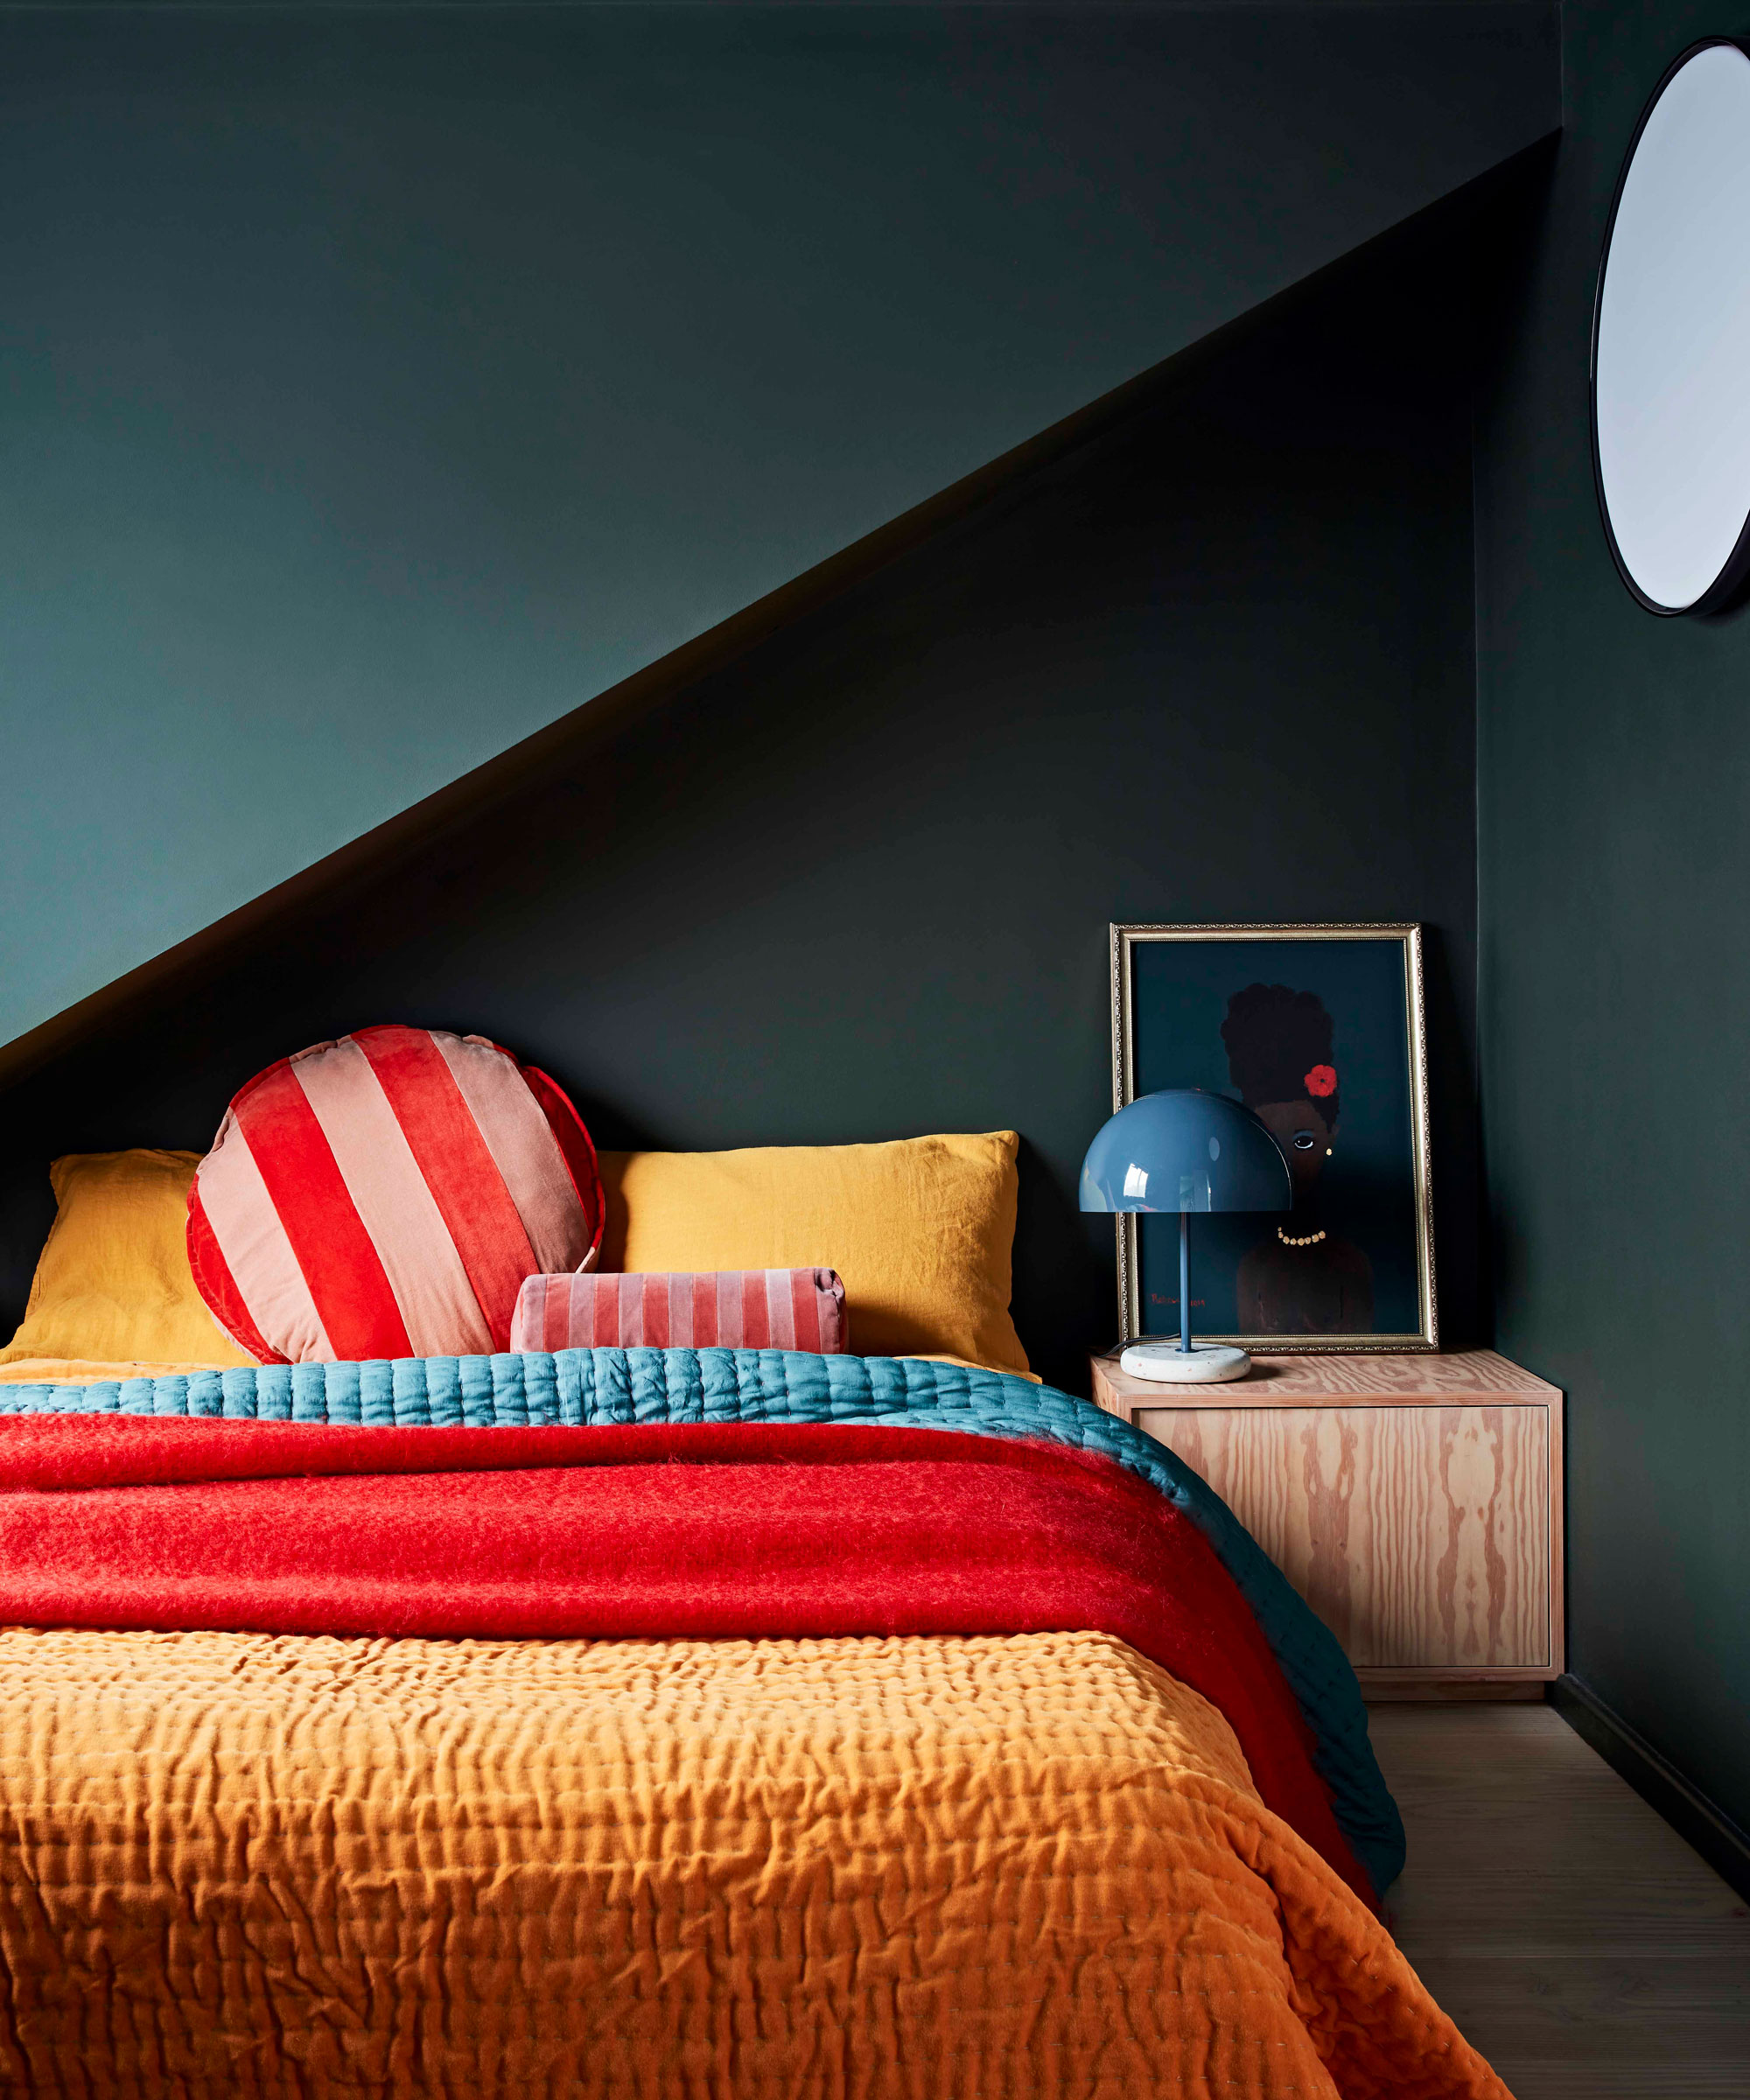
Bedroom TV ideas to hide or display your screen
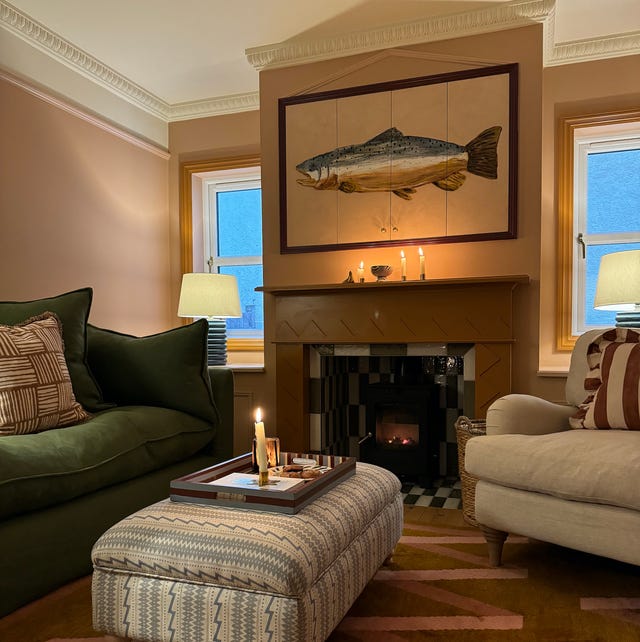
Step-by-step: The ultimate DIY guide for hiding your TV

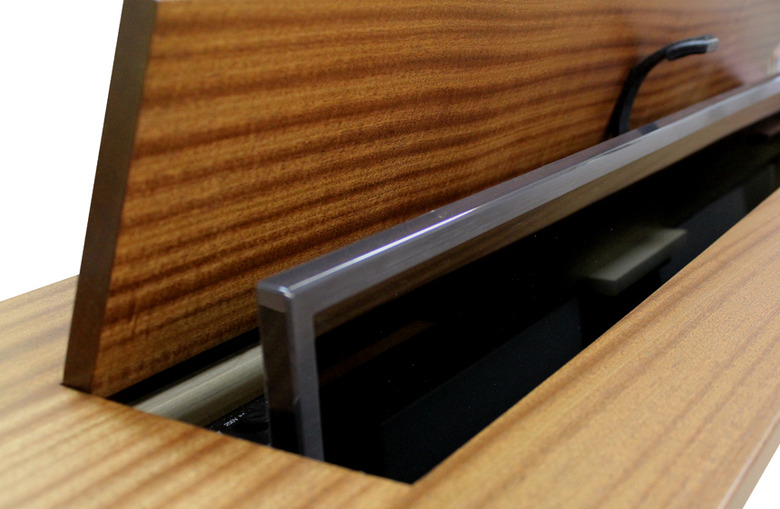
This Hidden TV Lift Cabinet Is Amazing, And You Can Build It Yourself

TV wall ideas – 10 ways to incorporate this essential item into your design scheme

Why you should consider the half-height bookcase
10 Clever Ways to Hide a TV in Plain Sight

8 stylish ways to hide your TV around your home
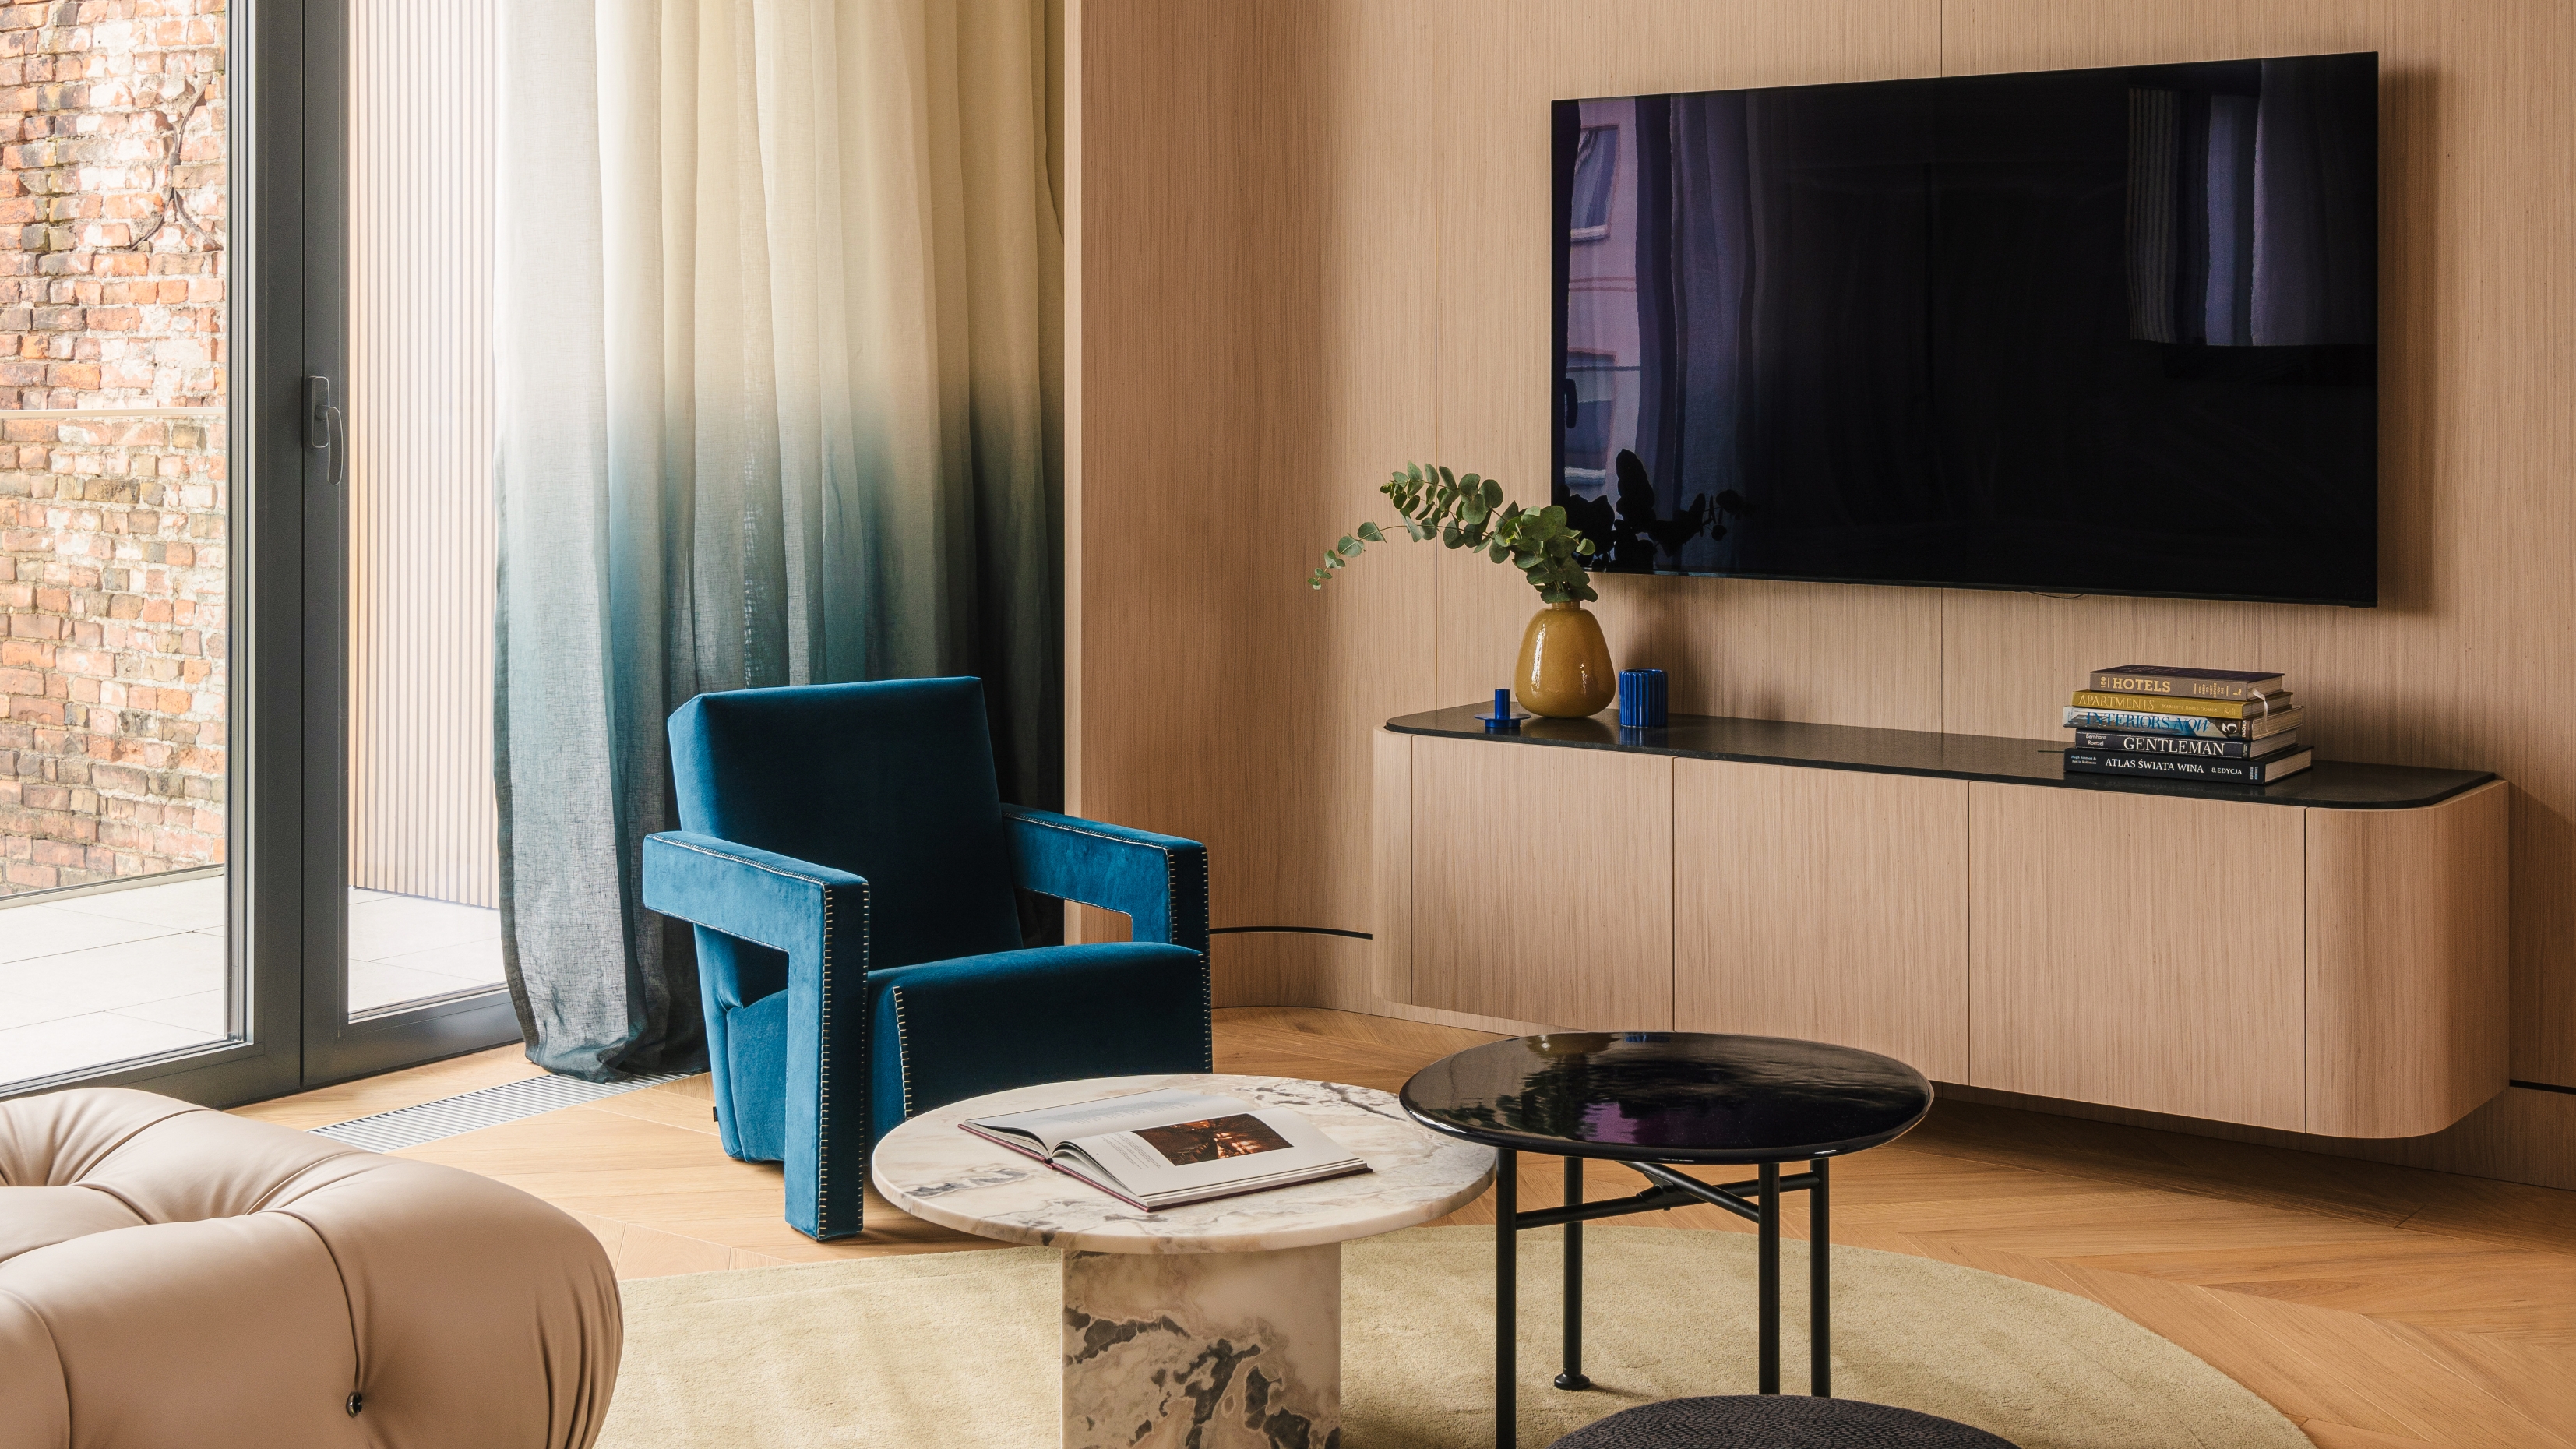
Okay, These TV Wall Ideas Might Be the Best Inspiration to Stop Your Screen Becoming an Imposing Black Box
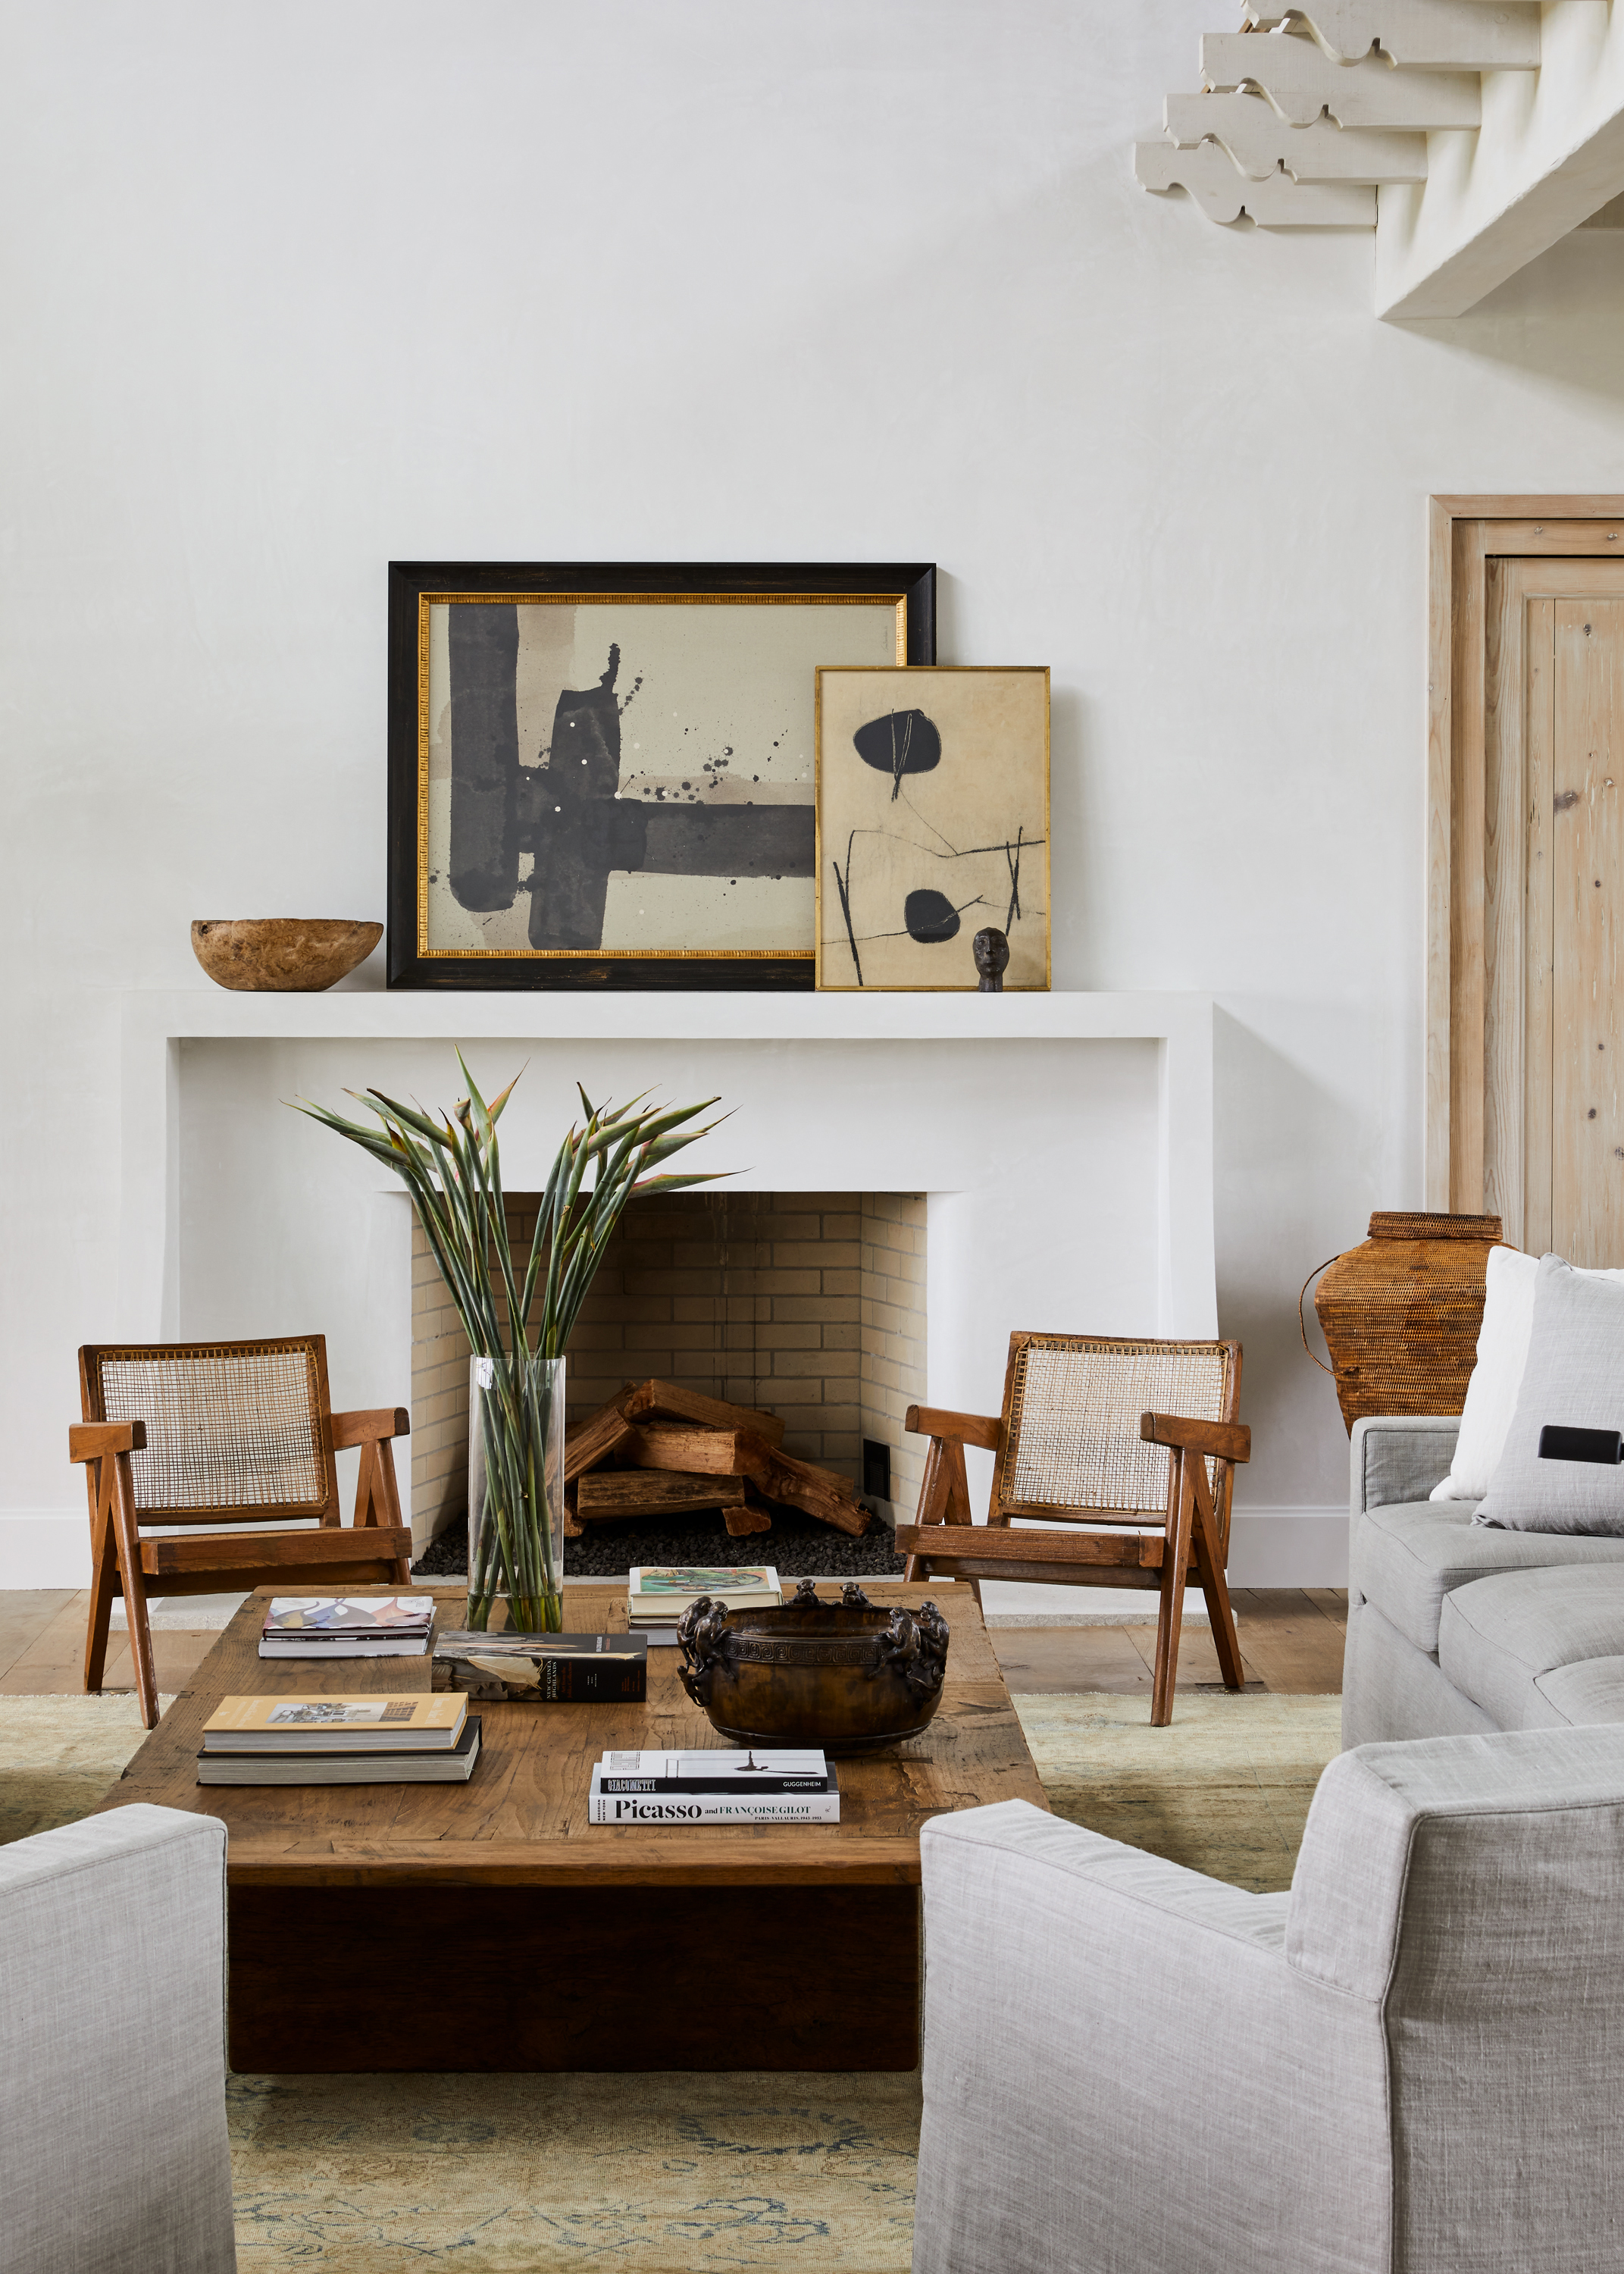
Creative ways to hide TV cords on walls
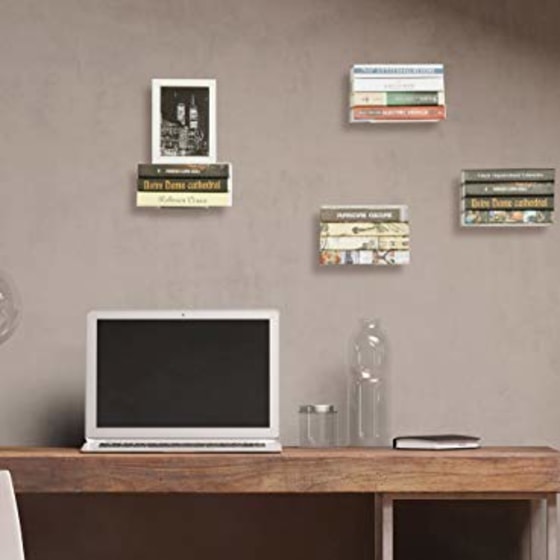
These floating wall shelves for books transformed by bedroom

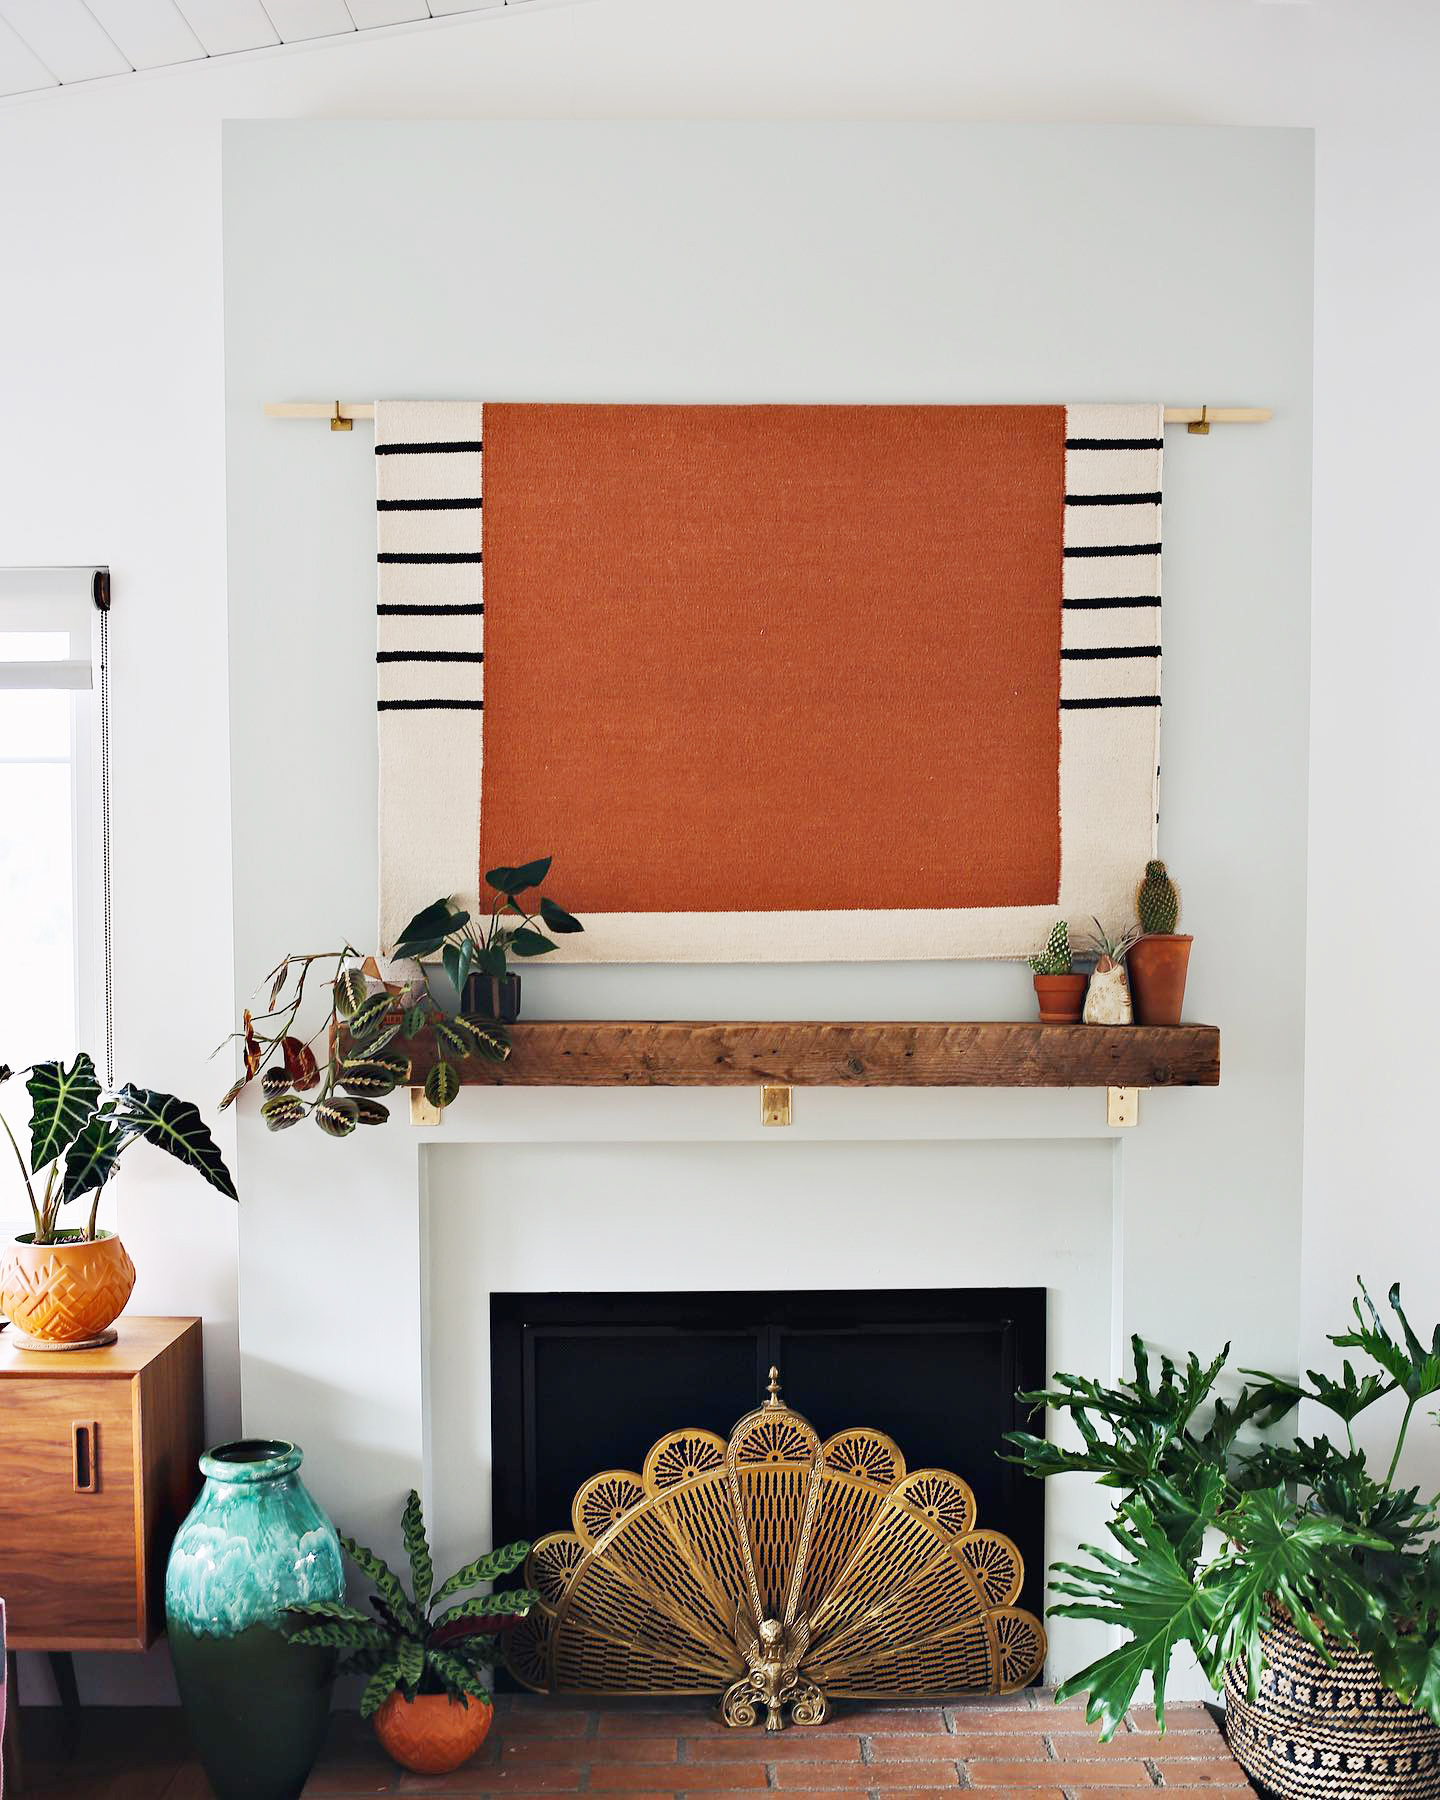
Try This 5-Minute Hack to Disguise Your TV
Genius ways to integrate your TV into your living room | loveproperty.com

20 Creative Ways to Make Your TV Blend in With Your Wall Décor