8 Tips for Painting With a Textured Roller
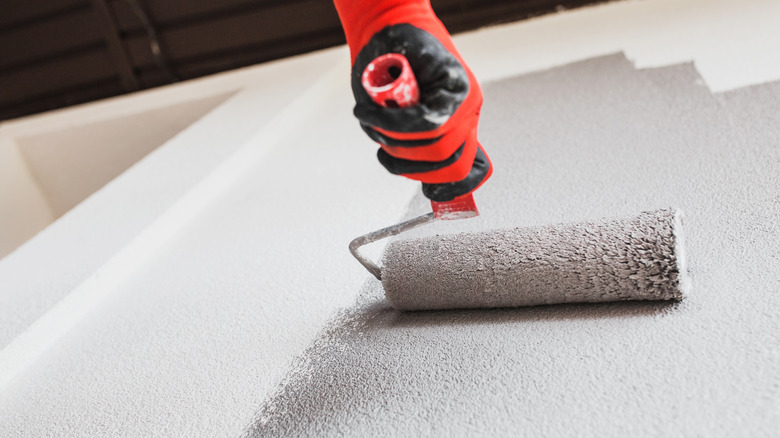
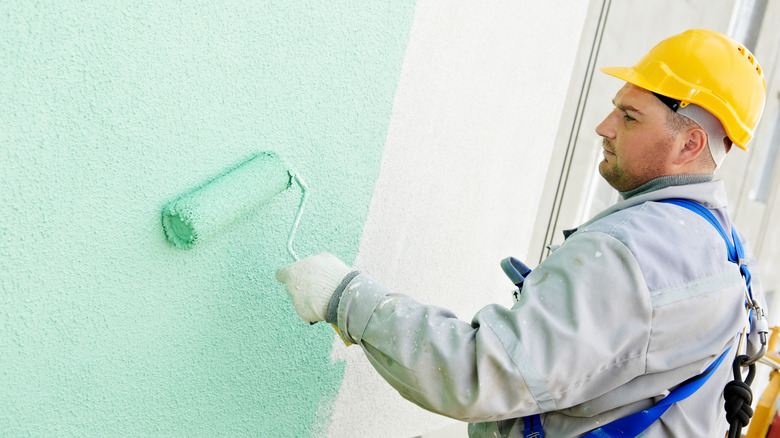
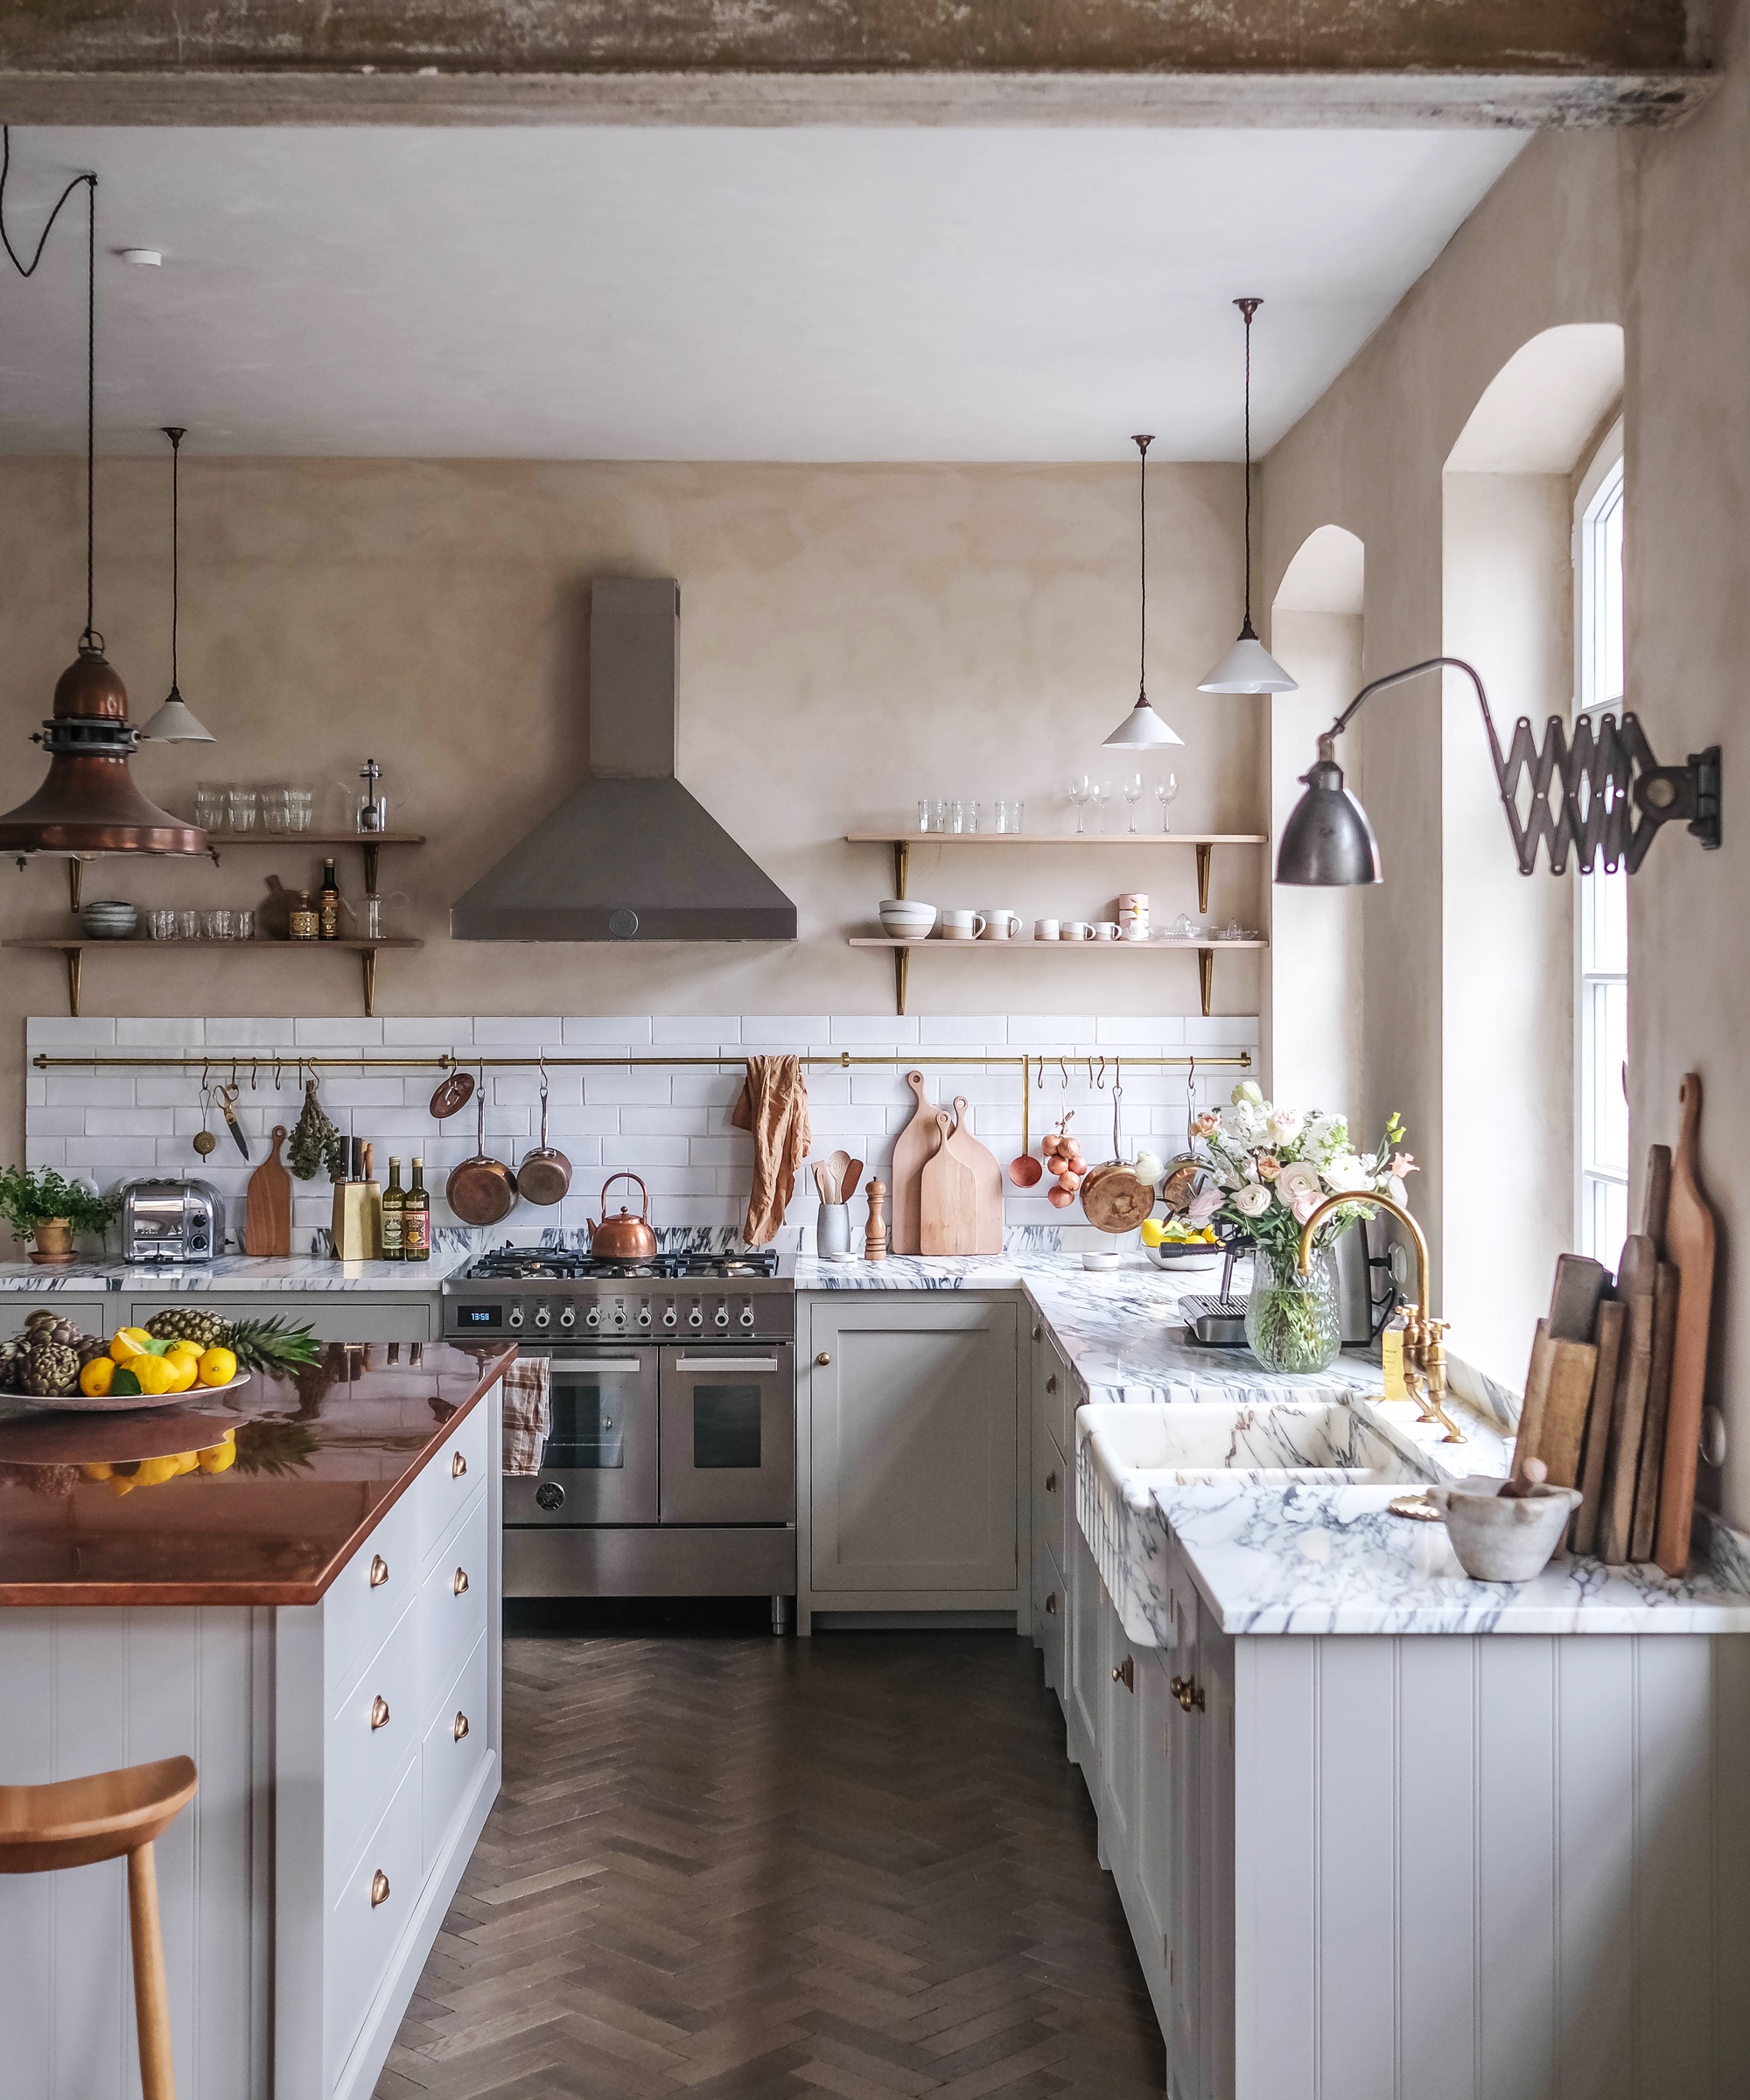
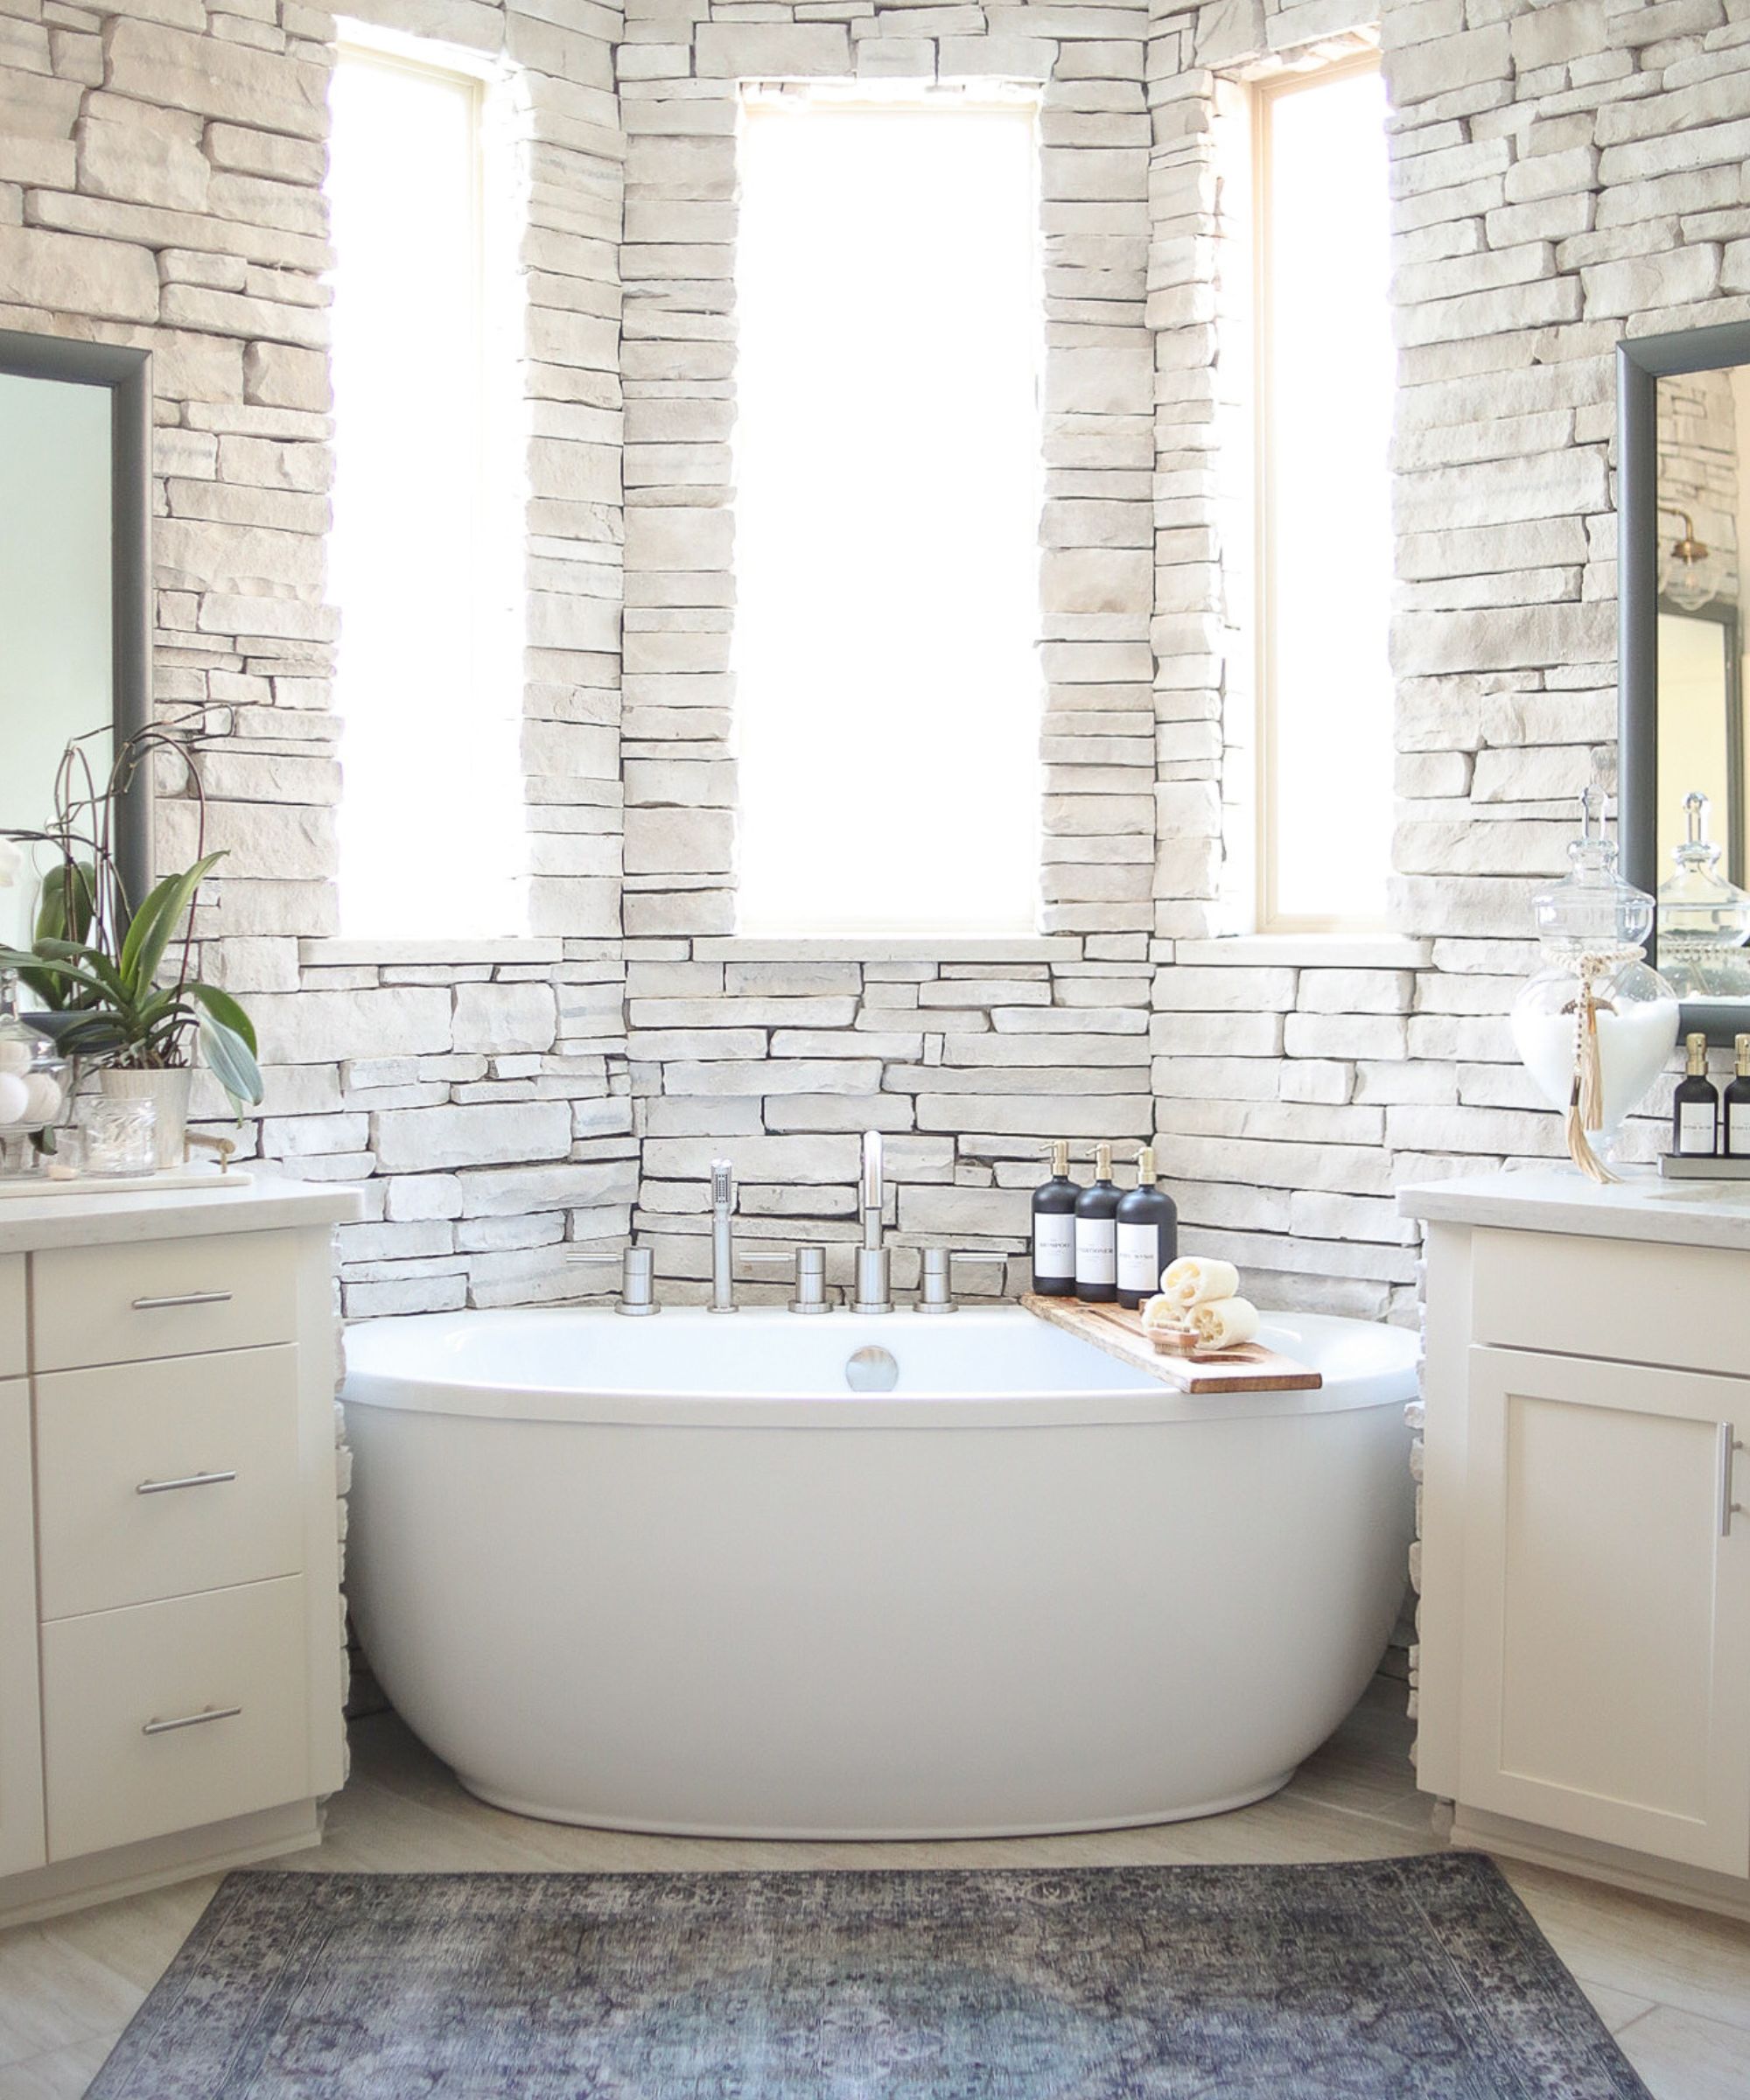
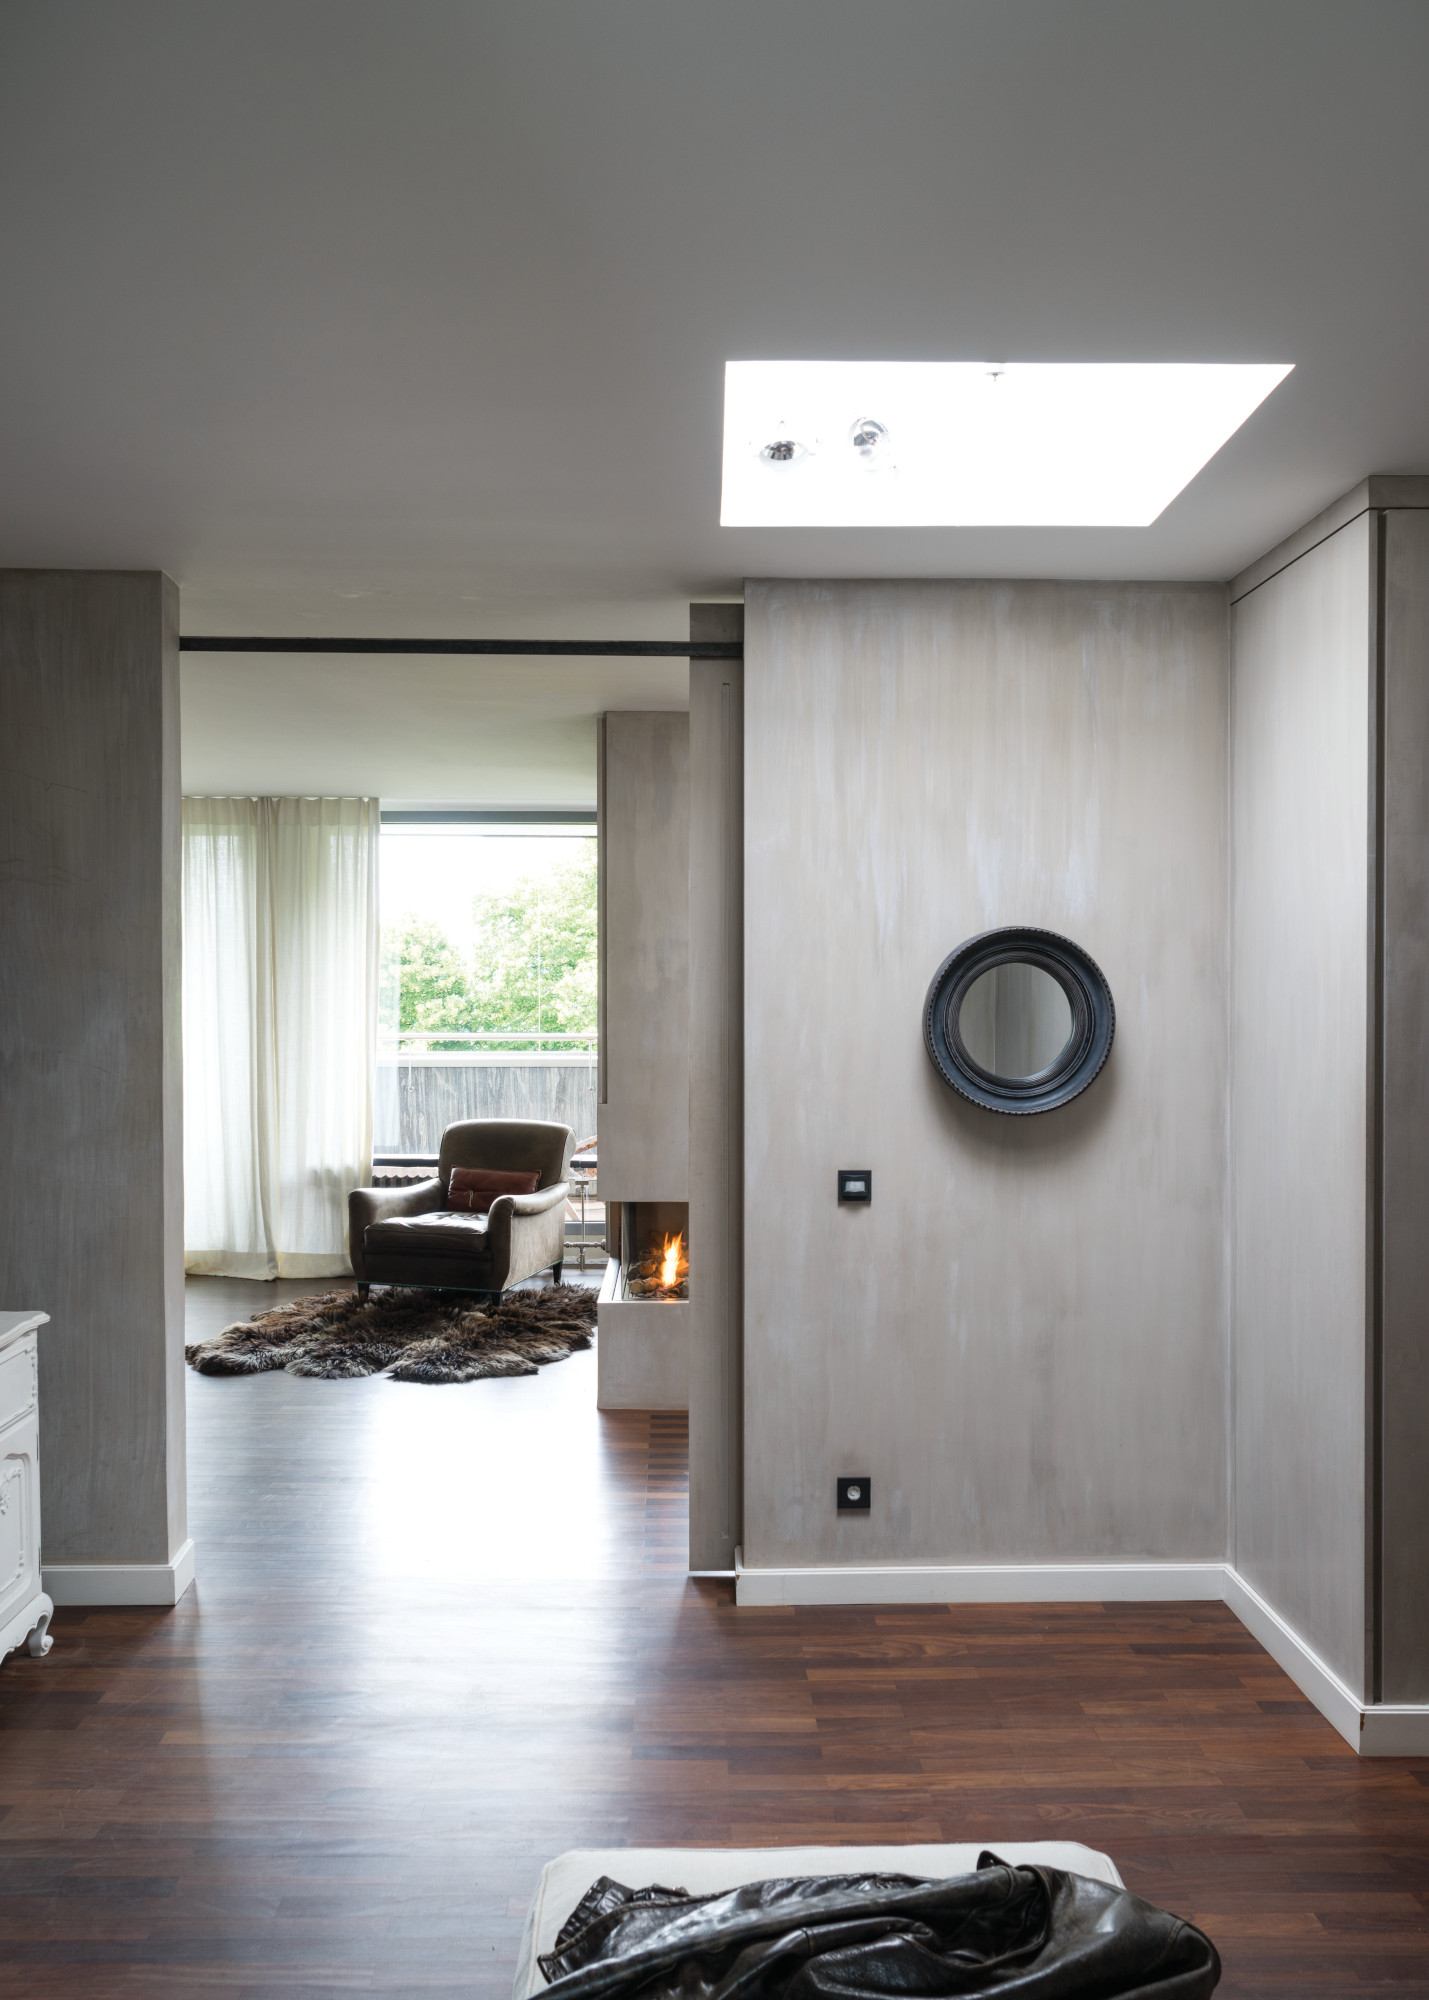
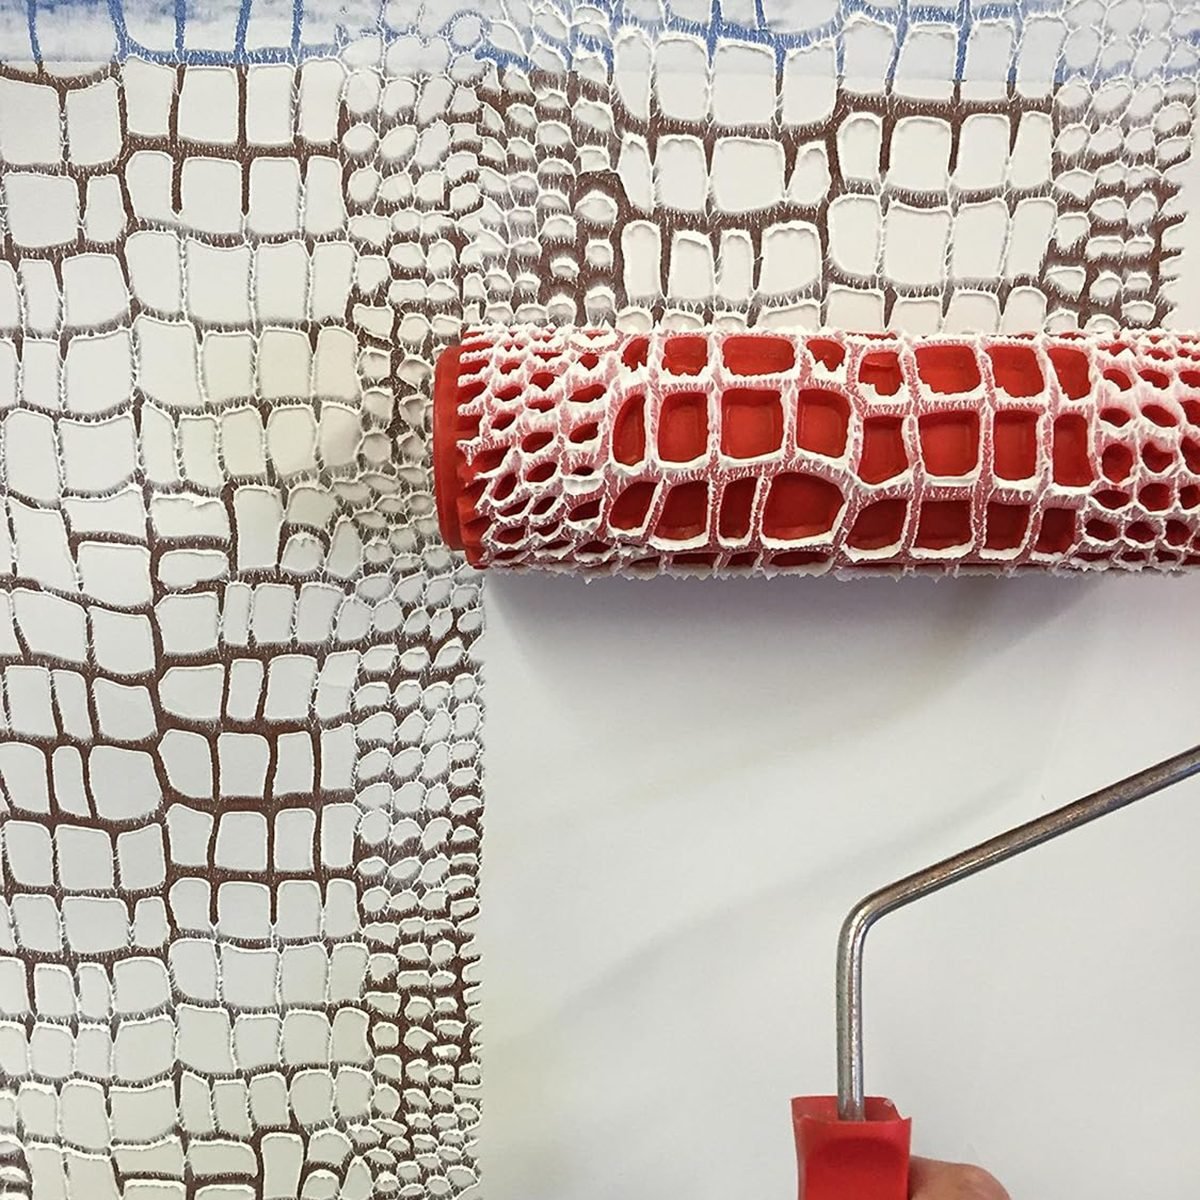
This article provides comprehensive guidance on utilizing textured rollers to achieve unique and visually interesting paint finishes. Textured rollers offer an economical way to refresh walls and effectively conceal imperfections on surfaces like plaster or drywall. These rollers can also mimic materials such as fabric and stone, adding depth and character to a room, and in some cases, even help to dampen sound. The article emphasizes that achieving a professional-looking textured finish is an attainable DIY project.
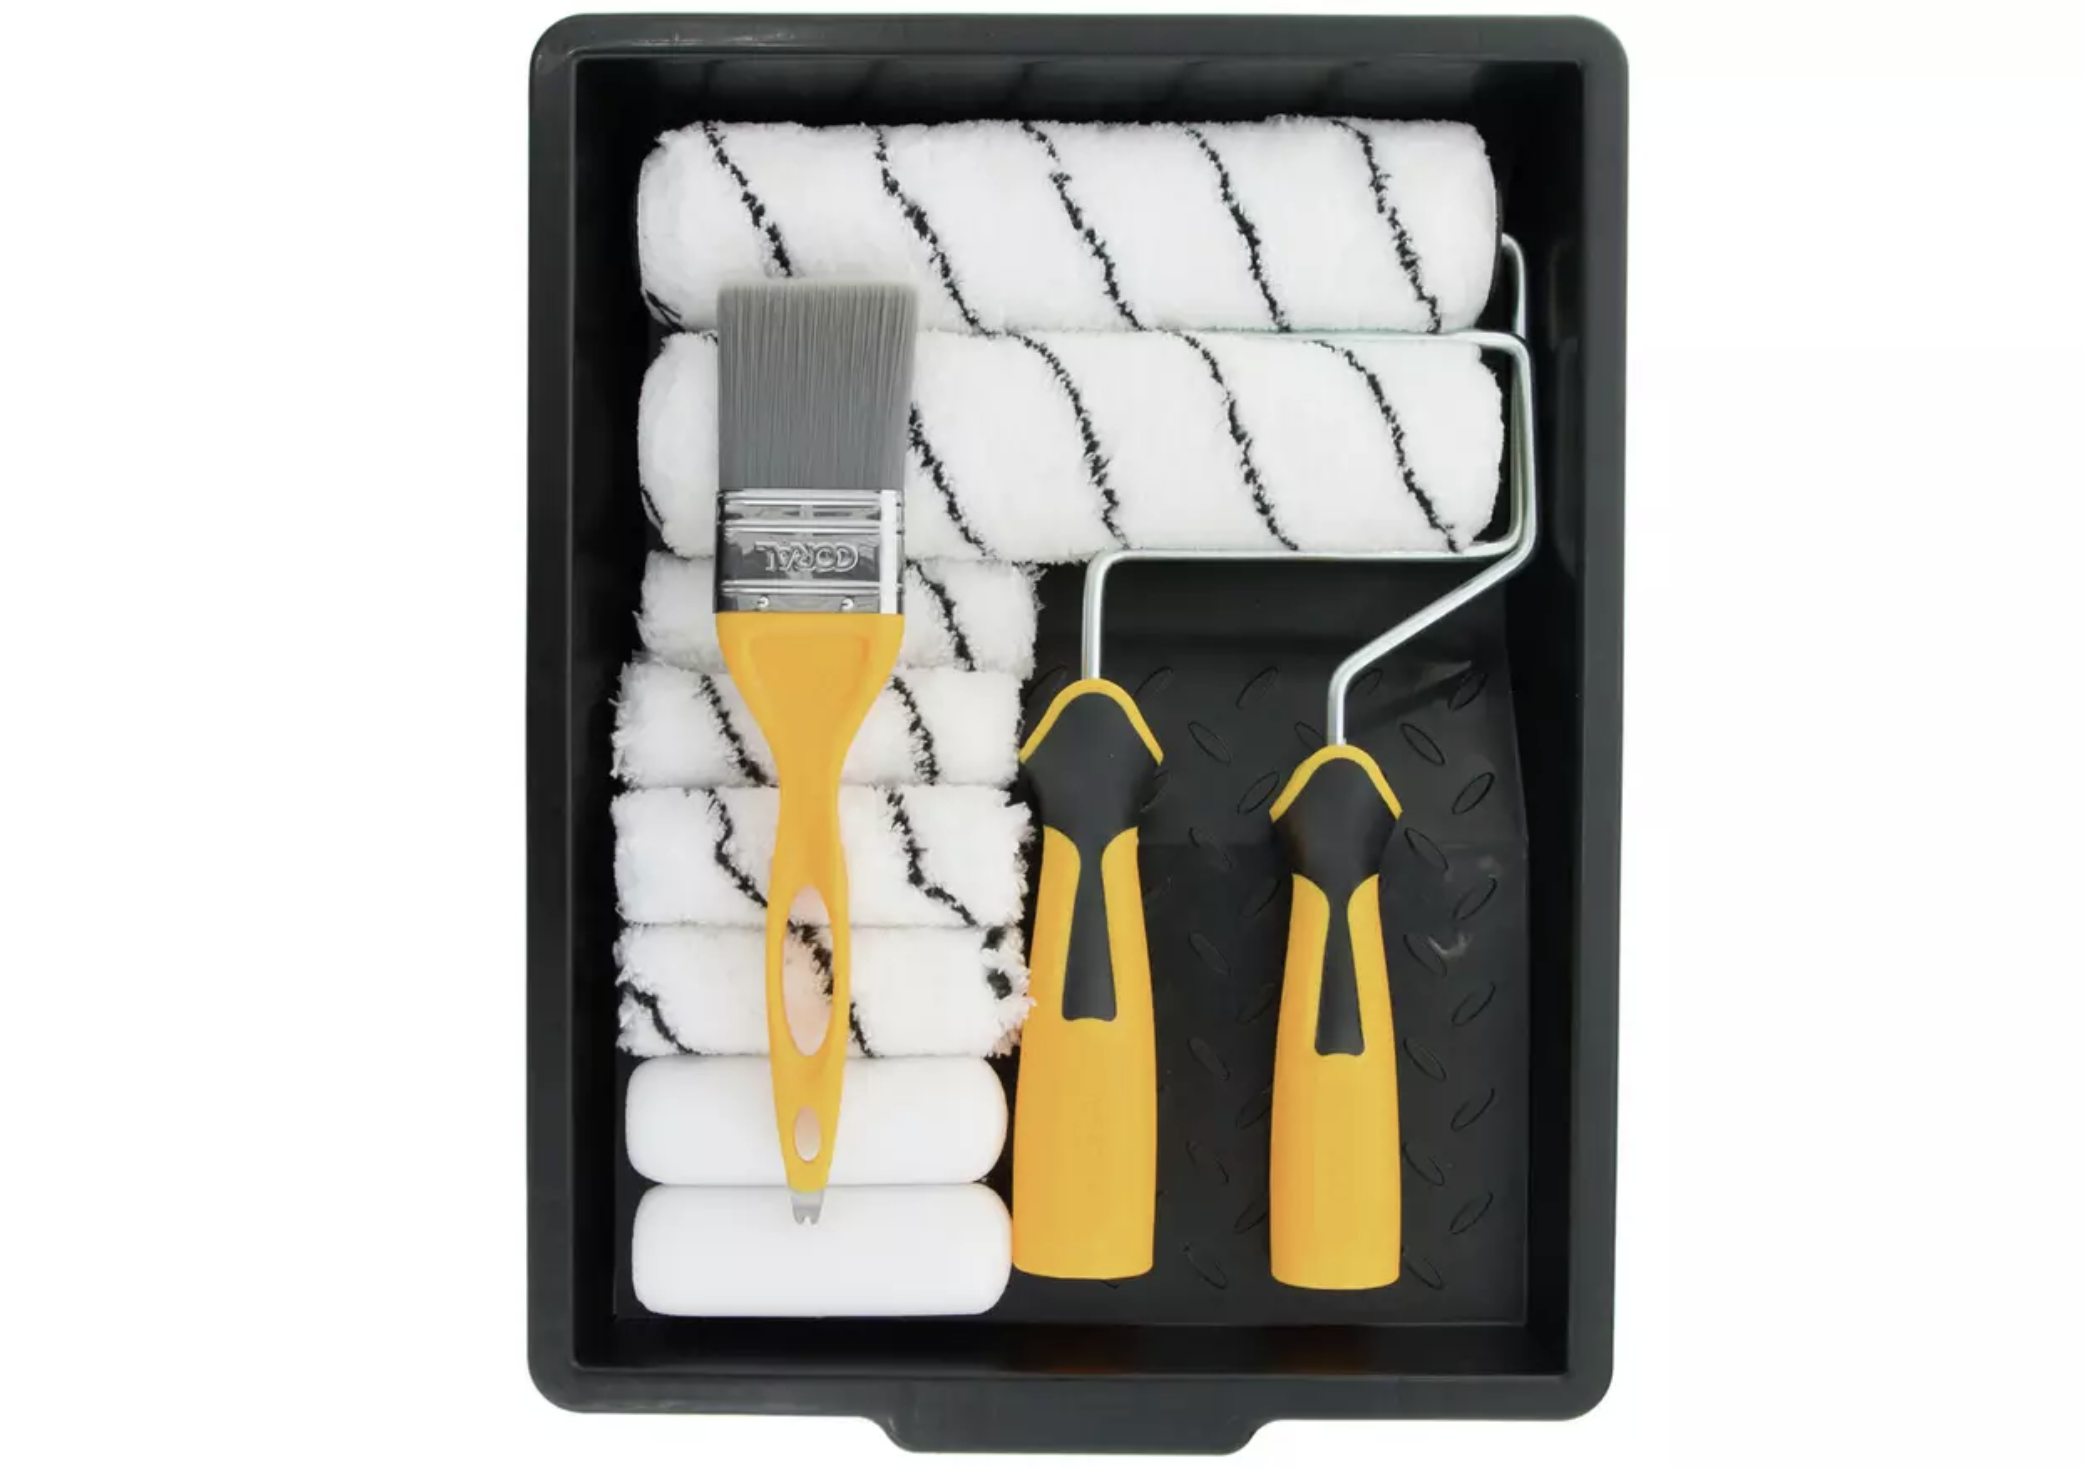
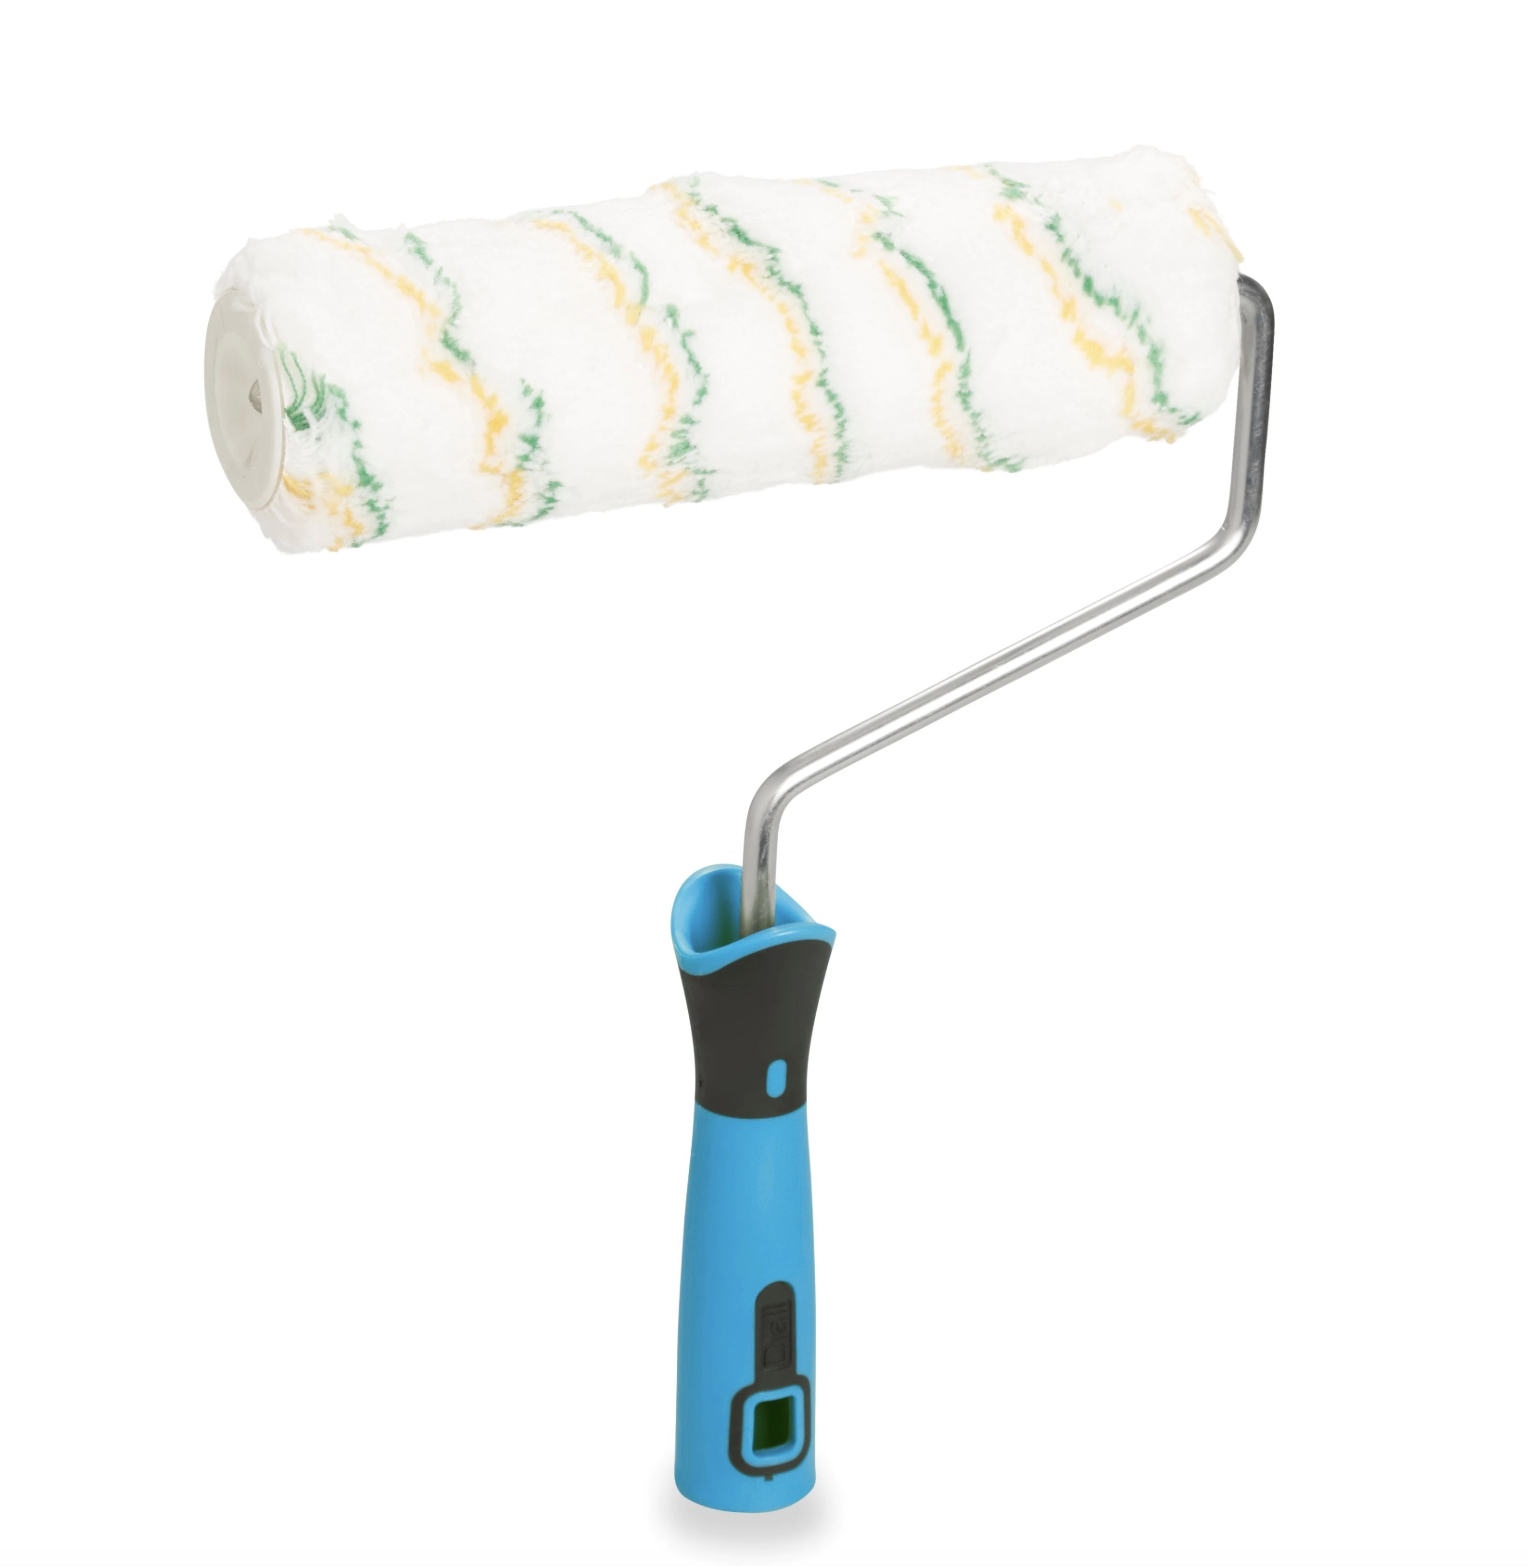
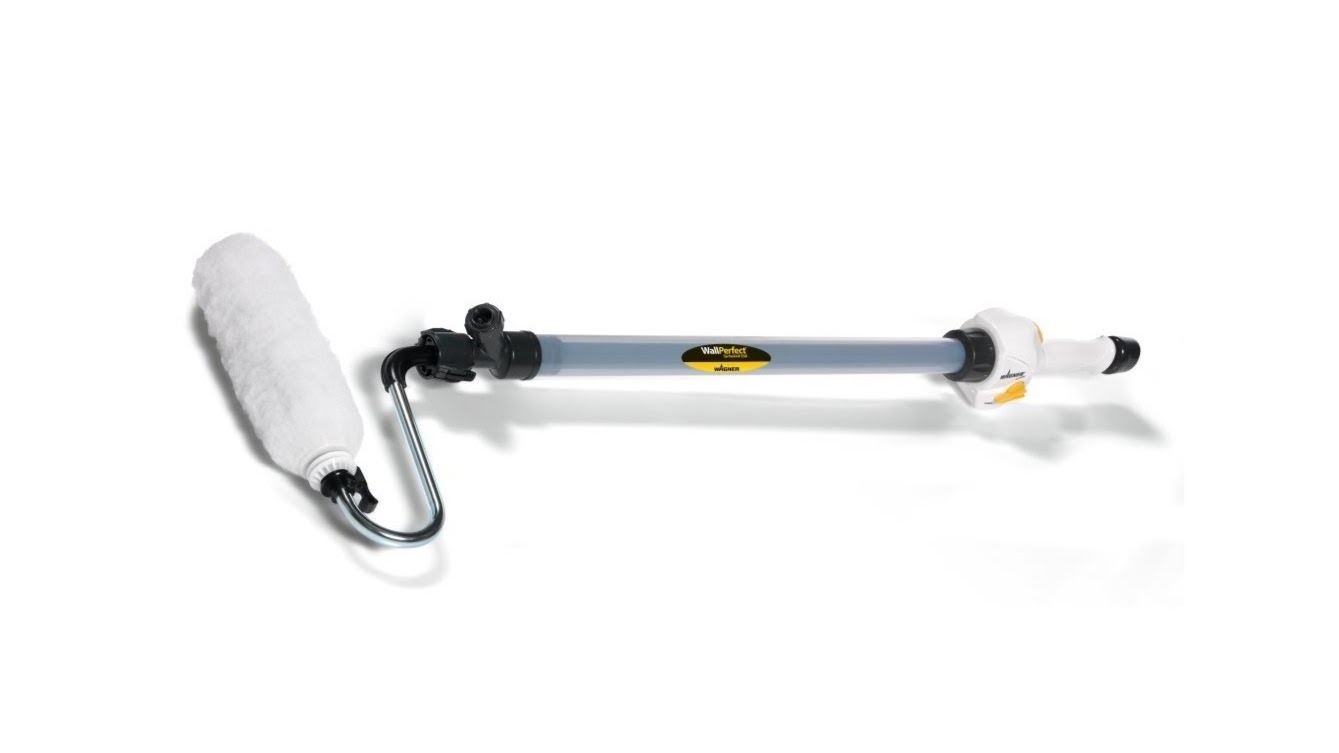
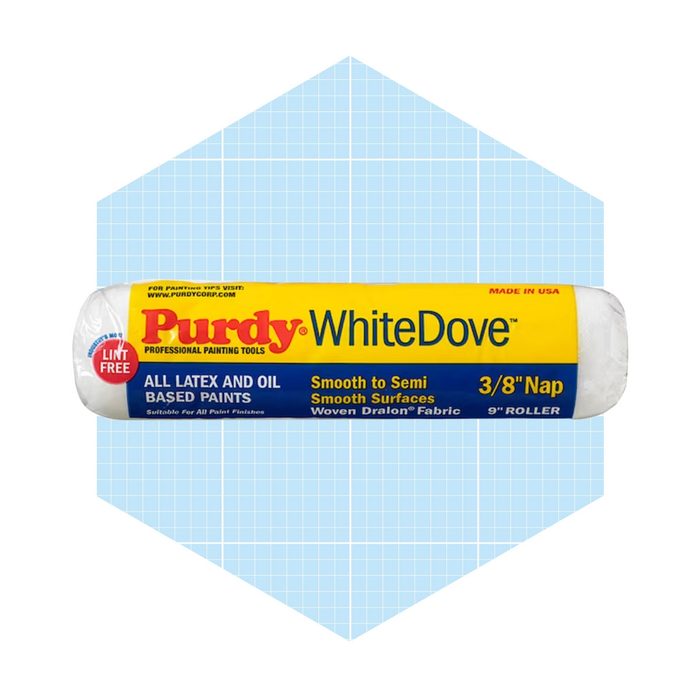
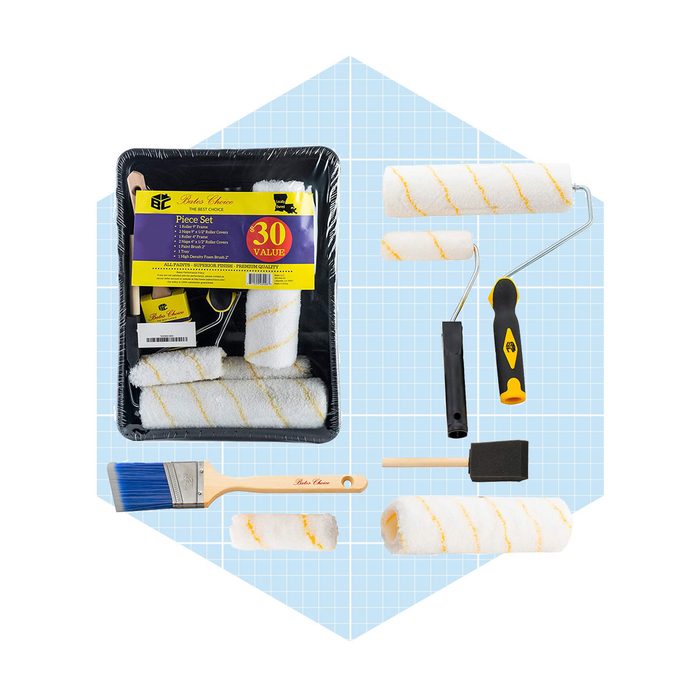
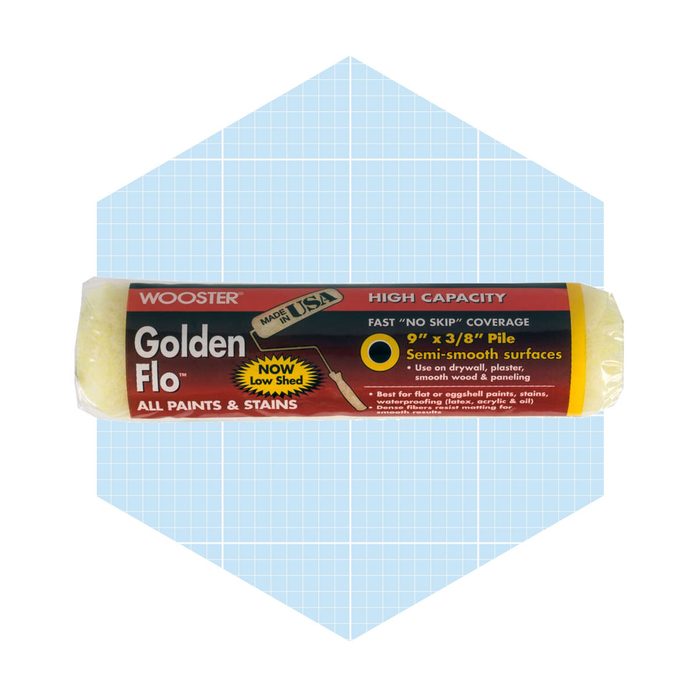
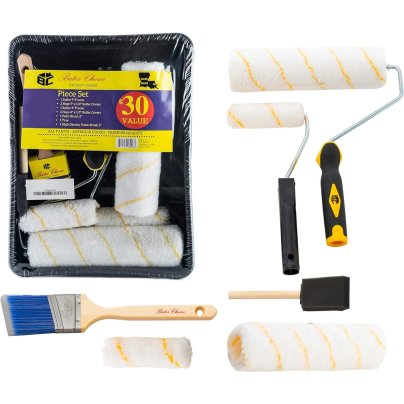
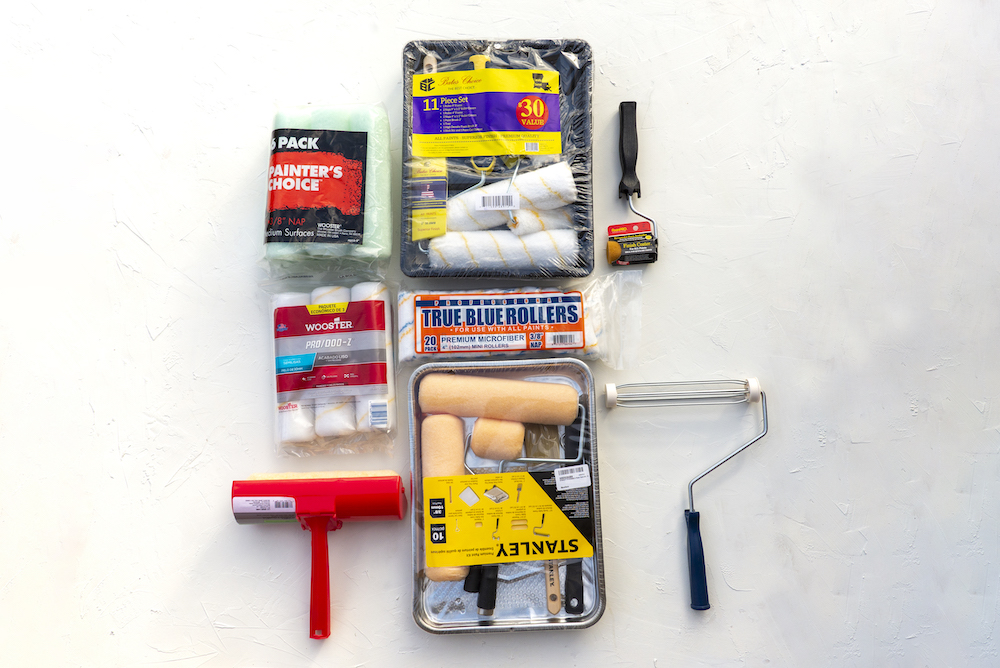
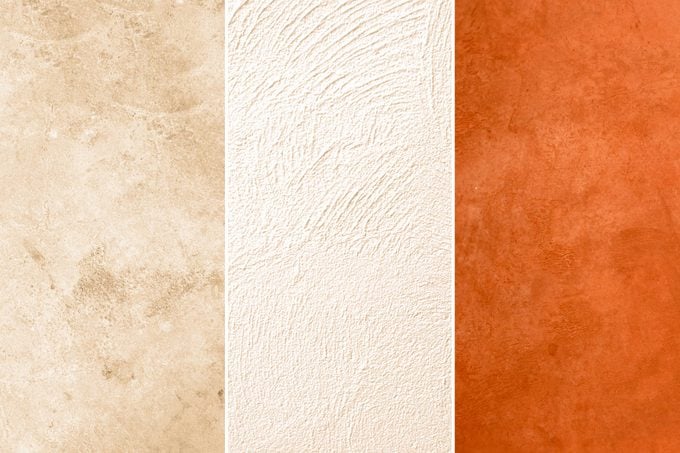
The first key tip is to select the appropriate roller. Textured rollers vary significantly in nap length, structure, and material, influencing the final look. Examples include wool or knit fabric rollers for stippled or orange-peel effects, which hold paint well and cover rough surfaces. Patterned foam rollers can create intricate designs for feature walls. Looped plastic naps are ideal for stucco effects, especially when combined with thick, textured paints containing additives like sand or joint compound.
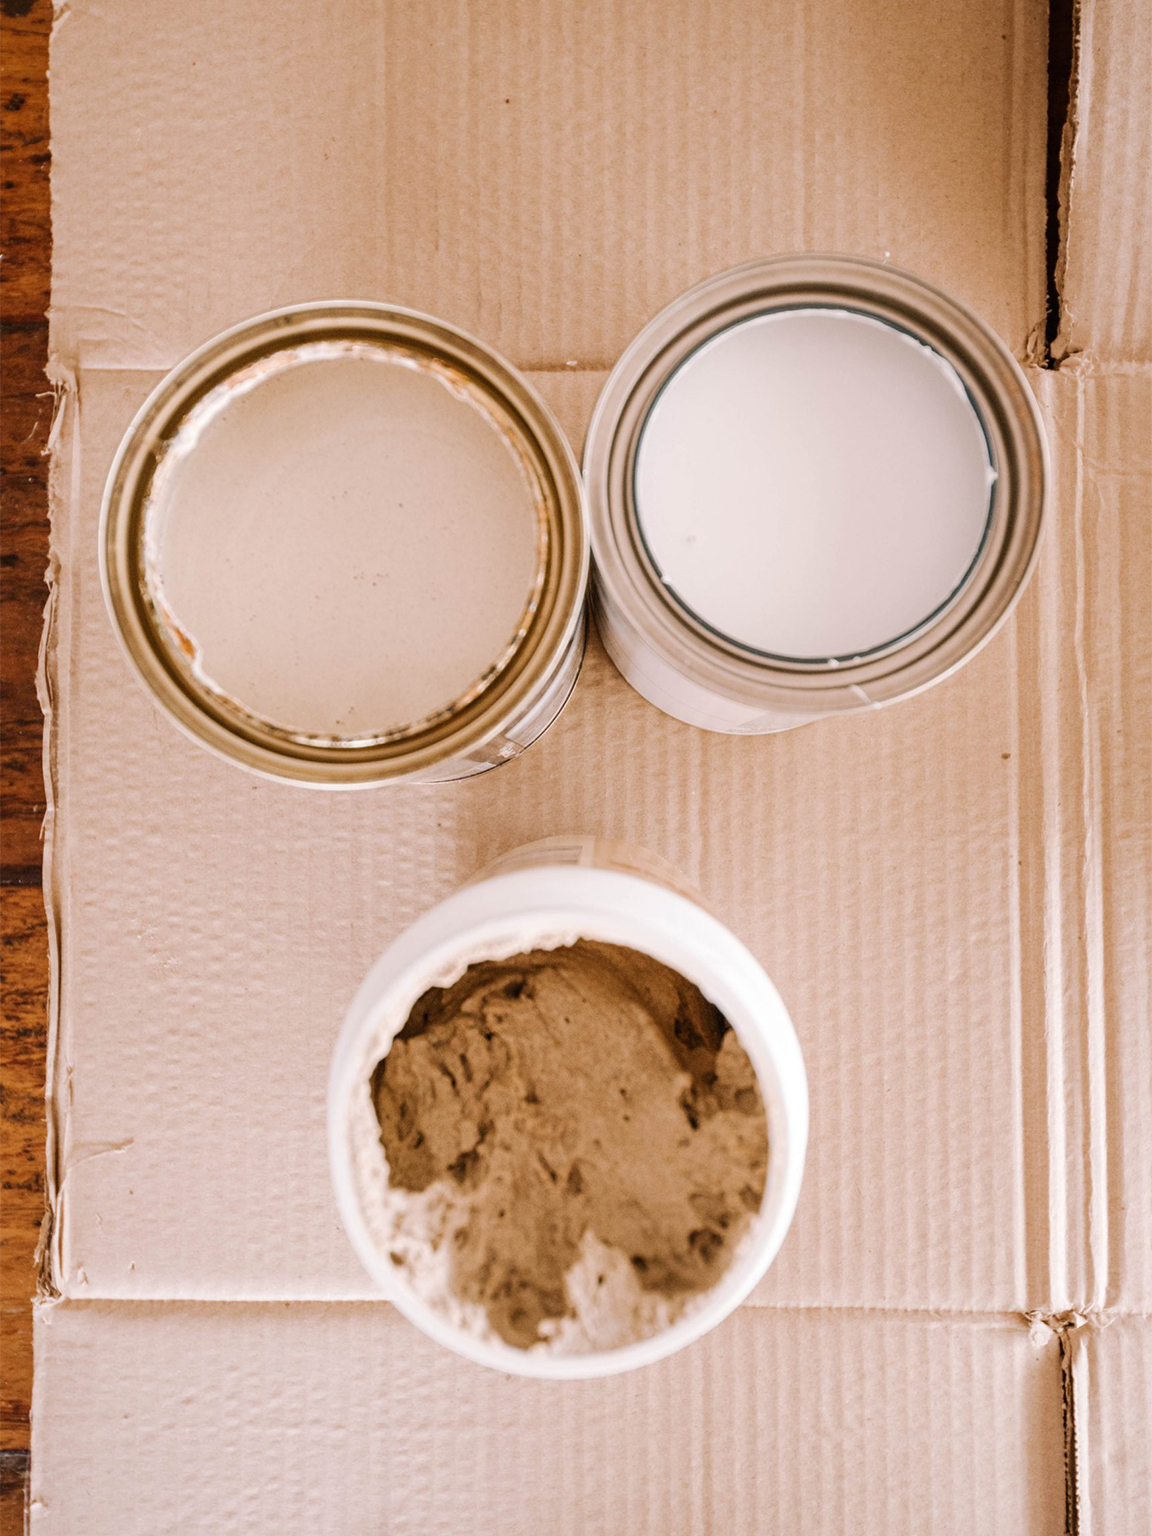
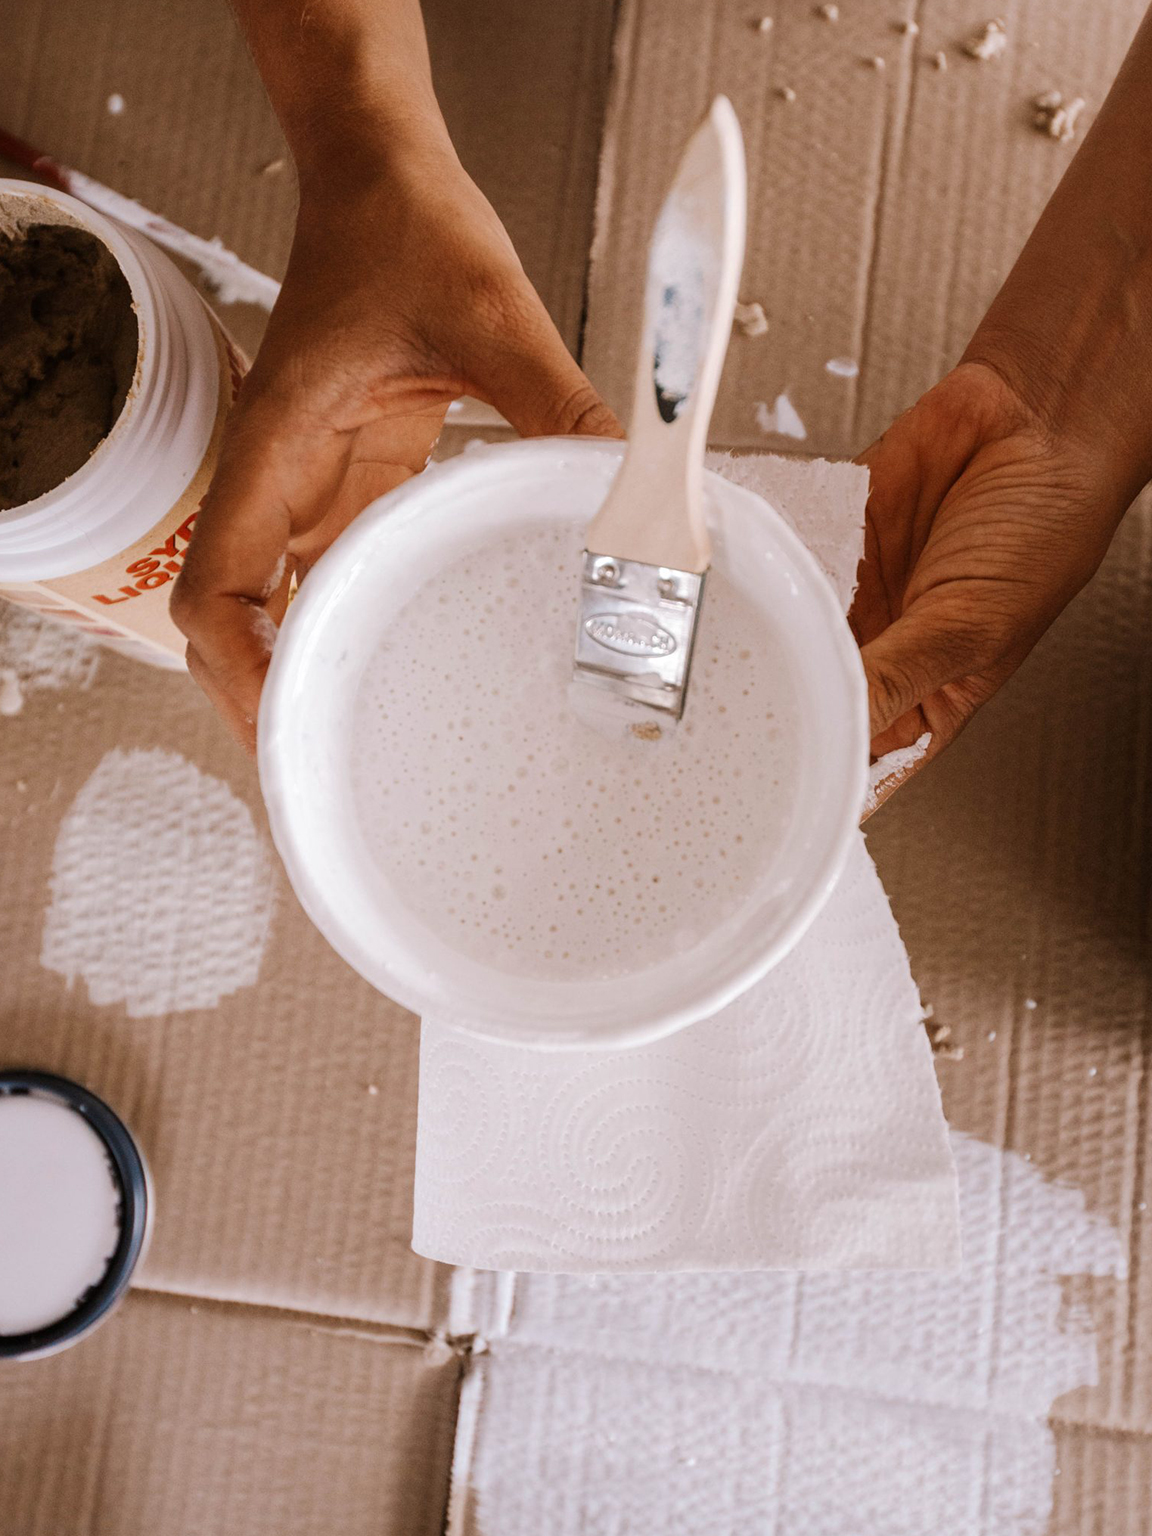
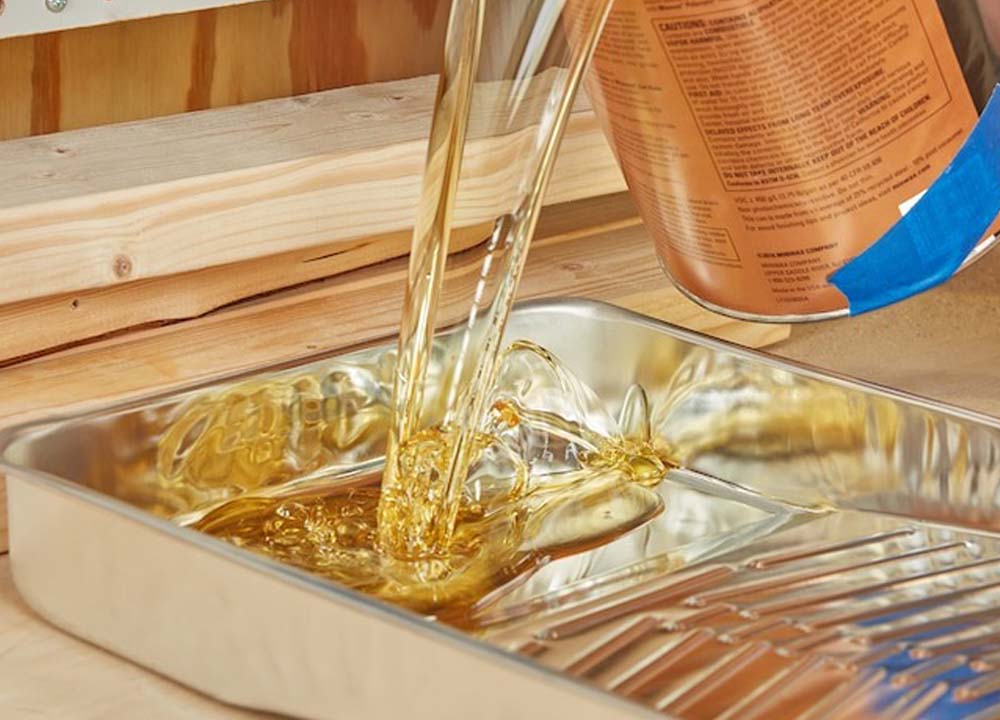
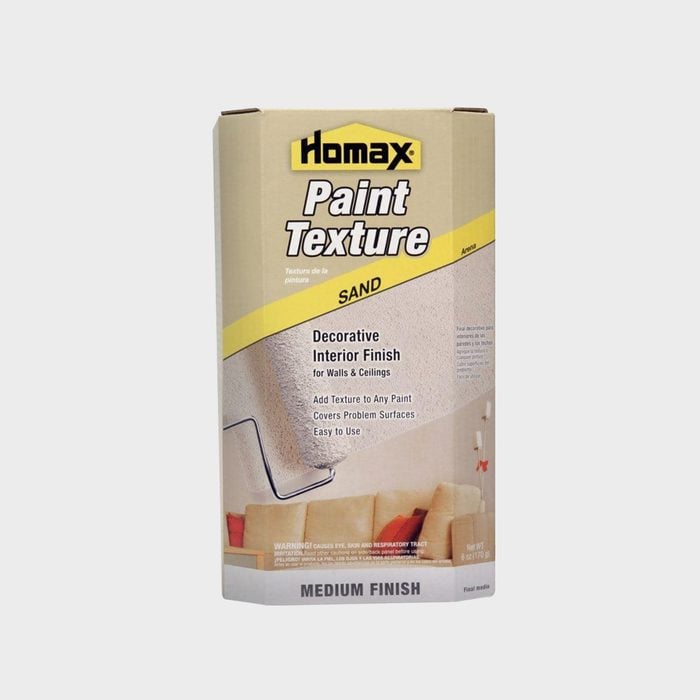
Choosing the right paint is equally crucial. While specialized textured paints are available to simplify the process, standard paints can also be used. For rougher textures, oil-based paints are recommended due to their ability to penetrate crevices evenly. Water-based paints are more versatile, easier to clean, and dry quicker, though this quick-drying property might be a disadvantage for intricate texturing that requires more working time. Mixing additives like drywall joint compound or perlite into standard paint can also create desired textures and, with tinting, reduce the need for multiple coats.
Before applying paint to the main surface, testing the roller and paint combination on a scrap piece of drywall or cardboard is advised. This step allows users to perfect their technique and ensure the desired finish is achievable. Proper wall preparation is another essential step. Although textured paints can mask some flaws, cleaning, drying, and priming the surface are critical for a durable and even result. It is recommended to roll onto a primed or pre-painted surface.
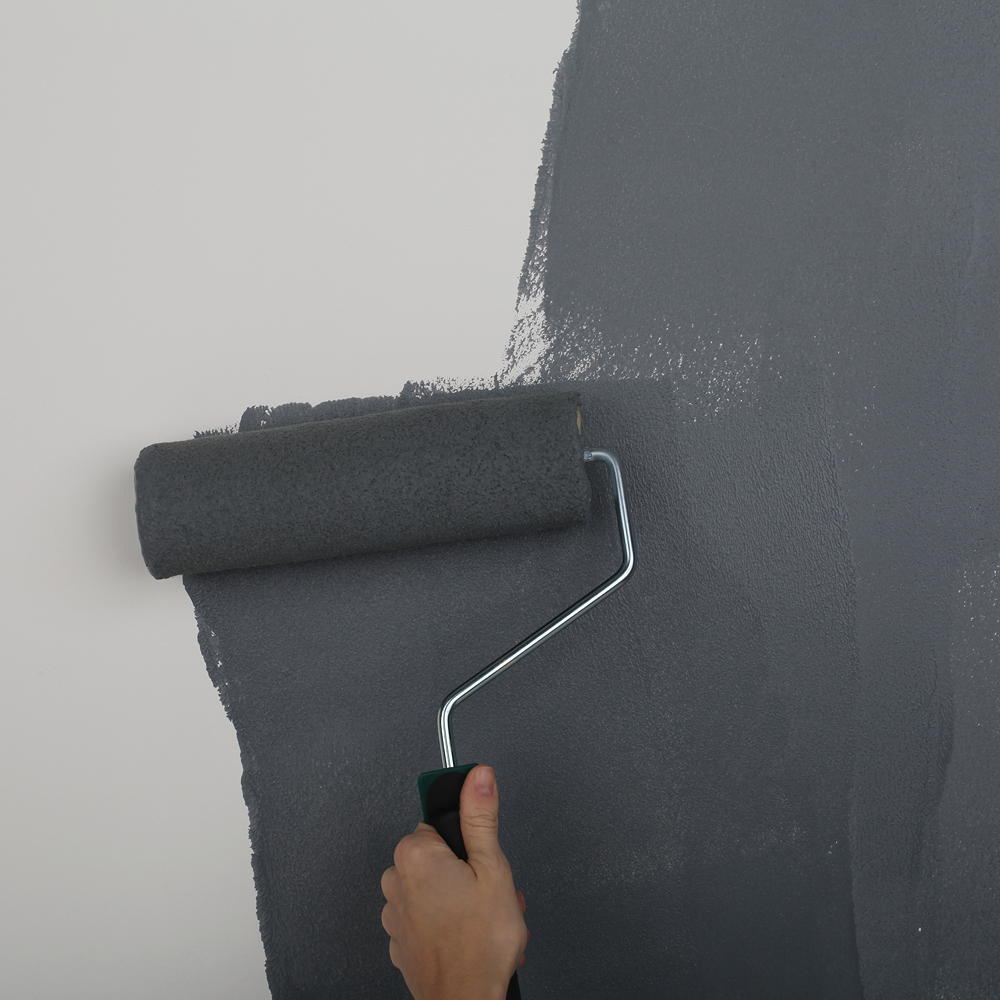
The article also provides practical application techniques. Rollers should be loaded conservatively, as textured rollers absorb more paint. Applying thin layers gradually is better than overloading. Light, gentle strokes are emphasized, allowing the roller to create the texture naturally without excessive pressure. Reversing the roller's direction can introduce subtle variations, preventing a monotonous look. Finally, the article recommends working methodically in small sections to avoid uneven surfaces and blending edges with a soft-bristled brush if necessary. For very rough textures, applying a dry roller to partially dry, thick paint can enhance the effect. Users should anticipate needing more time and potentially multiple coats to achieve the desired bumpy finish.
#TexturedRoller #PaintingTips #DIYPainting #HomeImprovement #WallTexture #PaintApplication #InteriorDesign #PaintingTools #TexturedRoller #PaintingTips #DIYPainting #HomeImprovement #WallTexture #PaintApplication #InteriorDesign #PaintingTools
0 comment in total
 No comments yet
You may also like
The Best Roller For Your Painting Projects, According To An Expert

The Best Paint Rollers and Covers, Tested and Reviewed


How to add texture to your walls - a beginner's guide to the many beautiful plaster finishes

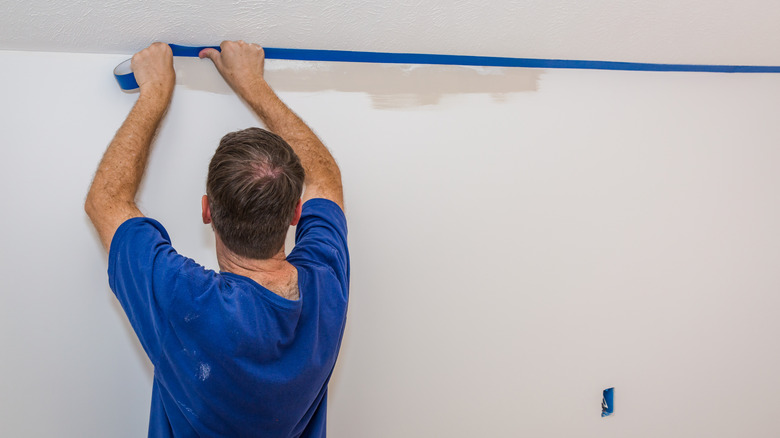
The Viral Hack That Gives You Flawless Paint Lines Every Time (Without Leaks)
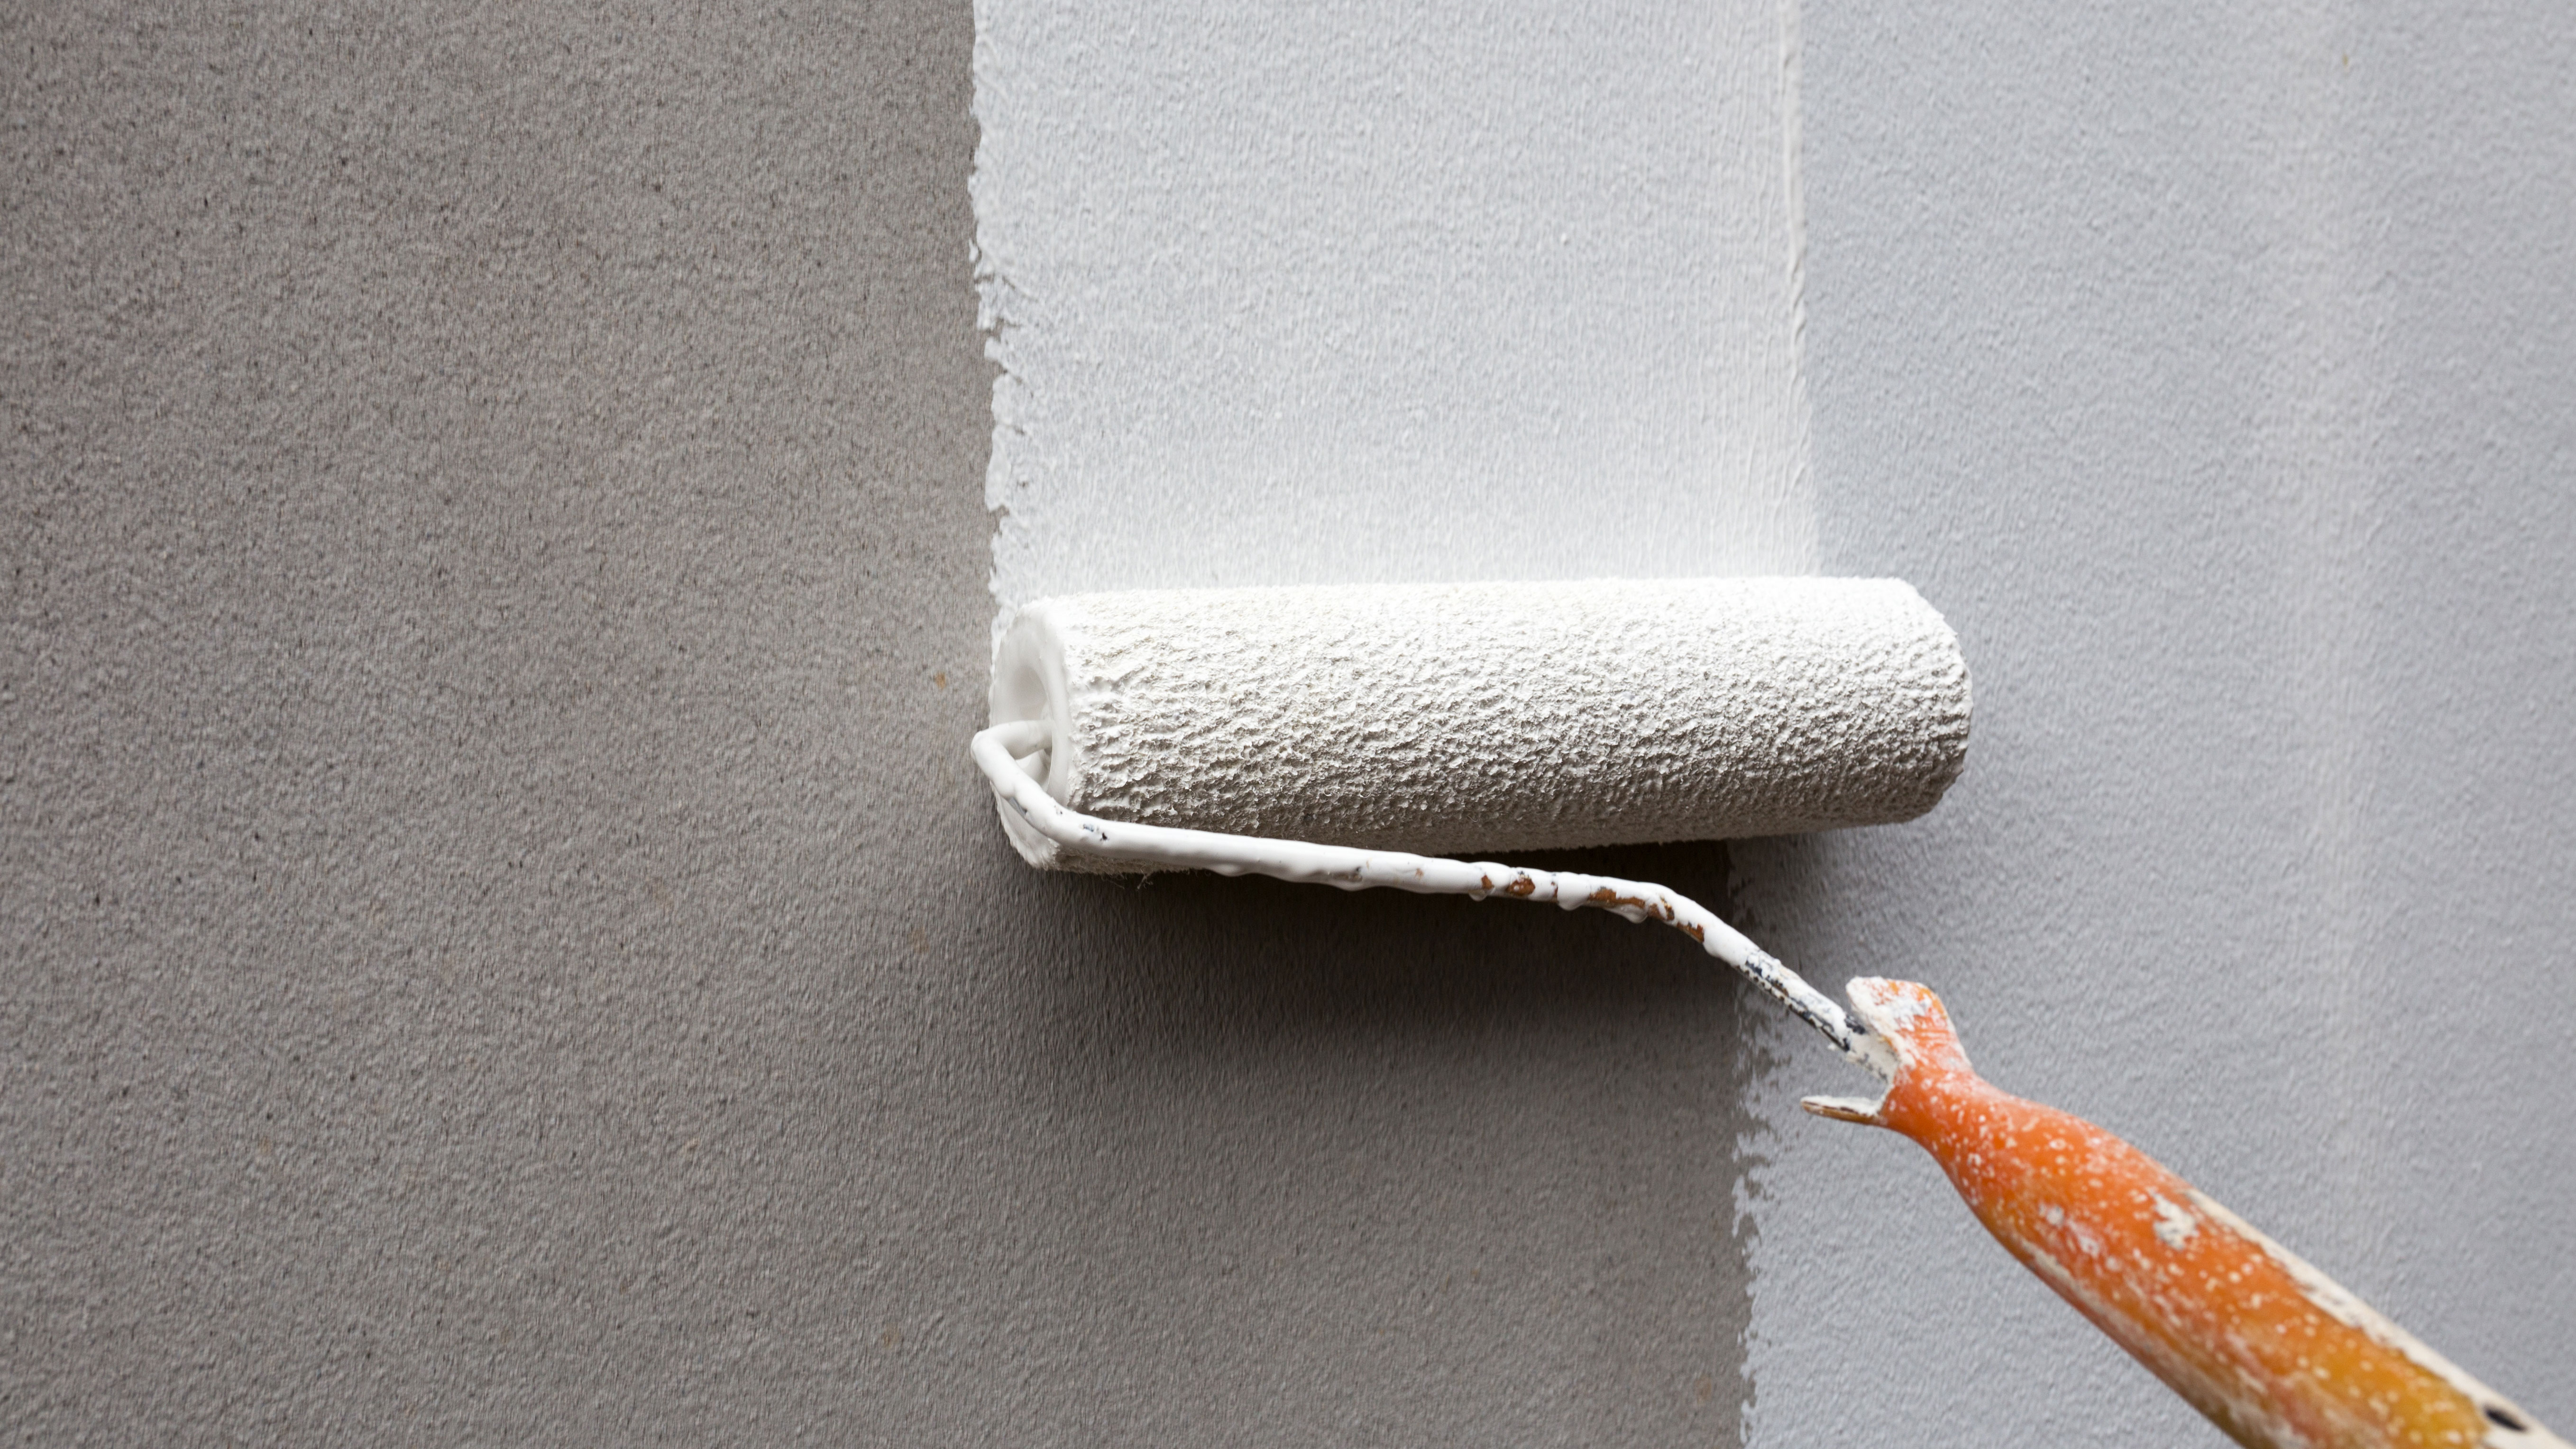
These are the best paint rollers

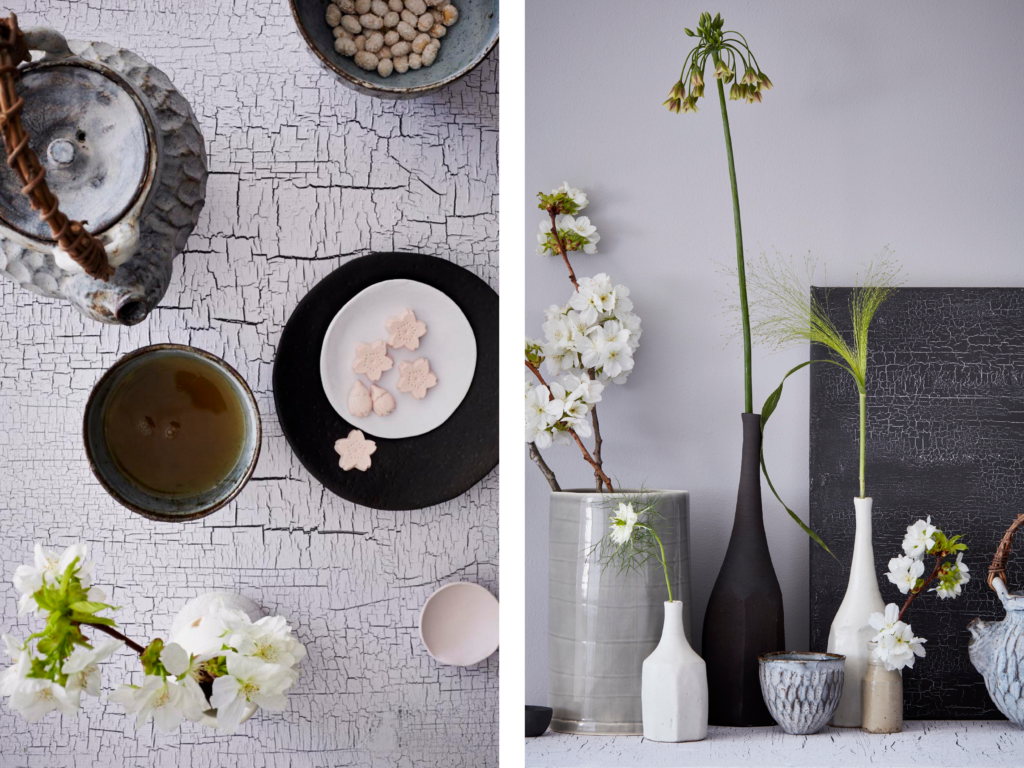
10 ways to use textured paint in your home

Paint tips from a pro!

7 Best Interior Texture Paints
The 6 Best Paint Rollers of 2025
How to Use Textured Wallpaper in Your Home
Instagram can't get enough of this new textured paint craze - here's how to get the look

5 Ways To Pull Off The Matte Paint Trend

What To Know About Textured Paint
How to texture a wall – 5 expert methods for intriguing wall textures
The Best Painting Tools
9 Best Paint Edging Tools for Painting Trim

Paint Rollers & Trays

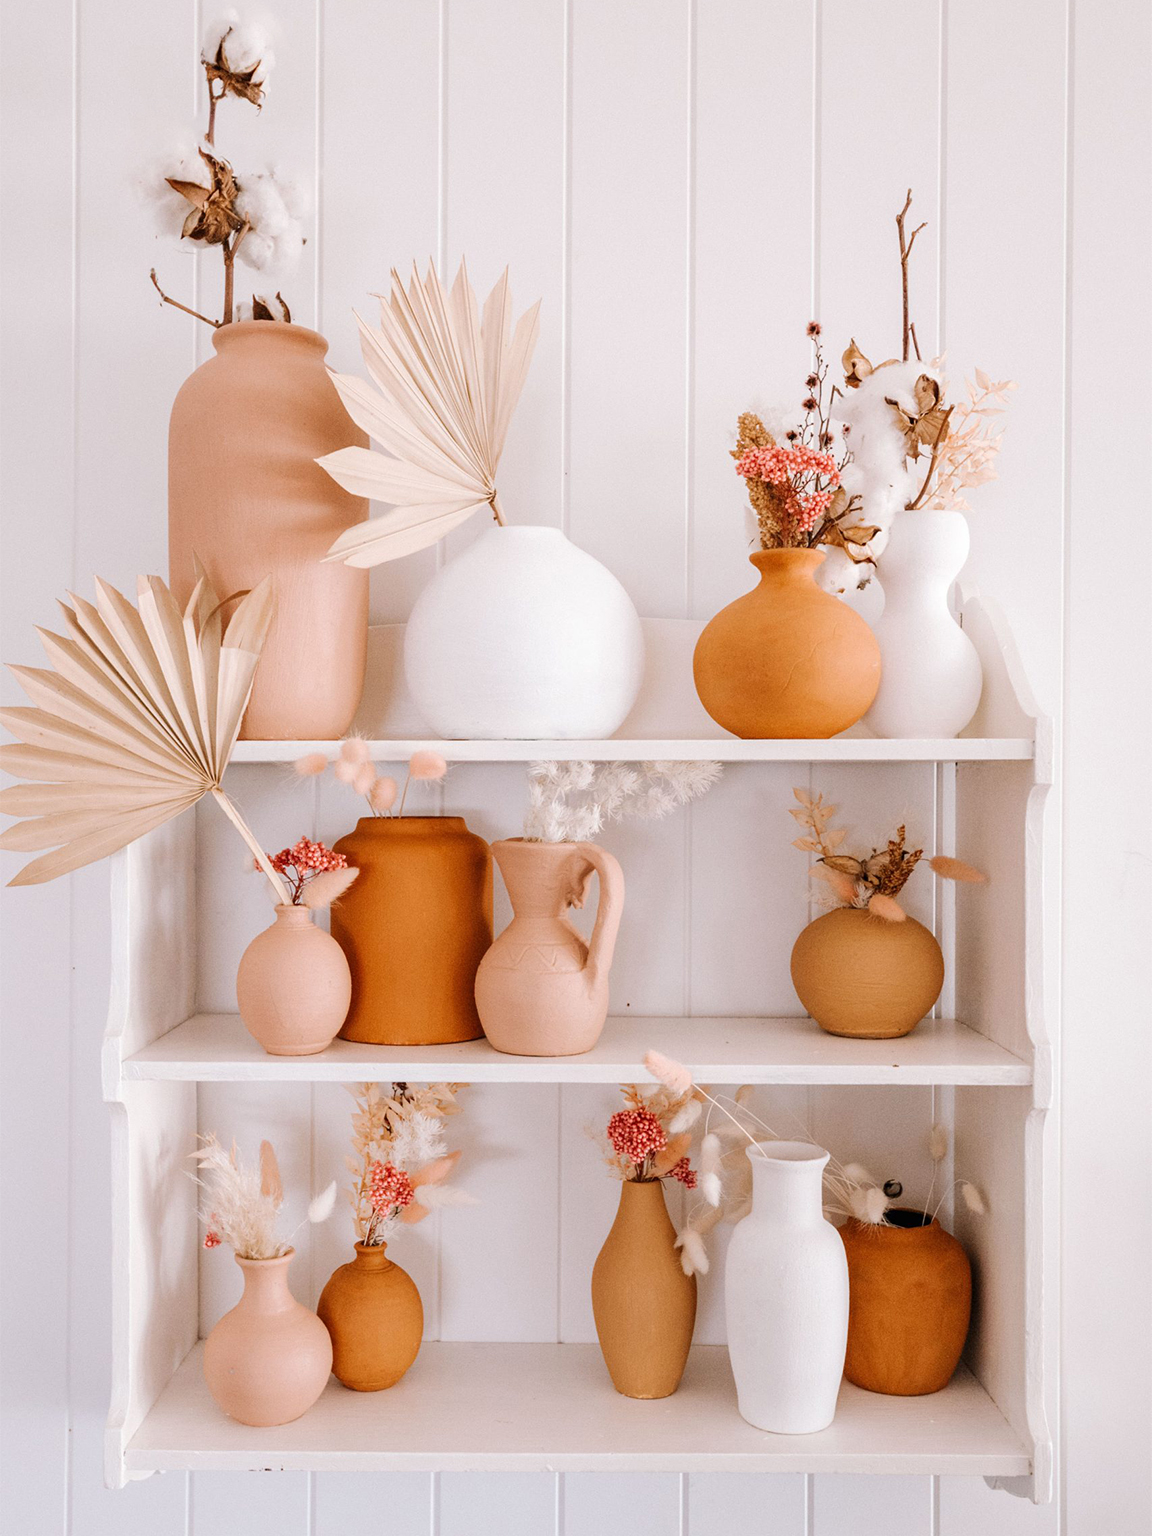
A Textured Paint Hack That’ll Transform Any Vase—The Good, the Bad, and the Ugly
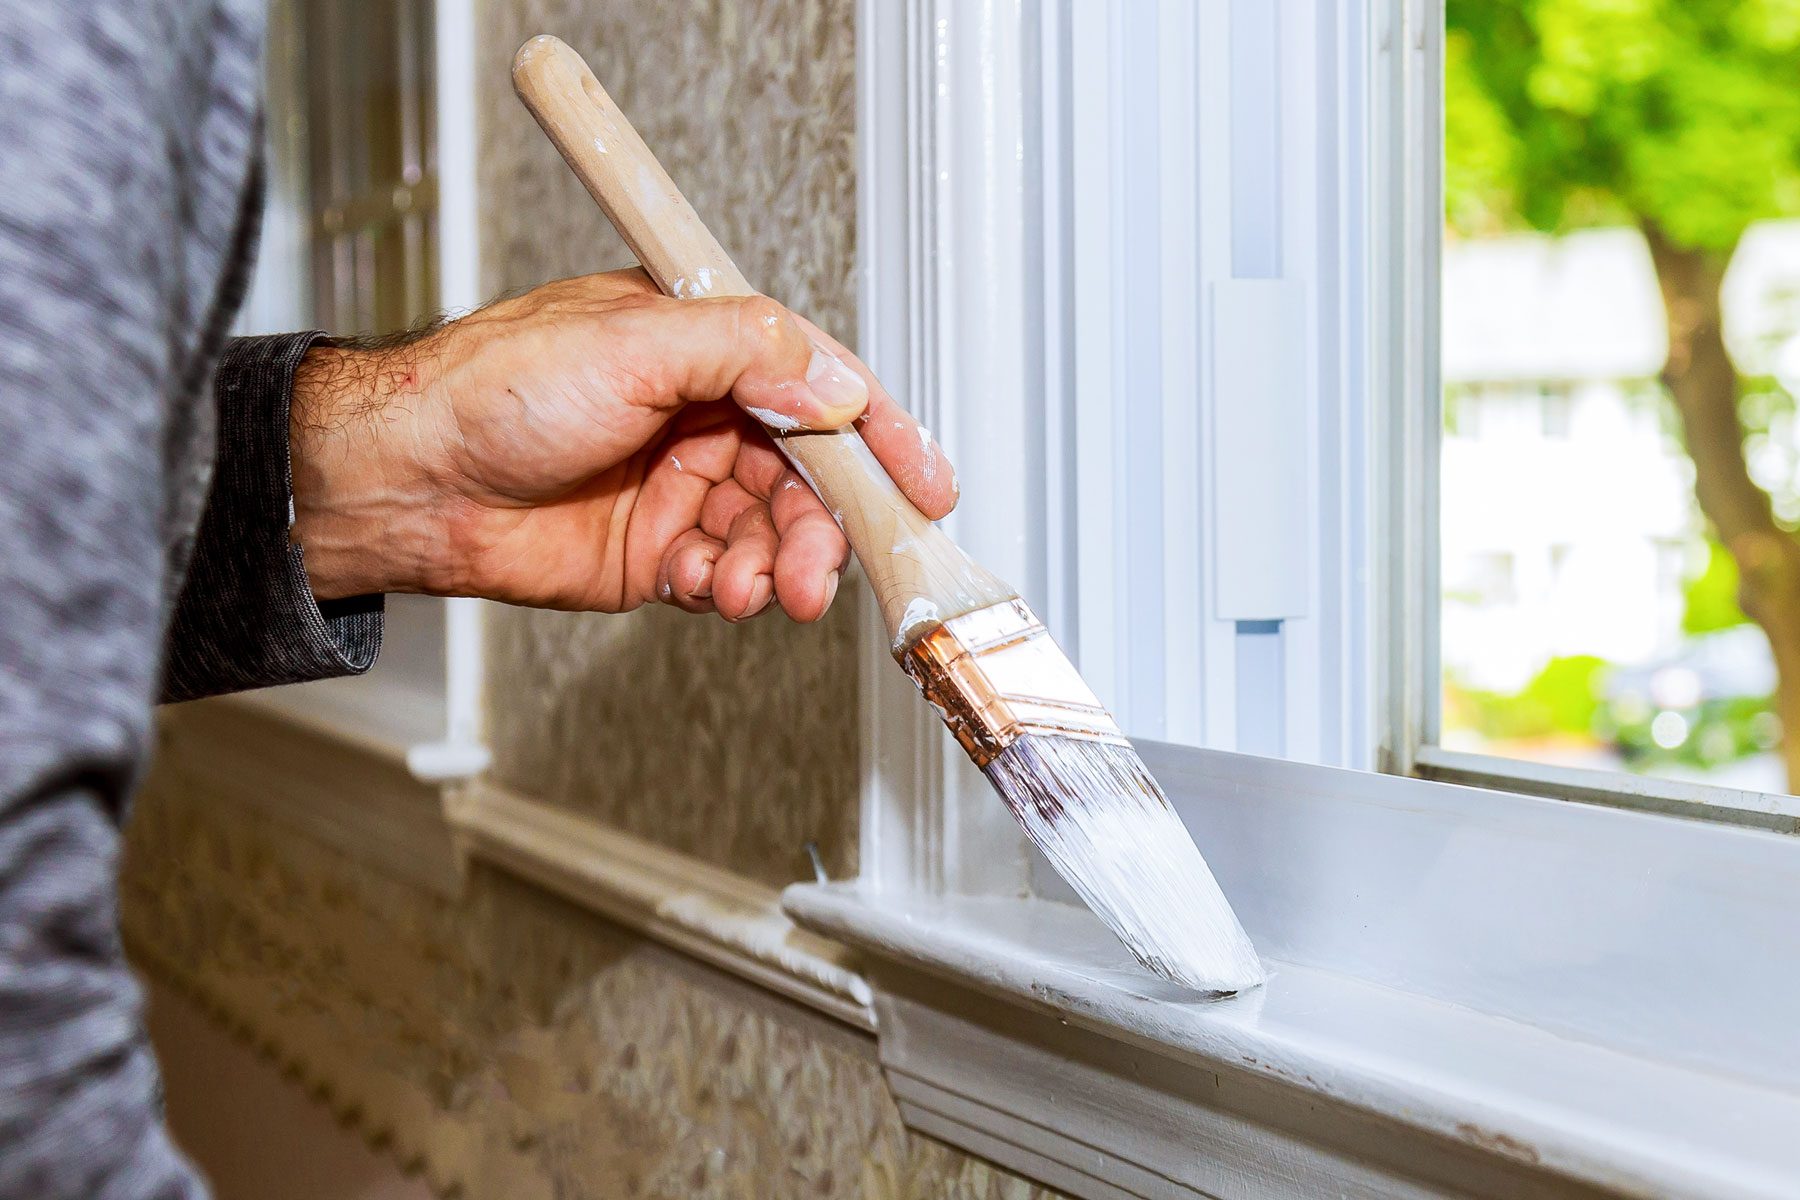
11 Pro Tips for How To Paint Trim
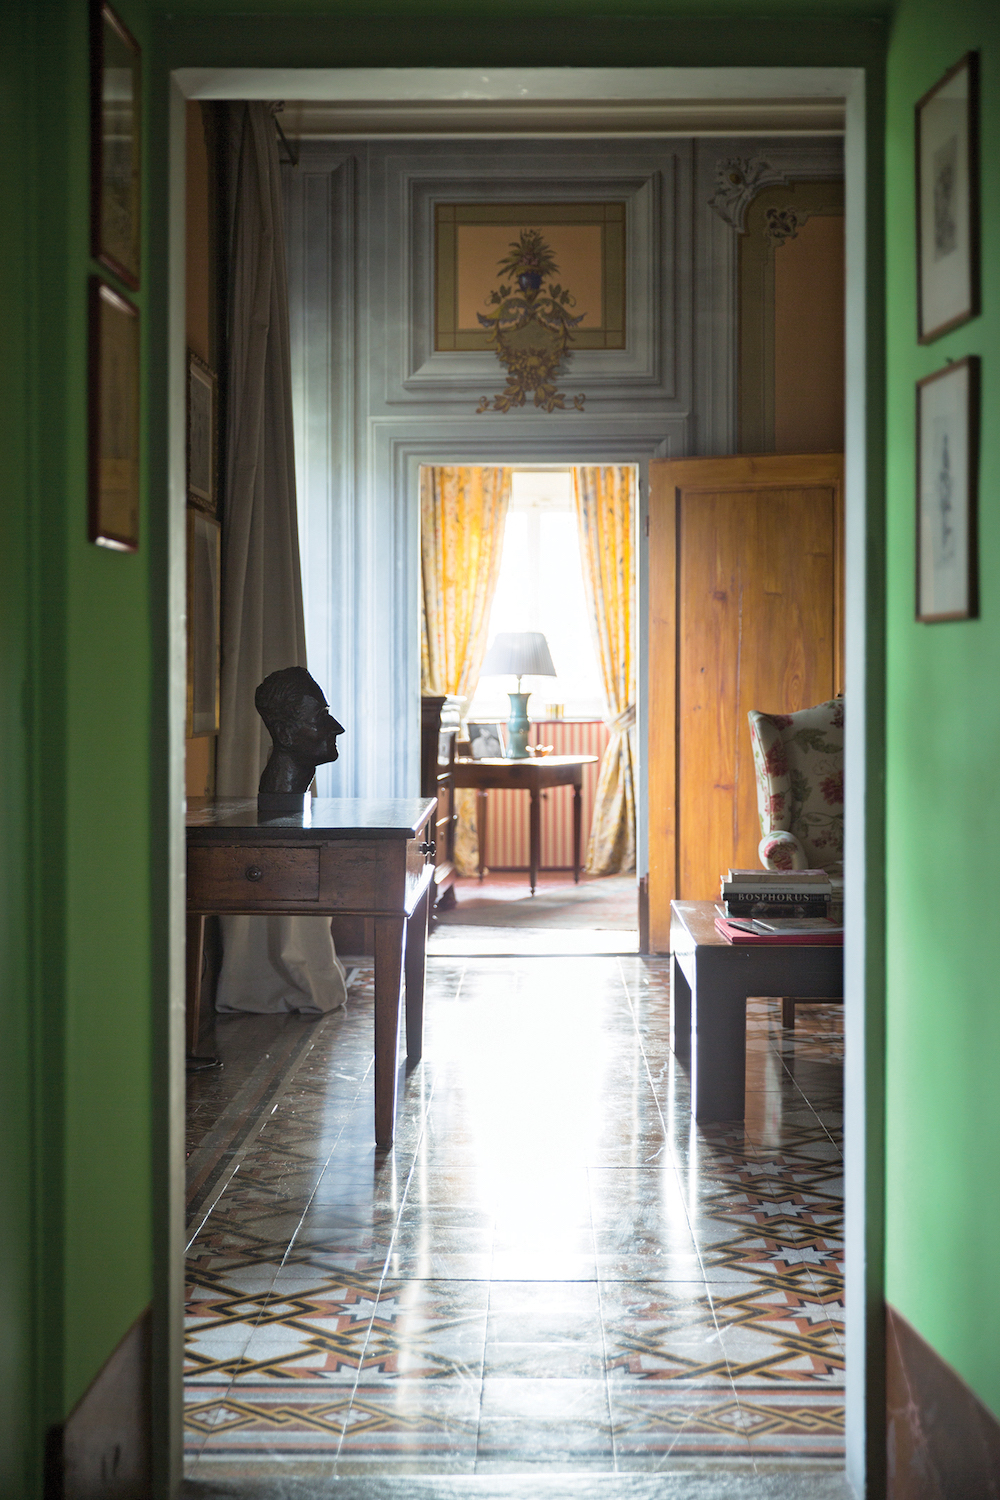
How to Nail This Tricky But Surprisingly Trendy Farrow & Ball Paint Color