Installing Electric Radiant-Floor Heating Will Have You Staying Warm All Winter
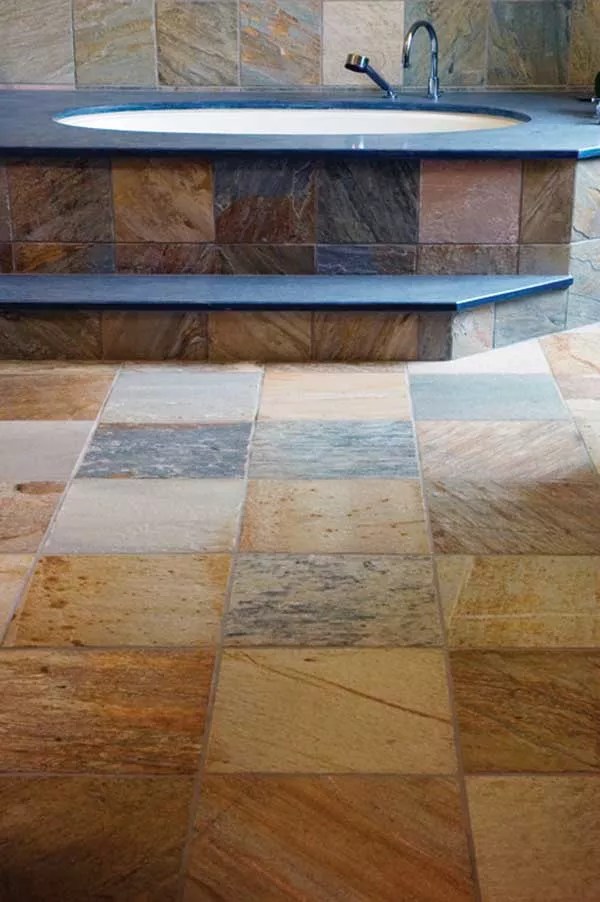
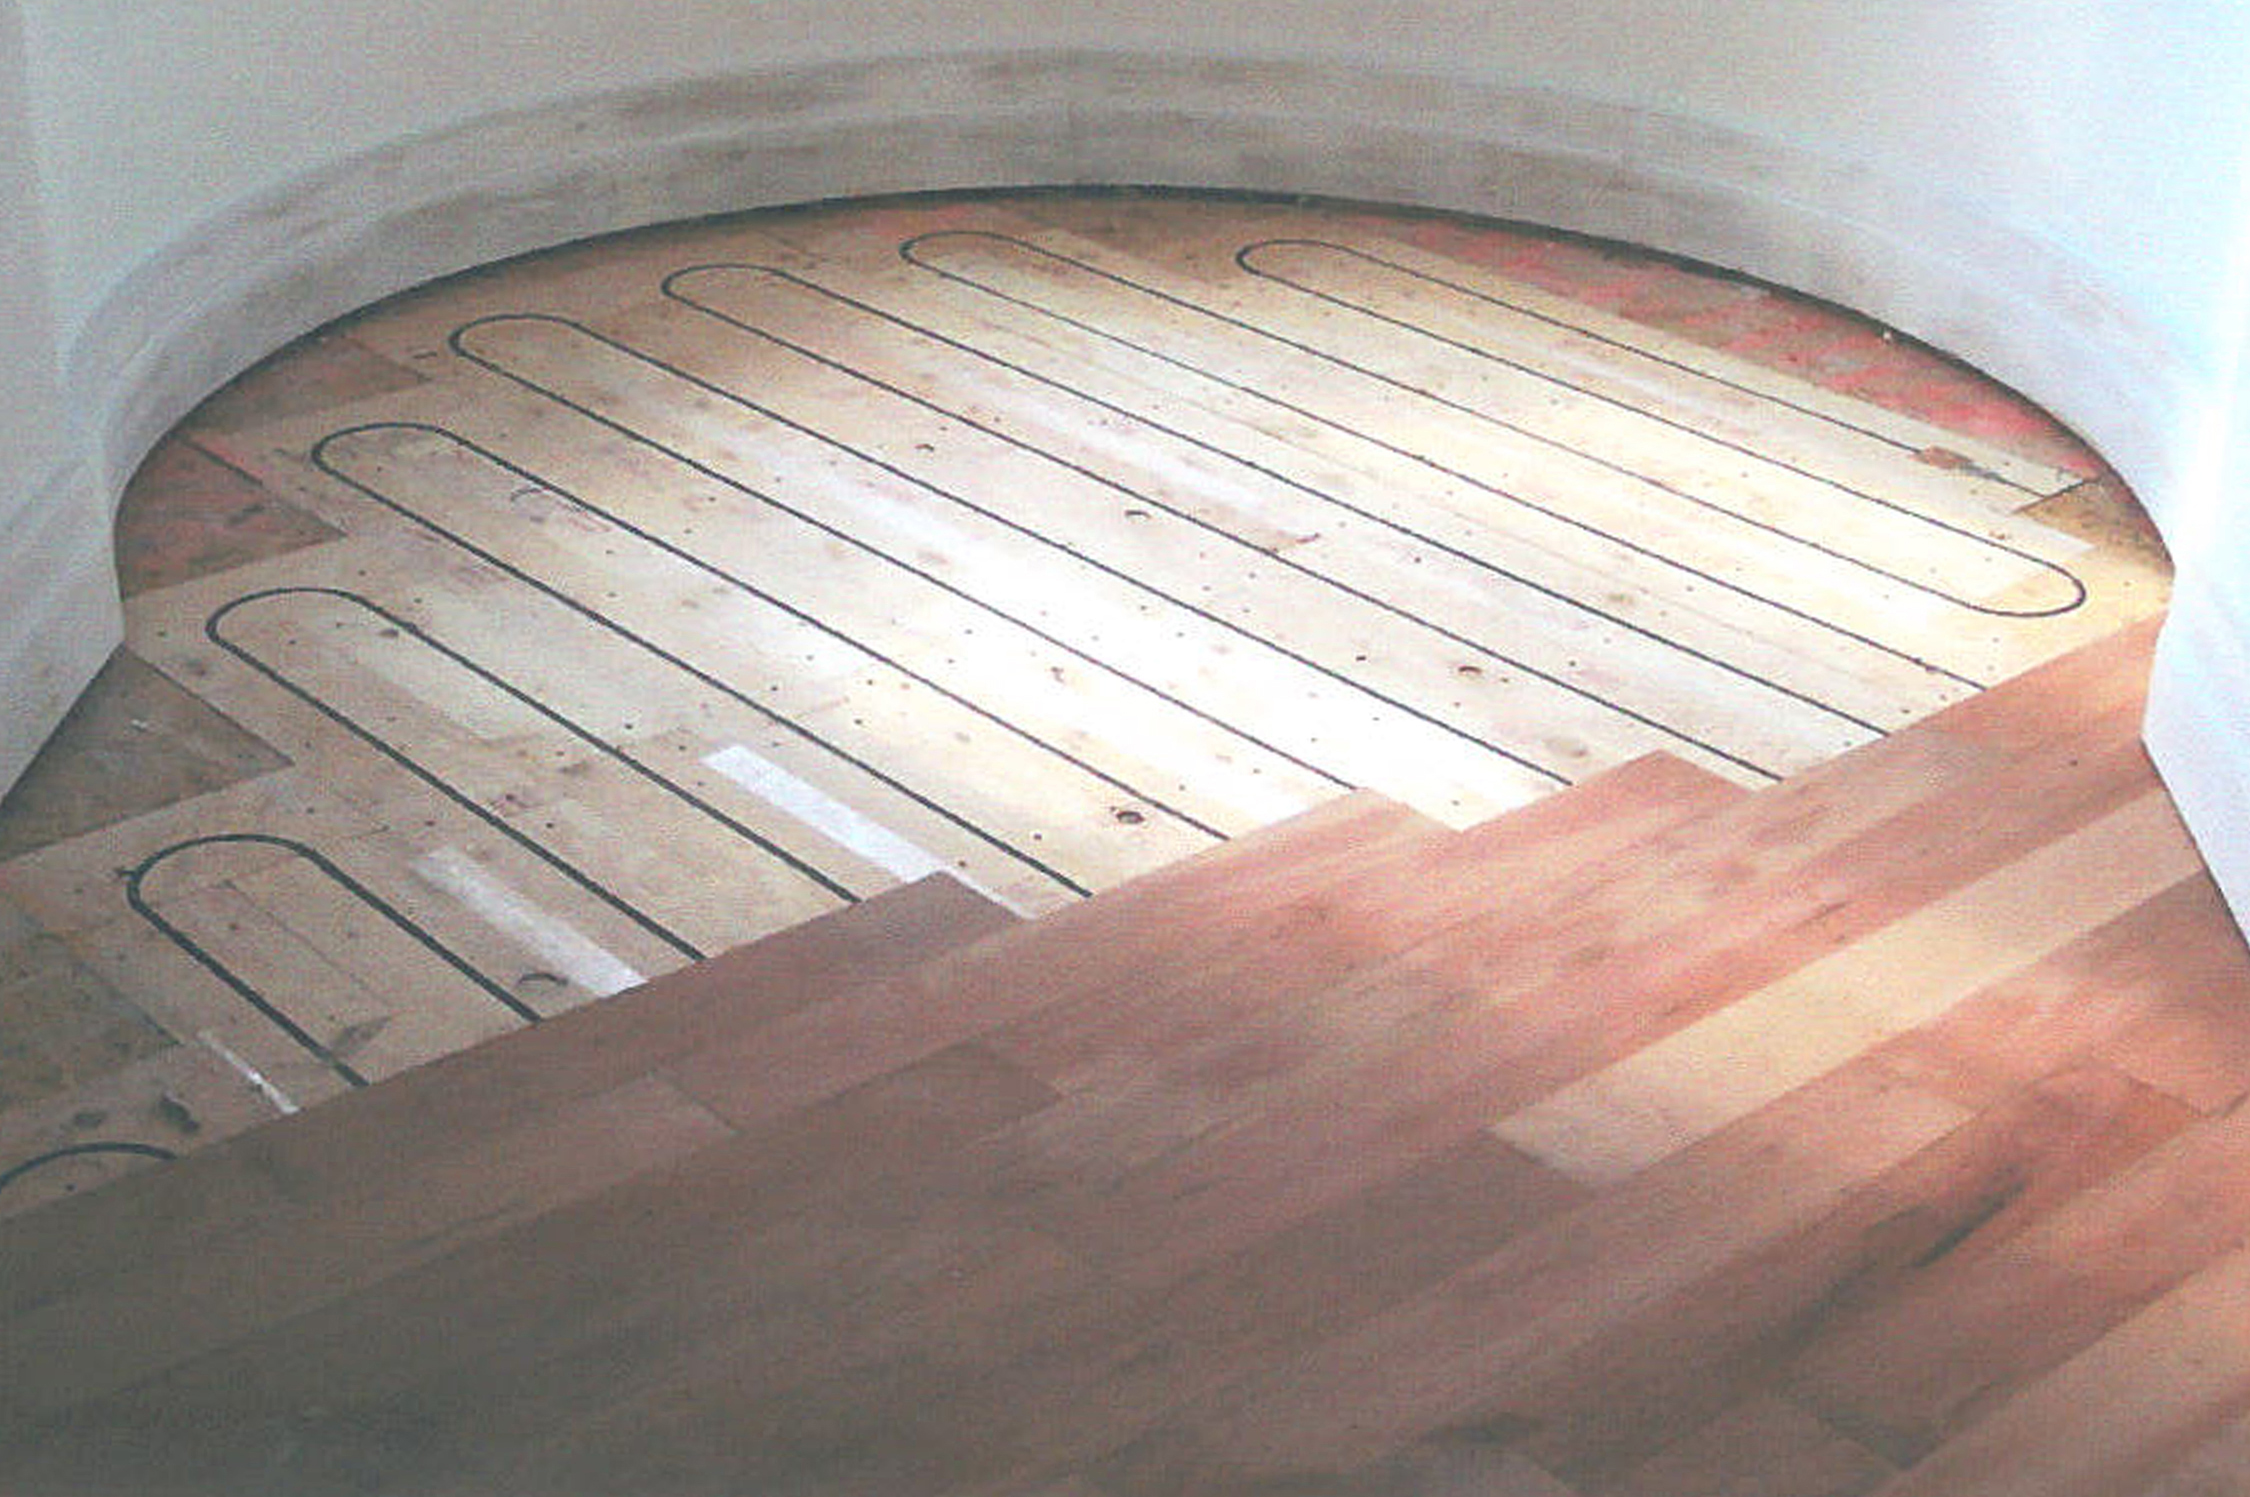
This article details the process of installing an electric radiant-floor heating system, highlighting its benefits and providing a step-by-step guide for DIY enthusiasts. Radiant-floor heating, an ancient method dating back to the Romans, warms the floor directly, creating a consistently comfortable temperature throughout a room without the cold or hot spots often experienced with conventional heating systems like forced hot air, baseboard heaters, or cast-iron radiators. The author, who has personal experience with both radiant-floor heat and hot-water baseboards, attests to the superior comfort provided by radiant heating.
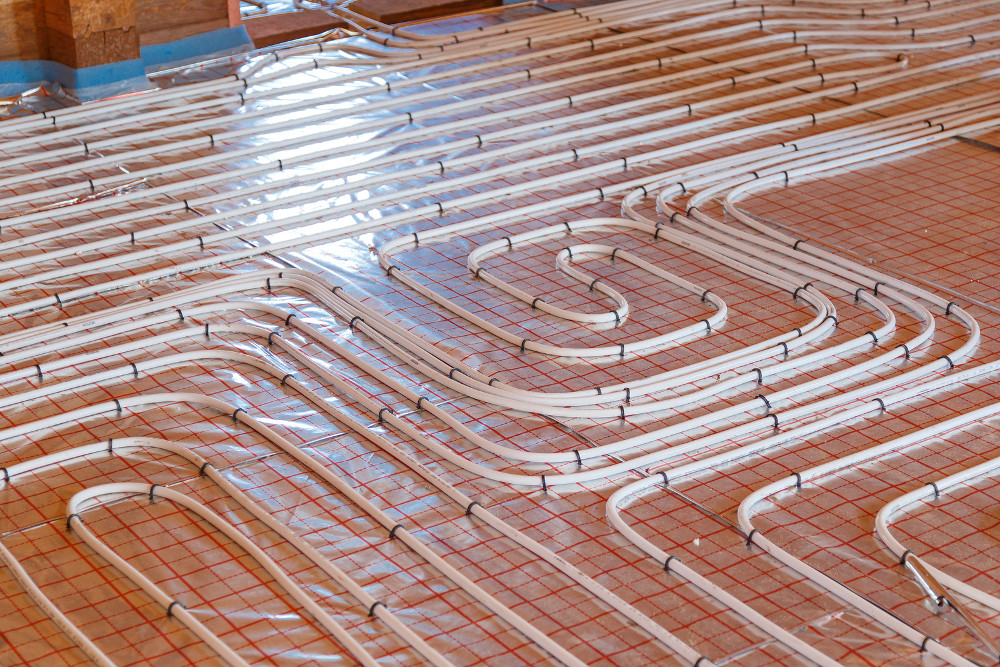
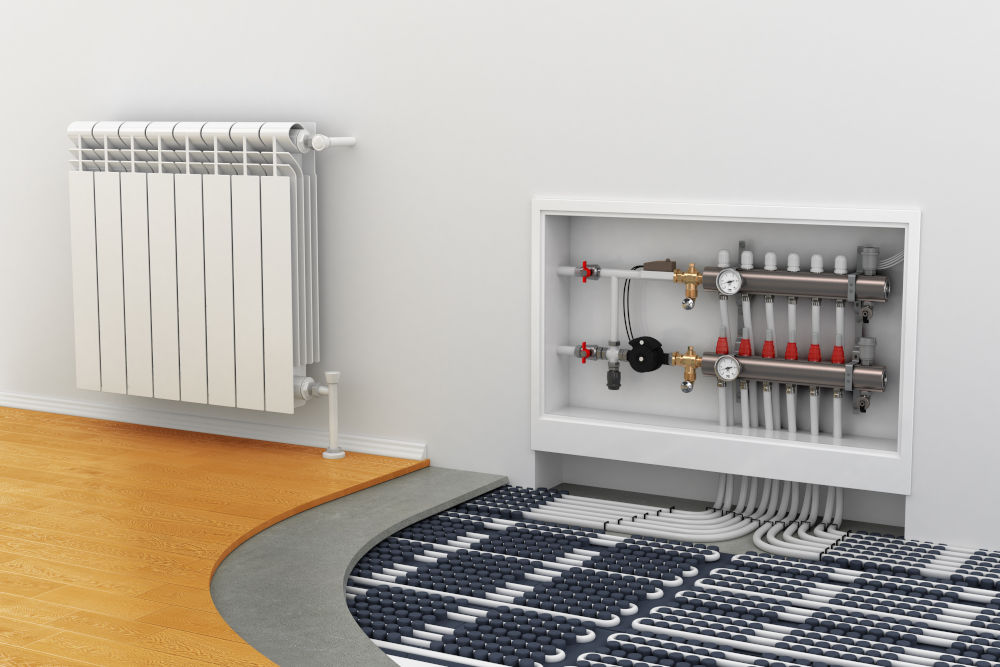
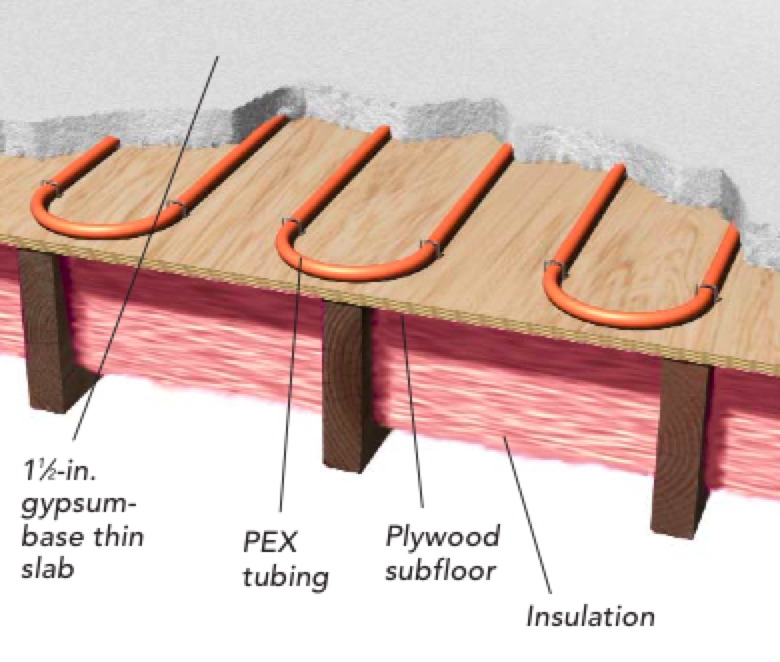
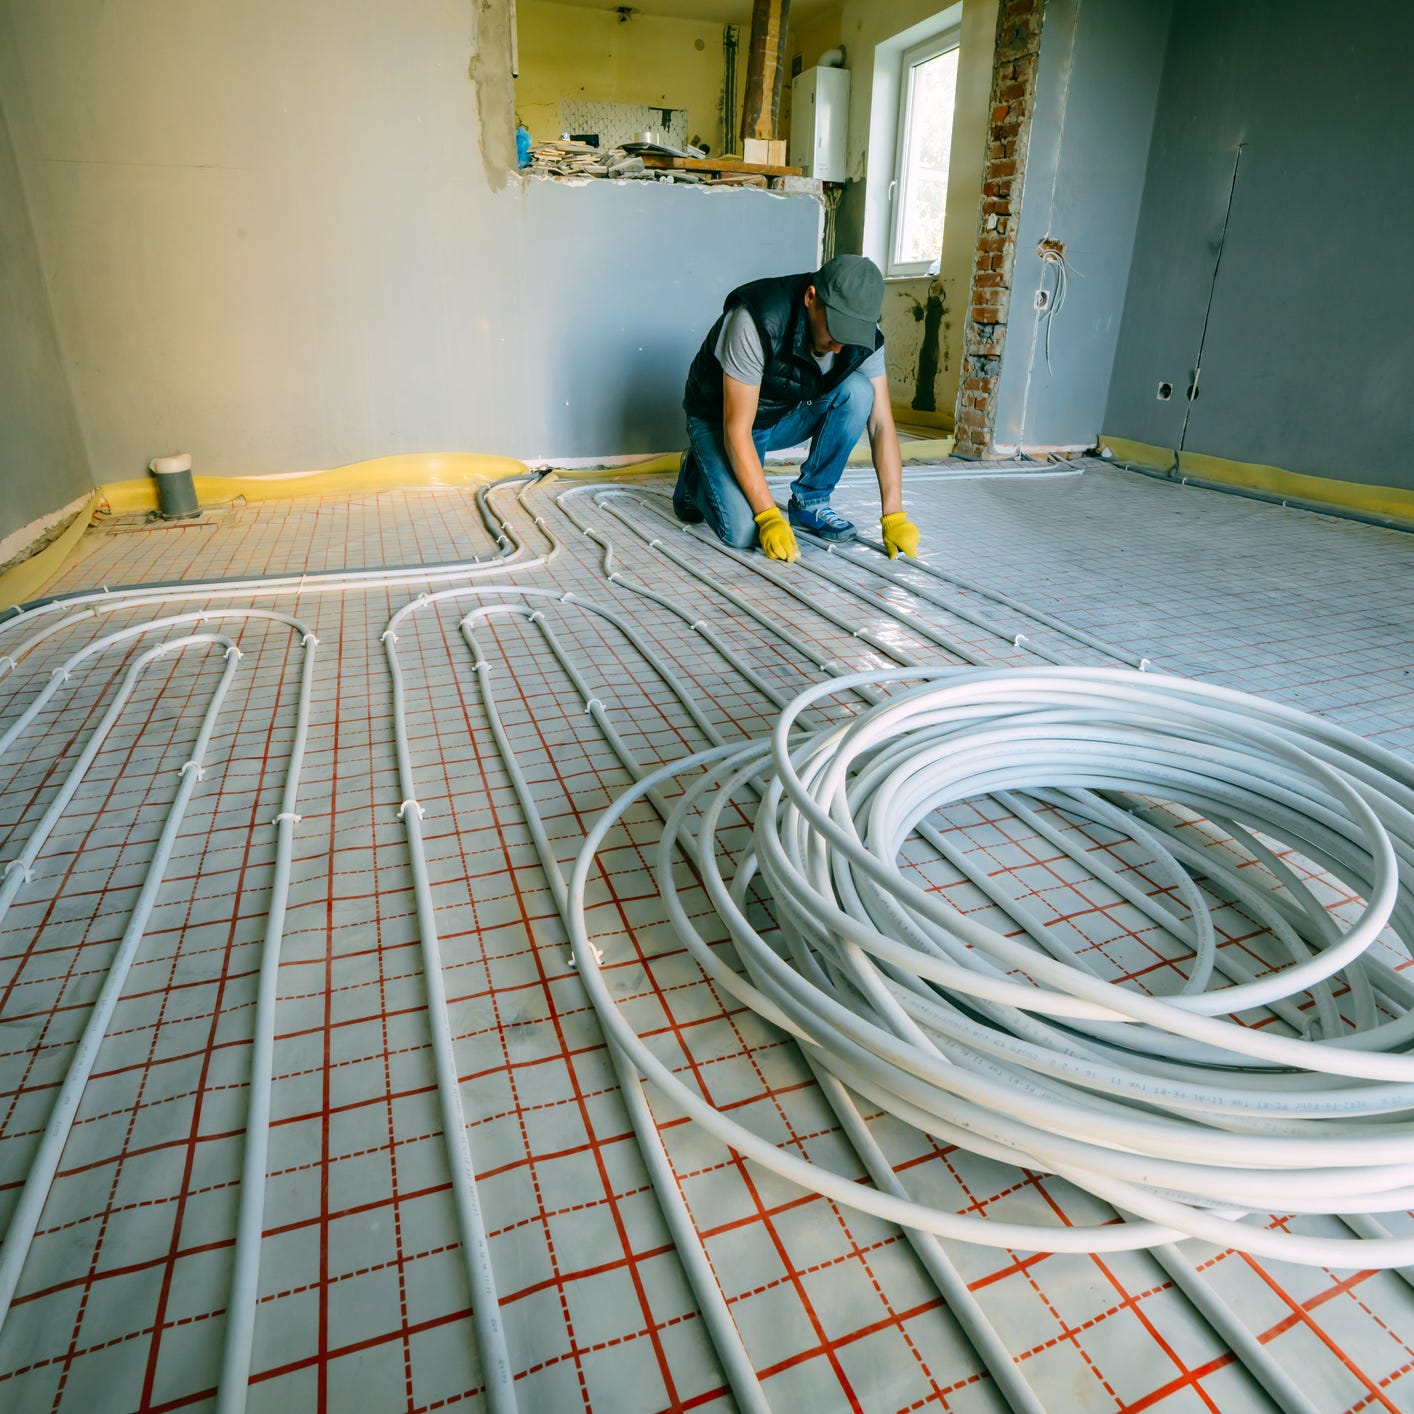
The article distinguishes between two primary types of modern radiant-floor heating systems: hydronic and electric. Hydronic systems involve a boiler circulating hot water through tubes beneath the floor, while electric systems utilize a series of wires connected to an electrical circuit. Both types are controlled by a wall-mounted thermostat. The author focuses on the installation of an electric radiant-heat mat in a bathroom, emphasizing that this is the quickest, easiest, most affordable, and most DIY-friendly option.
The installation process begins with subfloor preparation, which involves disconnecting and removing the toilet, prying off baseboard moldings, and removing old flooring to expose the plywood subfloor. Any water damage found in the subfloor must be repaired by cutting out the damaged section and replacing it with new plywood. Following this, cement backerboard is installed over the subfloor to provide a stable base for tiling. This involves mixing latex-modified thin-set mortar, spreading it with a notched trowel, laying the backerboard into the wet mortar, tapping it down, and securing it with screws, leaving a 1/8-inch gap between sheets. Seams are then covered with adhesive-backed mesh tape and a thin layer of mortar, which is allowed to cure overnight.
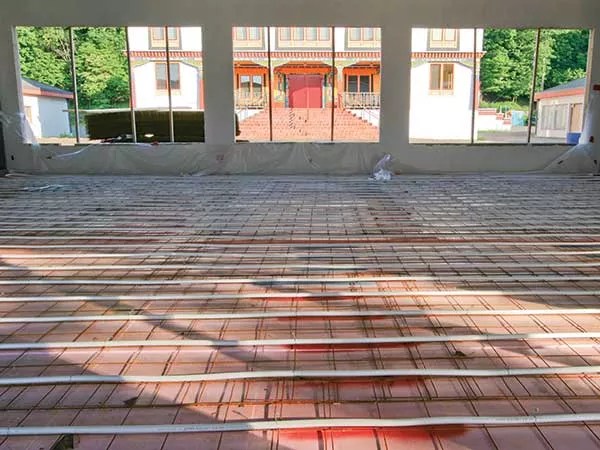
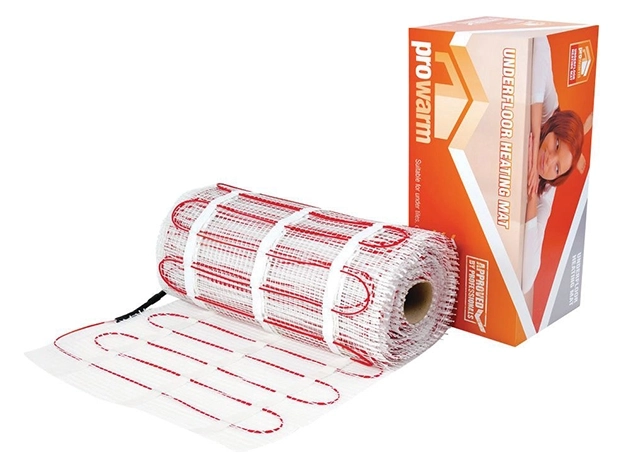
The core of the installation involves laying the radiant-heat mat. While typically mats are laid in mortar and immediately tiled over, the author suggests an additional step for improved performance: setting the mat in mortar, allowing it to cure overnight, and then pouring self-leveling underlayment over it. This extra cement layer ensures a perfectly smooth, level surface for tiling and enhances thermal mass for better heat radiation. The mat is laid in sections of thin-set mortar, ensuring electrical cables are not crushed. A rubber grout float is used to press the mat and remove air bubbles and wrinkles. A metal floor-sensing probe is pulled through a slit in the mat and pressed into the mortar, away from electrical cables, to ensure accurate temperature readings for the thermostat. After the mortar and underlayment cure, a licensed electrician is called to connect the heat mat to a dedicated electrical circuit and install the thermostat, typically 60 inches above the floor. Once the electrician confirms proper operation, the tiling process can begin, leading to a cozier home environment.
#RadiantFloorHeating #HomeImprovement #DIY #ElectricHeating #HomeRenovation #FloorInstallation #BathroomRemodel #RadiantFloorHeating #HomeImprovement #DIY #ElectricHeating #HomeRenovation #FloorInstallation #BathroomRemodel
共0条评论
 暂无评论
暂无评论你可能还喜欢

Why electric underfloor heating is gaining popularity in high-end interiors in 2025

The Best Electric Wall Heaters for Added Warmth


How to make a conservatory warmer - ways to heat and insulate for all-year round use
How to Live With Radiant-Floor Heat

Here's Why You're Going to Want an Electric Fireplace This Winter

Turn Your Home Into a Cozy Winter Retreat With Our Favorite Electric Fireplaces

Are Heated Floors Worth It? 2 Real Estate Pros Weigh In

How to keep your house warm in winter — 29 budget-friendly and easy ways to stay cosy
Electric Central Heating
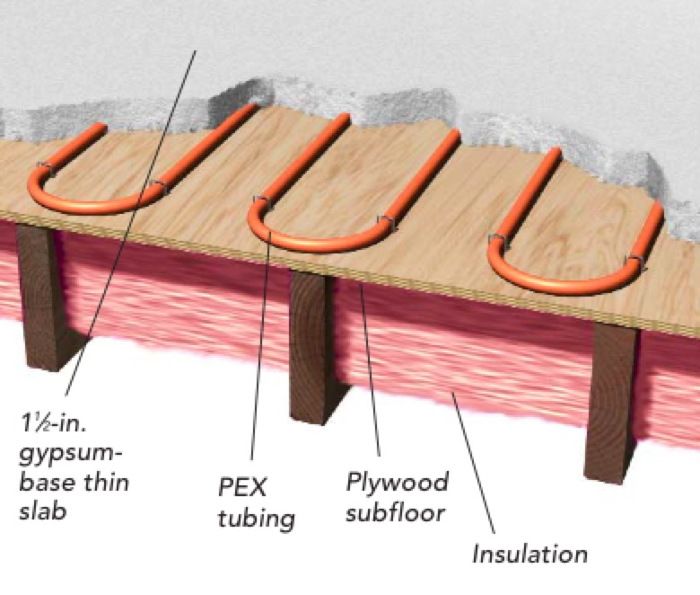
Is Radiant Floor Heating the Best Way To Warm A Well-Insulated House?

Radiant heat can be used indoors or outside

How to warm up your first floor – 7 expert tricks to hold heat downstairs for a cozy winter

Underfloor Heating

17 Tips and Hacks to Help Keep Your House Warm This Winter


The must-have items to get you through winter
Take the Chill Off with an Electric Fireplace
Radiant Heating
3 reasons I regret not putting underfloor heating in my home office – it’s definitely moving up my priority list
You can't buy big hugs, but the Dreams Fleece Heated Throw is just as good


What’s radiant floor heating? How to heat your home from your feet up