1/27
How to build a floating bathroom vanity
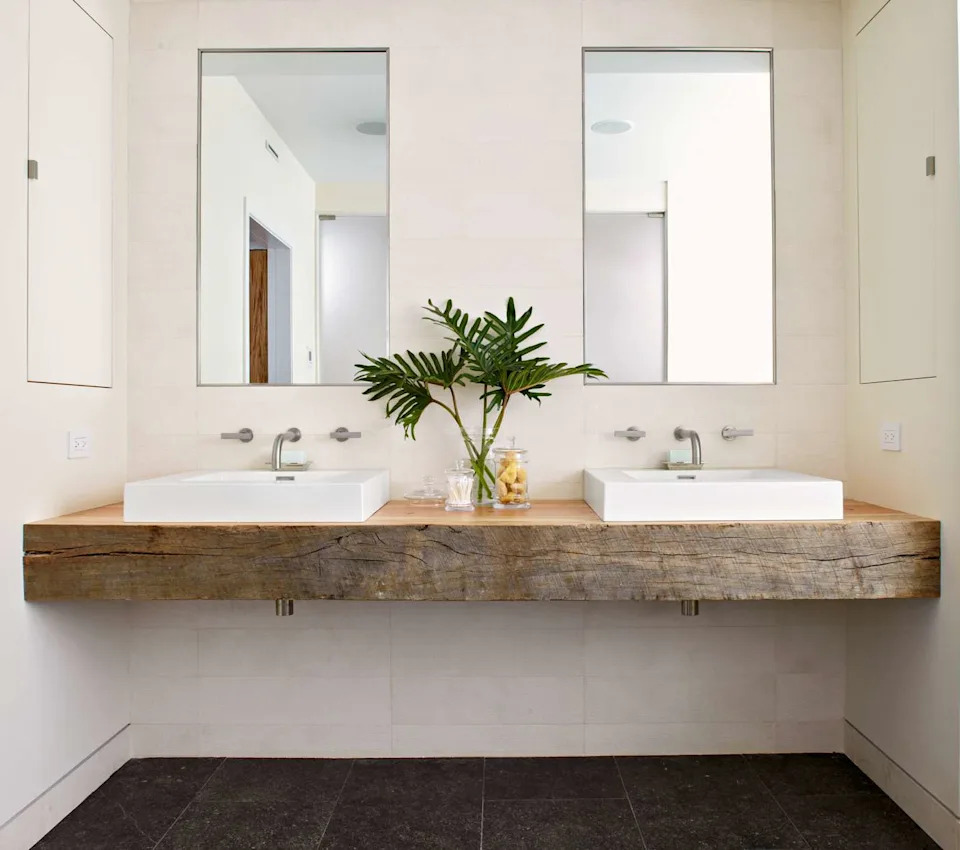
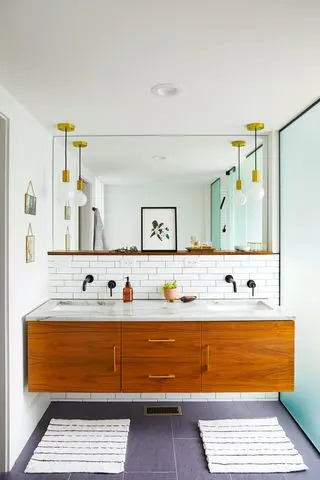
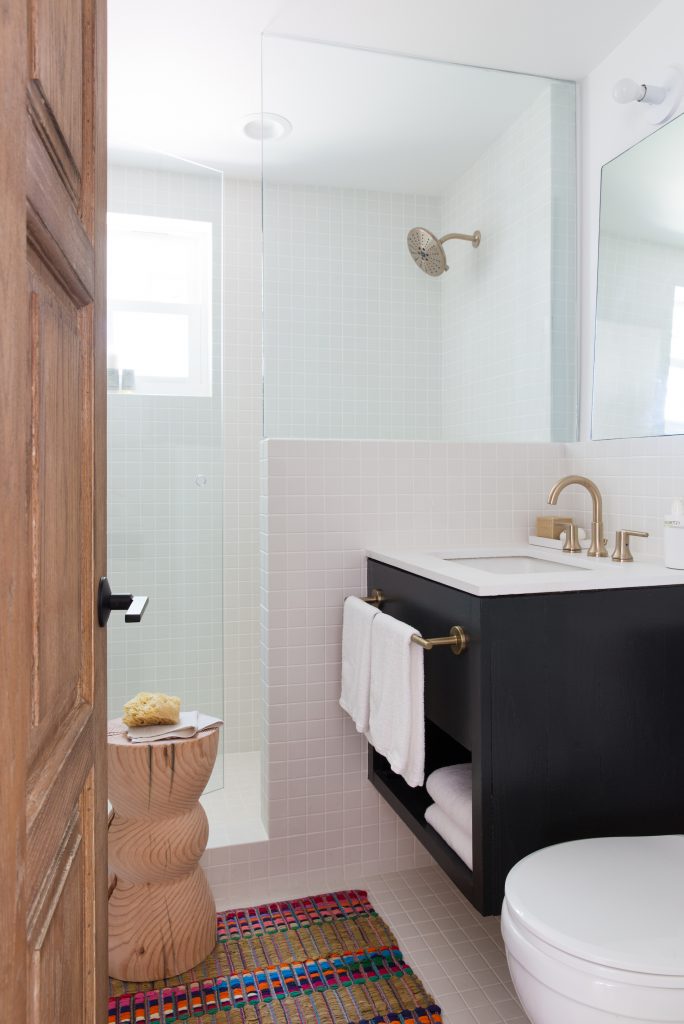
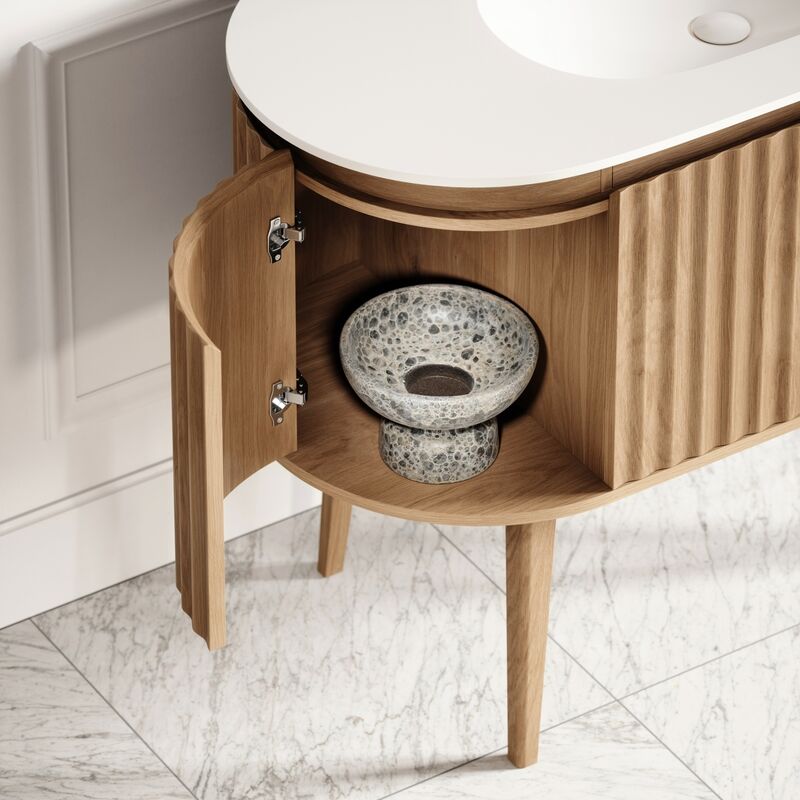
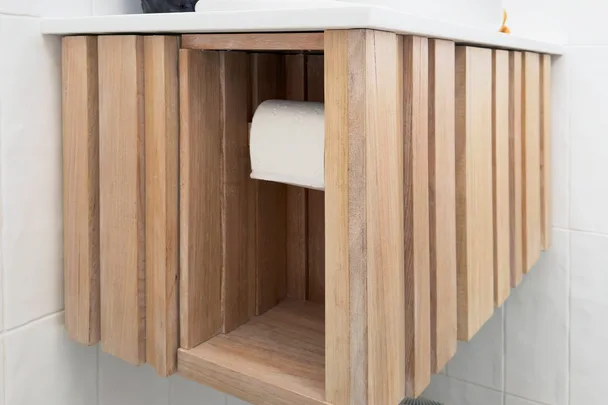
Building a custom floating bathroom vanity offers significant cost savings and allows for precise customization to fit any bathroom space, providing both aesthetic appeal and practical functionality, including a hidden toilet roll holder. This DIY project utilizes off-the-shelf form plywood for the carcass, requiring only one sheet, and is elevated by the use of Tasmanian cladding, which contributes to a high-end look.
To construct the vanity, several materials are needed, including a 2400 x 1200mm x 17mm formply sheet, specific dimensions of Tasmanian oak DAR, various screws, an oil-based stain blocker, an oil-based matt clear varnish, exterior PVA glue, a Forstner hinge mounting kit, full overlay hinges, inlay hinges, and push catches. Essential tools for the project include a tape measure, pencil, combination square, tracking saw or circular saw with a fine-tooth blade and guide, wide masking tape, 120-grit and 40-grit sandpaper, an electric sander, a drill, a mitre saw, a 2mm drill bit, a centre nail punch, a stubby screwdriver, disposable gloves, a paintbrush, and lint-free cloths.
The process begins with preparing the formply sheet by cutting a 3-5mm strip along its edges to ensure a clean finish. The components are then measured, marked, and labeled according to a carcass cutting plan, followed by precise cutting with a tracking saw. Subsequent steps involve preparing the components for drilling by marking specific lines and applying masking tape for scuff sanding. External faces of certain components are scuff sanded with 40-grit sandpaper to create a bonding surface for the cladding.
Pilot holes are pre-drilled using a countersink drill bit, guided by the marked lines on the components. The carcass assembly proceeds by applying exterior PVA glue to edges and securing panels with screws. This sequential process involves attaching the base panel to the back panel, followed by the large divider, small divider, front panel, and right side panel. The top panel is then attached to complete the main structure of the carcass.
After assembling the carcass, hinge holes are created on the door panels using a Forstner template and drill bit. Hinges are then attached to the doors, with overlay hinges used for the right and side doors and inlay hinges for the left door. The hinge brackets are mounted to the carcass by marking and pre-drilling screw holes. Once all doors are hung, they are adjusted for proper alignment. Push catches are installed on the underside of the top panel, with magnets applied to the doors to secure them when closed.
Tasmanian oak lengths are cut and sanded, then whitewashed with stain blocker to achieve a desired finish, covering both the oak cladding pieces and the raw timber edges of the doors and carcass. The oak cladding strips are then sorted and applied to the doors and panels, following specific assembly diagrams. Glue is liberally applied to the back of each cladding piece to secure it firmly. Cladding is installed in the roll holder alcove, starting with the base and back panel, then the sides. Additional oak pieces are fitted to the alcove fascia to complete the look. The inner corners of specific oak pieces are chamfered with an electric sander to prevent jamming. Finally, a roll holder is positioned in the alcove, and two coats of varnish are applied to all oak cladding and timber edges. The project concludes with cutting a hole for basin plumbing and installing the vanity on the wall, adding a tap, basin, and countertop.
Customization options are available, such as extending the vanity width by increasing the panel width of specific components and adjusting front door measurements. Additional timber can be purchased and prepared for cladding larger areas, and cladding pieces can be trimmed to fit precisely. For a timber interior, marine plywood can be used as an alternative to formply, requiring sanding and sealing with varnish. Precision in pre-drilling is emphasized by marking the screw length on the drill bit.
#DIY #BathroomRenovation #FloatingVanity #HomeImprovement #Woodworking #CustomFurniture #TasmanianOak #StorageSolutions #InteriorDesign #DIY #BathroomRenovation #FloatingVanity #HomeImprovement #Woodworking #CustomFurniture #TasmanianOak #StorageSolutions #InteriorDesign
0 opmerkingen in totaal
 Nog geen opmerkingen
Dit vindt u mogelijk ook leuk
This Once-Popular Bathroom Feature Is Falling Out of Favor (and What’s Replacing It)

Why a Floating Sink Is the On-Trend Upgrade Your Bathroom Needs
Nixing the Medicine Cabinet Streamlined This Tiny Bathroom Remodel
This $240 Floating Vanity Is Our Reno Pick From Wayfair’s Cyber Monday Sale

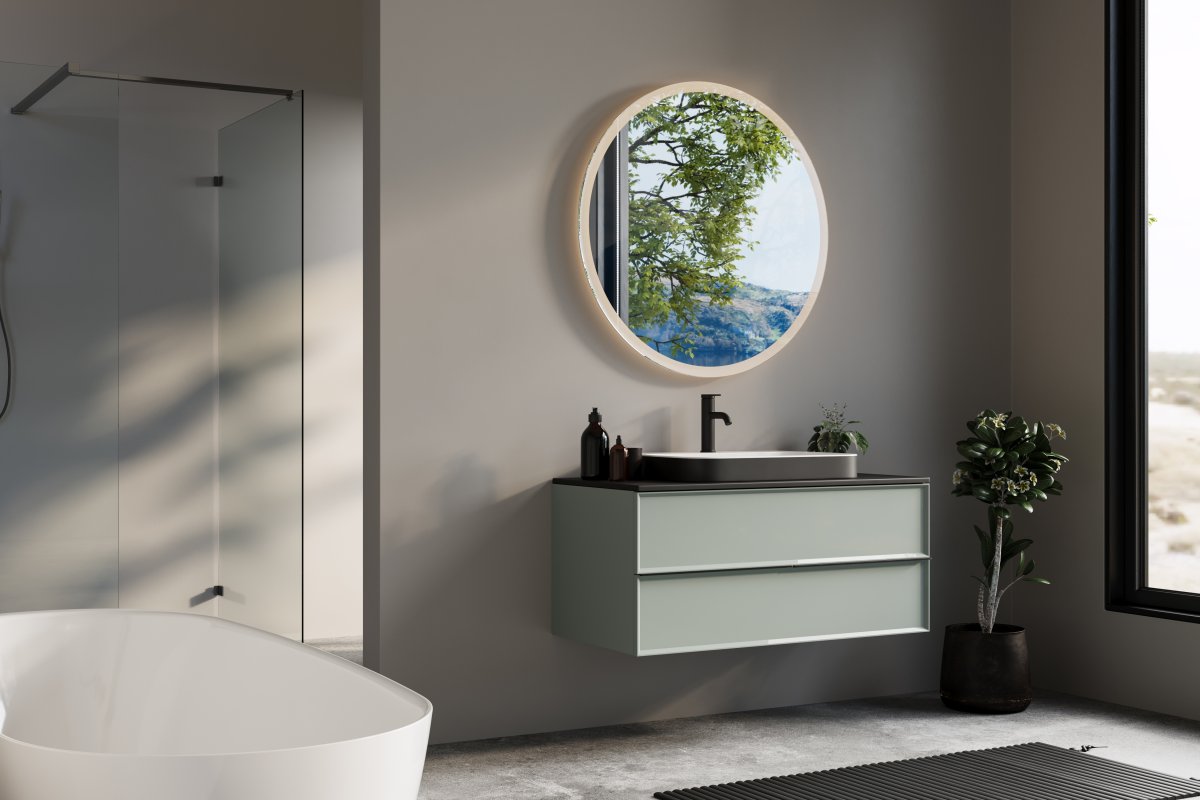
This Once-Popular Bathroom Feature Is Falling Out of Favor (and What’s Replacing It)

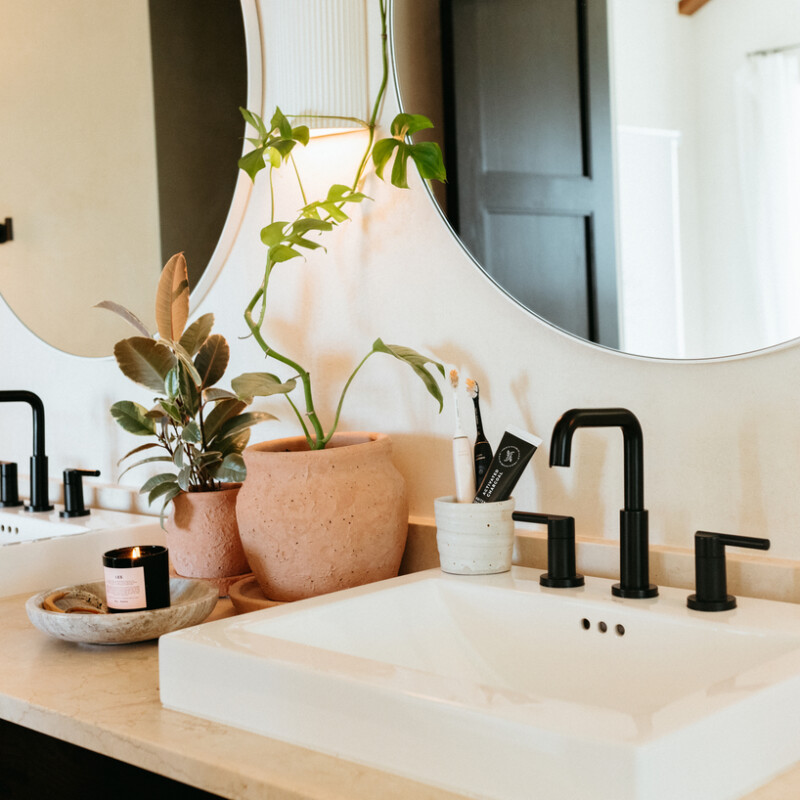
How to Design a Beautiful (and Organized!) Bathroom Vanity

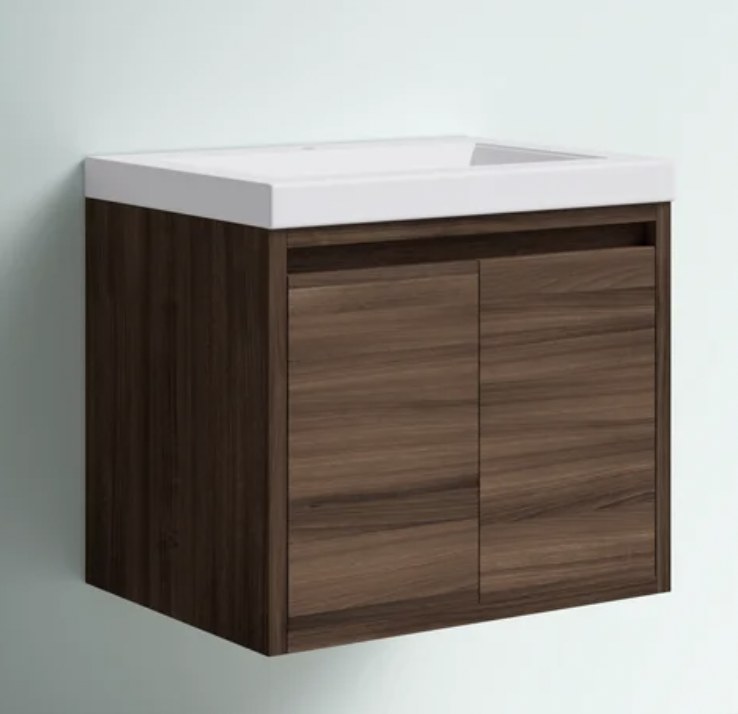
This $240 Floating Vanity Is Our Reno Pick From Wayfair’s Cyber Monday Sale

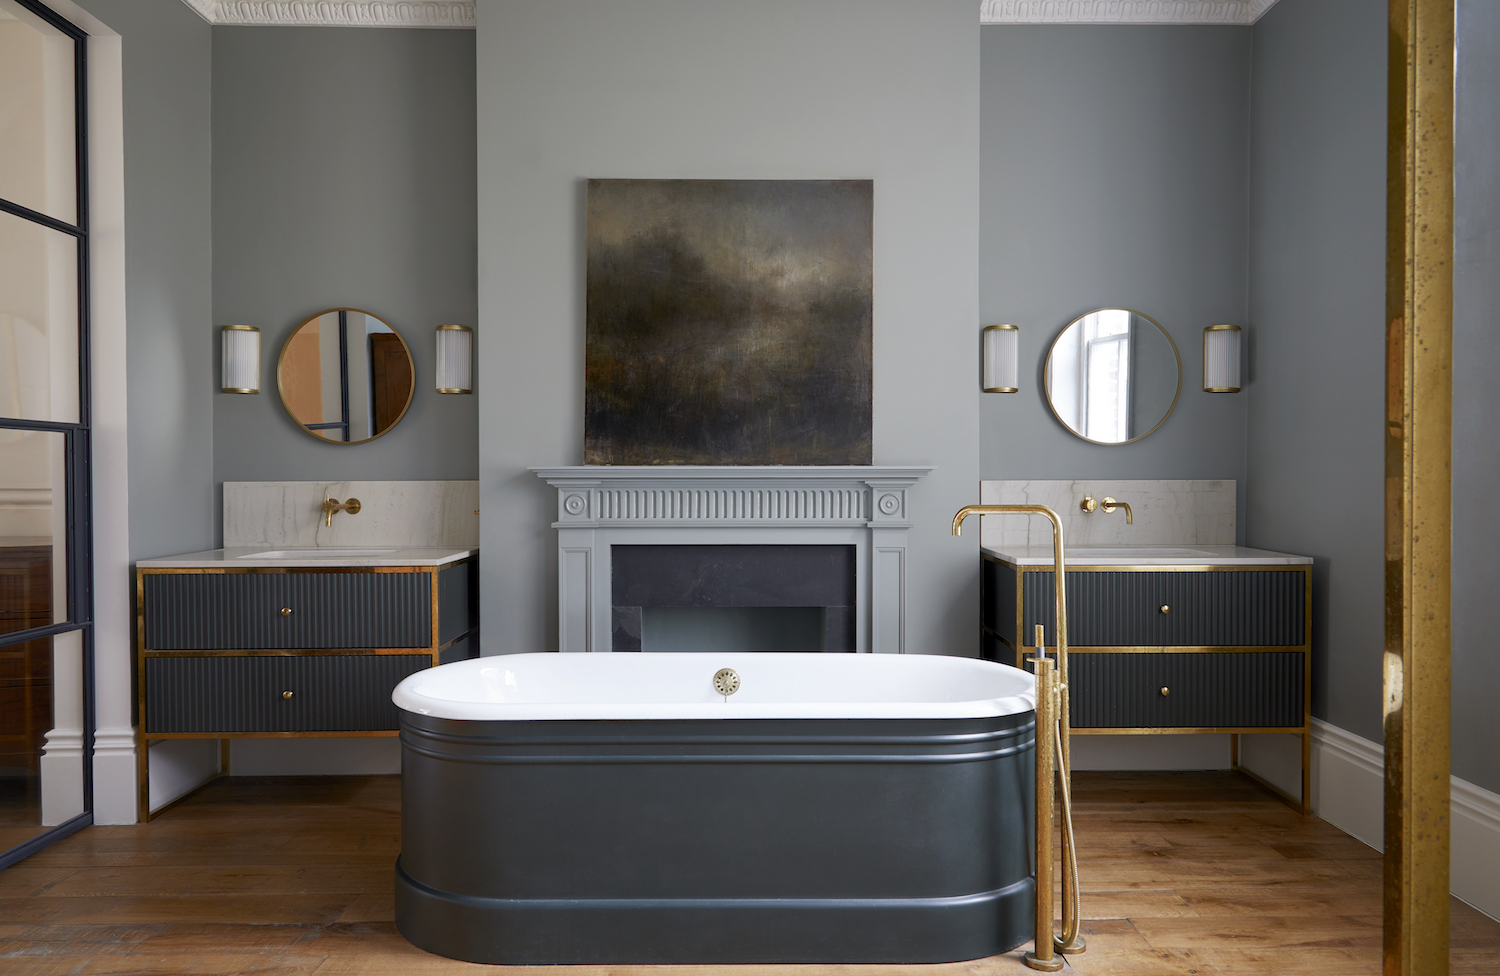
Bathroom vanity ideas - experts explain how to use the most stylish materials and smartest designs

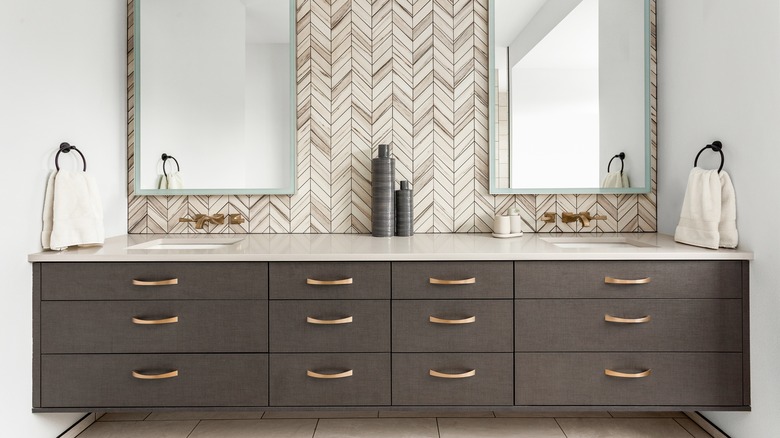
The 15 Best Bathroom Vanities You Can Install In 2022
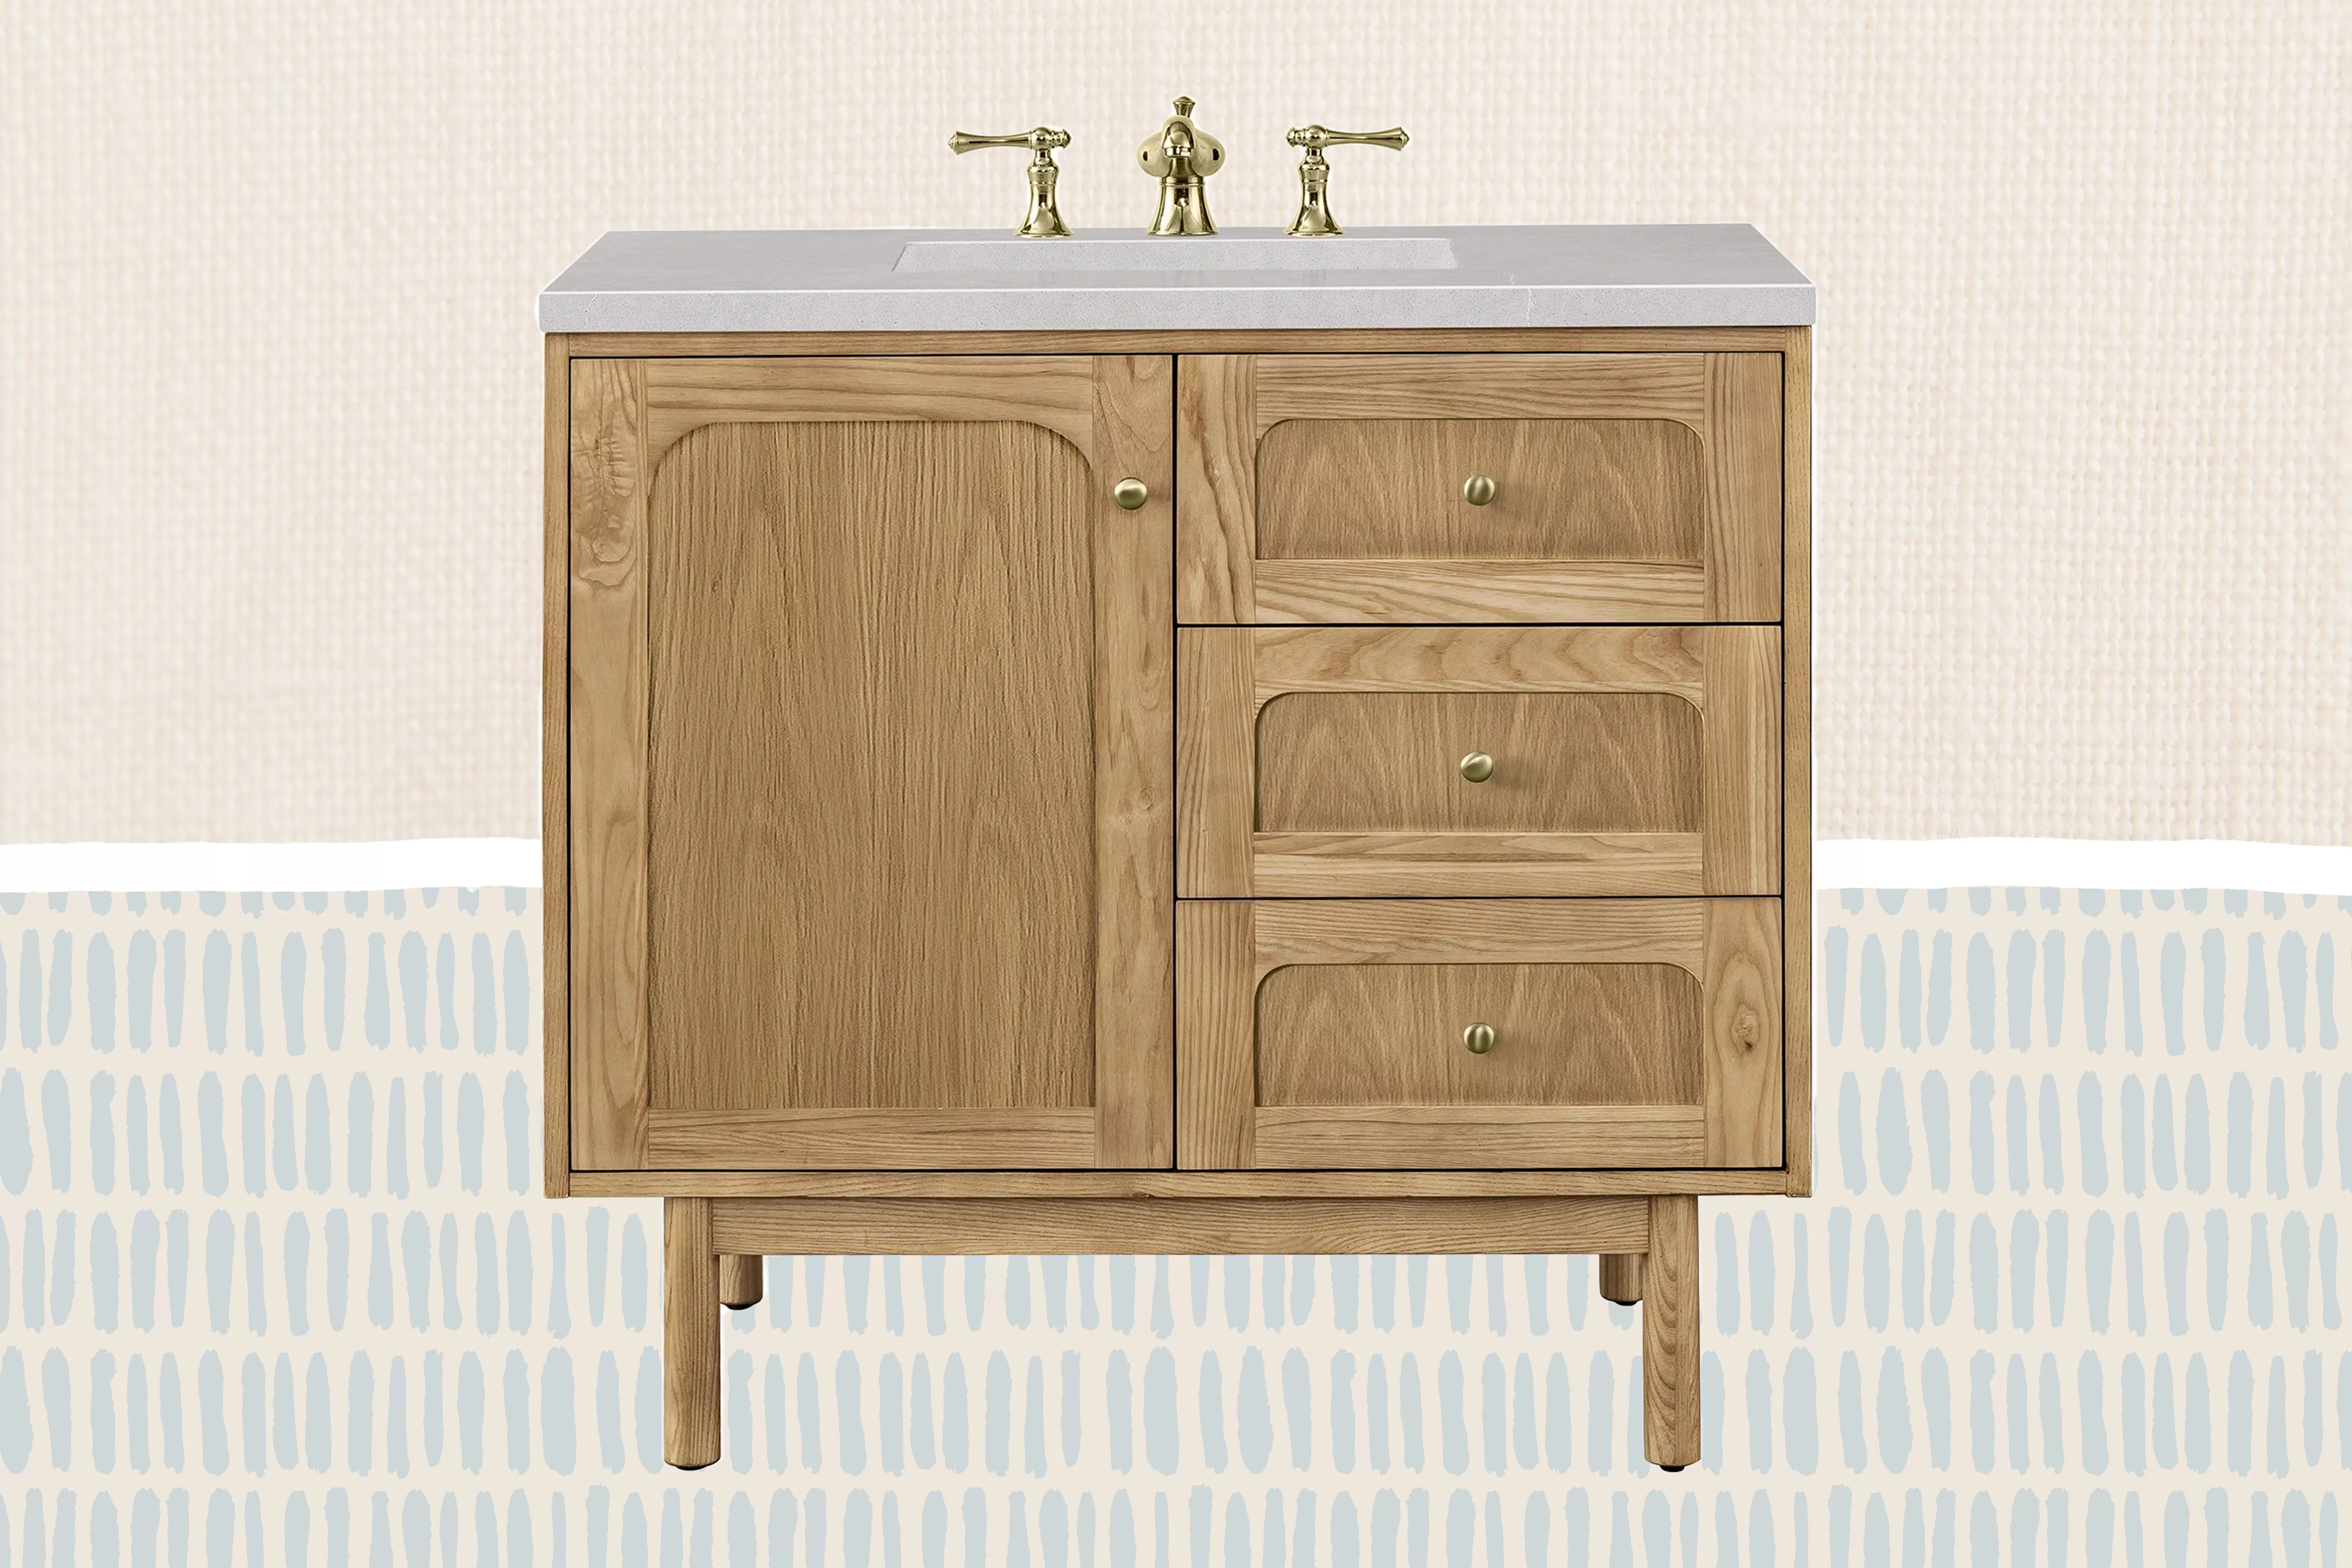
The 7 Best Bathroom Vanities of 2026 for Style and Storage

Combined Vanity Units
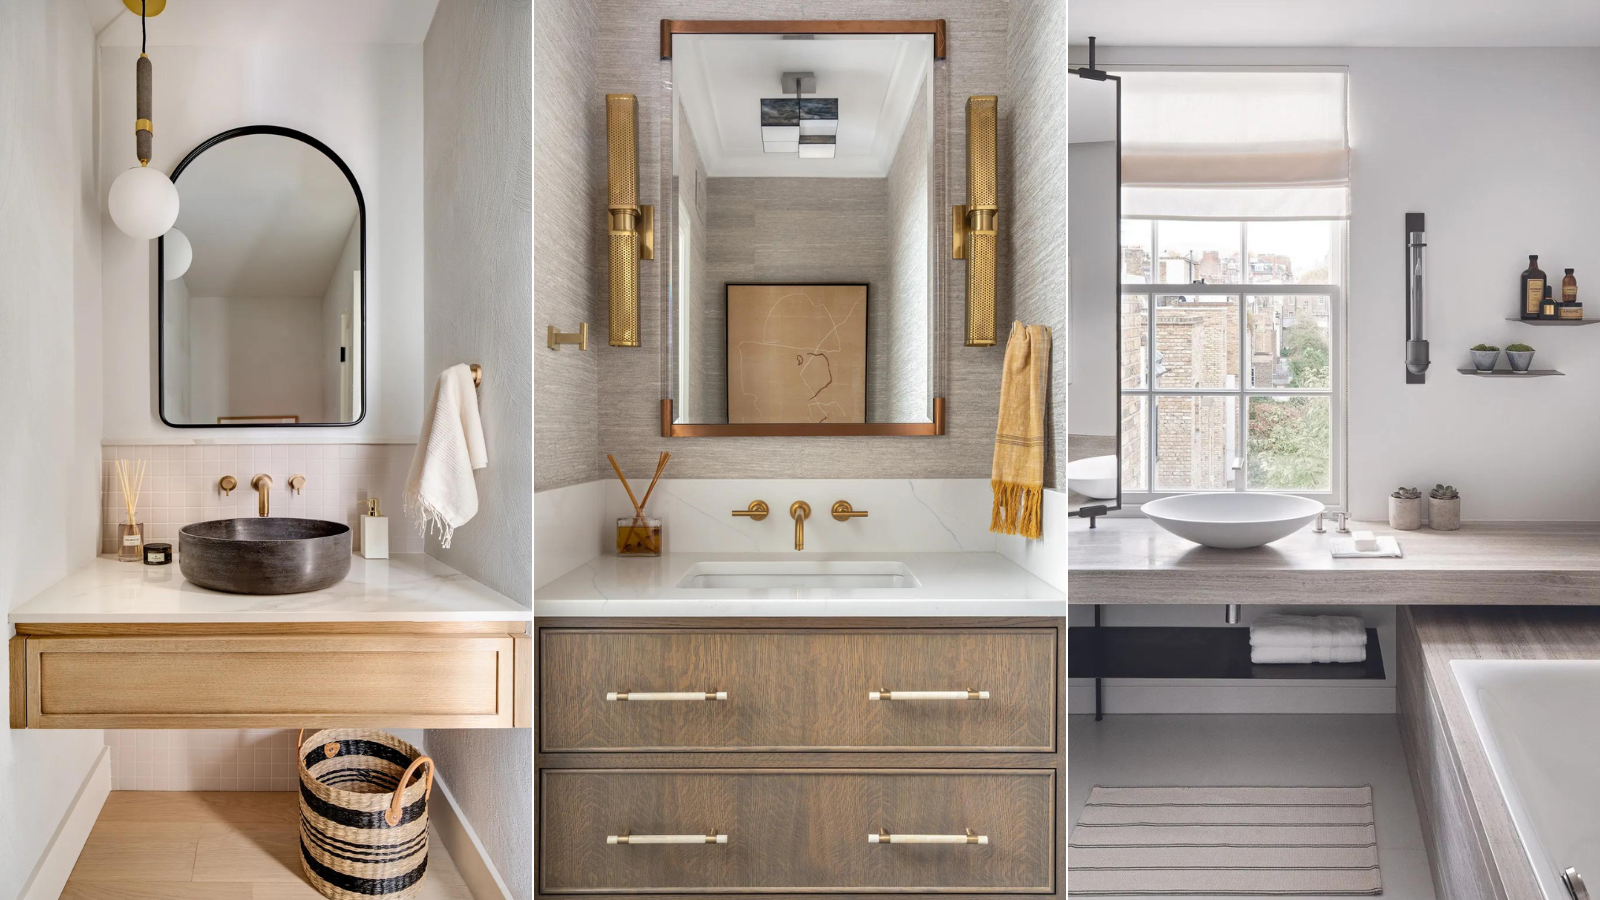
How high should a bathroom vanity be? Designers share the 'Goldilocks' measurement
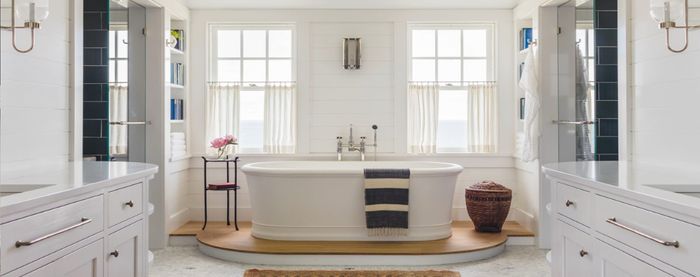
Build a Floating Vanity: Introduction

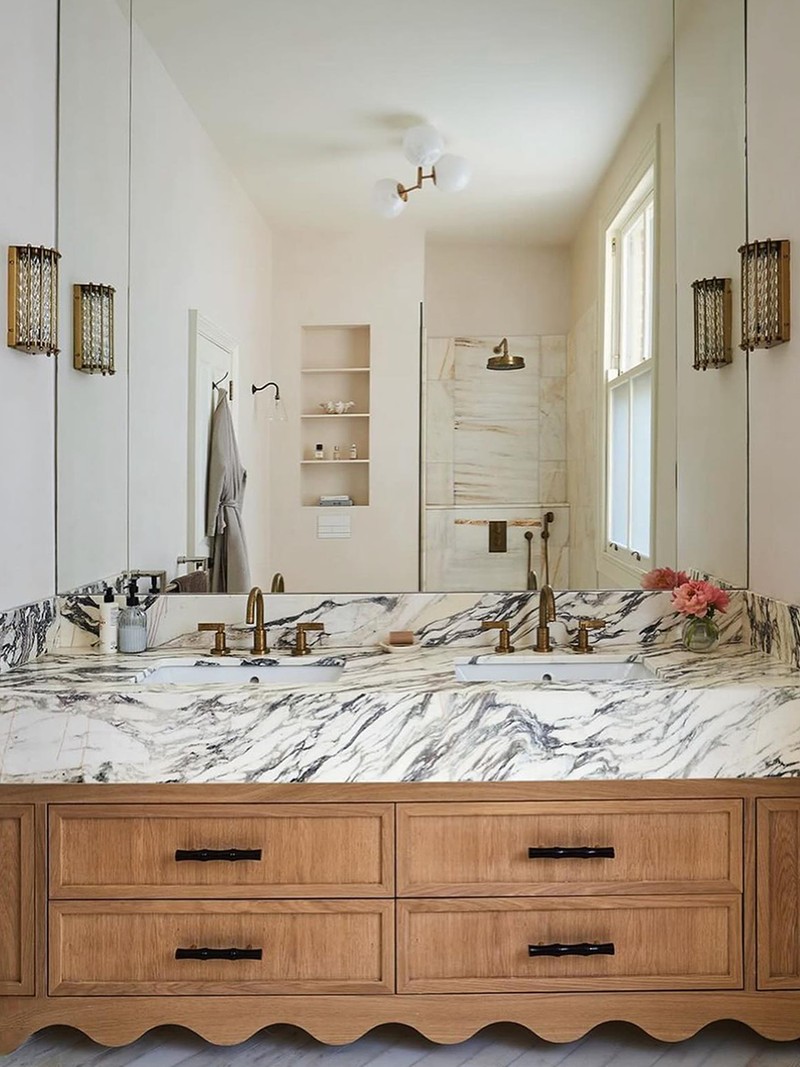
24 Stylish Bathroom Vanity Units

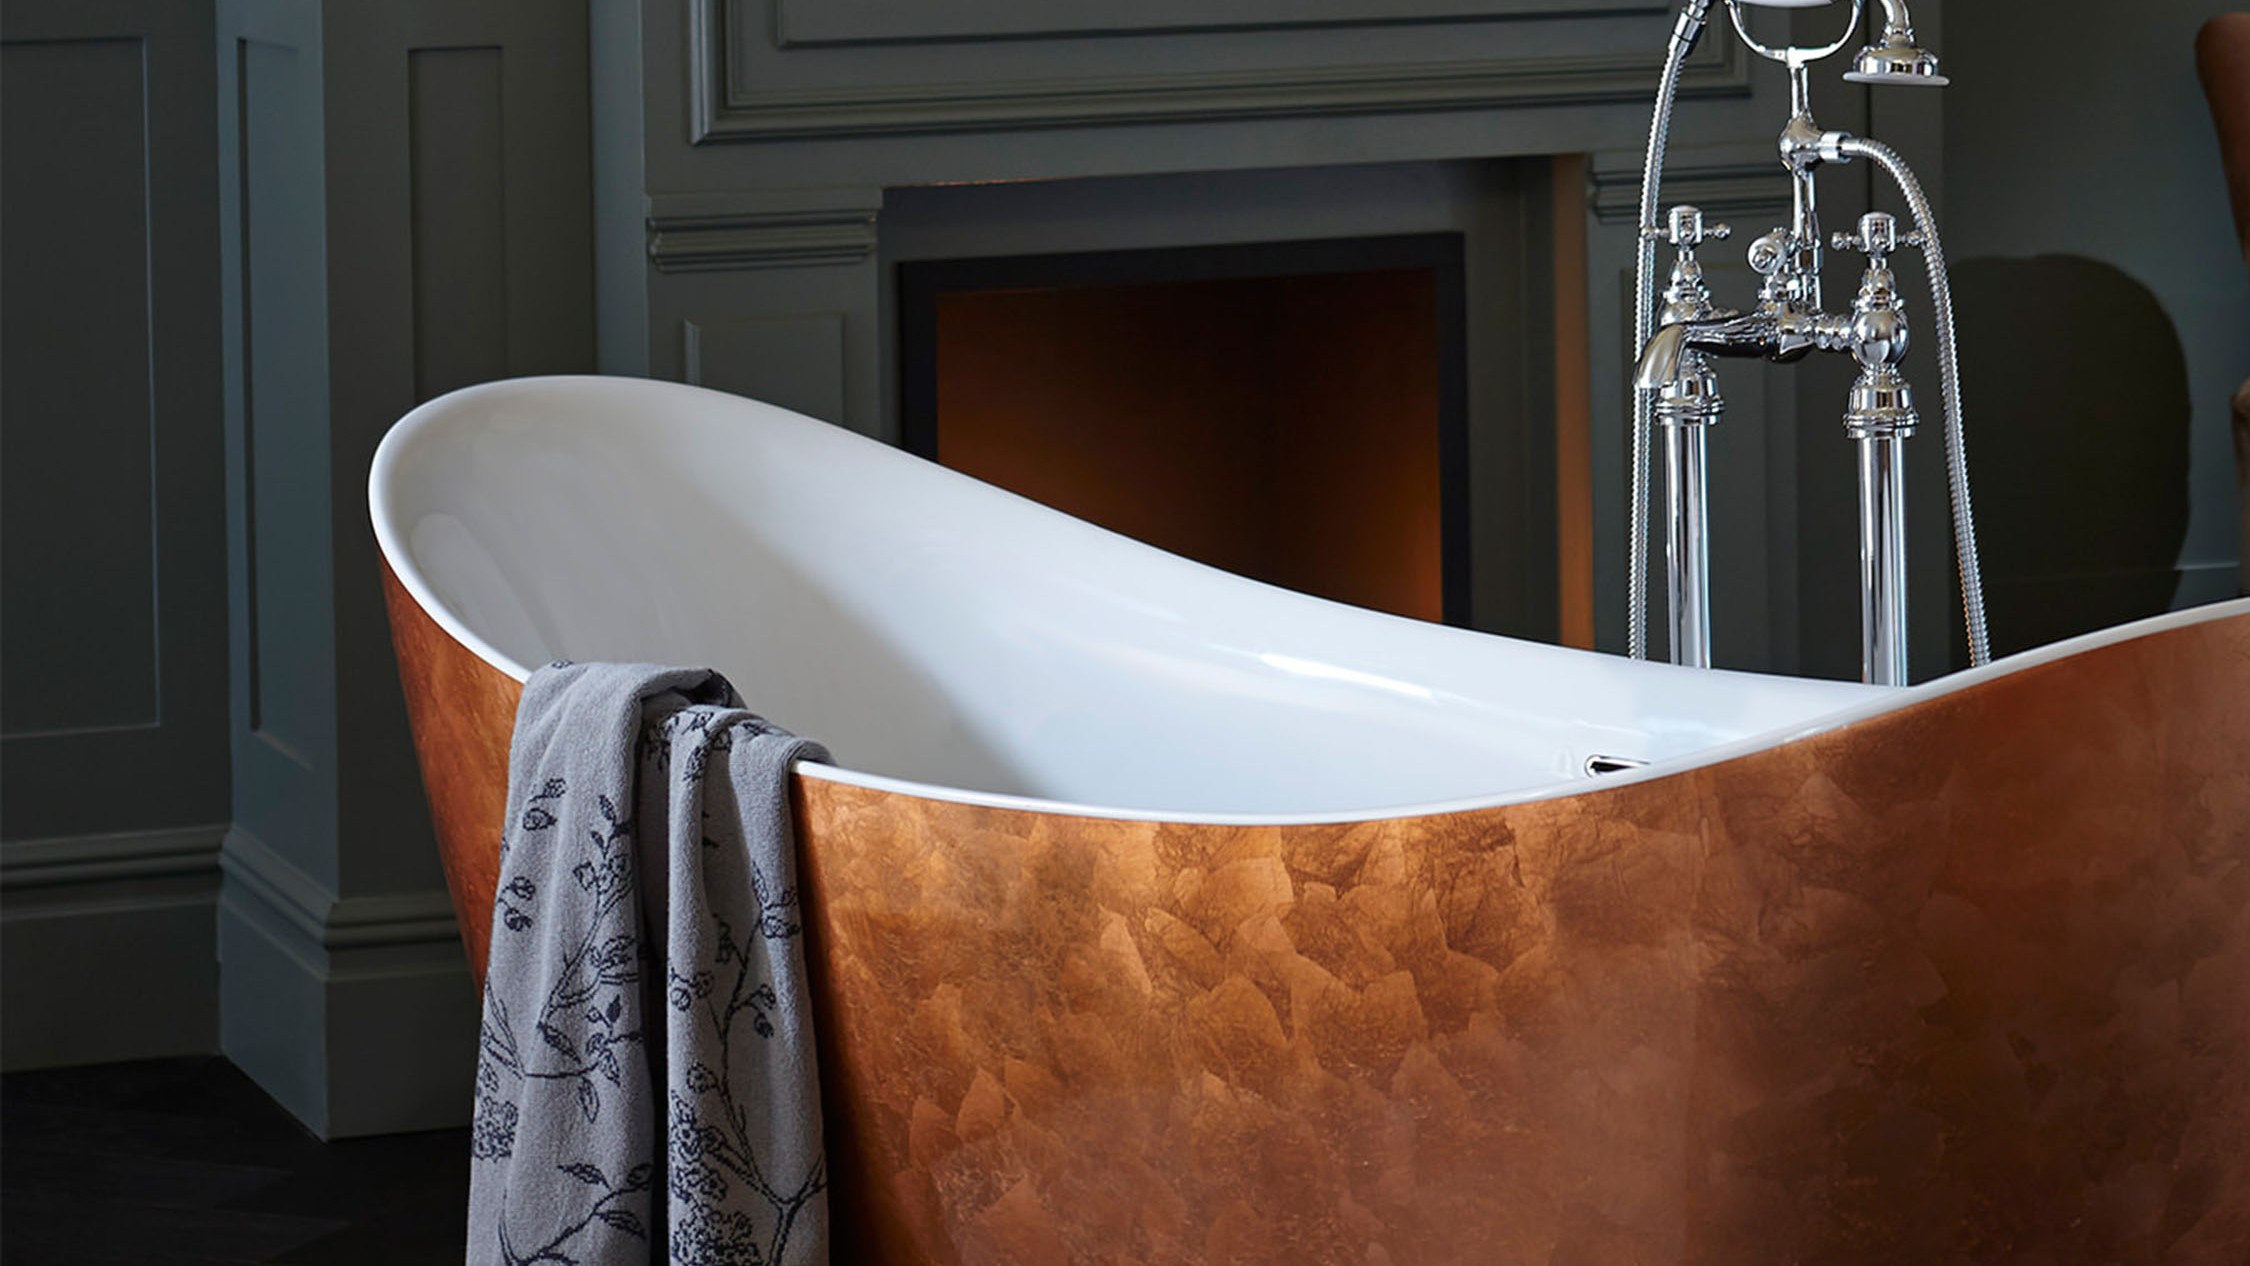
Too shallow to take the plunge? Five freestanding baths to freshen up your bathroom

Vanity Units

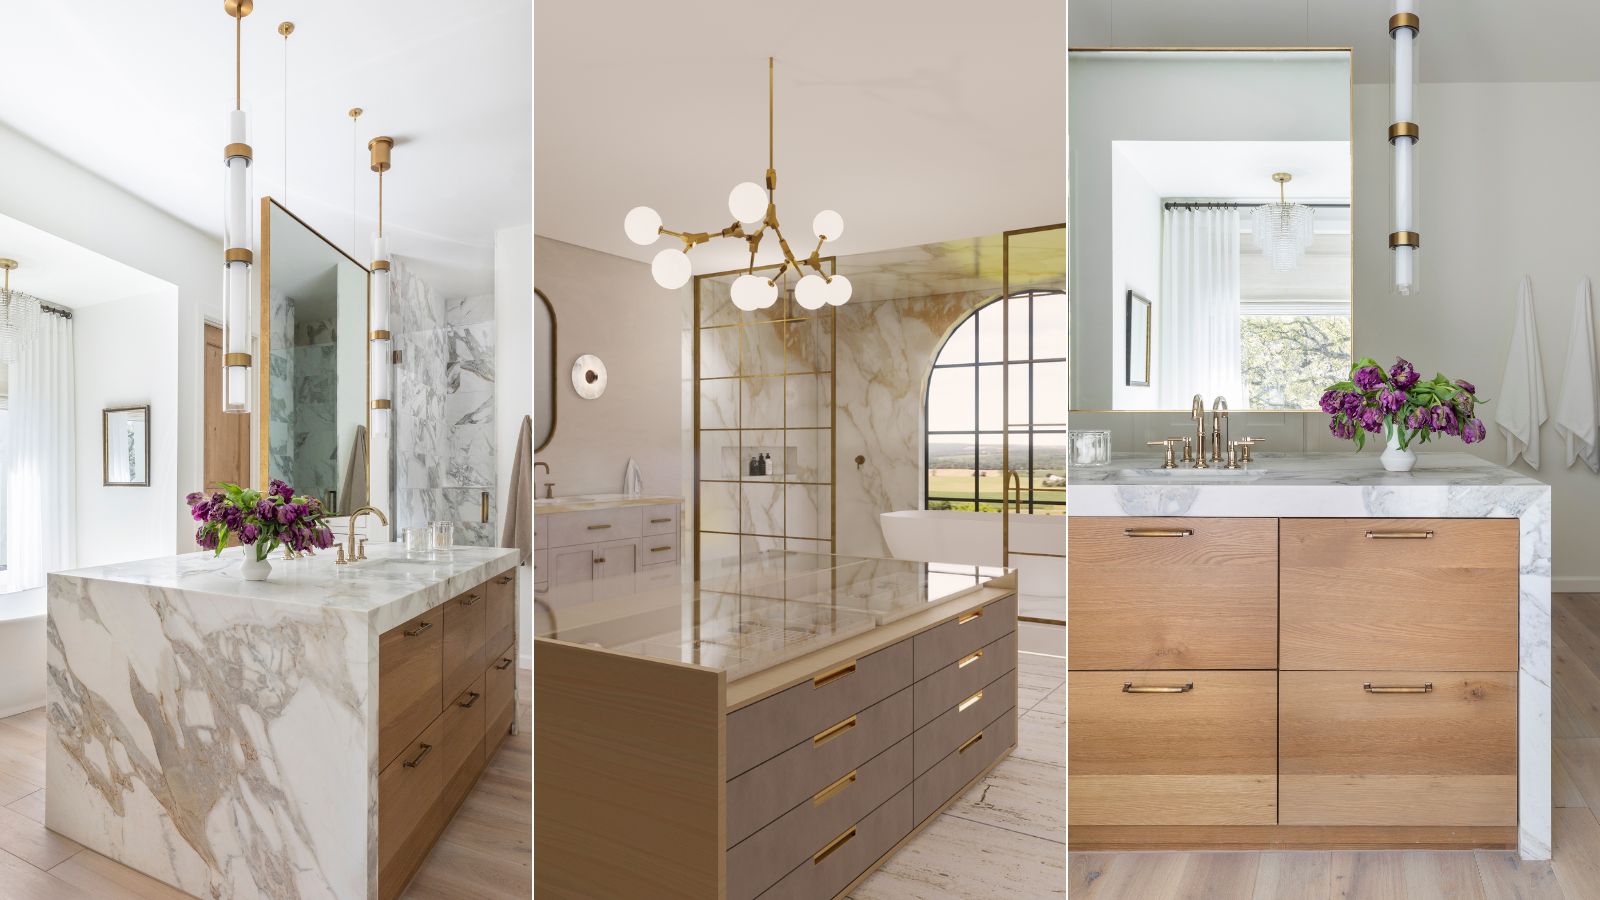
Bathroom islands are the luxurious feature you didn't know you needed – here's how designers nail the trend
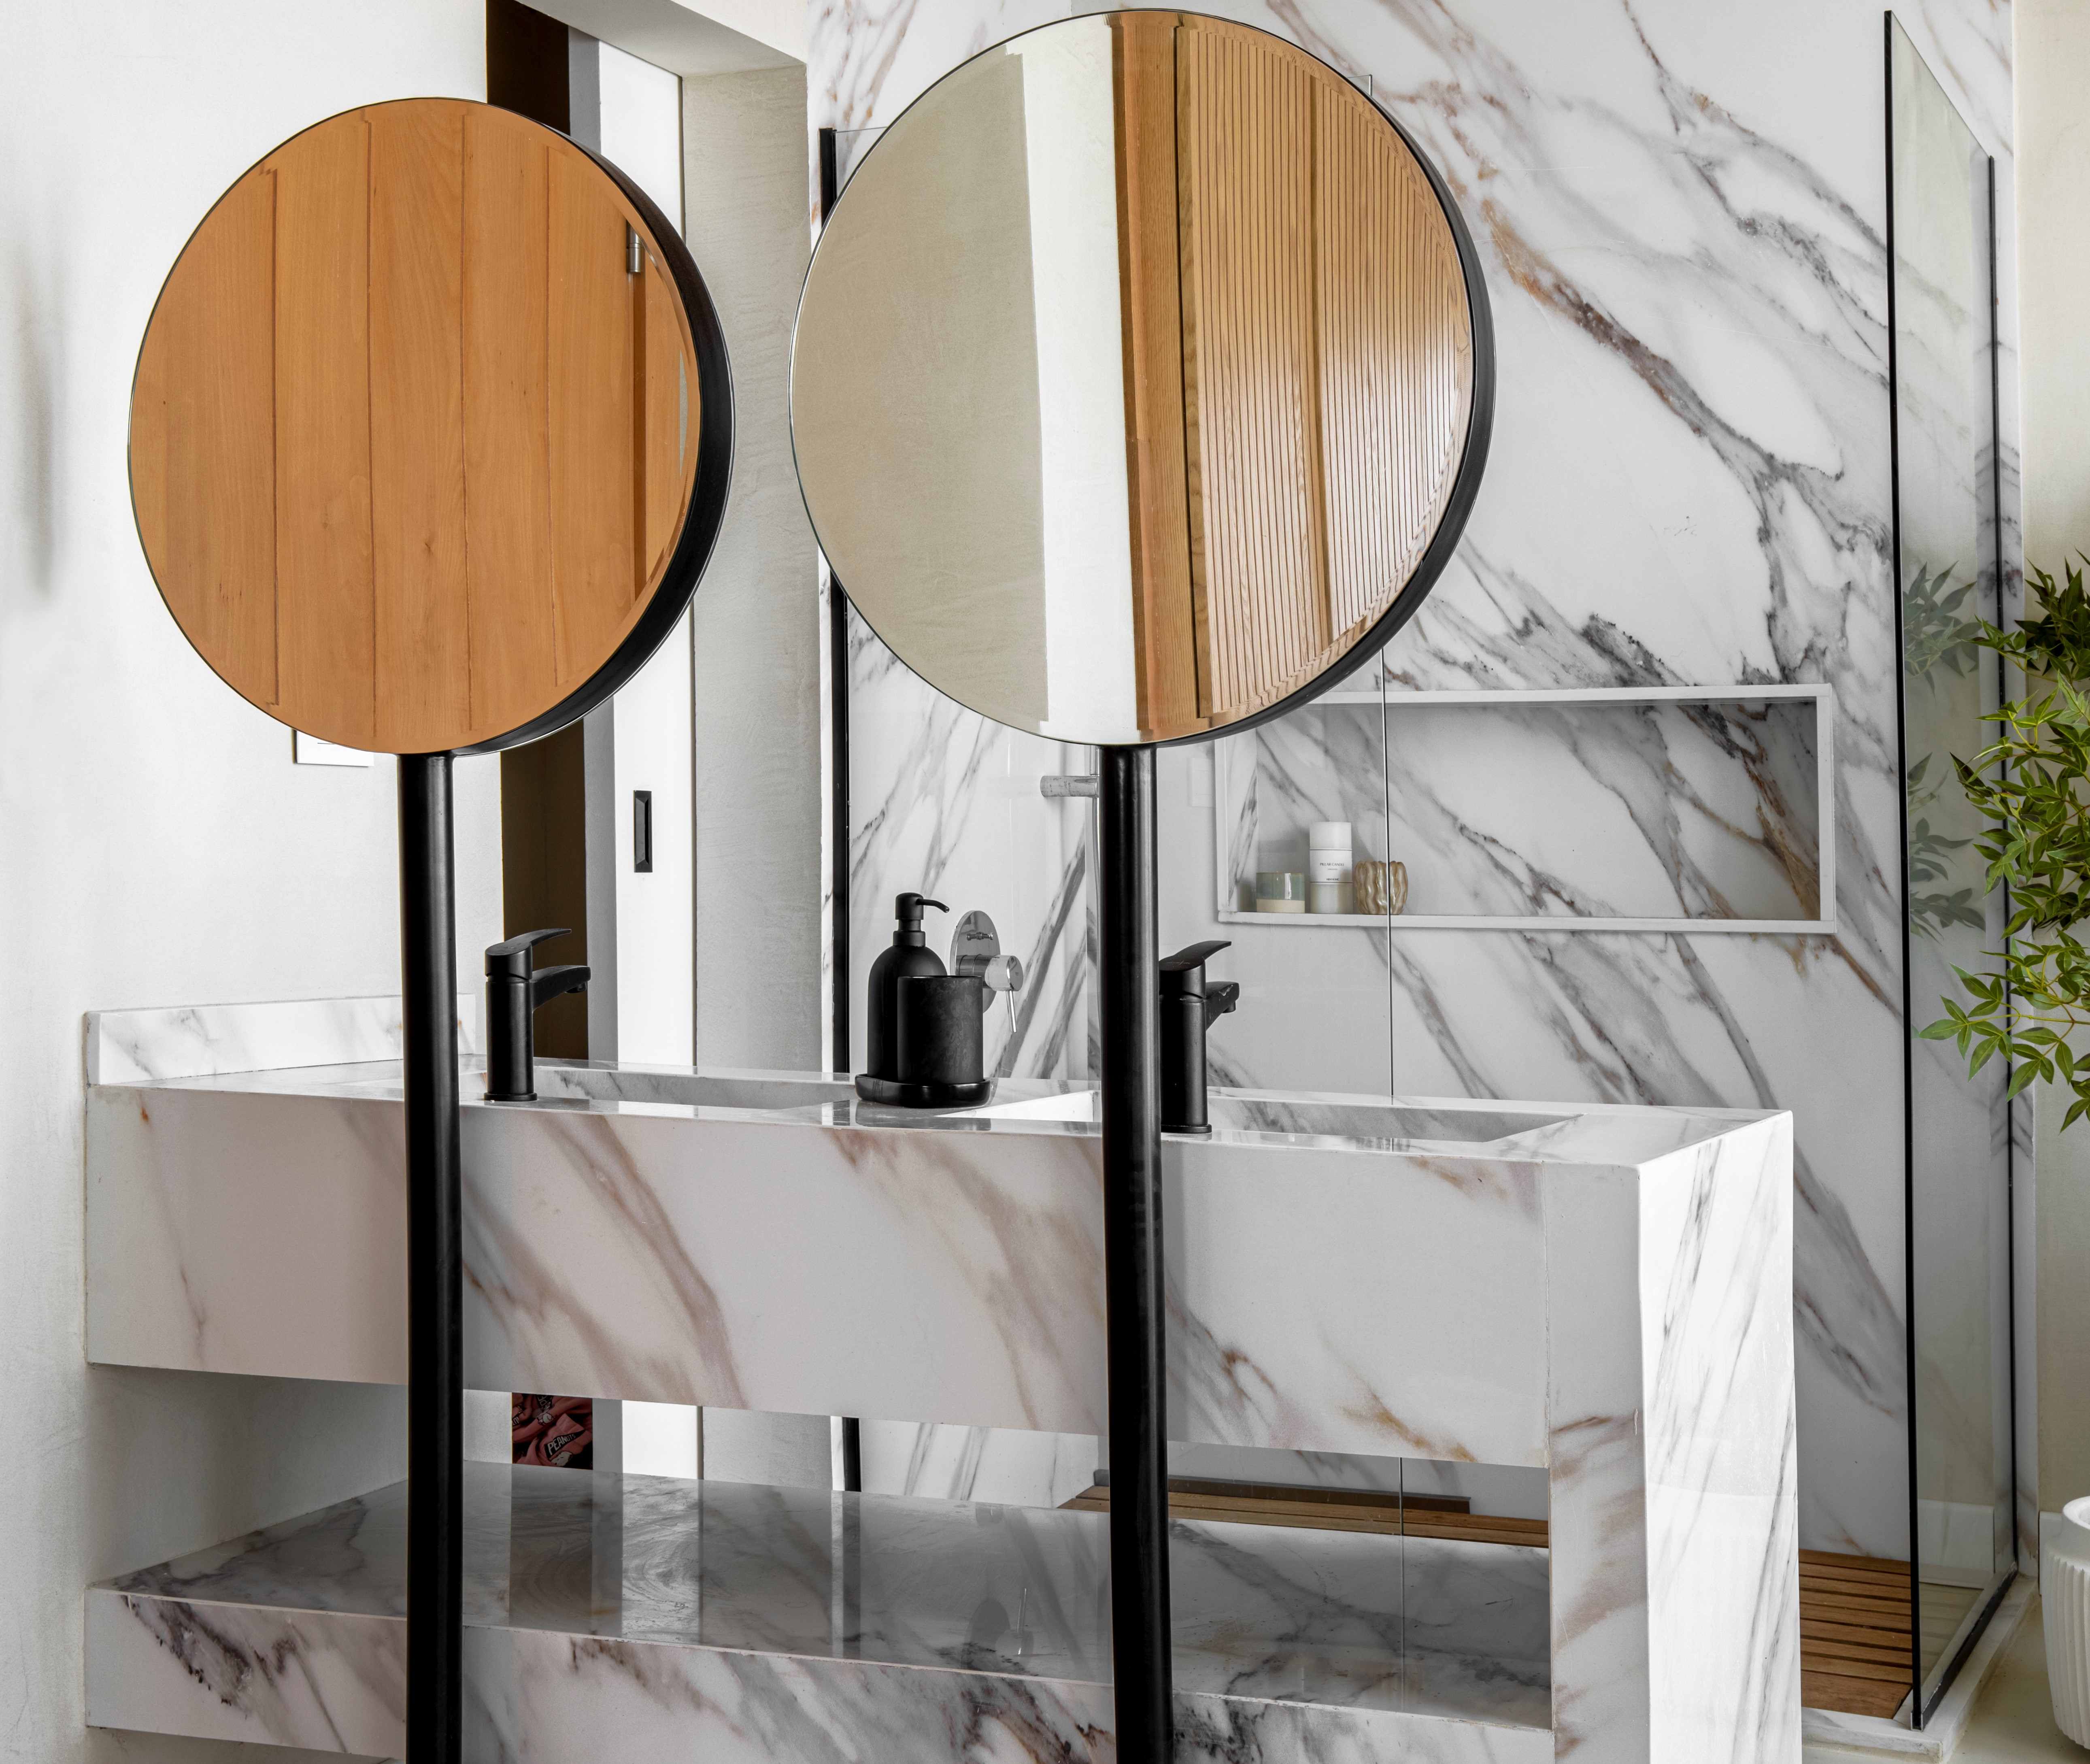
Freestanding basins are the big trend that can help you get creative with your bathroom's layout

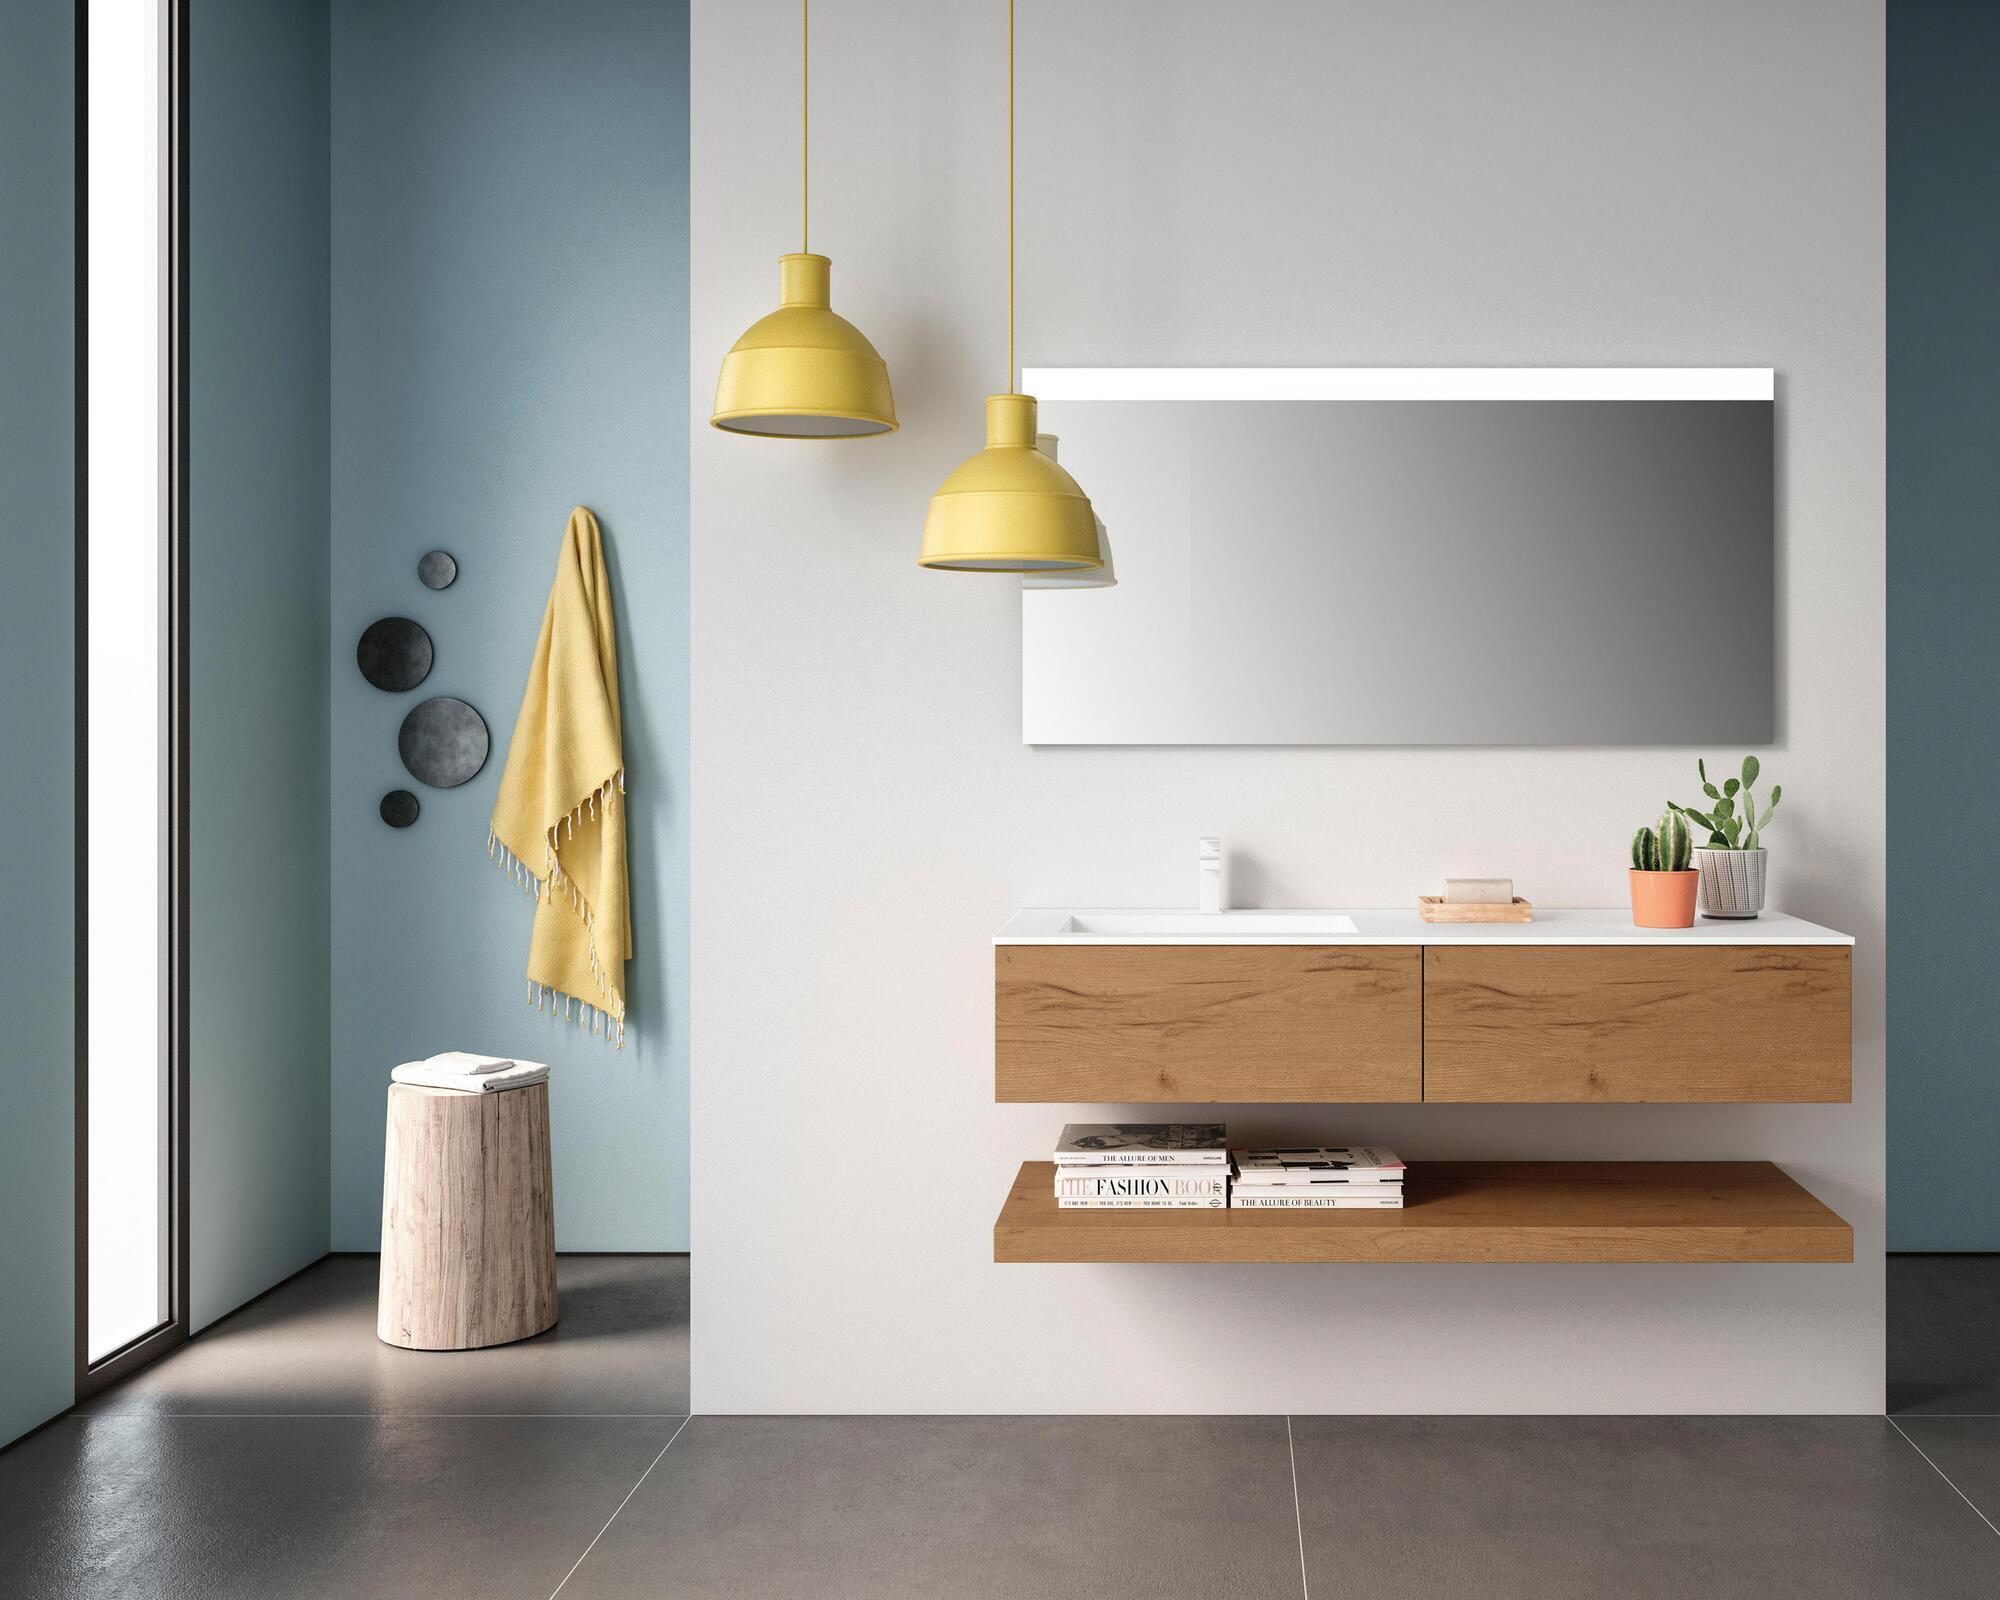
Vanity Fair: Six superb bathroom vanity choices
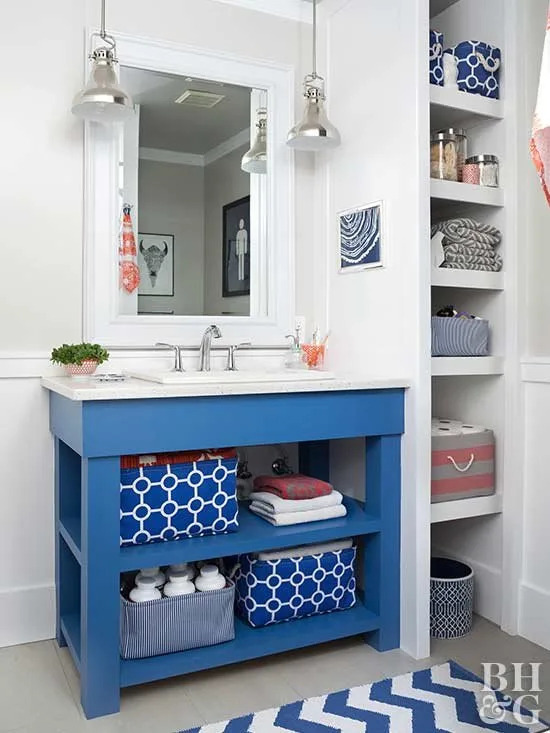
18 DIY Bathroom Vanity Ideas