1/3
The Best Way To Caulk Your Bathtub
Caulking a bathtub, shower, or sink properly requires attention to detail regarding the caulk gun's position, the speed of movement, and the opening cut in the caulk tube. While various gadgets exist to aid the process, mastering the fundamental techniques ensures a neat and effective caulking job without additional tools. Before starting, it is crucial to thoroughly remove all old caulk, as residual material can compromise the new application. This preparation step, though time-consuming, is vital for long-lasting results.
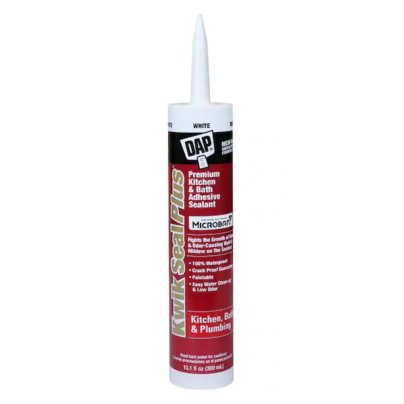
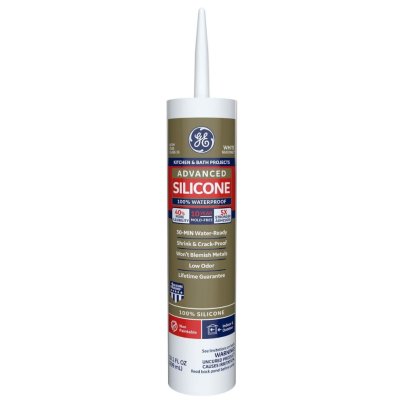
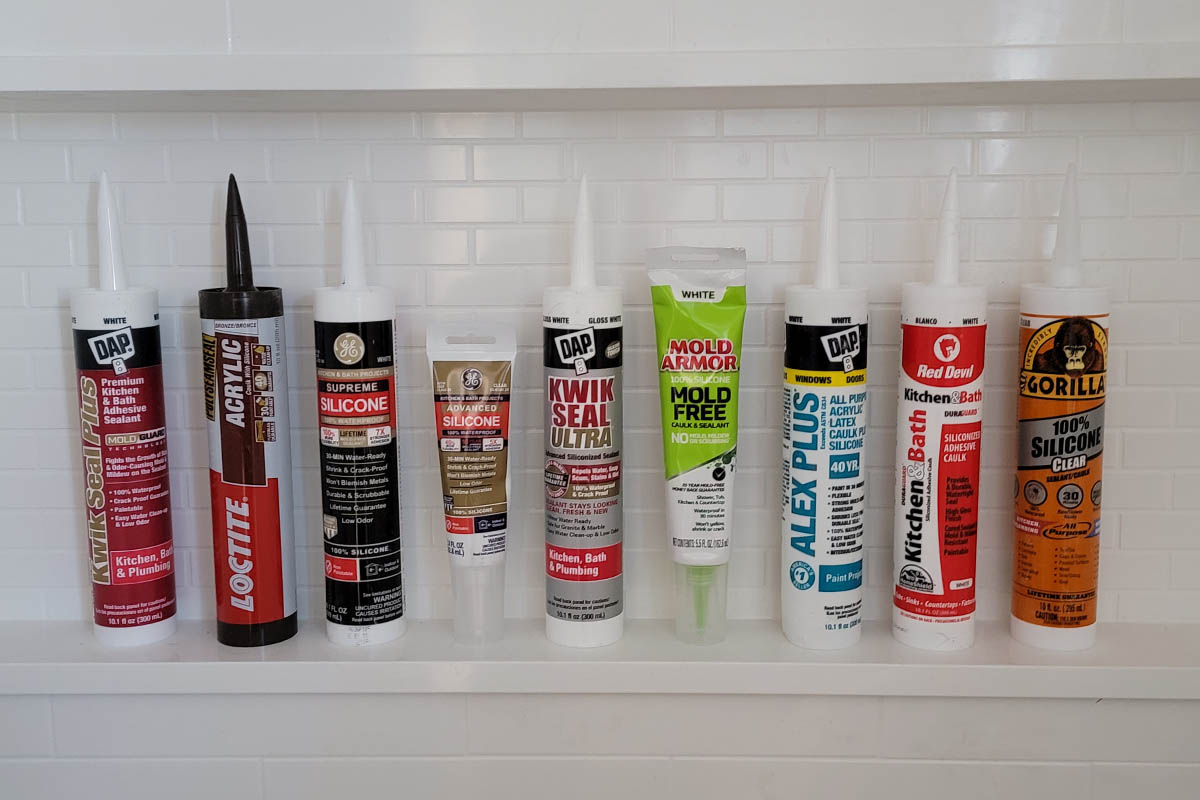
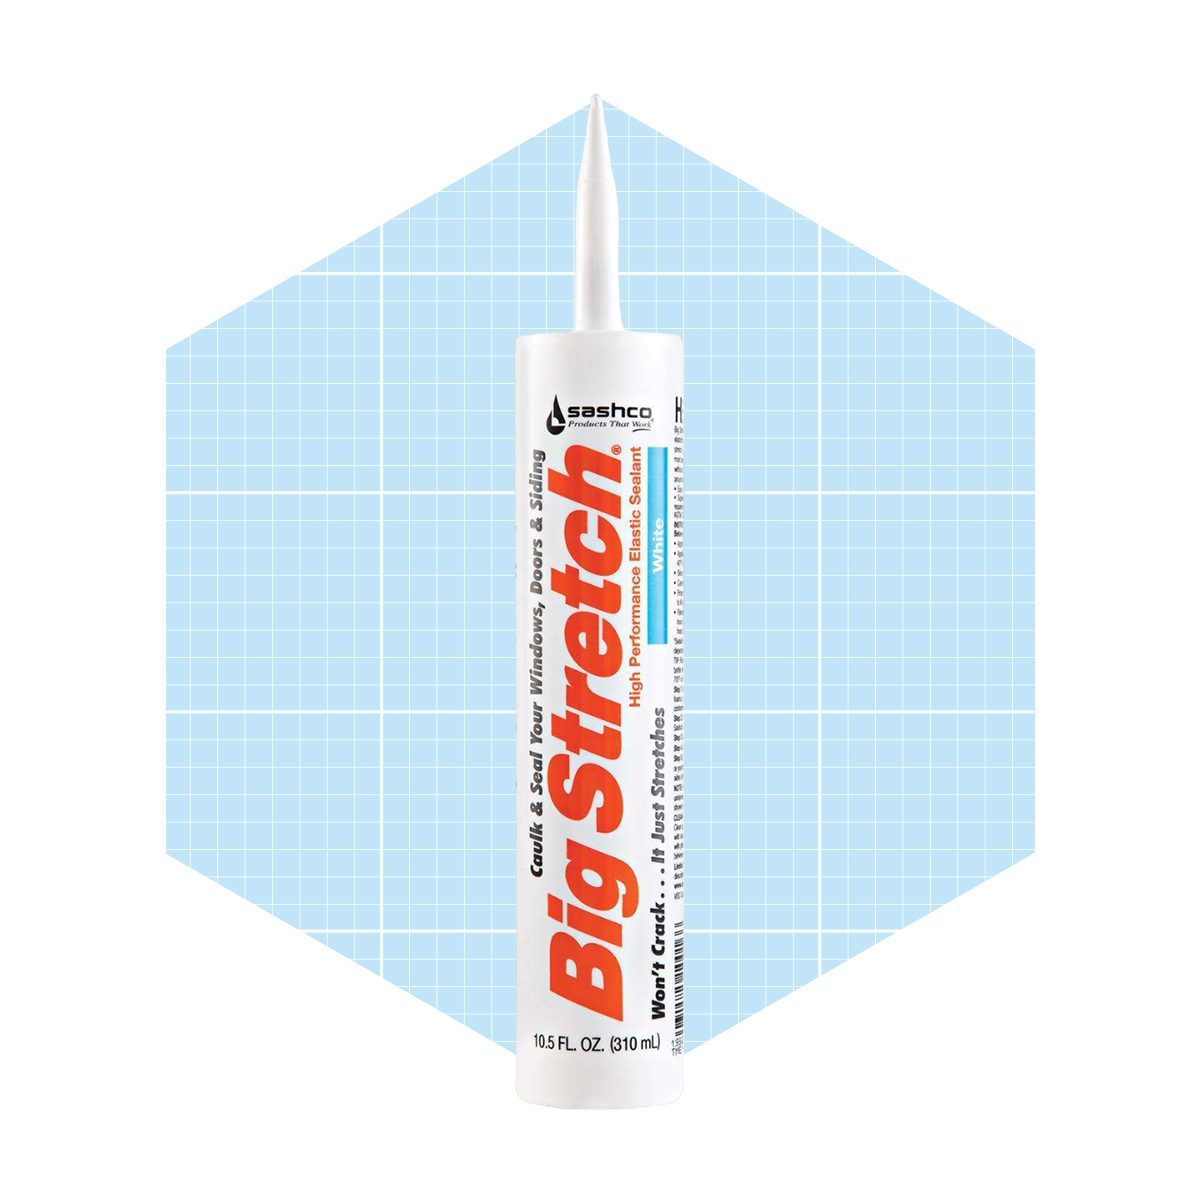
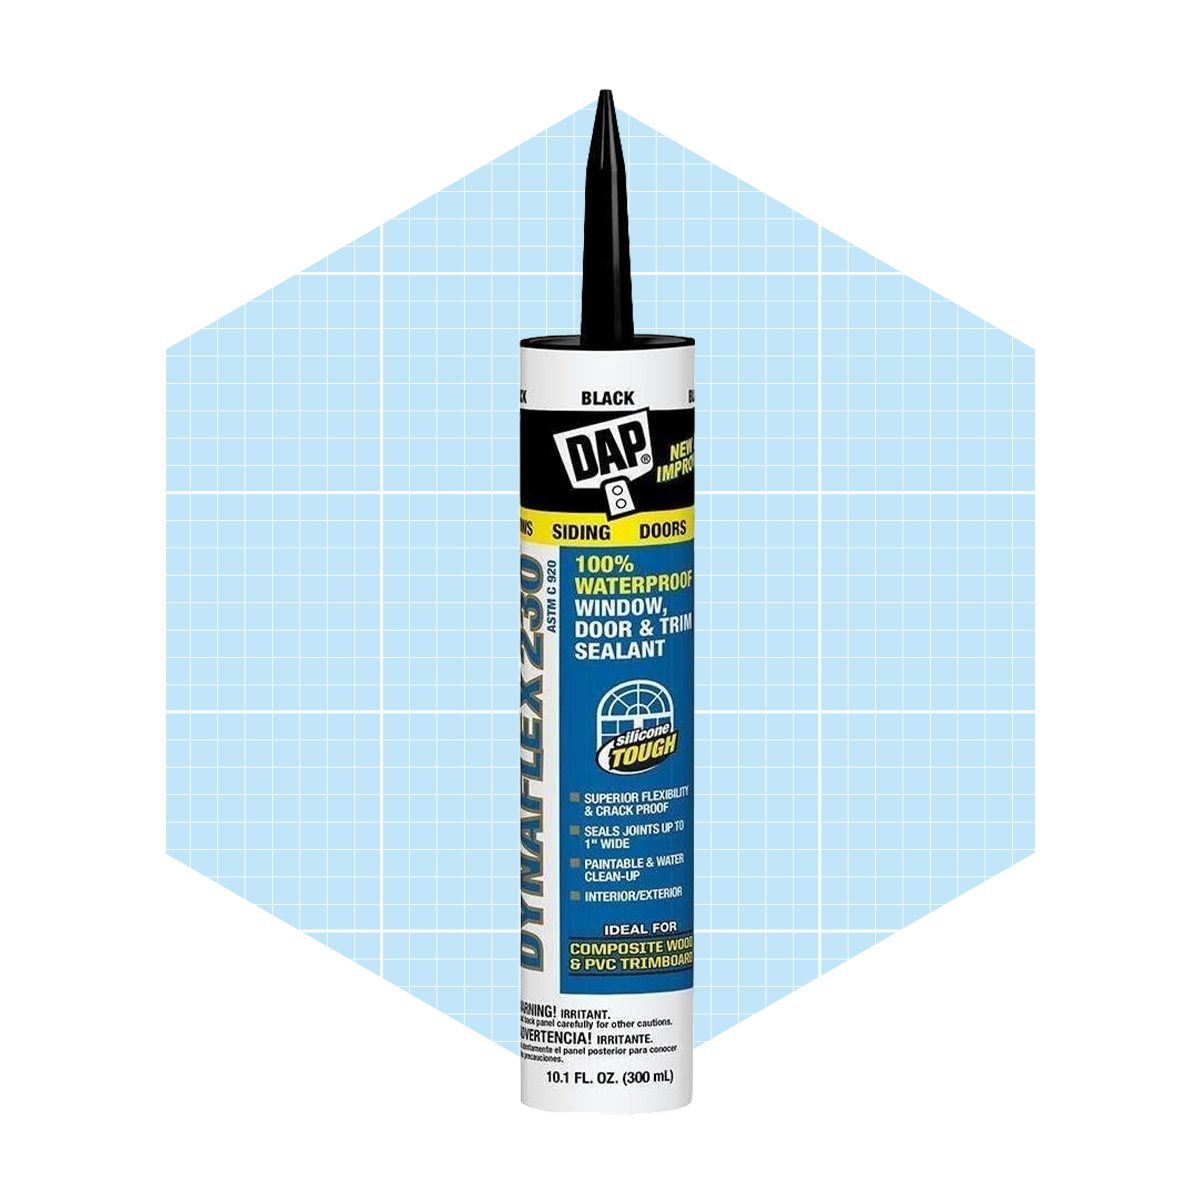
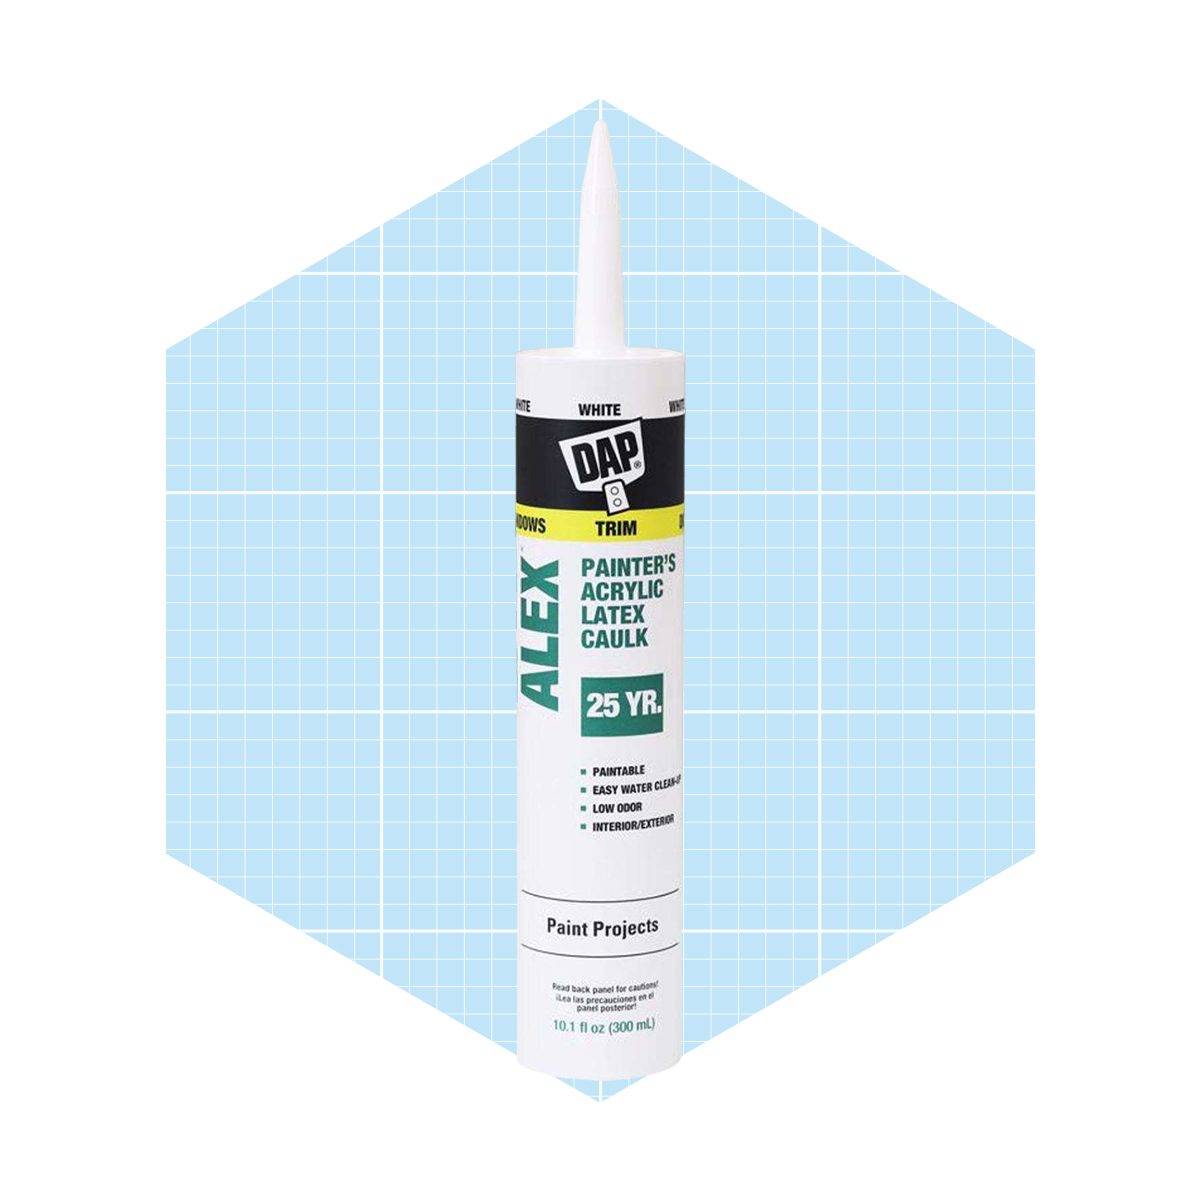
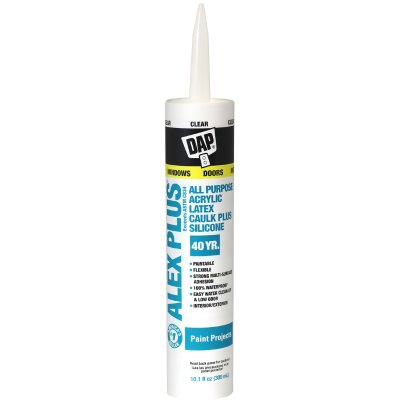
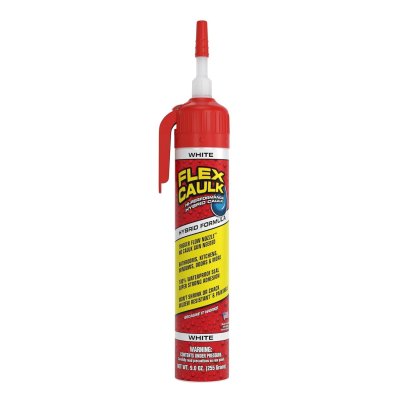
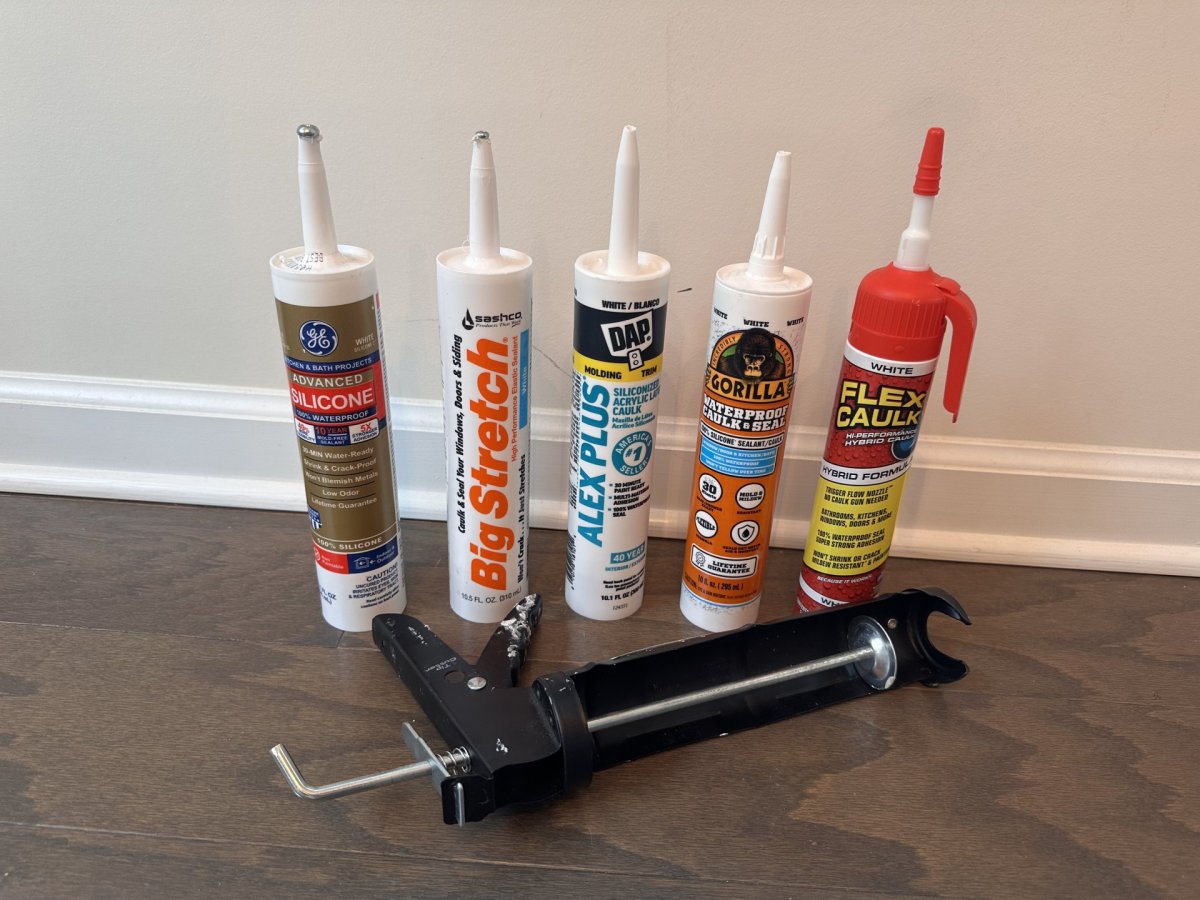
Selecting the right caulk is paramount, especially for bathrooms where moisture and mold are concerns. A waterproof, mold-resistant silicone-based caulk is recommended despite its strong odor and more challenging cleanup compared to multipurpose latex caulk. The tip of the caulk tube should be cut at a 45-degree angle. It's often beneficial to cut the opening closer to the tip than manufacturers suggest, as a smaller bead is generally neater and easier to manage, minimizing excess material. If the initial bead is too small, more can be trimmed from the nozzle. Any burrs remaining after cutting should be carefully removed to ensure a smooth extrusion.
Upgrading to a professional-grade caulk gun significantly enhances the quality of the caulking job. Inexpensive caulk guns often produce inconsistent pressure and less smooth operation, leading to messy results. A pro-level gun offers consistent pressure and a predictable, smoother pump action, allowing for more precise application.
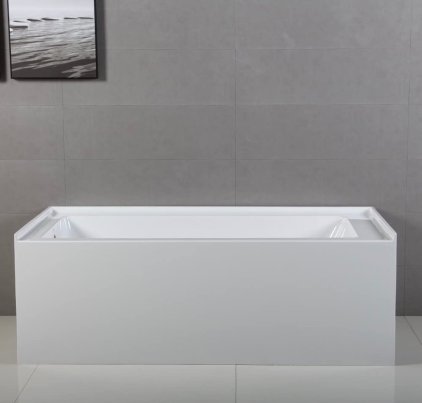
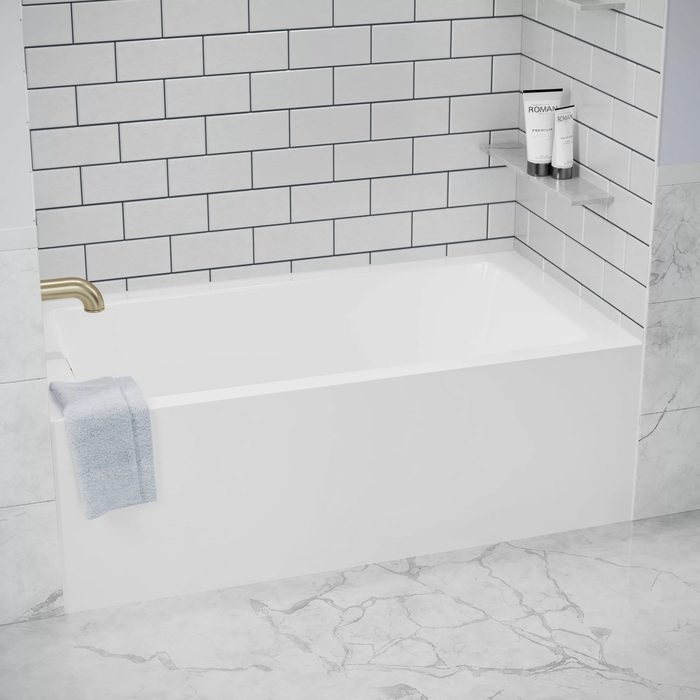
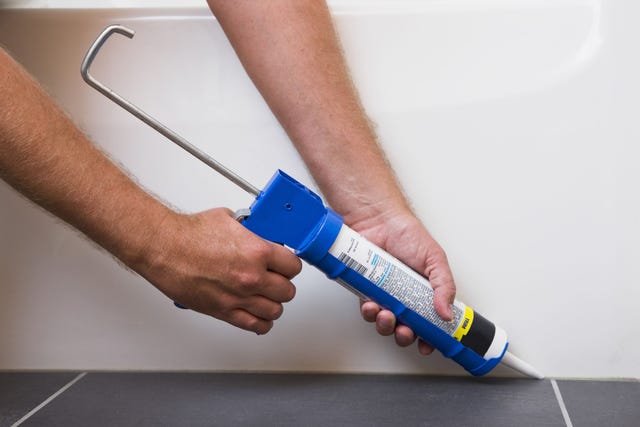
Strategic planning is also essential. Instead of starting randomly, consider the entire joint and your position as you work. For an enclosed tub, begin in one corner, reverse the bead at the far end, and then caulk outwards from the remaining two corners. The caulk gun should be held at a compound 45-degree angle to the surface. For right-handed individuals, bracing the nozzle with the left hand while gently squeezing the handle and drawing the gun slowly along the joint can create a continuous, smooth bead. Consistent pressure and timing are key to producing long, smooth runs with minimal effort.
To achieve an even smoother finish, a technique involves placing an index finger over the joint with slight downward pressure as the caulk is extruded. This action helps smooth the caulk as it comes out, often eliminating the need for further wiping. If additional smoothing is required for latex or latex-blend caulks, a moistened finger can be drawn along the joint. For caulks requiring mineral spirits for cleanup, wearing a disposable nitrile glove protects the skin and simplifies post-application cleaning by allowing the glove to be peeled off and discarded, reducing mess and skin exposure.
#Caulking #HomeImprovement #DIY #BathroomMaintenance #SiliconeCaulk #CaulkGun #MoldResistance #Waterproofing #Caulking #HomeImprovement #DIY #BathroomMaintenance #SiliconeCaulk #CaulkGun #MoldResistance #Waterproofing
0개의 댓글이 총 표시됩니다.
 아직 댓글이 없습니다
추가로 마음에 드릴 만한 콘텐츠
The Best Caulk for Perfectly Sealed Showers and Tubs

The 8 Best Bathtubs for a Satisfying Soak

Level Up Your Soaking Sanctuary With These Gorgeous Bathtubs

Say Goodbye to Moldy Shower Caulk with These 3 Easy Fixes

Bathtub Styles, Fixes and Cleaning
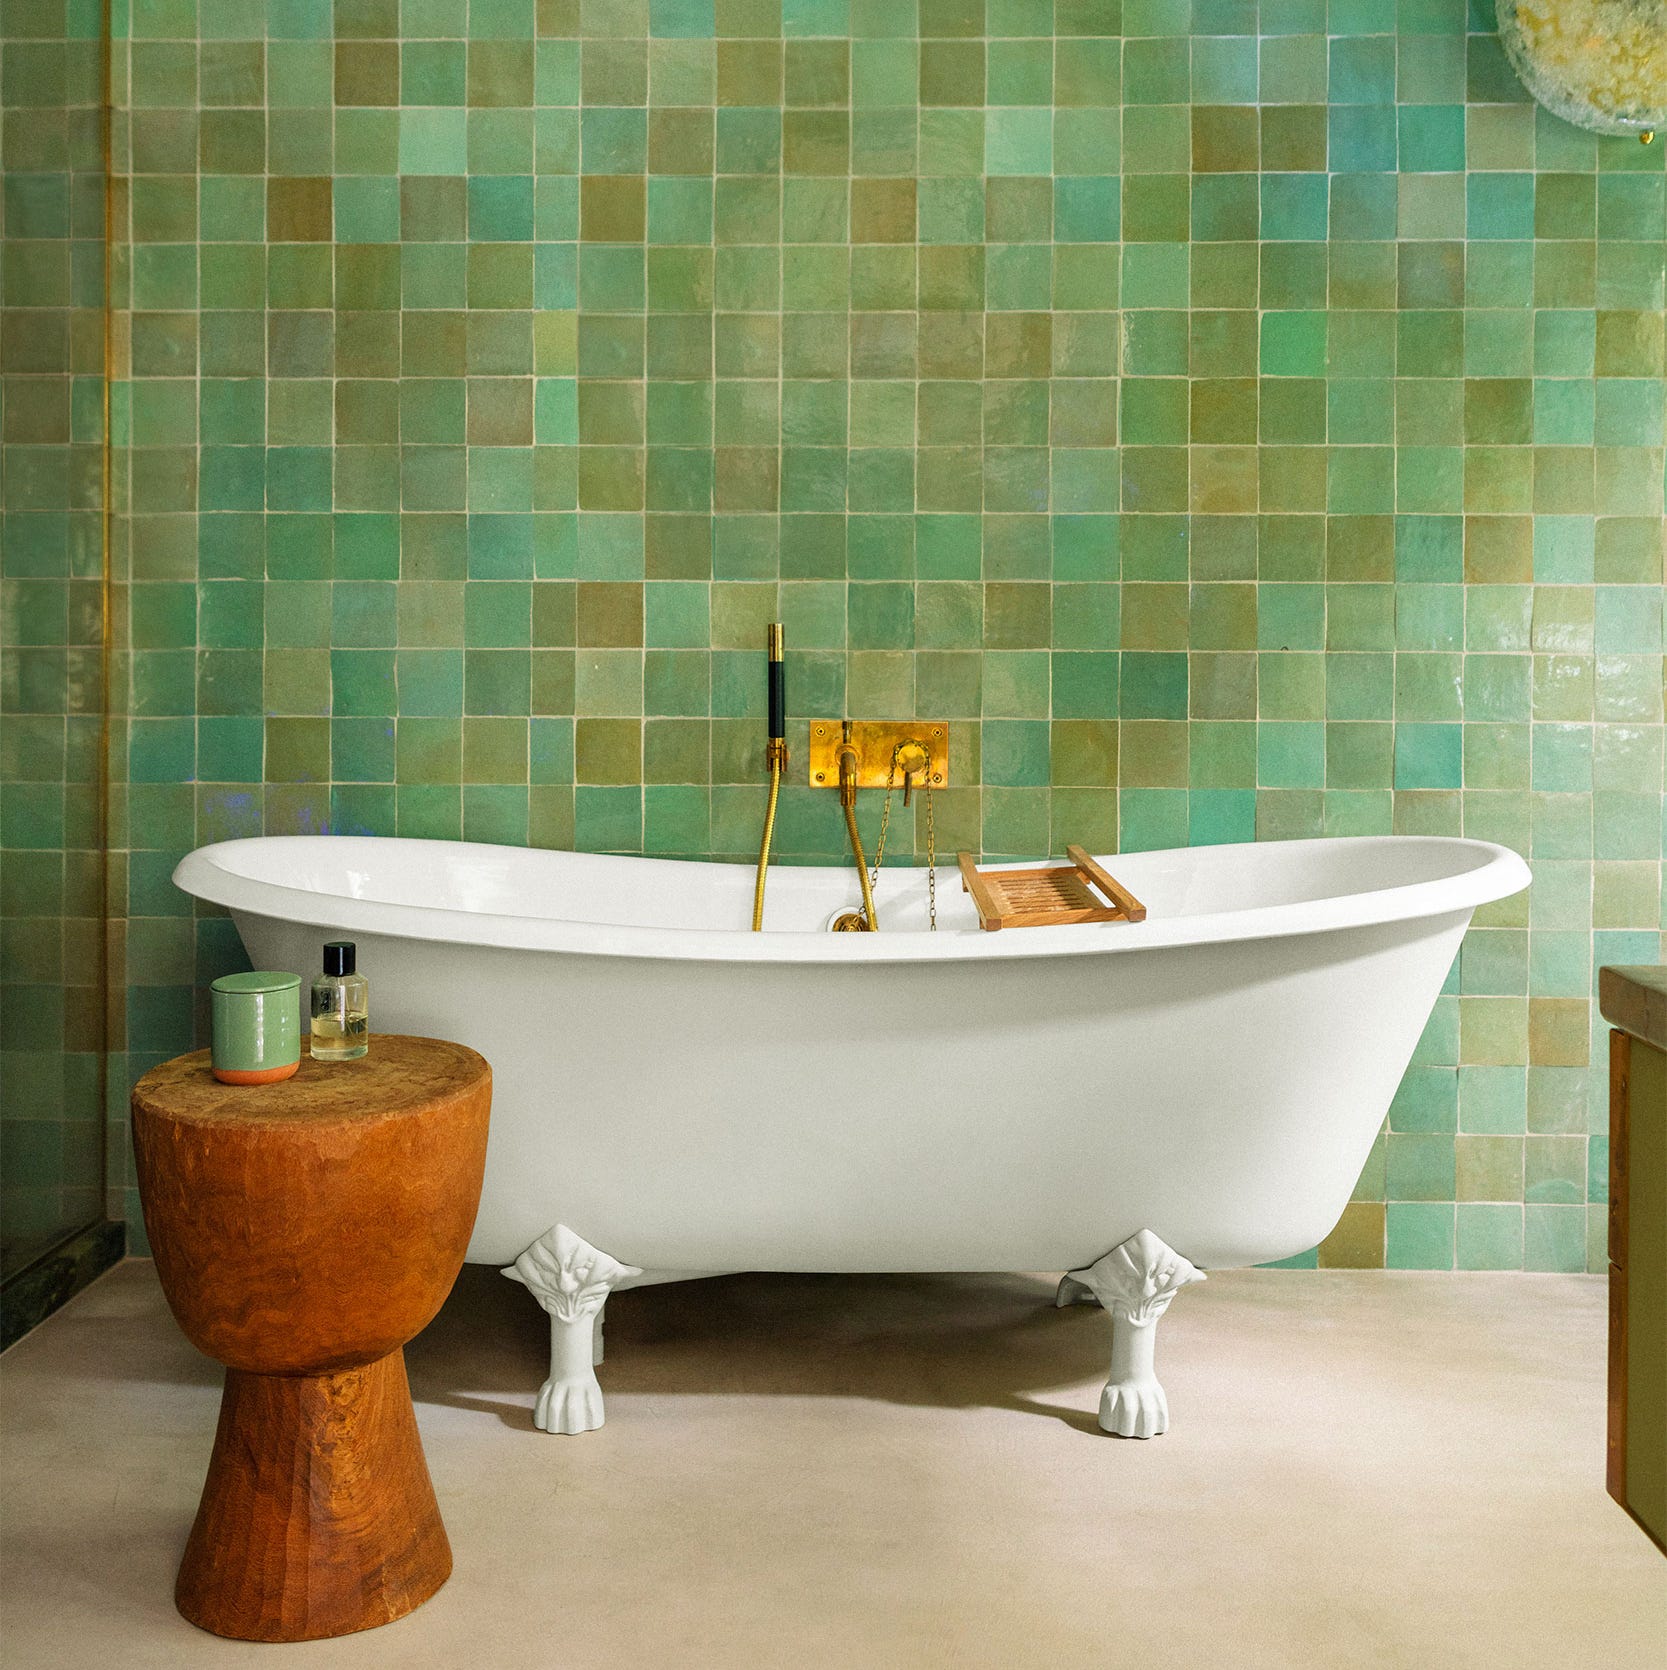
20 Beautiful Bathtub Ideas to Inspire Your Dream Remodel

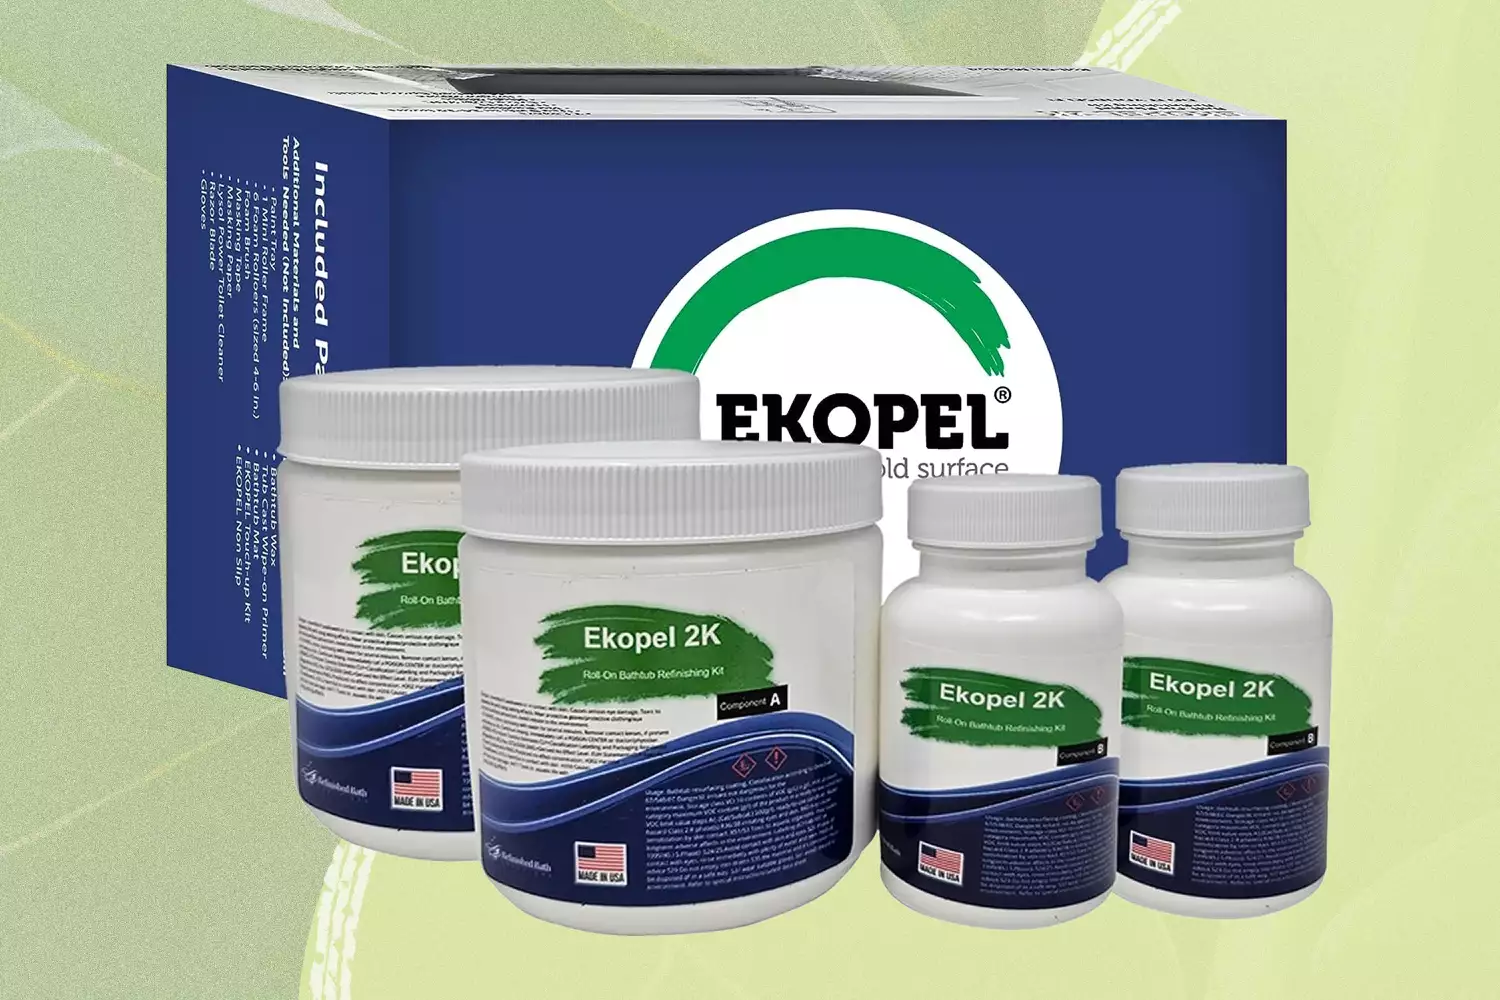
Skip Expensive Repairs and Patch Your Tub Yourself With These Effective Kits


Enter Your "Bath Person" Era With These Gorgeous Bathtub Designs

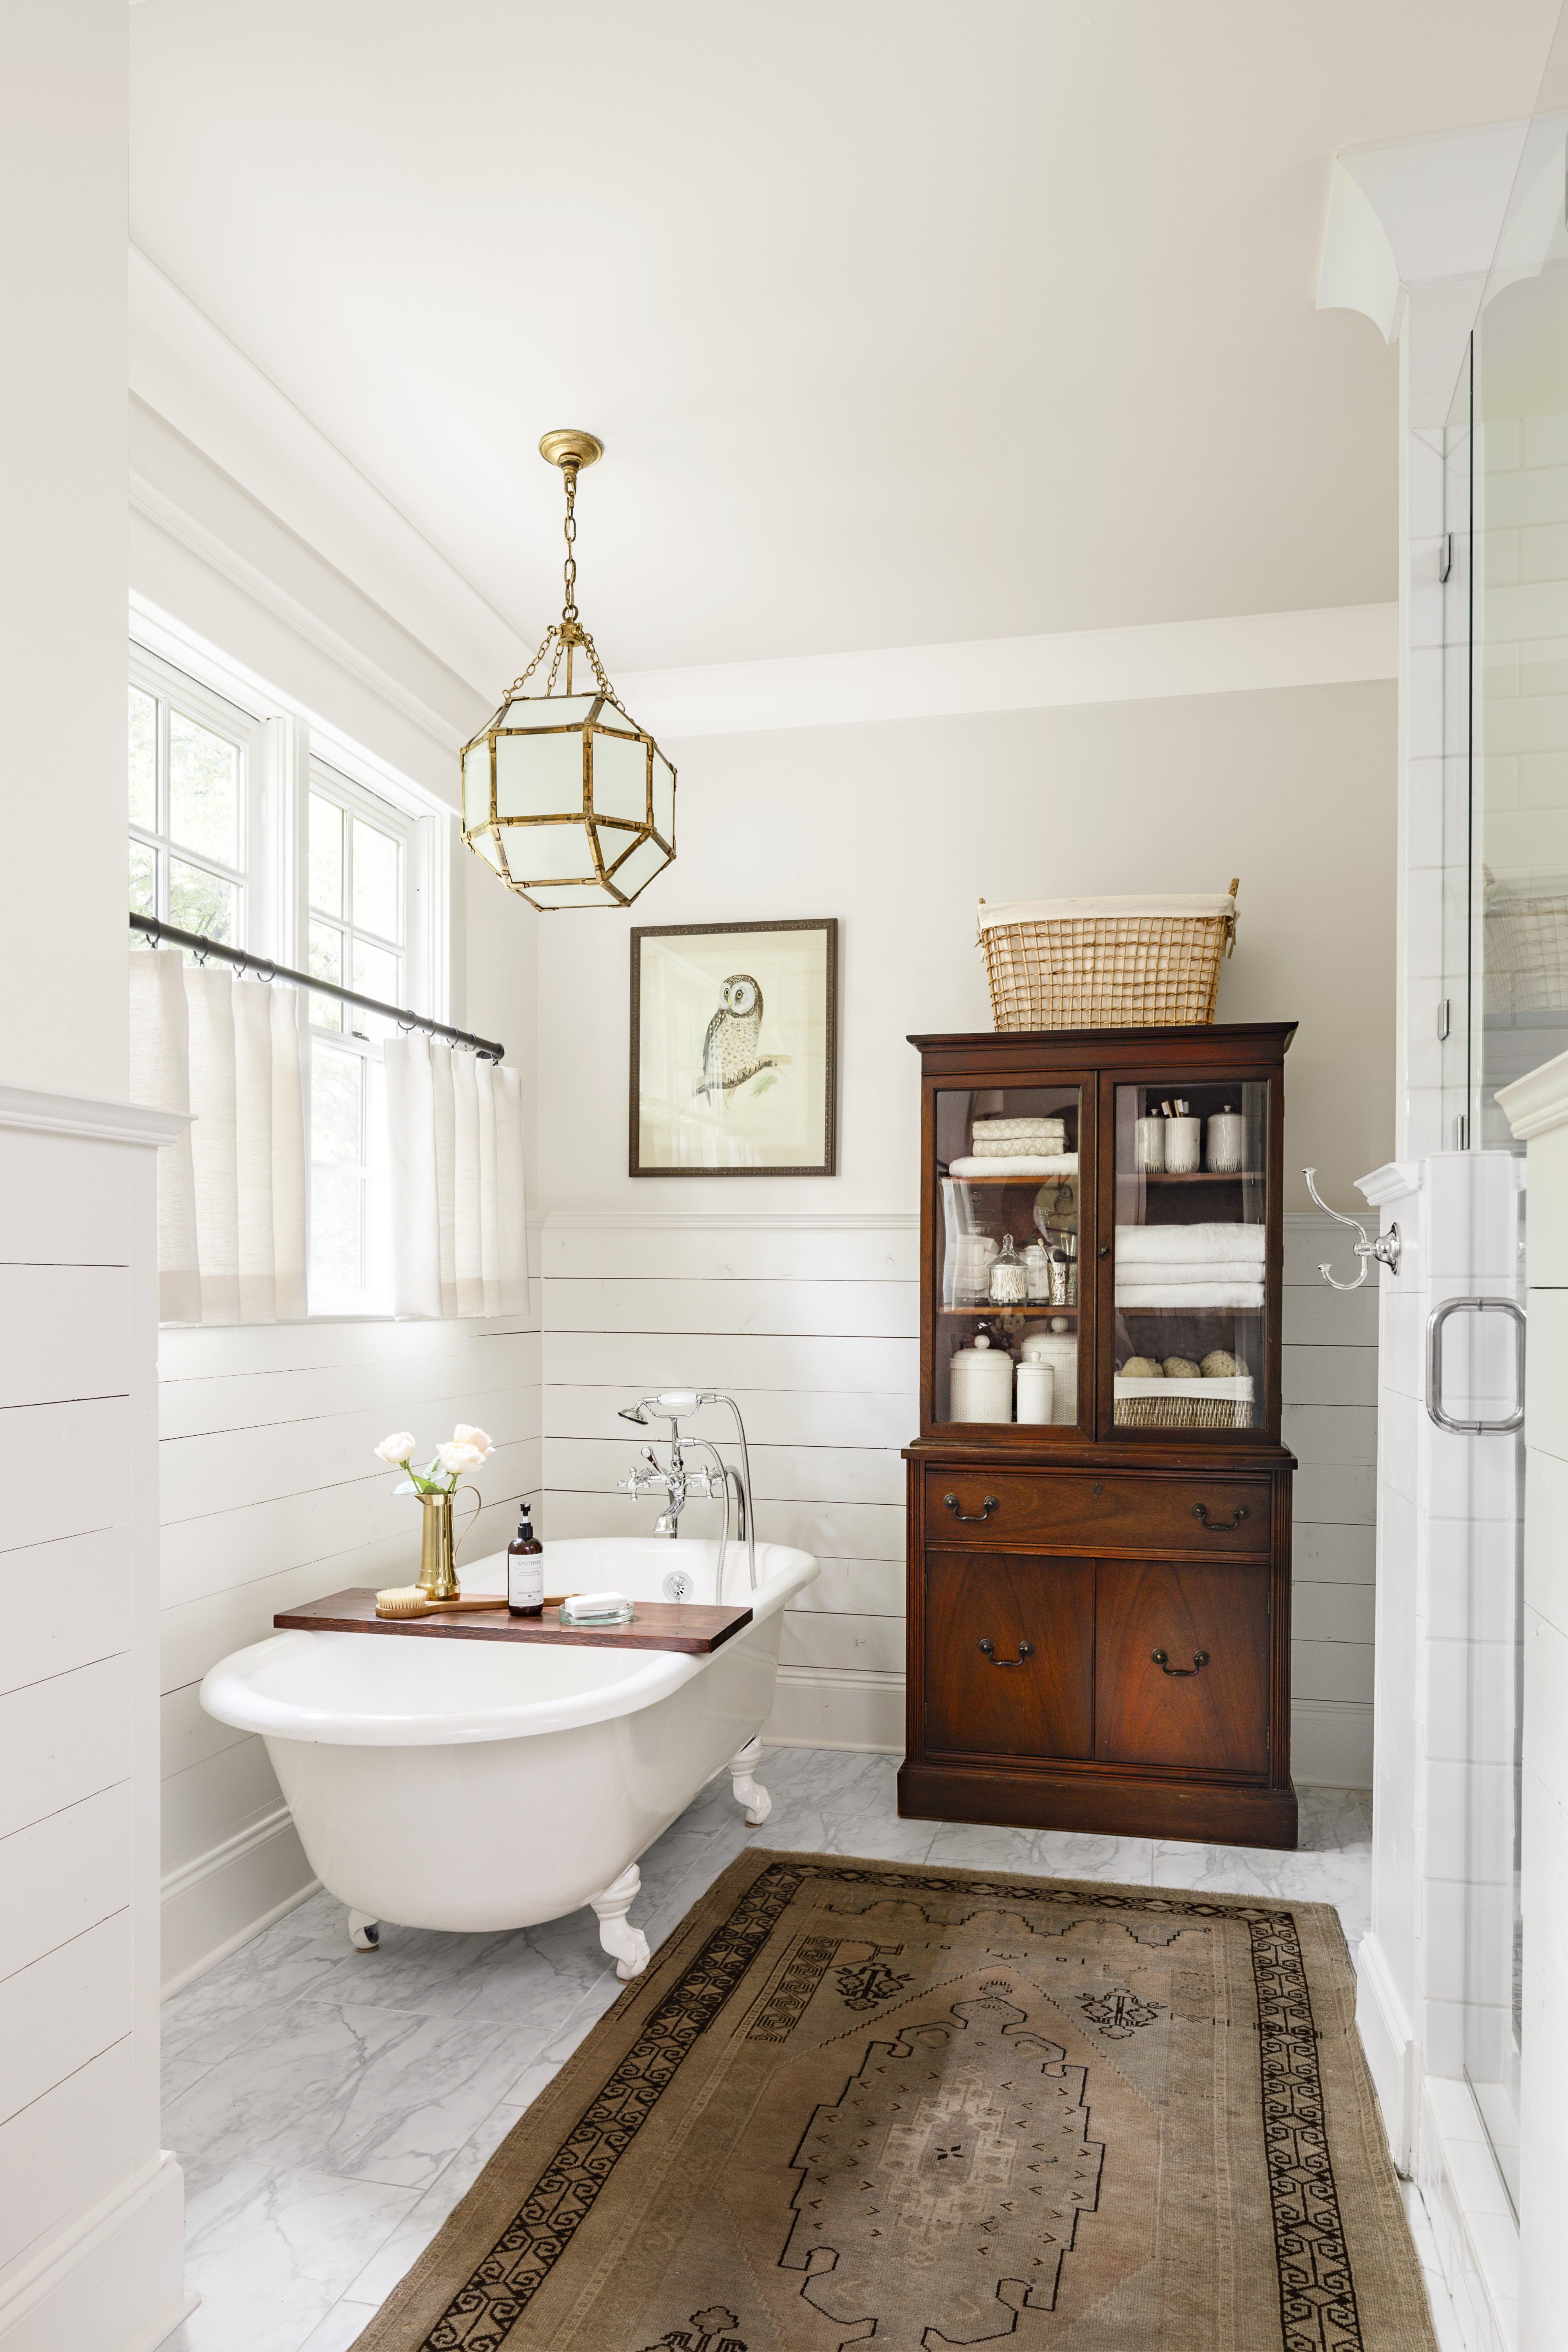
Transform Your Blah Bathroom with a Claw-foot Tub
Options for re-glazing a bath tub?
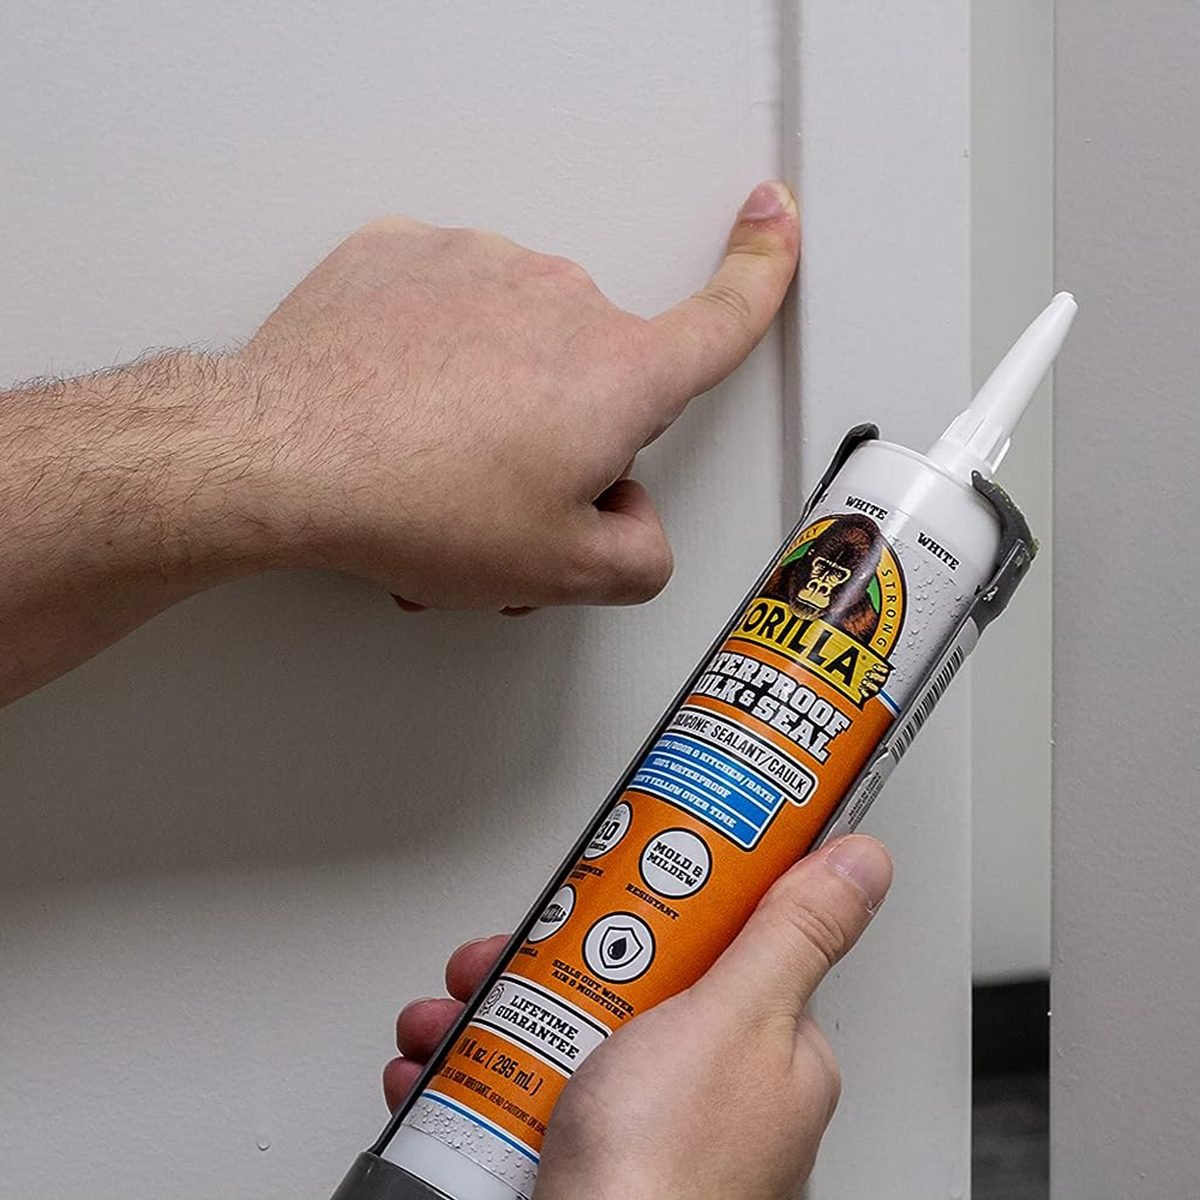
Best Caulk & Sealant Guide: Popular Types of Caulk and How To Choose
How to choose a bath mat that upgrades your whole shower experience


How to tile a bathtub – for a stylish, practical finish

The Best Soaking Tubs to Transform a Bathroom Into a Spa

8 common bathtub materials and their pros and cons
Pro Tip: Adding a Bathtub Tray Will Turn Your Home Into an At-Home Spa
The Best Bathtubs for Your Style and Budget, Vetted

Soak Off a Stressful Day in One of The Best Freestanding Tubs of 2025
These Are the Best Caulk Options for Baseboards According to Our Tests
Take Your Bathroom From Basic to Inviting With Our Favorite Bathtubs