1/2
How to Design a Curbless Walk-in Shower
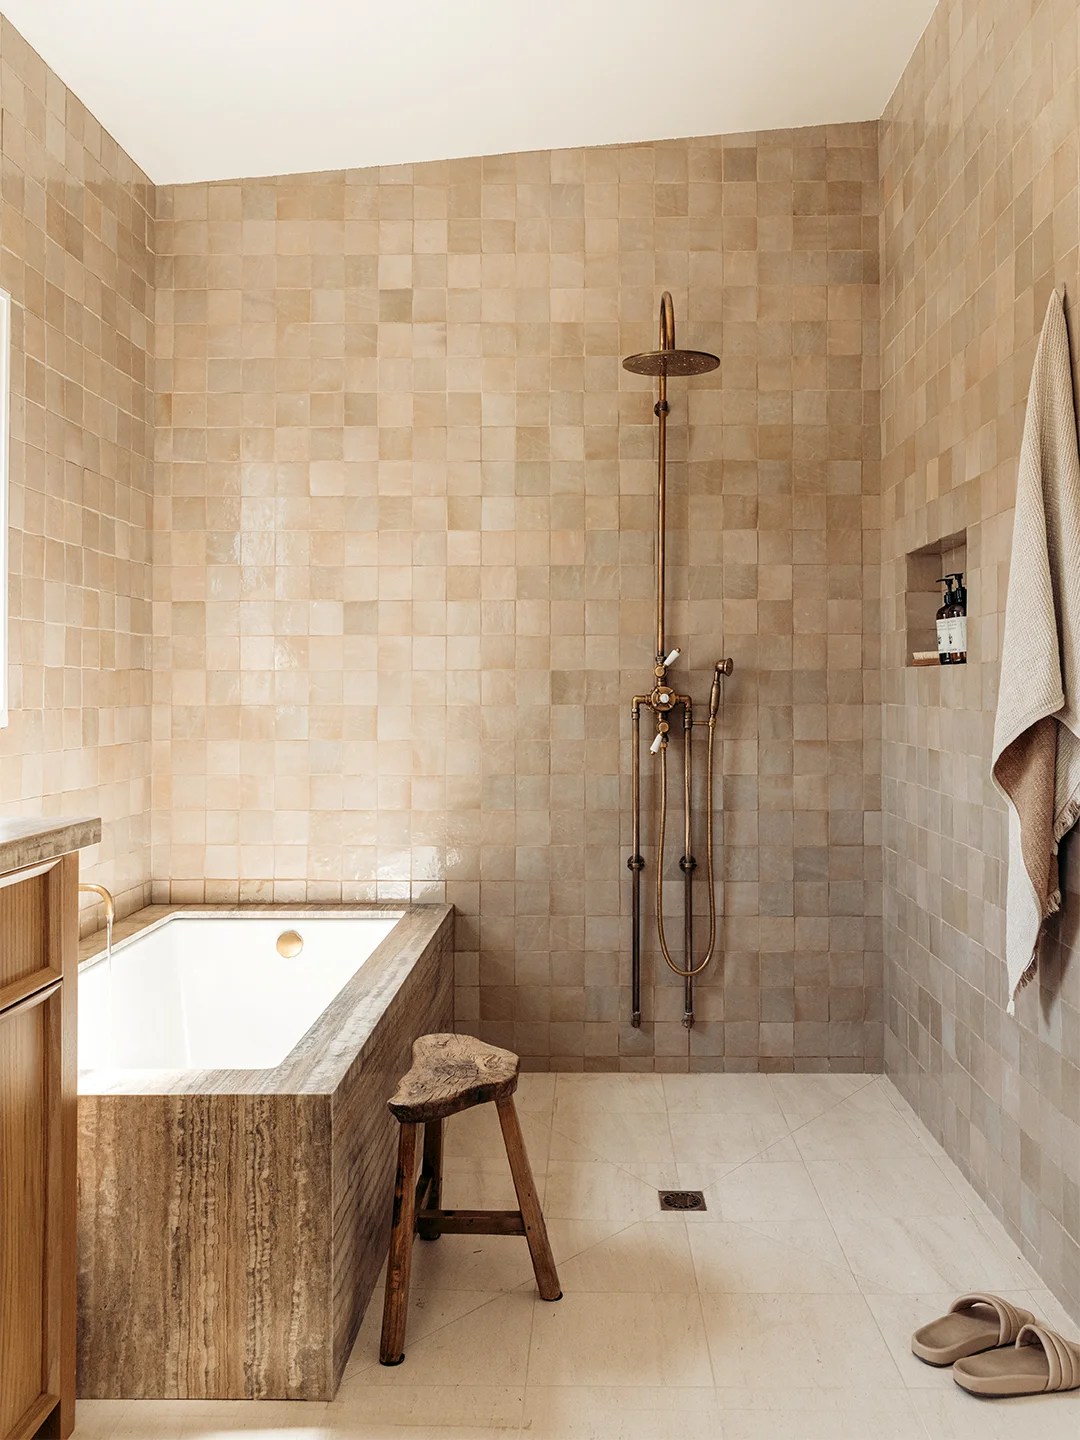
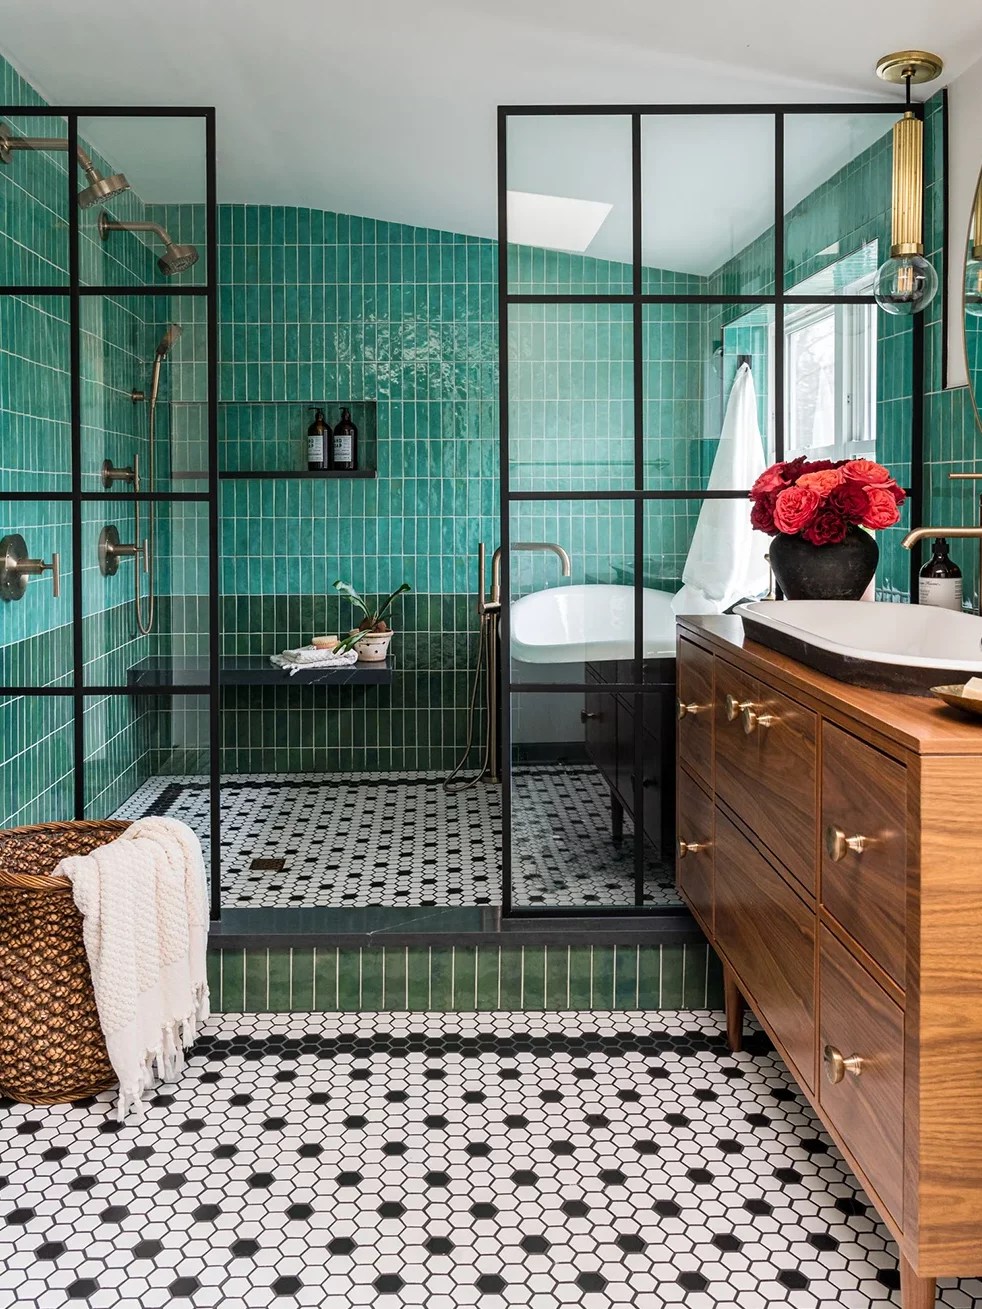
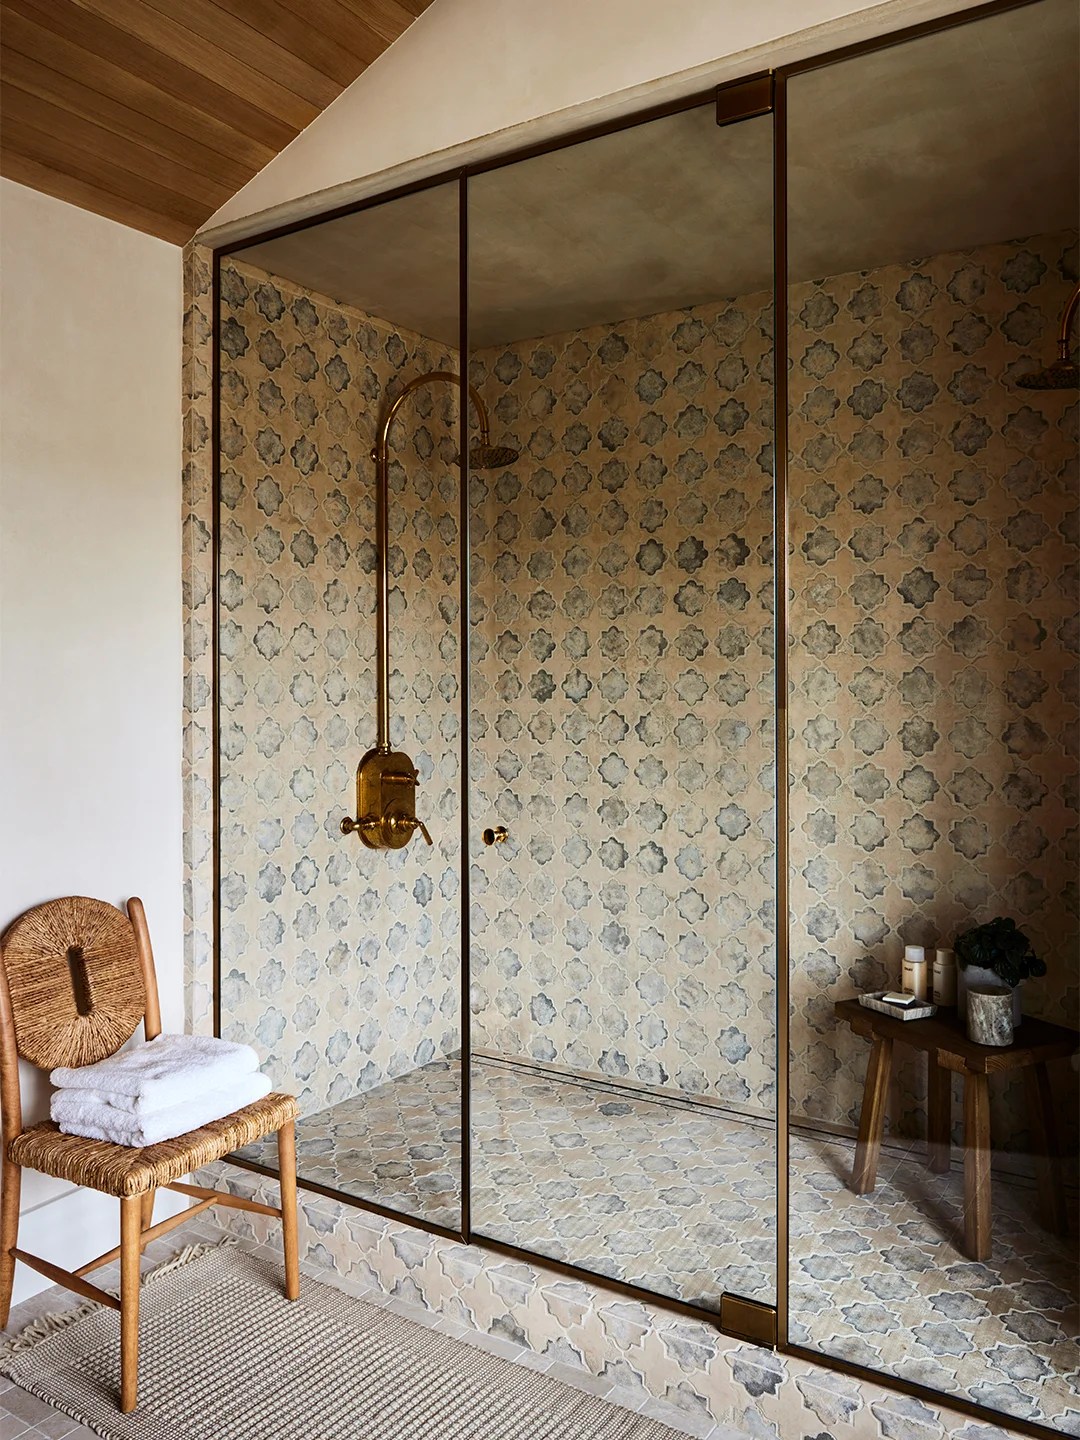
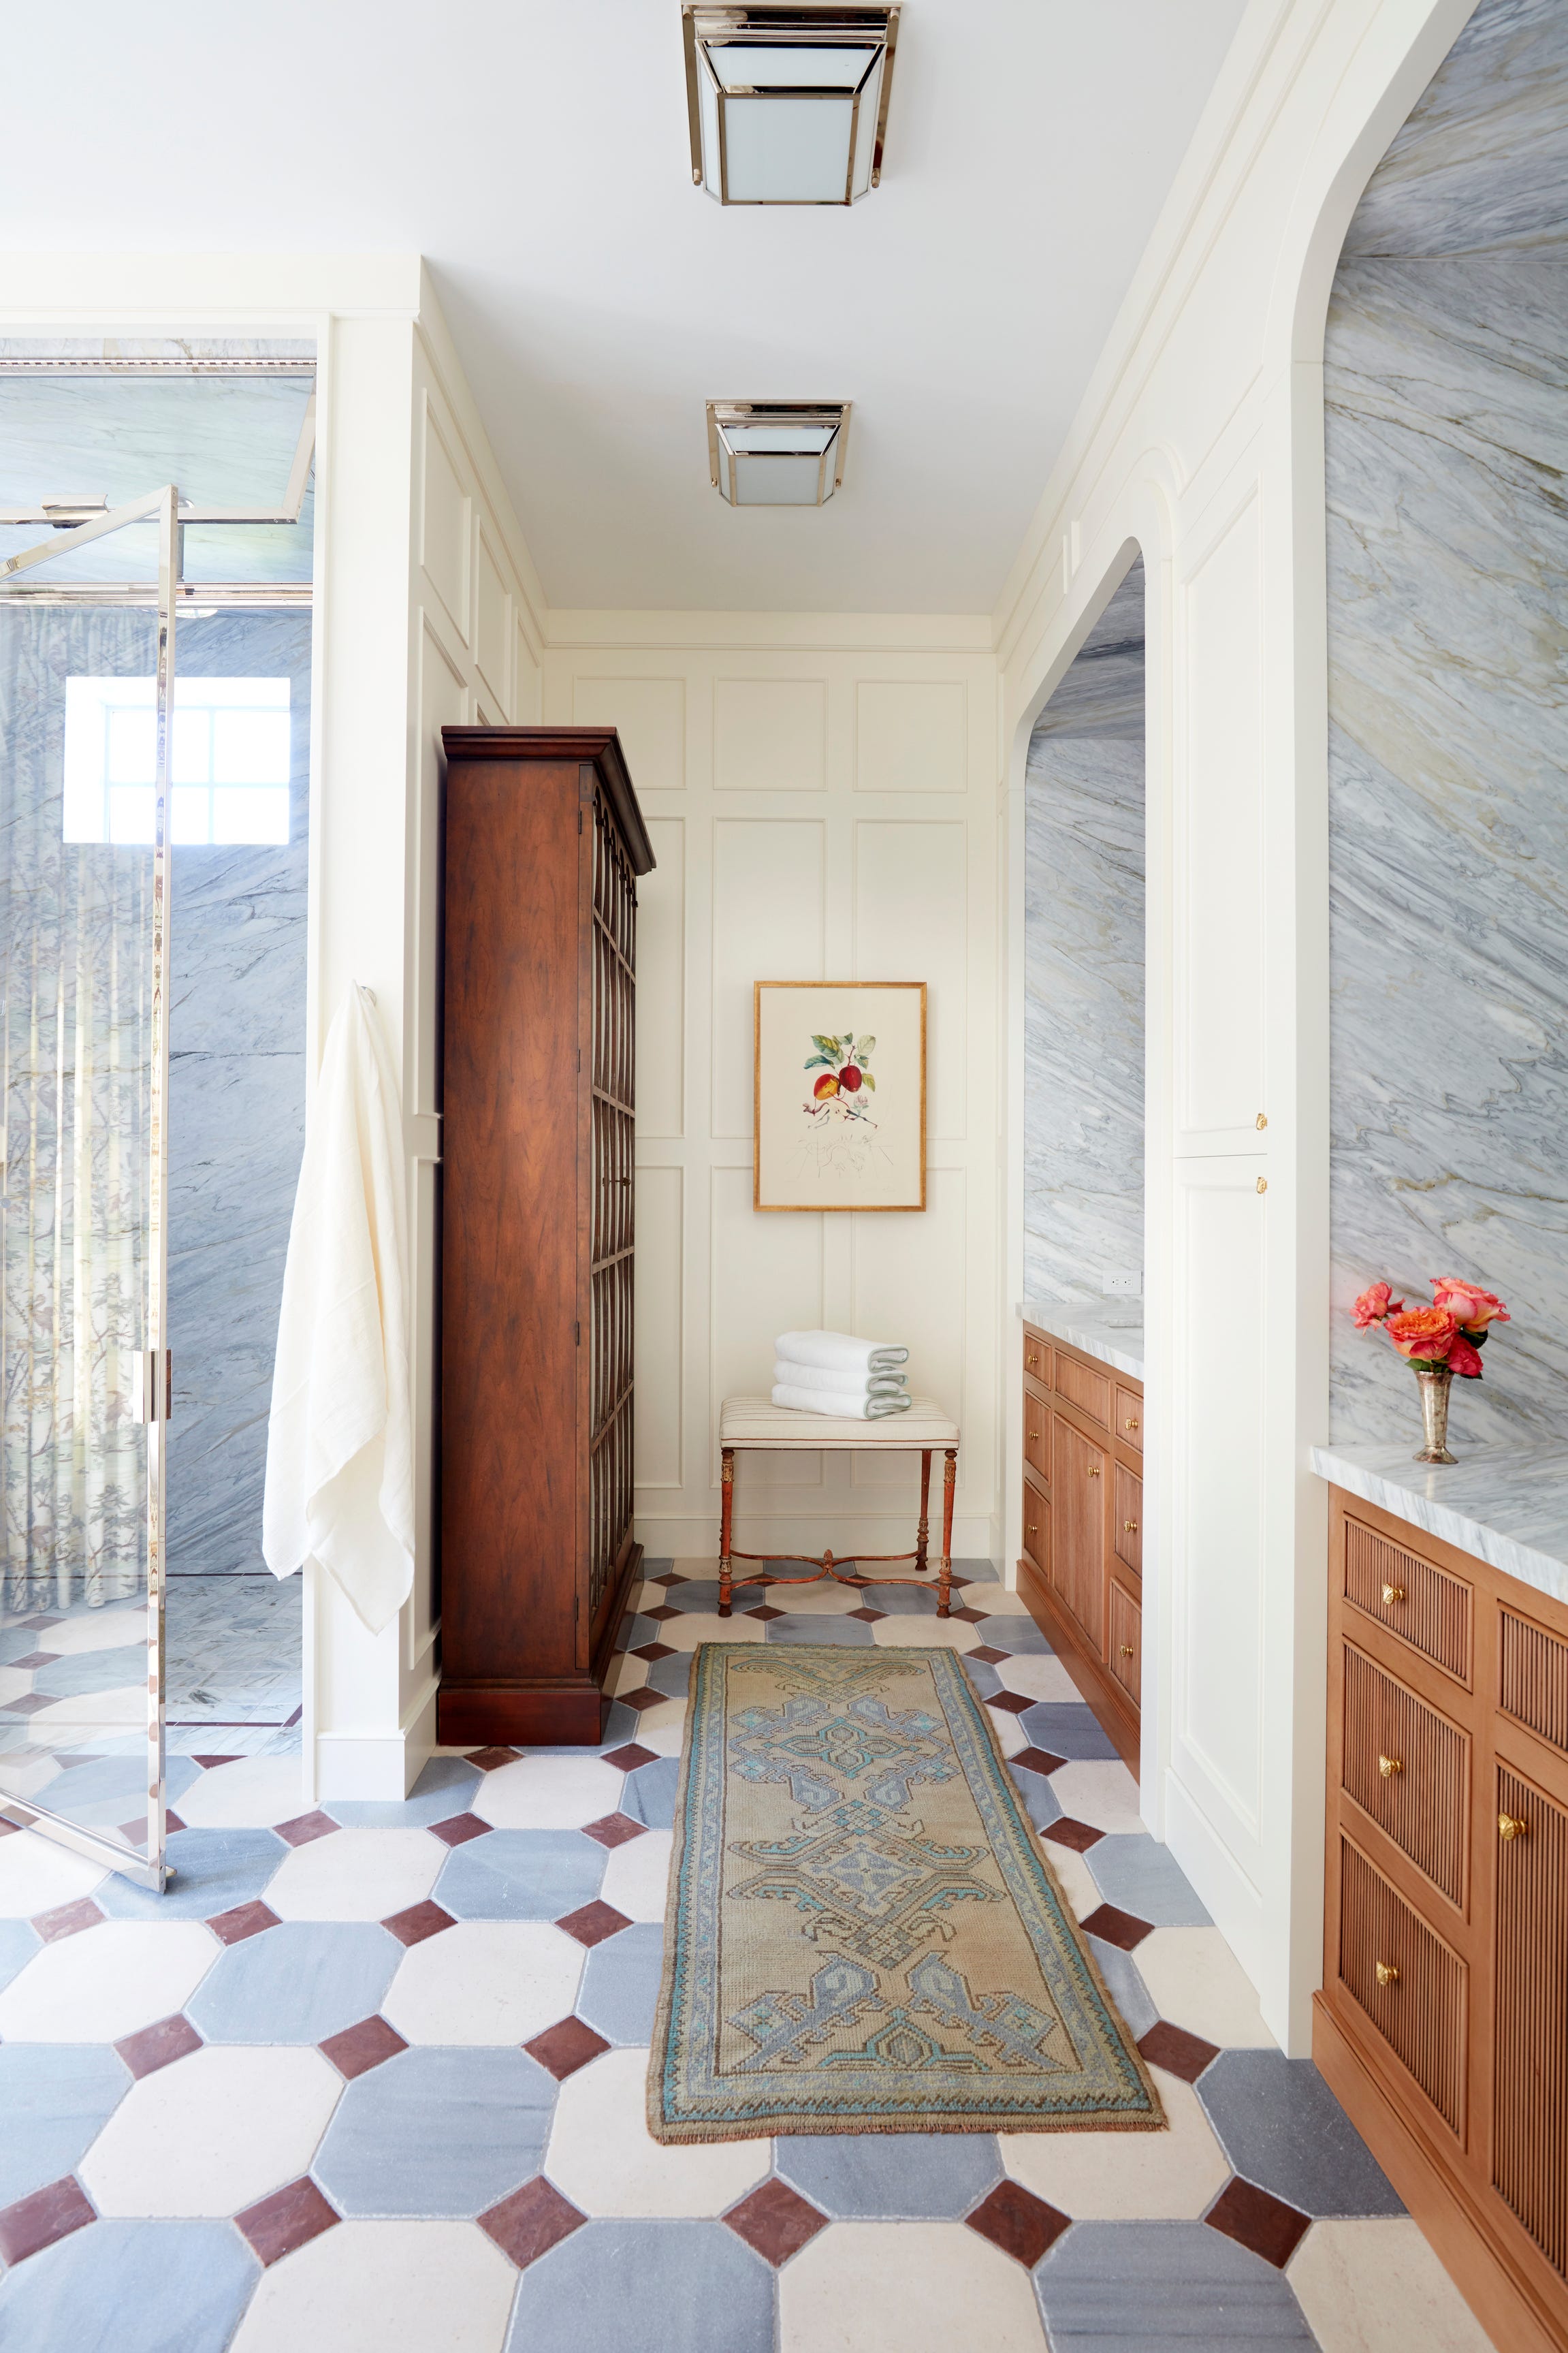
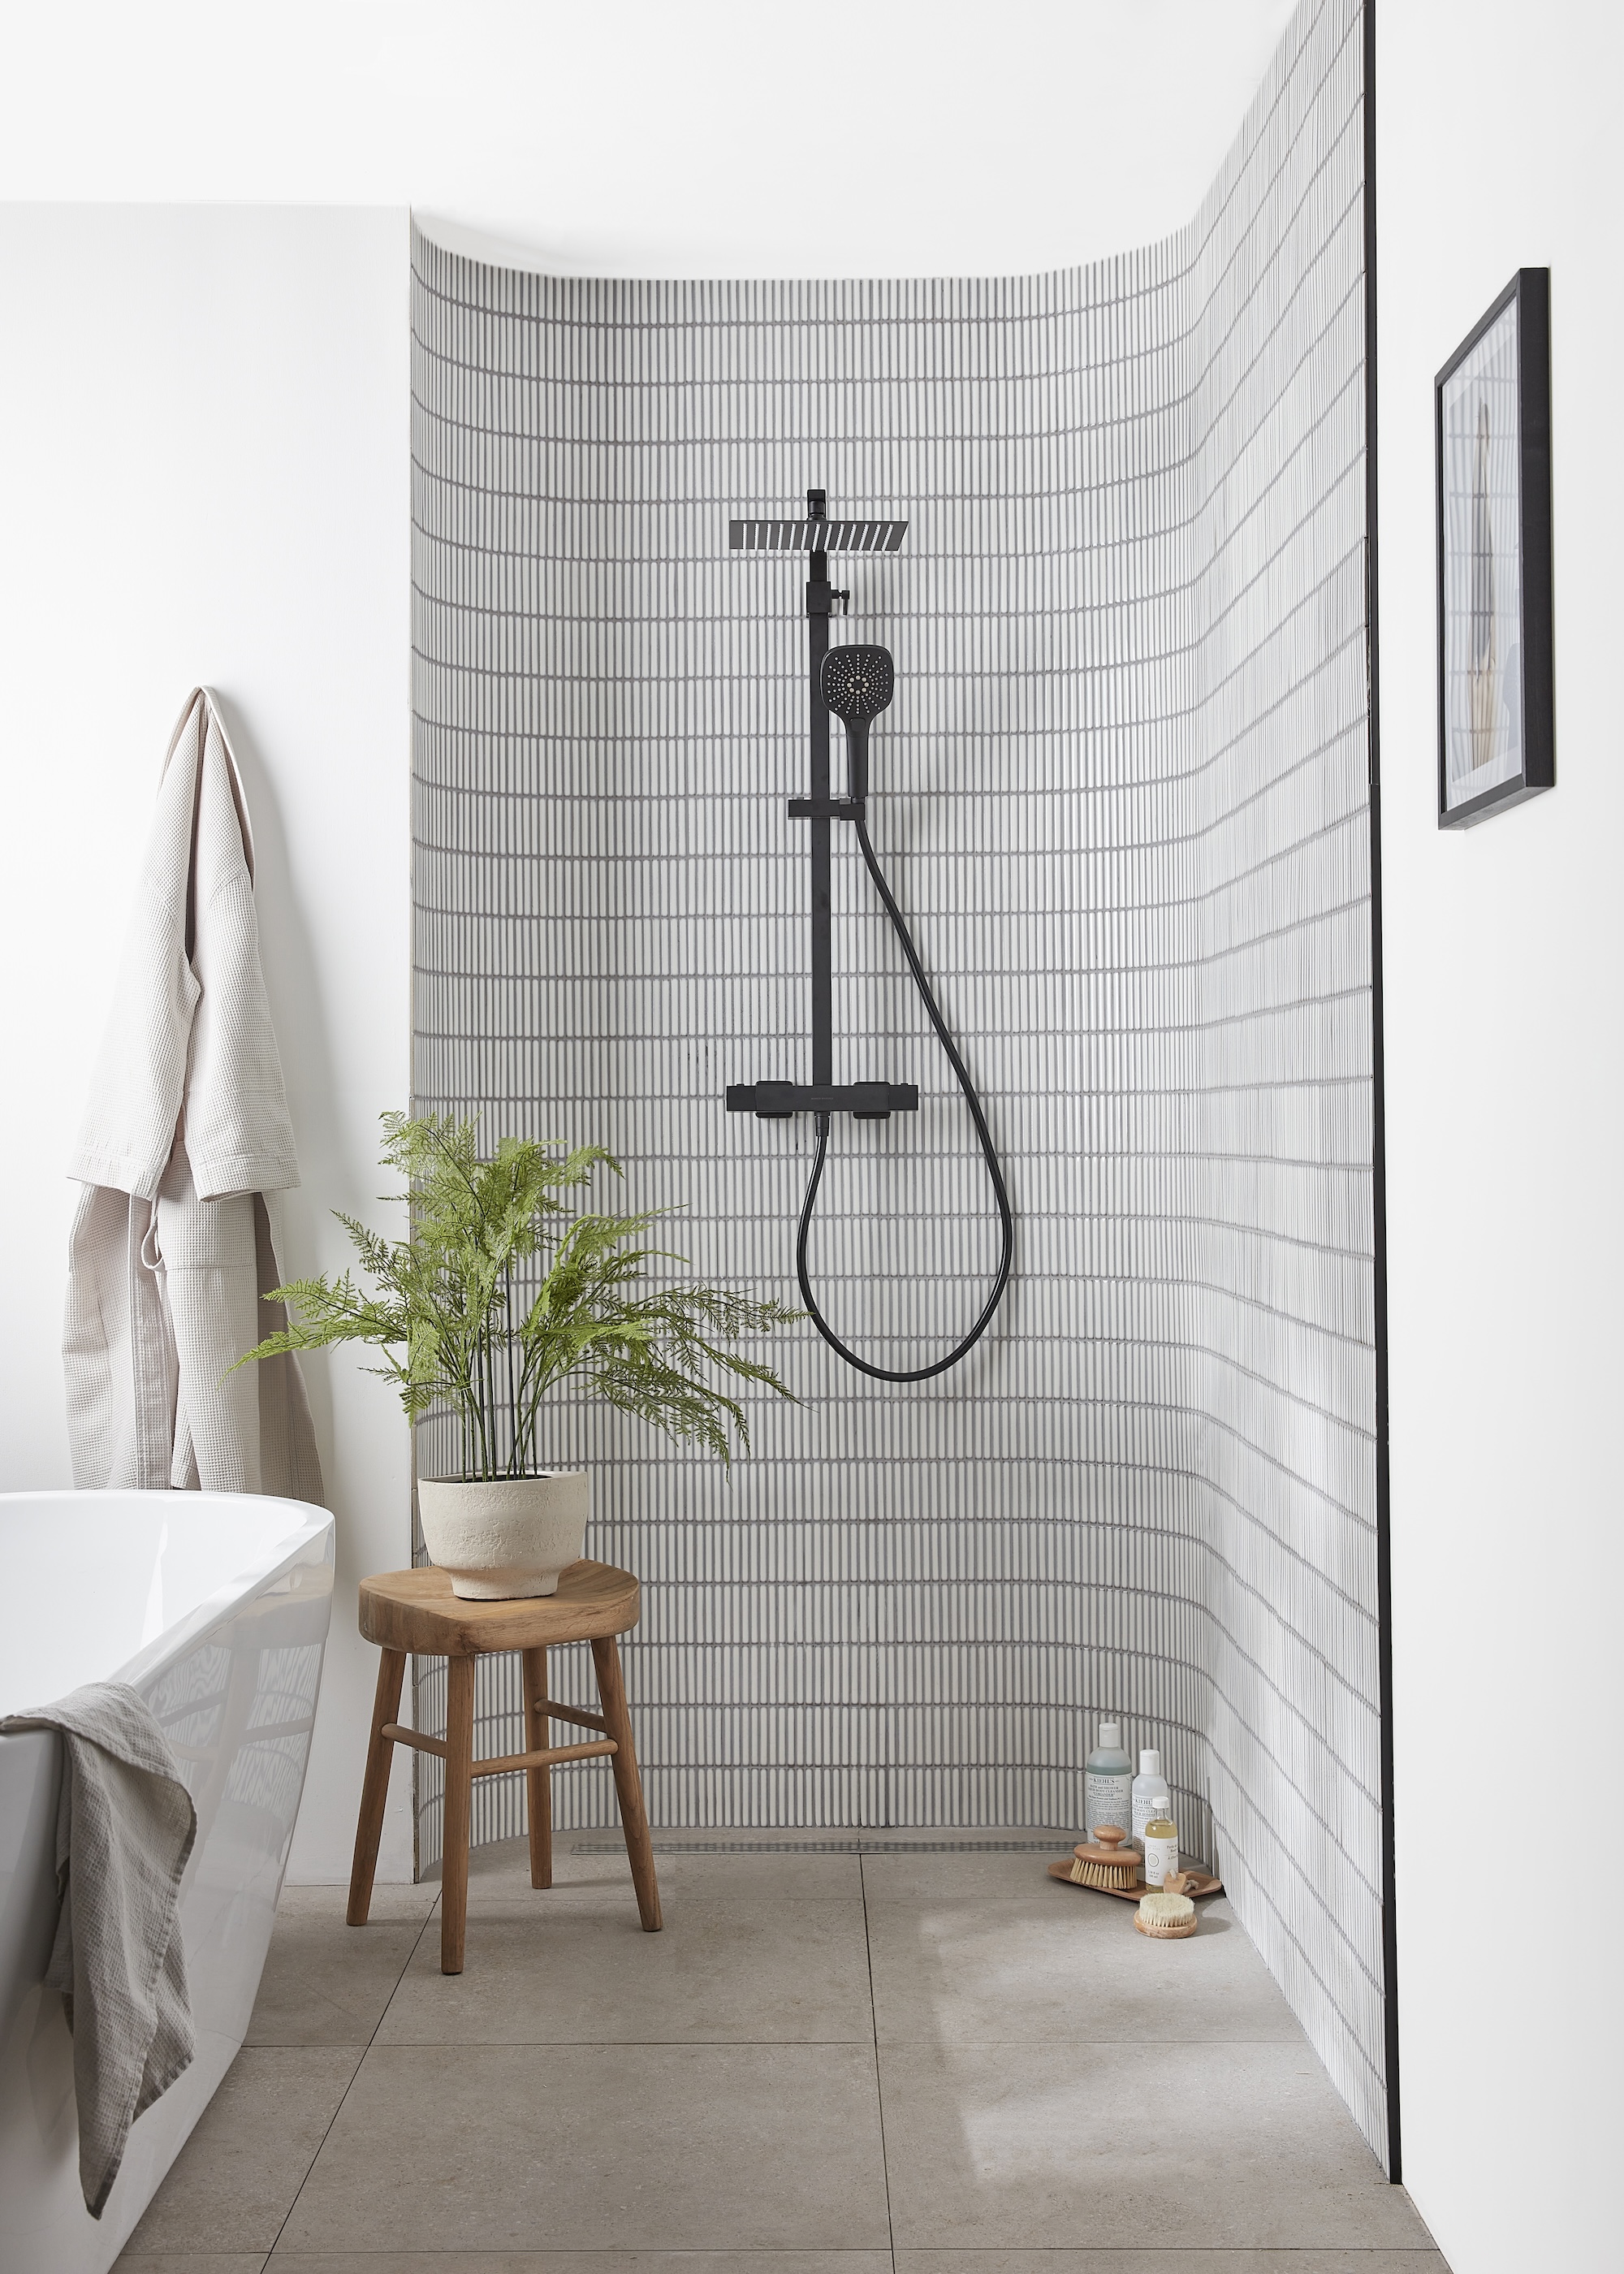
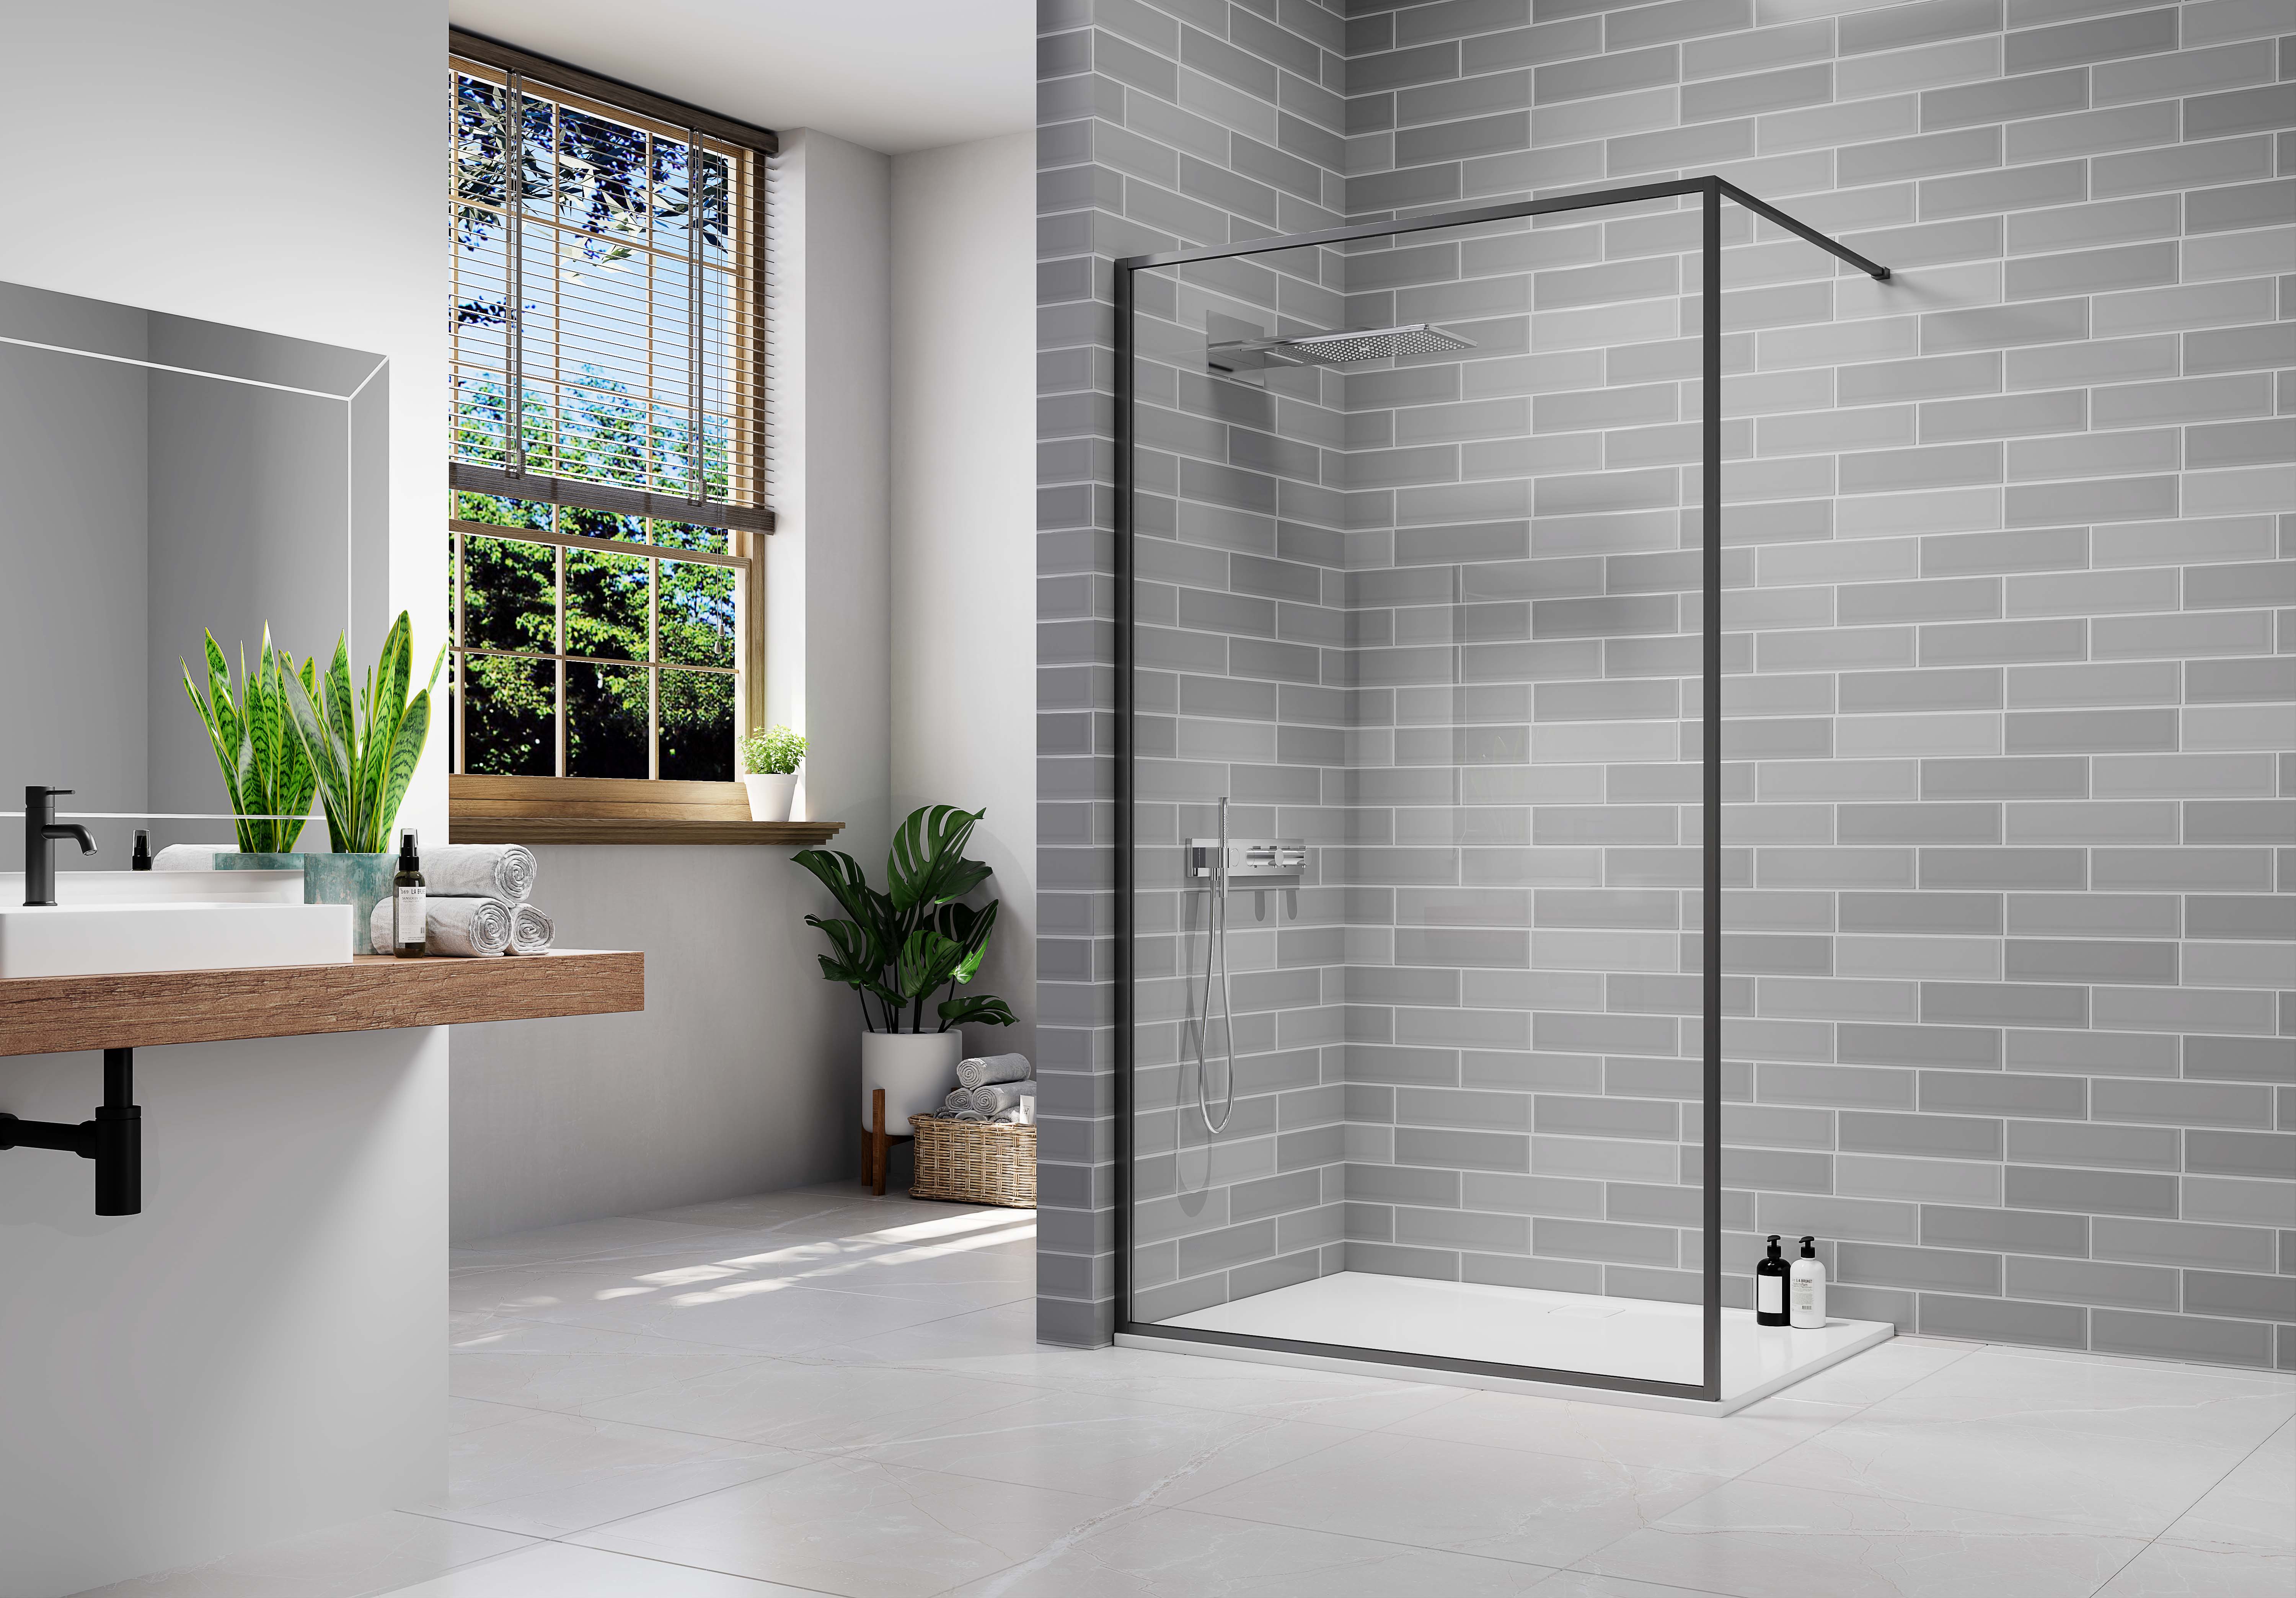
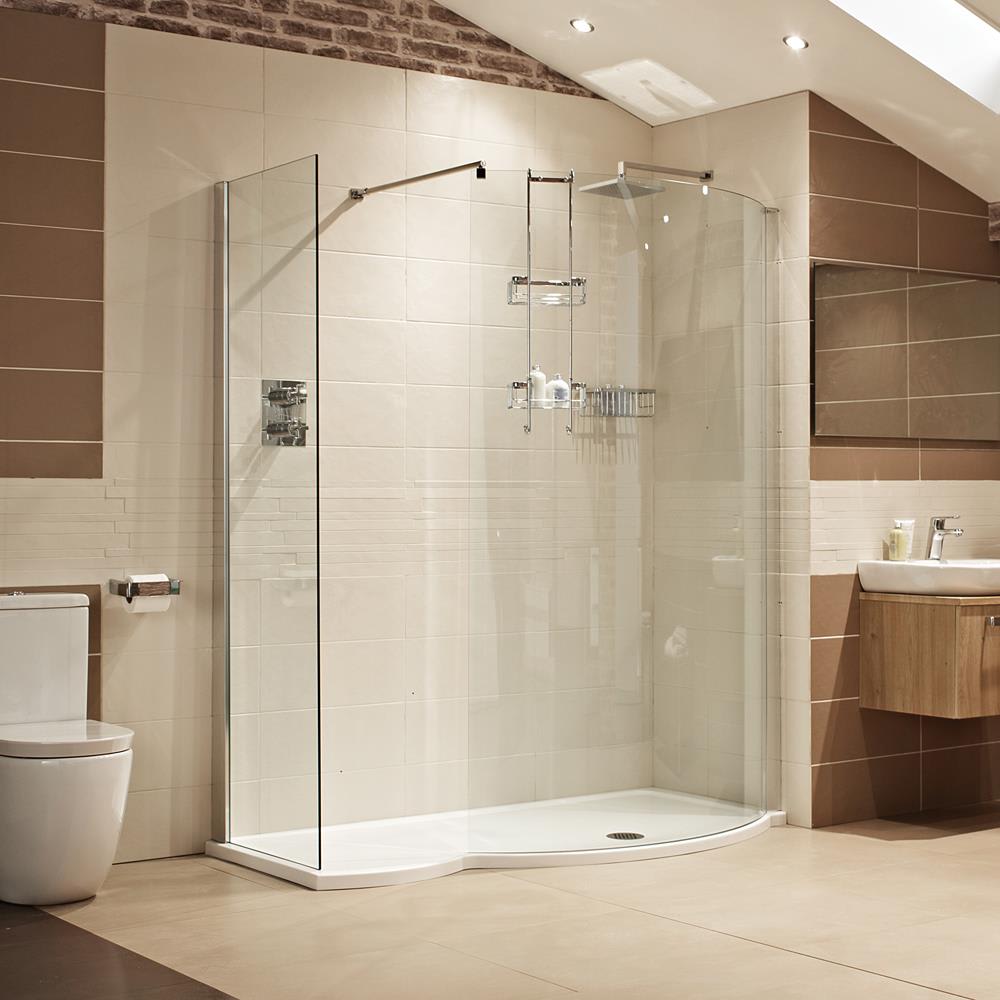
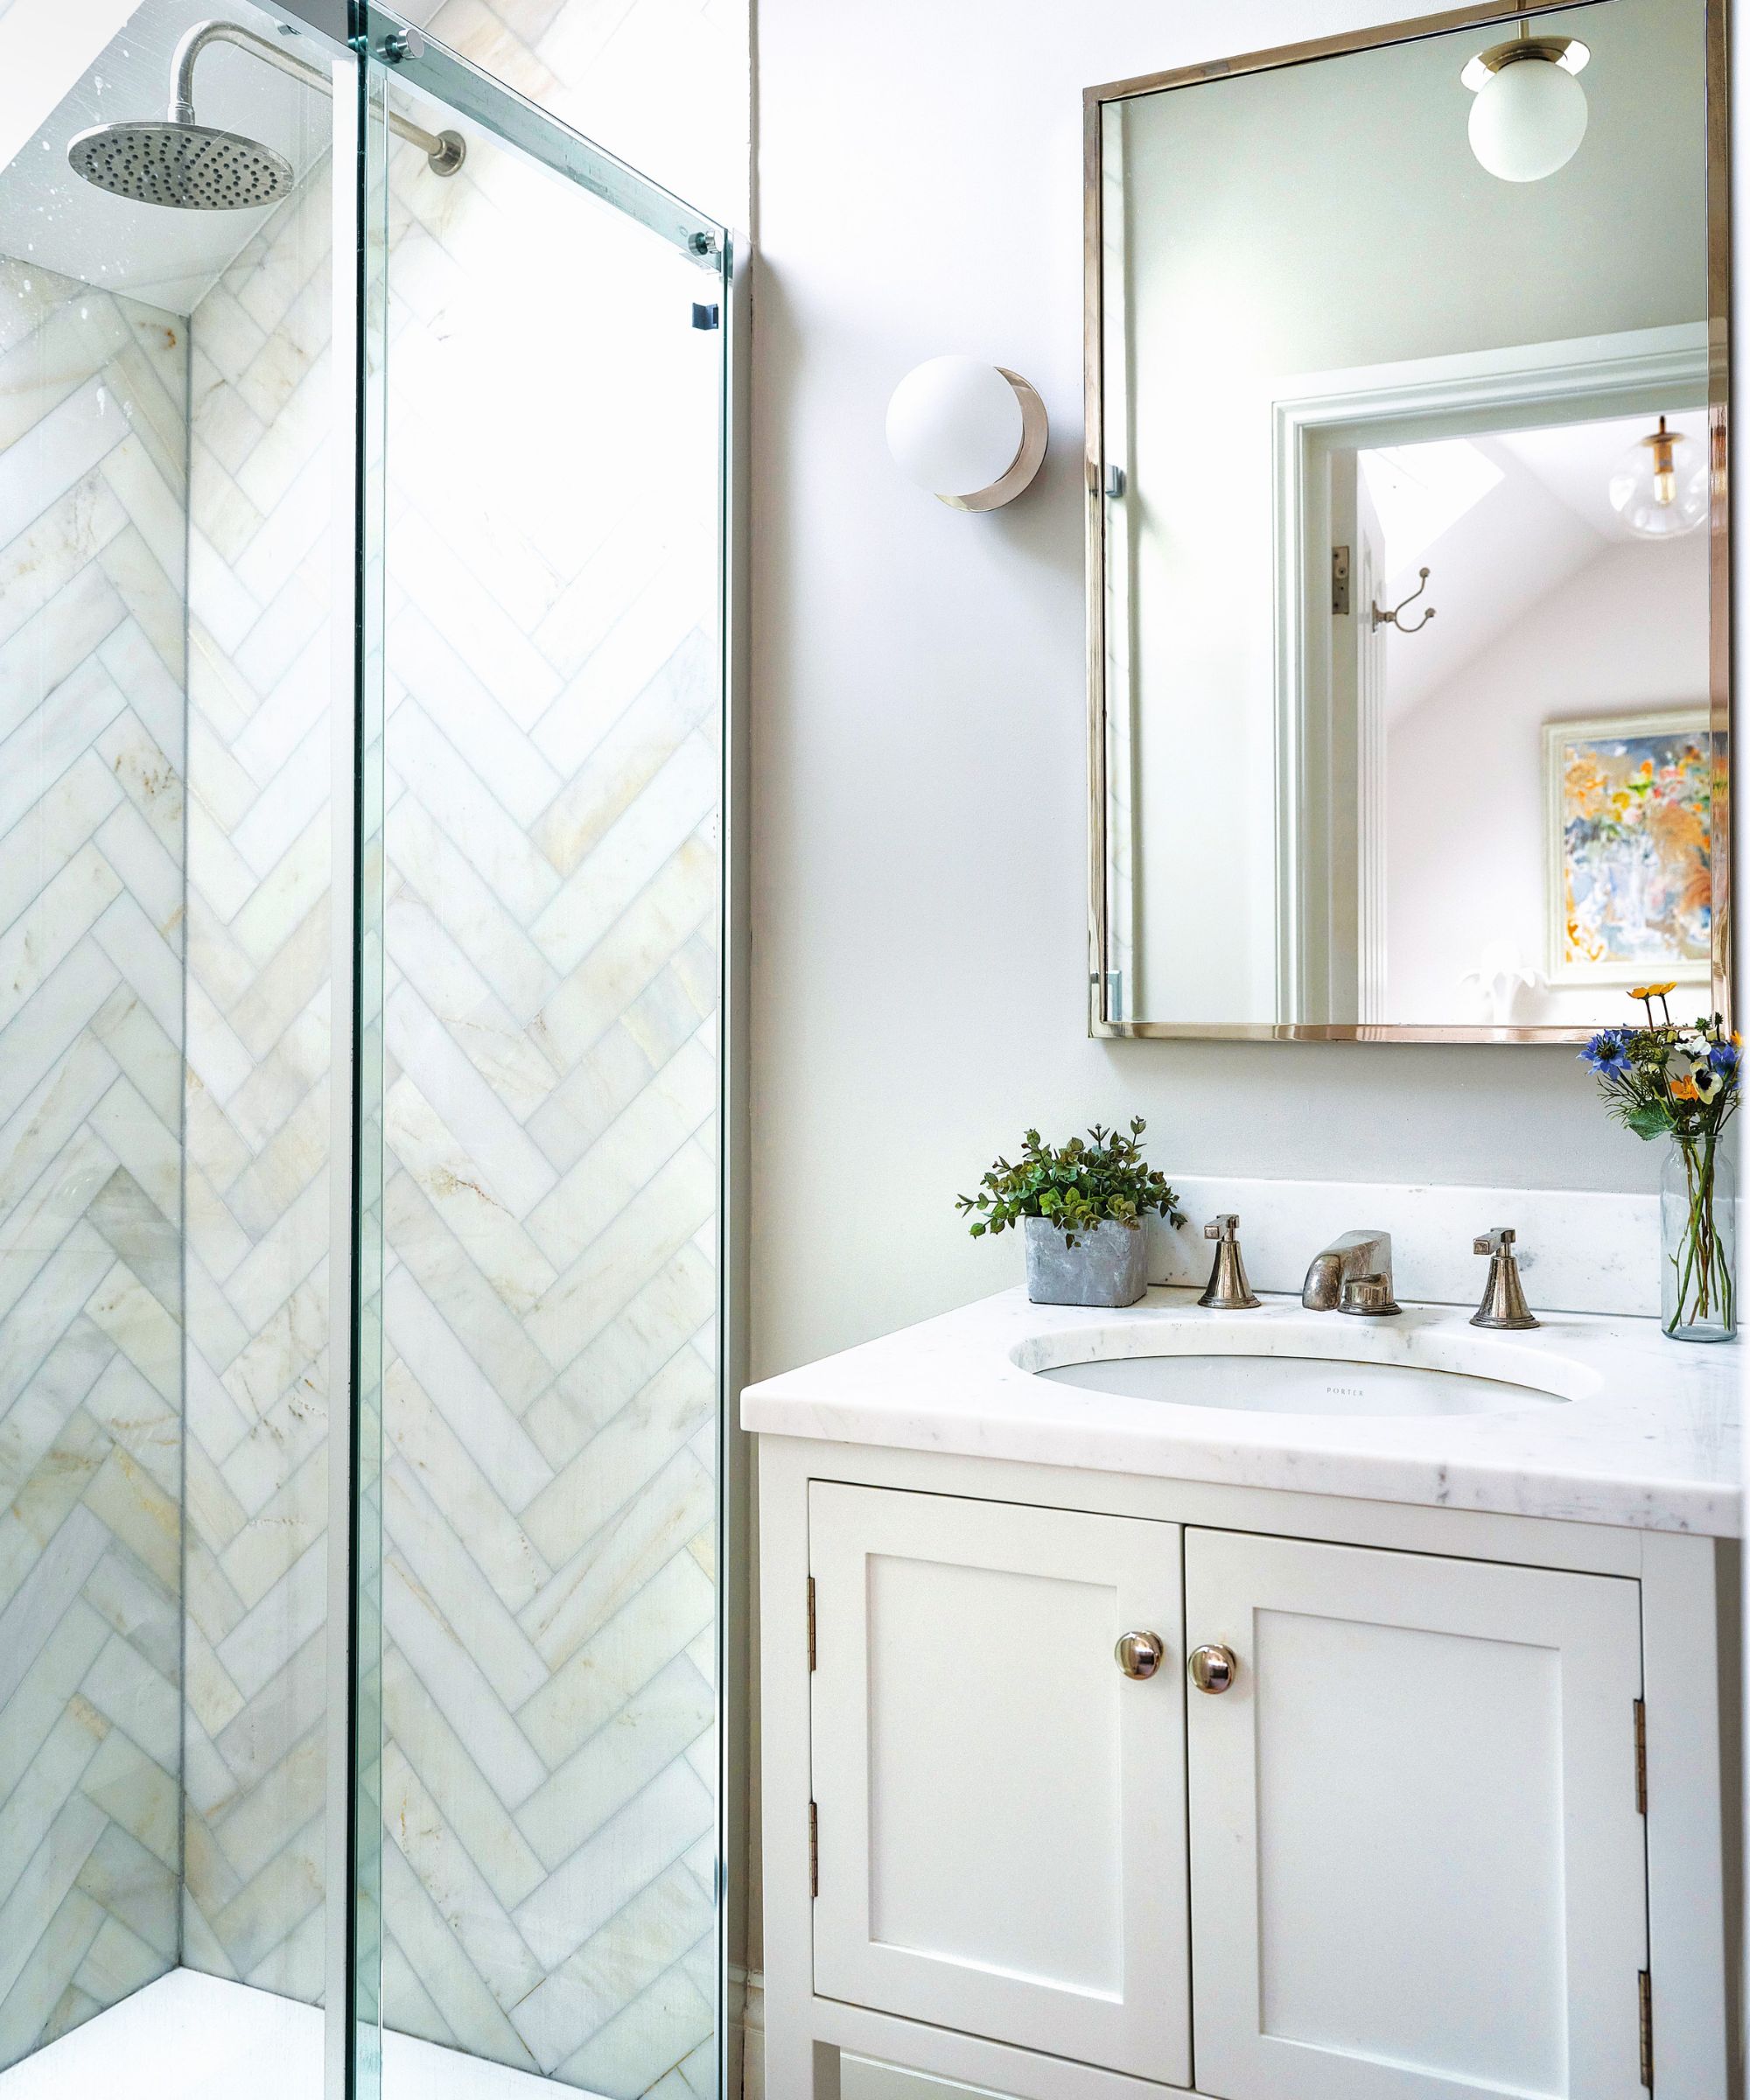
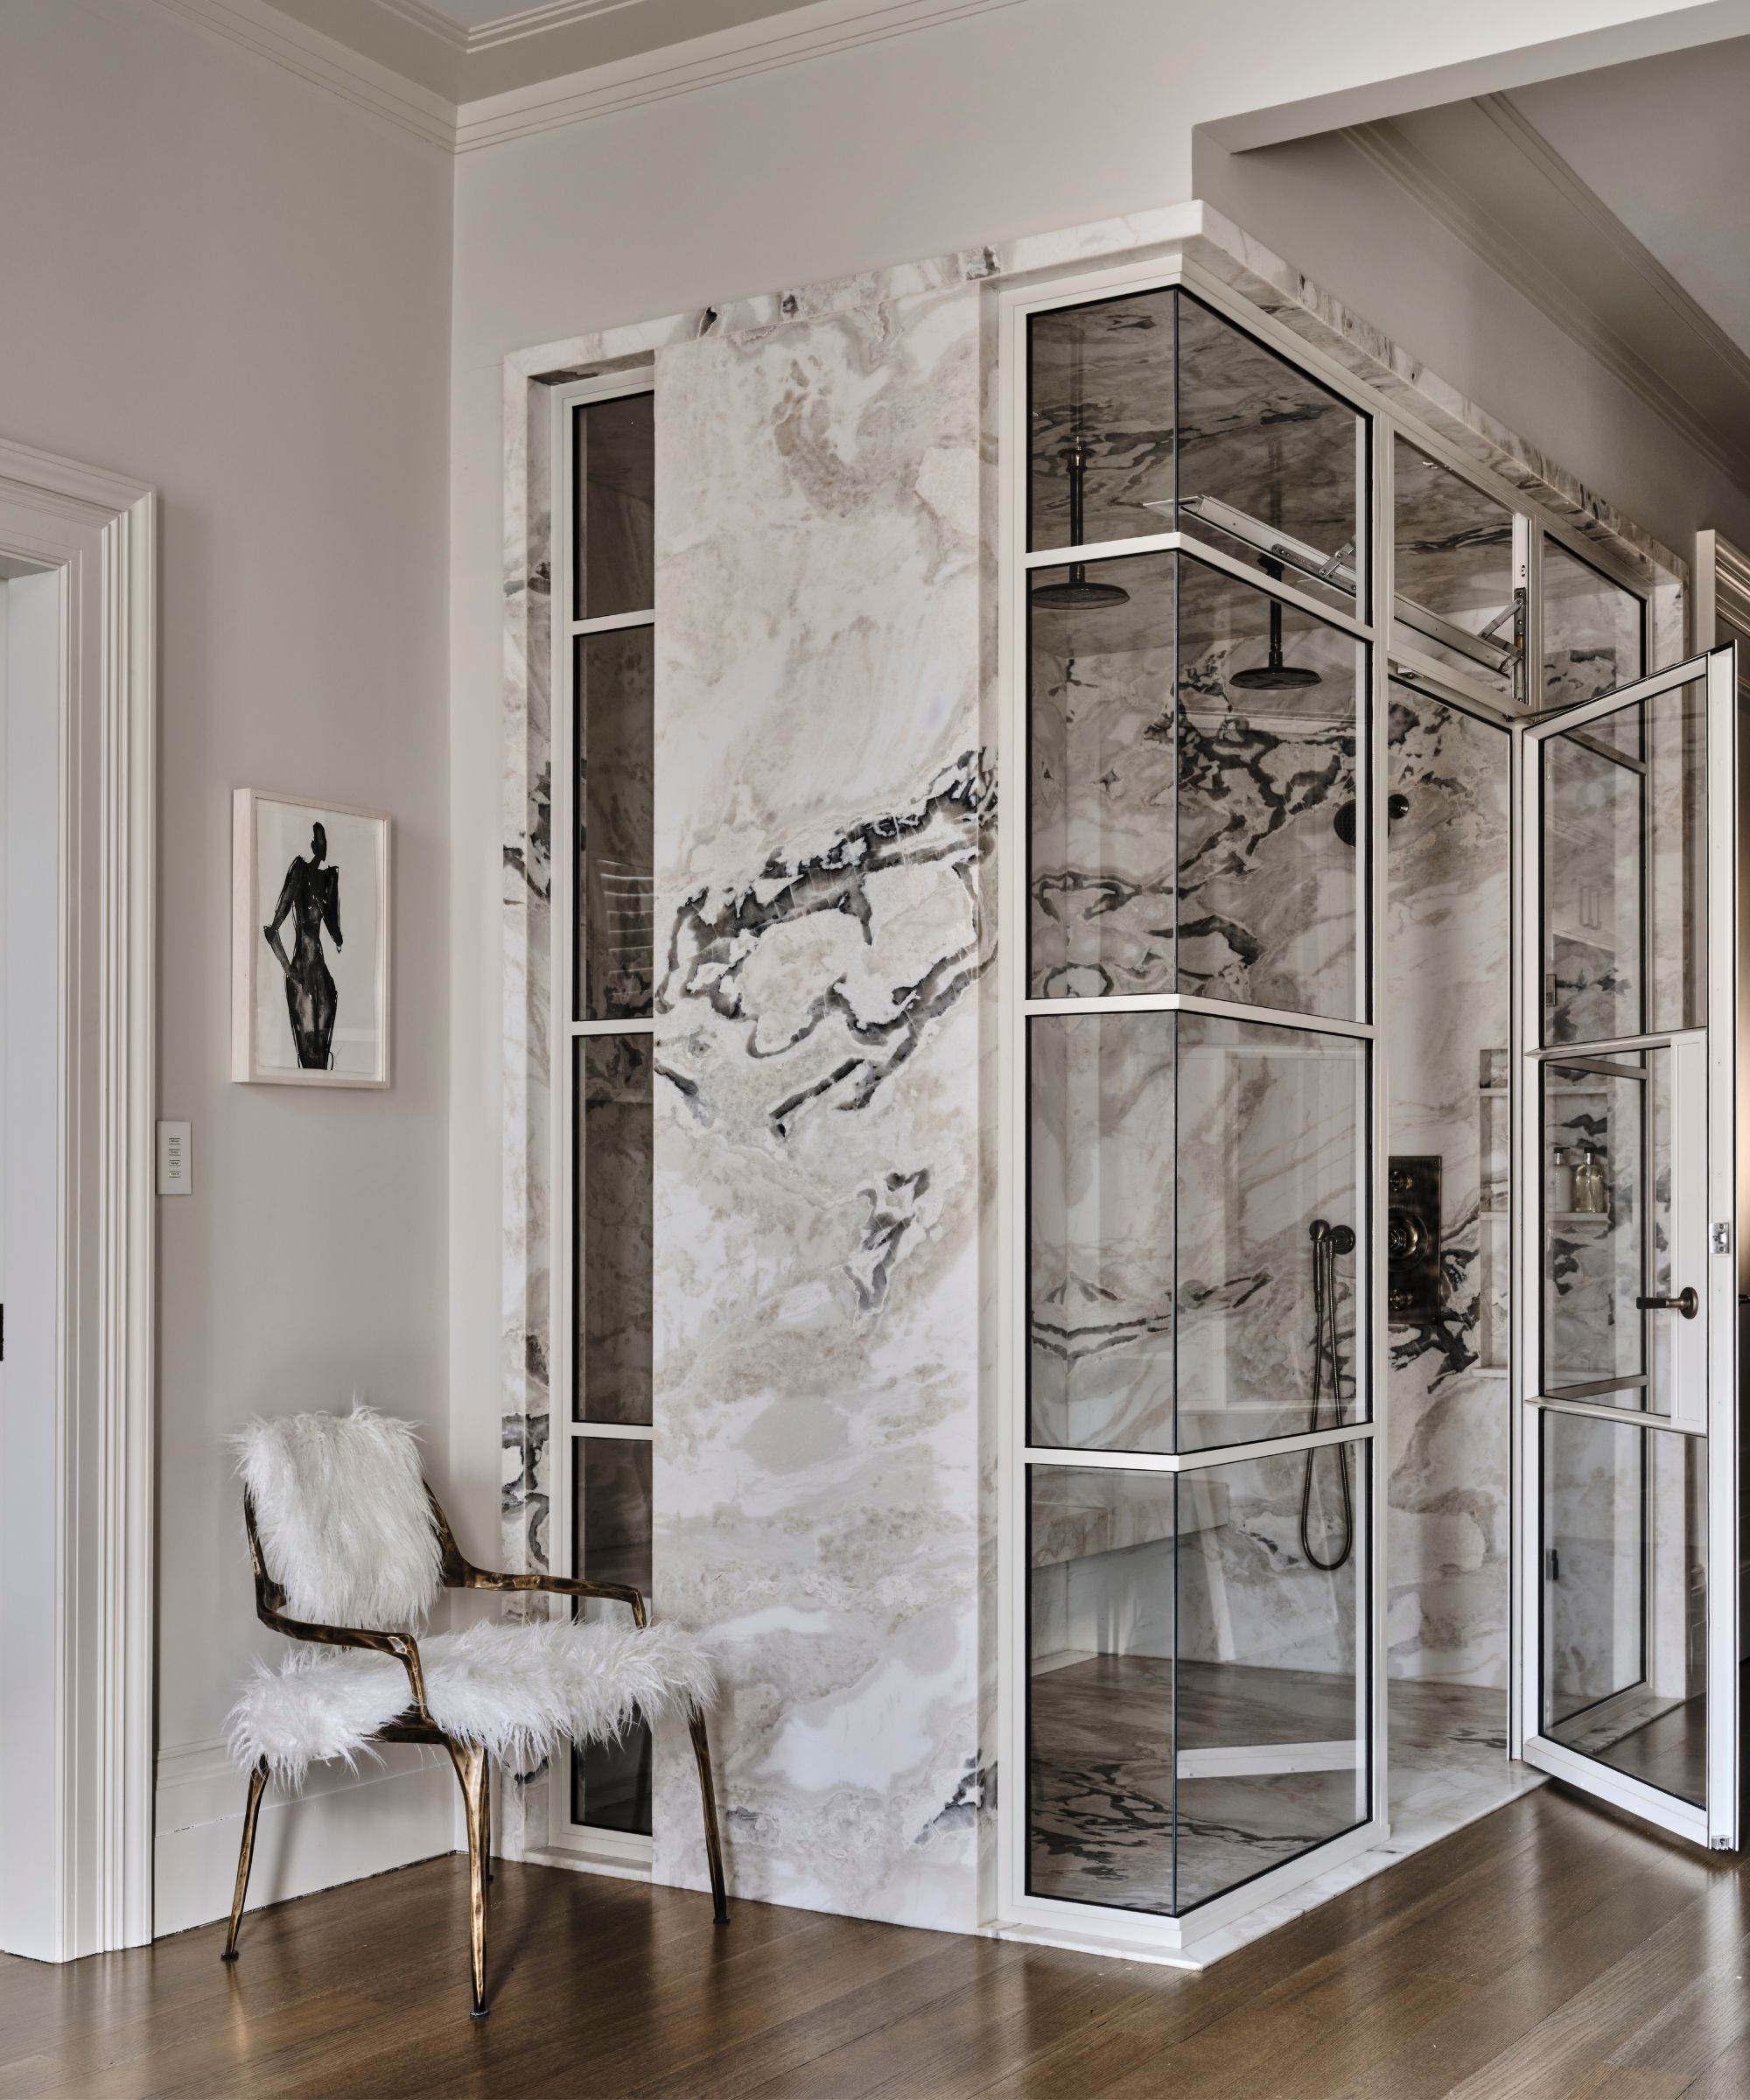
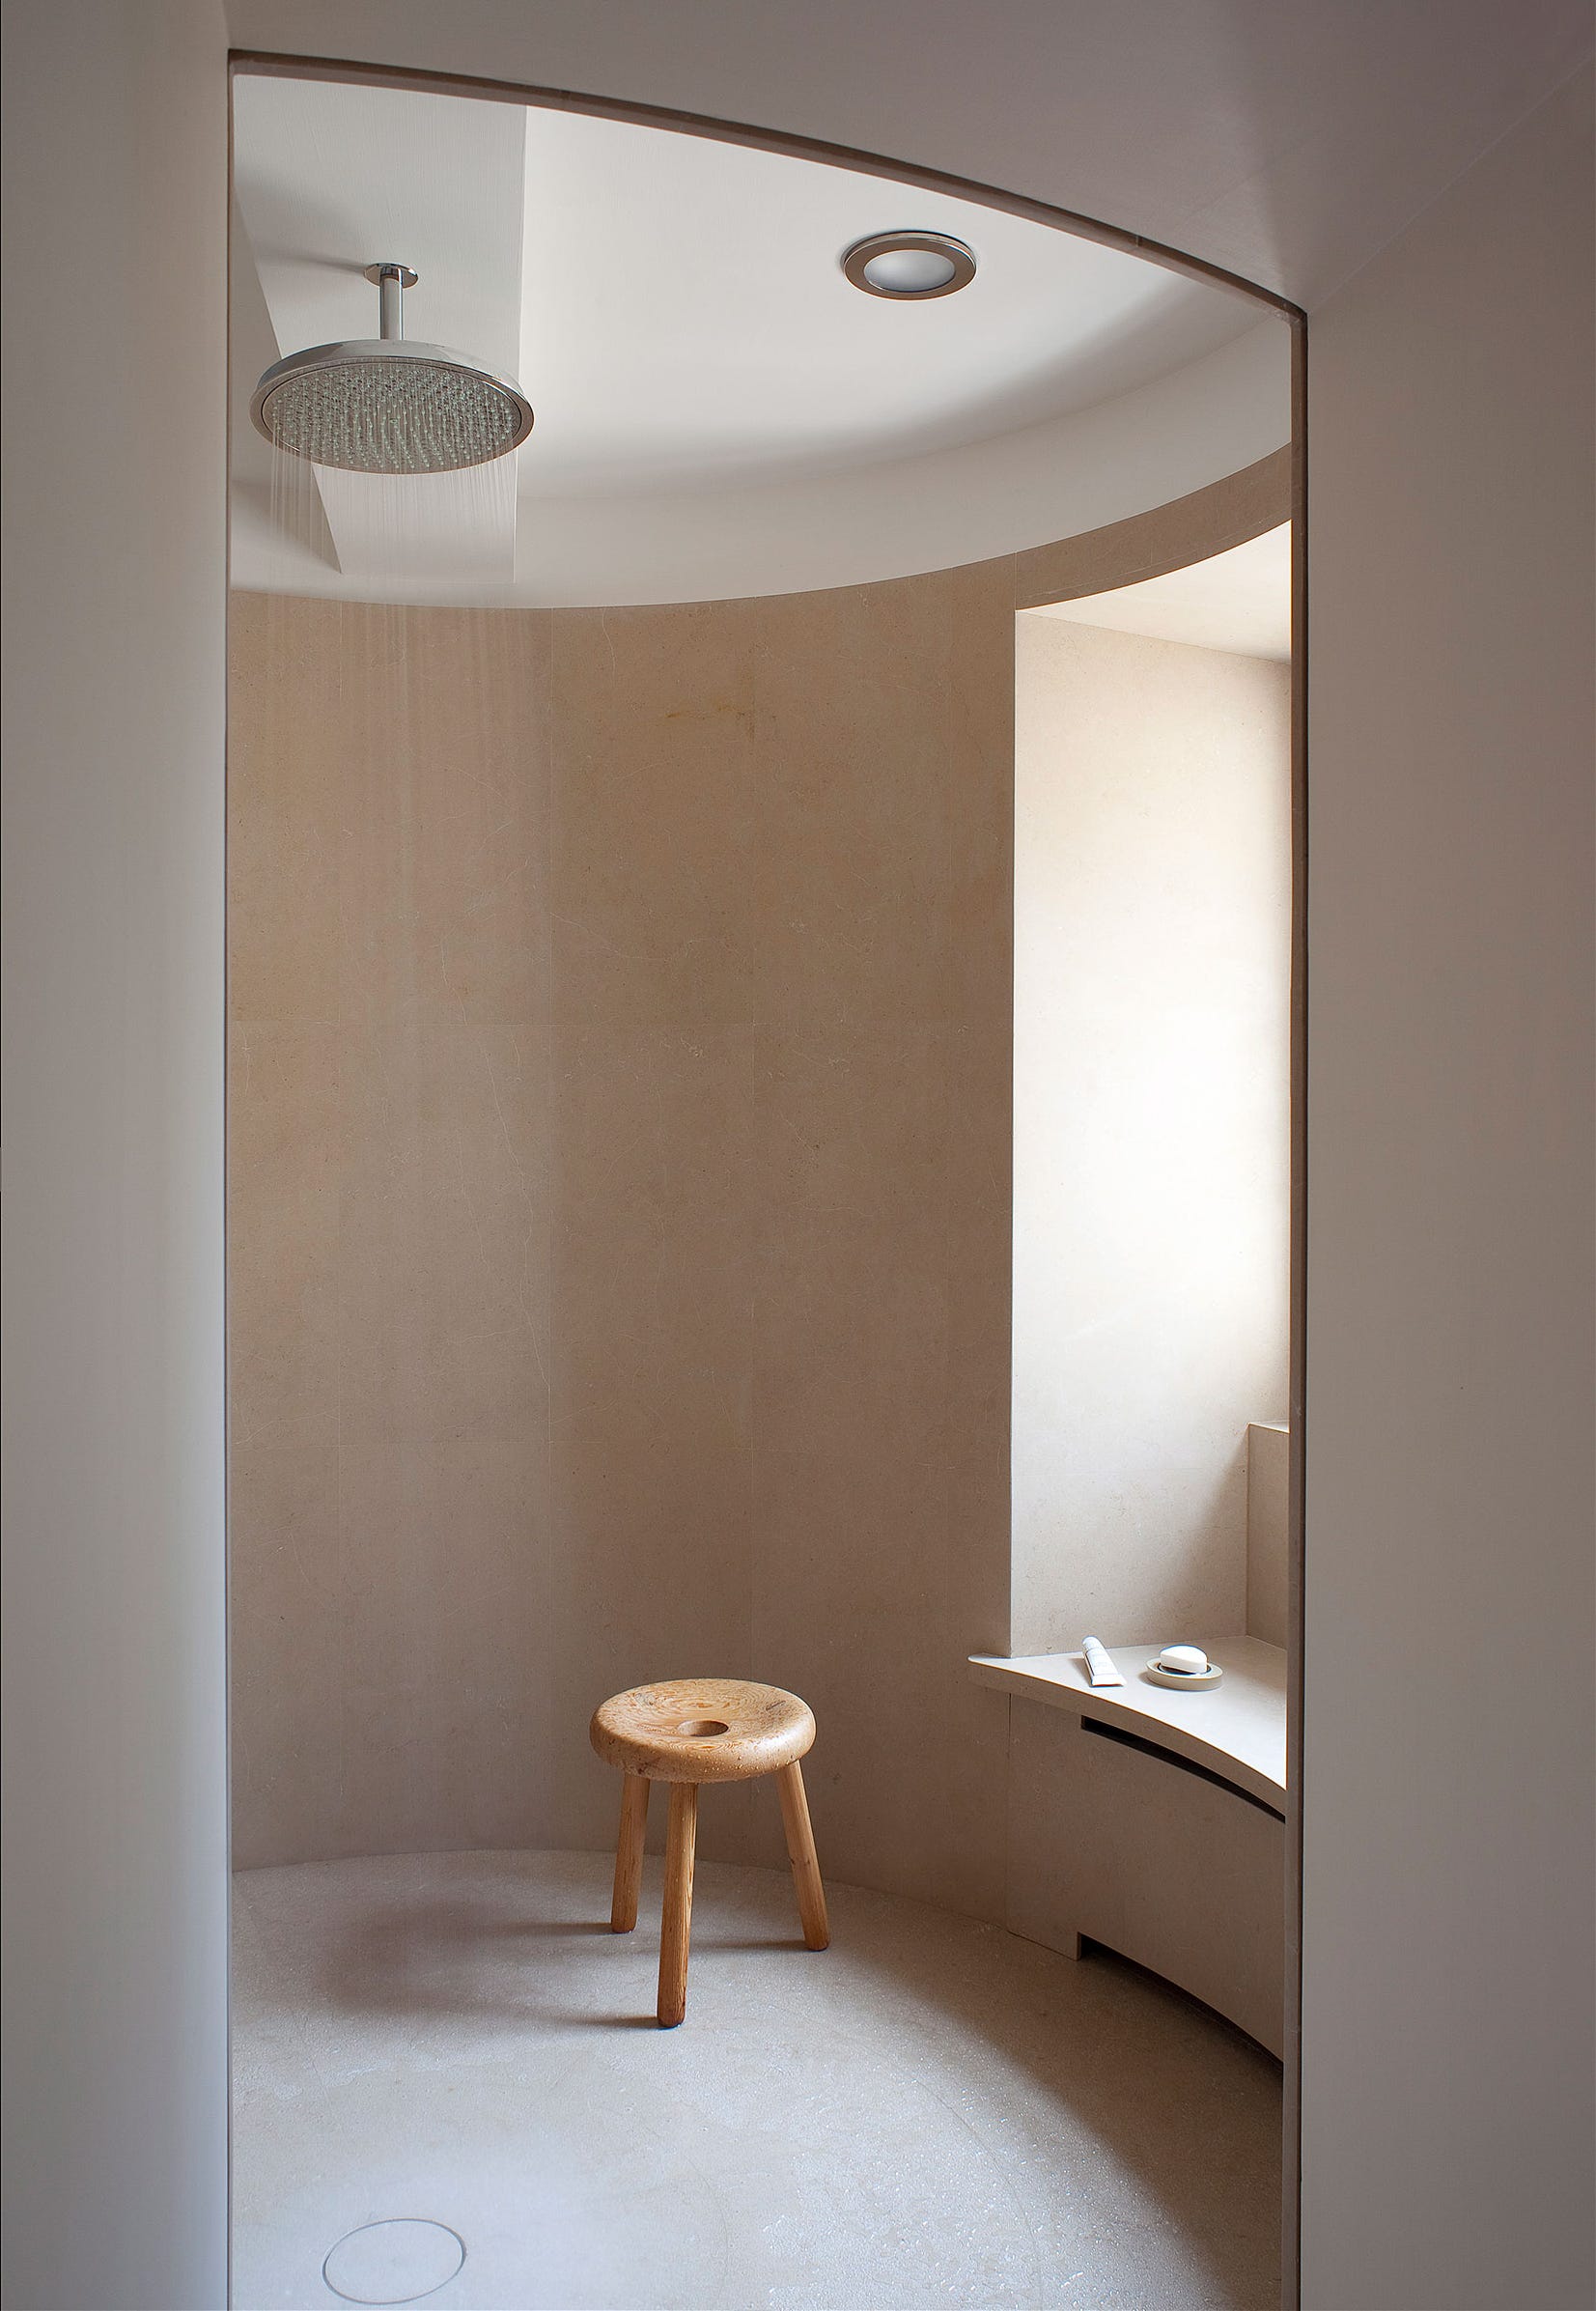
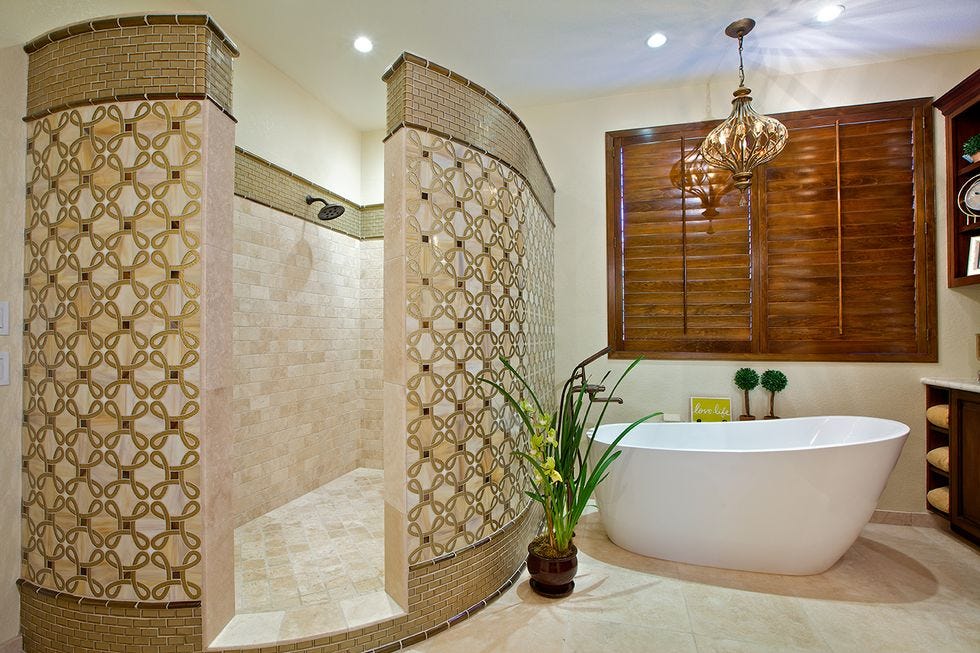
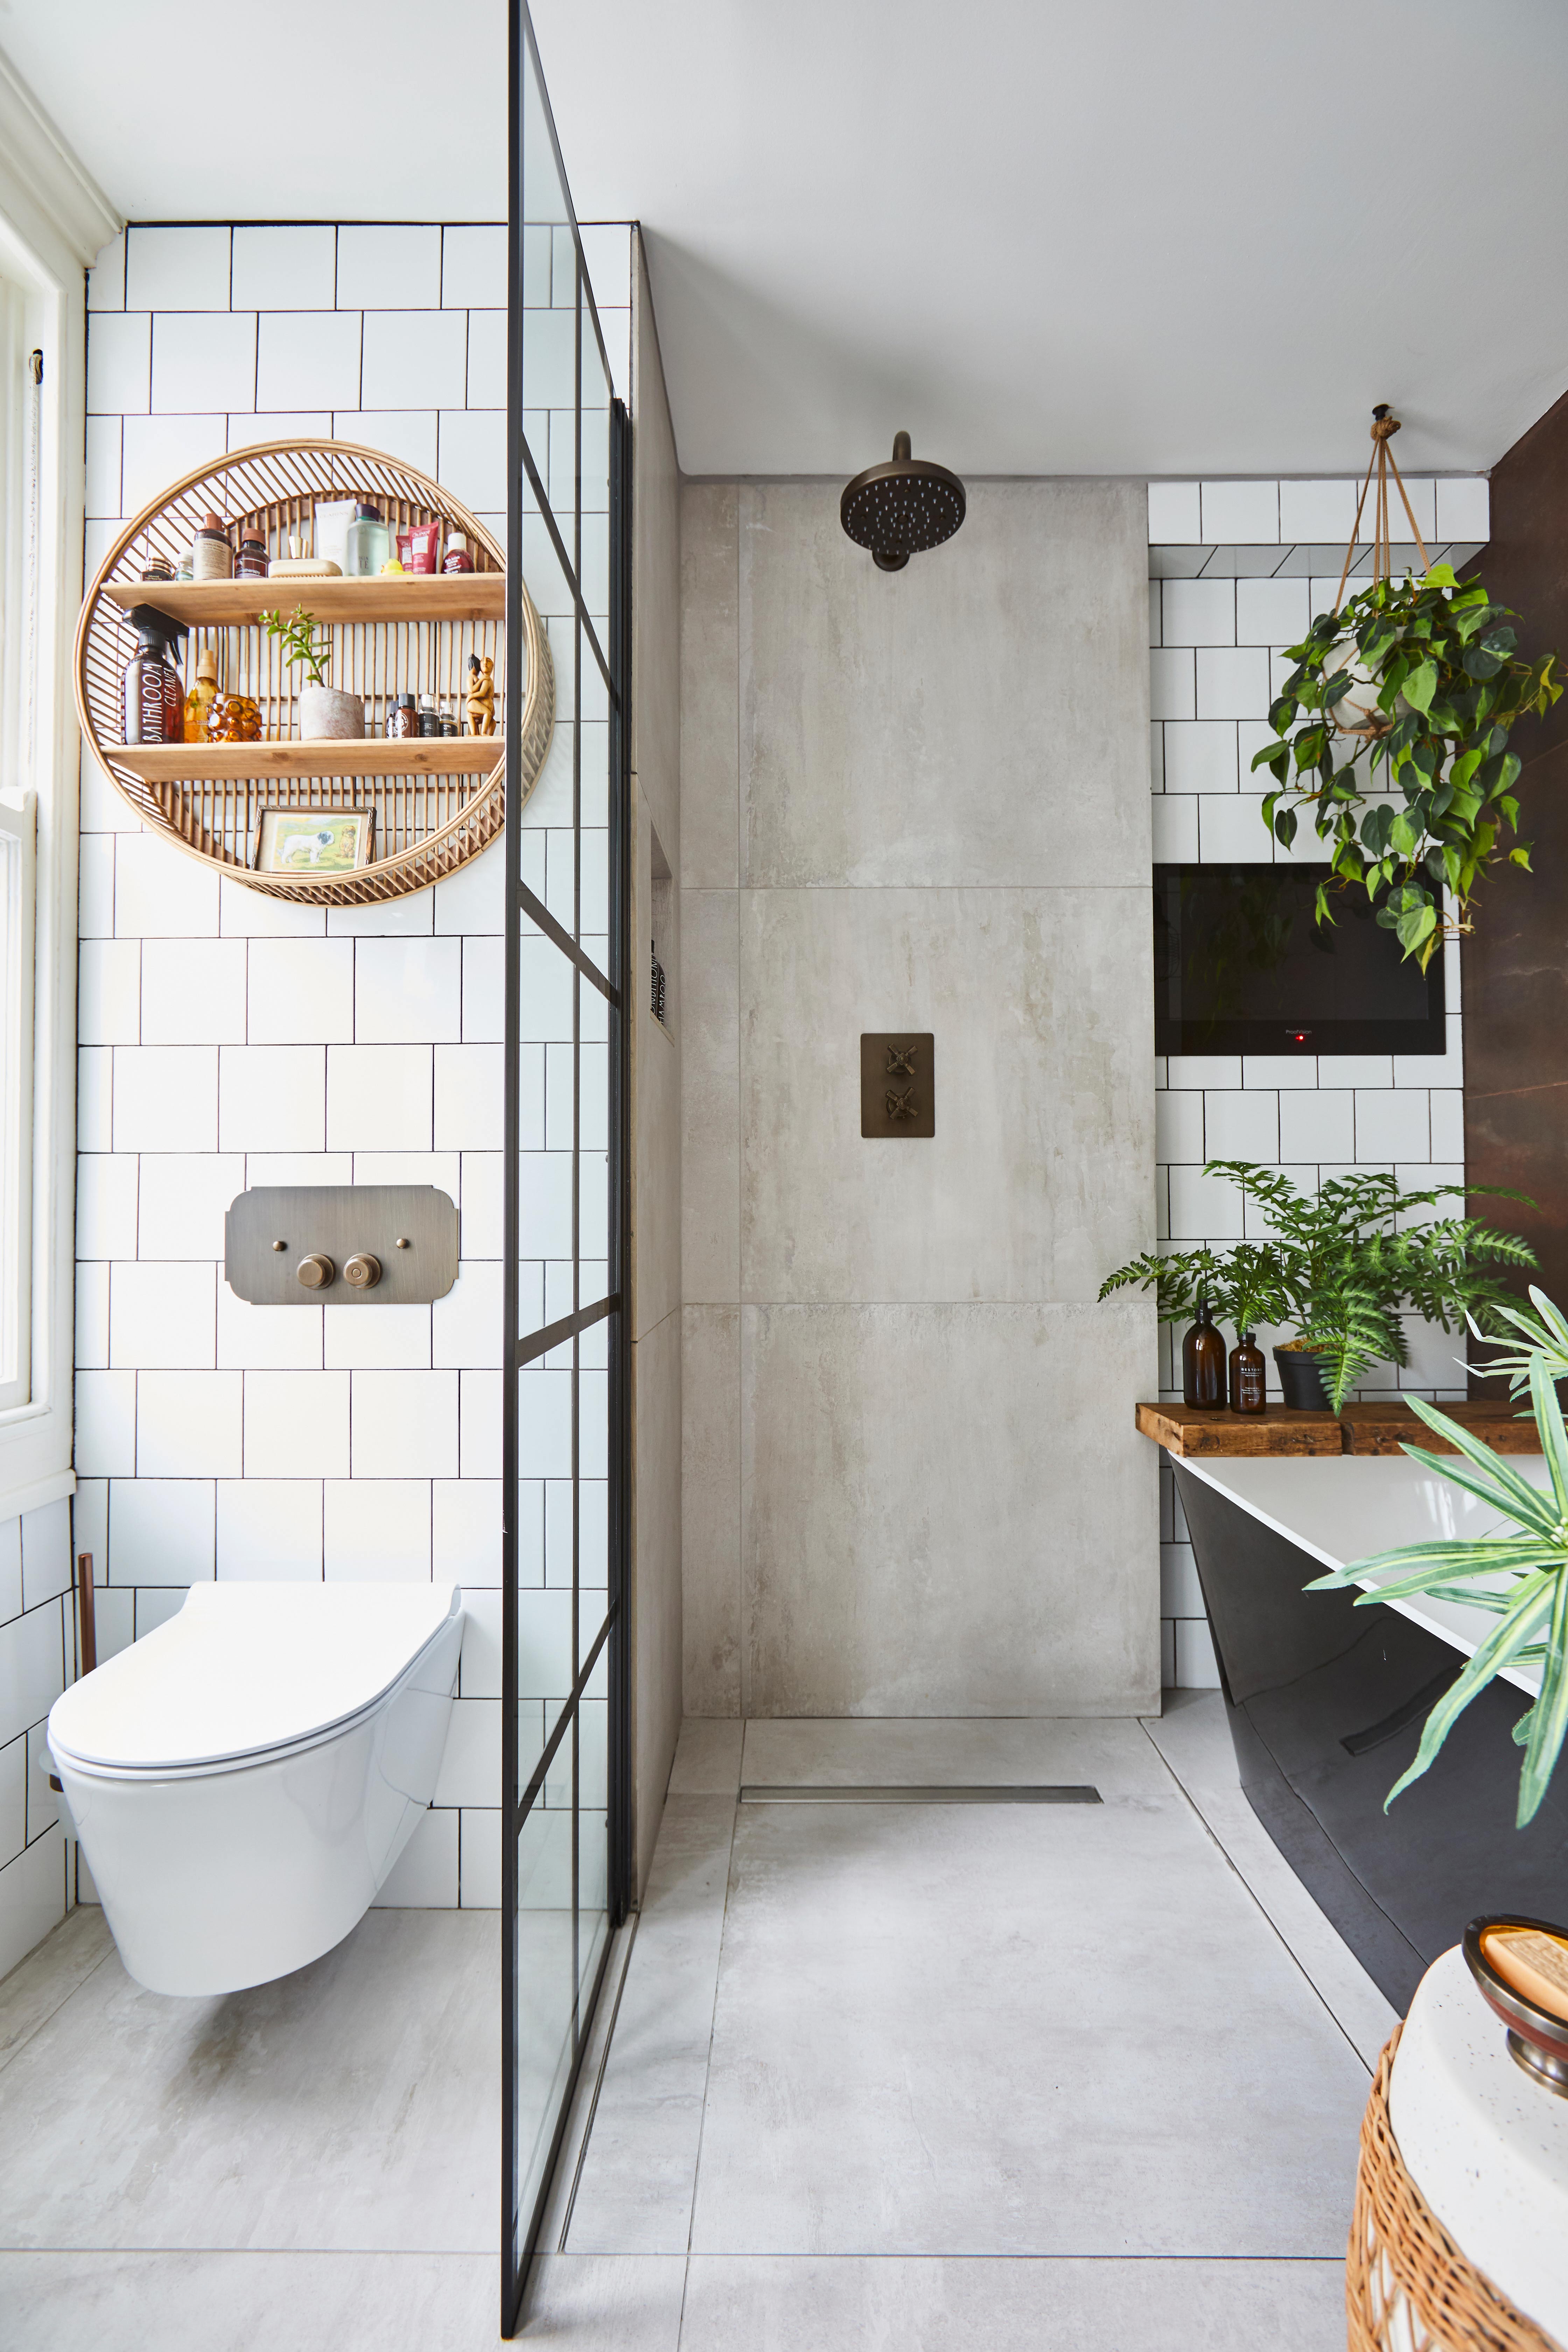
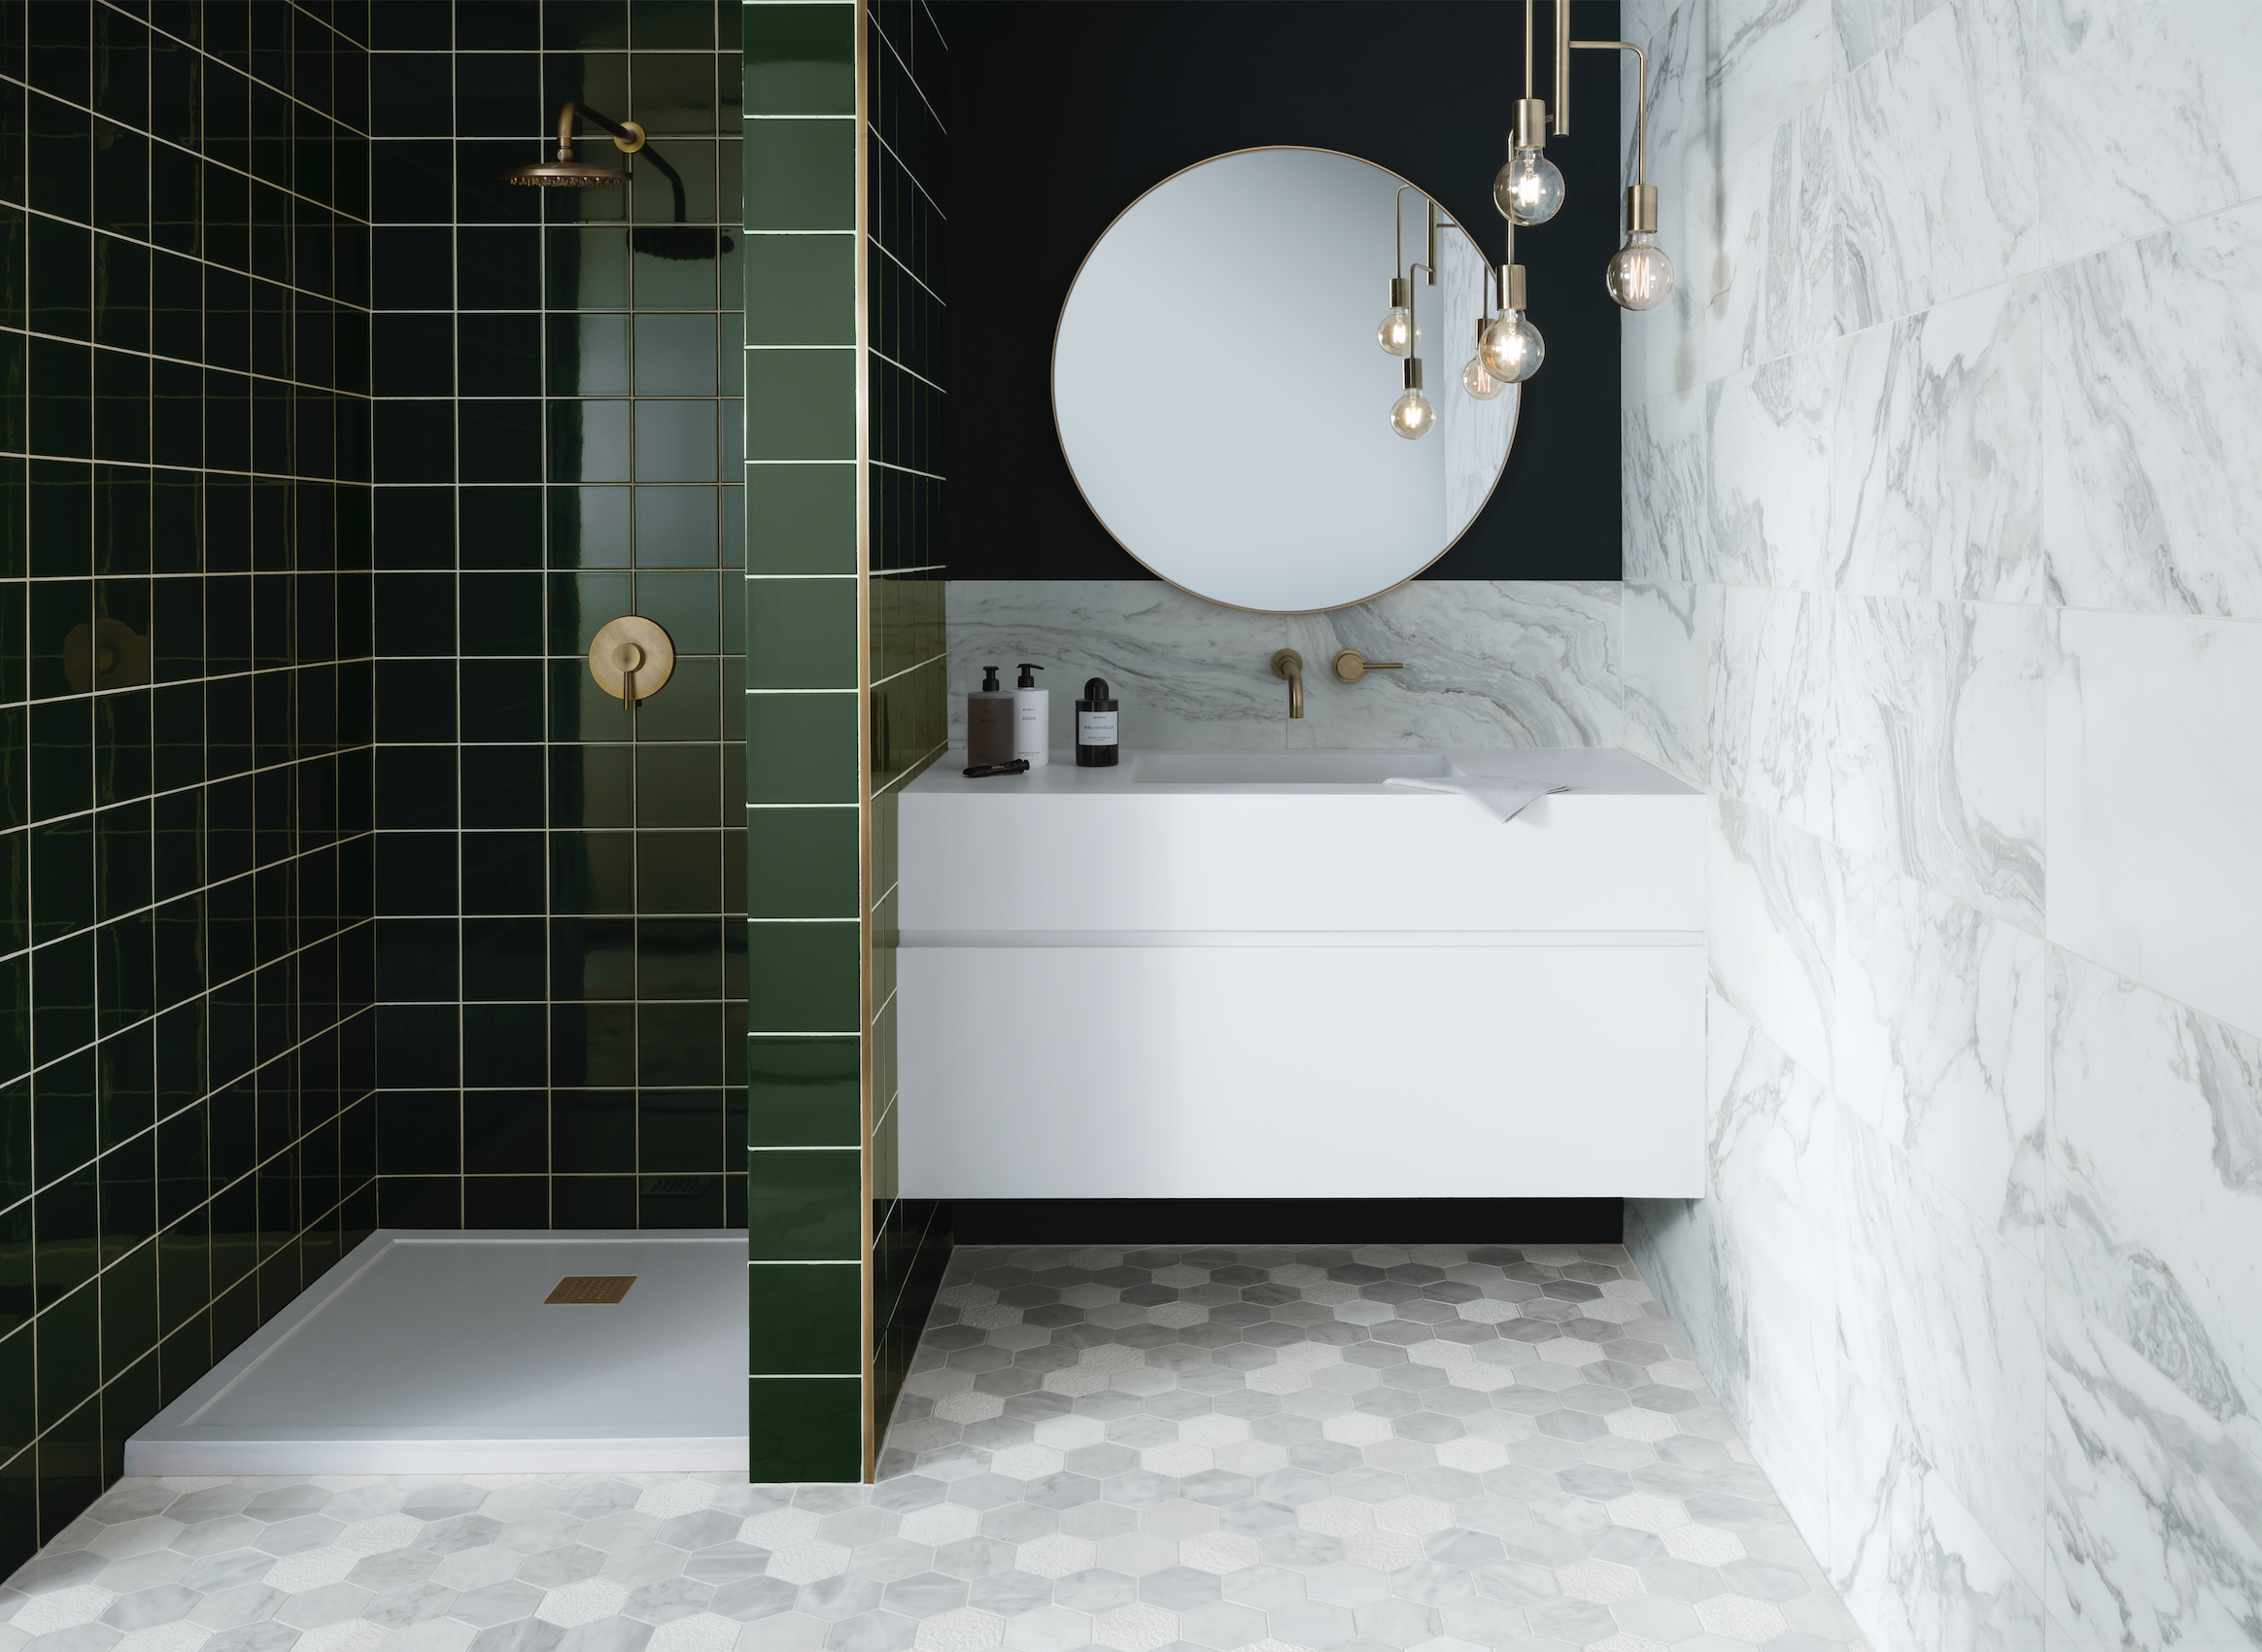
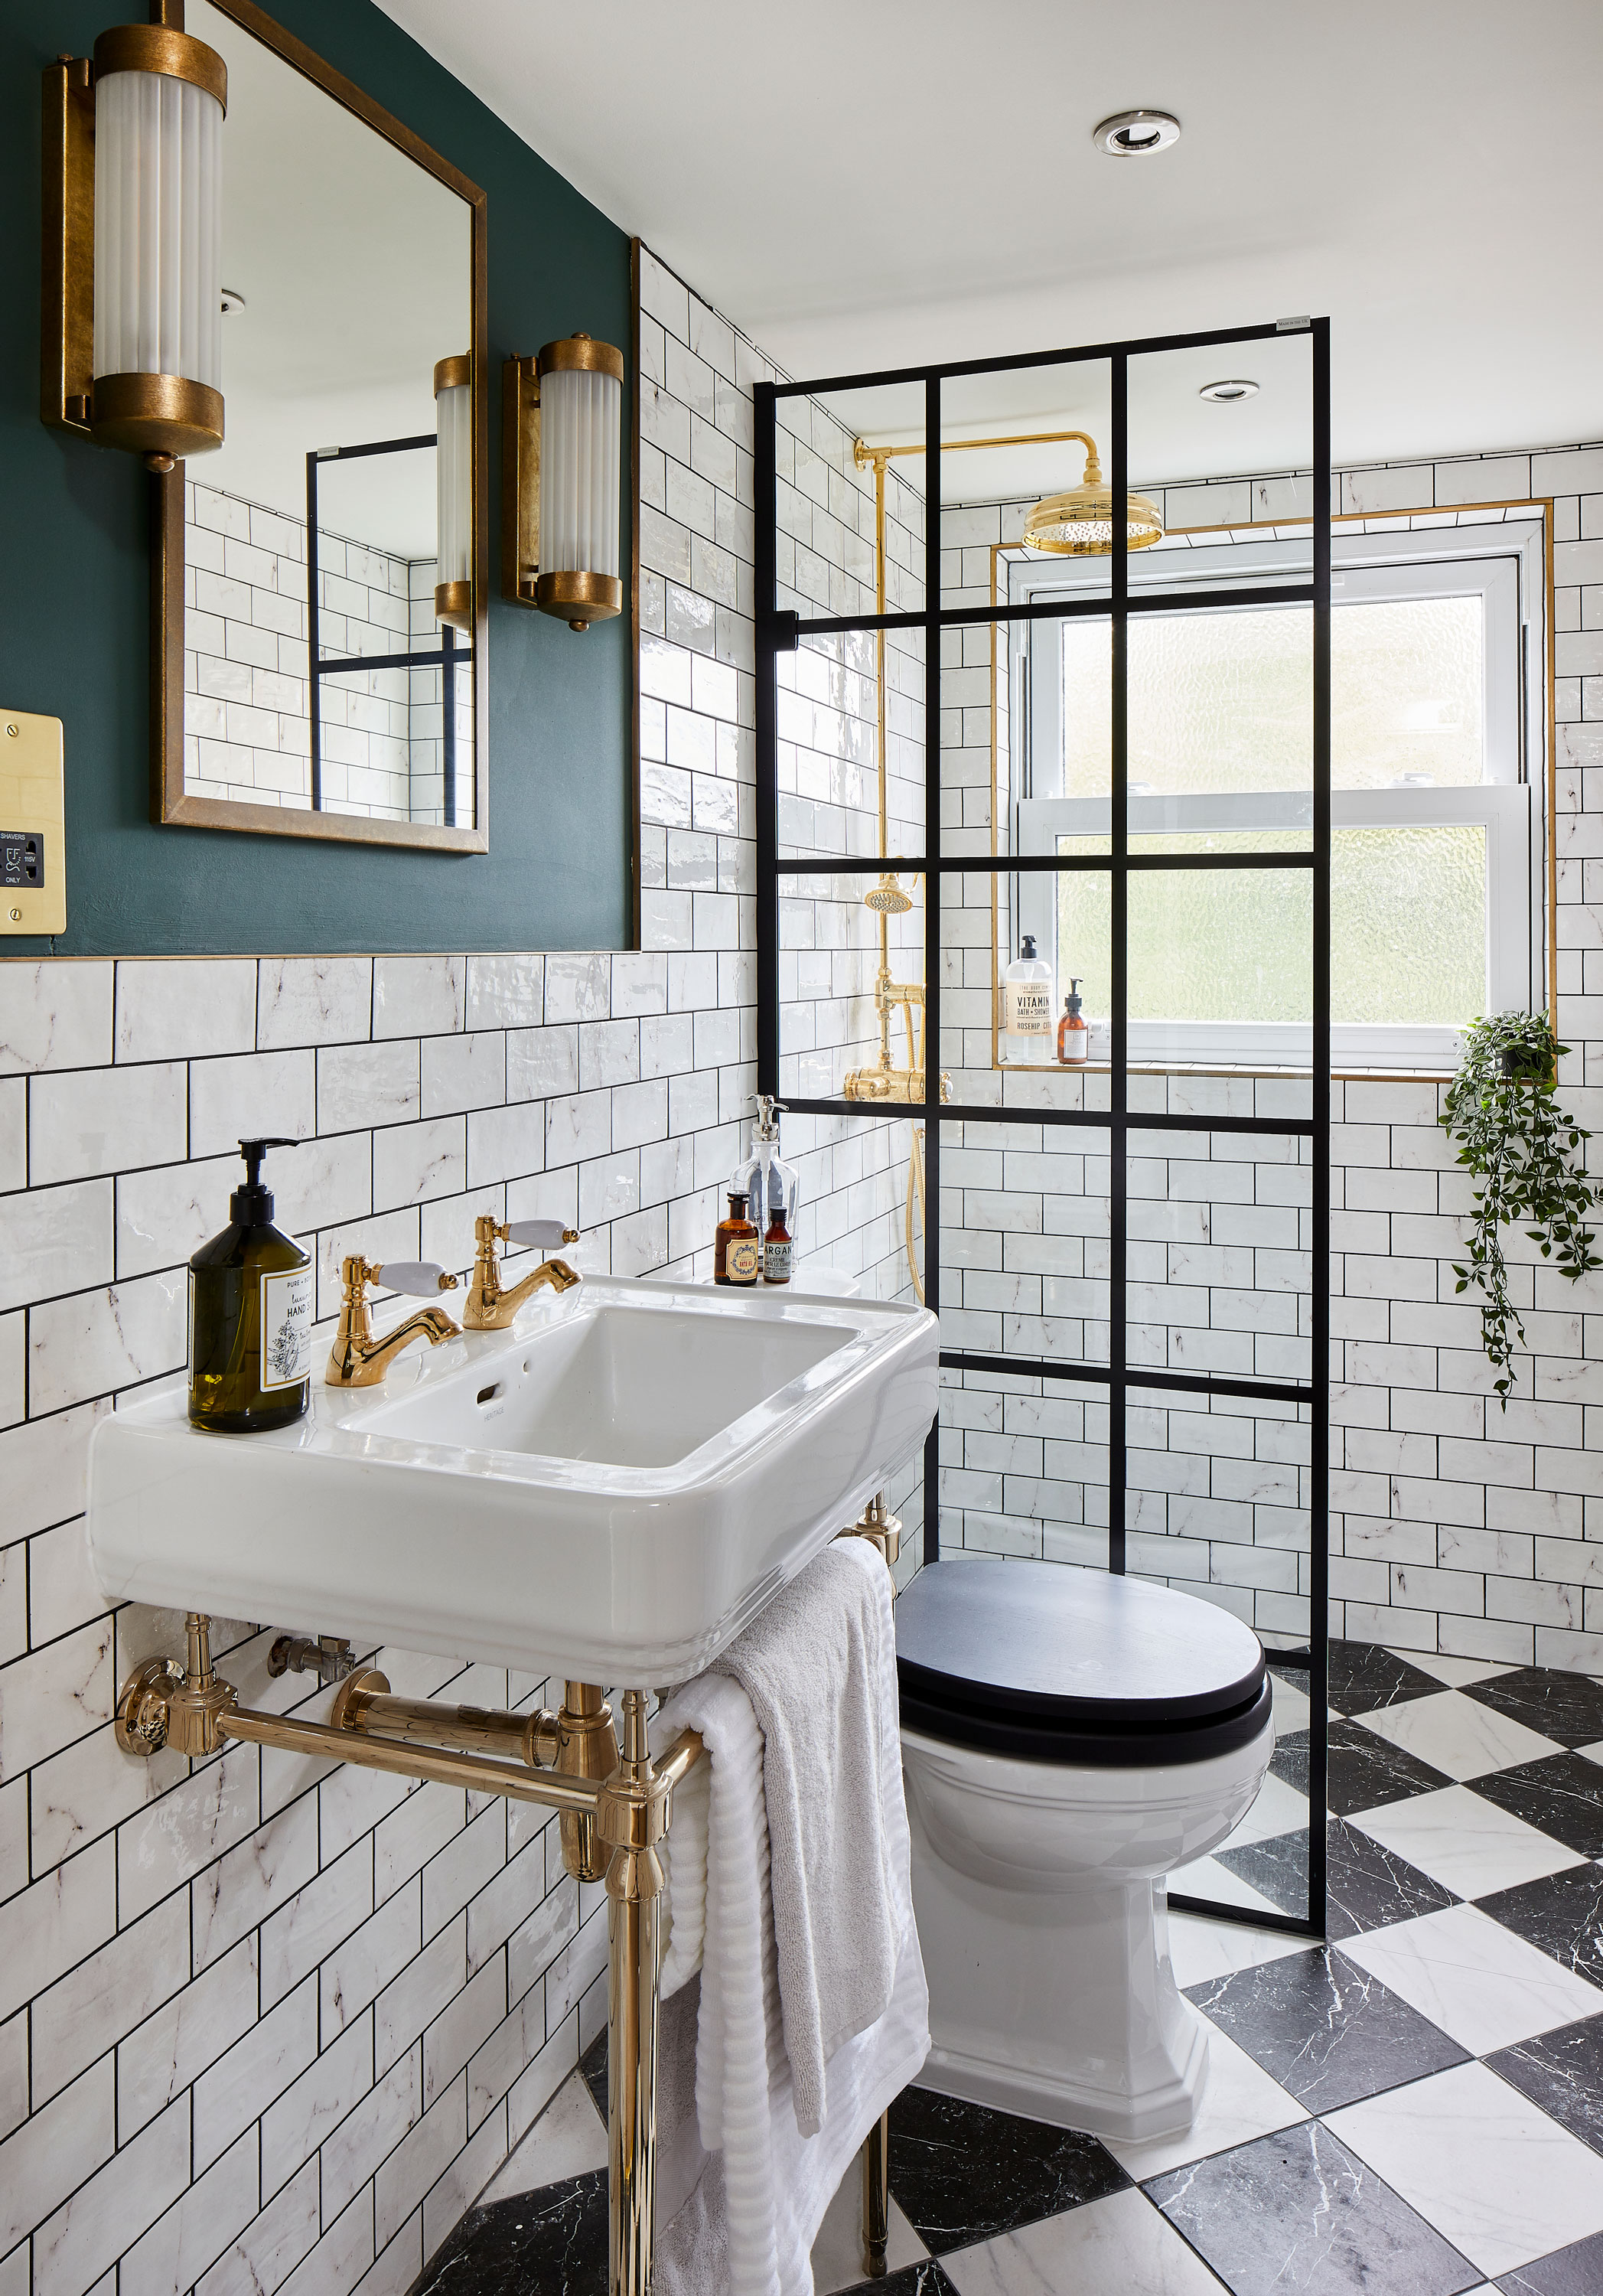
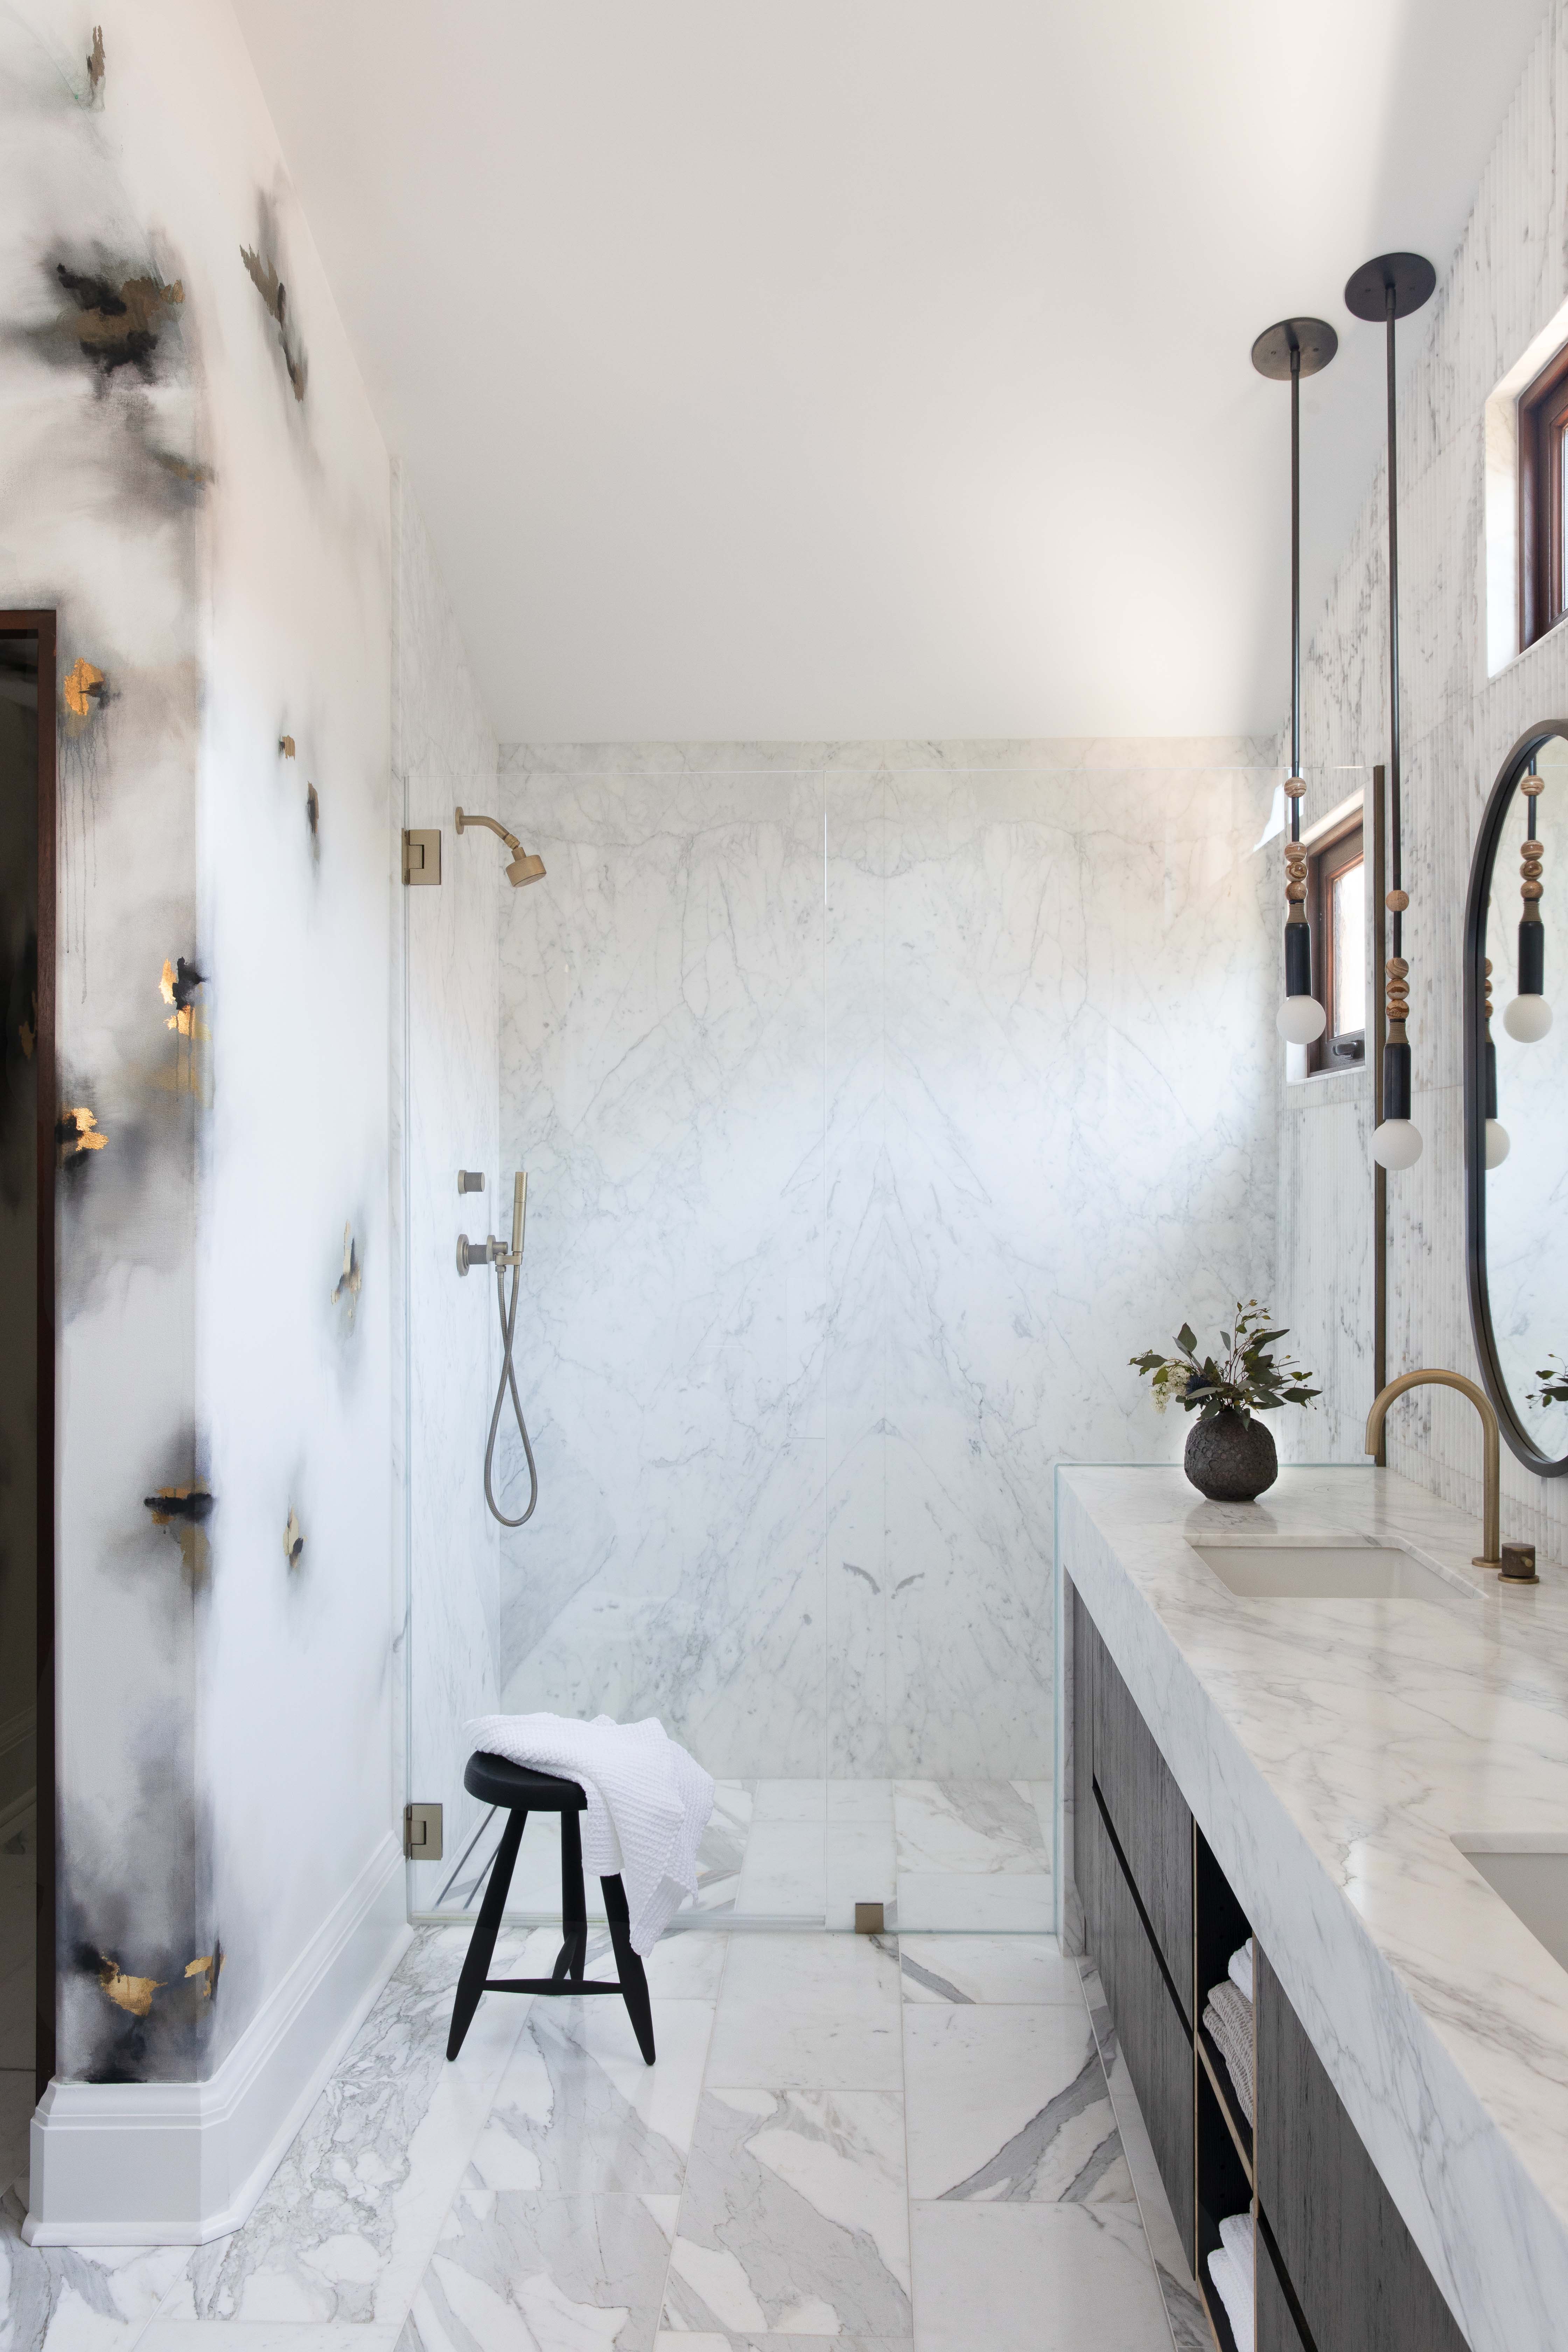
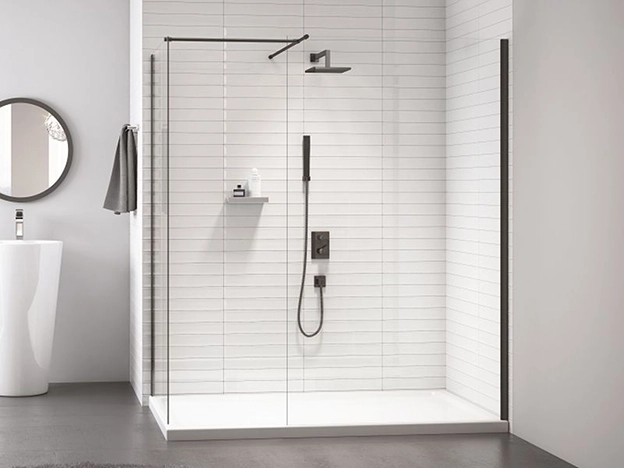
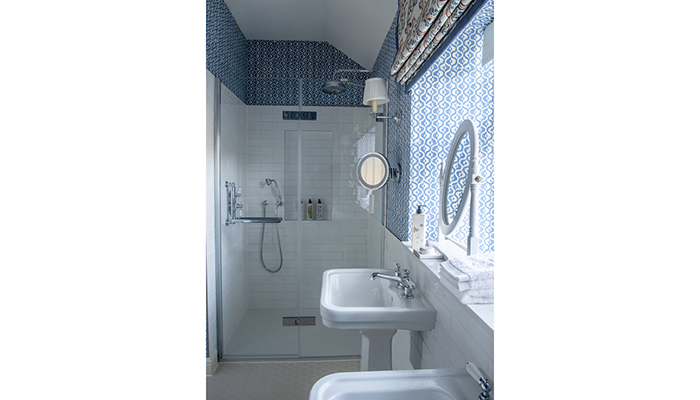
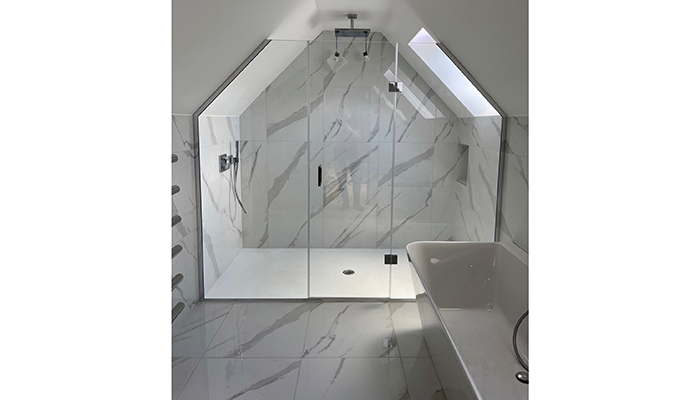
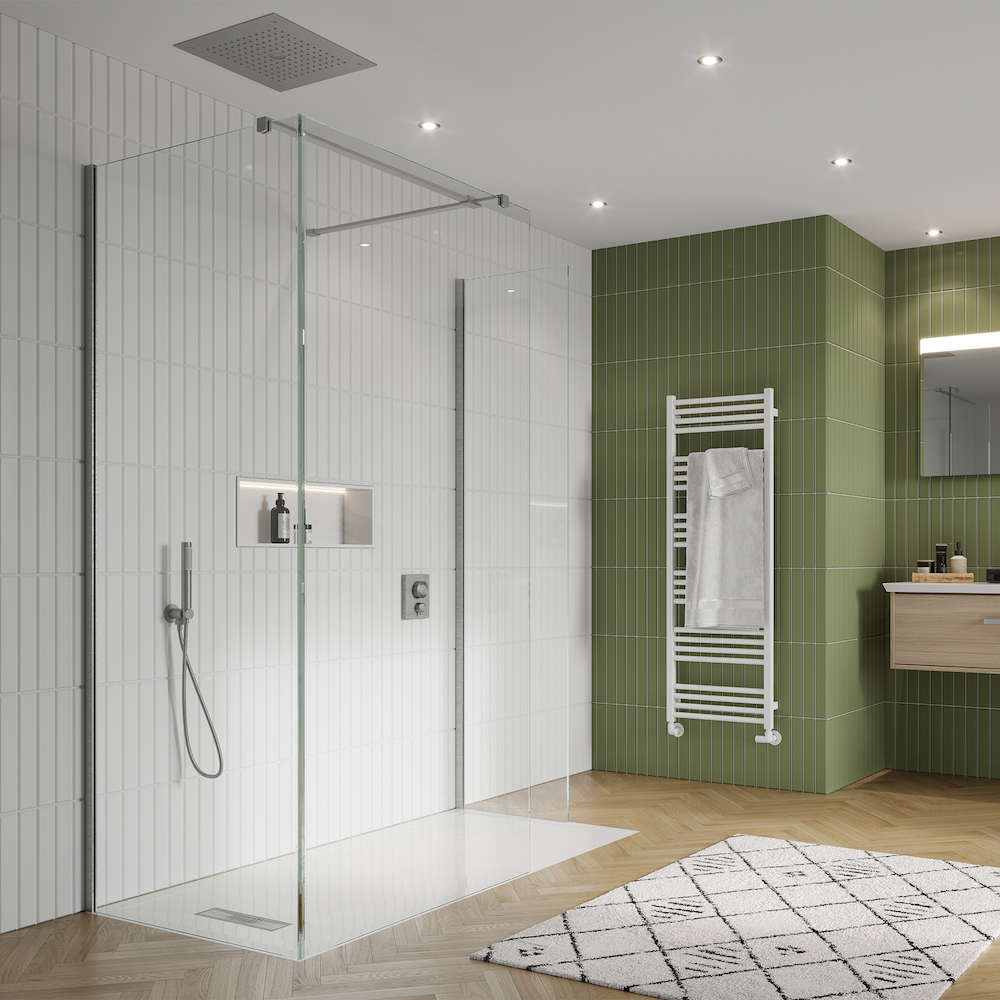
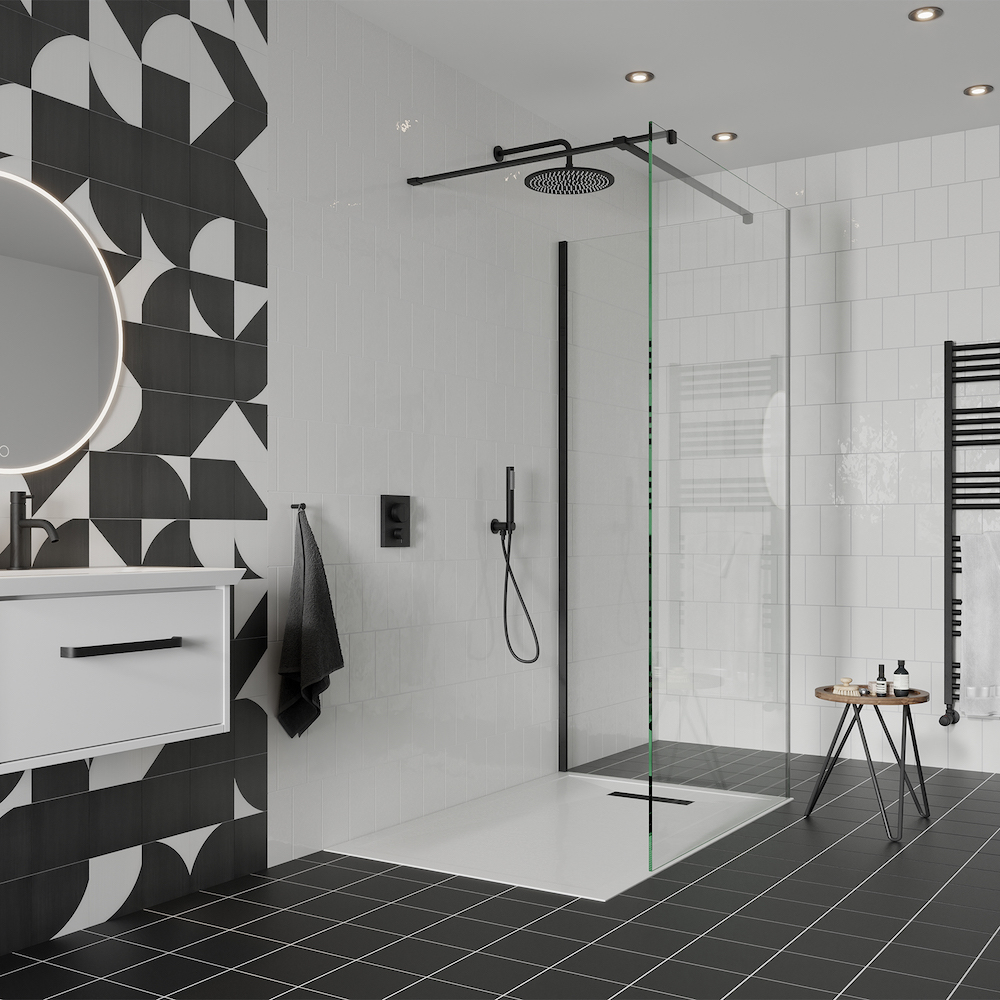
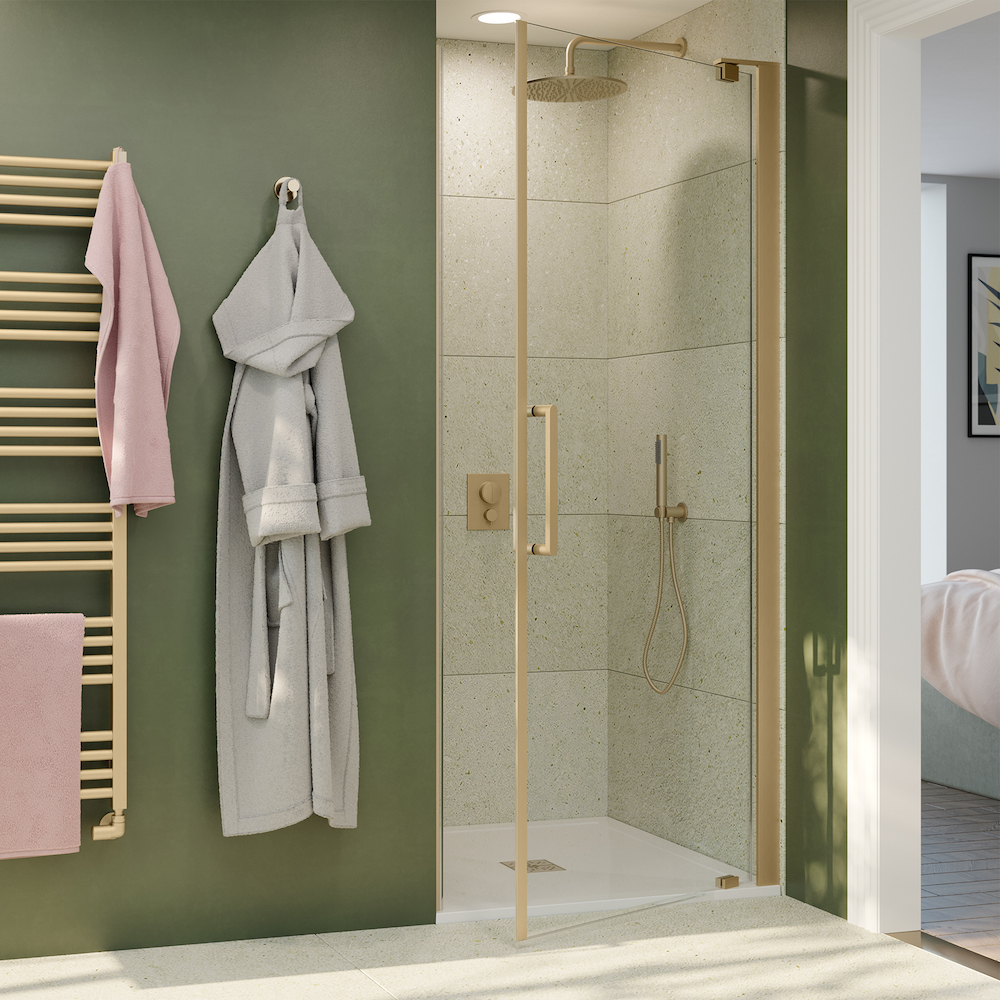
This article discusses the design and implementation of a curbless walk-in shower, highlighting its benefits and key considerations. Curbless showers offer improved accessibility, making them ideal for individuals with mobility challenges, and are also easier to clean due to the flush floor alignment. The presence or absence of a shower door depends on the showerhead arrangement; fixed showerheads should be positioned to direct water away from the entry to minimize splashing. A primary design challenge involves effectively containing water to prevent it from seeping into the subfloor or splashing outside the shower area. This requires meticulous attention to floor transitions and other water-retention strategies.
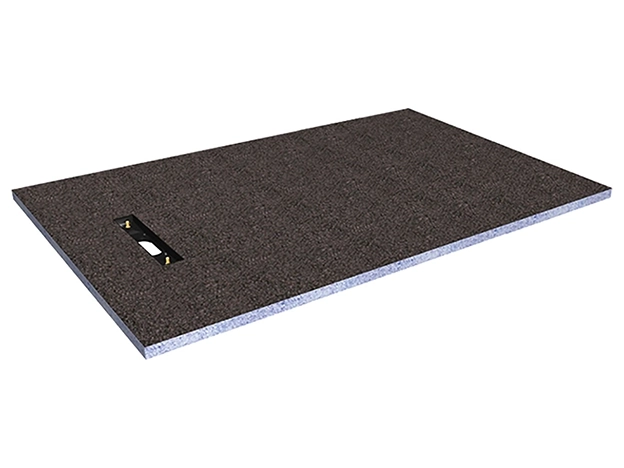
The overall size of the shower unit, specifically its length and depth, is crucial for water control. Larger showers facilitate a more gradual slope of the shower floor towards the drain, aiding in water containment. A minimum depth of 36 inches is recommended for any curbless shower, with 42 inches providing a significant improvement and 48 inches being even more effective. Achieving a flush transition between the bathroom floor and the shower floor necessitates a recessed subfloor in the shower area. The shower floor must be adequately sloped (1/8 to 3/16 inch per foot) to ensure water drains properly and moves away from the entry point. In wood-framed constructions, this involves lowering the subfloor and potentially resizing or repositioning supporting joists to accommodate the recess. Additional framing members are often required to provide sufficient support around the recessed area.
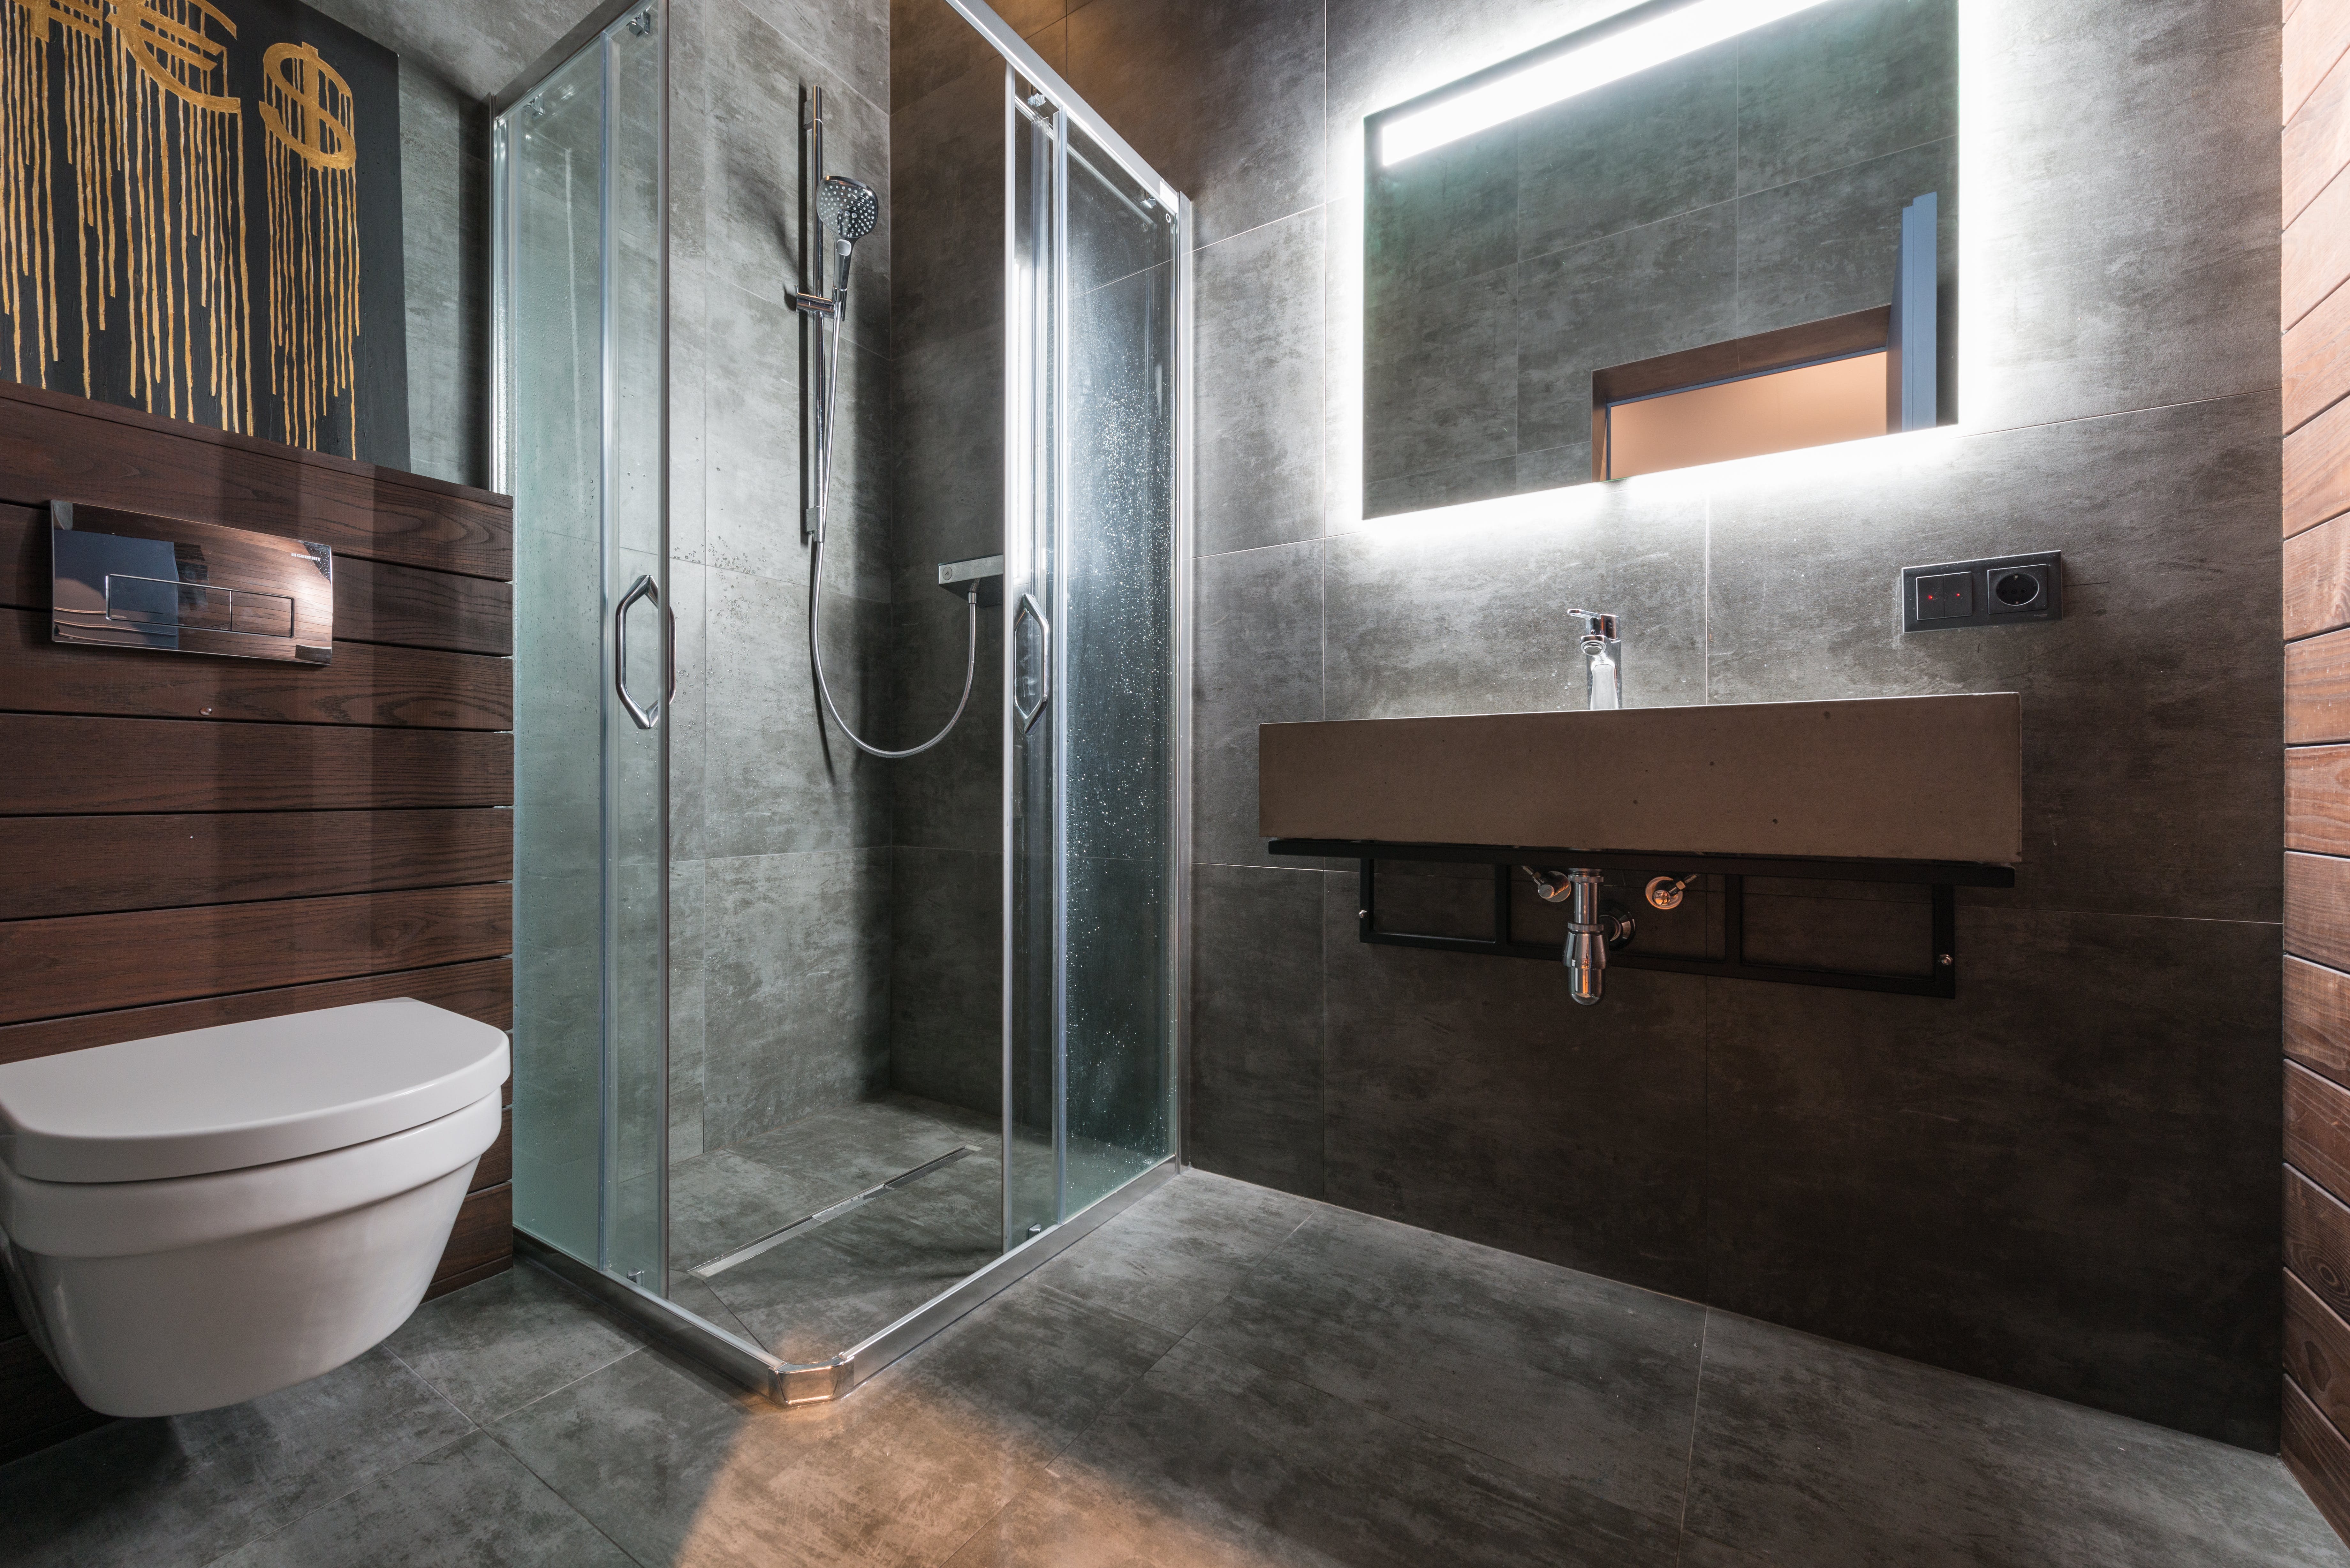
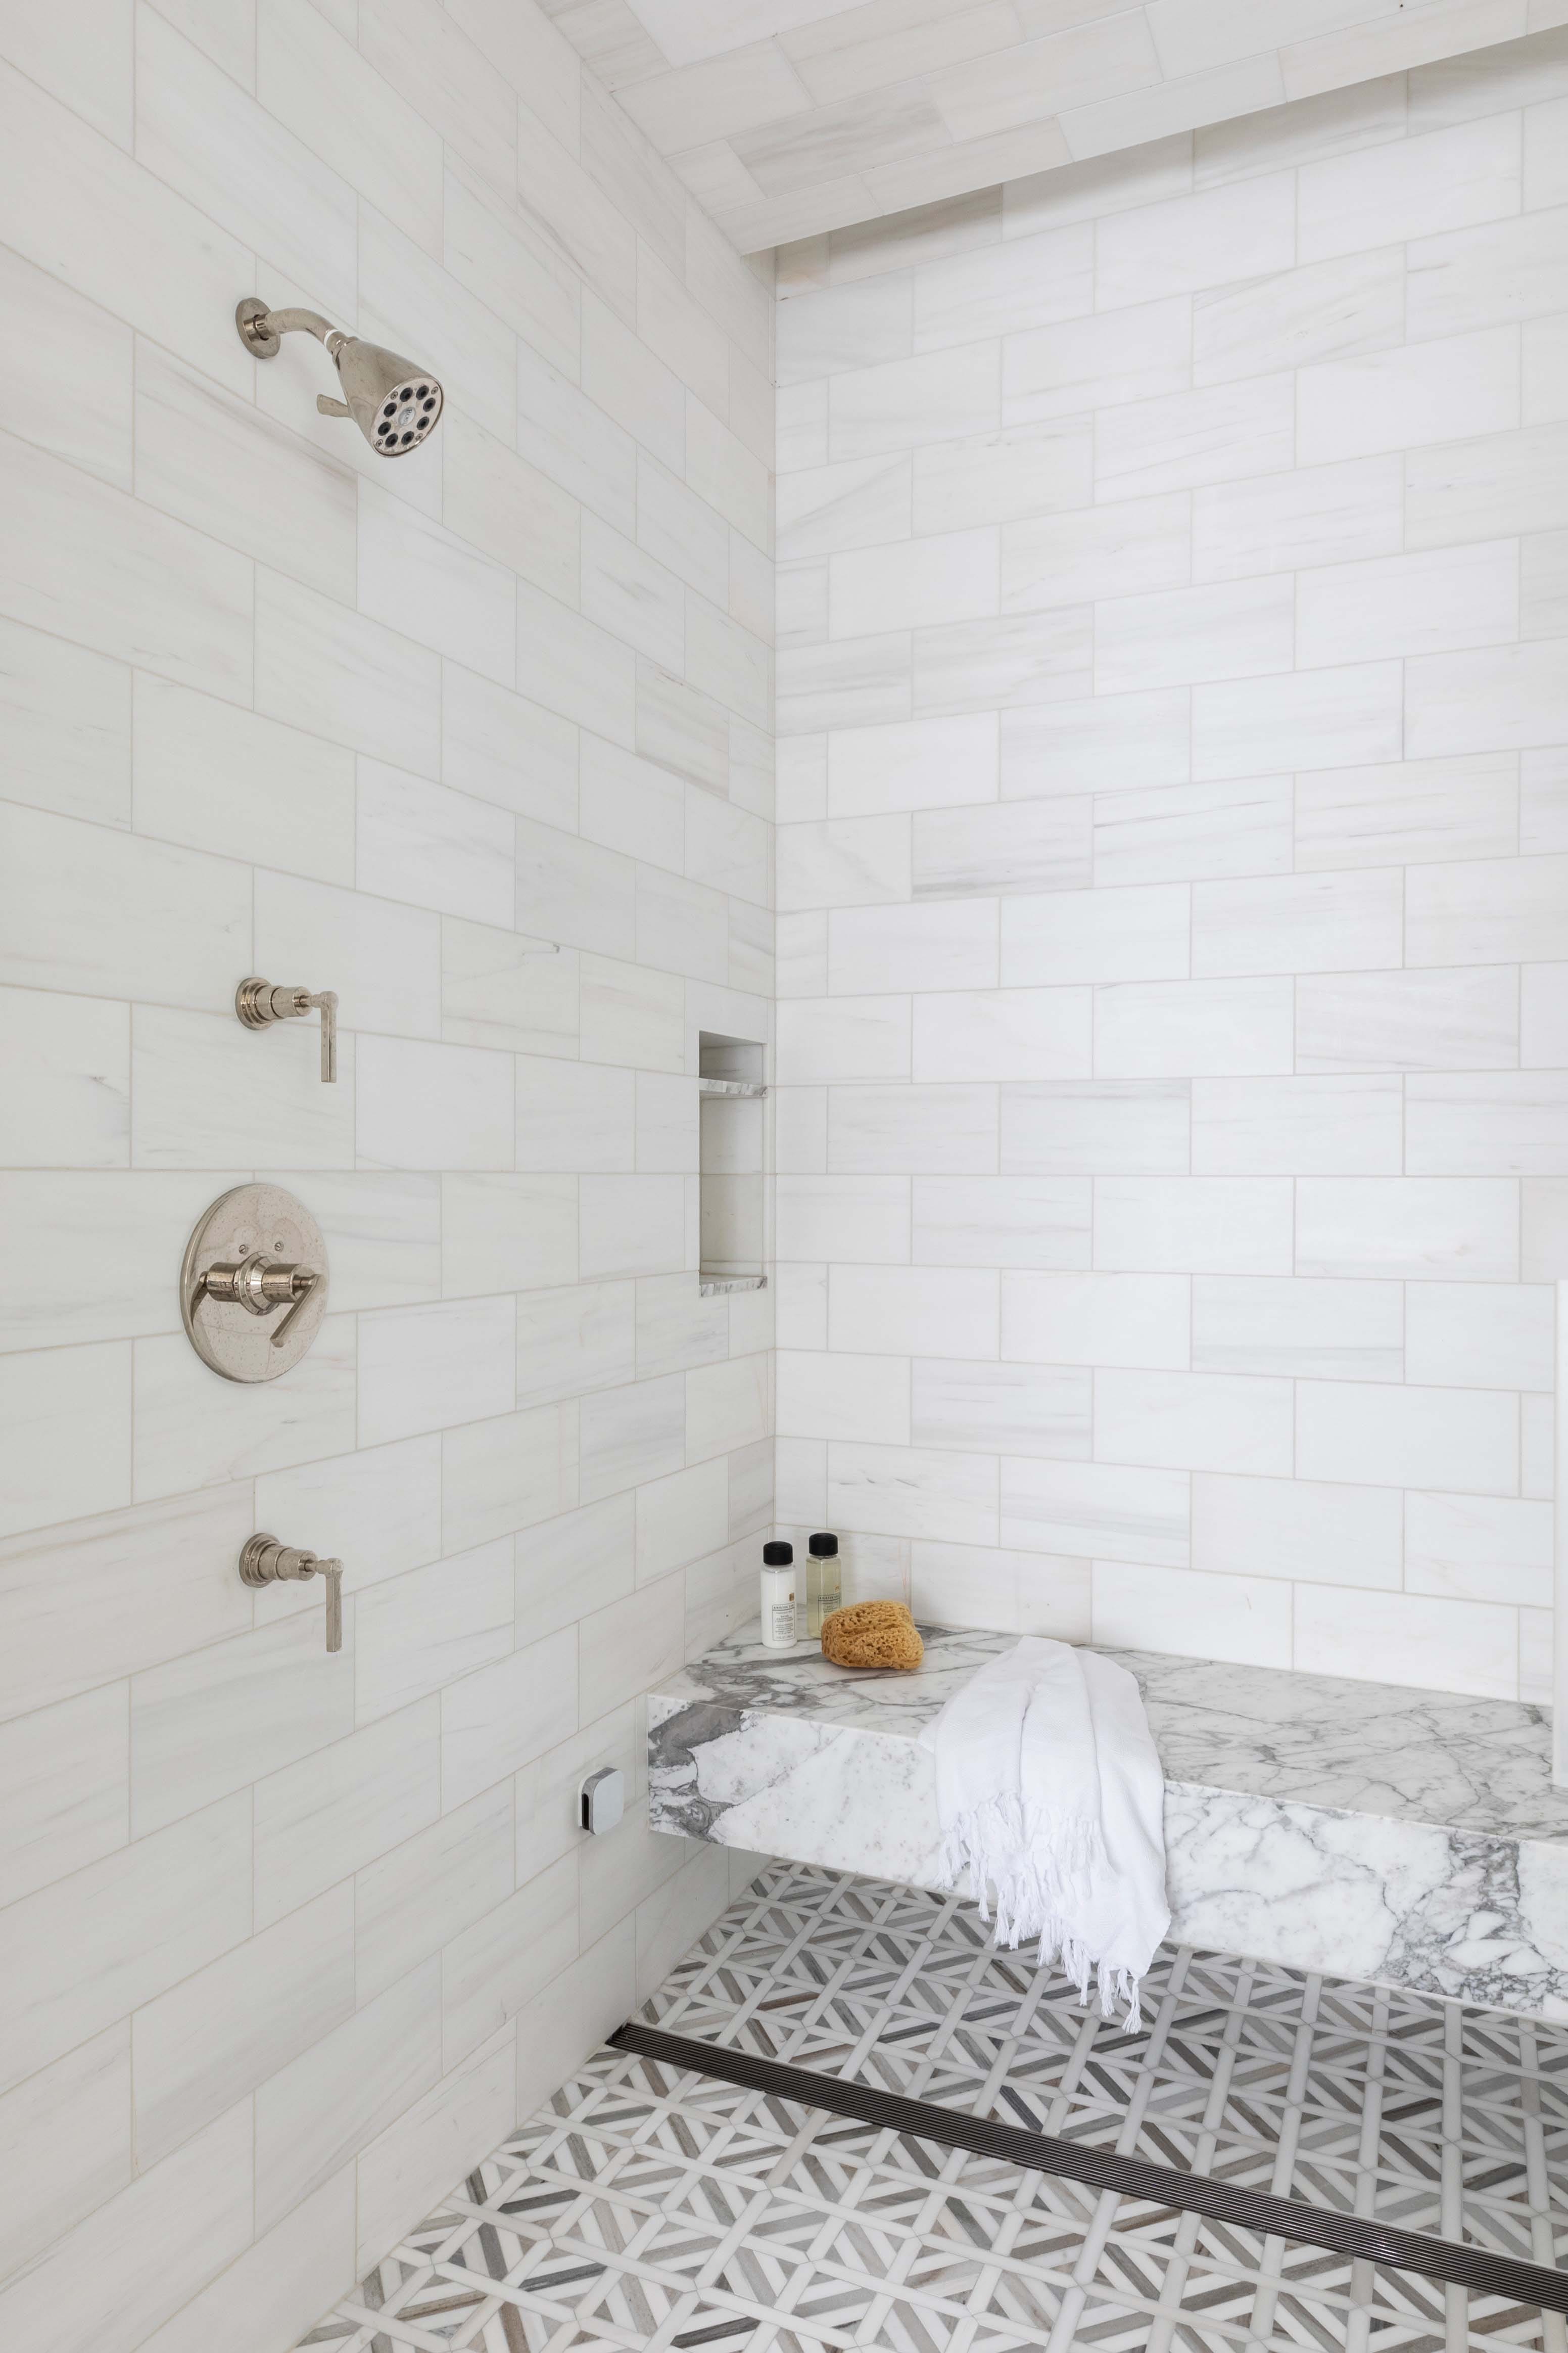
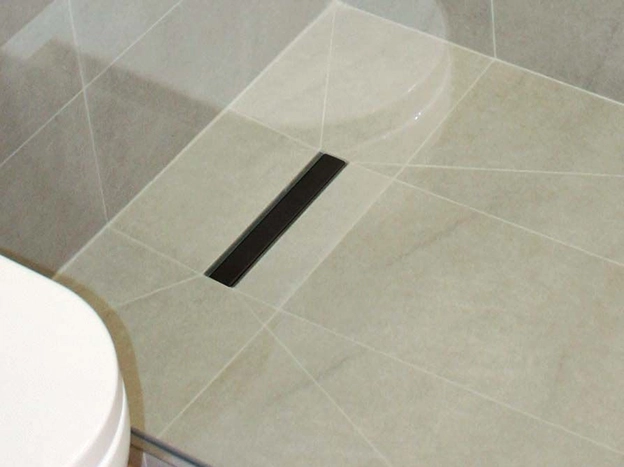
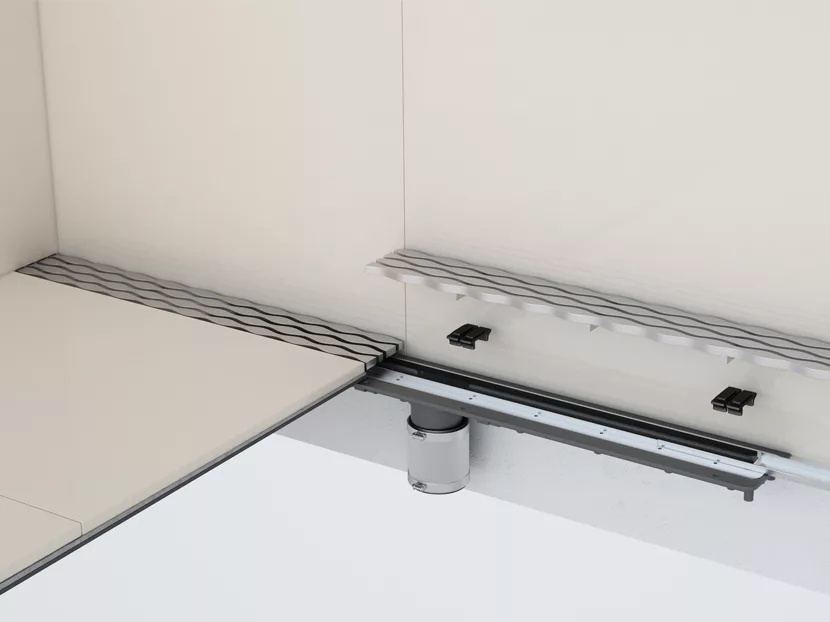
Waterproofing and detailing are paramount in curbless shower design. A setting or mortar bed, deep enough to allow for proper sloping to the drain, is recommended for the entire shower area, typically requiring a floor recess of 1 ½ to 2 inches for minimum-sized showers. The top of the drain must be set below the room's subfloor. For concrete slab constructions, the slab needs to be initially poured with a recess to accommodate the shower. If an existing concrete floor needs modification, a video tutorial demonstrates how to create a 1 ¼-inch deep recess by cutting and chipping out concrete. In both wood and concrete constructions, a waterproof membrane is essential to form the bottom of the shower 'pan,' extending up into the surrounding walls and out into the adjacent floor area. The installation of 'two-stage' or similar drains with weep holes is advised to allow any water absorbed by the setting bed to seep into the drain. Drains in curbless walk-in showers do not have to be centrally located; linear drains can be placed along any edge, allowing water to be directed to a side or corner with a gentle slope. Finally, using smaller-scale tiles on the curbless walk-in shower floor is beneficial as the increased grout surface provides more grip, reducing slipperiness in this wet area of the home.
#CurblessShower #BathroomDesign #HomeImprovement #AccessibilityDesign #Waterproofing #ShowerInstallation #FloorTransition #RenovationTips #DIYHome #CurblessShower #BathroomDesign #HomeImprovement #AccessibilityDesign #Waterproofing #ShowerInstallation #FloorTransition #RenovationTips #DIYHome
0개의 댓글이 총 표시됩니다.
 아직 댓글이 없습니다
추가로 마음에 드릴 만한 콘텐츠
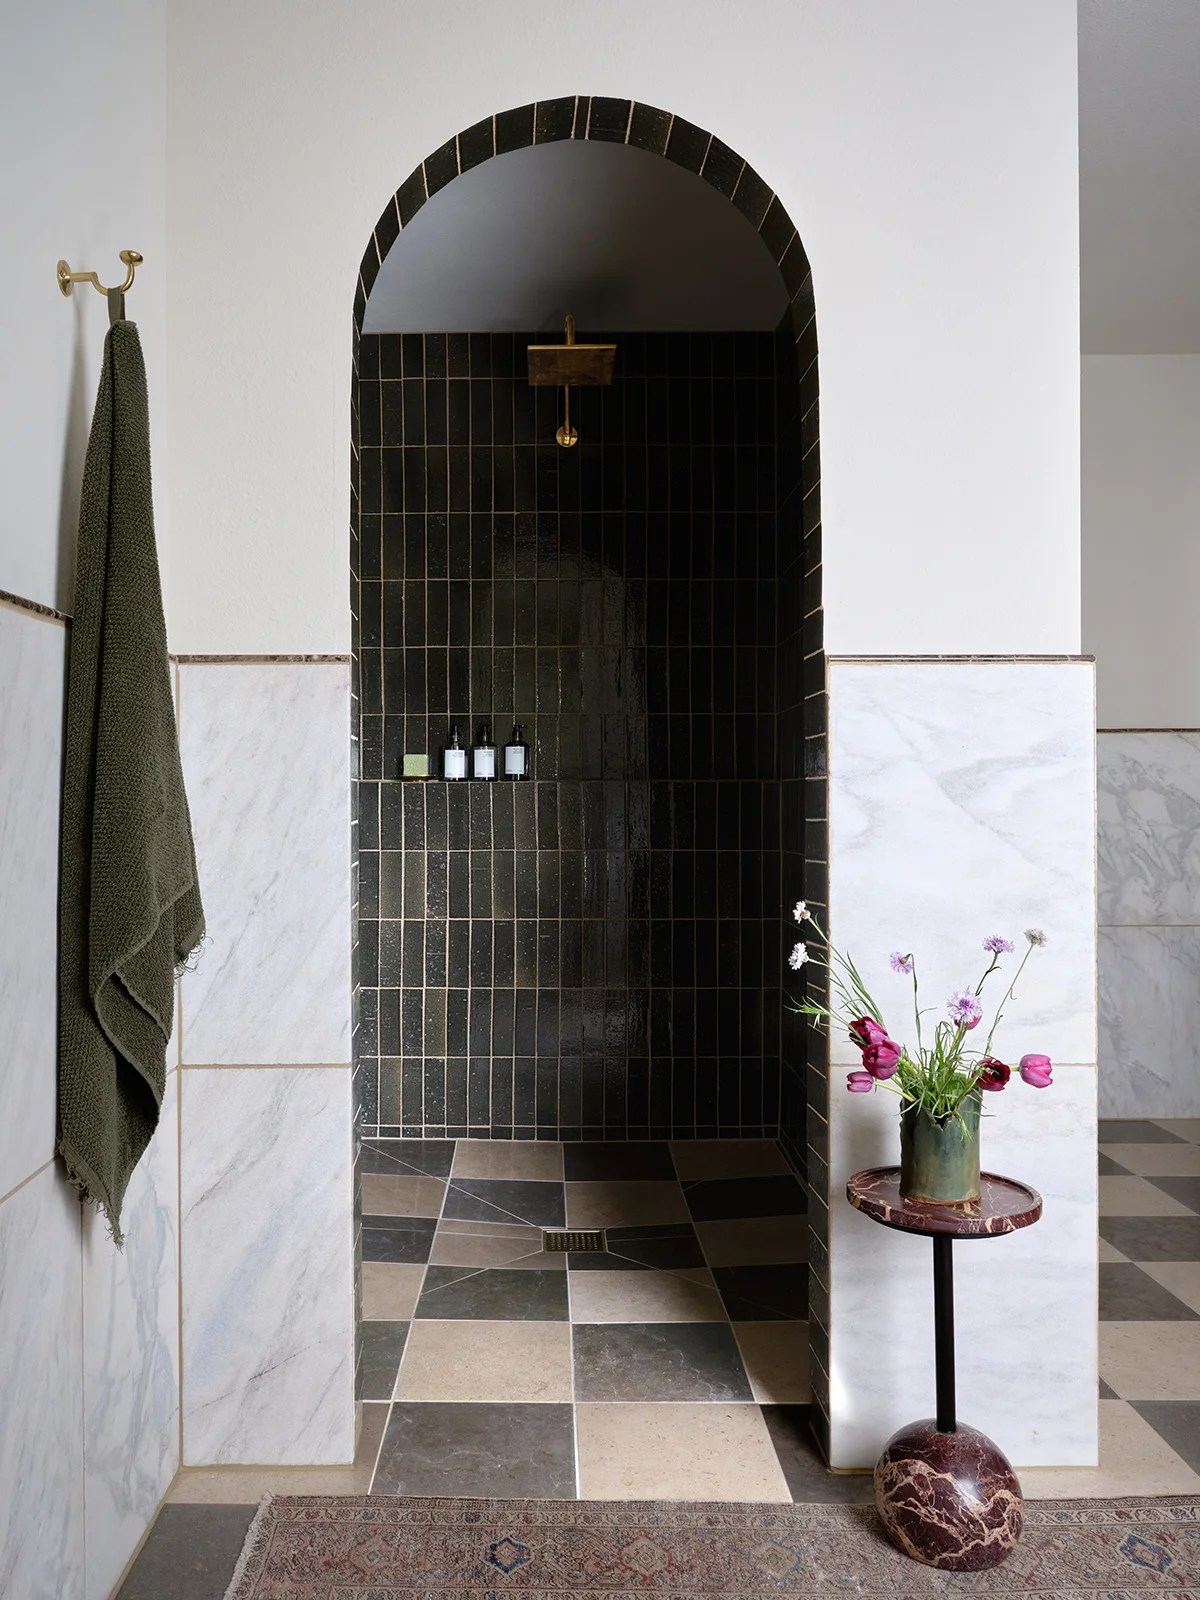
These 2 Shower Features Might Be Unpopular, But Designers Love Them Anyway

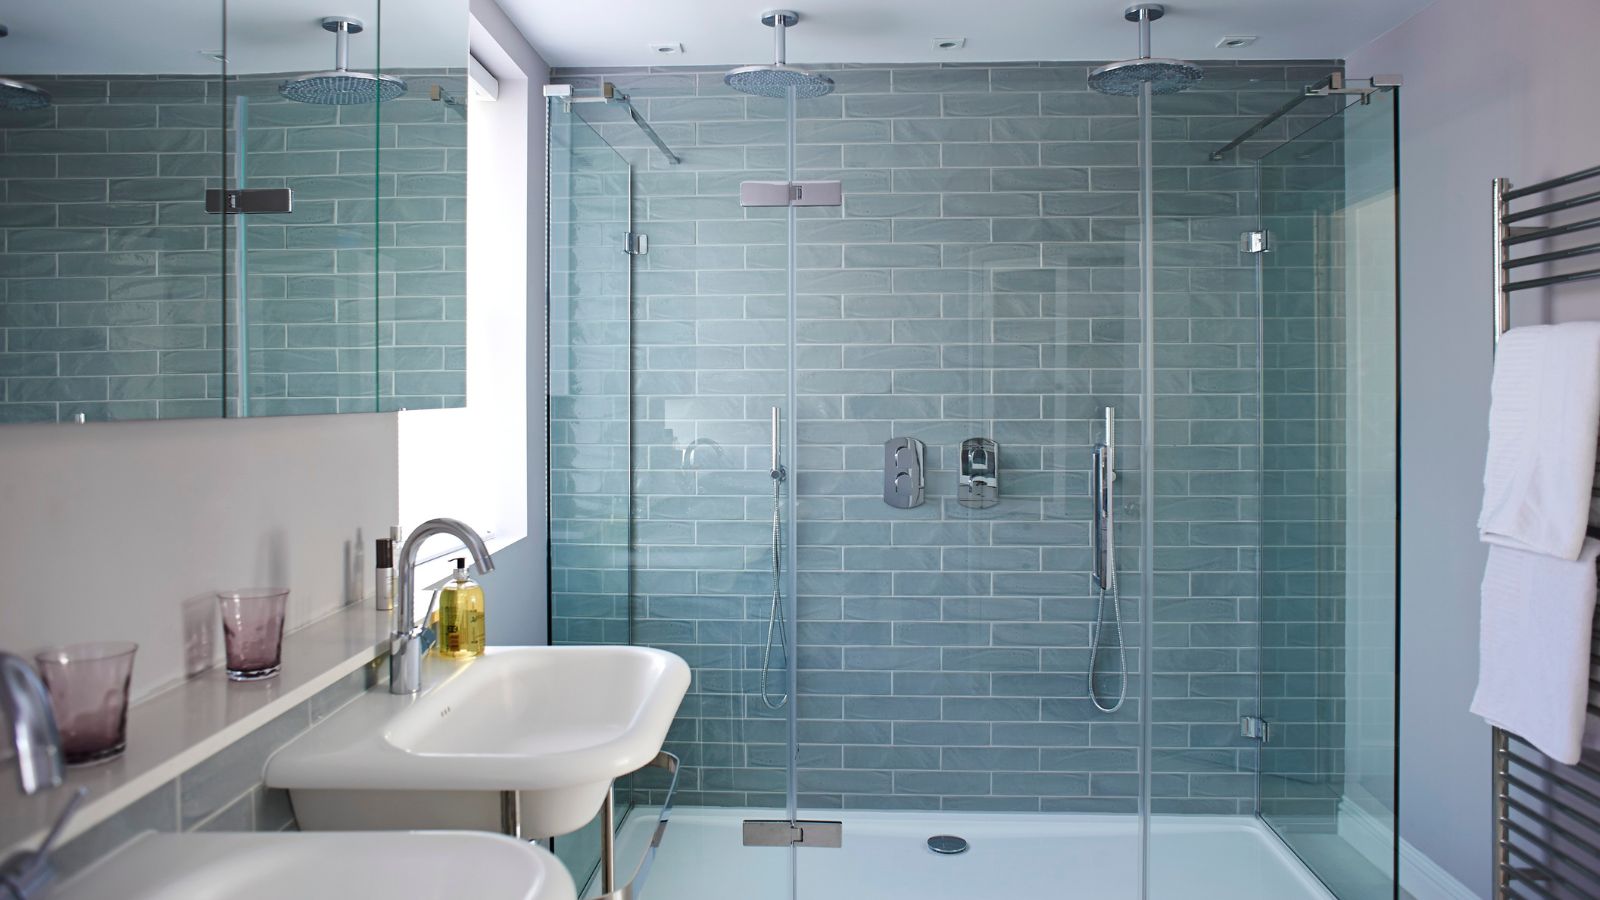
How much room do I need for a walk-in shower? The crucial dimensions revealed

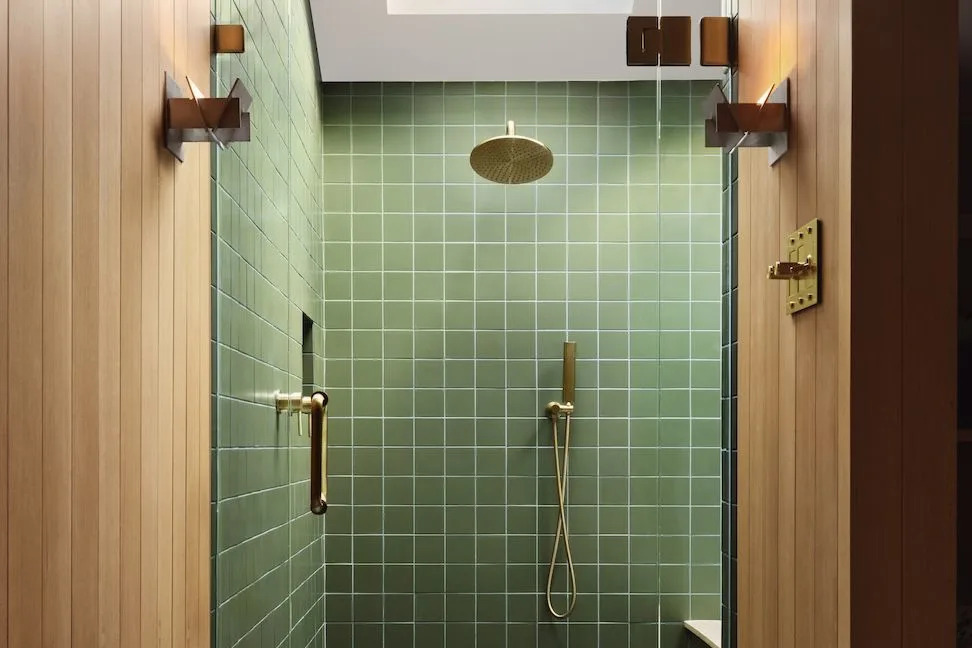
Before Upgrading Your Walk-In Shower, Consider This Emerald Green Design

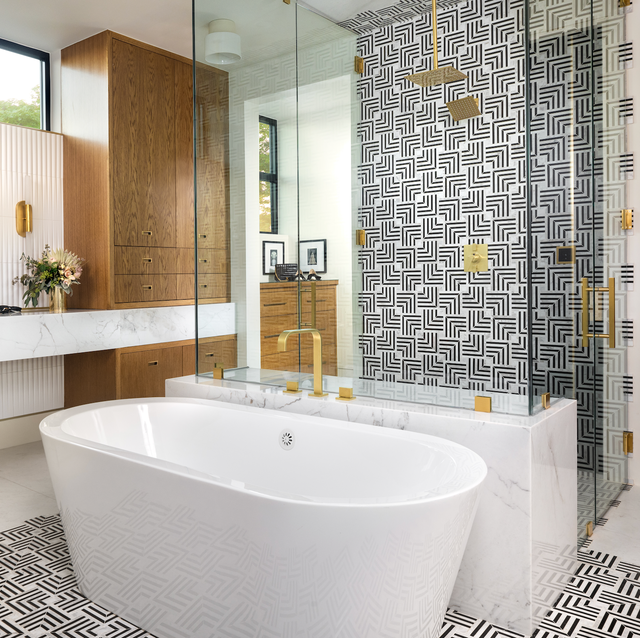
17 Luxurious Walk-In Shower Ideas That’ll Transform Any Bathroom Into a Spa

13 Lavish Walk-In Showers That Feel Like an At-Home Spa

30 Stunning Walk-in Shower Ideas For A Bathroom Glow-up
36 Walk-In Shower Ideas For Any Size Bathroom
Bathroom design: Clever shower designs for awkward spaces
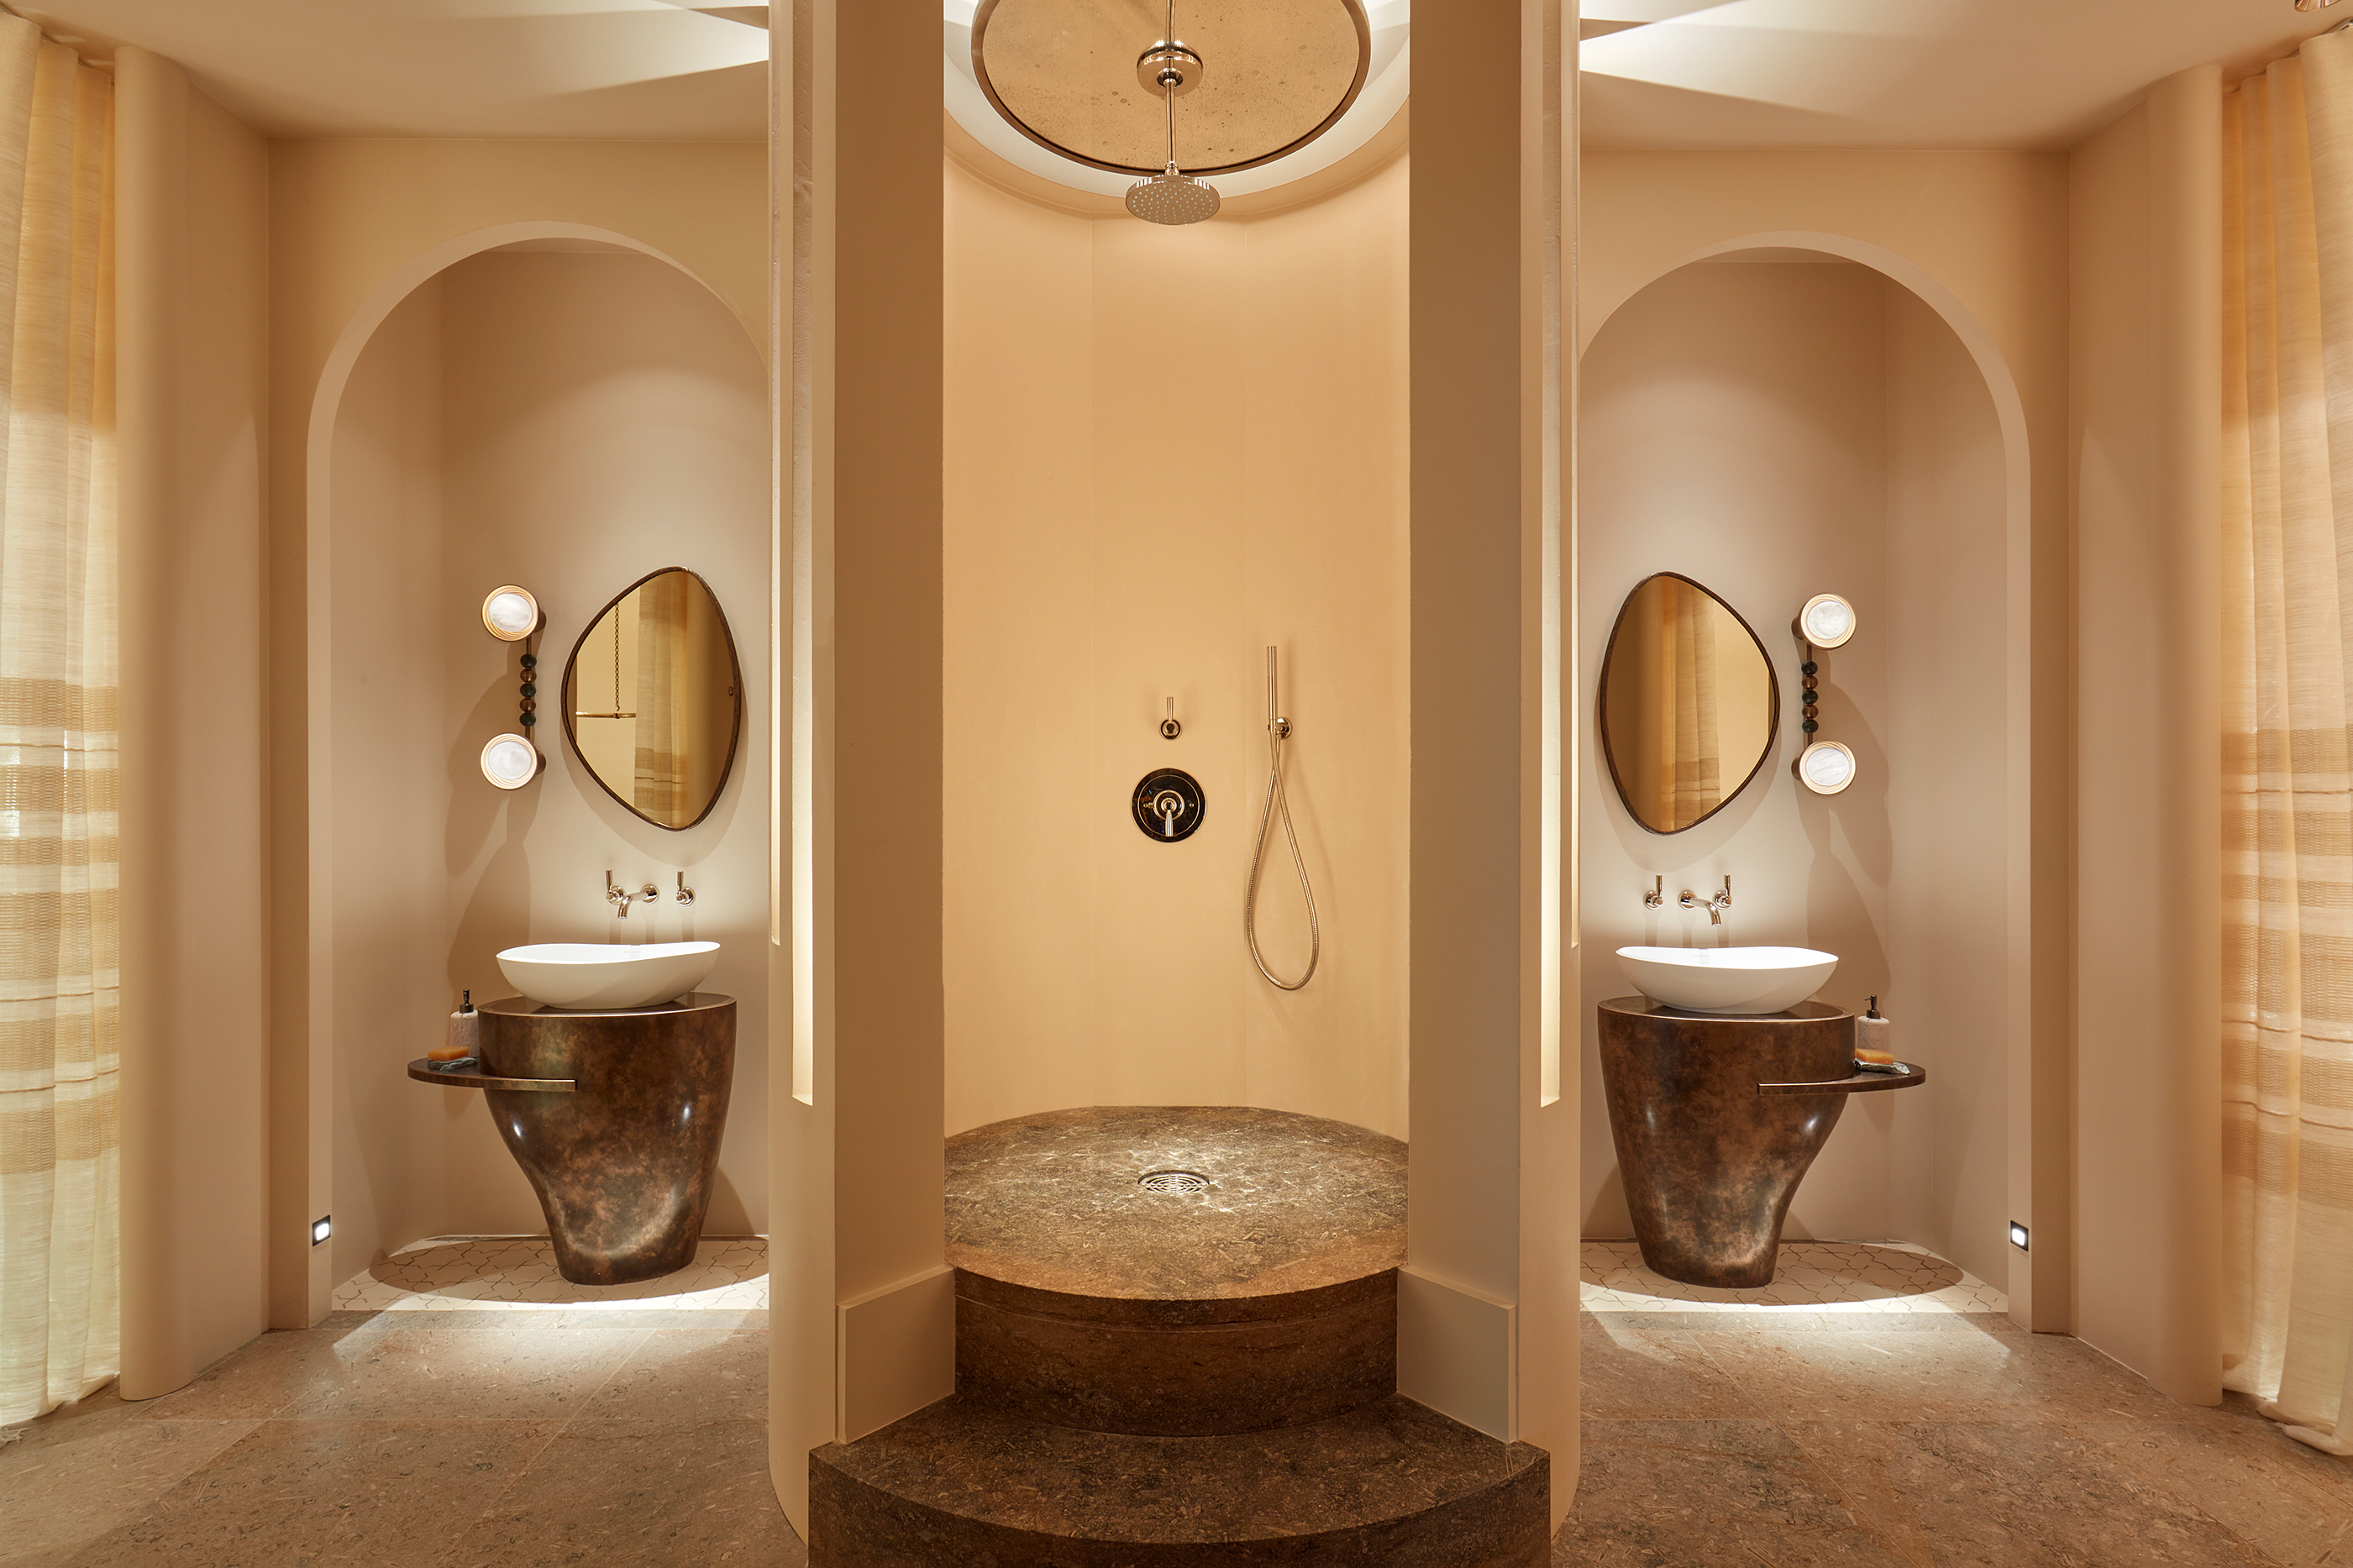
'Curved' Showers Are the Emerging Trend in Bathrooms That Makes Your Space Feel Softer and More Welcoming

Walk-in Showers & Shower Conversions with CustomFit Baths

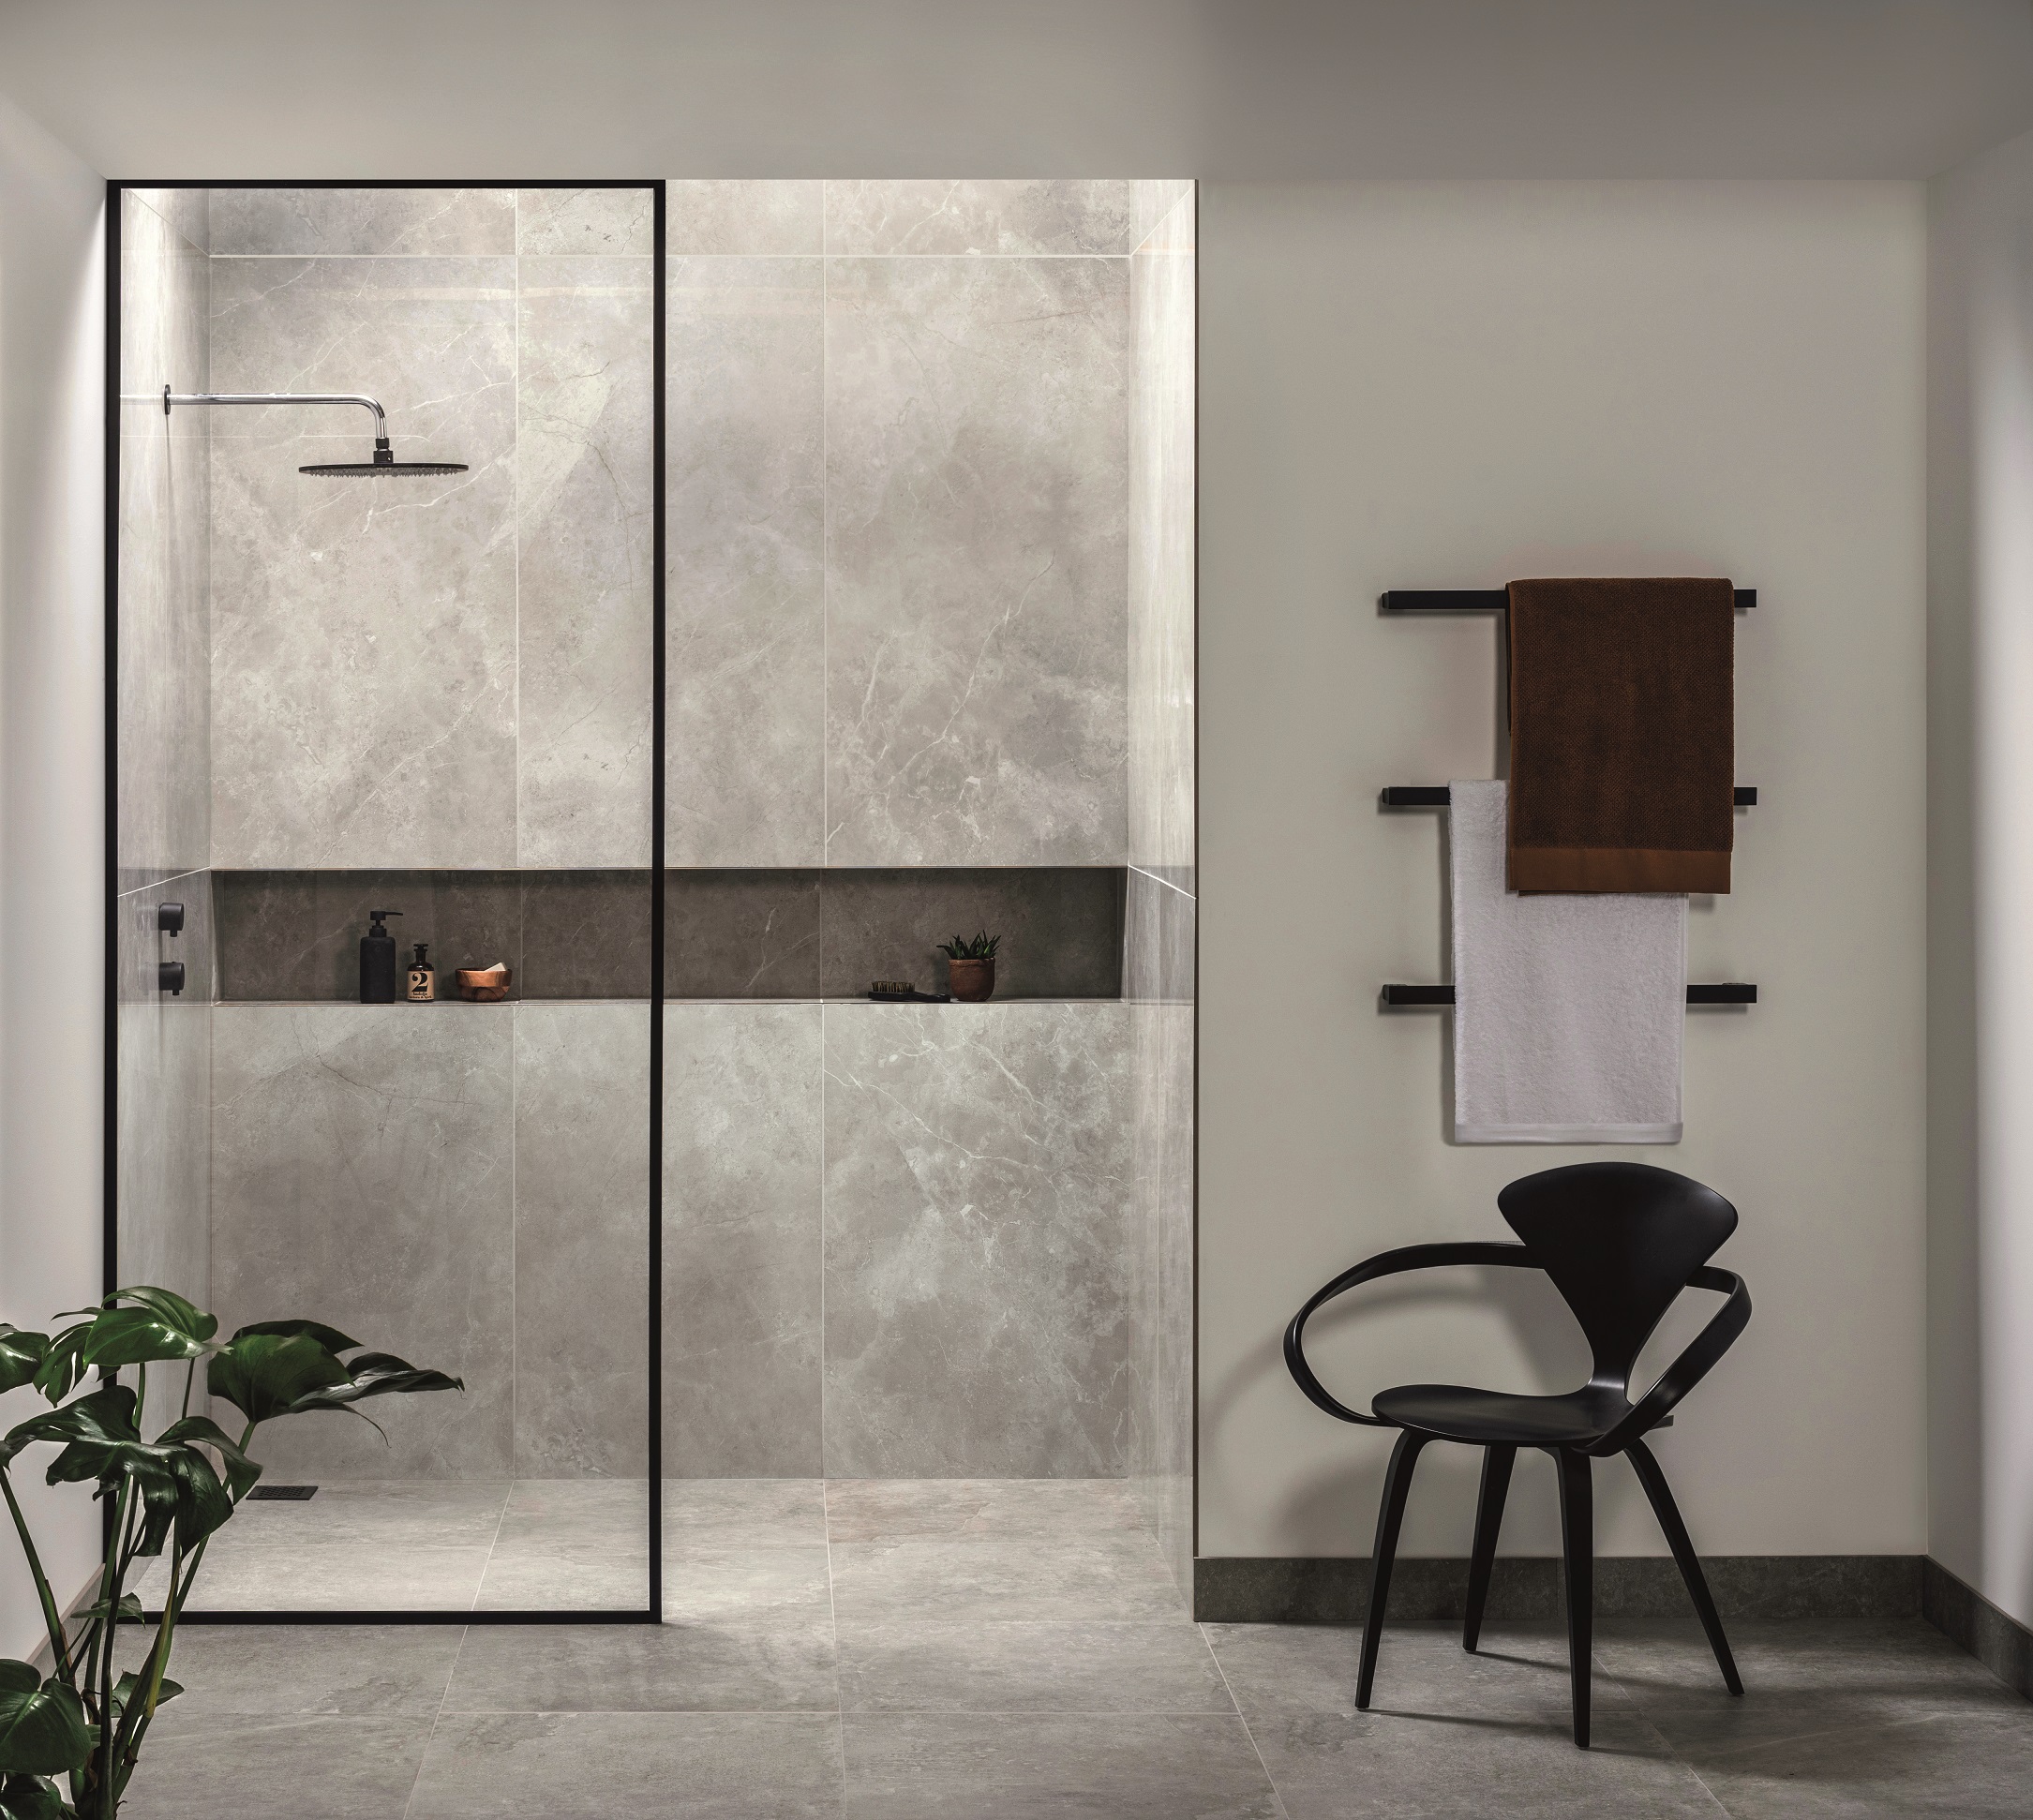
21 walk in shower ideas to add a luxury feel to your bathroom

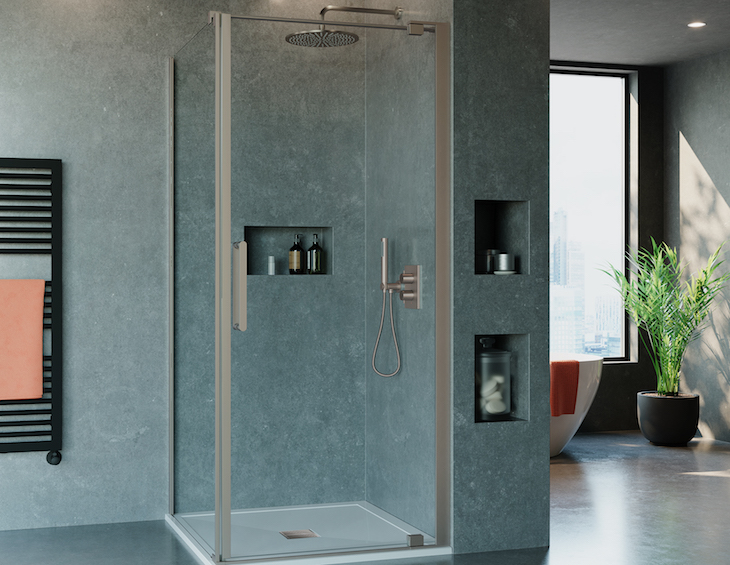
Luxury shower goals: Crosswater launches new 10mm walk-in solutions

How To Plan For A Curbless Shower Installation
36 Sophisticated Walk-in Shower Ideas That Are Dripping with Style

16 Doorless Walk-In Shower Ideas That’ll Make Your Bathroom Feel So Luxe

Baths | Why curves are making a comeback in bath design

Walk-In Shower Enclosures

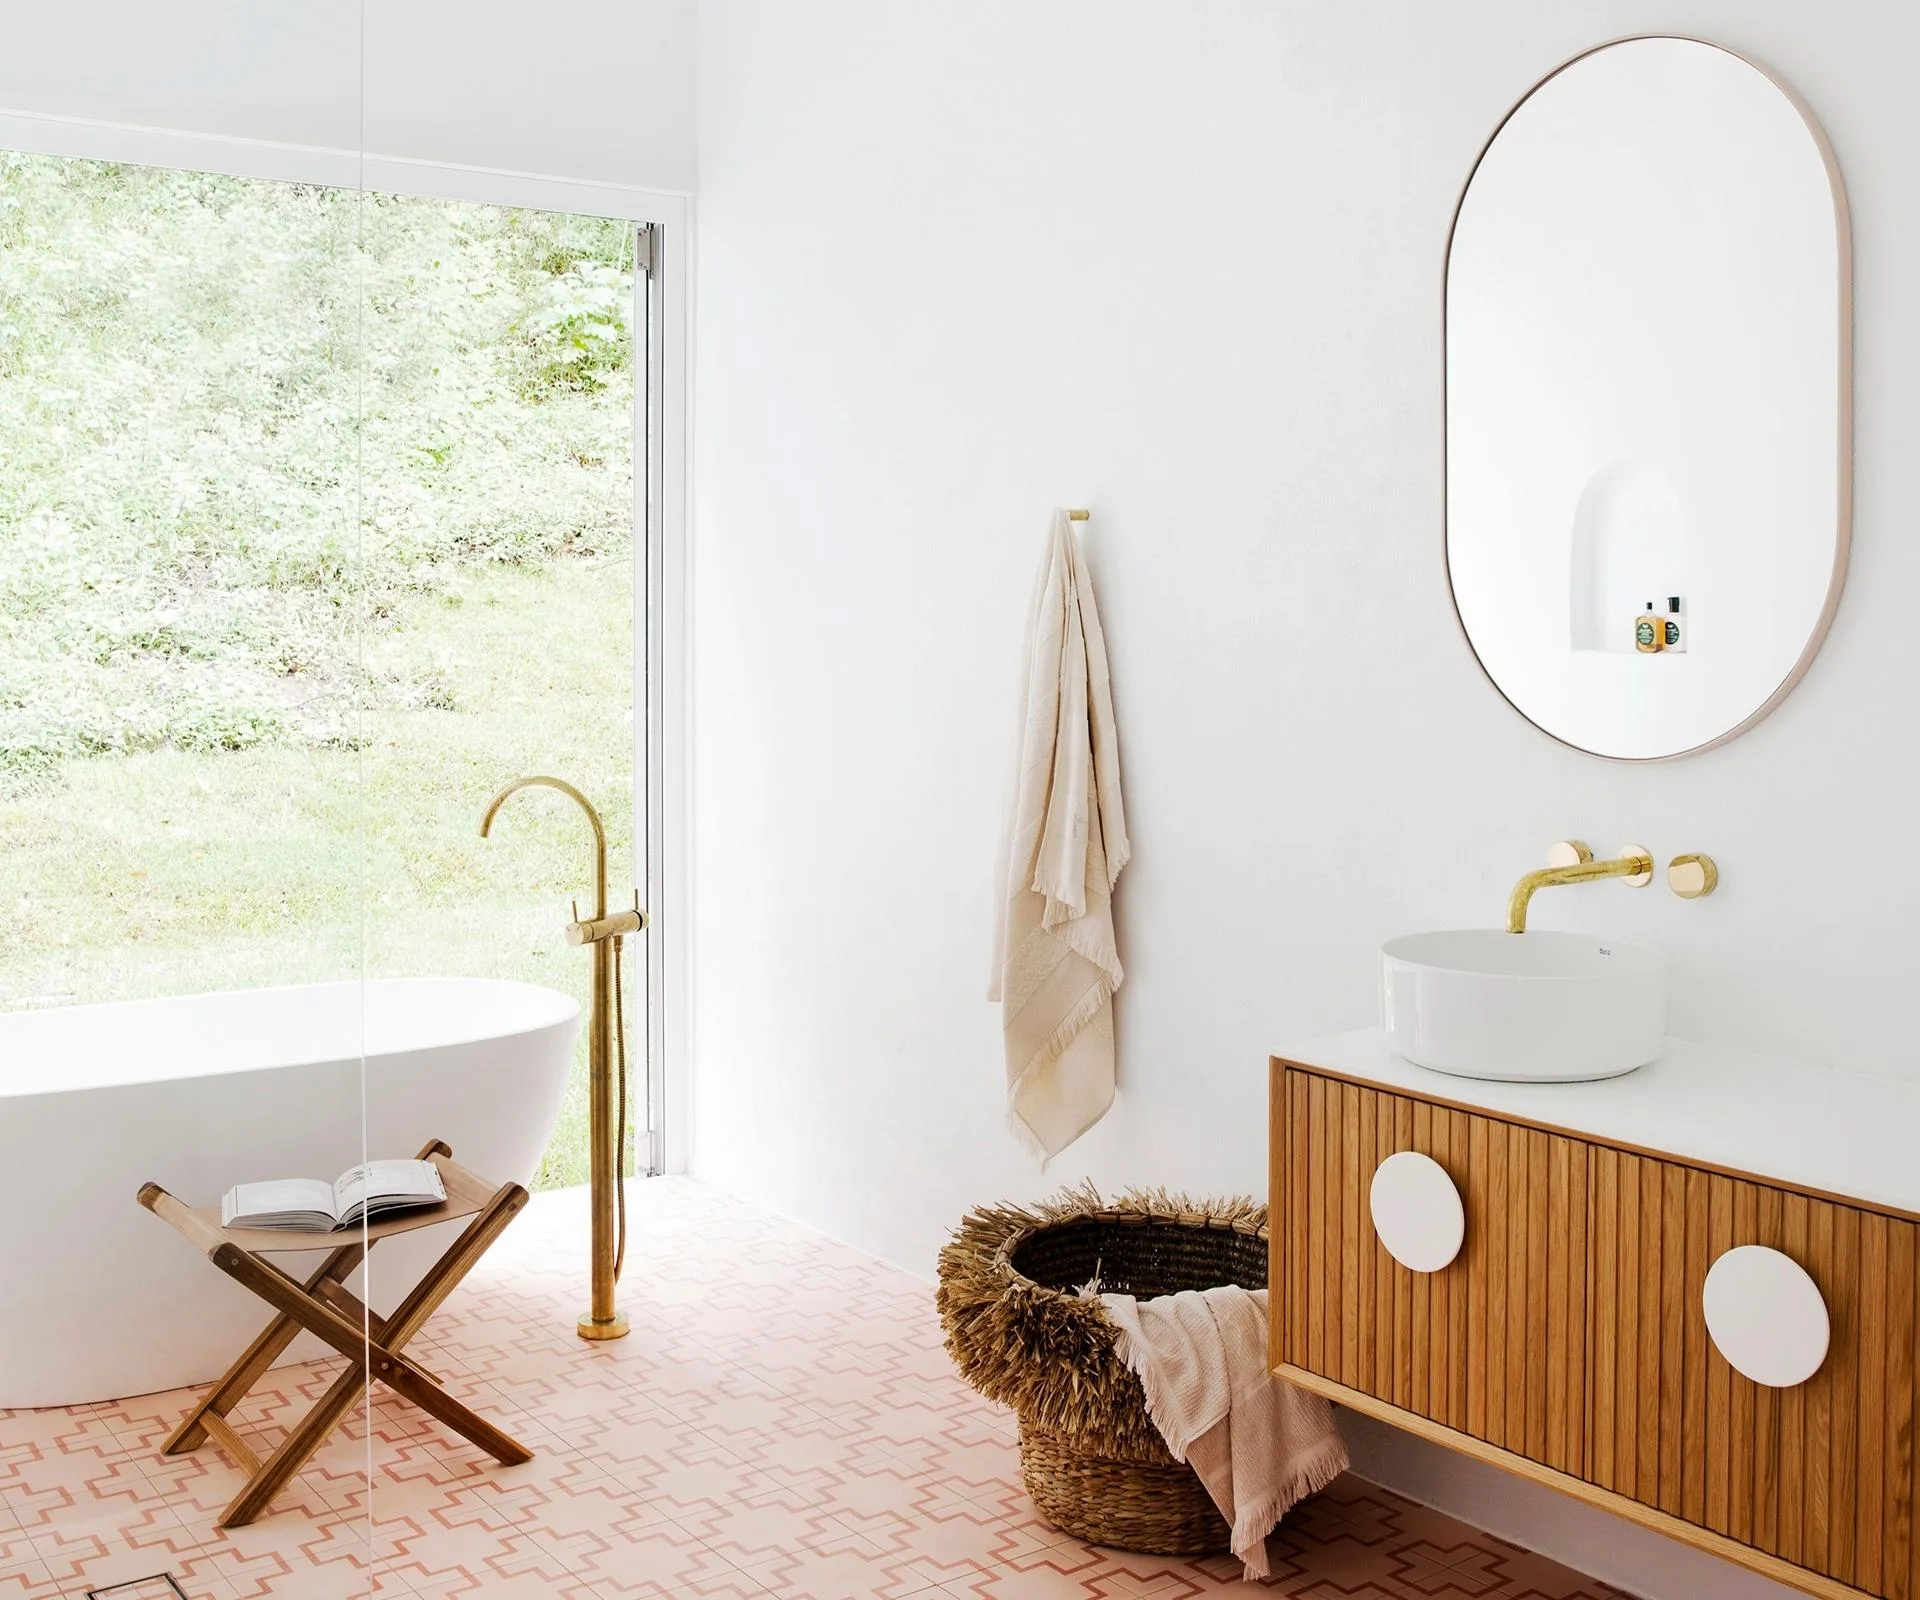
27 stunning walk-in shower ideas to revamp your bathroom


Walk-In Showers & Wet Rooms

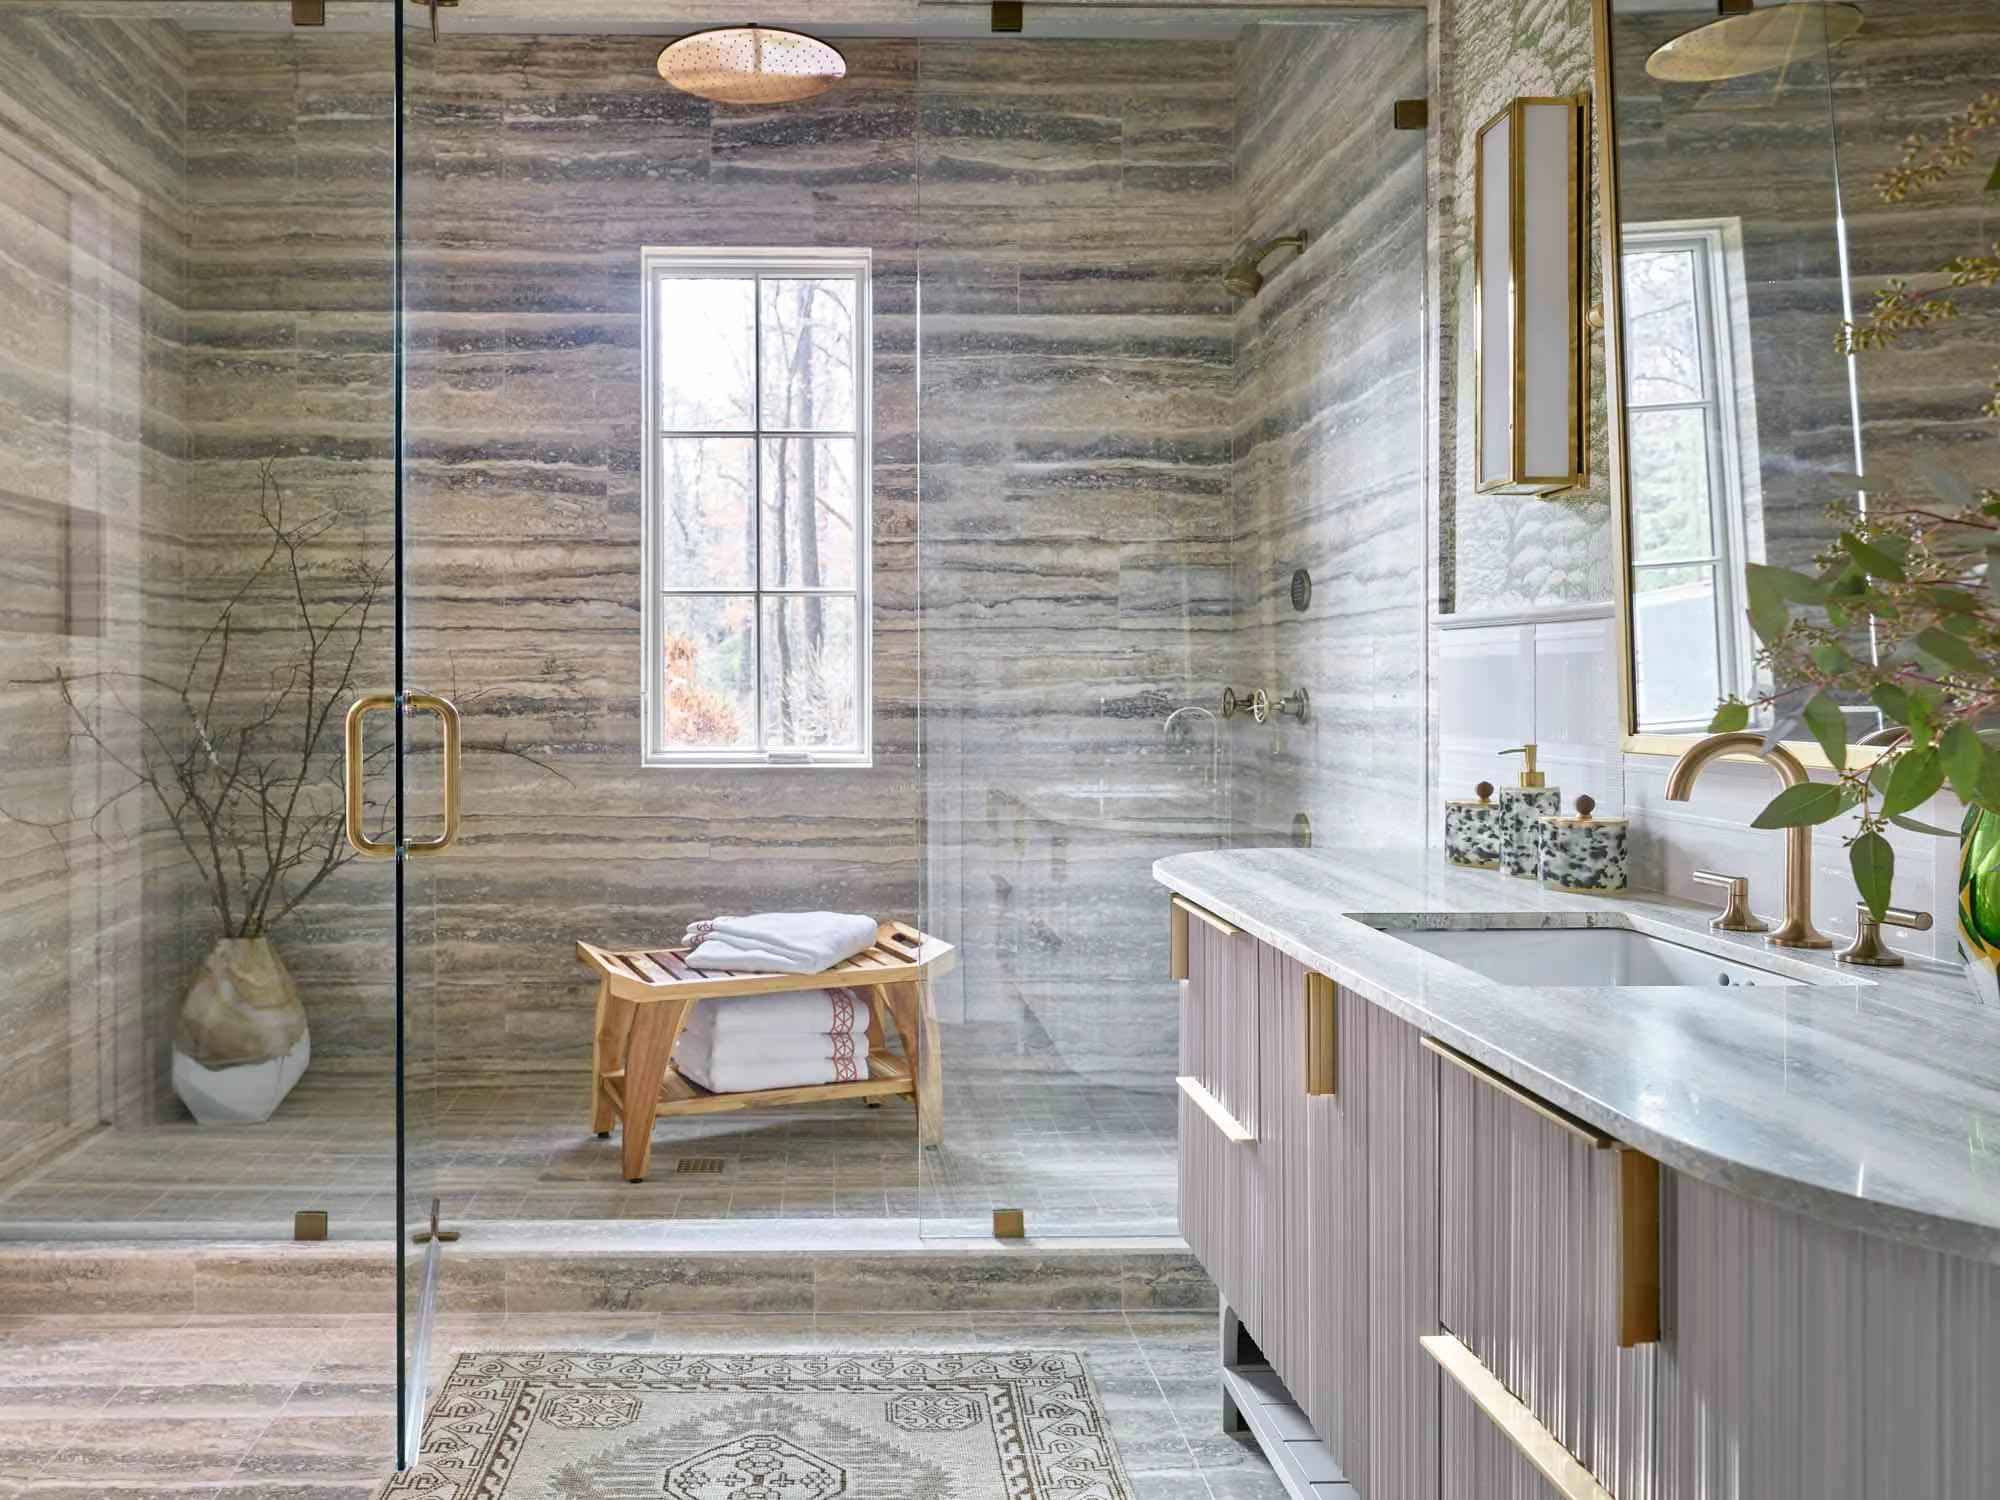
36 Walk-In Shower Ideas For Any Size Bathroom