1/8
A Stress-Free Way to Remove Wallpaper
This article outlines a straightforward method for removing old wallpaper, aiming to dispel common misconceptions about the difficulty of the task. It features insights from George Kovacs, a wall-covering installation expert at 78 and Sunny Wallpapering in New York. Kovacs emphasizes that if the wallpaper was properly hung with the correct primer, its removal should be relatively easy. Issues typically arise when the initial installation was faulty. The article provides a step-by-step guide to simplify the process, preparing walls for a fresh new look, whether through paint or new wallpaper.
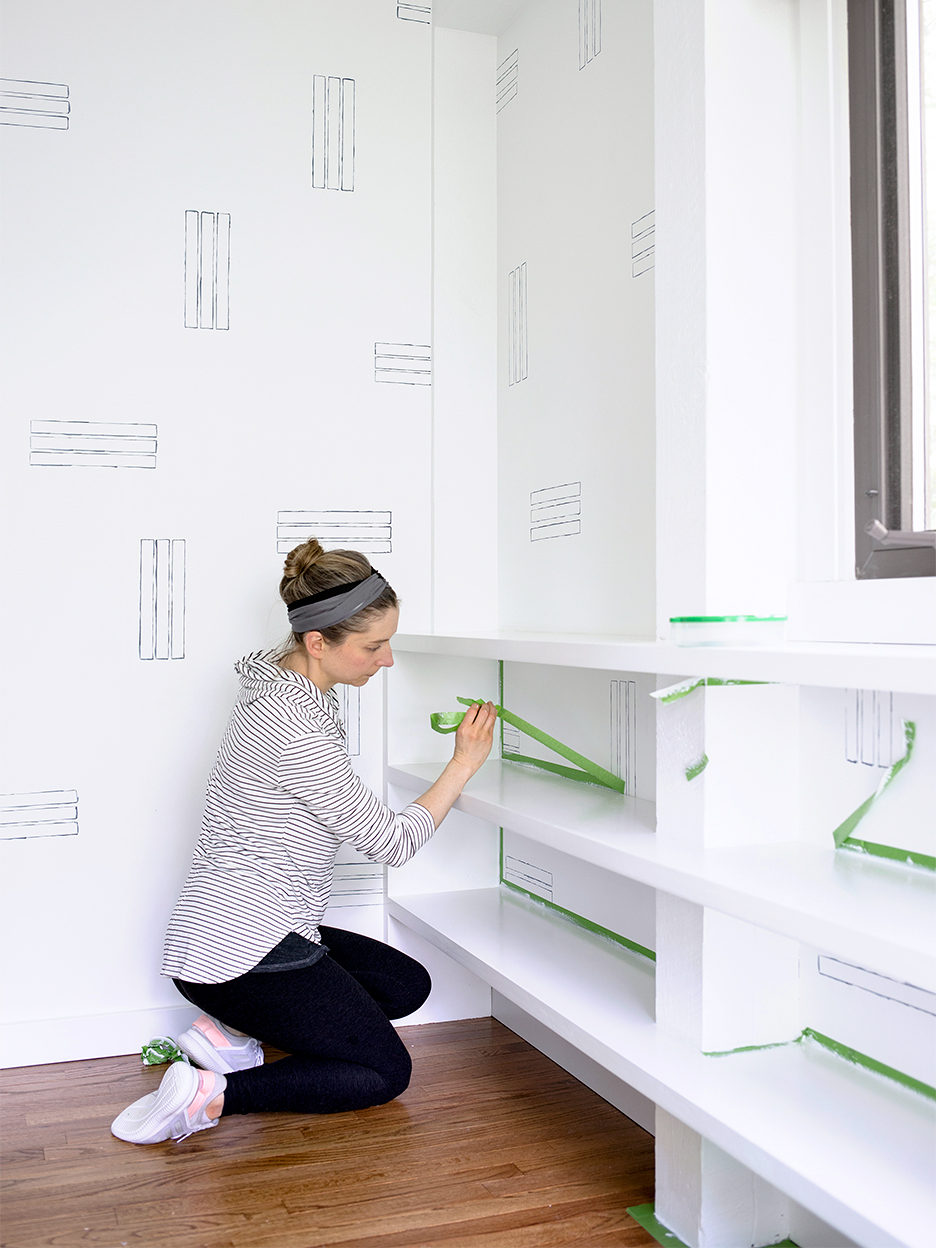
The first crucial step is to protect the surrounding area. Before commencing any removal, it is important to safeguard trim, molding, and flooring from water and soap that will be used during the process. This involves using painter's tape to cover all trim and molding thoroughly. Additionally, laying down a drop cloth on the floor is recommended to shield the flooring from any spills or debris.
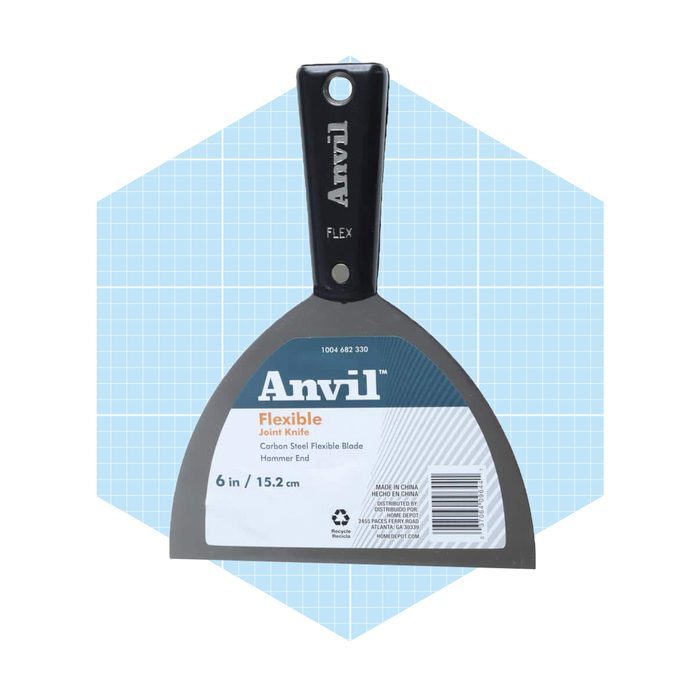
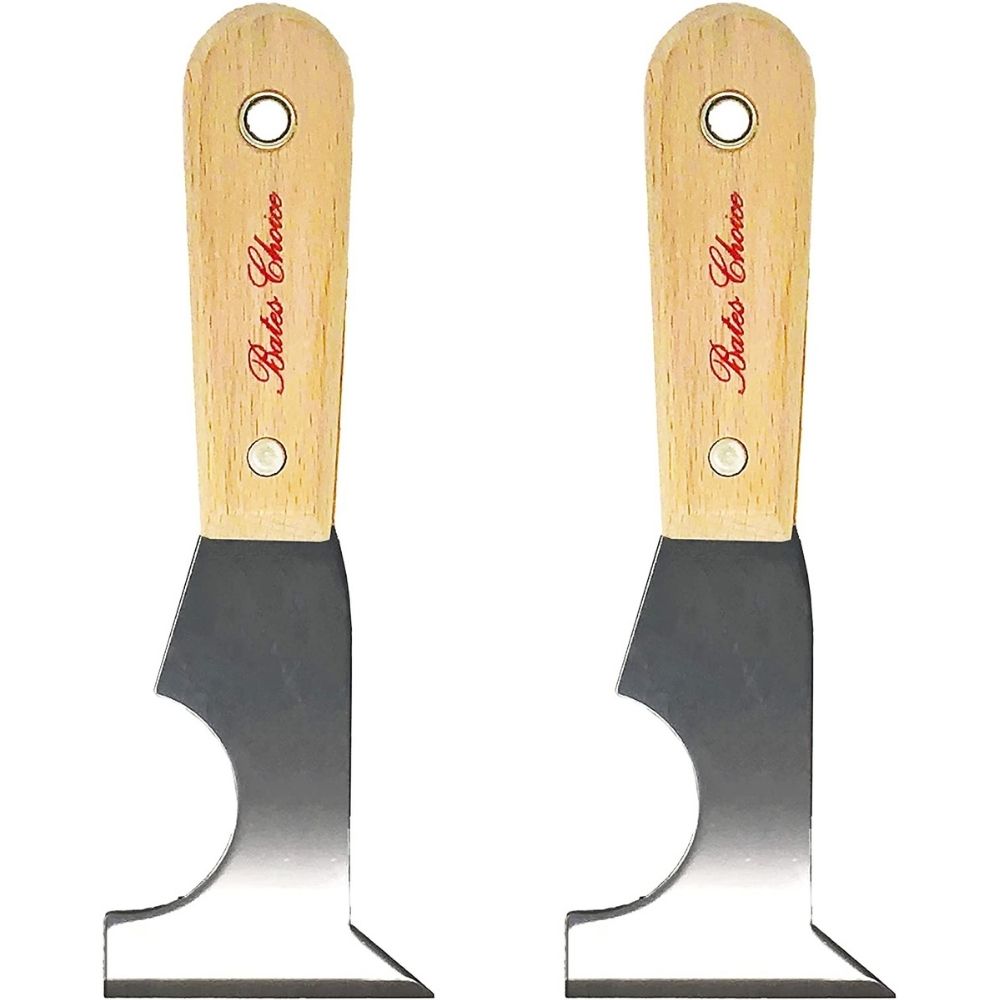
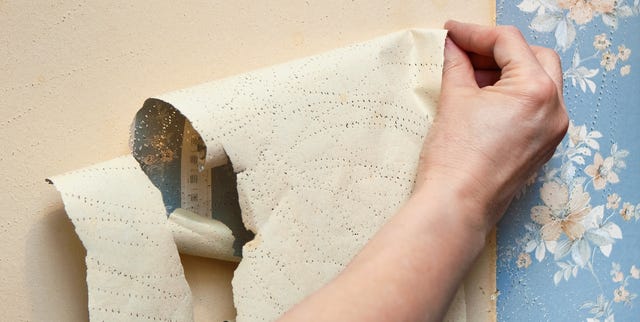
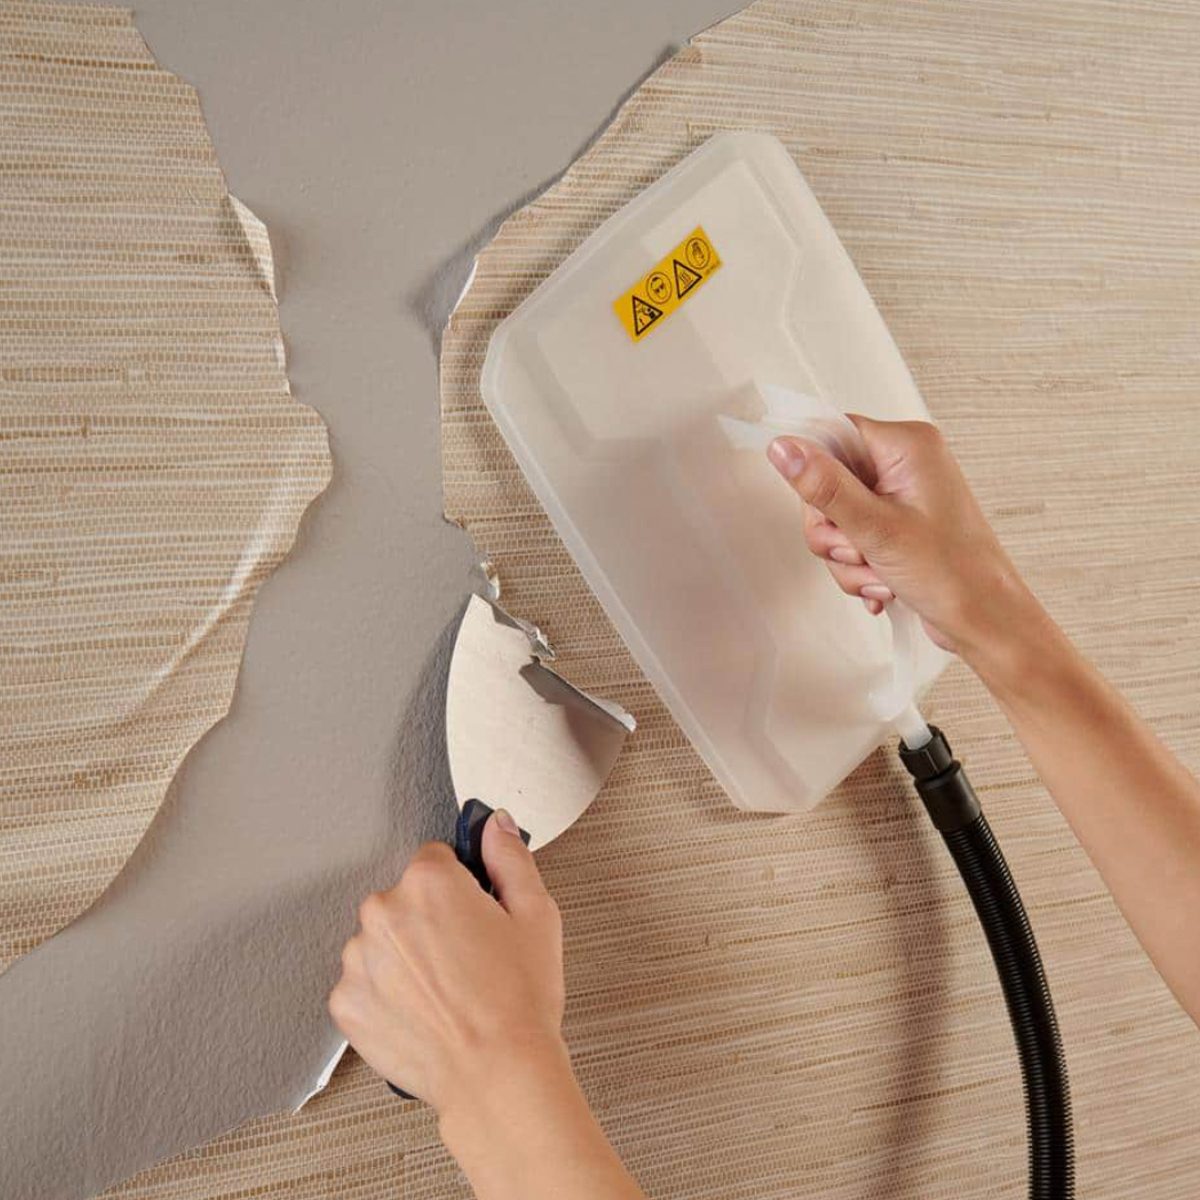
Next, the article suggests attempting to scrape off the wallpaper initially without water, especially if it is already peeling. A taping knife, similar to one used for patching walls, can be used to find an edge and gently begin the scraping process. This initial manual removal can save time and effort if the wallpaper is loosely adhered.
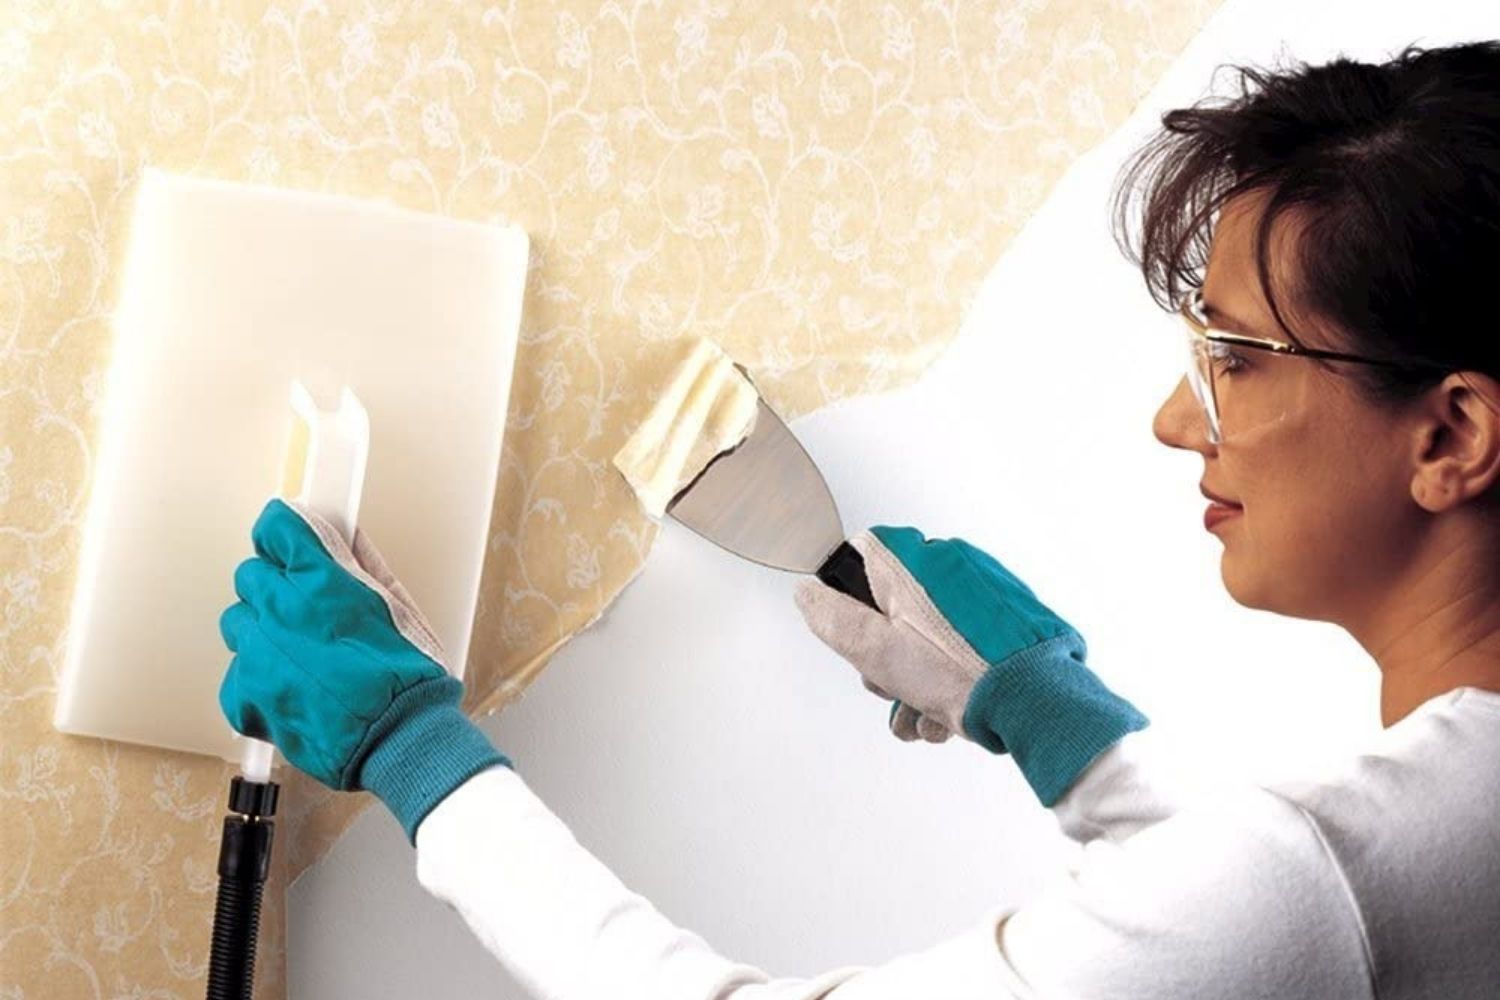
Once manual scraping becomes less effective, the third step involves spraying the wall with warm water. This helps to loosen the adhesive backing the wallpaper. Any standard spray bottle can be used, although a vacuum sprayer might accelerate the saturation process. For particularly stubborn wallpaper, a steamer is recommended for more effective penetration. Floors should be covered with plastic or a drop cloth before liberally spraying the entire wall surface.
After allowing the water to soak in for a few minutes, the scraping process can be resumed. Using the same taping knife, the wallpaper should be gently stripped from the wall, moving either left-to-right or up-and-down, based on what feels most efficient. If resistance is met, repeated spraying can help. Care must be taken to avoid scratching the underlying wall, as this could lead to future surface imperfections. If multiple layers of wallpaper are discovered, each layer should be removed individually to prevent damage to the wall.
Following the complete removal of all wallpaper, the wall needs to be thoroughly washed to eliminate any residual primer or paste. Kovacs highlights this as the most critical step. Using a damp sponge, the wall should be wiped down multiple times. Neglecting to remove old paste can cause significant problems, such as paint flaking and crackling or new wallpaper bubbling and failing to adhere properly.
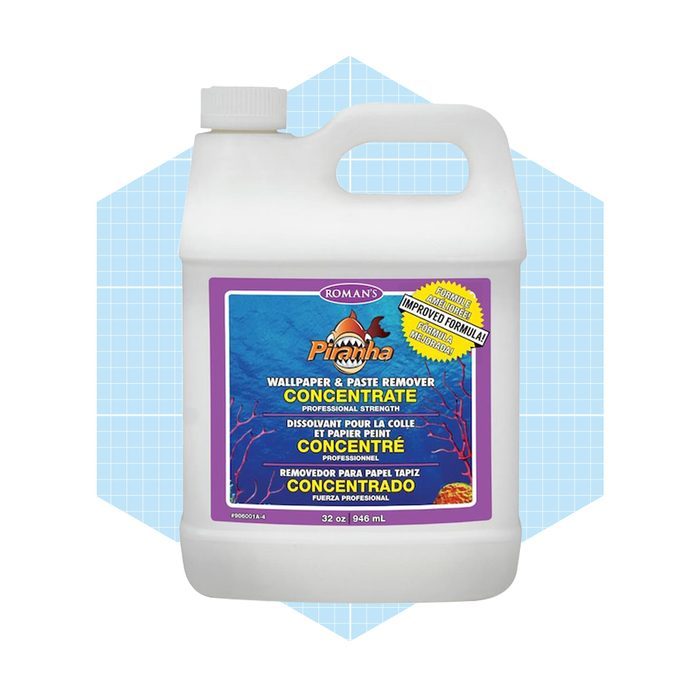
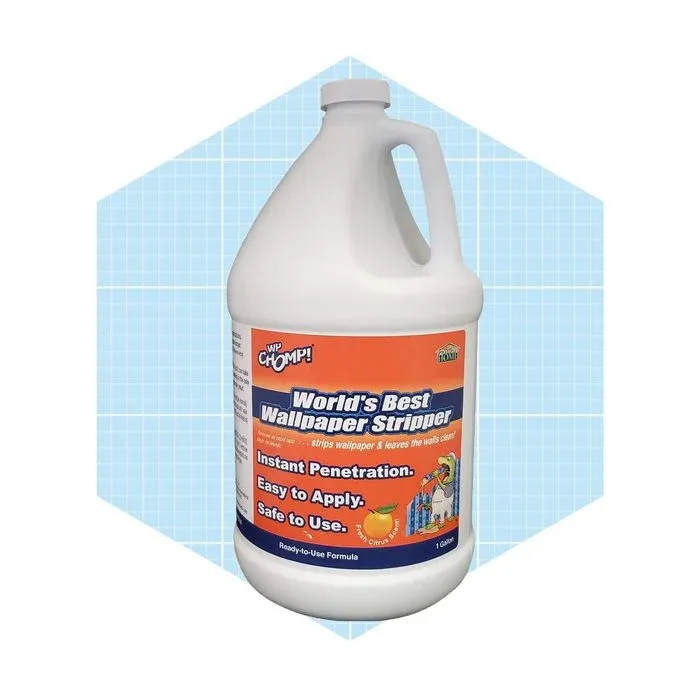
The sixth step focuses on smoothing the wall. Even minute traces of paste can compromise subsequent wall treatments. As stated by Family Handyman, incomplete removal of paste can lead to paint flaking, crackling, or bubbling of new wallpaper. To counteract this, any remaining paste patches should be treated with a gel stripper and then scraped off, ensuring the plaster surface is completely smooth.
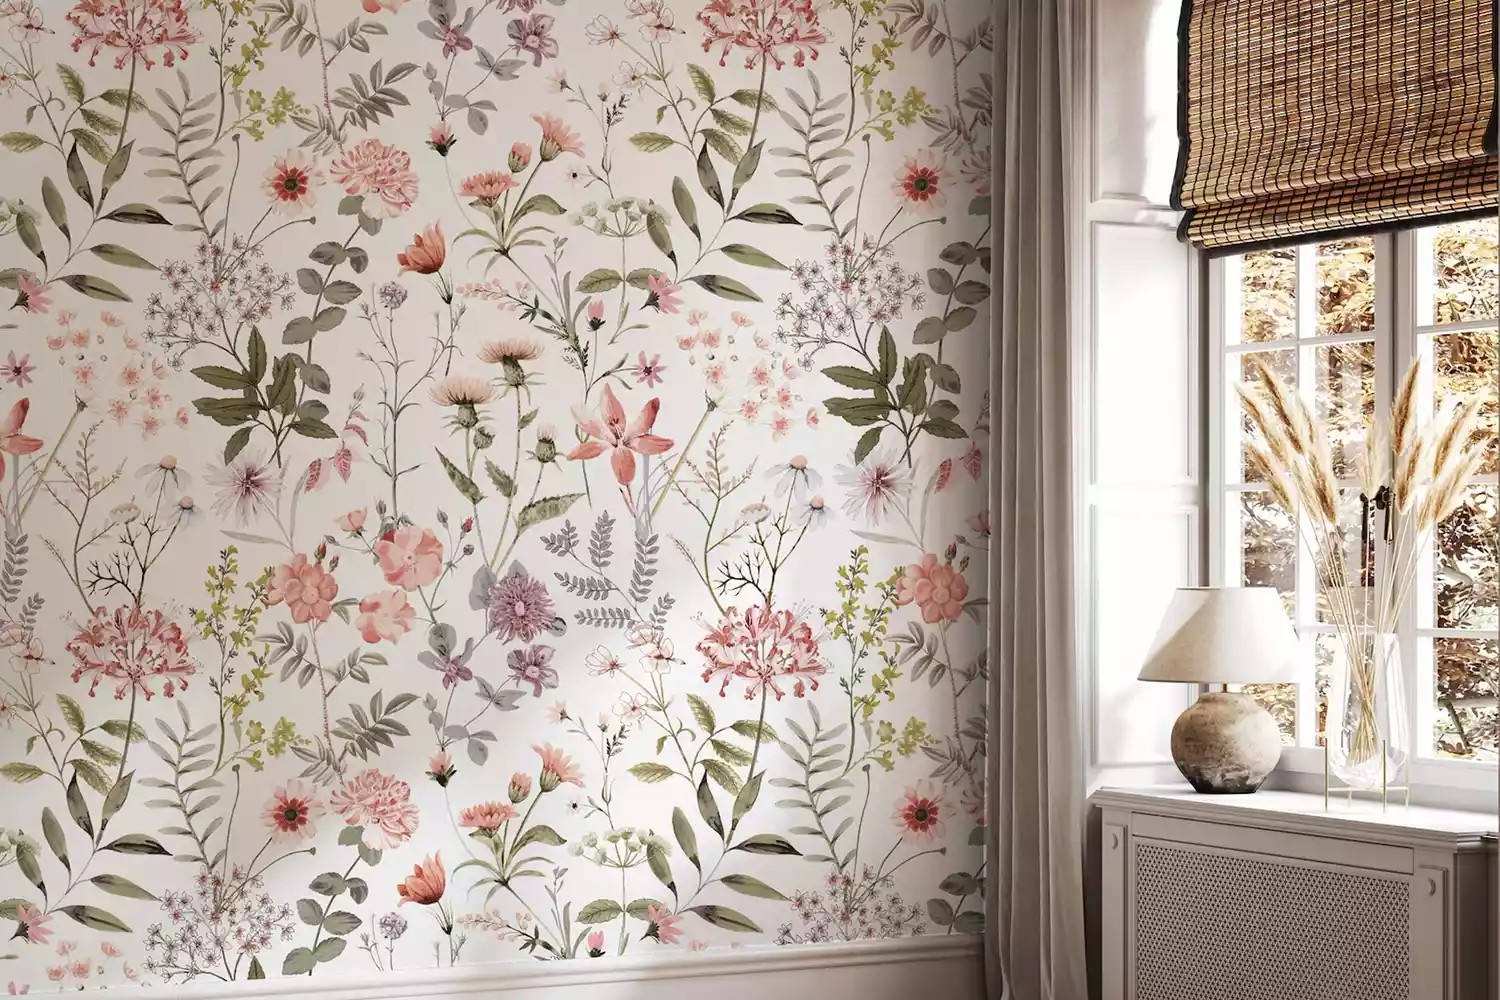
Finally, with the old wallpaper successfully removed and the walls prepped, the last step is to refresh the space with a new design. This can range from a fresh coat of paint to a new, stylish wallpaper pattern, allowing for creative interior updates.
#WallpaperRemoval #HomeRenovation #DIYHomeImprovement #InteriorDesign #WallCovering #HomeDecor #ScrapingWallpaper #WallpaperRemoval #HomeRenovation #DIYHomeImprovement #InteriorDesign #WallCovering #HomeDecor #ScrapingWallpaper
0개의 댓글이 총 표시됩니다.
 아직 댓글이 없습니다
추가로 마음에 드릴 만한 콘텐츠
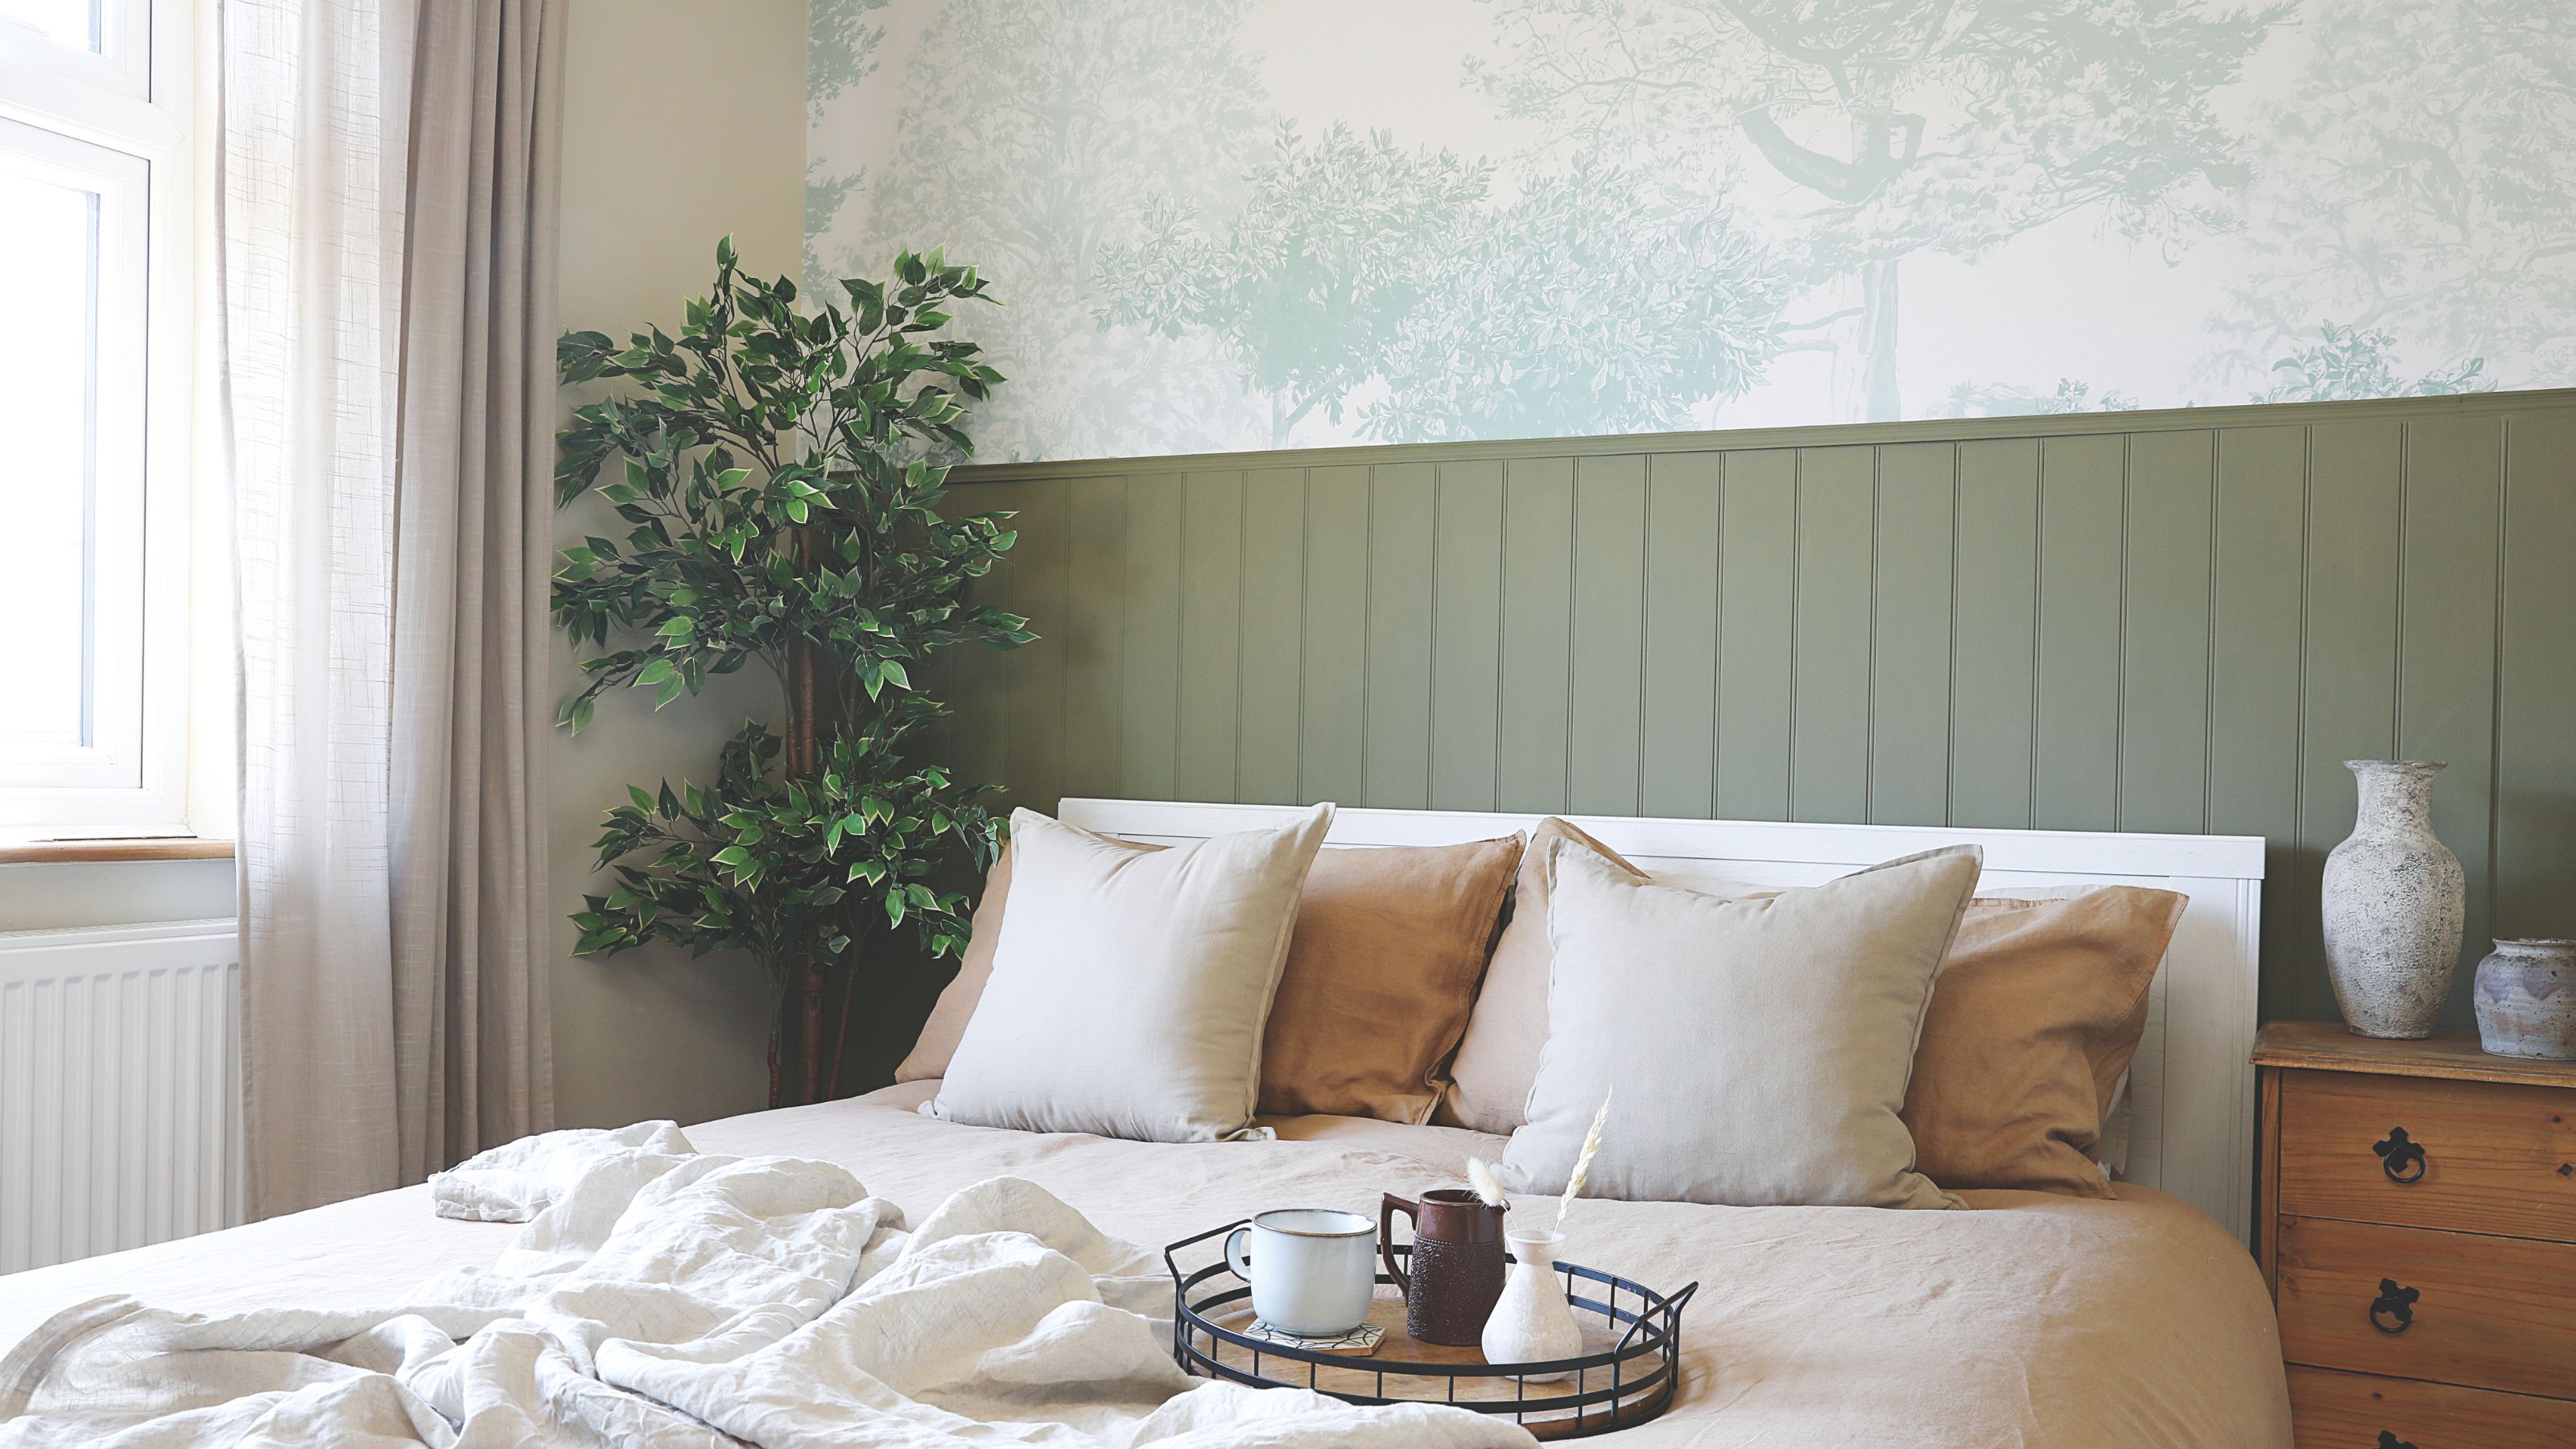
How to remove wallpaper - expert-approved steps to prevent damage and ensure a smooth finish
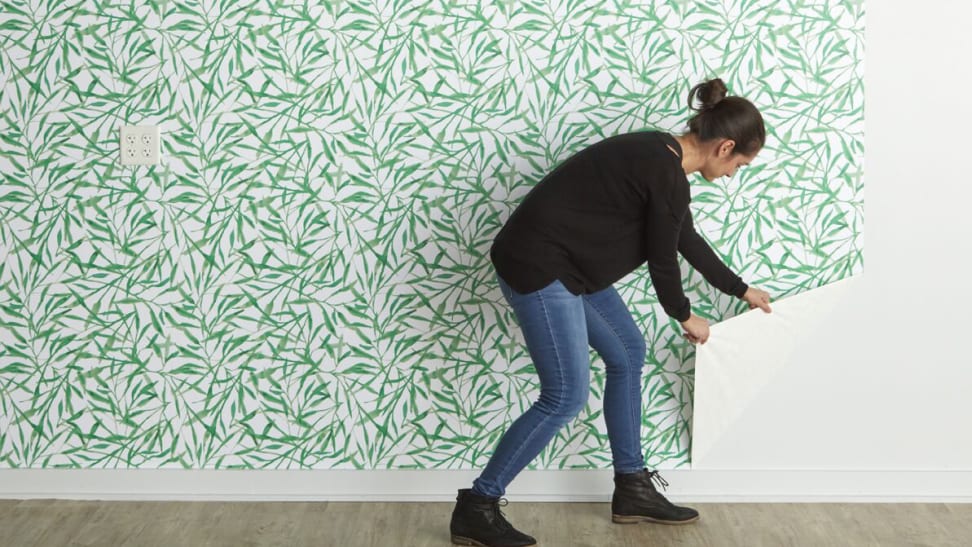
Everything you need to know about removable wallpaper

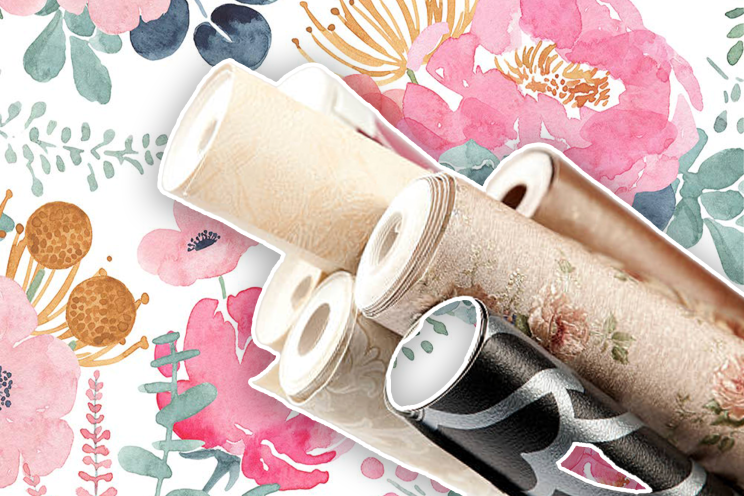
The 6 best removable wallpapers, according to an expert
How to Apply (and Remove) Peel-and-Stick Wallpaper the Right Way
9 Best Wallpaper Removers

Everything you need to know about removable wallpaper

The 5 Best Removable Wallpaper Brands for a Hassle-Free Room Makeover

Backdrop Just Released This Award-Winning Wallpaper in a Removable Version

DIY Removable Wallpaper
Say Goodbye to Damaged Walls—These 6 Removable Wallpapers Come Off Clean
Skip Wallpaper in Favor of an (Almost) Free Painter’s Tape DIY
26 removable wallpapers to jazz up your boring rented walls
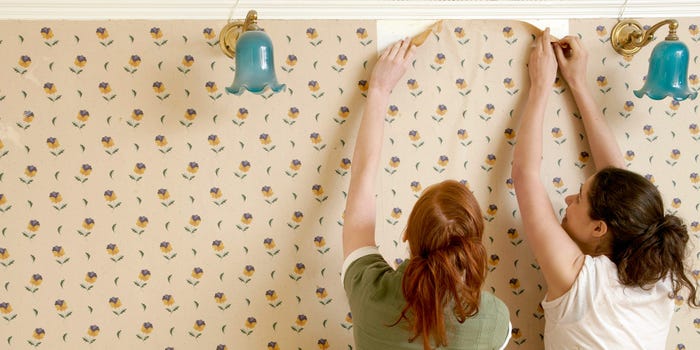
3 ways to remove wallpaper quickly

You’d Never Know That These Stylish Wallpapers Are Totally Removable
We Tested 28 Removable Wallpapers and Narrowed Them Down to the 6 Best for Your Walls

Peel-and-stick wallpaper tips and shopping

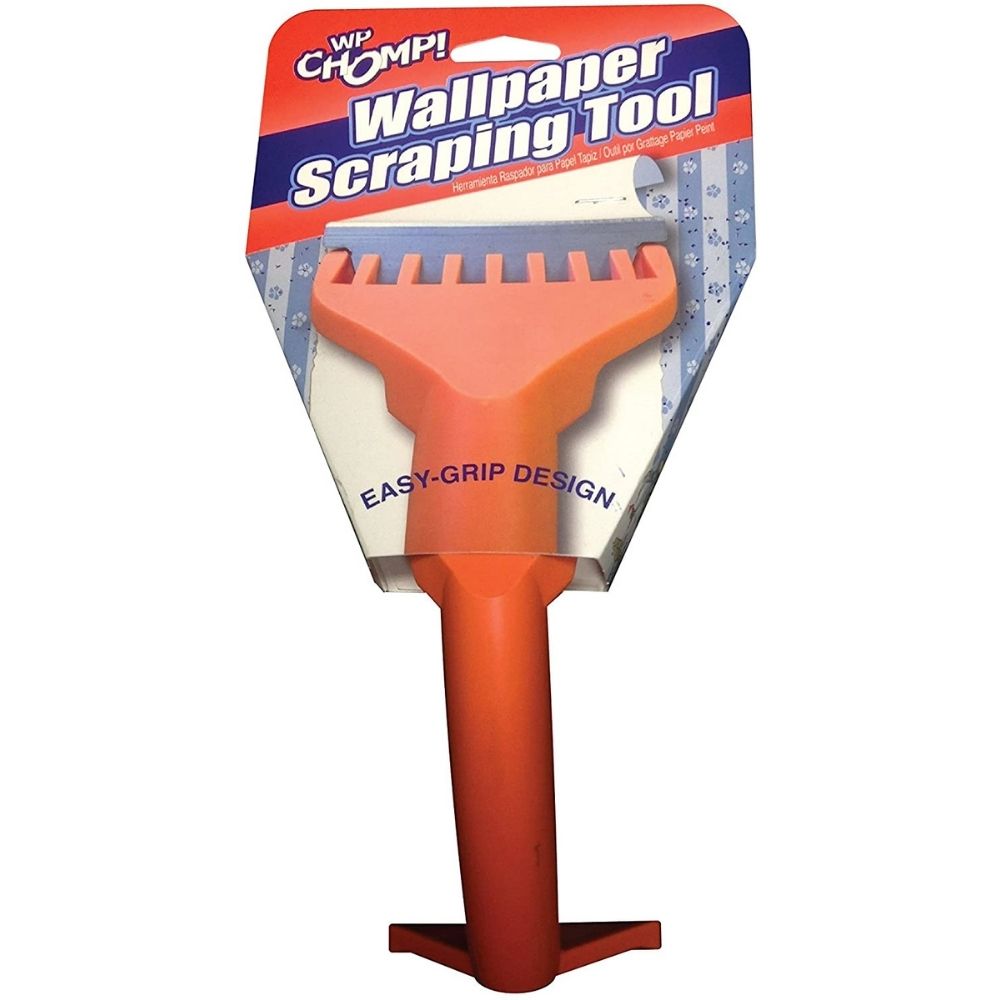
The Best Wallpaper Removers of 2025 for Updating Your Home’s Interior

These Removable Wallpapers Will Completely Transform Your Space (Without Damaging Your Walls)

This Removable Wallpaper Lets You Update Your Home Without Commitment
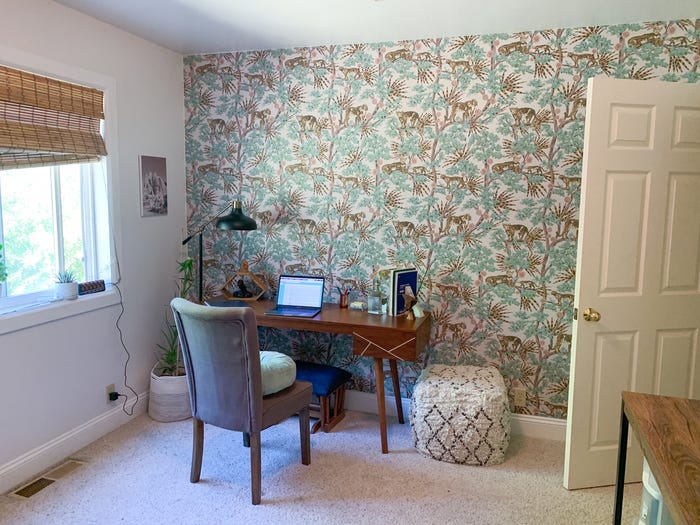
Tempaper Removable Wallpaper Product Review