At Home with Marni: A kitchen backsplash installation creates waves
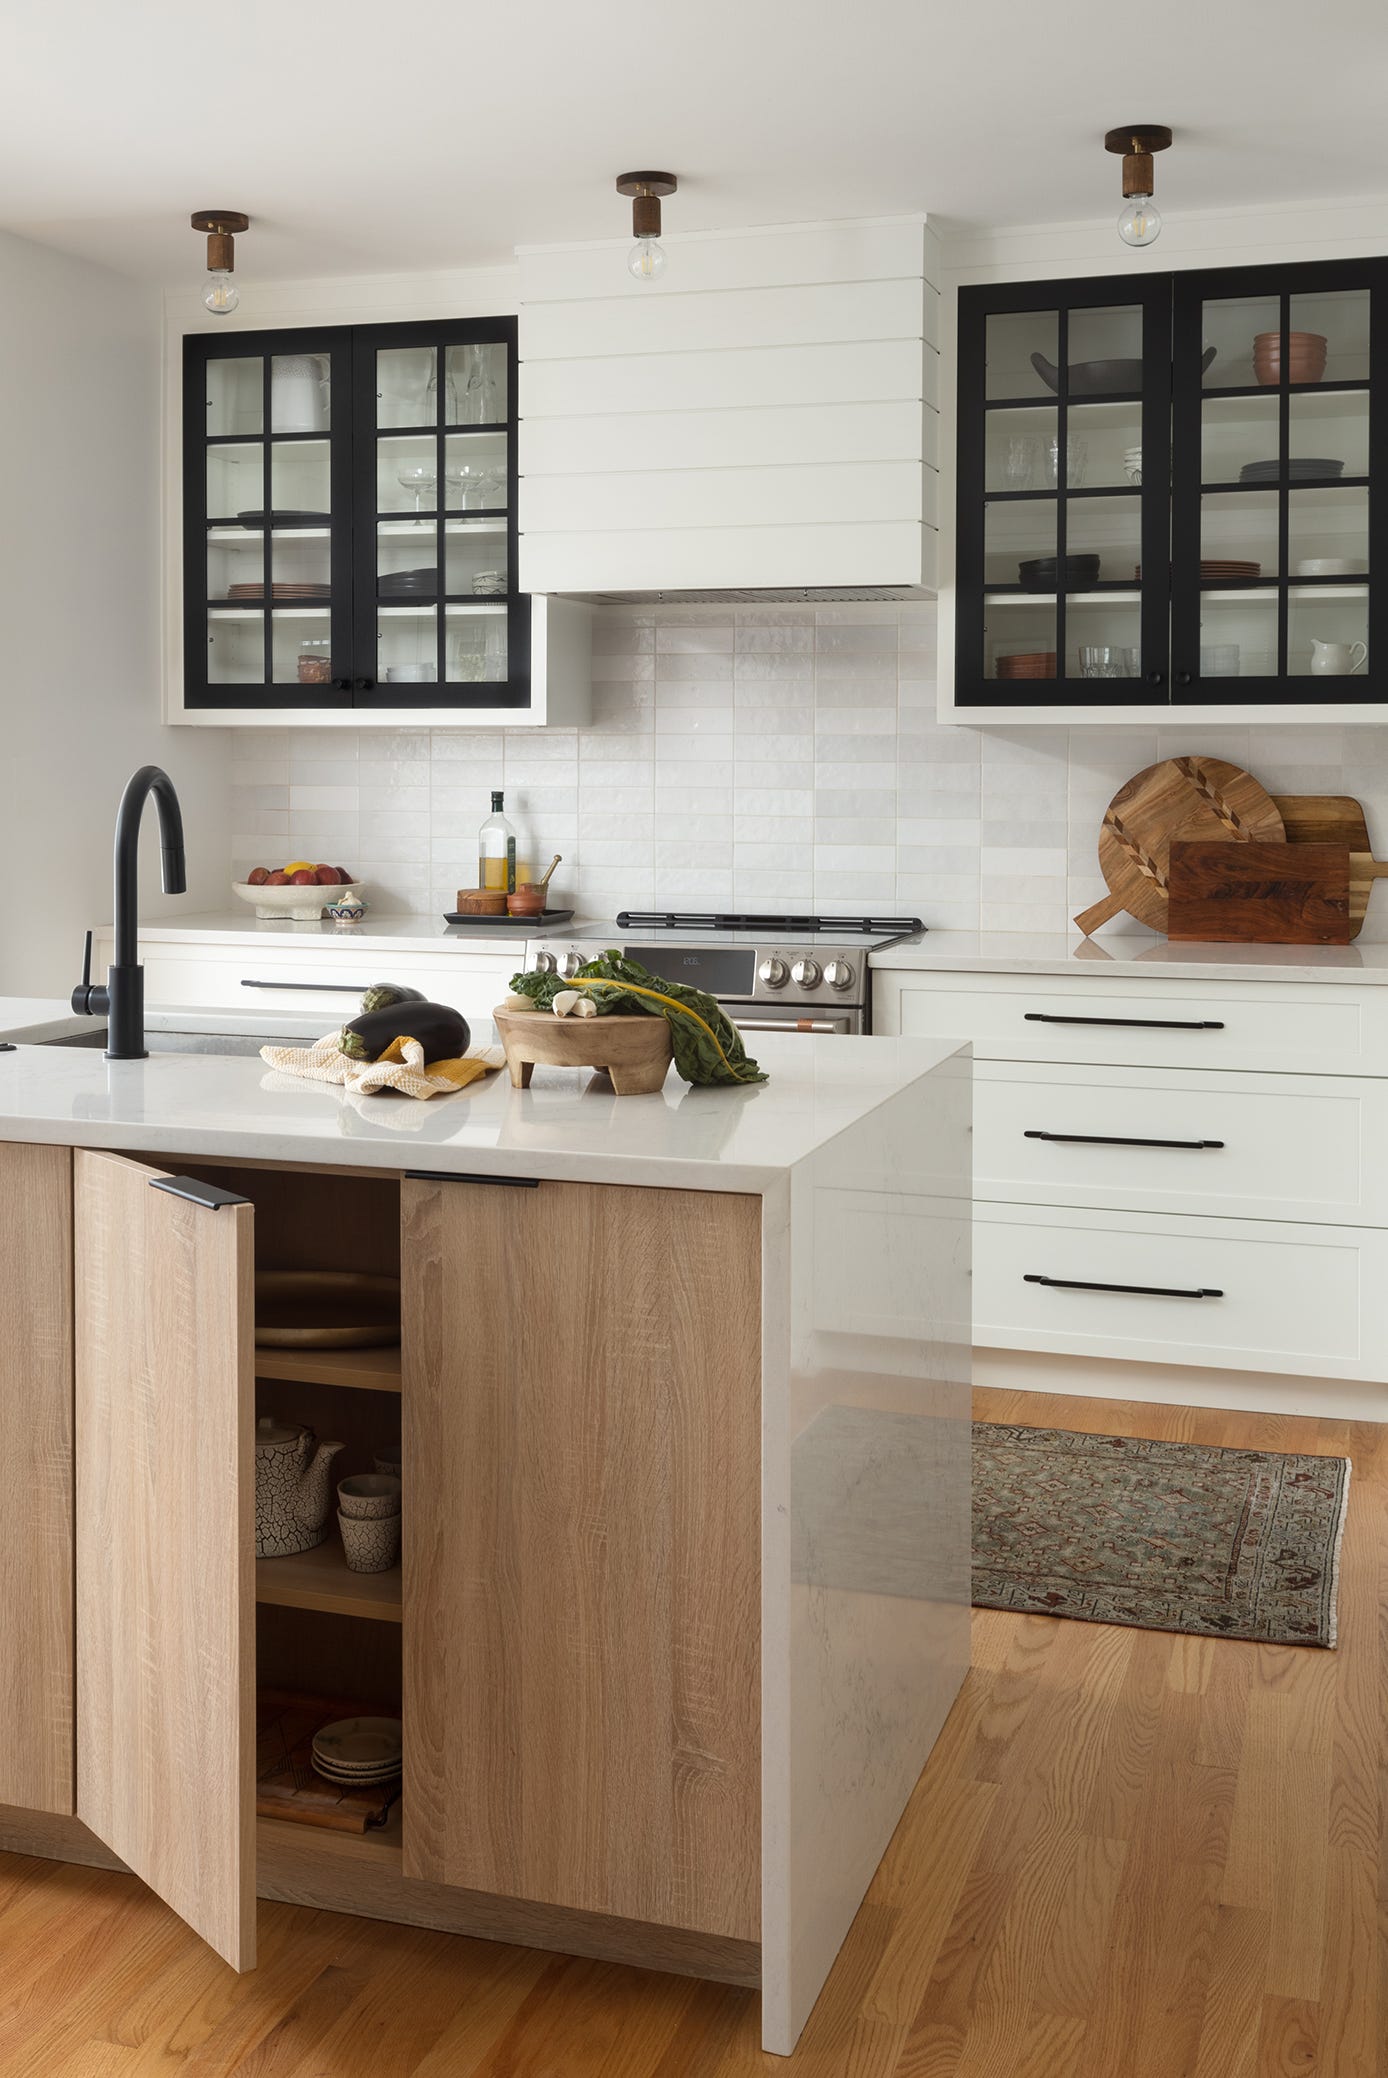
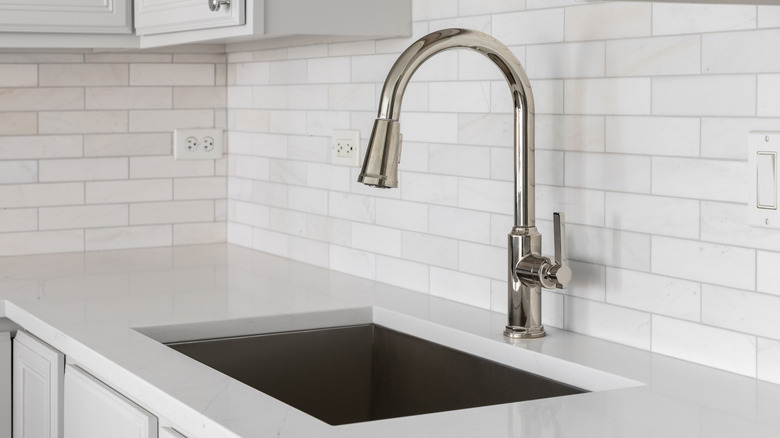
The author recounts a challenging experience with a kitchen backsplash installation, highlighting the complexities and potential pitfalls of home improvement projects. The narrative begins with the successful completion of various kitchen renovations, including new counters, cabinet hardware, sink, and faucet, all executed within three days as per the author's meticulous planning. However, the backsplash installation was deferred, awaiting the finalization of the new quartzite counters to ensure proper tile selection against the home's natural light.
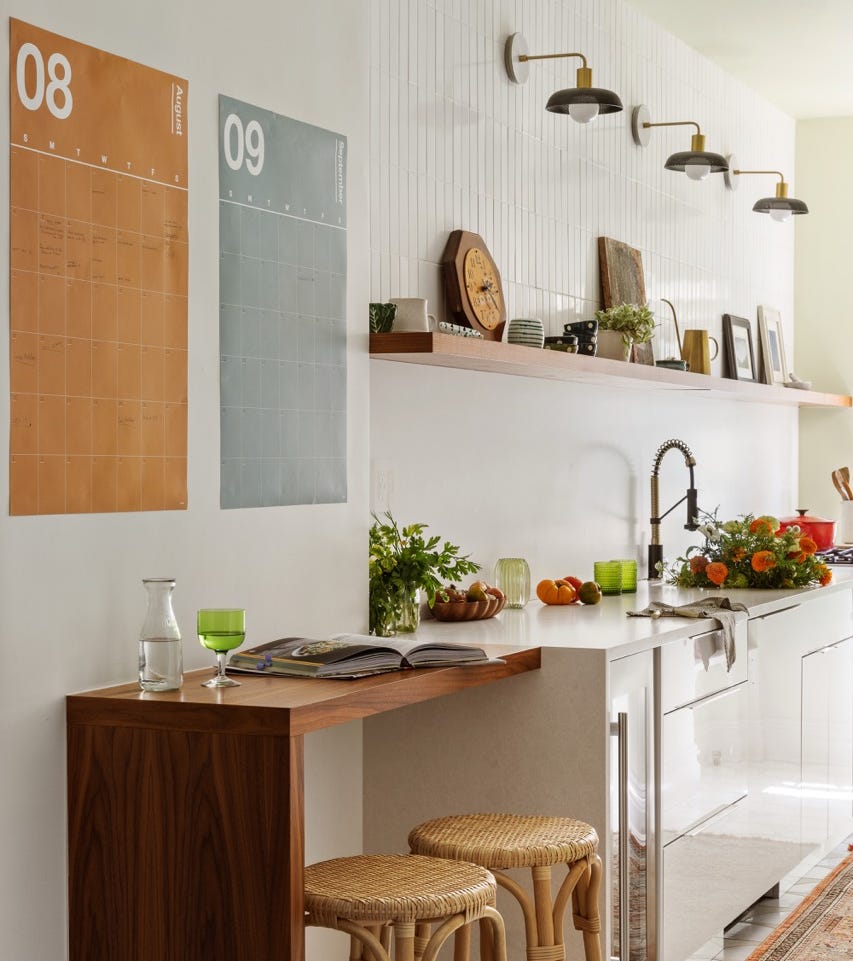
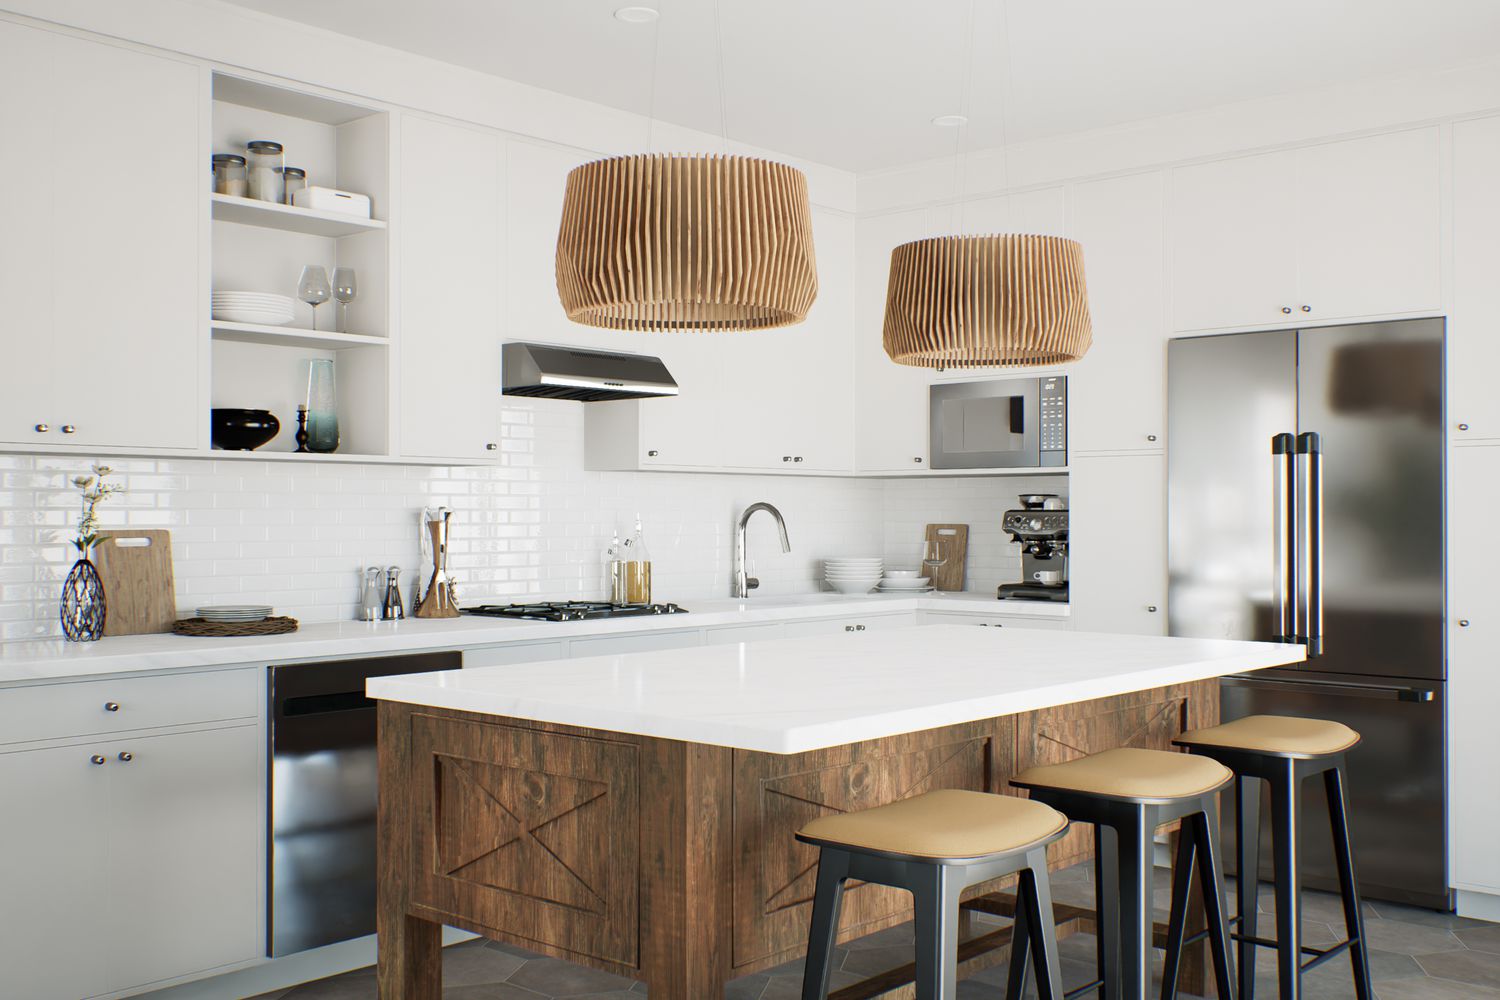
After selecting warm white, 2x8-inch tiles, the author engaged a handyman's tile installer, Joey, to complete the backsplash. Joey proceeded with the installation in a horizontal subway style with staggered joints. Upon completion, the author observed that the tiles were uneven and appeared wavy, an assessment confirmed by her husband. This led to contacting Richard, the handyman, who acknowledged the issue and committed to fixing it. The author emphasizes that a business's response to mistakes is as crucial as the mistake itself, drawing a parallel to Southwest Airlines' customer service.
To confirm her assessment, the author consulted her tile store salesperson, whose husband is a tile installer. The salesperson attributed the problem to the installer's failure to check the wall's flatness with a level, indicating that the only remedy was to remove and re-install the tiles. Richard subsequently arranged for Joey to remove the initial installation. A few days later, Richard personally undertook the re-installation.
Richard, a tile installer with 30 years of experience, offered several pieces of advice for achieving a high-quality tile installation. His recommendations include securing a skilled installer, preferably through referrals from specialty tile stores or other tradespeople. He stressed the importance of thorough preparation, ensuring that the surface is flat and free of blemishes before tile placement, as any existing imperfections will be amplified by the tile. He advised using a level to confirm the evenness of the substrate, whether a wall or floor, and to rectify any humps or depressions. Richard also highlighted the critical nature of squareness, recommending laser levels to maintain perfectly straight tile lines. He suggested the technique of 'cheating' by making subtle adjustments to account for imperfect right angles in walls or floors, thereby tricking the eye into perceiving straightness. Furthermore, he advised against rushing, recommending a day or more for tile to set before grouting. Finally, he detailed the proper application of grout, emphasizing working in small sections, firmly pressing grout into joints with a float, and swiftly wiping excess from the tile surface with a slightly damp sponge before it hardens. He concluded by stressing the importance of acting quickly to correct any mistakes once tile is in place.
The article concludes with the author reflecting on the process, expressing gratitude for Richard's professionalism and problem-solving approach. The experience serves as a practical lesson in home renovation, underscoring that even with careful planning, unforeseen issues can arise, and the quality of craftsmanship and customer service in addressing these issues are paramount.
#KitchenRenovation #BacksplashInstallation #HomeImprovement #TileInstallationTips #DIYFailures #QualityCraftsmanship #CustomerService #RenovationChallenges #MarniJameson #KitchenRenovation #BacksplashInstallation #HomeImprovement #TileInstallationTips #DIYFailures #QualityCraftsmanship #CustomerService #RenovationChallenges #MarniJameson
合計0件のコメント
 まだコメントはありません
あなたも好きかもしれません
Why Half Backsplashes Are Taking Over Kitchen Design, According to Experts

The kitchen island trends dominating 2025 - the liveable looks we predict will become new classics
The Latest Kitchen Design Trends for 2023, According to the Pros


Tarek El Moussa's Dramatic Kitchen Backsplash Makes The Case For Going Dark

Kitchen Makes an Artful Statement

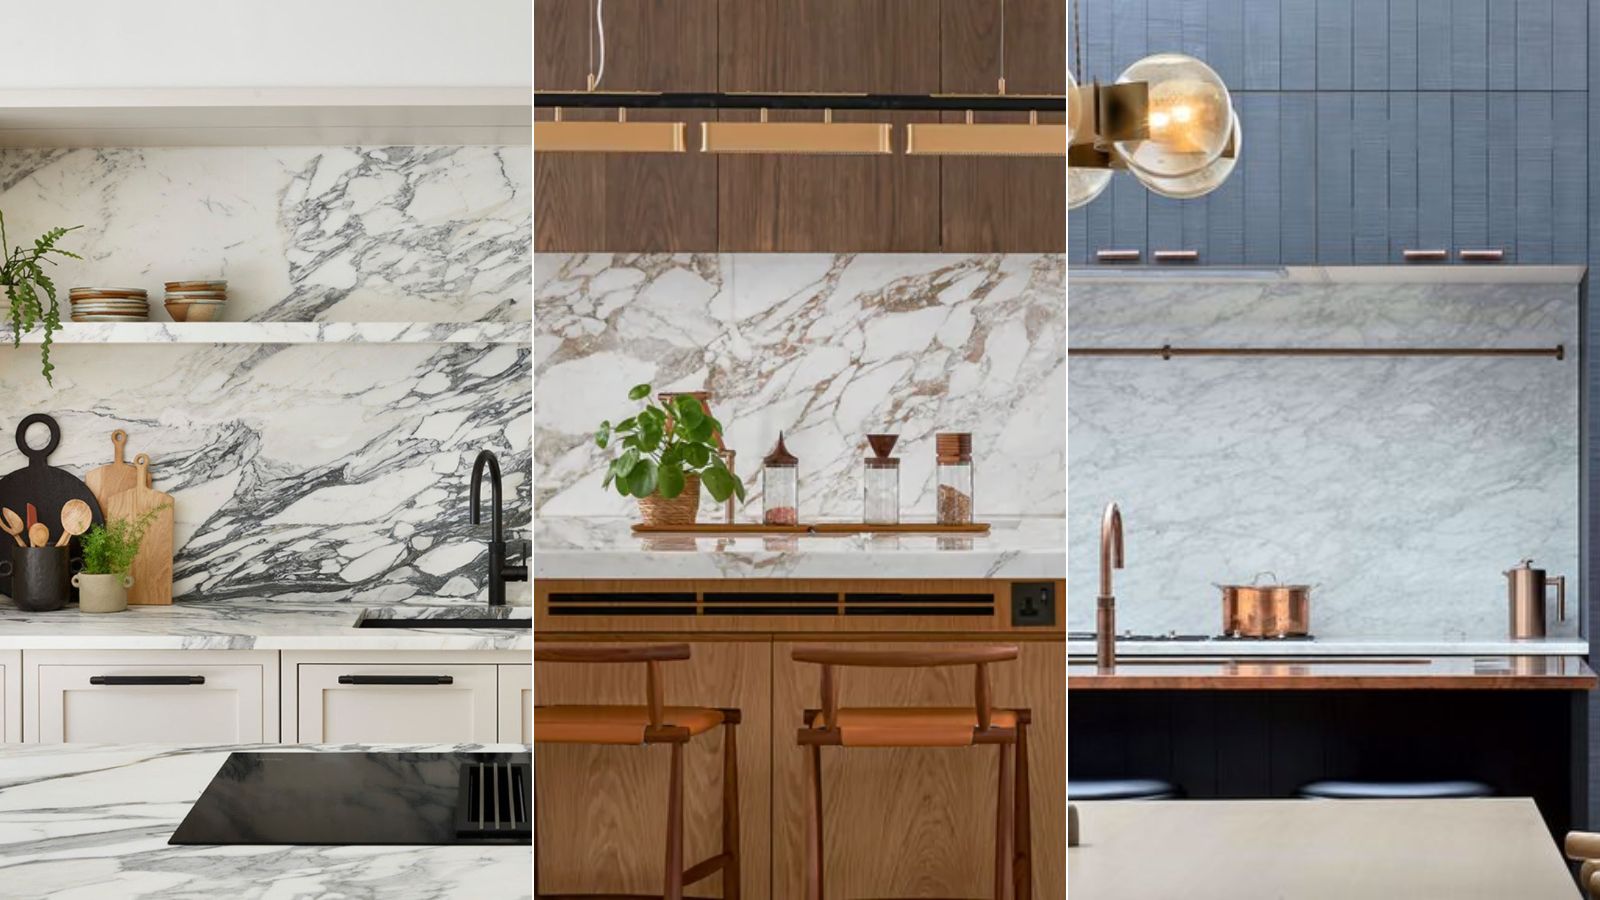
Blended backsplashes are trending in kitchen design – this is what you should know

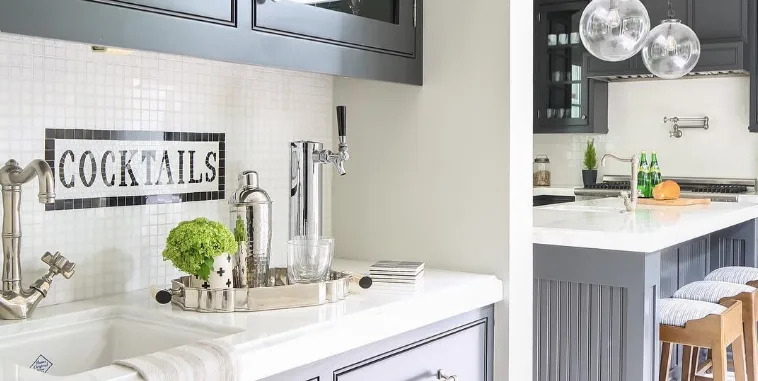
Mosaic Backsplash Words Are the Next Quote Signs, You Heard it Here First

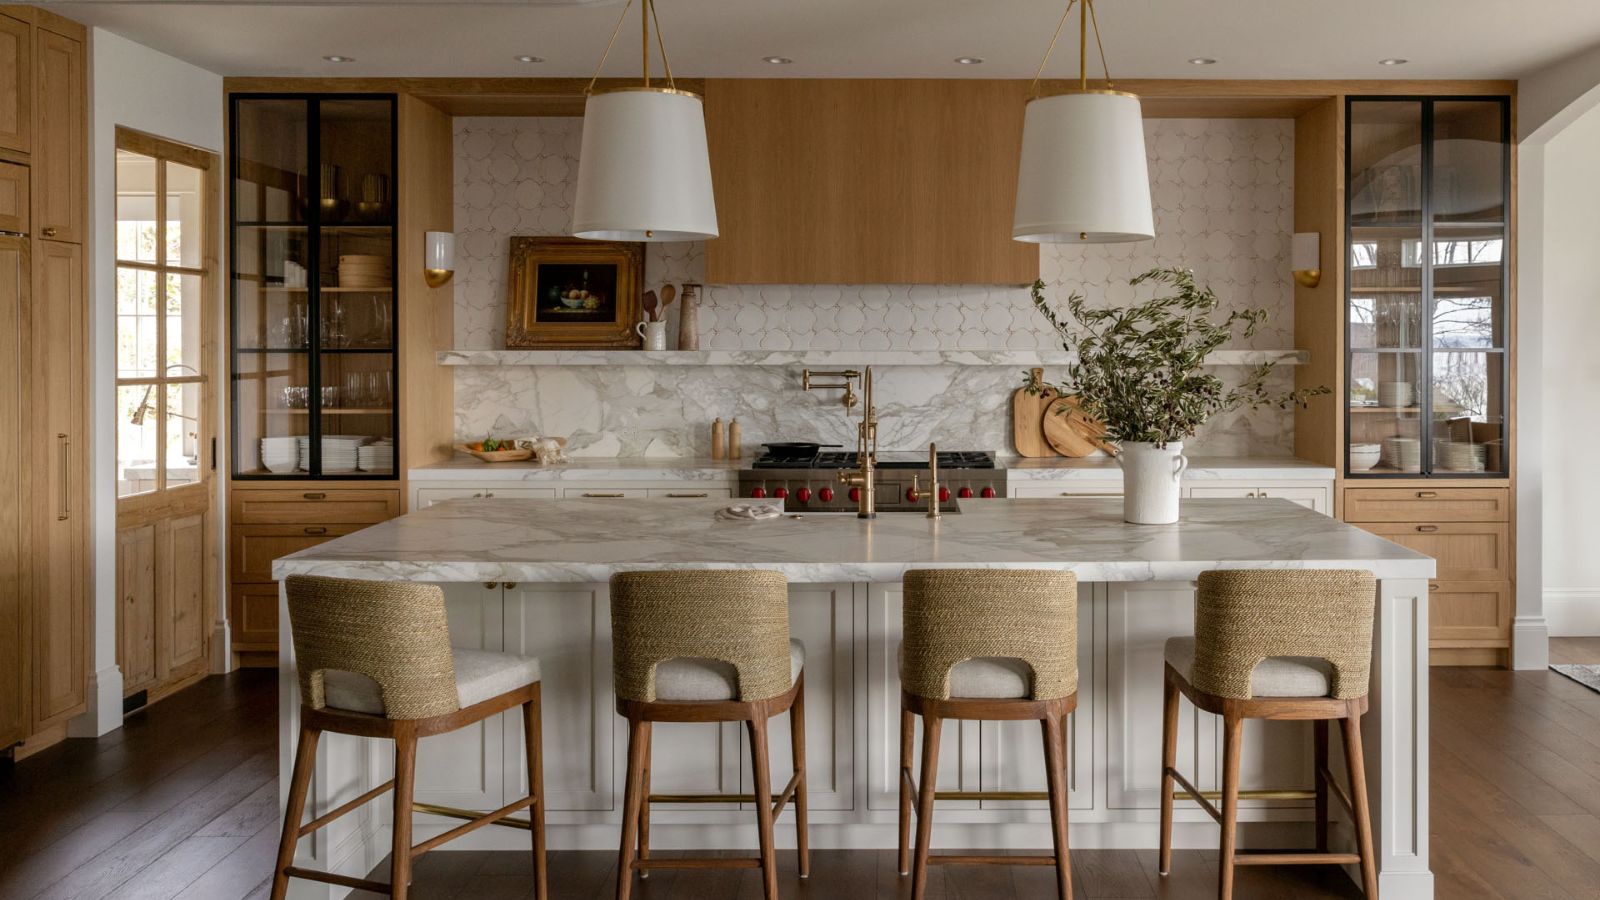
The Most Stylish Kitchens Right Now Feature This Striking Backsplash Trend – And Designers Swear By It For a Bold-Meets-Timeless Scheme
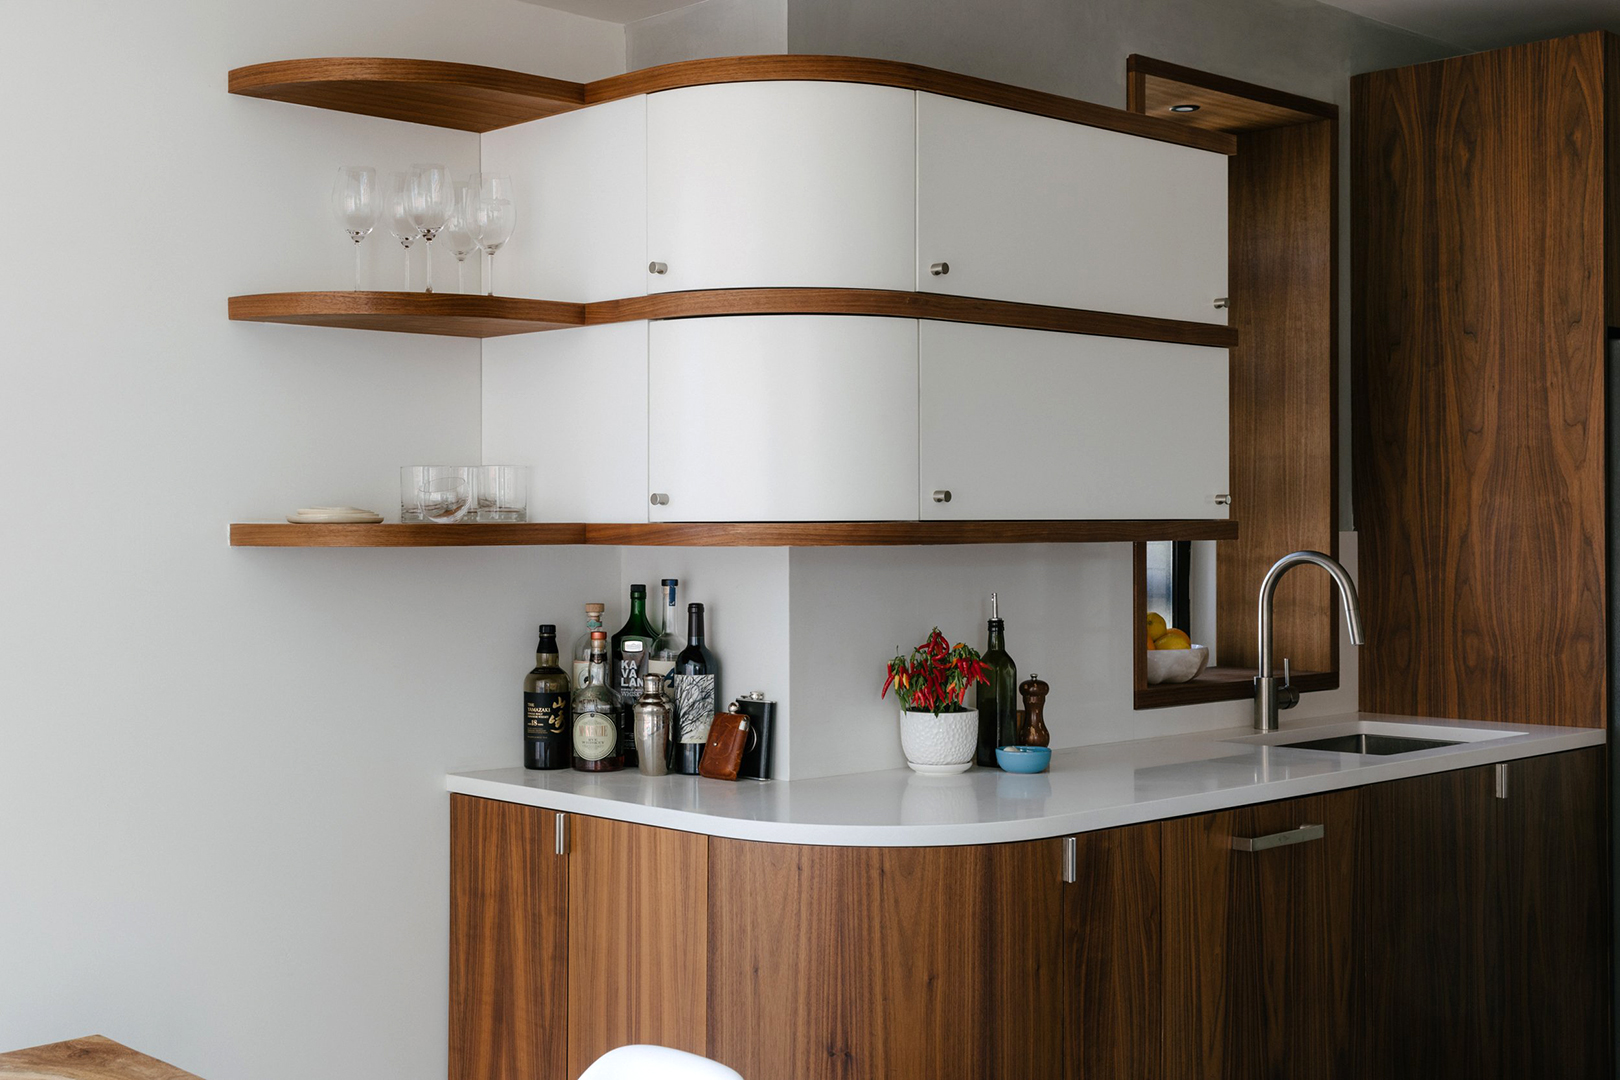
The Curved Trend Has Reached the Kitchen

5 Kitchen Design Fads That Are So Over—and Designers Aren’t Sad to See Them Go

Kitchen splashback ideas for beautiful wall protection that is packed with style

Boats Bob in the Background of This Sydney Home, But All Eyes Are on the Quartzite Kitchen Island
Backsplash gives your kitchen a smooth finish
Slabs Top the List of 2022’s Most Popular Kitchen Backsplashes


Kitchen Upstands

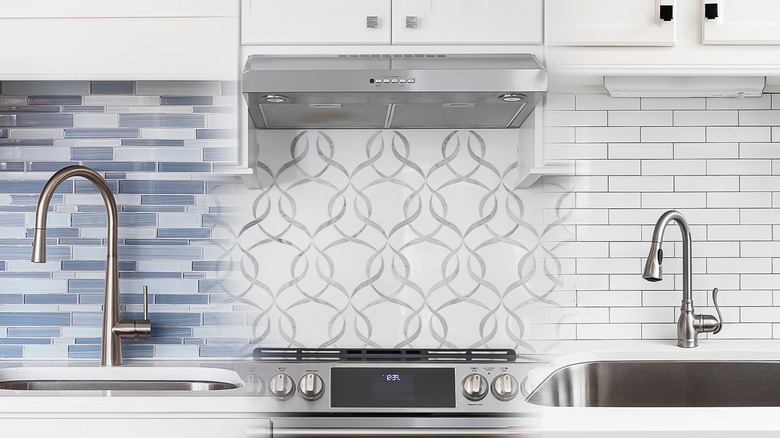
10 Kitchen Backsplash Trends That Are Out In 2025

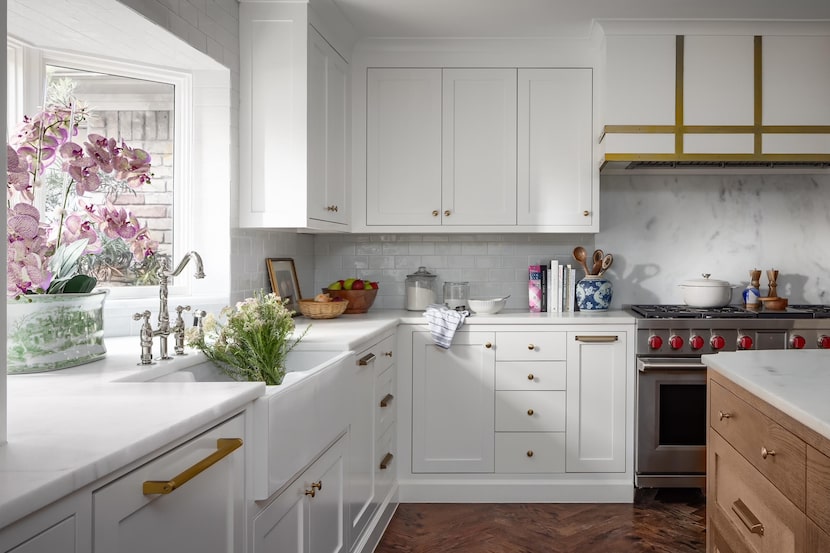
Freshen up the look of your kitchen with a unique backsplash

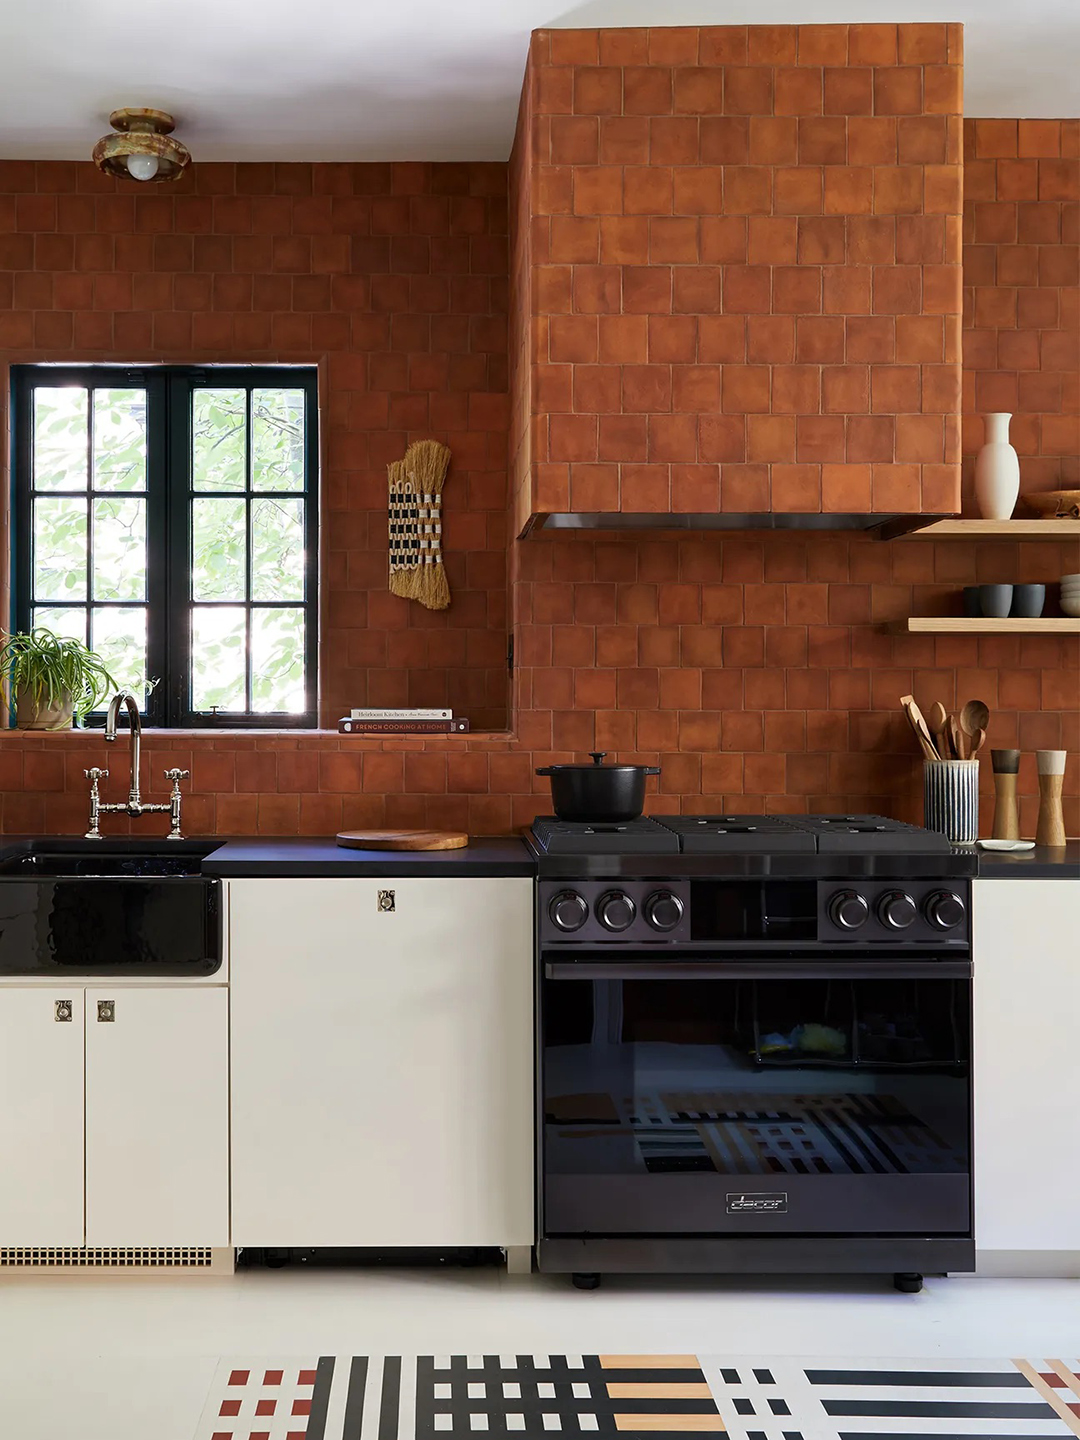
67% of Renovators Are Abandoning Standard Backsplashes for This Maximalist Look

Alicia Silverstone's Backsplash is a Clever Design That Allows "Sunshine to Flow Into the Kitchen"

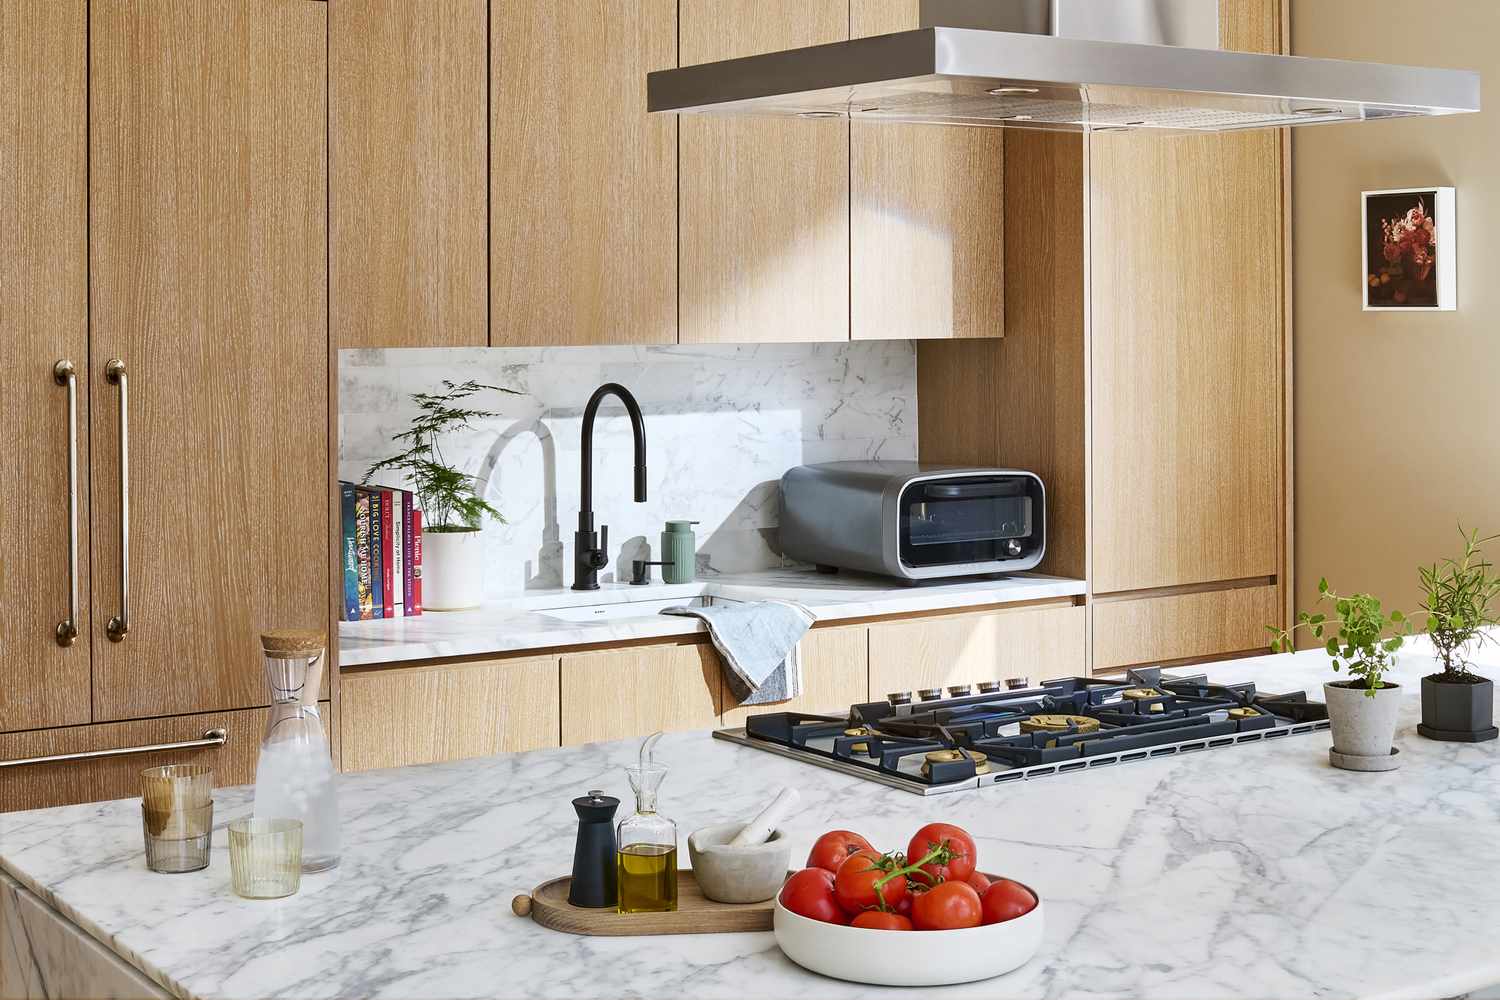
Move Over Subway Tile—This Backsplash Trend Is Taking Over Kitchens in 2026