How to Add DIY Wall Molding That Looks Luxe—Even If You’re Renting
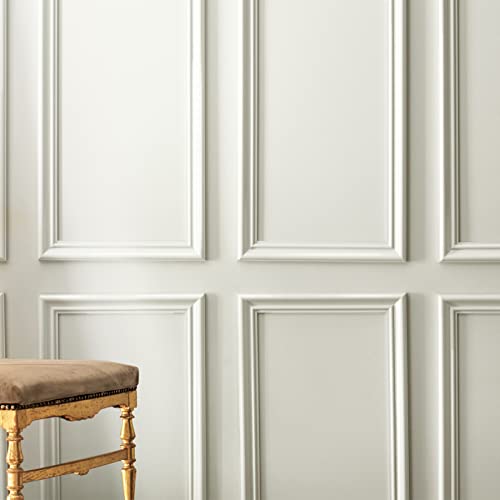
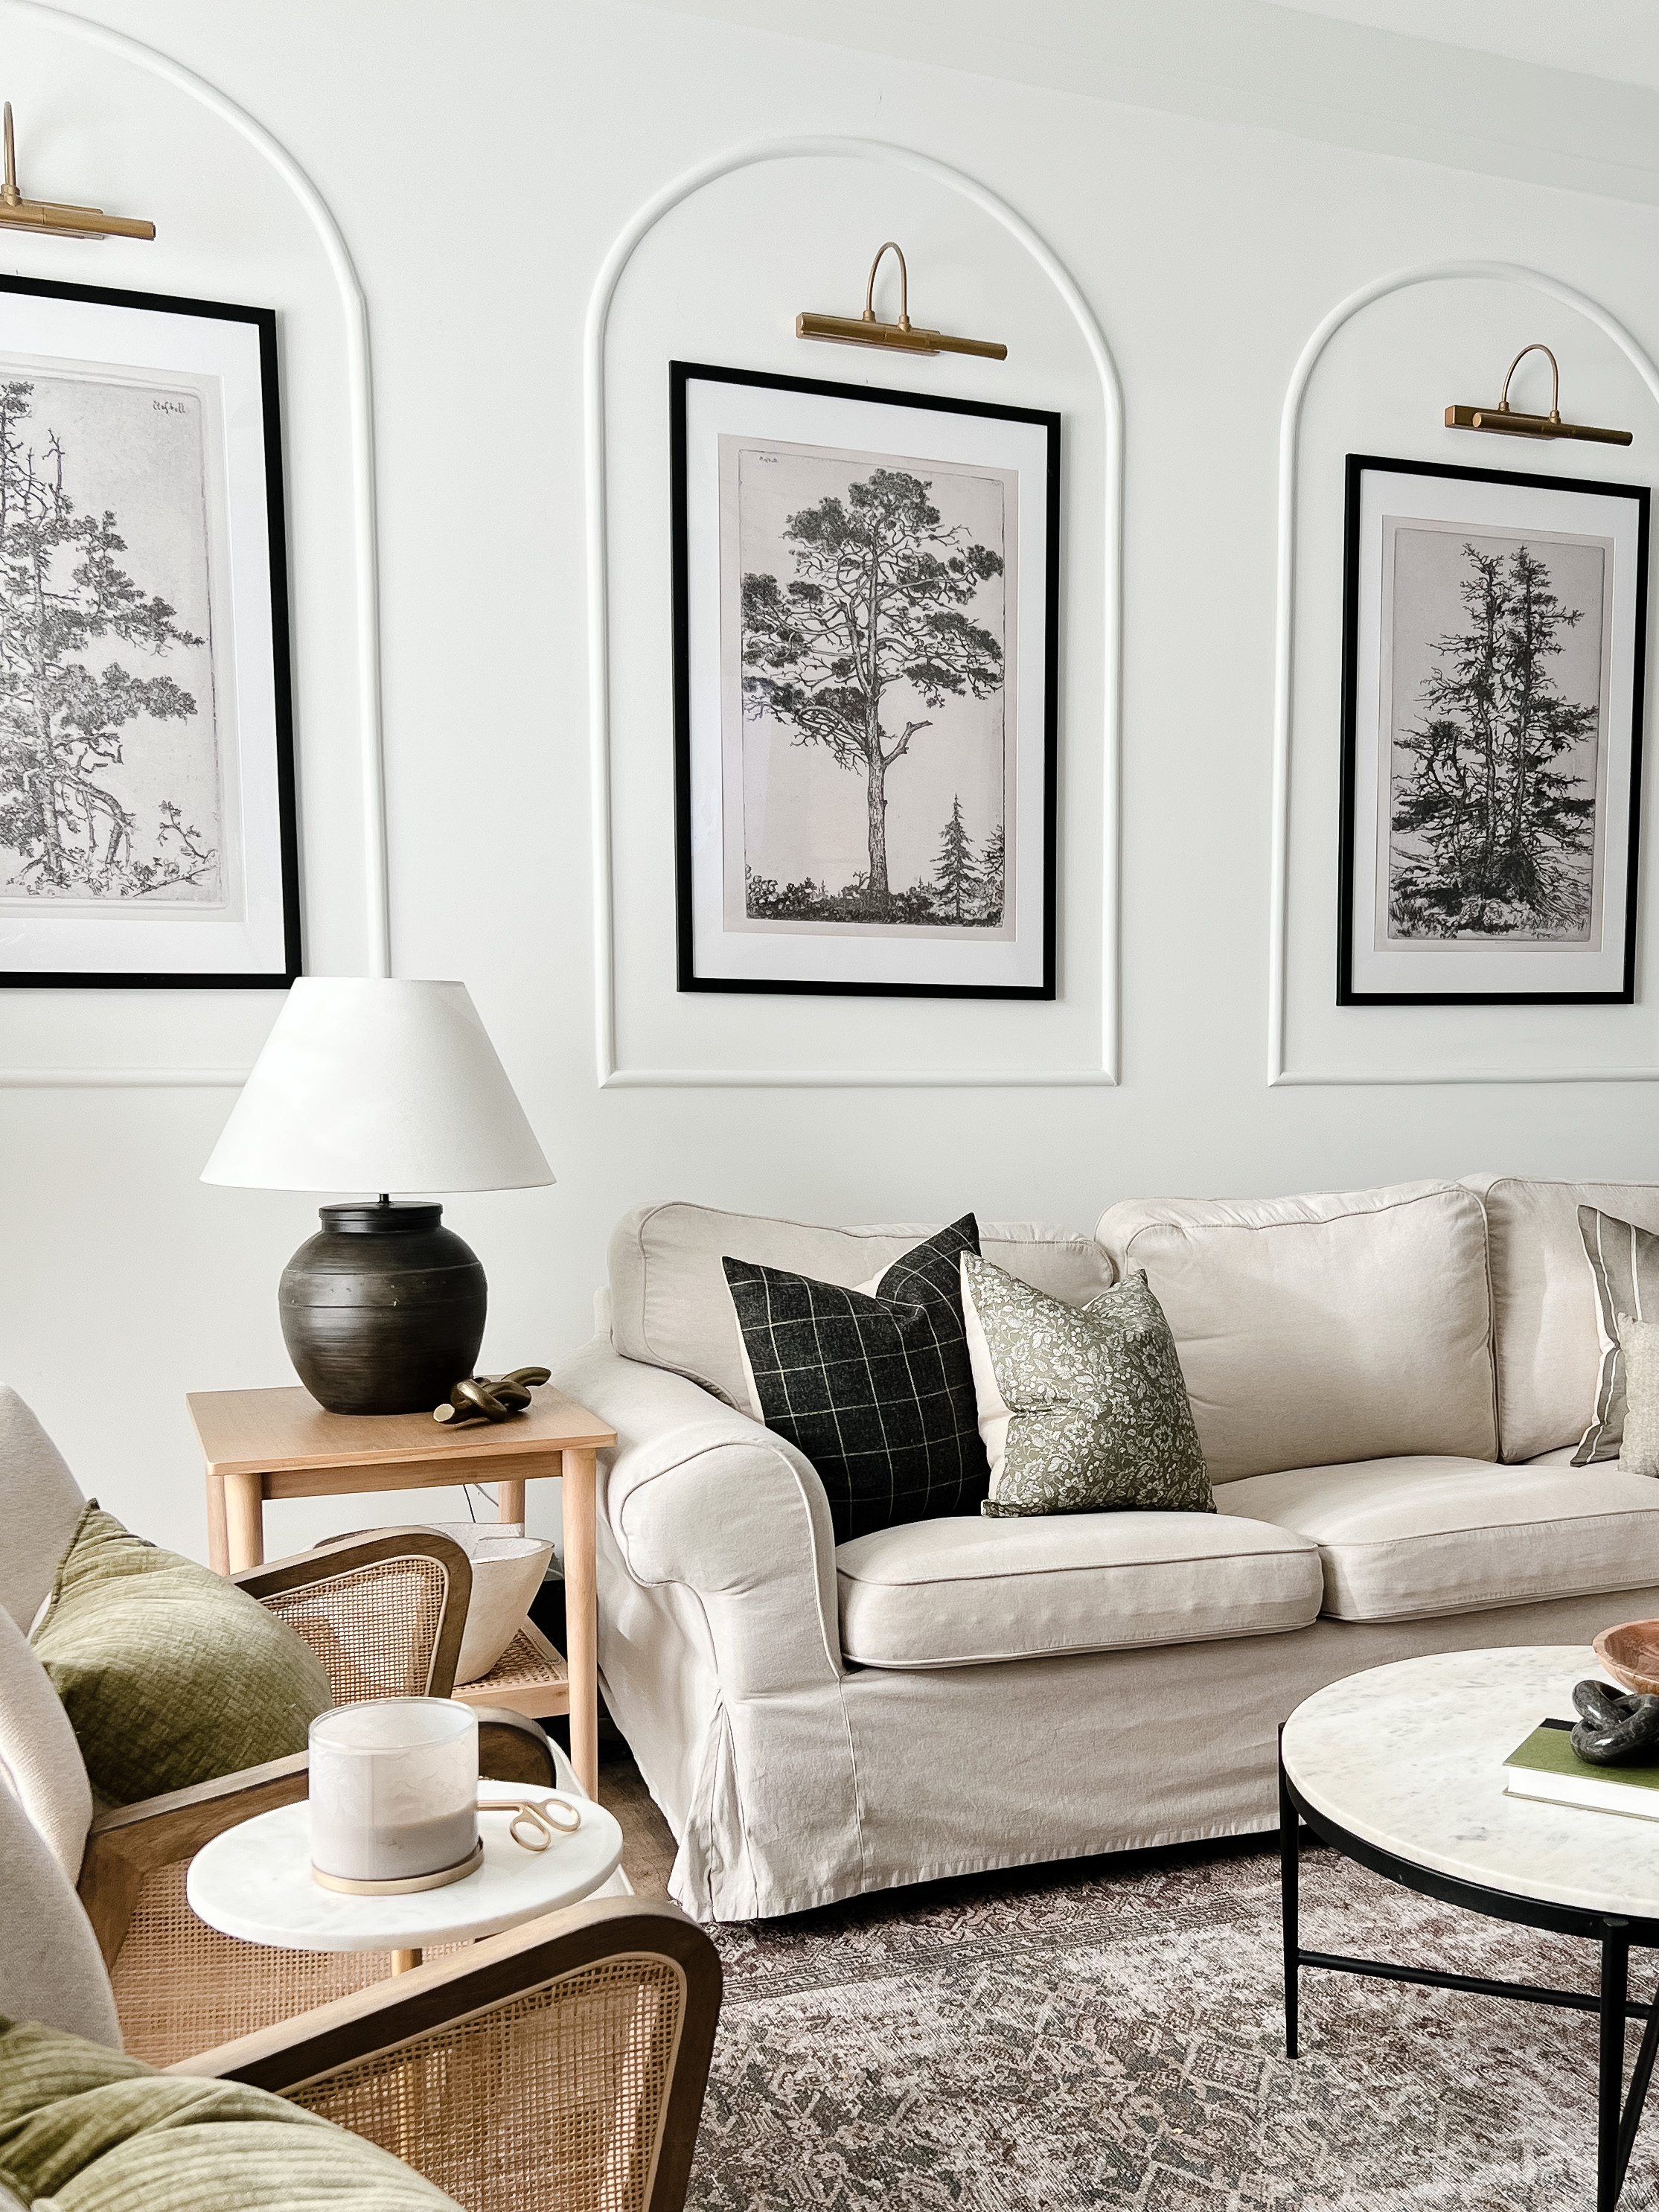
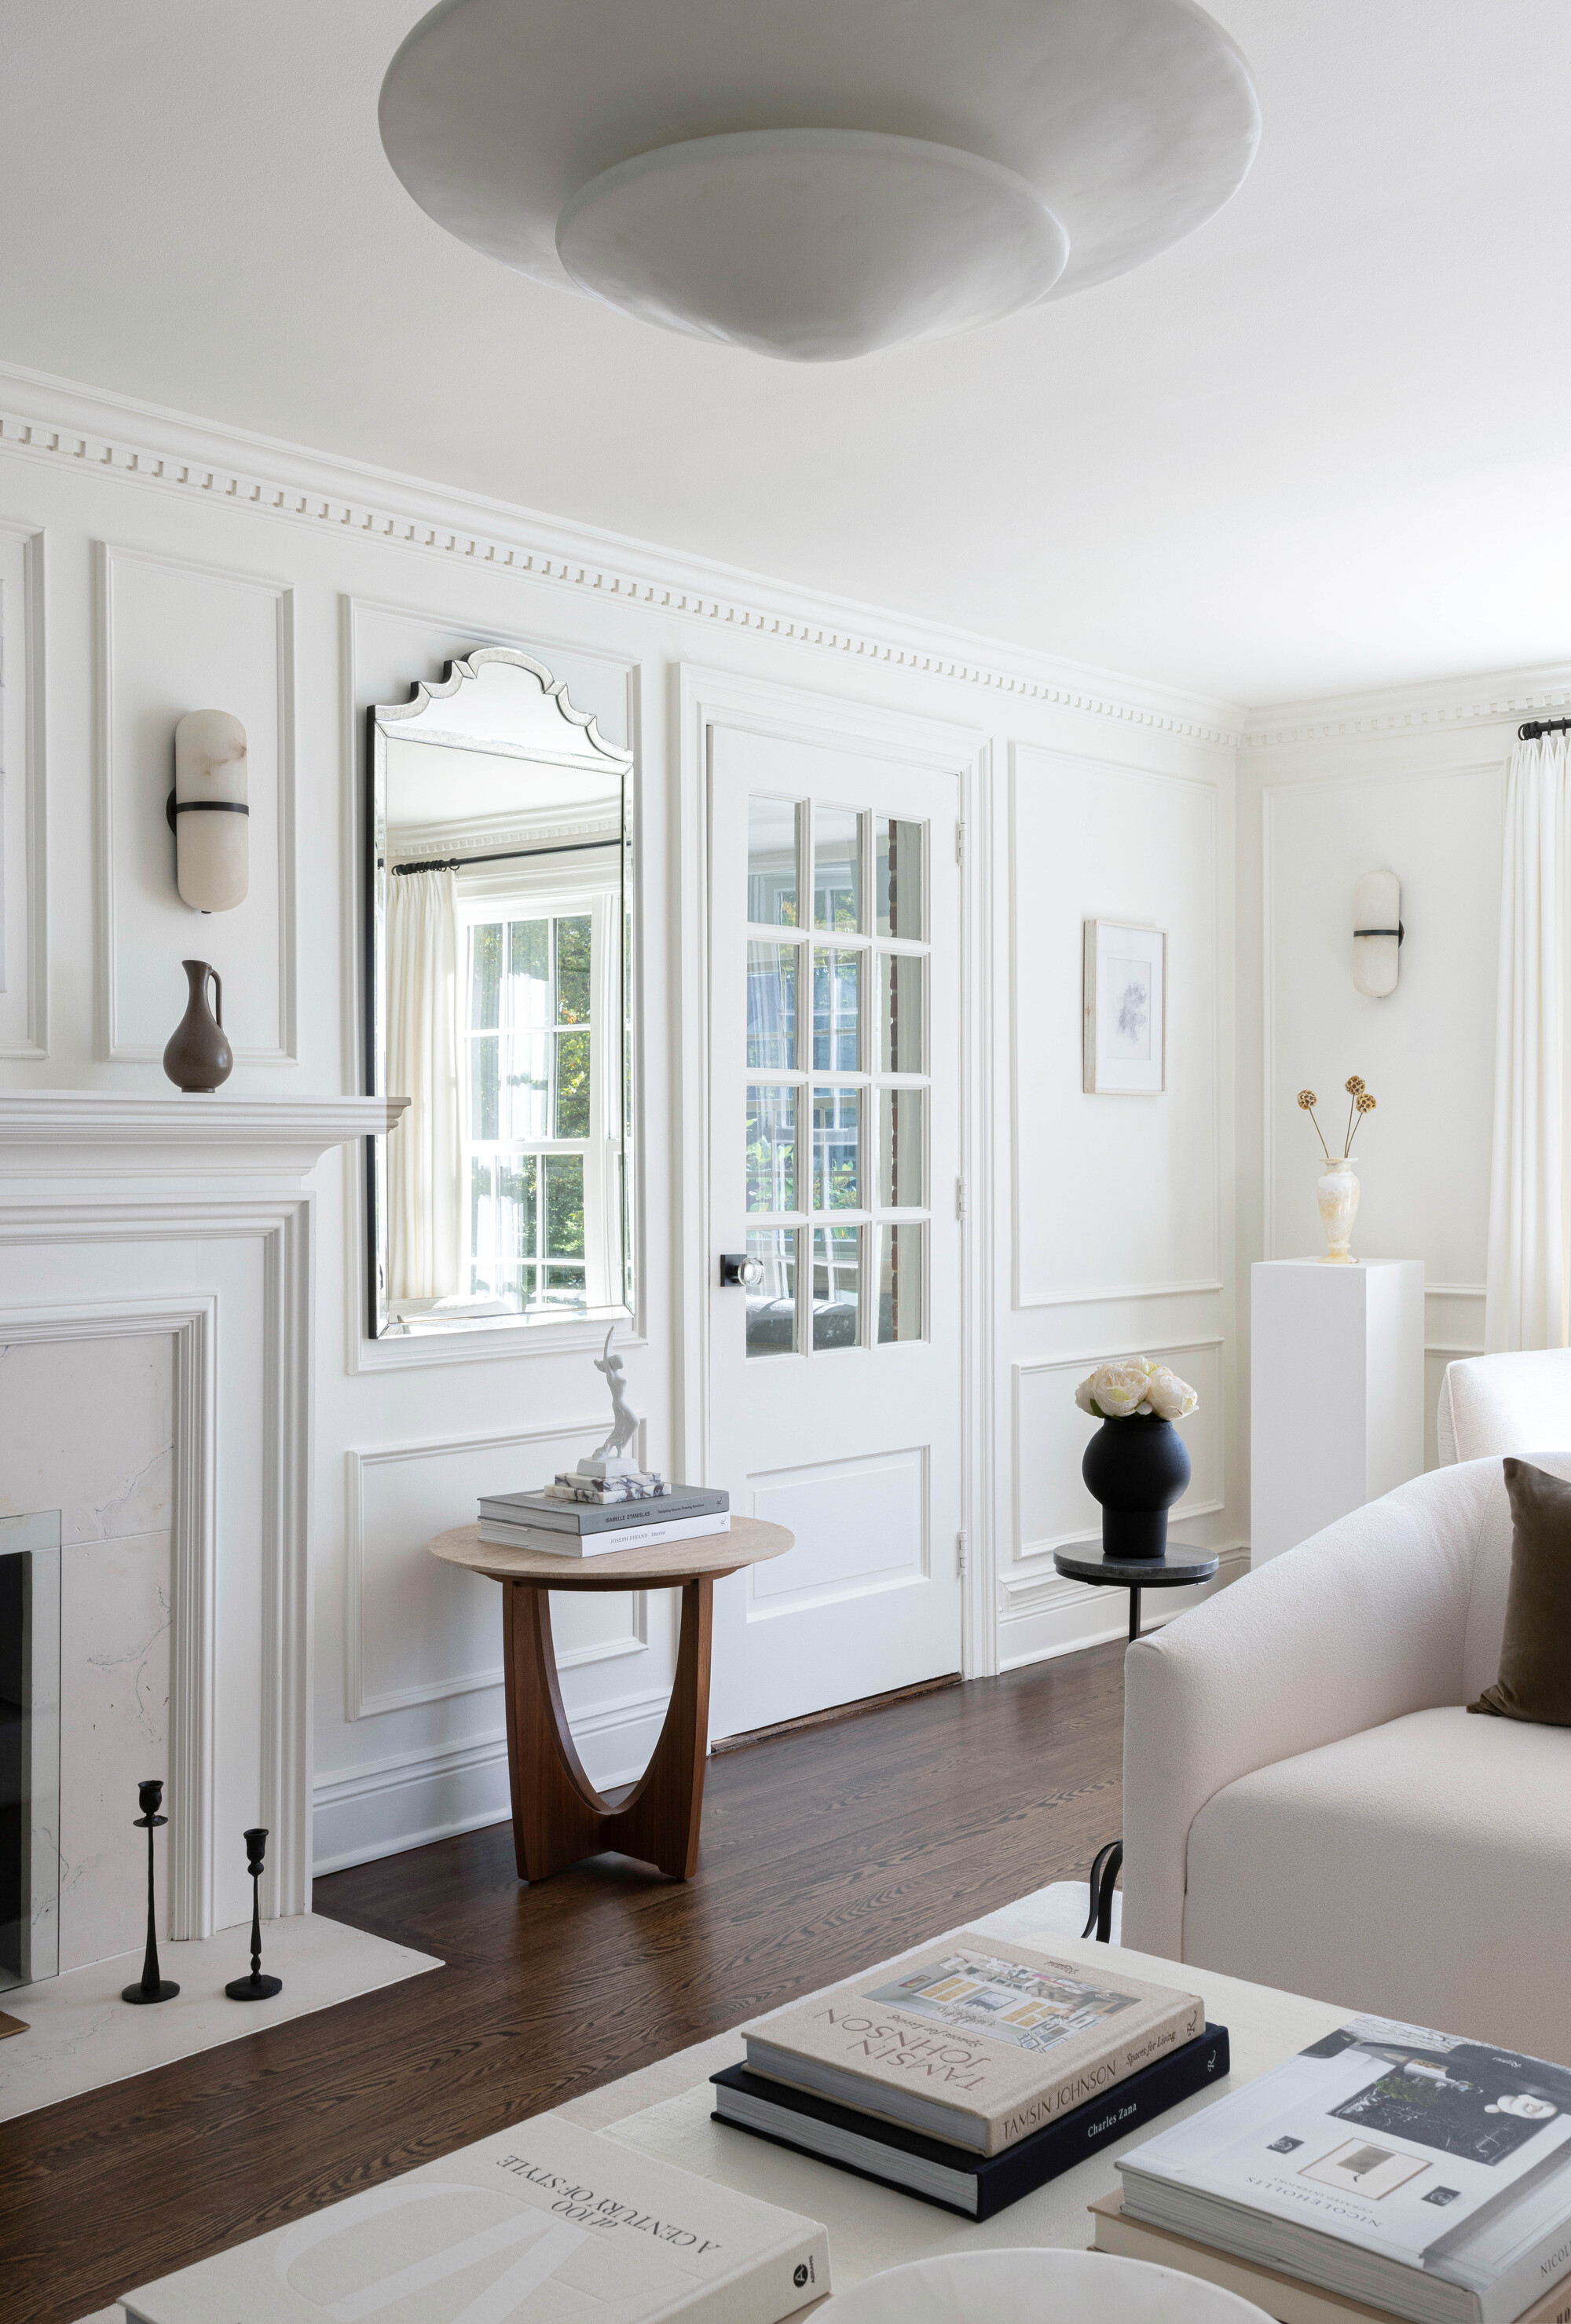
Wall molding, a design detail dating back to the 1700s, is experiencing a significant resurgence in high-end interior design, offering a simple yet impactful way to elevate a room's aesthetic. Interior designer Katie Lindquist highlights its powerful renaissance, transforming interiors from traditional to modern with minimalist grids. This article focuses on how to install decorative wall paneling as a DIY project, suitable for both homeowners and renters.
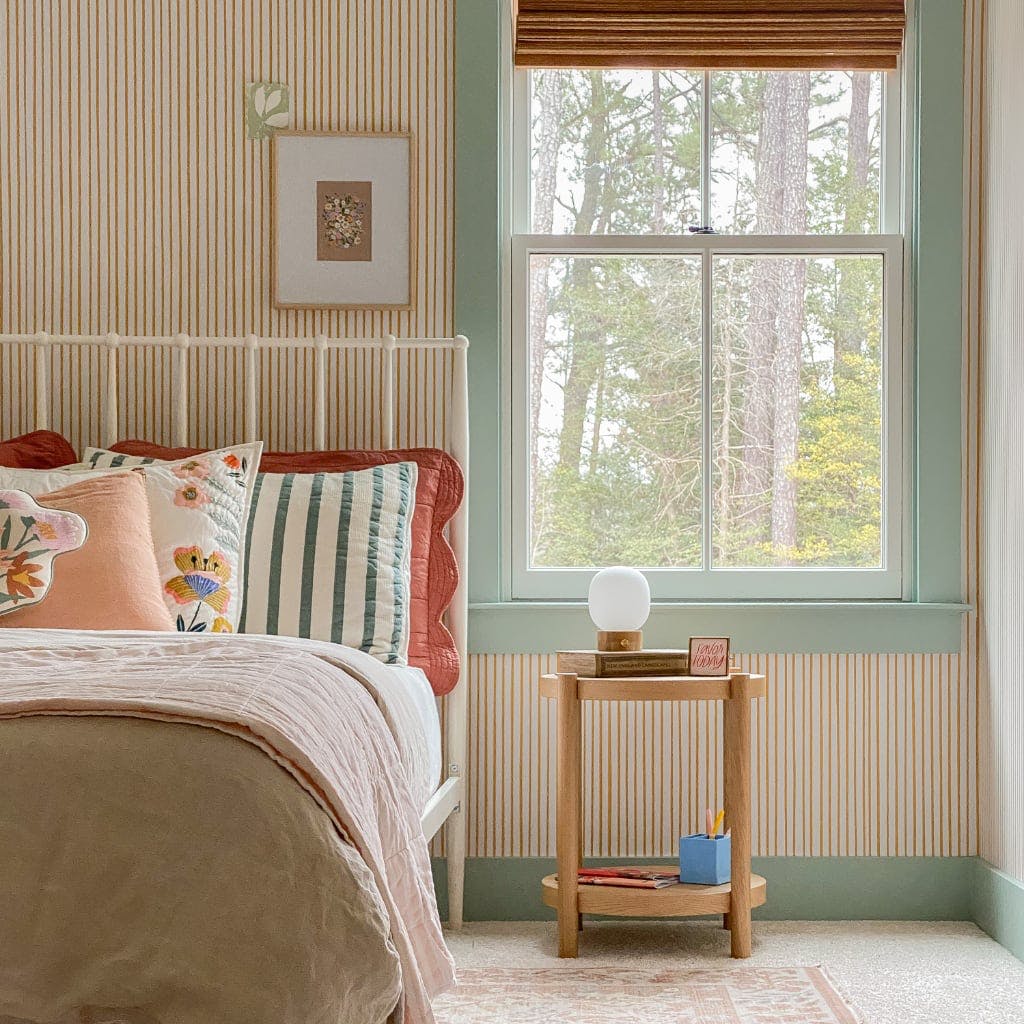
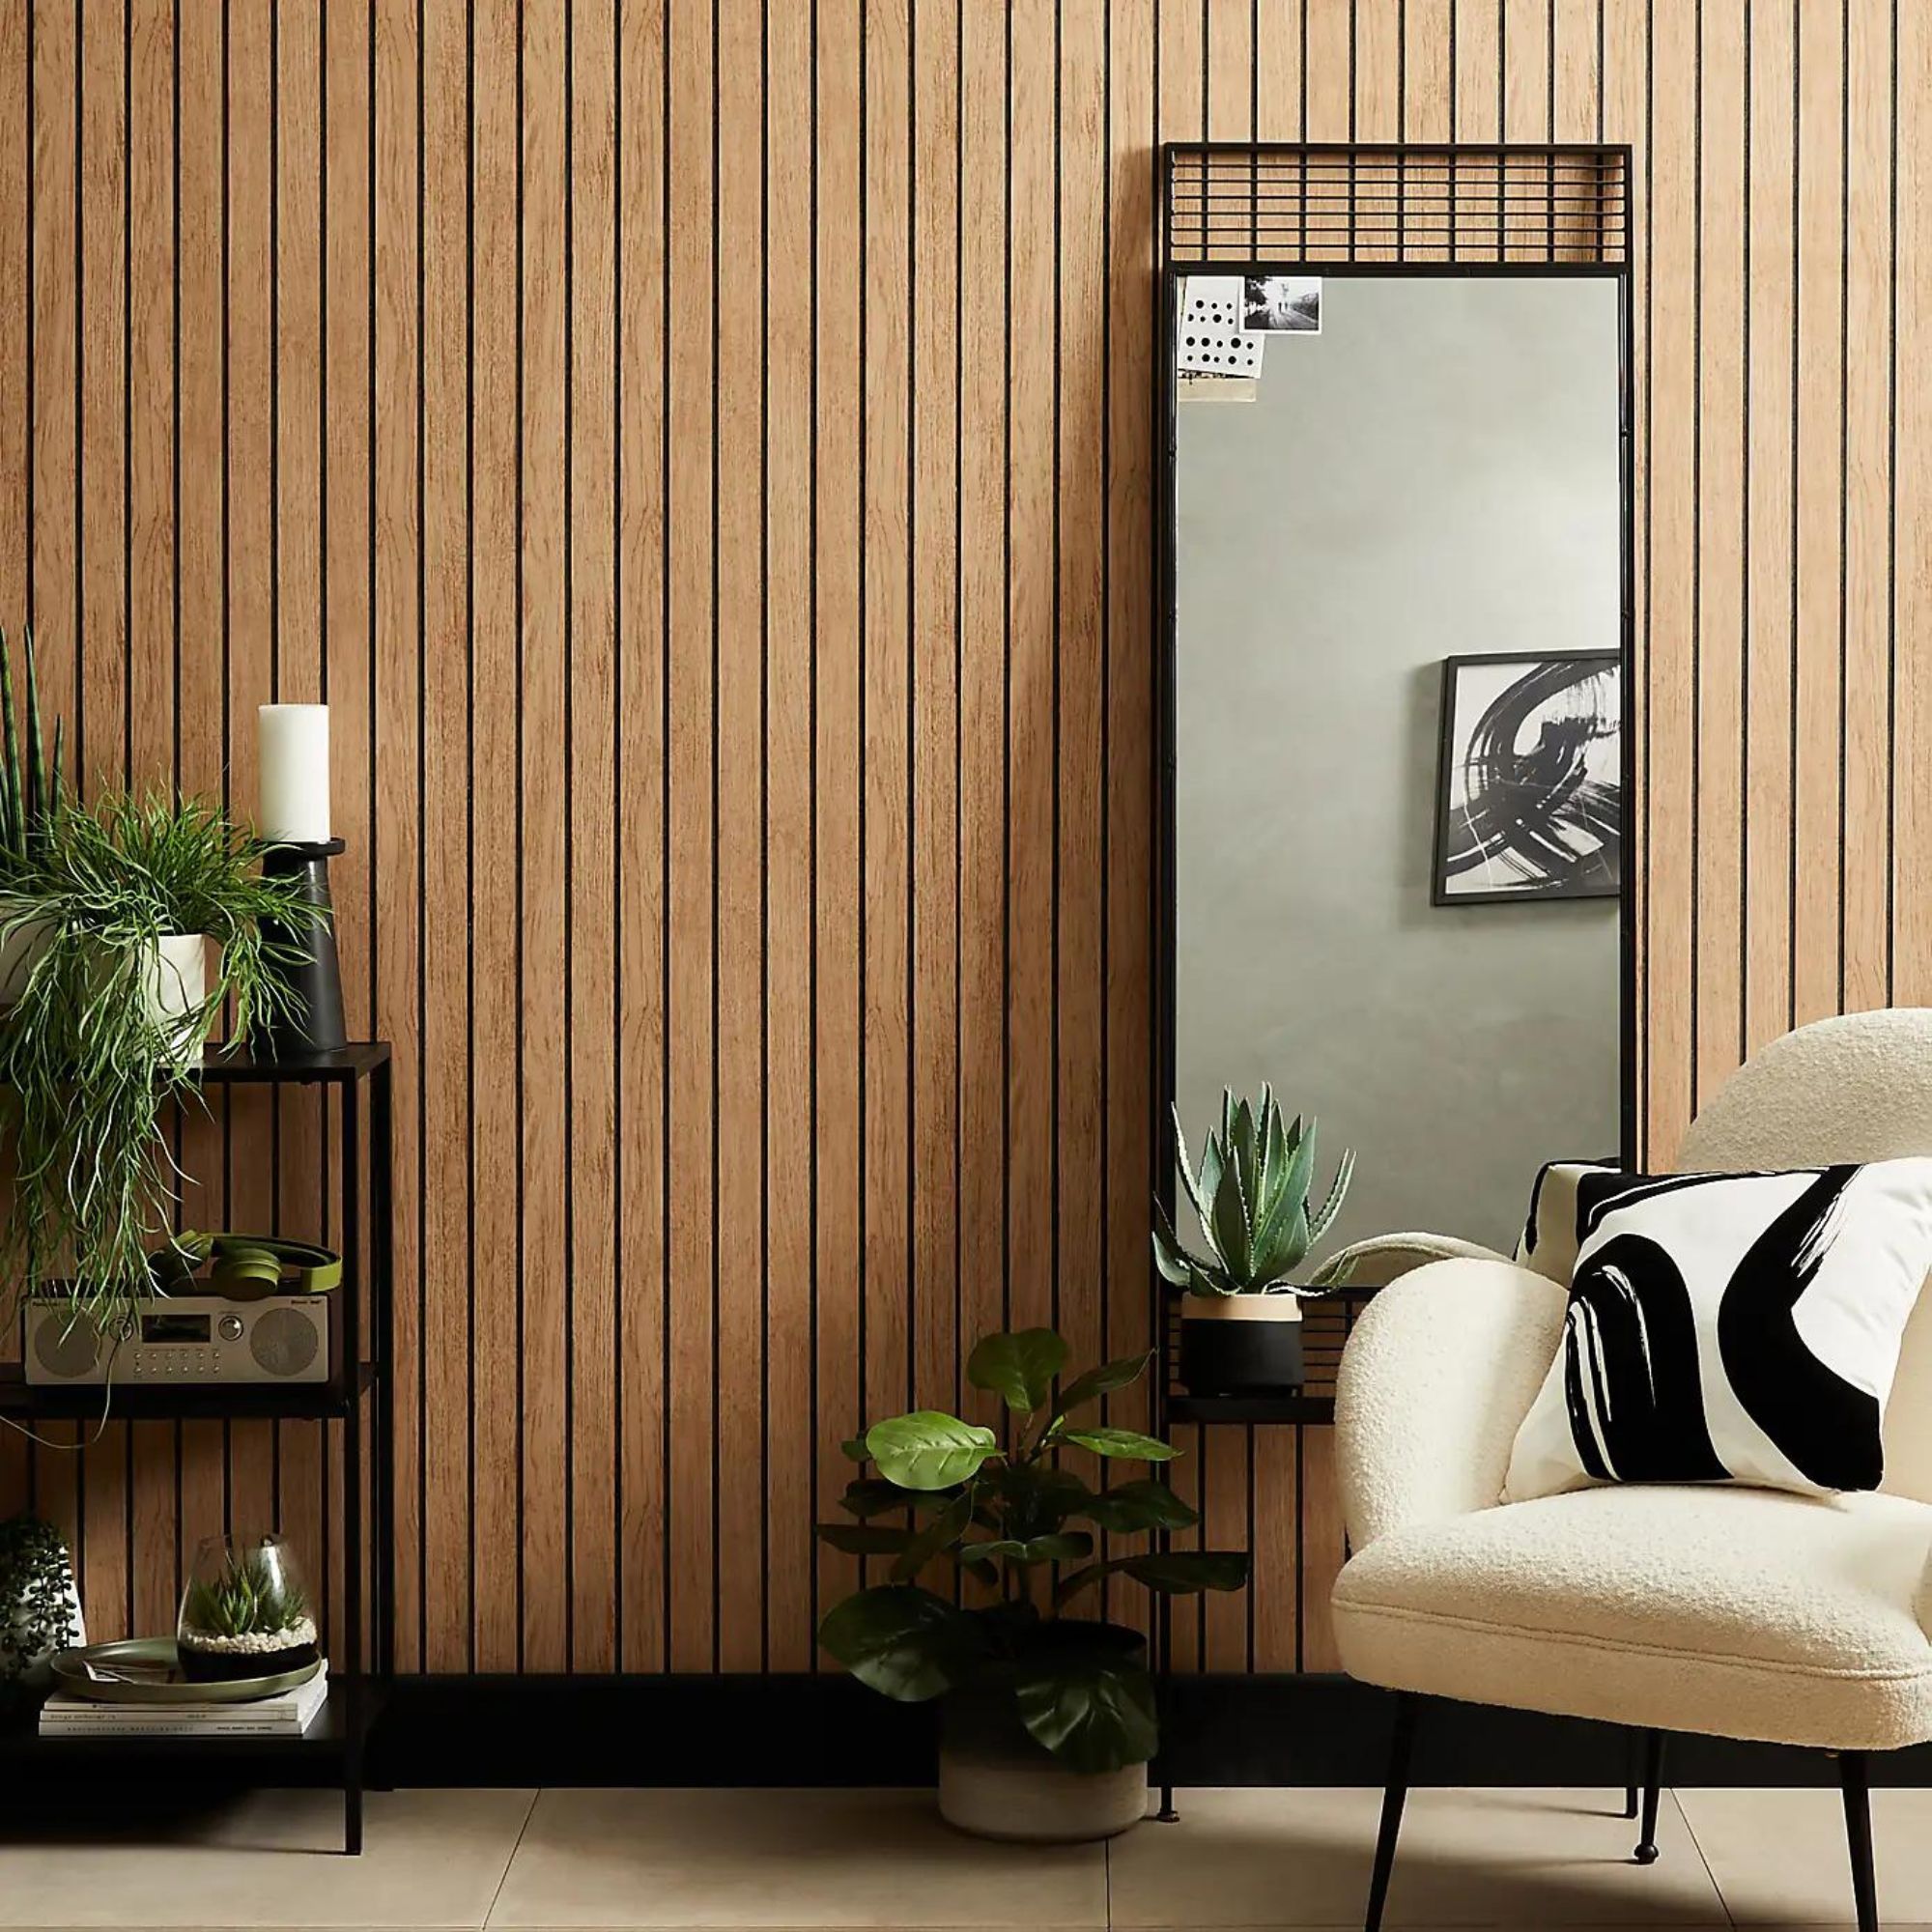
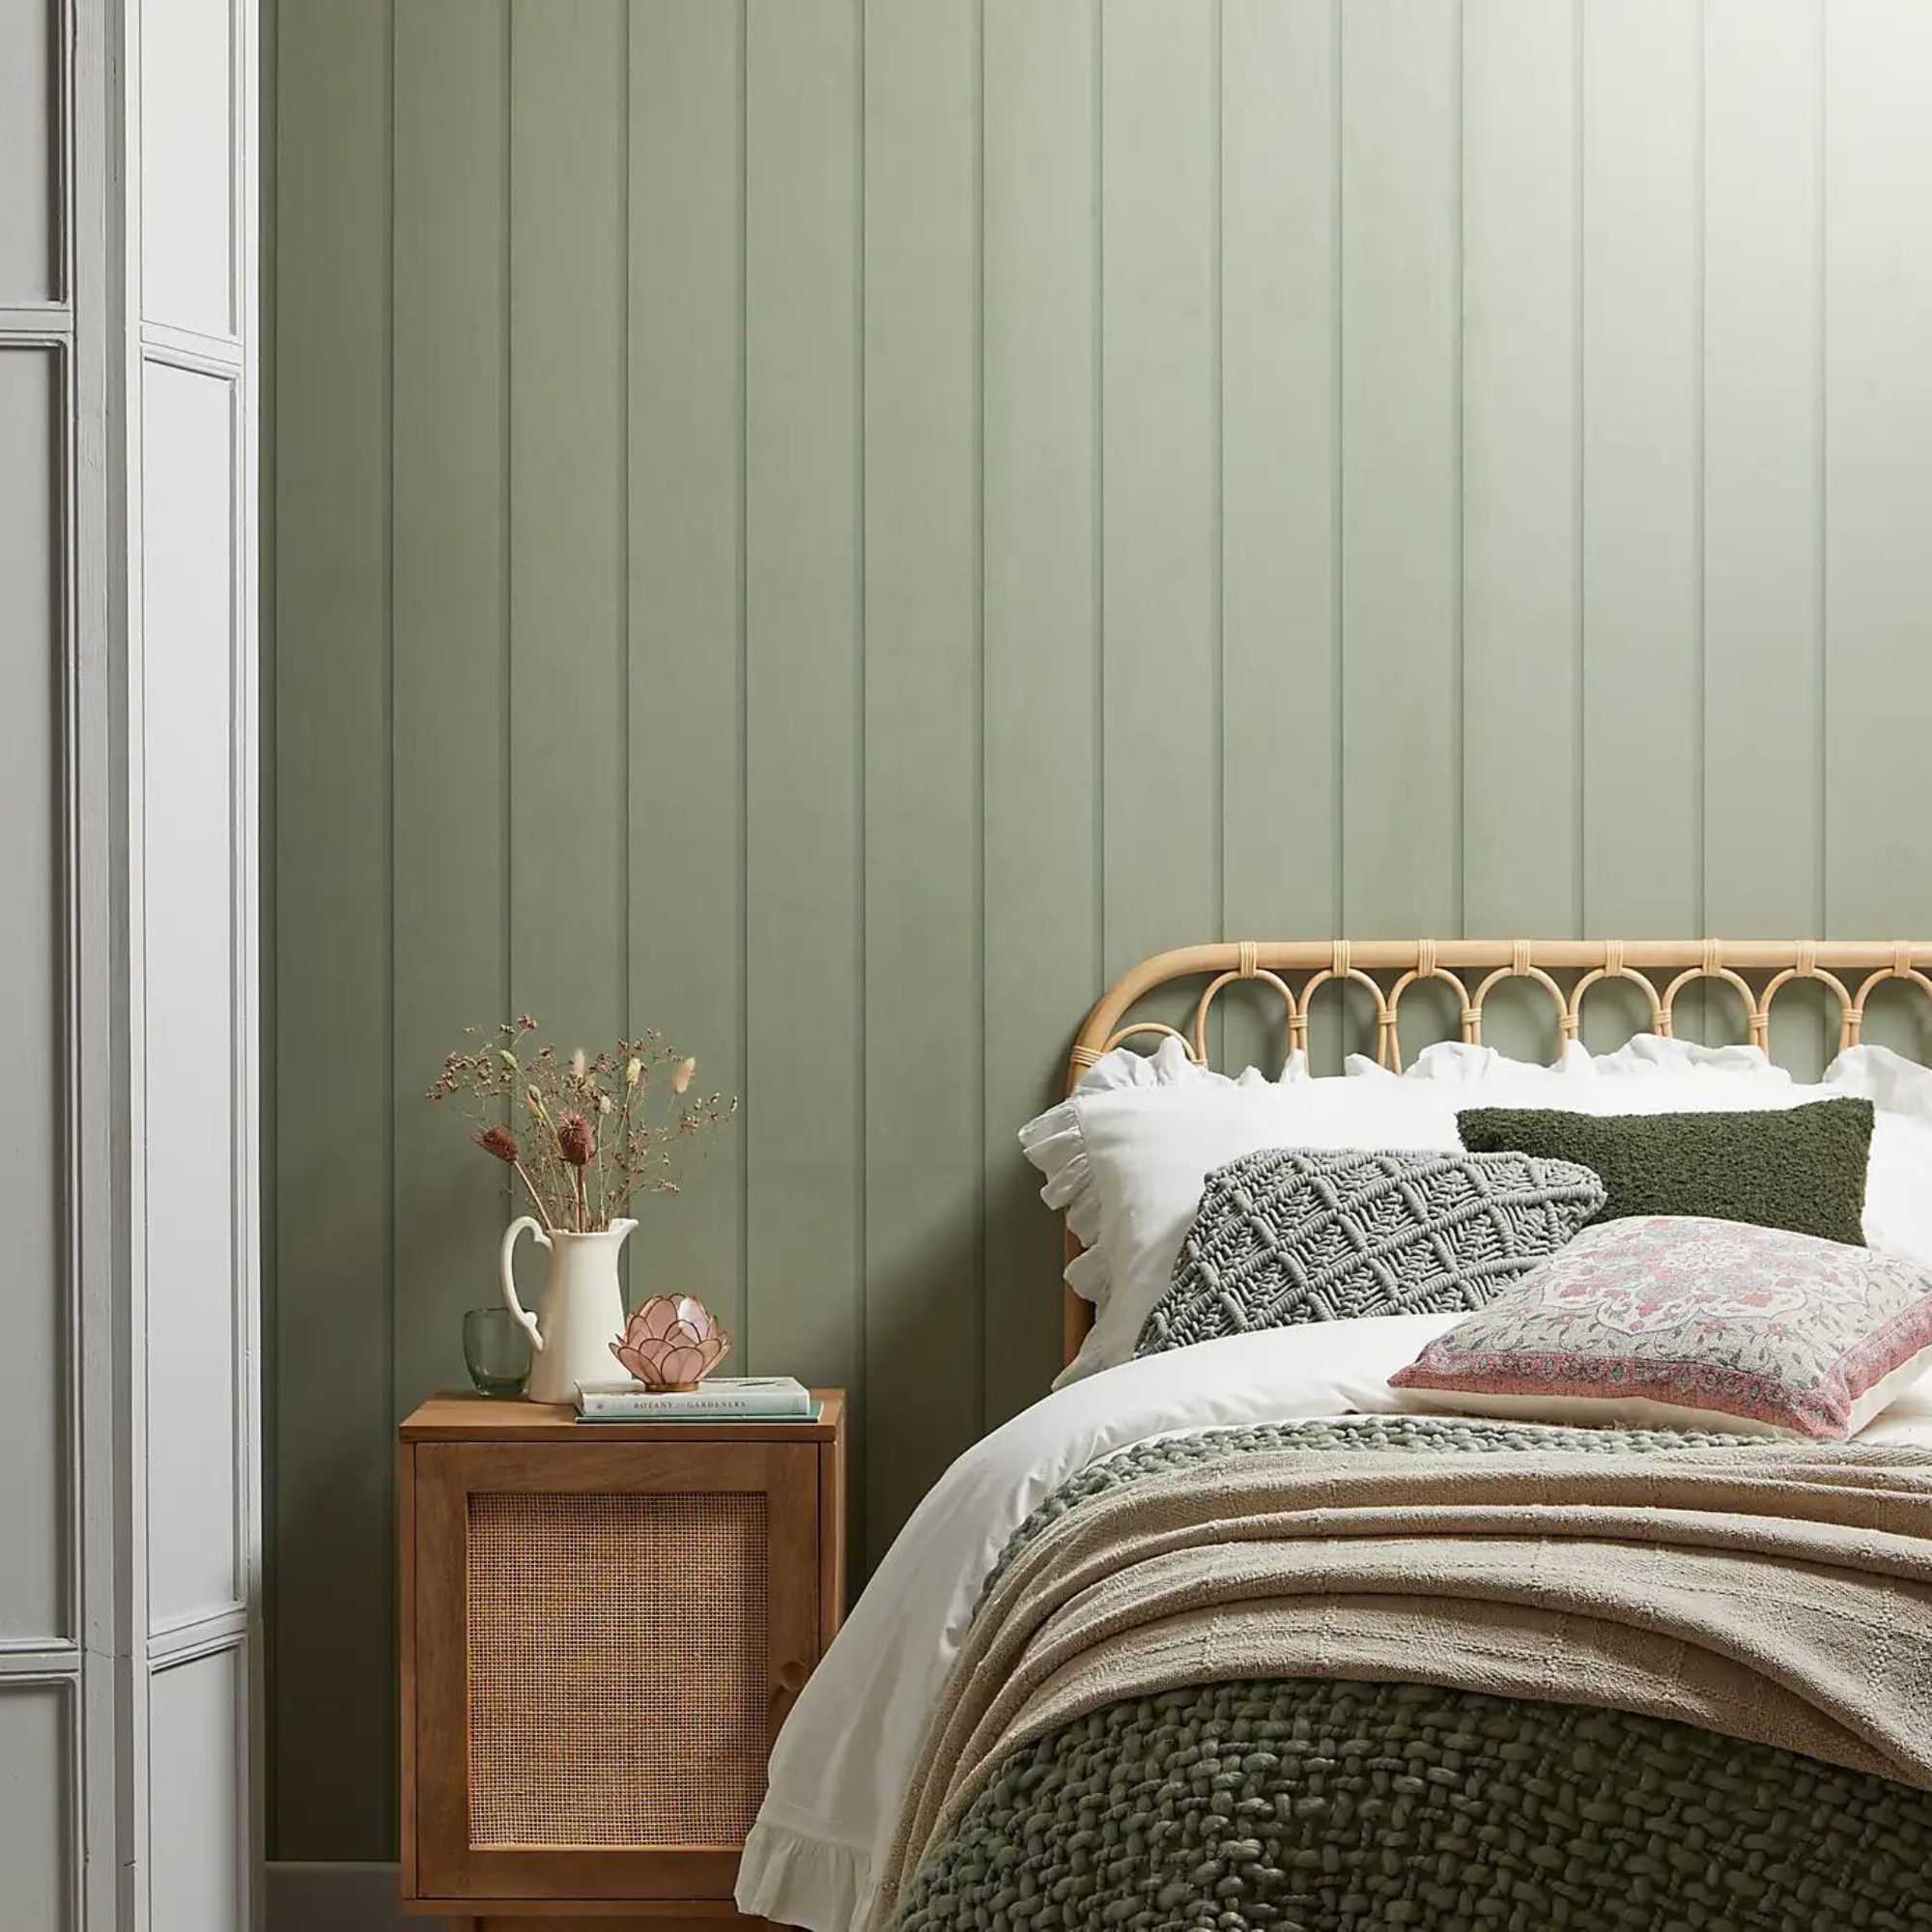
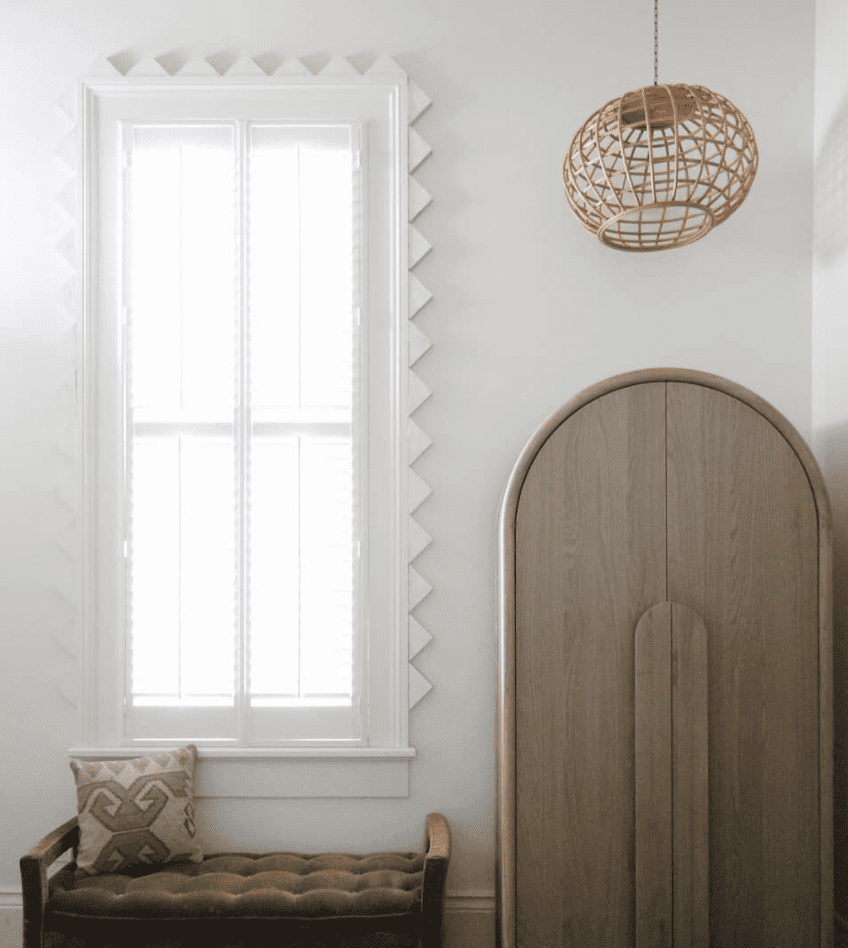
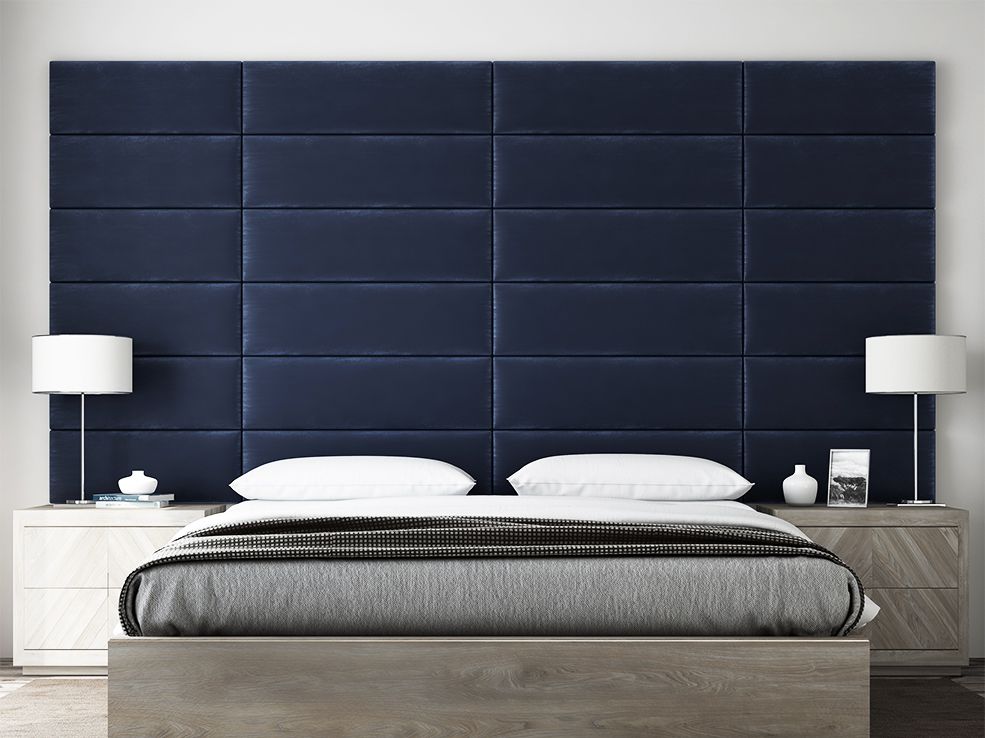
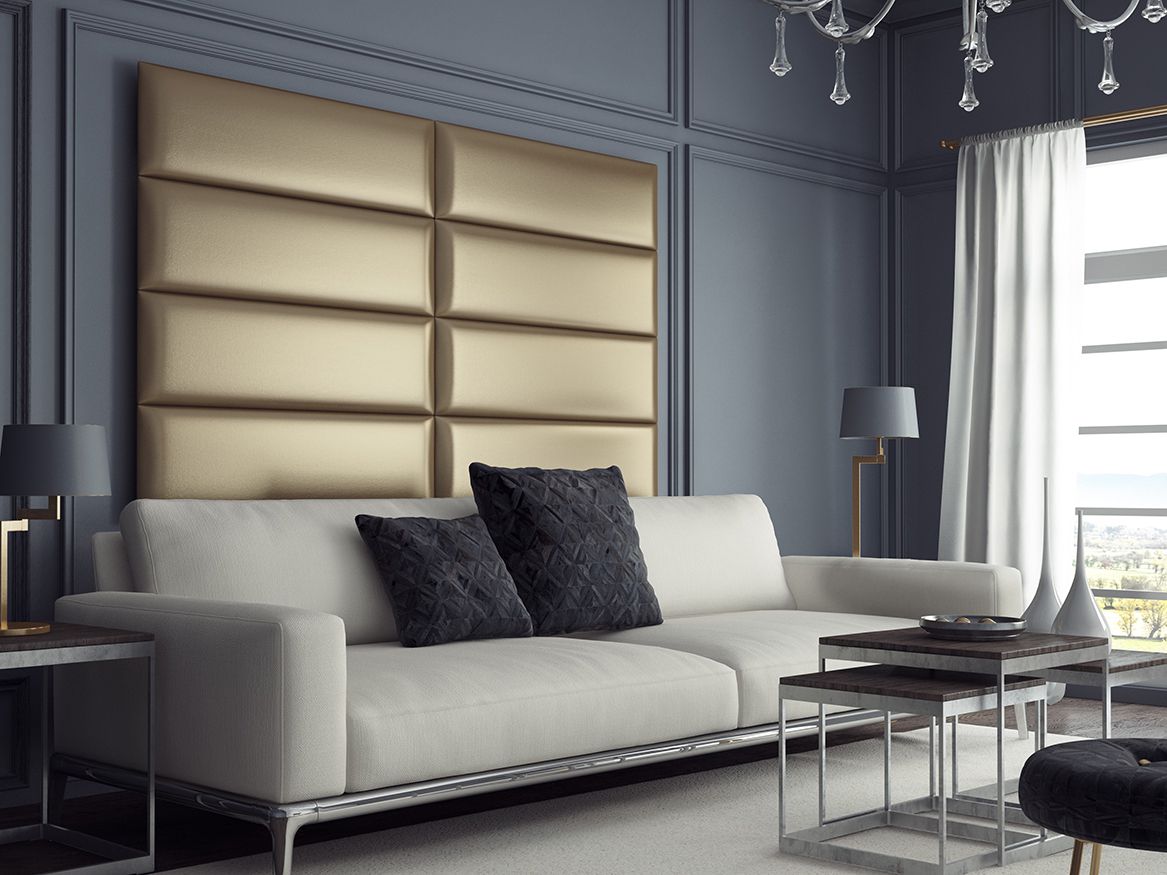
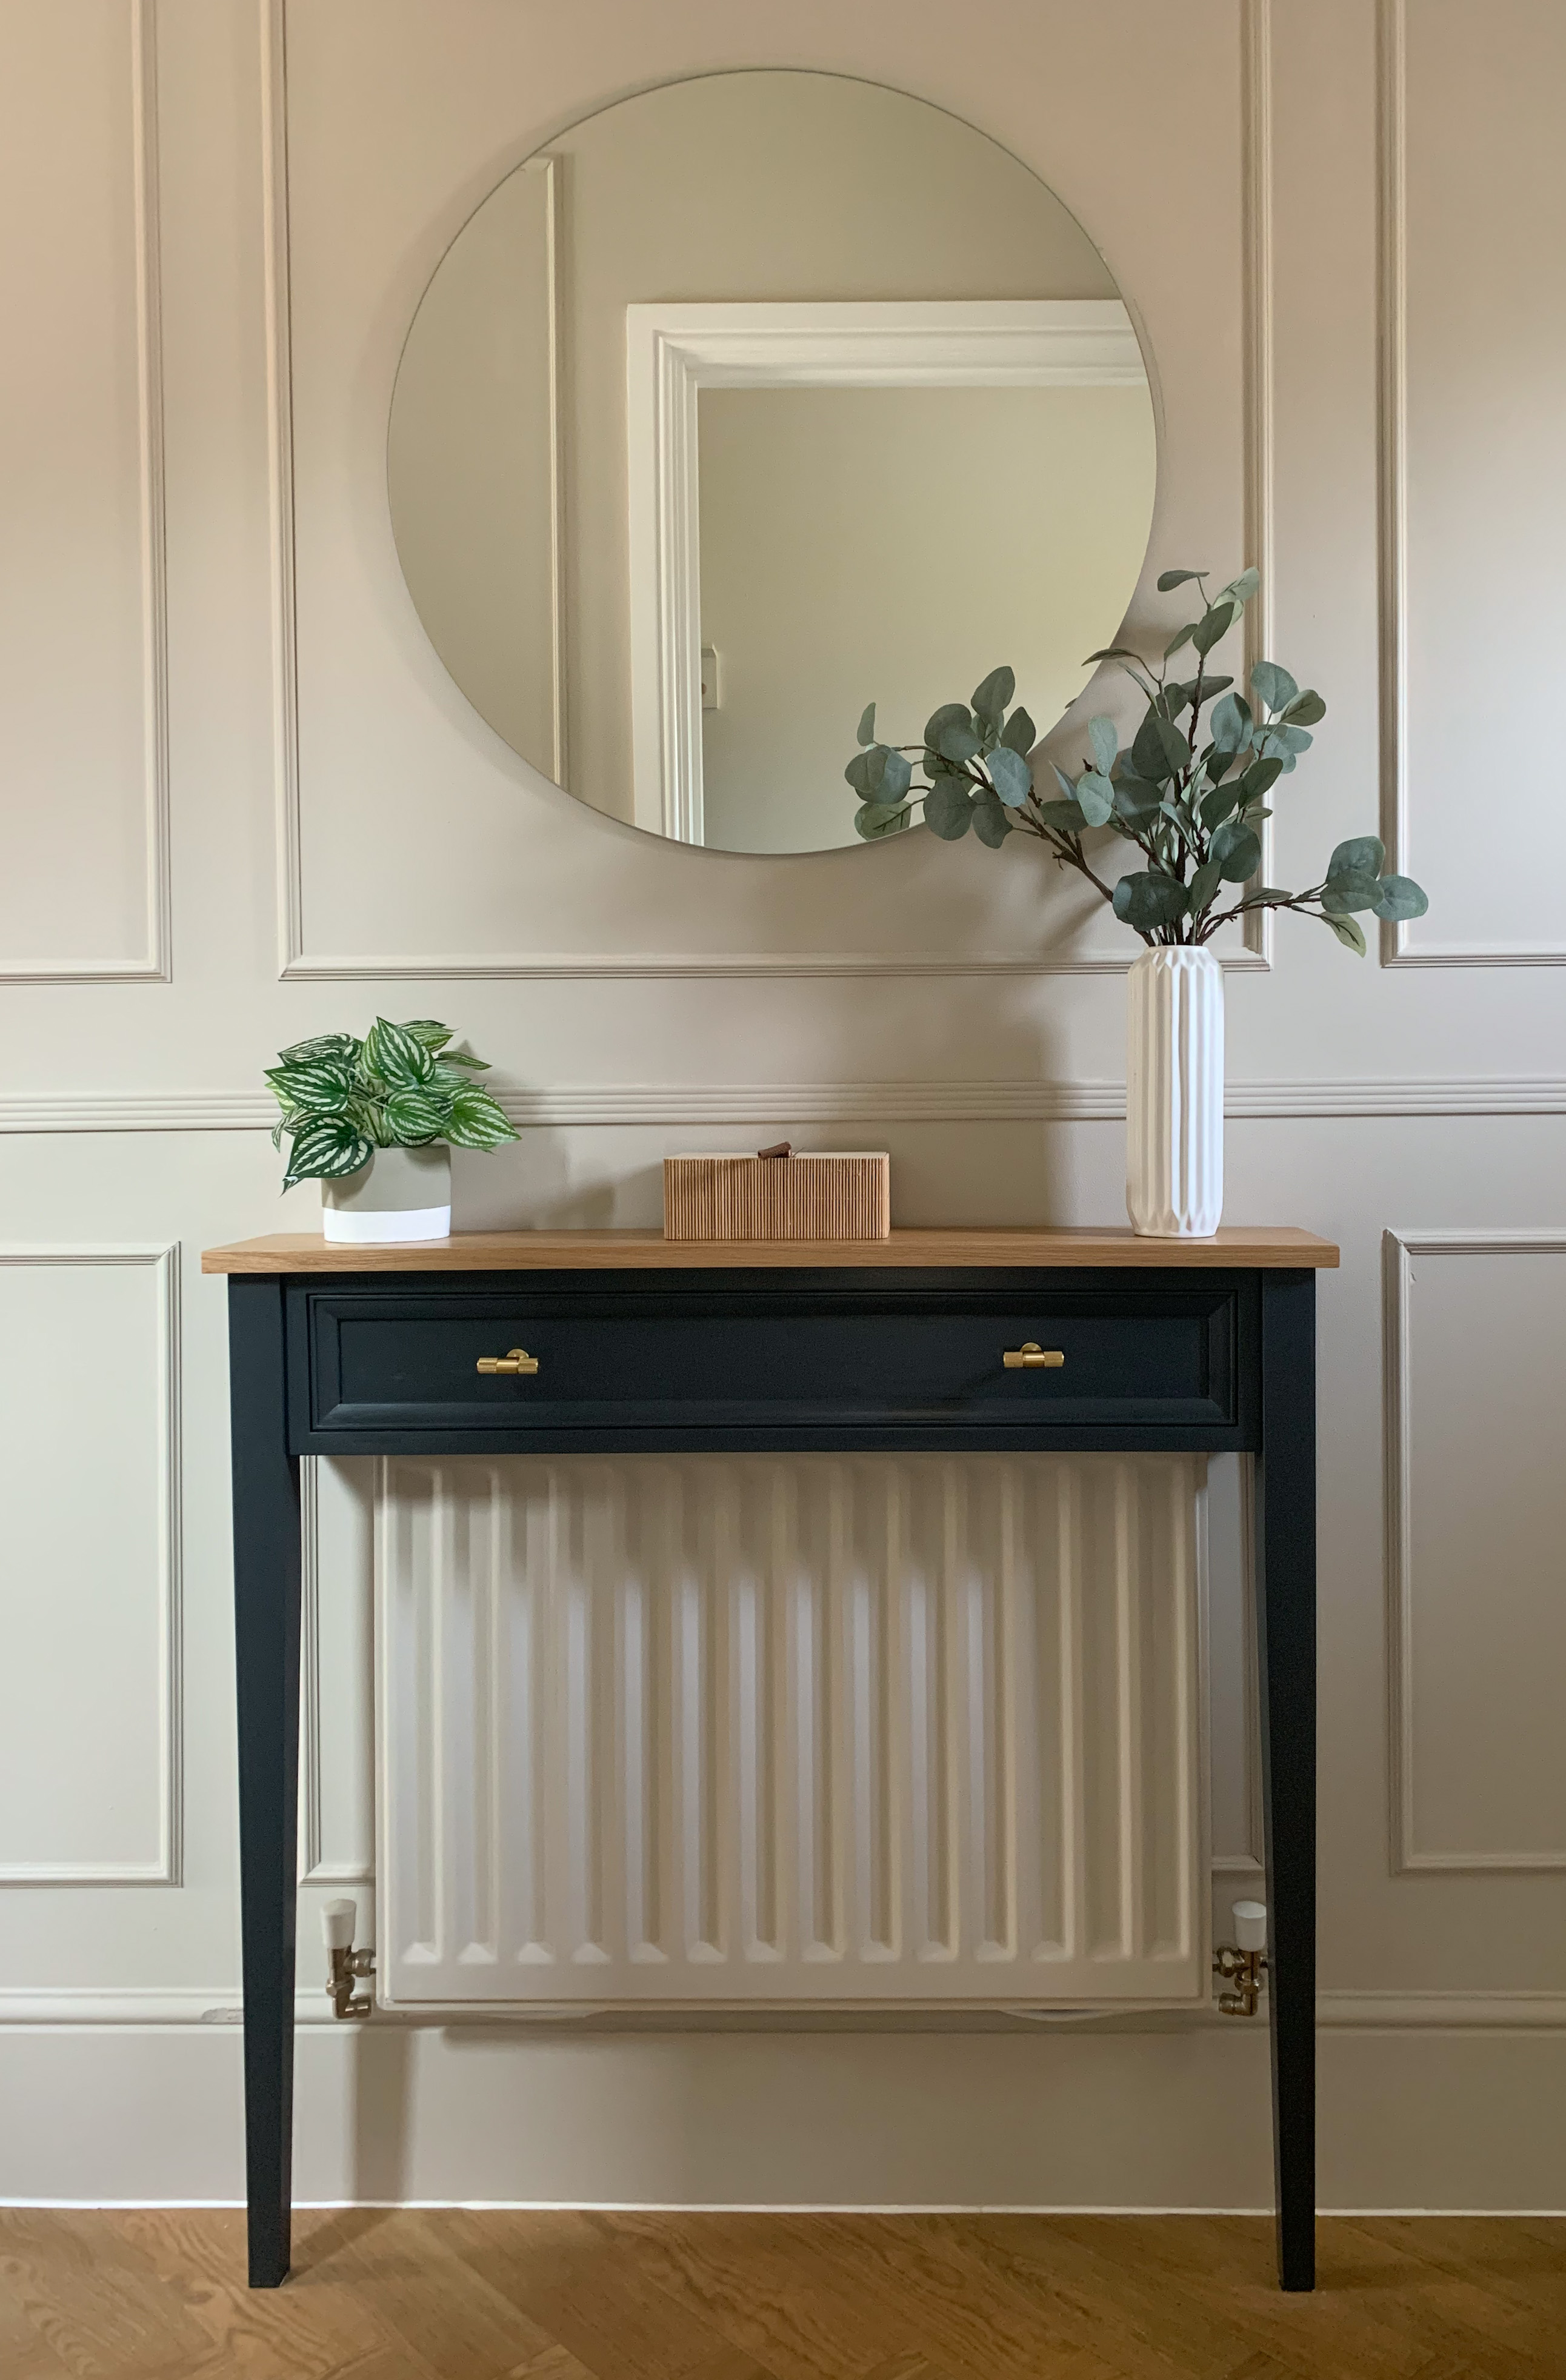
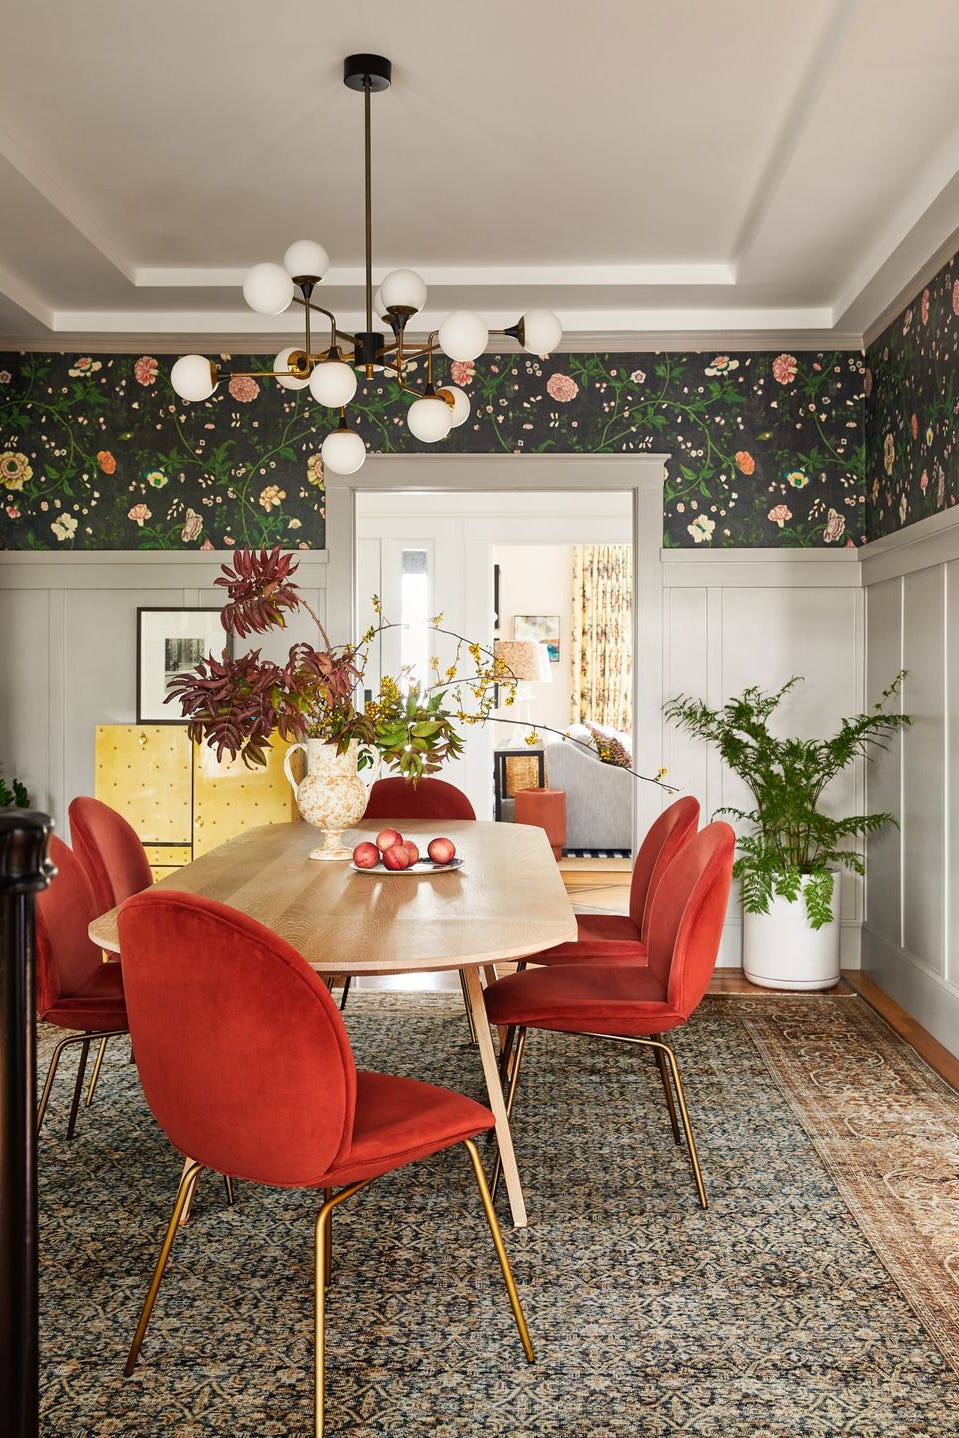
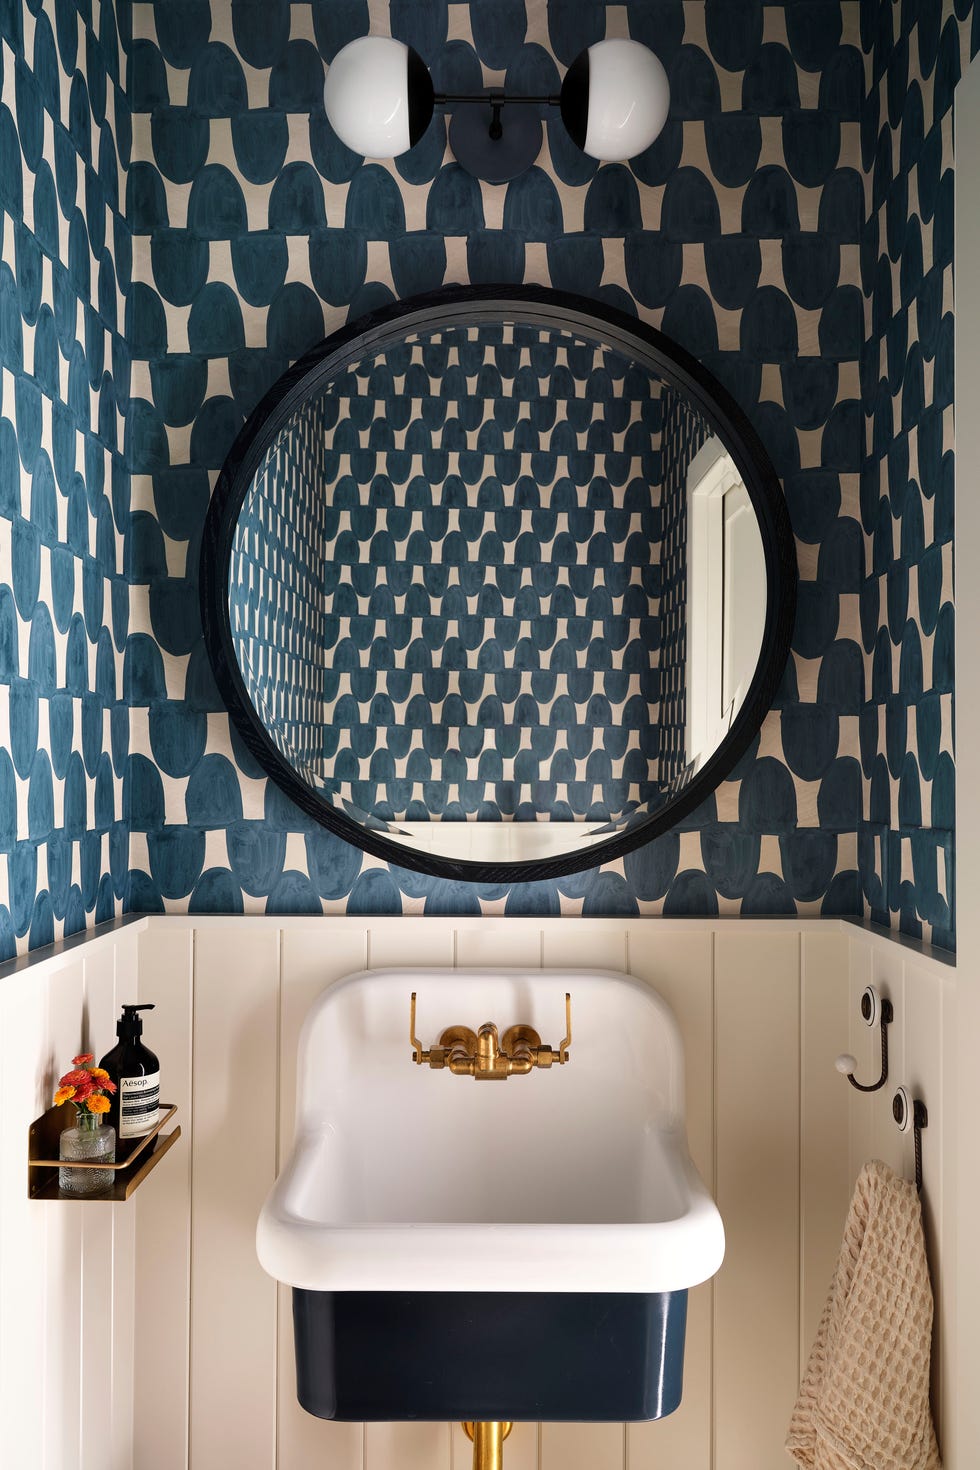
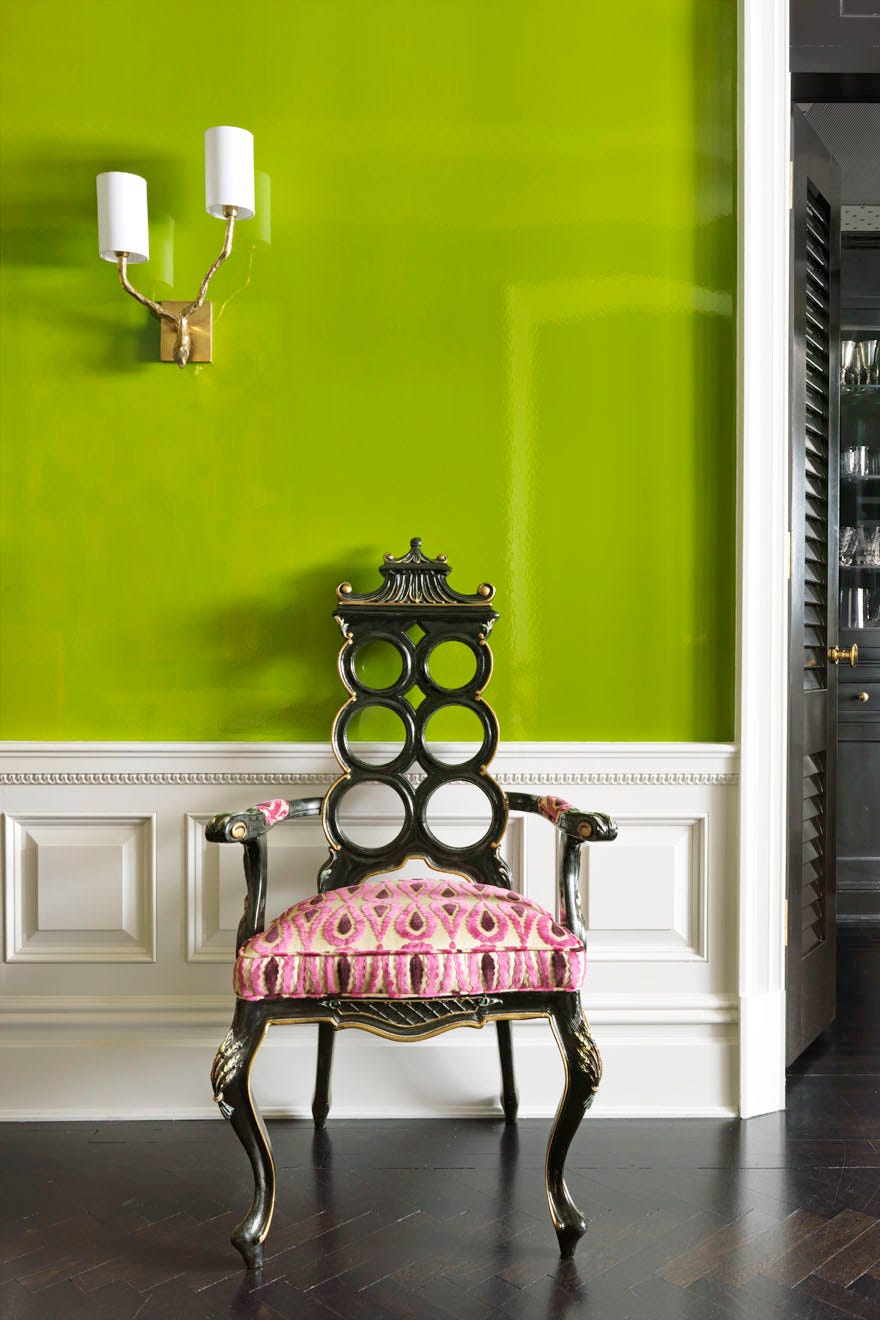
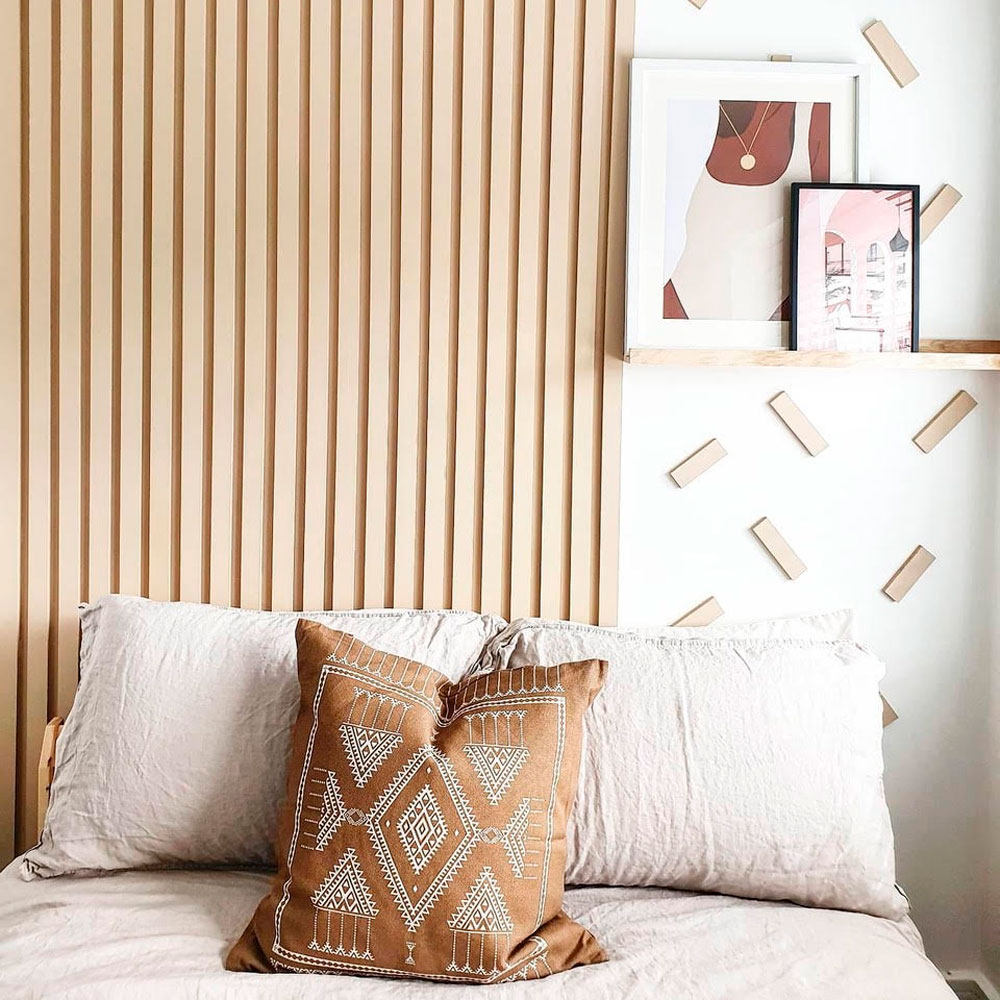
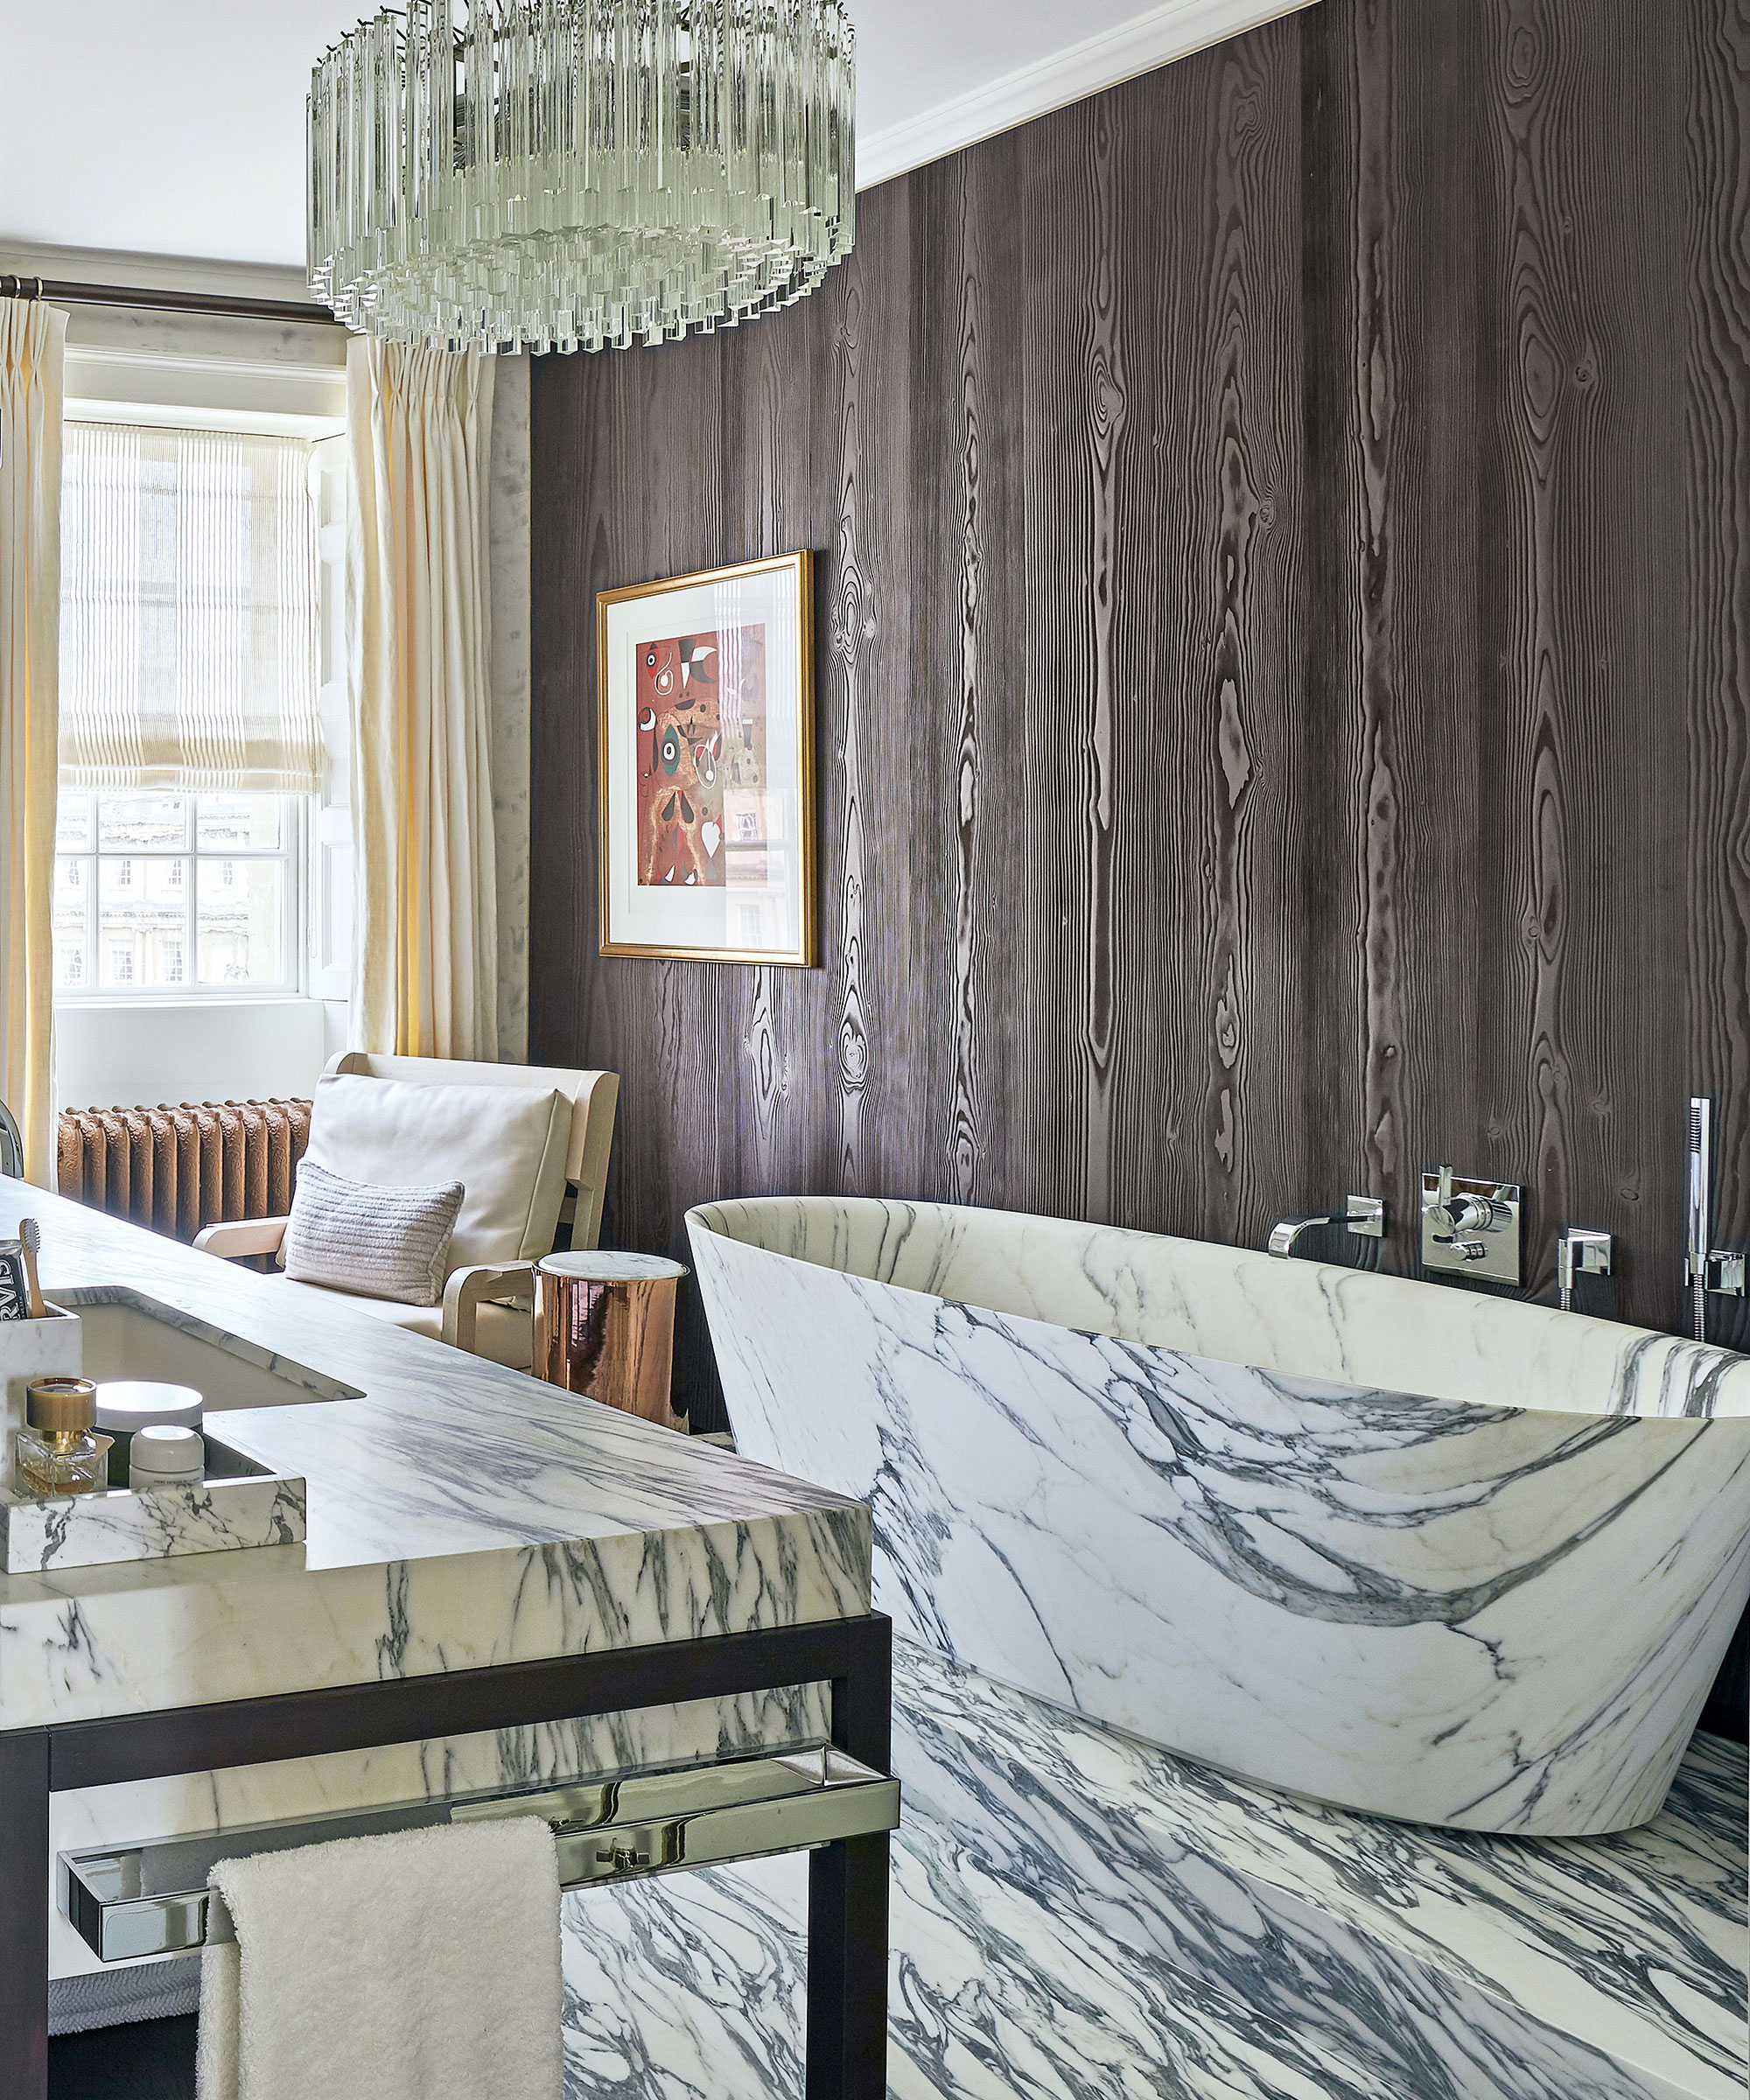
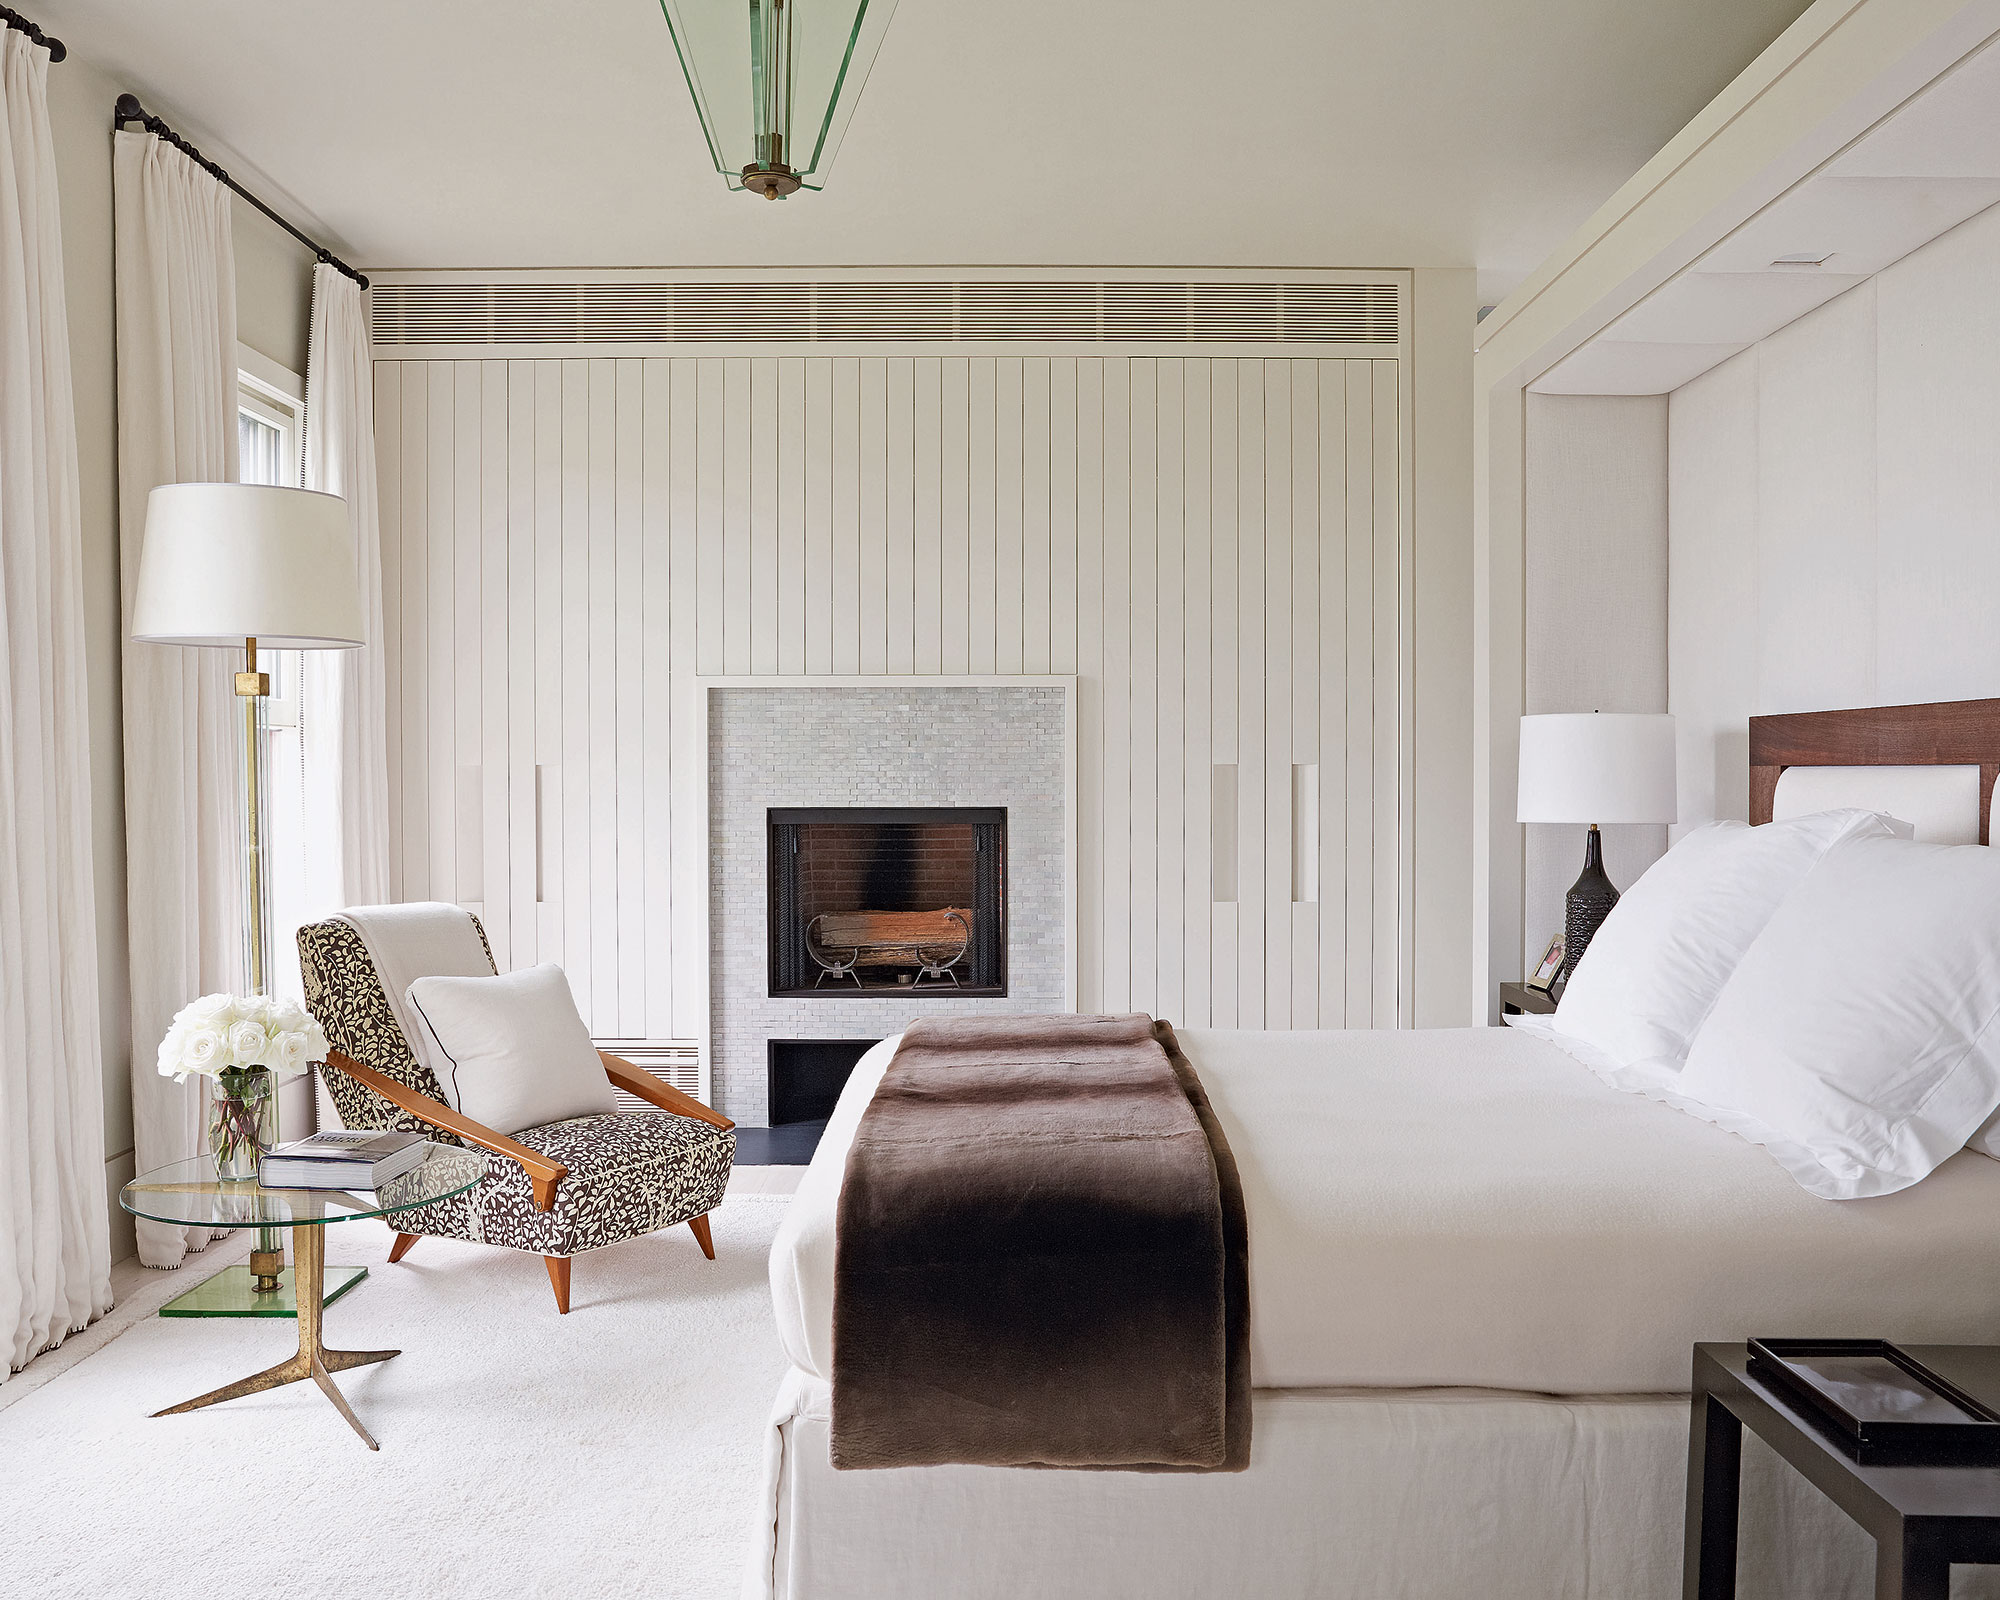
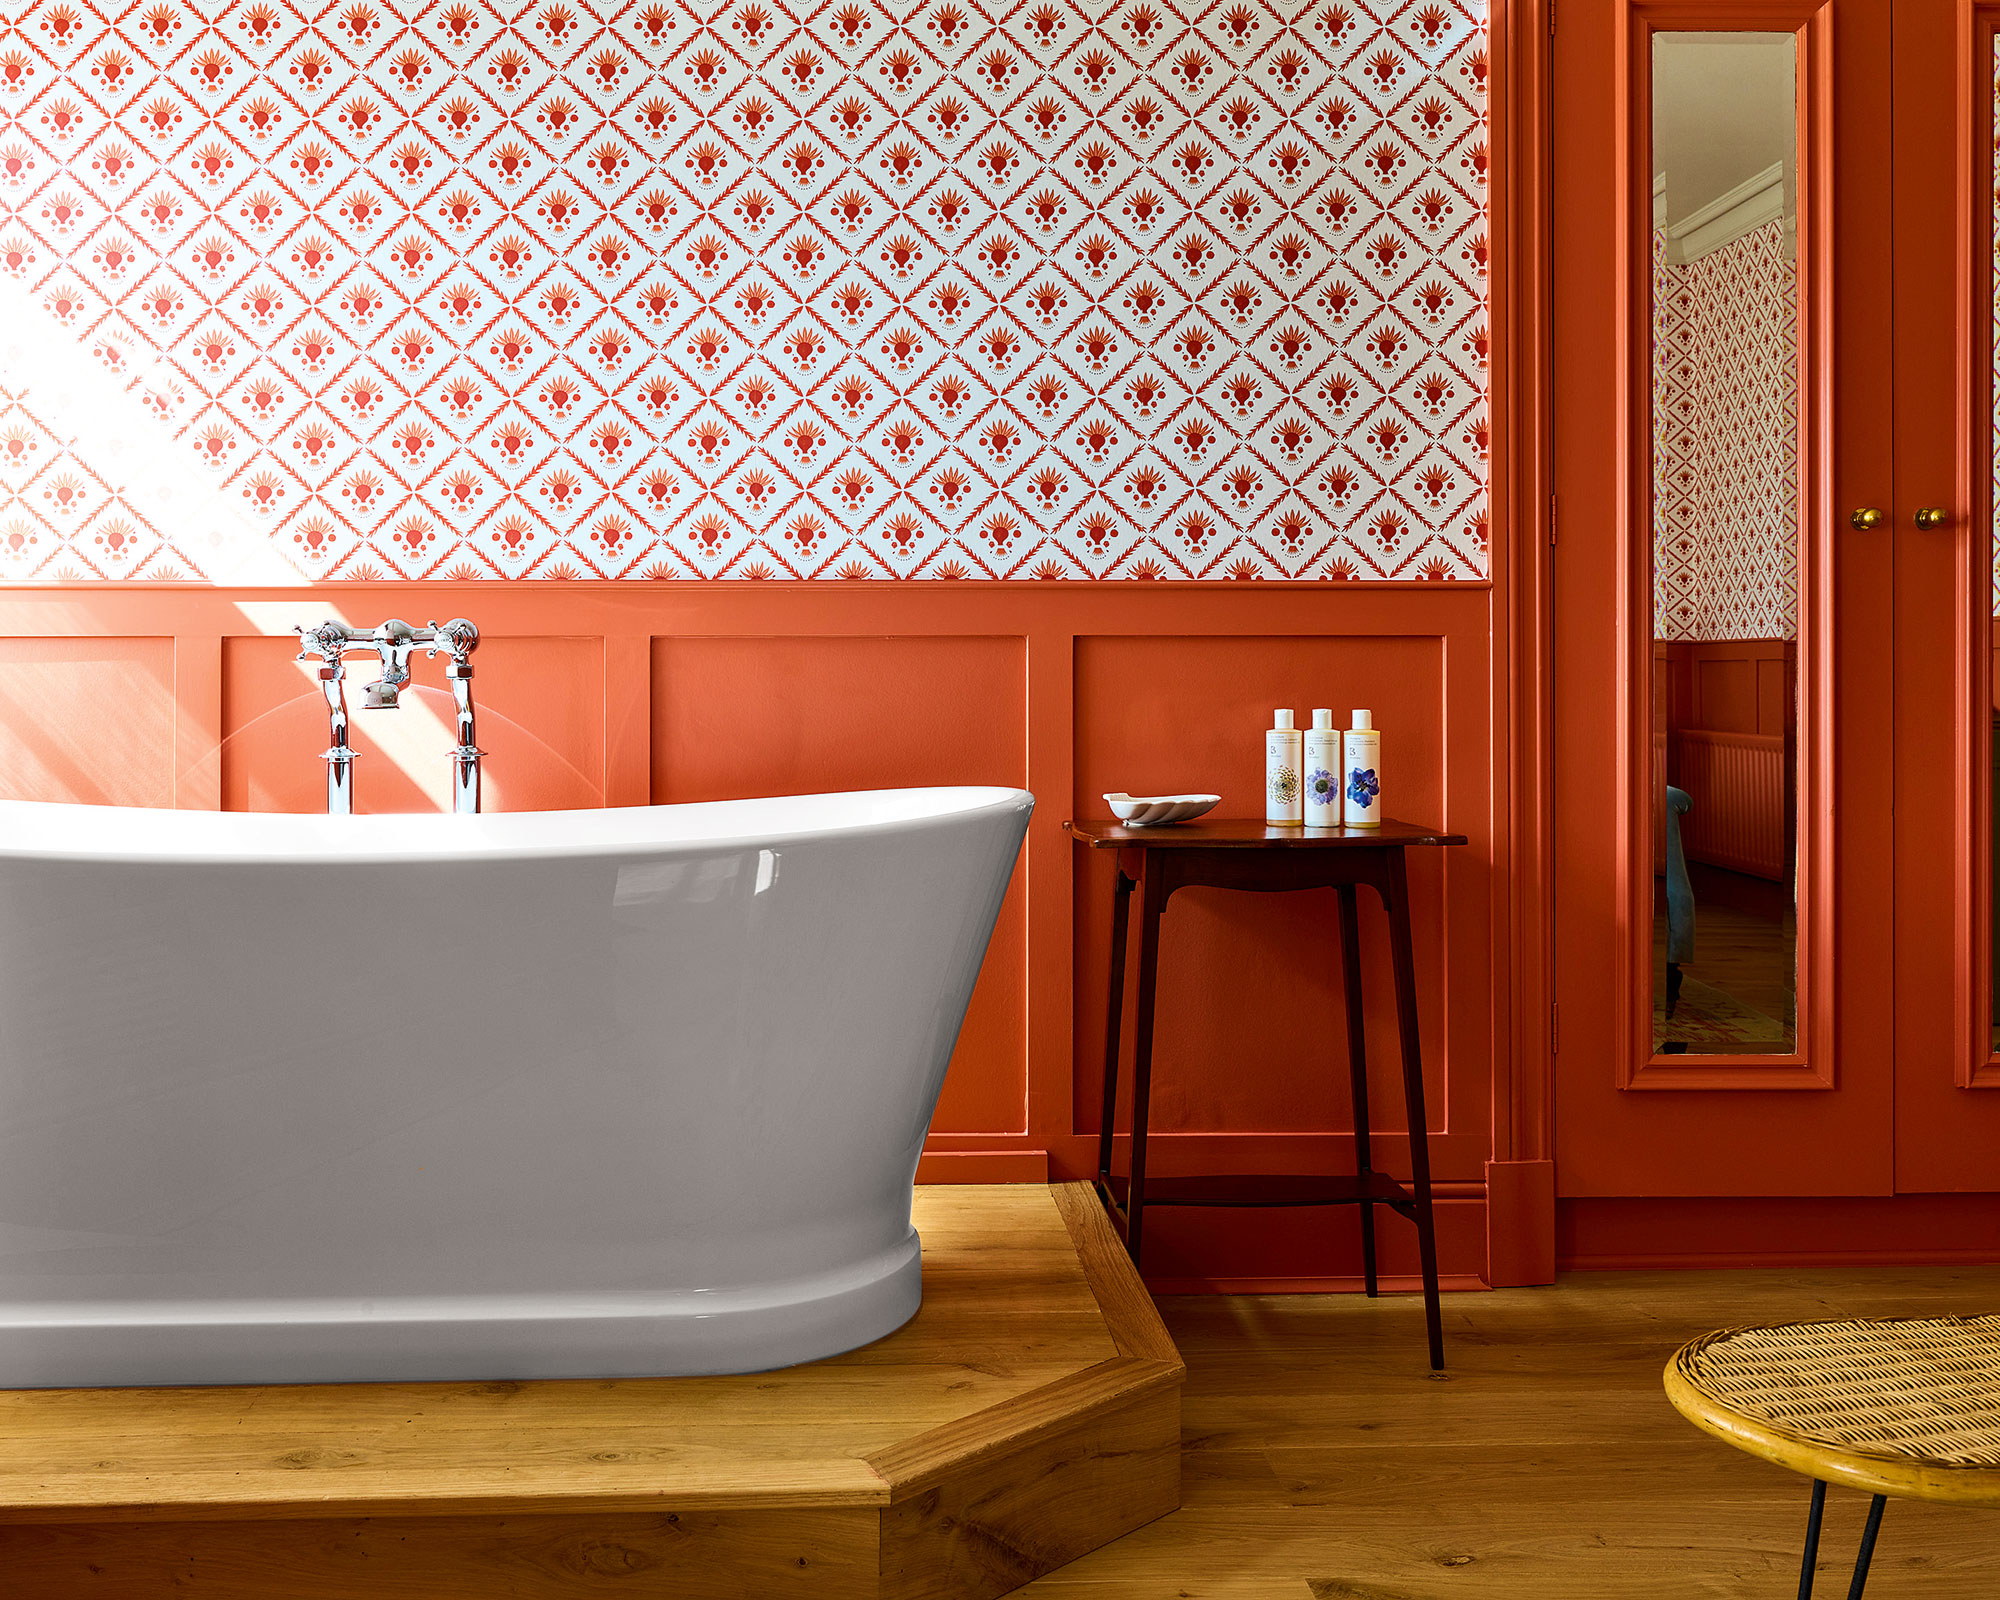
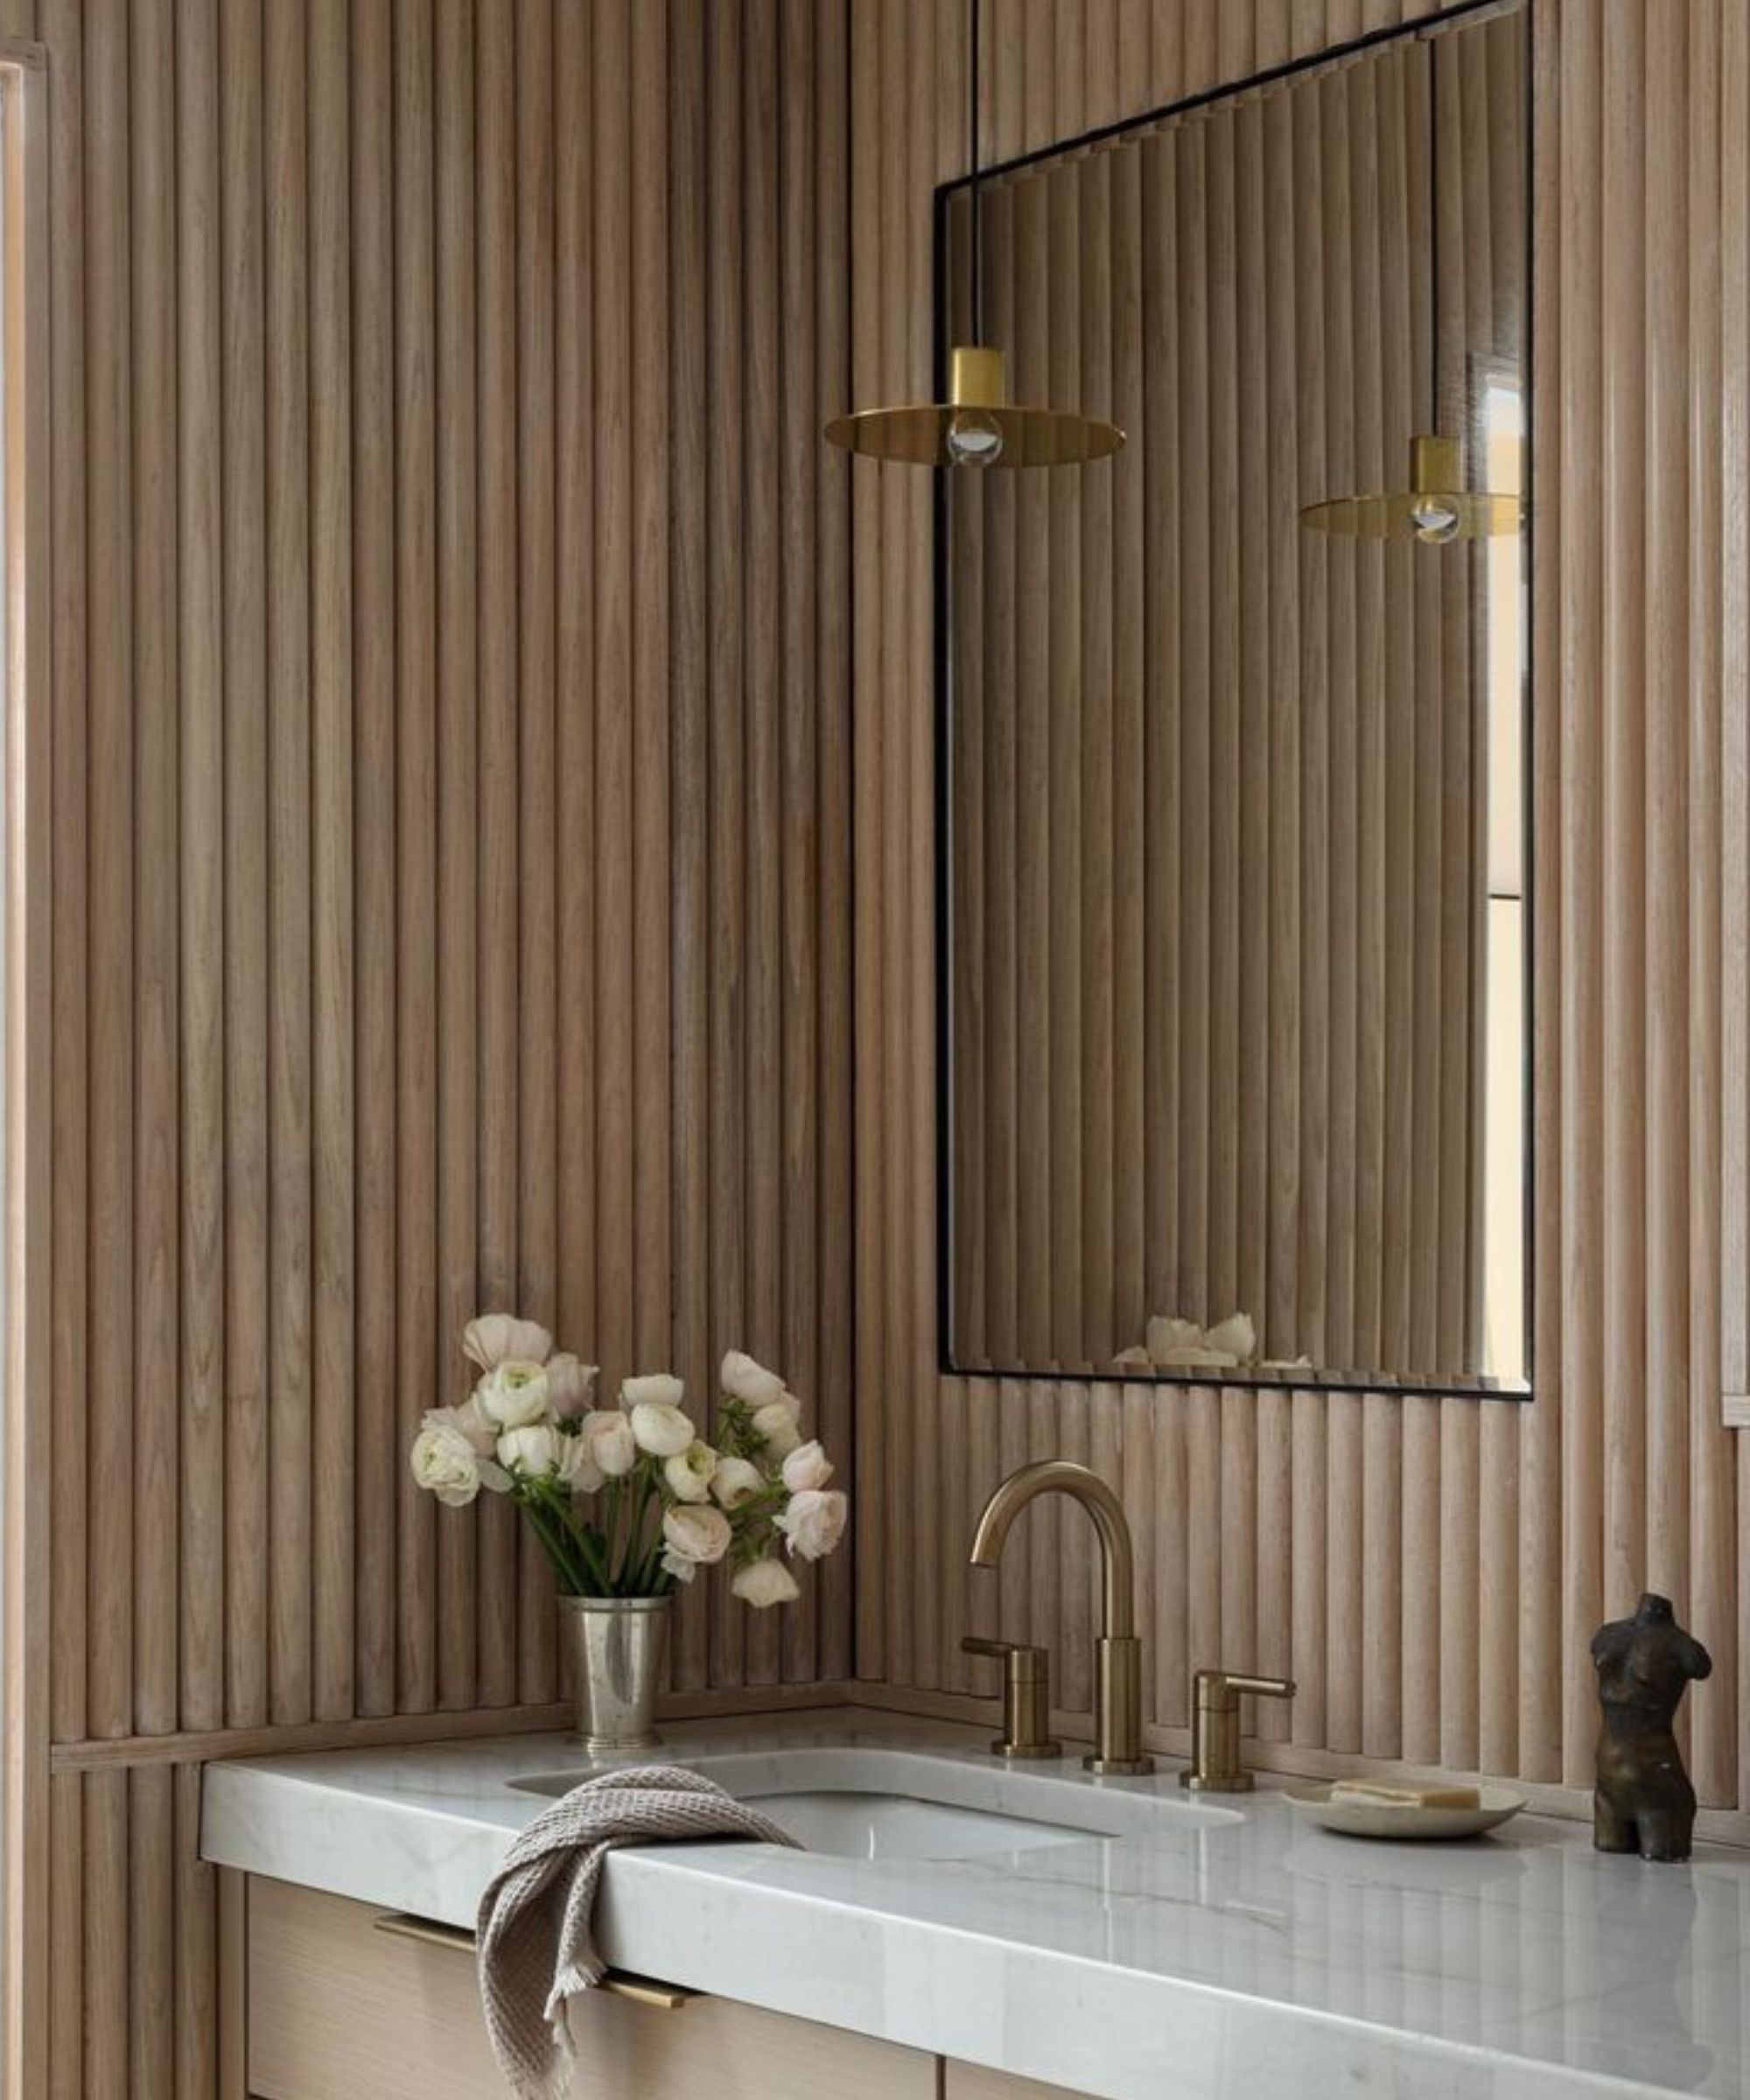
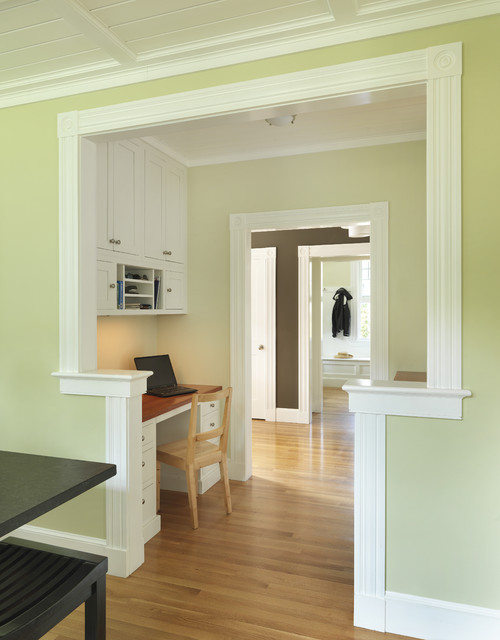
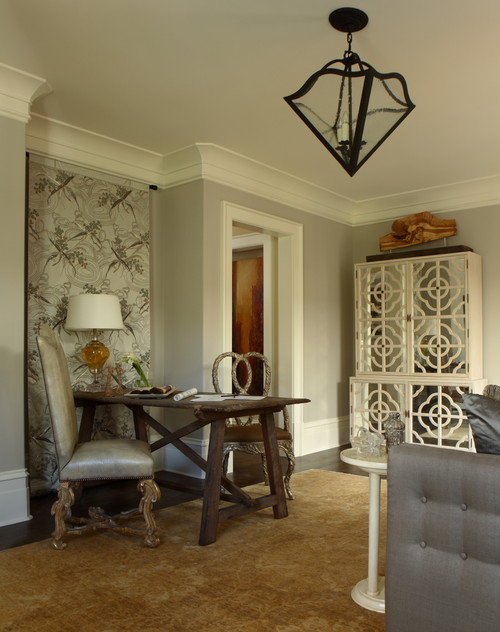
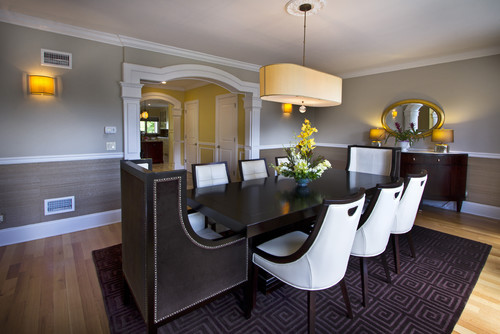
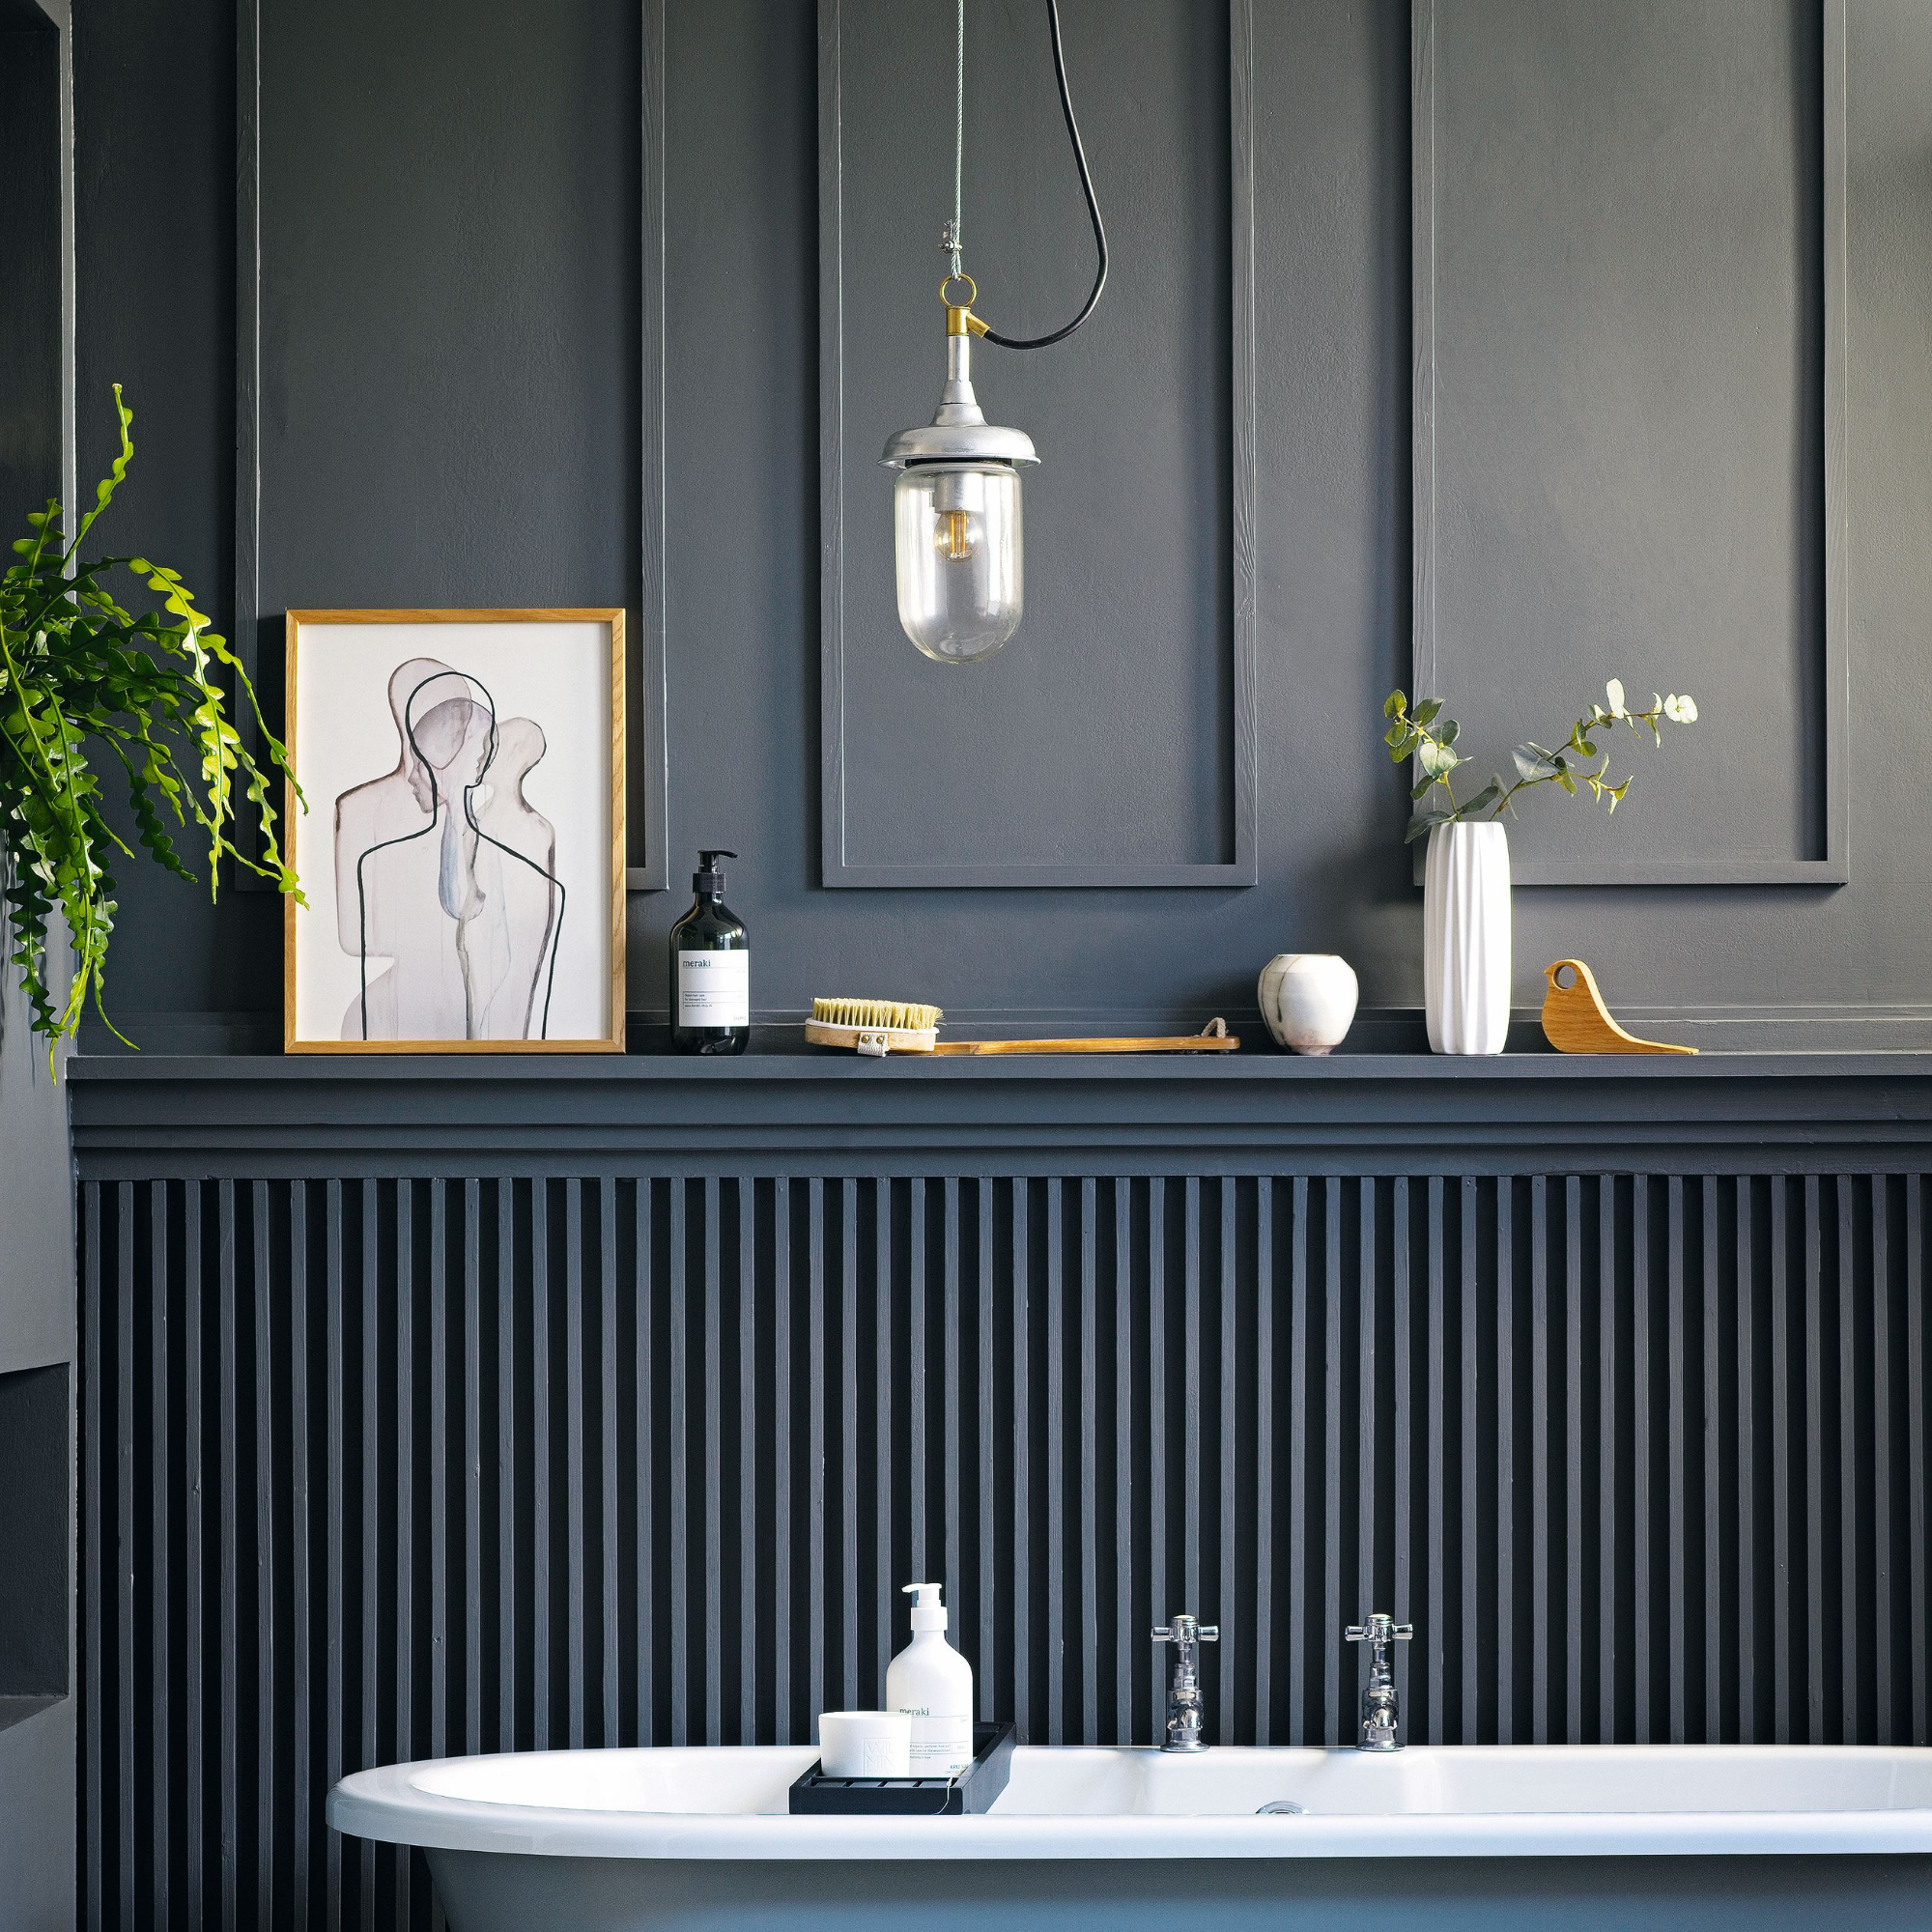
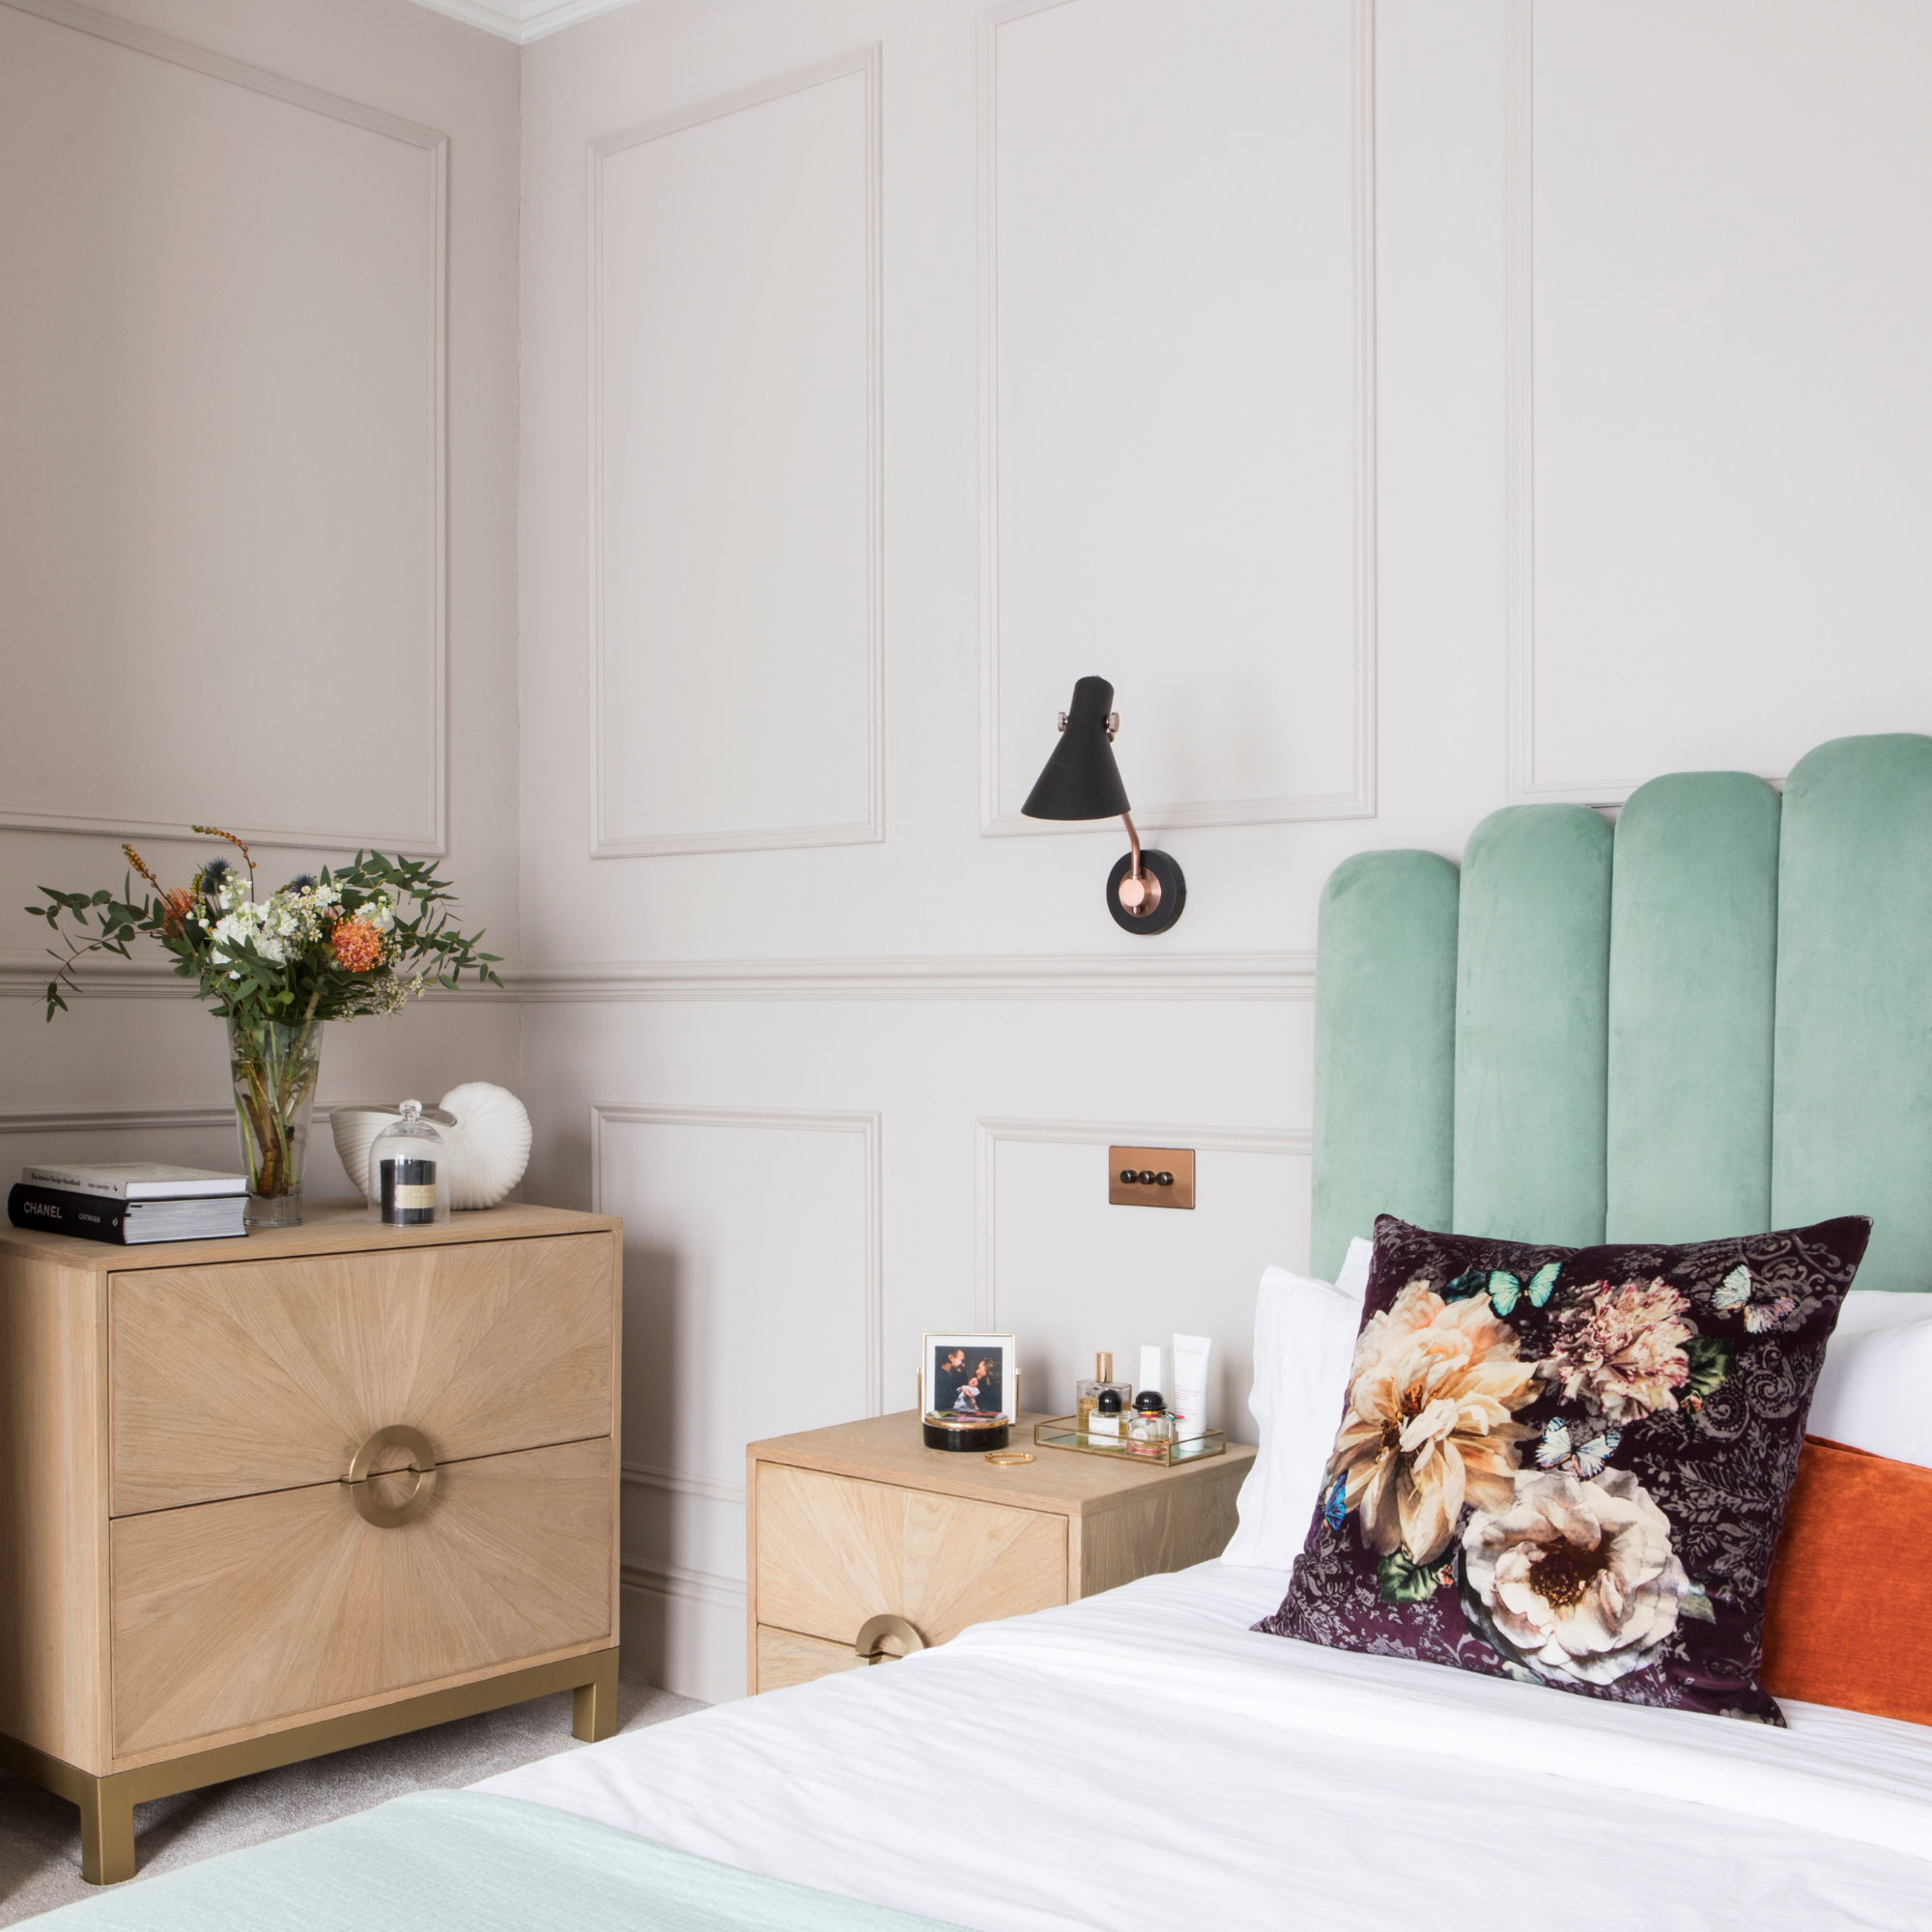
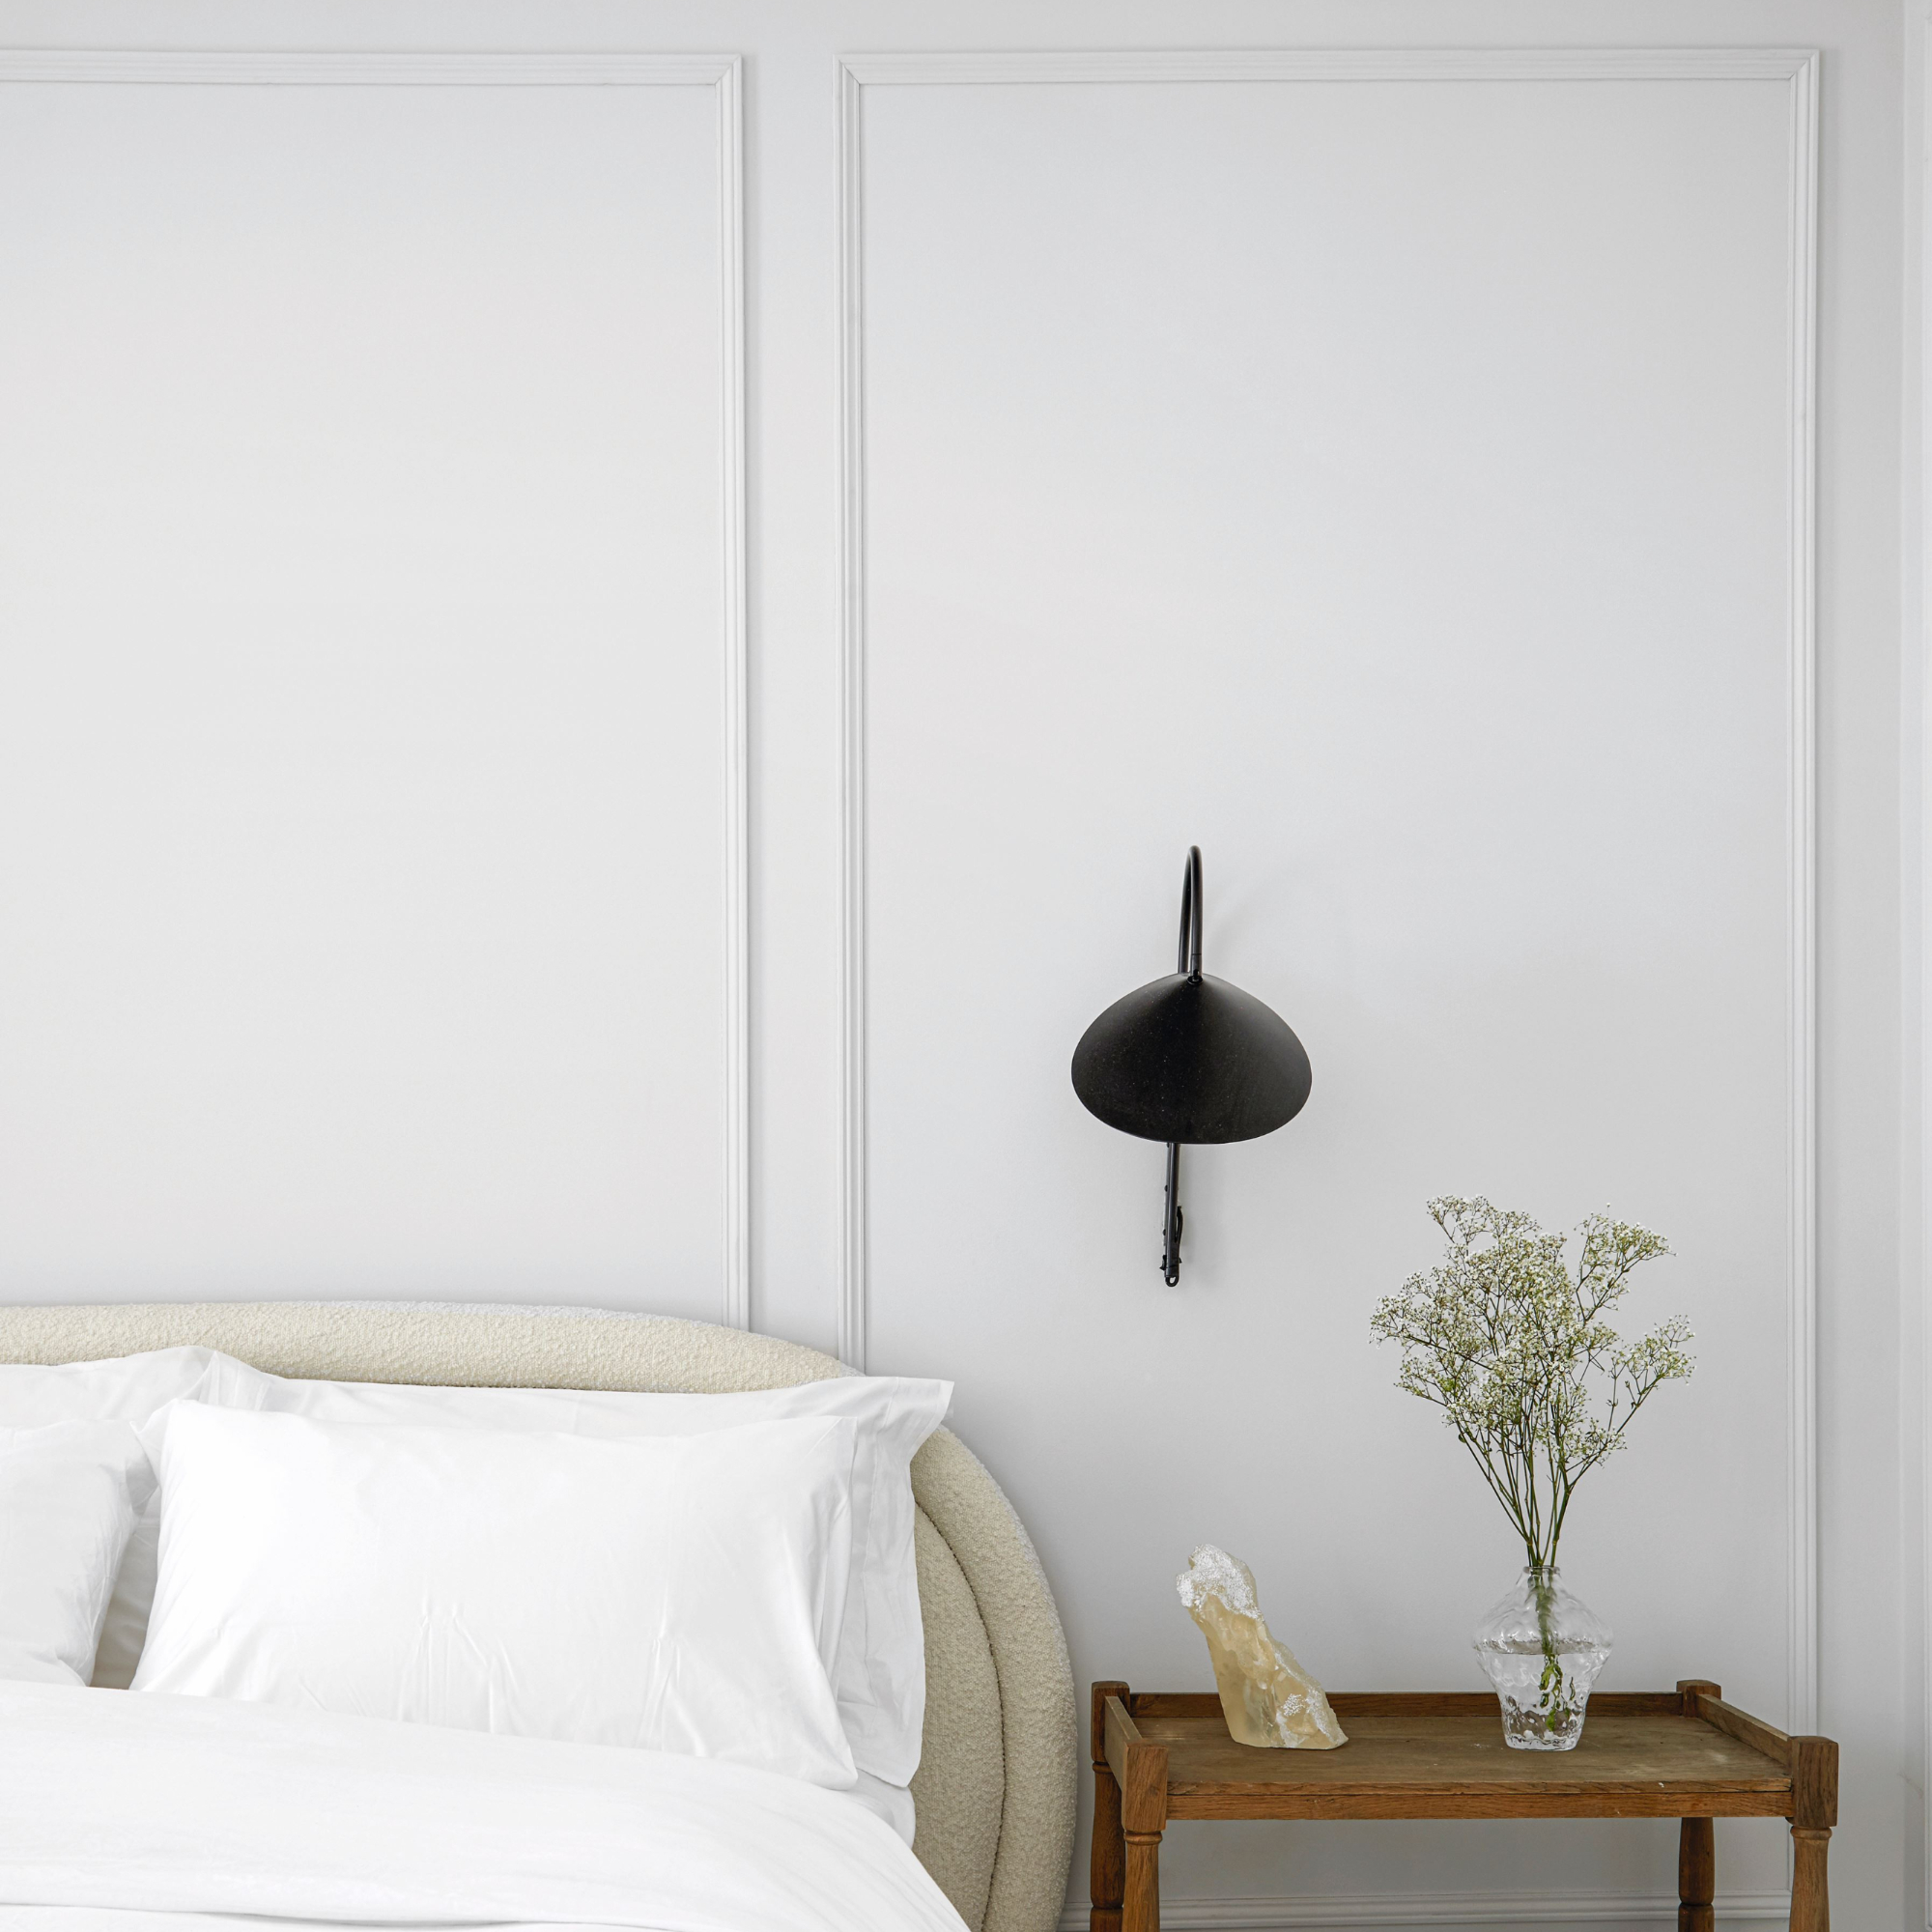
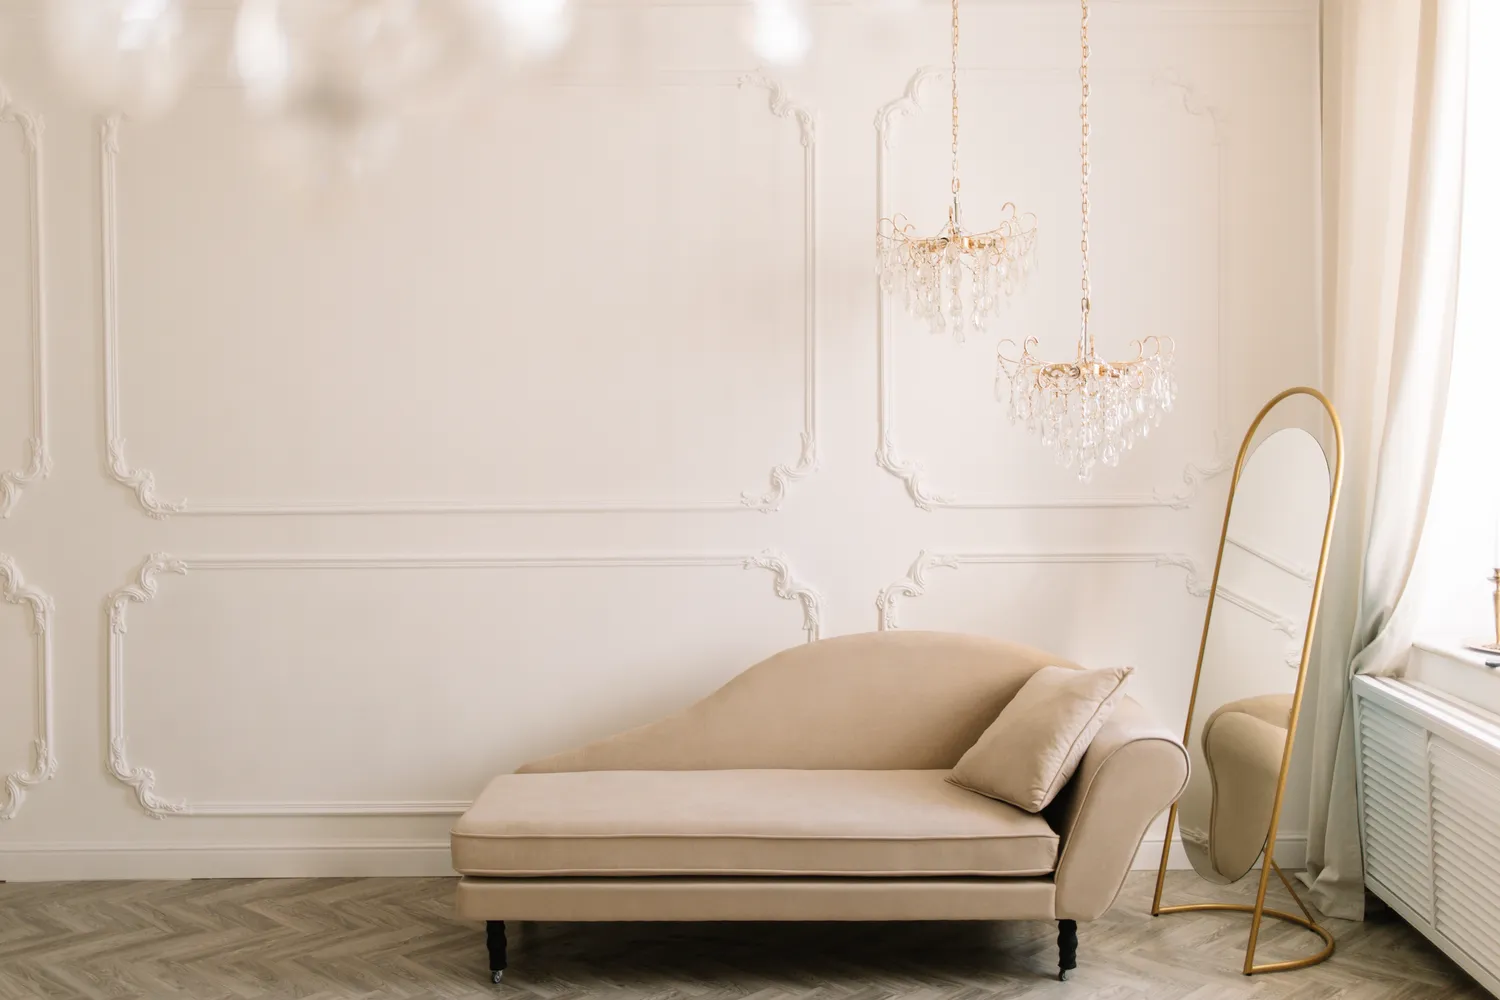
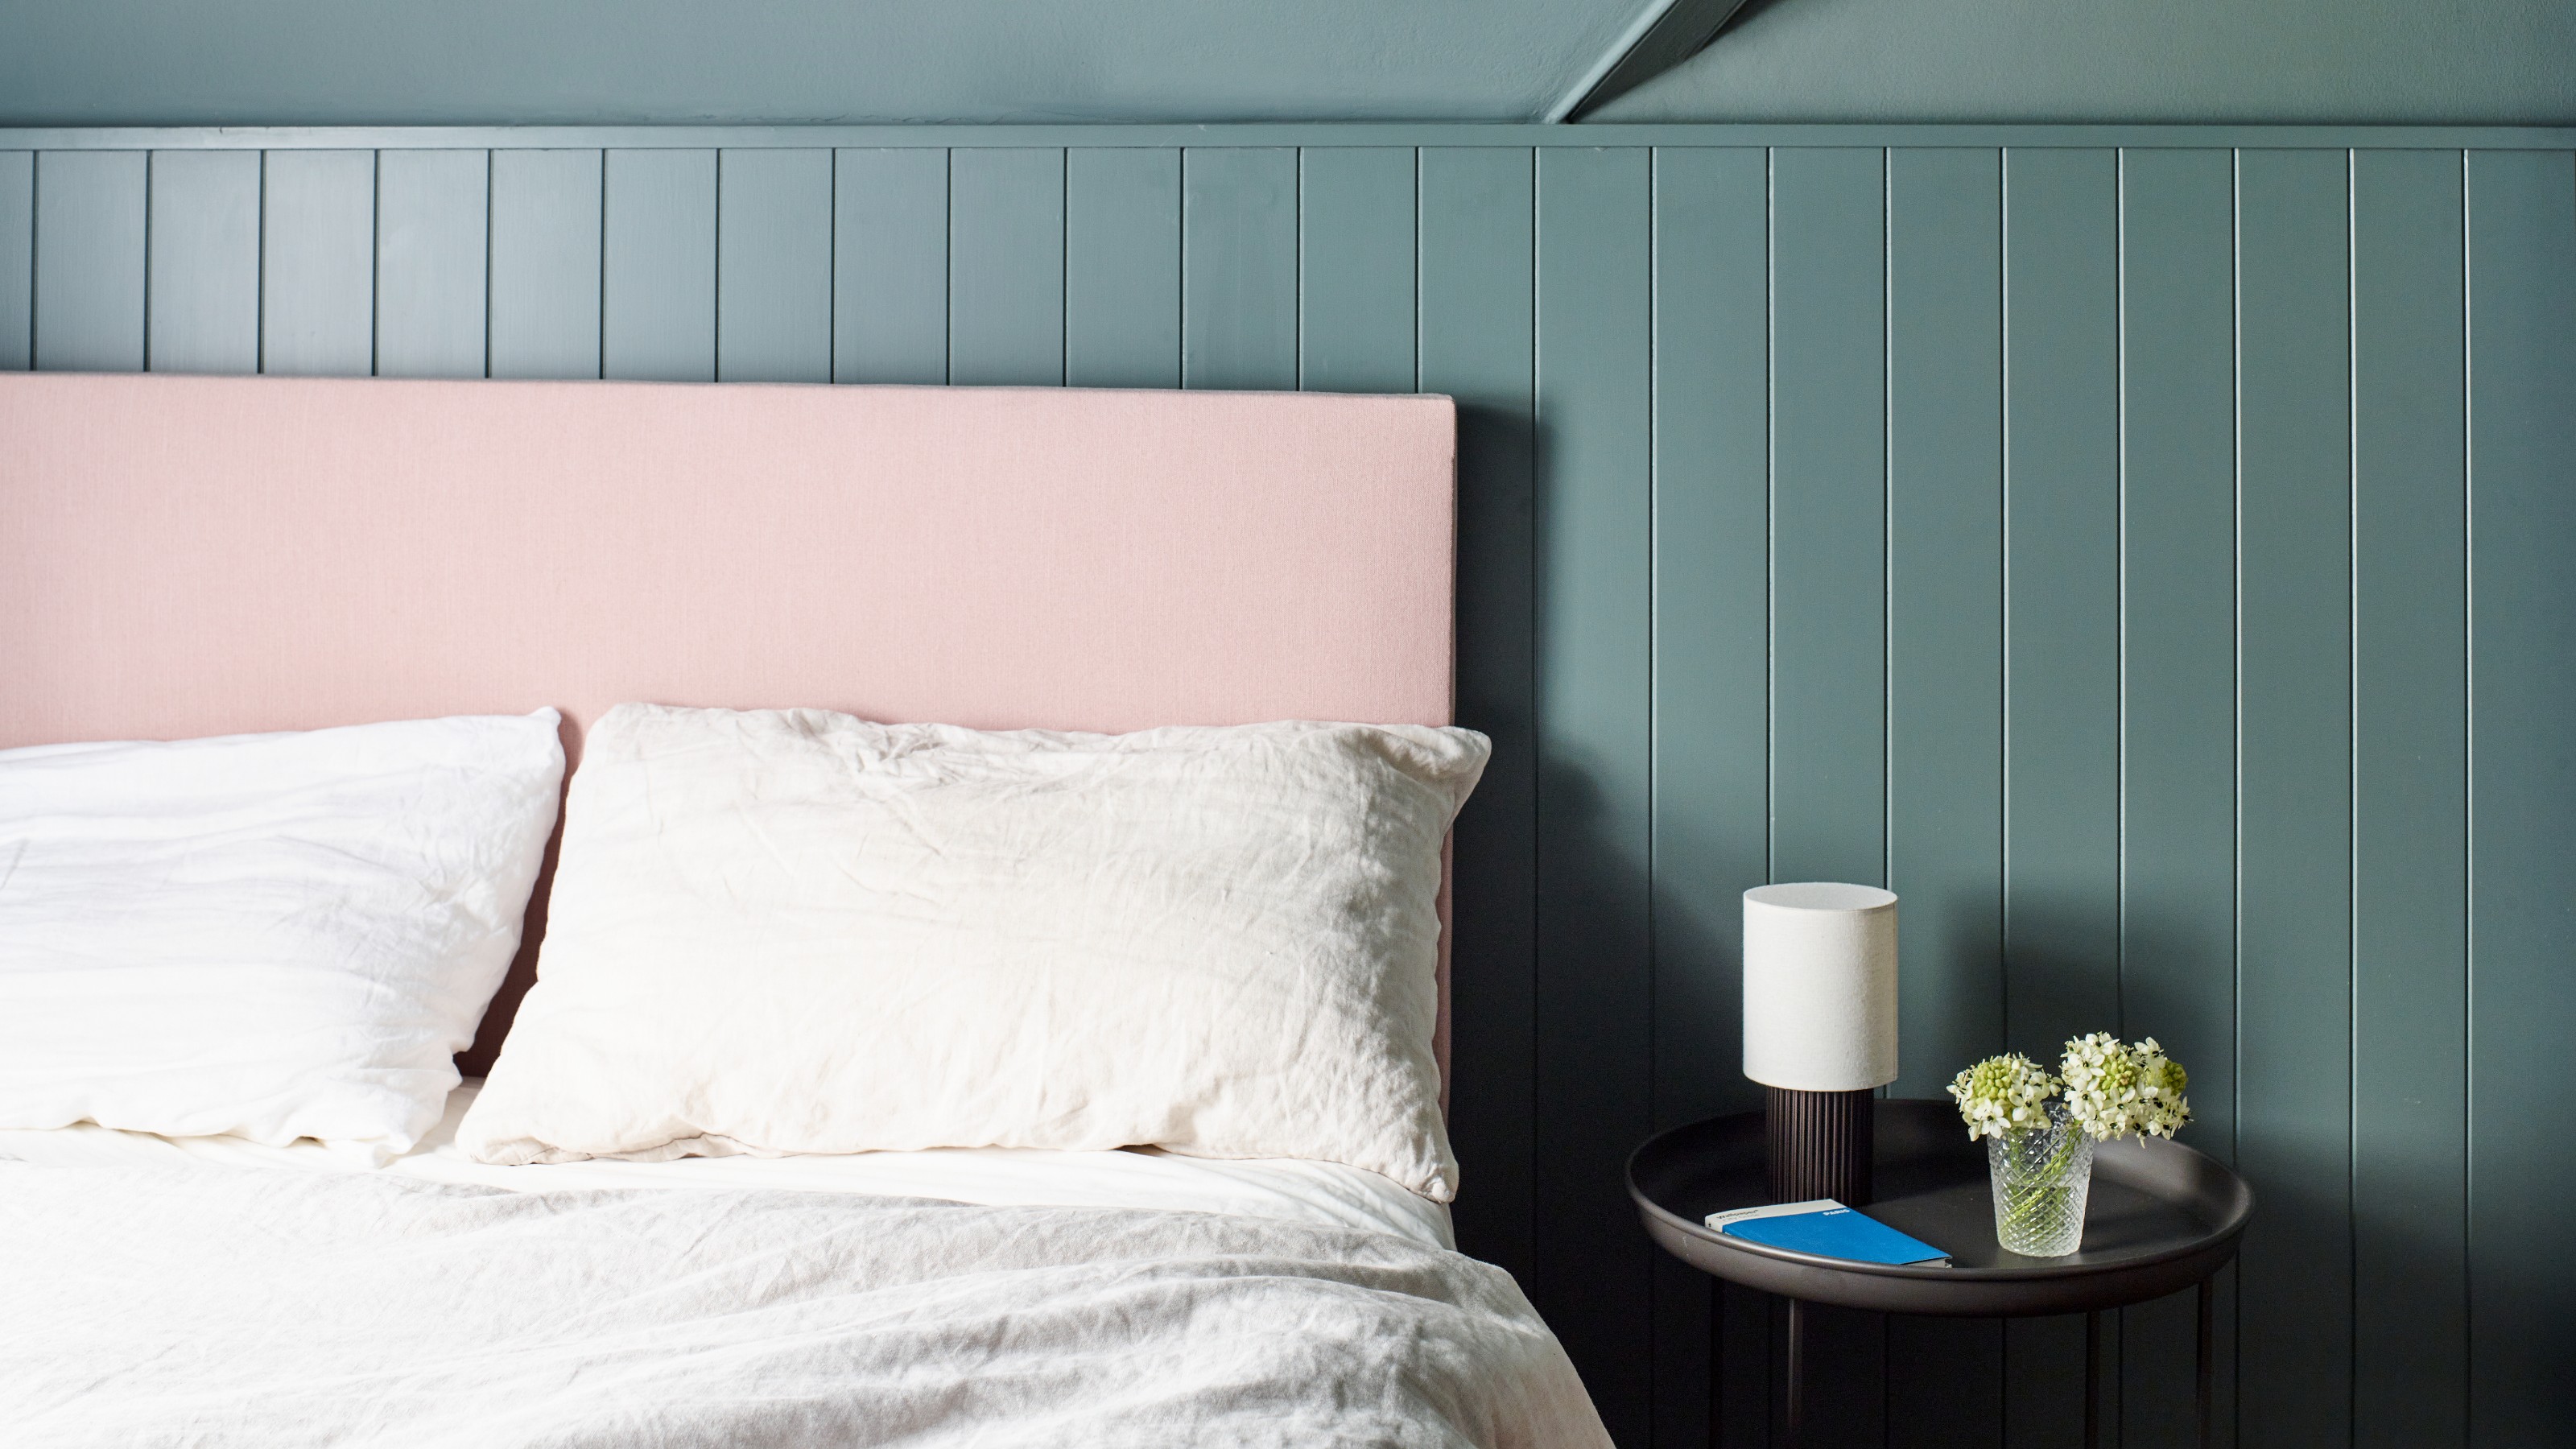
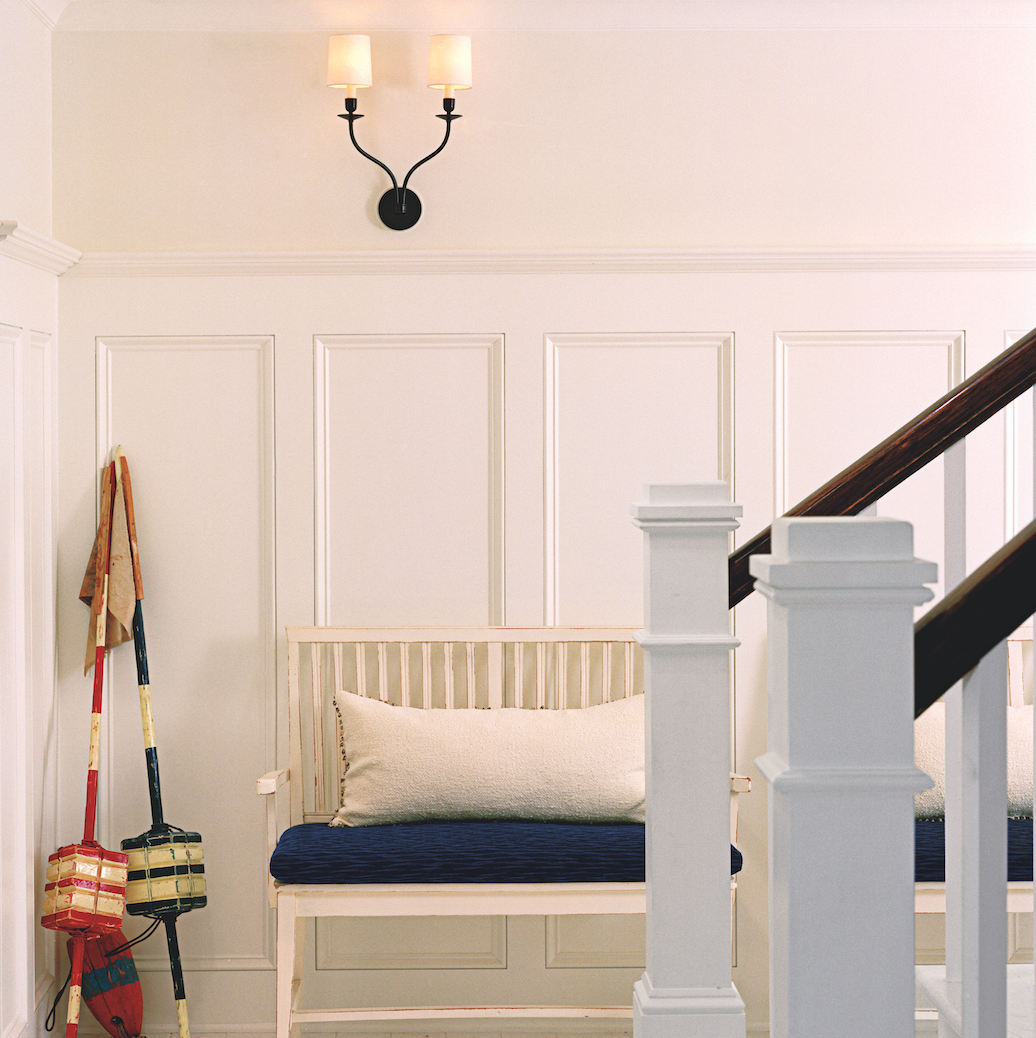
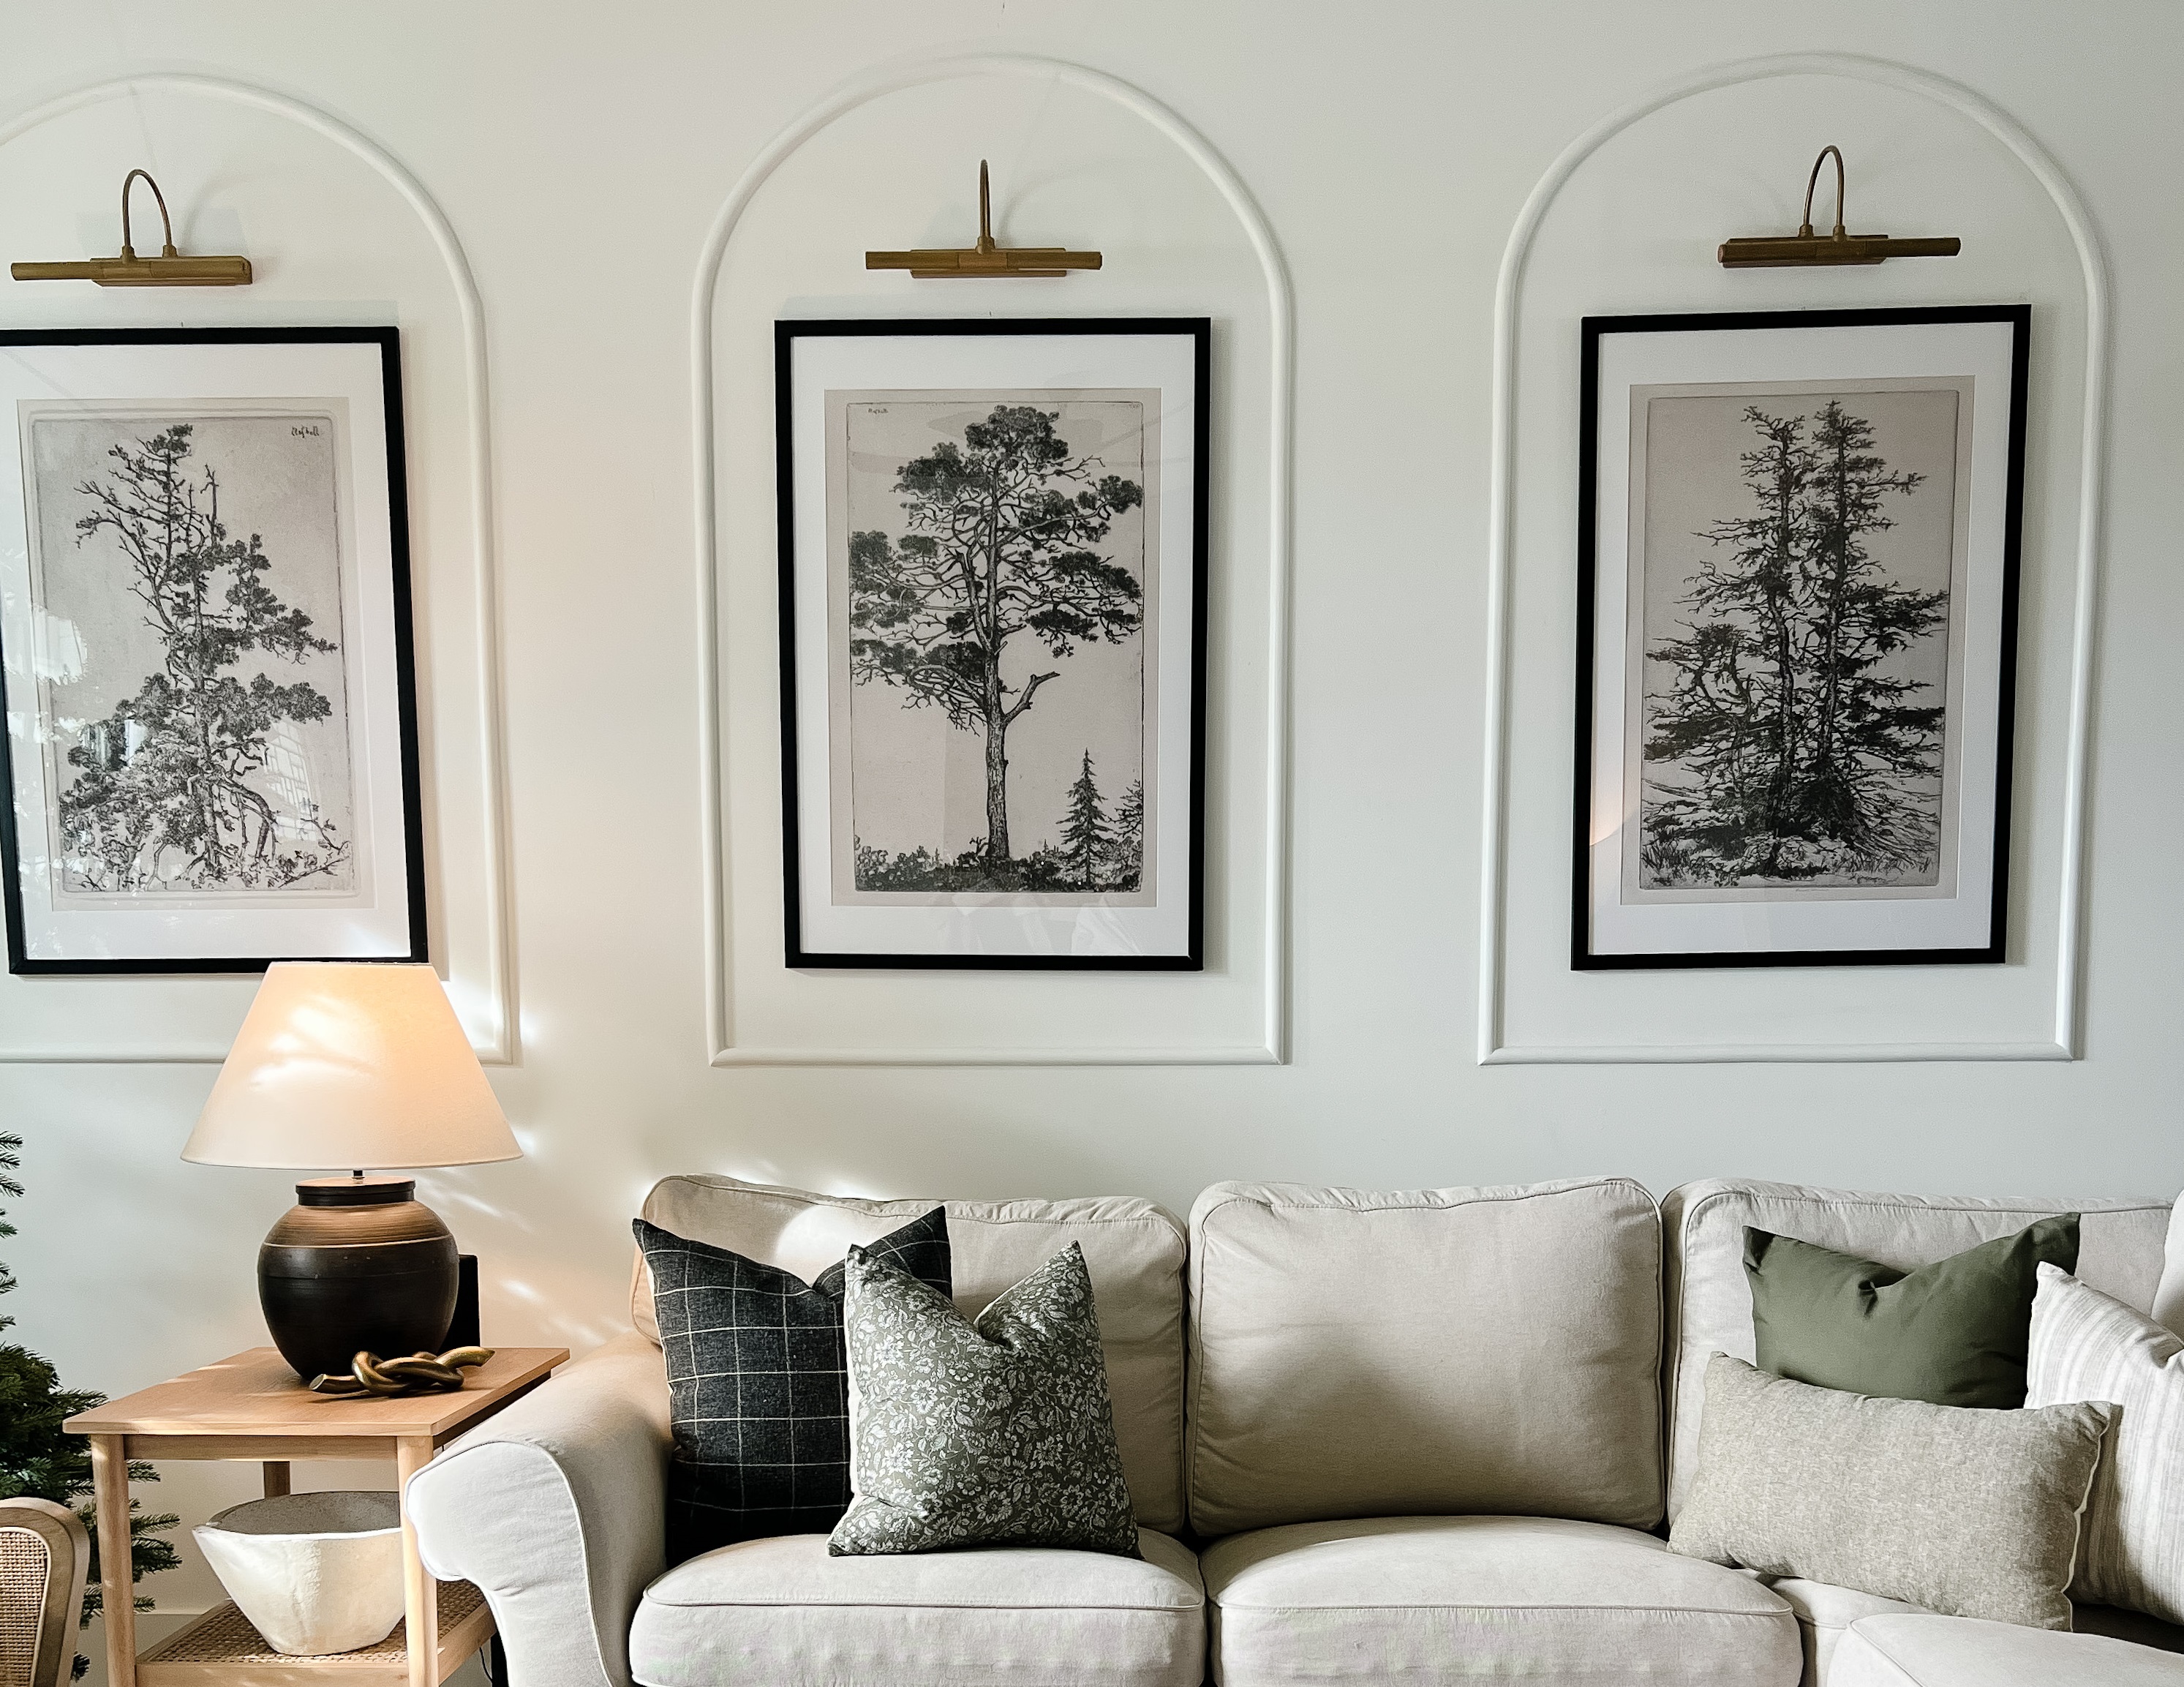
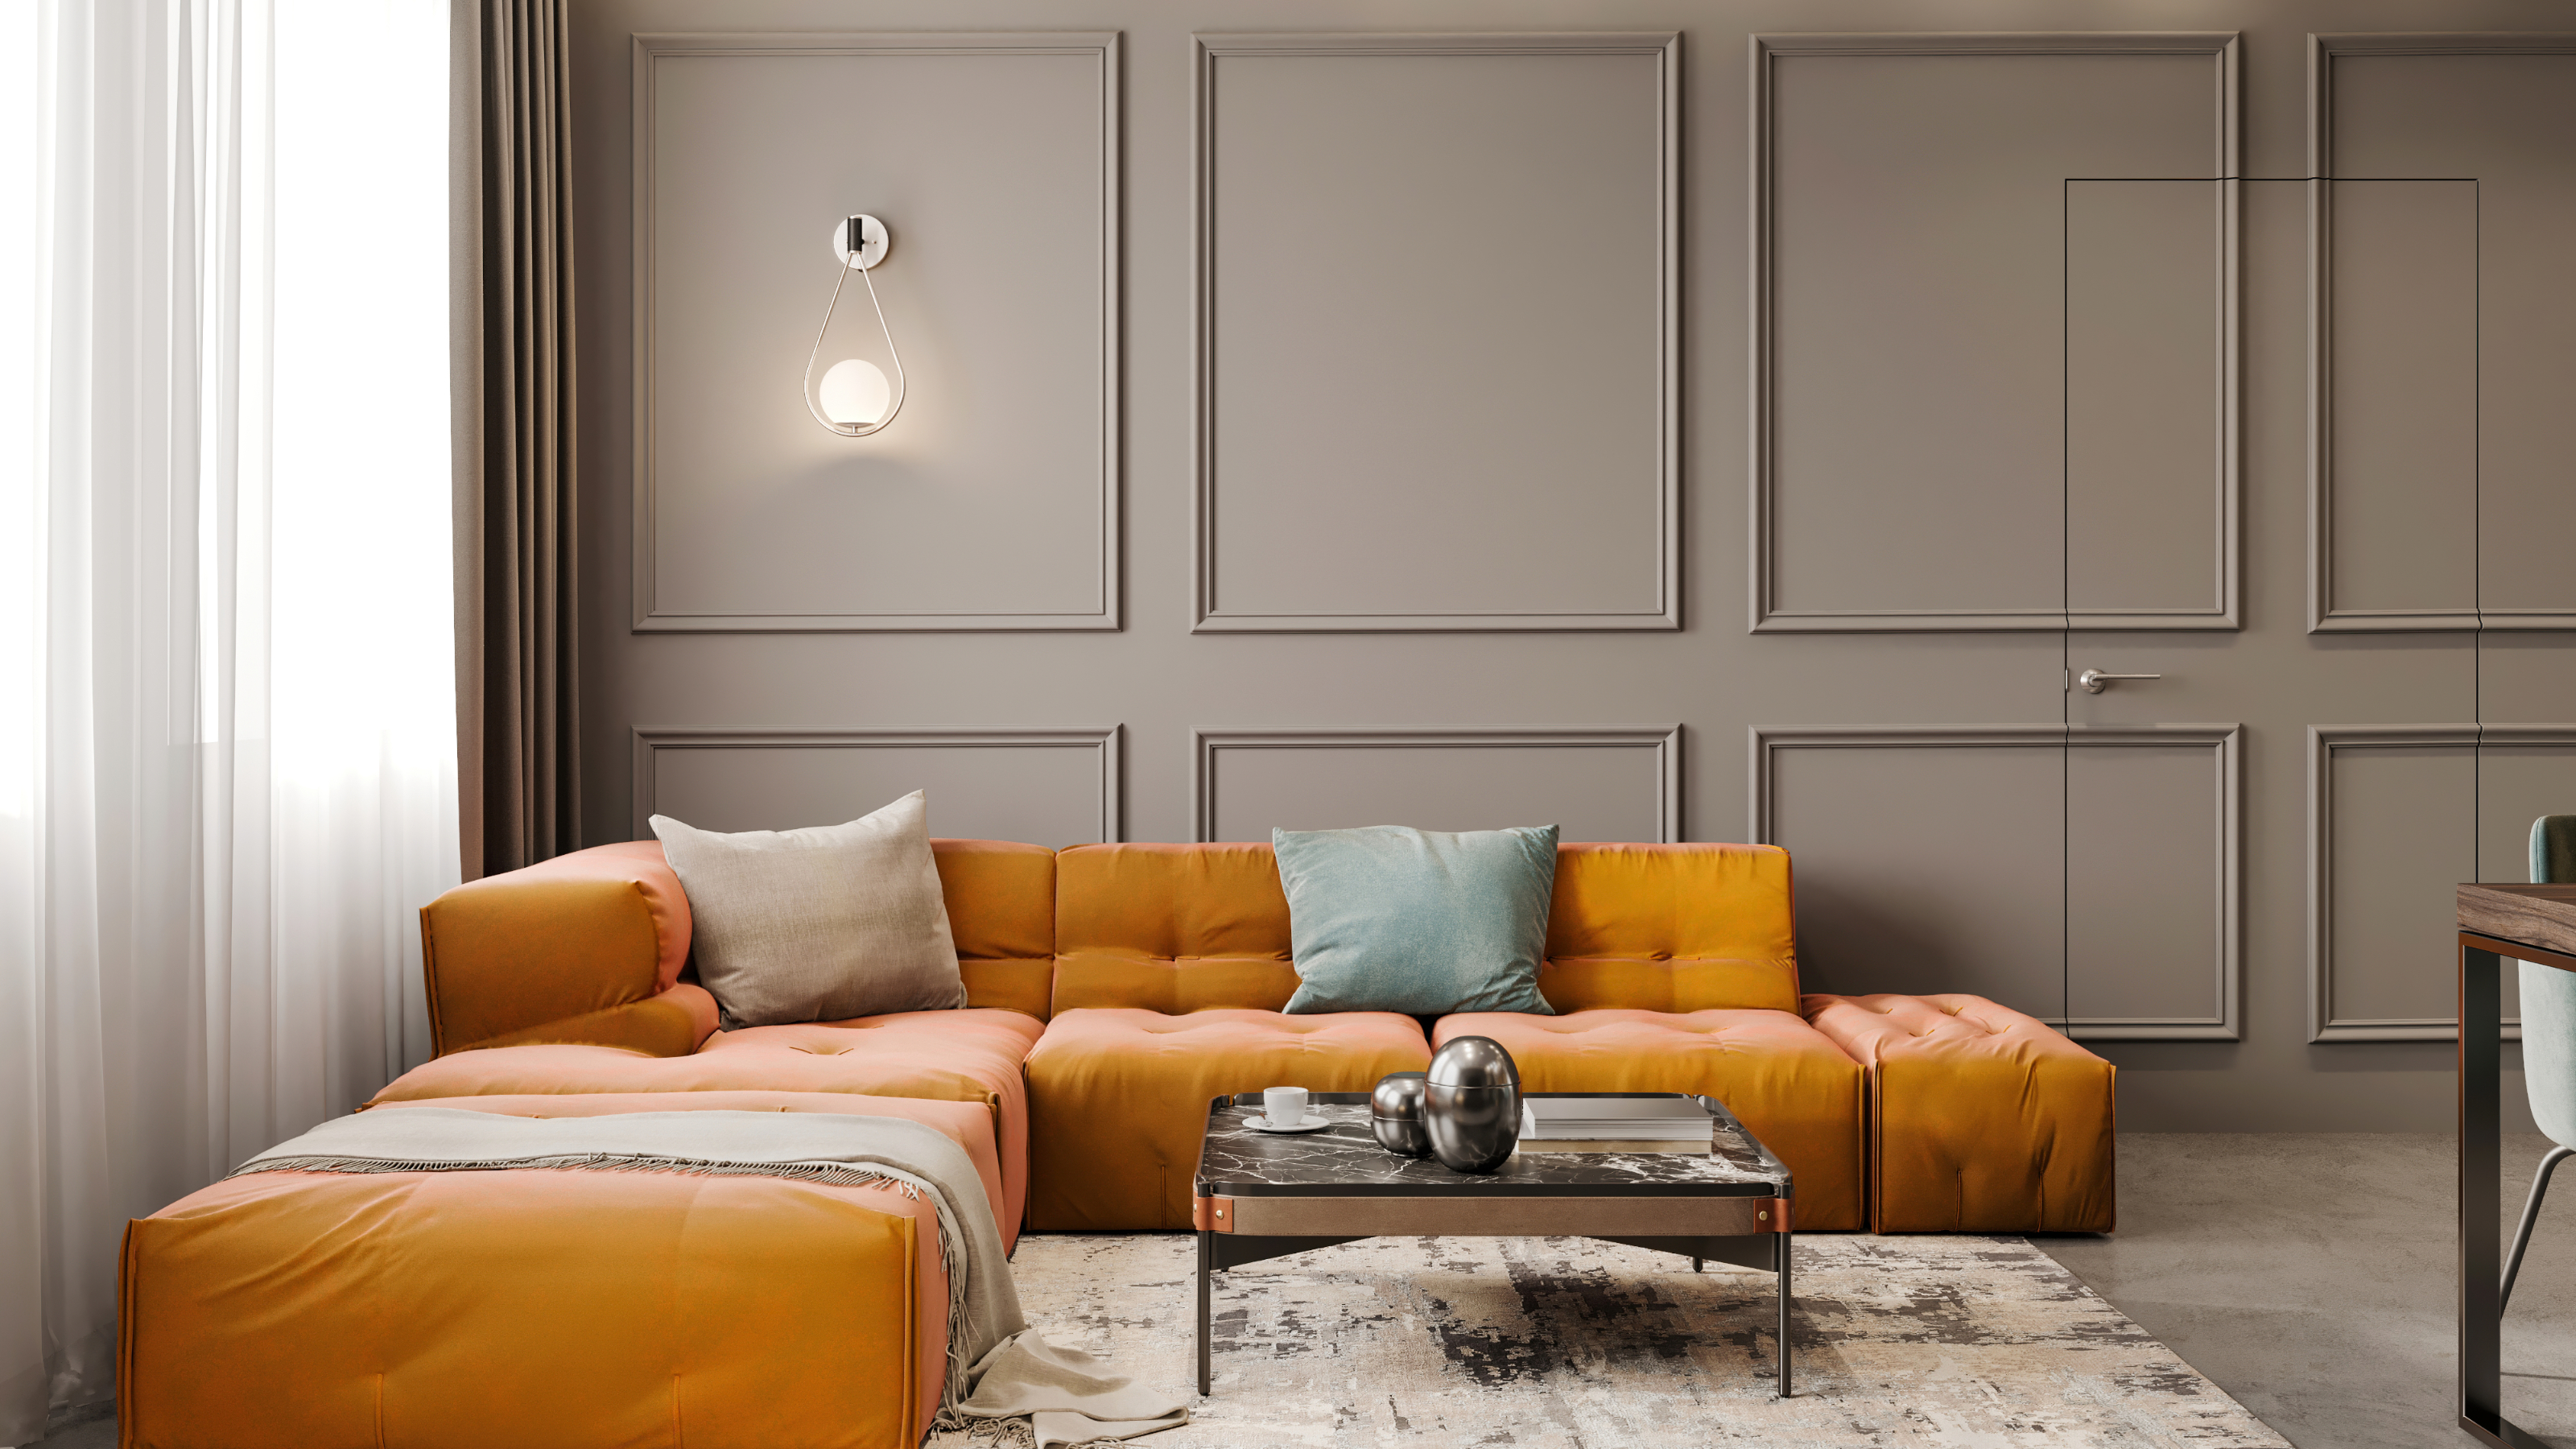
Wall molding involves applying thin wood or composite trim pieces to walls to create decorative shapes and patterns. Nick Brady, a woodworking expert at Rockler Woodworking and Hardware, explains that these additions instantly enhance a plain room by introducing architectural character and charm. Monika Zasada, a home renovation expert and founder of De-Mazing, identifies four main types of wall molding: crown molding (at the ceiling), base molding (at the floor), chair rail (to protect walls from furniture), and wall paneling (decorative strips or solid planks installed anywhere on the wall, vertically or horizontally). While crown and base moldings provide a visual transition, softening the angular meeting of walls, ceilings, and floors, wall paneling is purely decorative, mimicking expensive architectural paneling or wainscoting at a lower cost and without extensive renovation.
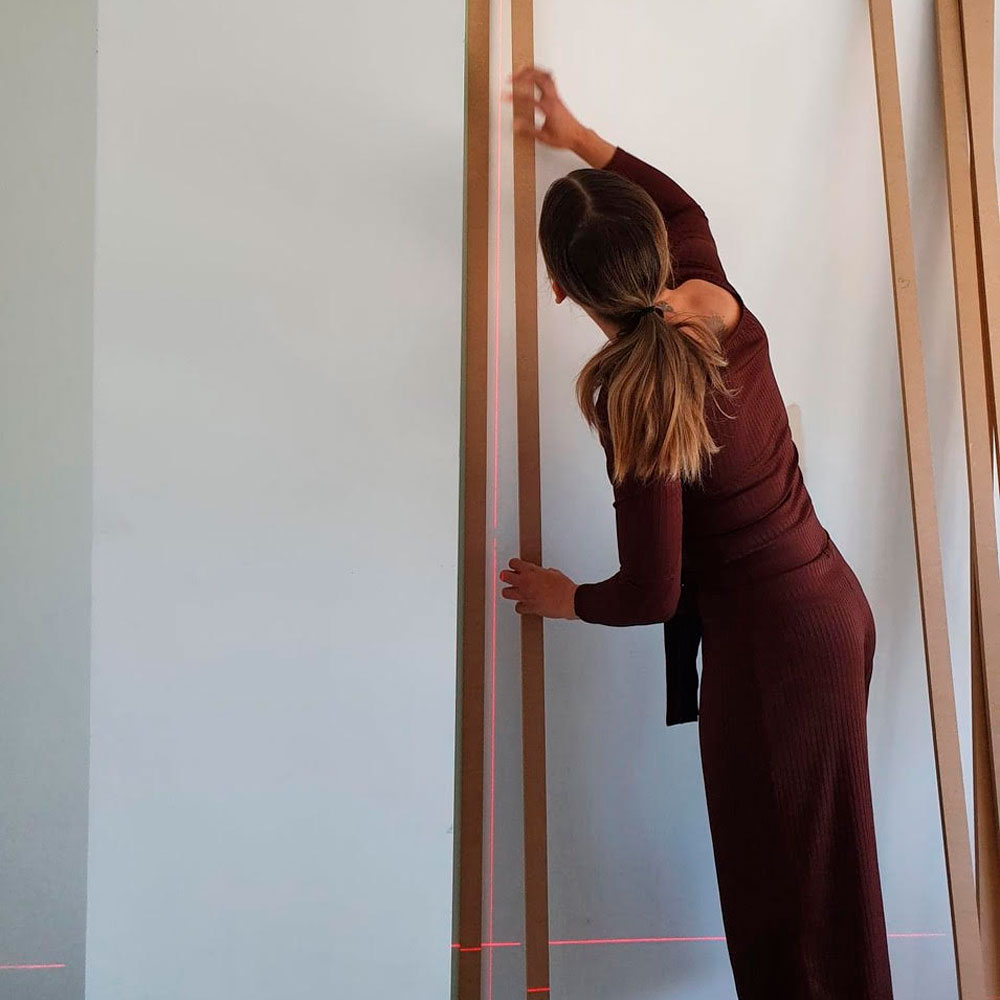
To undertake this DIY project, several supplies are needed: a bubble level or digital angle gauge, painter’s tape for planning, wall molding material (lumber, pre-primed molding, or MDF trim), sanding supplies, paint or stain, a miter box, a fine-tooth saw or power miter saw, wood glue, and optionally, nails and a nail gun. The process begins with planning the design by sketching it on paper or directly on the wall with painter’s tape, ensuring lines are plumb and level. Choosing molding materials involves considering options from simple lumber strips to more ornate designs; pre-primed molding saves time if painting, and MDF trim is a cost-effective choice that accepts paint well. The molding should then be sanded, painted, or stained to match personal preferences, with the traditional approach being to match the wall color.
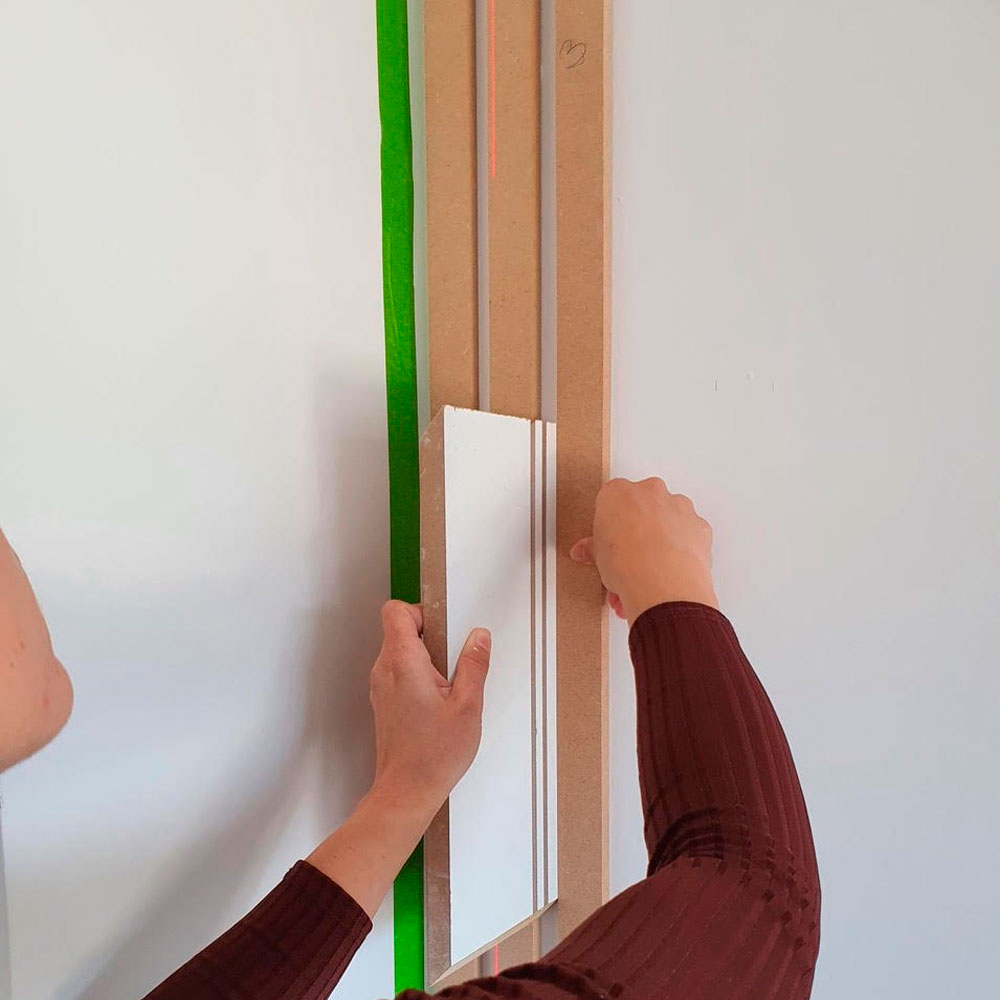
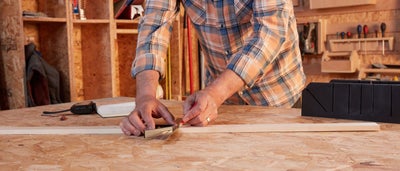
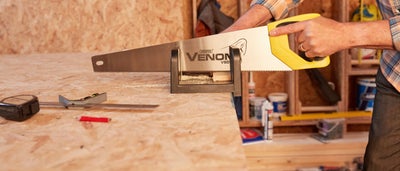
The next step involves cutting the moldings to size and assembling the frames. A miter box and fine-toothed saw or a power miter saw can be used for cutting. Assembling the frames on a flat surface, such as a table or floor, is recommended for ease. For renters, temporary installation methods using removable adhesive strips are advised instead of glue or nails, with the understanding that wall repainting may be necessary upon removal. Once the glue dries (for permanent installations), the assembled frames are mounted onto the wall. For permanent fixtures, a thin bead of wood glue is applied to the back of the molding, and painter’s tape can hold the frames in place until the glue sets. Alternatively, nails can be used. Any excess glue should be cleaned immediately with a damp rag. The final step is to touch up the installed paneling, filling small gaps or nail holes with wood filler, sanding smooth with 180-grit sandpaper, and touching up the paint or stain as needed. Some DIYers opt to paint the entire wall and installed paneling together for a seamless finish.
#DIYHomeProjects #WallMolding #HomeDecor #InteriorDesign #RenterFriendly #HomeImprovement #ArchitecturalDetails #WallPaneling #DIYHomeProjects #WallMolding #HomeDecor #InteriorDesign #RenterFriendly #HomeImprovement #ArchitecturalDetails #WallPaneling
0 commenti in totale
 Nessun commento ancora
Potresti anche gradire
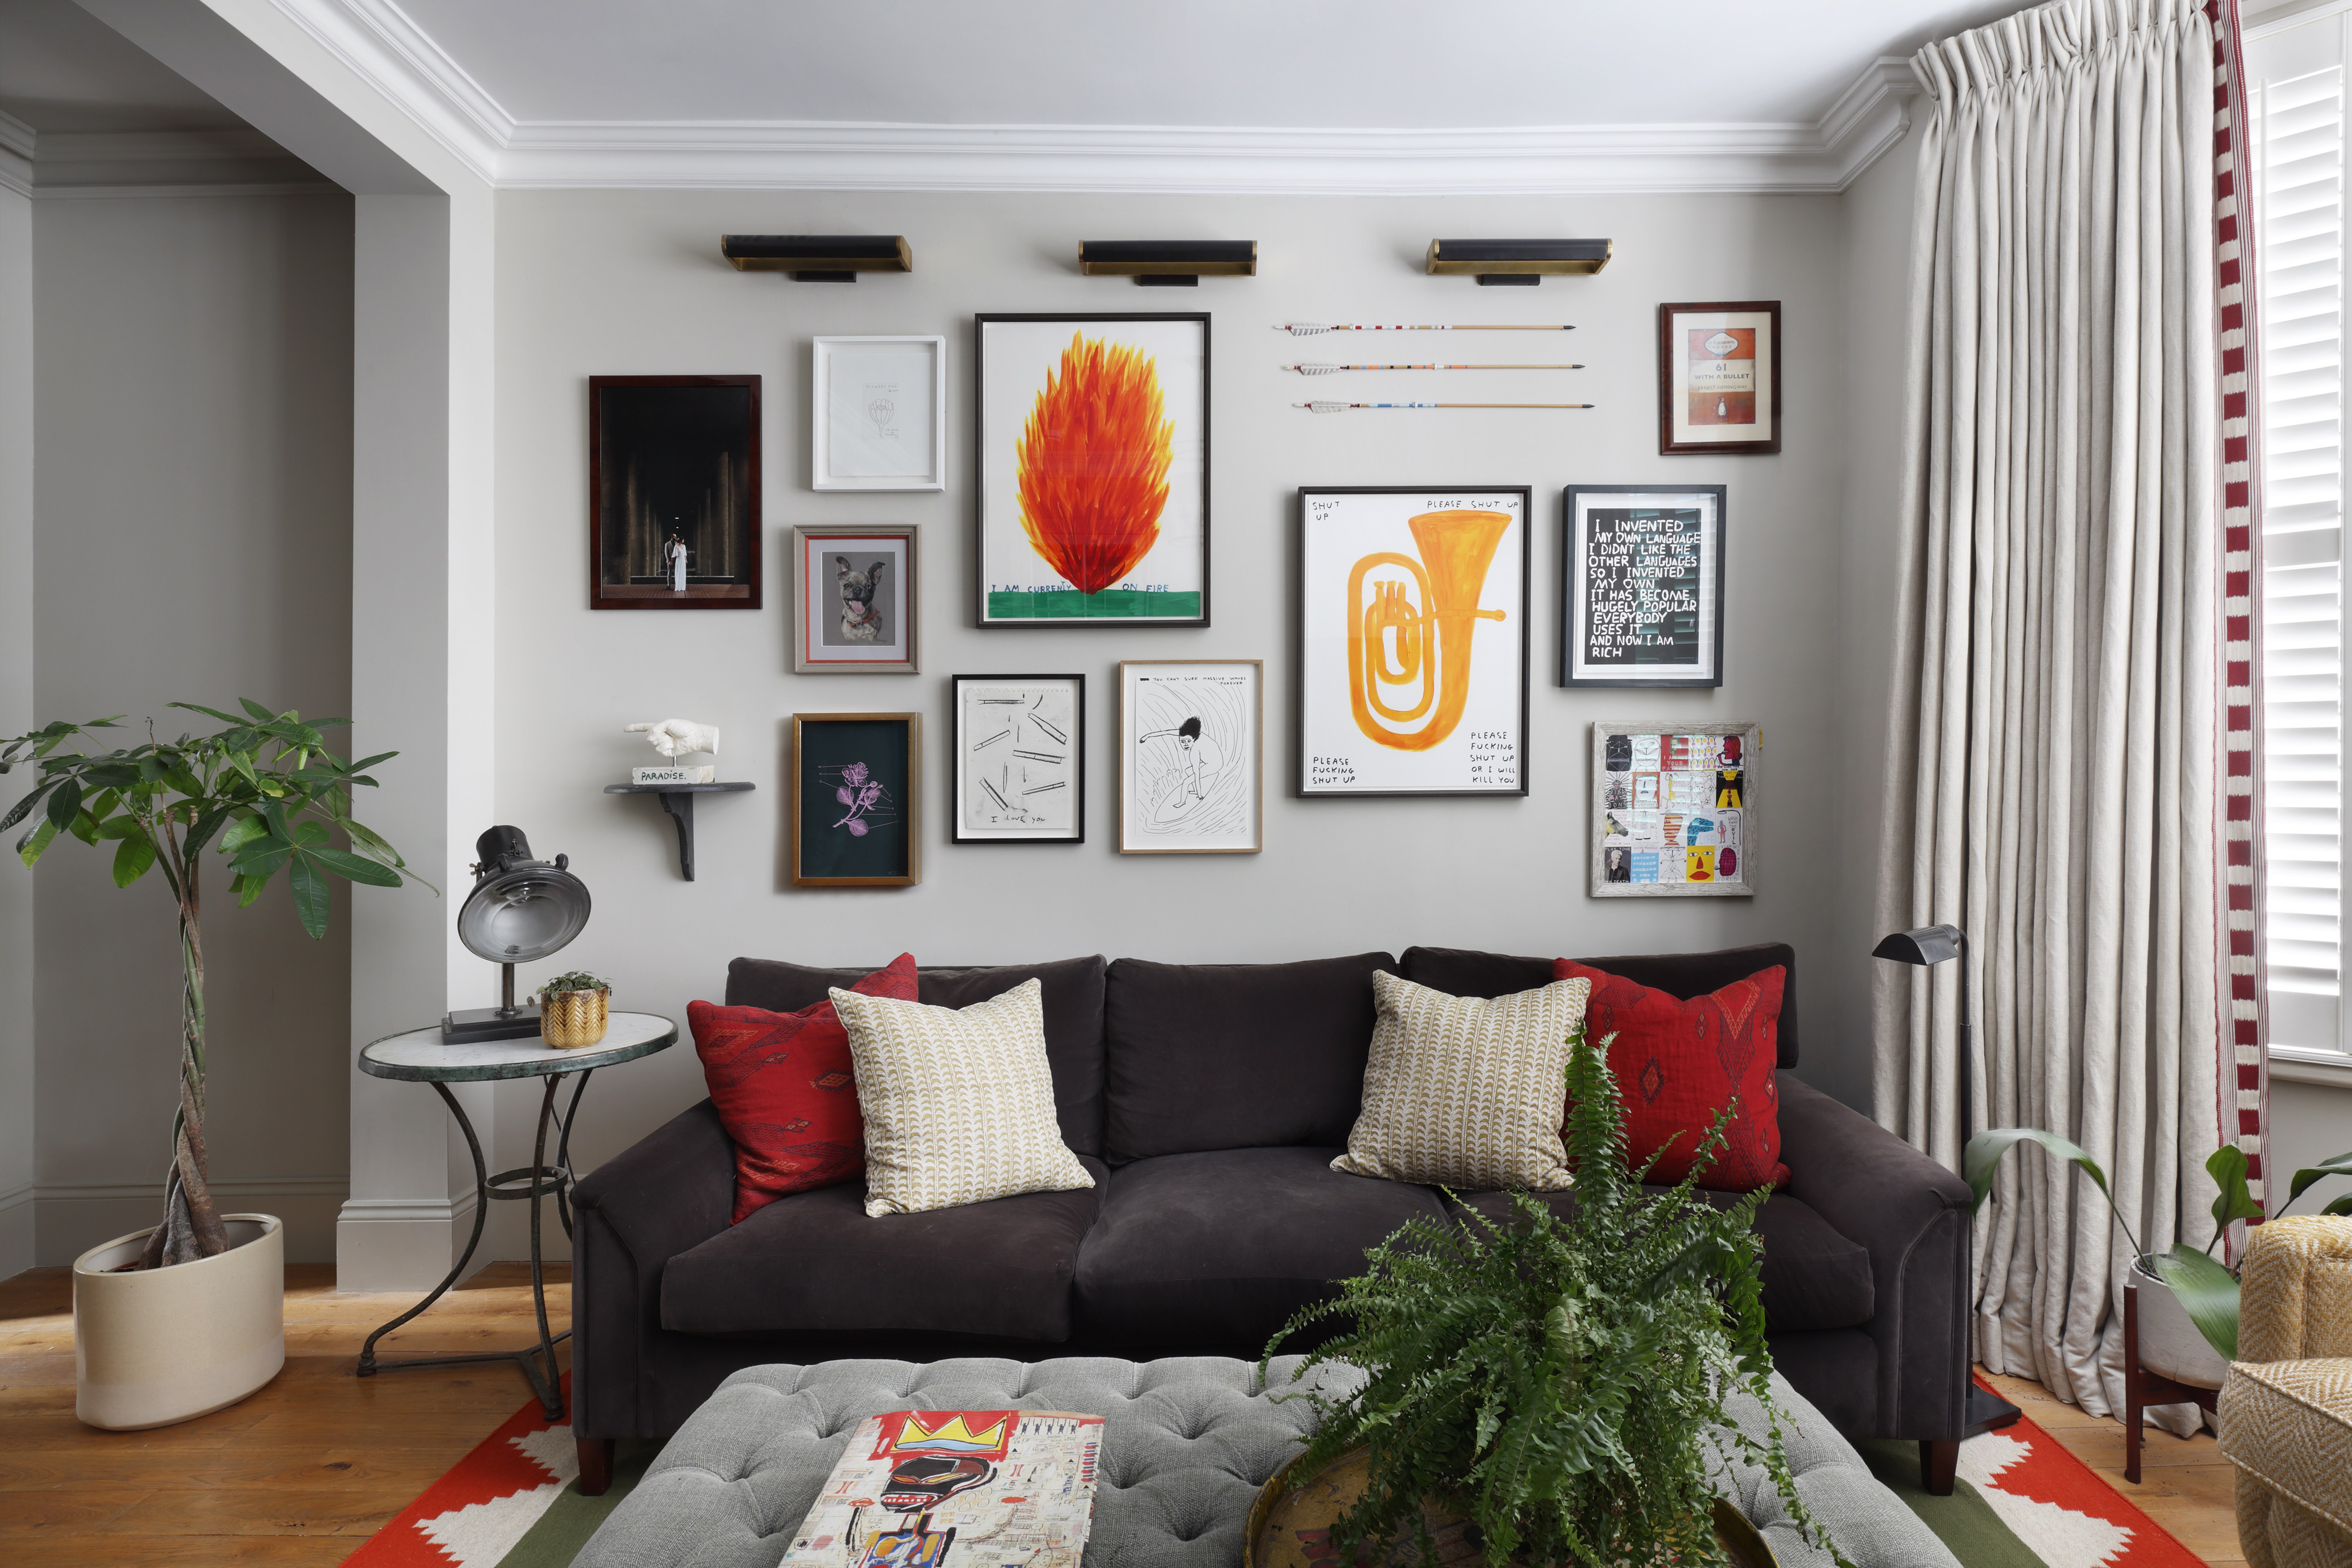
5 Renter-Friendly Ways to do Wall Decor — Add Personality to Your Home, Without Ruining the Walls

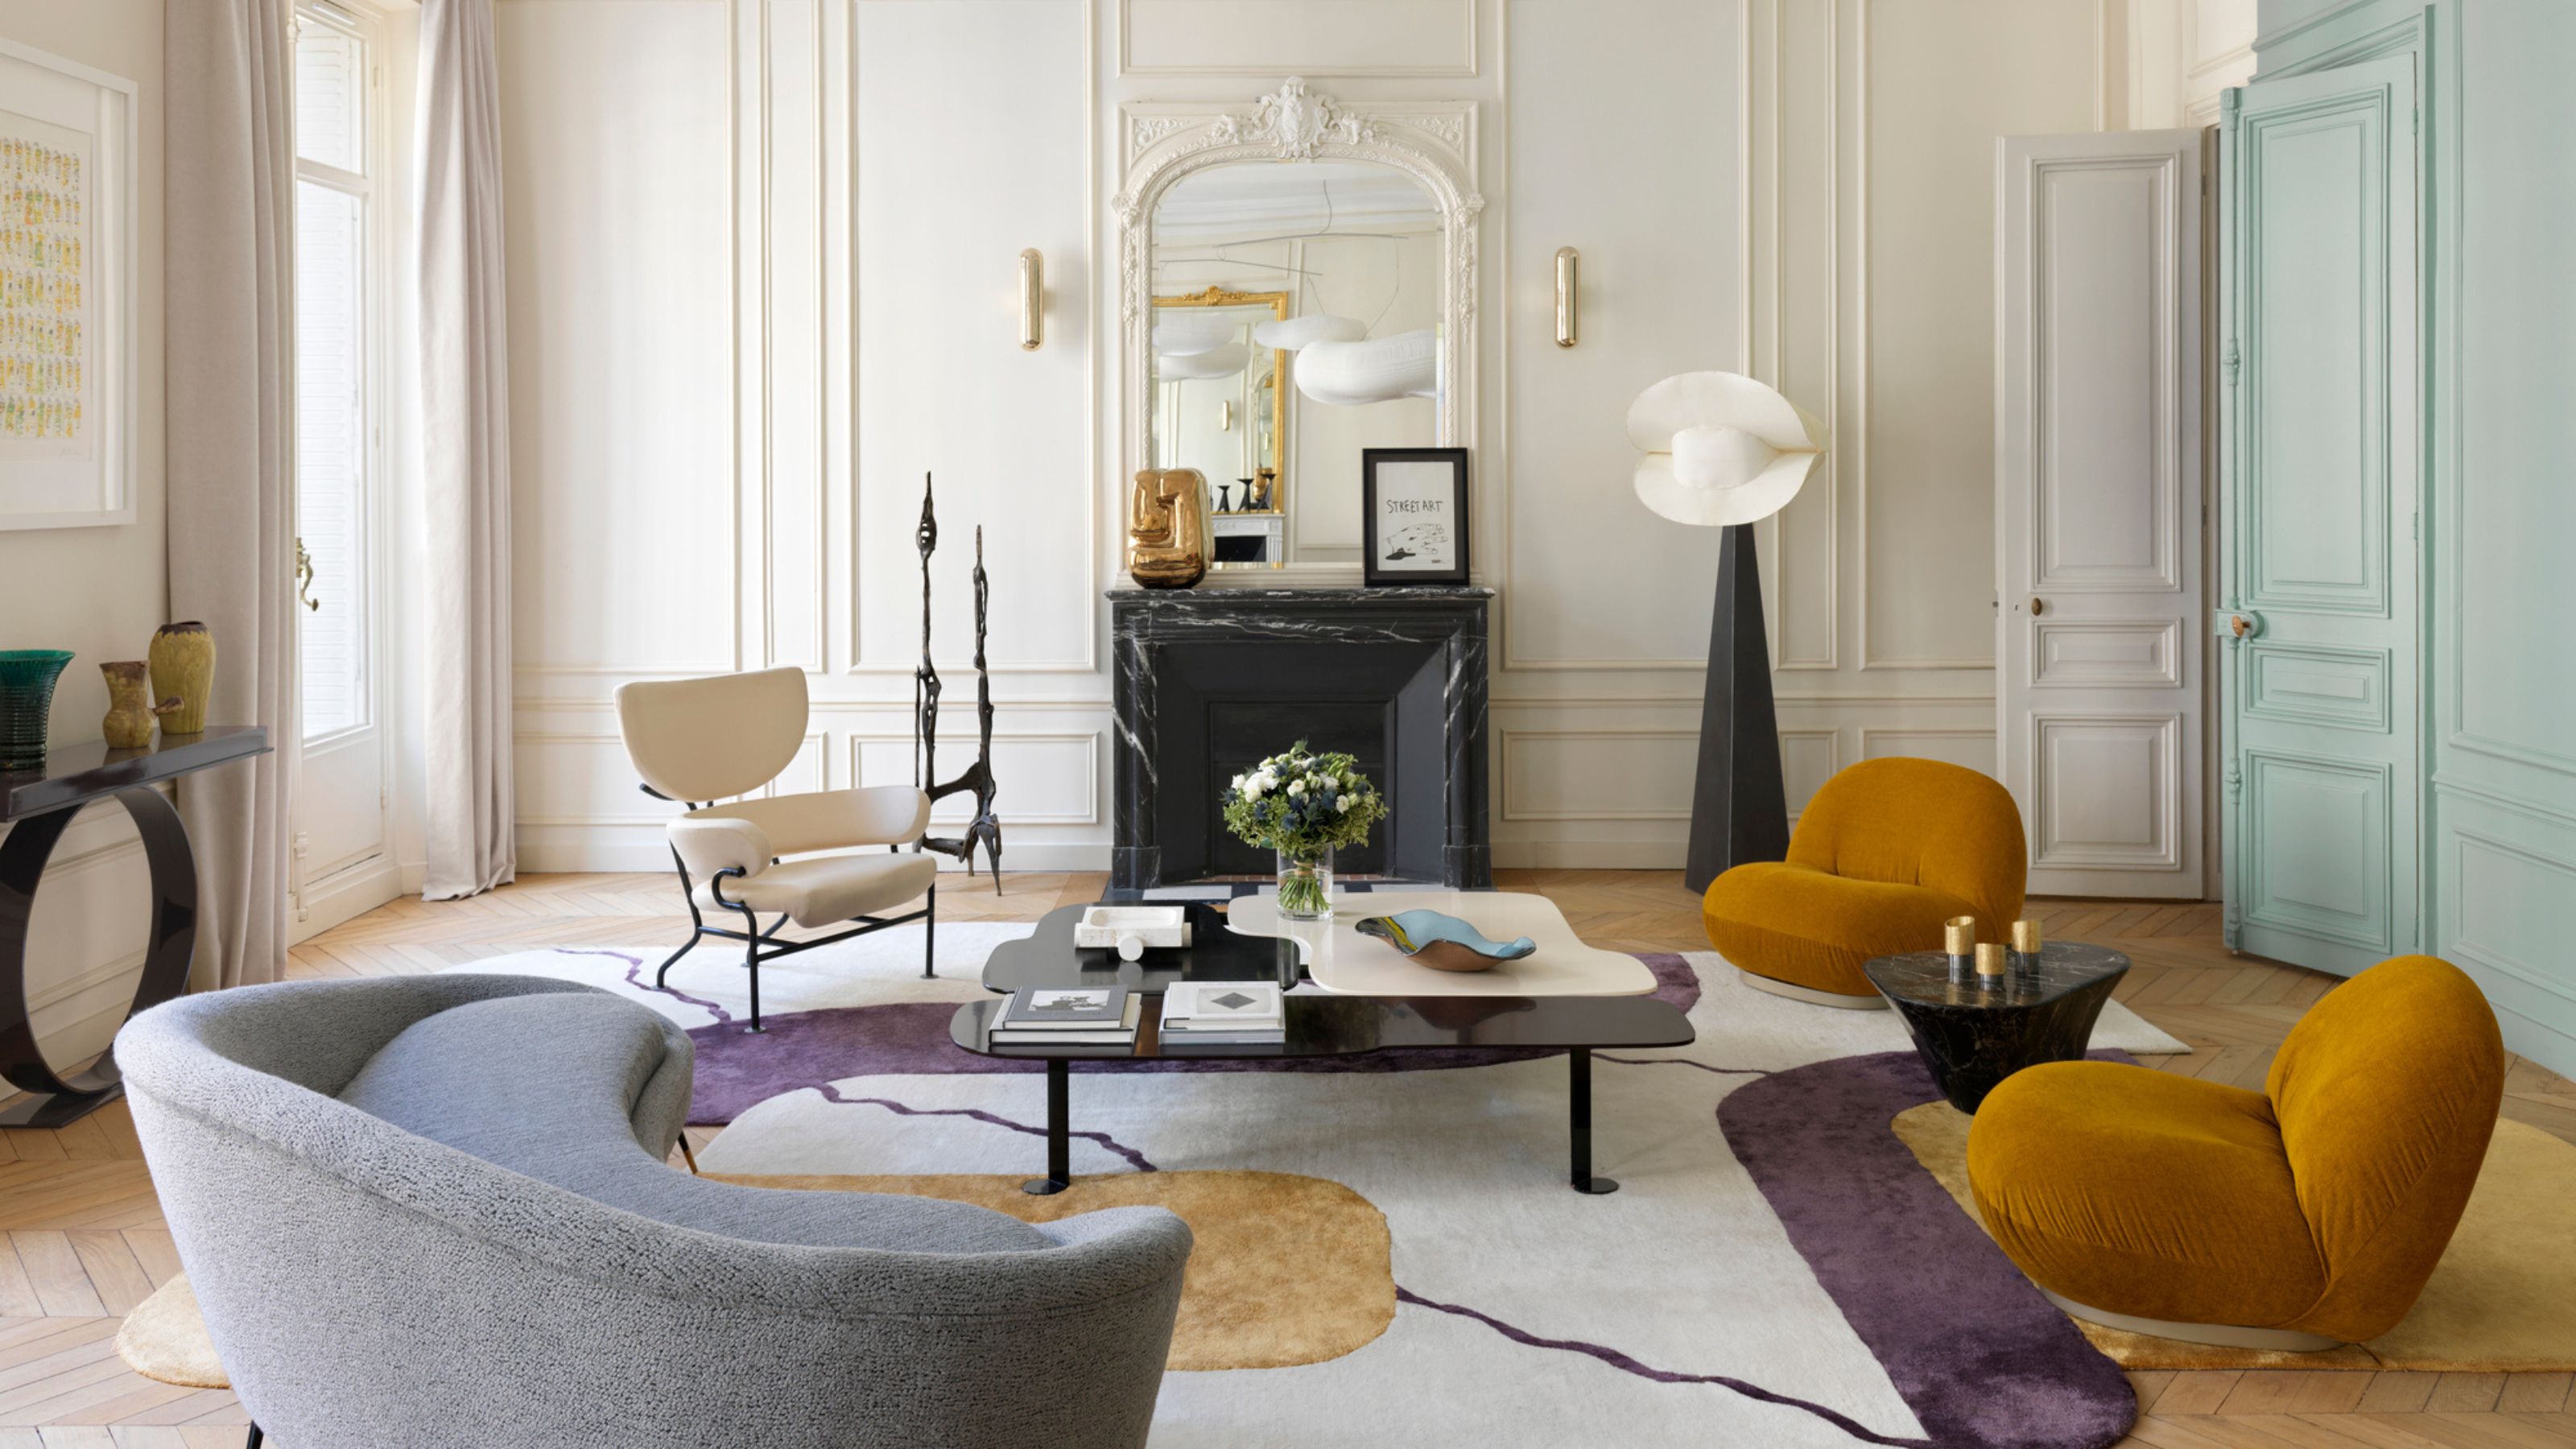
This Décor Hack is So Easy, It's Barely Even a DIY — But The Results Look *So* Bespoke (No Skills Required)
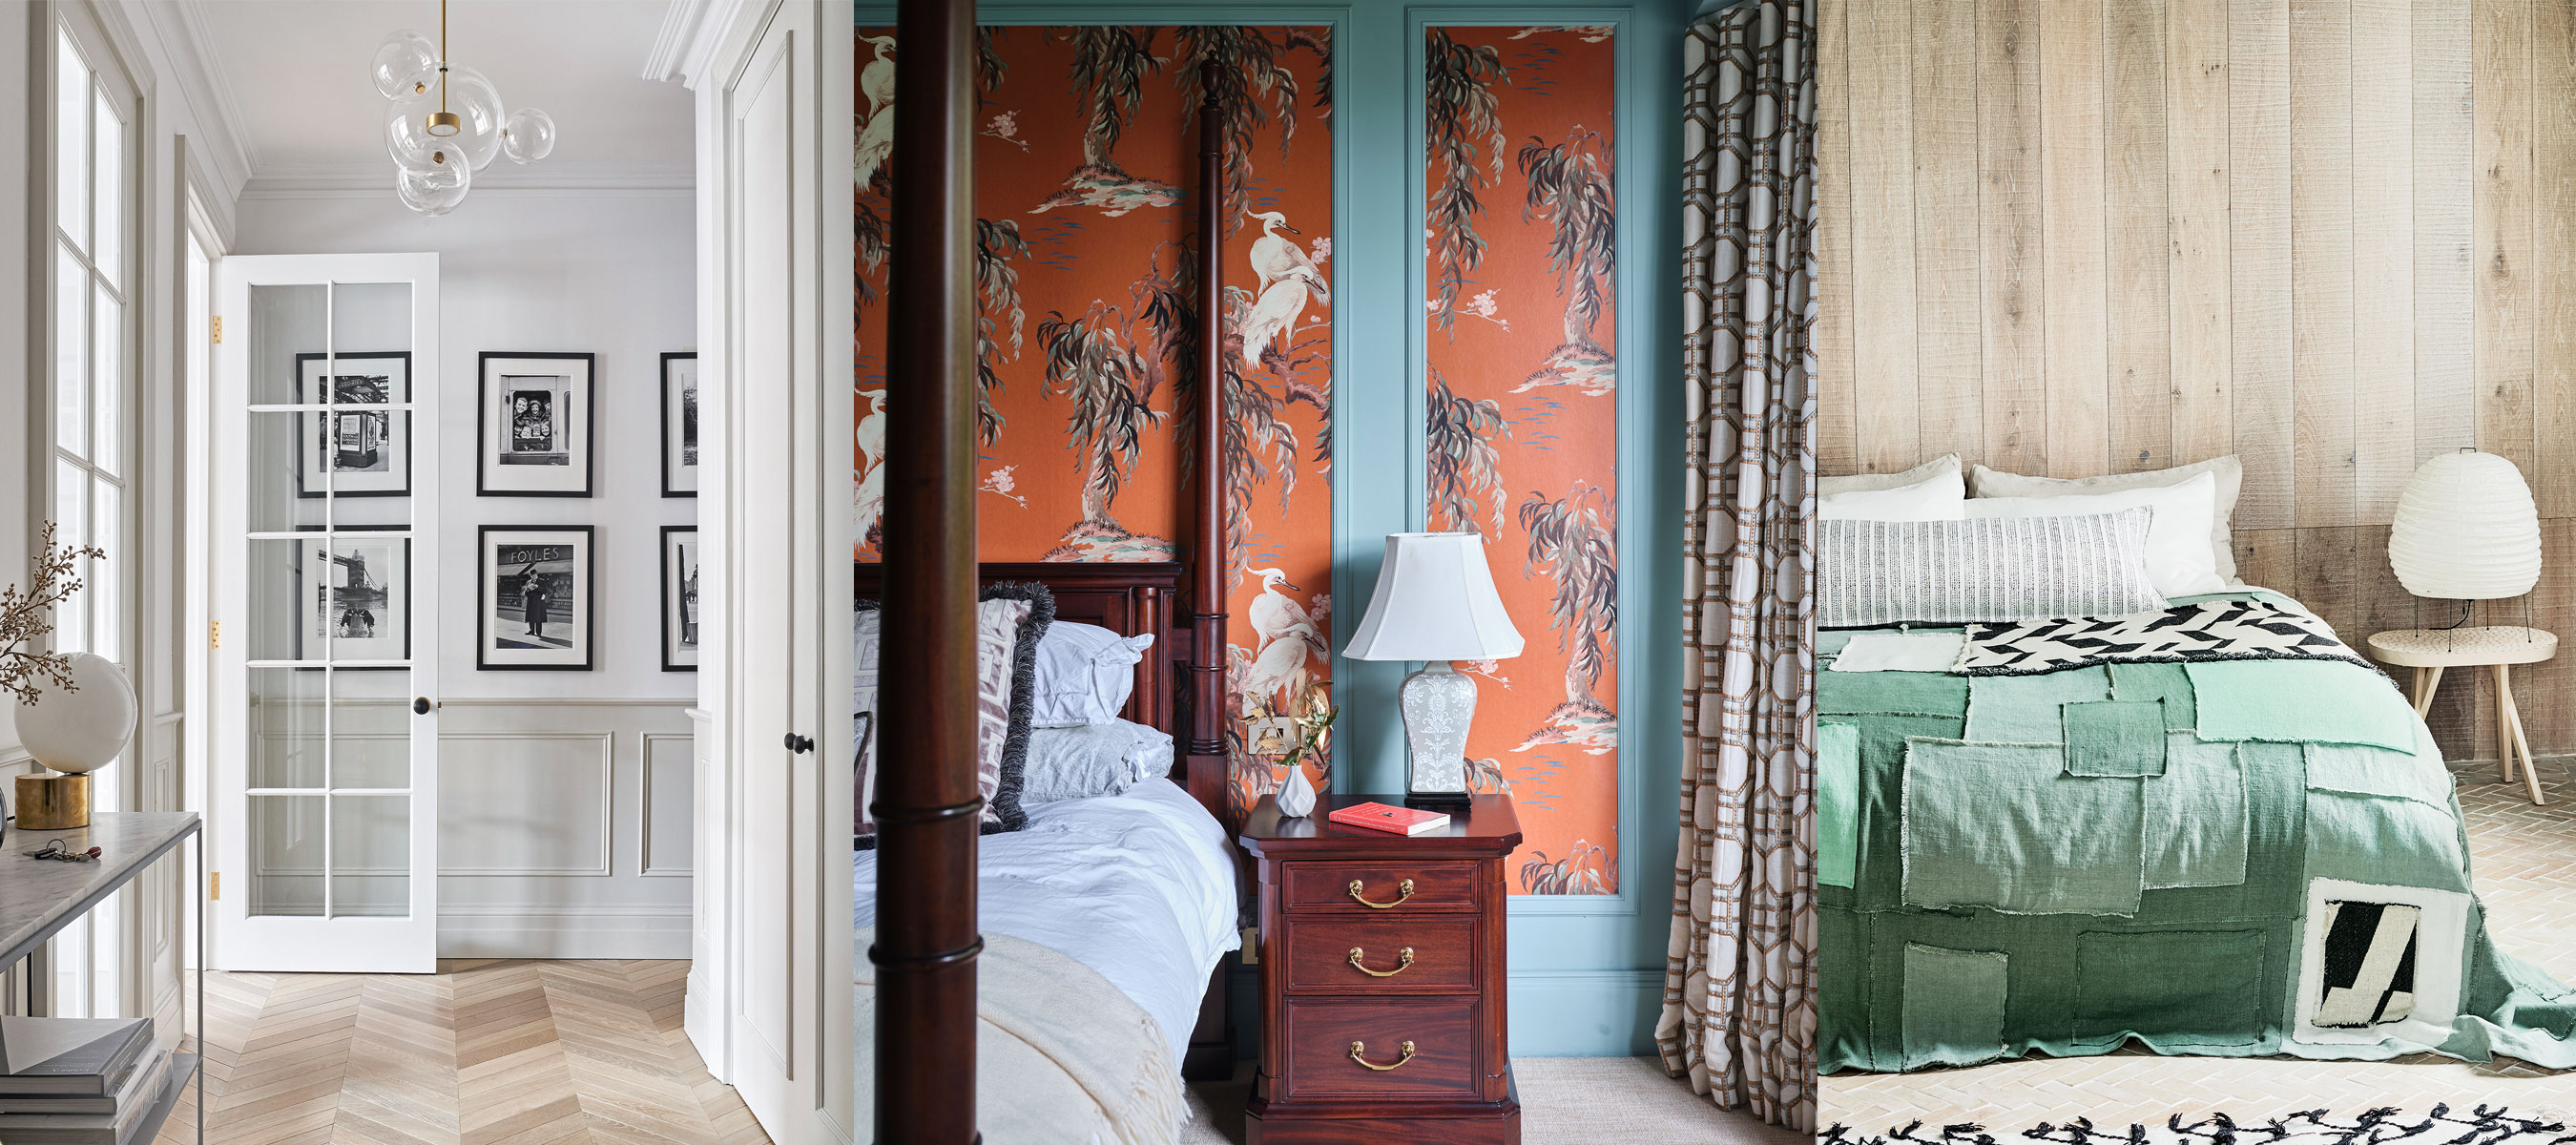
Wall paneling ideas – 18 ways to add decorative cladding and moulding

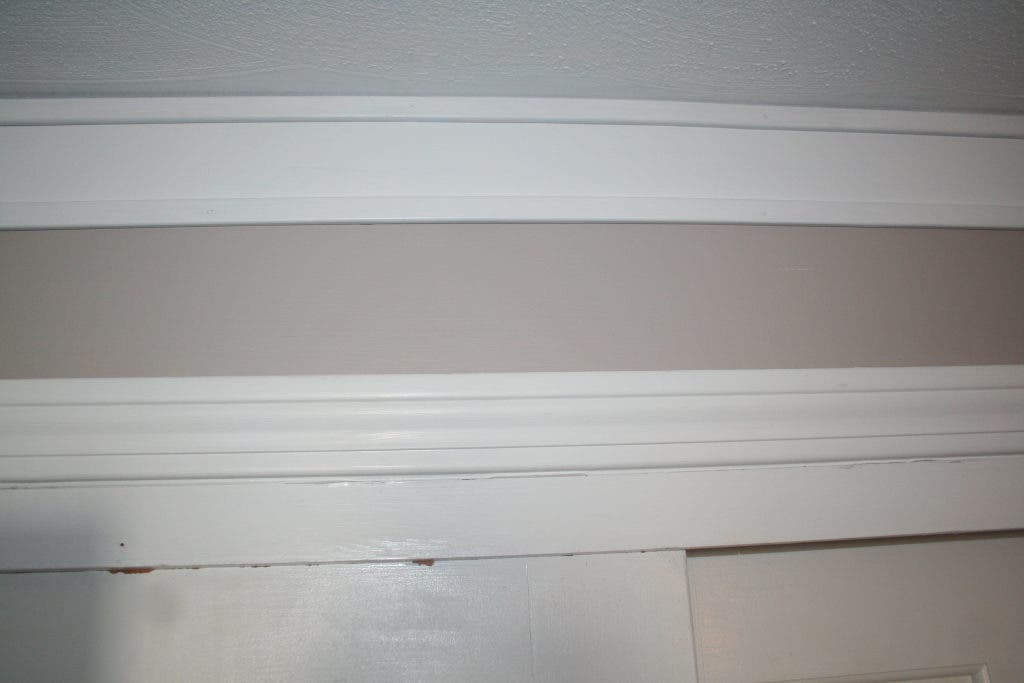
Faux Crown Molding is Cheap & Easy
6 ways to fake wall panelling and create the sought-after look on a budget
5 Custom Wall Treatments You Can Do Yourself

This $20 DIY hack adds instant character to any room, creating timeless picture frames and paneling
This wall panelling method is going viral on TikTok – how to get the look, according to DIY experts

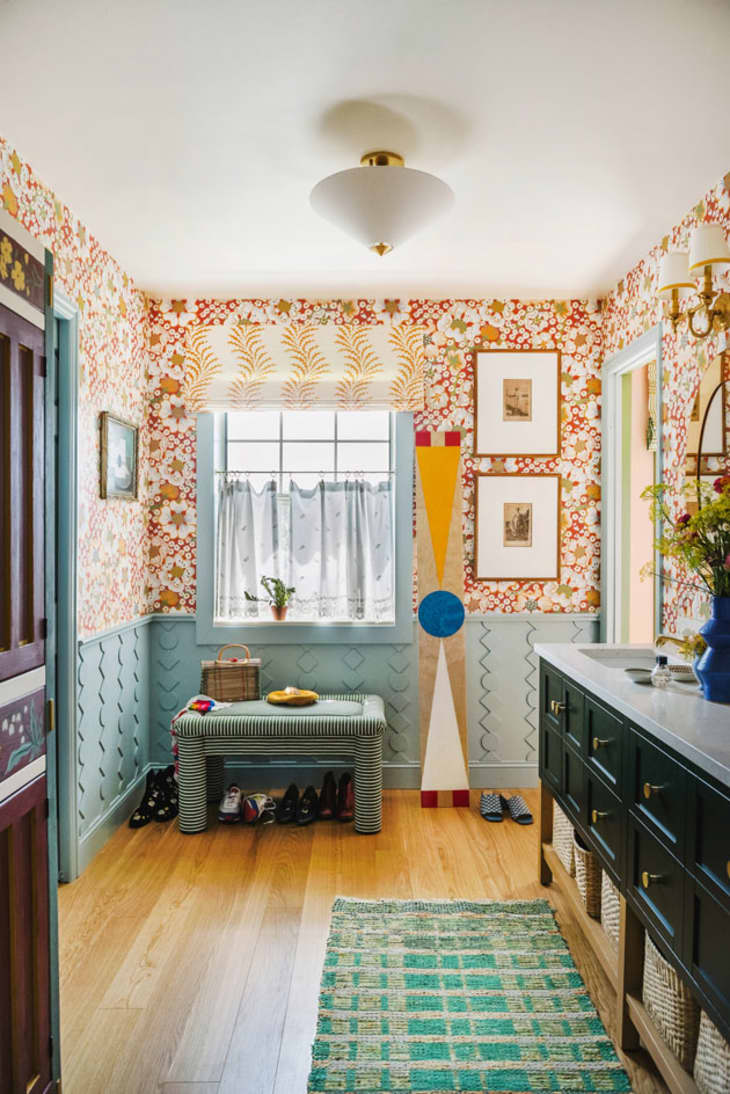
This New DIY Will Make Your Windows and Wall Treatments Look Way More Luxe and Fun
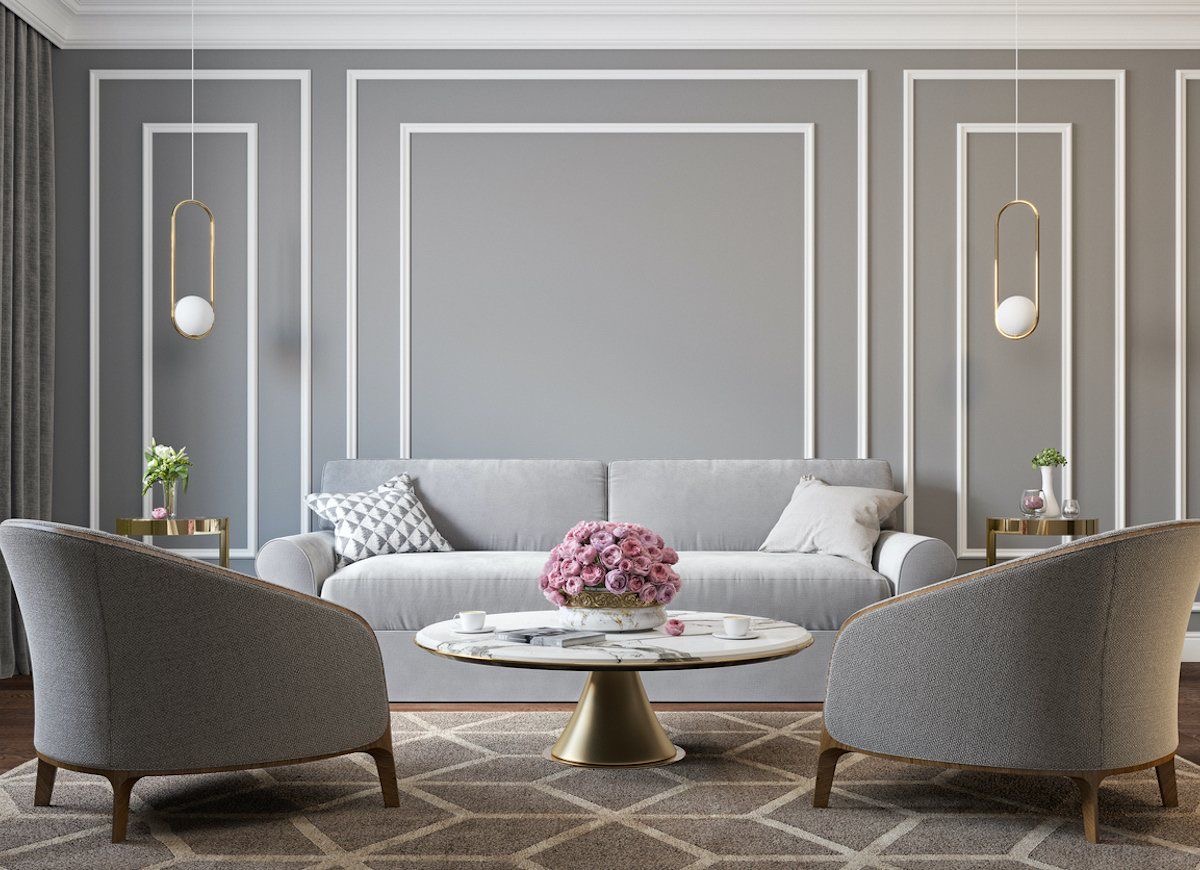
Elevate Your Home Decor With These Stunning Wall Molding Design Ideas
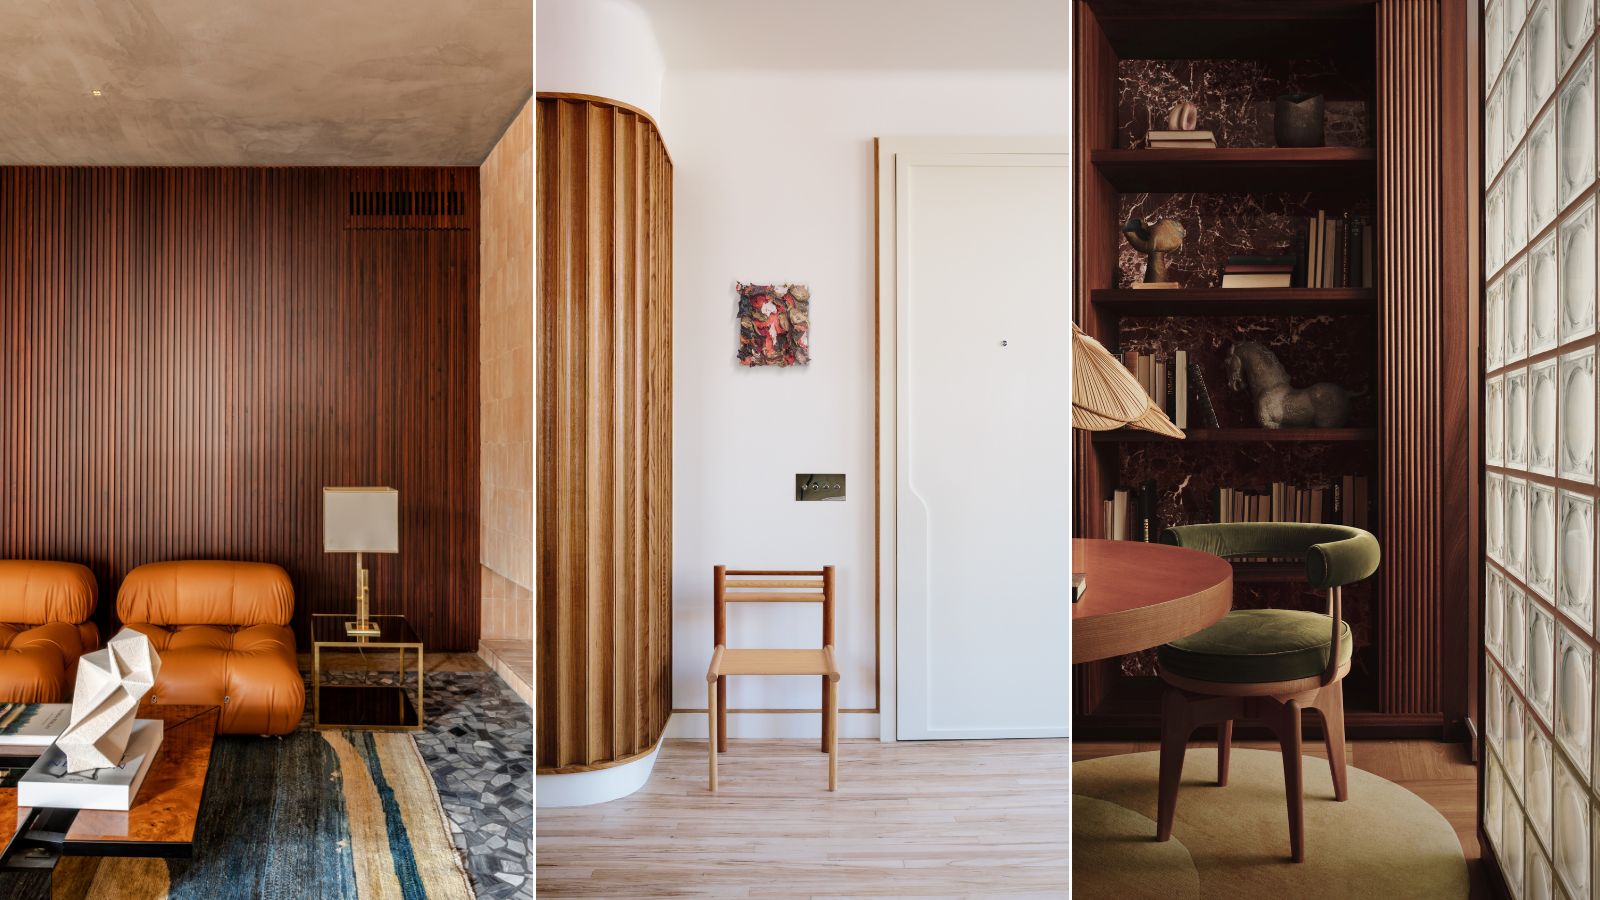
This paneling trend is a simple trick for making your walls look more expensive
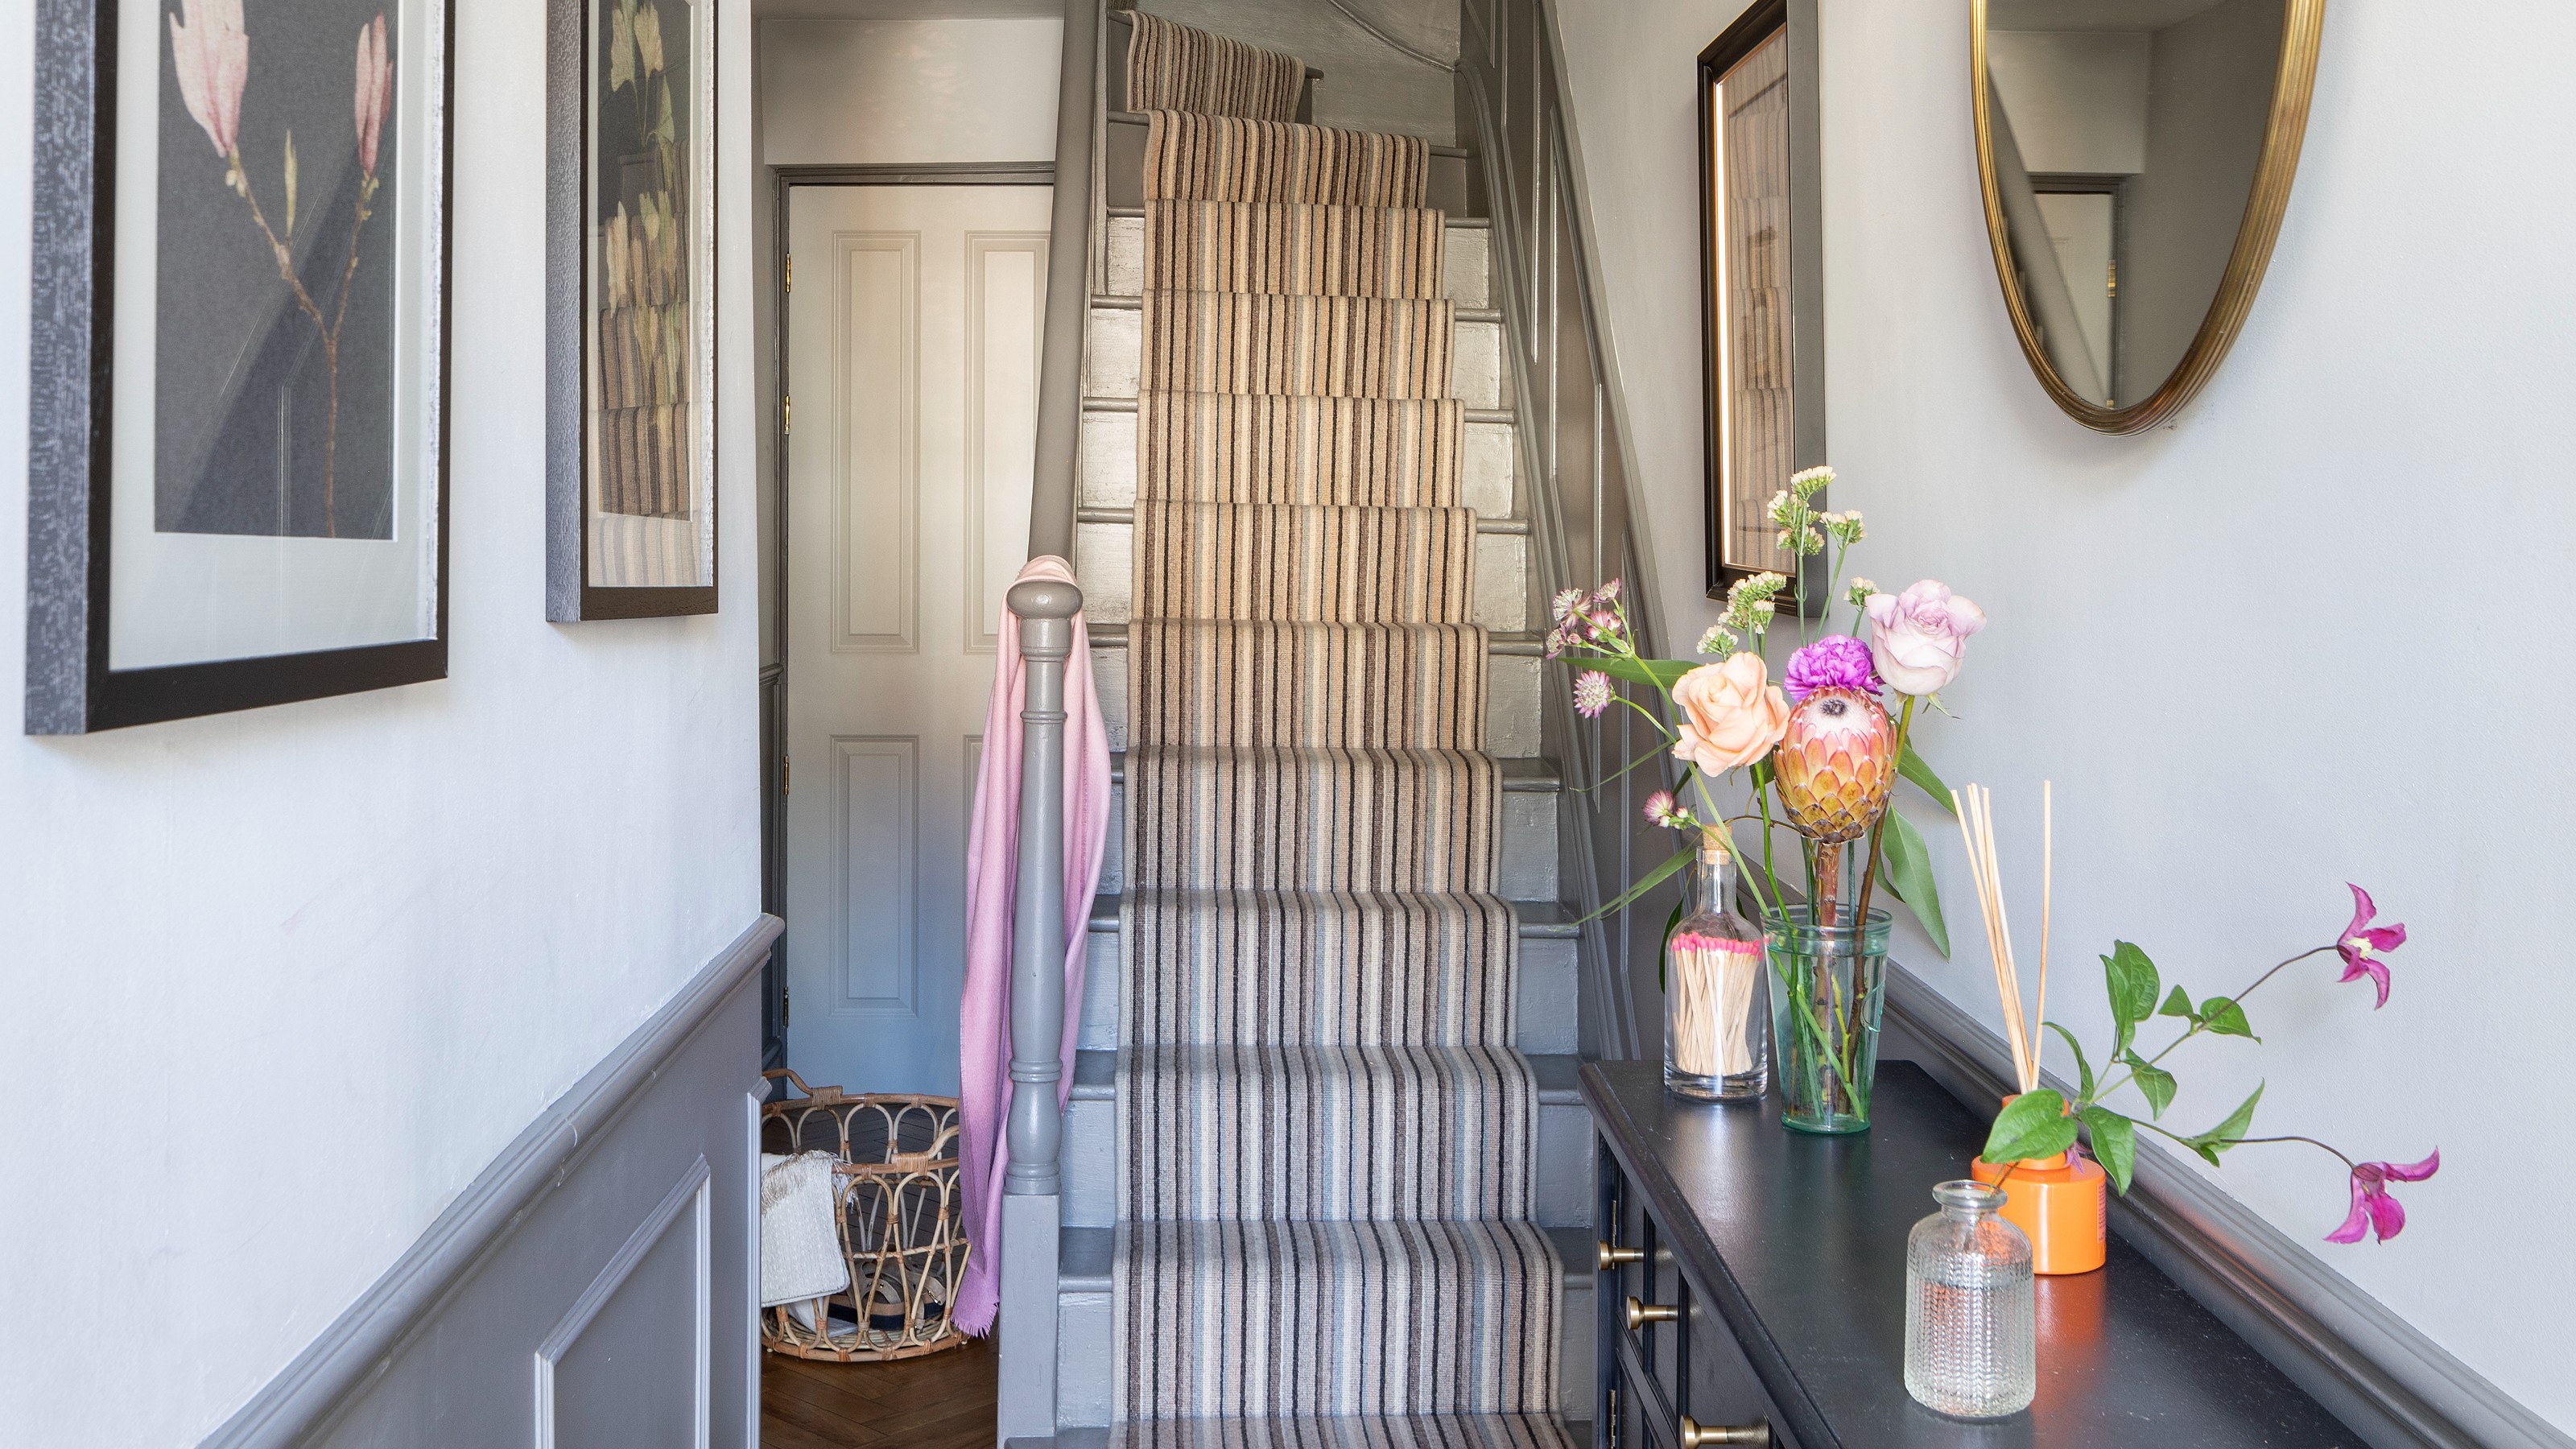
How to make your rental hallway look expensive – add colour, storage and style without breaking the bank
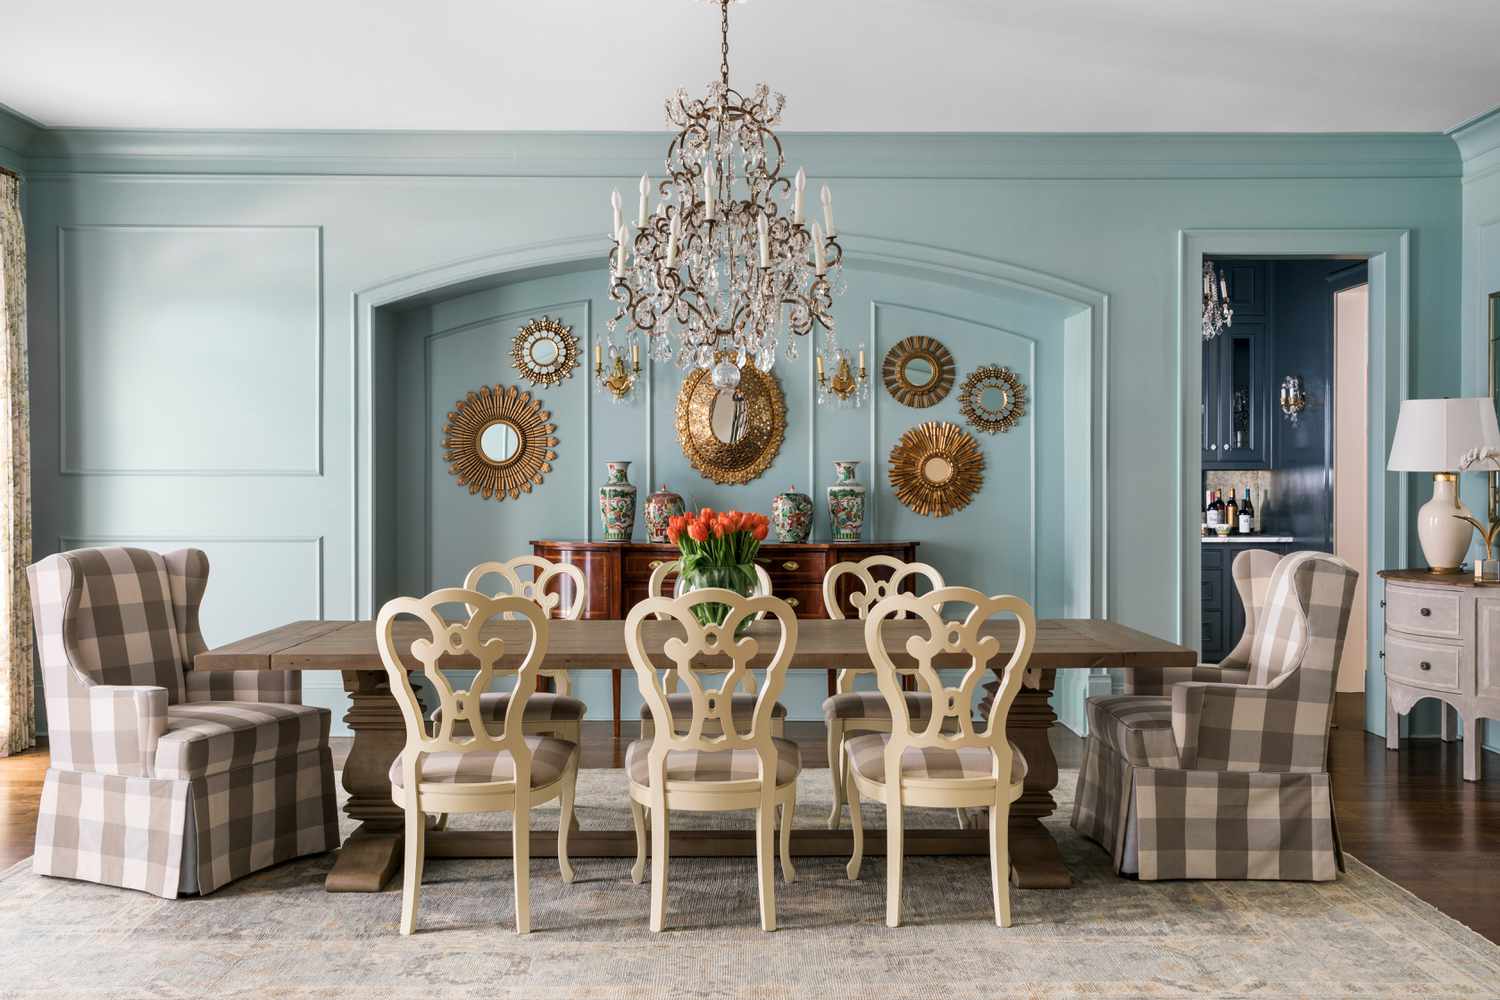
Add Style to Any Room of Your Home With These Wall Molding Ideas

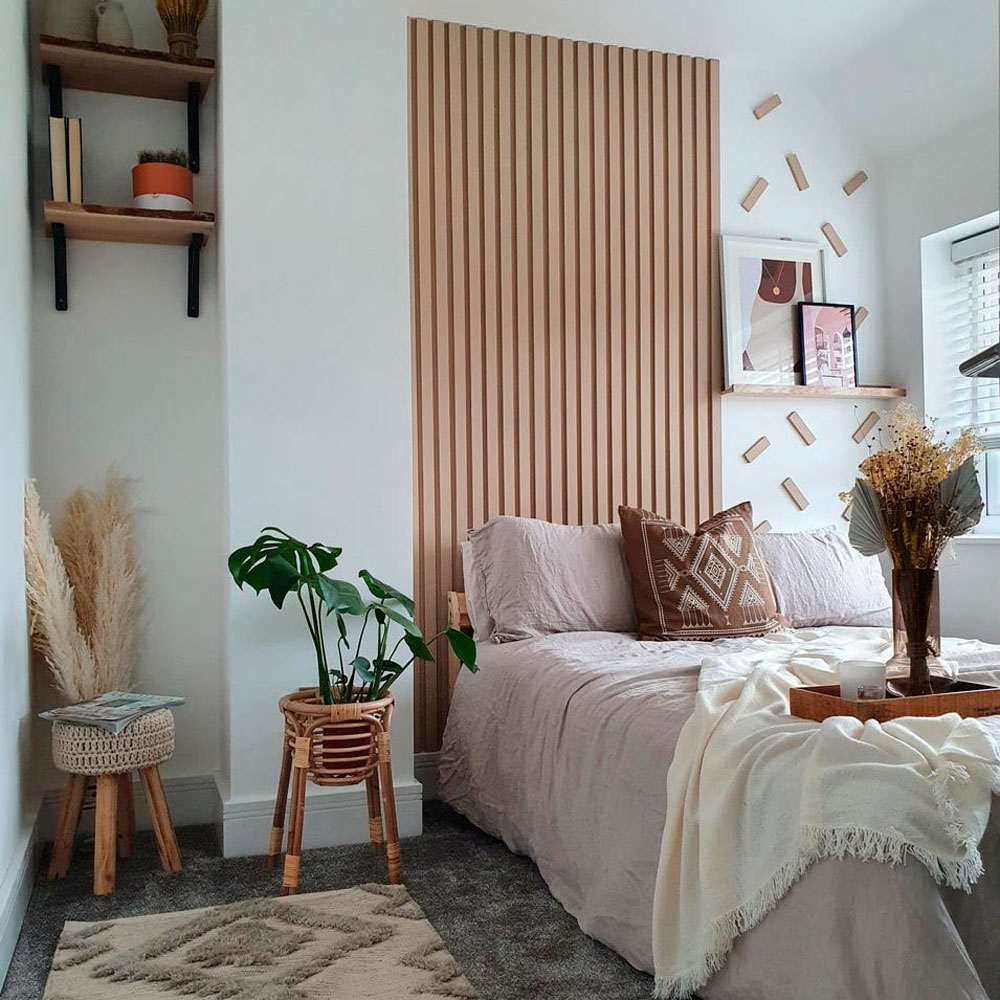
Homeowner wows with DIY version of latest feature wall trend – and the results are stunning!
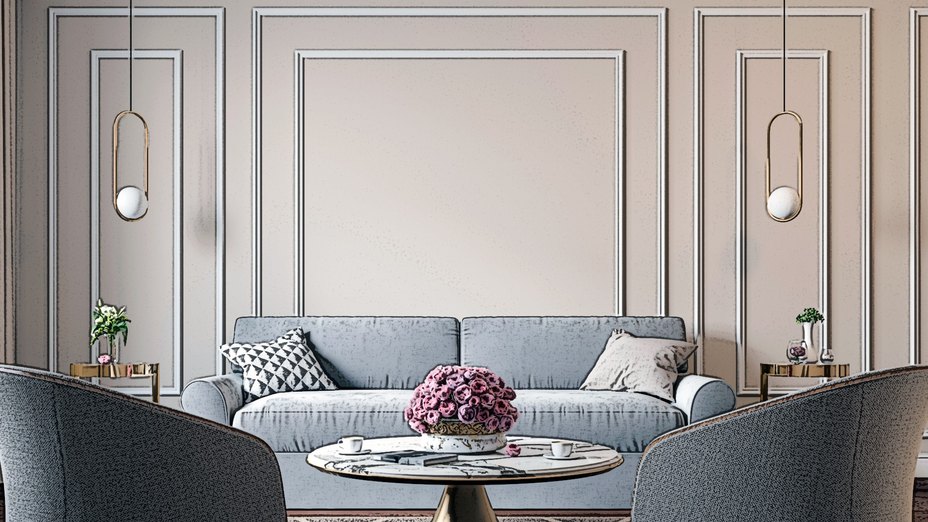
6 Types of Decorative Molding to Glam Up Walls and Ceilings
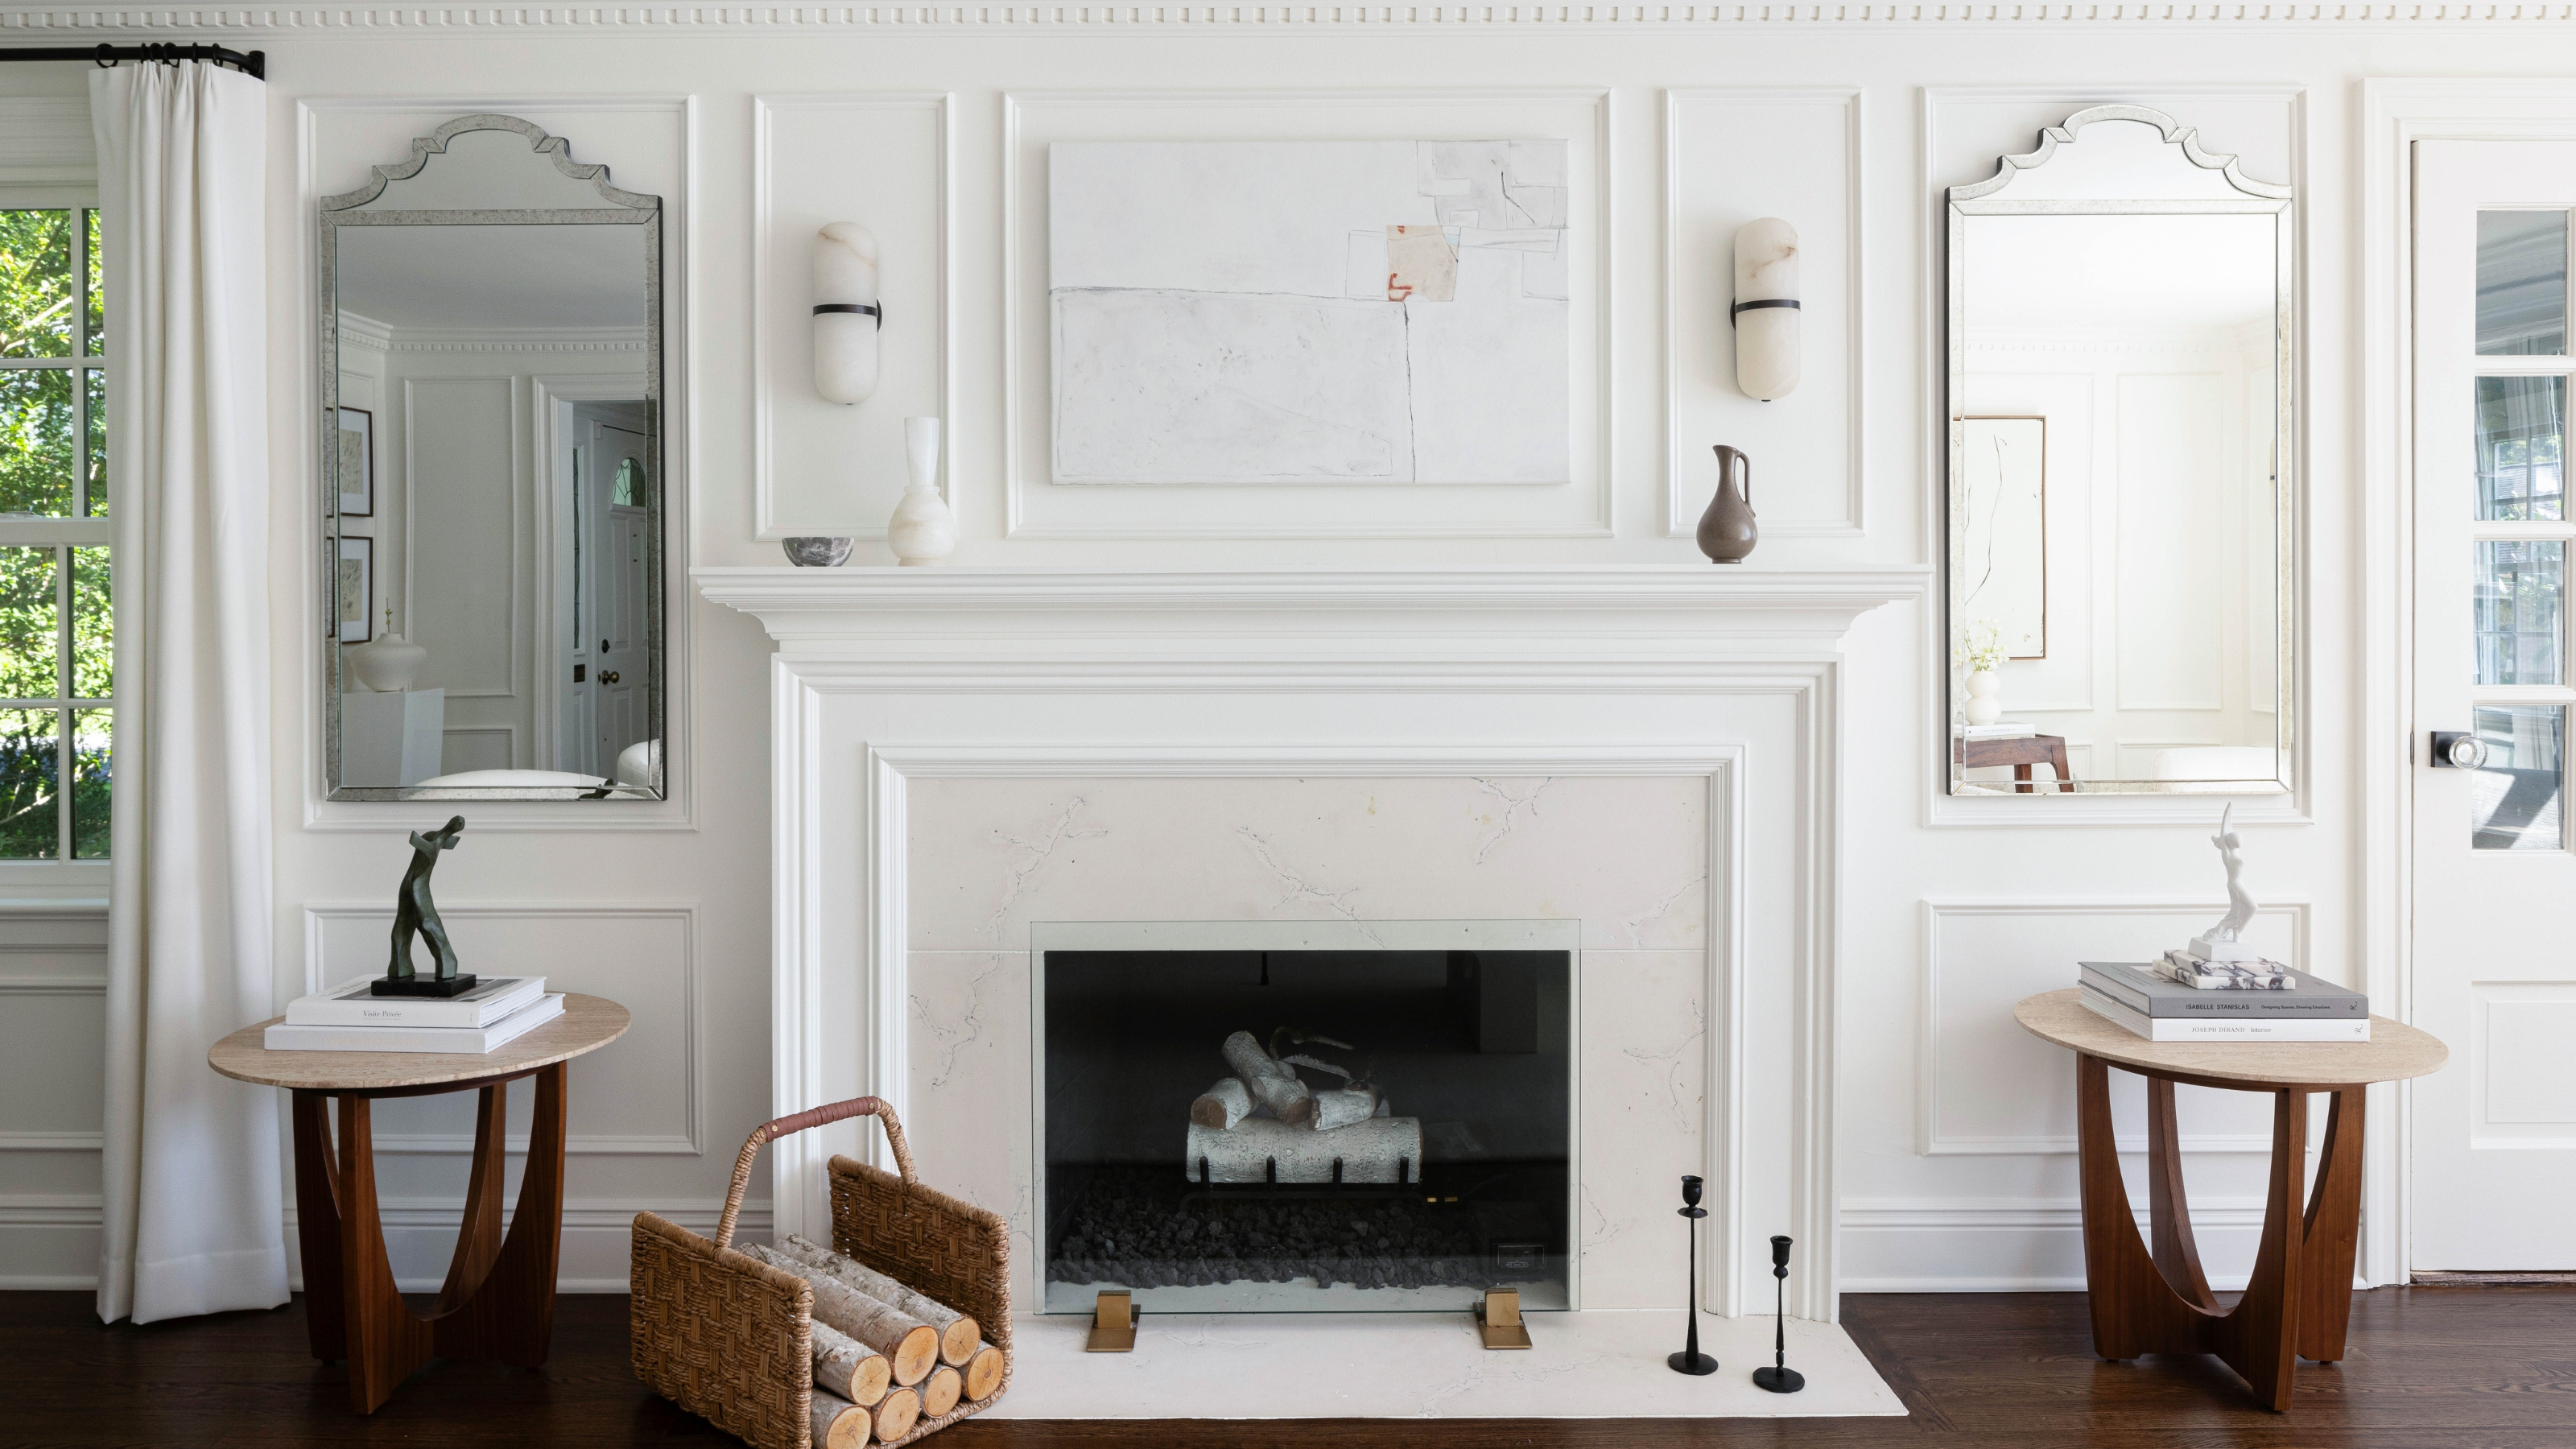
I Can't Help But Wonder If Crown Molding Is Out of Style These Days — Here's What Designers Say
5 wall decor ideas perfect for renters and DIY lovers

How to install wooden panelling

3D stencilling is trending on TikTok and Instagram
DIY updates for your home: Faux panels to painting wallpaper add appeal but won't break the bank