I Used Peel-and-Stick Subway Tiles to Transform My Rental Kitchen
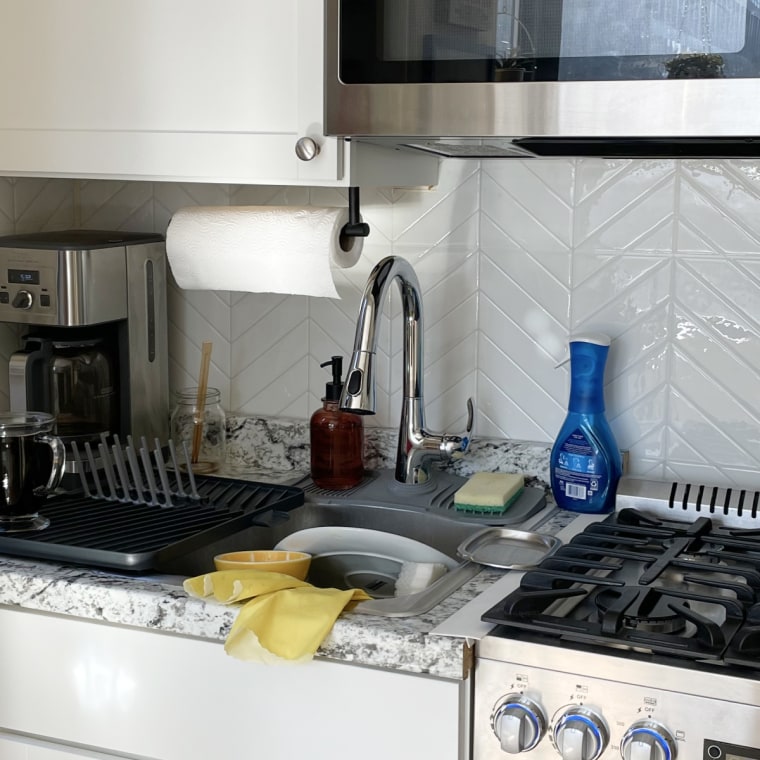
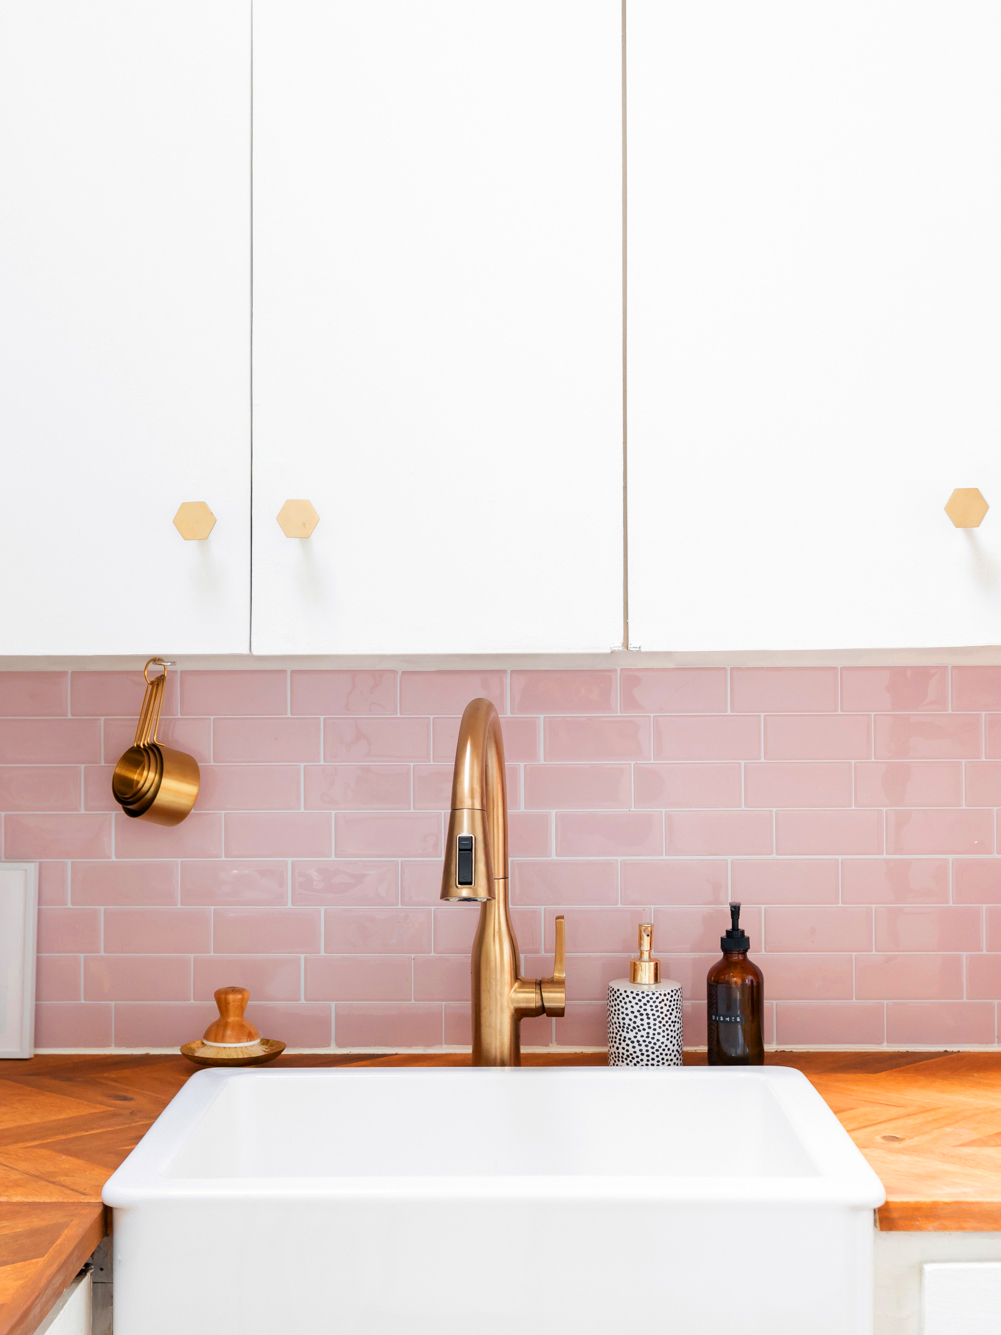
This article details a rental-friendly kitchen renovation that focuses on the installation of peel-and-stick subway tiles to create a new backsplash. The author, Lydia Geisel, highlights the experience of Youtuber and DIYer Alexandra Gater, who sought to upgrade her tiny Toronto kitchen. Gater had already planned other affordable upgrades, such as swapping plastic-y counters for herringbone butcher block and adding a farmhouse sink, all with her landlord's approval, provided additions remained neutral. However, for the backsplash, she initially considered installing white ceramic subway tiles but ultimately opted for a more colorful and temporary solution due to her love for pink.
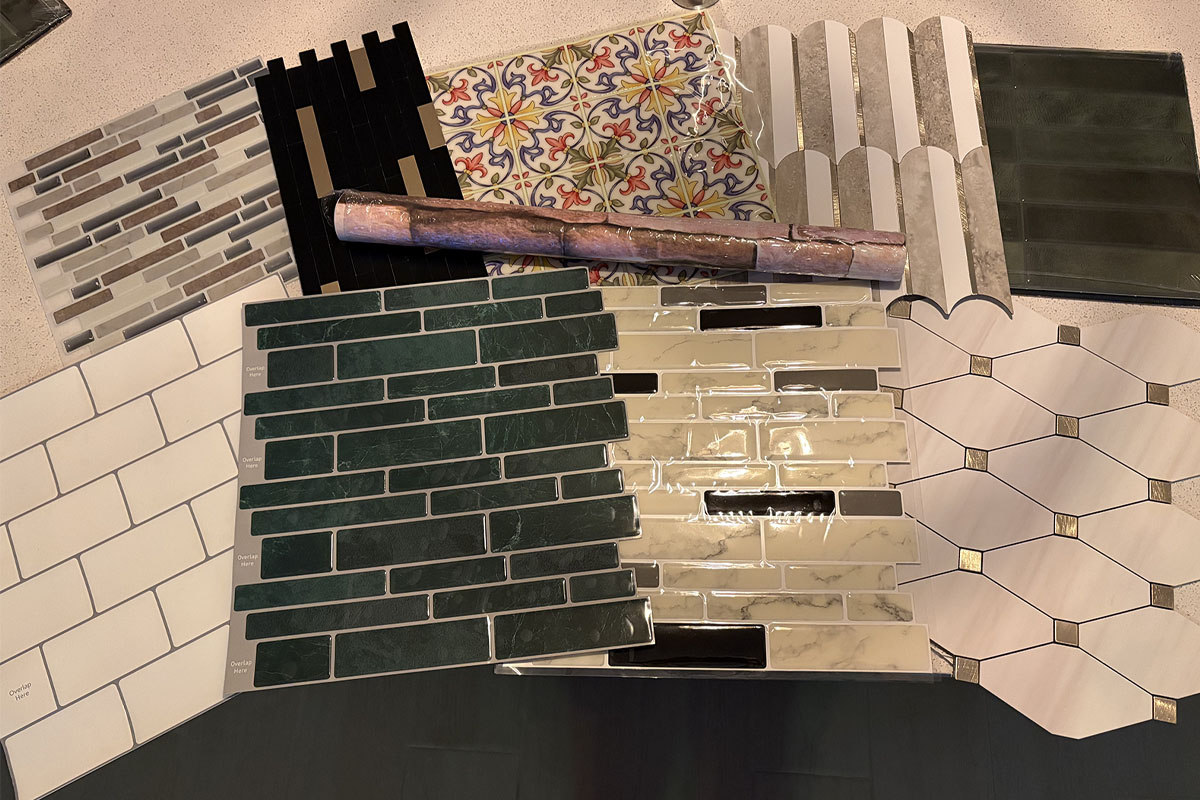
The article explains Gater's decision to use peel-and-stick tiles from Smart Tiles, specifically the millennial pink Metro Ava option. She was initially wary of products that felt like mere stickers but found that Smart Tiles' gel-like finish provided an authentic shine and could withstand moisture, making them suitable for a bathroom facelift she had previously undertaken. The key appeal was the ability to incorporate color without making a permanent commitment, an essential factor for renters.
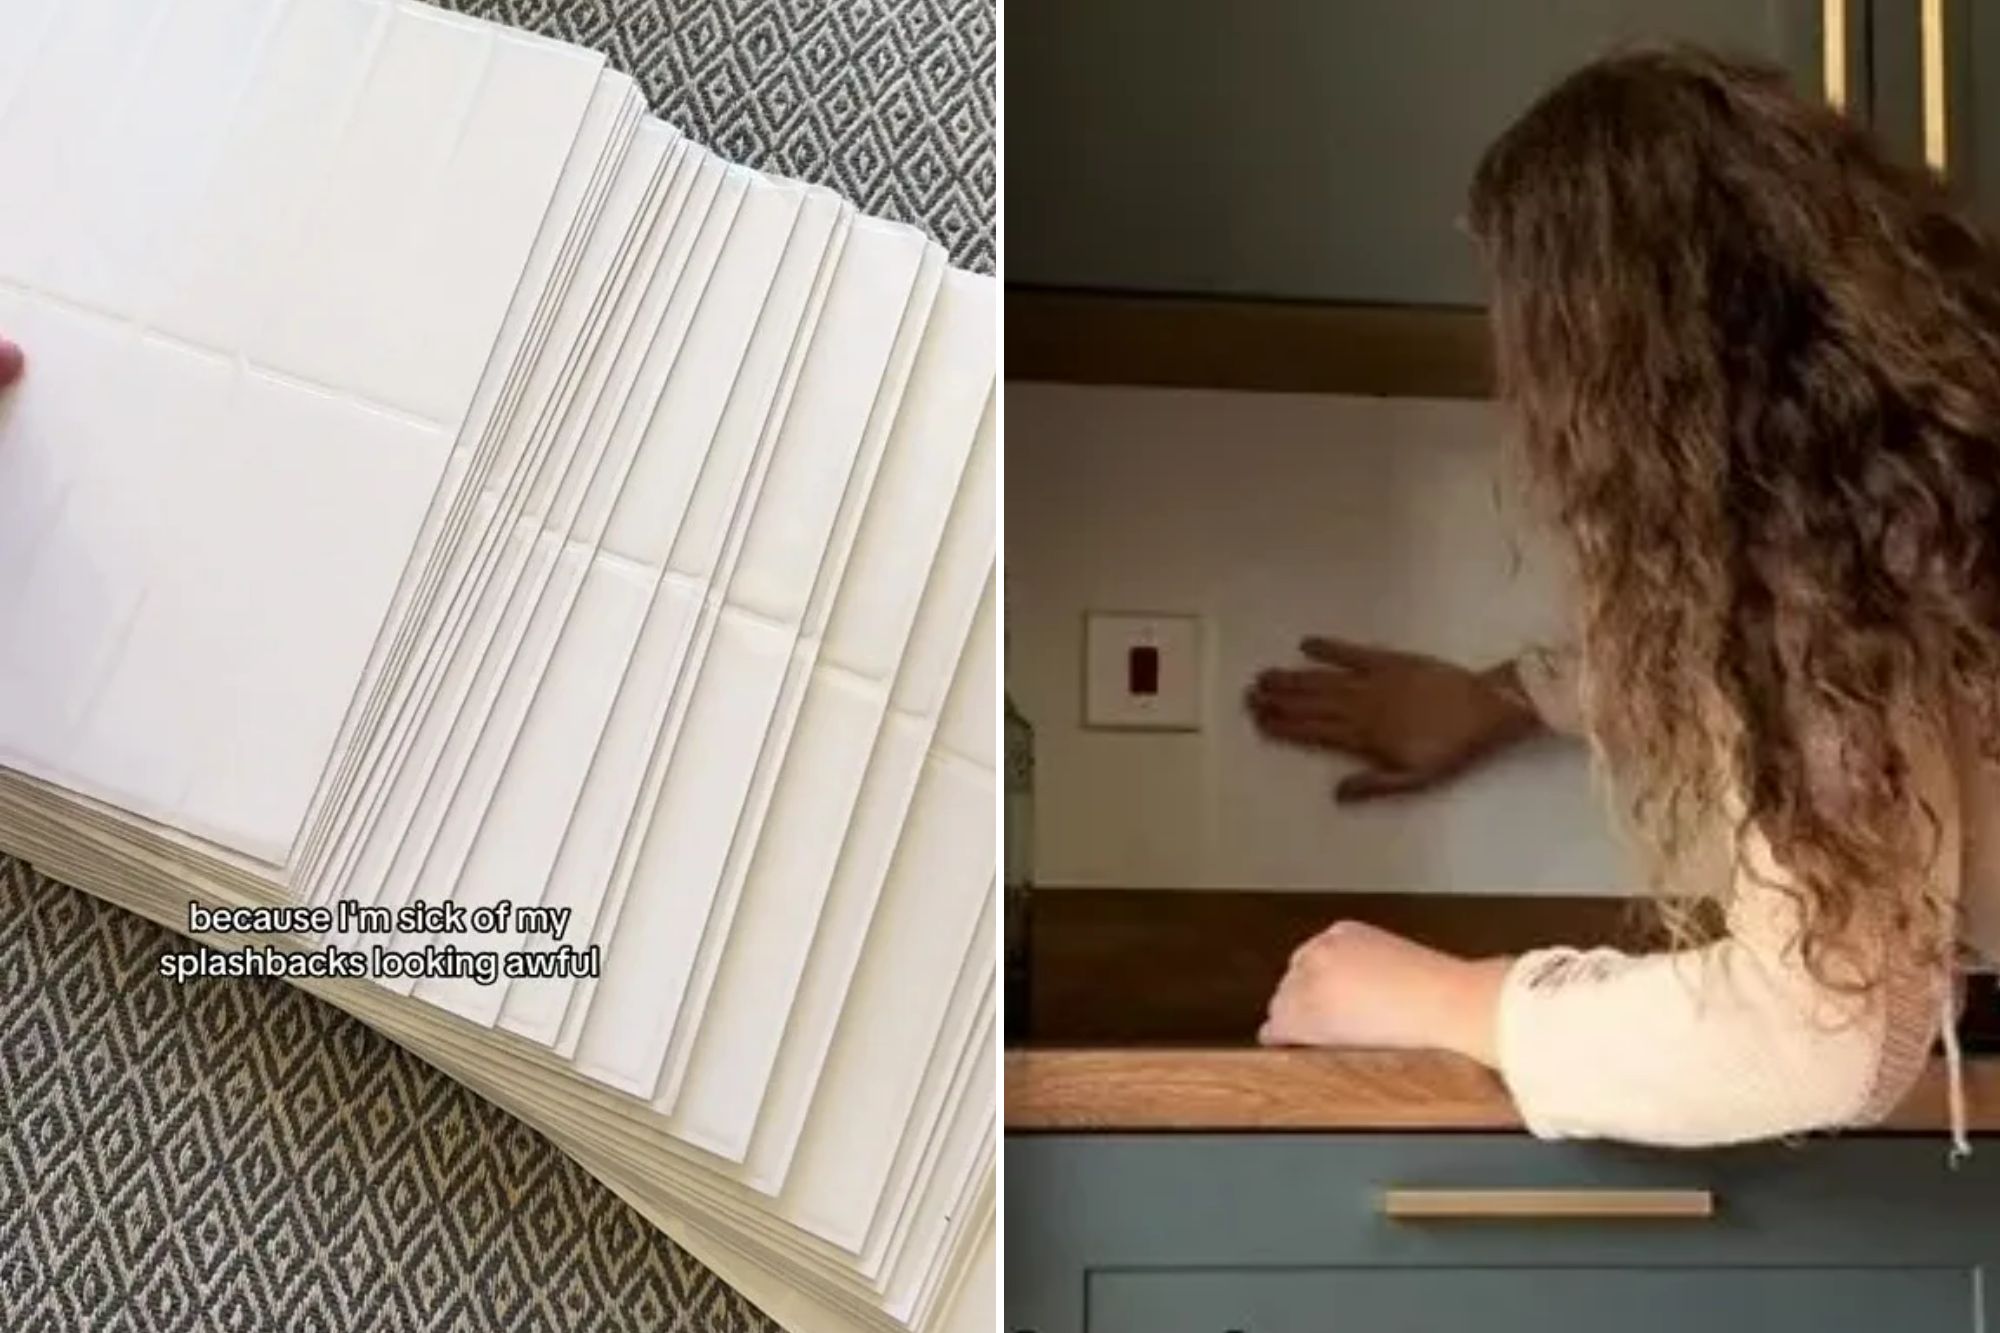
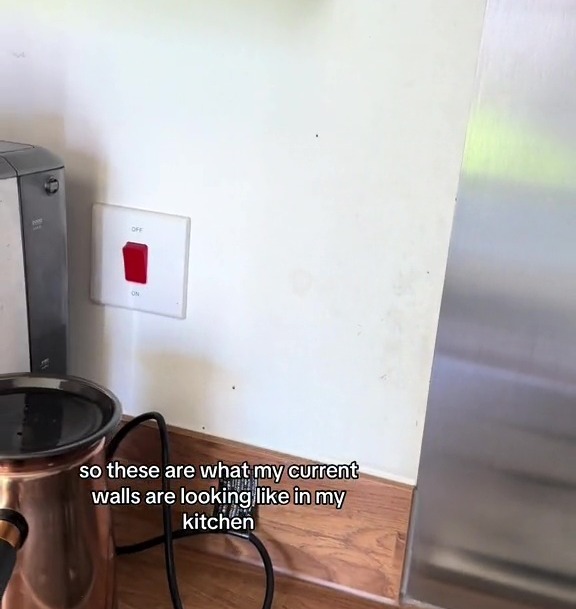
The renovation process is broken down into four straightforward steps. Step one involves measuring the space to determine the quantity of tiles needed, with a recommendation to use the calculator on Smart Tiles' website and to purchase extra tiles for future use. Step two emphasizes preparing the walls by cleaning them with mild soap and a damp rag to ensure a smooth application surface, noting that these tiles adhere to most materials.
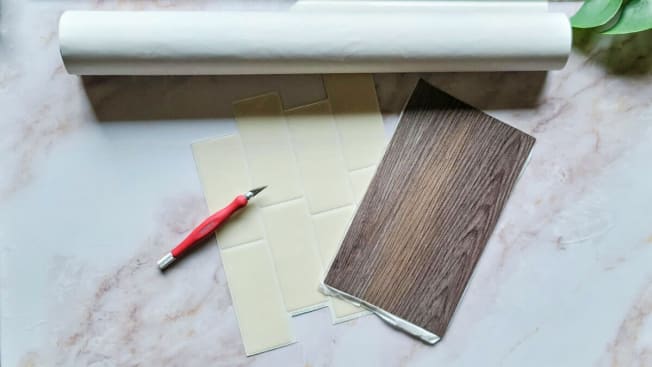
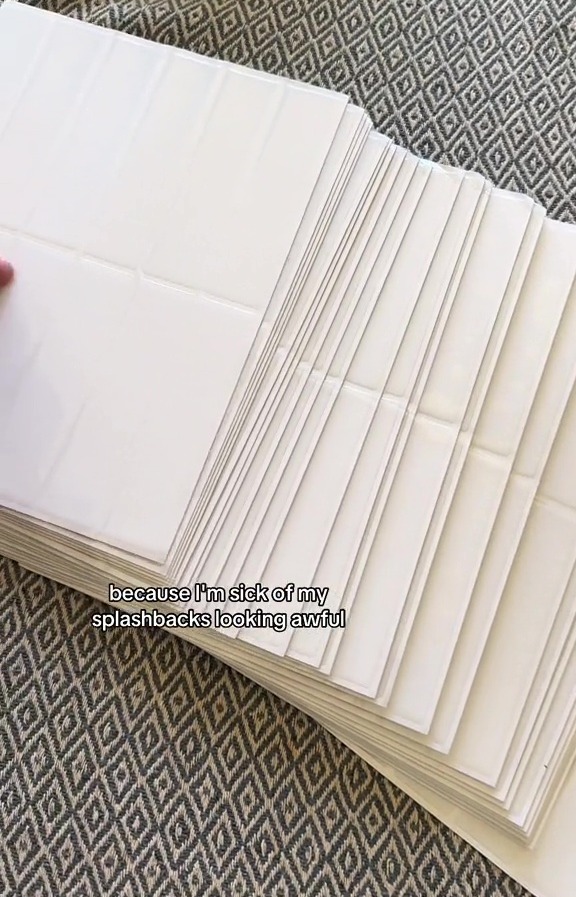
Step three focuses on the application process itself. The tiles come in strips, making coverage quick. For precise edges, Gater advises using a sharp X-Acto knife and a ruler. The application starts from a bottom corner, working across from left to right and upwards. The article suggests that if any gaps remain, they should be positioned near the top where they are less noticeable. The interlinking grout lines are designed to be intuitive, requiring users to simply layer the white seams. The final step addresses filling gaps and making aesthetic decisions. Gater had extra tiles and considered extending them around the corner or wrapping them behind the refrigerator. Ultimately, she decided against tiling the entire L-shaped kitchen, opting instead to leave the second wall white and fill a one-inch gap at the top with pink paint. This decision was based on the understanding that an accent backsplash, especially with a bold color, can be sufficient and is commitment-free, ensuring the landlord remains unaware of any permanent changes. The article concludes by emphasizing the ease and rental-friendliness of this DIY backsplash project.
#RentalKitchen #PeelAndStickTiles #DIYHomeImprovement #KitchenBacksplash #HomeRenovation #AffordableDecor #SmallSpaces #DesignInspiration #RentalKitchen #PeelAndStickTiles #DIYHomeImprovement #KitchenBacksplash #HomeRenovation #AffordableDecor #SmallSpaces #DesignInspiration
0 commenti in totale
 Nessun commento ancora
Potresti anche gradire
I Tried Installing Peel-and-Stick Floor Tiling in Two Different Rooms—Here Are My Thoughts

I hated my greasy splashbacks so bought some stick on tiles off Temu for £16

This Rental Kitchen Reno Took Just 3 Weeks to Pull Off

This “Controversial” Renter-Friendly Kitchen Hack Has the Internet Completely Split

This DIY Upgrade Transformed My Kitchen

Our Kitchen Has Never Been More Functional Thanks to This Simple Product

I Almost Swore Off Peel and Stick Tiles, But These Options Redeemed Their Status as an Easy DIY

What I learned from remodeling my kitchen
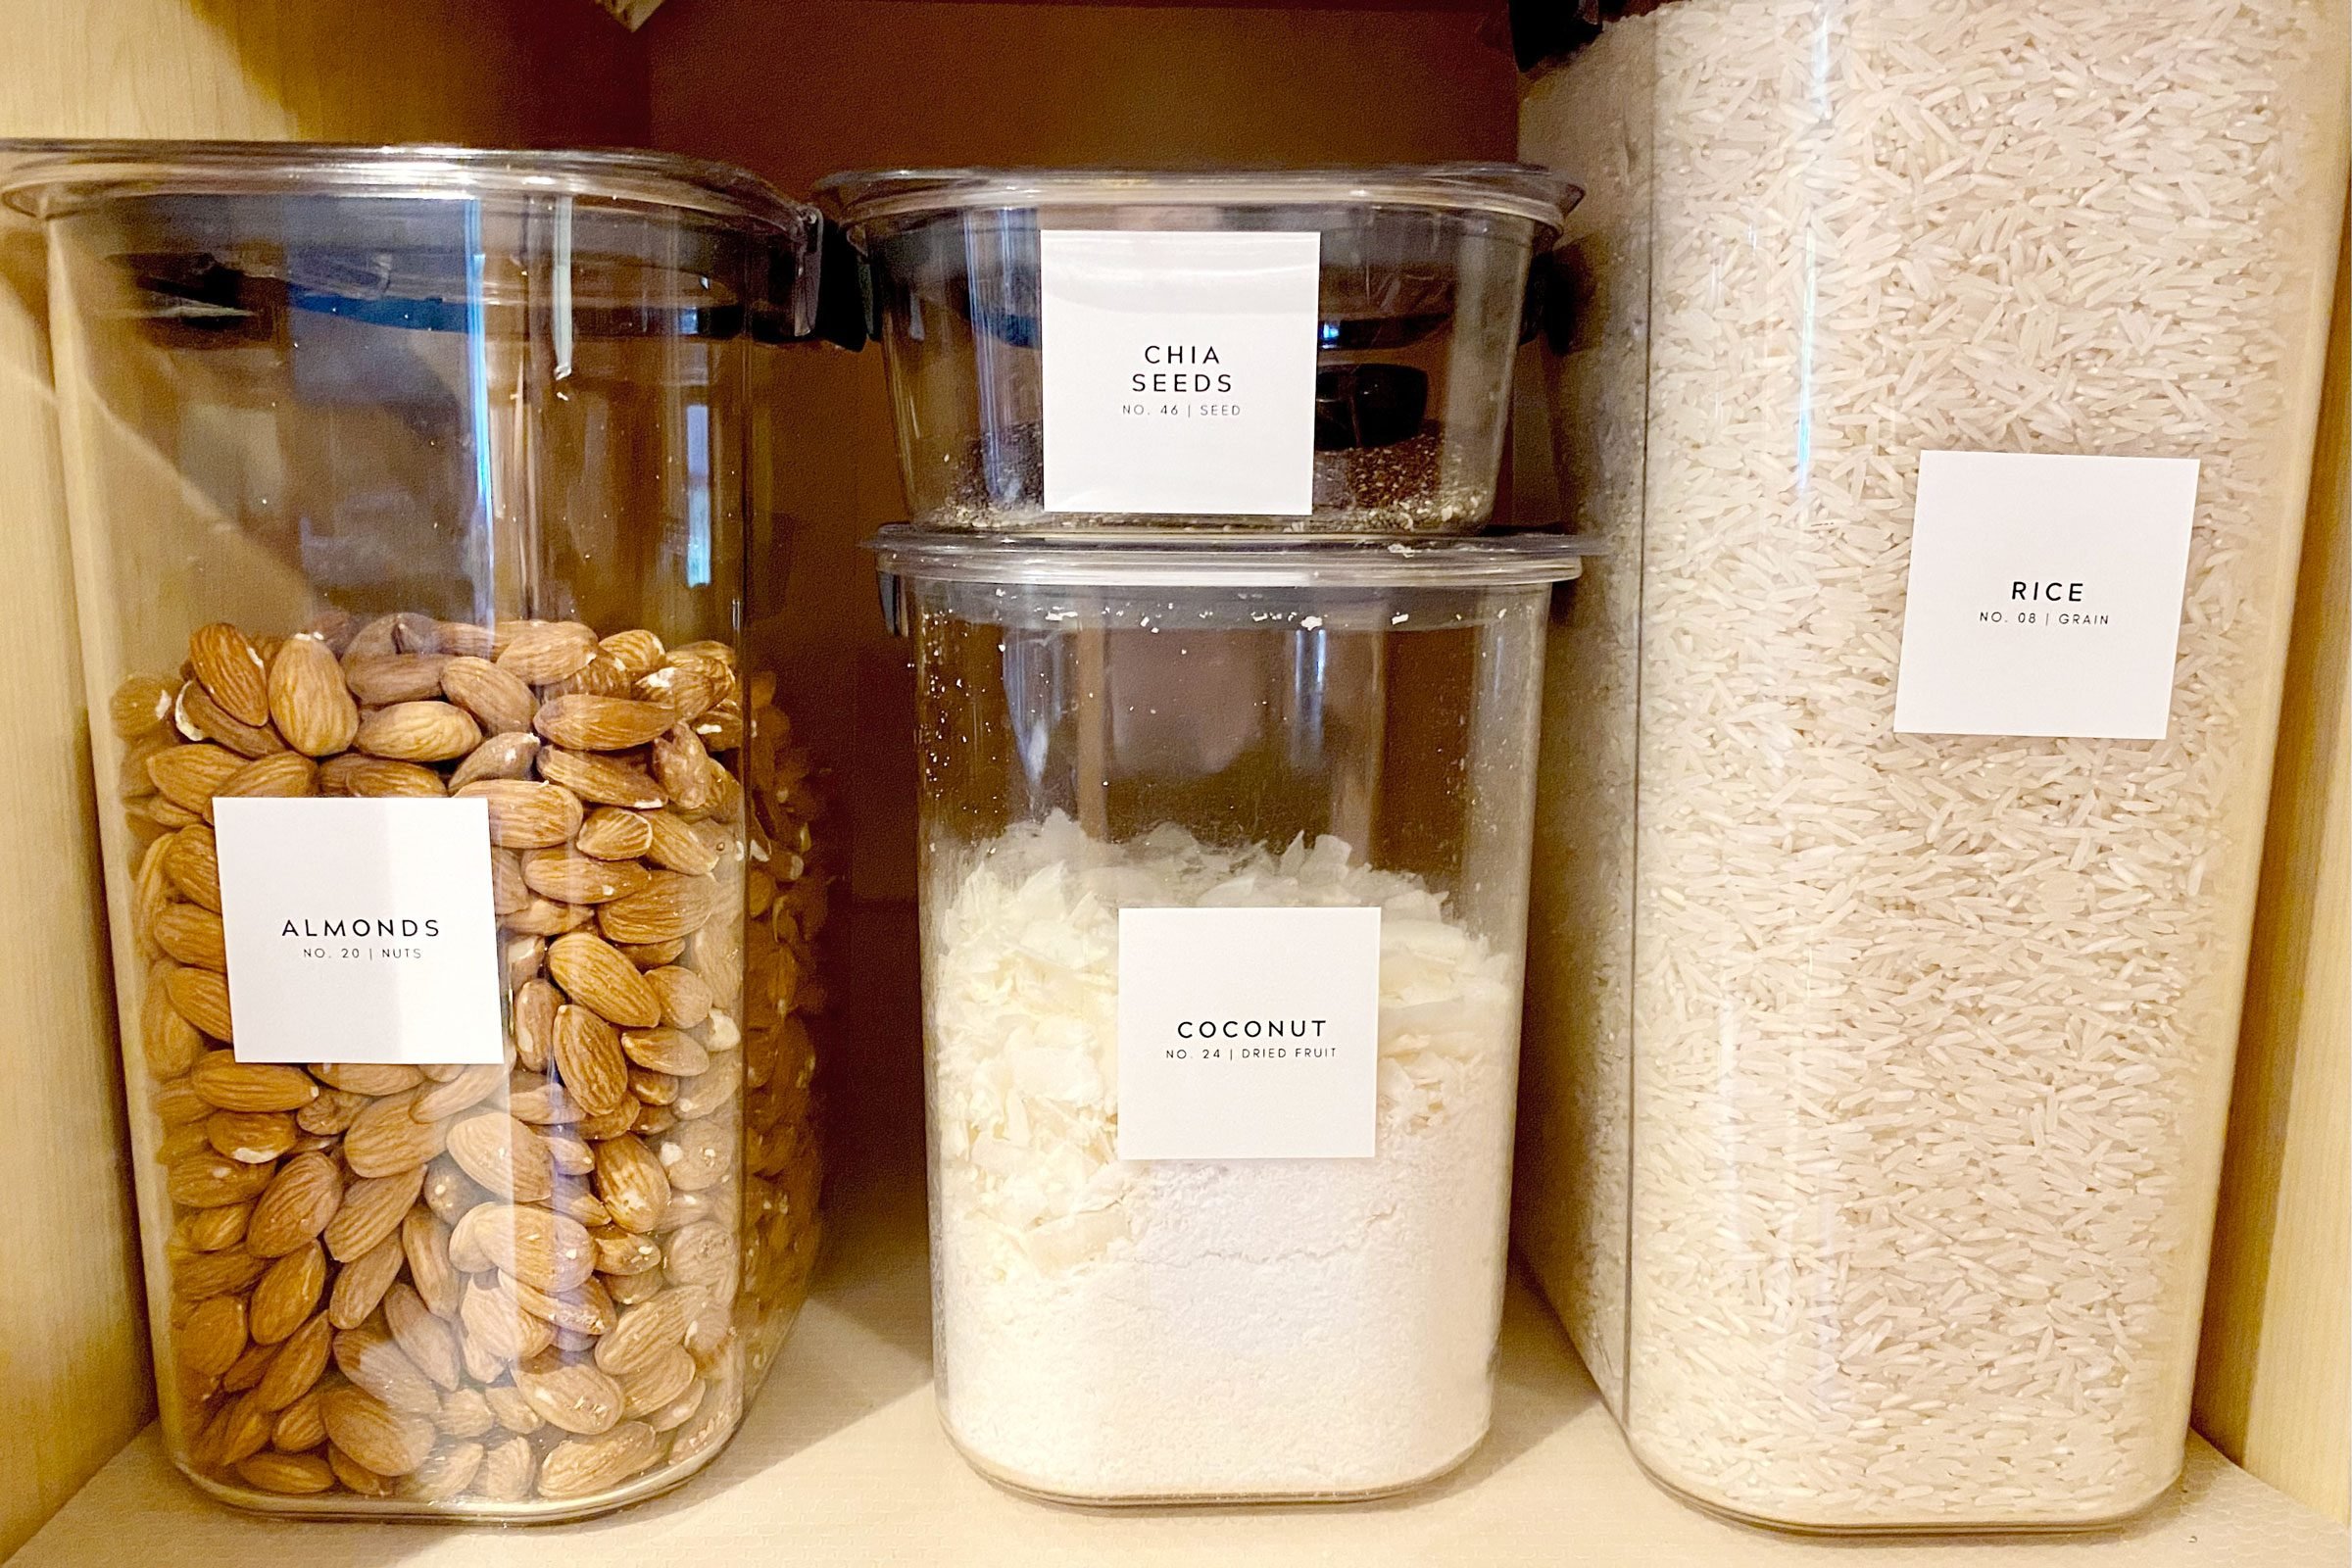
I Reorganized My Kitchen Using TikTok’s Favorite Pantry Labels—Here’s How It Went

I Upgraded My Dining Nook With Peel-and-Stick Wallpaper and Here's How It Went

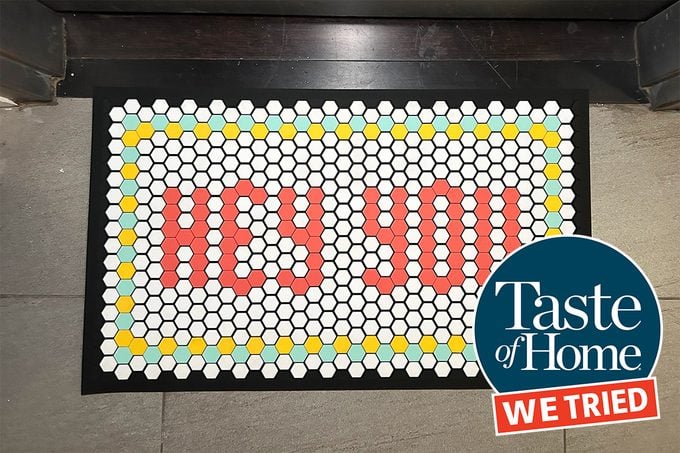
I Tried a Customizable Letterfolk Tile Mat—And It Totally Spices Up My Entryway
13+ Best Renter-Friendly Upgrades | NBC Select

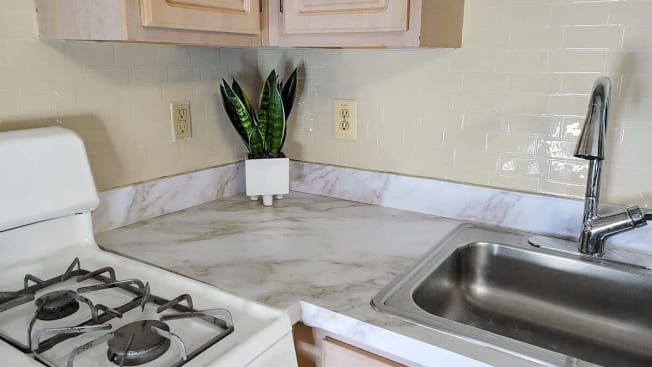
5 Things I Learned From My Peel-and-Stick Kitchen Makeover
Transform the look of your kitchen with a new backsplash | Produced by Seattle Times Marketing

I can't change my dated rental kitchen but this simple countertop addition instantly makes it look so much better
Where's the best place to buy kitchen tiles? The brands creating stylish designs with timeless appeal

Goodbye subway tiles, every stylish kitchen and bathroom has replaced rectangles with squares – I am on board, as are many interior designers
It Took Two to Spice Up the White Subway Tile in This Kitchen
I Covered My 400-Square-Foot Guesthouse in Tile for $500

I gave my council house kitchen a mega makeover for just £70 - a £2 B&M buy transformed the nicotine stained tiles