How to Apply (and Remove) Peel-and-Stick Wallpaper the Right Way
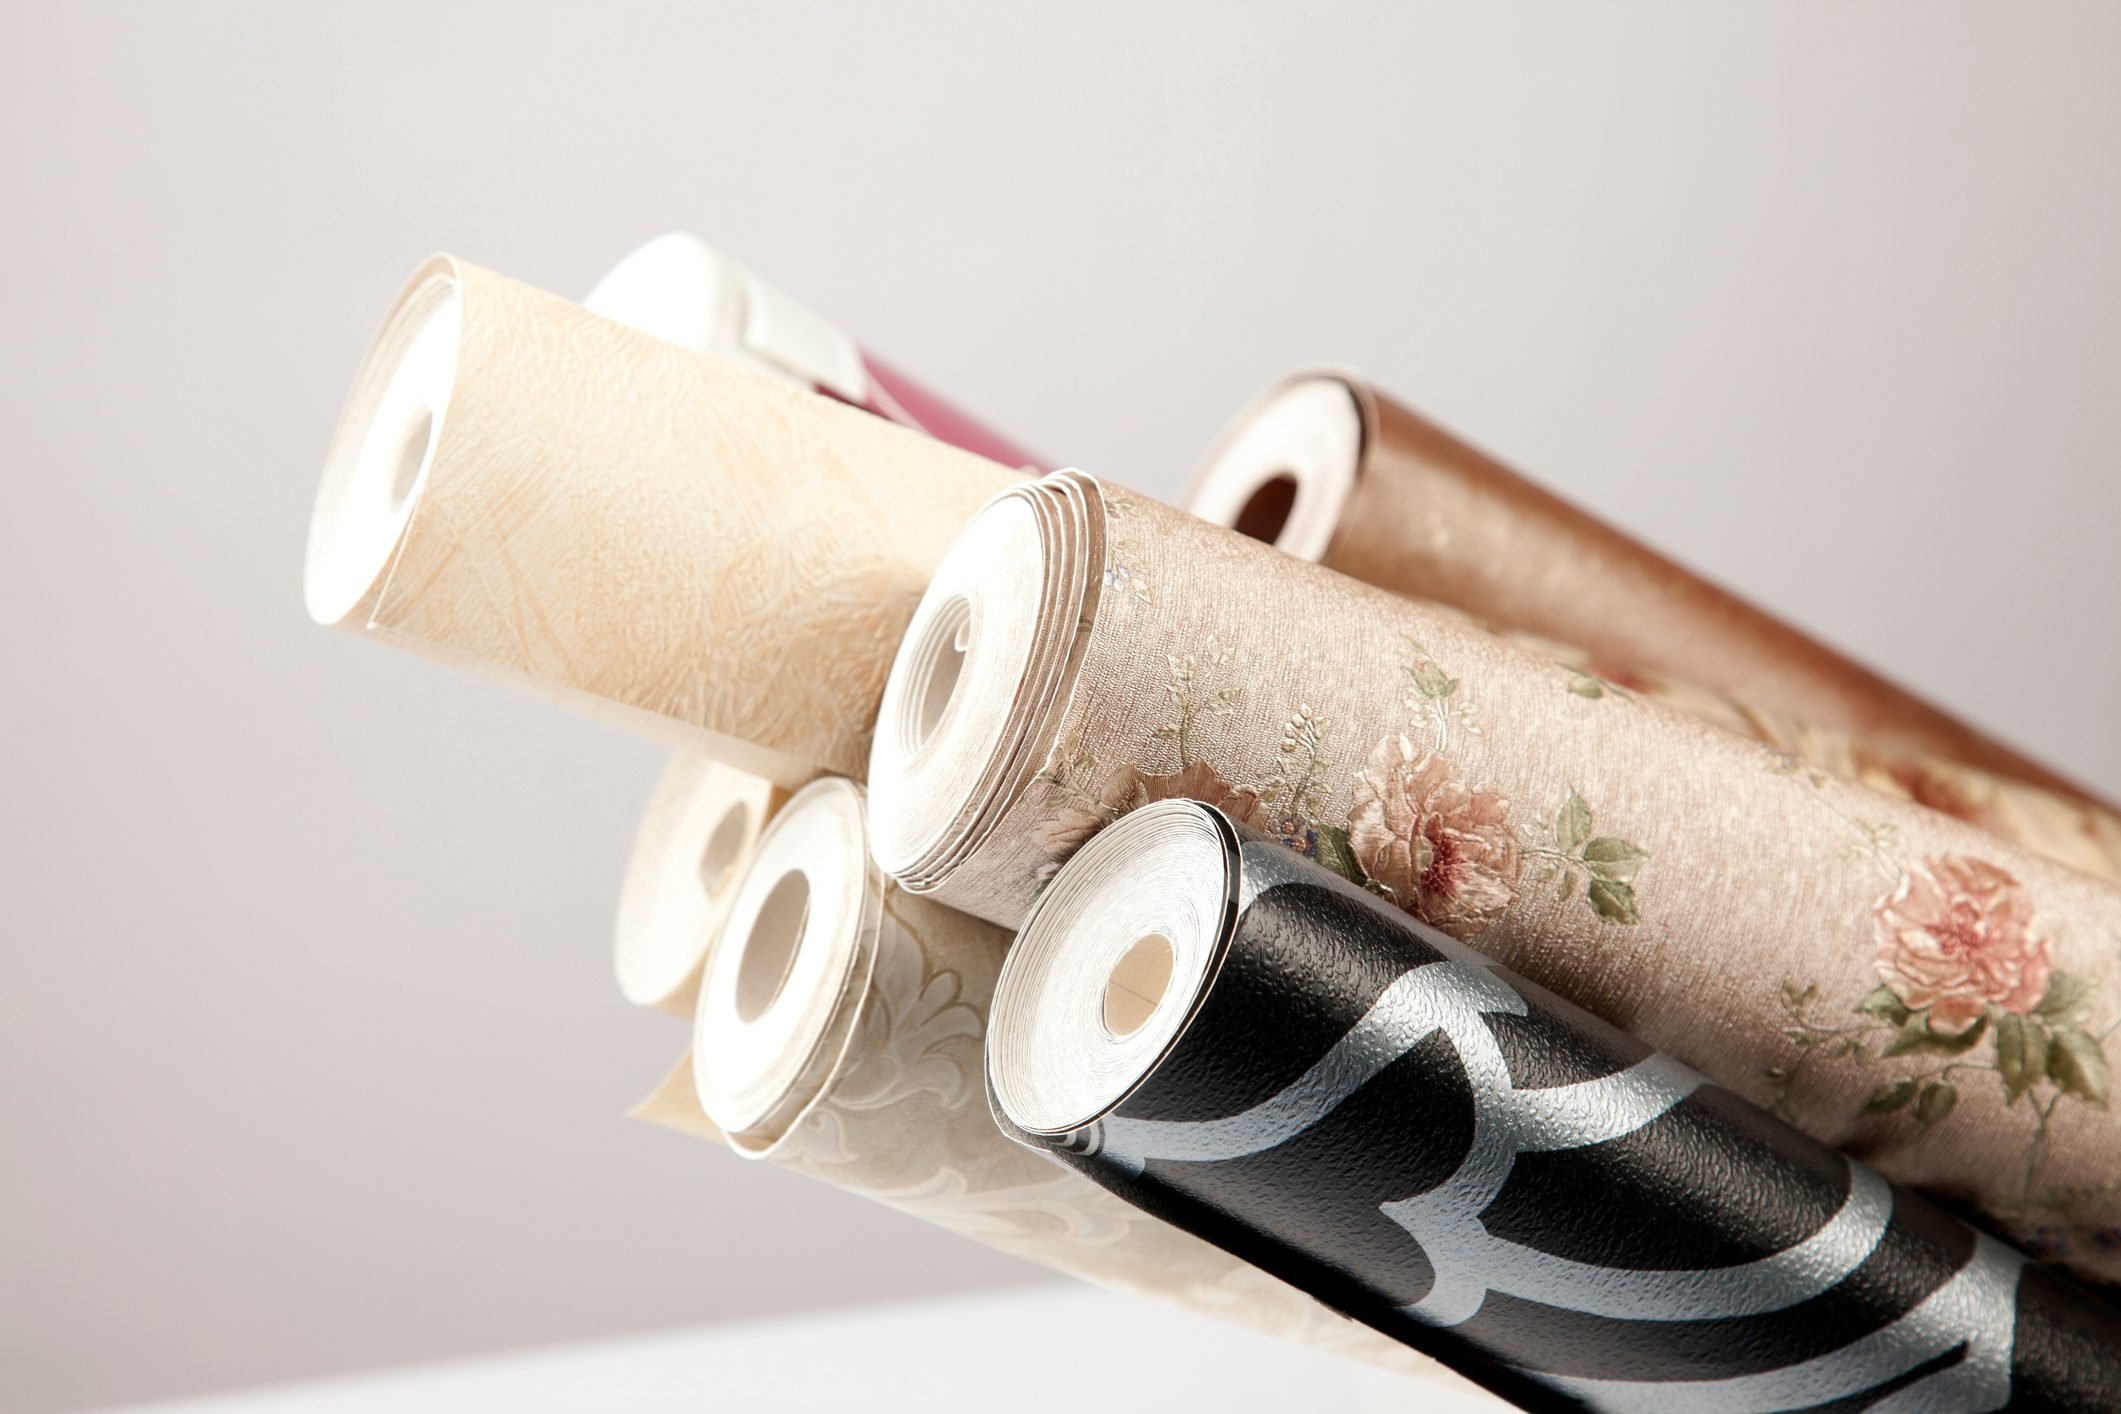
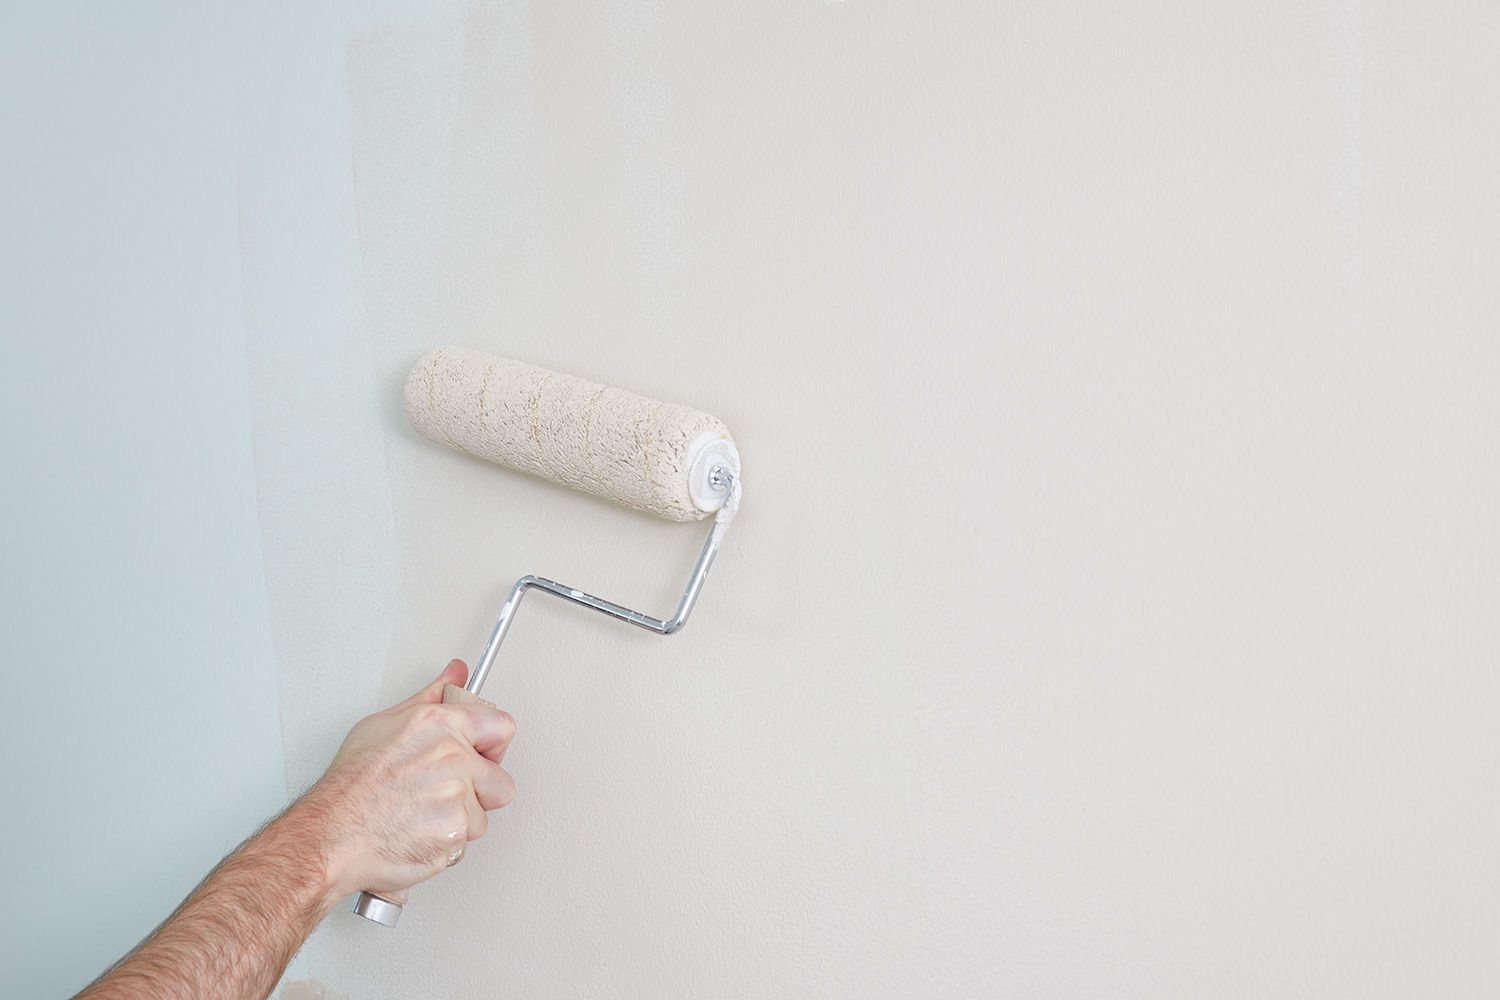
This guide provides detailed instructions on how to apply and remove peel-and-stick wallpaper, offering an easy way to refresh home interiors. The article emphasizes proper preparation and application techniques to achieve a professional finish. Before beginning, it is crucial to gather necessary tools, including peel-and-stick wallpaper, a tape measure, level, sharp scissors or utility knife, a plastic squeegee, pencil, and a damp cloth. The first step involves thoroughly cleaning the wall surface, ensuring it is flat, even, and free of dust or debris. Interior designer Emily Shaw recommends wiping walls with mild detergent and water or a microfiber cloth. Any textural imperfections, such as holes or bumps, should be patched with drywall spackling paste and sanded smooth to prevent them from showing through the wallpaper. It is also advised to order about 10% more wallpaper than initially estimated to account for errors or complex areas.
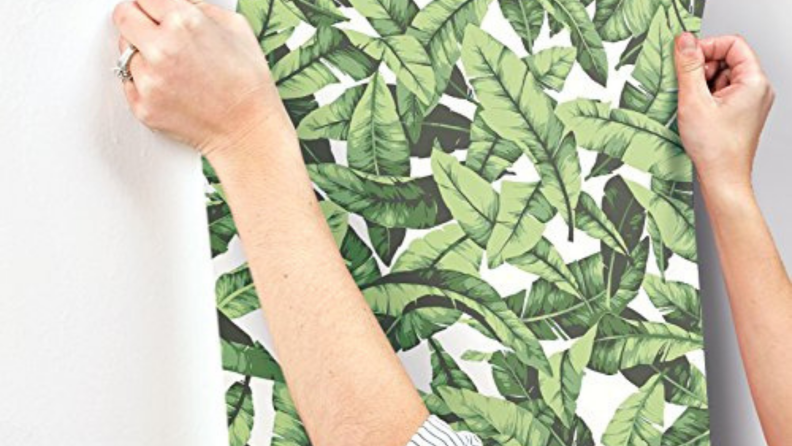
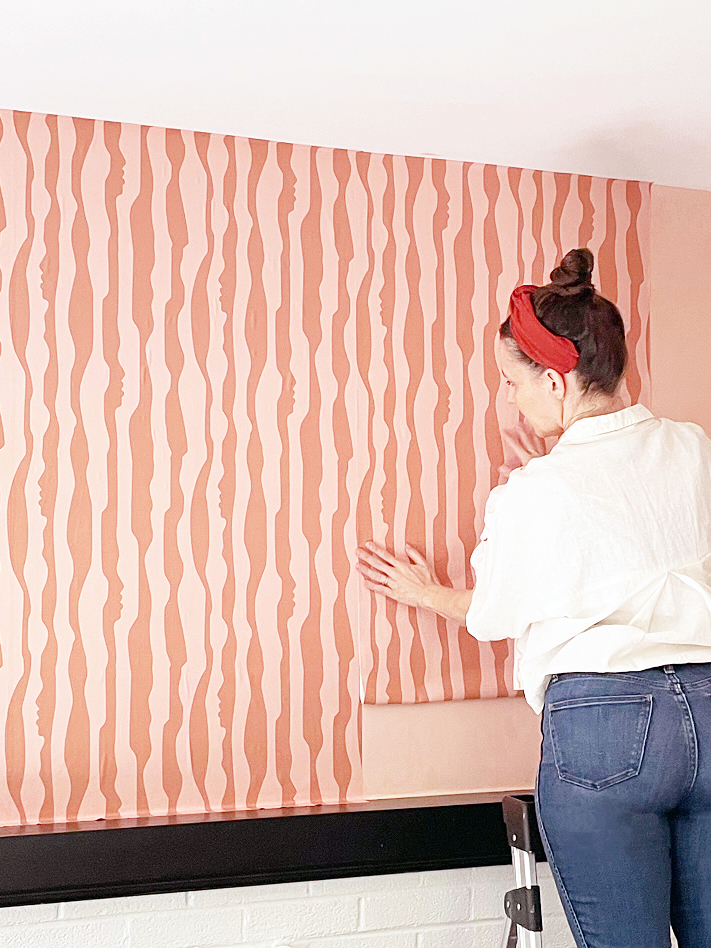
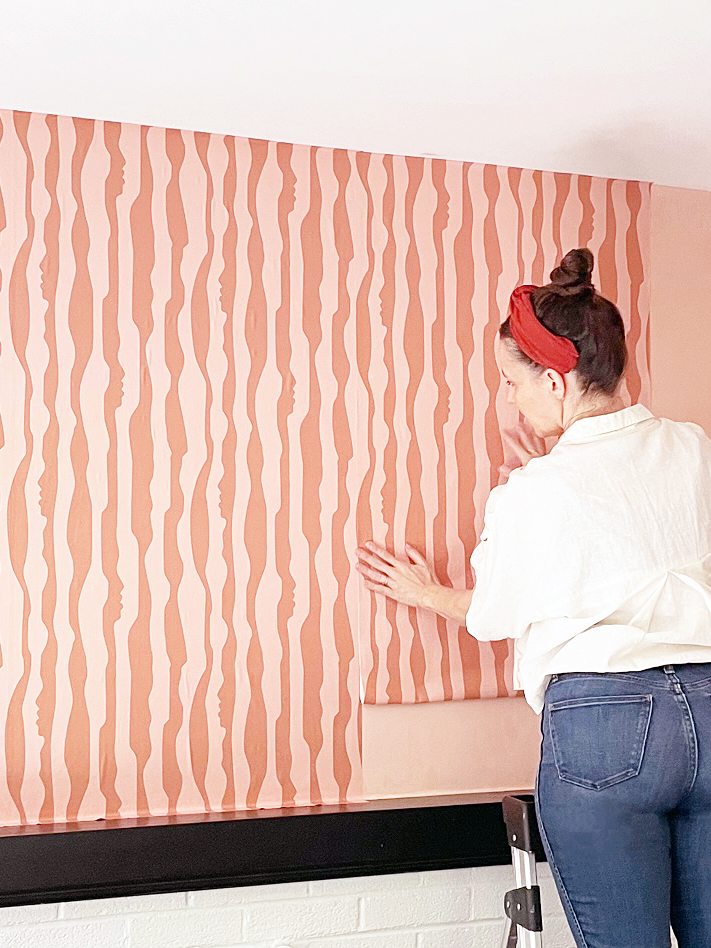
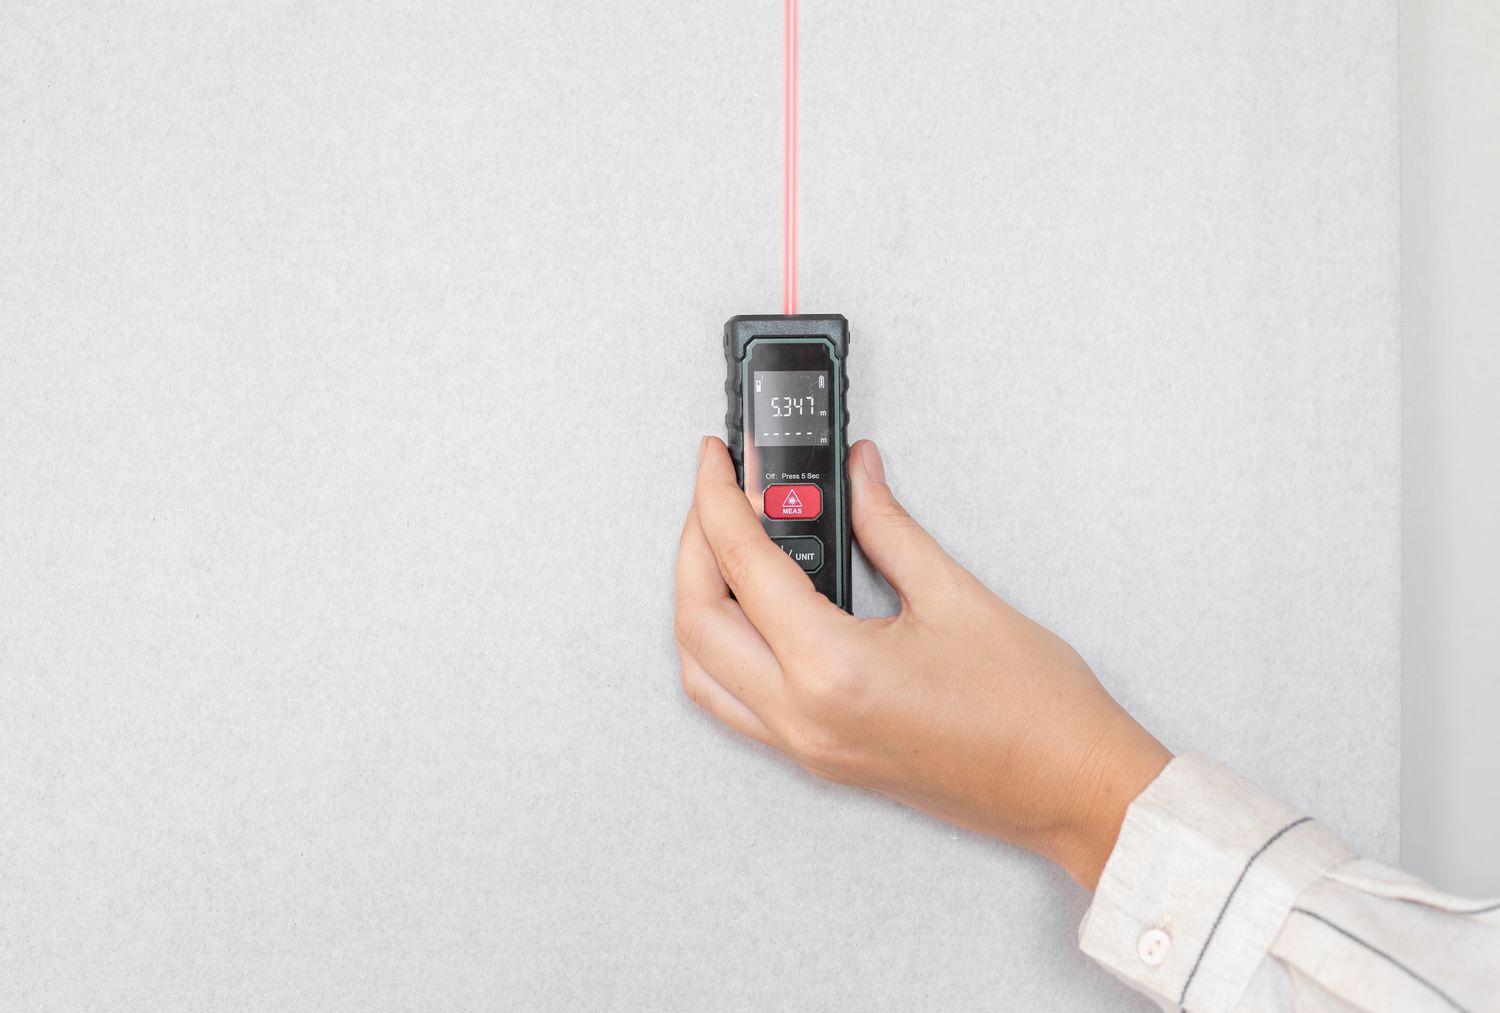
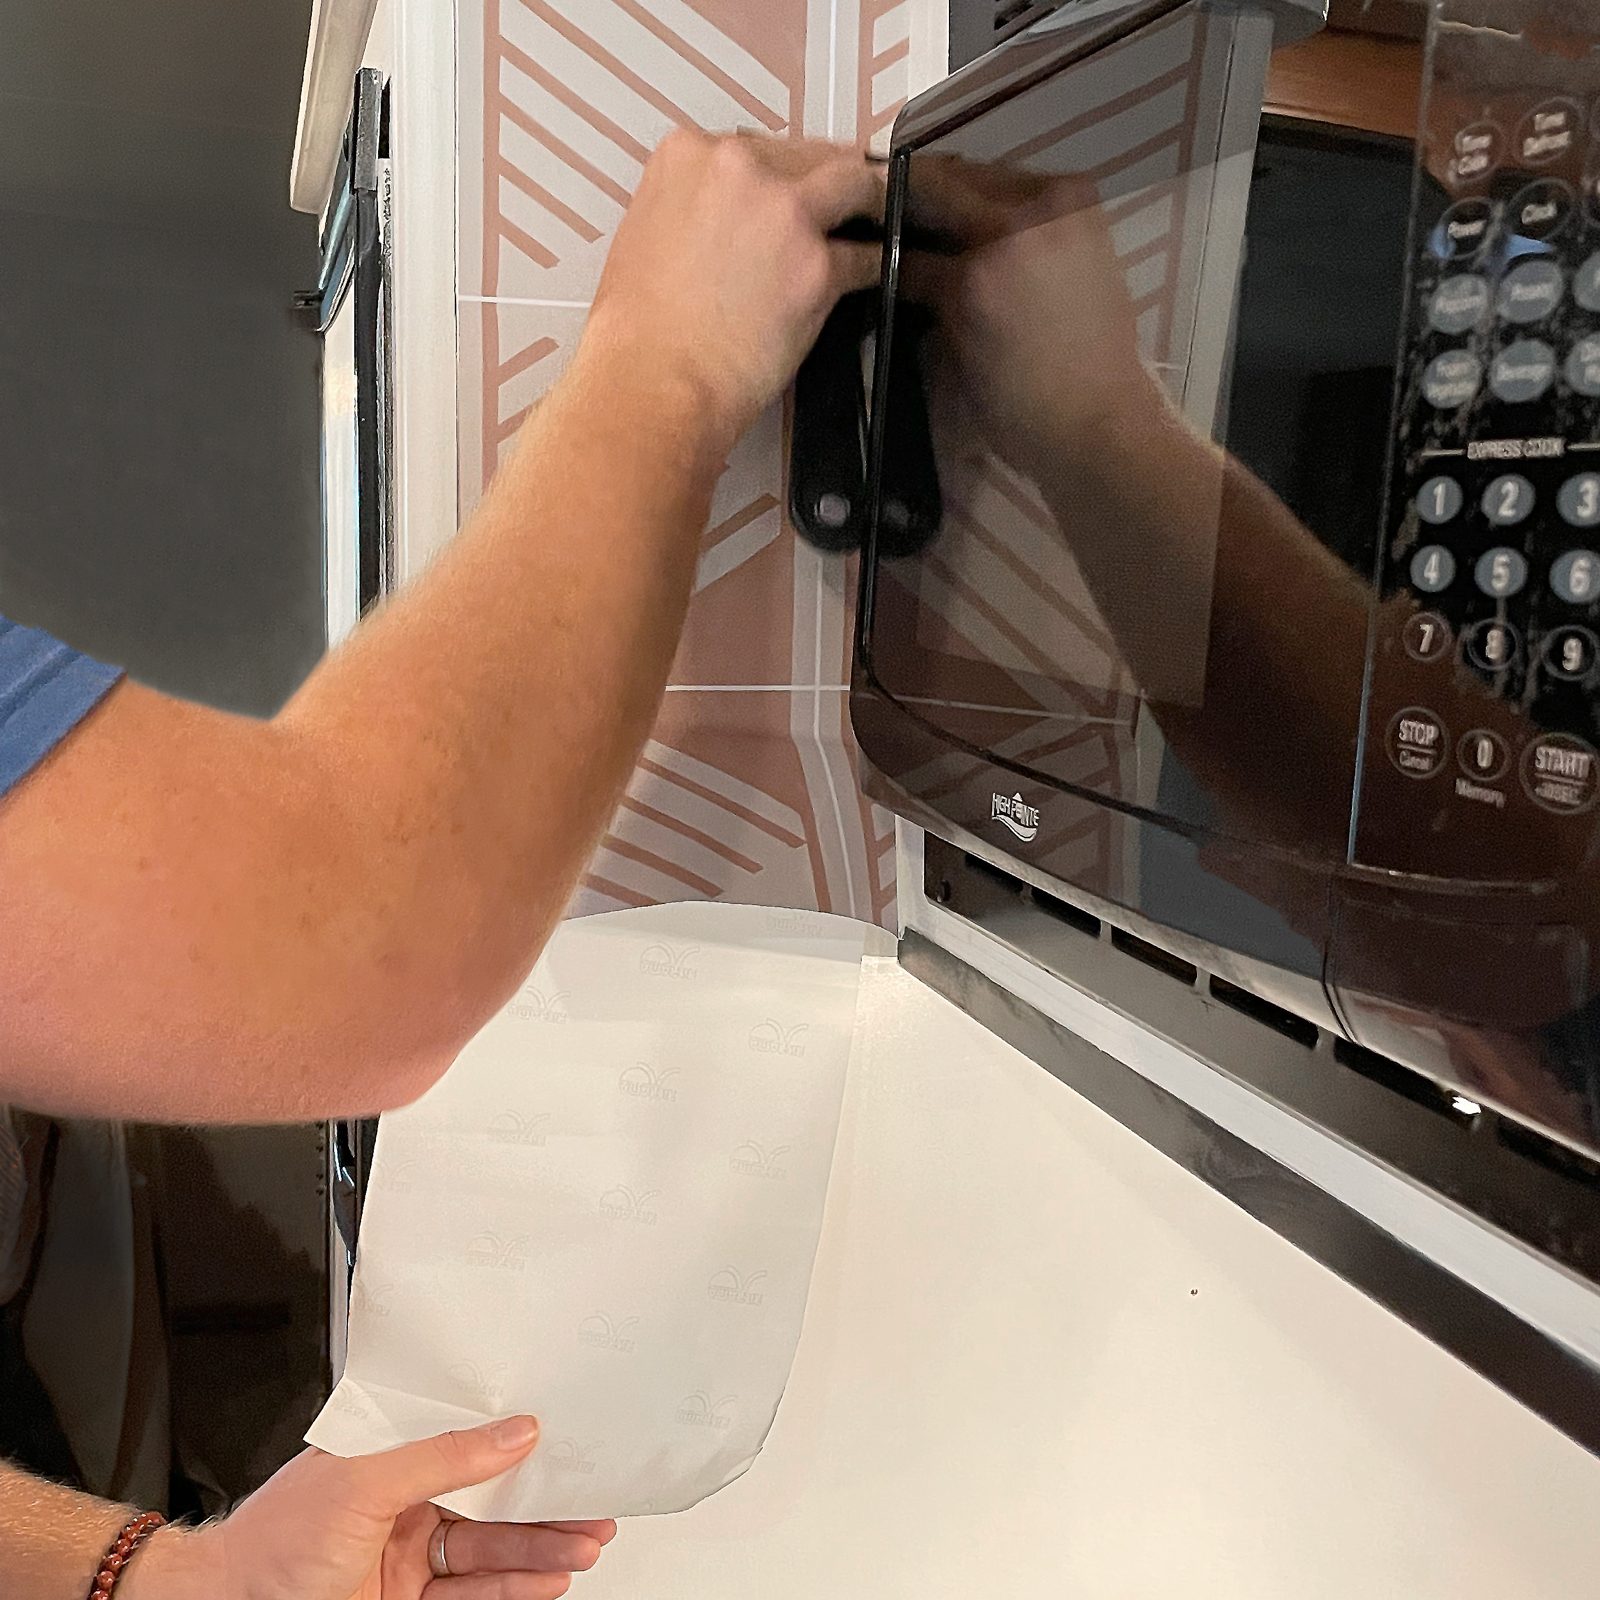
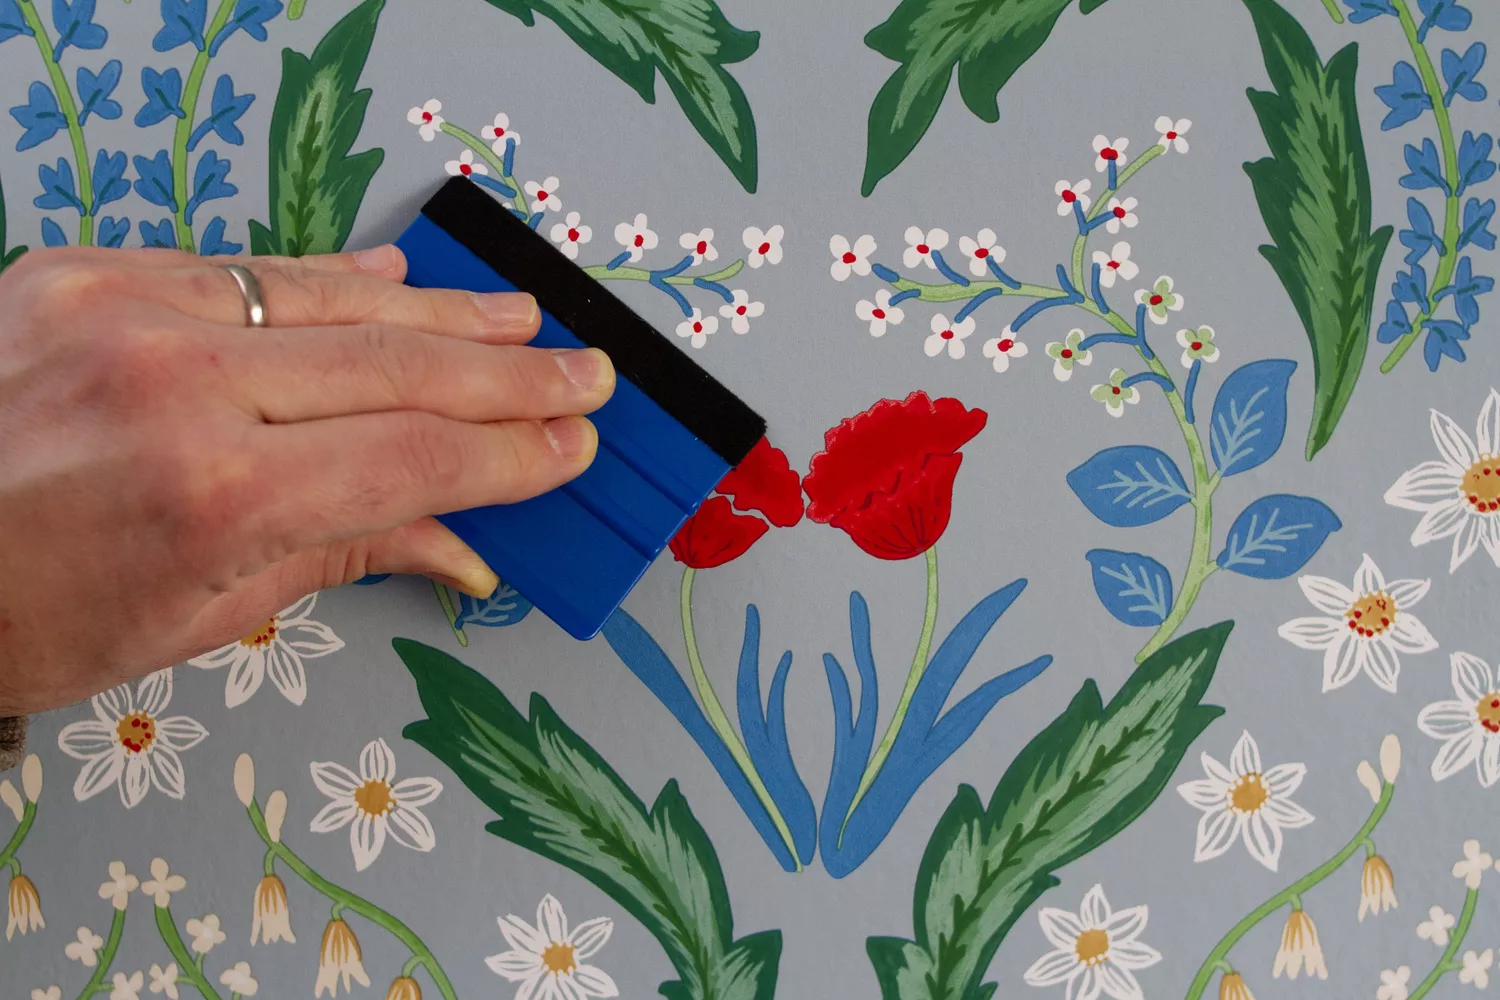
The next critical step is to accurately measure the width and height of the wall to determine the number of wallpaper panels needed and to ensure proper pattern alignment. Professional installer Yamil Asis suggests using a level to mark light pencil guidelines, which helps in applying the first strip straight. These marks should be minimal as they can sometimes show through lighter peel-and-stick papers. The application process begins at an upper corner, typically the upper left. Rachel Mae Smith, DIY blogger and author, stresses the importance of precise placement for the first panel, recommending taking ample time and using a level. Only a small section of the backing should be removed at a time, starting from the top. As the backing is peeled, the wallpaper should be smoothed downwards with a squeegee or plastic card, working from the center outwards to push out air bubbles. The adhesive nature of peel-and-stick wallpaper allows for re-adjustment if necessary. Clean hands or cloth-covered hands are advised to prevent transferring grease or dirt to the paper.
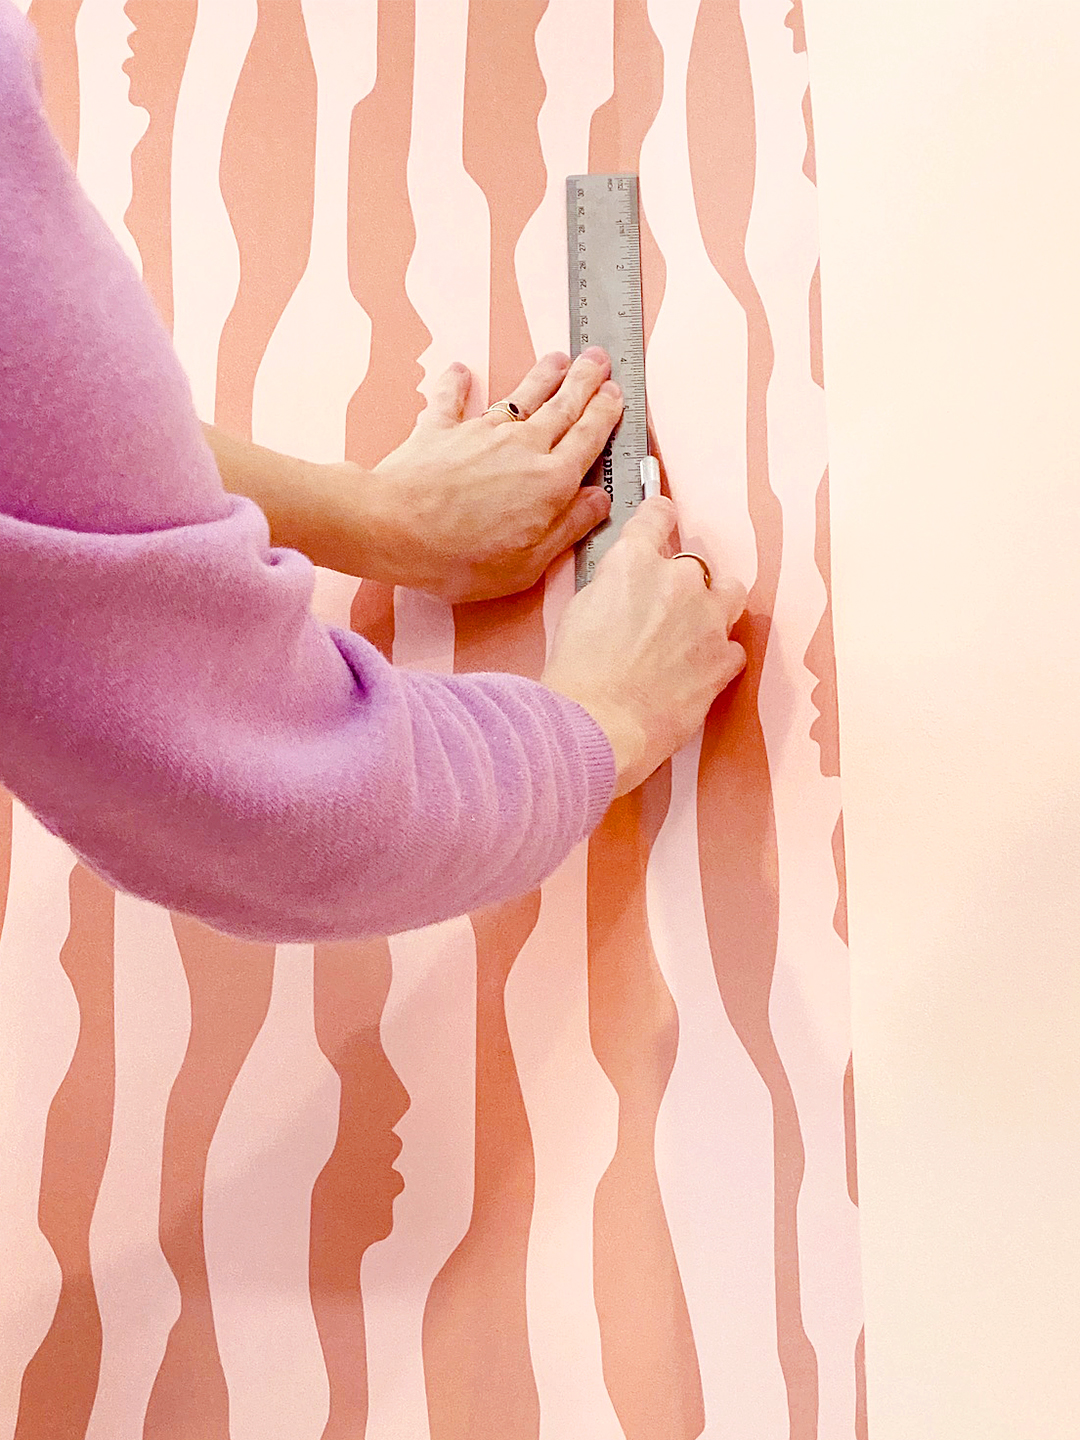
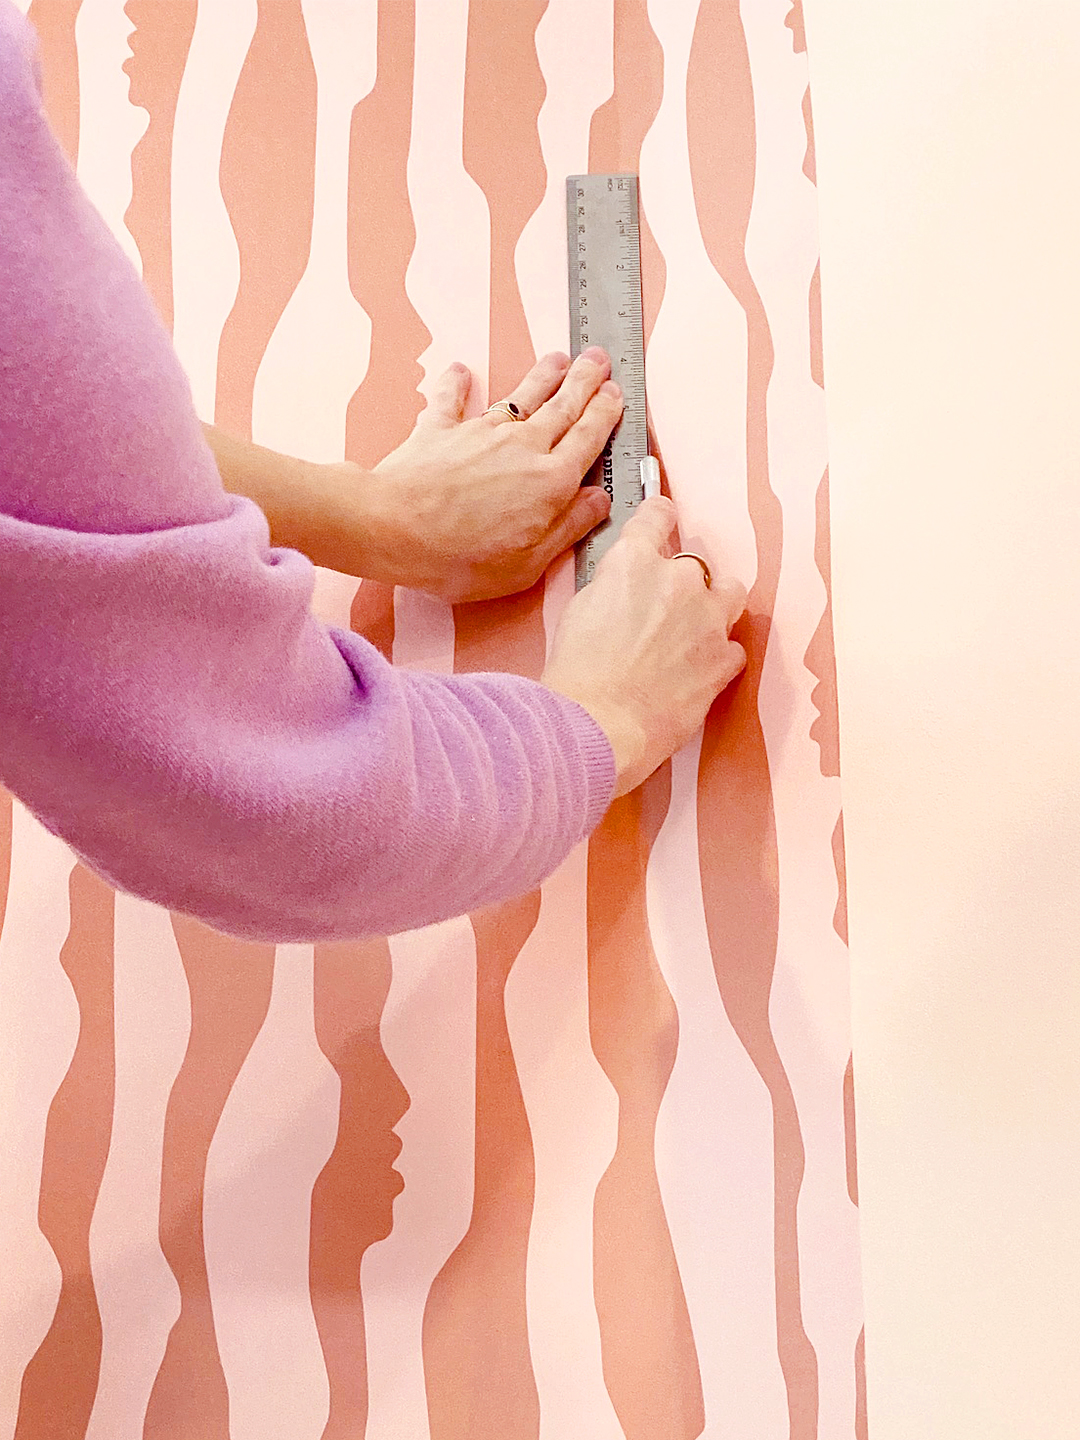
After applying the first panel, any excess wallpaper at the ceiling and baseboards should be trimmed using a box cutter or utility knife. For subsequent panels, painter's tape can be used to align the pattern with the previously installed panel, which expedites the process. Working in small increments, such as 12 to 20 inches, helps maintain control and consistent alignment. When encountering obstacles like outlets and windows, outlet cover plates should be removed. A small hole can be cut in the wallpaper over the outlet's center, then the paper laid flat, and finally, the area trimmed with a box cutter before replacing the cover. For windows, a laser level ensures straight lines, and overhangs are trimmed with a sharp utility knife.
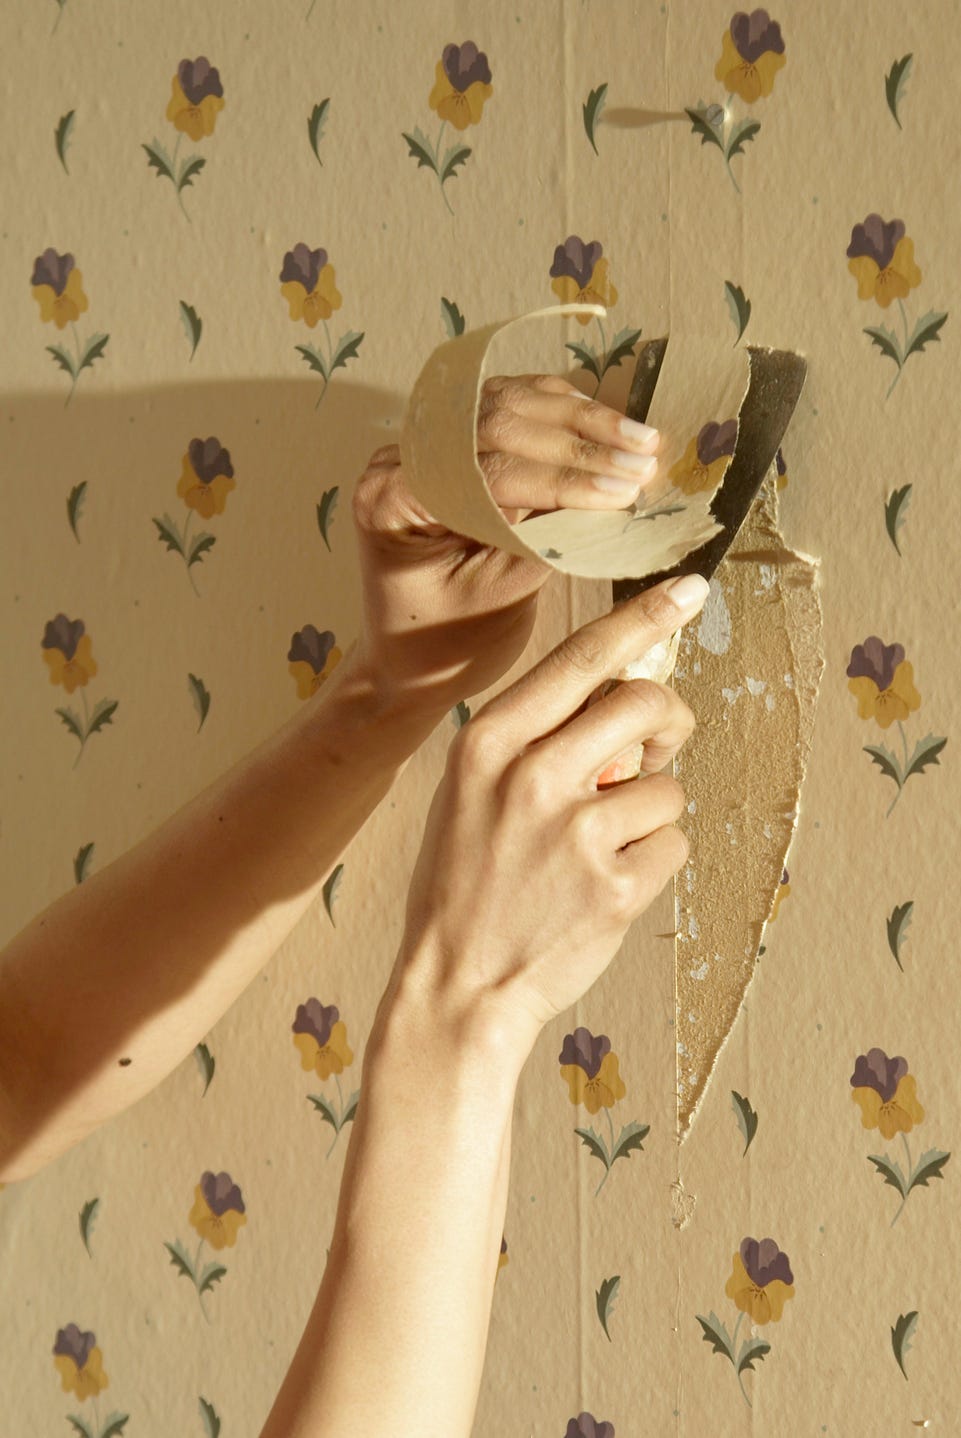
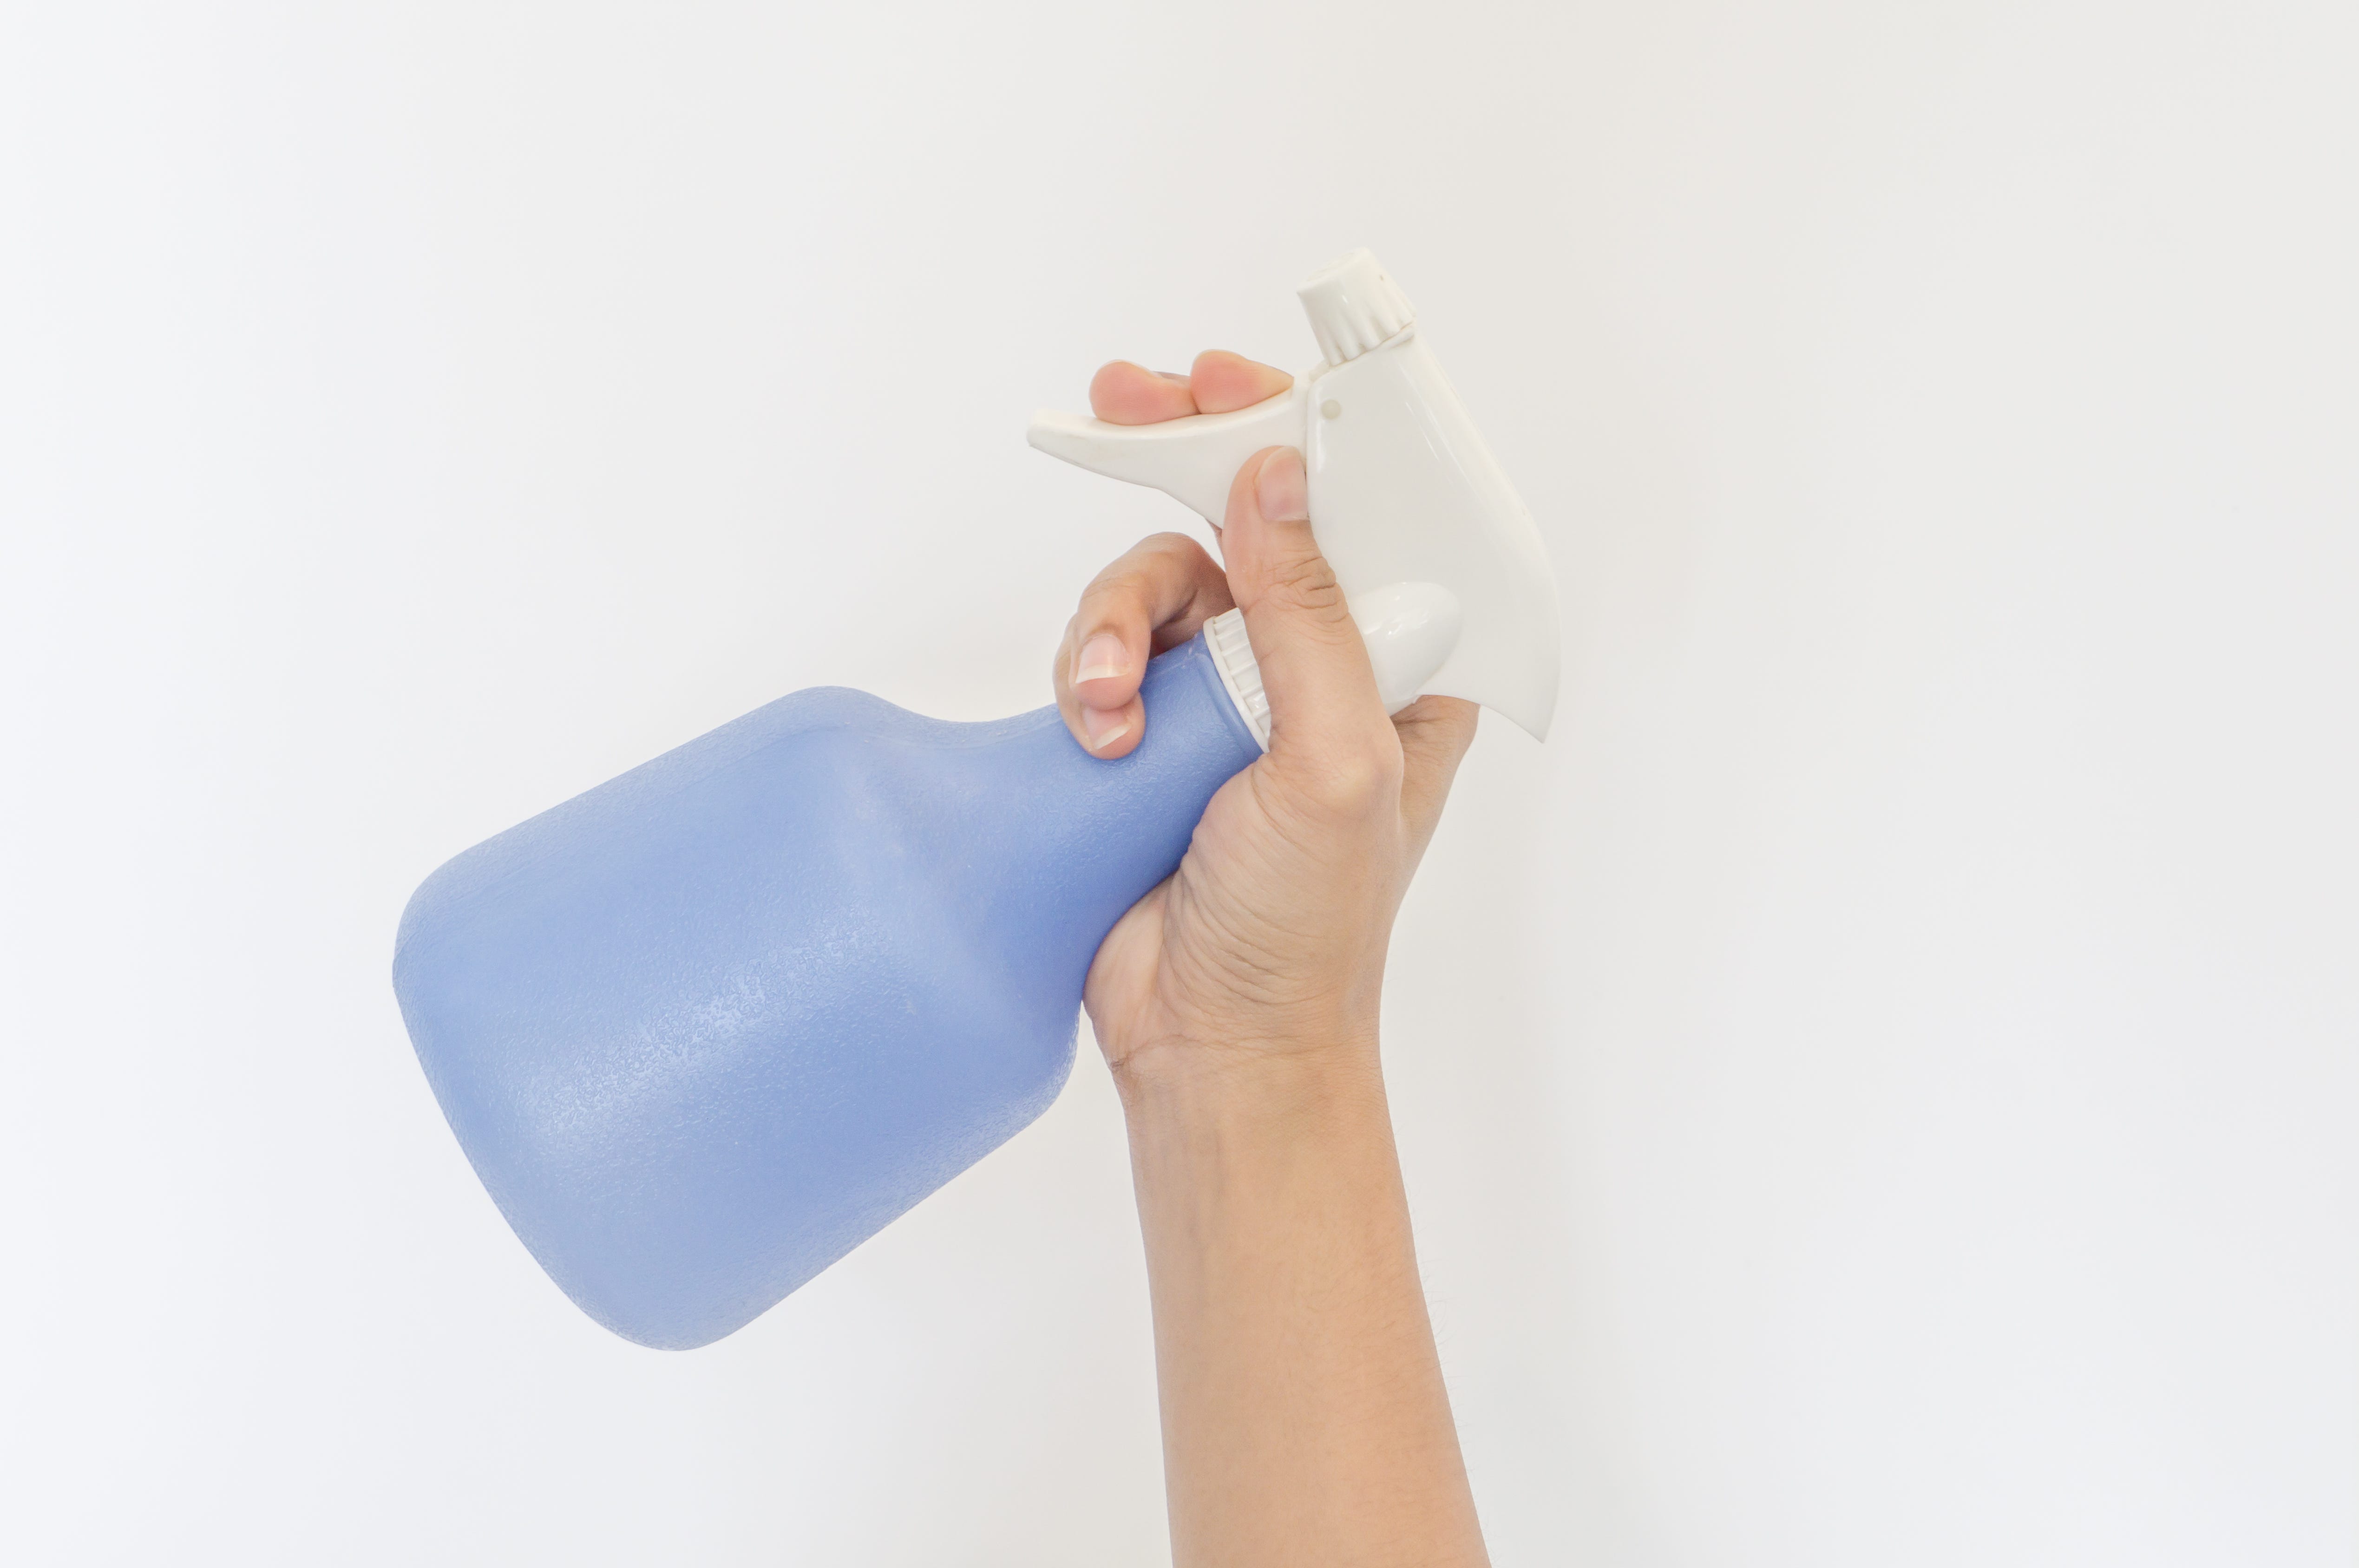
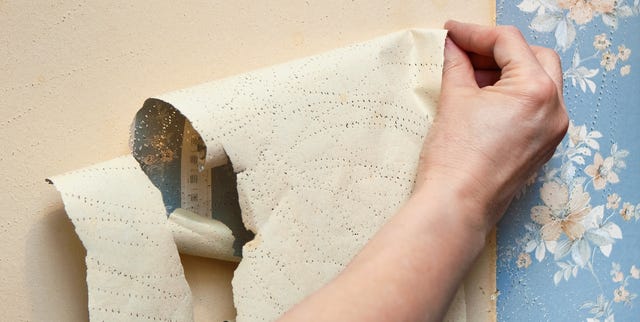
Should air bubbles persist after application, a small tool, like a Cricut Weeding tool, can be used to prick a tiny hole in the bubble, followed by smoothing with a card or squeegee to make it disappear. Metal cards are generally discouraged for smoothing as they can damage certain wallpaper brands. For removal, warm water or a mild soapy solution can soften the adhesive. If the wallpaper remains stubborn, products like EZ Hang Peel & Stick Activator or heat from a blow-dryer or steamer can help loosen the glue. The wallpaper should be peeled slowly at an angle, starting from a corner. High-quality peel-and-stick wallpaper typically comes off in large sections with minimal residue. After removal, walls should be cleaned with a mild solution, avoiding harsh chemicals, and checked for any necessary touch-ups or filler. This comprehensive approach ensures both successful application and damage-free removal of peel-and-stick wallpaper.
#PeelAndStickWallpaper #DIYHomeProjects #HomeDecor #WallpaperApplication #WallpaperRemoval #InteriorDesignTips #WallTreatment #HomeImprovement #PeelAndStickWallpaper #DIYHomeProjects #HomeDecor #WallpaperApplication #WallpaperRemoval #InteriorDesignTips #WallTreatment #HomeImprovement
0 commentaire au total
 Aucun commentaire pour le moment
Vous aimerez aussi
Peel-and-stick wallpaper tips and shopping

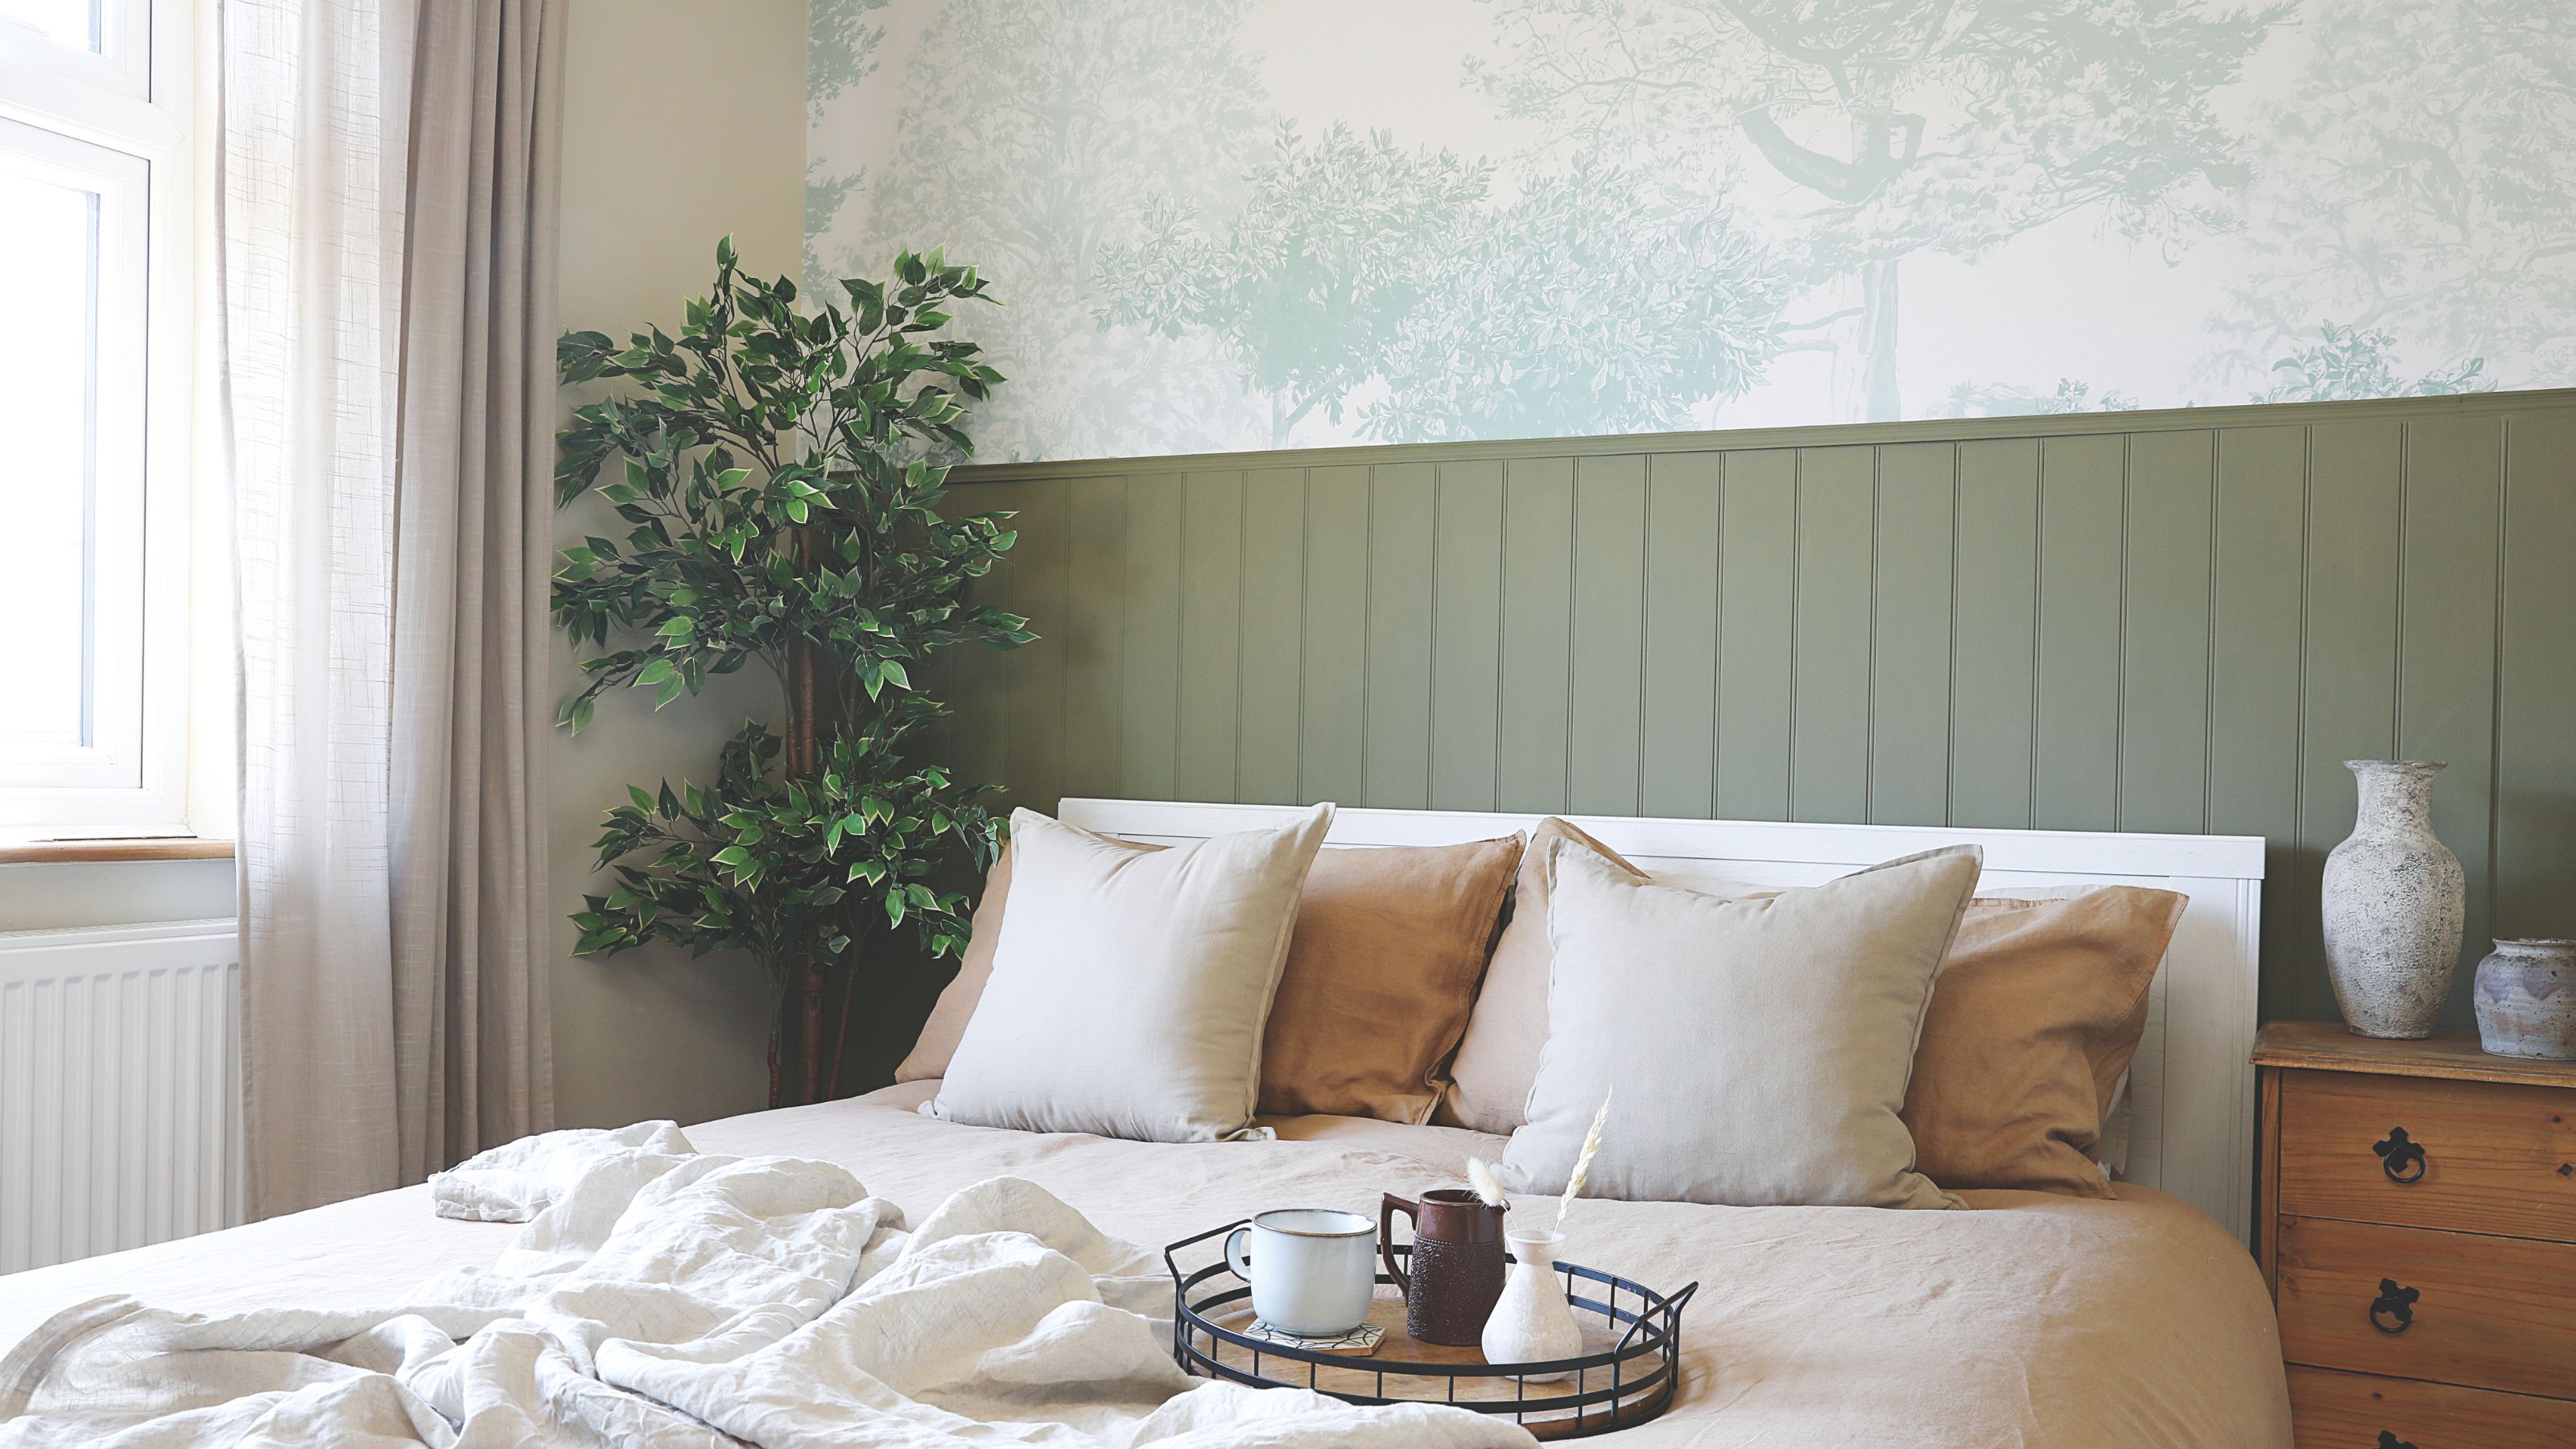
How to remove wallpaper - expert-approved steps to prevent damage and ensure a smooth finish
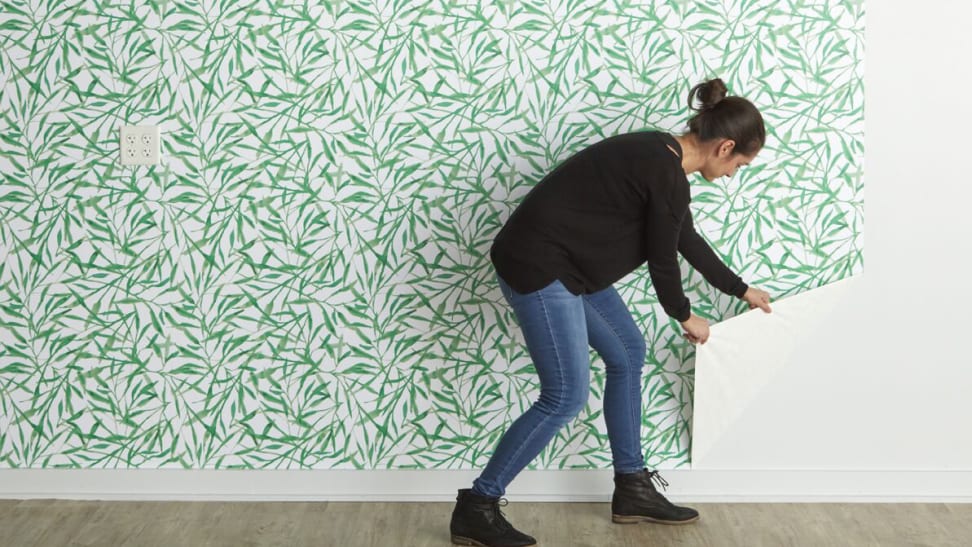
Everything you need to know about removable wallpaper


7 Simple Steps for Hanging Wallpaper Yourself

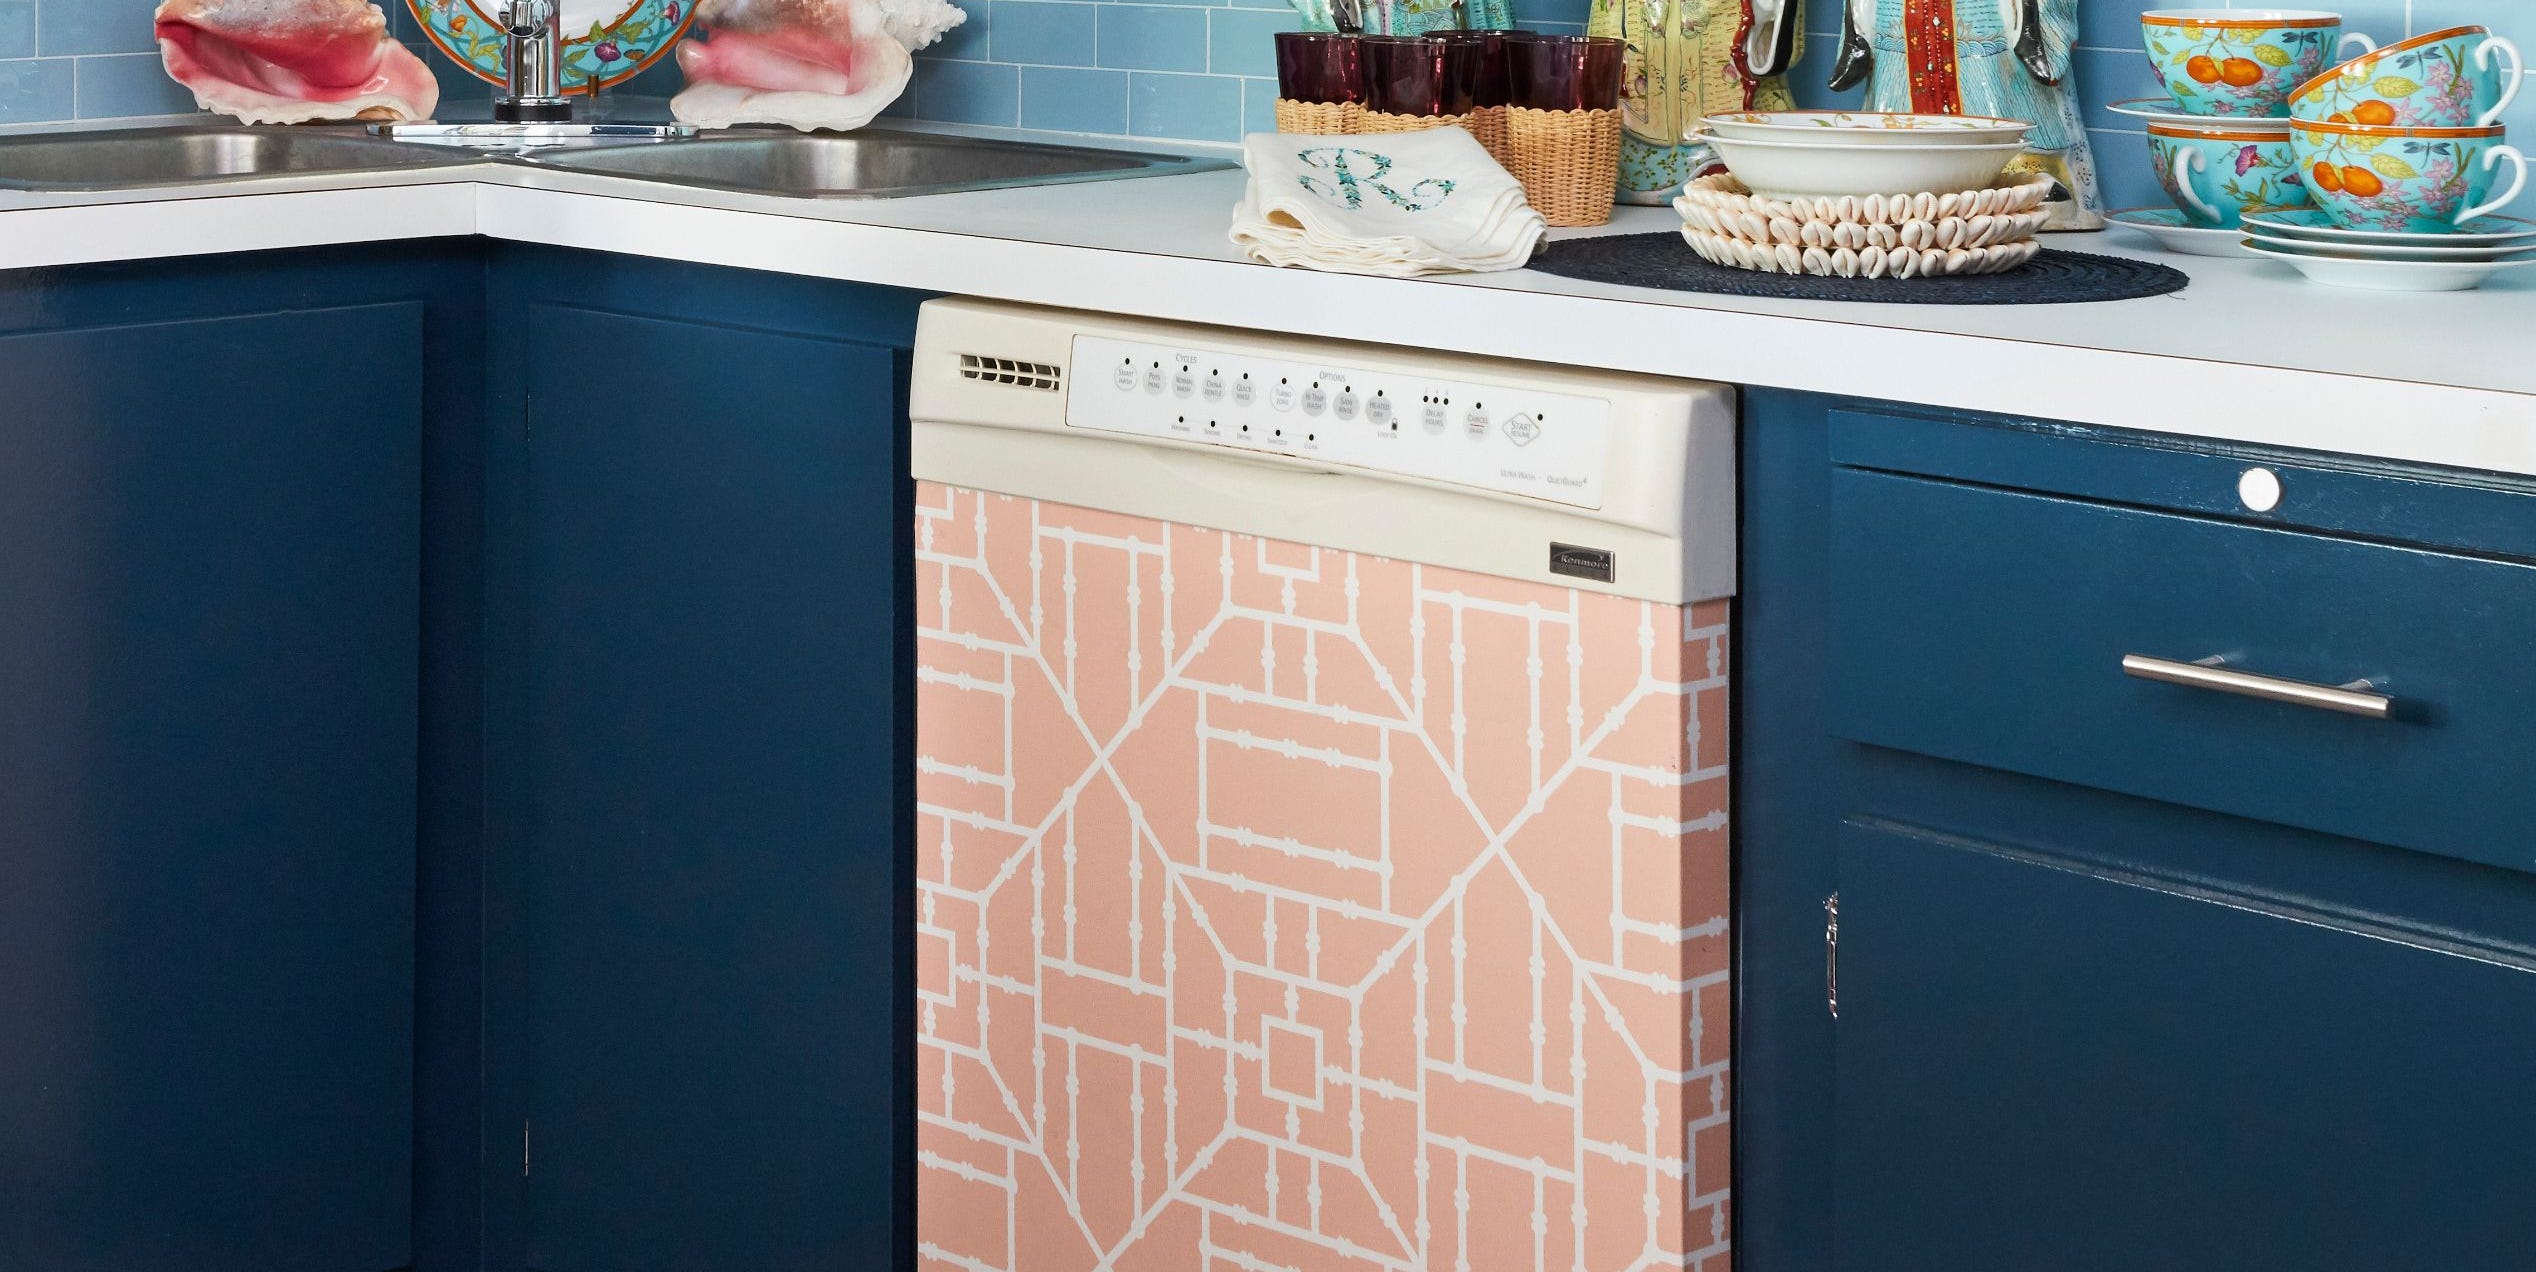
13 Creative Ways to Use Peel-and-Stick Wallpaper


The 3 Best Removable Wallpapers of 2026 | Reviews by Wirecutter

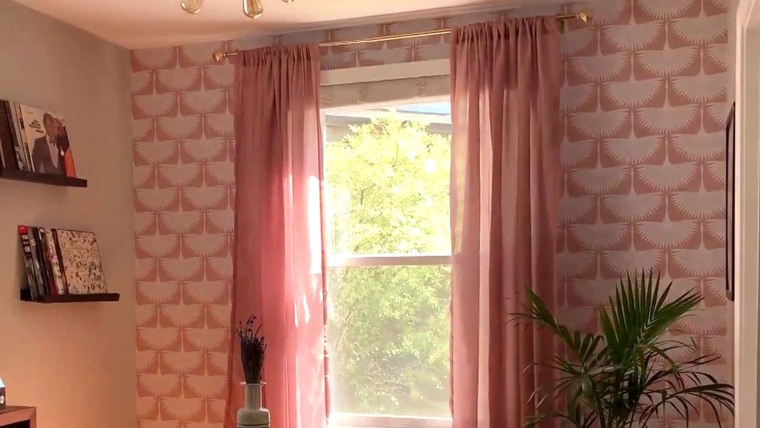
Transform your room with peel and stick wallpaper
How to Hang Wallpaper (the Permanent Kind!)

12 Best Peel-and-Stick Wallpapers

Buyer's Guide To Peel and Stick Wallpaper
Everything you need to know about removable wallpaper

13 best peel-and-stick removable wallpapers of 2021 - TODAY
Tips for Applying Peel and Stick Wallpaper
DIY Removable Wallpaper
Whimsical Peel-And-Stick Wallpapers To Brighten Up Your Home
How to Hang Wallpaper Yourself in 8 Simple Steps, Straight from a Pro

A Stress-Free Way to Remove Wallpaper

13 peel-and-stick wallpapers we love
How to Hang Wallpaper (the Permanent Kind!)
A real person’s 5-step guide to putting up temporary wallpaper