1/6
Mission complete: Is building your own patio worth it? | Home With Tess
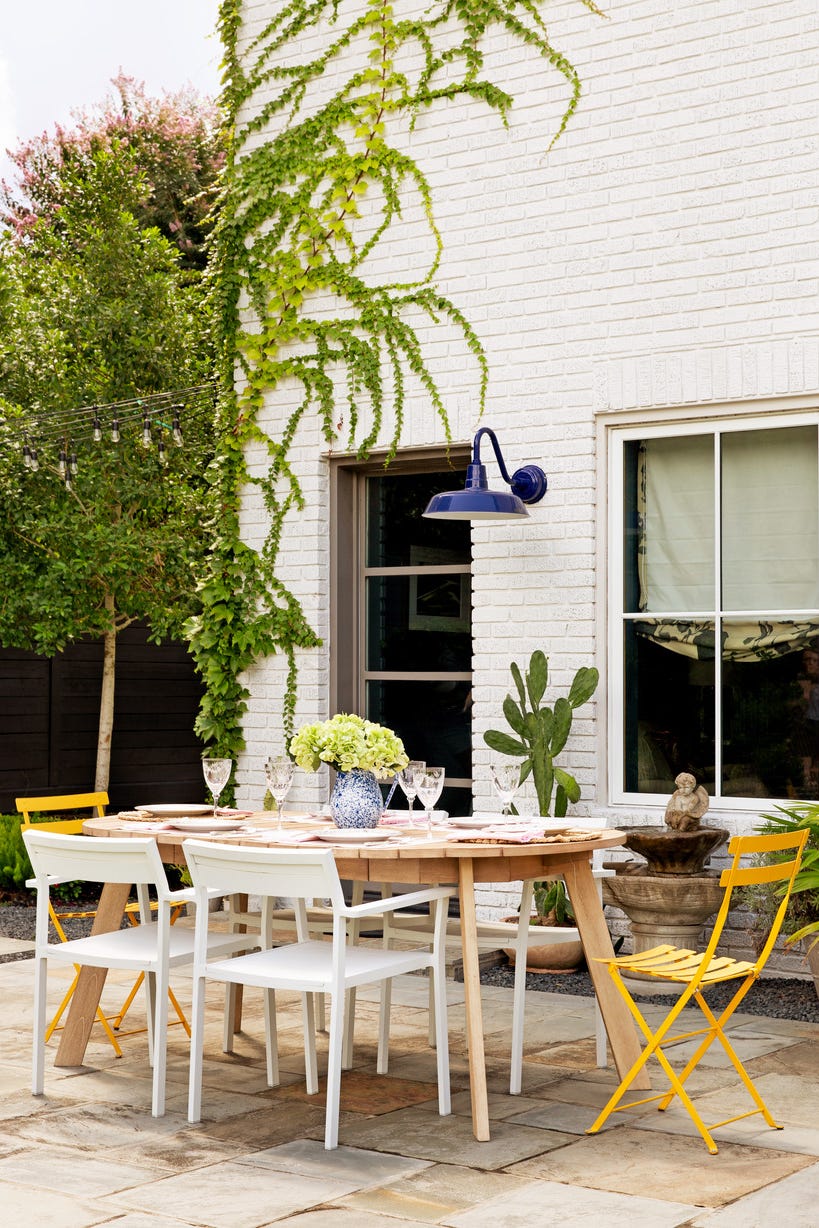
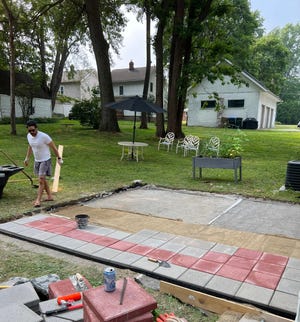
This blog post details the personal experience of building a paver patio with a focus on the challenges encountered and the ultimate satisfaction derived from a DIY home improvement project. The author, Theresa "Tess" Bennett, and her husband undertook the construction of a 250-square-foot patio, aiming to minimize costs by performing the labor themselves and sourcing economical materials. While professional estimates for such a project typically start around $2,000, their DIY approach reduced the total expenditure to approximately $1,200.
The construction process involved several key stages: digging, compacting the dirt, laying and compacting a stone base, laying and leveling a sand base, and finally, laying the pavers. Despite extensive research, the initial challenge arose during the material ordering phase, specifically concerning the type of stone for the subbase. Conflicting online recommendations and advice from landscape suppliers led to the selection of crushed limestone (#10 limestone). Upon delivery, the material appeared unexpectedly like "cat litter" rather than the anticipated gravel, and it was later discovered that some sources advise against crushed limestone for a subbase, though others endorse it. With five tons of material already delivered, changing course was not an option.
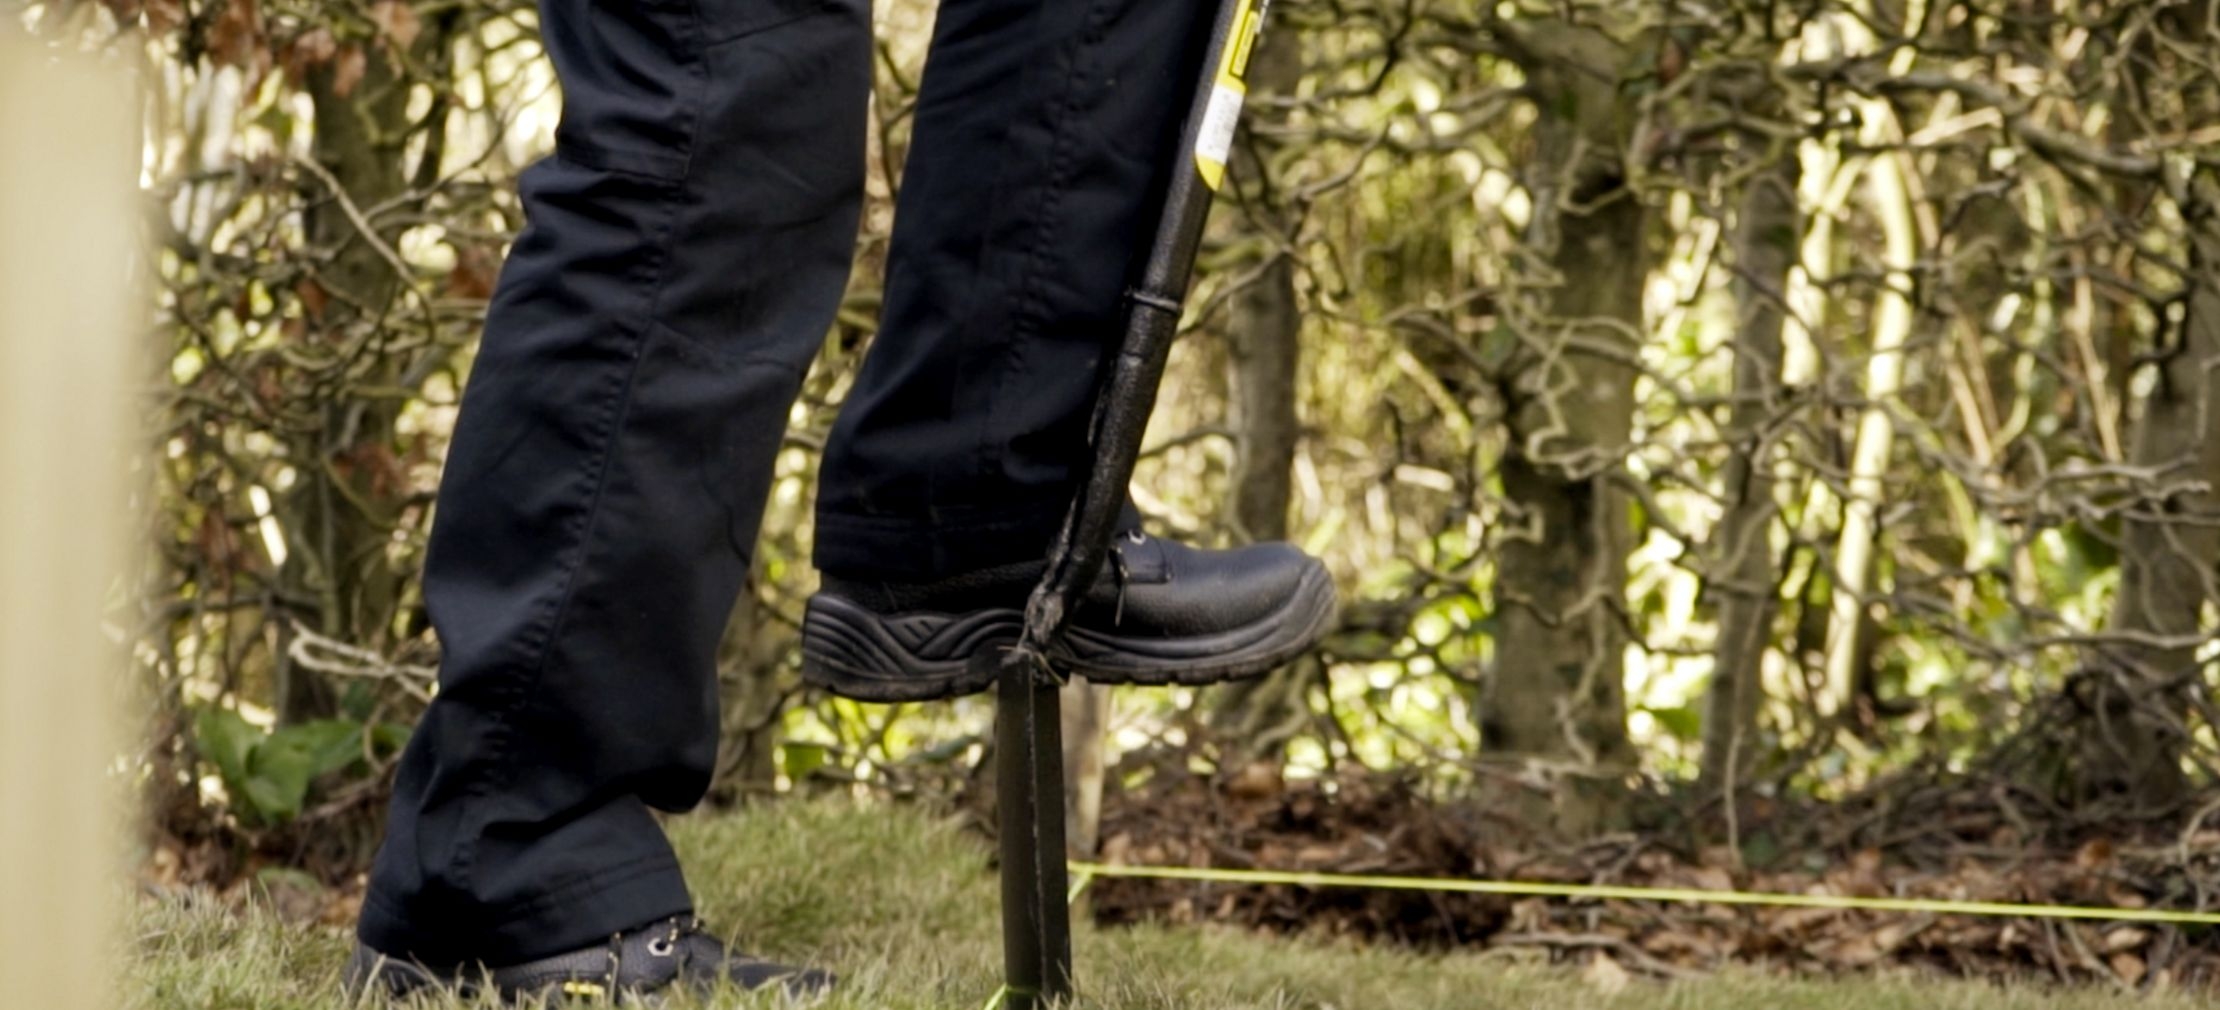
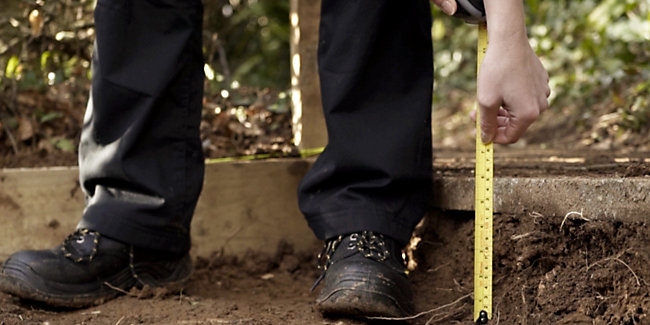
Further difficulties emerged during the digging phase, primarily due to the hot weather, rocky soil, and the unexpected discovery of a PVC pipe running through the planned patio area. The patio design had to be adjusted to accommodate the pipe. After laying the limestone, the author expressed confidence in the project, having spent considerable time meticulously leveling the stone base. However, visual inspections hinted at slight unevenness, which the author initially believed would be corrected by the sand layer.
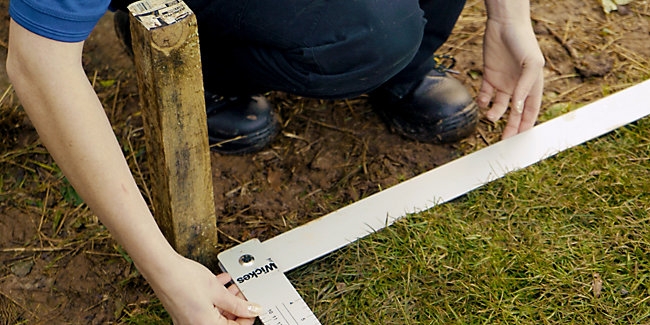
This assumption proved incorrect. Leveling the sand, a process known as screeding, revealed the unevenness of the underlying stone base. The screeding process, which involves using PVC pipes and a flat board to create a smooth sand surface, was compromised by dips in the stone base, resulting in a wobbly sand layer. Realizing this mistake halfway through laying the pavers prompted extra manual leveling efforts, adding hours to the project. Despite these adjustments, some areas remained uneven as the 20-pound pavers were installed.
The completion of the patio initially felt like a defeat due to the visible imperfections. However, after taking a break and re-evaluating, some pavers were re-adjusted to improve the levelness. While not perfectly level, the author expressed satisfaction with the overall outcome and the enhanced aesthetic of their backyard. The structural integrity of the patio was unexpectedly tested by a torrential downpour the night after completion, and it successfully withstood the heavy rains, showing no flooding and maintaining its firm position, with the basement remaining dry, confirming the correct slope. The project saved at least $800 compared to professional installation. Despite the accompanying headaches, the author values the DIY experience for the knowledge gained and the sense of personal accomplishment.
#DIYHomeImprovement #PatioConstruction #LandscapeDesign #HomeProject #PaverPatio #CostSaving #ConstructionChallenges #PersonalExperience #DIYHomeImprovement #PatioConstruction #LandscapeDesign #HomeProject #PaverPatio #CostSaving #ConstructionChallenges #PersonalExperience
0 Kommentare insgesamt
 Noch keine Kommentare
Das könnte Ihnen auch gefallen
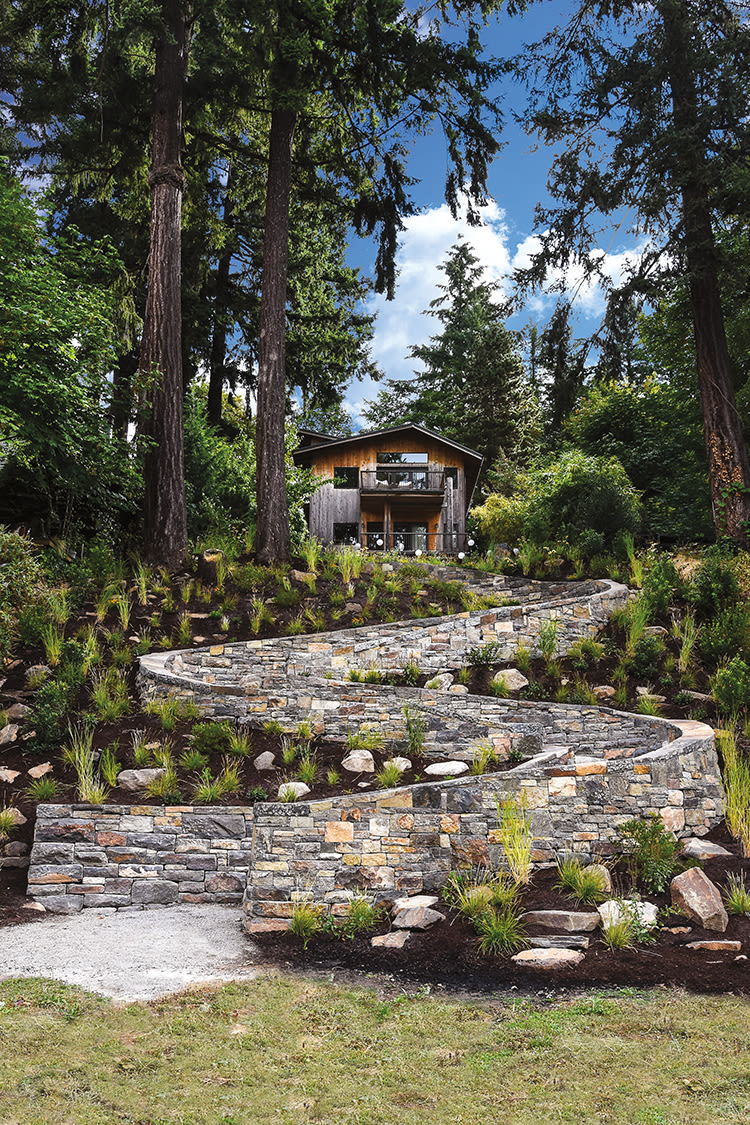
Build Your Perfect Backyard Patio in 5 Easy Steps

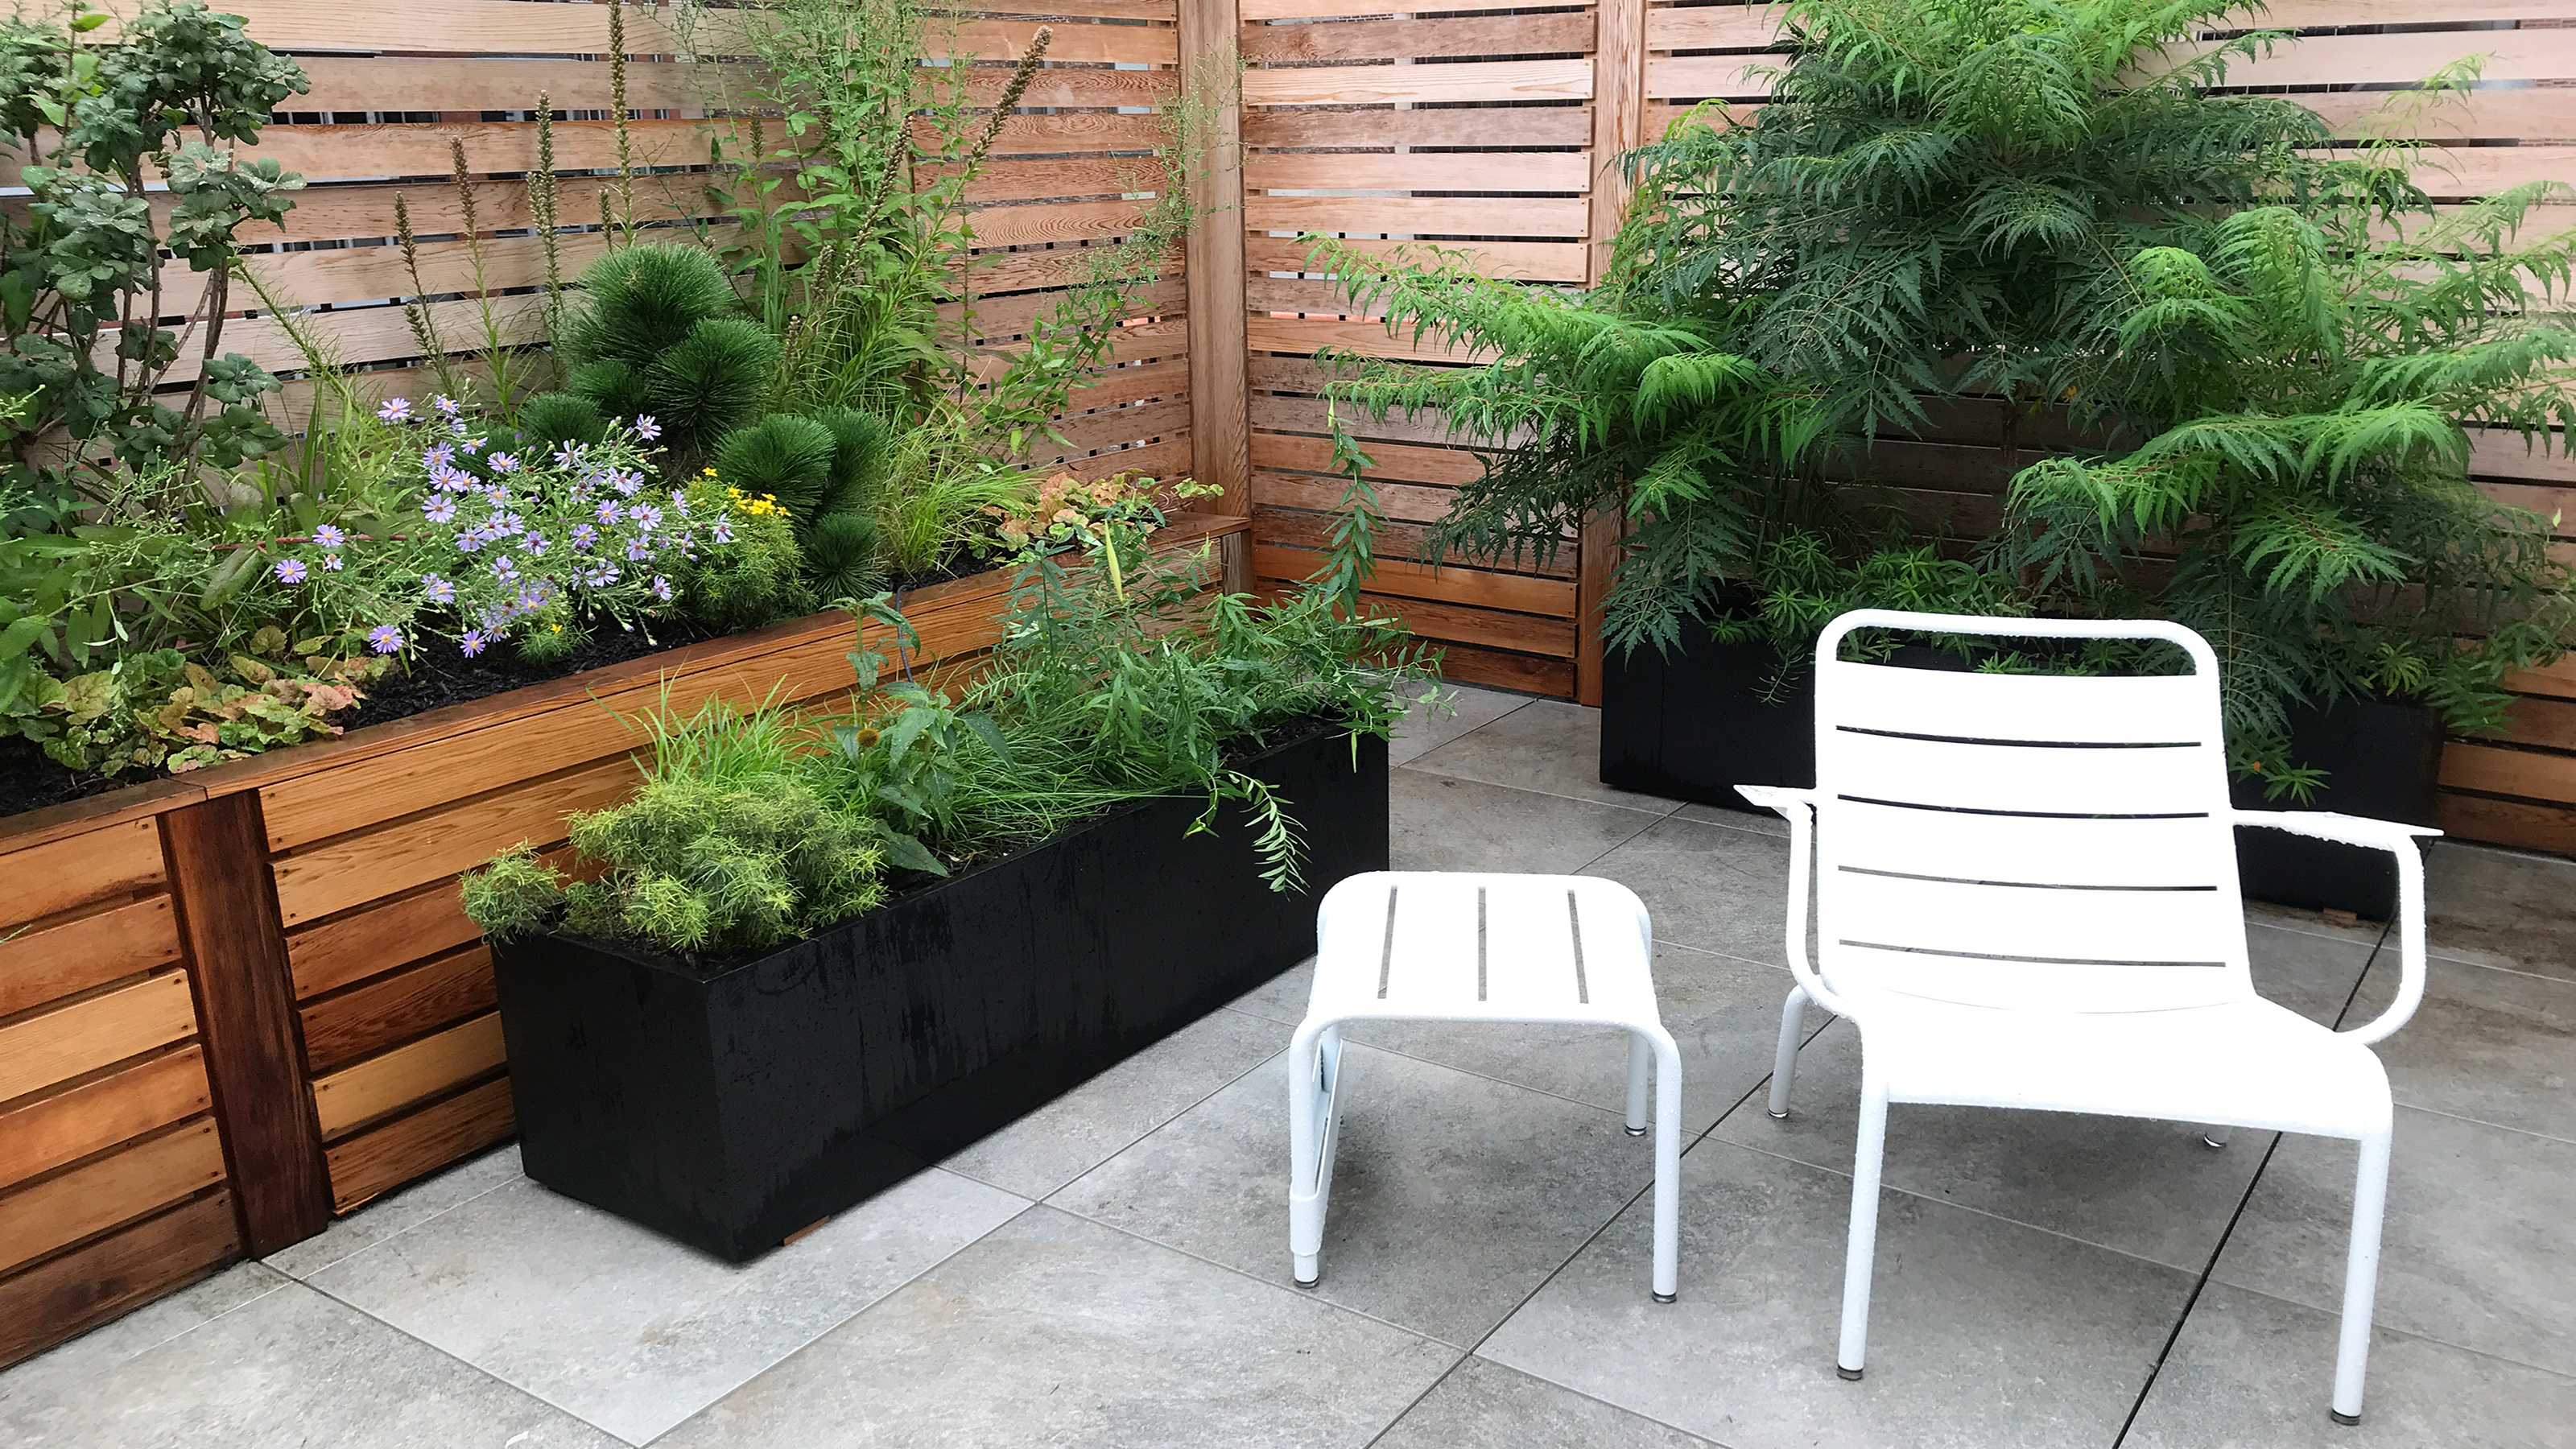
15 budget-friendly paver patio ideas from the pros — perfect for stylish small spaces

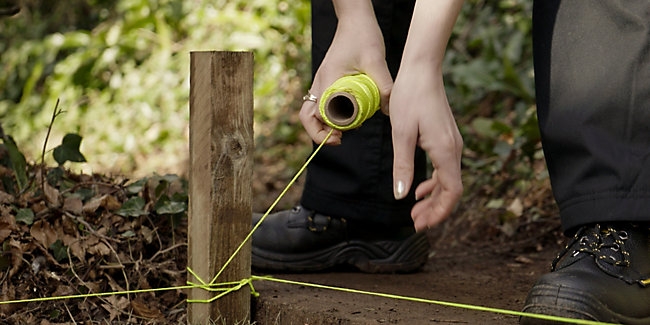
How to lay a patio

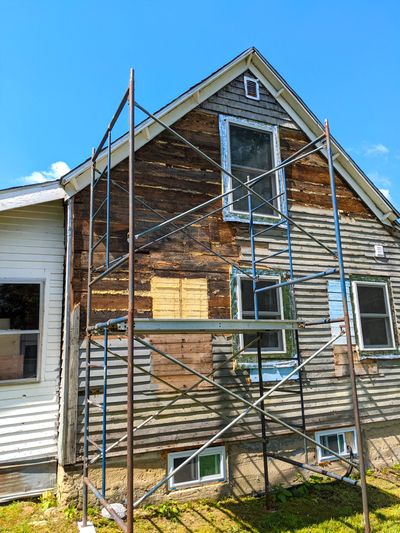
Ask the Builder: Save big money on exterior house projects by doing them yourself

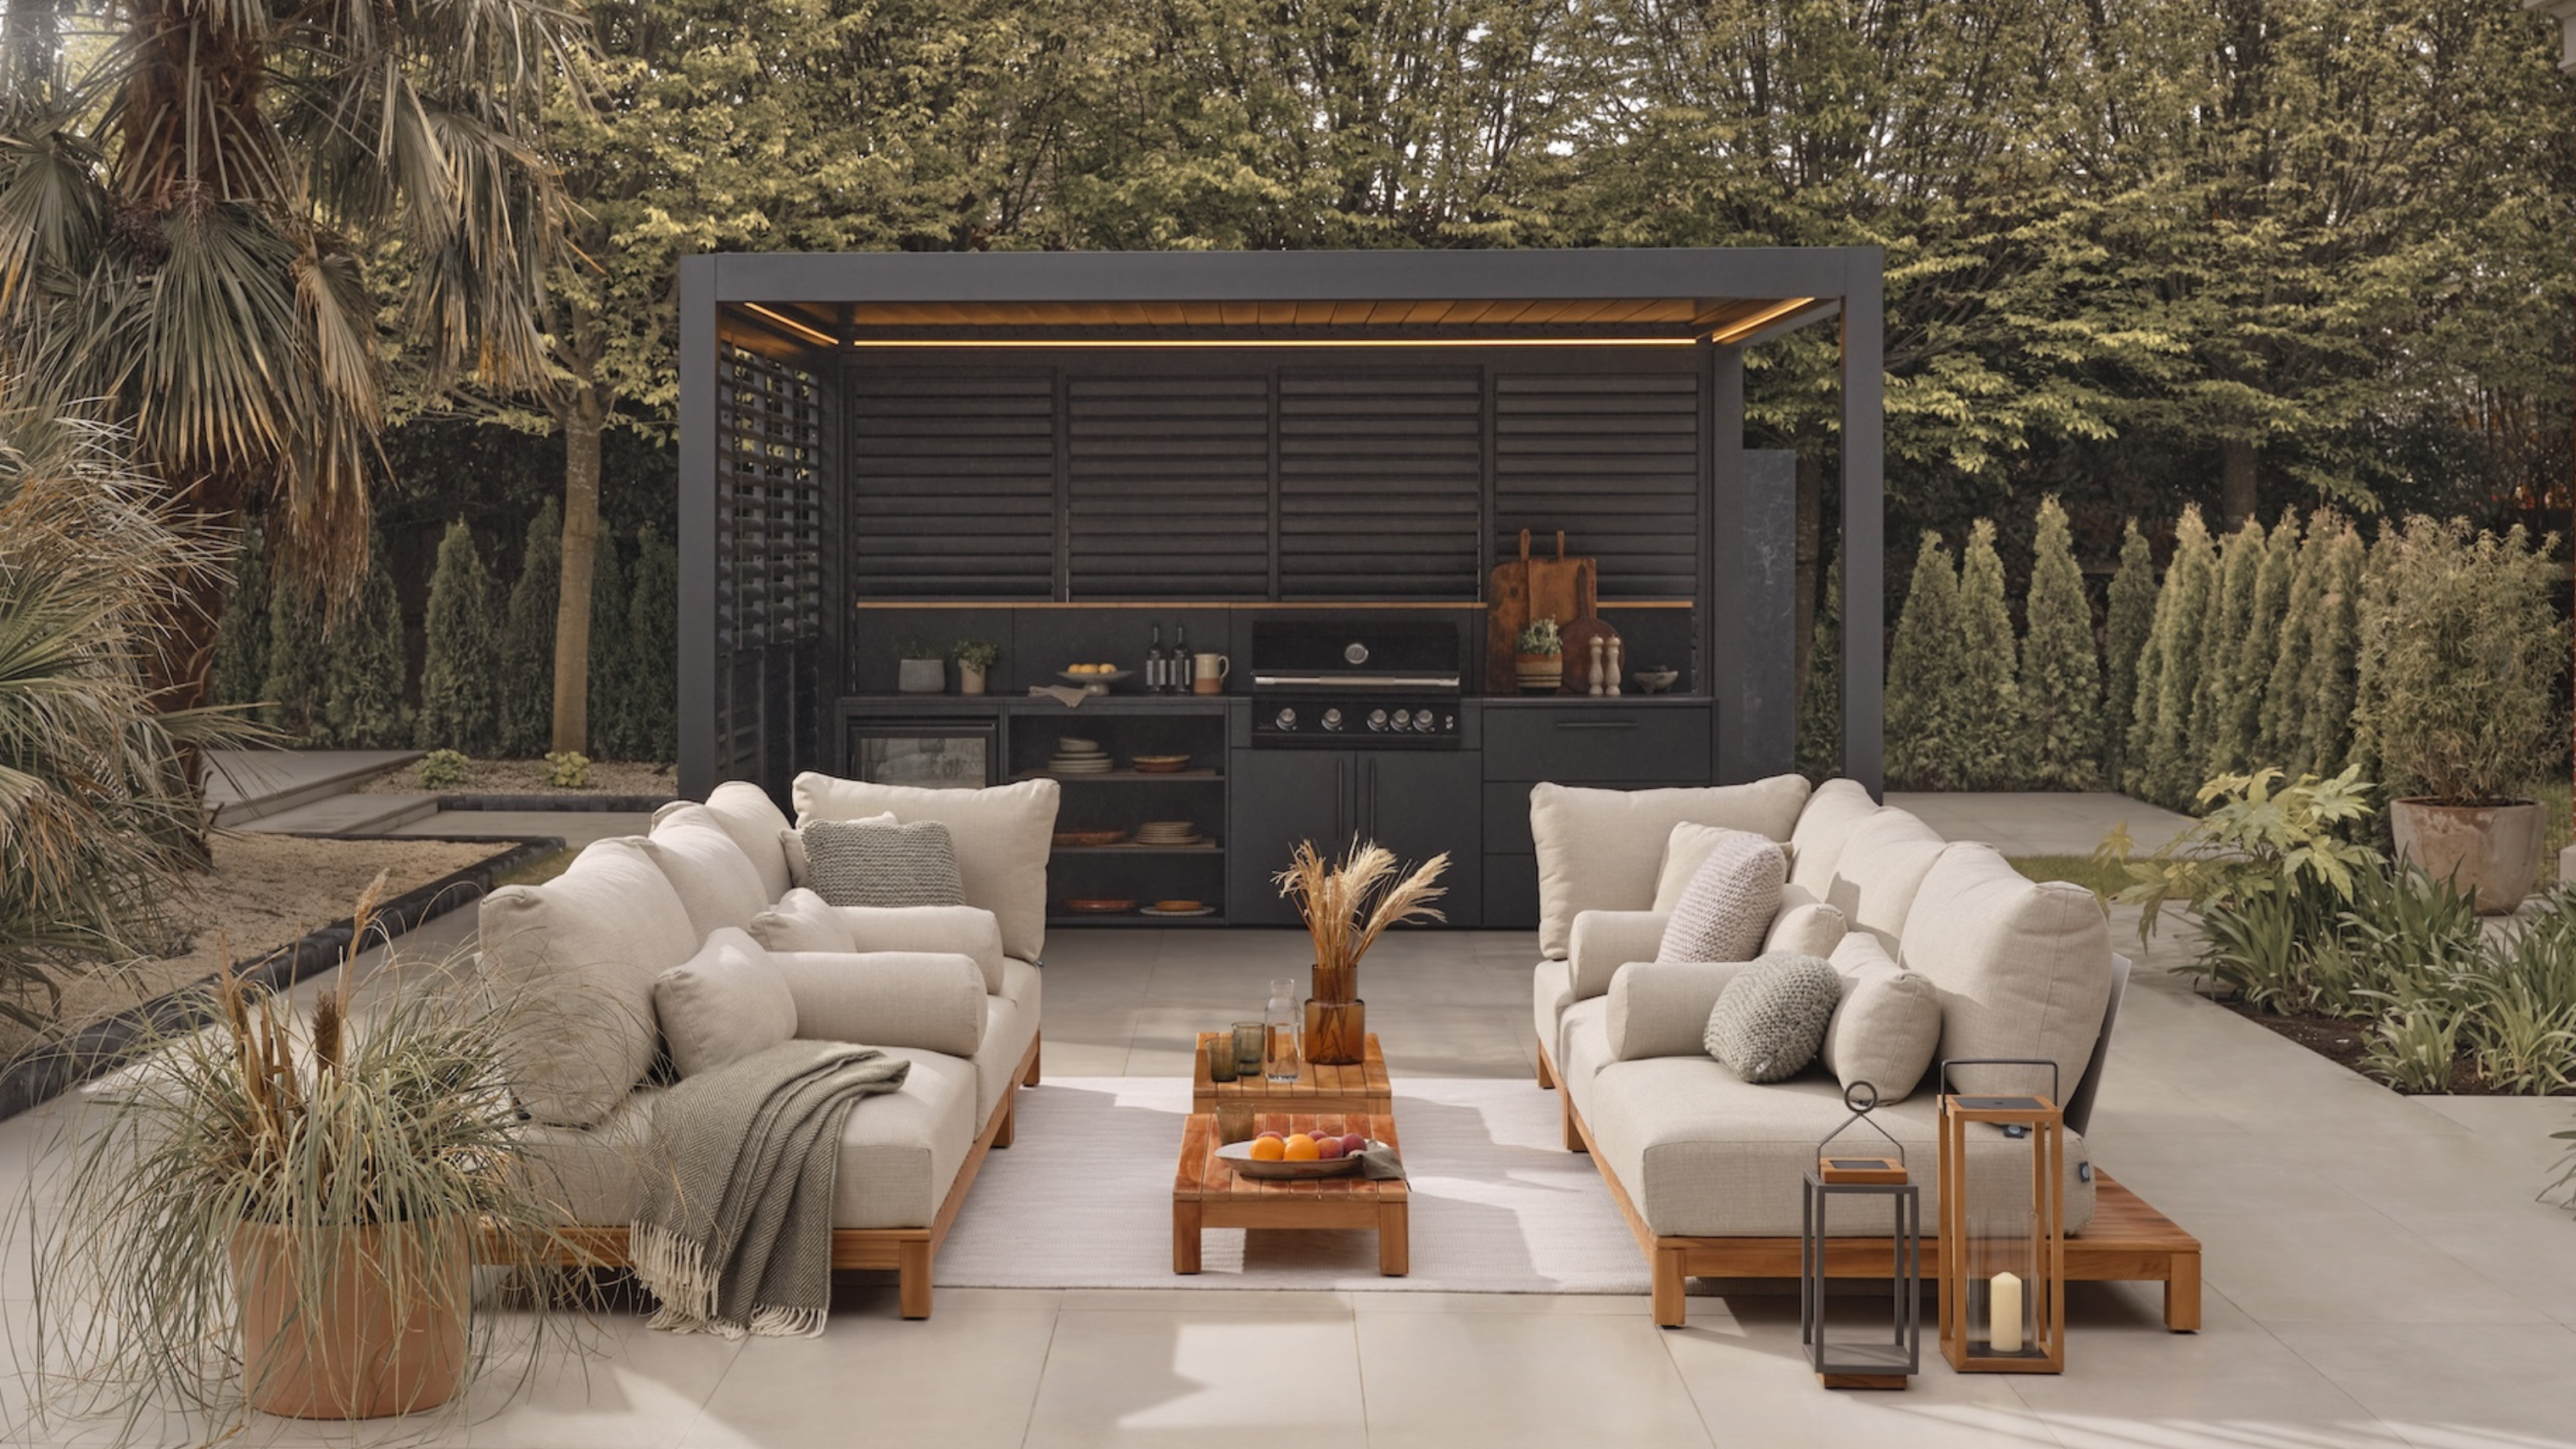
Is It Better to Buy or Build Your Own Pergola? Experts Discuss the Most Cost-Effective Way to Embrace Those Shady Summer Days

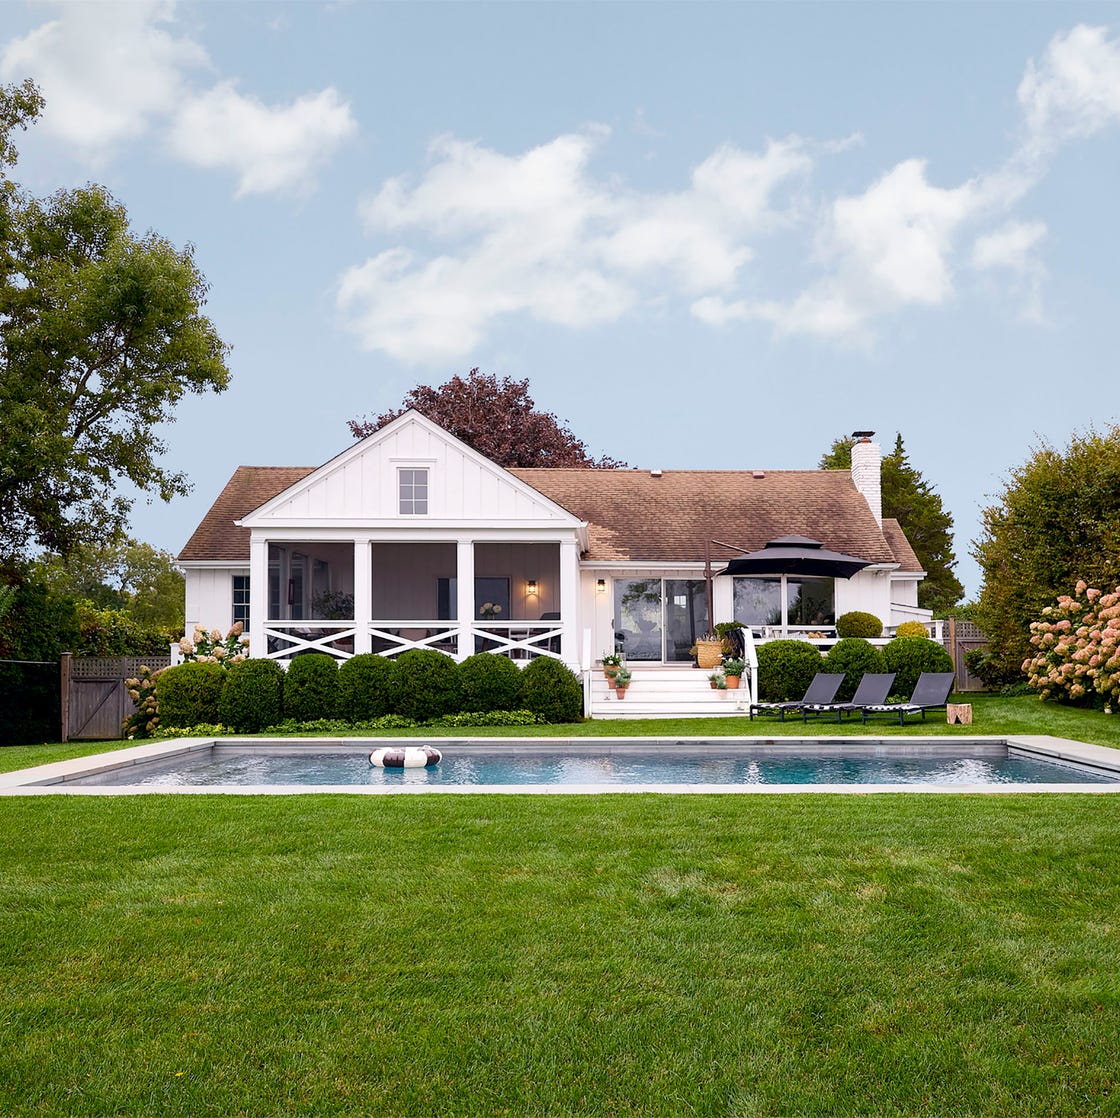
Forget Kitchens—Zillow Says This is Where Homeowners Are Spending Big in 2025
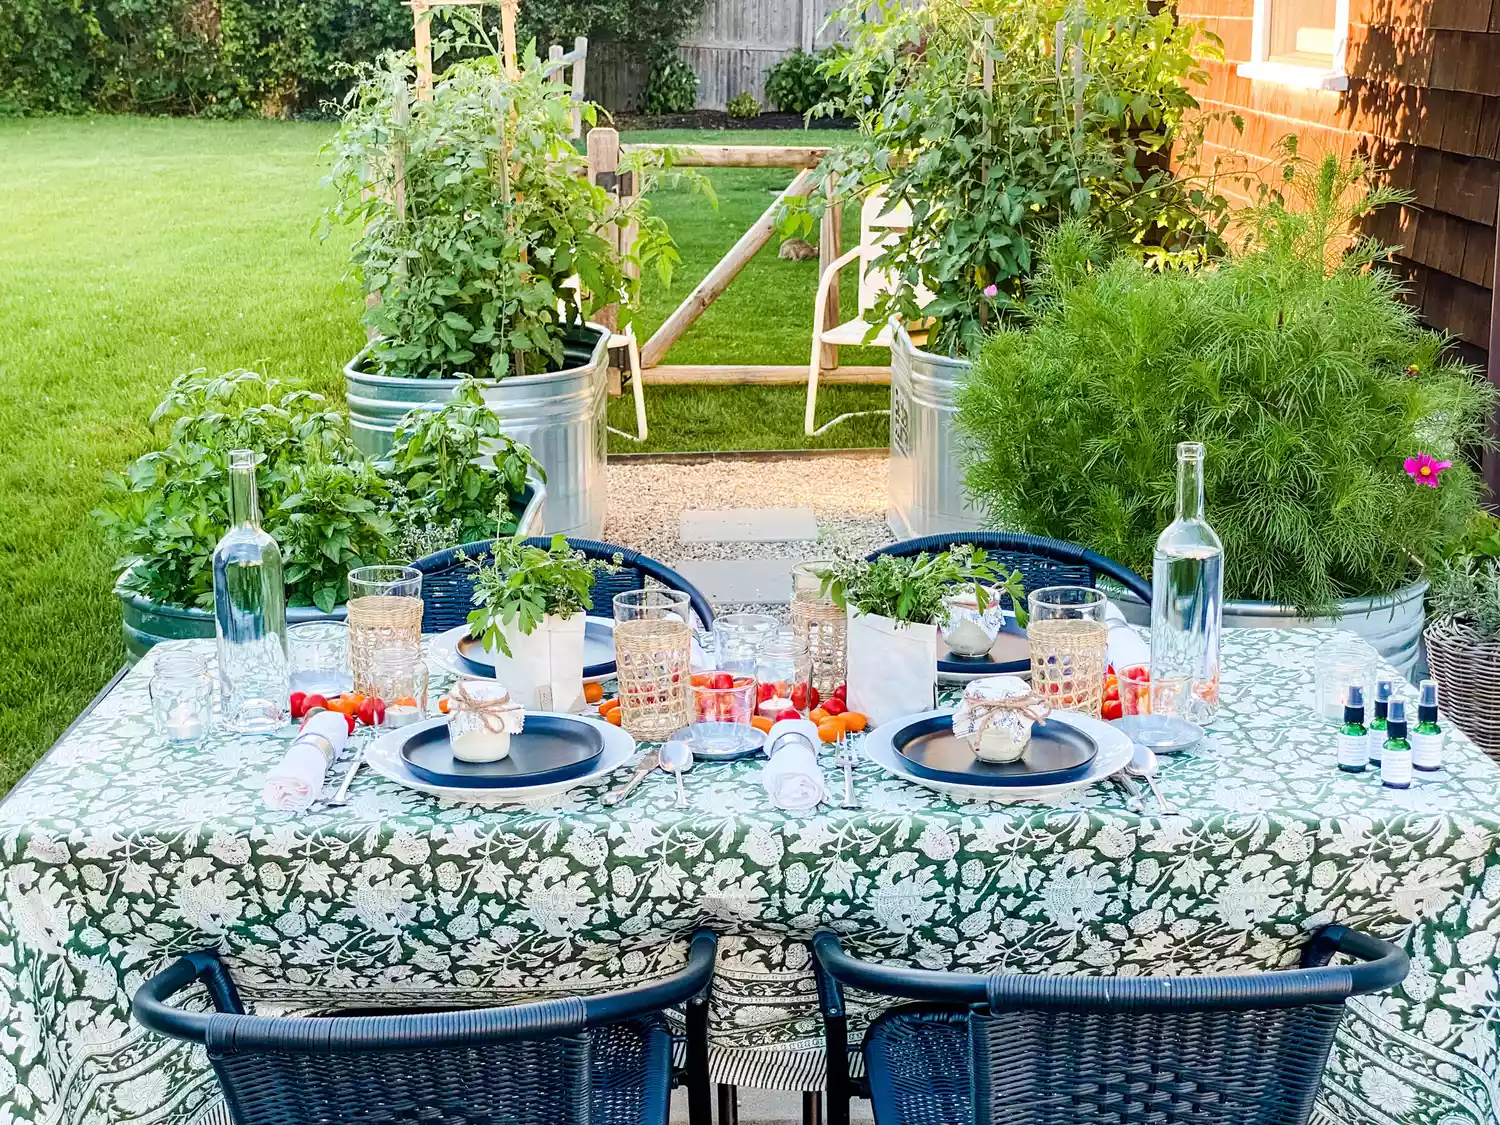
Yes, You Can Totally DIY These Easy Patio Upgrades Before the Weekend Is Over

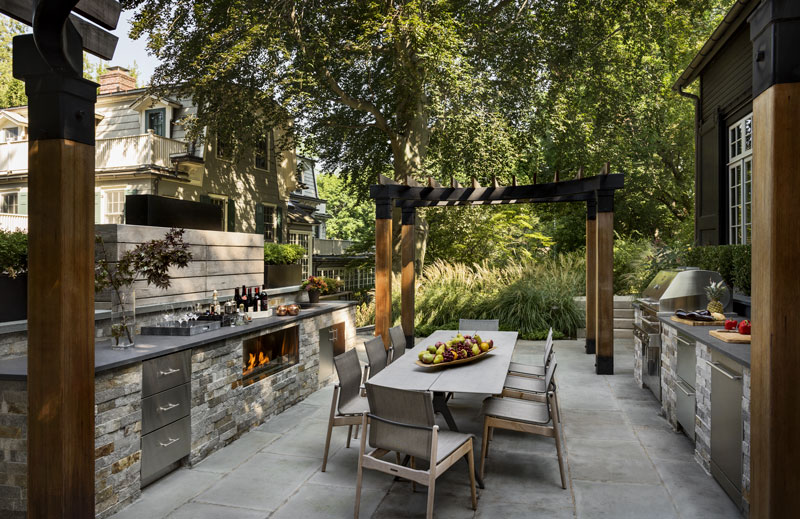
5 Great Backyards to Inspire Your Own Outdoor Renovation

Try These Small Patio Decorating Ideas to Refresh Your Space

This Renter-Friendly Patio Privacy Solution Is Stylish (But Is It Right For You)?

Deck and Patio Designs, Ideas and Projects

10 easy DIY landscaping ideas to elevate your backyard
Patiowell Shed Review: Is it Worth the Money?

28 Gorgeous Outdoor Patio Design Ideas to Inspire Your Very Own Backyard Haven

Try These DIY Patio Cover Ideas to Create Your Dream Outdoor Retreat

9 patio decorating ideas to transform your space into an outdoor oasis
8 Ways to Turn Your Tiny Back Patio Into a Gorgeous Oasis

Refresh your patio or balcony on a budget with DIY ideas that are perfect for Phoenix
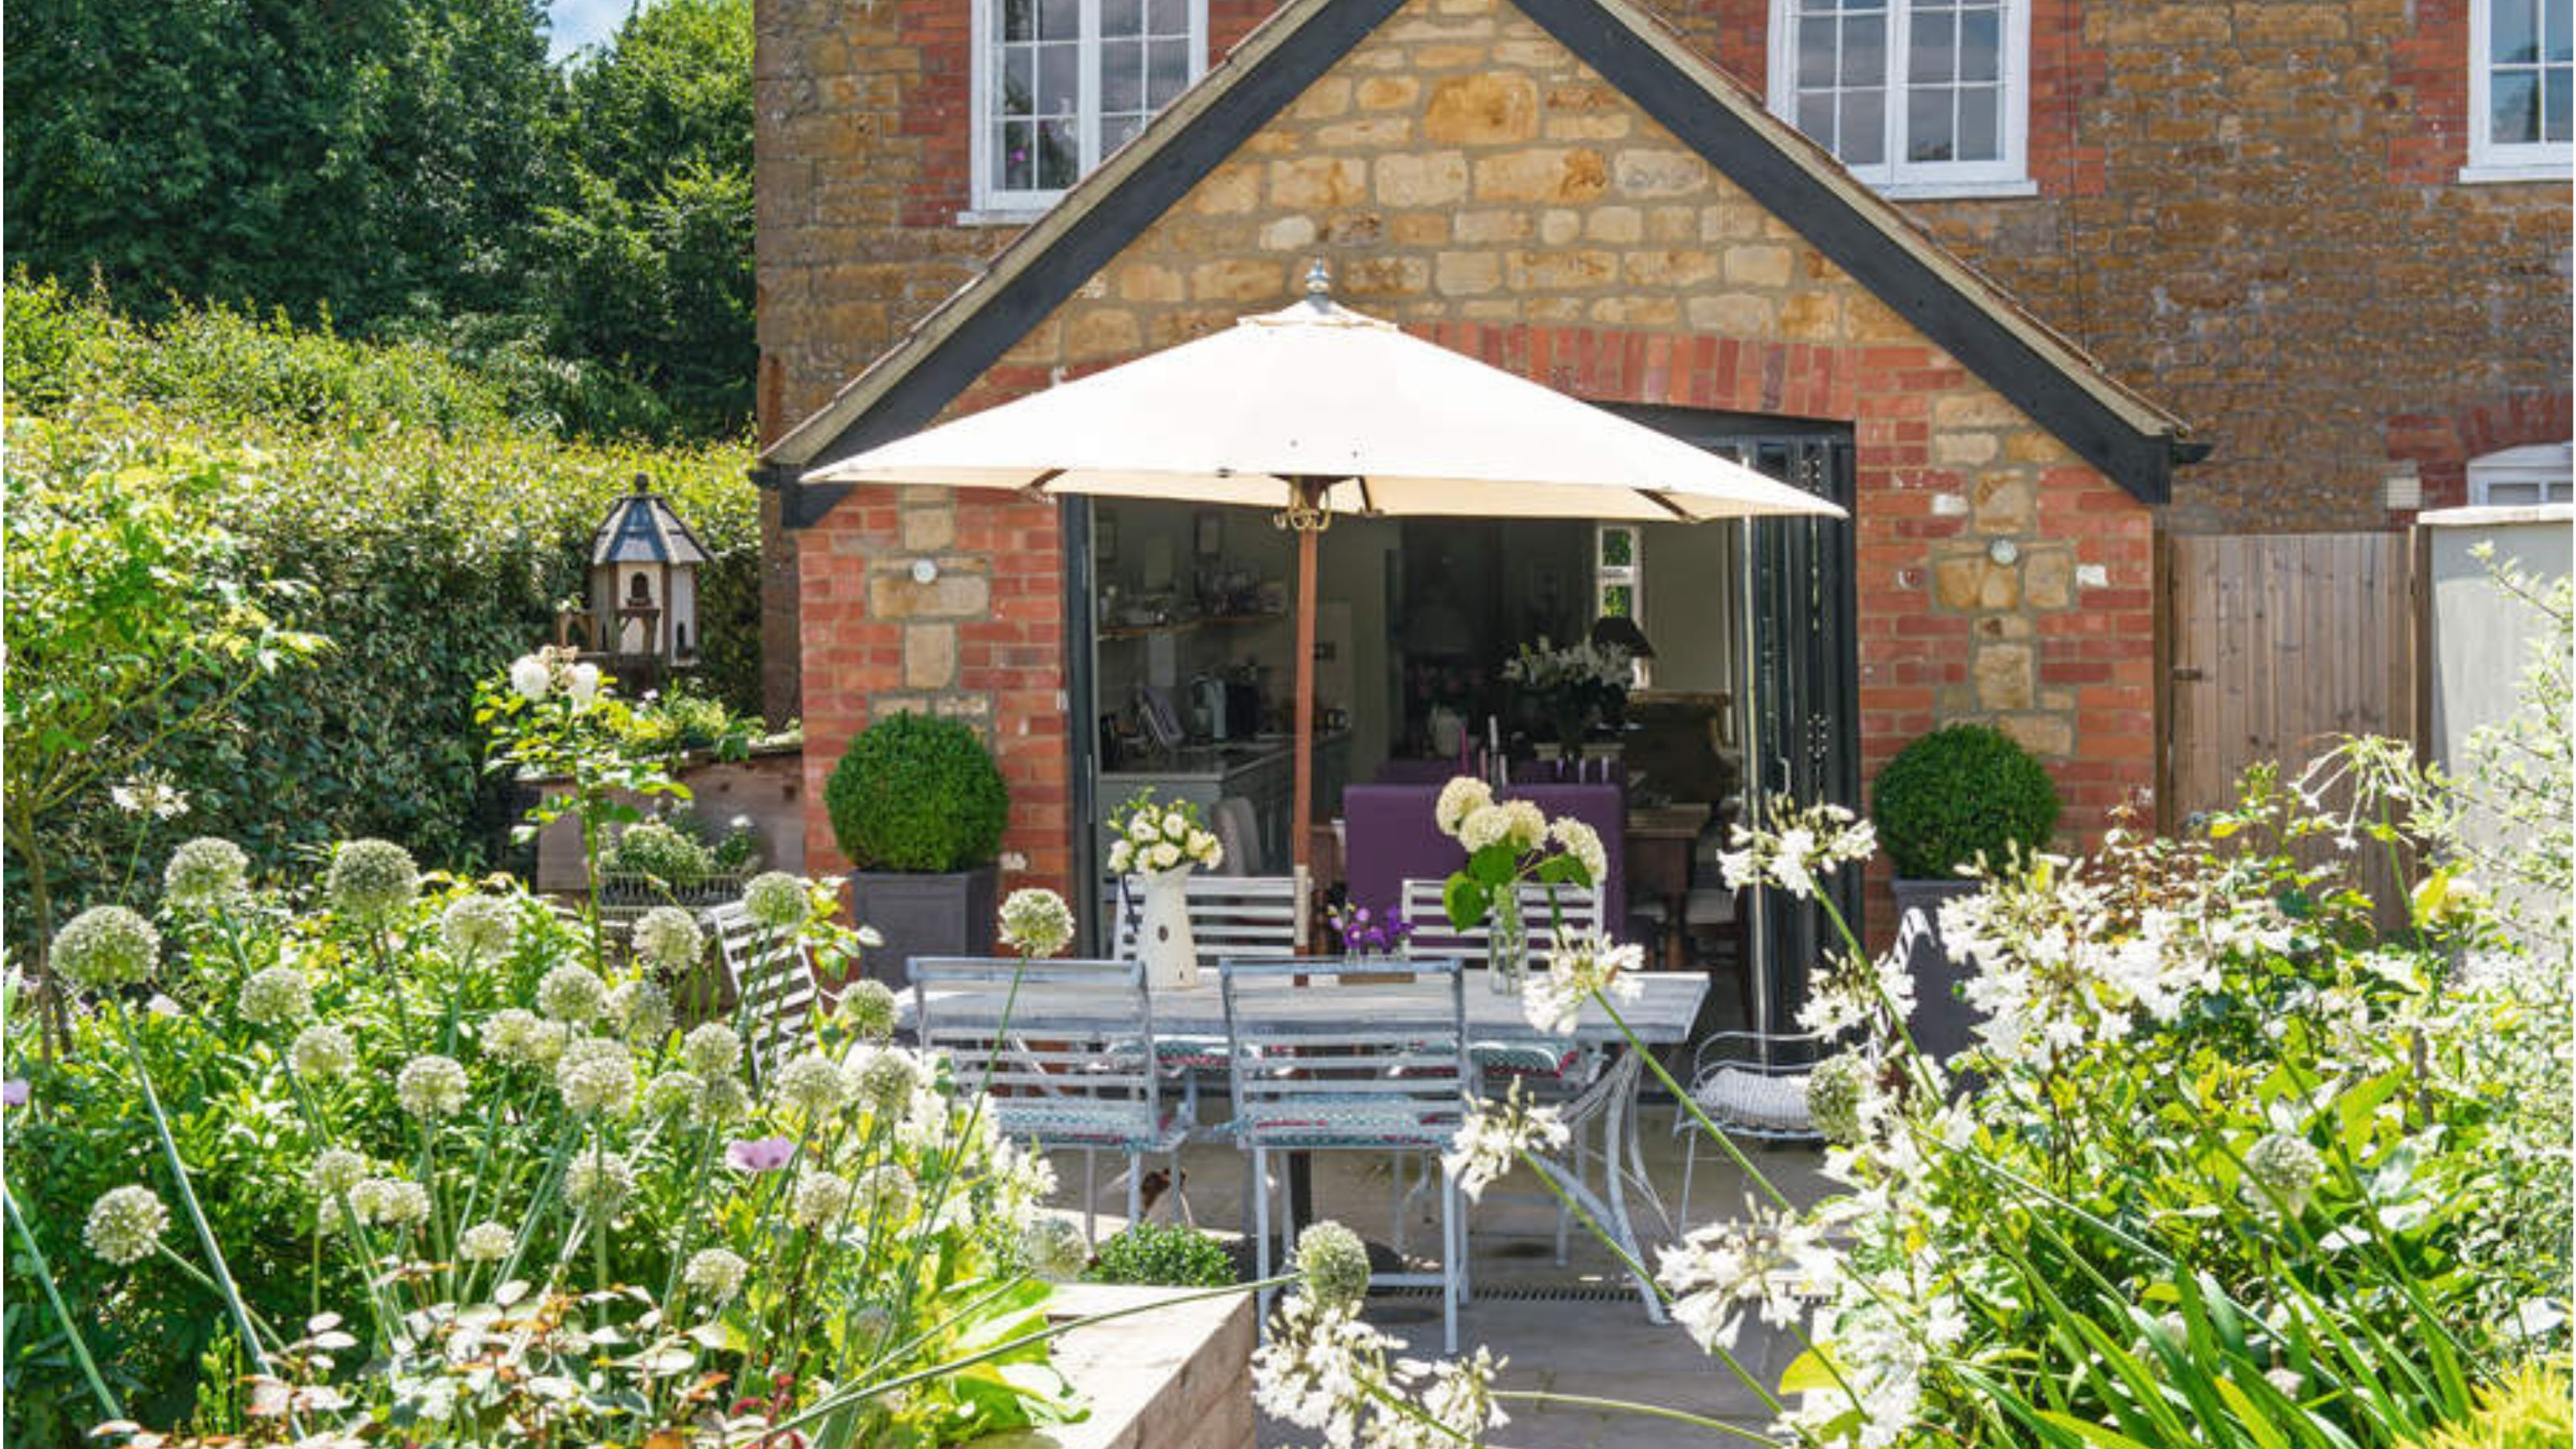
Patio ideas on a budget – 18 cost-effective ways to transform your outdoor space
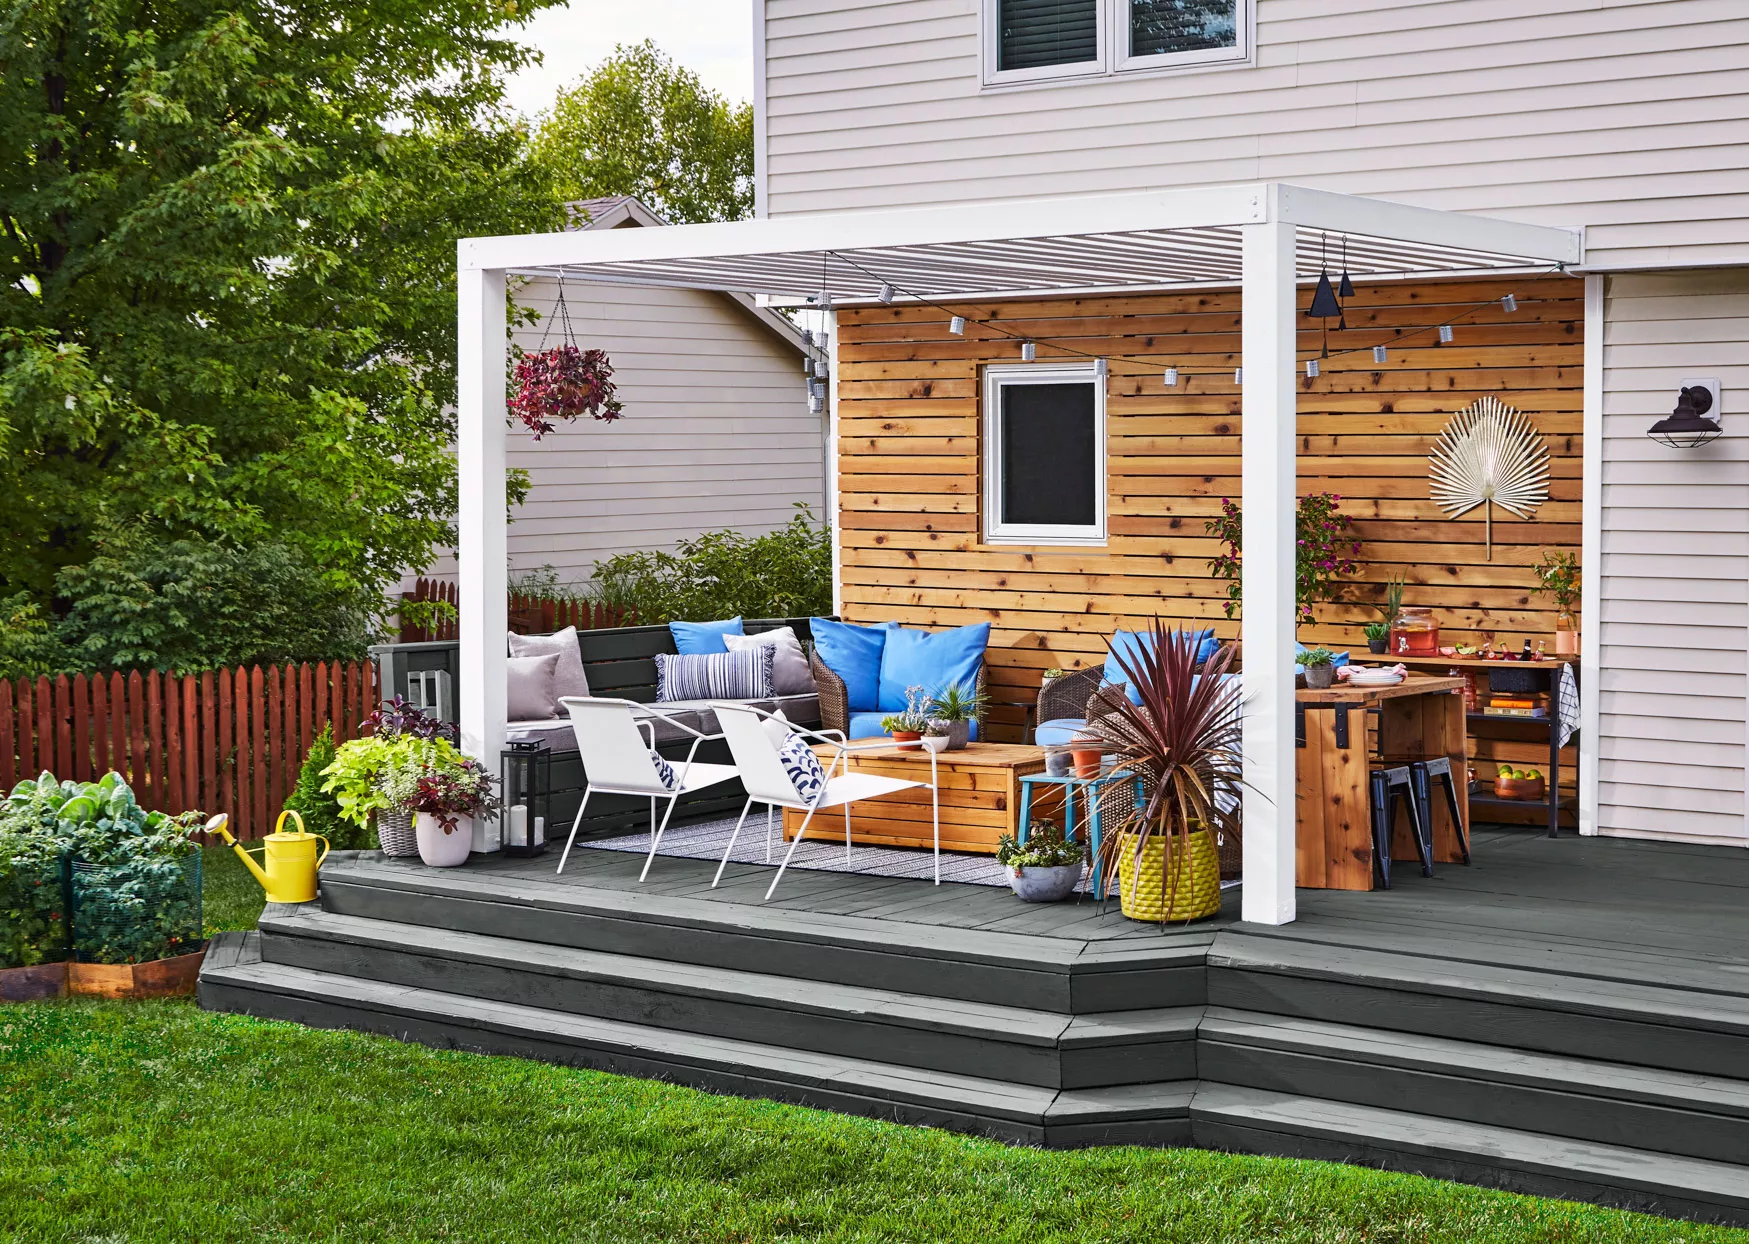
14 Dreamy Before-and-After Deck Makeovers