1/20
How to Build a Custom Computer Desk With Ikea Cabinets and Plywood
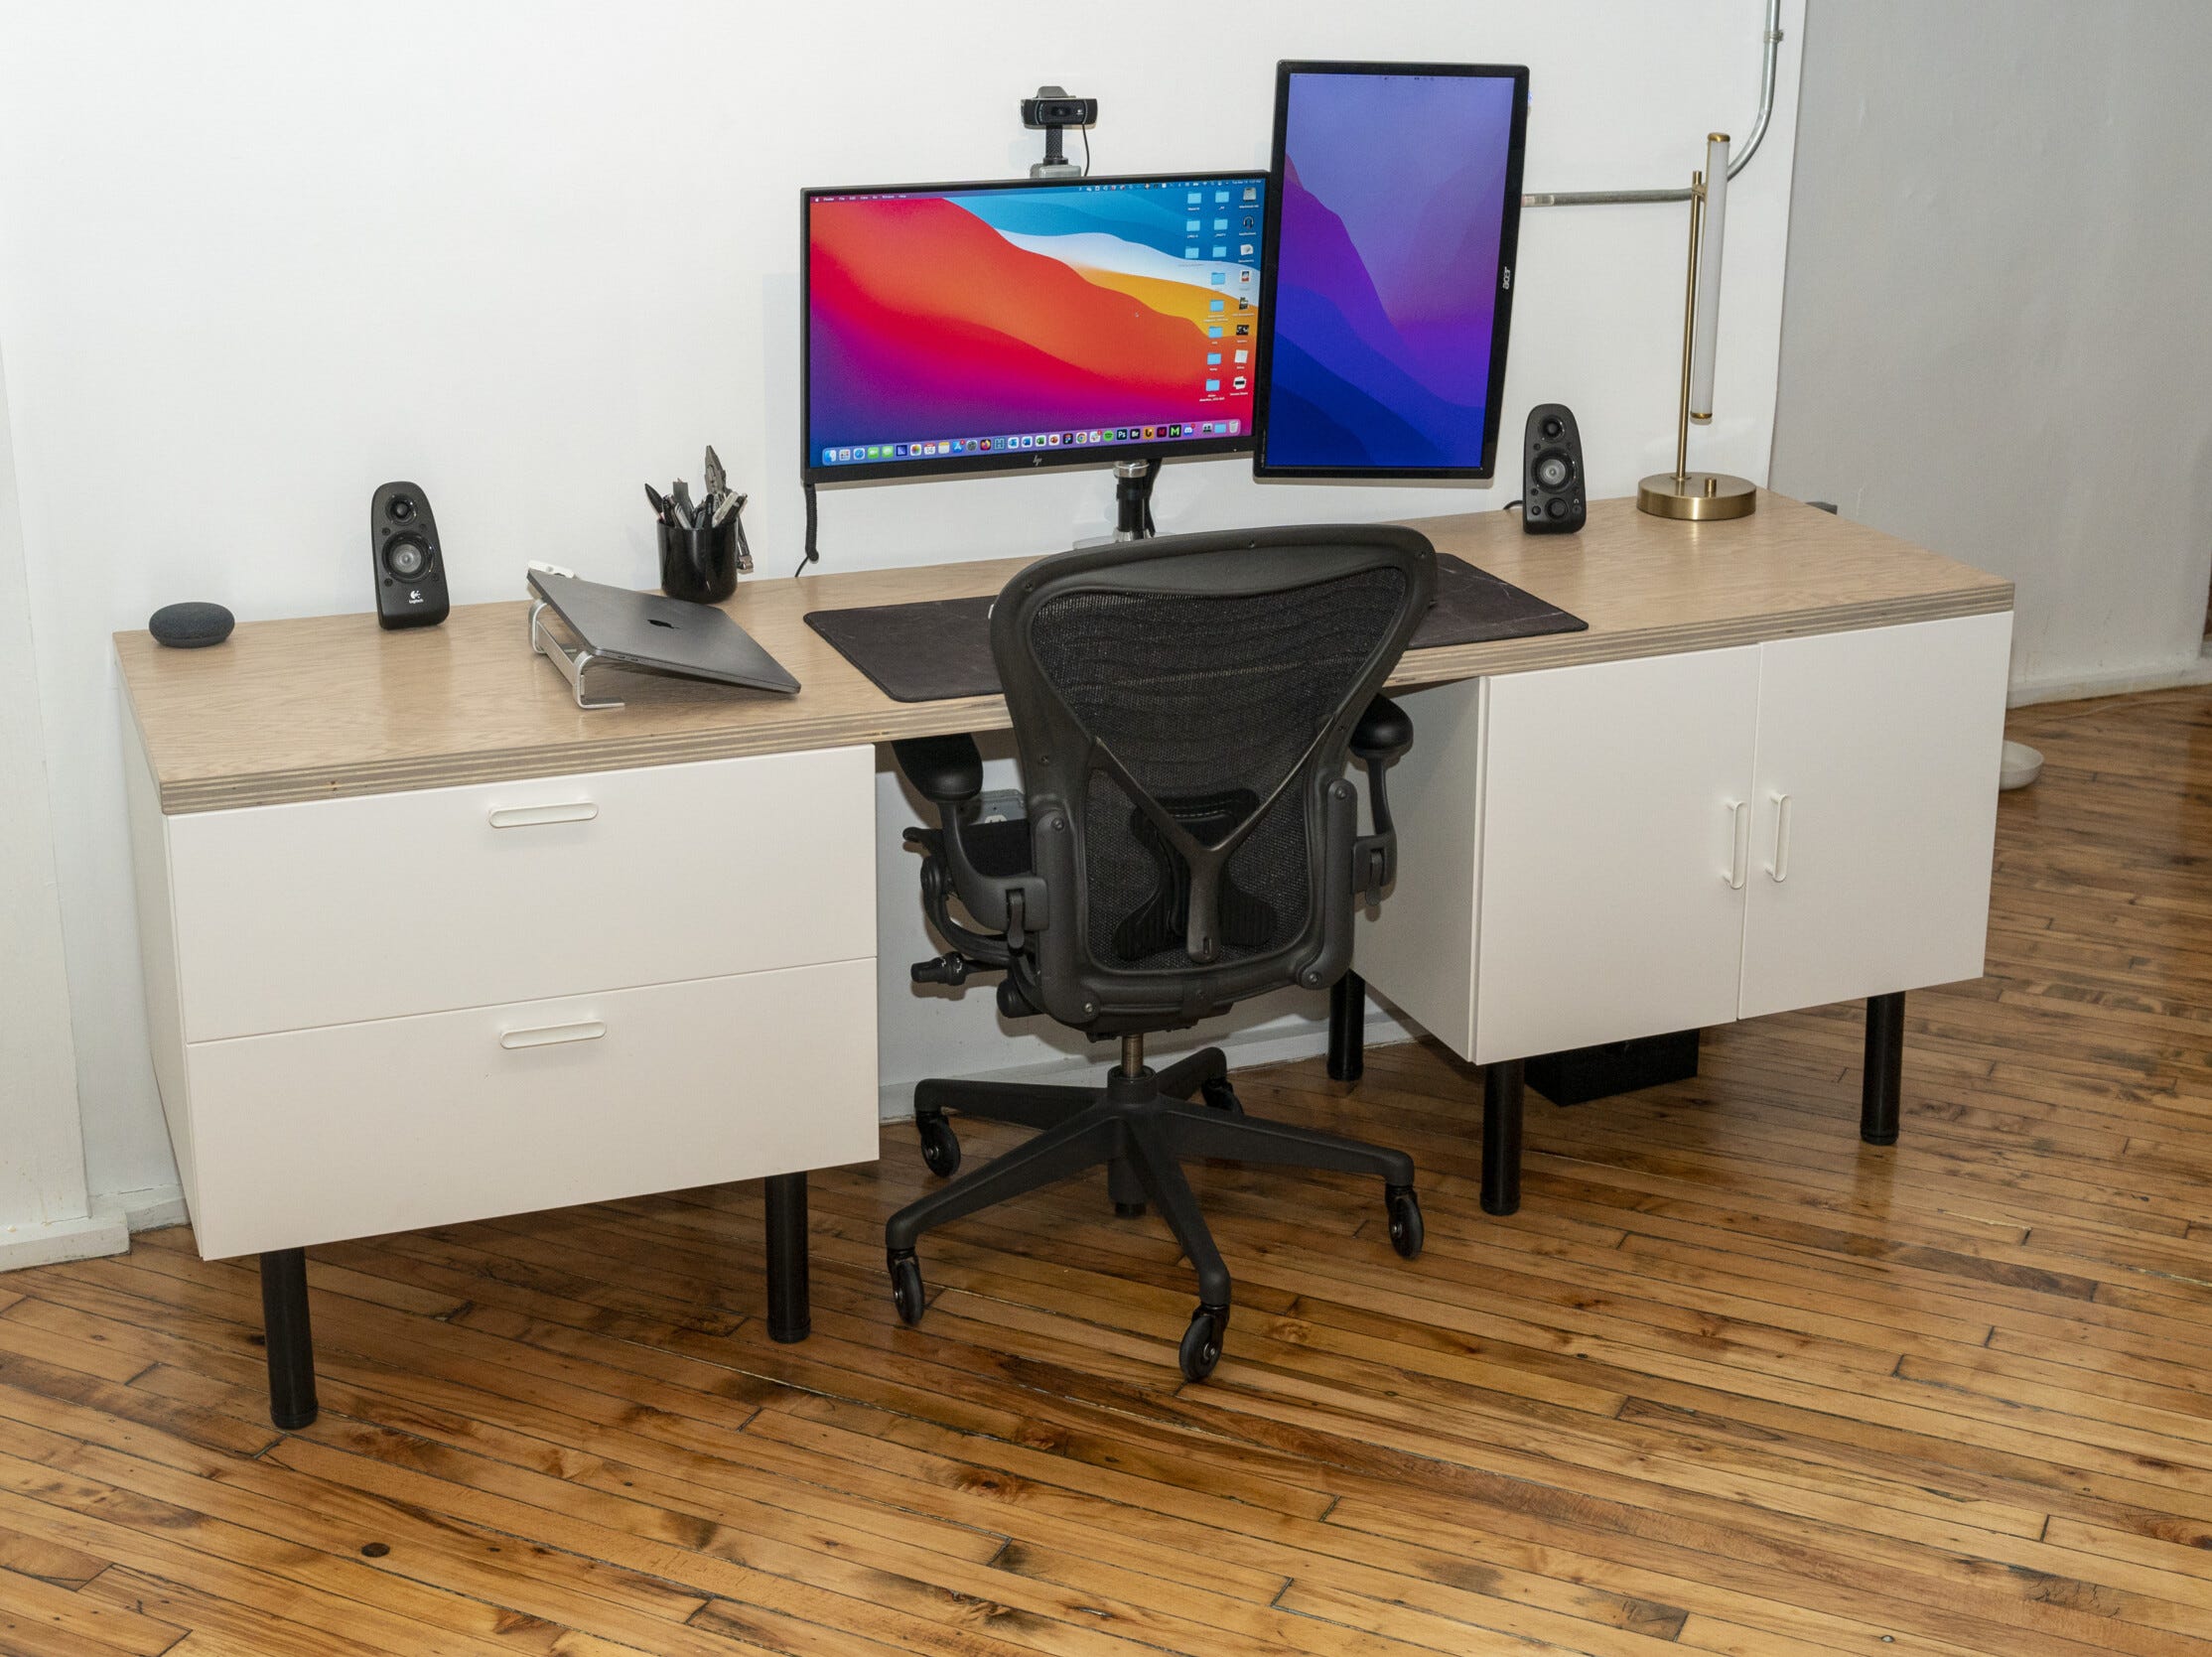
This article details the process of constructing a custom computer desk utilizing IKEA Sektion cabinets and plywood, designed to offer a large, uncluttered workspace with significant storage capacity. The project was initiated during the pandemic by a college senior who struggled to find an affordable and suitable desk for digital design work, leading to the development of a DIY solution. The desk, which draws inspiration from mid-century modern credenzas, was initially prototyped and later refined to improve surface quality and storage arrangement. The updated Version 2.0 of this IKEA desk hack, developed in collaboration with Roy Berendsohn, provides 15 square feet of workspace and eight cubic feet of storage.
The desk's structure is divided into three main sections: a left cabinet with two drawers, a central seating area, and a right cabinet with two doors. A 1-1/2-inch-thick desktop, laminated from two 3/4-inch sheets of A1 oak veneer plywood, spans these cabinets. The construction process is outlined, including the tools used and a step-by-step guide for assembly. Essential tools mentioned include a DeWalt 20V Max Cordless Drill, Ryobi ONE+ HP 18V Brushless Cordless Track Saw, Bosch 2.5 Amp Corded Random Orbital Sander, and a DeWalt 15 Amp Table Saw.
Assembly of the IKEA Sektion cabinets is described as straightforward, though attention to detail is advised to avoid common issues like misaligned drawer faces. A specific problem with the bottom drawer face being too high was resolved by re-drilling holes. The customization options for the cabinet configurations are highlighted, emphasizing the flexibility to suit individual needs. The article explains the rationale behind choosing plywood for the desktop, citing cost-effectiveness, manageable length, and the desired mid-century modern aesthetic with exposed plywood layers. Alternatives like butcher block and MDF panels are also suggested.
Details are provided on creating the desktop, including ripping plywood sheets to size, laminating them with wood glue and screws for thickness, and then sanding the edges to a smooth finish using a random orbital sander and straight wood guides. The finishing process for the desktop is meticulously described, involving experimentation with stains and conditioners on the underside to achieve the desired color. The final finish recipe includes a blend of Varathane oil stains (25% Sunbleached, 75% Classic Natural), two coats of diluted Varathane Oil Clear Satin polyurethane, and a final application of paste wax for protection and sheen. This multi-step process ensures a durable, lustrous finish that complements the white cabinets and offers moderate protection.
Finally, the article covers the installation of the desktop onto the cabinets, which involves attaching adjustable legs to each cabinet for leveling and securing the plywood top from underneath with drywall screws. Additional accessories are detailed to enhance functionality and aesthetics, particularly focusing on cable management and hidden computer components. These include cable grommets for neat access holes, a clamp-on dual monitor arm to save desk space, a cooling fan system for a hidden PC within the right cabinet, and an external button switch for powering on the computer without opening the cabinet doors. The author concludes by reflecting on the successful integration of basic woodworking skills with a mid-century modern design aesthetic, achieving a highly functional and visually appealing custom desk for approximately $600.
#DIYDesk #IKEAHack #CustomFurniture #Woodworking #HomeOffice #MidCenturyModern #PlywoodProject #CableManagement #HomeImprovement #DIYDesk #IKEAHack #CustomFurniture #Woodworking #HomeOffice #MidCenturyModern #PlywoodProject #CableManagement #HomeImprovement
0 Kommentare insgesamt
 Noch keine Kommentare
Das könnte Ihnen auch gefallen
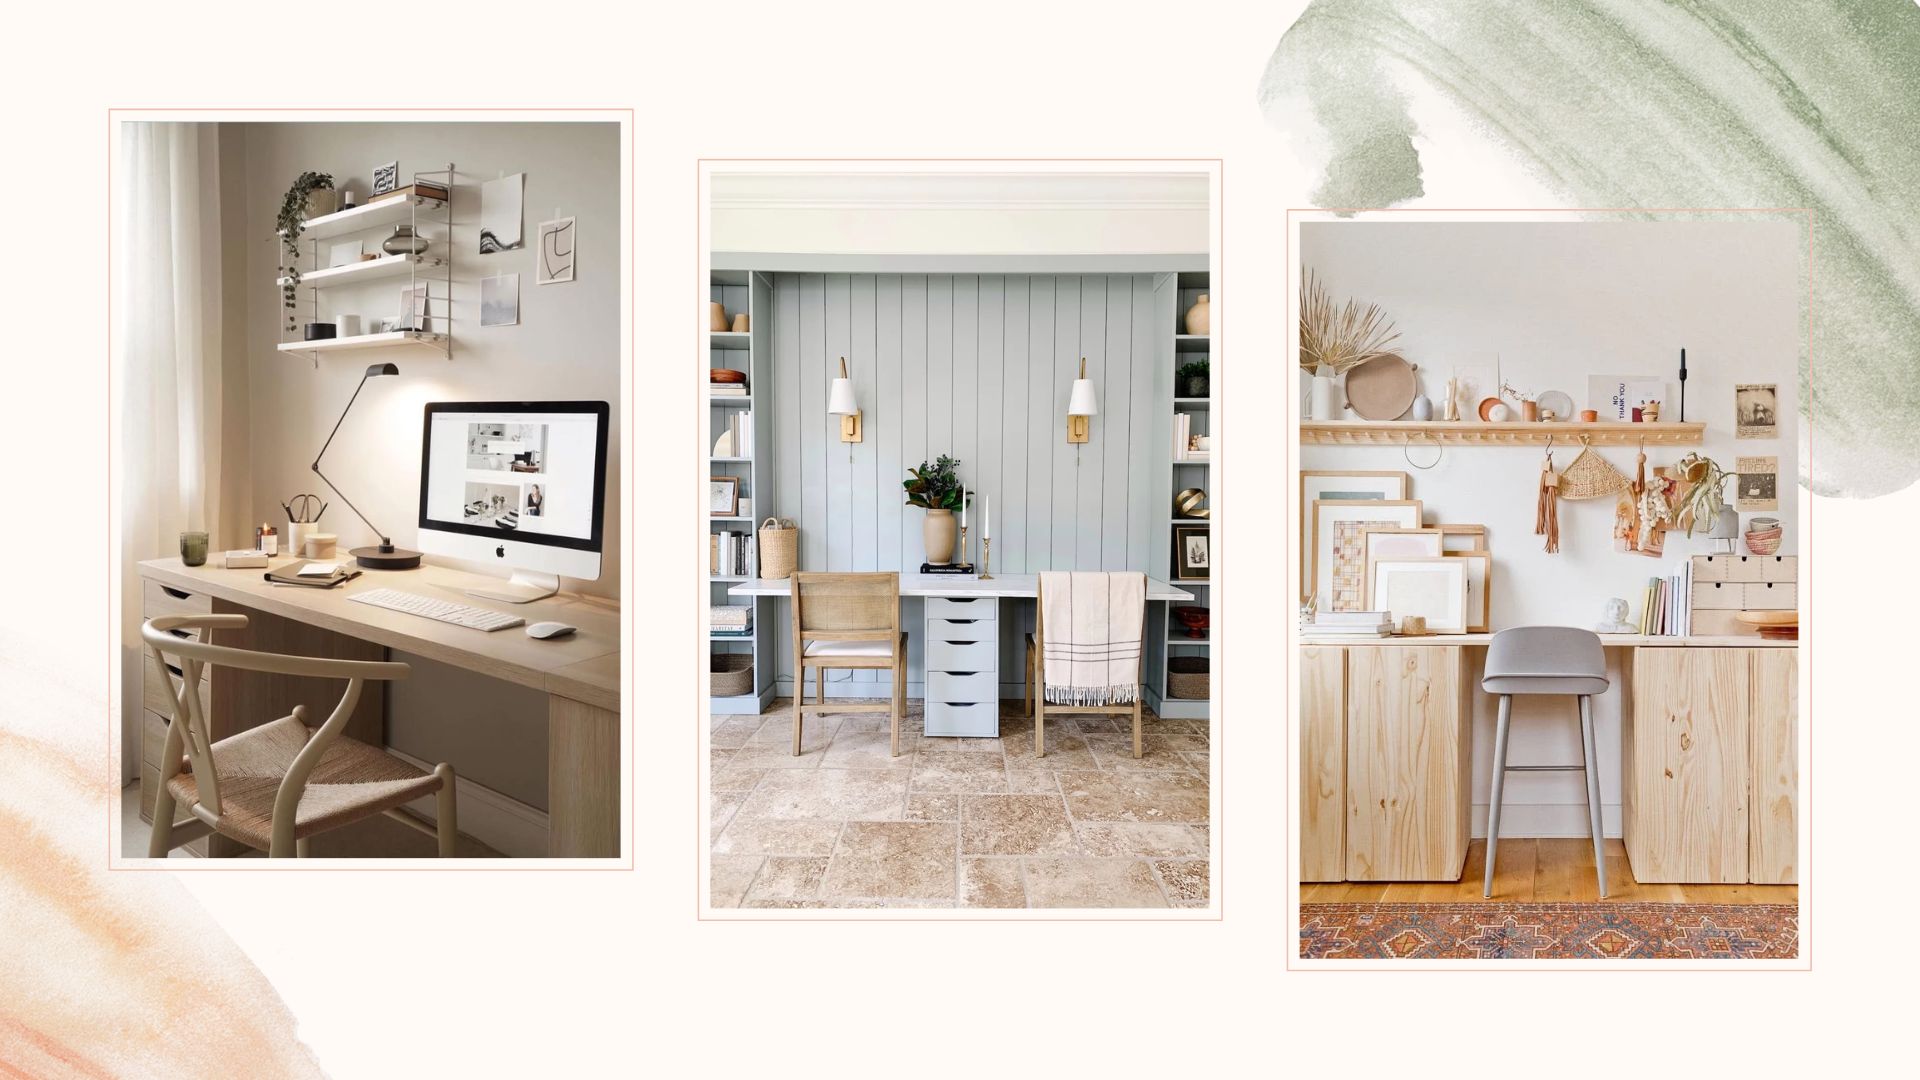
IKEA desk hacks: 14 bespoke furniture transformations

24 IKEA Essentials To Make Working From Home Simple And More Organized

The Stuff of Life: Stylish Improvisations With IKEA Furniture

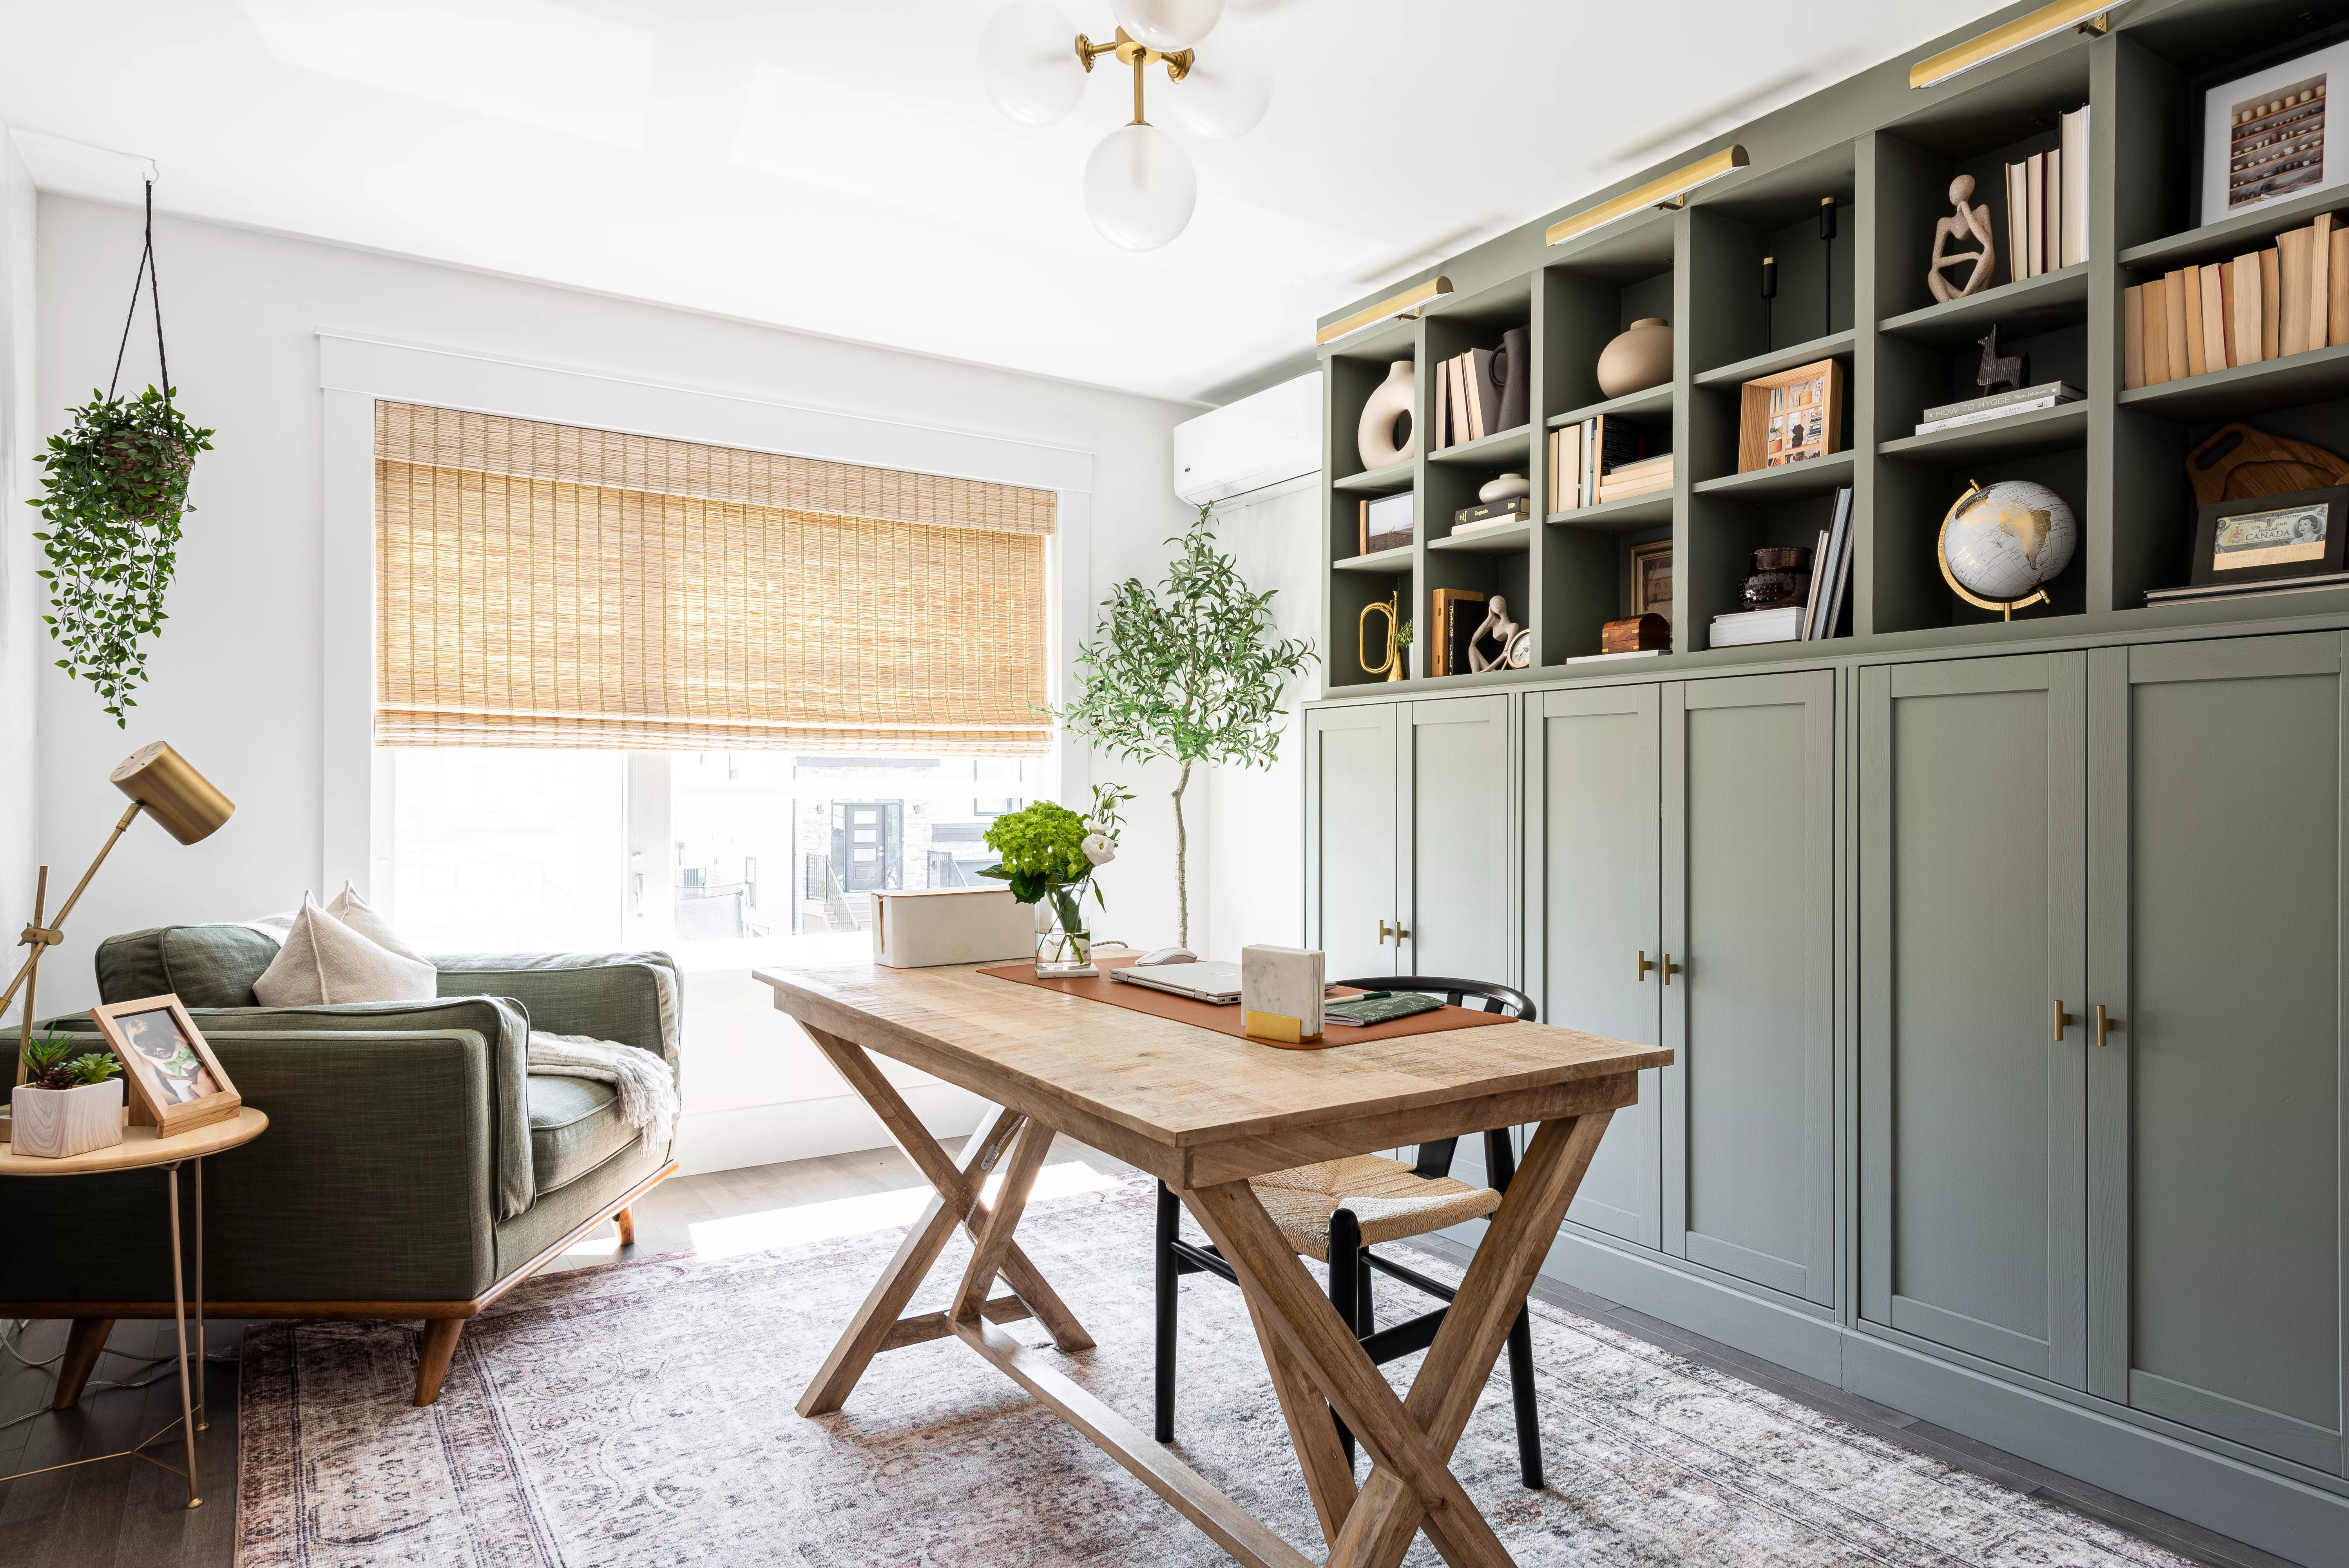
How to Use IKEA Furniture for Built-In Storage


Top-Rated IKEA Products You Need To Organize Your Home Office
DIY The Custom Closet Of Your Dreams Using IKEA Products
The IKEA Hack You Need To Perfectly Organize Your ALEX Desk Drawers
How can I make a KALLAX unit look more expensive? 6 simple tricks to get this IKEA favorite to feel more luxurious

Ikea home office ideas – 11 practical and stylish schemes

Sliding Minimalist Computer Desk Starts Life As Ikea Shelf

Is This IKEA’s Most Customizable Piece of Furniture?

8 Brilliant IKEA STALL Hacks To Make Your Storage Look Luxe

9 Clever IKEA Desk Hacks That Will Give You A Focused Workspace At Home
5 IKEA BESTA hacks that will transform your basic storage cabinets into stylish pieces with a high-end look
Genius built-in desk ideas that will help you make the most of your work from home space
Genius IKEA hacks for every room | loveproperty.com
A Pair of Air Jordans Inspired This Tricolor IKEA Shelf Hack
2 Basic Craft Materials Turned These IKEA Ivar Cabinets Into Sculptural Statements

11 IKEA Built-In Hacks Clever Enough to Fool Any Millworker

You Won't Recognize This IKEA LACK Table After One Stunning Transformation