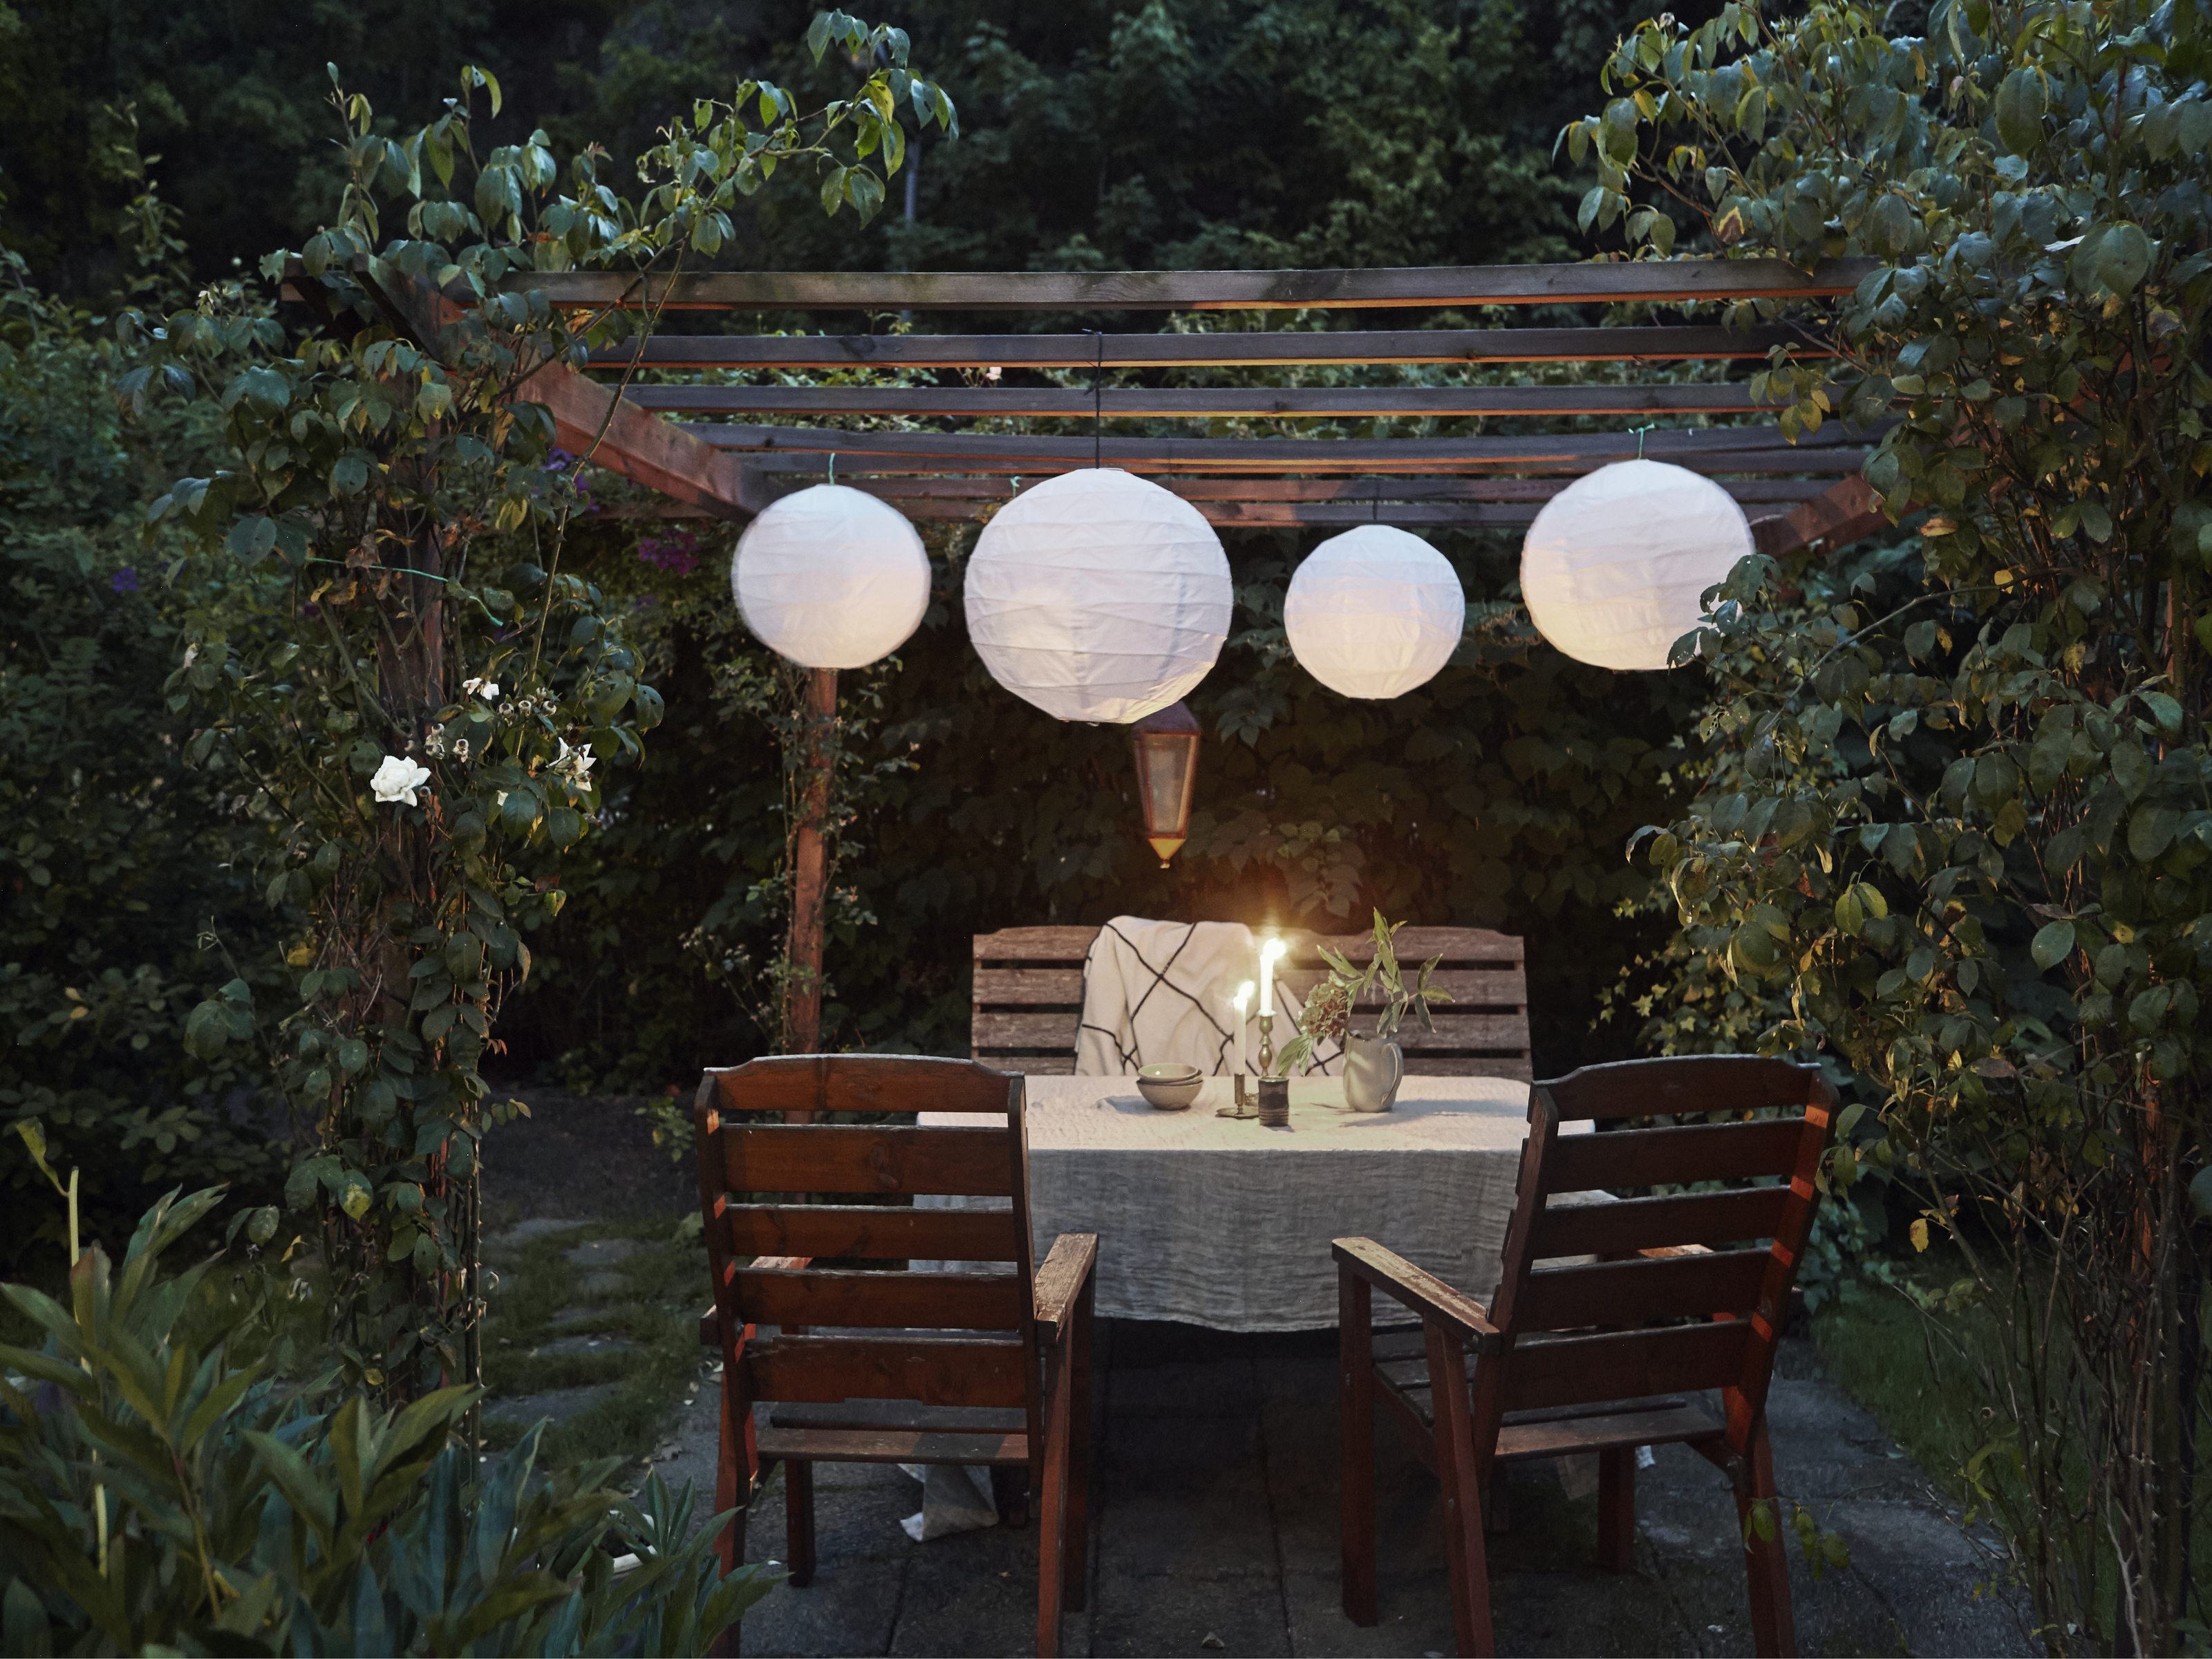
1/5
How do you build a pergola? Experts explains their methods so you can enjoy the best parts of open-air living
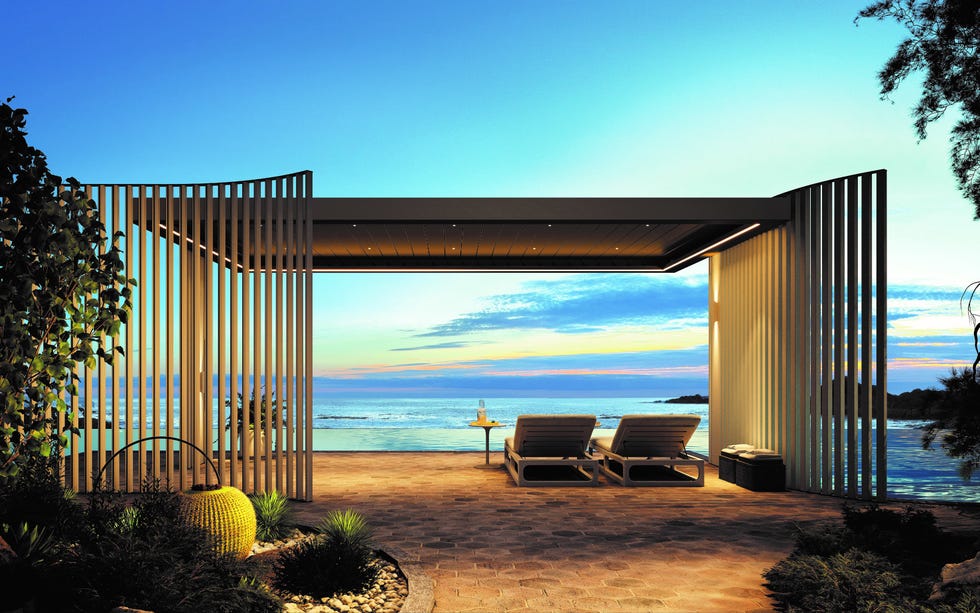
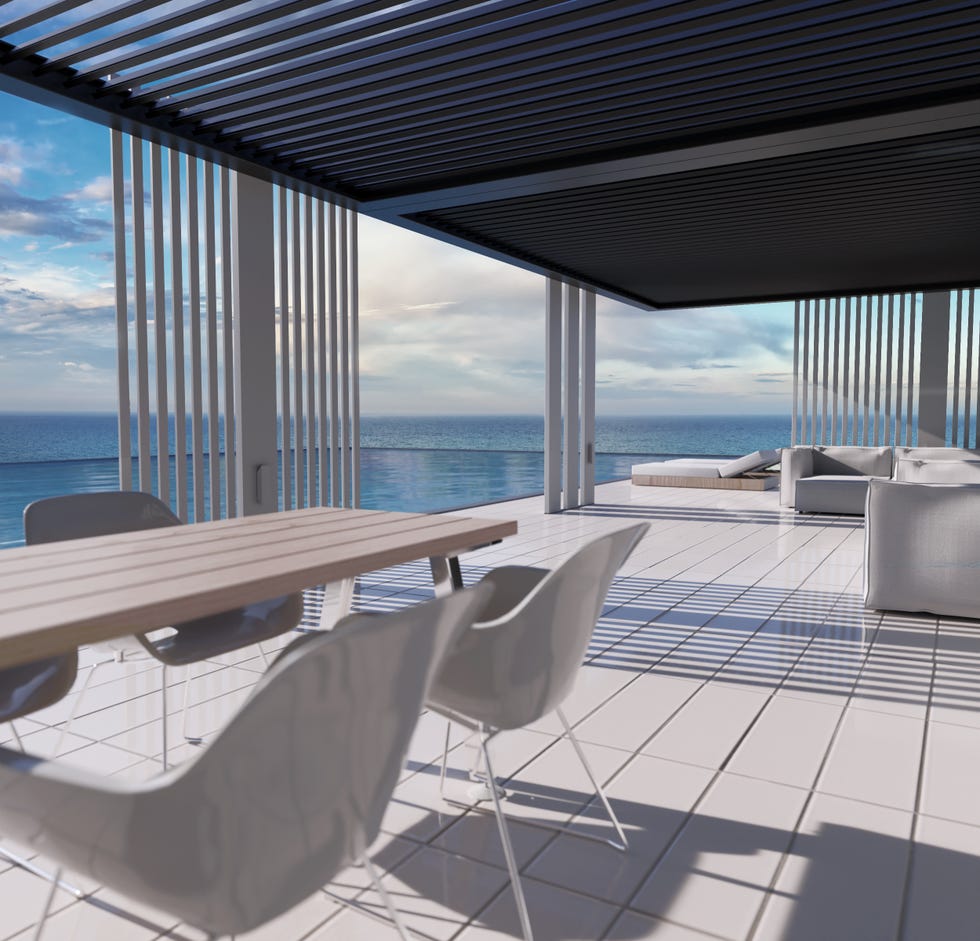
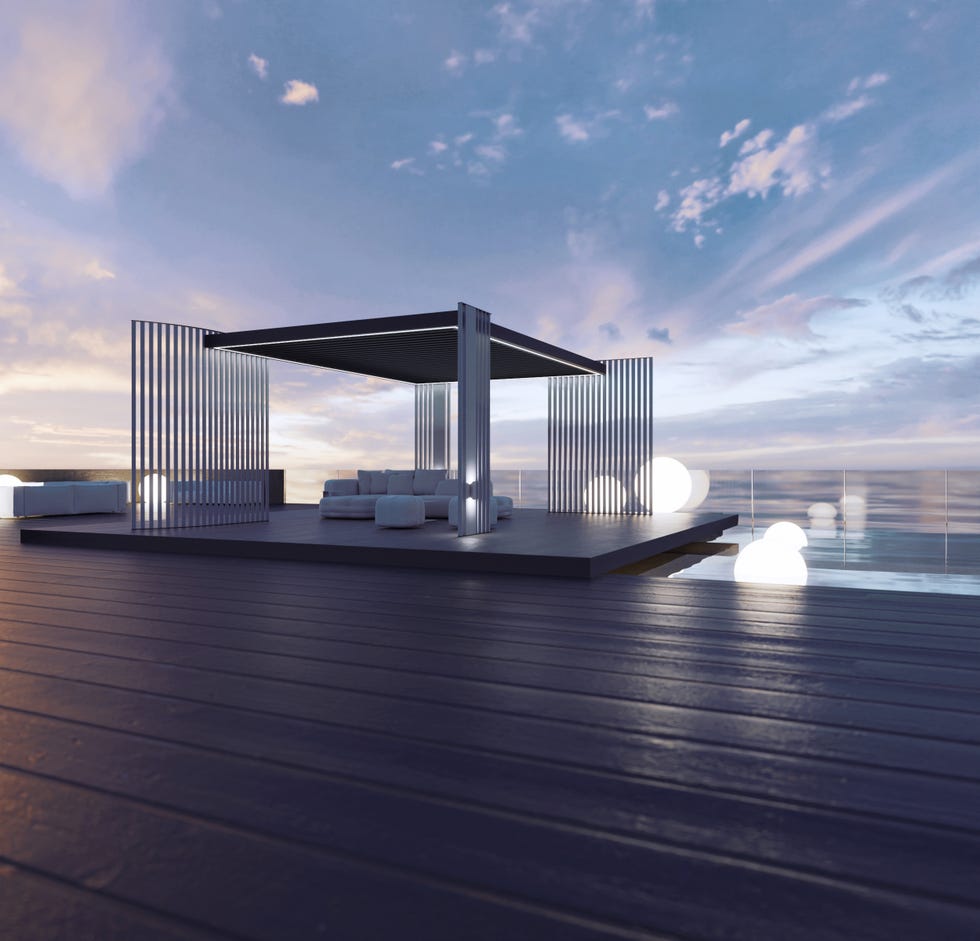
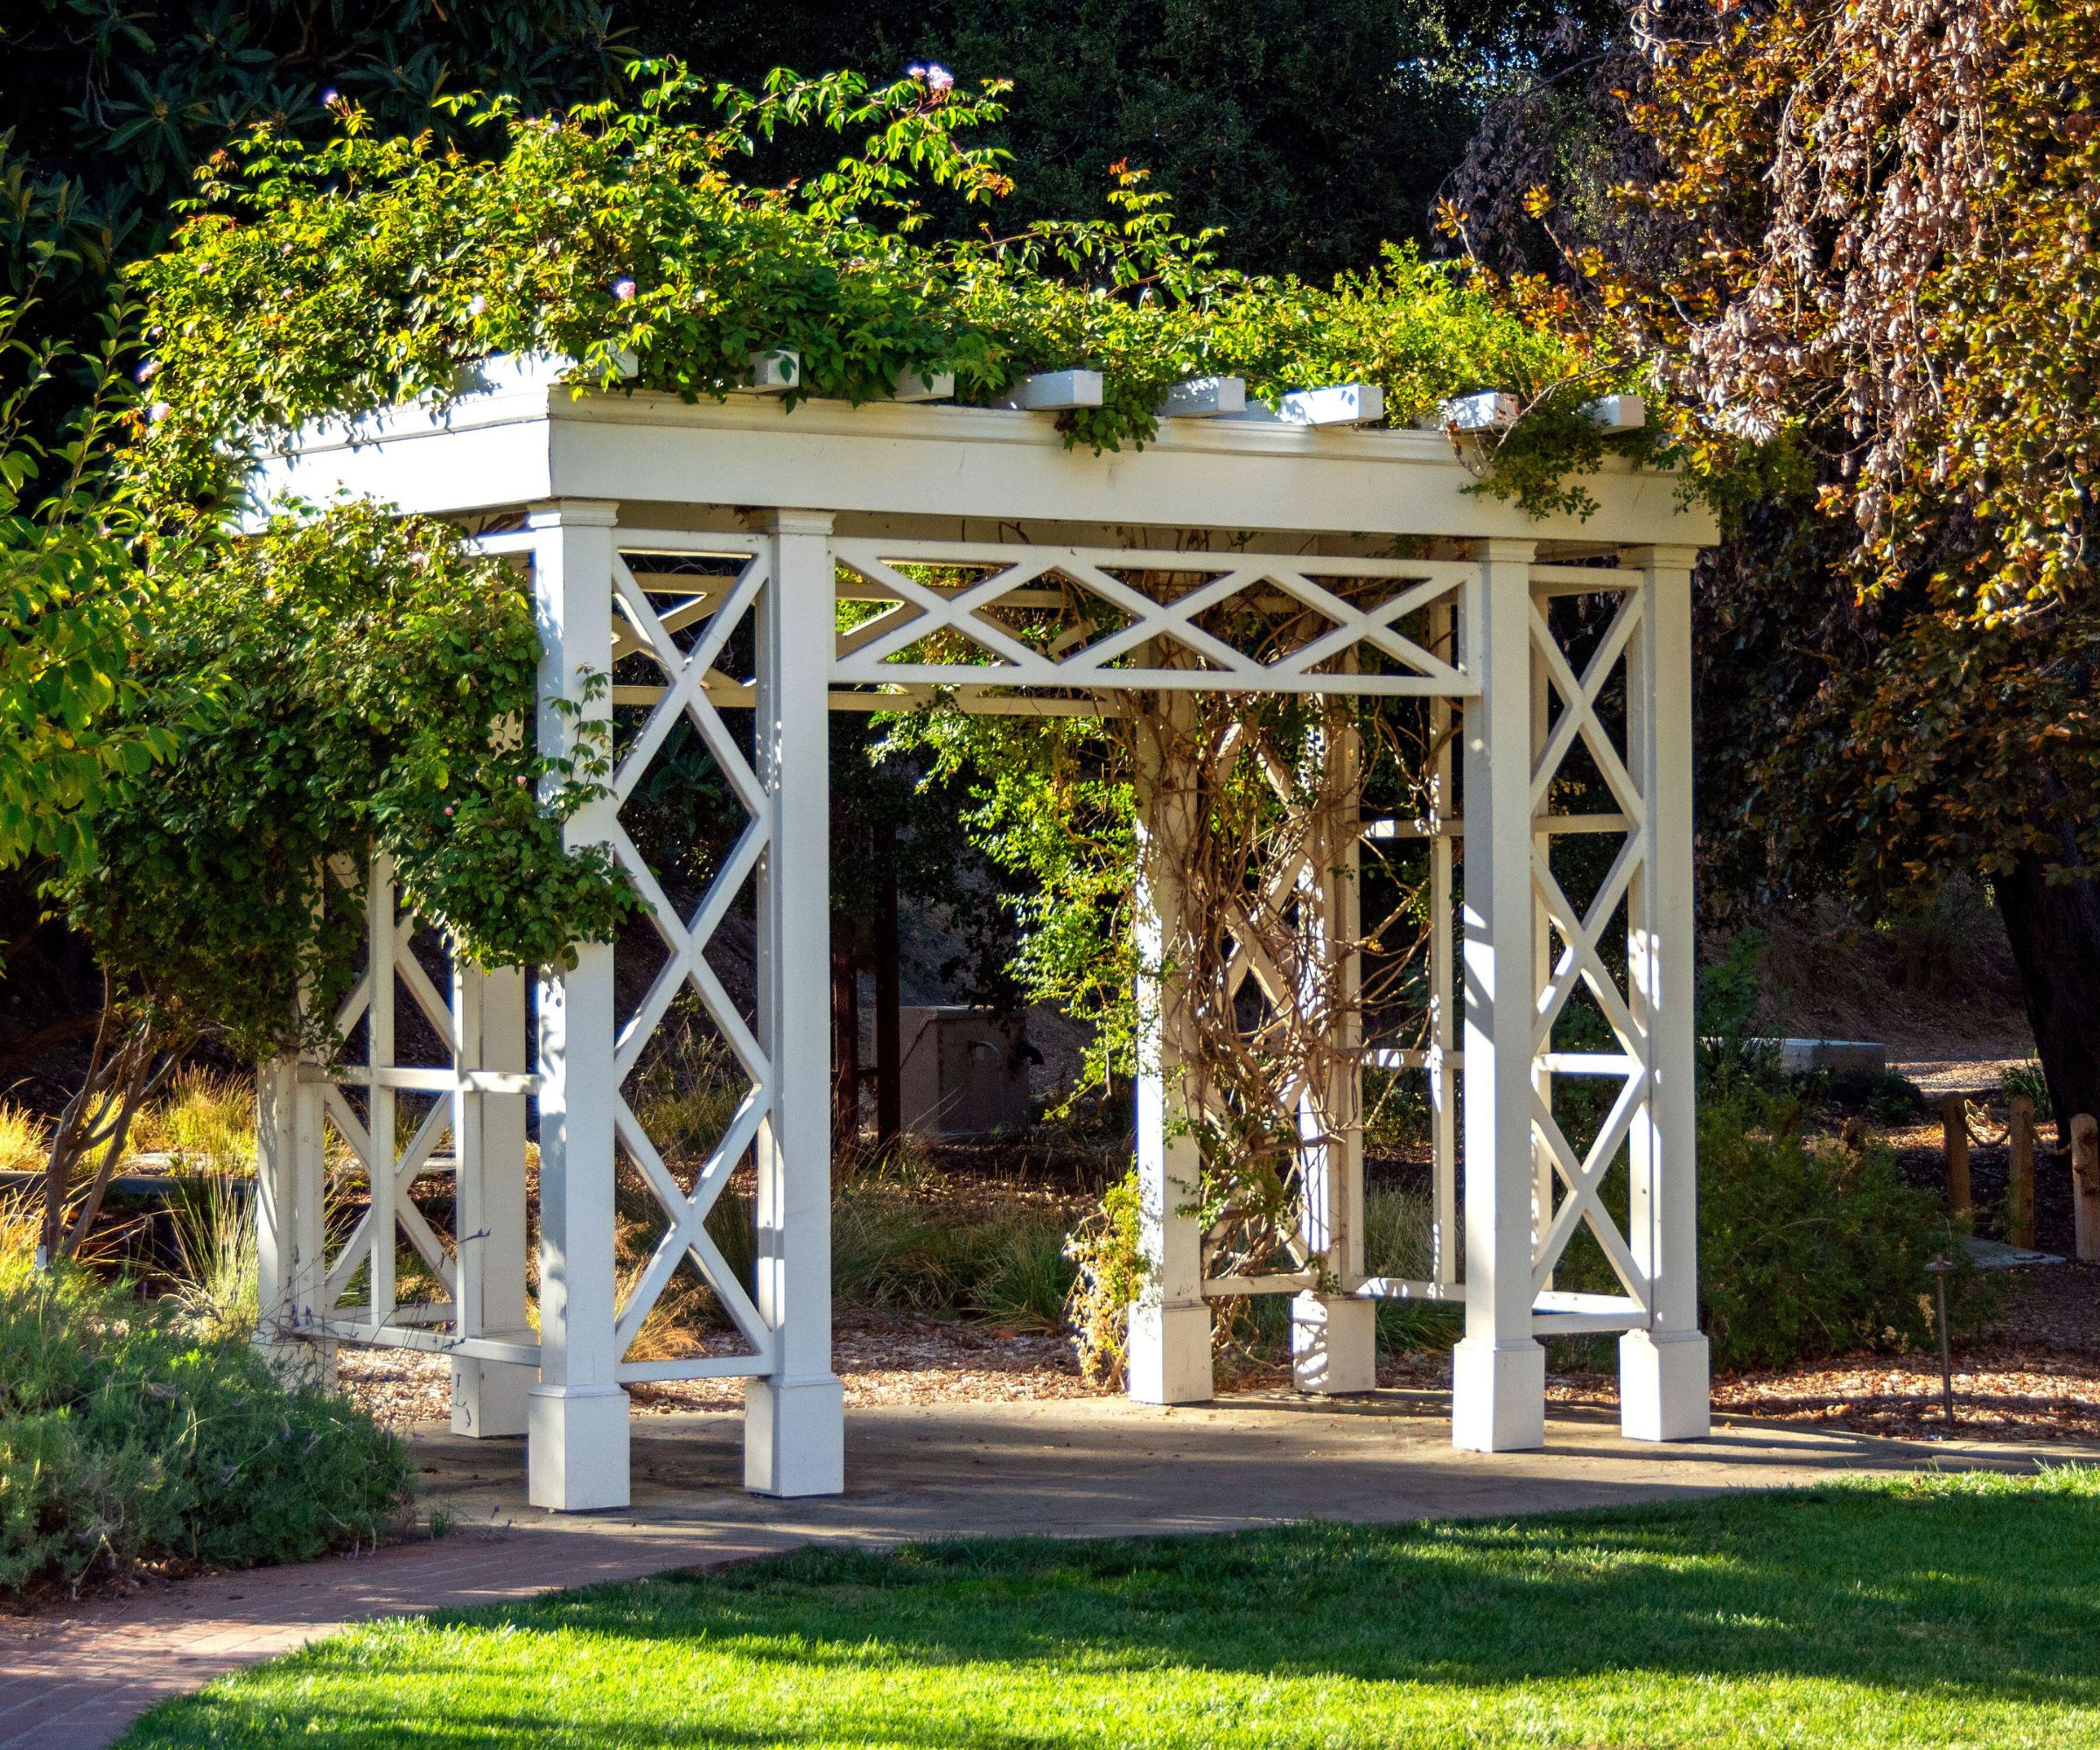
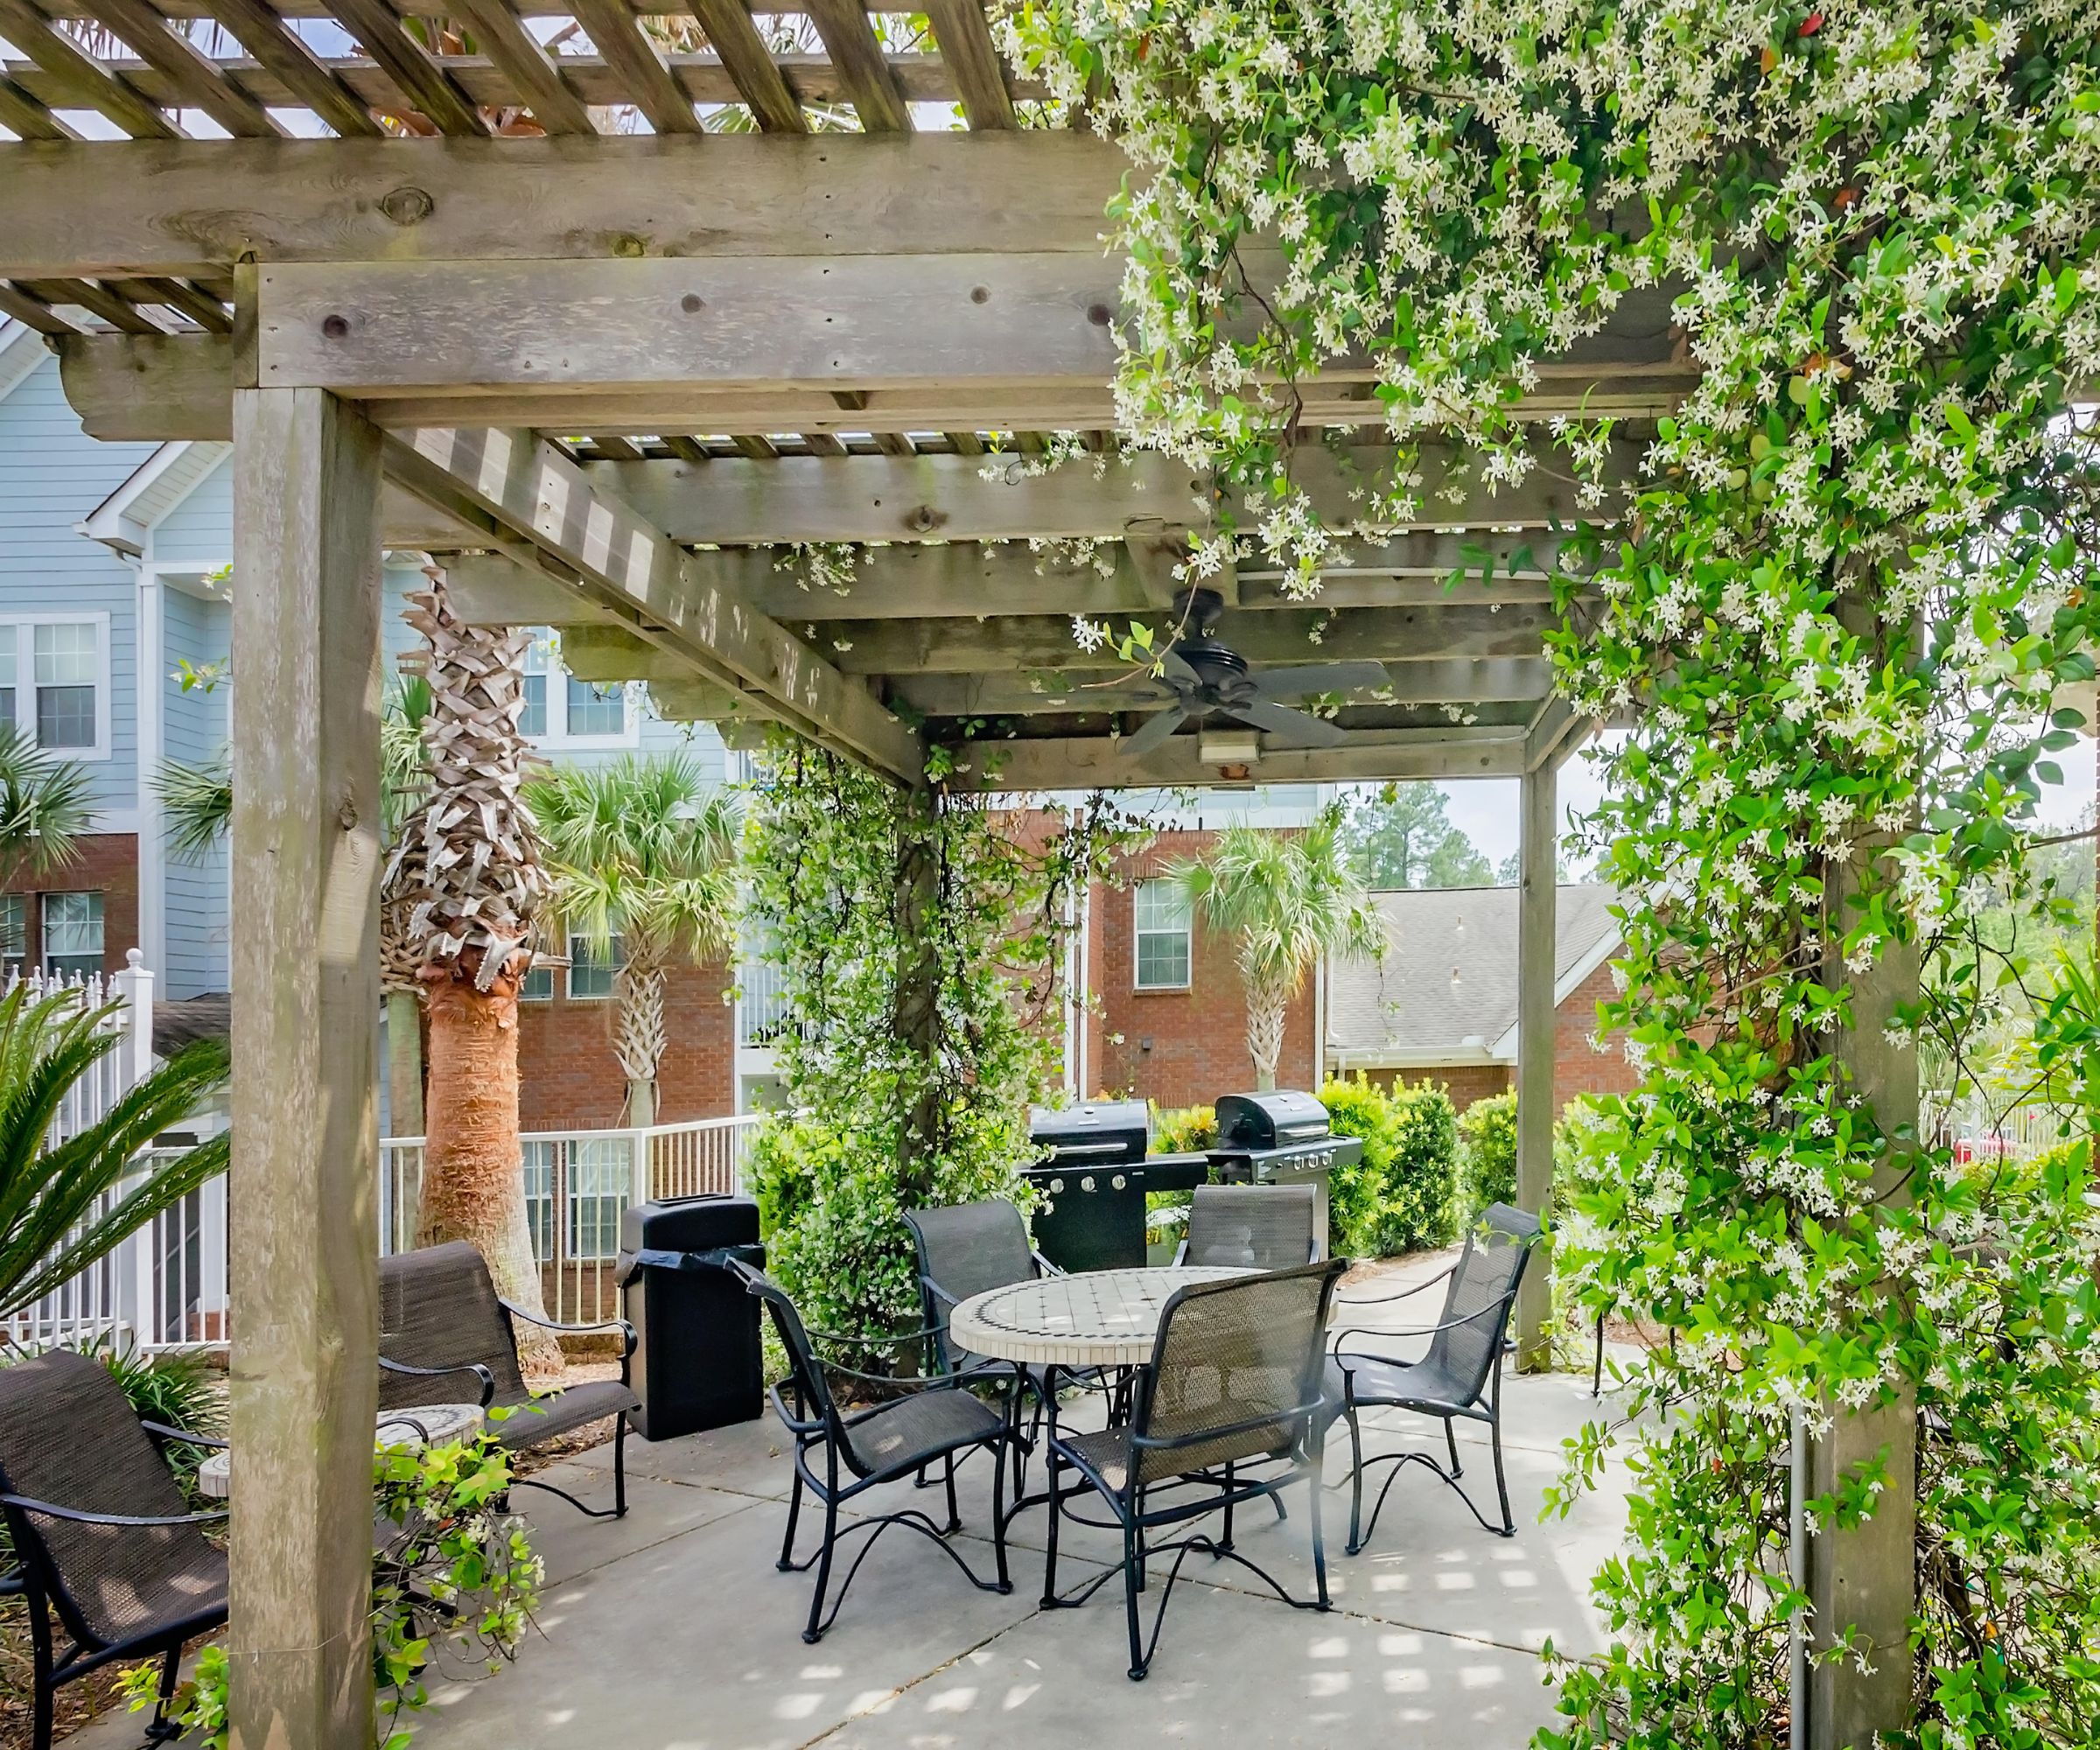
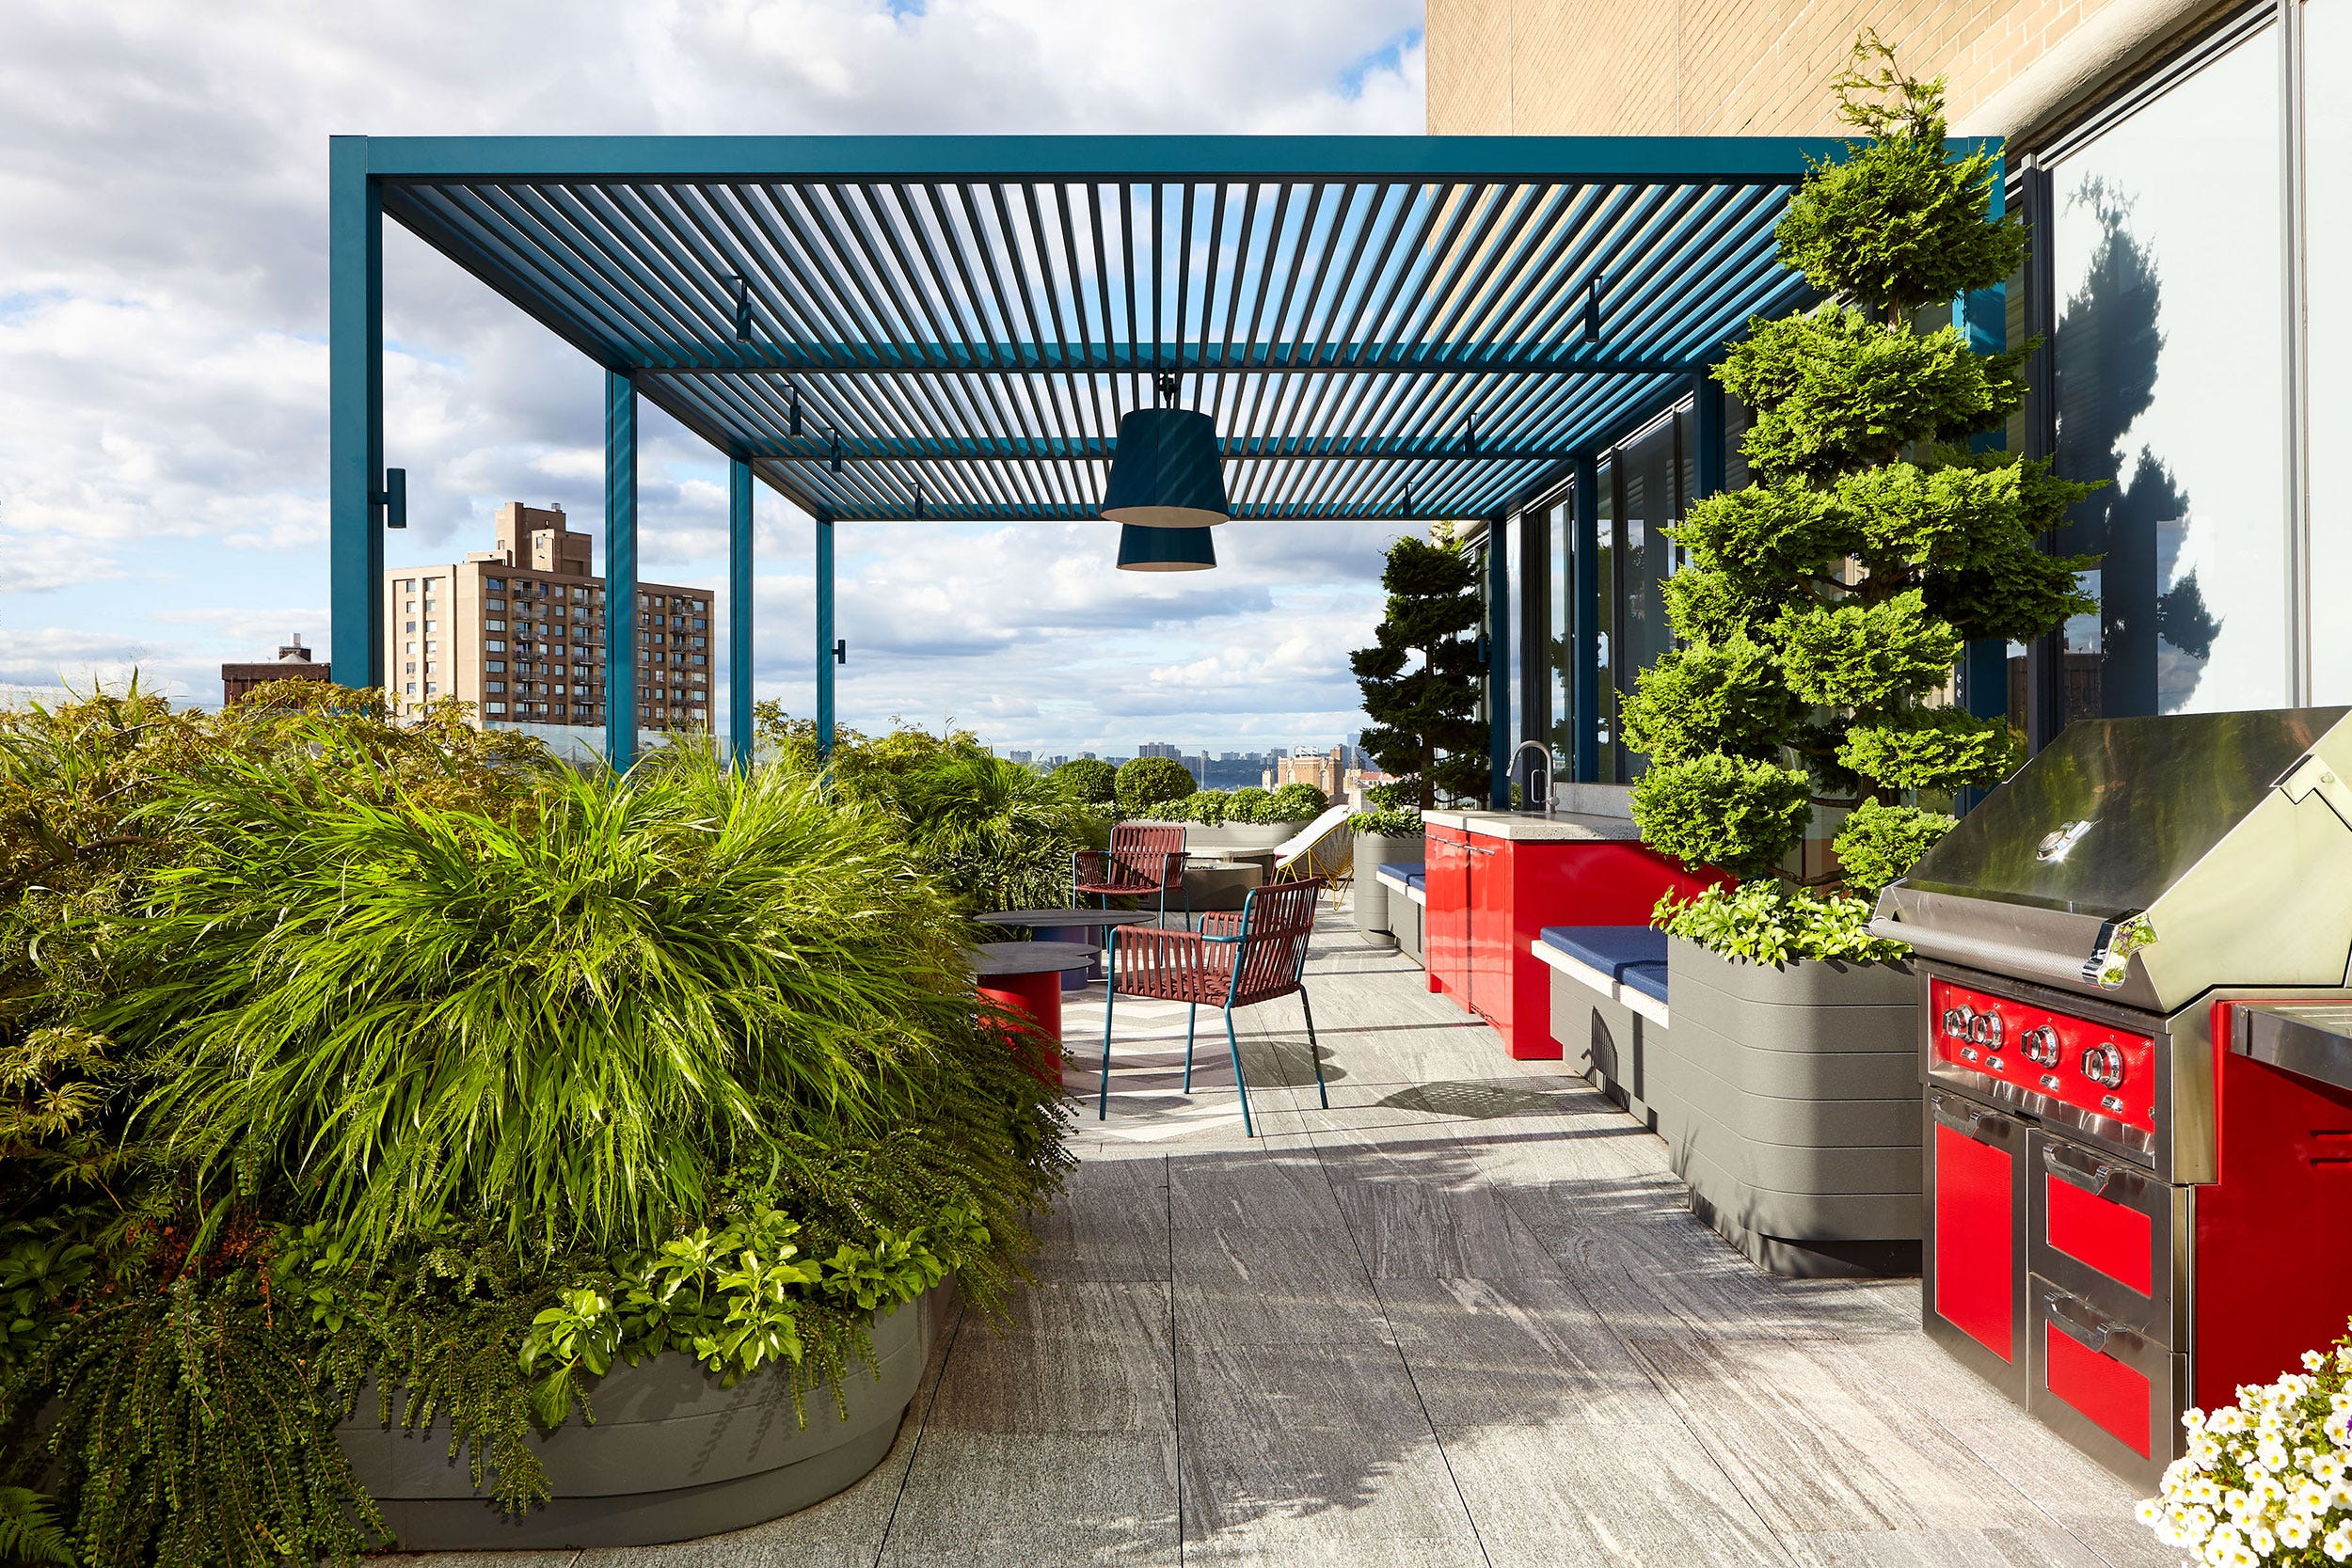
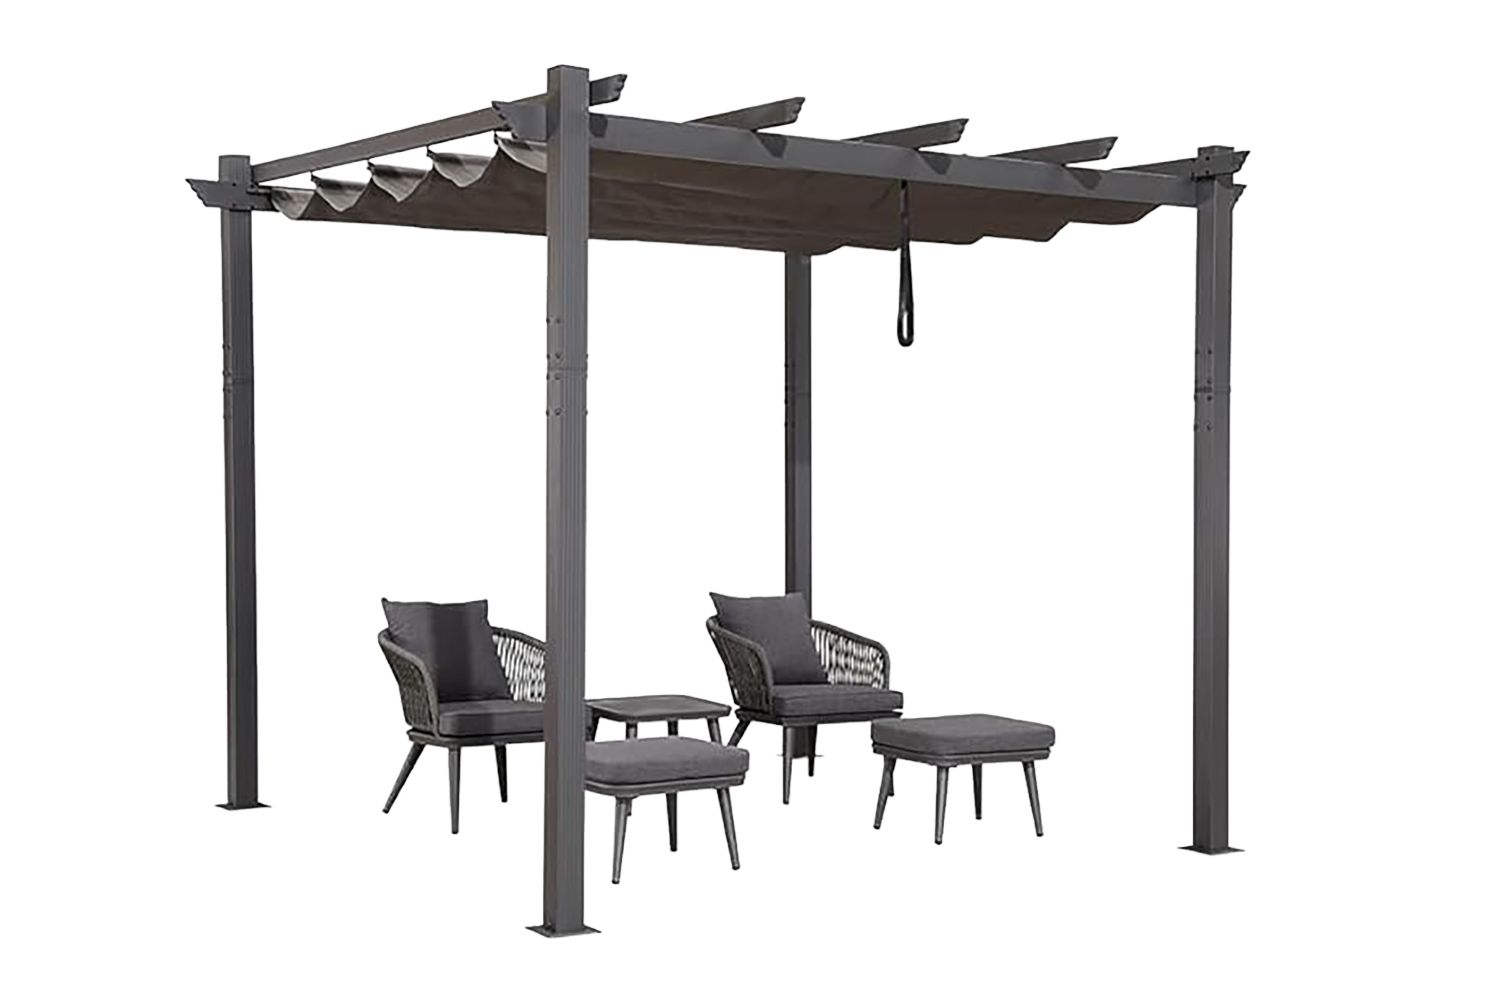
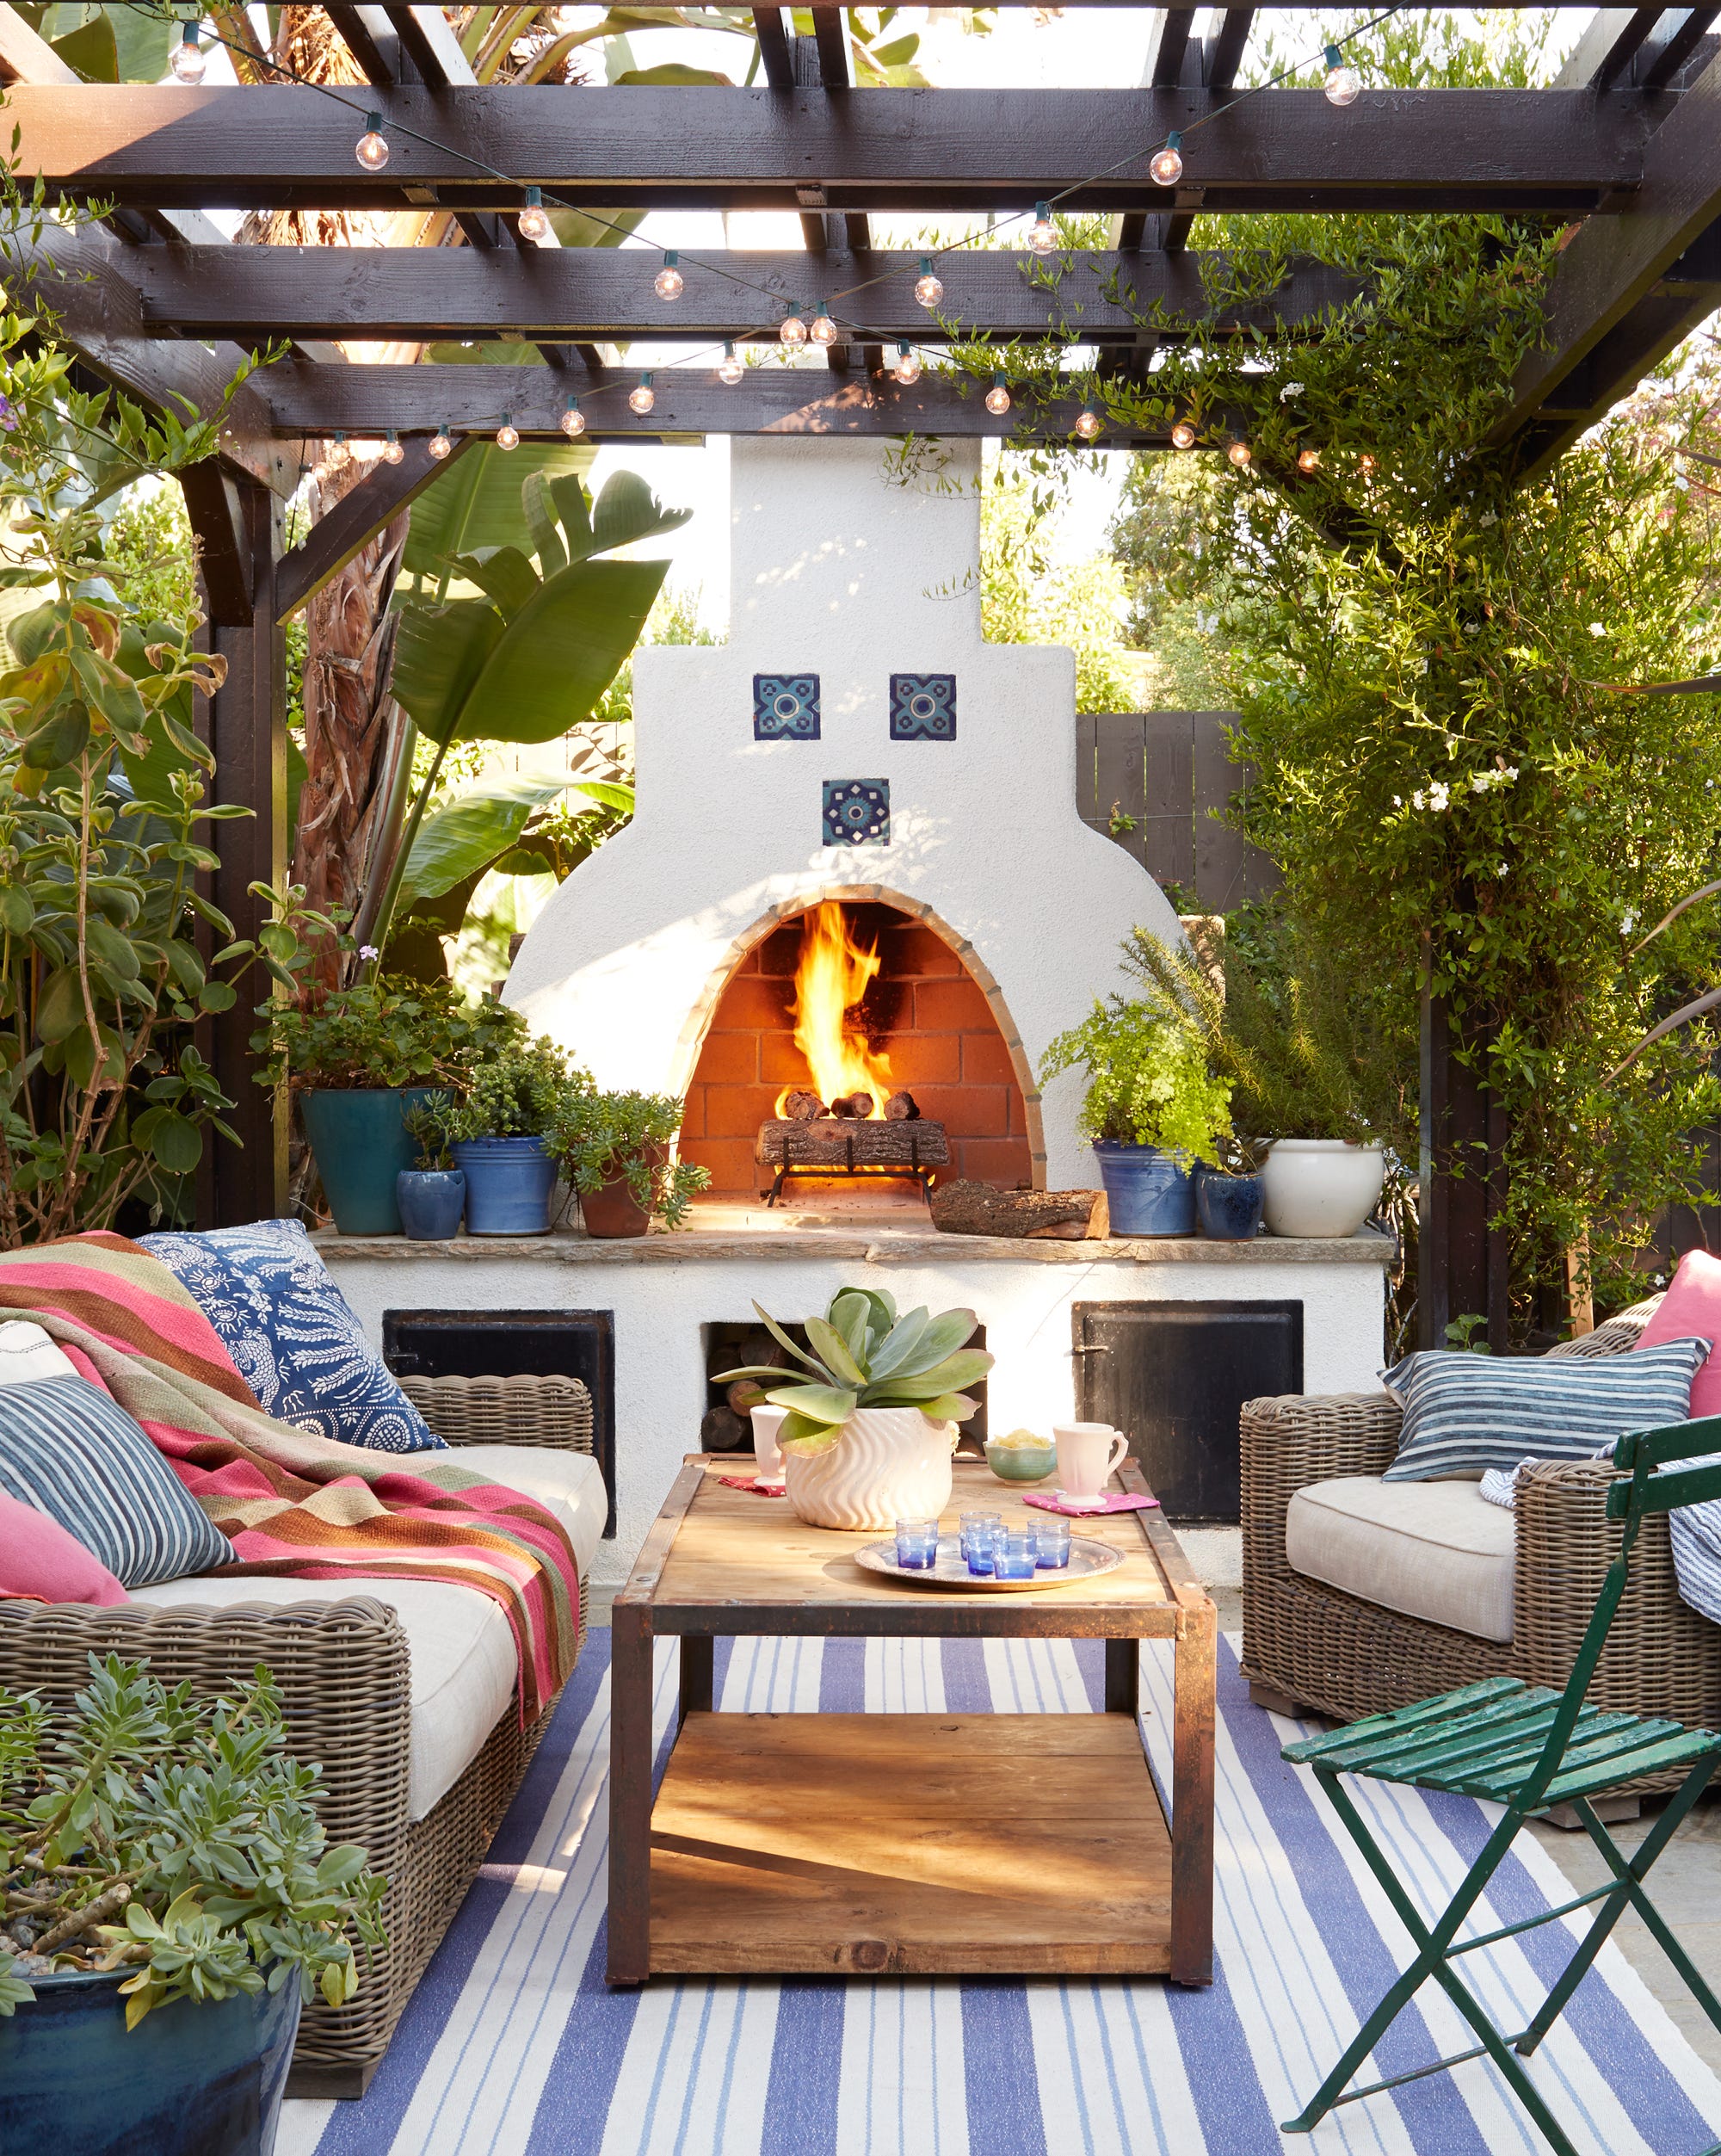
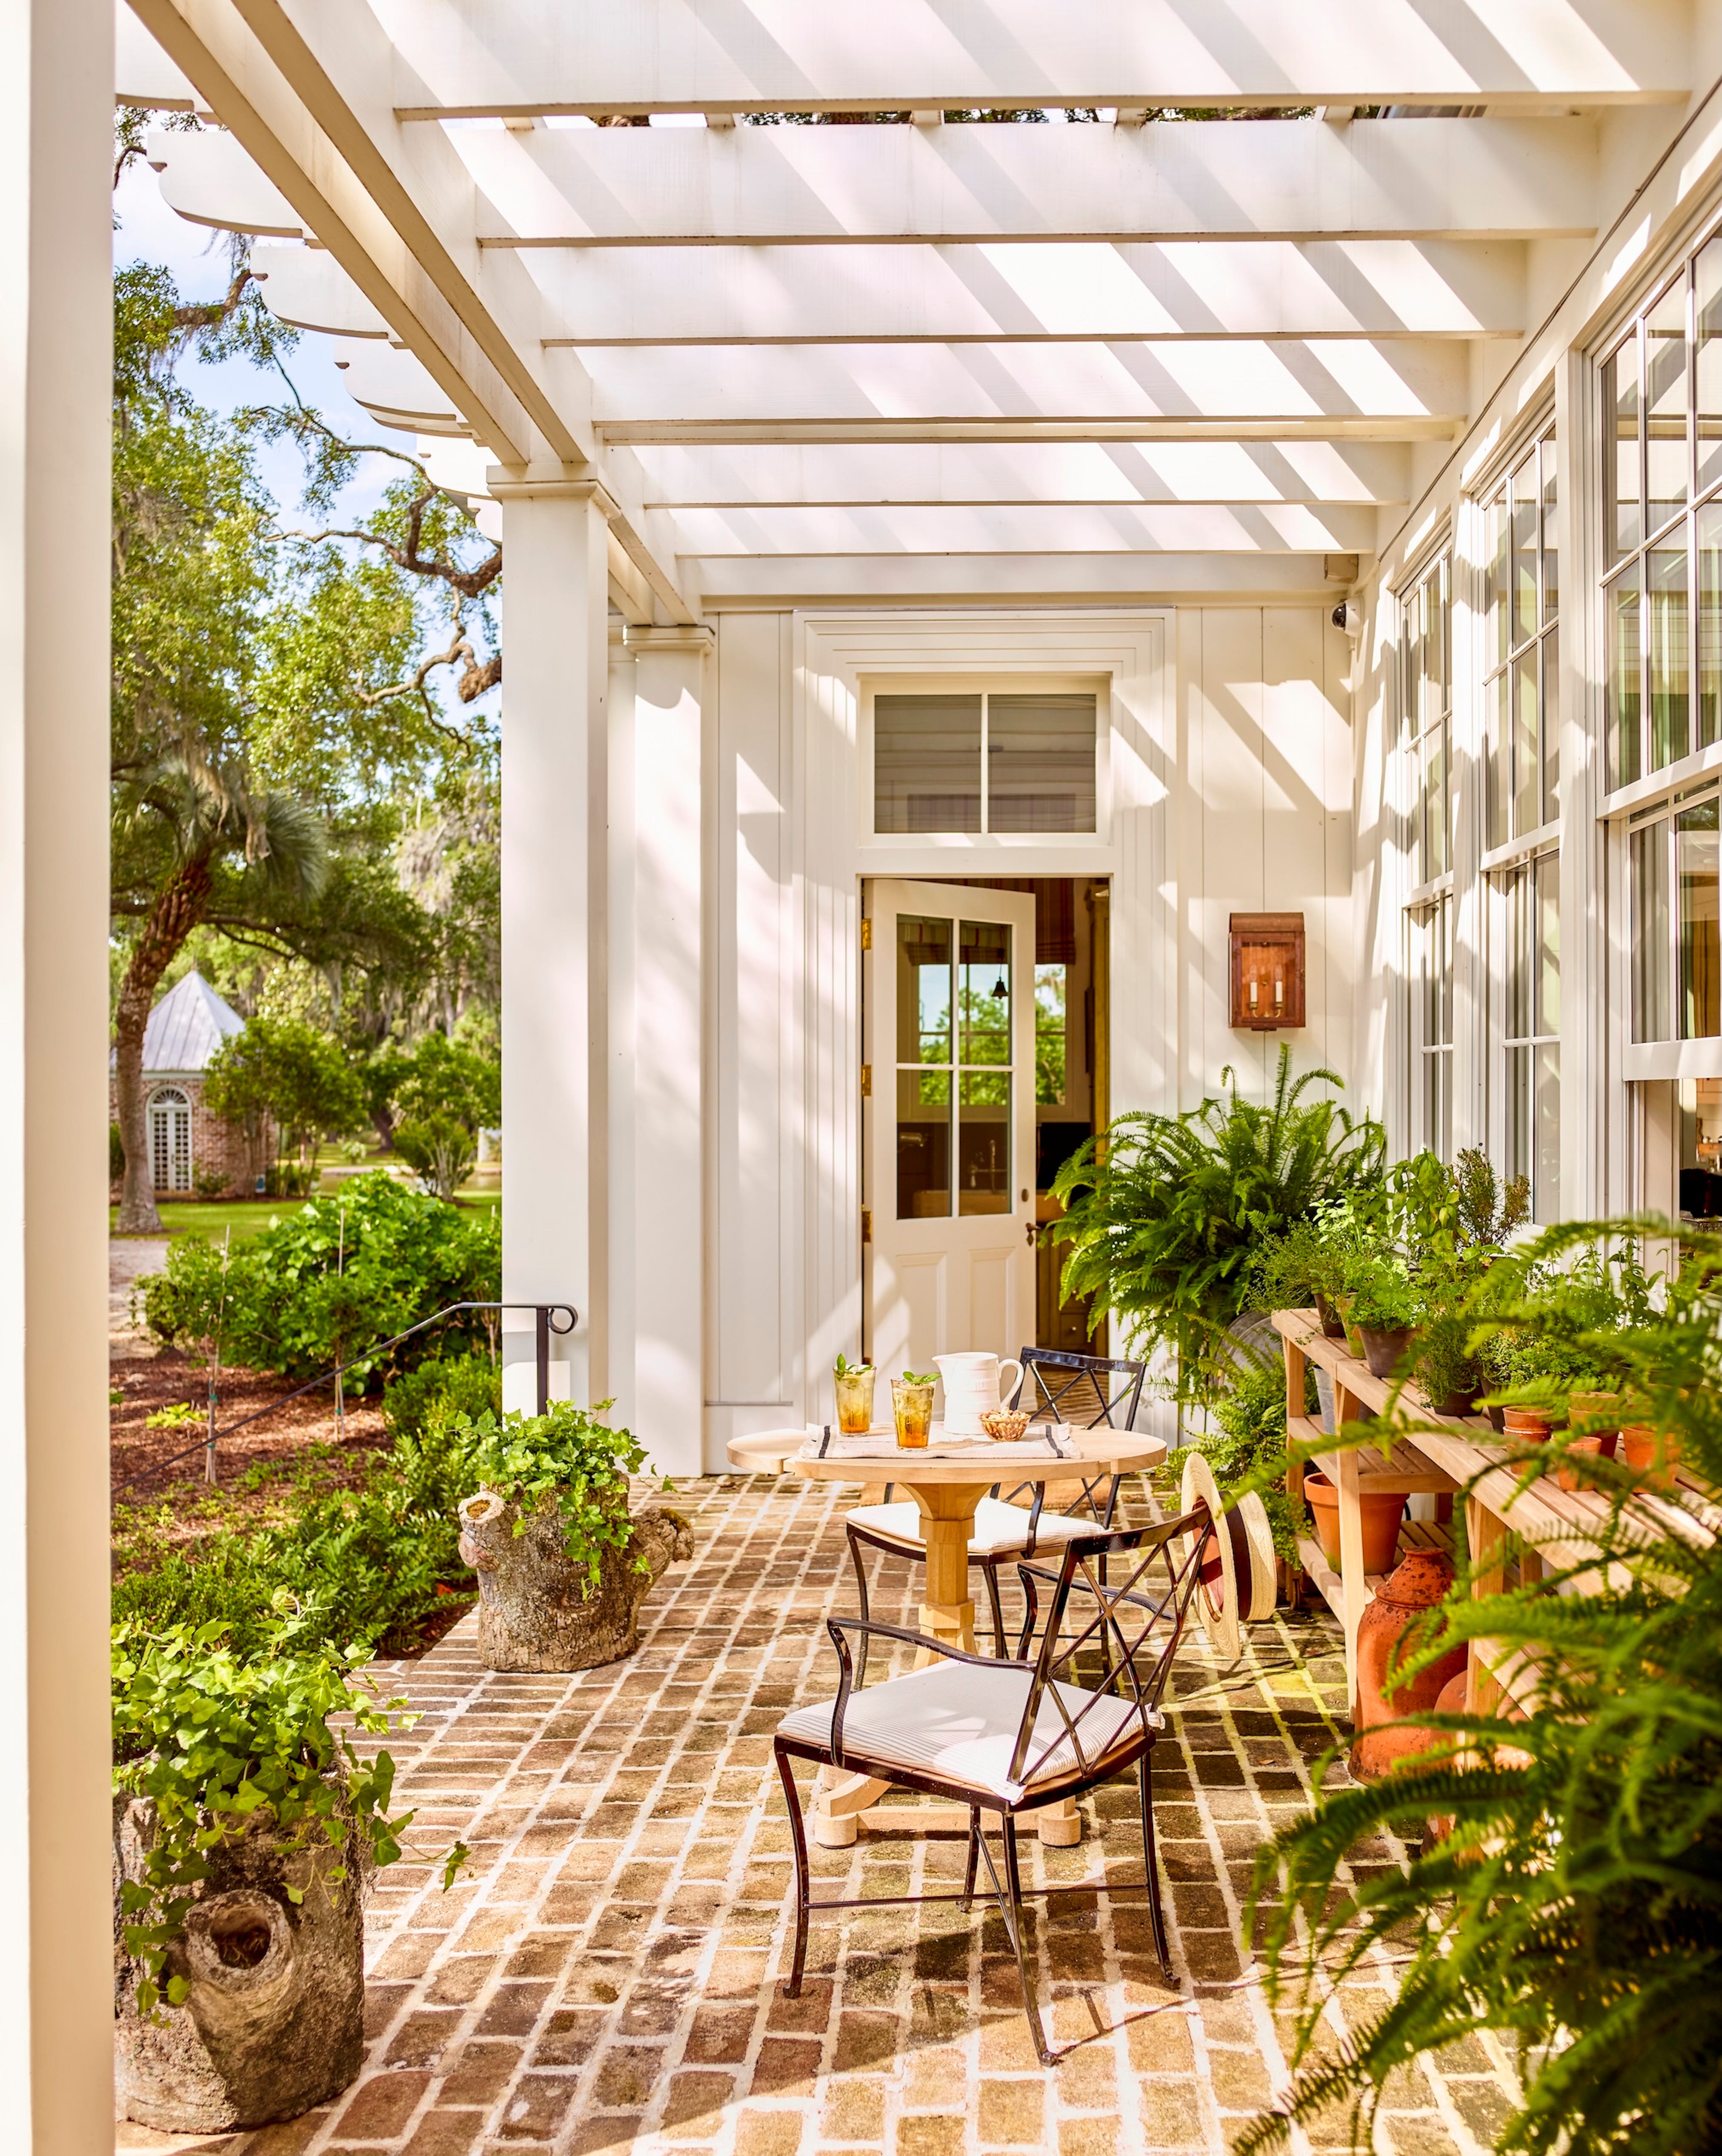
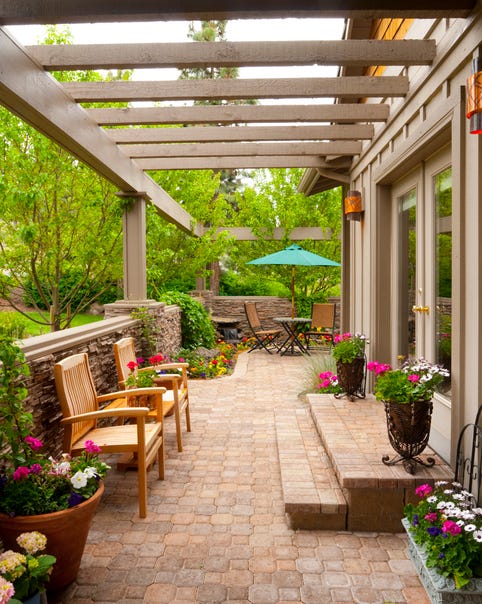
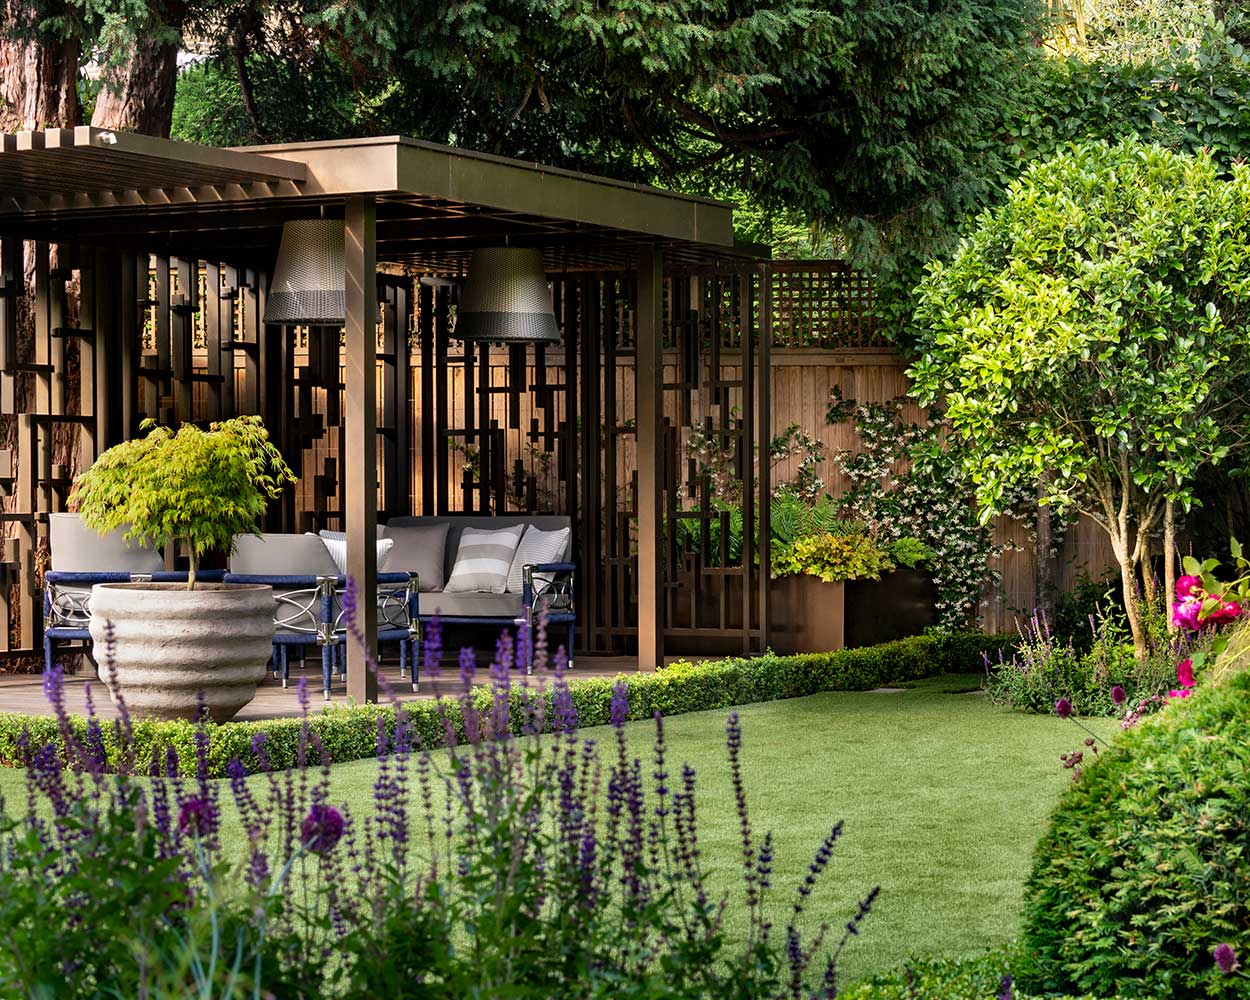
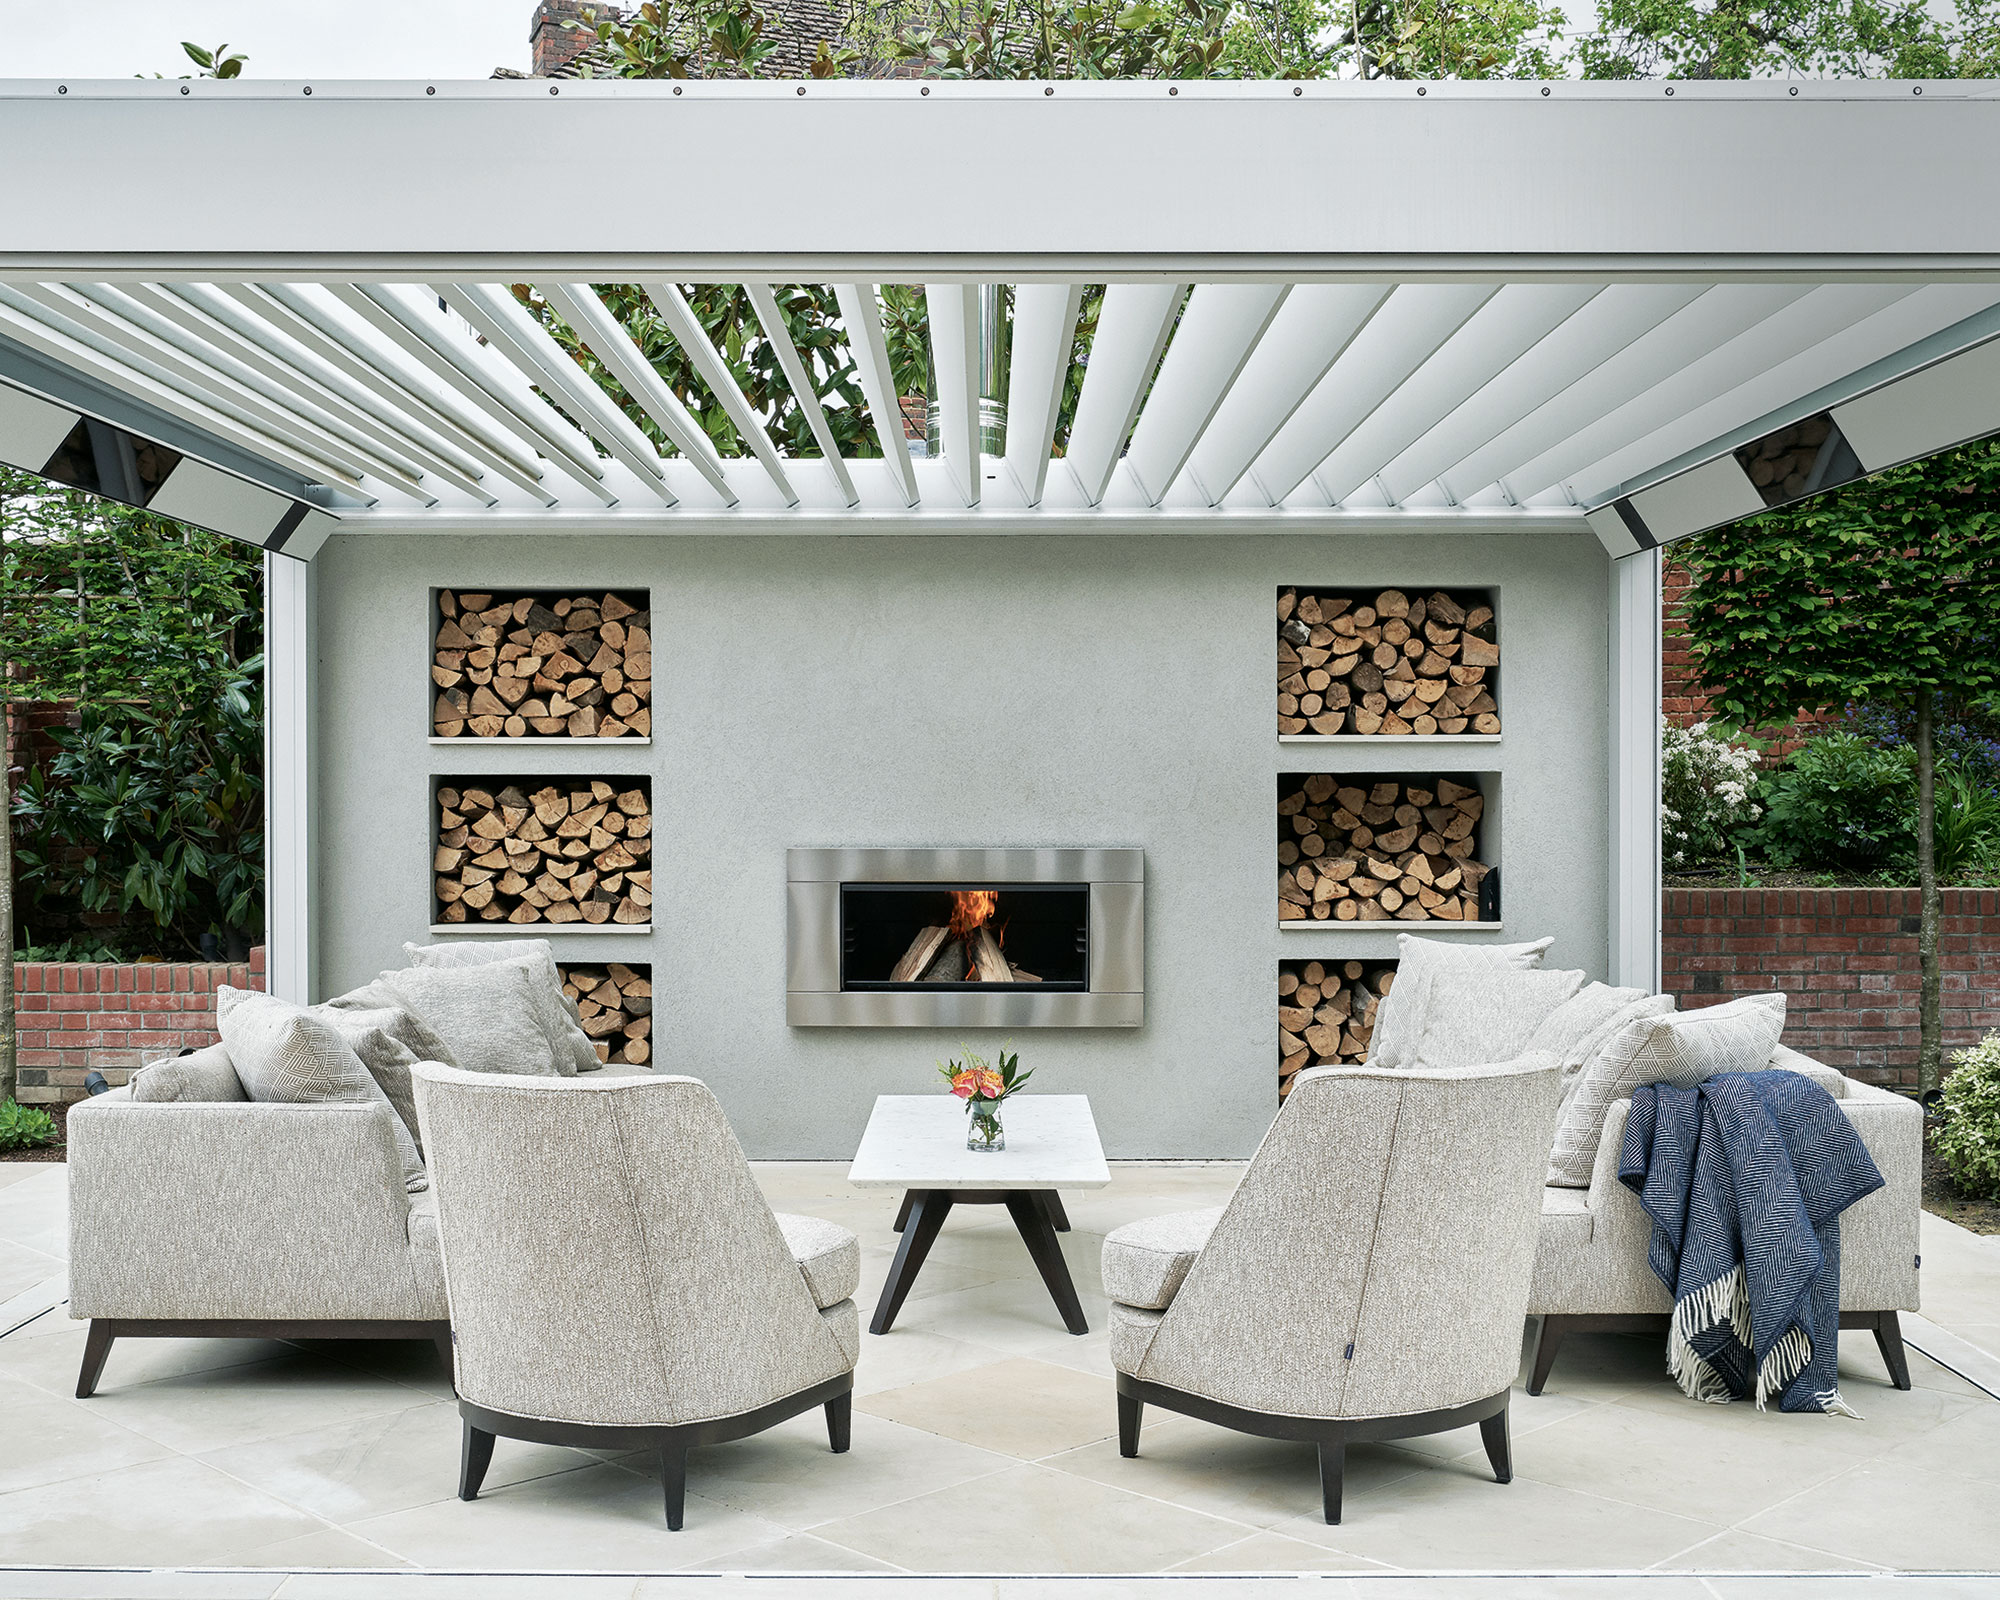
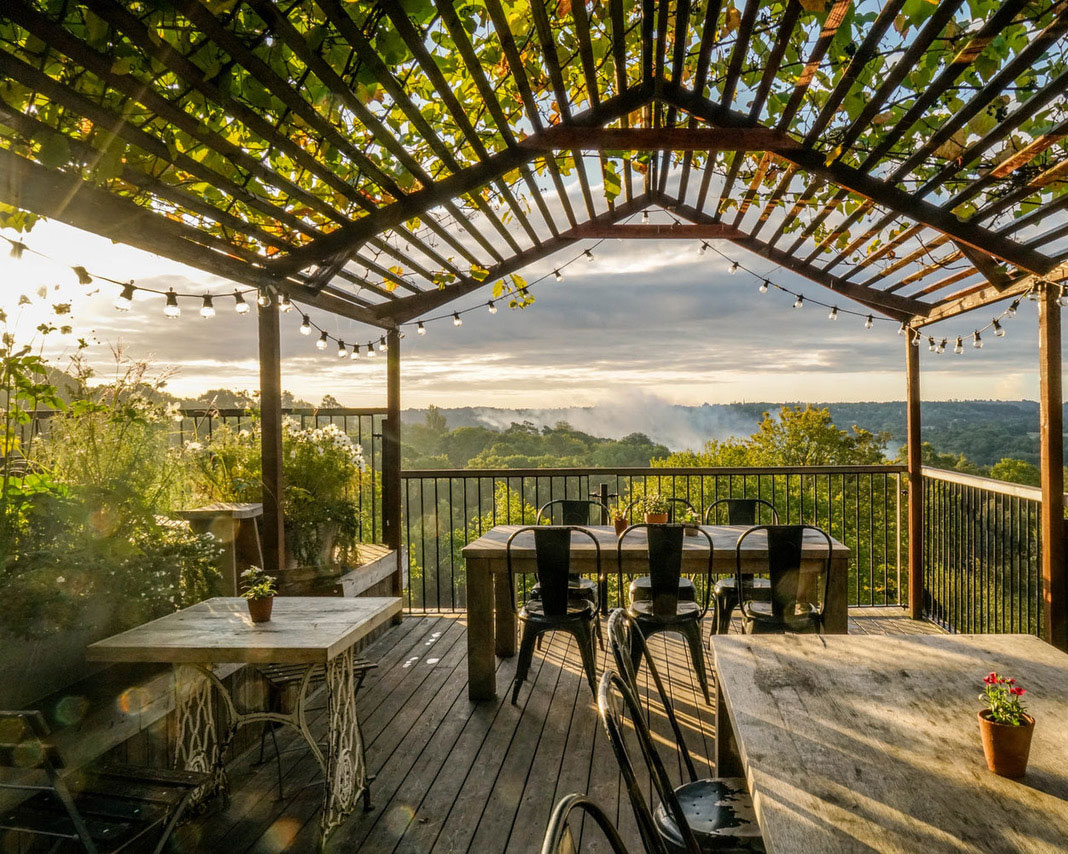
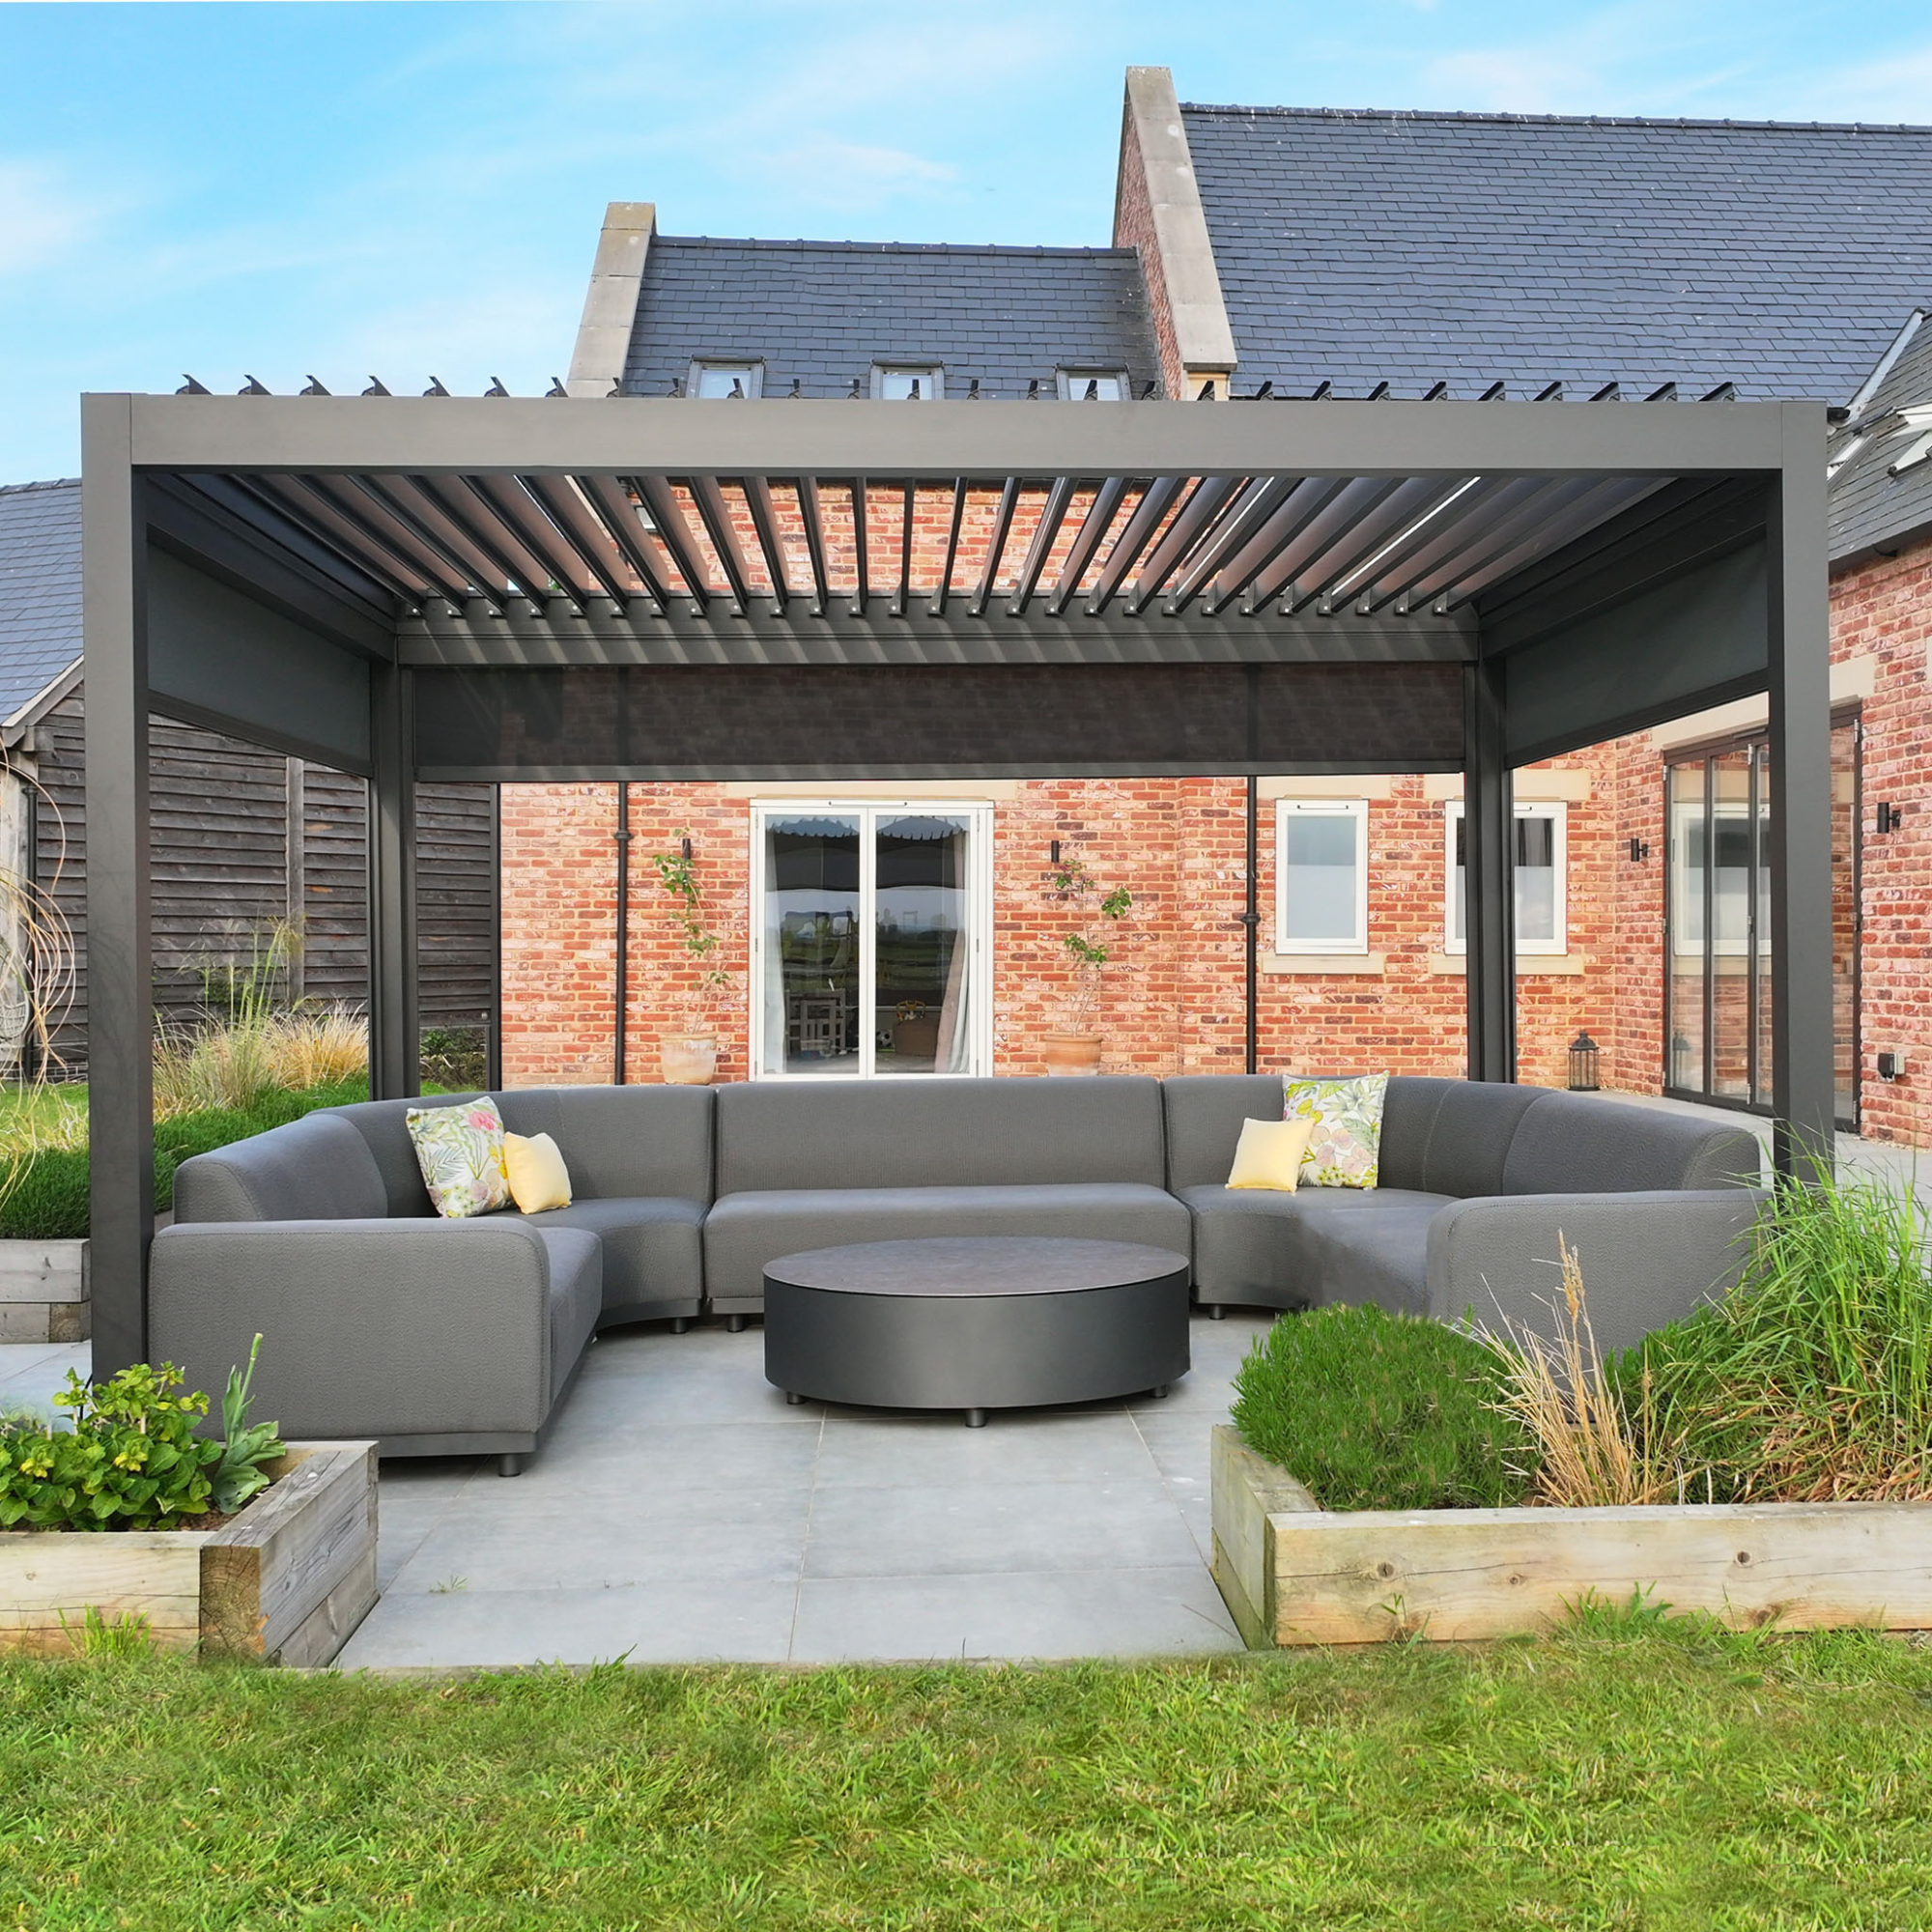
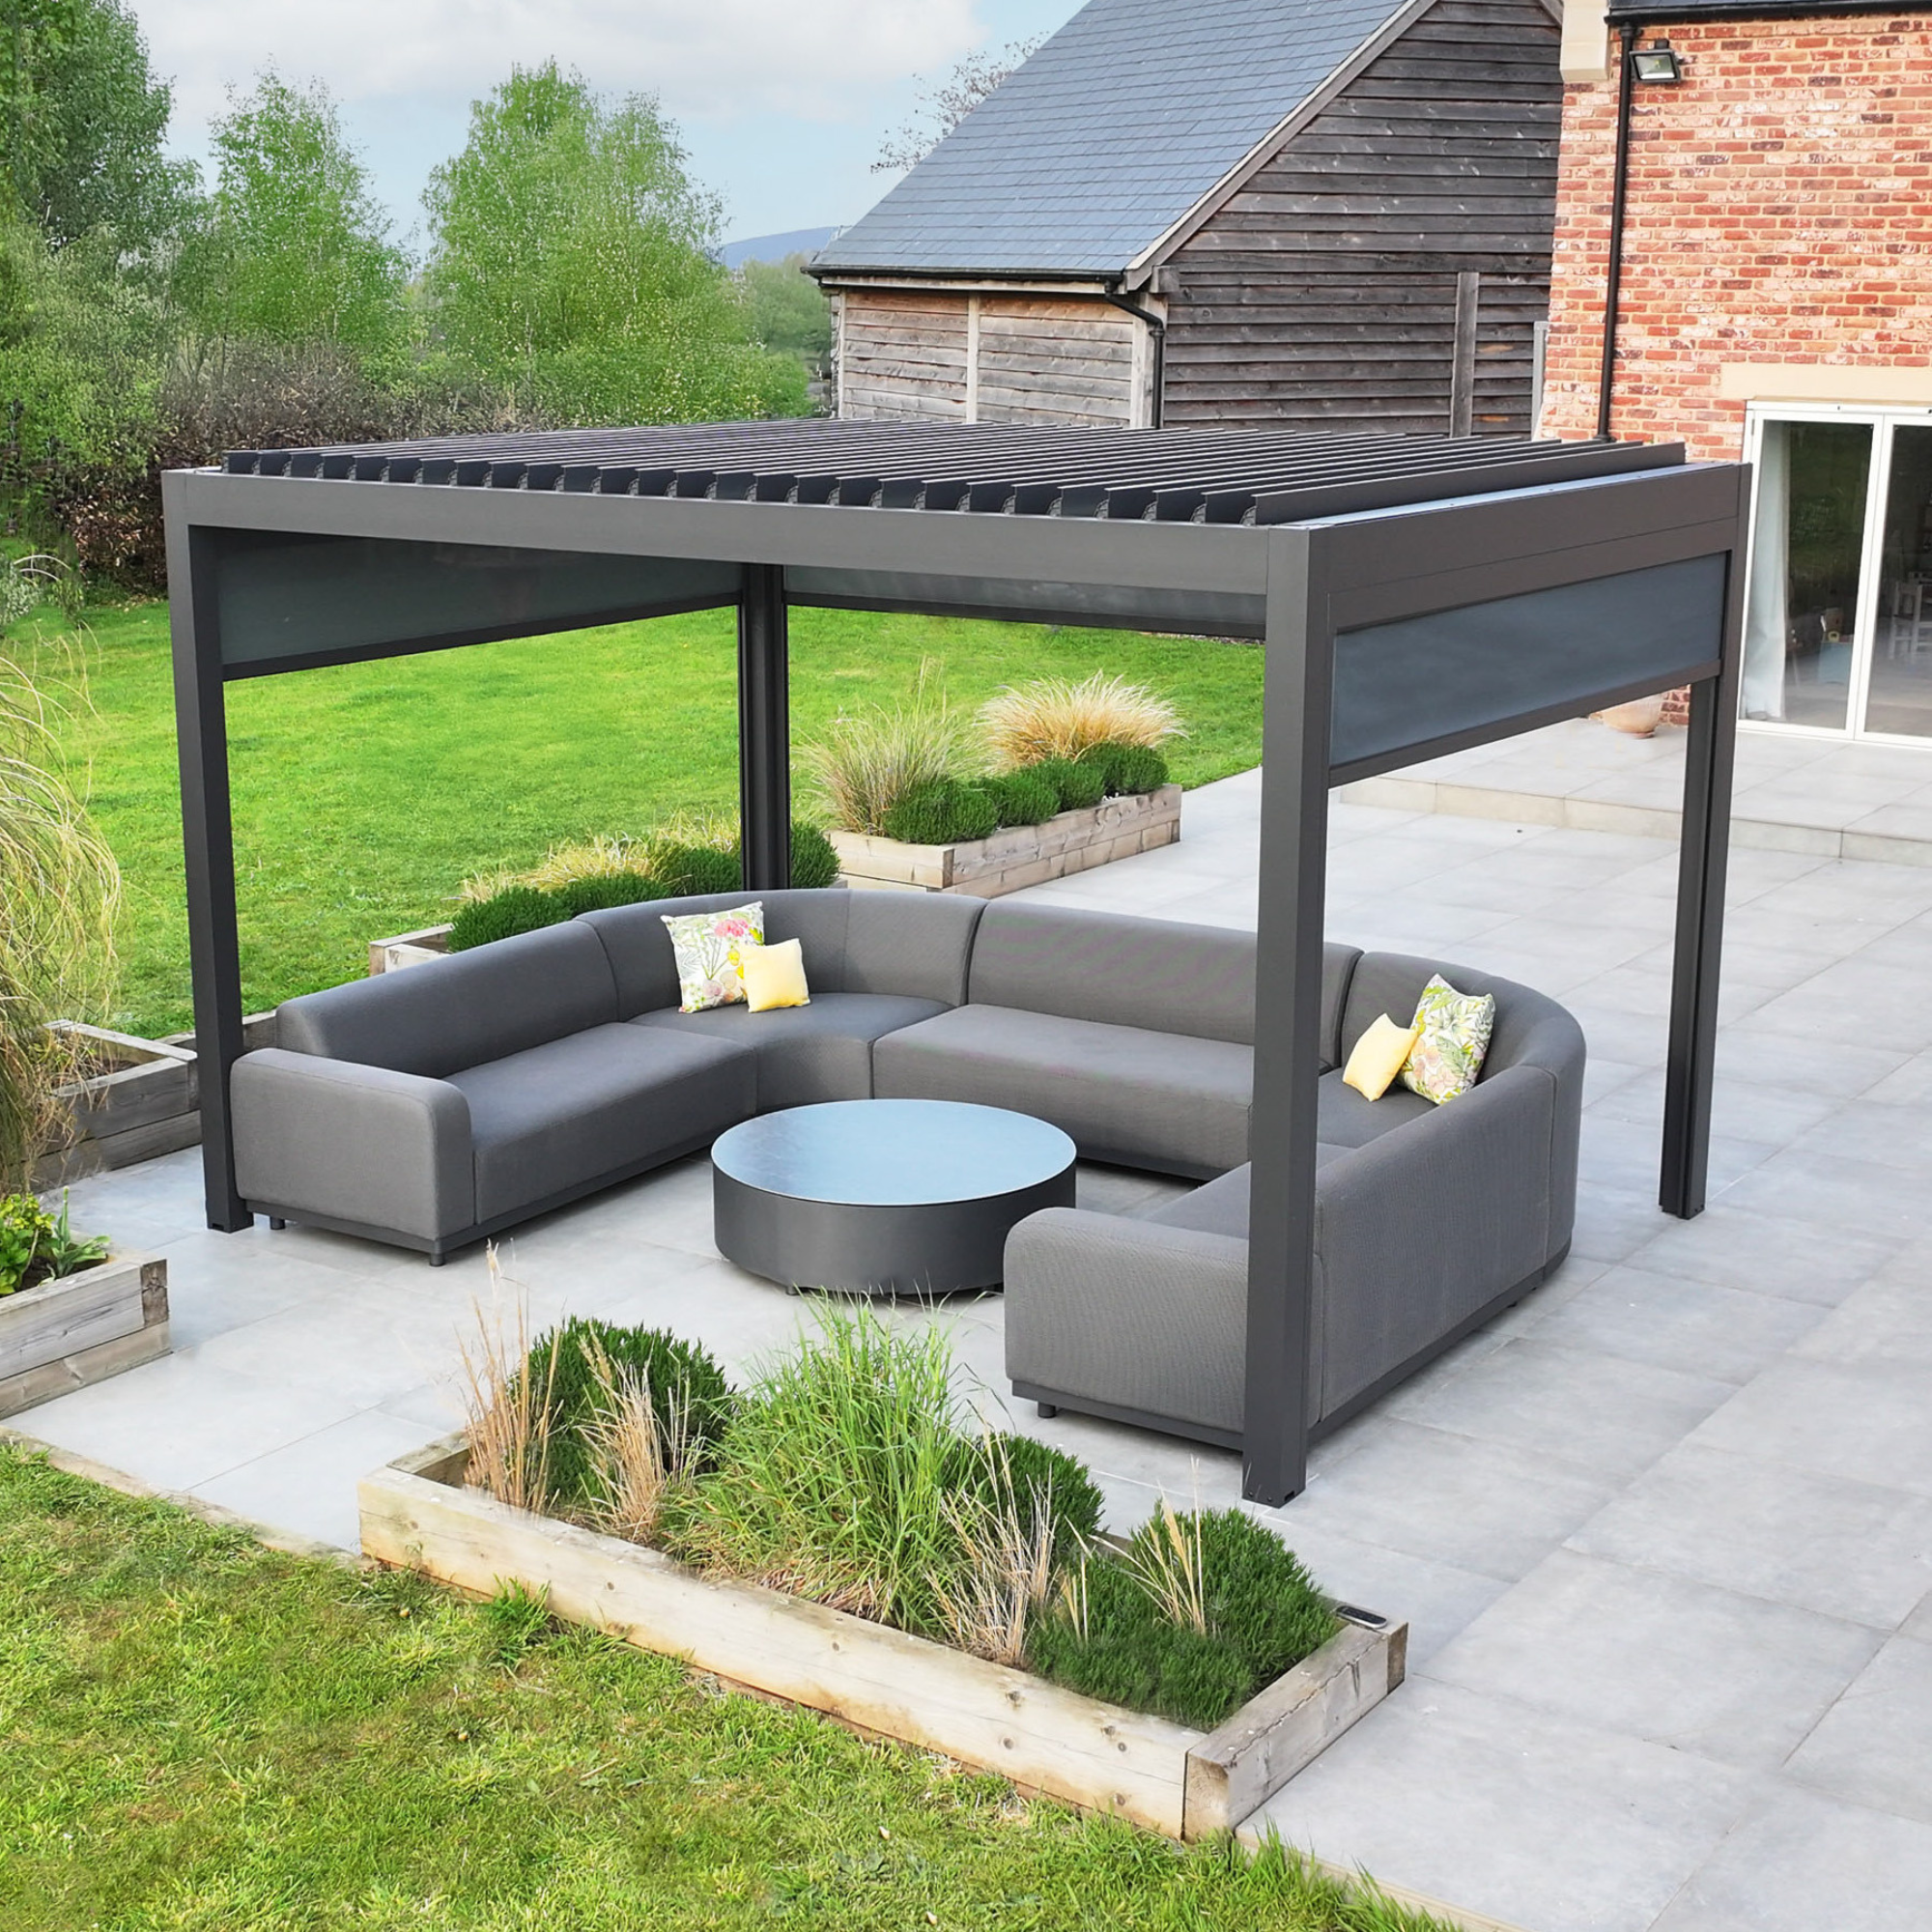
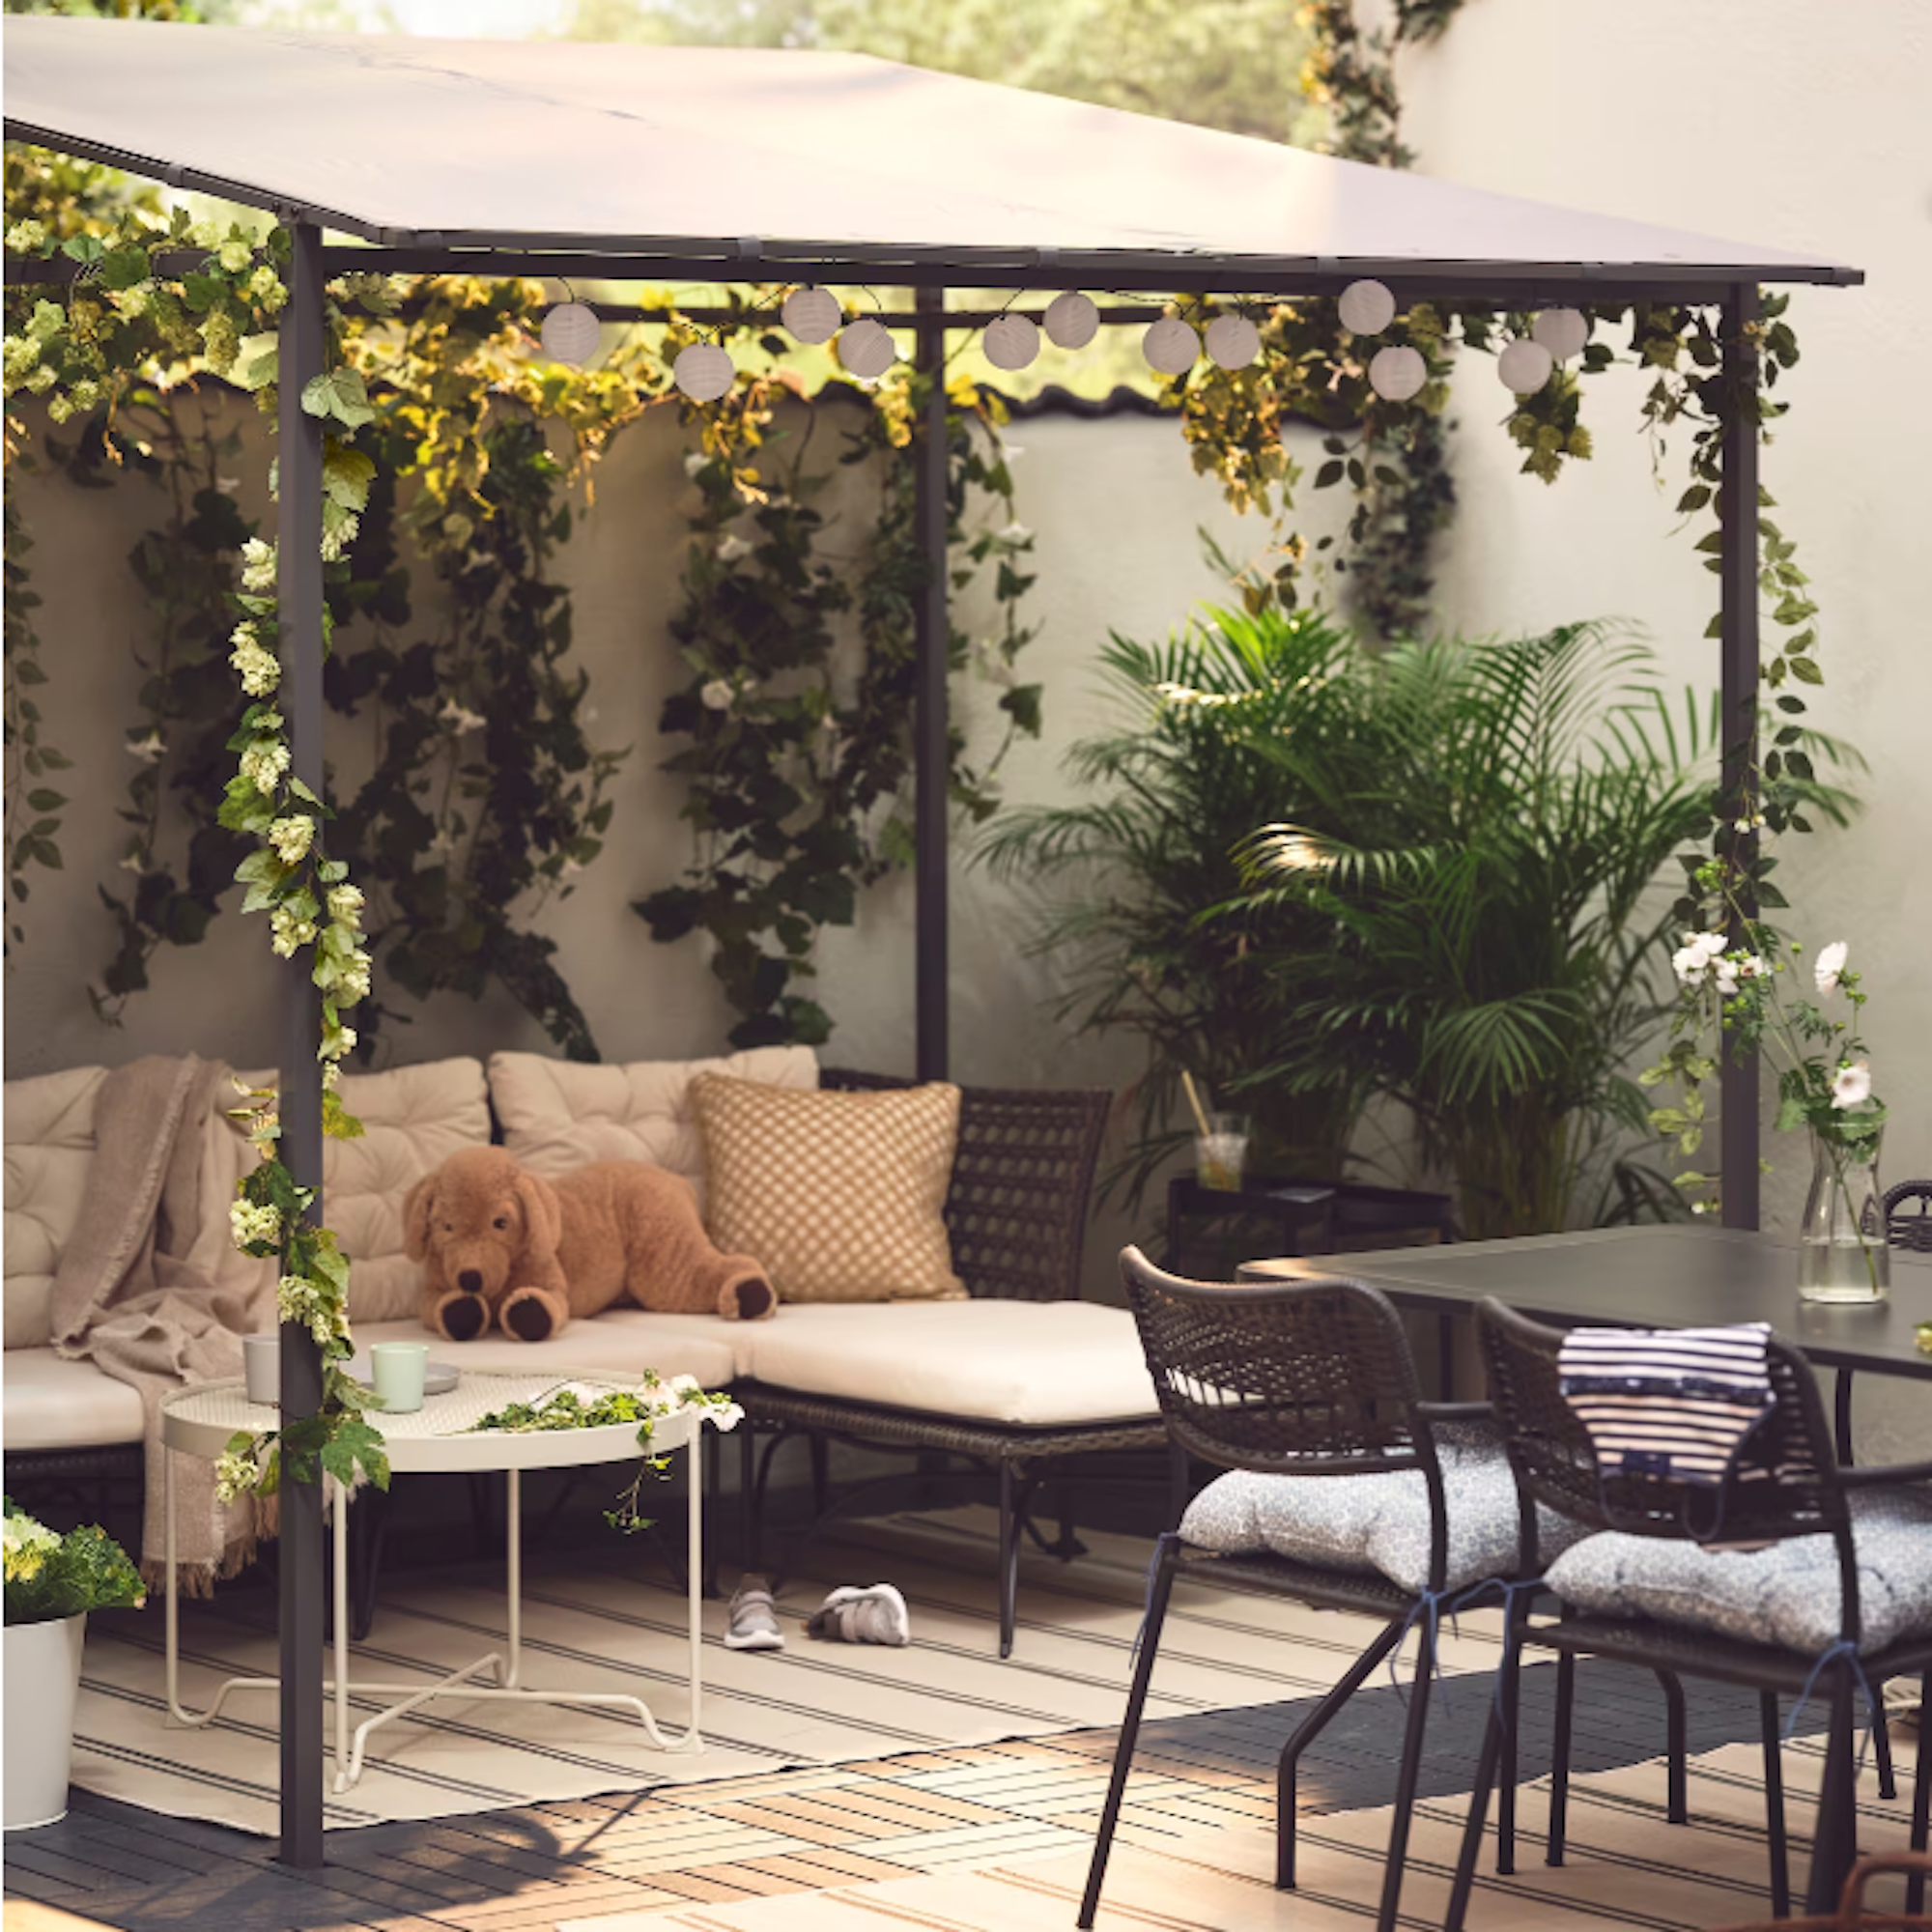
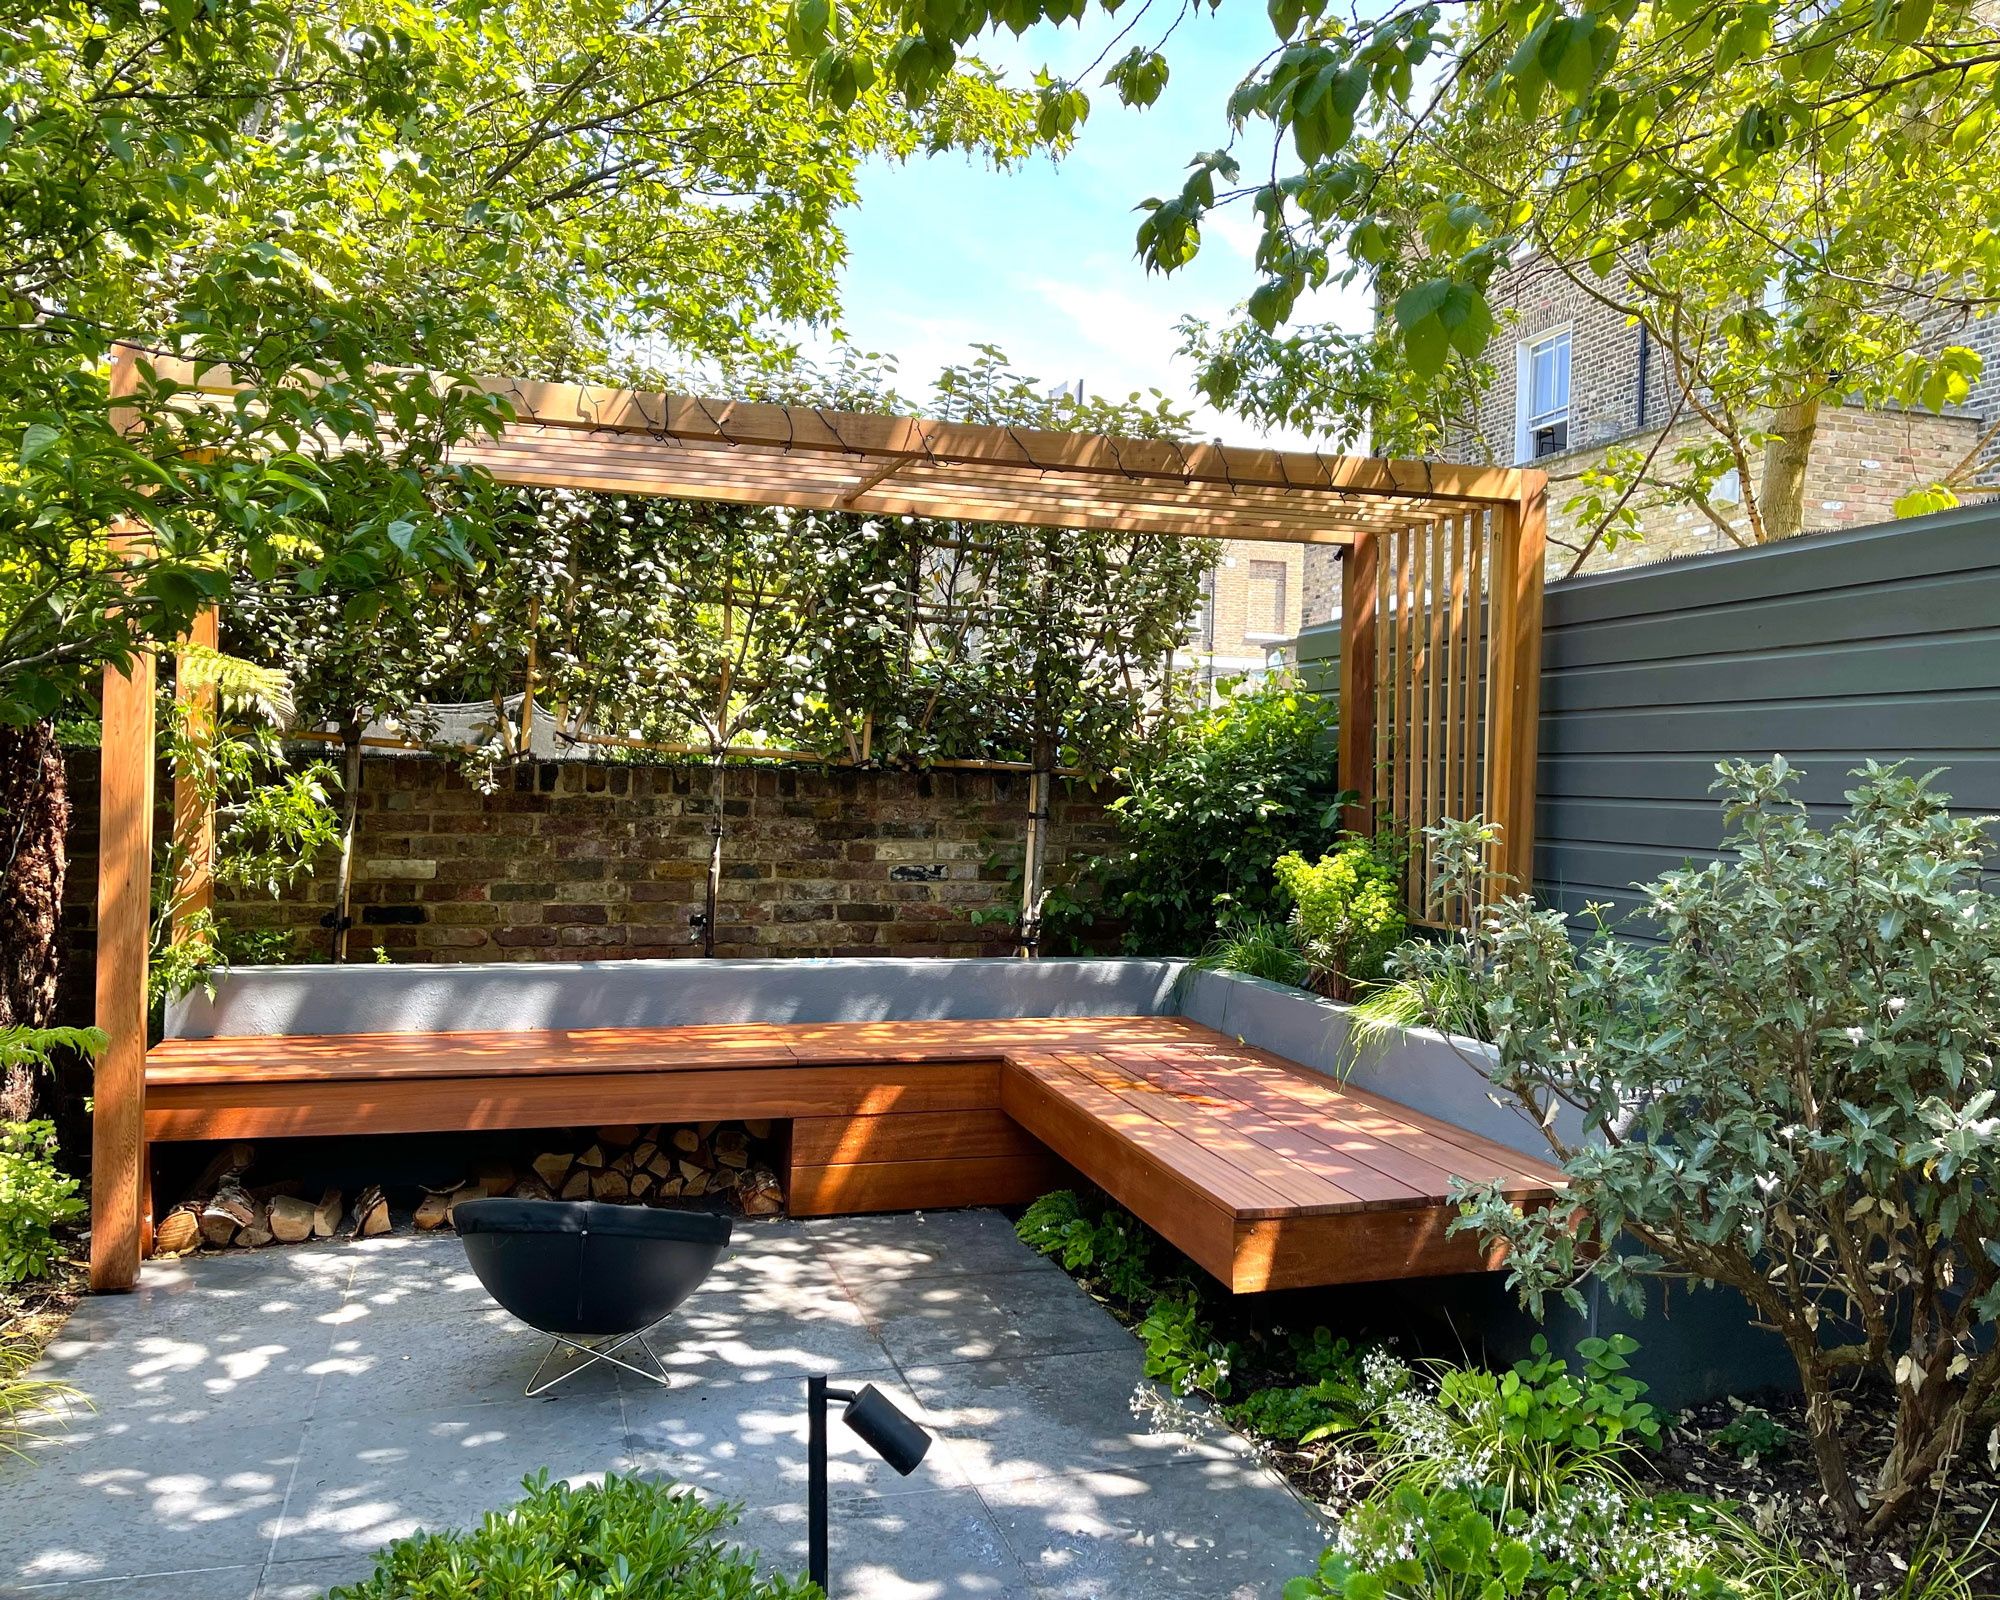
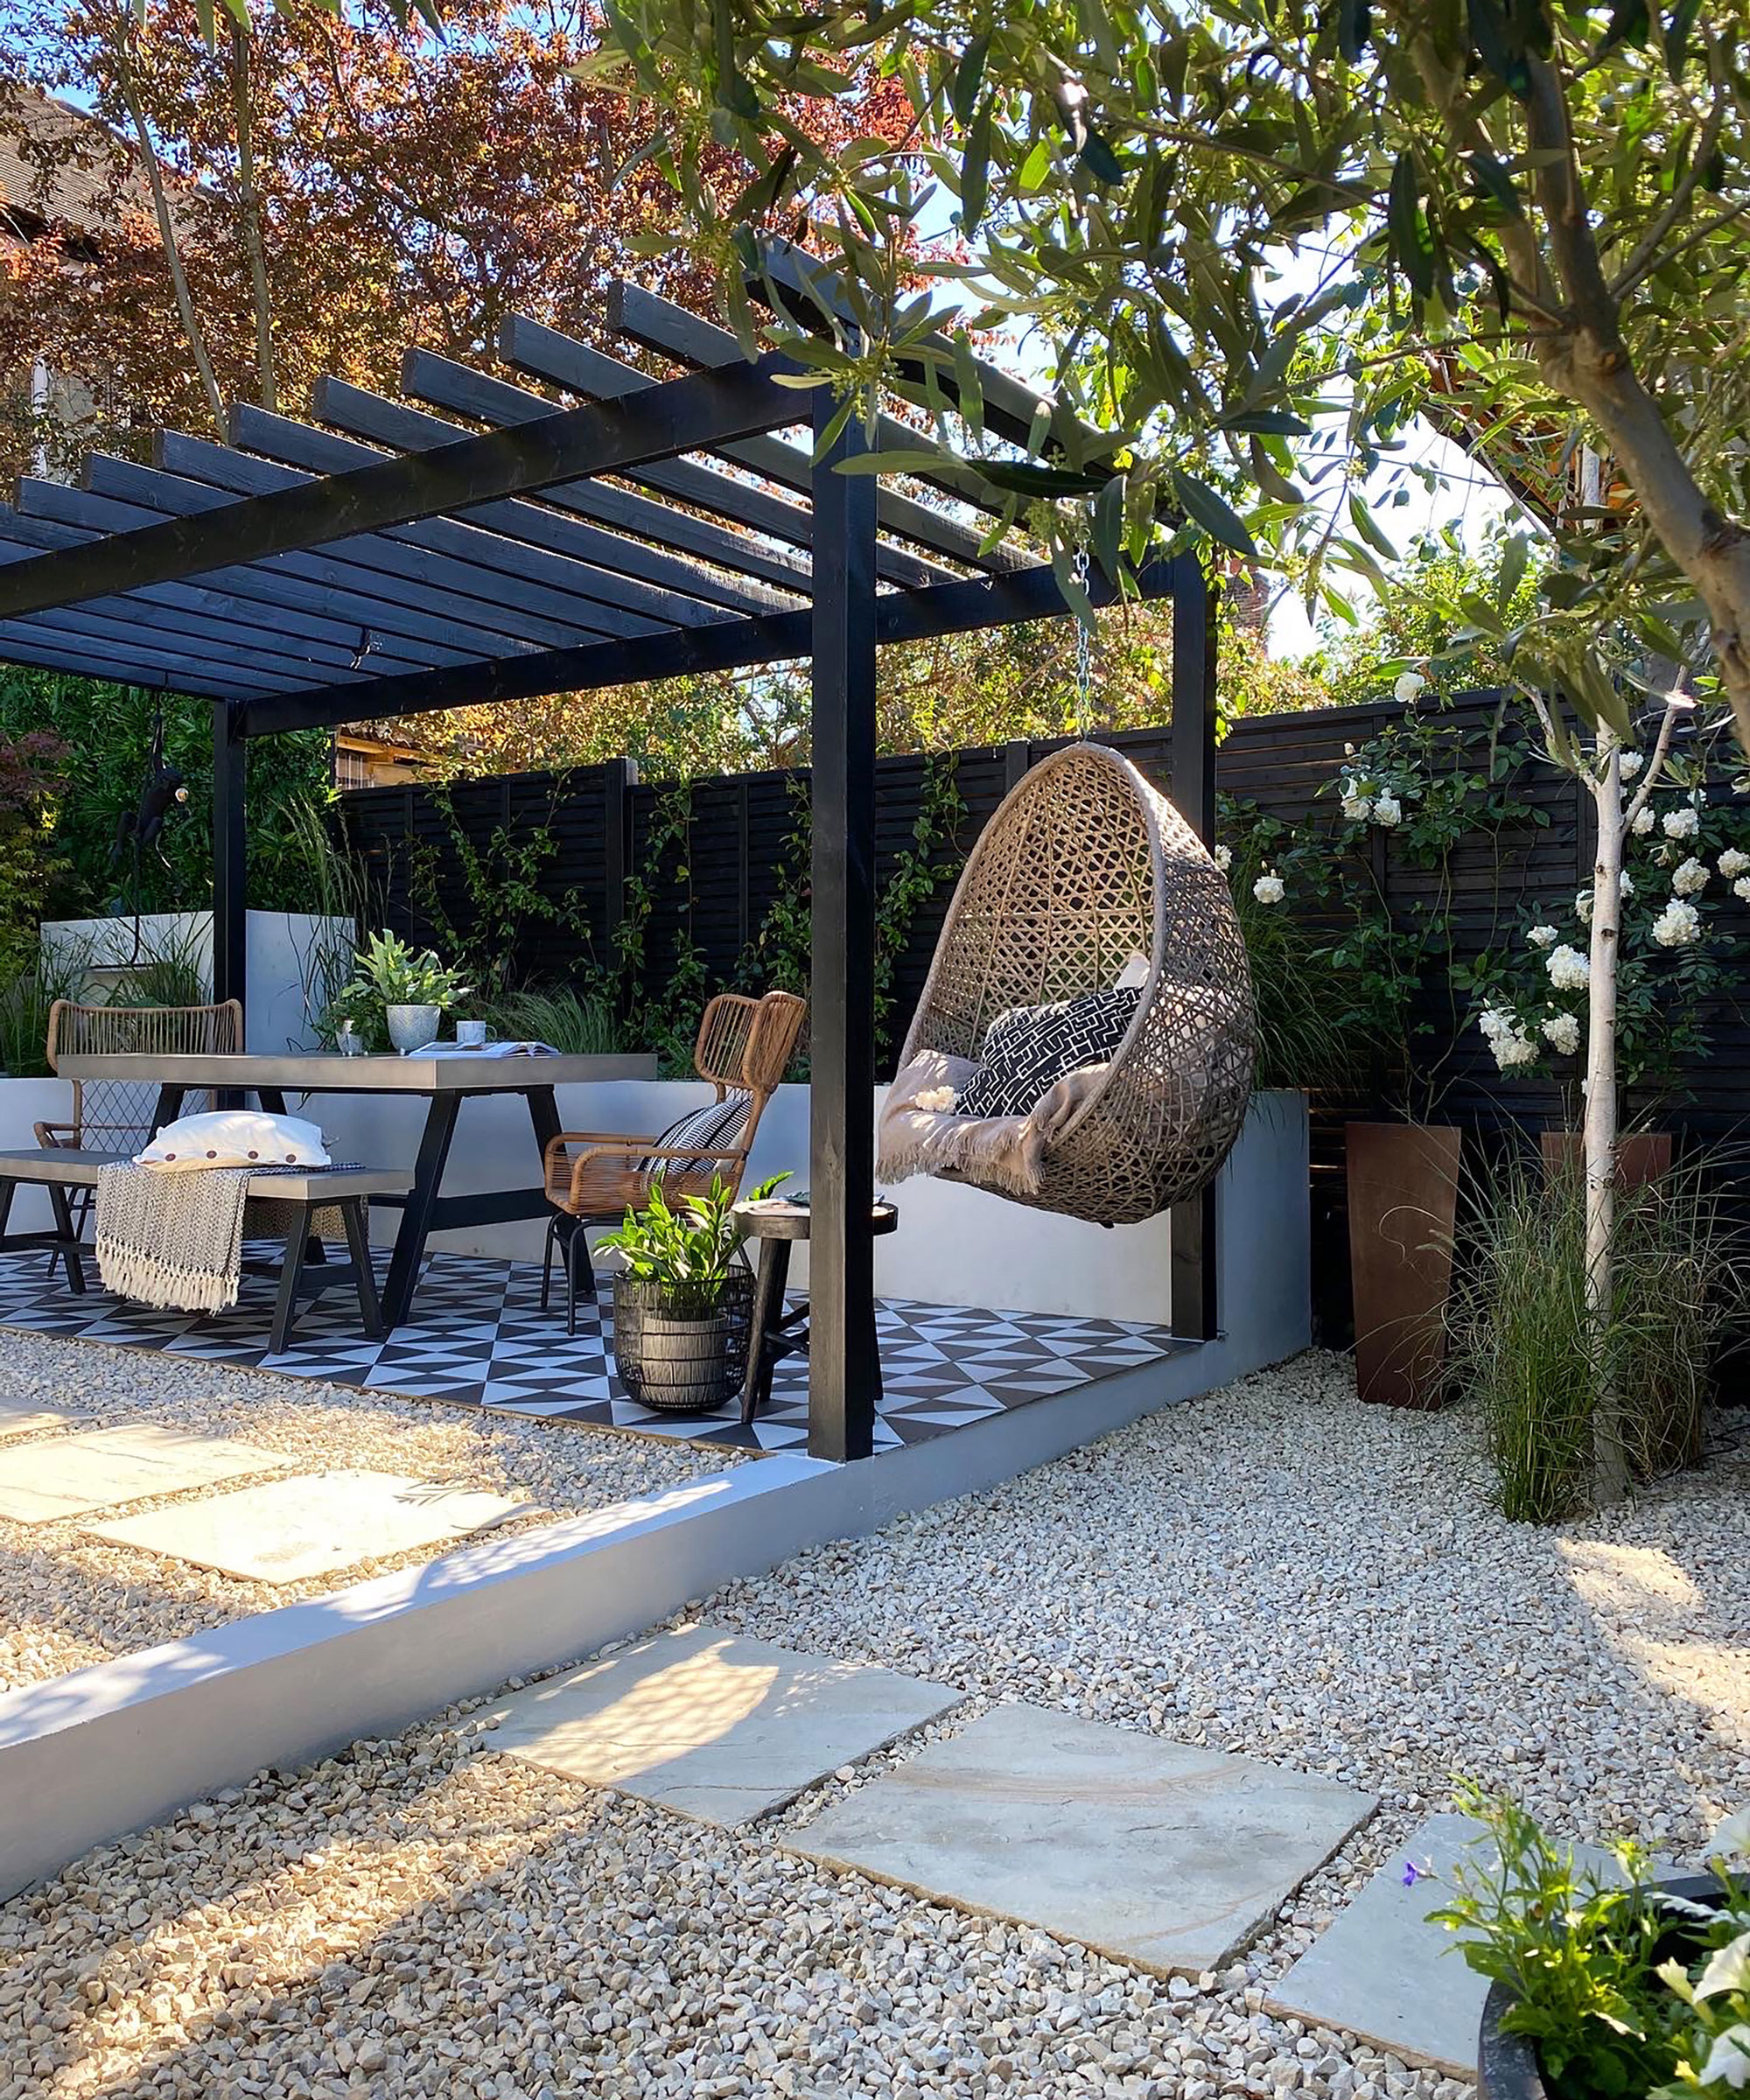
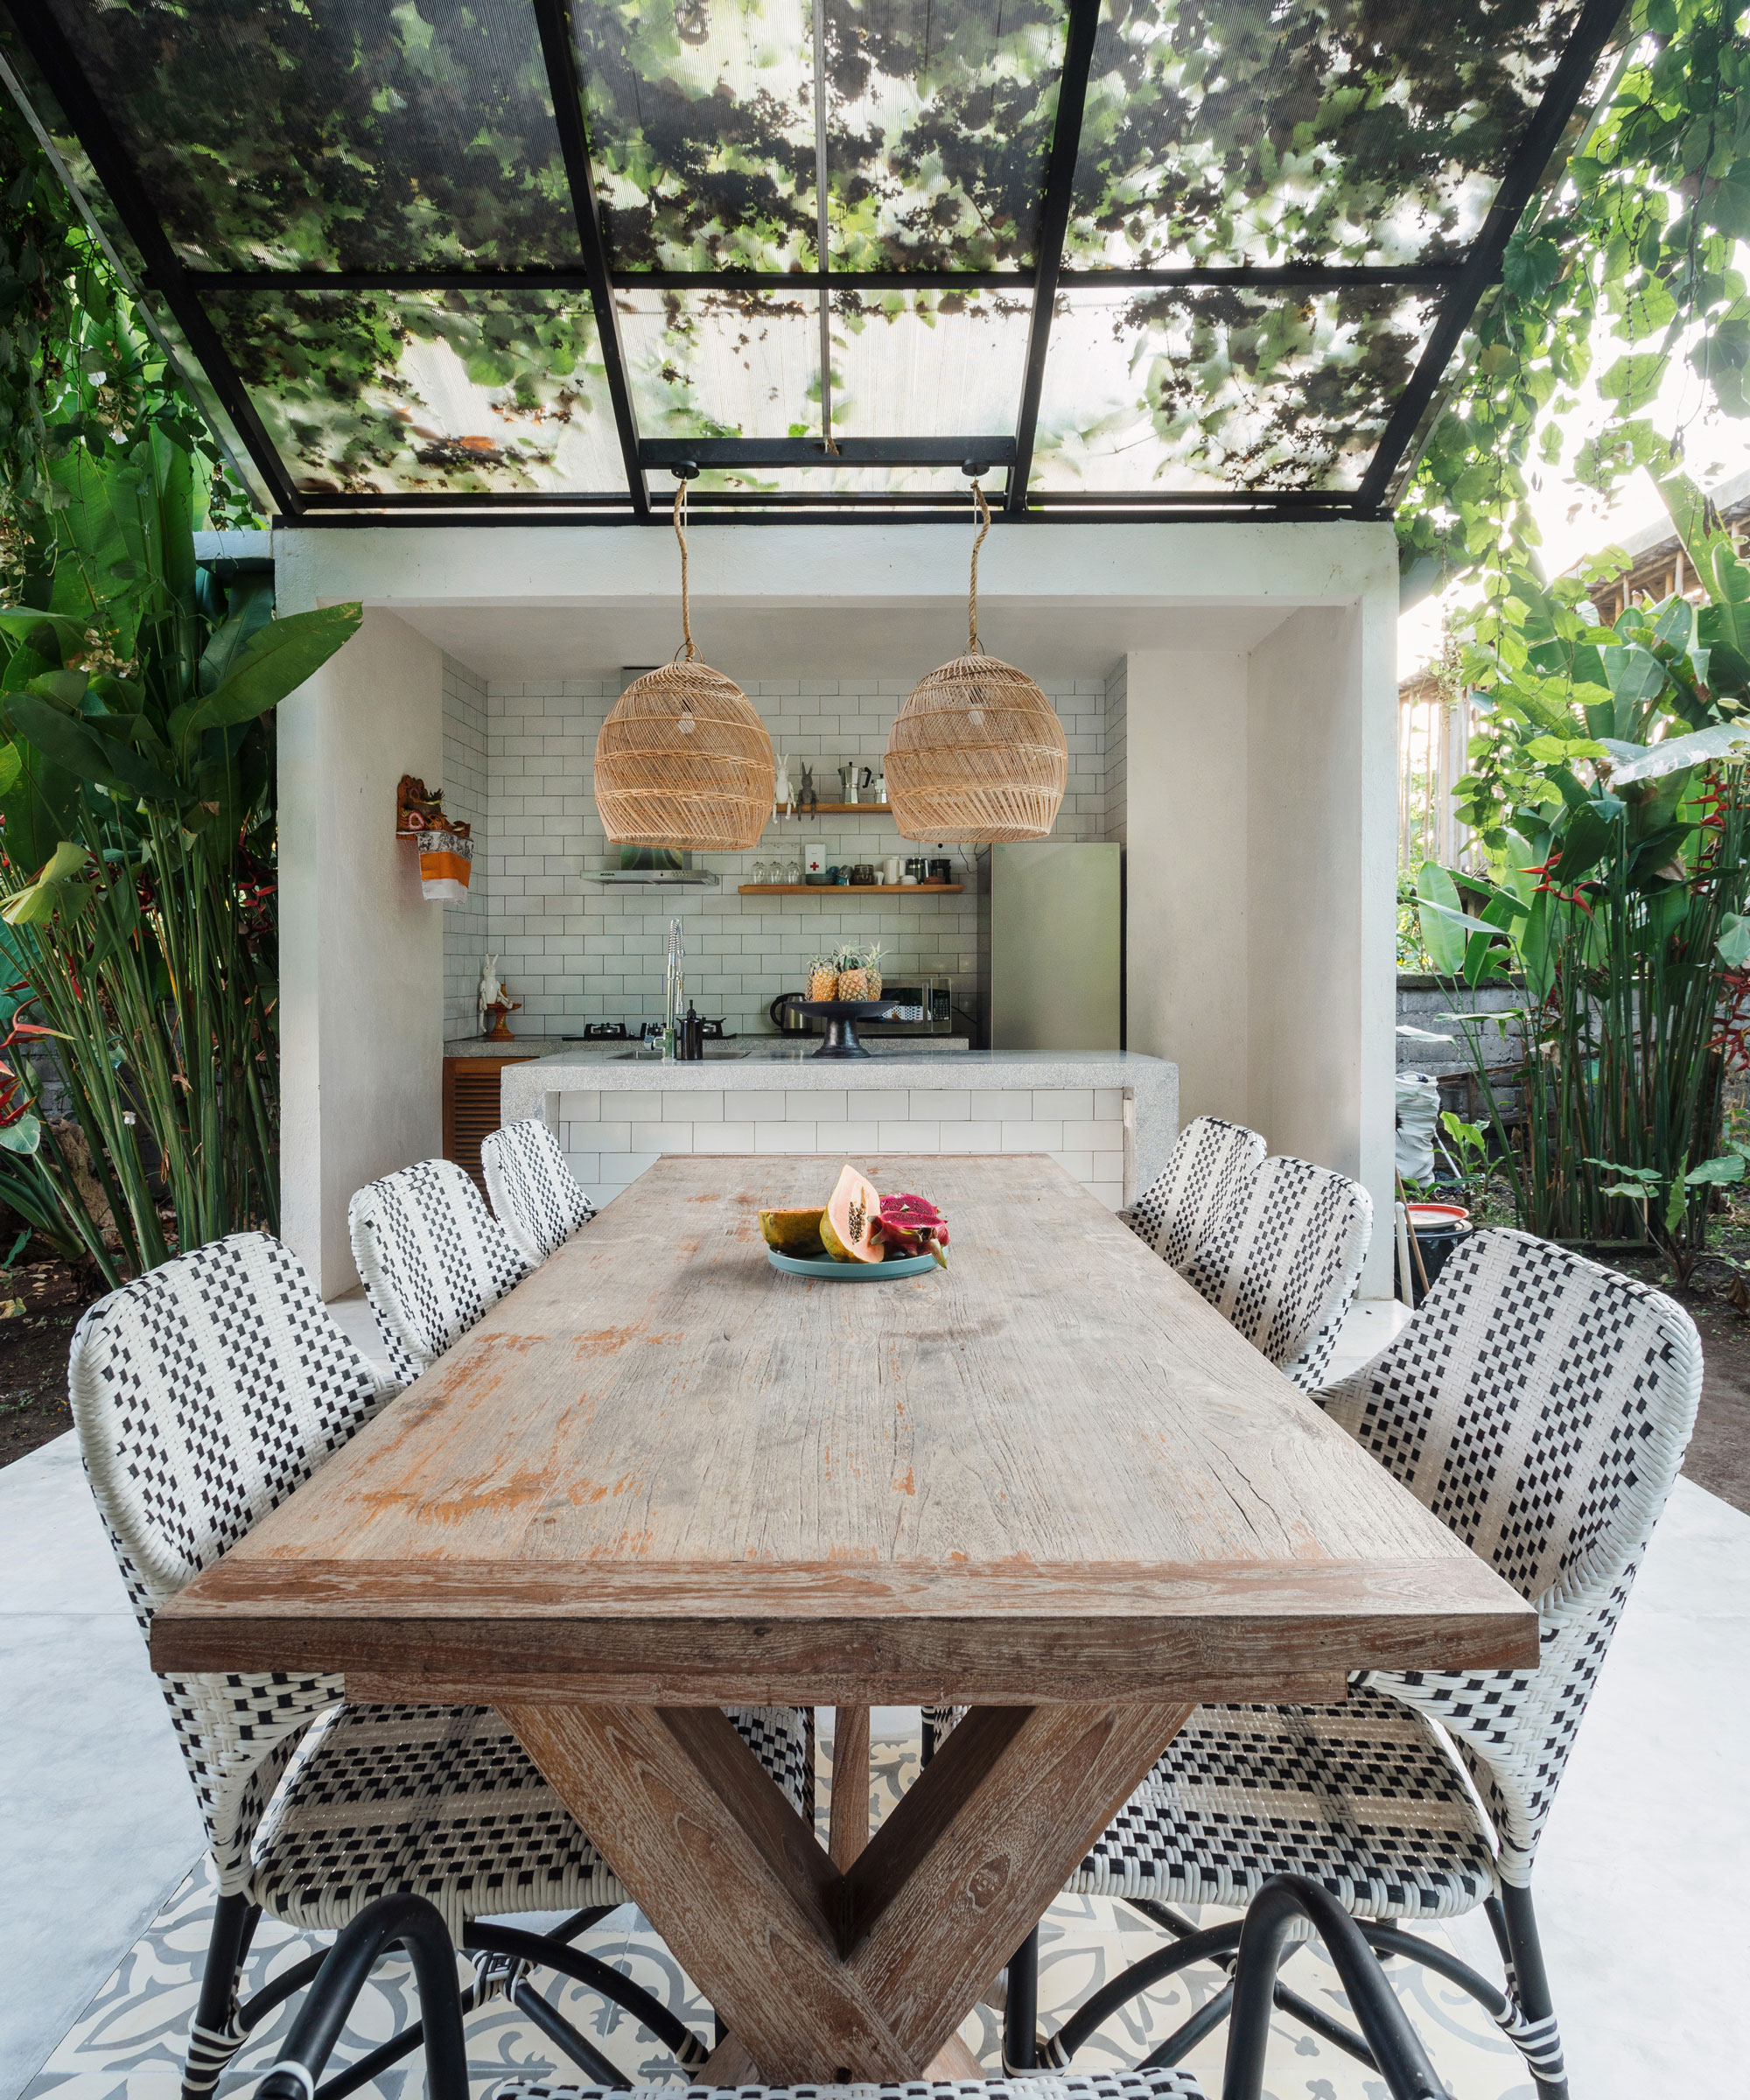
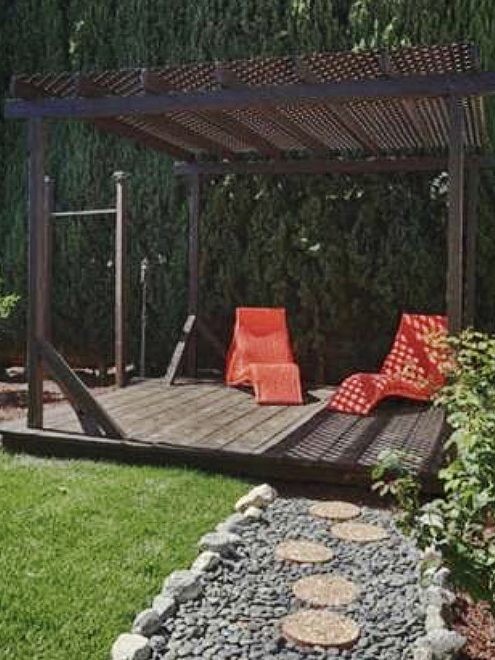
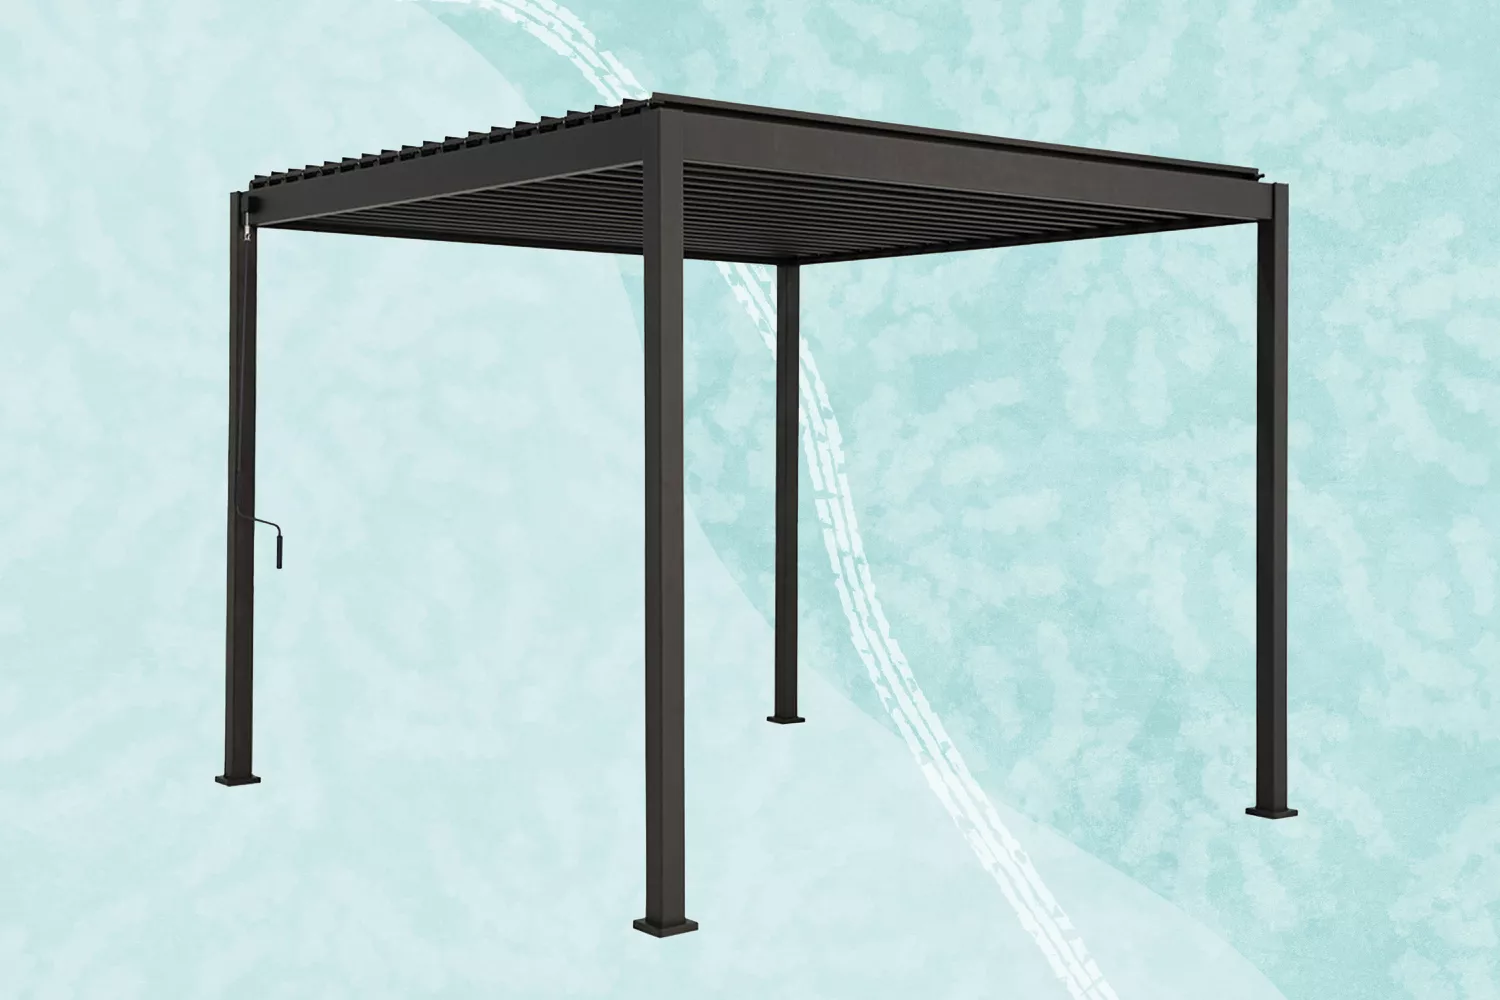
The article details the process of building a pergola, a versatile outdoor structure designed to add character and functionality to a backyard. Pergolas offer practical benefits such as providing shade from the sun and serving as support for climbing plants. Aesthetically, they enhance a garden's charm, create a focal point for outdoor gatherings, and can be customized to suit various garden styles.
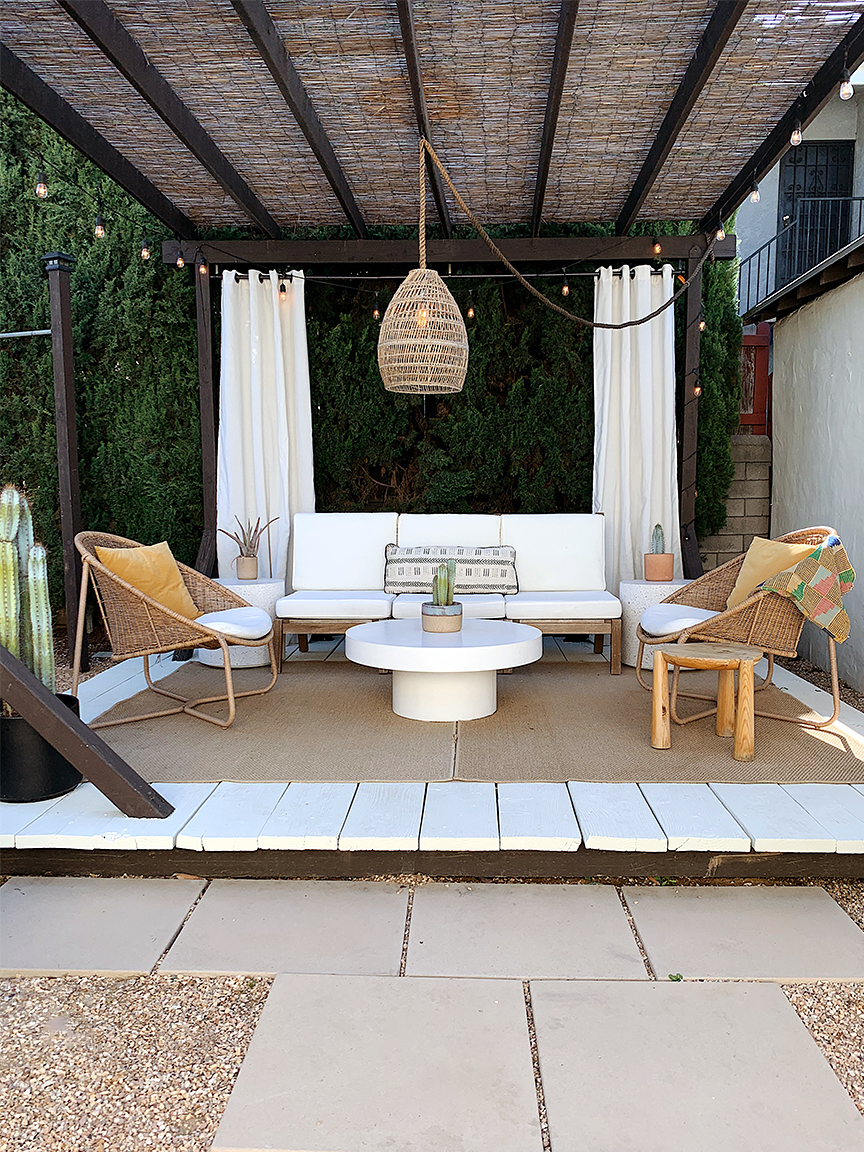
Before embarking on construction, planning is crucial. This involves determining the appropriate size and location for the pergola, considering its intended use. For instance, a small pergola might suffice for decorative climbing plants on a patio, while a larger one would be necessary to shade outdoor furniture. Measuring the space accurately and marking the area with stakes and string are essential initial steps.
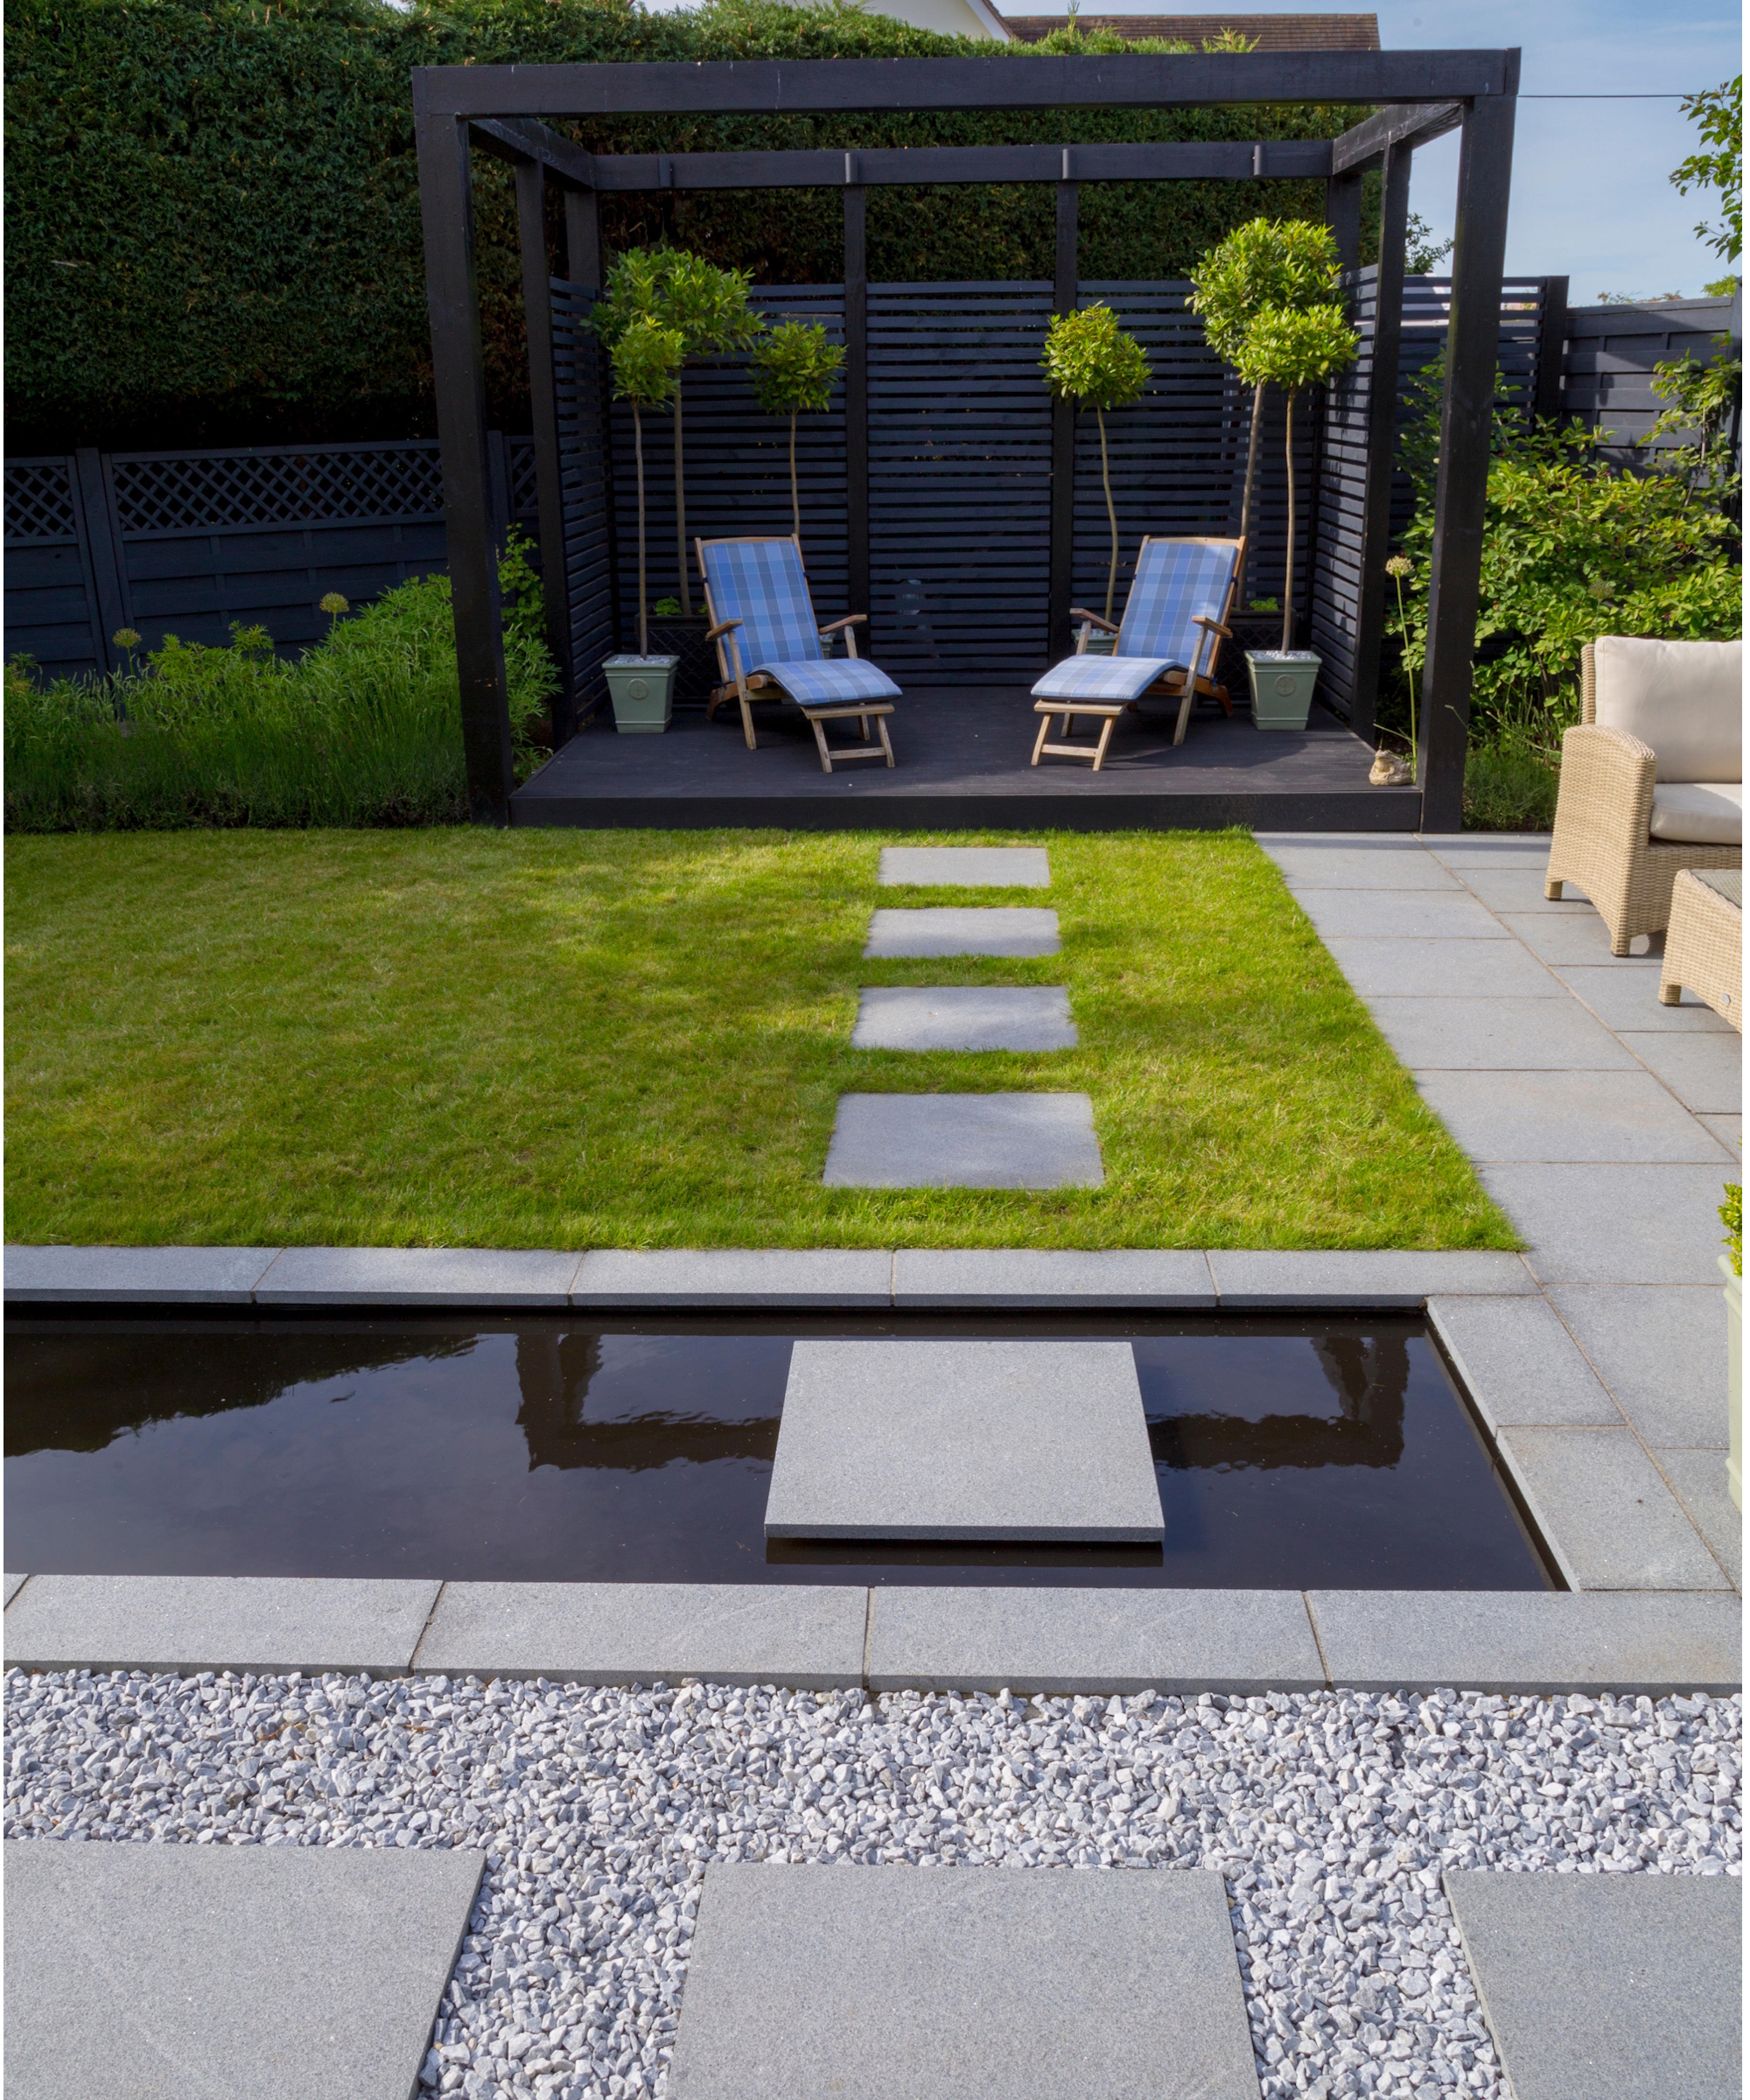
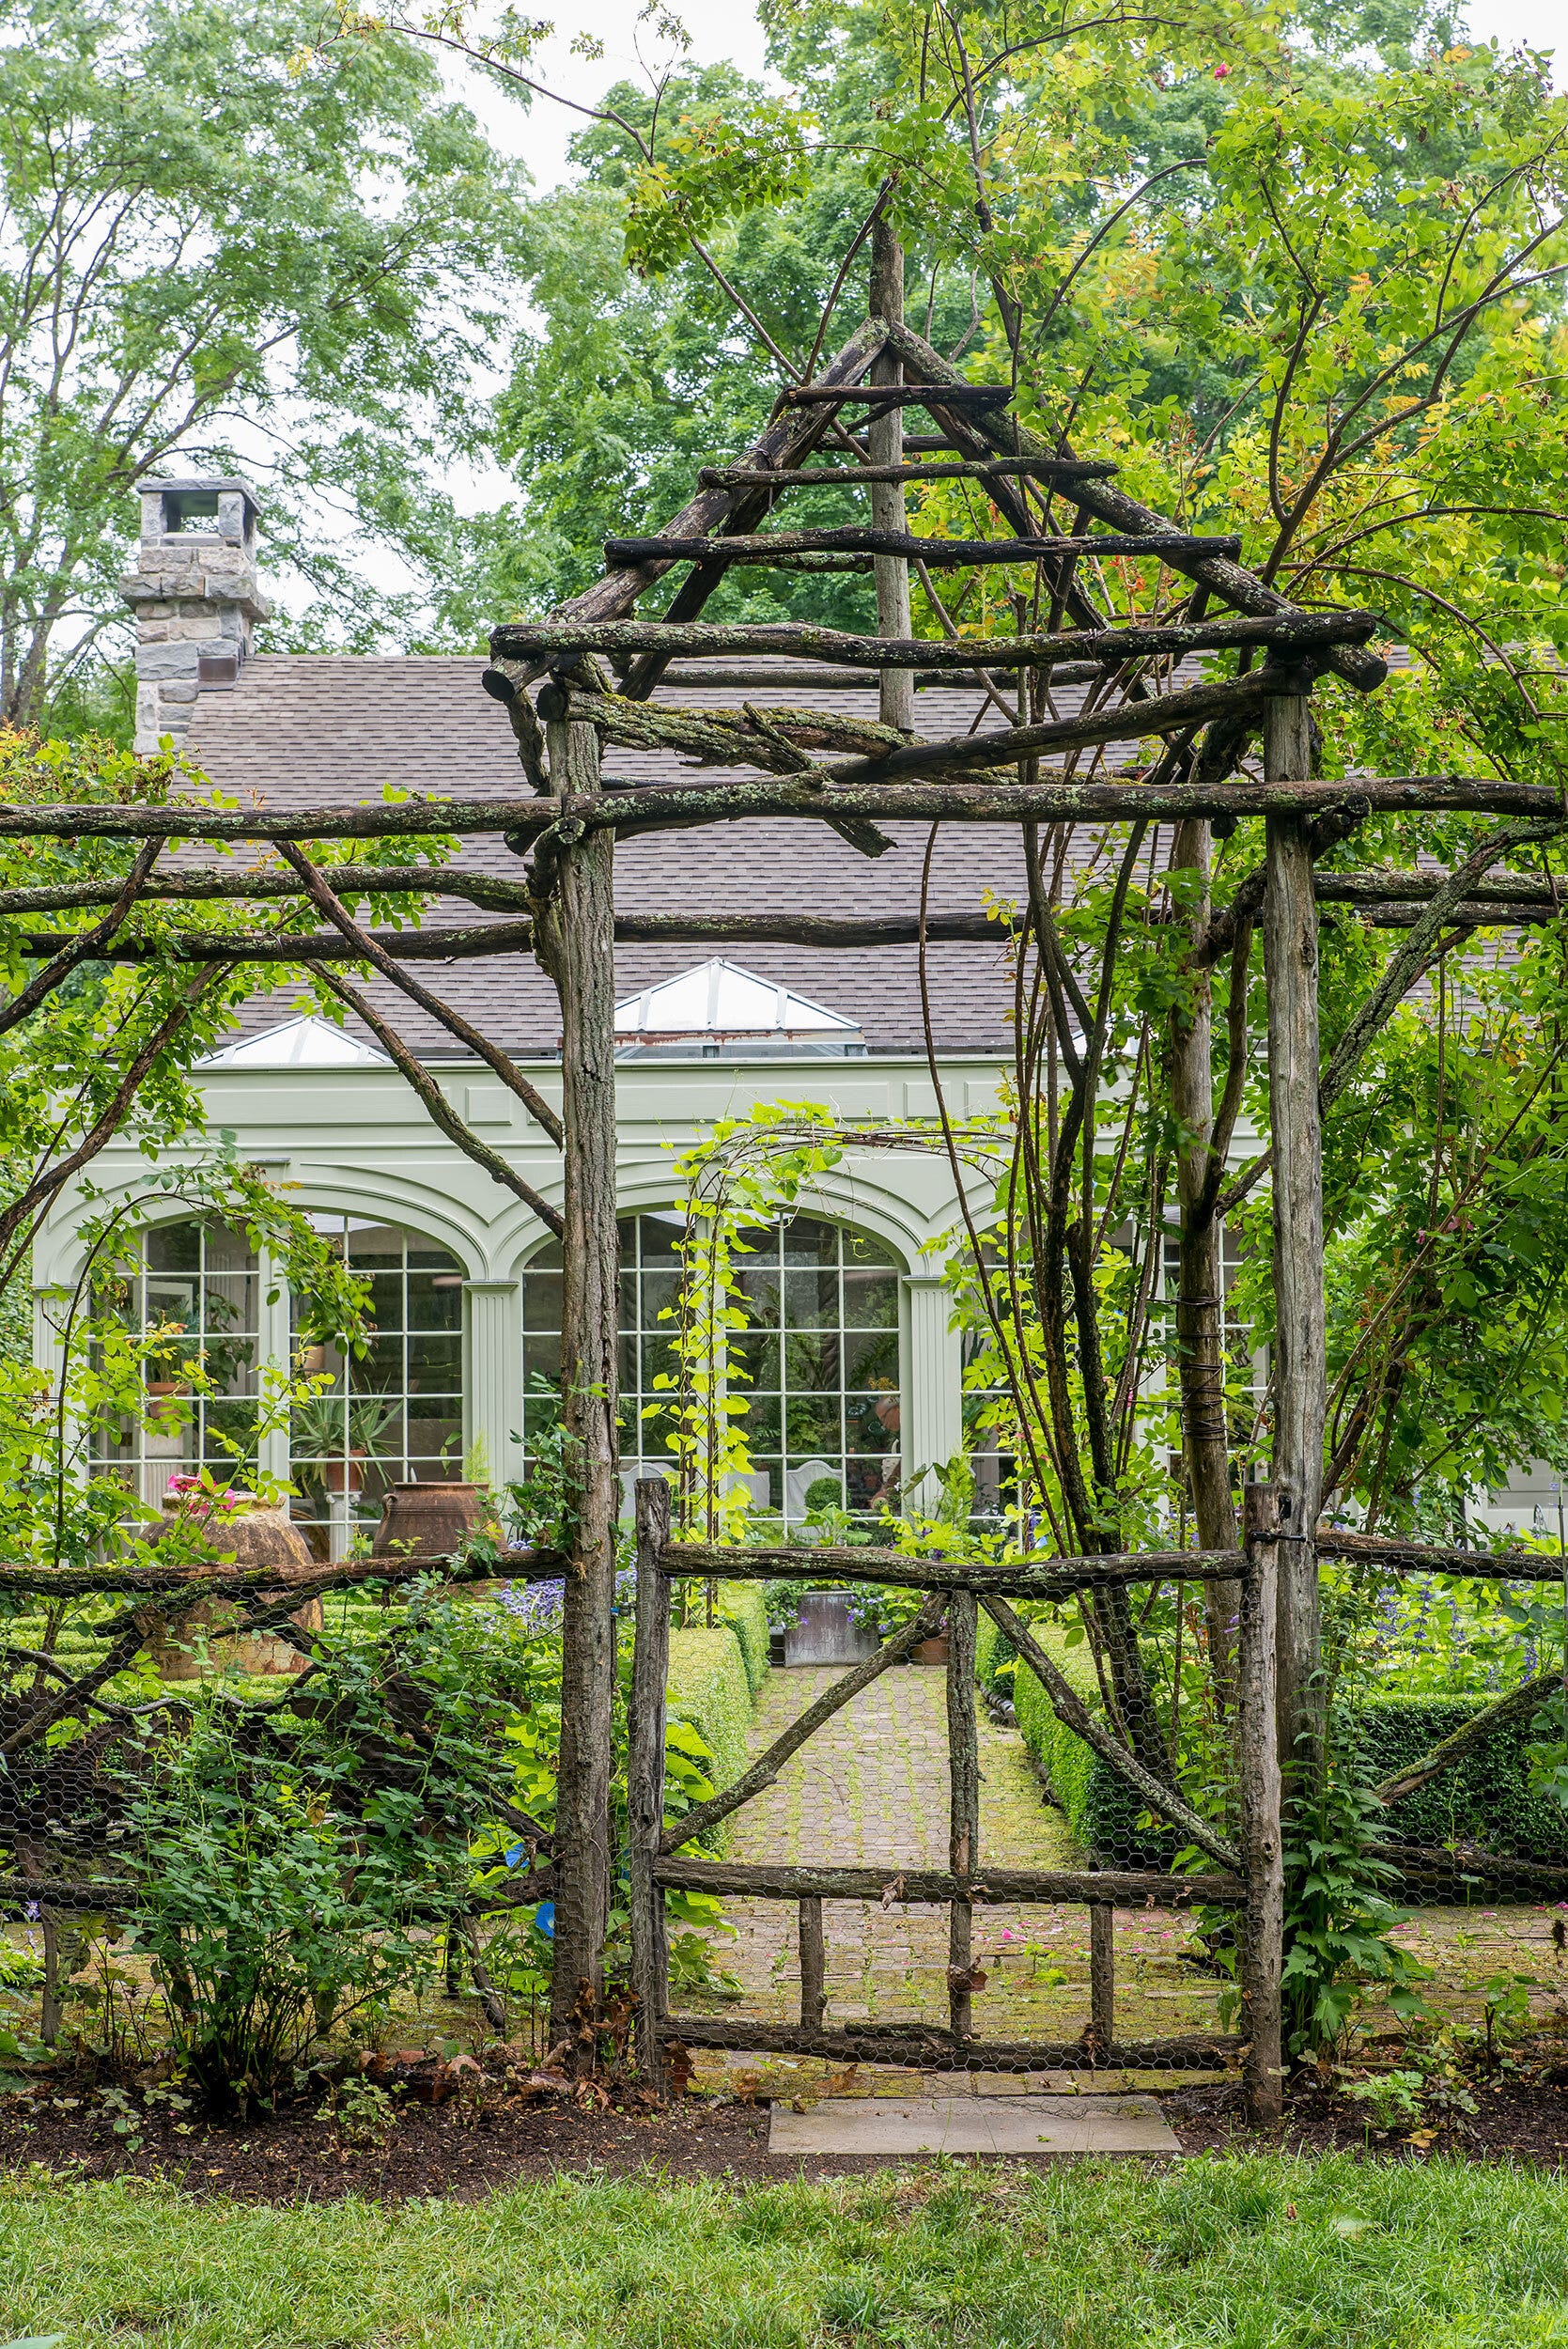
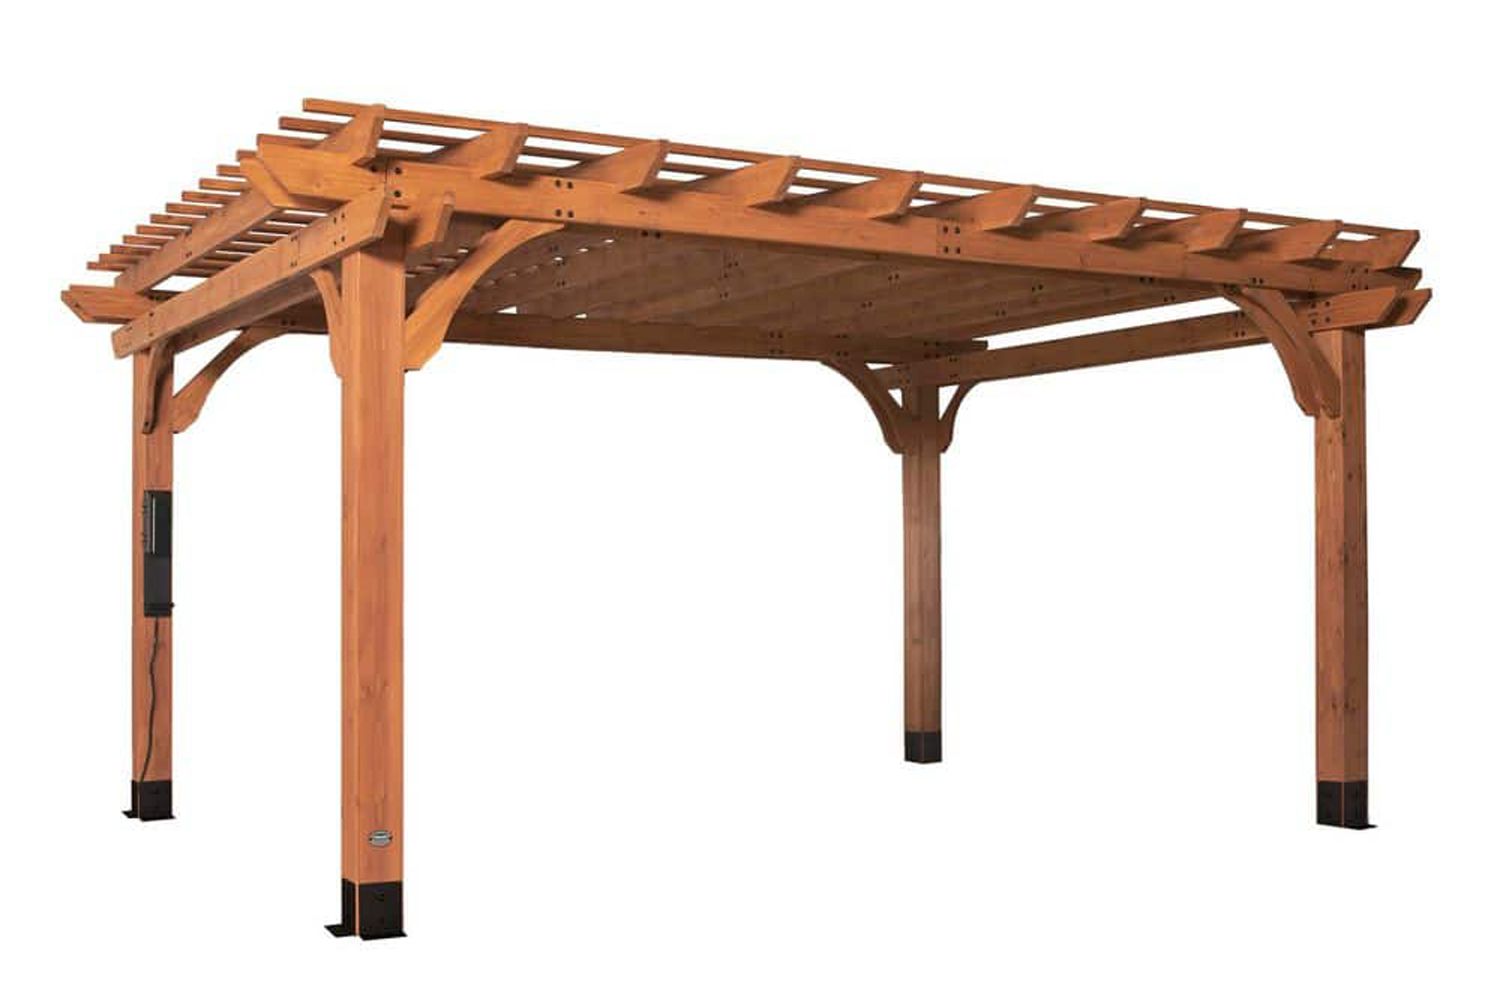
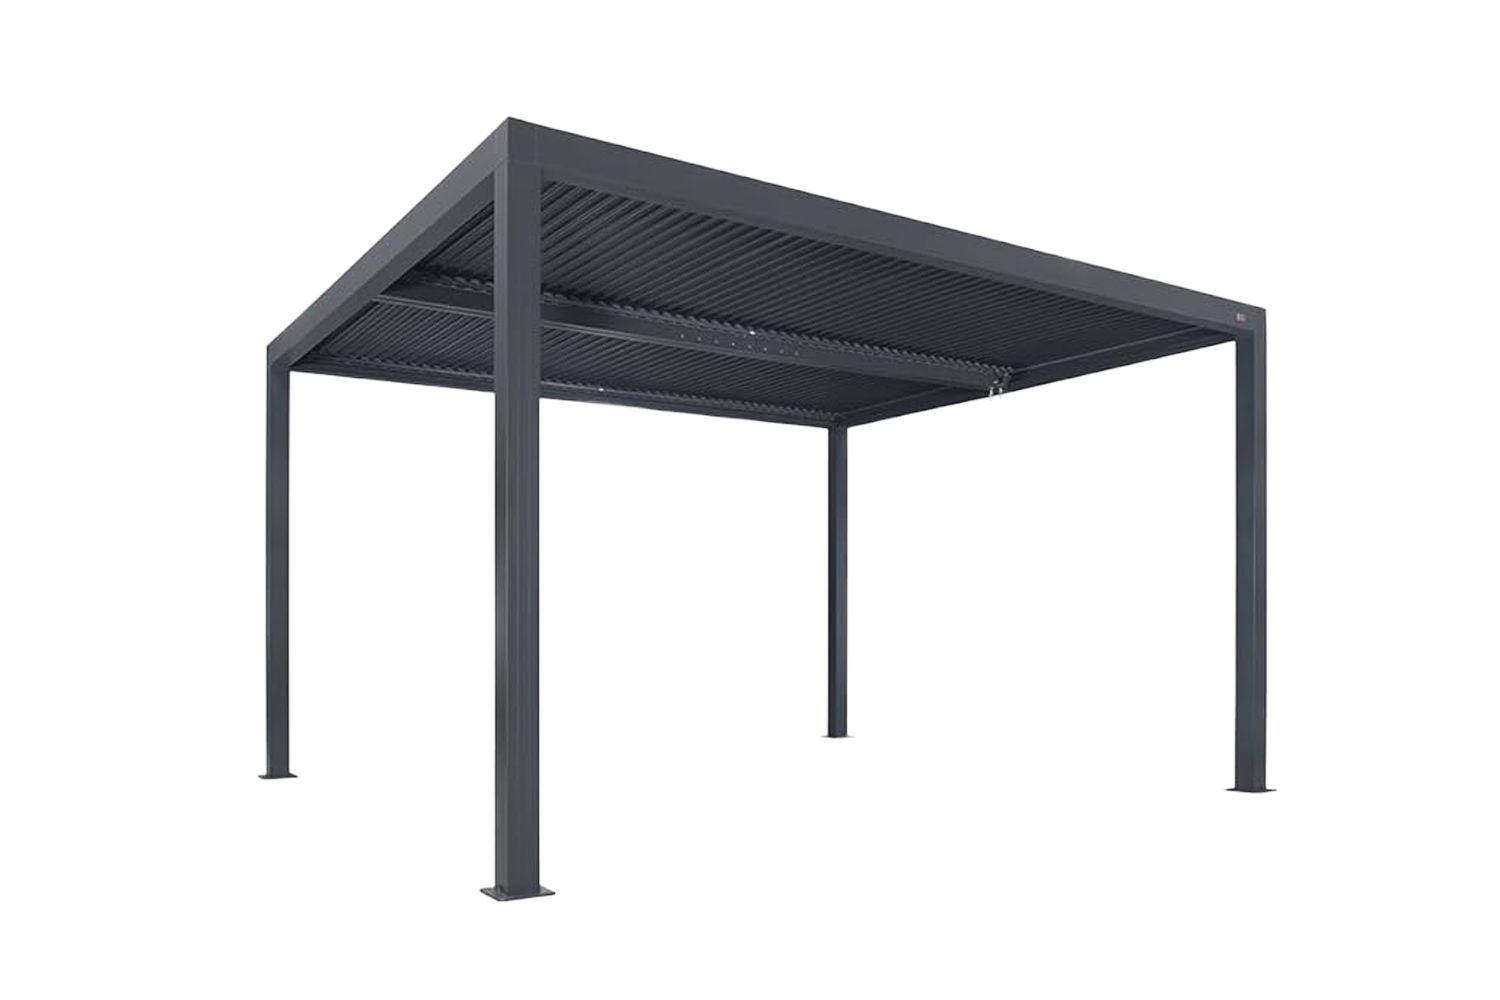
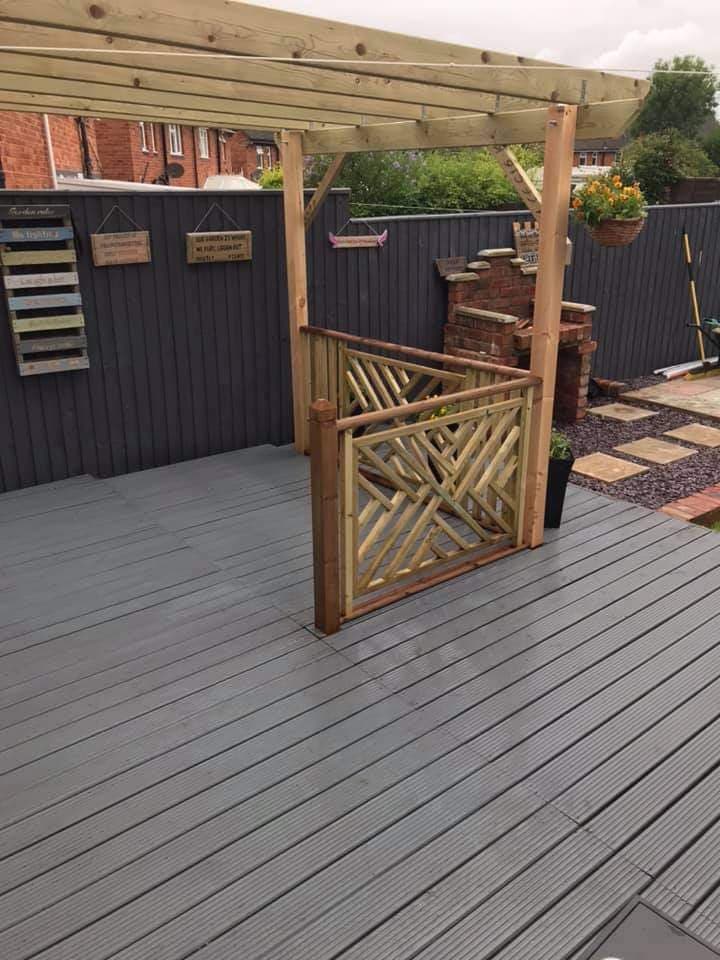
Regarding materials, while options like aluminum, vinyl, stone, brick, or wrought iron exist, wood is recommended for DIY projects due to its durability and ease of use. Pressure-treated lumber is suggested for its resilience against elements and random impacts. Although wood requires periodic maintenance to extend its lifespan, it offers a robust foundation. For a contemporary look, metal or vinyl frames are alternatives, though these might necessitate professional installation. The article also mentions the option of painting the wood with a primer before construction for a colored finish.
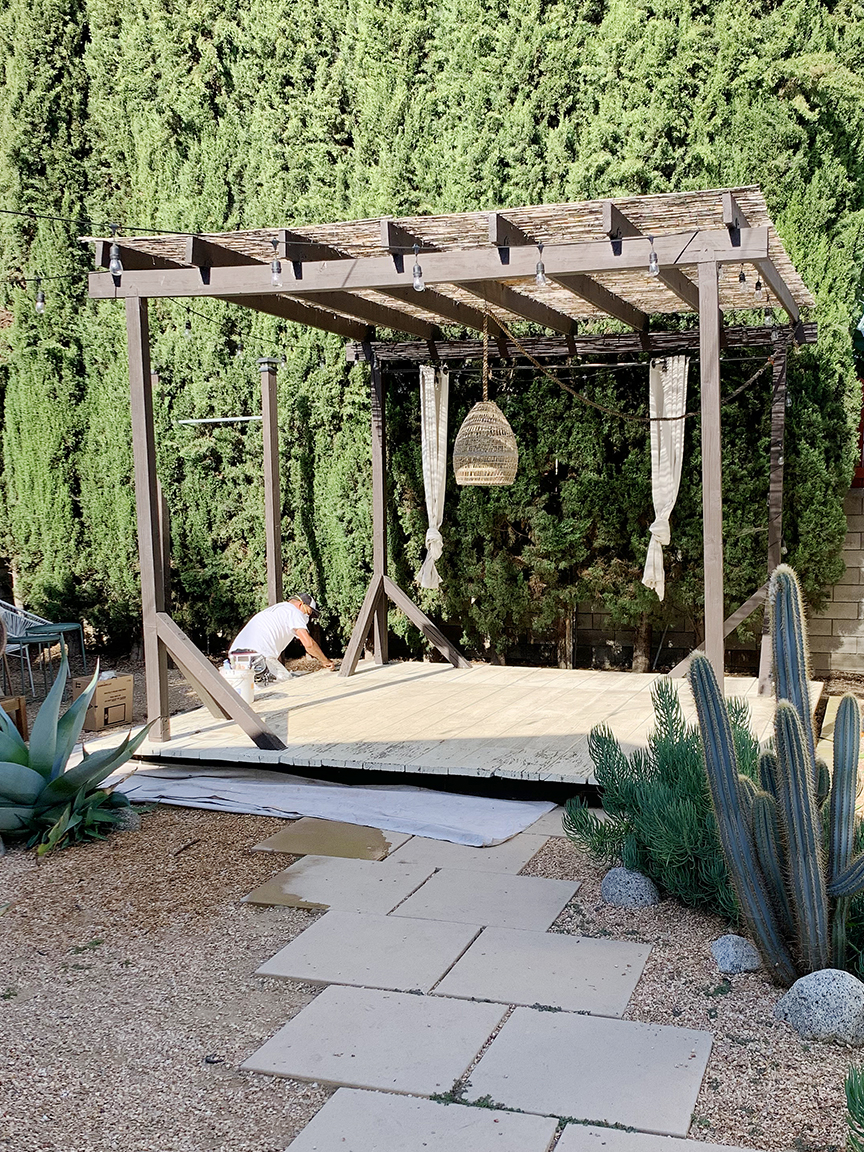
Building a pergola involves several key steps. The first is determining the size and location, as previously mentioned. The second step is selecting materials, with pressure-treated lumber being the preferred choice for DIYers. The third step involves installing the footings for the posts, which support the structure. The depth of these footings depends on the pergola's size and weight, with larger structures and colder climates requiring deeper holes set in concrete.
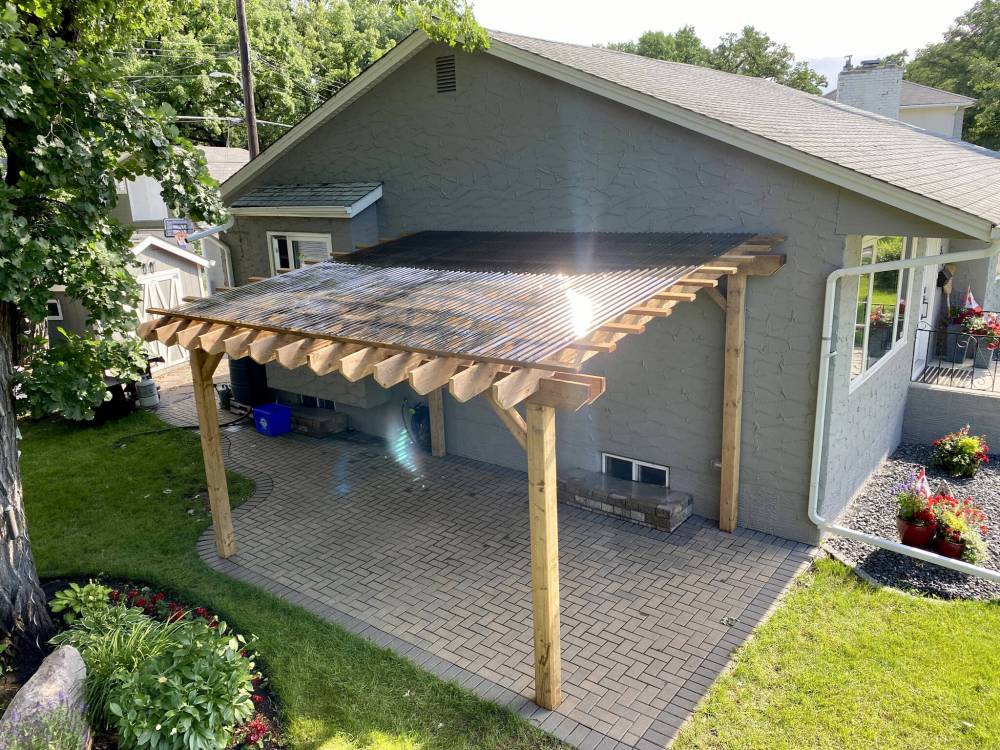
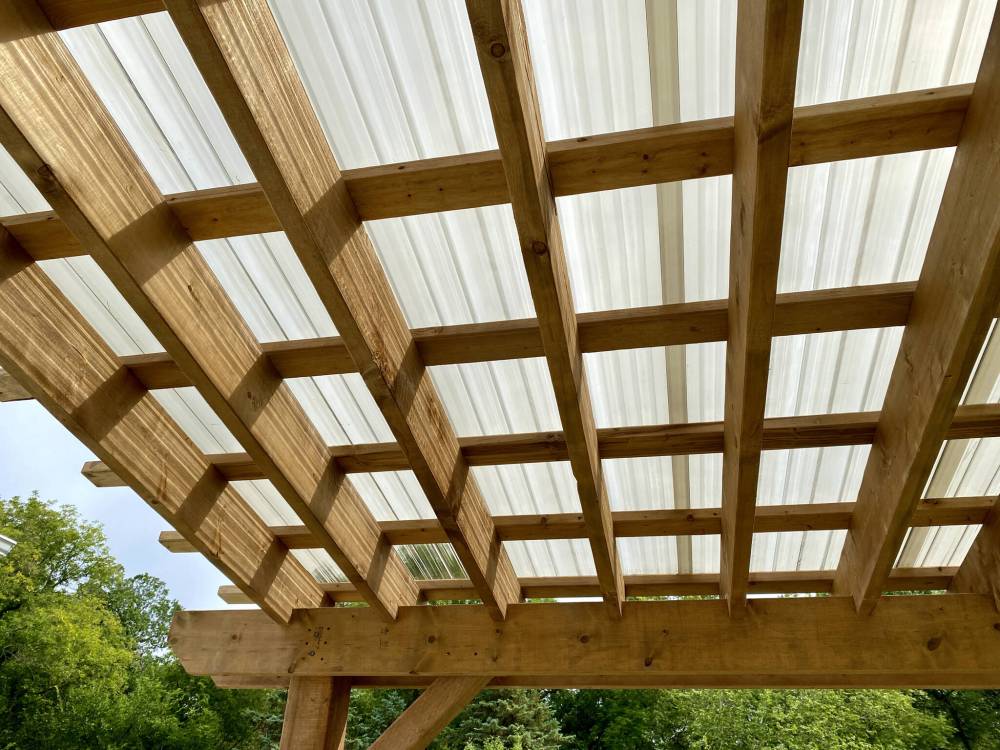
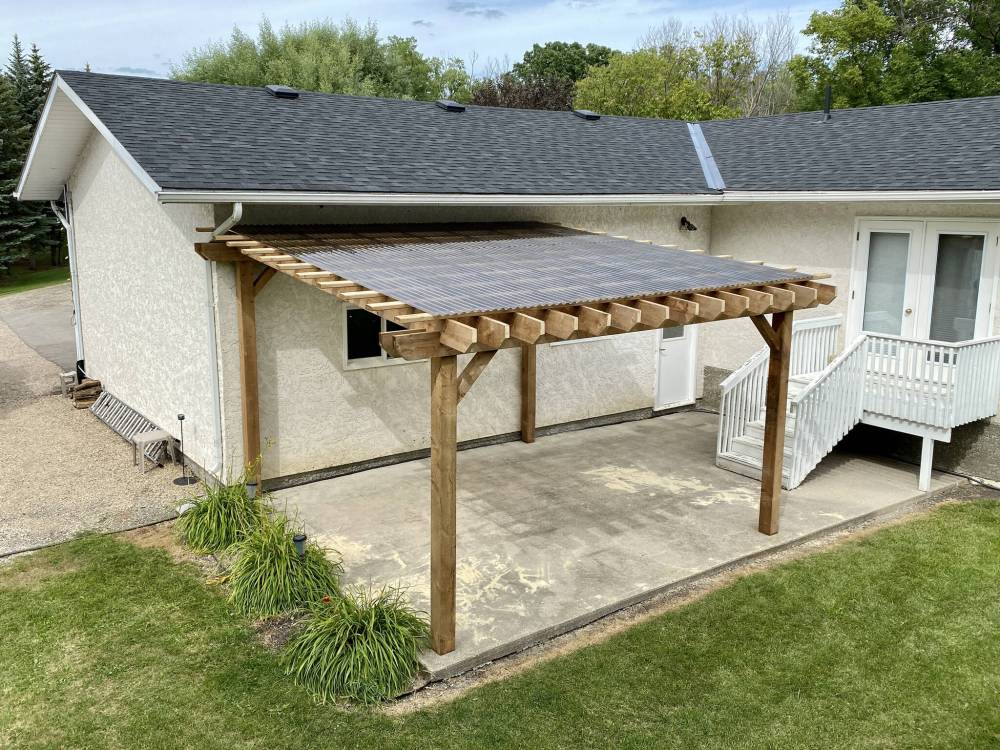
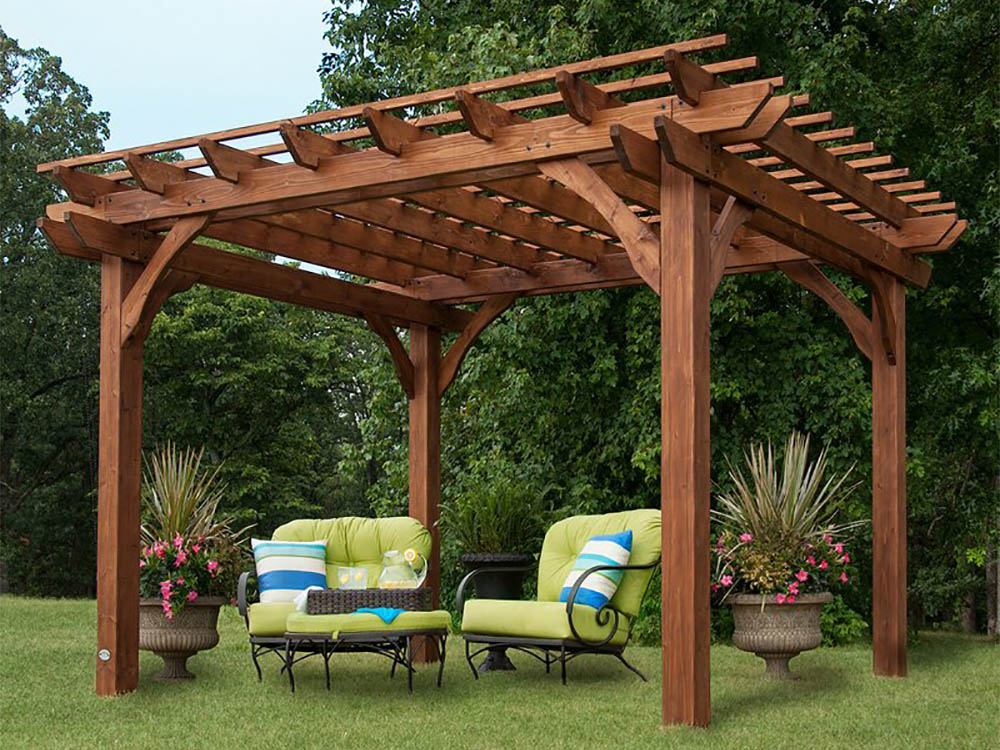
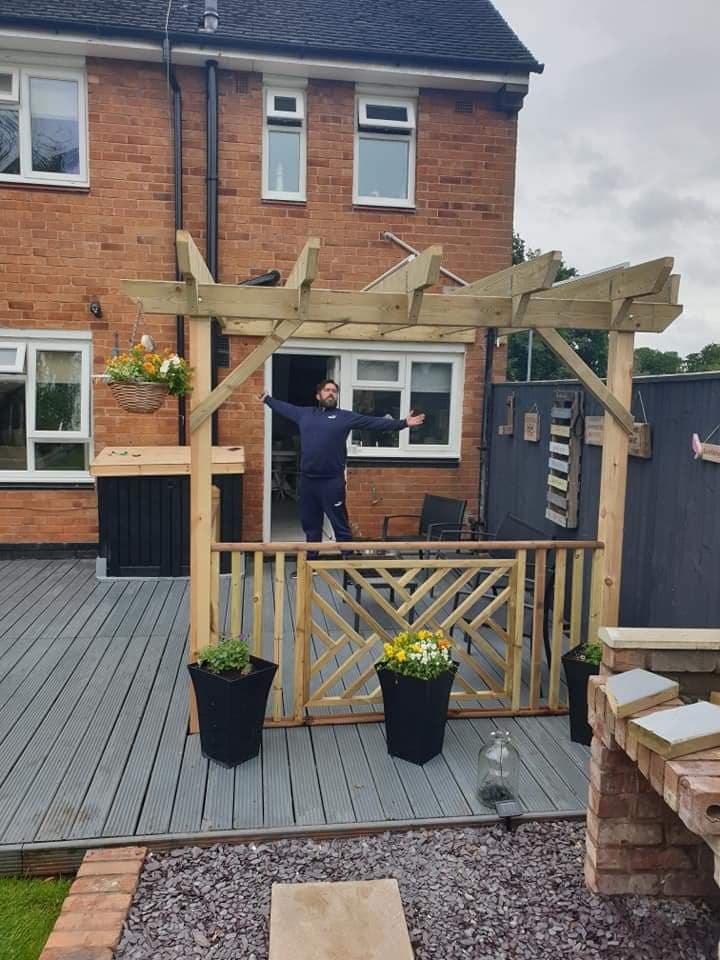
The fourth step is constructing the frame. This begins with cutting four pieces of pressure-treated lumber for the corner posts, ensuring they are level. These posts are then placed in the prepared holes and secured with concrete. Angled beams are attached between the posts using galvanized lag bolts and joist hangers, with additional support beams installed if needed for stability. The fifth step is adding the rafters, typically 2x8 inches, spaced 12-16 inches apart depending on the desired amount of light. Lattice or stringers can be added for a gridded look, and rafters should be evenly spaced and secured with screws or nails.
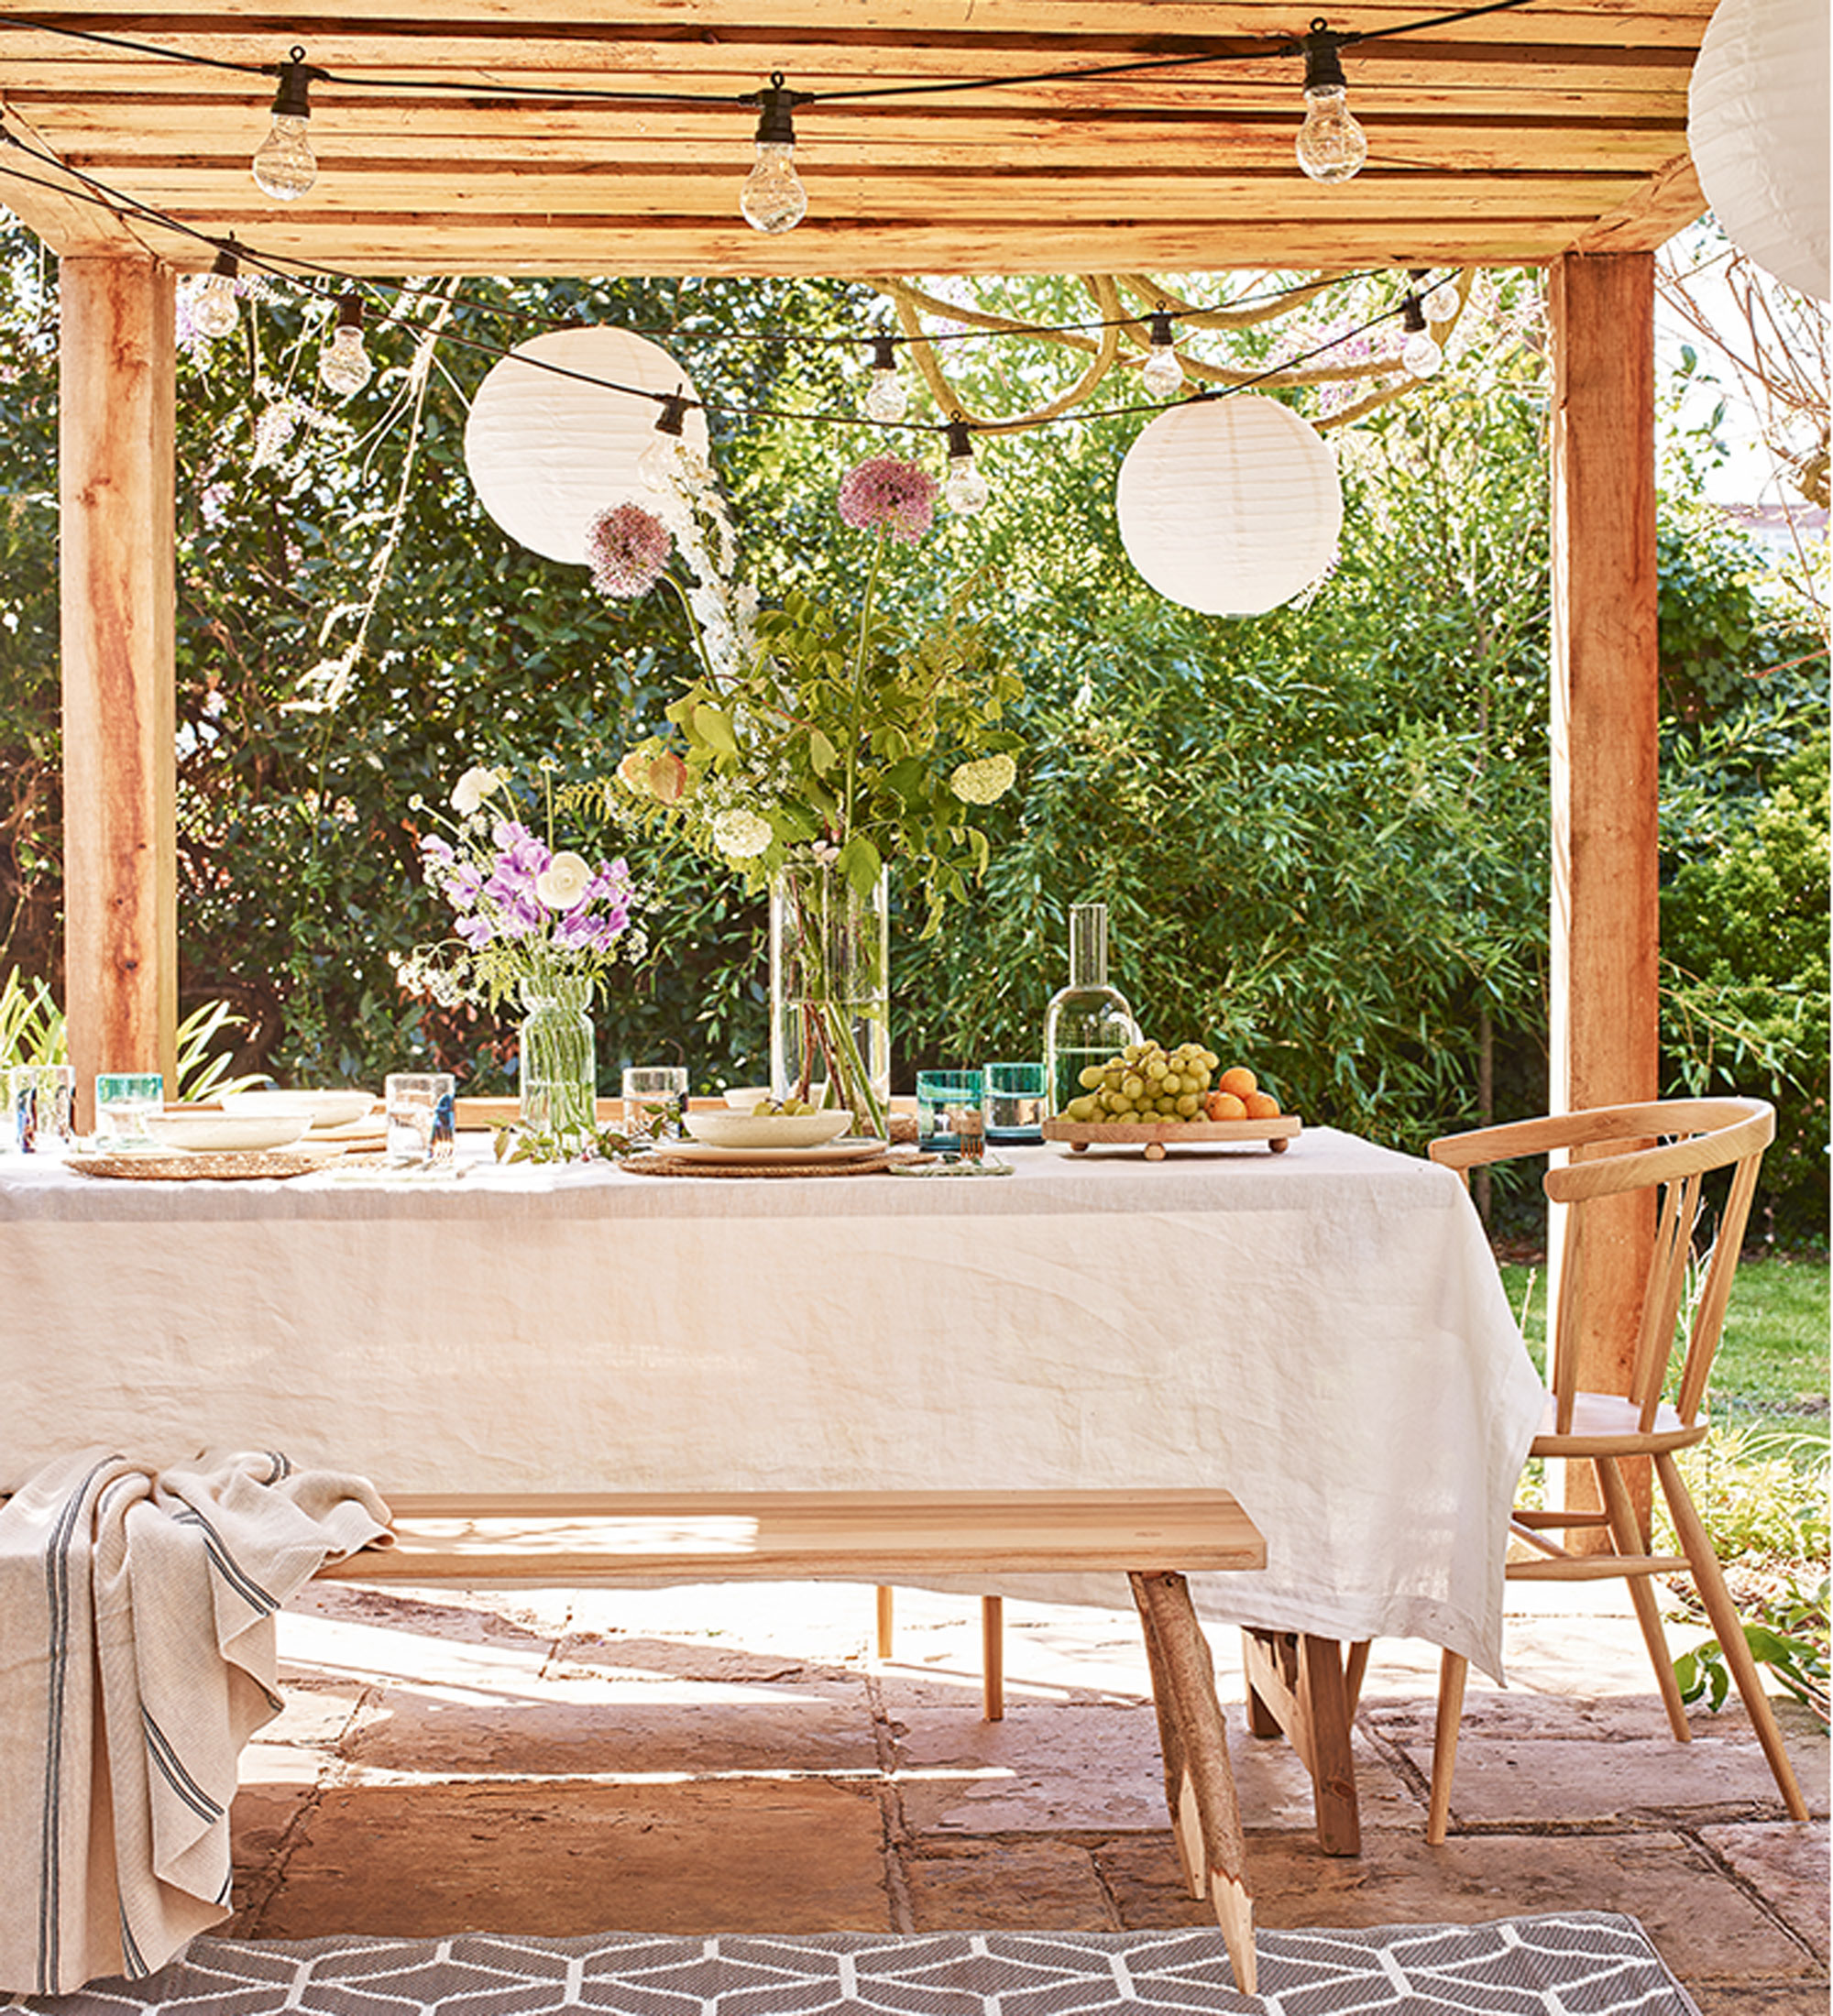
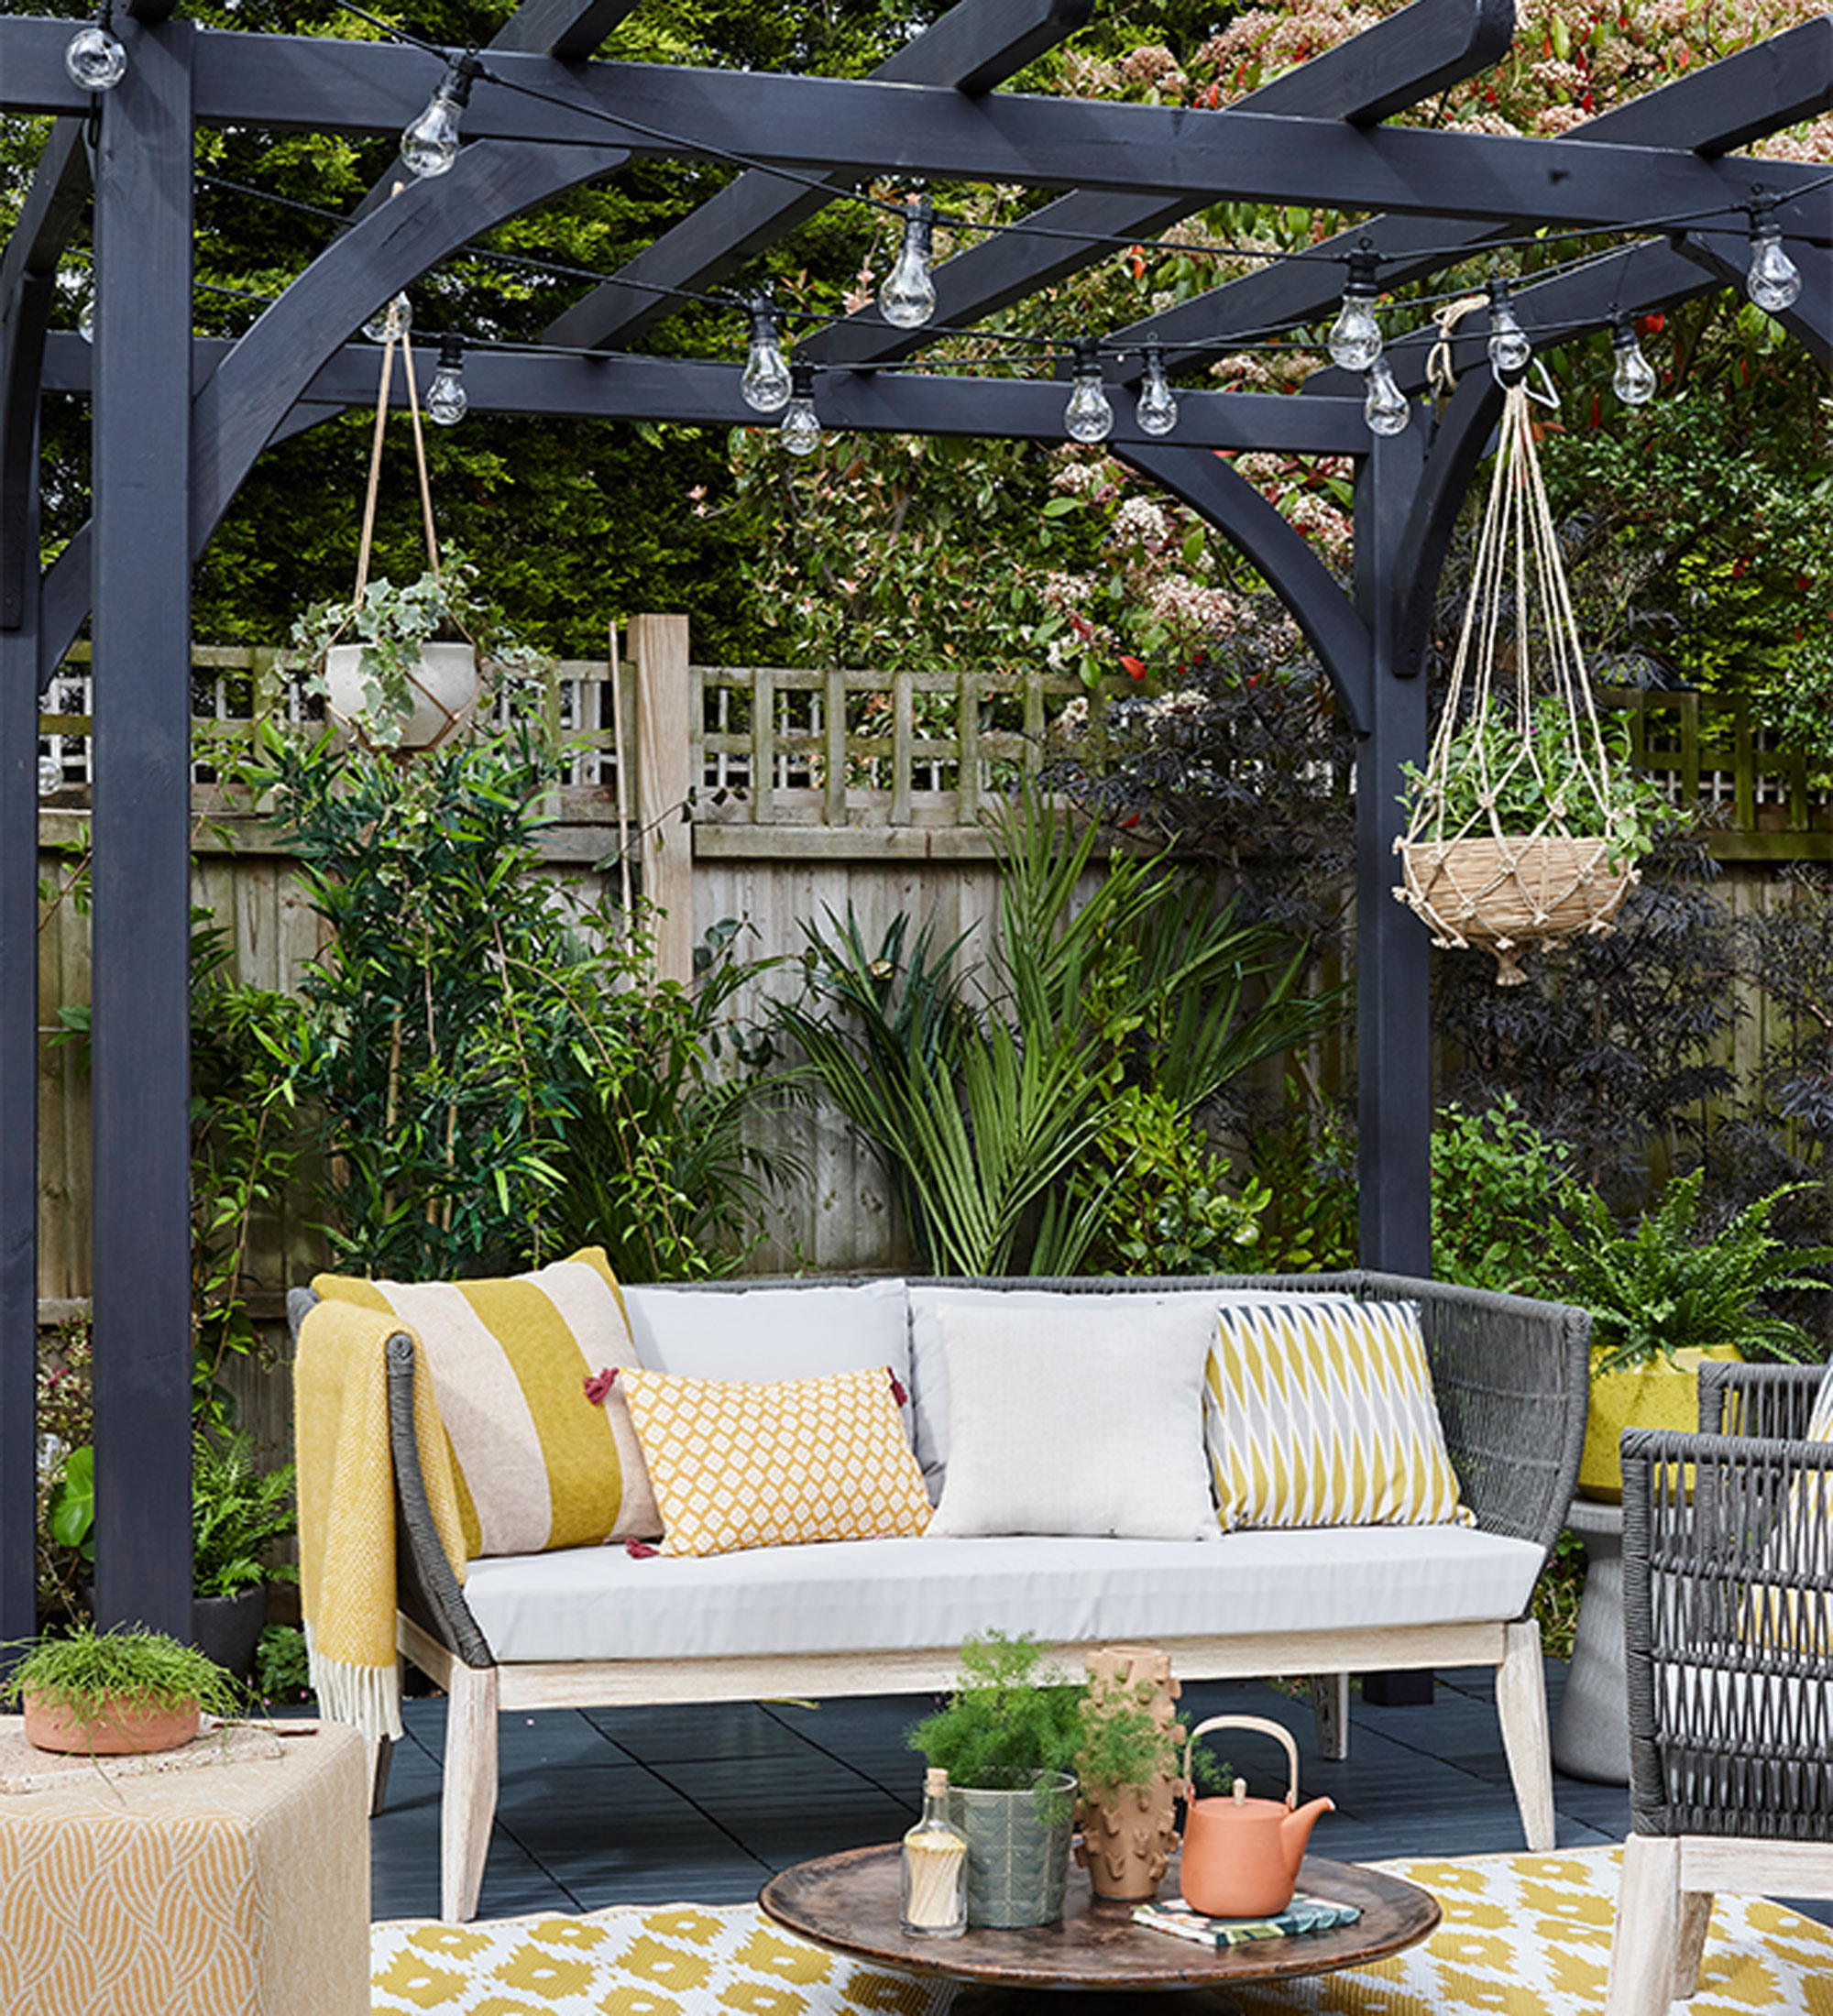
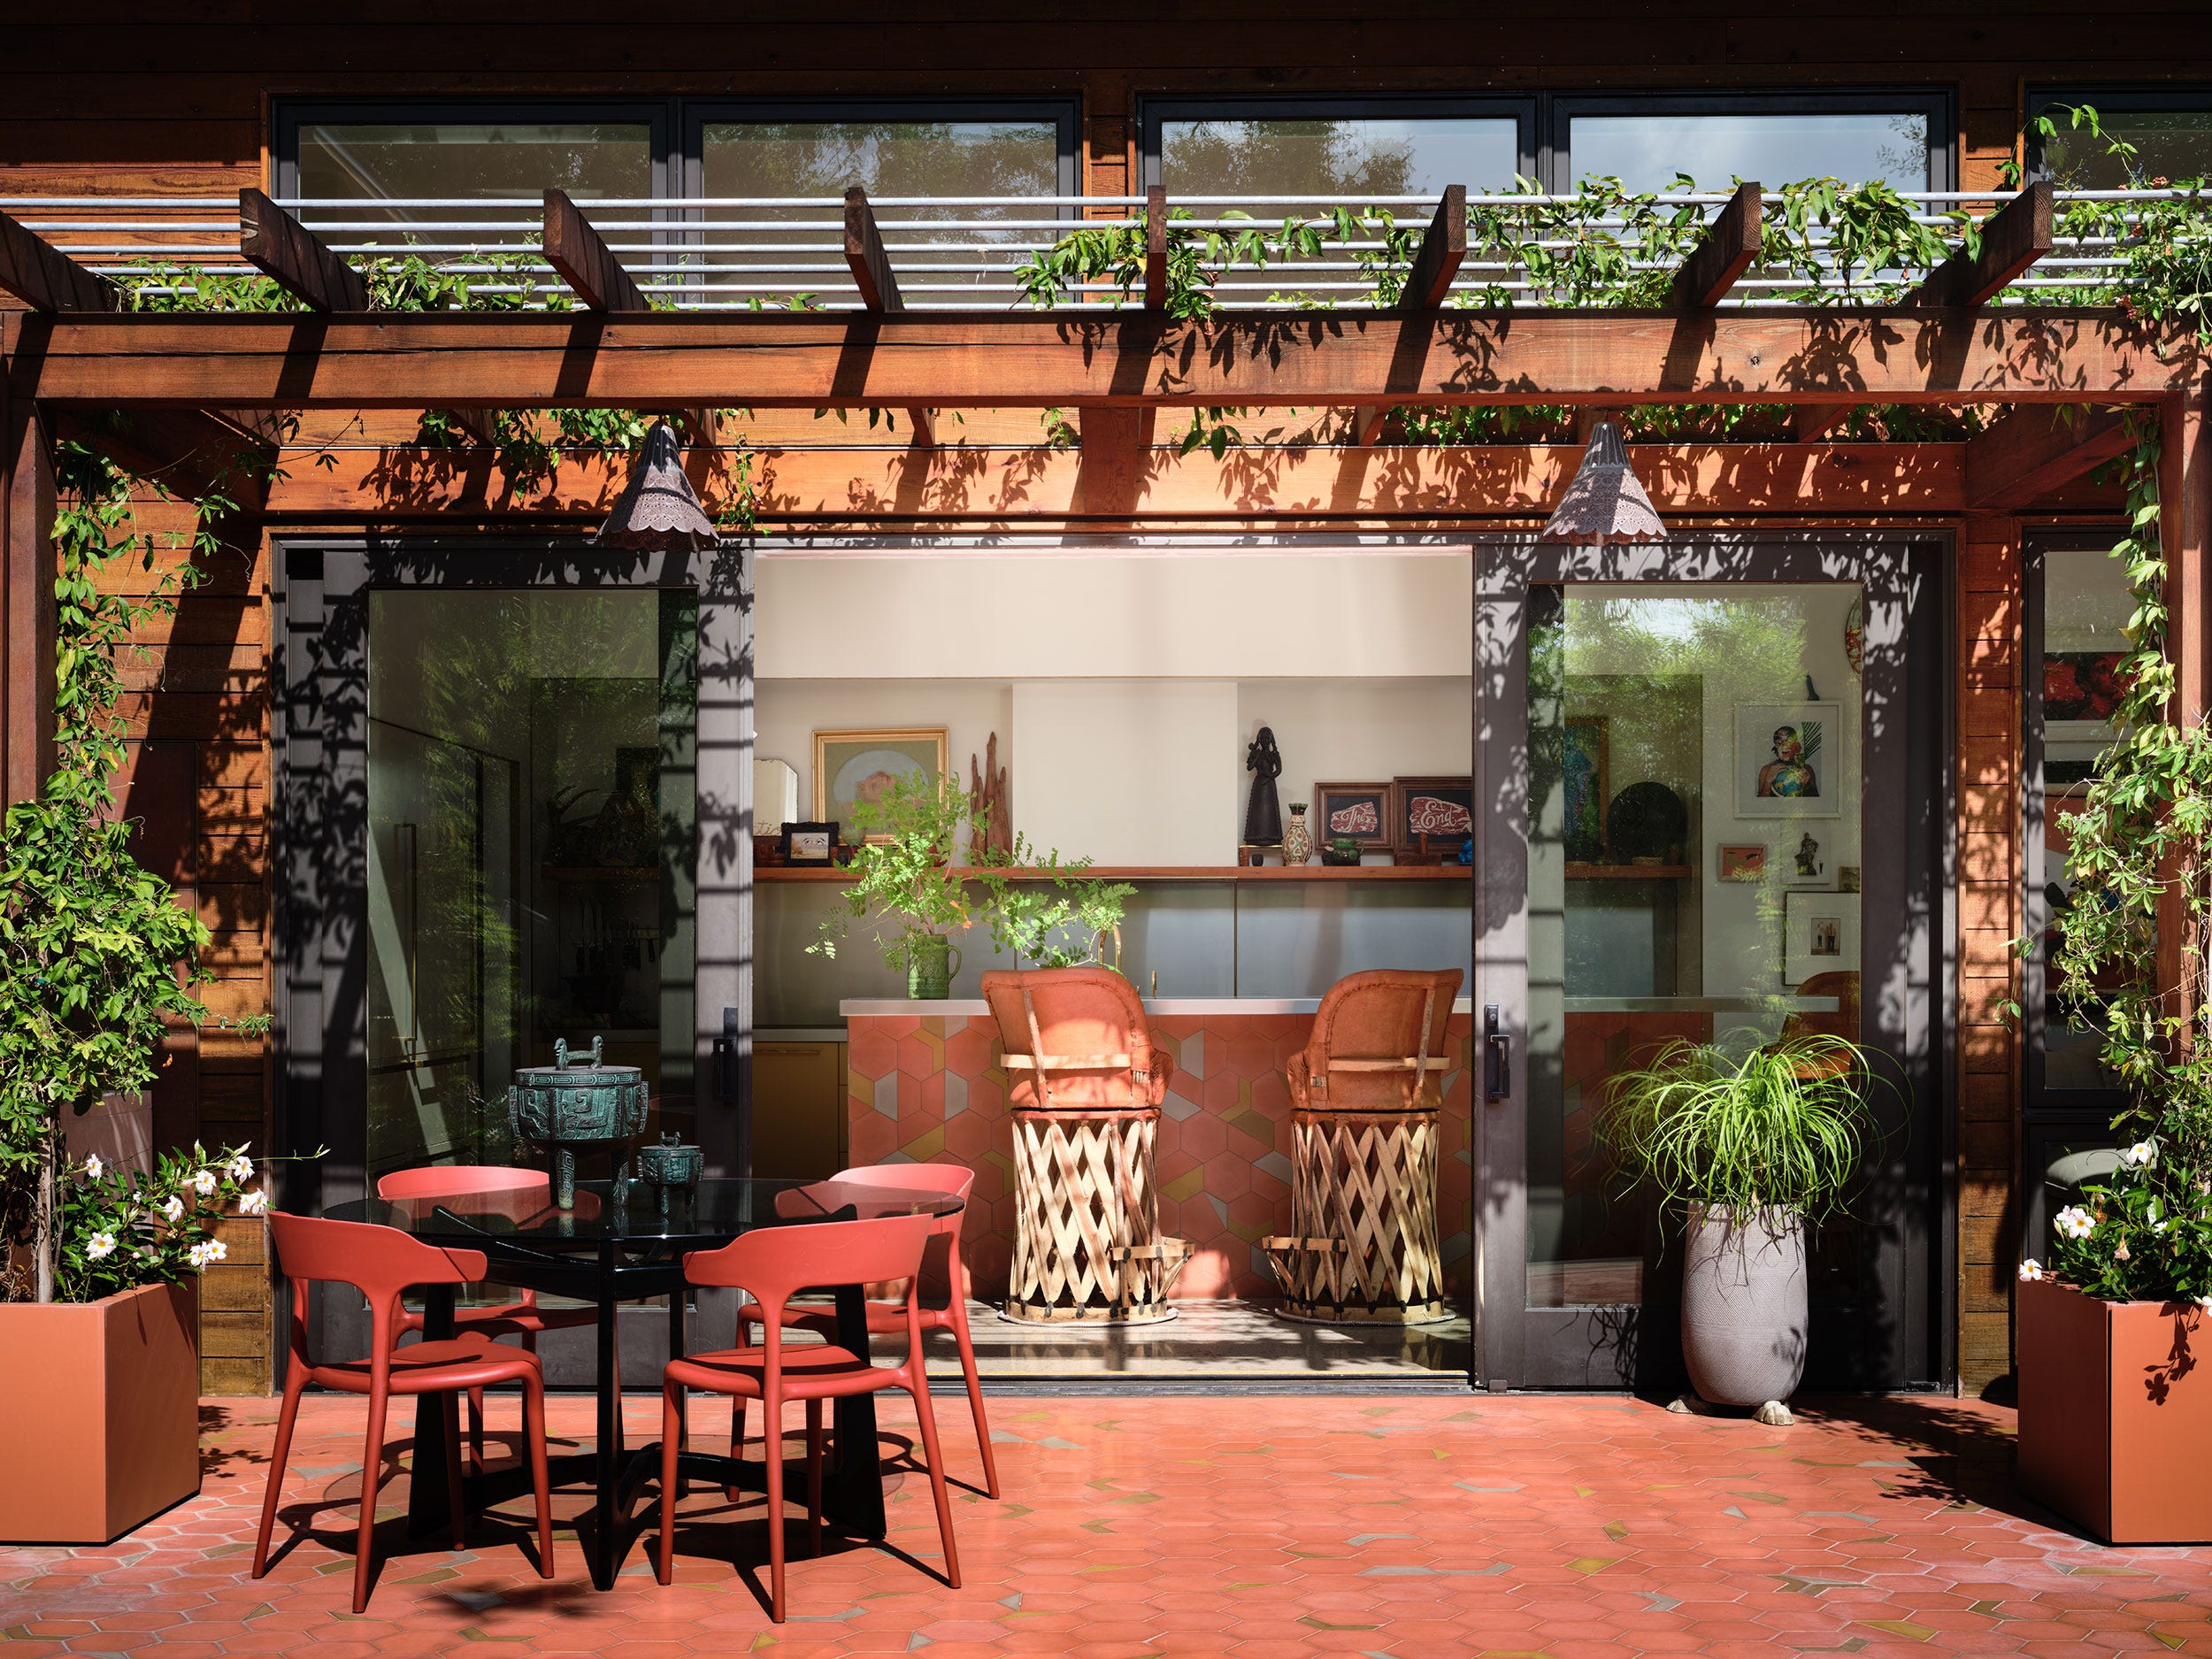
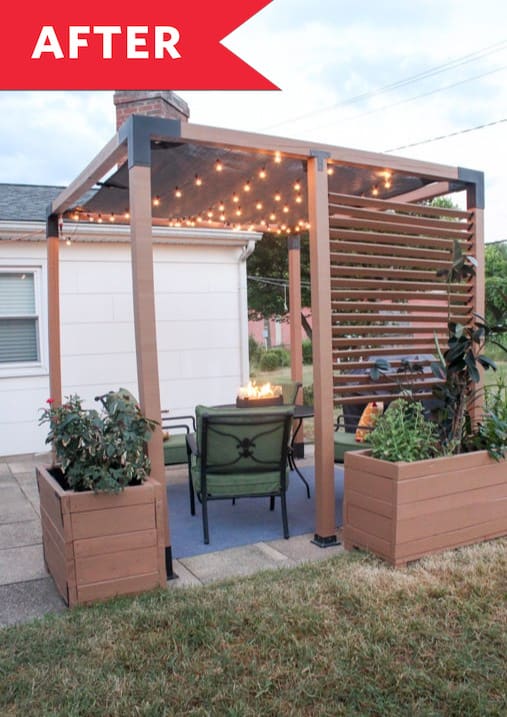
The final step is adding decorative elements and finishing touches. This includes filling screw or nail holes with wood putty and applying paint or stain for a finished appearance. Trim pieces or lattice panels can also be added. To enhance the pergola's aesthetic and provide additional shade, climbing plants such as wisteria, clematis, or climbing roses can be incorporated. String lights are another popular decorative option, creating a cozy ambiance. The article concludes by presenting the pergola as a manageable weekend DIY project, providing a new outdoor hangout spot for the summer months.
#PergolaConstruction #DIYProject #OutdoorLiving #GardenDesign #BackyardIdeas #Landscaping #HomeImprovement #OutdoorFurniture #ClimbingPlants #PergolaConstruction #DIYProject #OutdoorLiving #GardenDesign #BackyardIdeas #Landscaping #HomeImprovement #OutdoorFurniture #ClimbingPlants
0 Kommentare insgesamt
 Noch keine Kommentare
Das könnte Ihnen auch gefallen
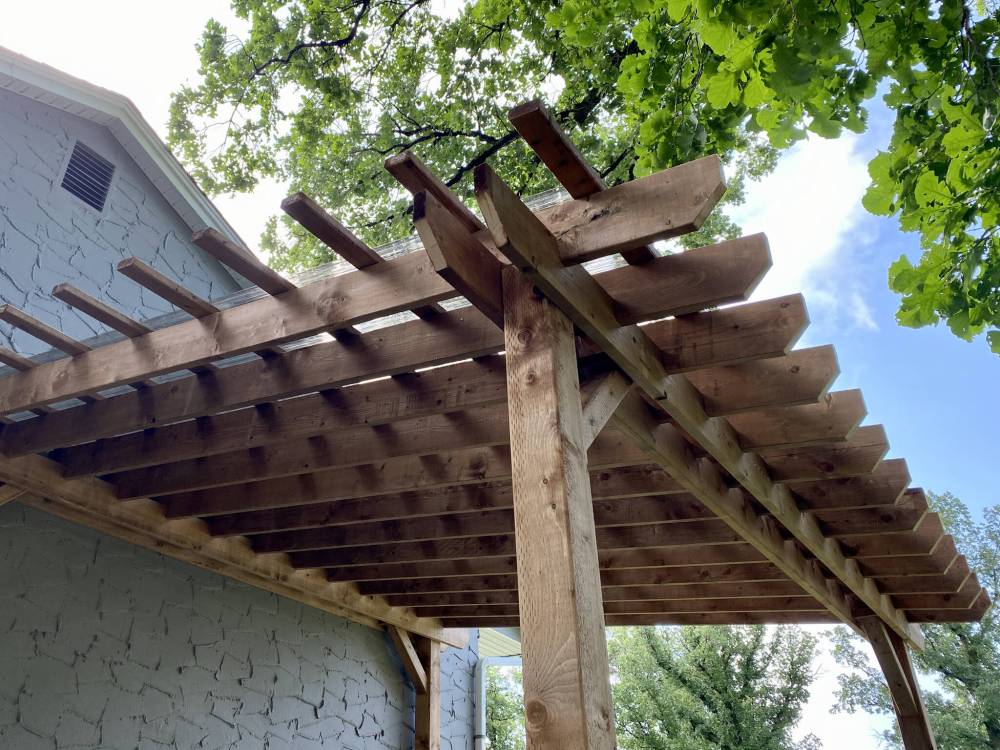
Nov 2022: The endless pergola summer

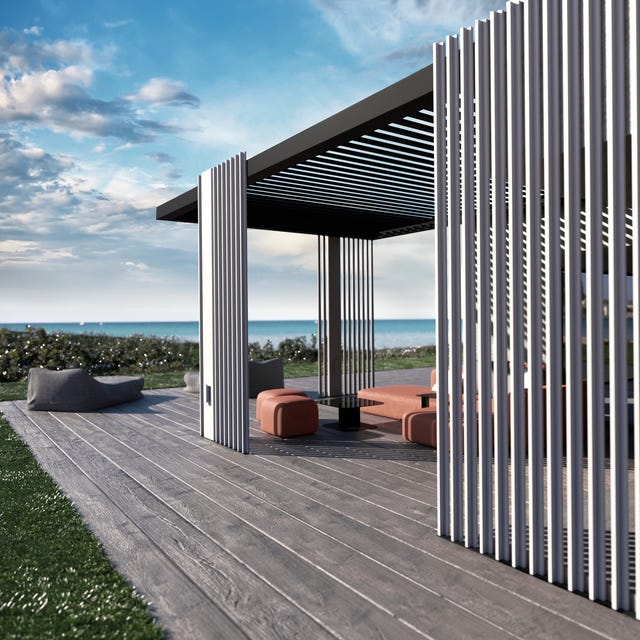
Tailor-made pergolas designed to enjoy the outdoors all year long

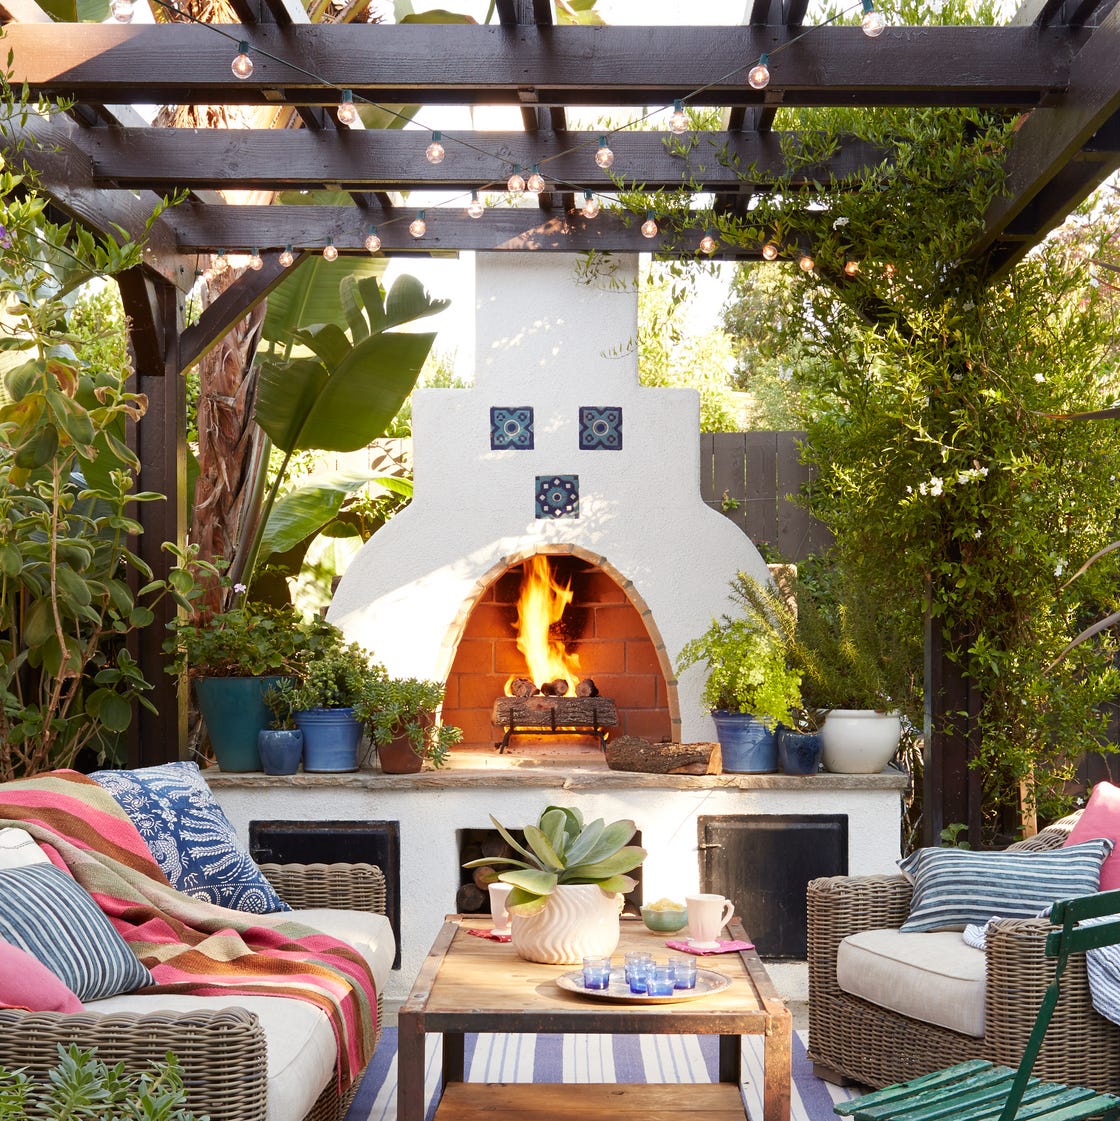
Add Shade to Your Backyard with a Pretty Pergola
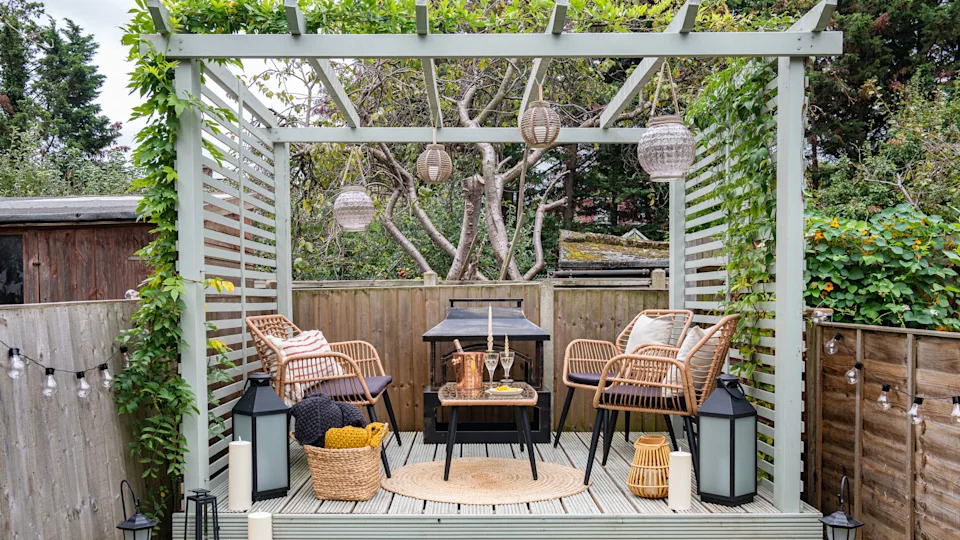
27 pergola ideas to add shade, privacy and style to your outside space

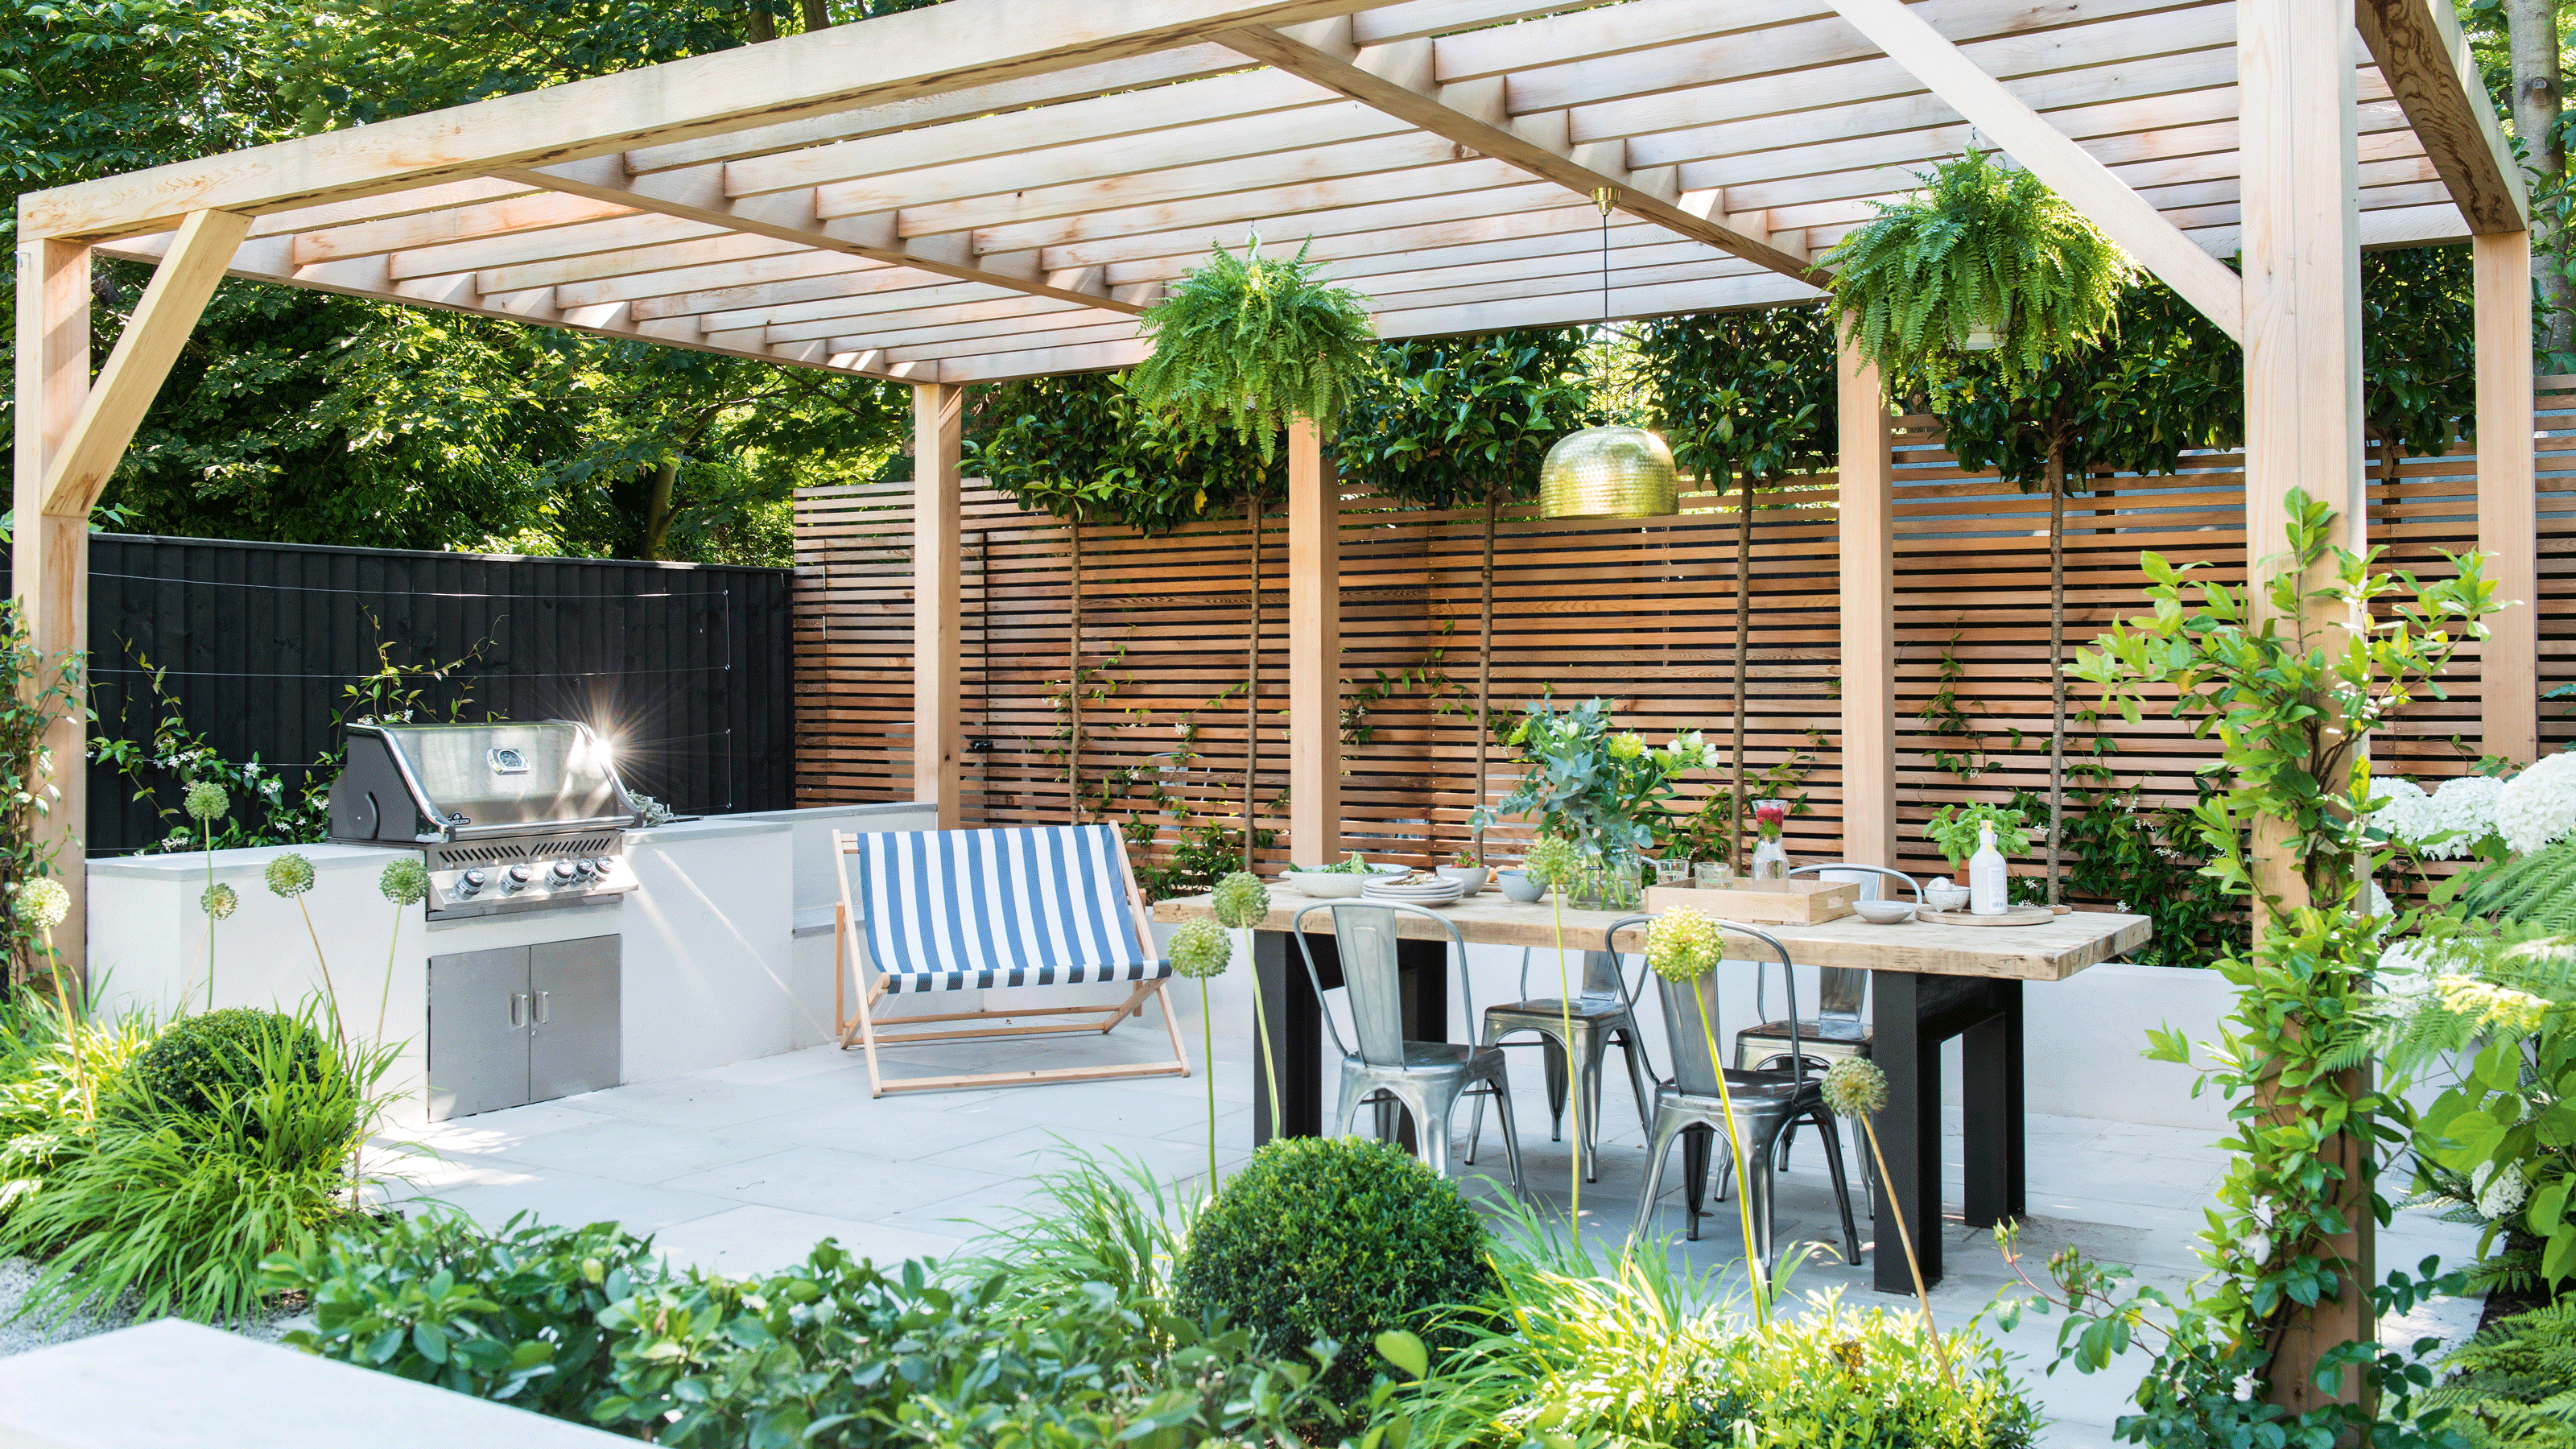
Pergola ideas - 14 gorgeous garden structures to add style and shade
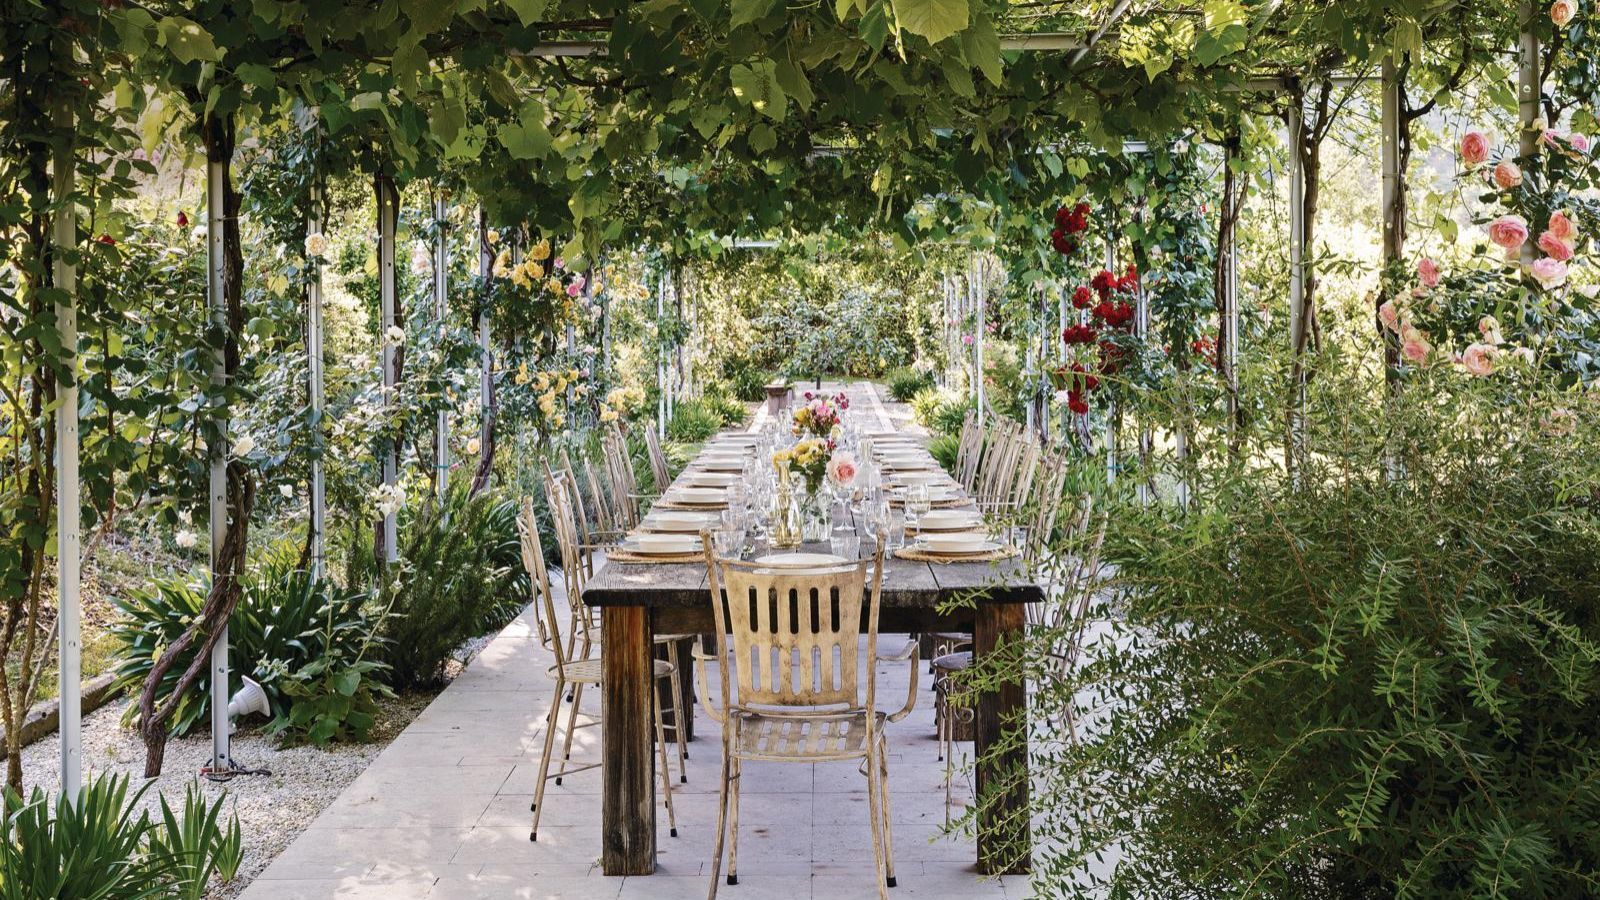
Pergola mistakes: a pro reveals 9 common pergola errors
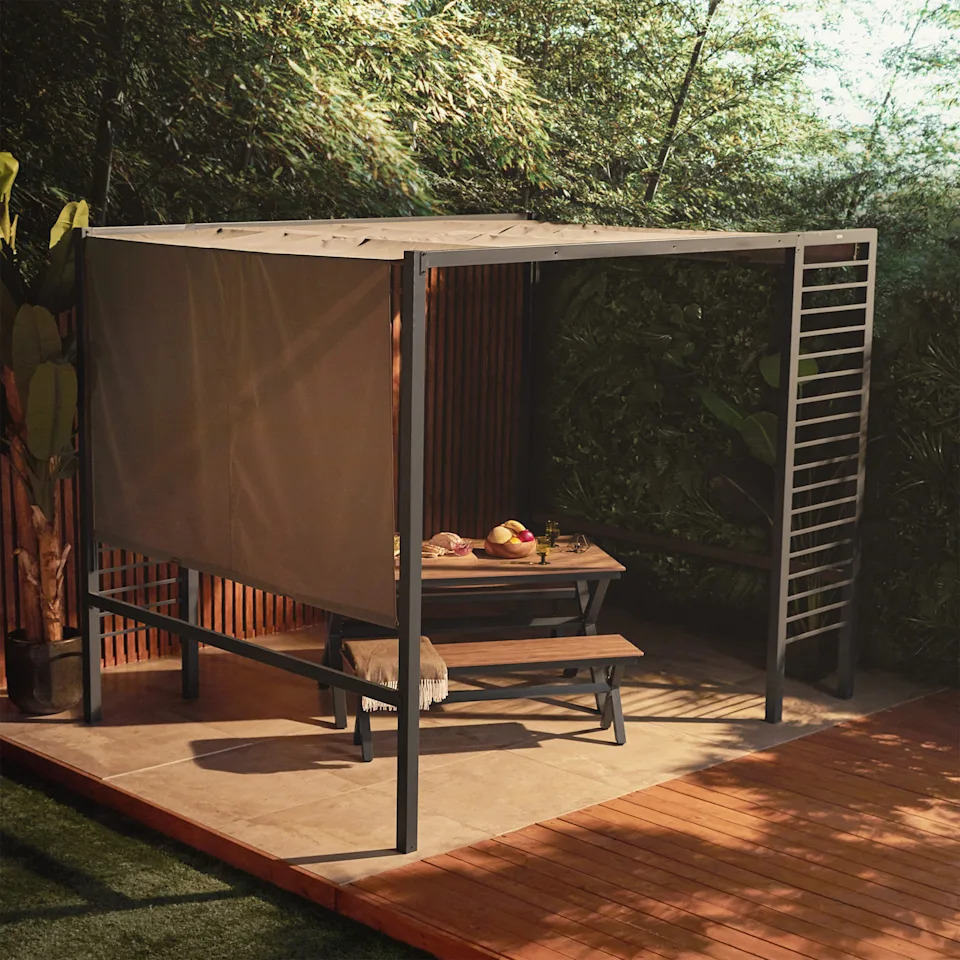
Pergola ideas: 16 stunning garden structures for added style and shade
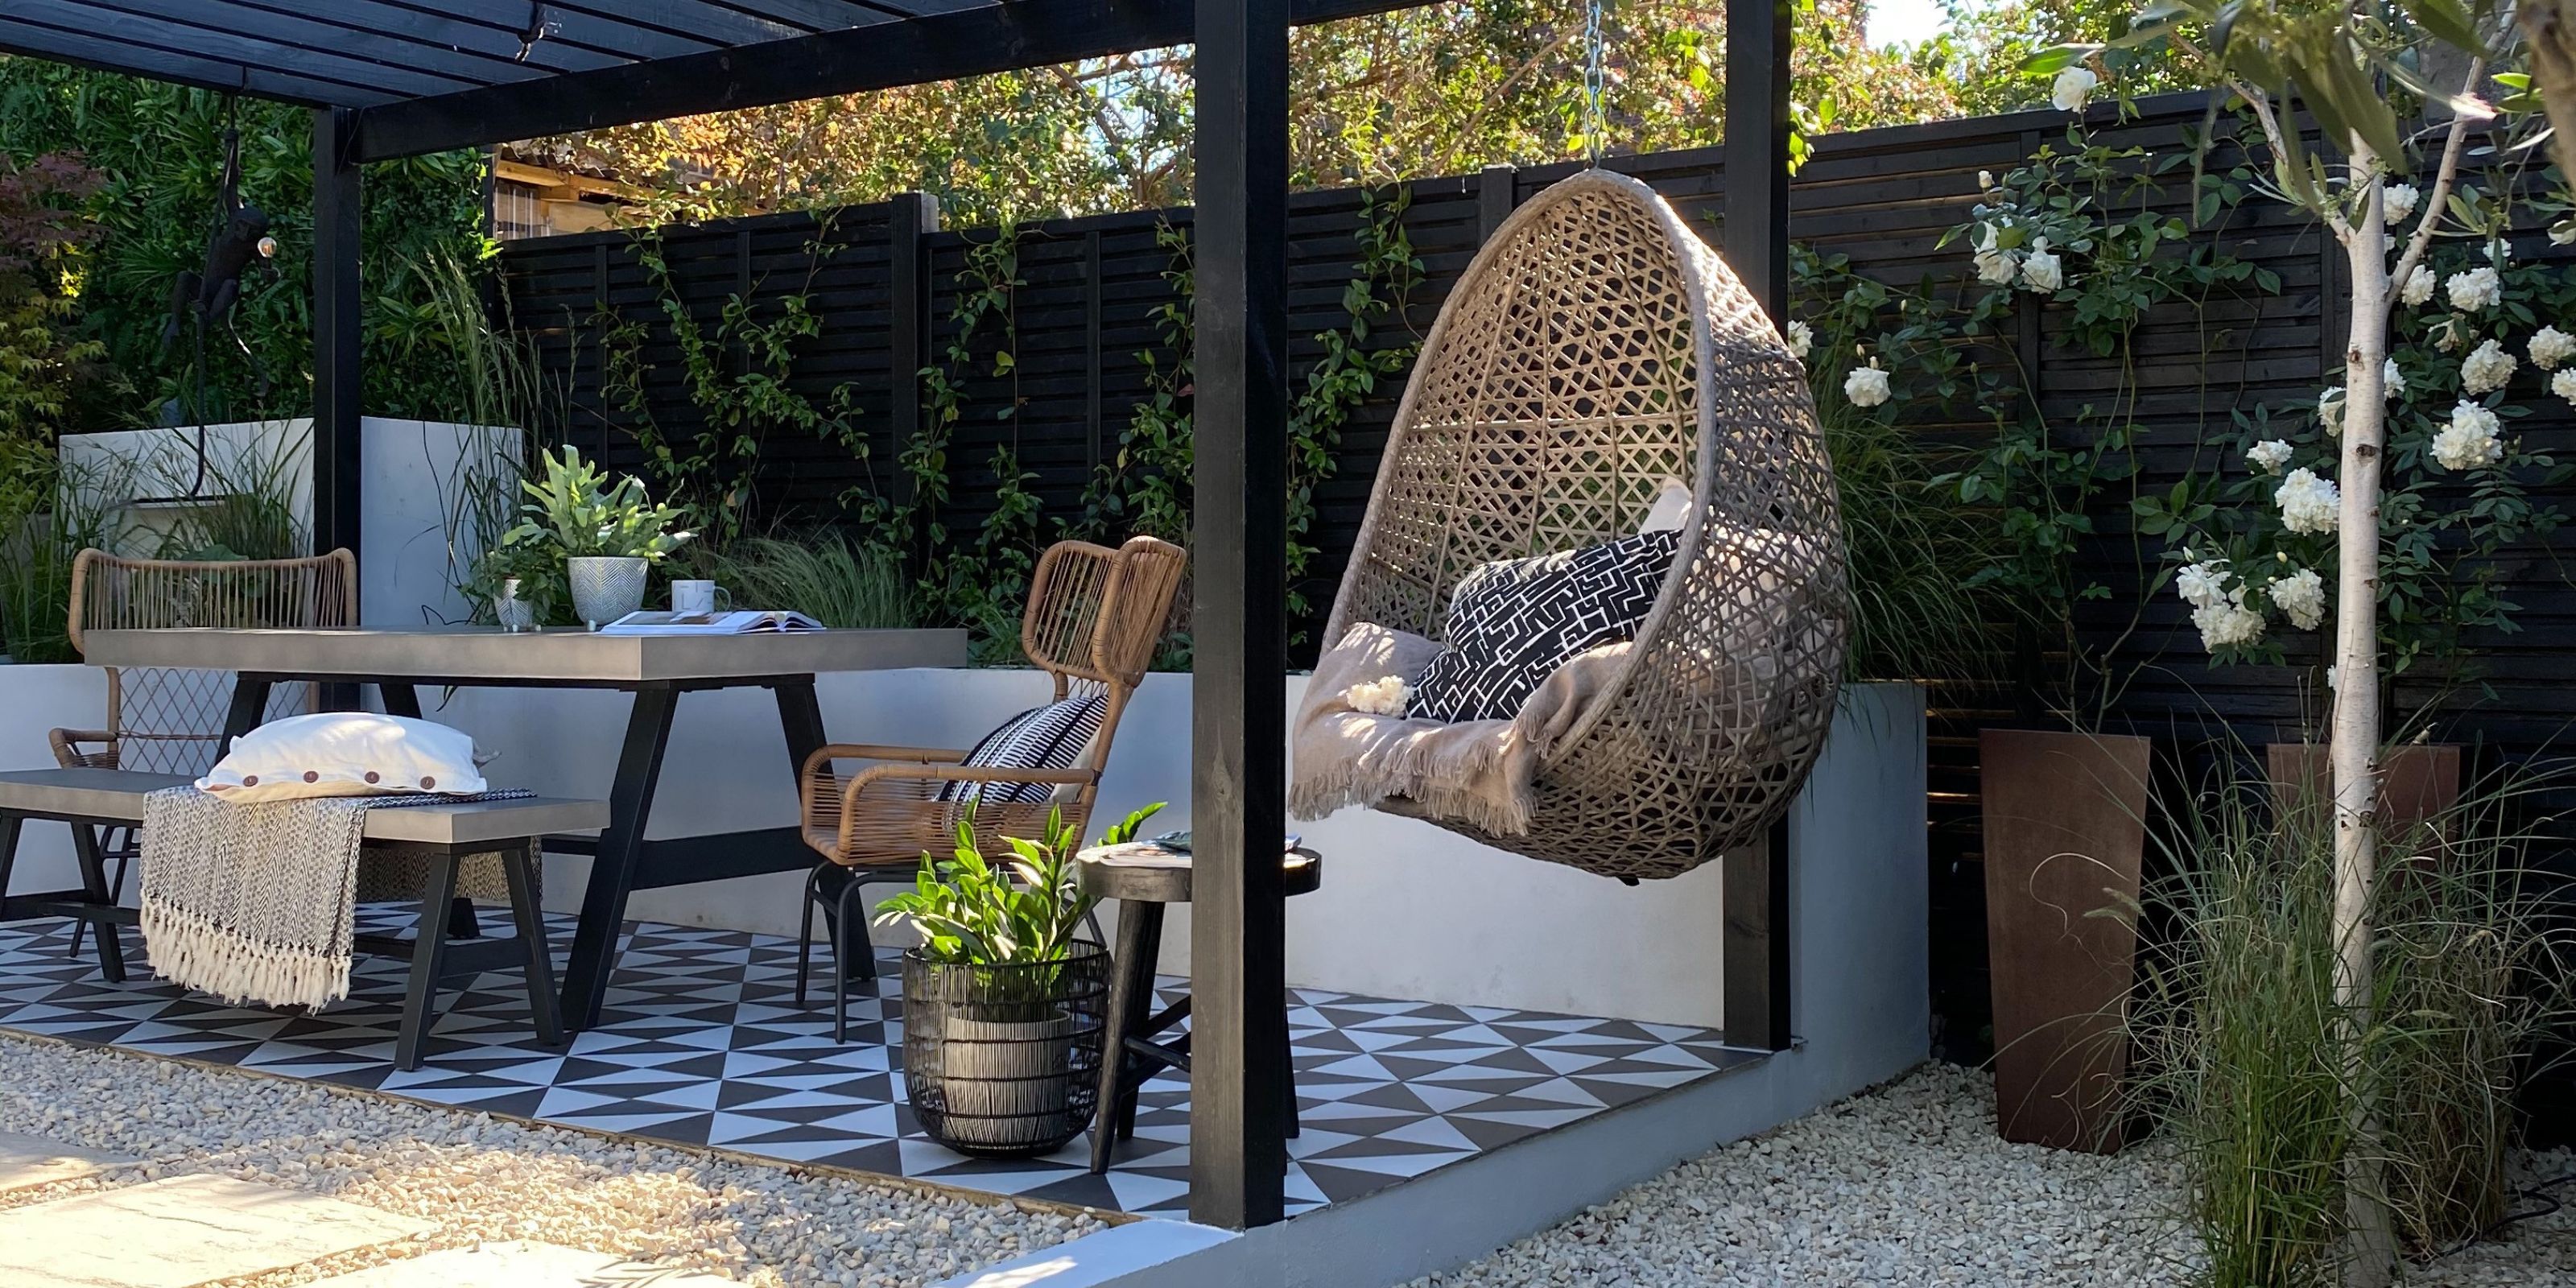
How to weatherproof a pergola – 6 solutions to get the most out of your outdoor space all year round
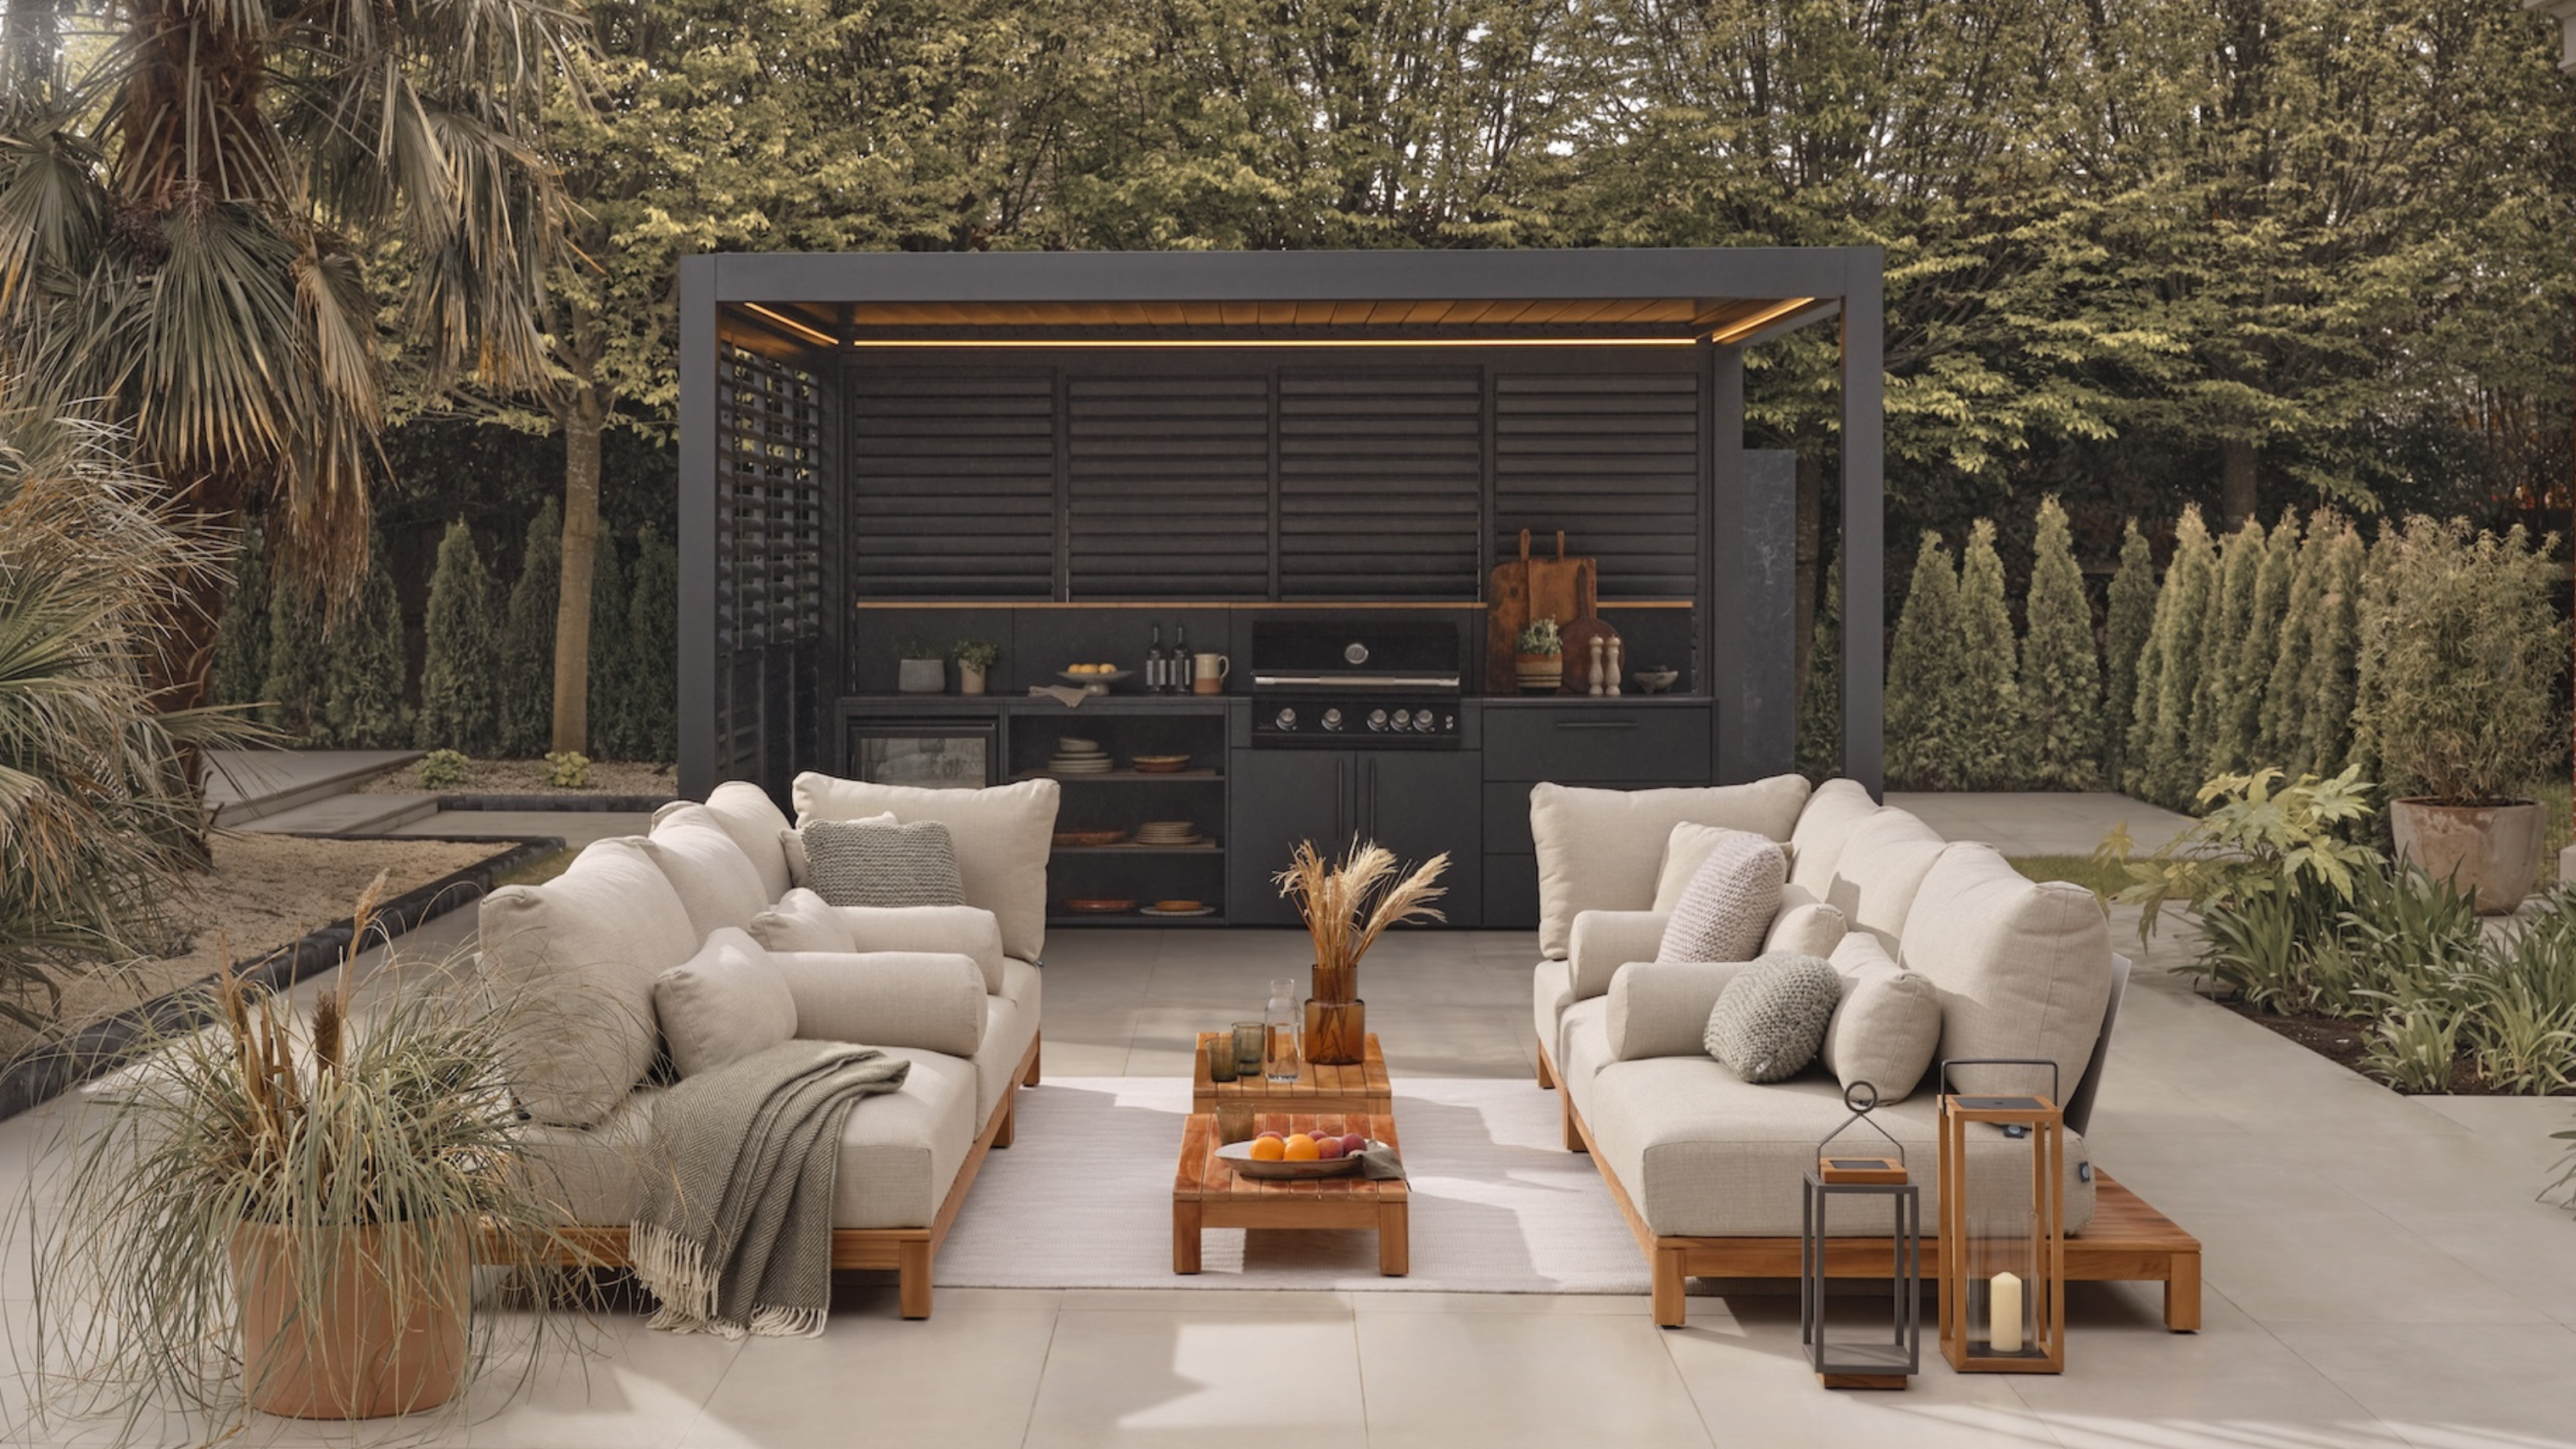
Is It Better to Buy or Build Your Own Pergola? Experts Discuss the Most Cost-Effective Way to Embrace Those Shady Summer Days
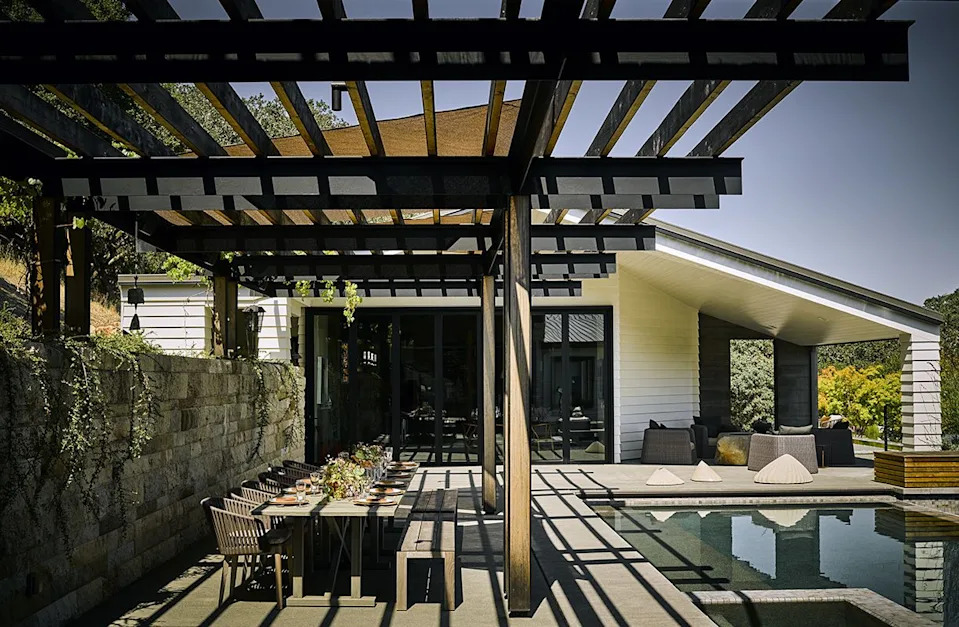
15 Pergola Ideas That'll Turn Any Outdoor Space Into a Majestic Escape
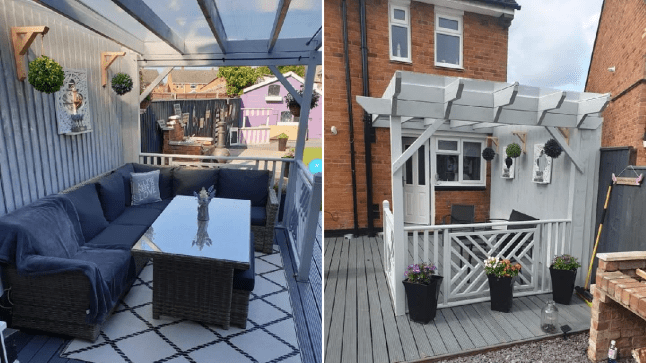
Family build cosy winter-proof pergola for just £800

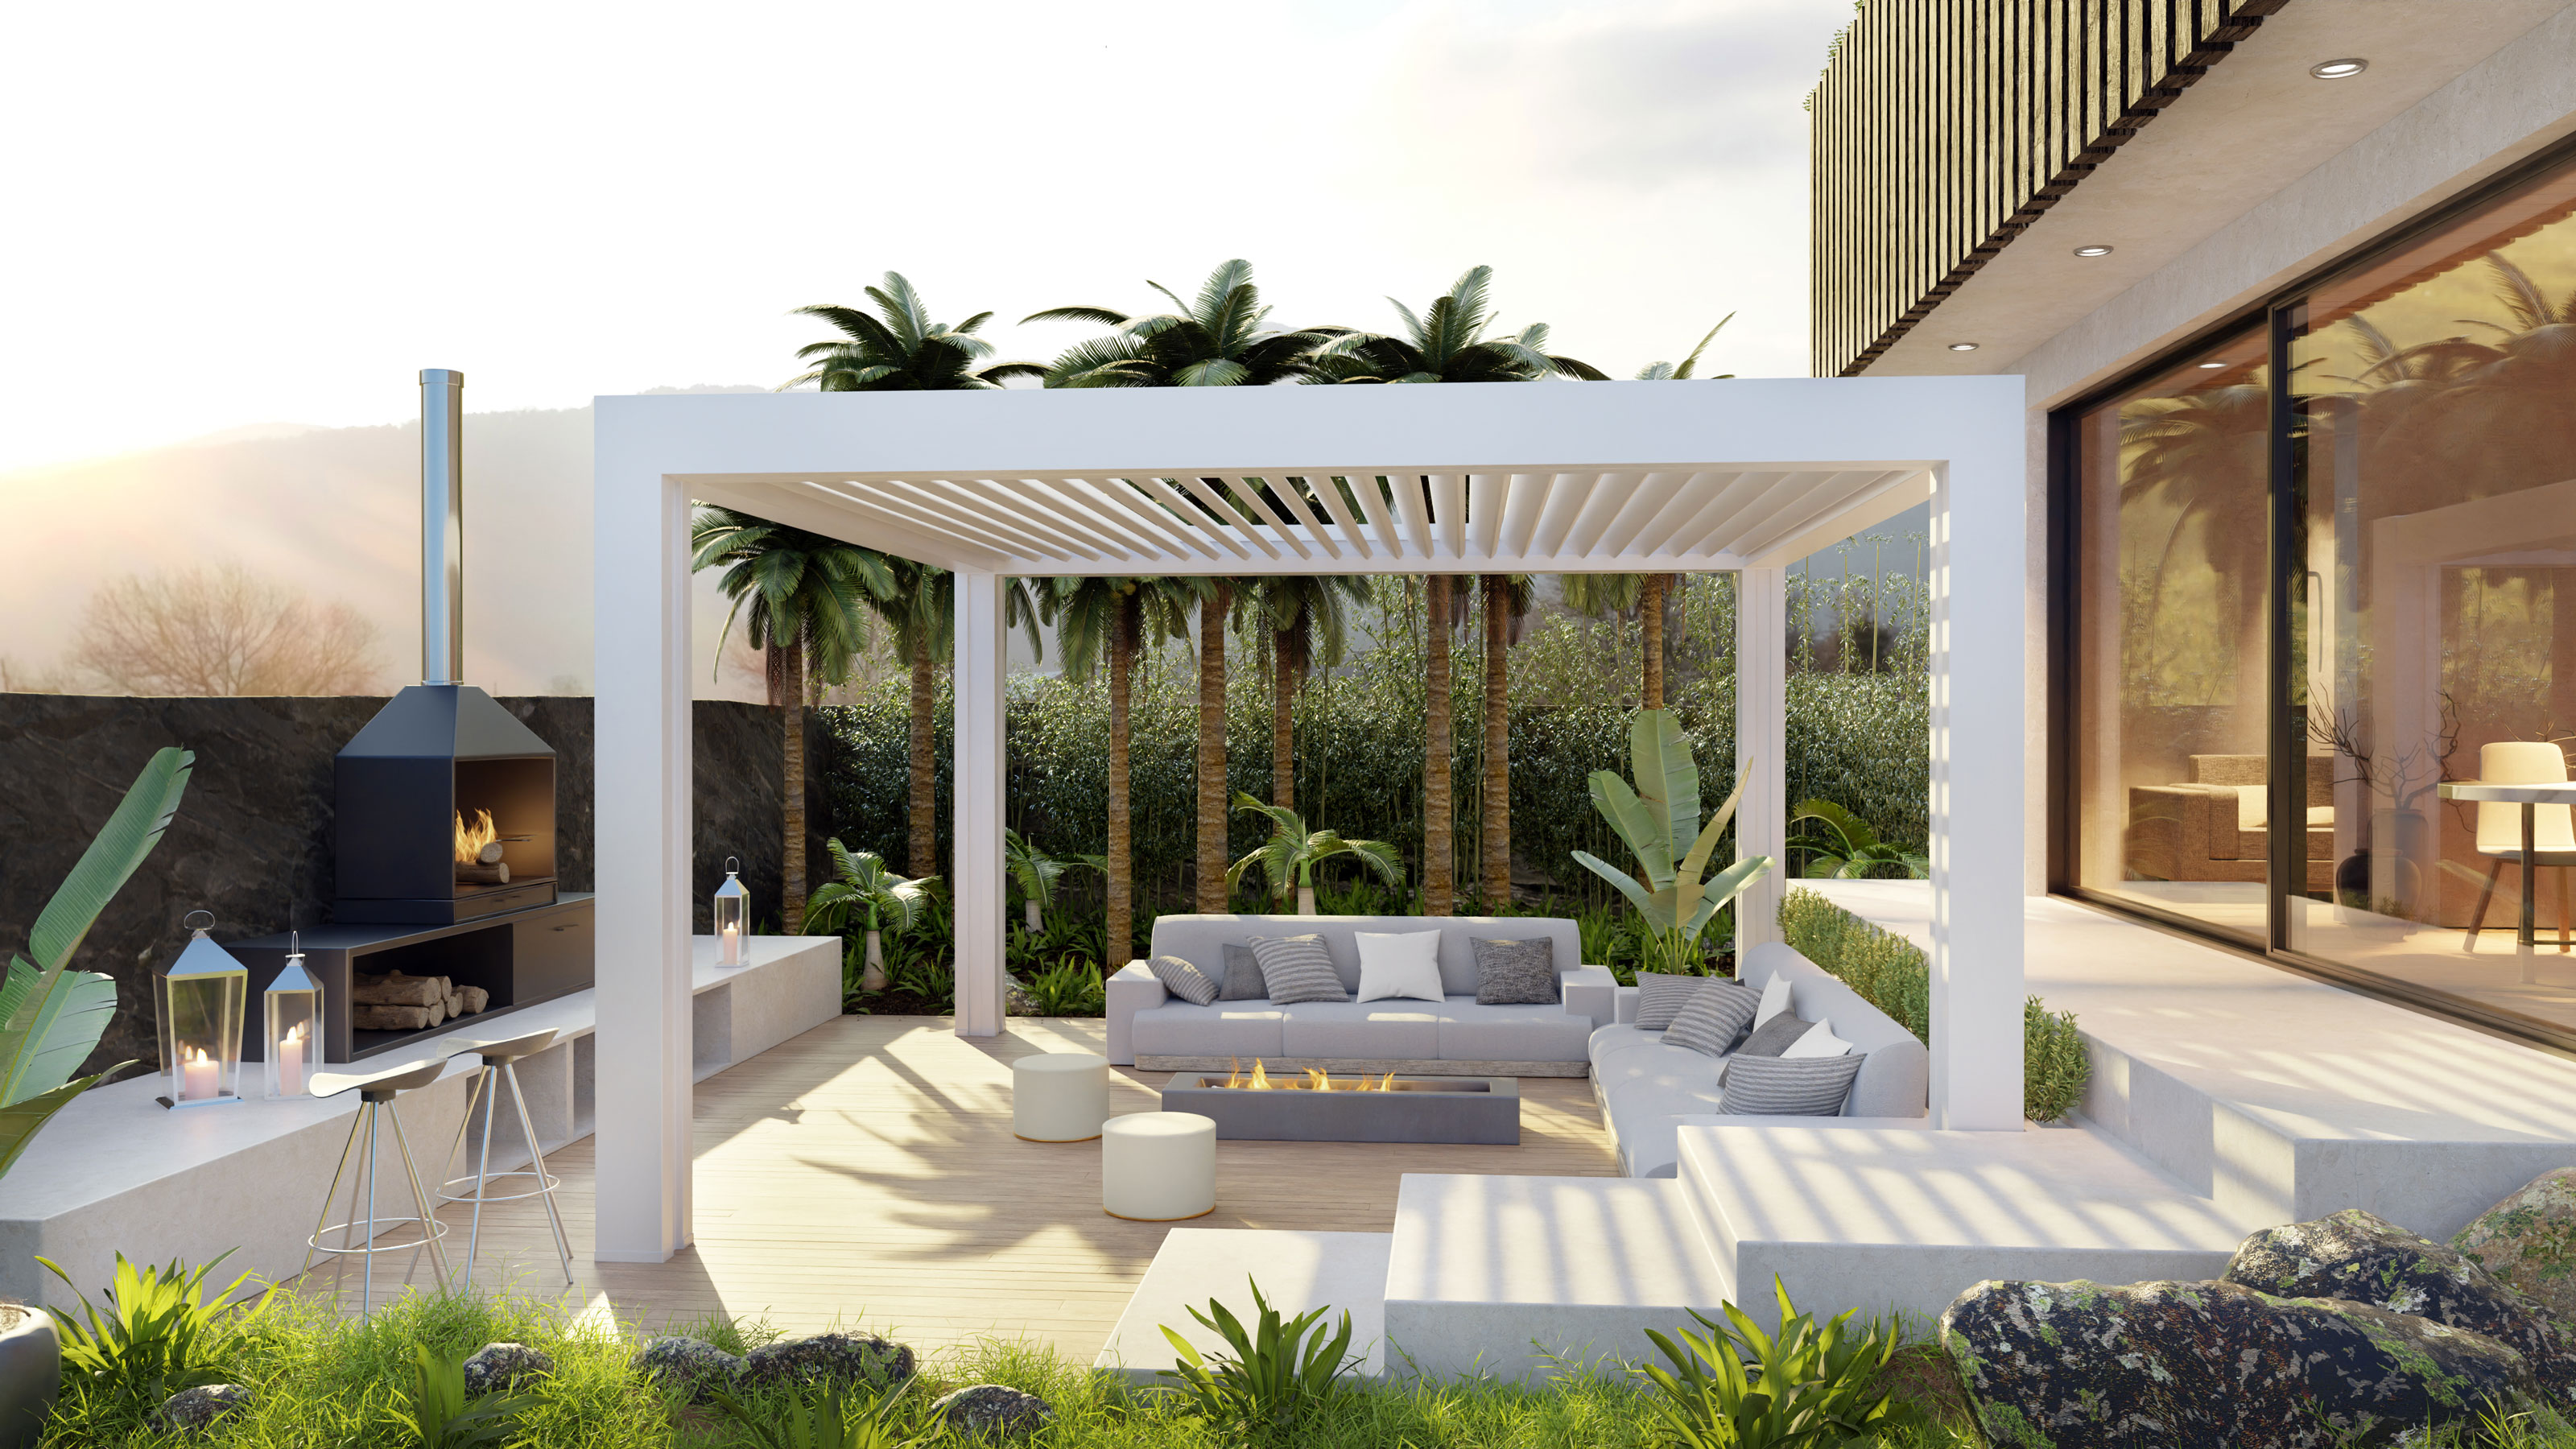
Pergola ideas - 10 ways expert landscapers switch up outdoor urban spaces
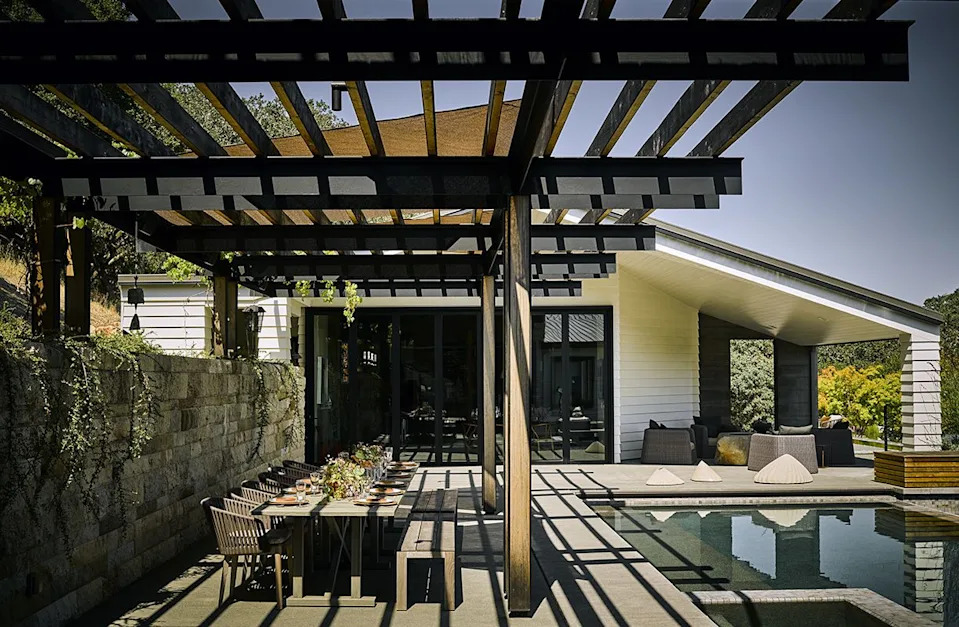
15 Pergola Ideas That'll Turn Any Outdoor Space Into a Majestic Escape

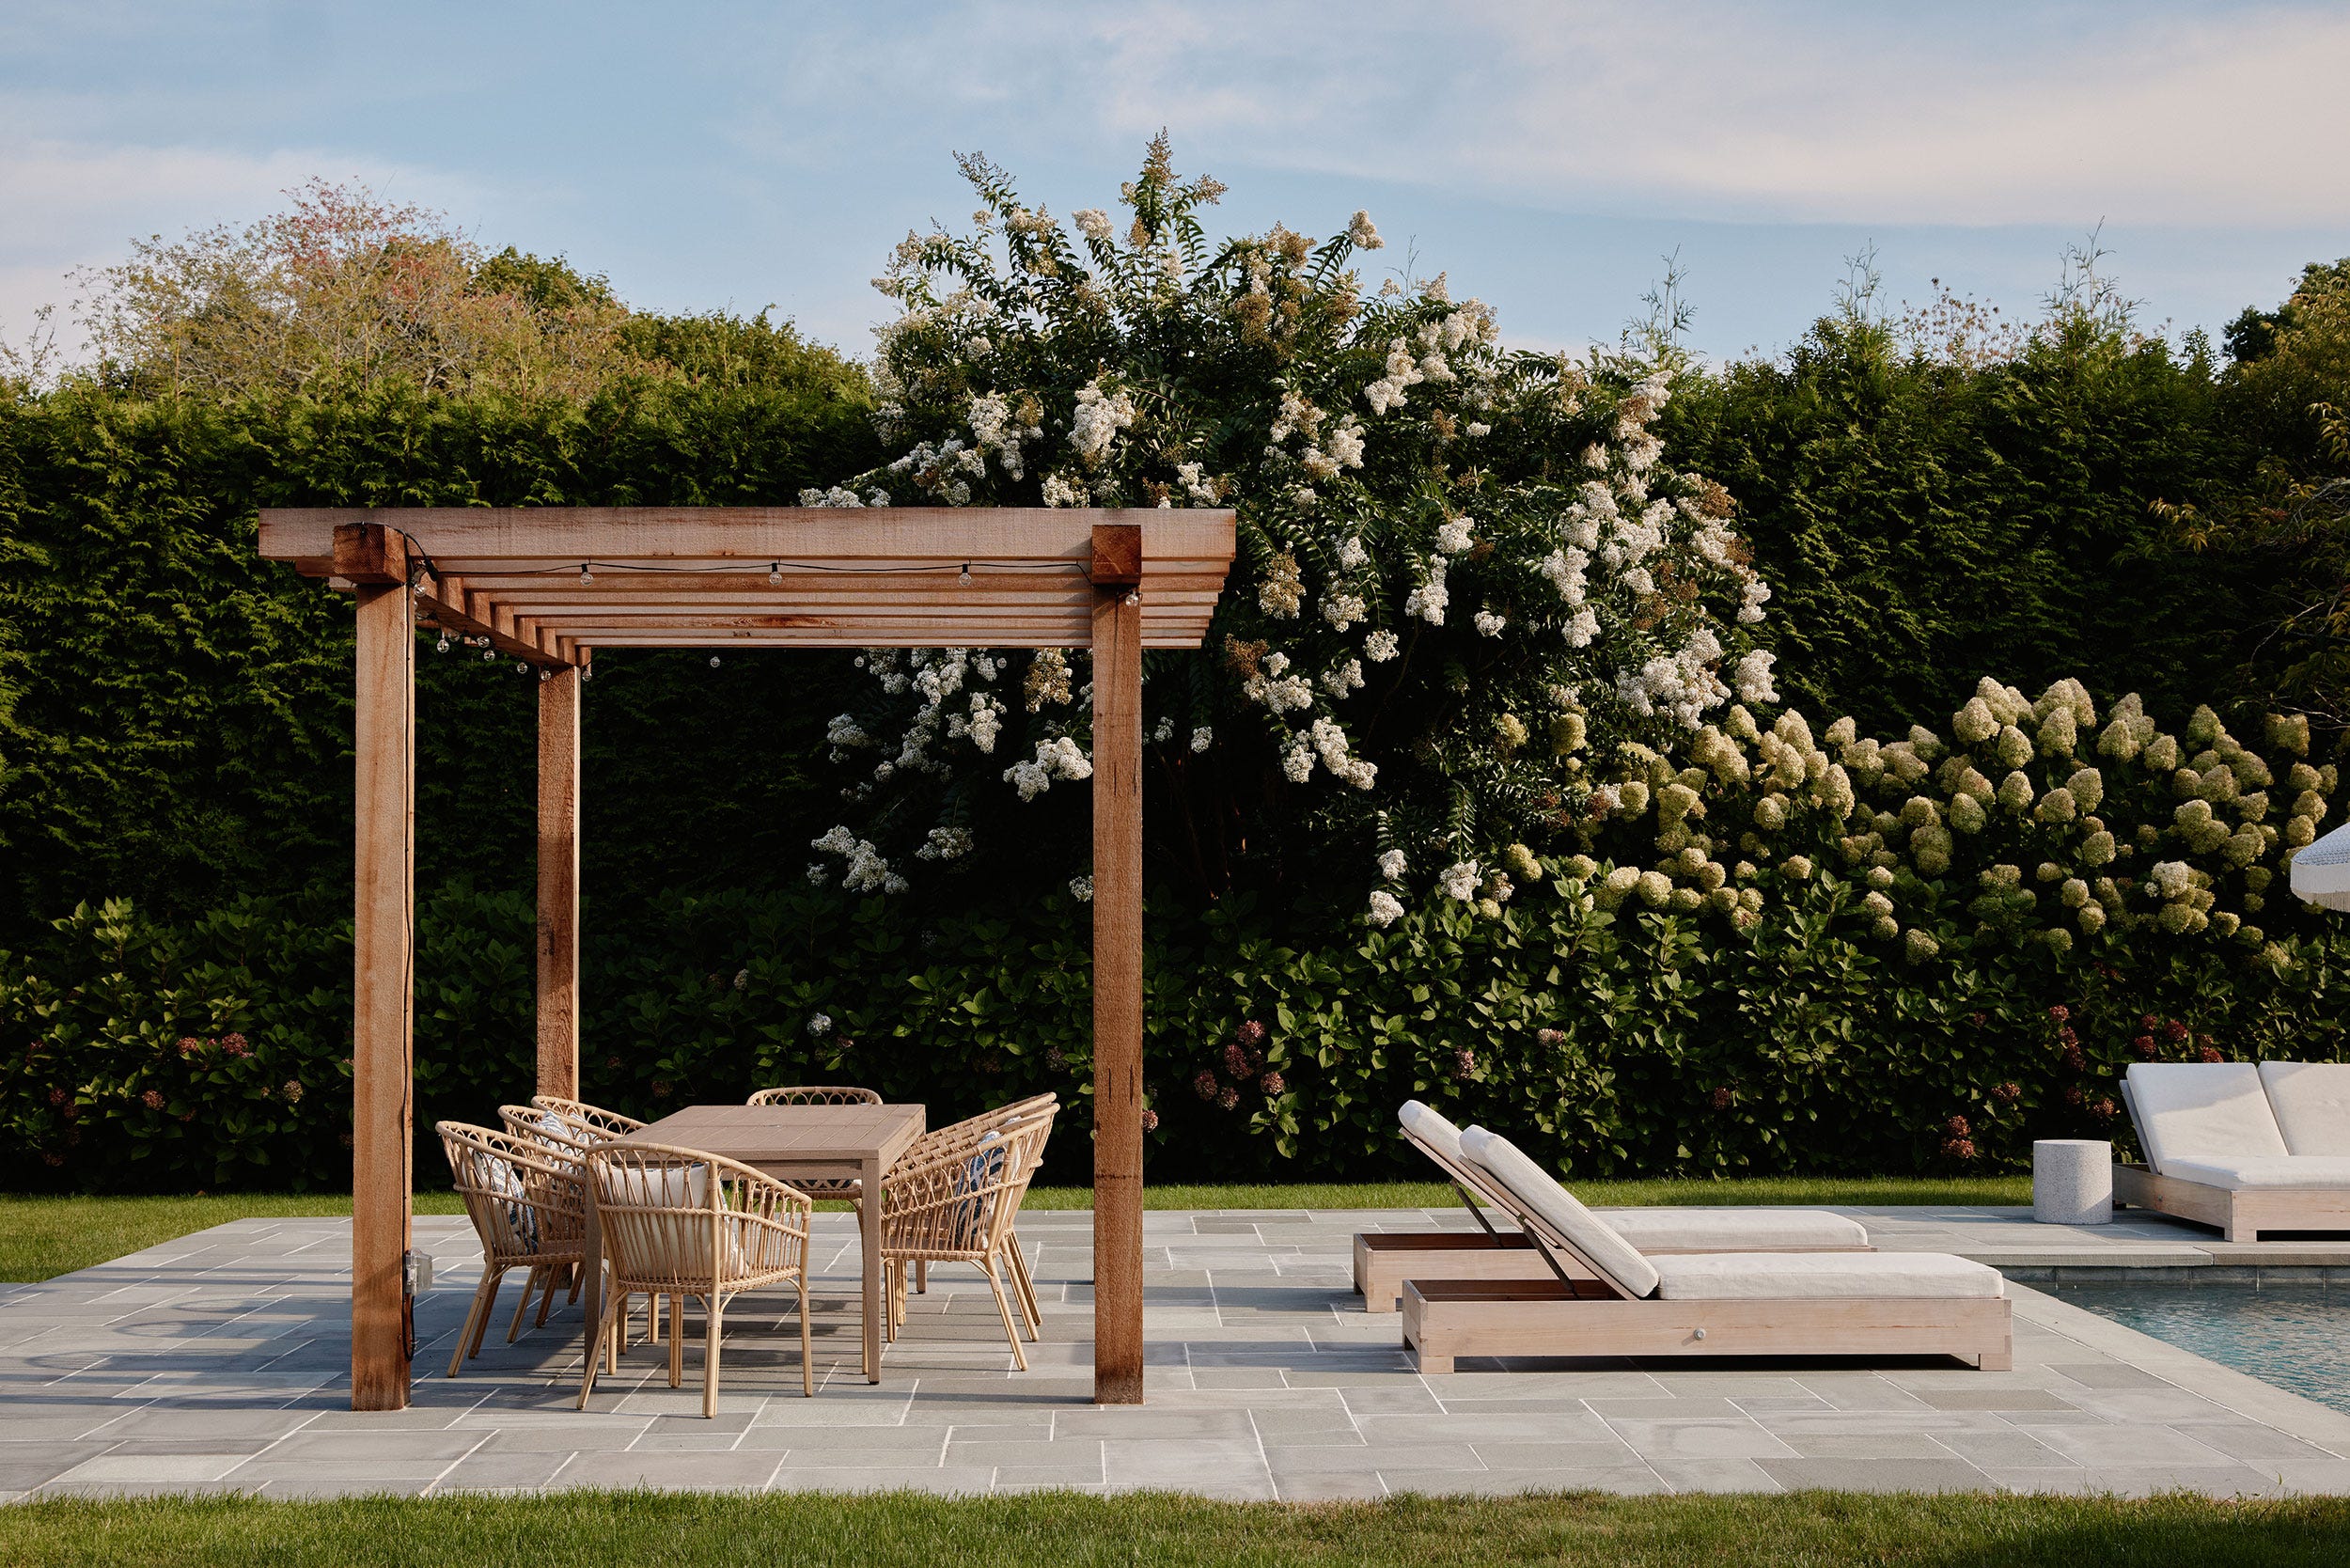
Want the Garden of Your Dreams? Check Out These 29 Enchanting Pergola Ideas
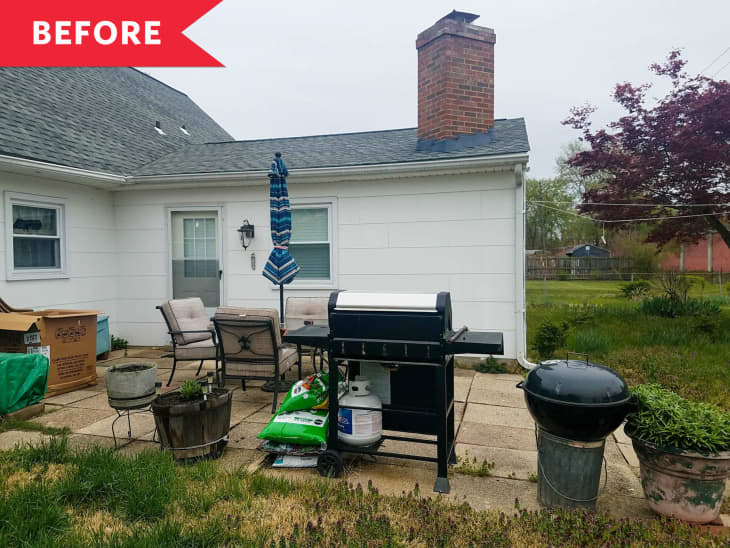
Before and After: A “Daunting” Patio Becomes a Peaceful, Pergola-Shaded Escape
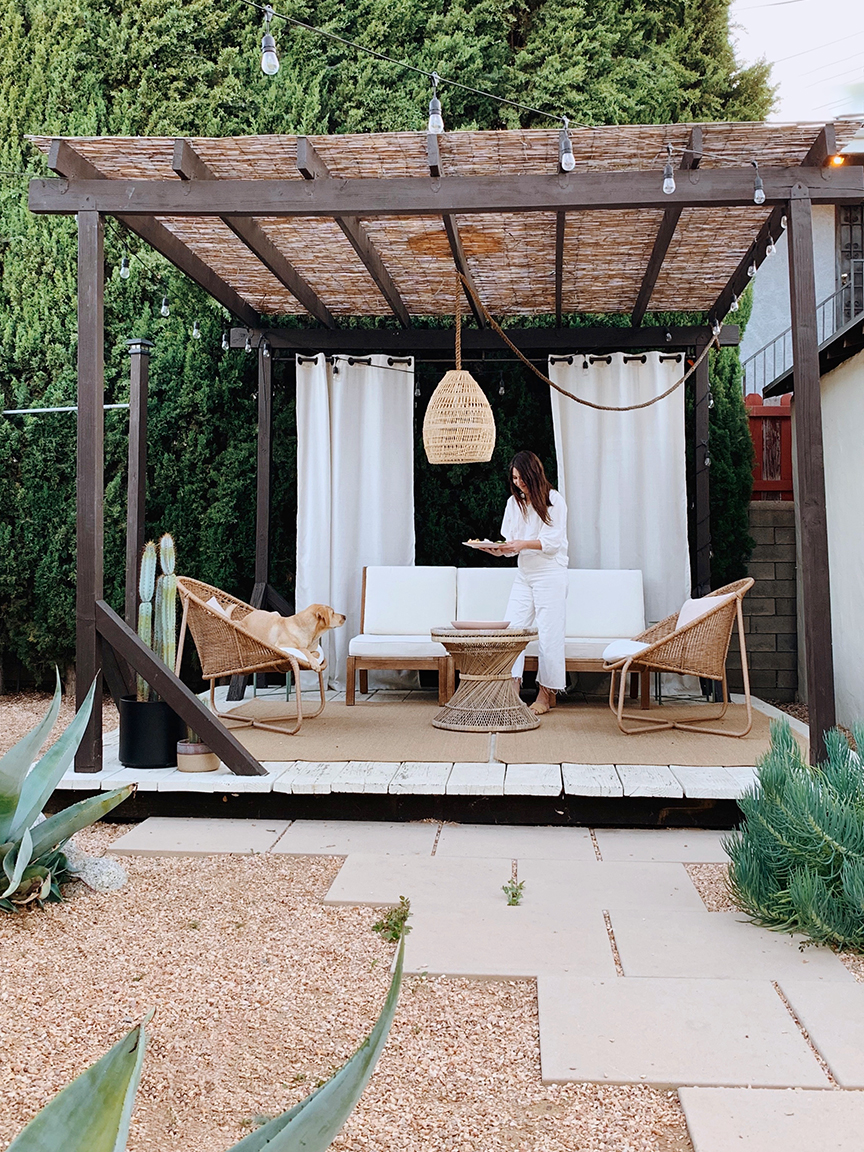
A $25 Bamboo Roof Gave This Pergola Cabana Vibes
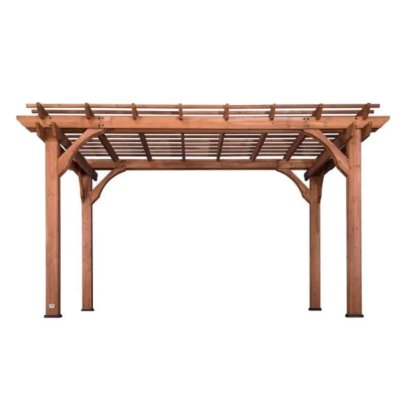
Pass Off Your DIY Skills As Those of a Pro With An Easy-To-Assemble Pergola Kit

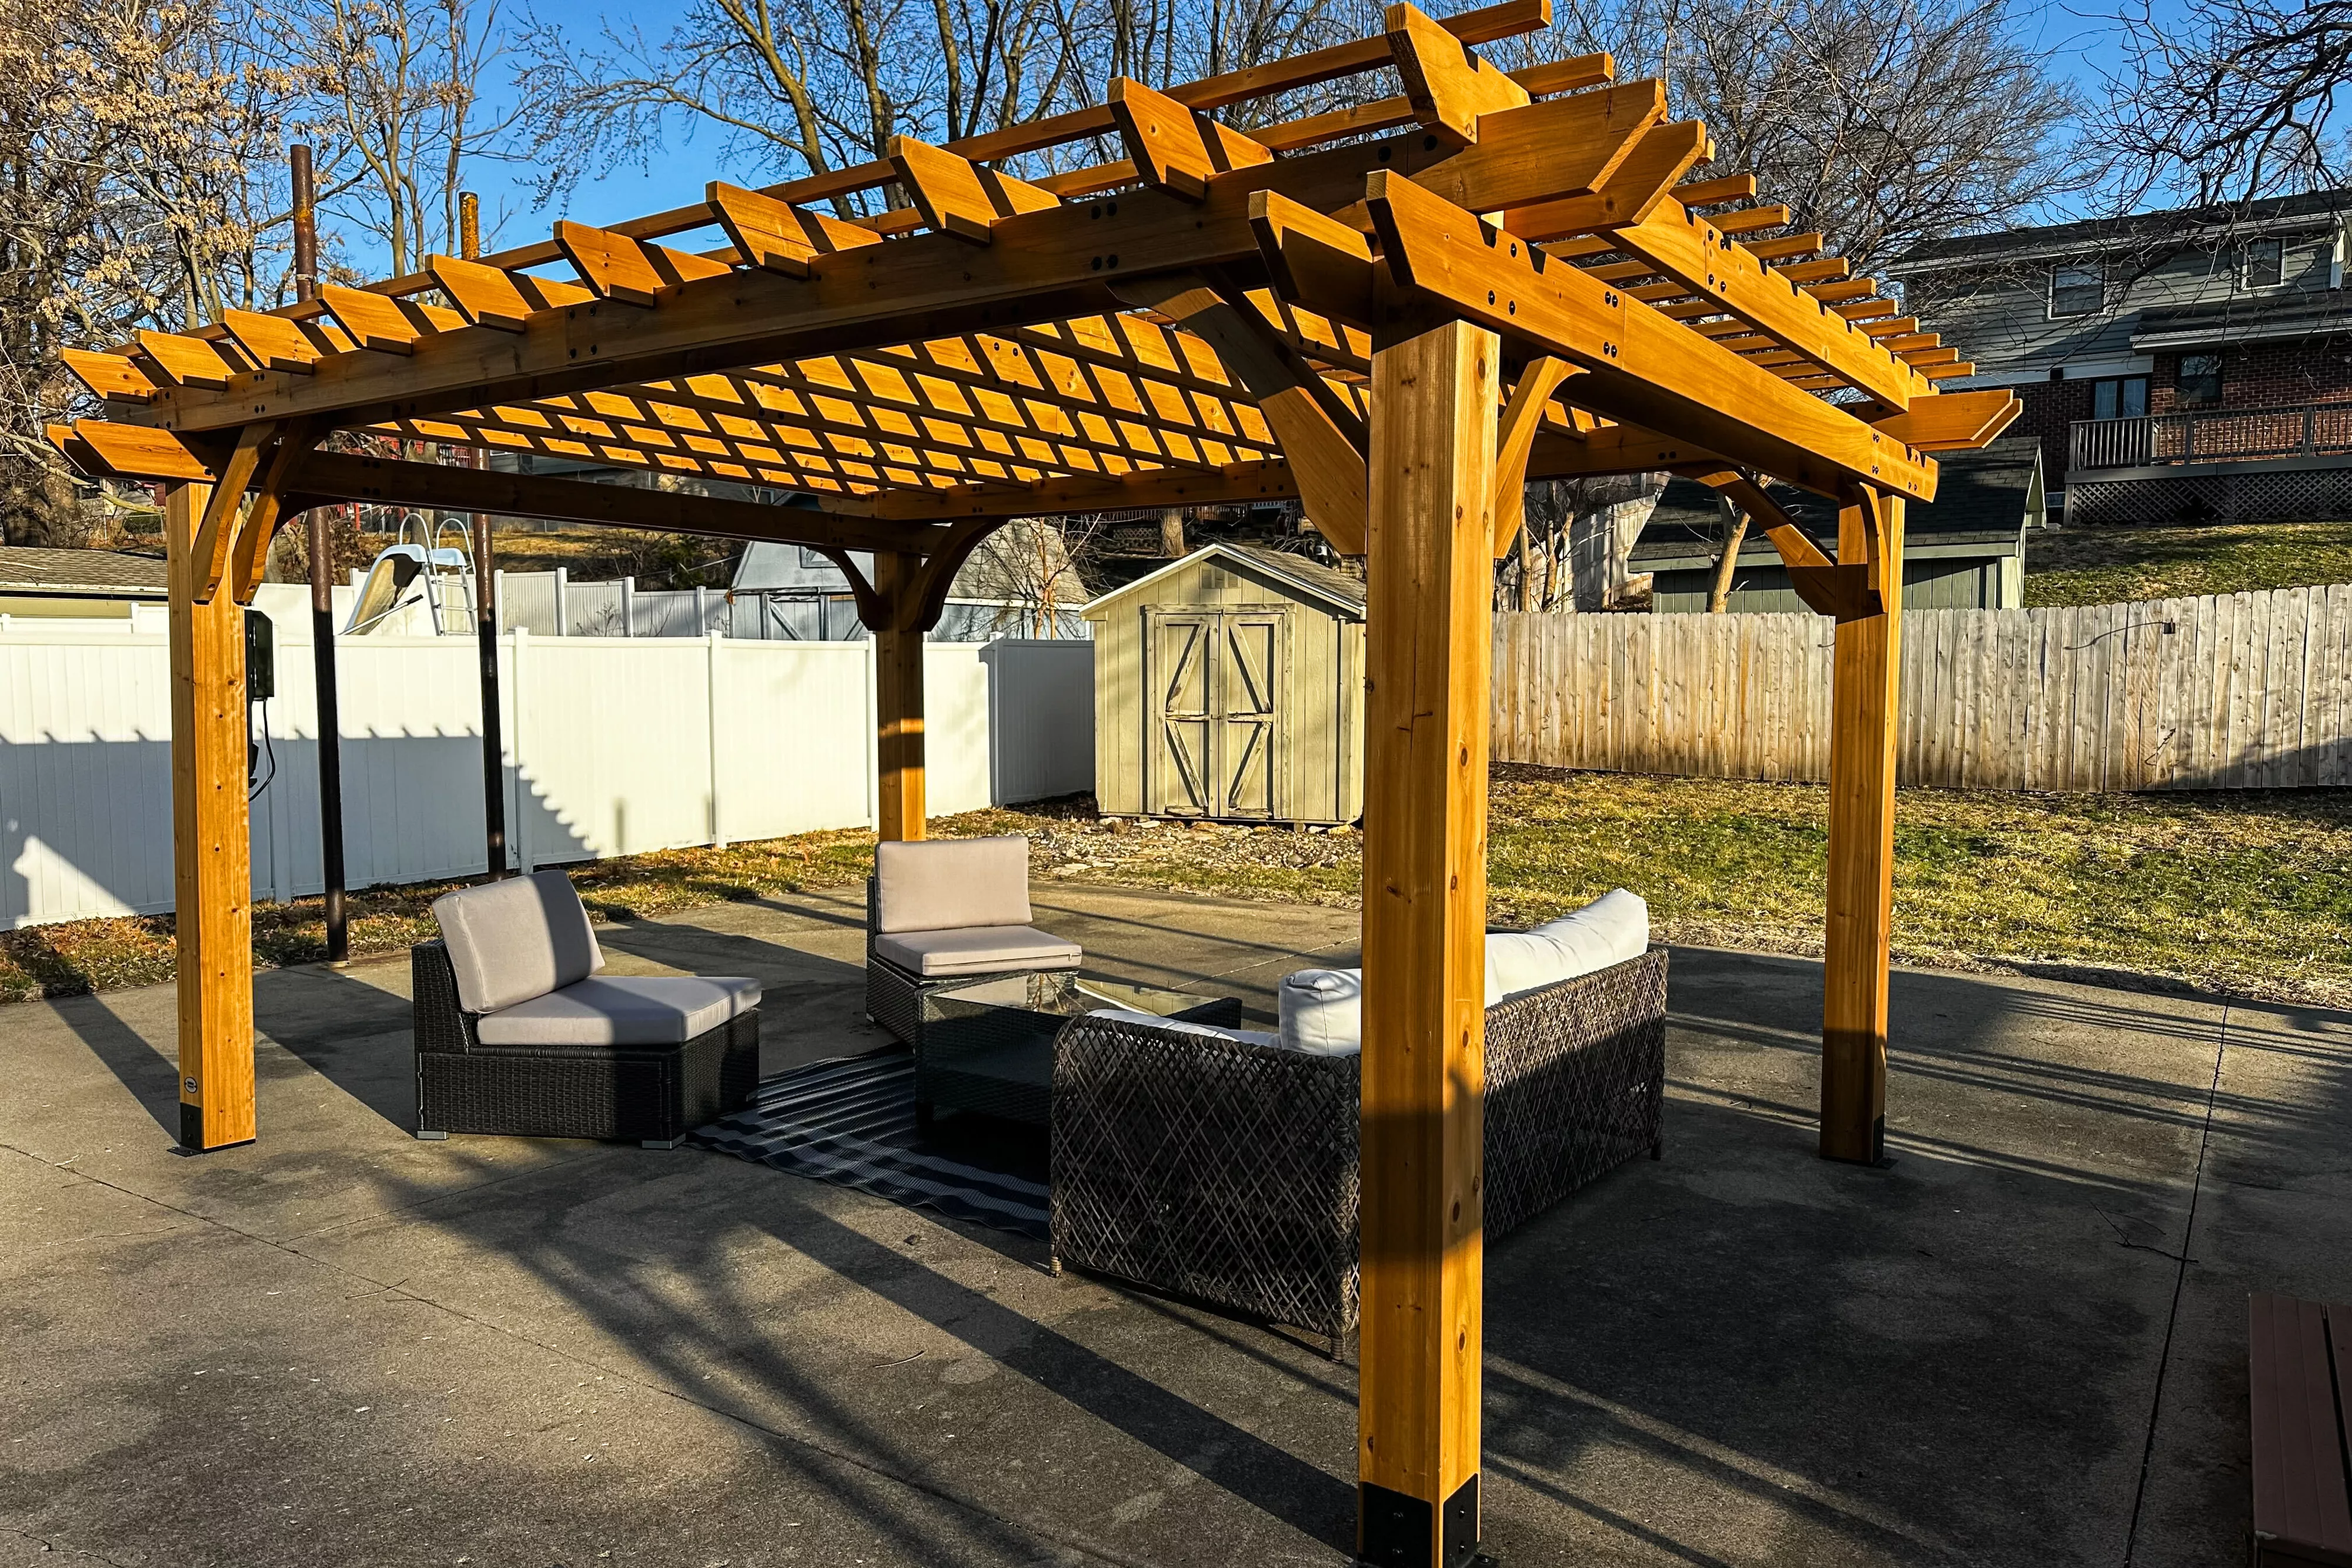
The 4 Best Pergola Kits, Tested by BHG

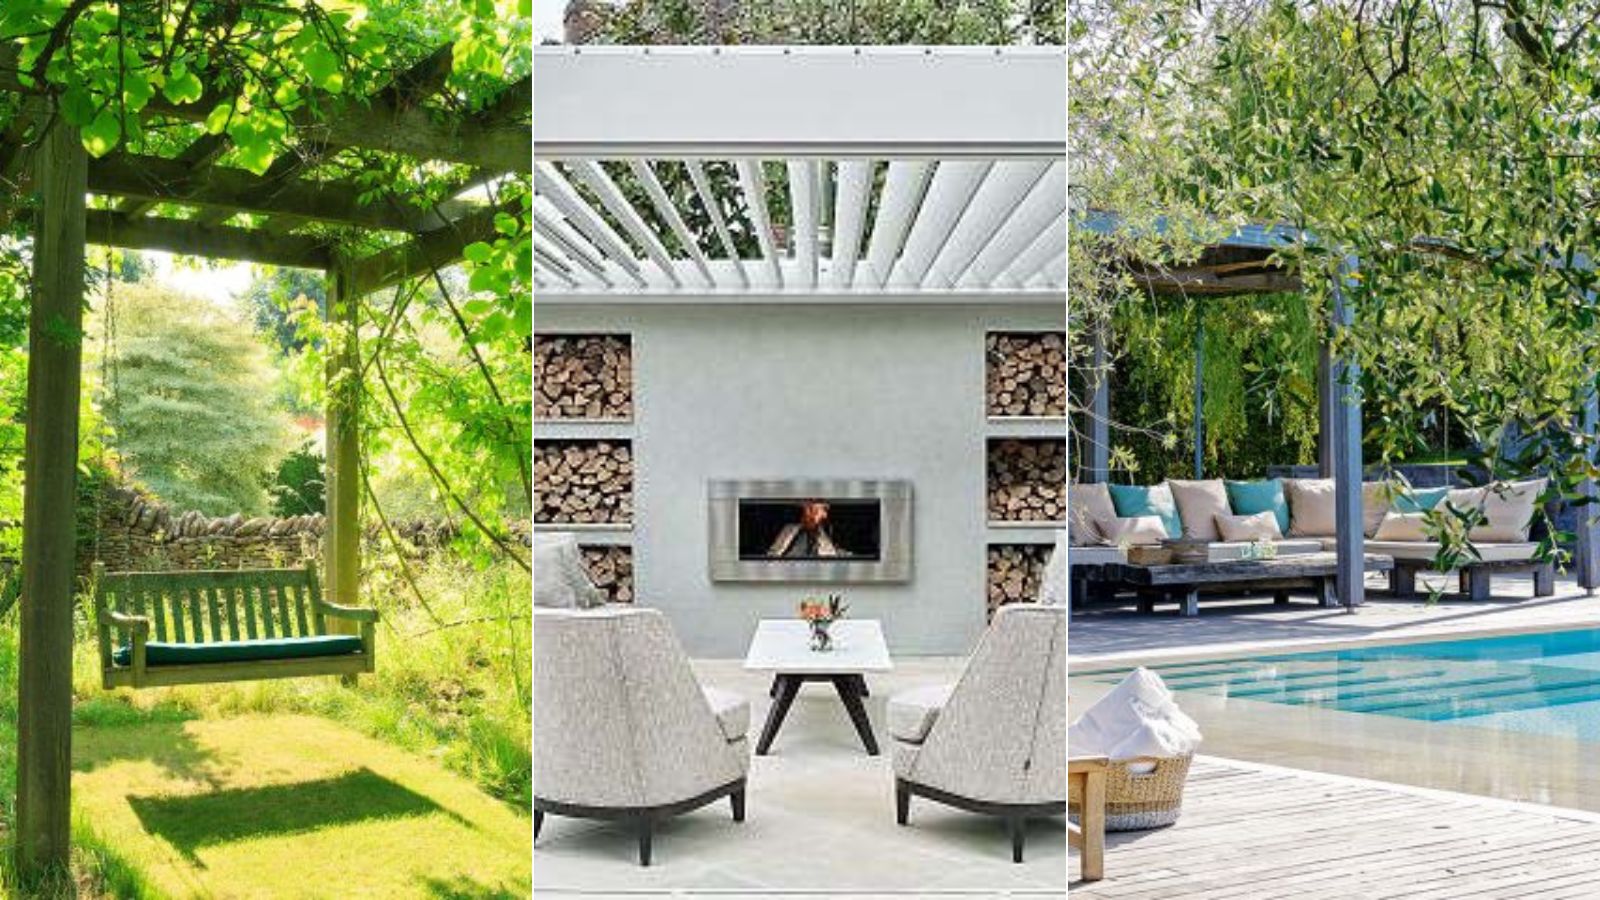
Pergola ideas – 19 ways a pergola can enhance your backyard design
Don't Let Sunburn Stop You This Summer—These Pergola Kits Keep Things Made in the Shade