




1/10
How to Fix Windows Modules Installer Worker's High CPU Usage
The Windows Modules Installer Worker, identified as TiWorker.exe, is a core Windows process integral to managing system updates and performing routine maintenance tasks. While its operation is normal, an issue arises when this process consumes a disproportionately high amount of CPU resources over an extended period, potentially rendering the PC unresponsive. This article details several methods to address and mitigate such high CPU usage.
Initially, if the Windows Modules Installer Worker process is observed consuming significant CPU, it is generally advisable to allow it to complete its current task, whether it's an update installation or a maintenance operation. The process is designed to cease automatically once these tasks are finalized. However, if the process persists for an unusually long duration or if the user needs immediate access to system resources for other tasks, various troubleshooting steps can be employed.
One common reason for prolonged CPU usage by the Windows Modules Installer Worker is an underlying problem with Windows Update. To resolve this, running the Windows Update troubleshooter is recommended. For Windows 11 users, this utility is accessible via Settings > System > Troubleshoot > Other Troubleshooters, under the 'Run' button next to 'Windows Update'. Windows 10 users can find it in Settings > Update & Security > Troubleshoot > Additional Troubleshooters, where they should select 'Windows Update' and click 'Run the Troubleshooter'. Following the on-screen instructions can help identify and rectify update-related issues.
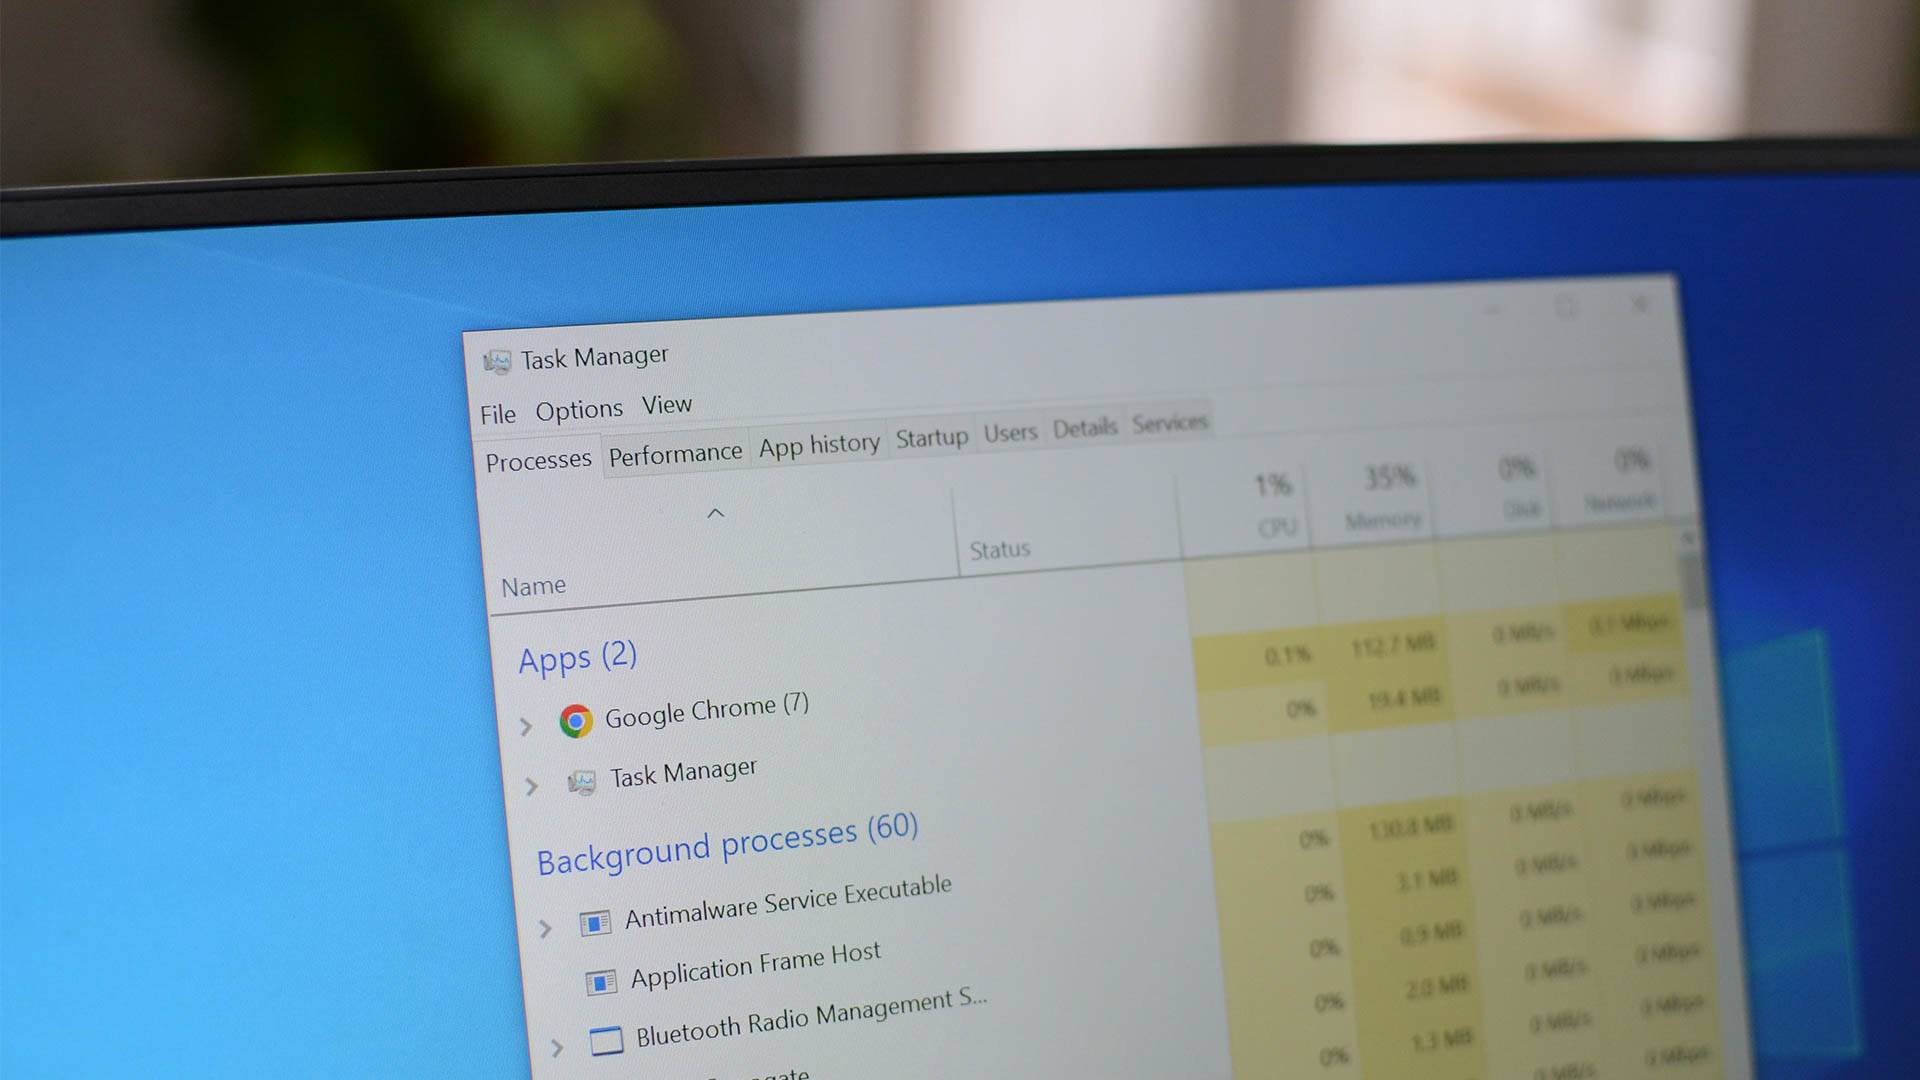
In situations where immediate system responsiveness is critical, and the Windows Modules Installer Worker is severely impacting performance, the process can be temporarily terminated. This action is not generally recommended due to its potential to disrupt ongoing updates, but it offers a short-term solution. To do this, users can open Task Manager by right-clicking the Start Menu icon, navigate to the 'Processes' tab, right-click 'Windows Modules Installer Worker,' and select 'End Task.'
Another approach to prevent the Windows Modules Installer Worker from running is to clear the Windows Update cache and temporarily pause updates. This method ensures that the process has no updates to install or check for, thereby preventing its activation. However, pausing updates is generally discouraged as it can lead to missed bug fixes and security patches. To perform this, users first need to stop the 'Windows Update' service through the 'Services' window (accessible by typing `services.msc` in the Run dialog). After stopping the service, the contents of the `C:\Windows\SoftwareDistribution` folder, which stores the update cache, should be deleted. Subsequently, updates can be paused through the Windows Settings: on Windows 11, under Settings > Windows Update, select a duration from the 'Pause Updates' drop-down; on Windows 10, navigate to Settings > Update & Security > Windows Update, click 'Advanced Options,' and choose a 'Pause Until' duration.
Finally, since the Windows Modules Installer Worker is also activated by system maintenance tasks, users can adjust the schedule for these tasks to prevent them from running at inconvenient times. This can be done by searching for 'Security and Maintenance' in the Start Menu, expanding the 'Maintenance' section, and selecting 'Change Maintenance Settings.' Here, users can specify a preferred time for maintenance tasks, ideally when the PC is not actively in use, by modifying the 'Run Maintenance Tasks Daily at' setting and confirming with 'OK.' These strategies offer comprehensive solutions to manage and reduce the CPU usage associated with the Windows Modules Installer Worker, ensuring smoother system operation.
#WindowsModulesInstallerWorker #HighCPUUsage #WindowsUpdate #Troubleshooting #SystemMaintenance #Windows11 #Windows10 #TaskManager #CacheClearing #WindowsModulesInstallerWorker #HighCPUUsage #WindowsUpdate #Troubleshooting #SystemMaintenance #Windows11 #Windows10 #TaskManager #CacheClearing
 No comments yet