1/12
Electric Blue Paint and Neutral Tiles Transformed This IKEA Cabinet
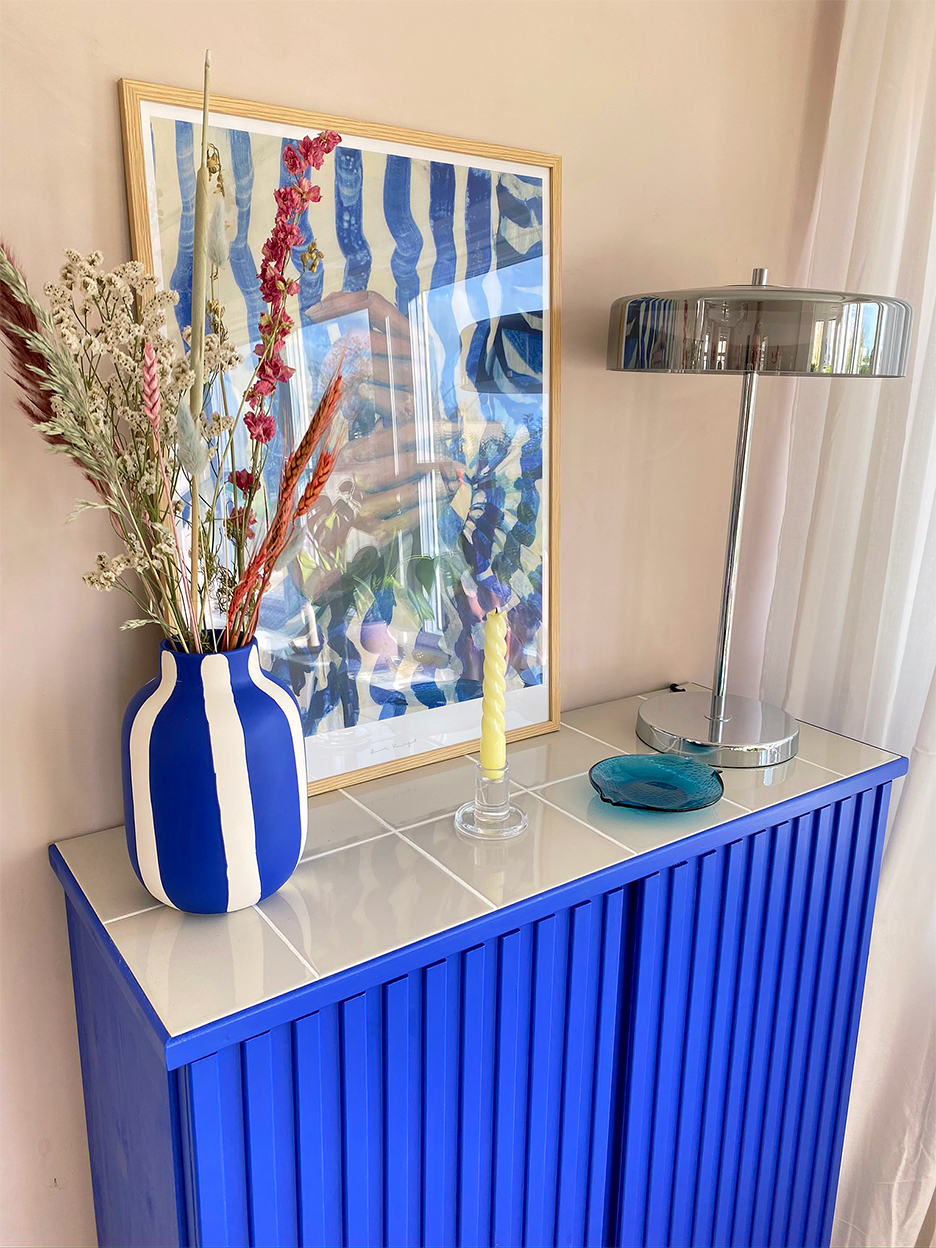
This article details a DIY project transforming an IKEA Ivar cabinet using electric blue paint and neutral tiles, a hack completed in a single afternoon by Anders and Christina Blom Monberg of In Bloom. The couple, based in Copenhagen, launched their company in 2017, offering interior design services and custom tile tables, alongside budget-friendly hacks shared primarily on their Instagram. Their approach emphasizes creativity and personalization of common IKEA furniture.
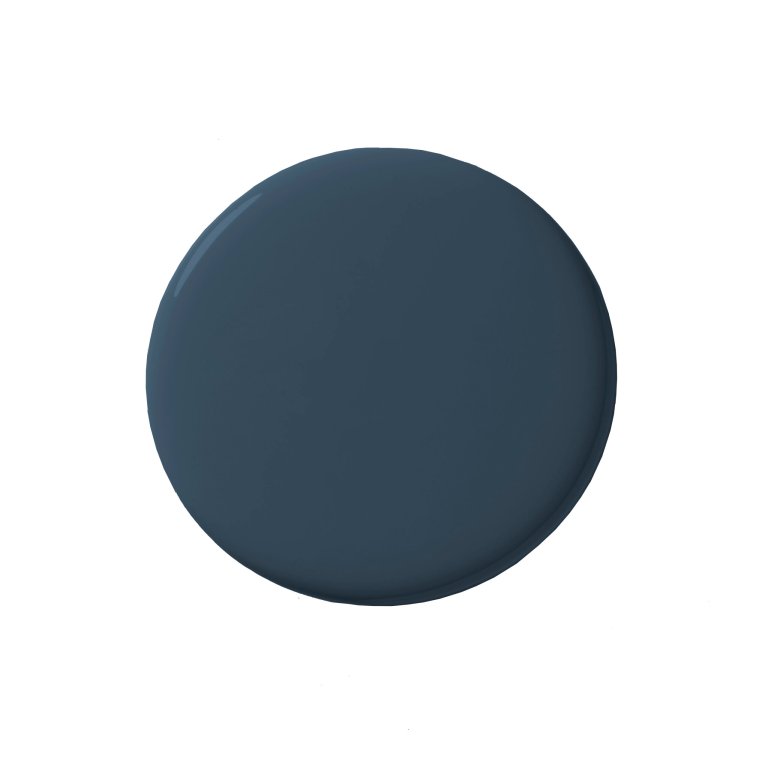
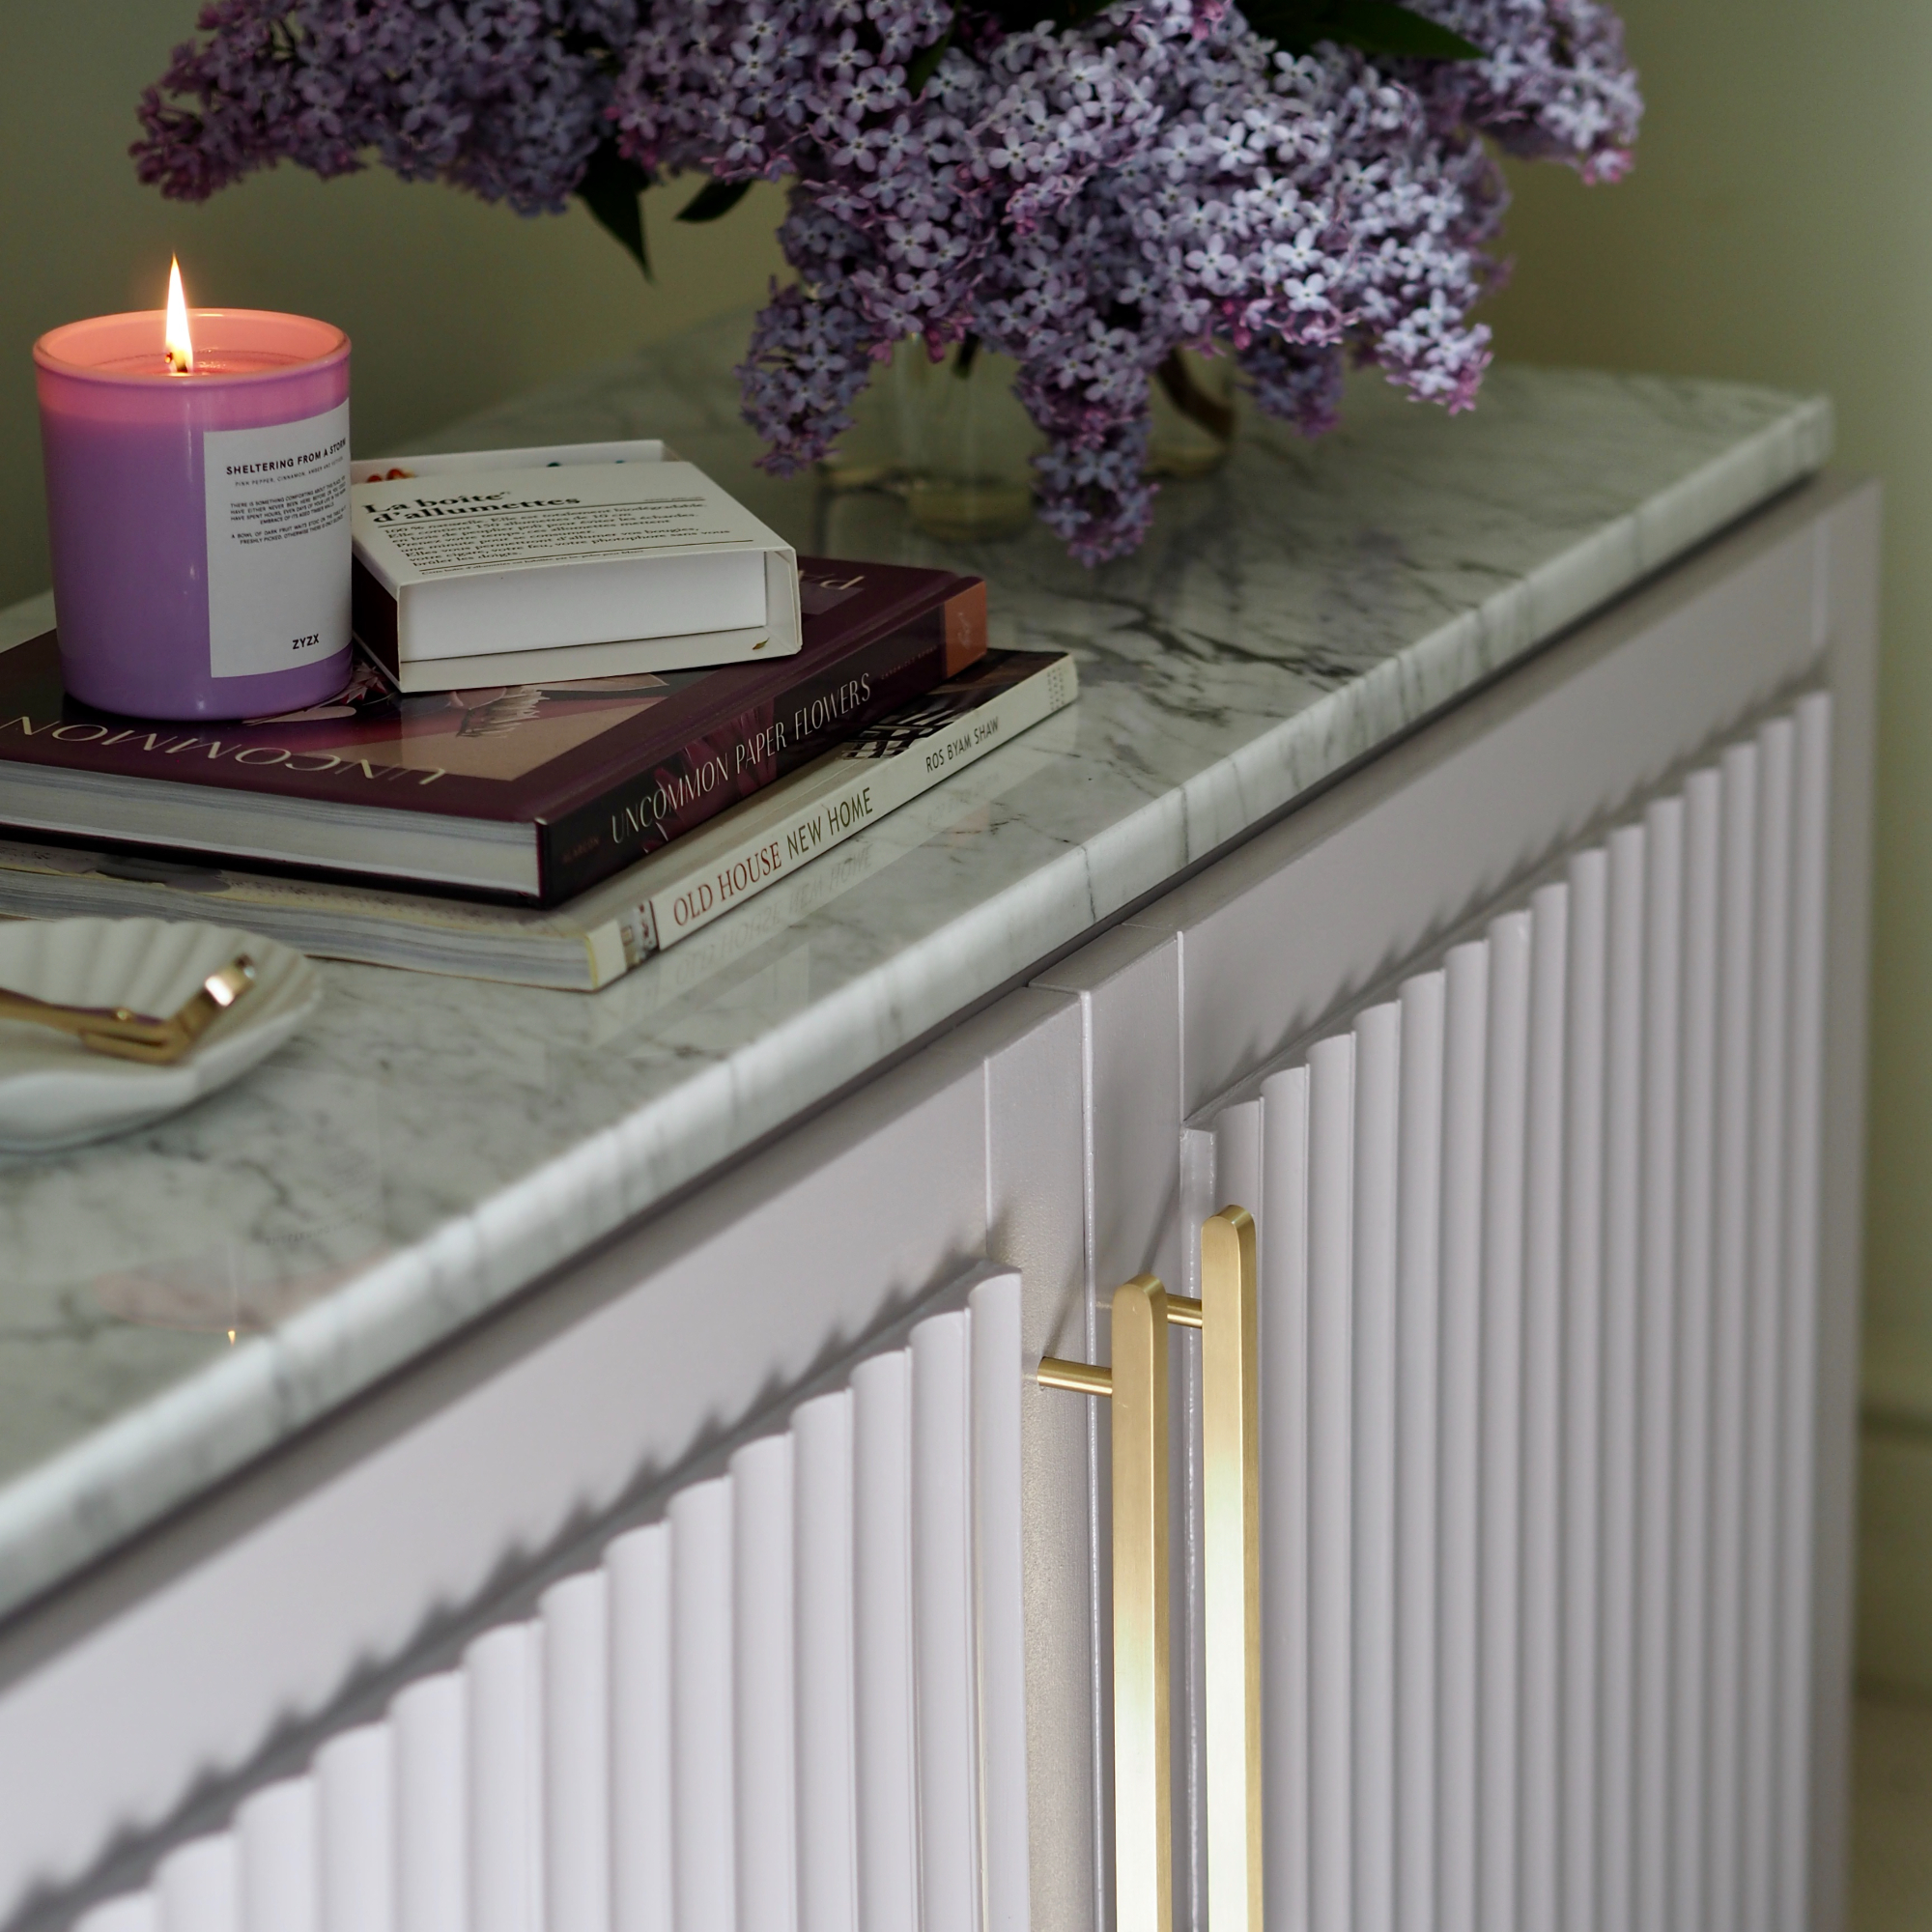
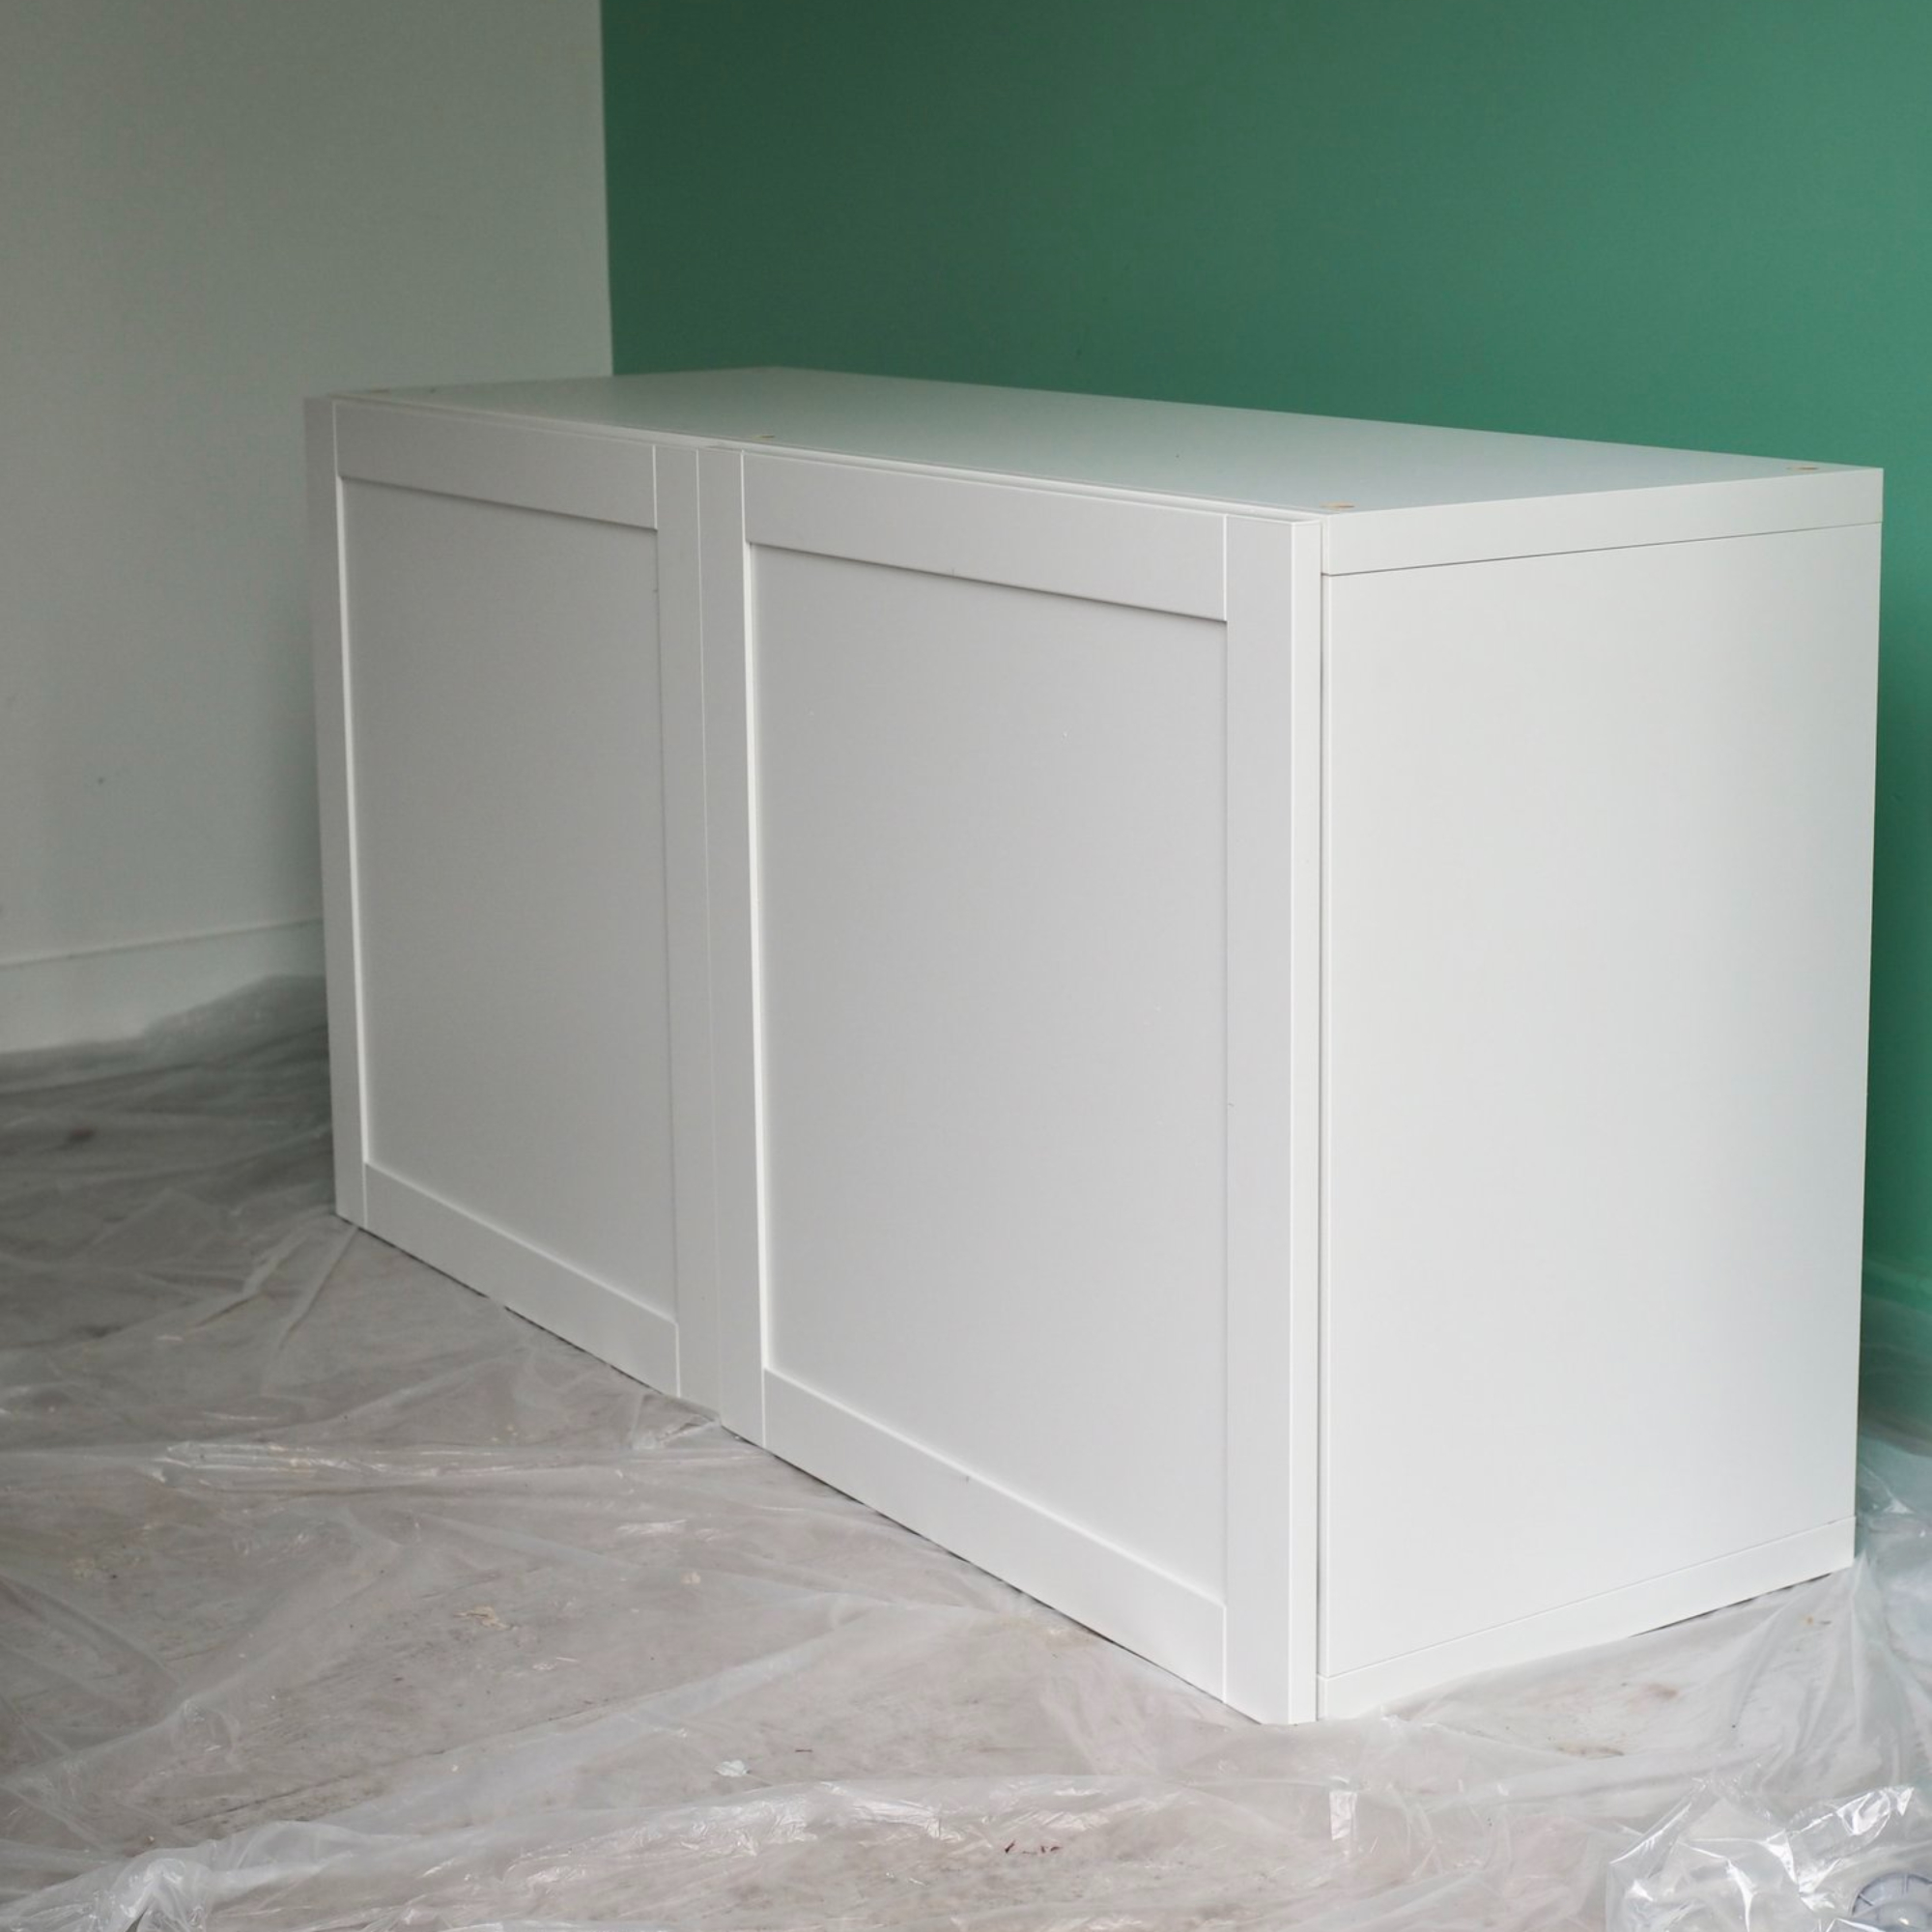
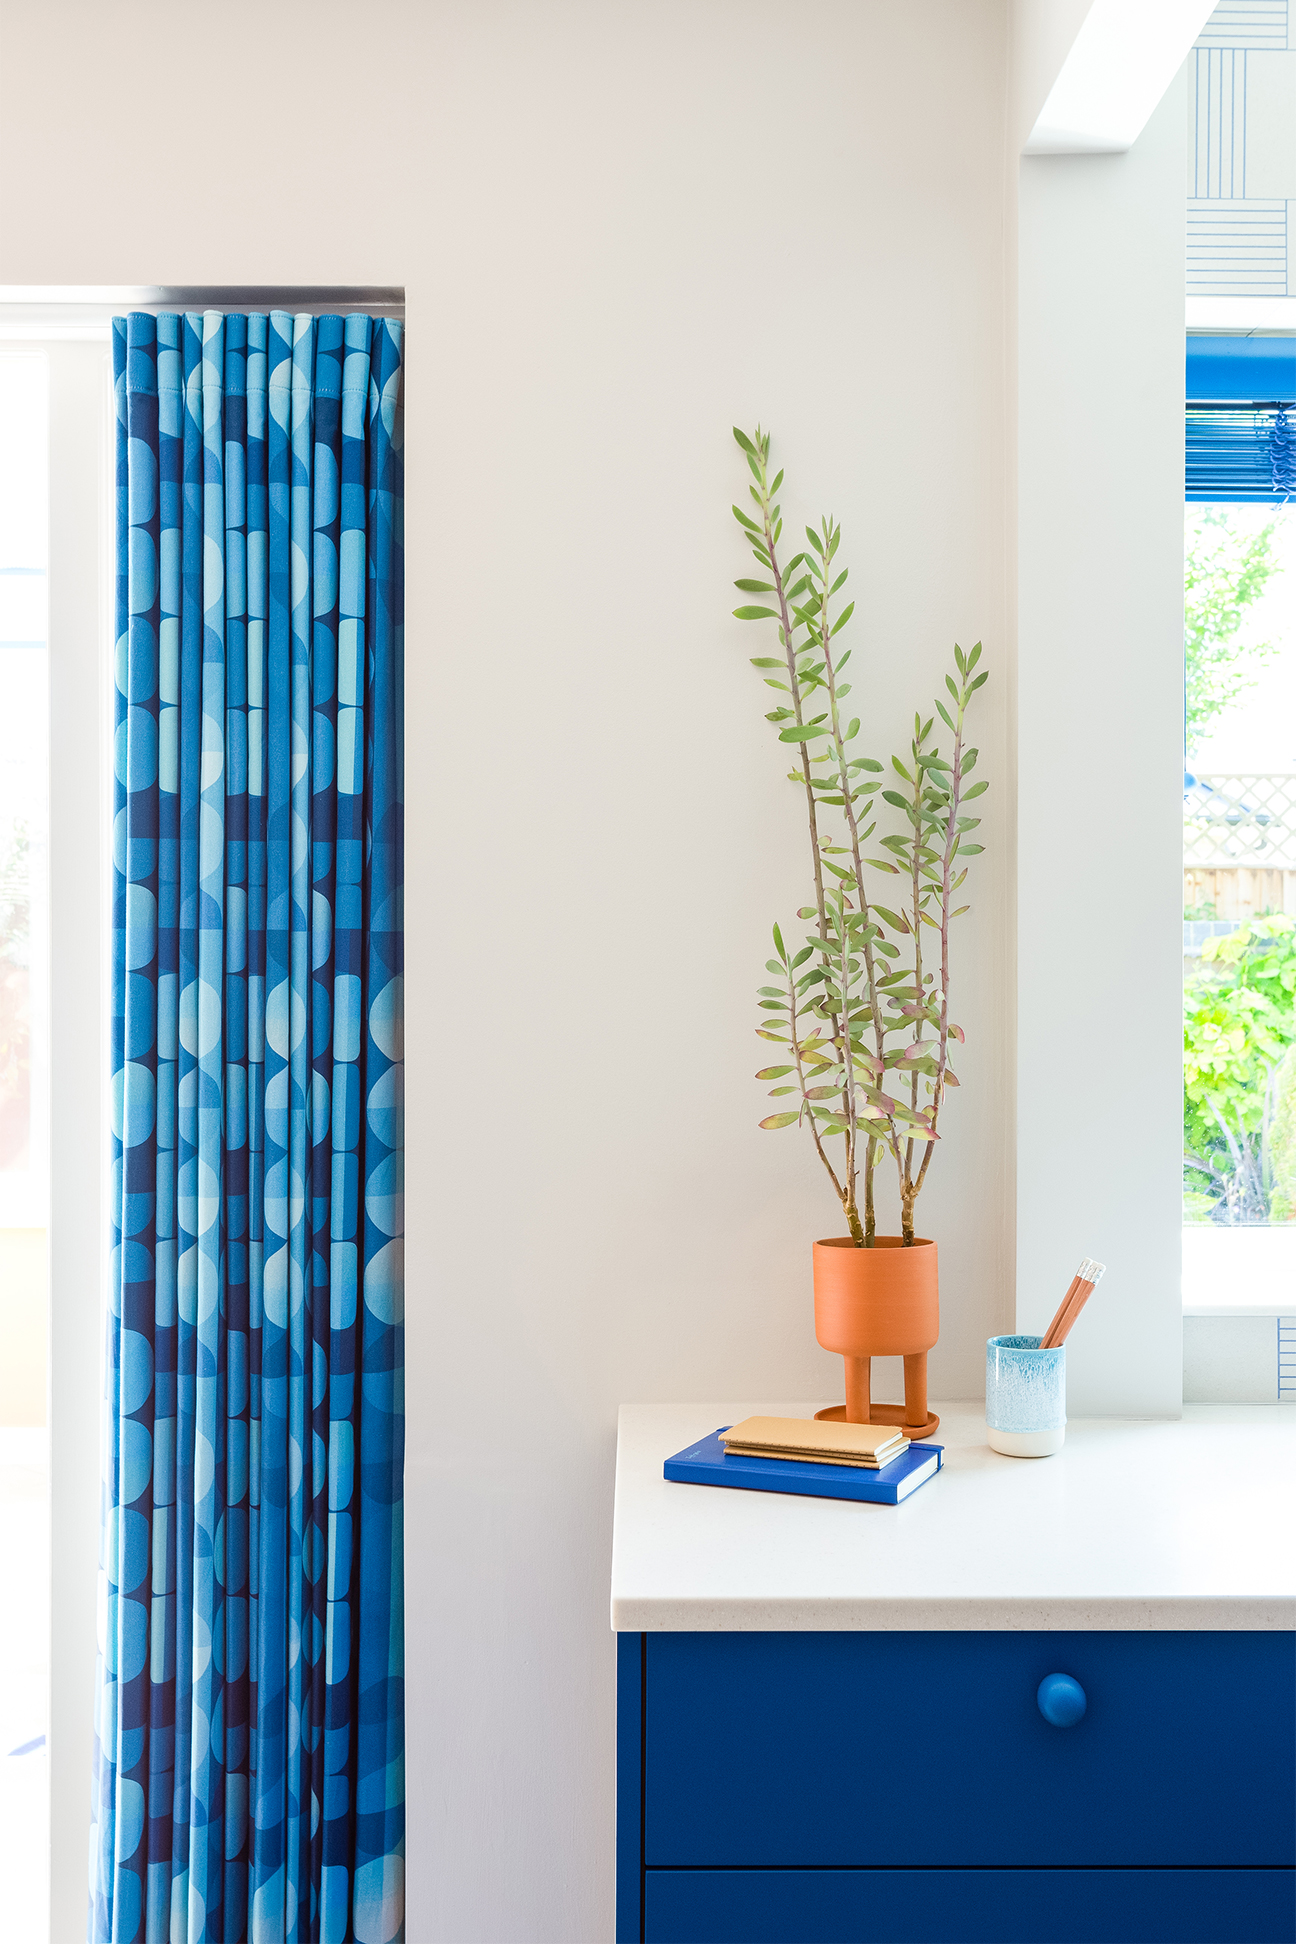
The project focuses on customizing the Ivar cabinet, a piece the Monbergs have frequently hacked in the past, including variations with handwoven paneling and blue caning. For this particular transformation, Christina opted for a bold electric blue color, advising others to be daring with their color choices. The refurbished cabinet has become a prominent feature in their living room, showcasing a significant aesthetic upgrade from its original pine finish.
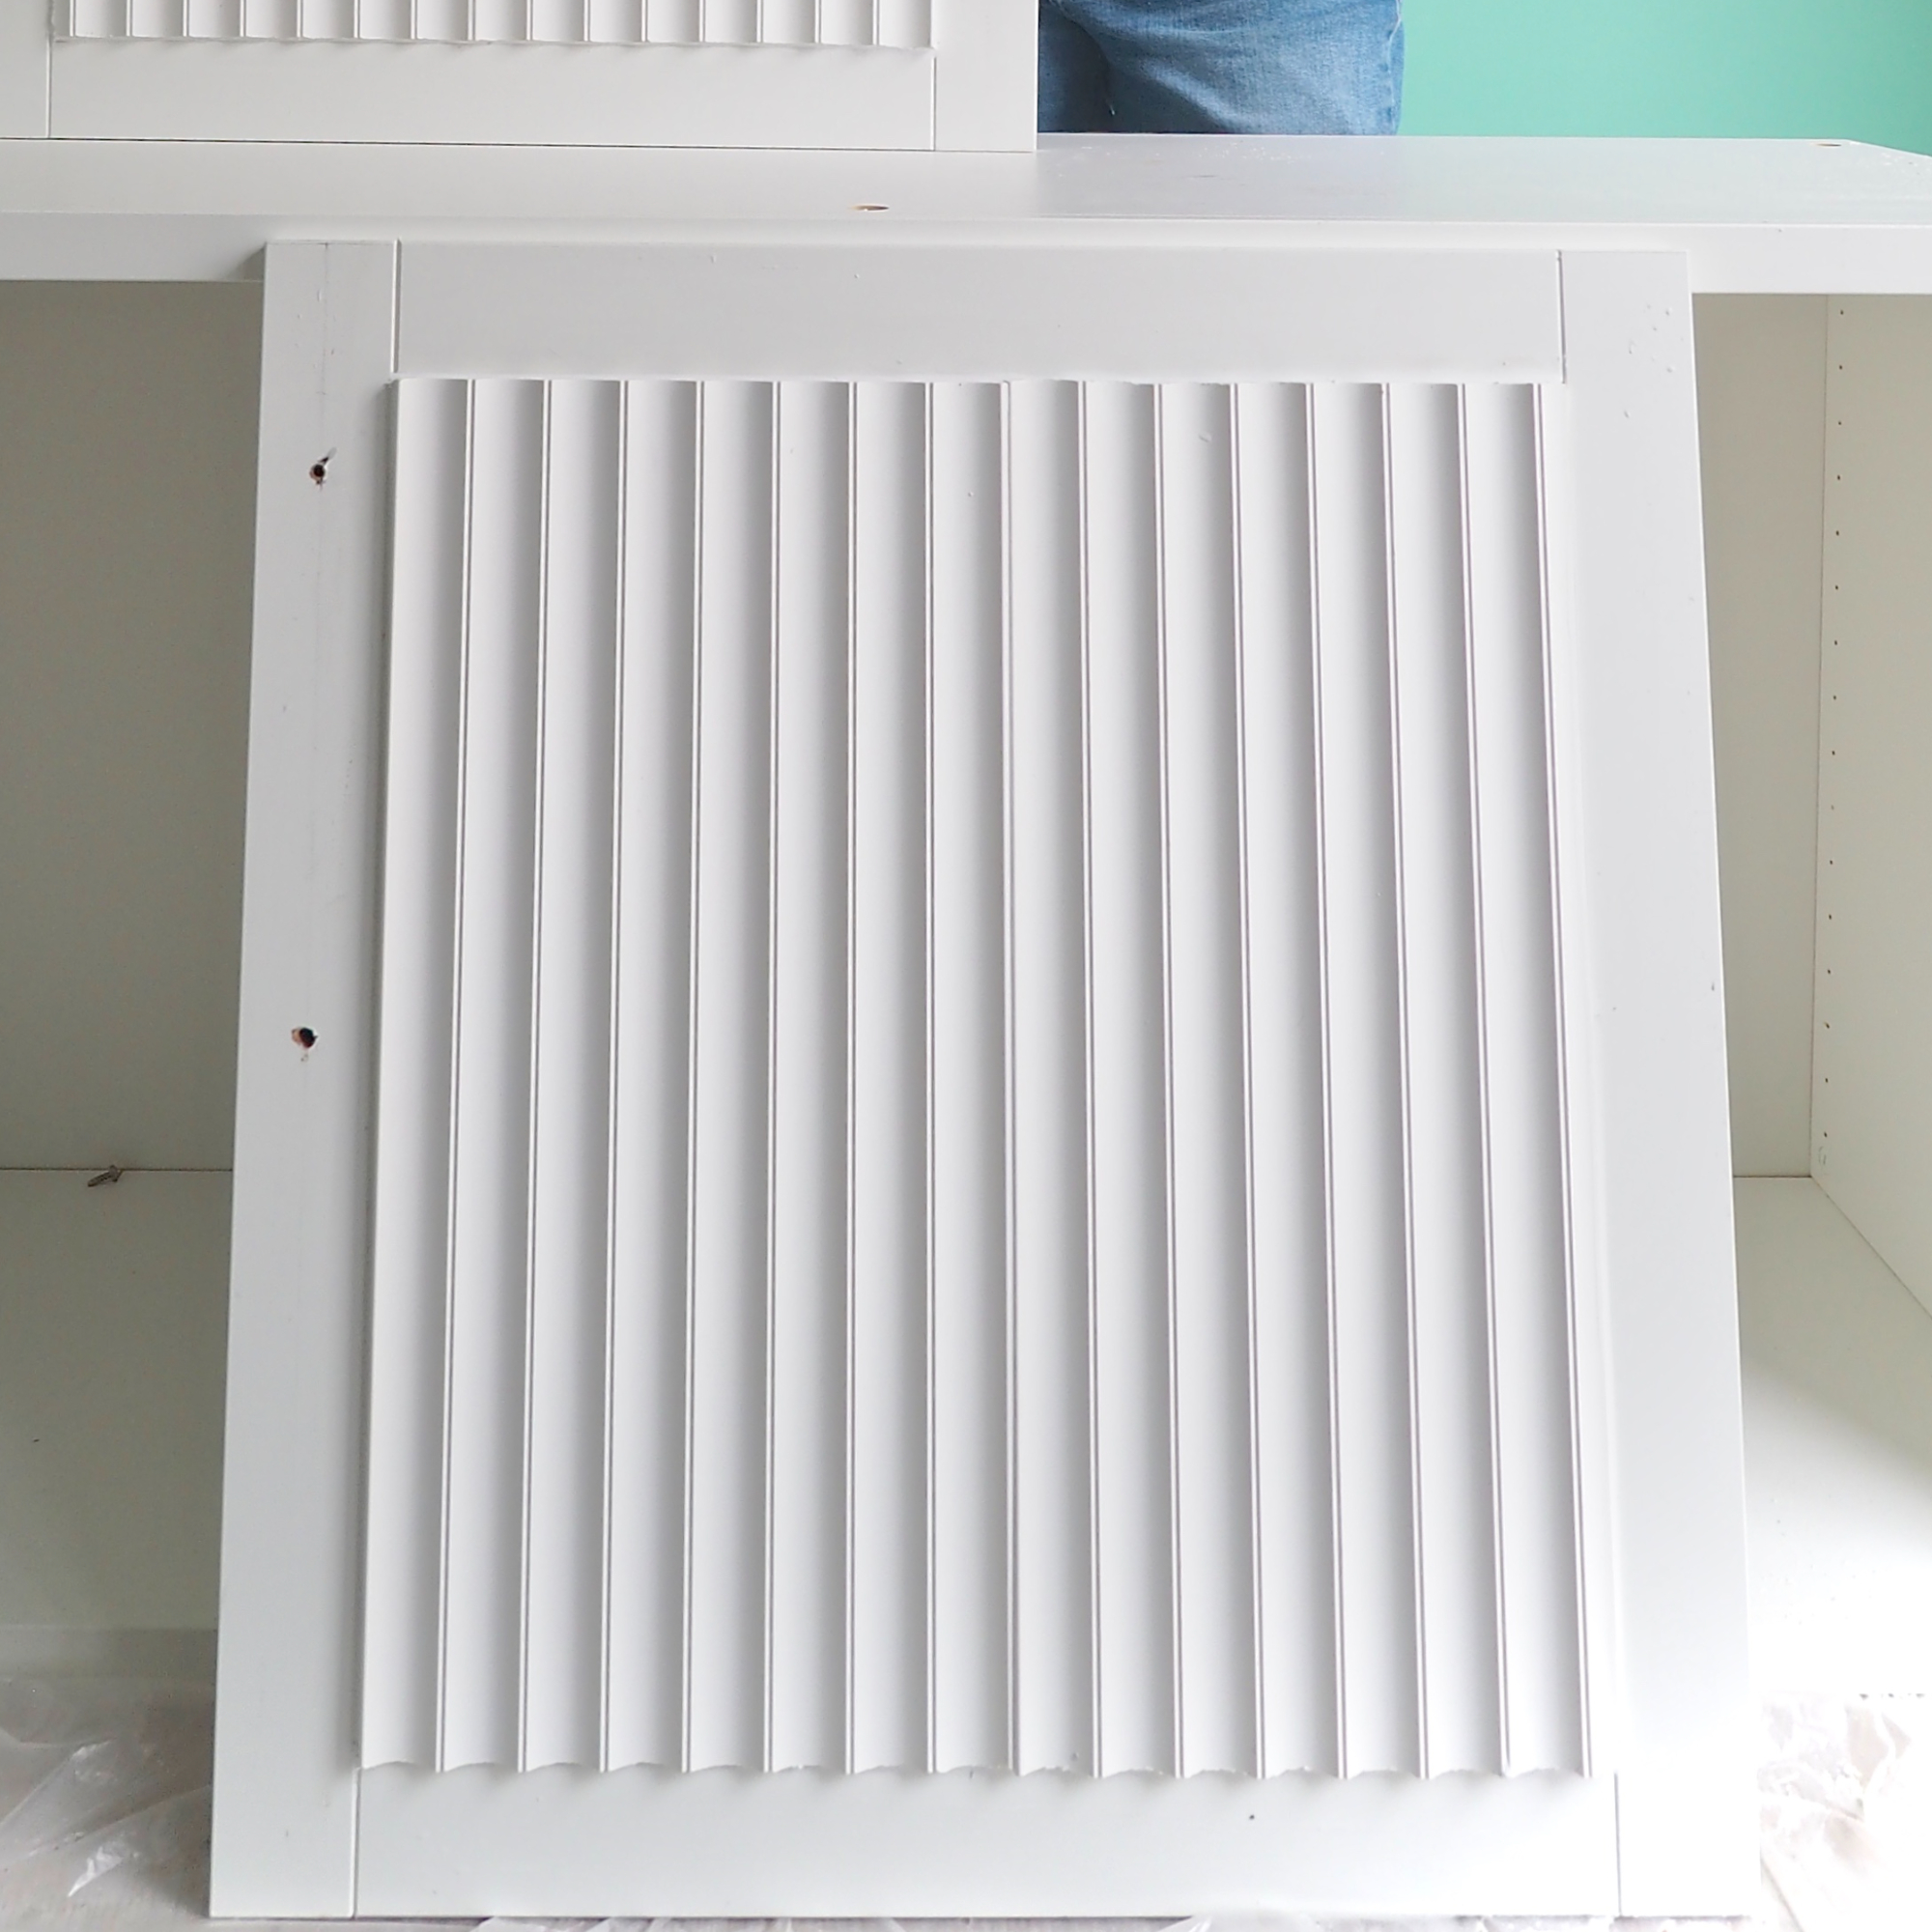
The transformation process involves several key steps. First, twenty-two 21mm wide wood slats with rounded edges are cut to the length of the cabinet doors. These slats are then glued to the doors, with clamps used to ensure proper adhesion while the glue dries. The distance between the slats is determined either by precise measurement or by visual estimation, as Christina did for her project. Once the glue is dry, the entire surface, including the crevices between the slats, is painted with the chosen electric blue color.
For the cabinet top, a 16mm medium-density fiberboard (MDF) piece is measured to a 31-by-12-inch rectangle, matching the cabinet's dimensions. Twelve 15x15 cm tiles are then cut to size using a tile cutter to fit this MDF base. The tiles are arranged in a desired pattern and glued onto the MDF. White sealant is applied between the tiles to form the joints, securing them not only to the MDF but also to each other, preventing movement.
Next, extra wood slats, similar to those used for the cabinet fronts, are used to line the four edges of the tiled cabinet top. These slats are painted to match the cabinet and cut with angled ends to fit together seamlessly. If any gaps remain between the painted edges, small pieces of MDF are cut as fillers and painted over to blend in. The final step involves adding small, thin legs to the bottom of the cabinet. Christina chose 12-inch tall beechwood legs, which were then painted to complement the overall design. These legs can either be purchased or custom-made from spare wood.
This project demonstrates how readily available and affordable IKEA furniture can be significantly elevated through creative DIY techniques, resulting in a unique and stylish piece that reflects personal taste and complements existing decor. The entire hack can be completed within an afternoon, offering a quick yet impactful renovation solution for home enthusiasts.
#IKEAHack #DIYFurniture #CabinetRenovation #HomeDecor #ElectricBlue #TileWork #BudgetFriendlyDesign #CopenhagenDesign #InBloom #IKEAHack #DIYFurniture #CabinetRenovation #HomeDecor #ElectricBlue #TileWork #BudgetFriendlyDesign #CopenhagenDesign #InBloom
0 comment in total
 No comments yet
You may also like
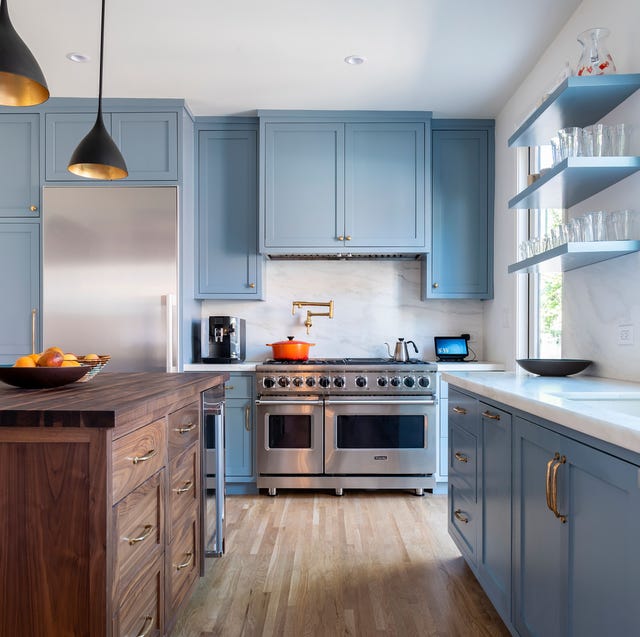
Chic Spaces That Prove Blue Kitchen Cabinets Are Here to Stay

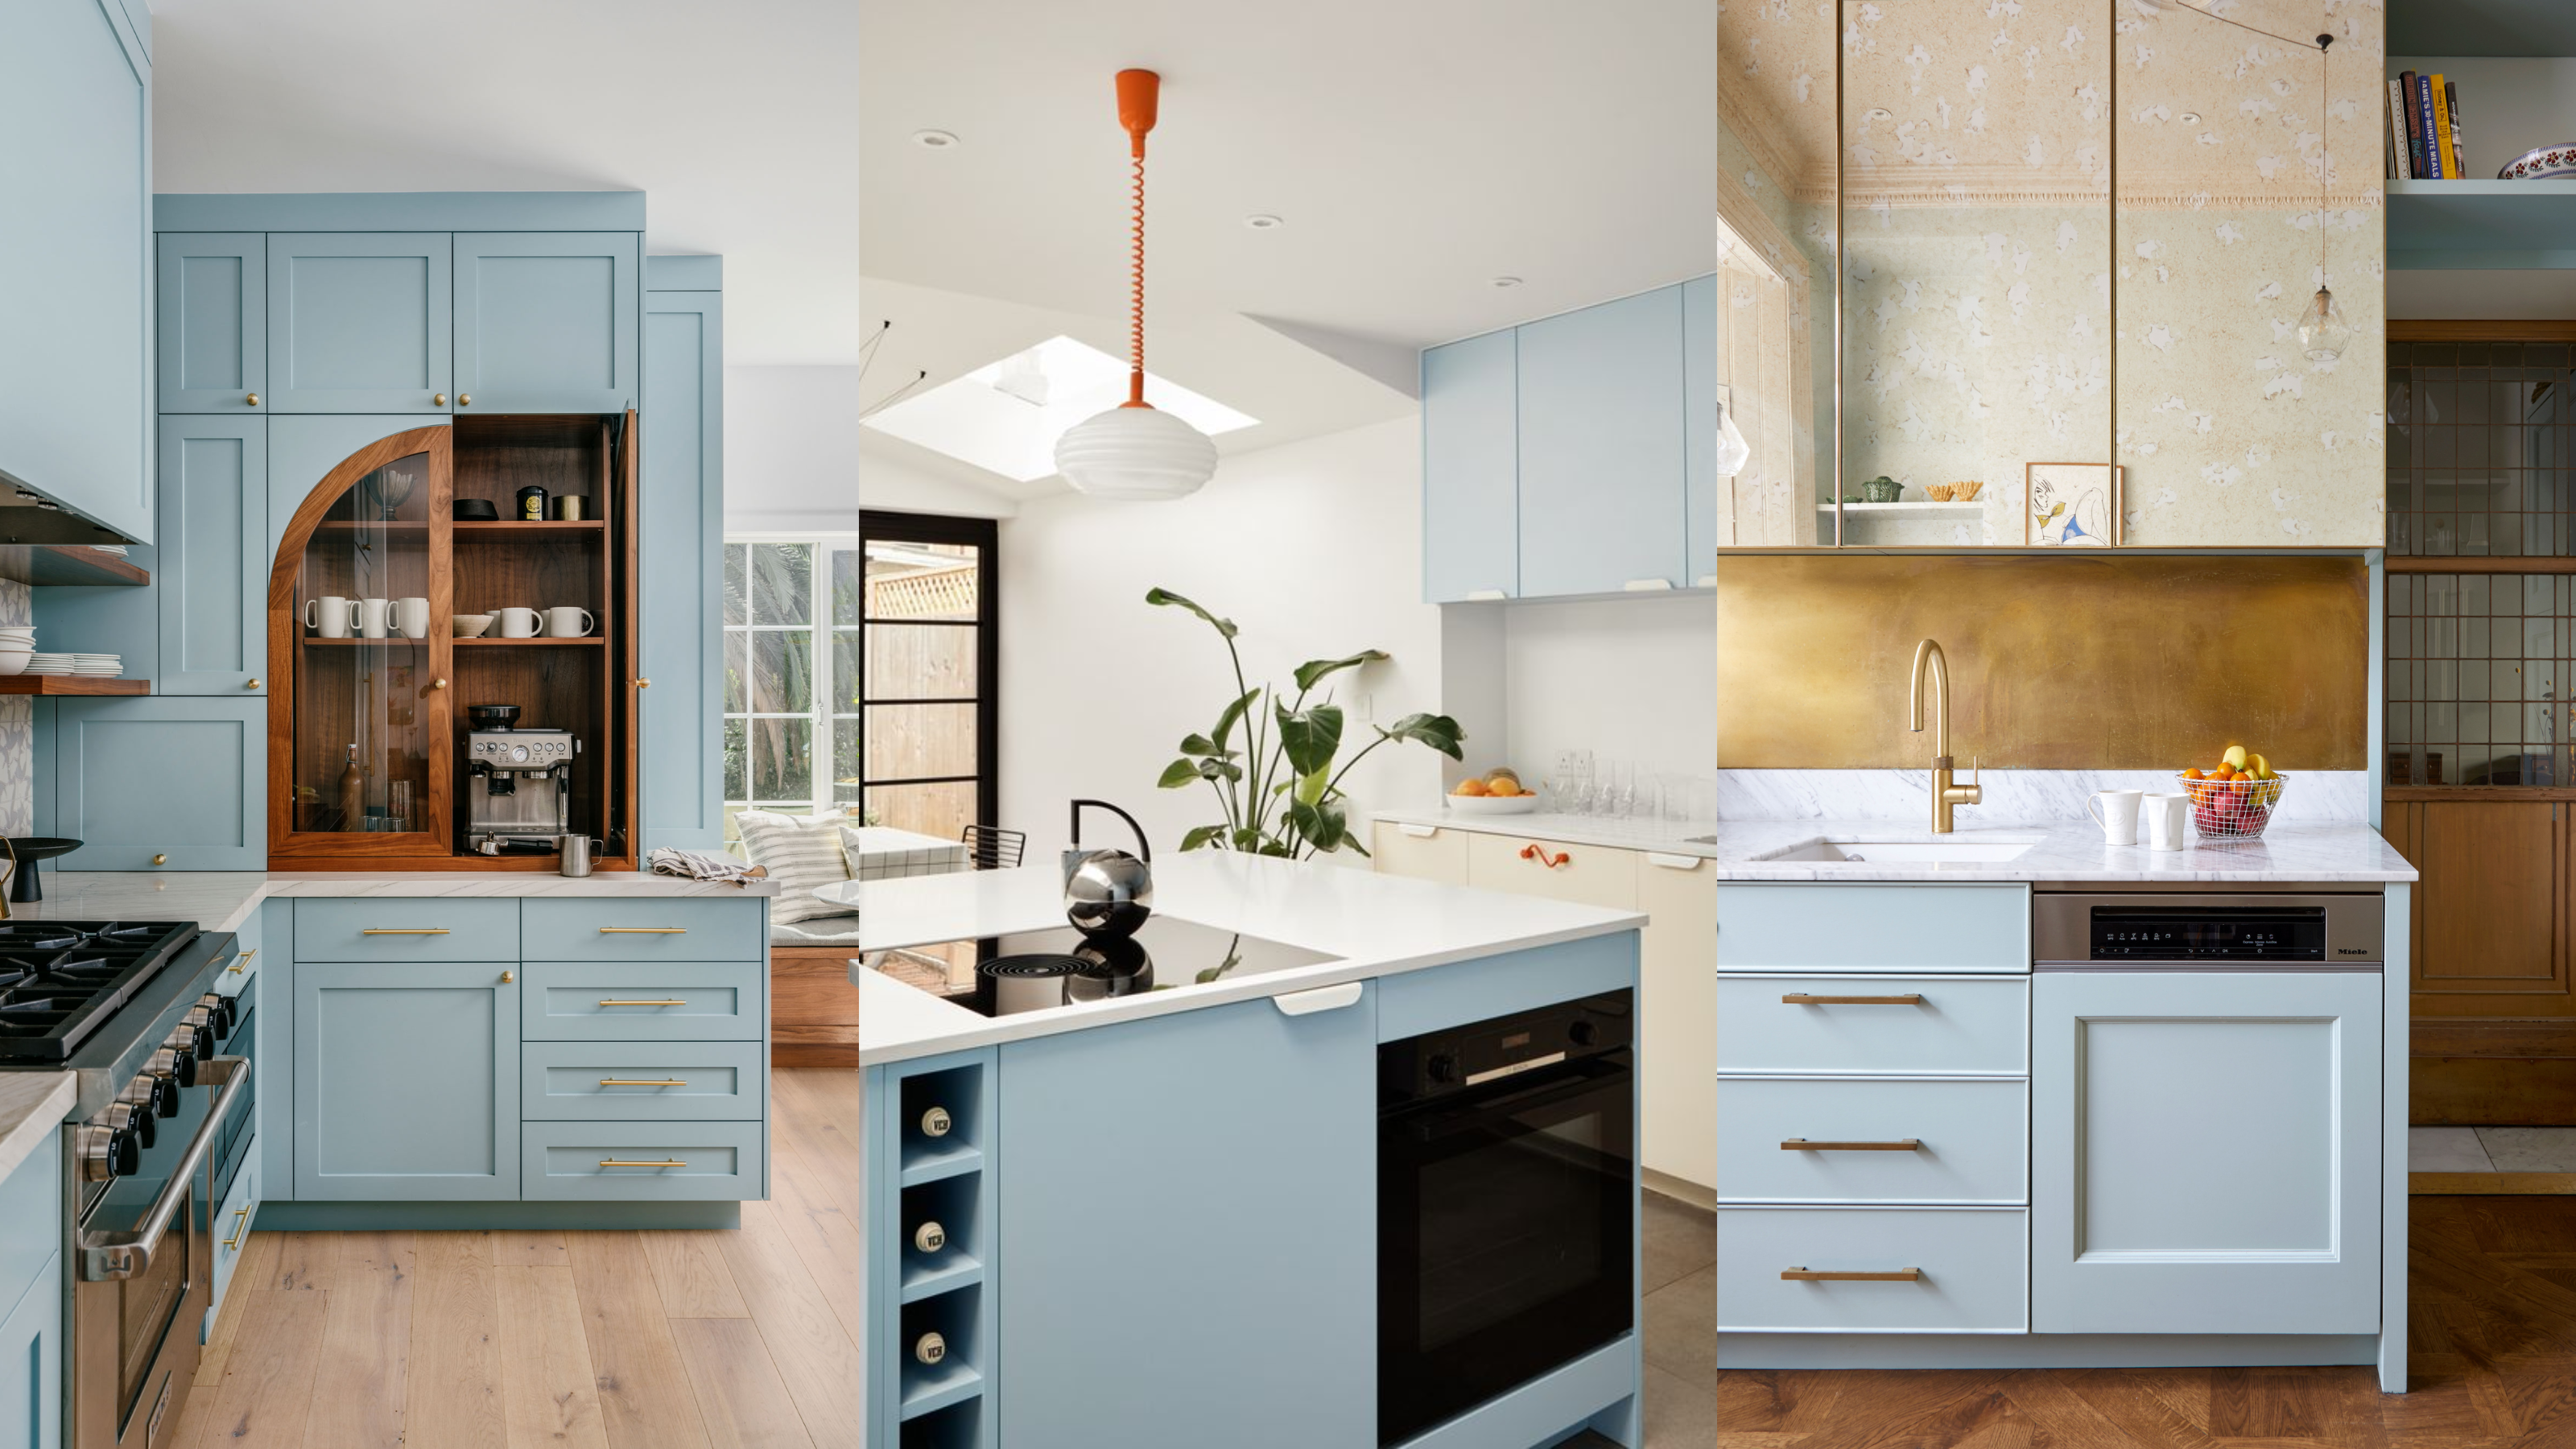
Are Icy Blue Kitchens Going To Be 2026’s Sage Green Kitchen?

This Paint Color Is Way More Popular With Lower Cabinets Than Upper Ones

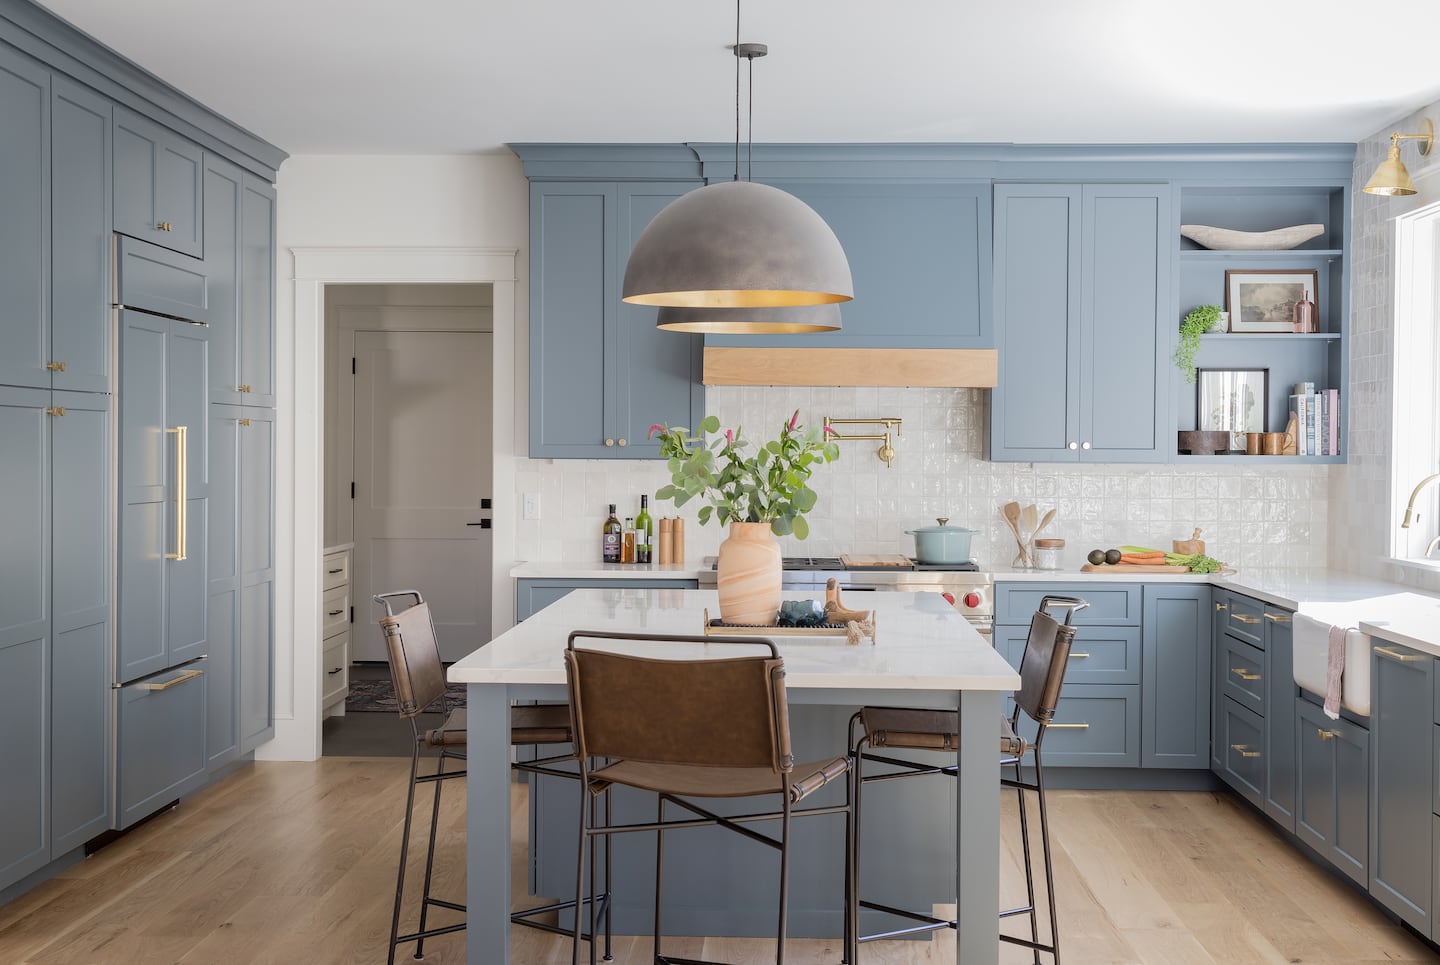
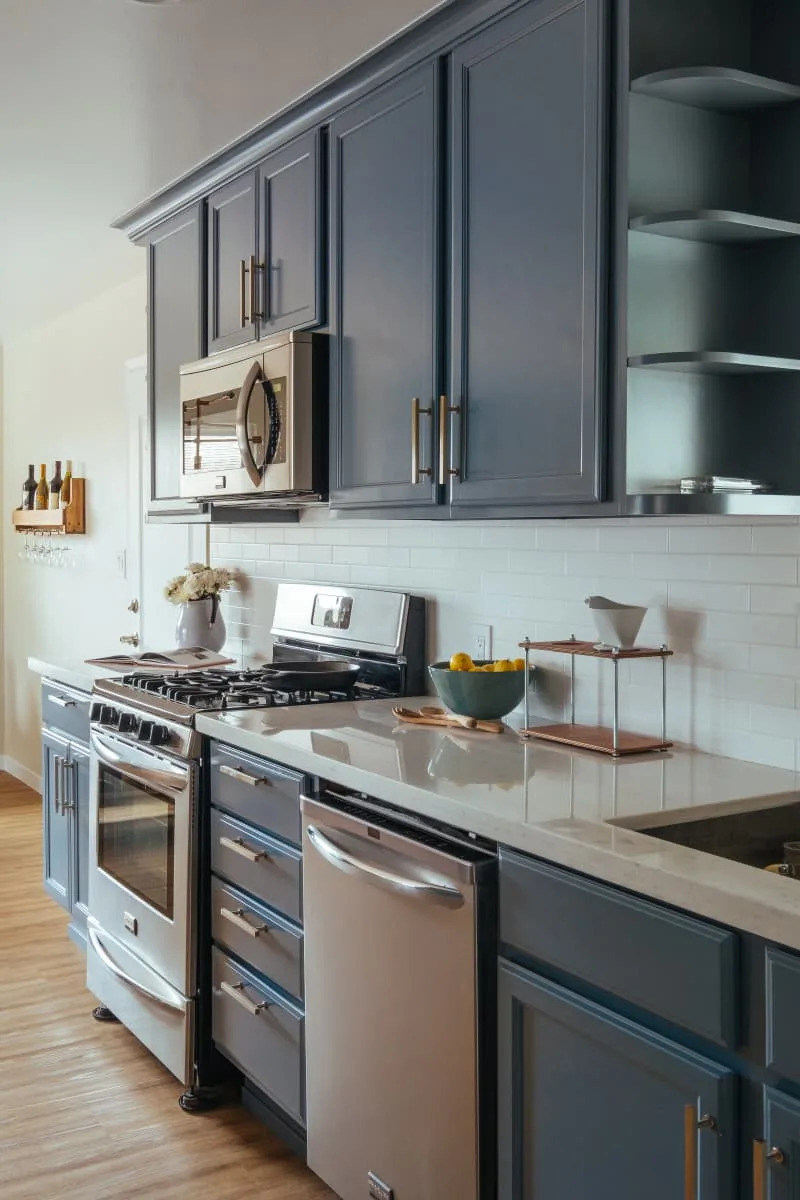
Slate blue cabinets and a touch of gold give a kitchen a fresh feel

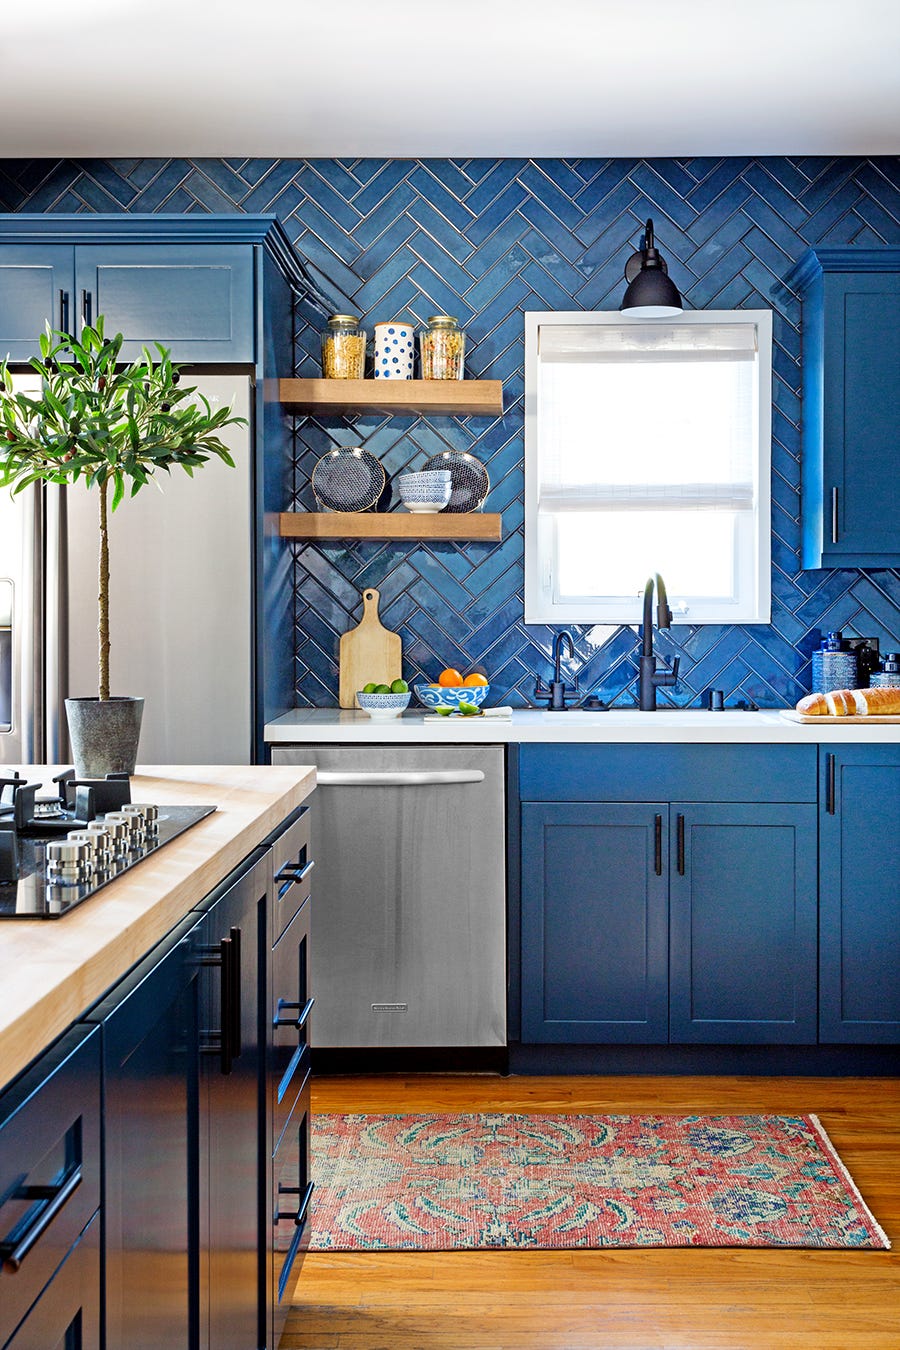
15 Gorgeous Blue Kitchen Cabinet Ideas That’ll Never Go Out of Style

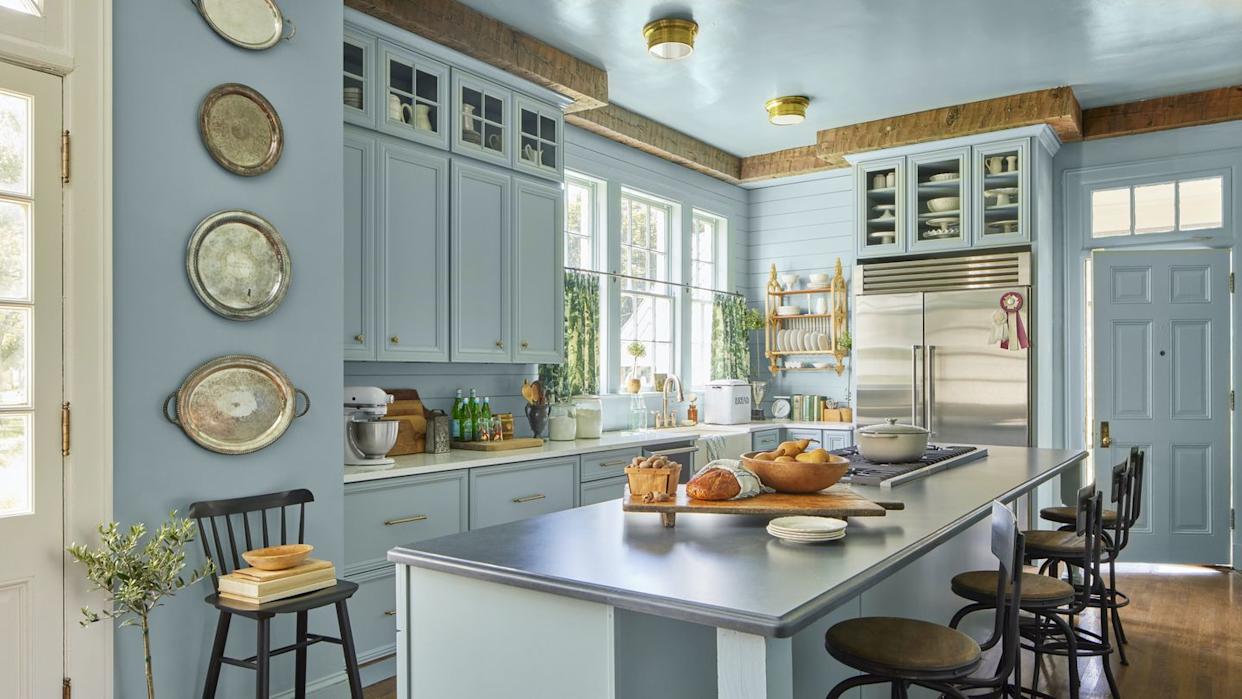
20 Modern Blue Kitchen Cabinet Ideas That Are Trendproof

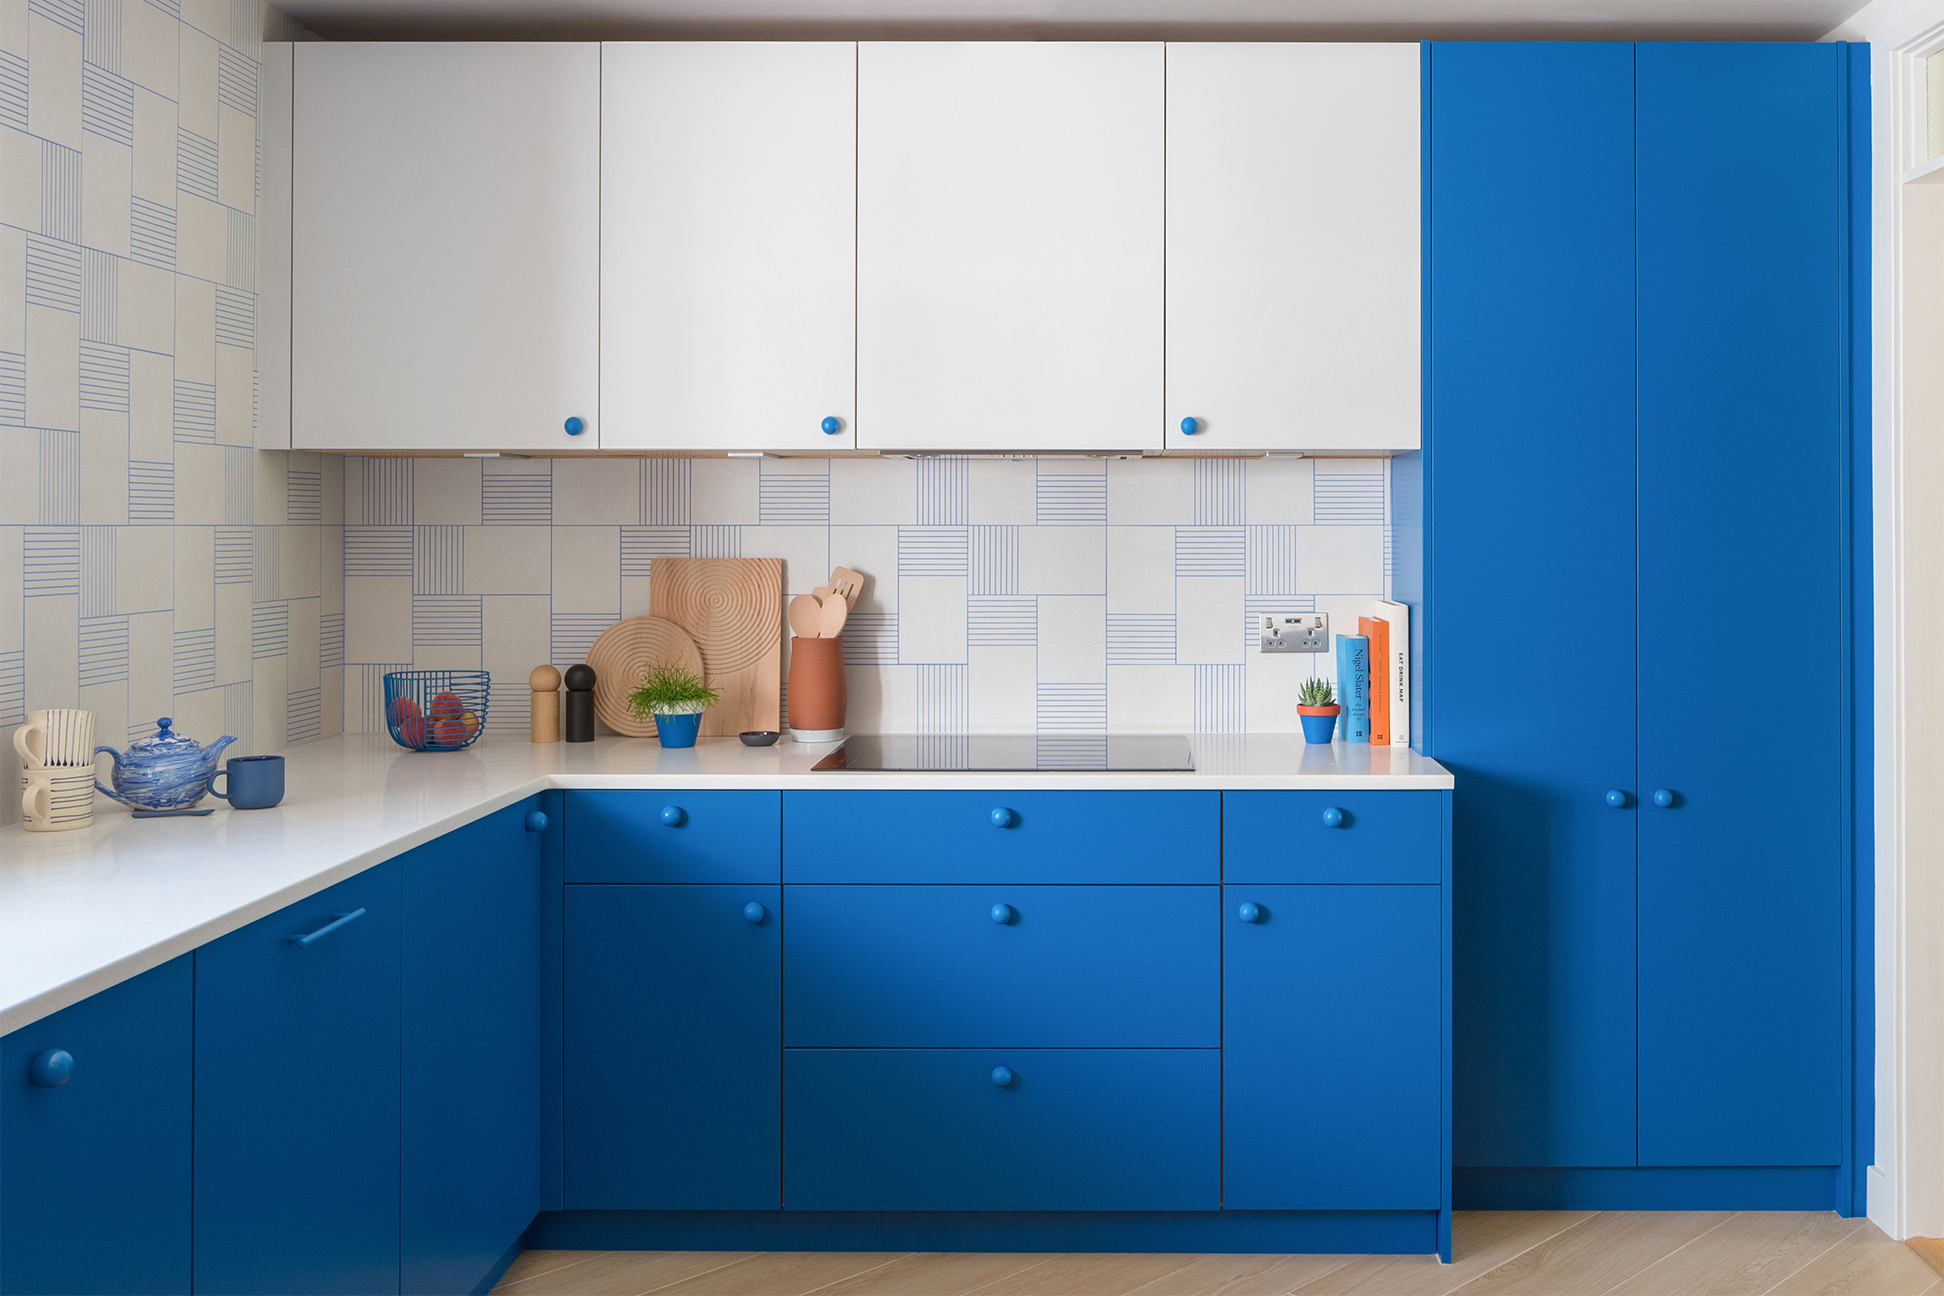
Feeling Blue? You'll Love These Beautiful Blue Kitchen Cabinet Ideas
This Bold Blue Kitchen Taught Us a Reno Shortcut: Invert the Color Palette

13 Blue Kitchen Ideas to Steal, From the Boldest Pops of Color to Clever Tilework


The Stars Of Good Bones Are No Stranger To This Hot Kitchen Cabinet Trend
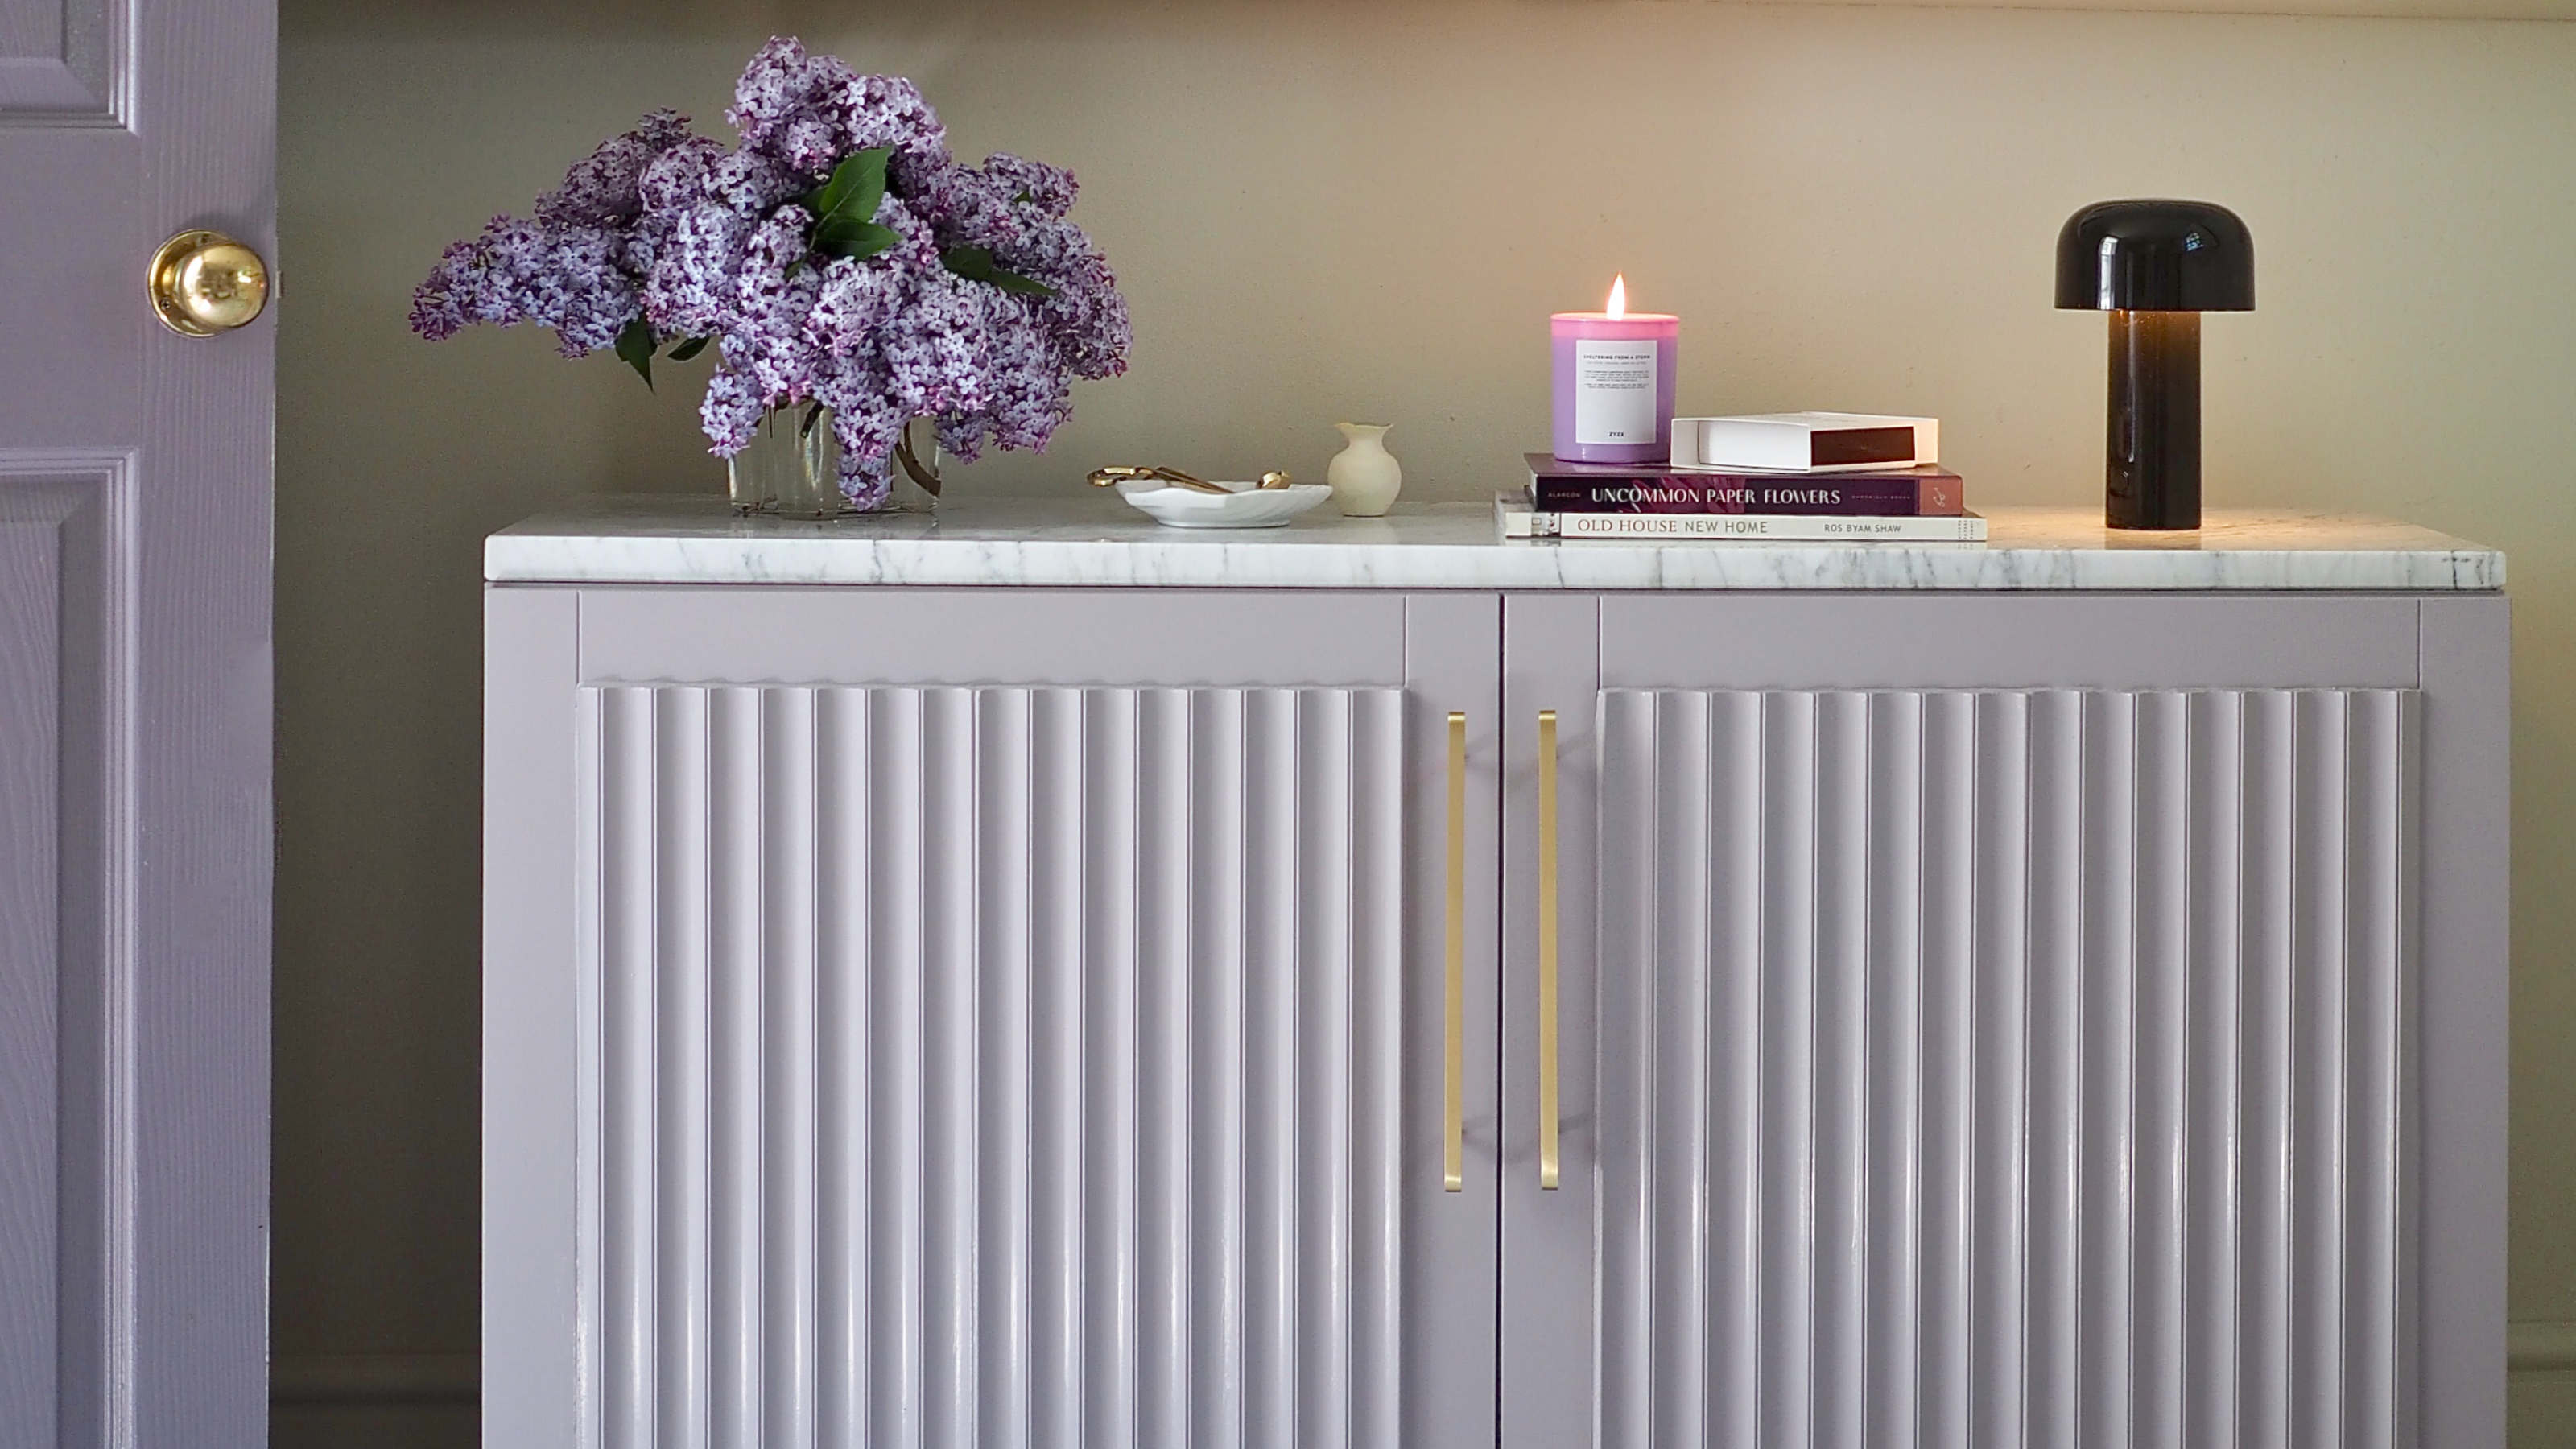
This genius hack turns a plain IKEA cabinet into a gorgeous, bespoke storage unit – it's nailing the fluted motif trend
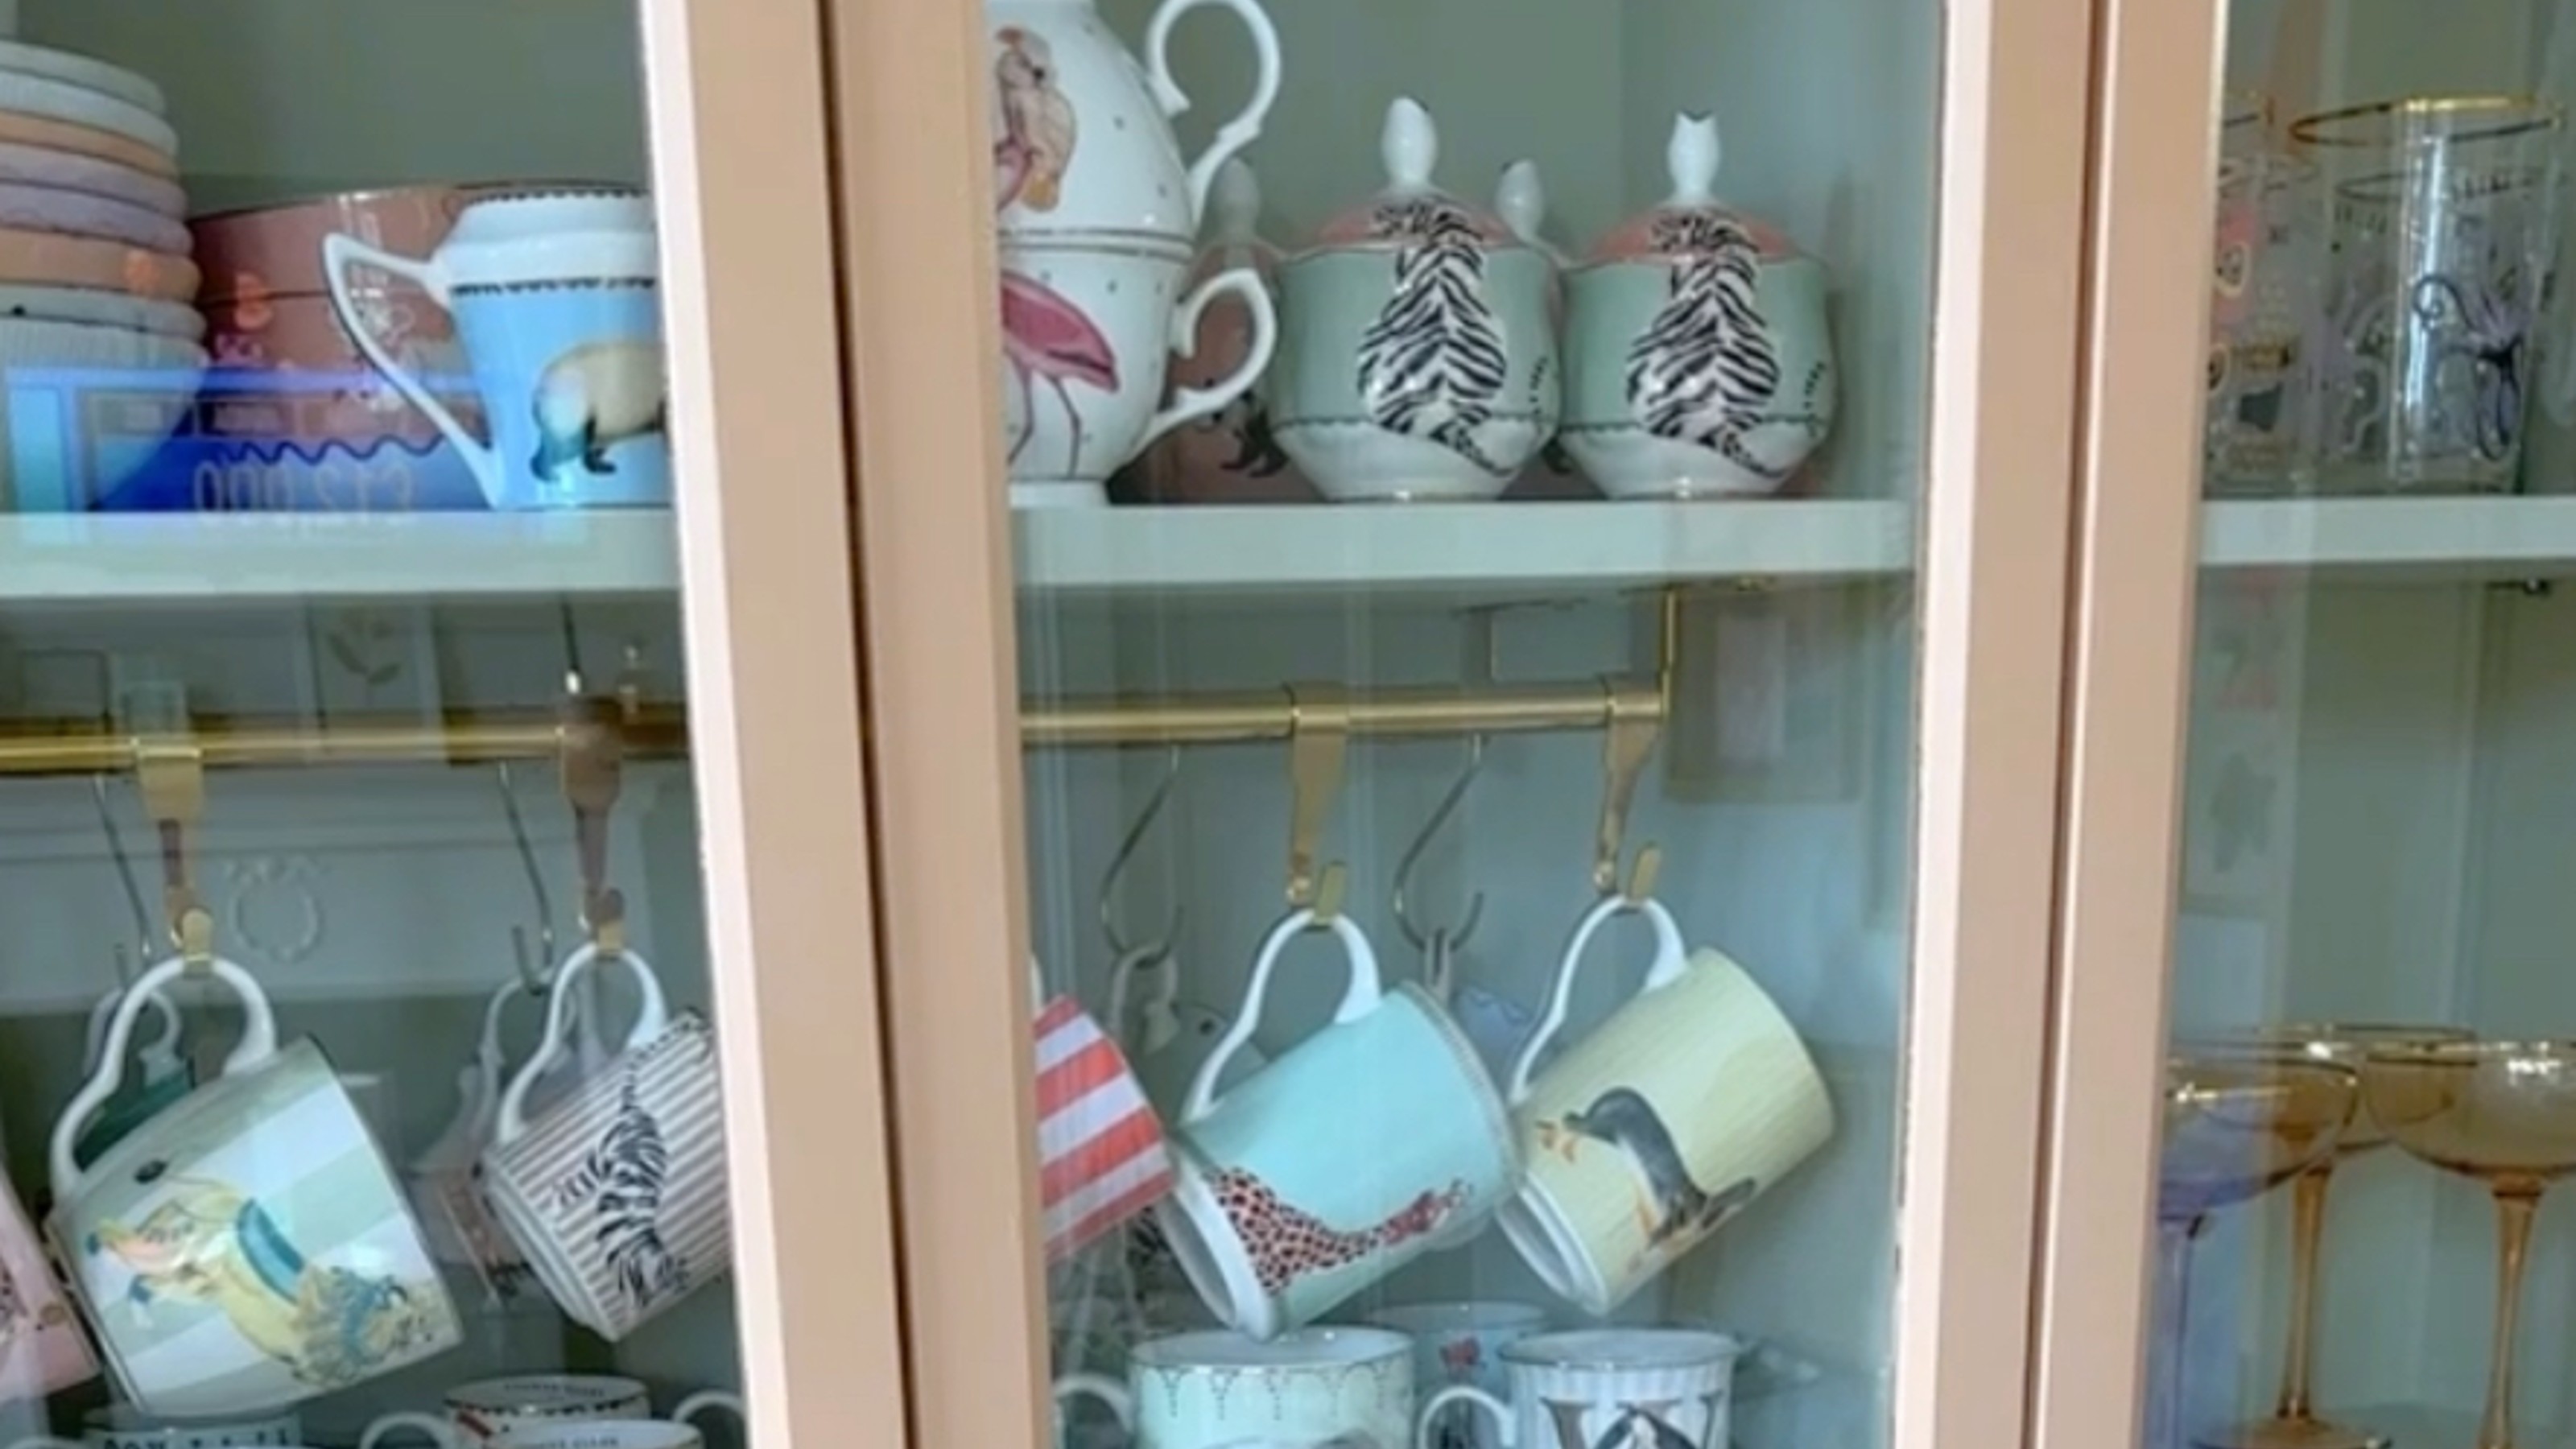
Home decor designer transforms an IKEA Billy bookcase into a show-stopping display cabinet
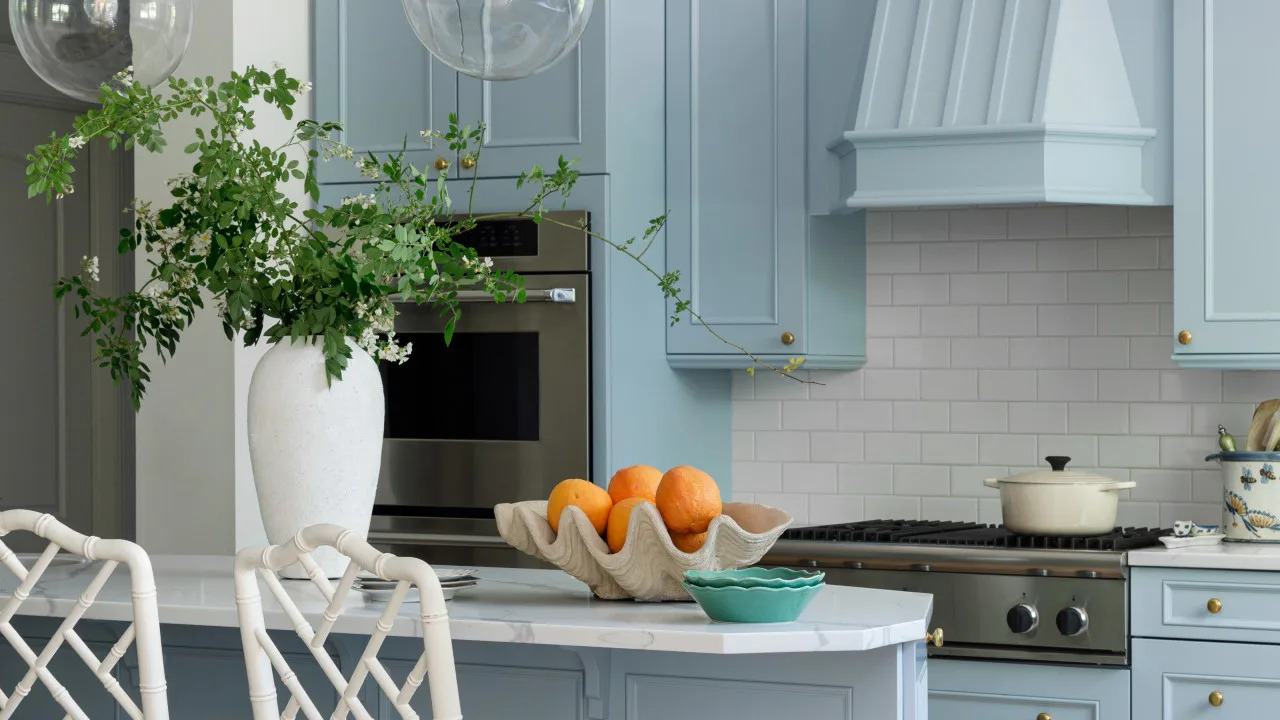
21 Stunning Blue Cabinet Ideas That Transform Any Kitchen
The 18 Best Paint Colors for Blue Kitchen Cabinets, Straight From Our Favorite Spaces
32 Kitchens That Prove Why Blue Is the Most Flattering Cabinetry Color

Which Color is Sexy, Daring, and “a Craze” Right Now? An Expert Fills Us In

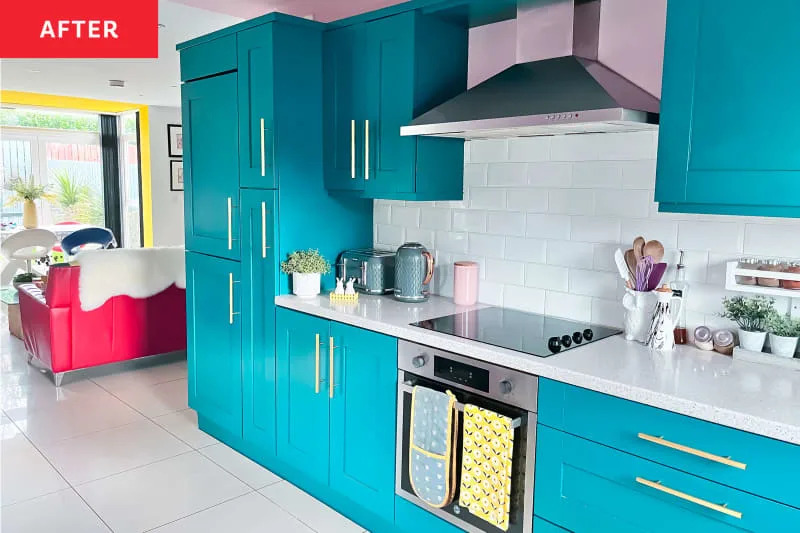
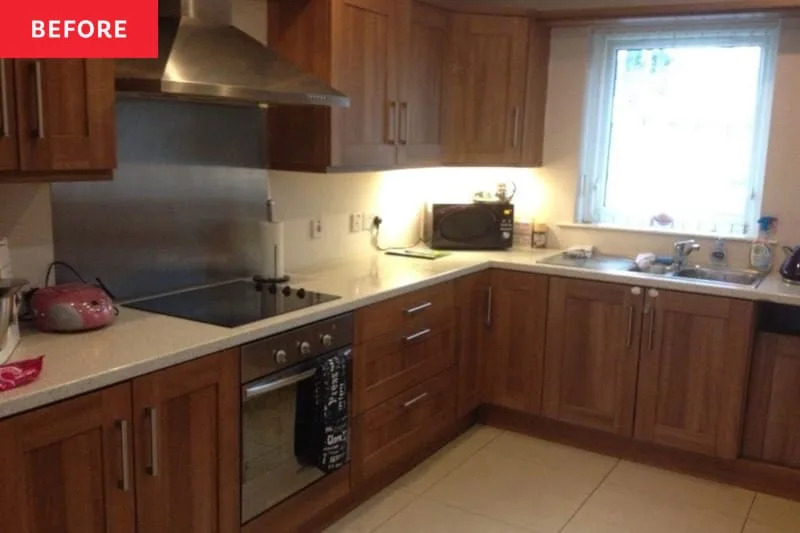
Before & After: Bright, Colorful Cabinets Took This Kitchen from Blah to Breathtaking
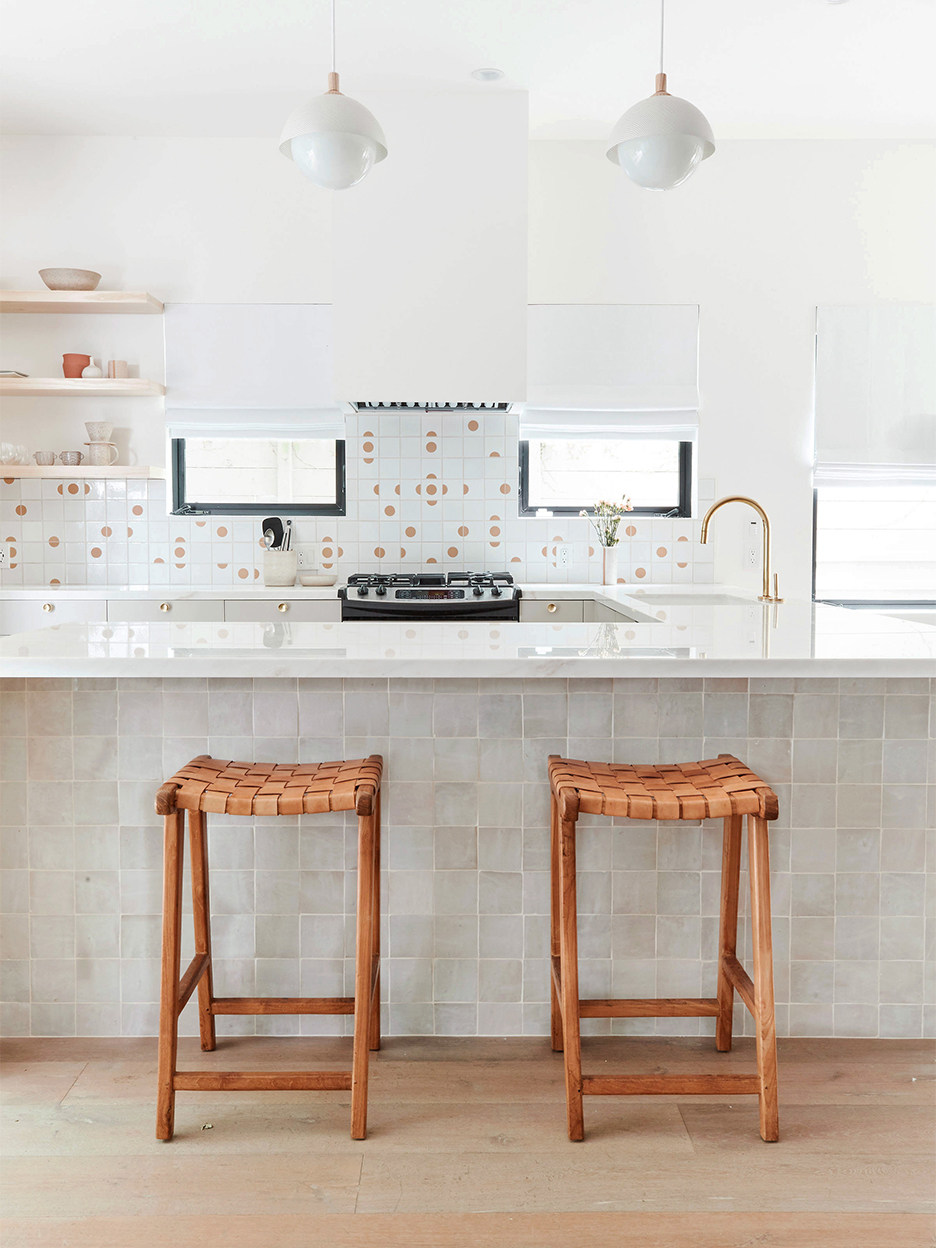
Painting These 2000s Cabinets Made Room in the Budget for Lively Tile
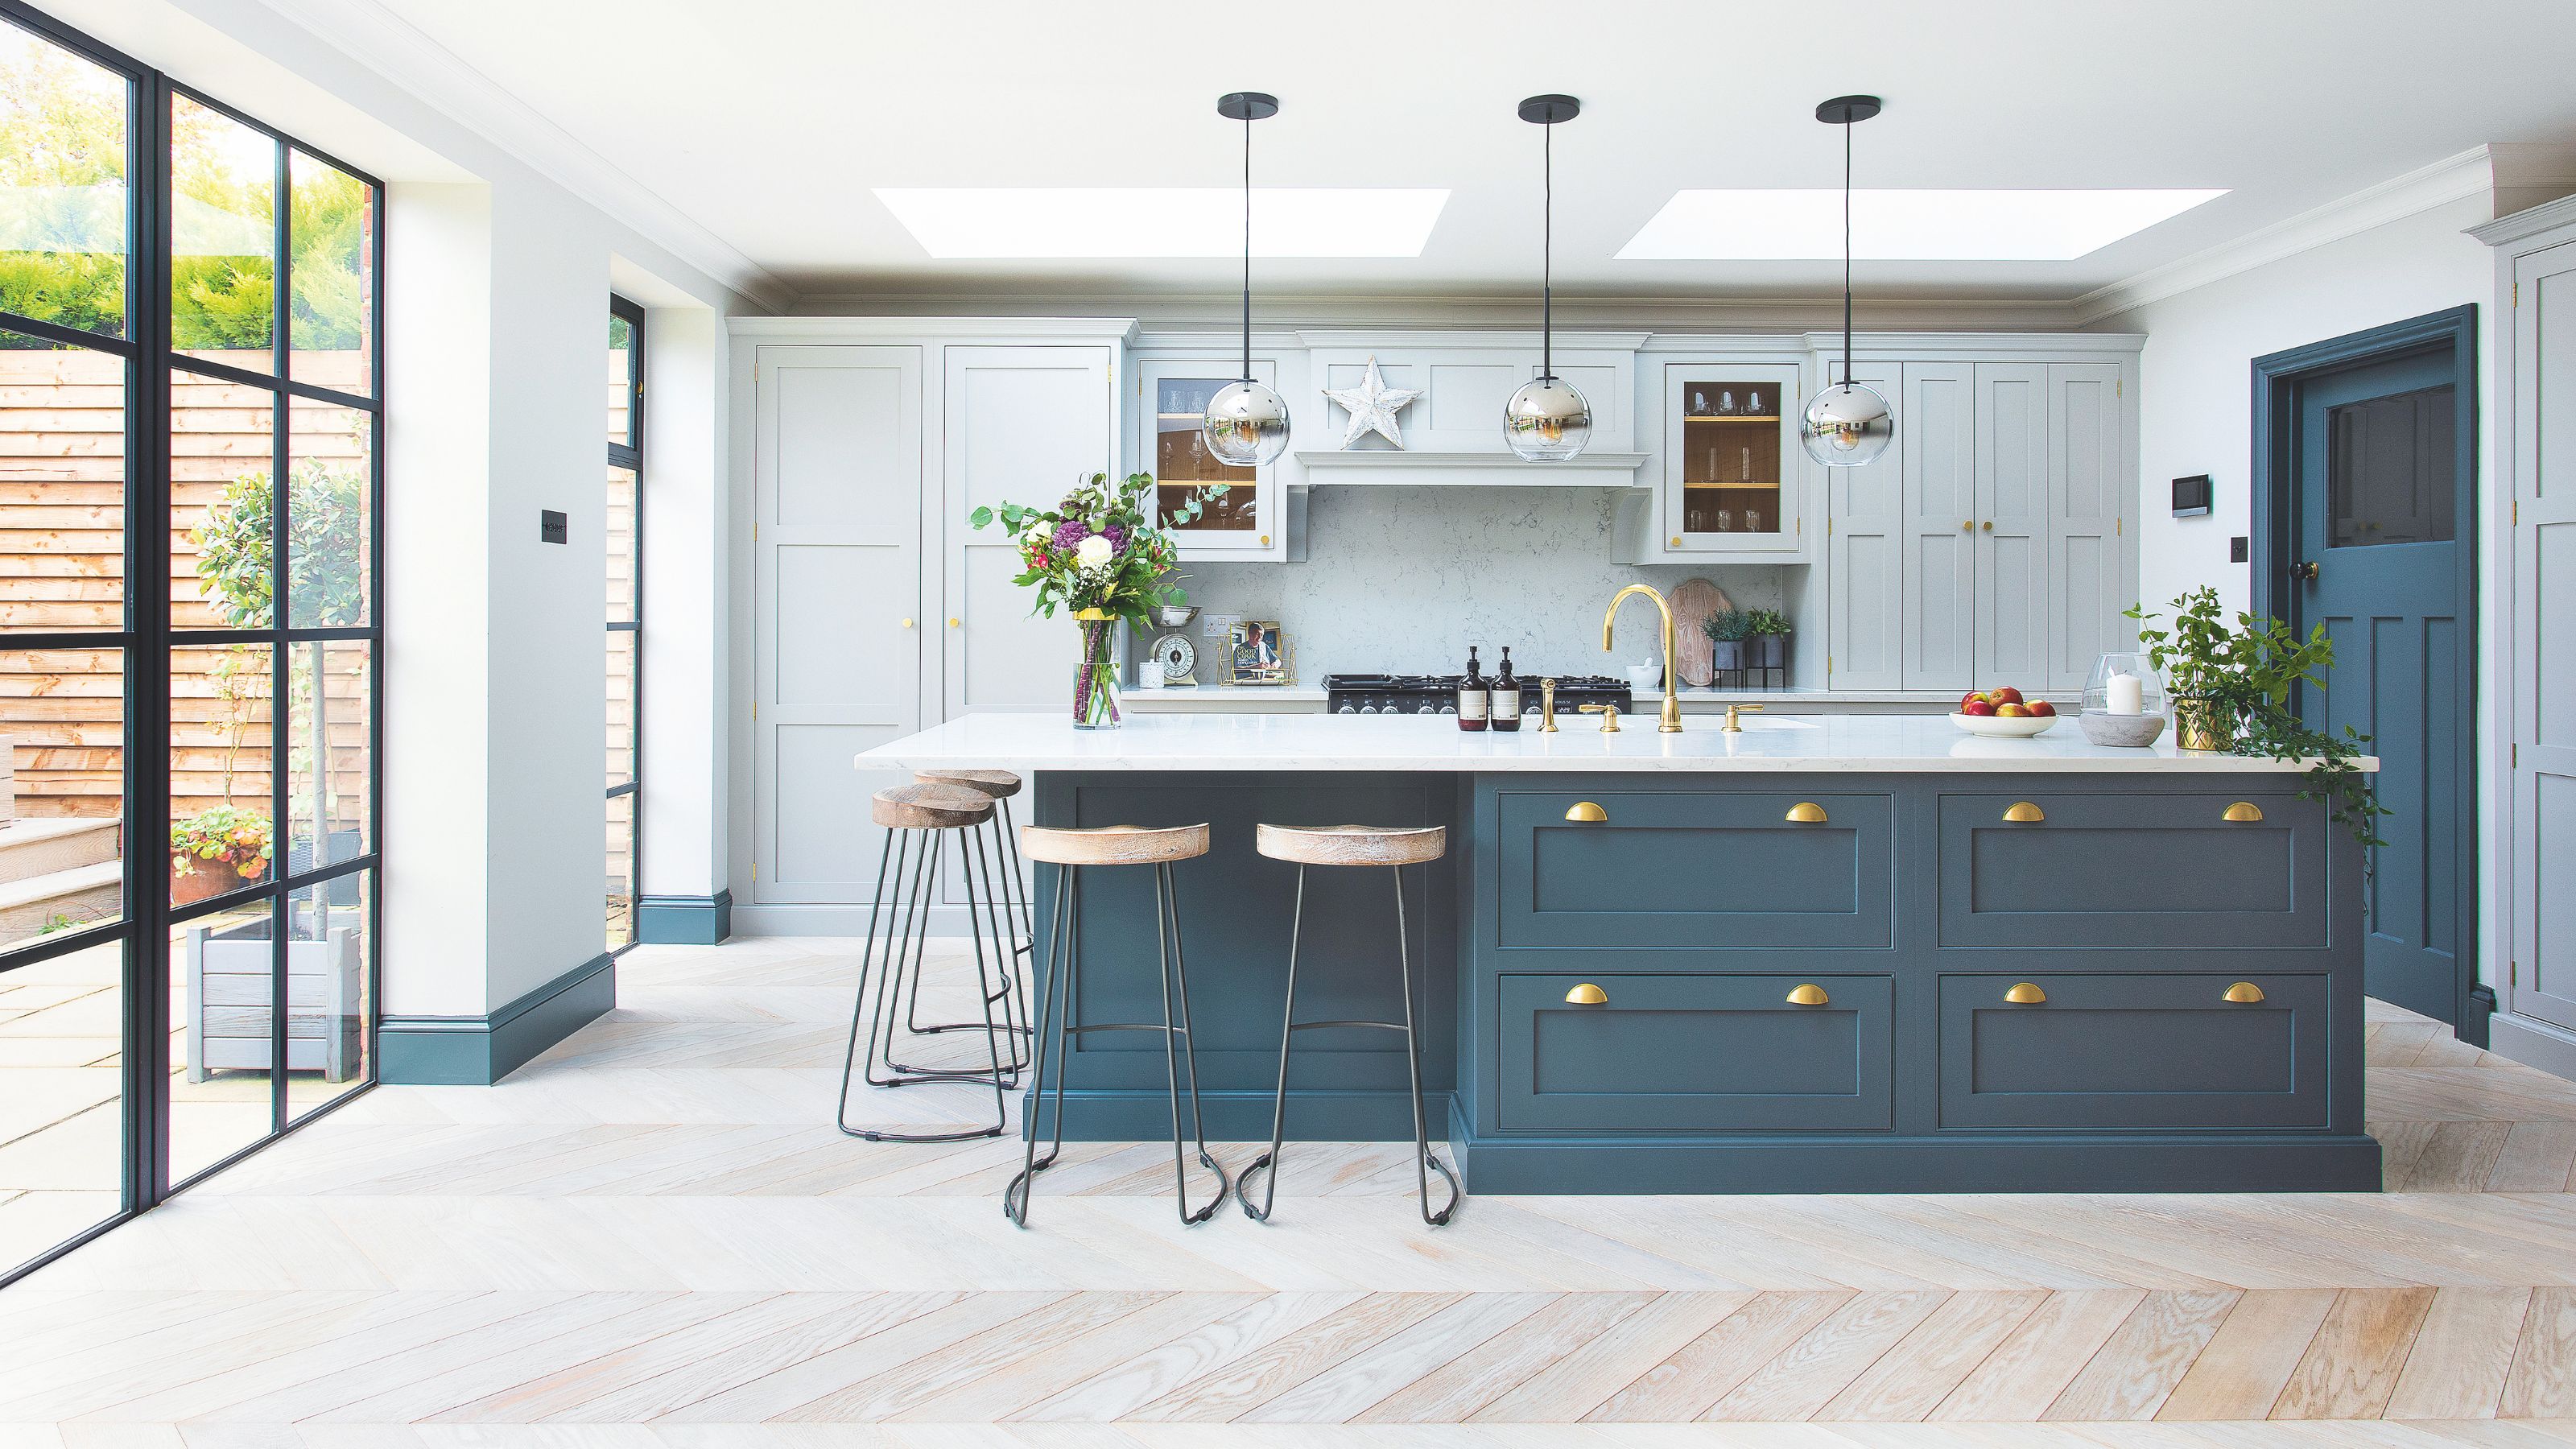
10 blue kitchen ideas to inspire a bright, airy and on trend cooking space
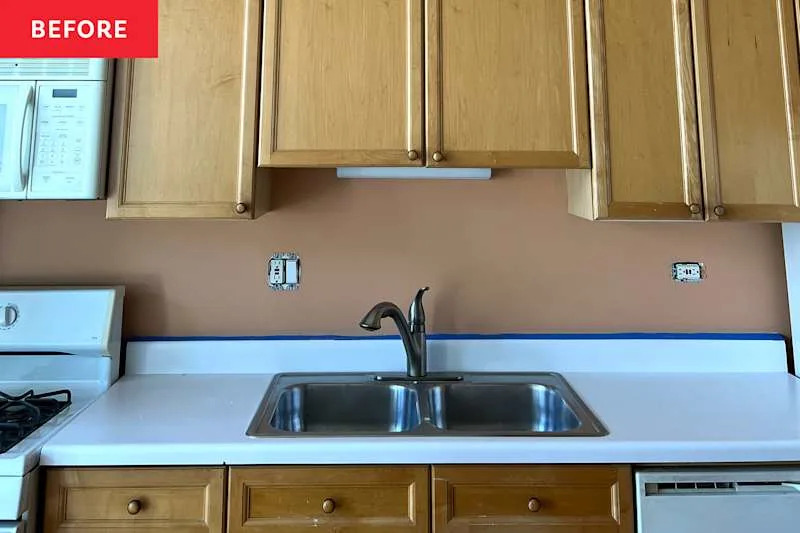
See How 20-Year-Old Maple Kitchen Cabinets Got a Bold, Earthy Makeover