1/5
Build Yourself a $300 Custom Banquette With This Seating-Storage IKEA Hack
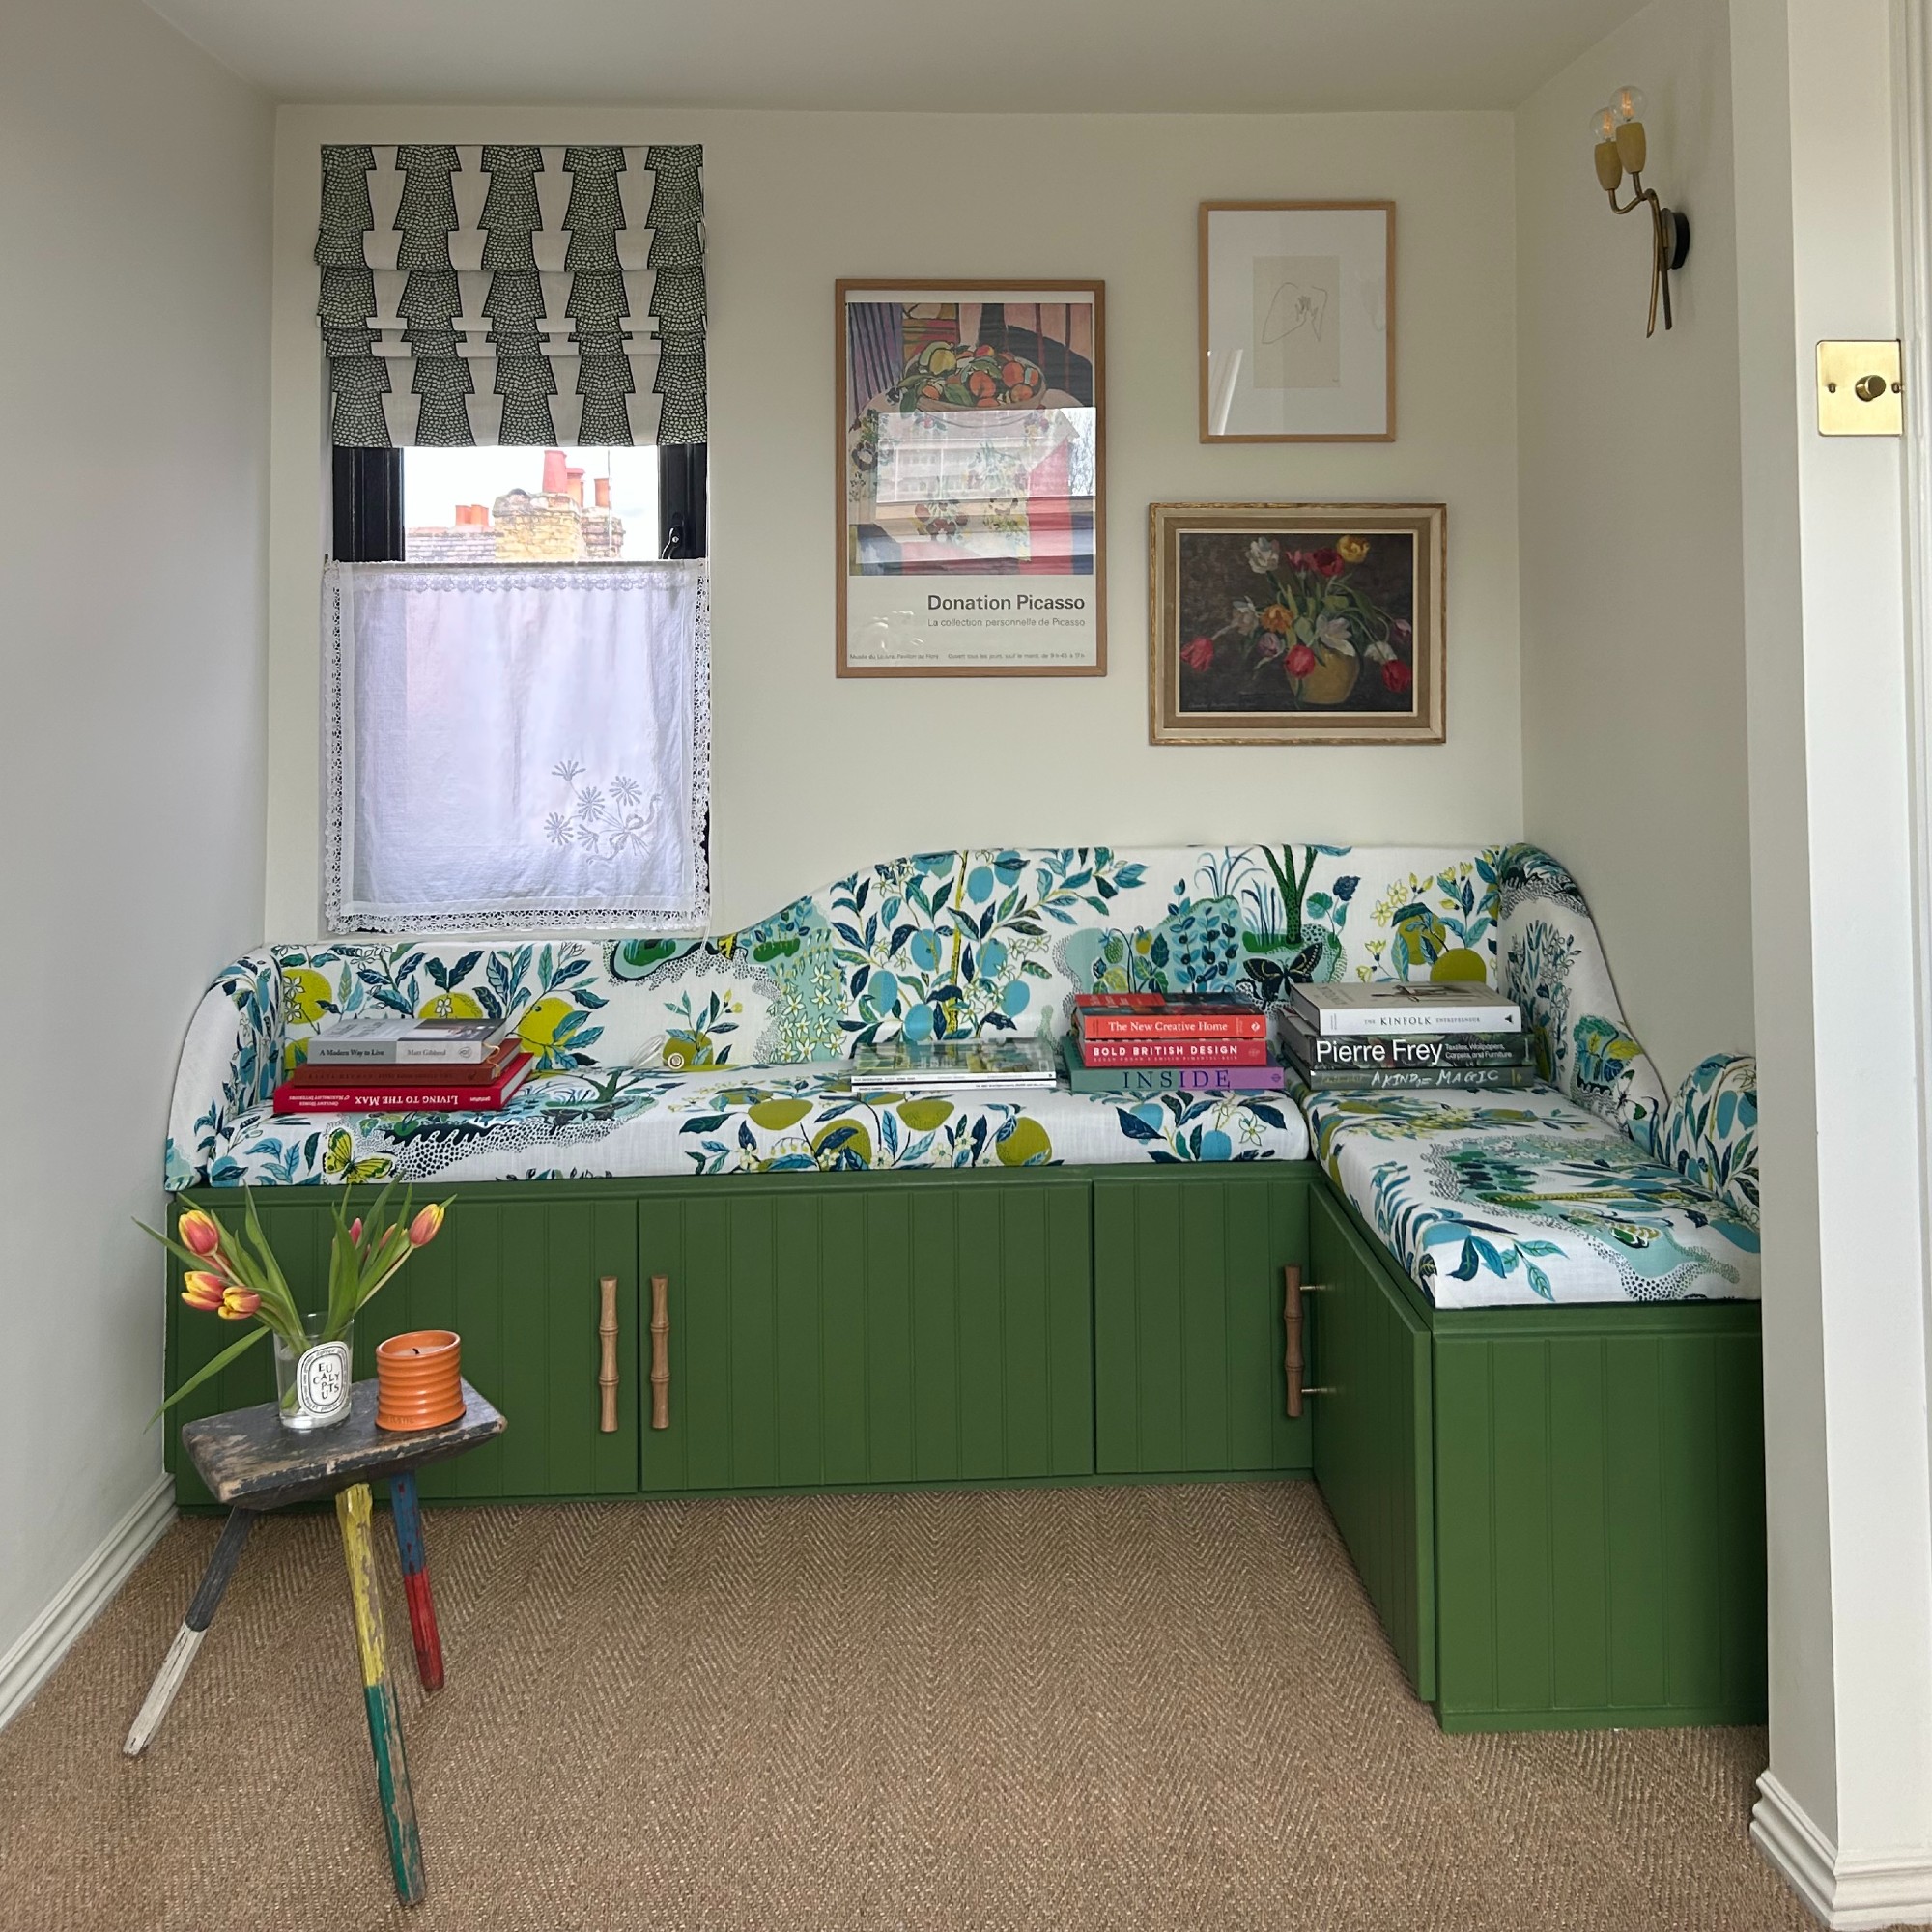
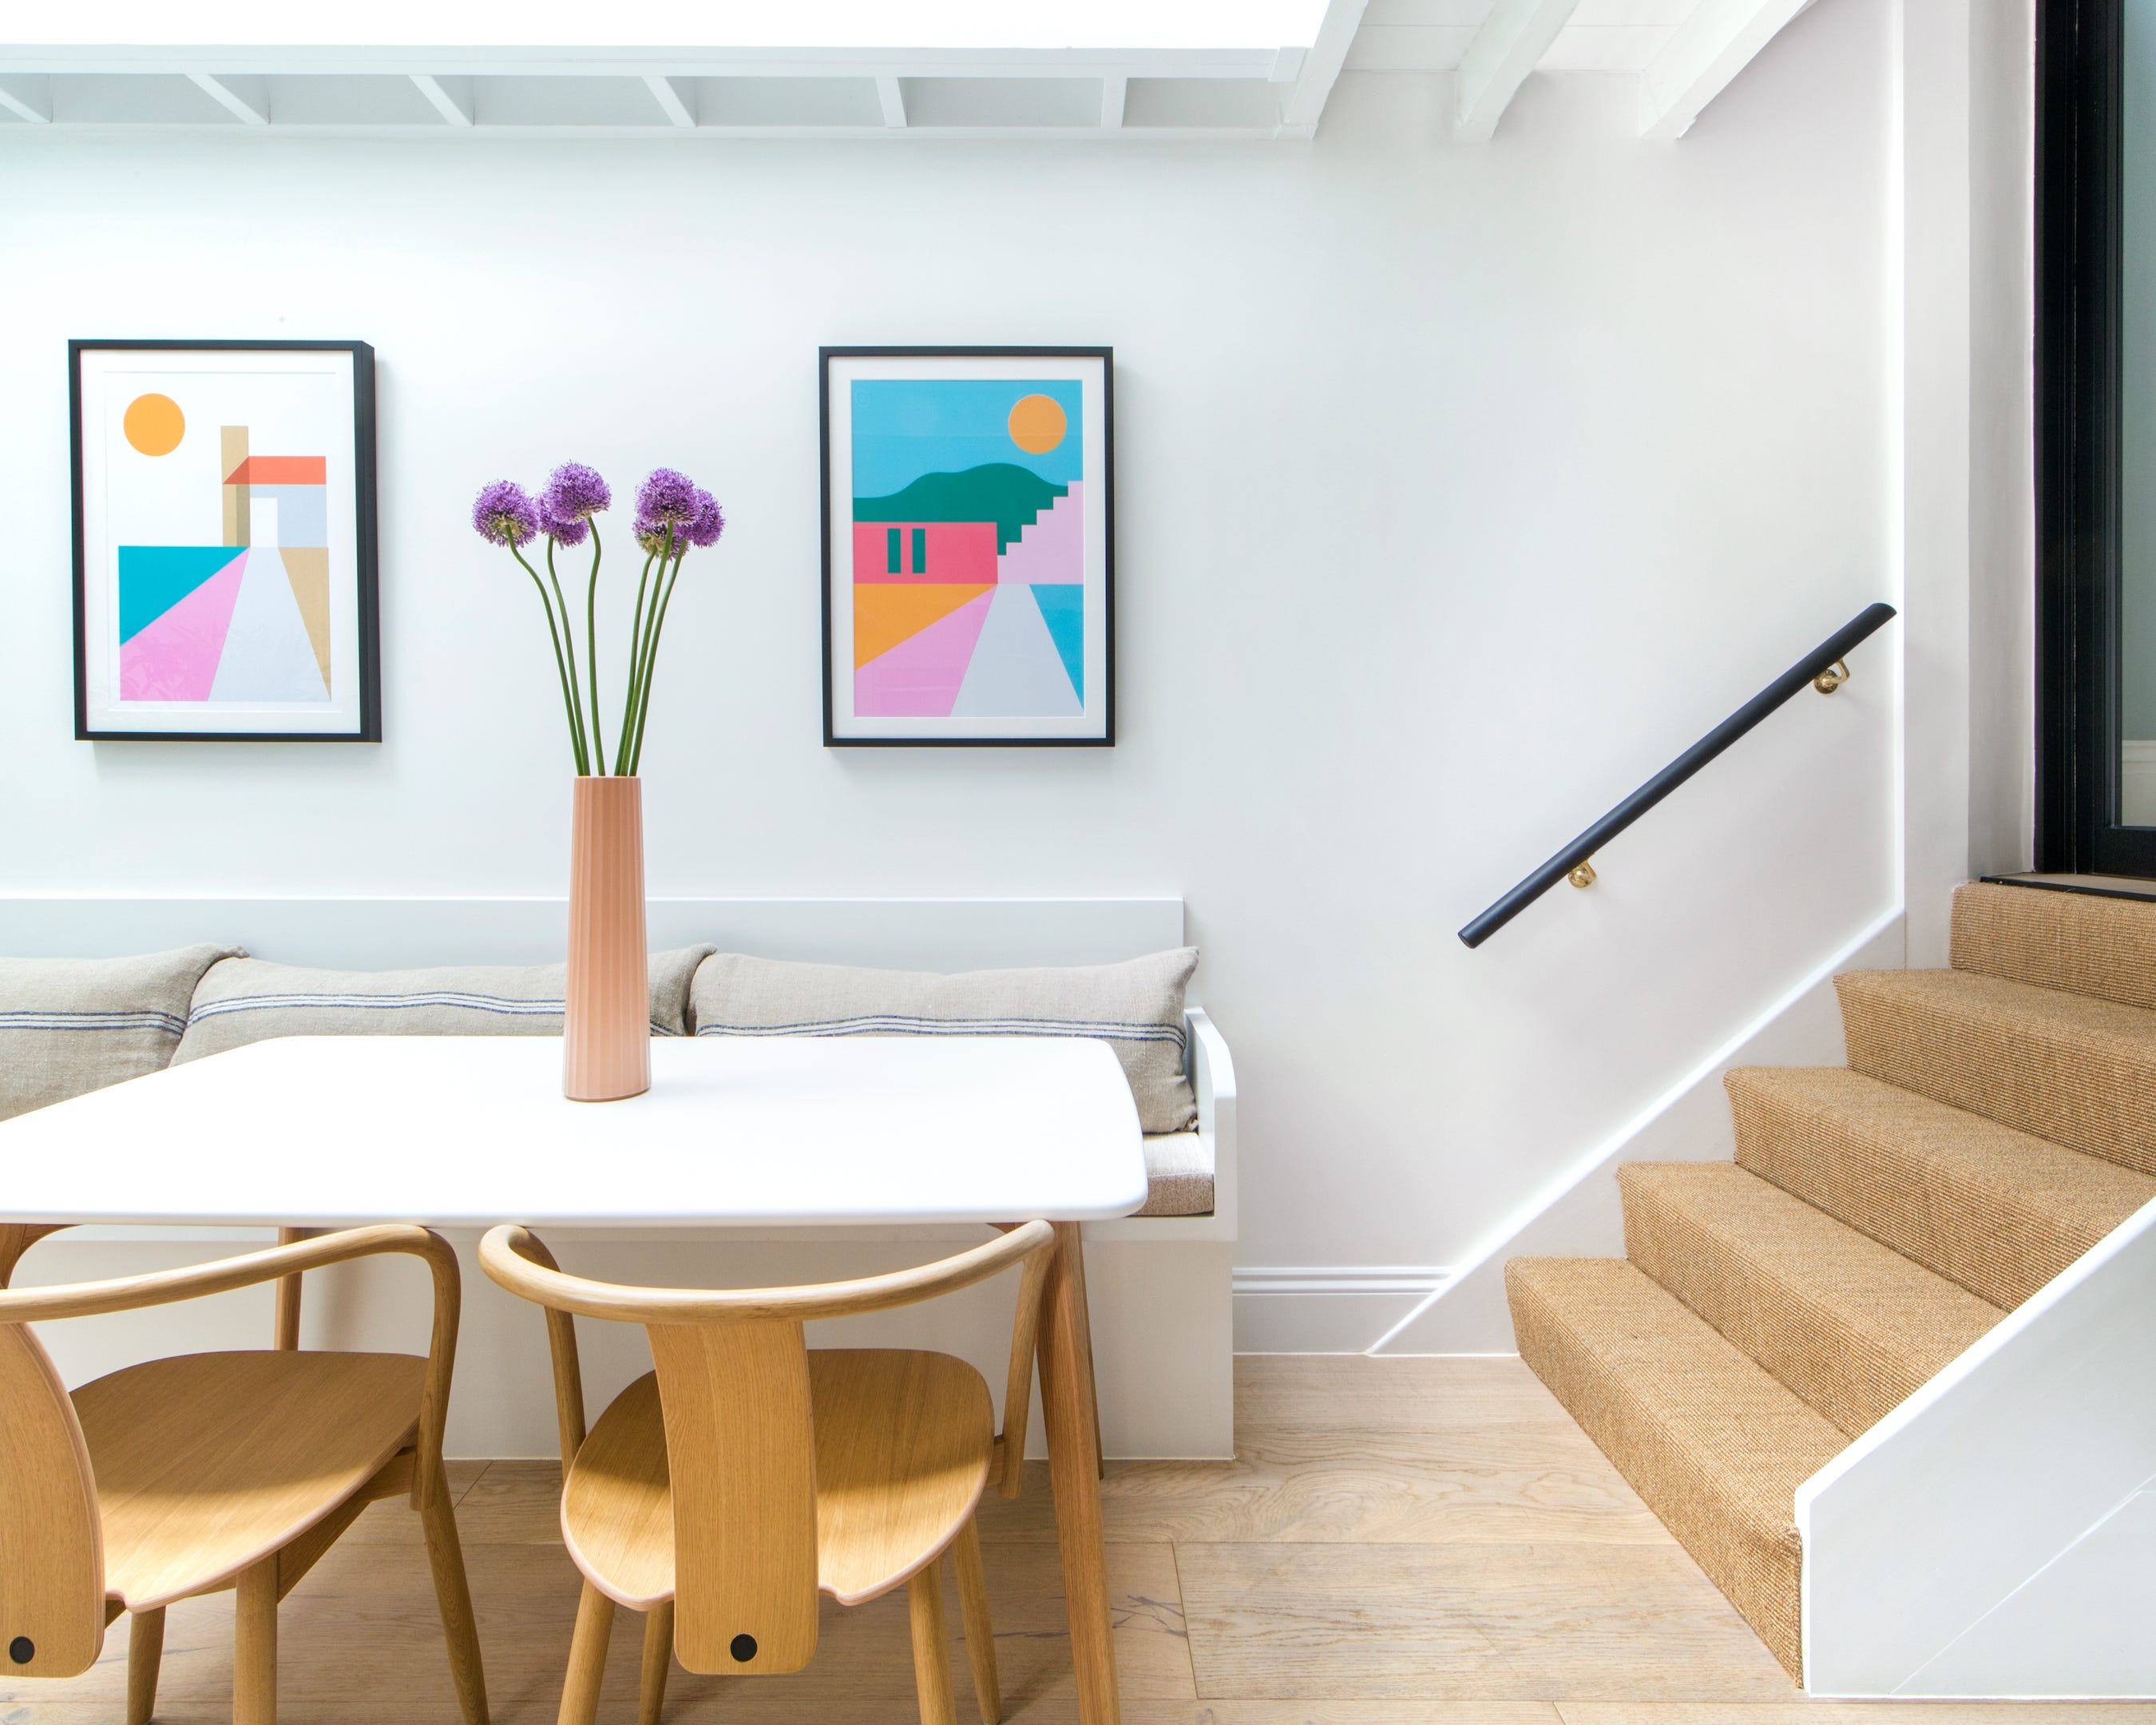
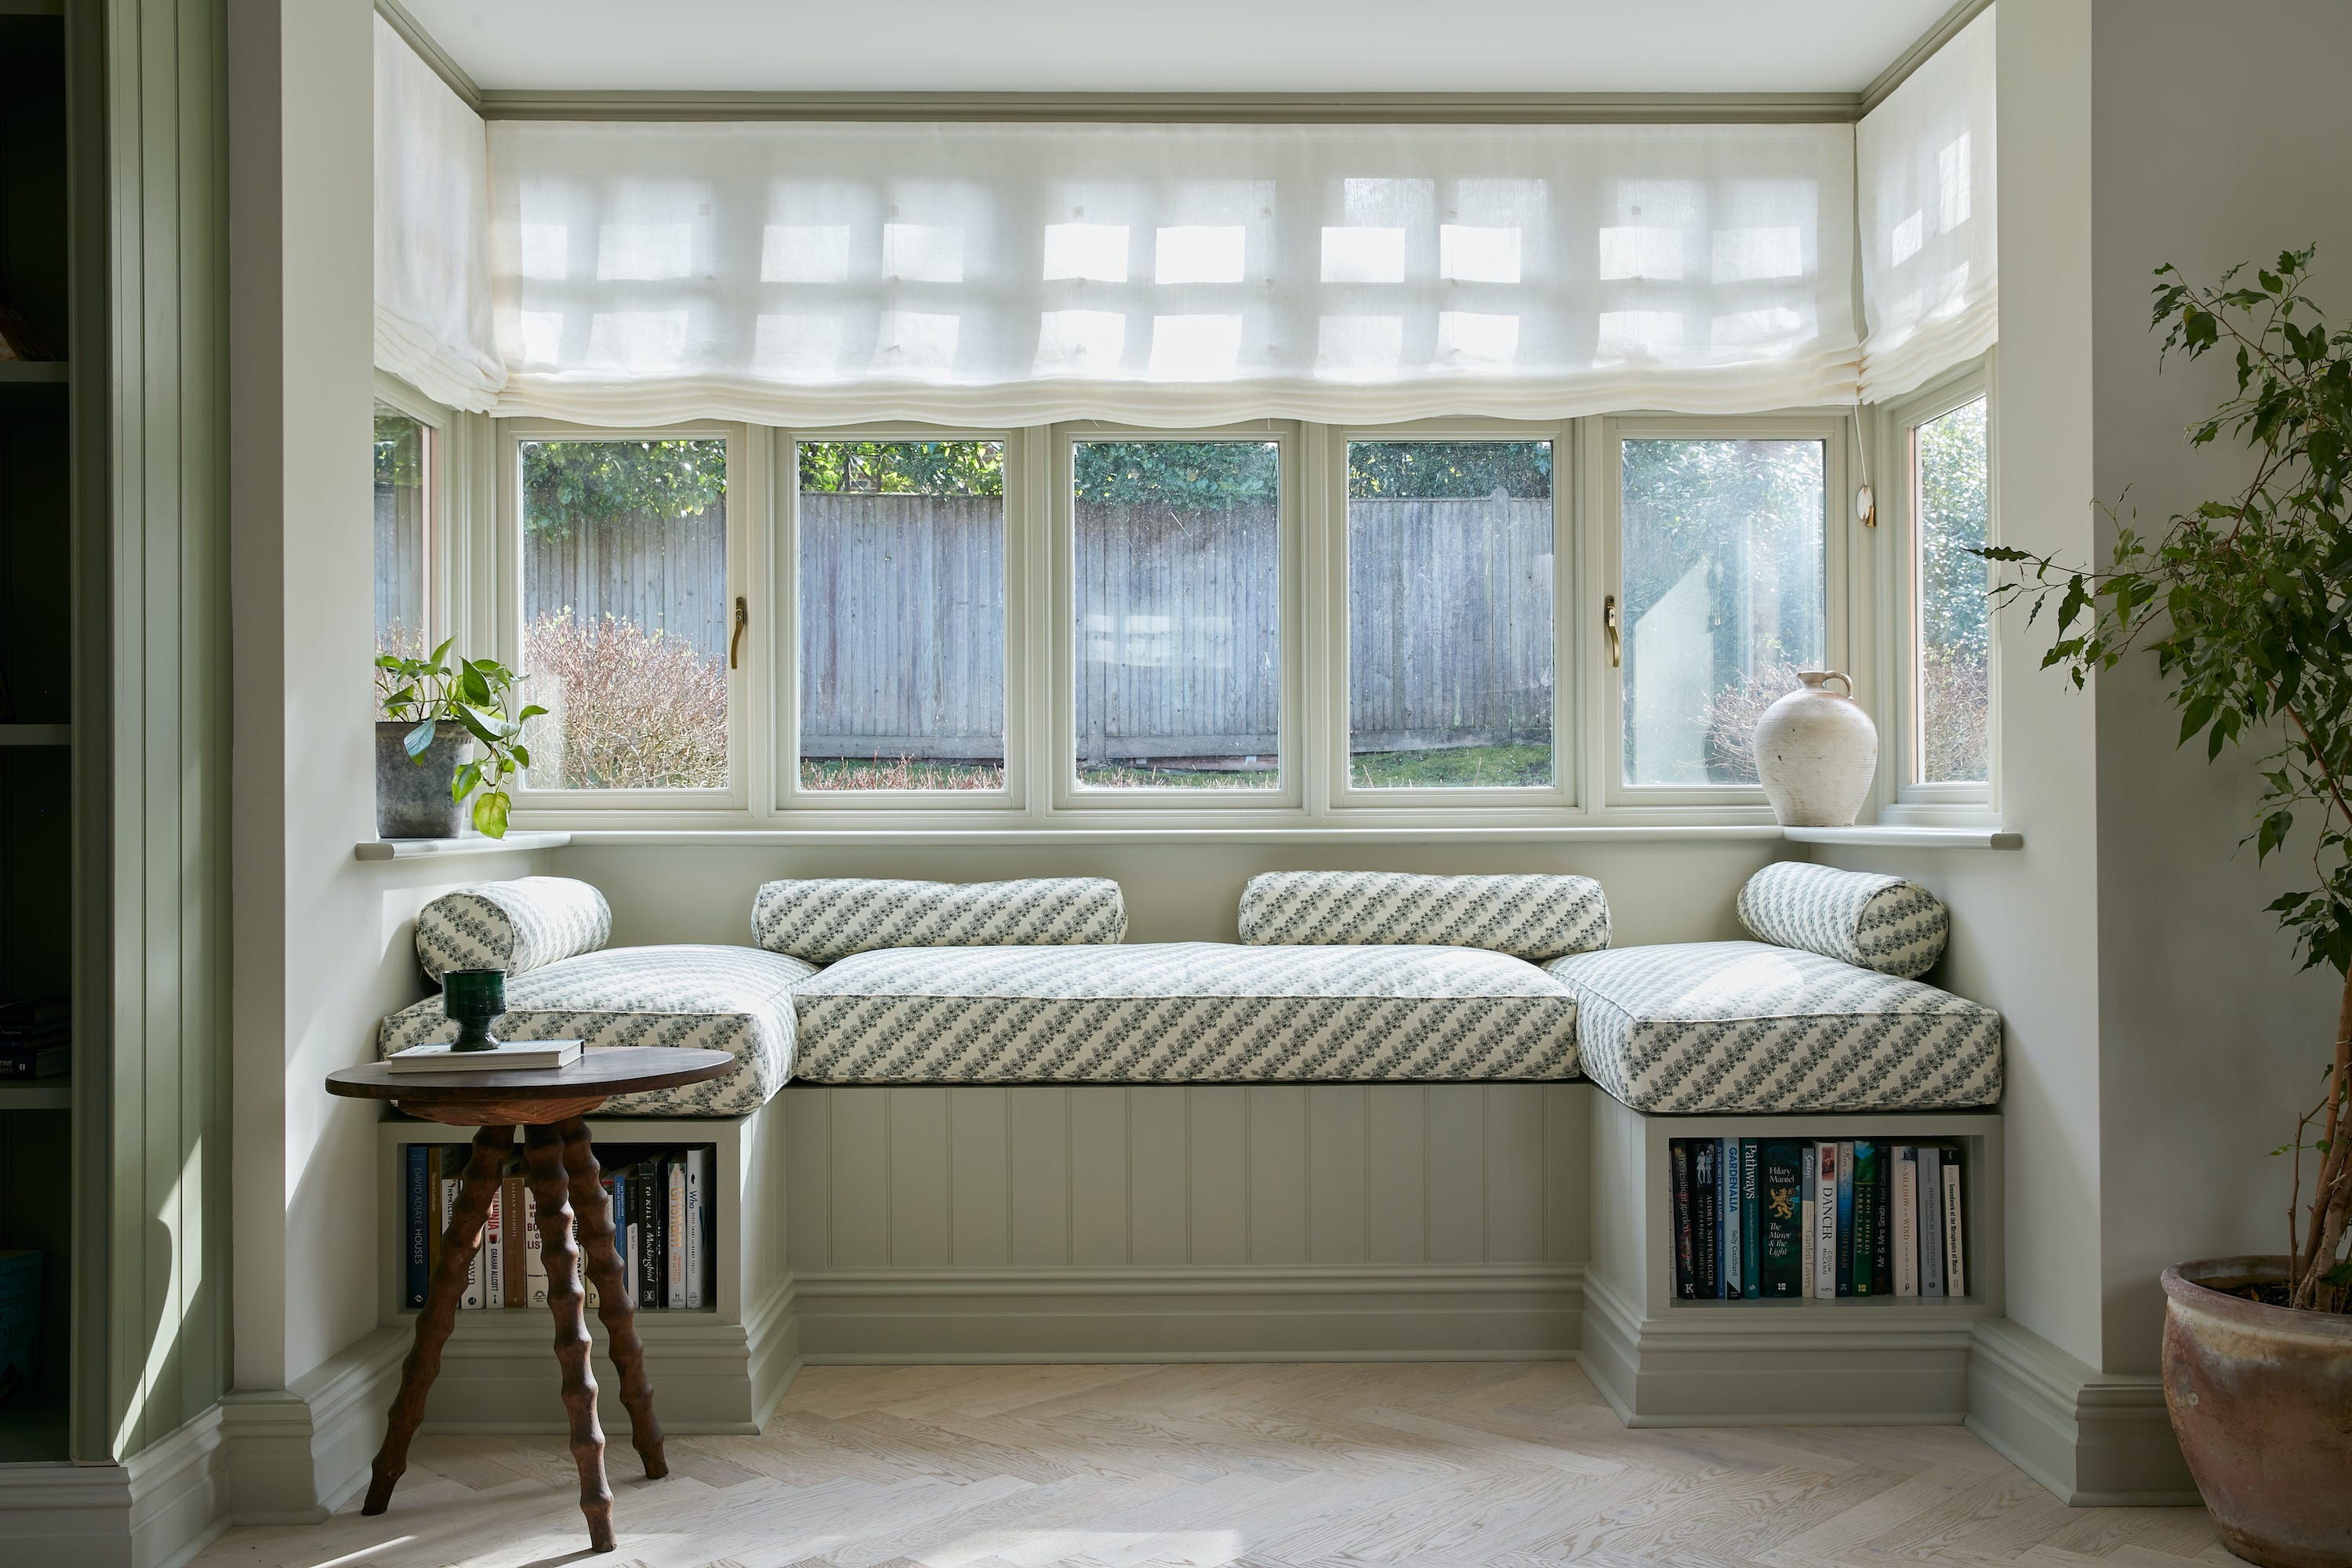
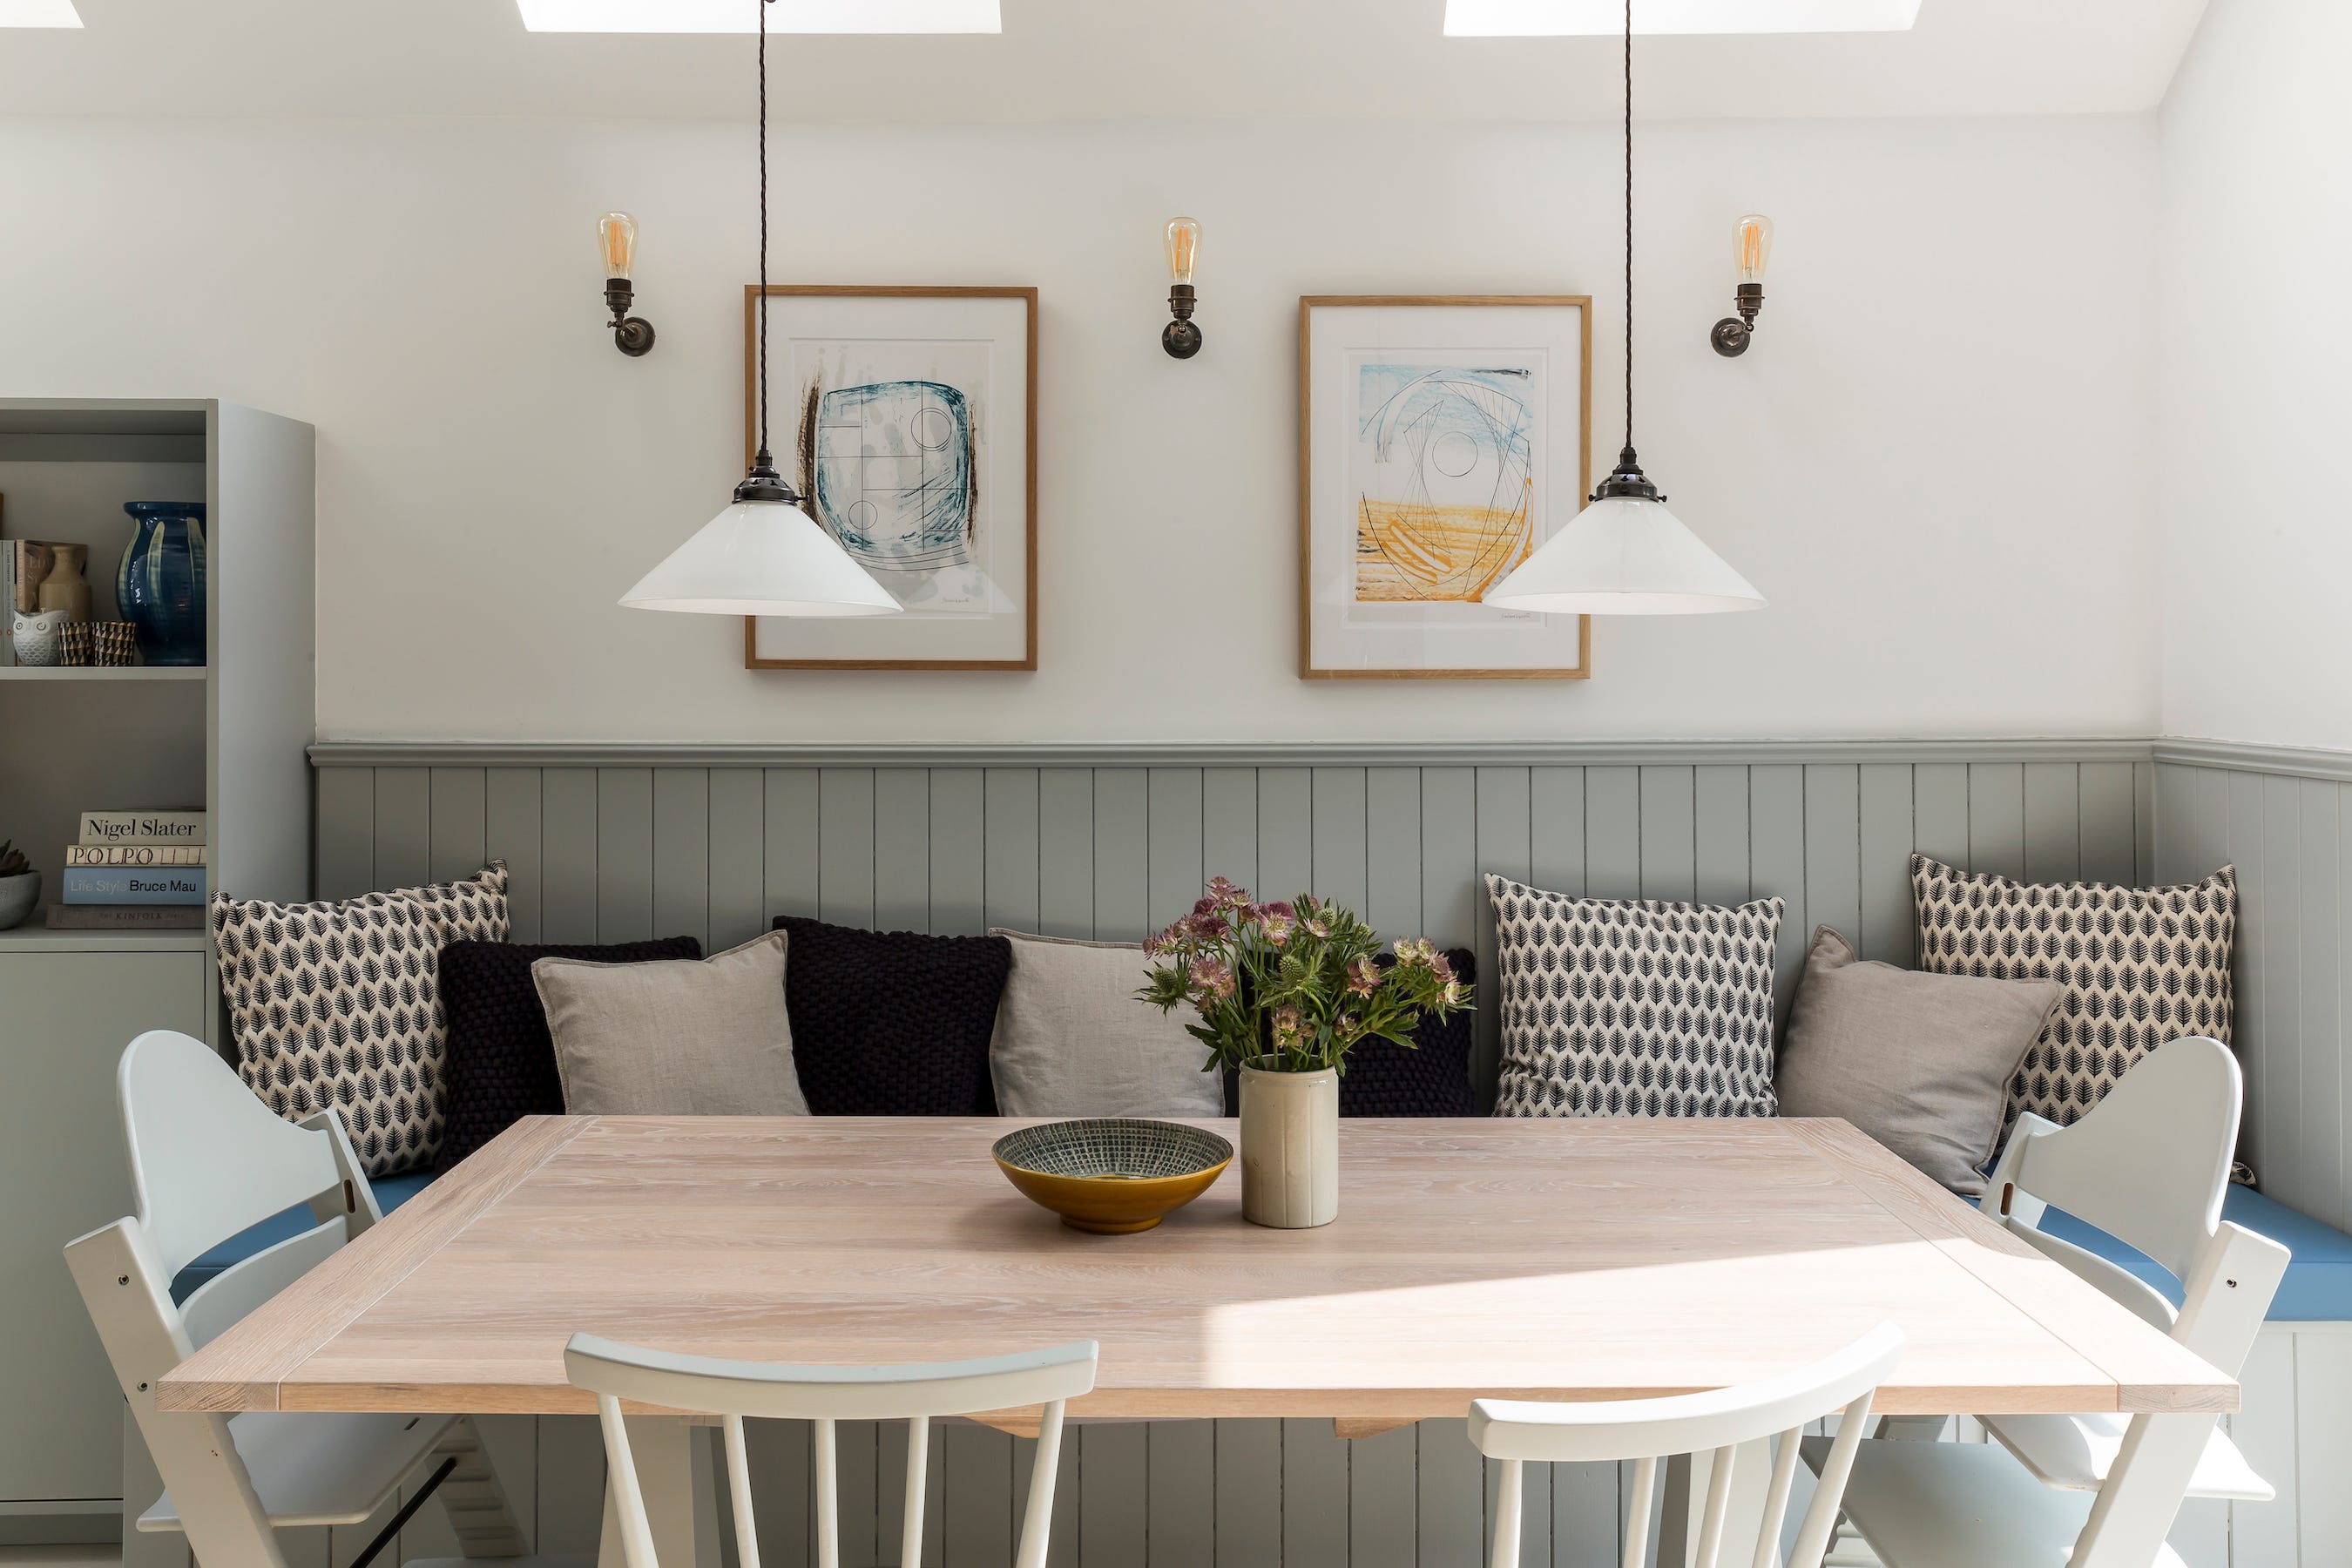
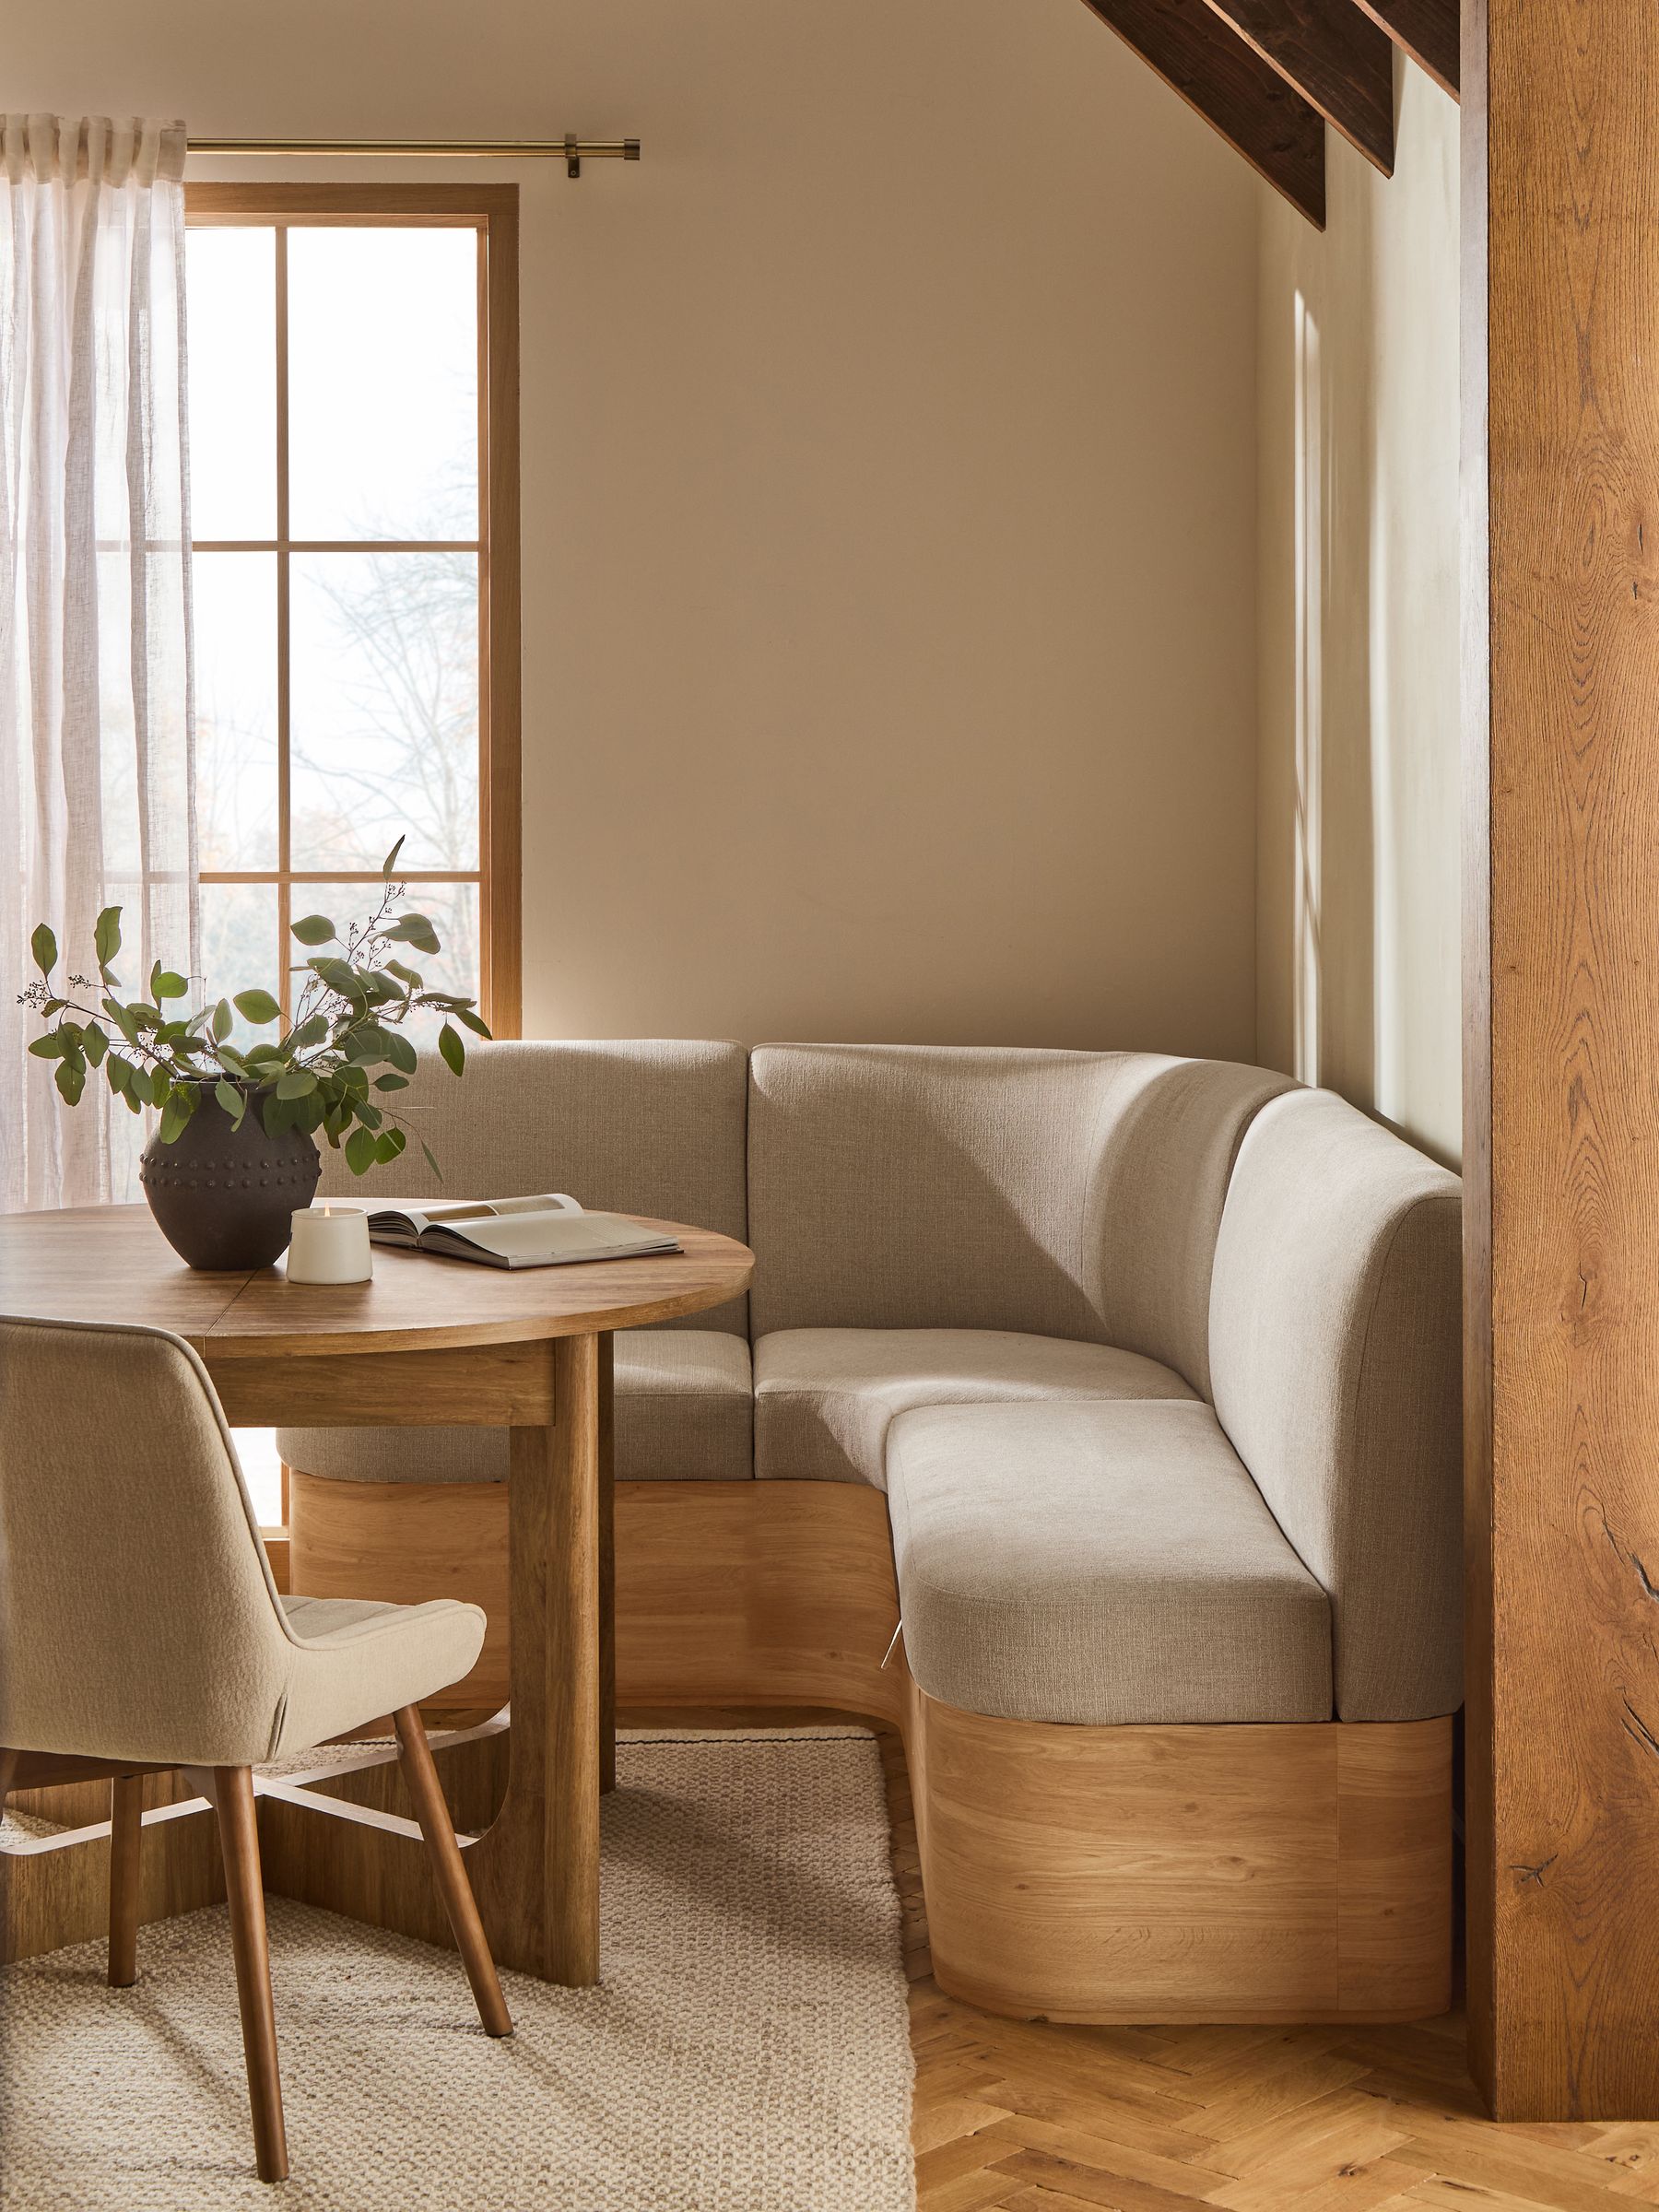
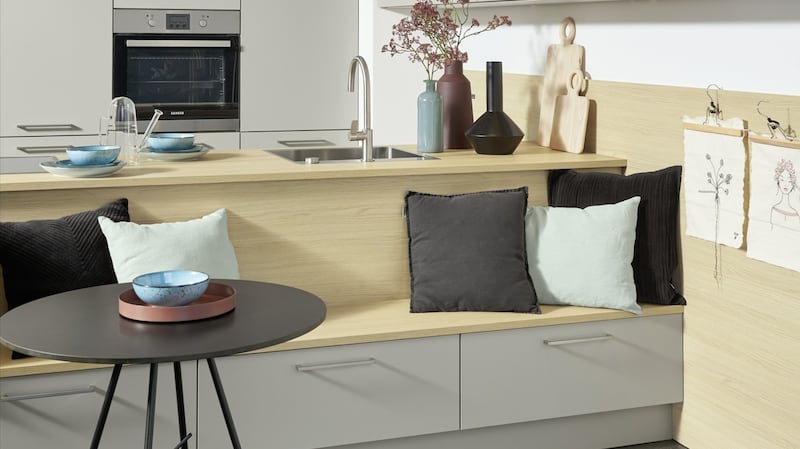
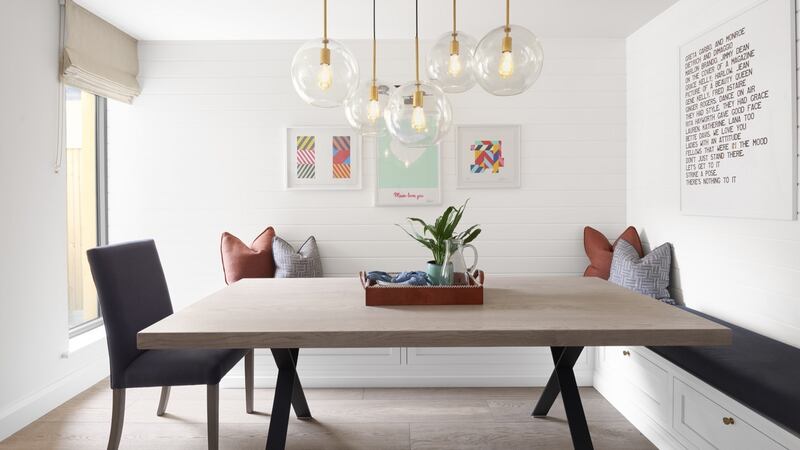
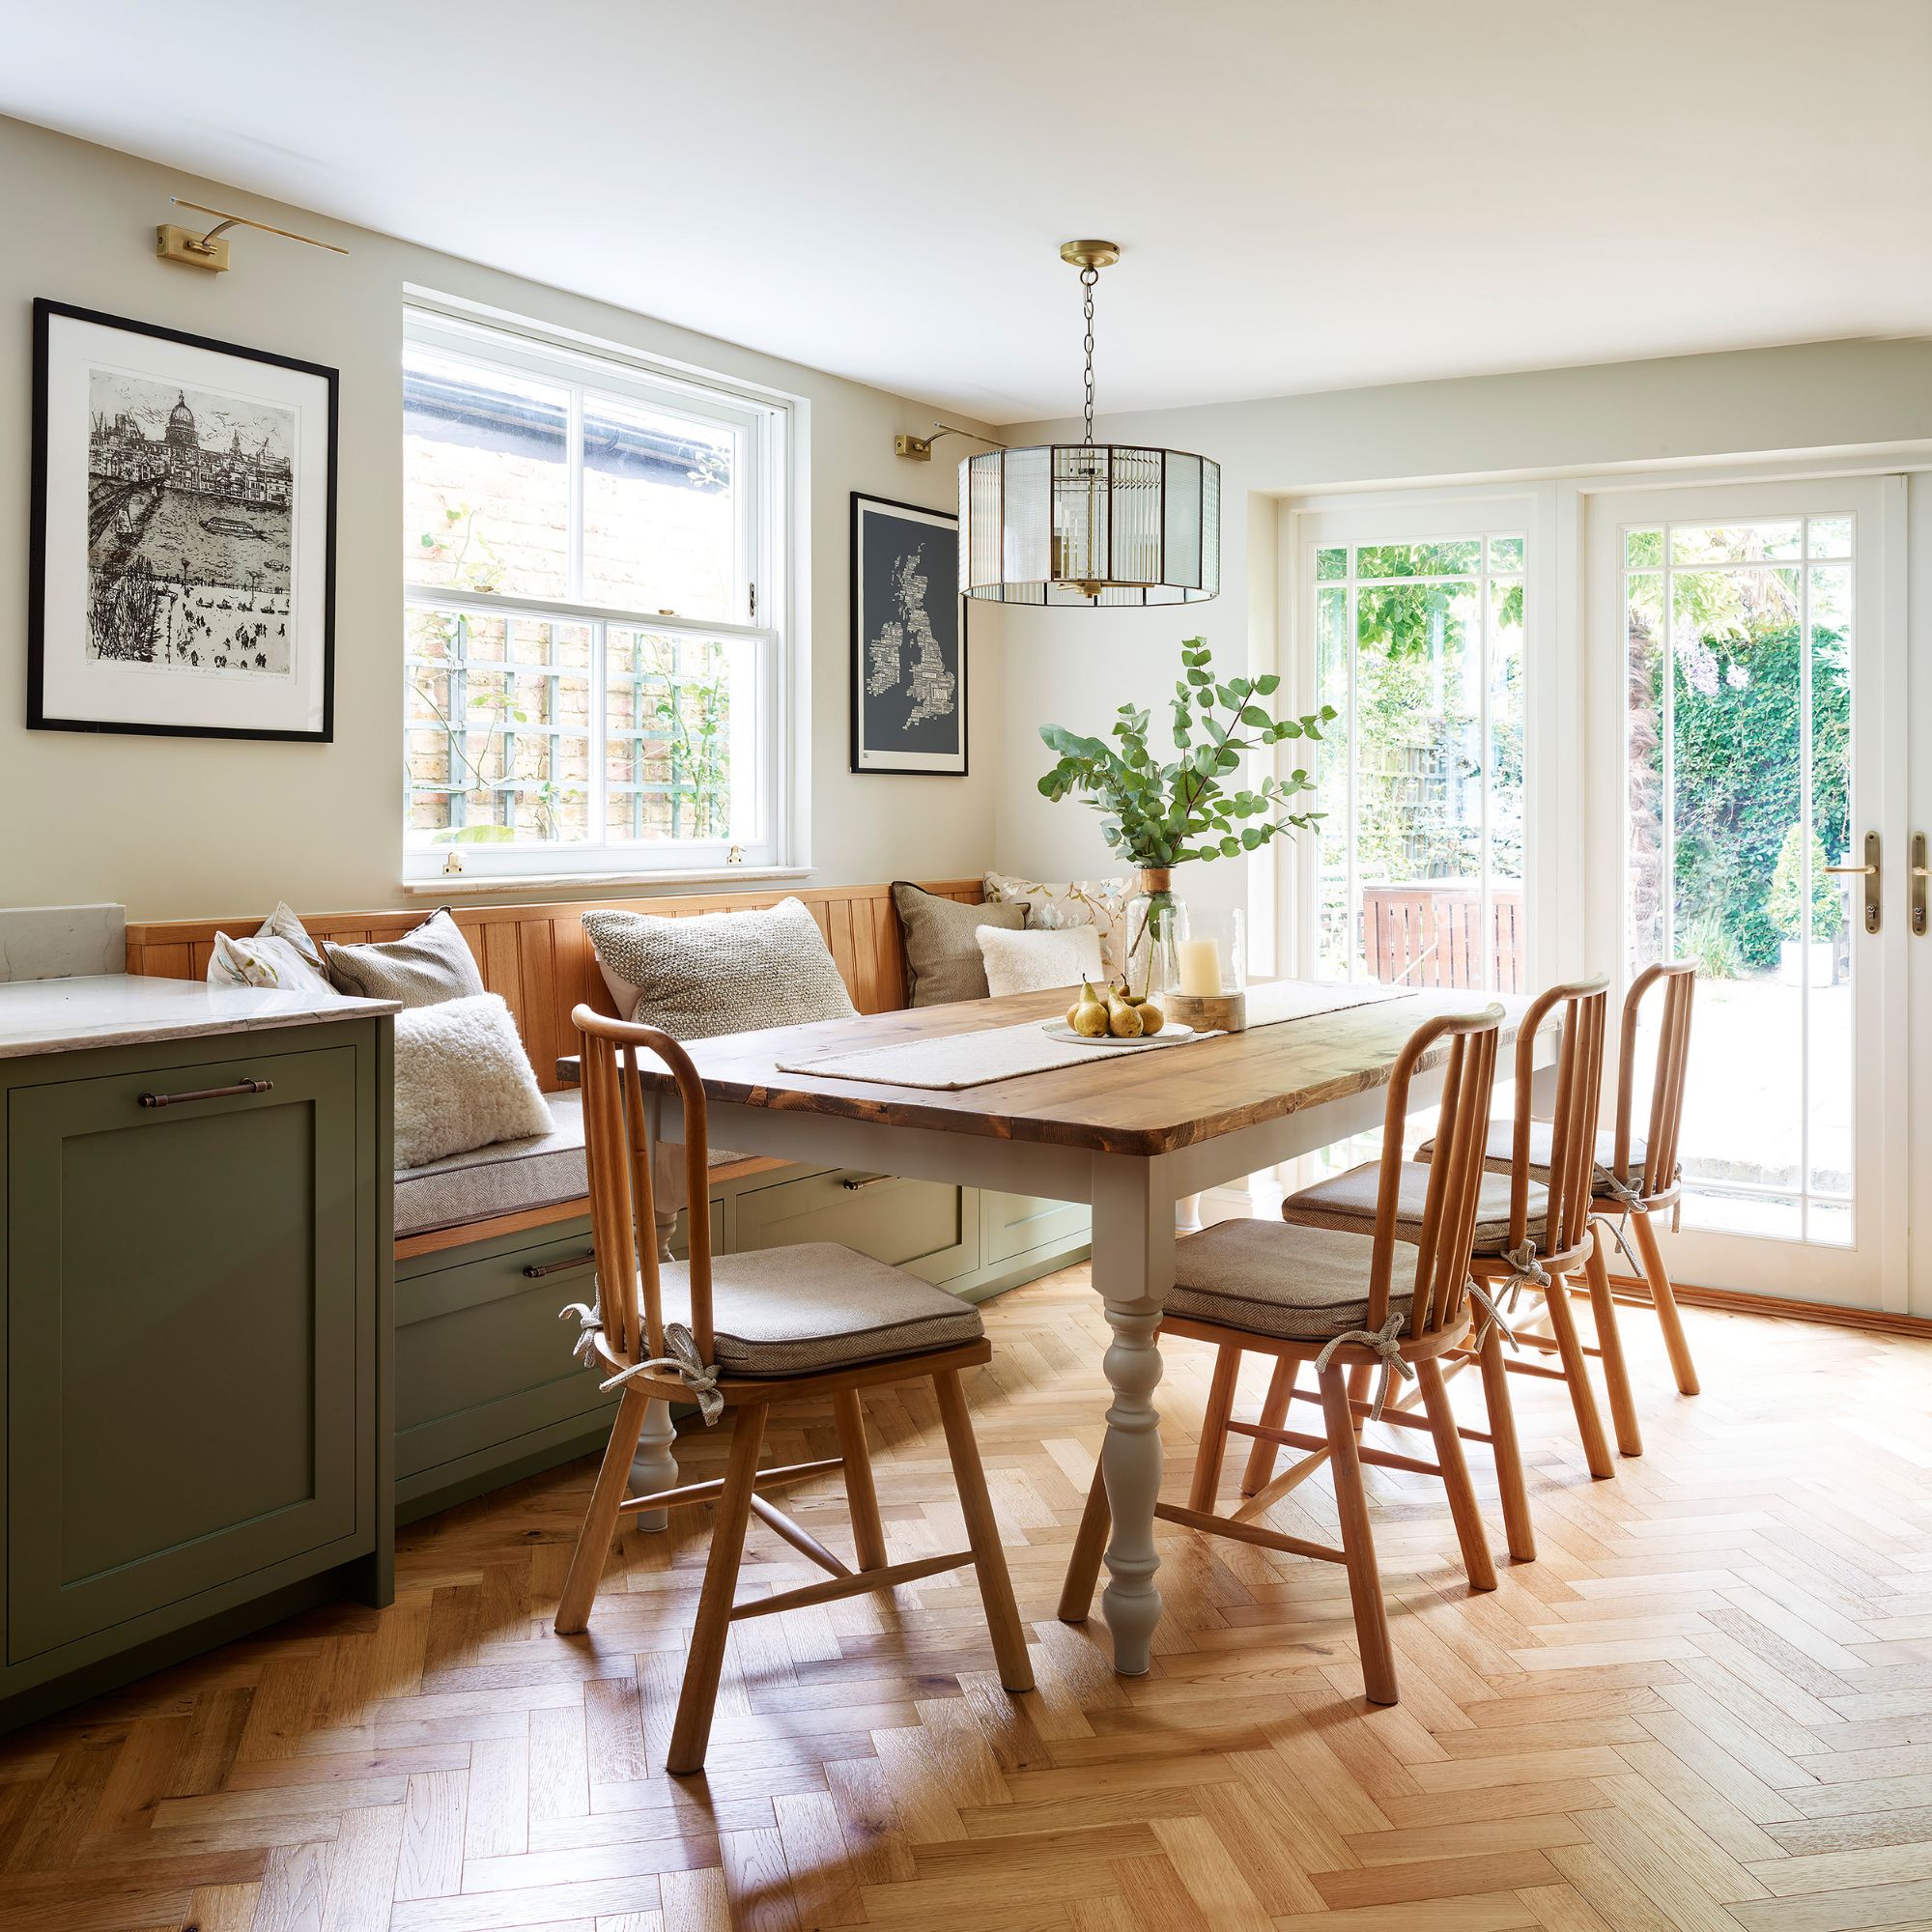
This article details how Bay Area-based designer Kendra Joseph of Rise Up Home, along with her husband, ingeniously transformed two IKEA Besta units into a functional and aesthetically pleasing banquette with integrated storage. The project was part of a larger conversion of their 400-square-foot detached two-car garage into a guesthouse, which included a bathroom, bedroom, and kitchenette. The primary motivation for the banquette was to create comfortable seating for hosting friends and family while maximizing storage in a compact space.
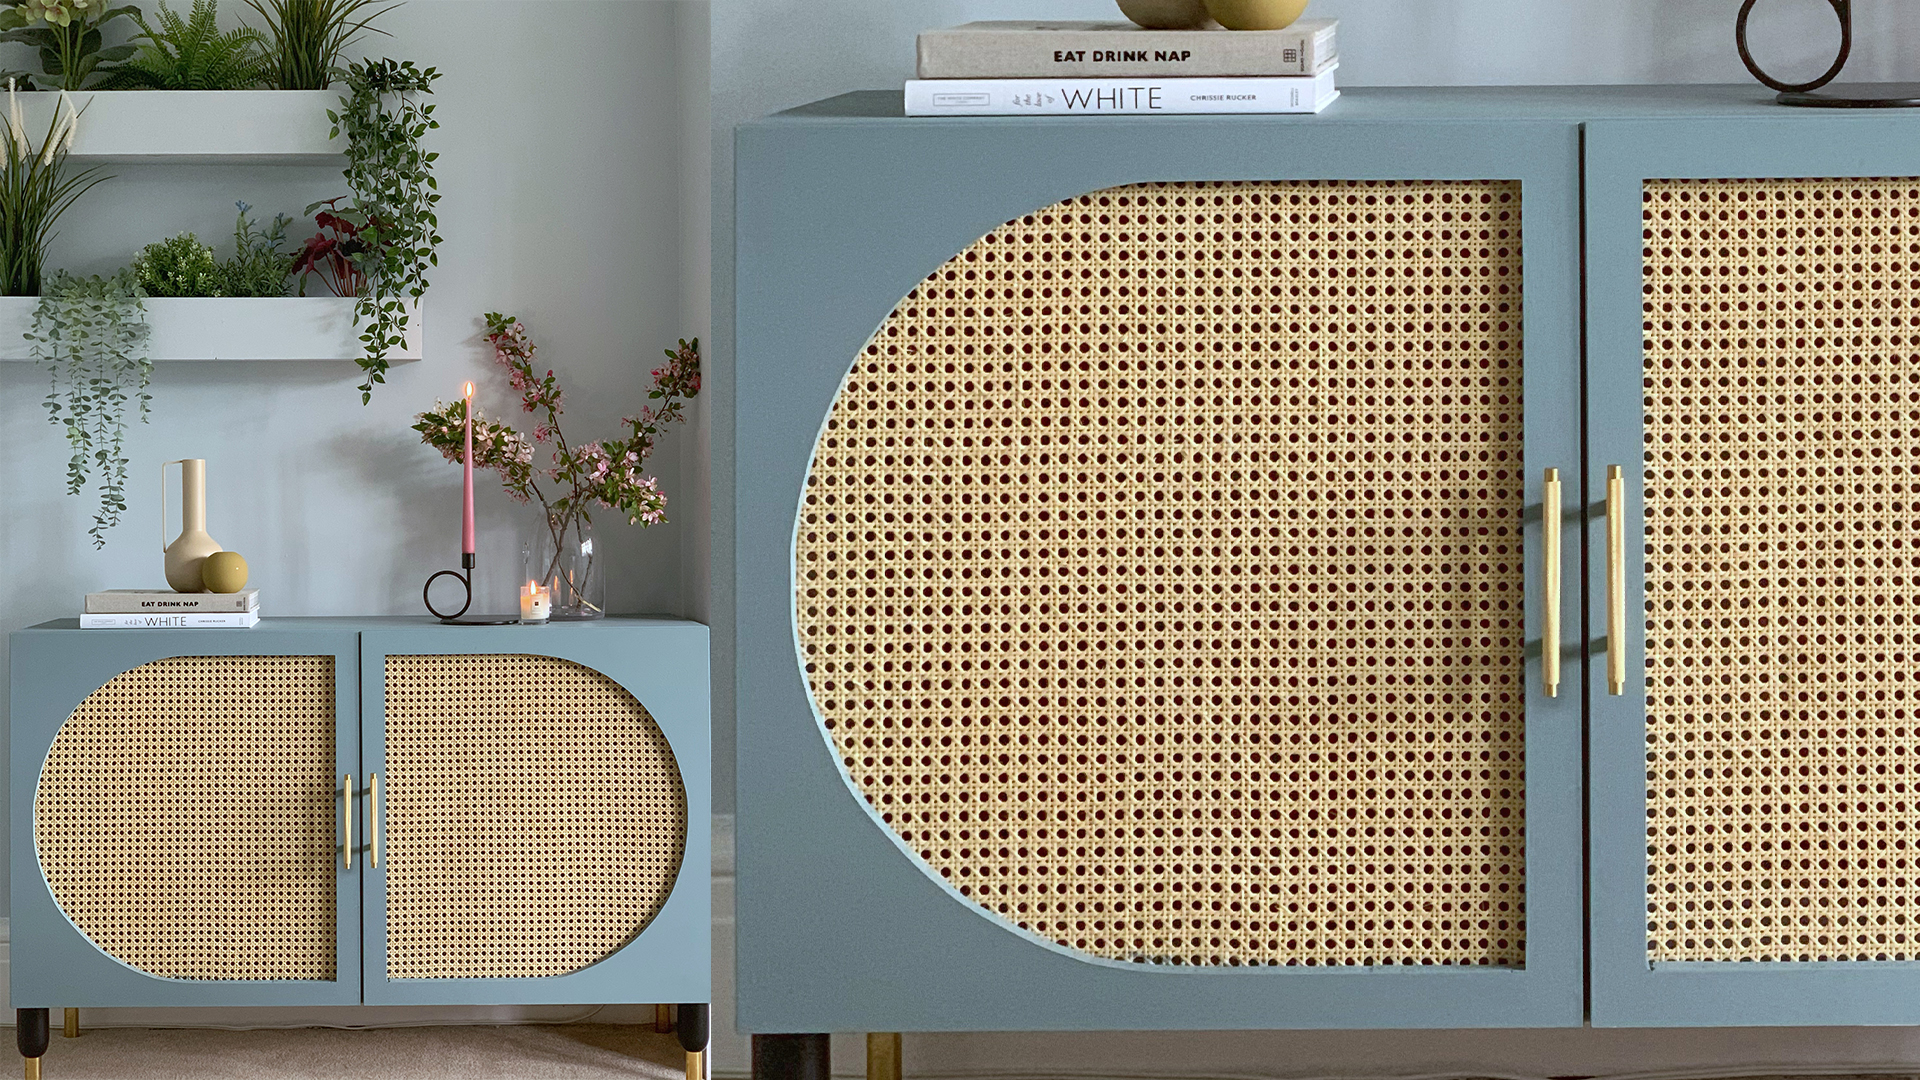
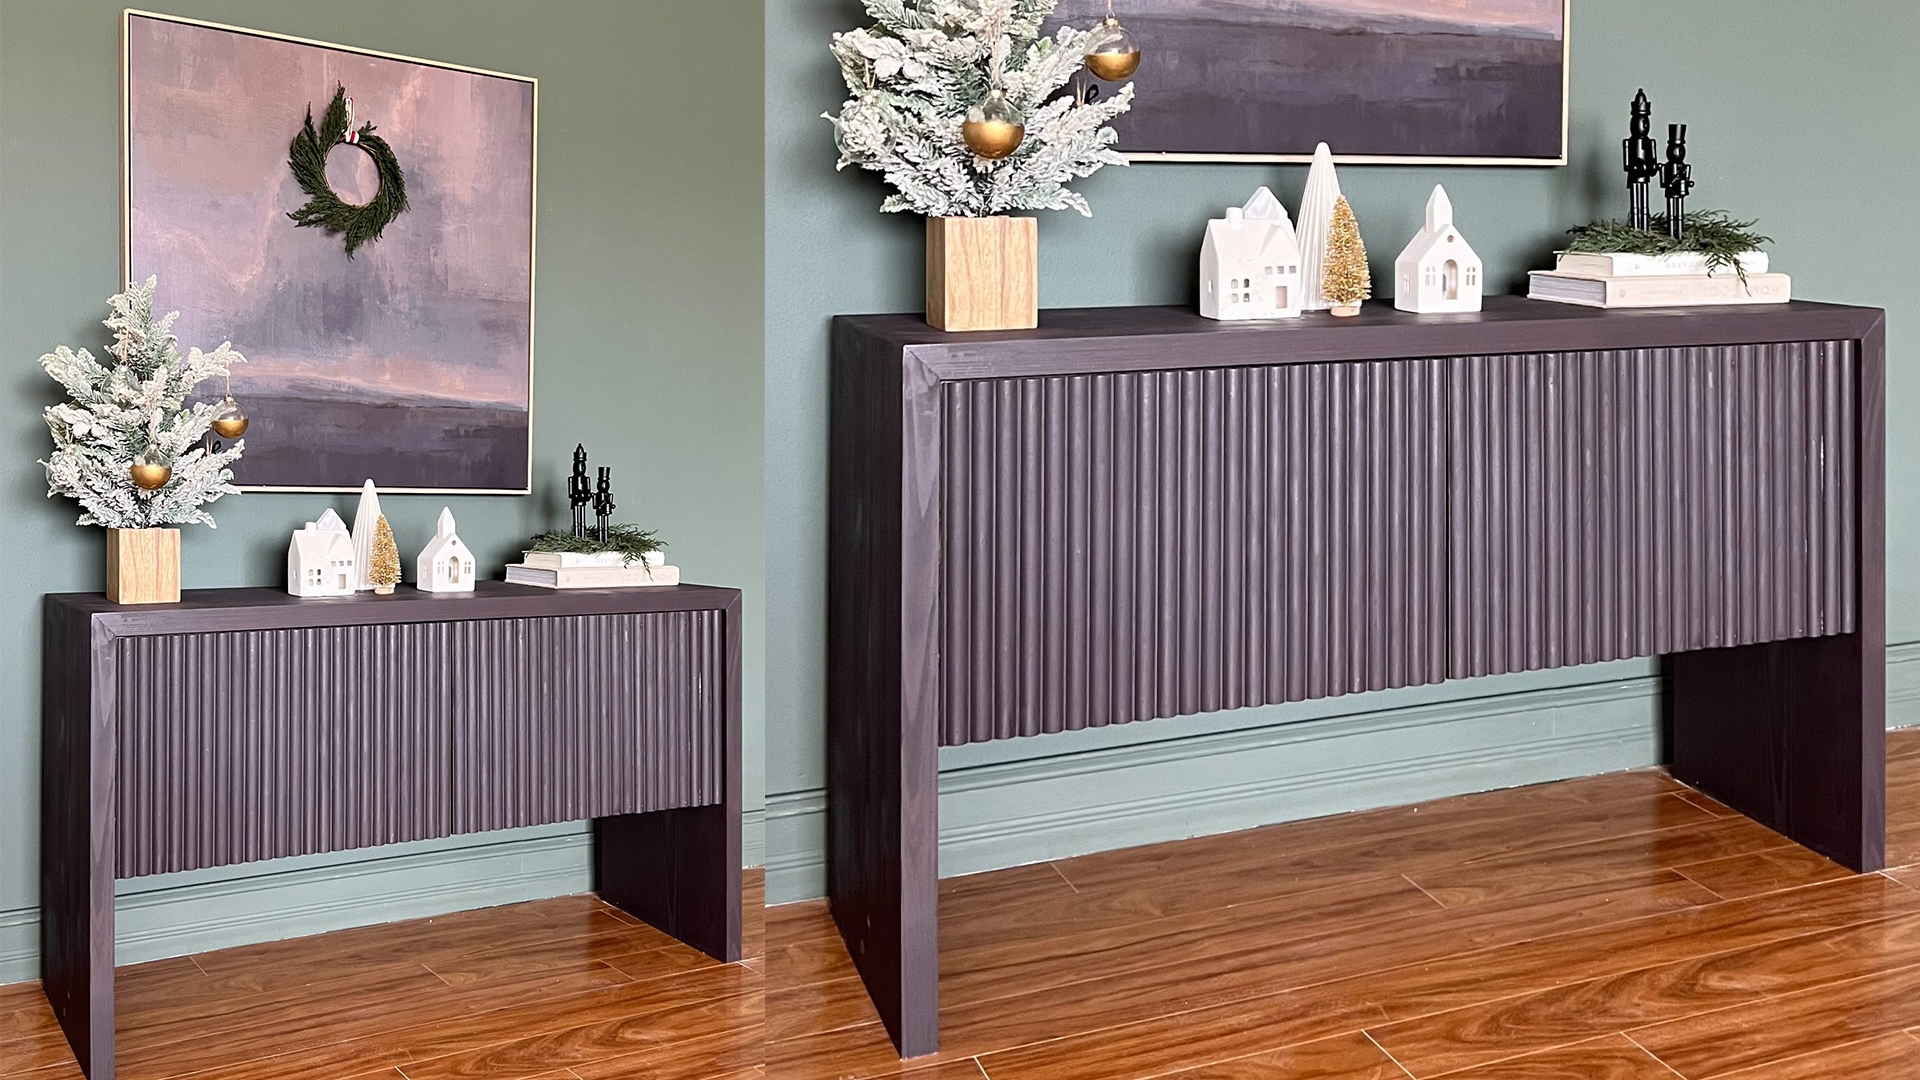
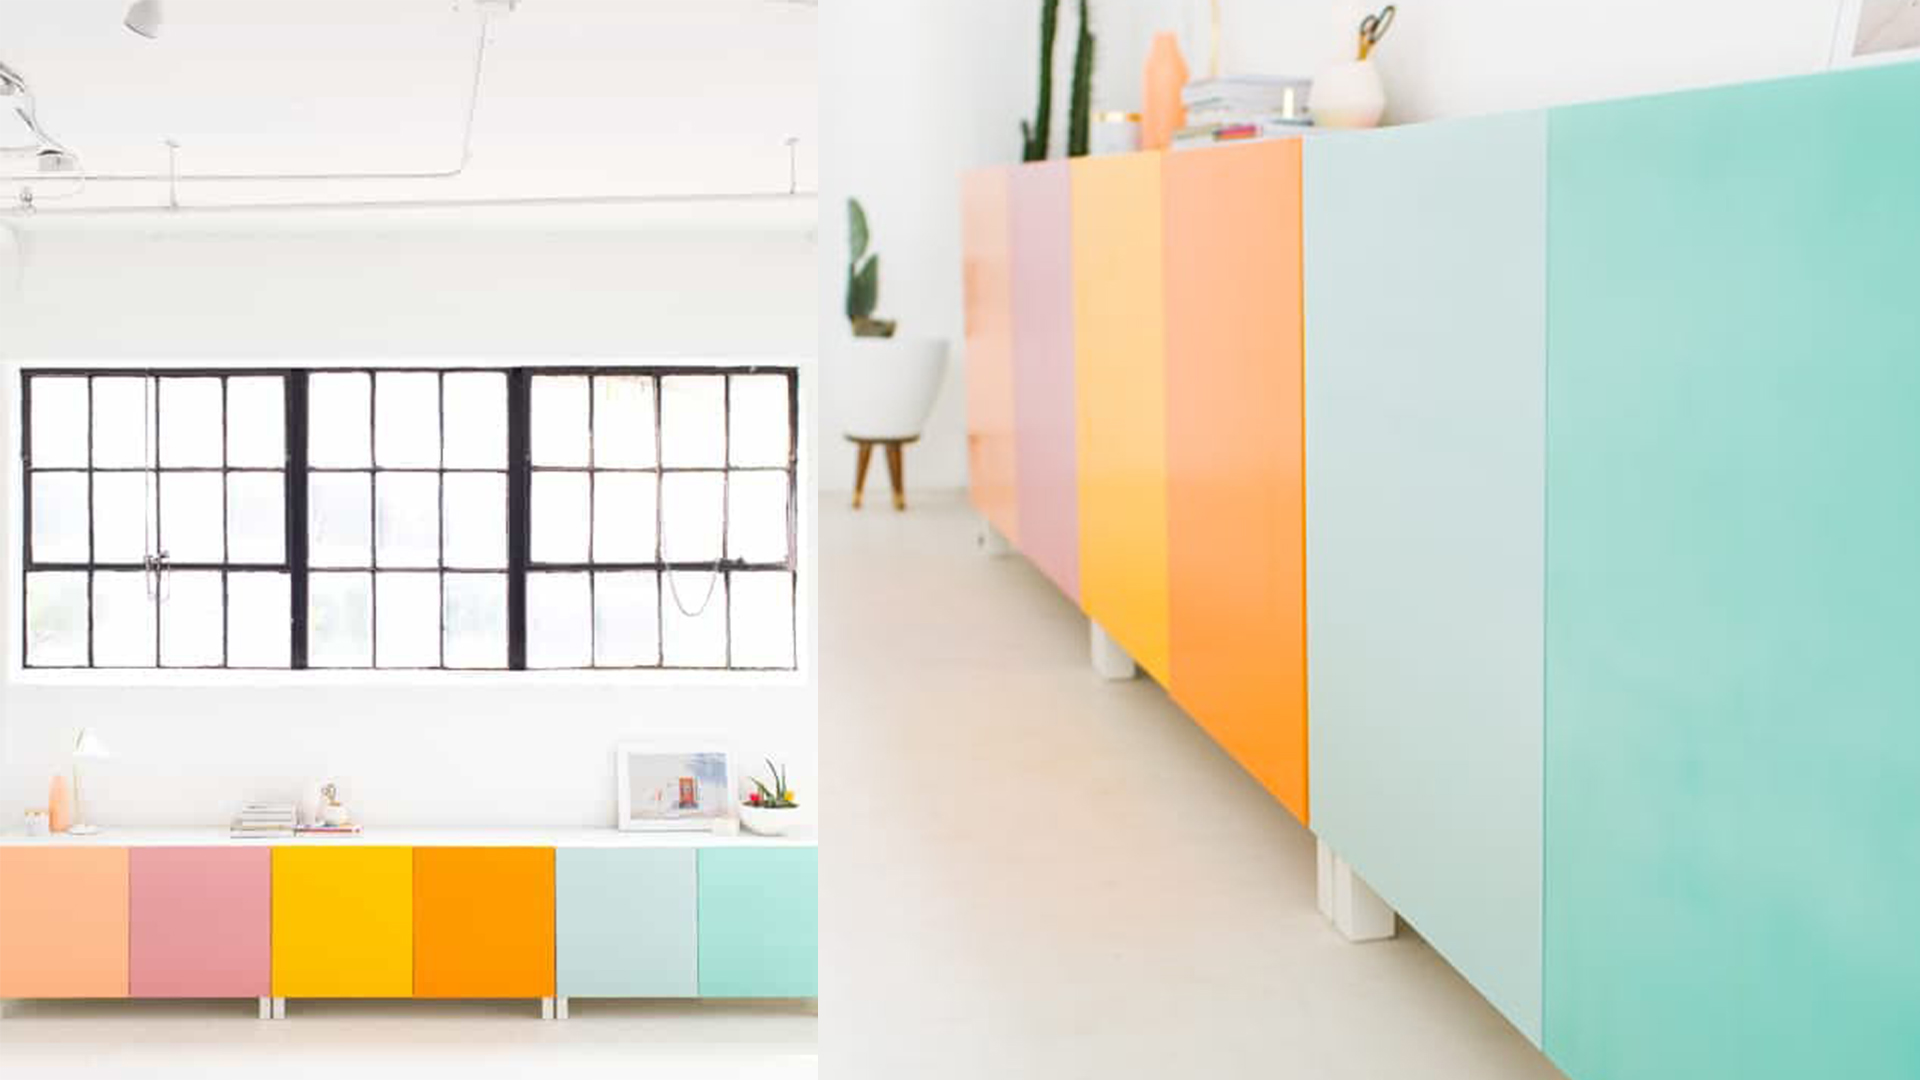
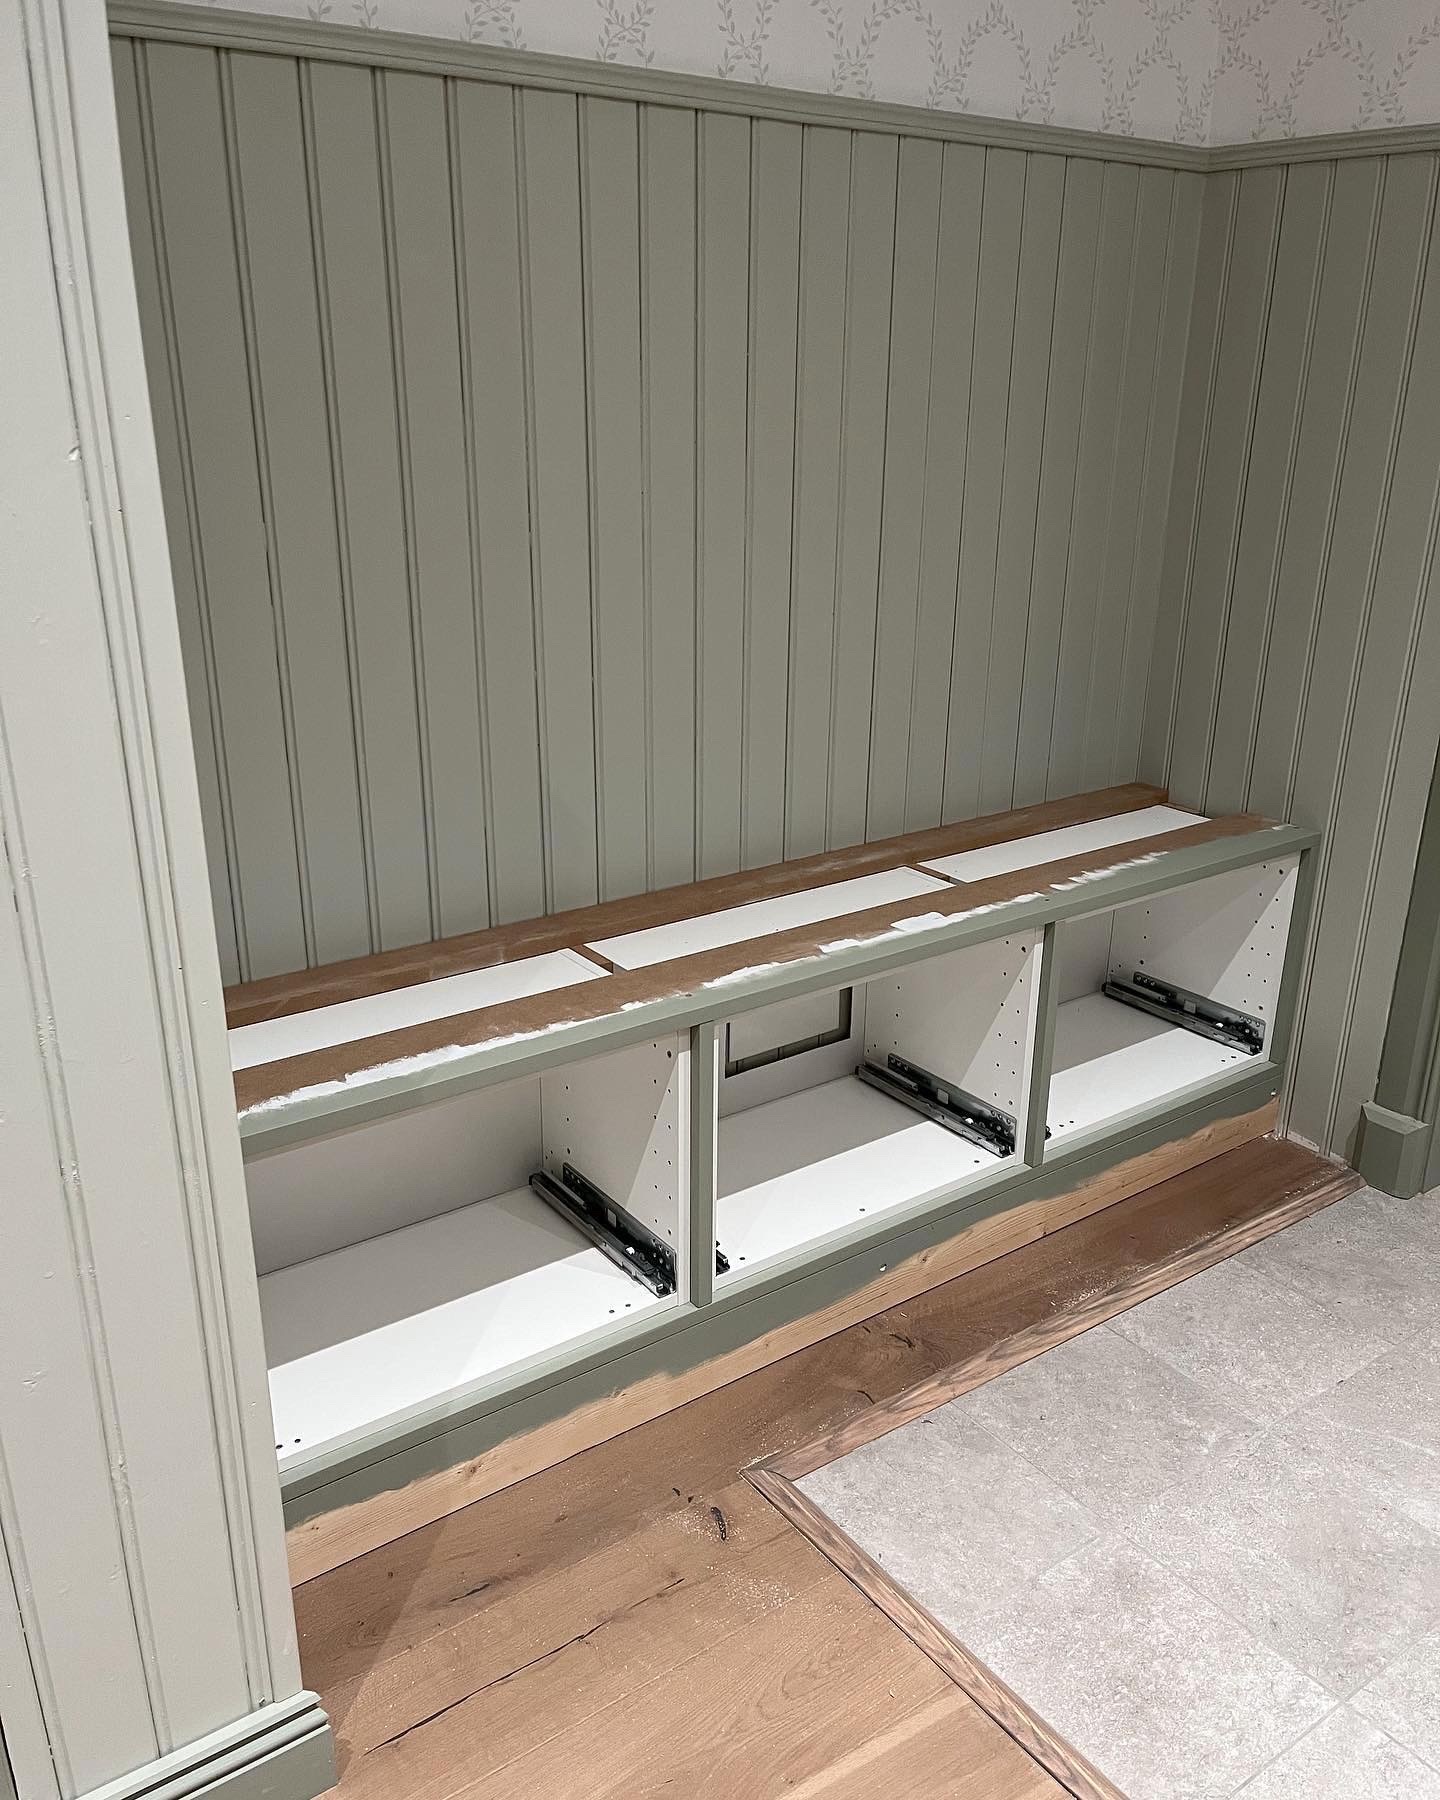
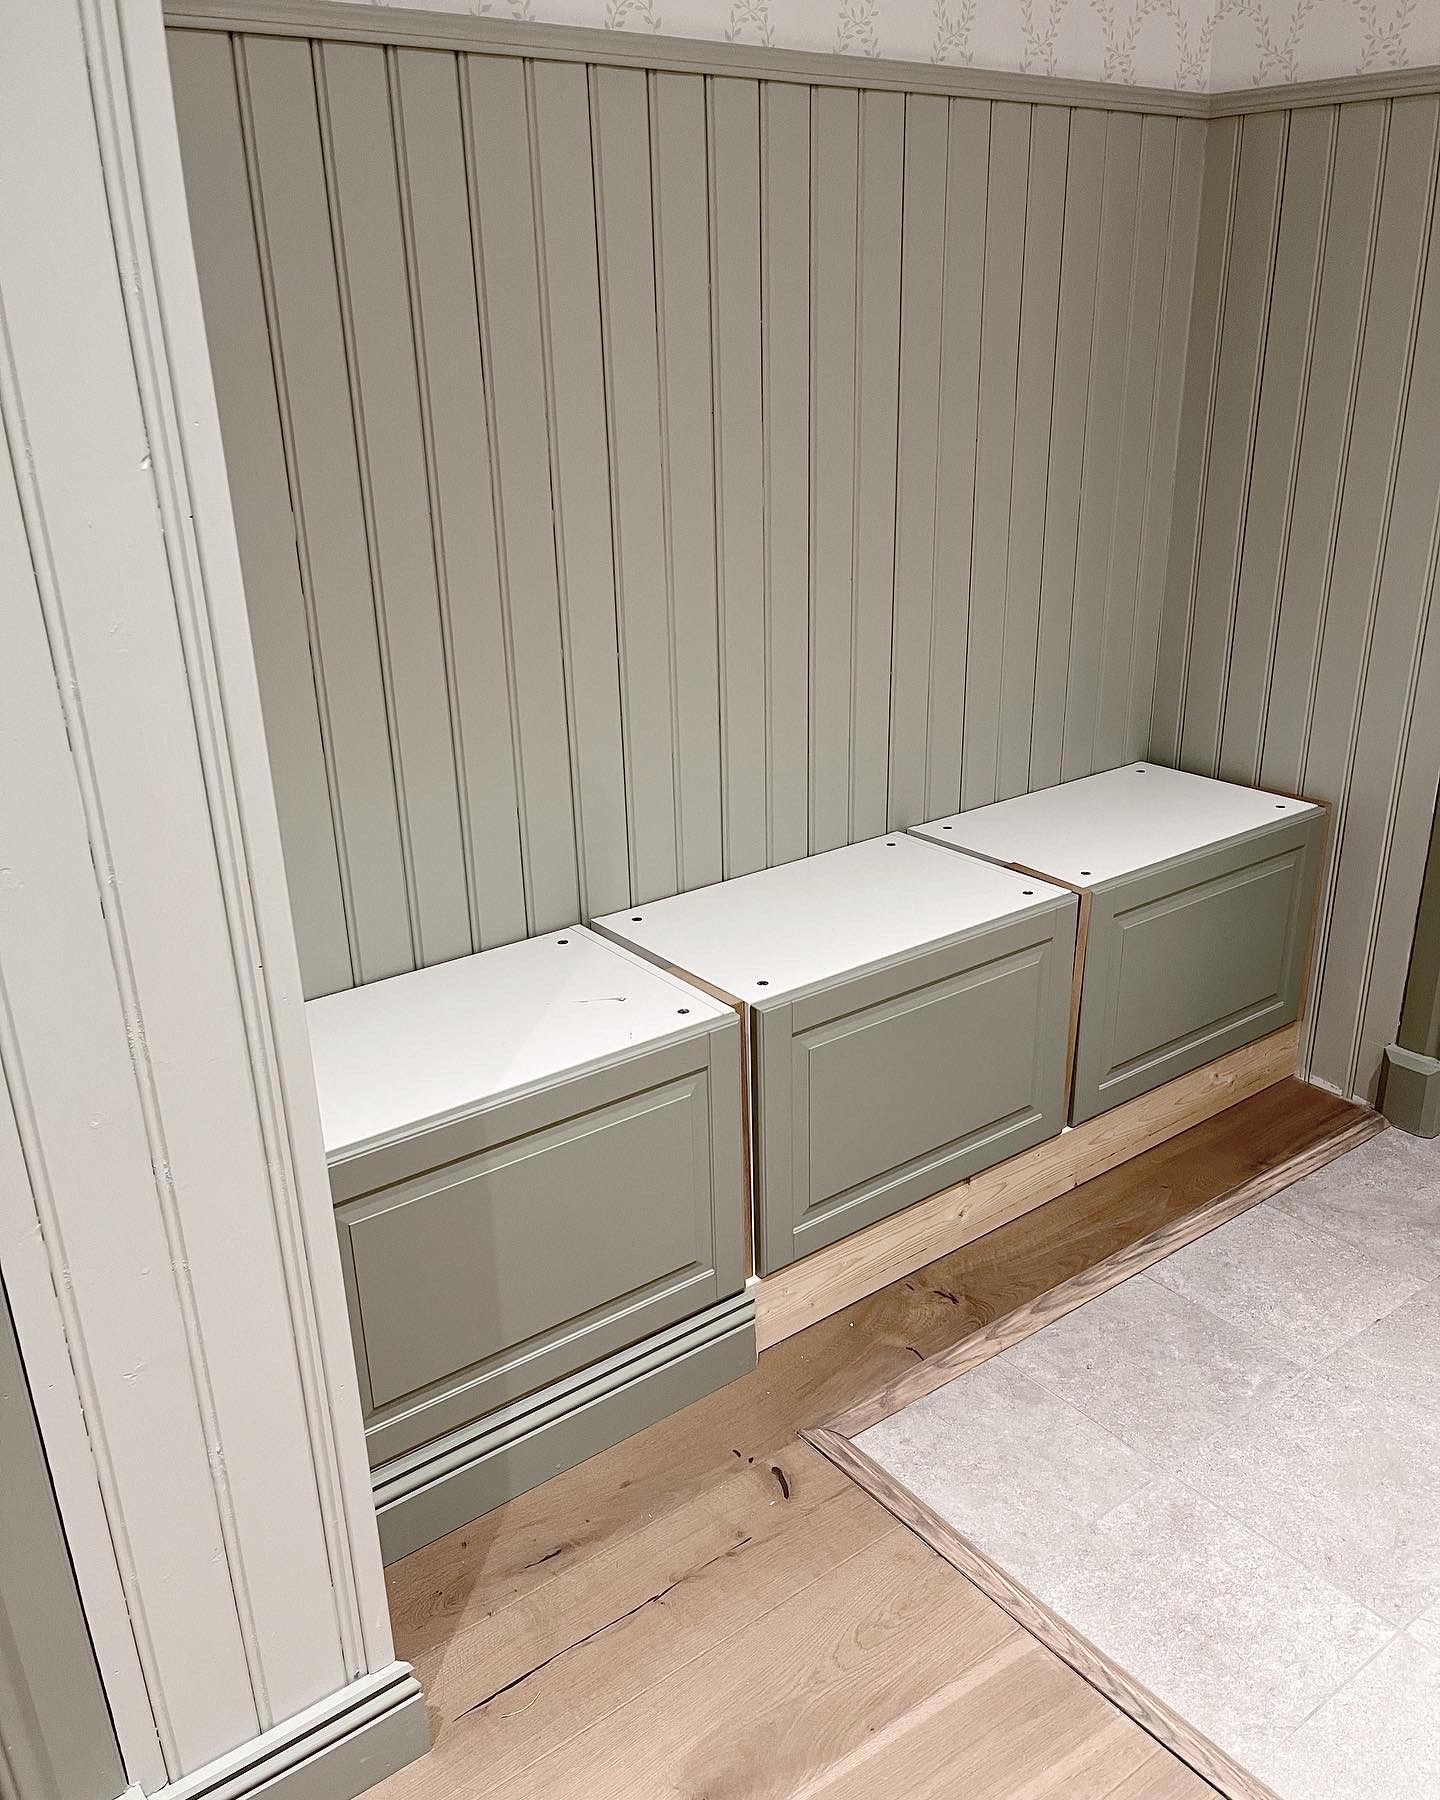
The Besta units, which are typically used as media cabinets, were repurposed to serve as the base for the banquette. Their shallow depth, just under 16 inches, made them an ideal choice for seating while also providing hidden storage for items like blankets, board games, and serving platters. The total cost for the project ranged from $250 to $300, with savings achieved by utilizing existing materials such as lumber and screws. The most significant expenses were the IKEA Besta units themselves and the wood required for the waterfall top.
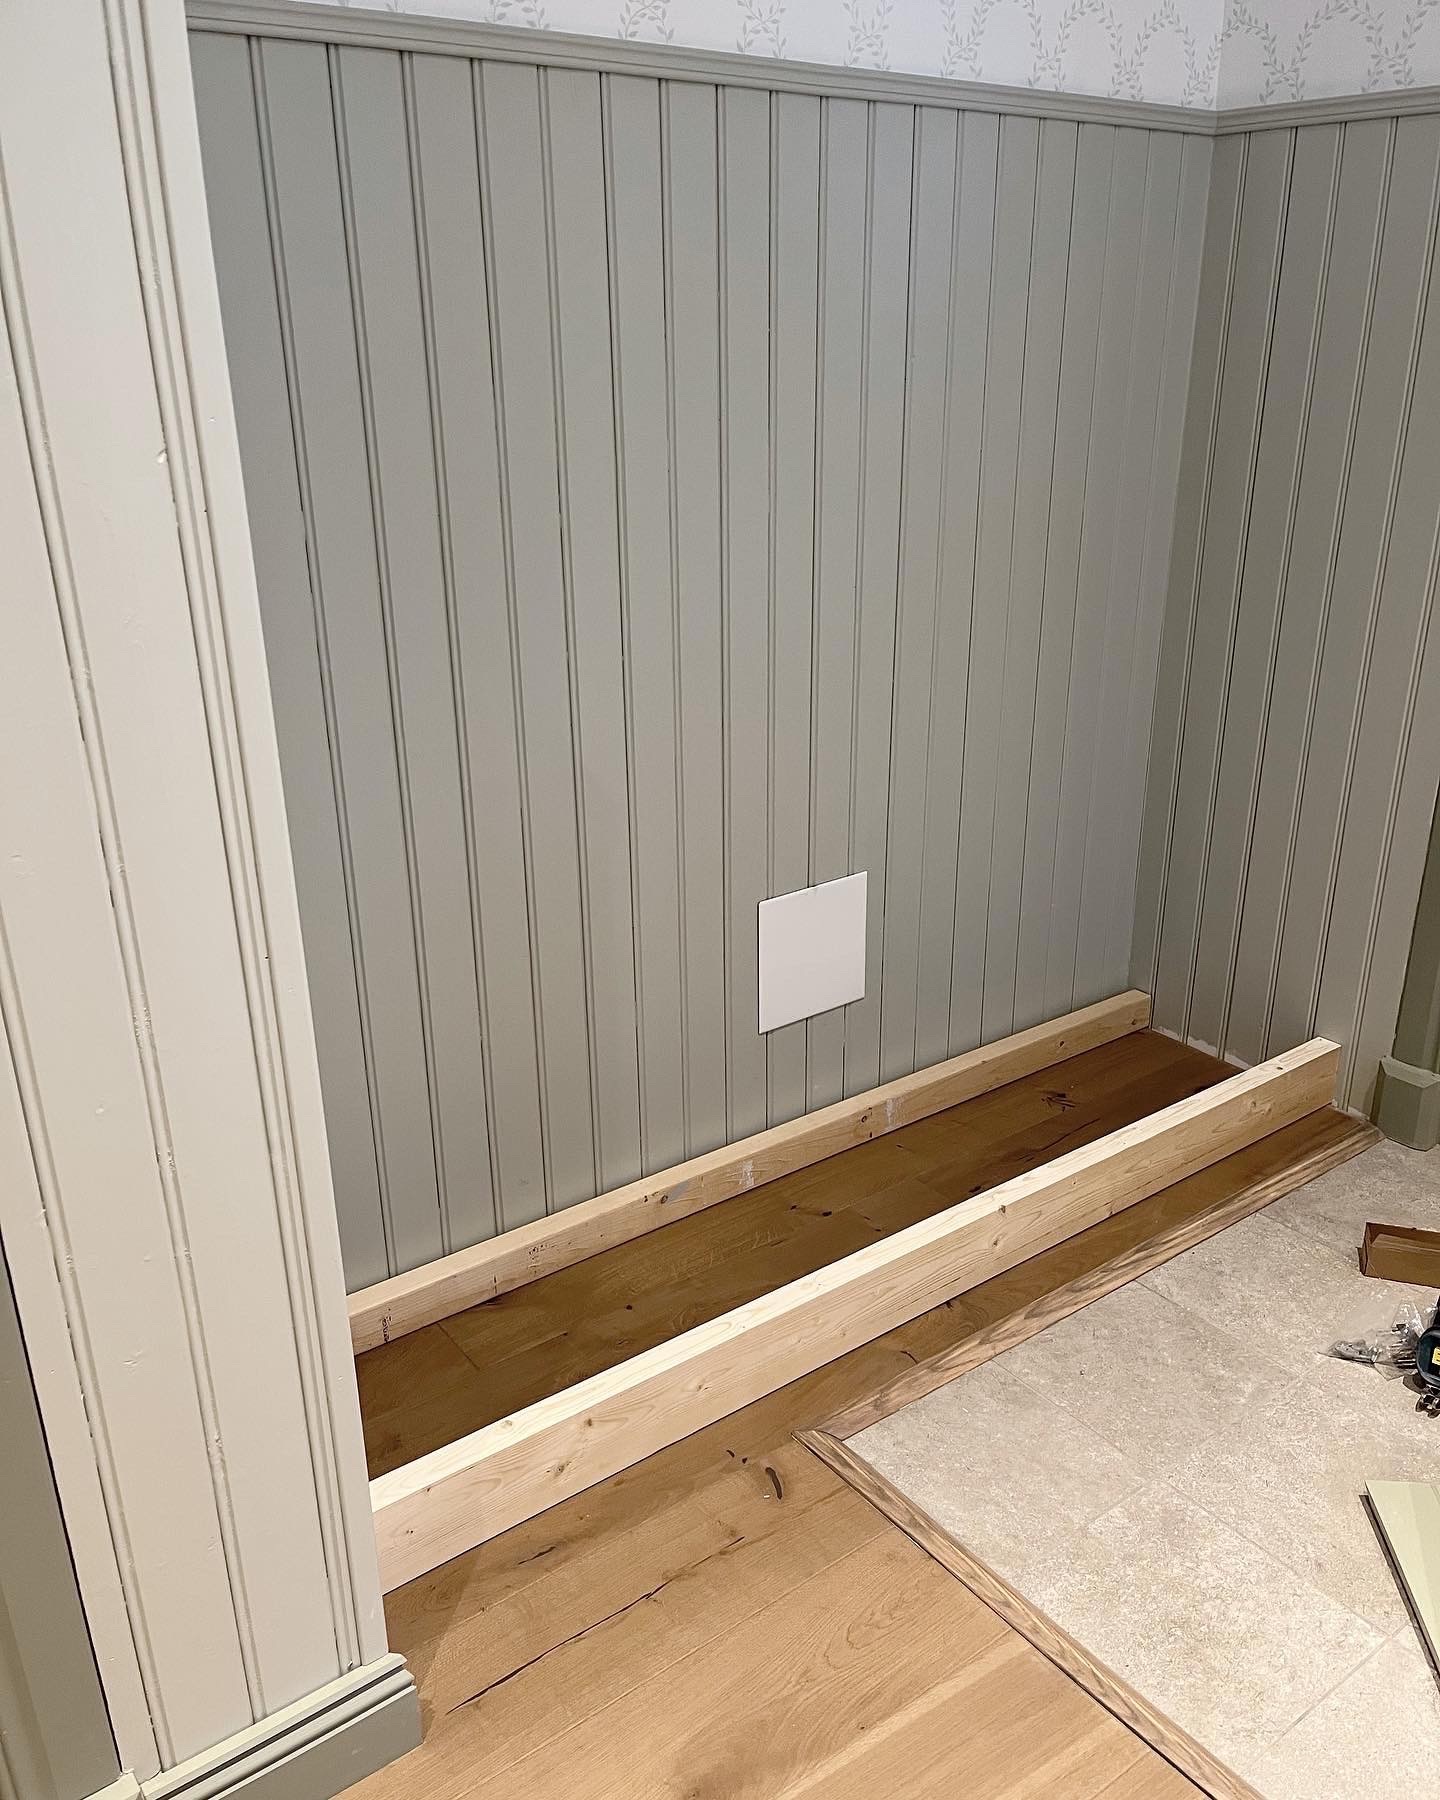
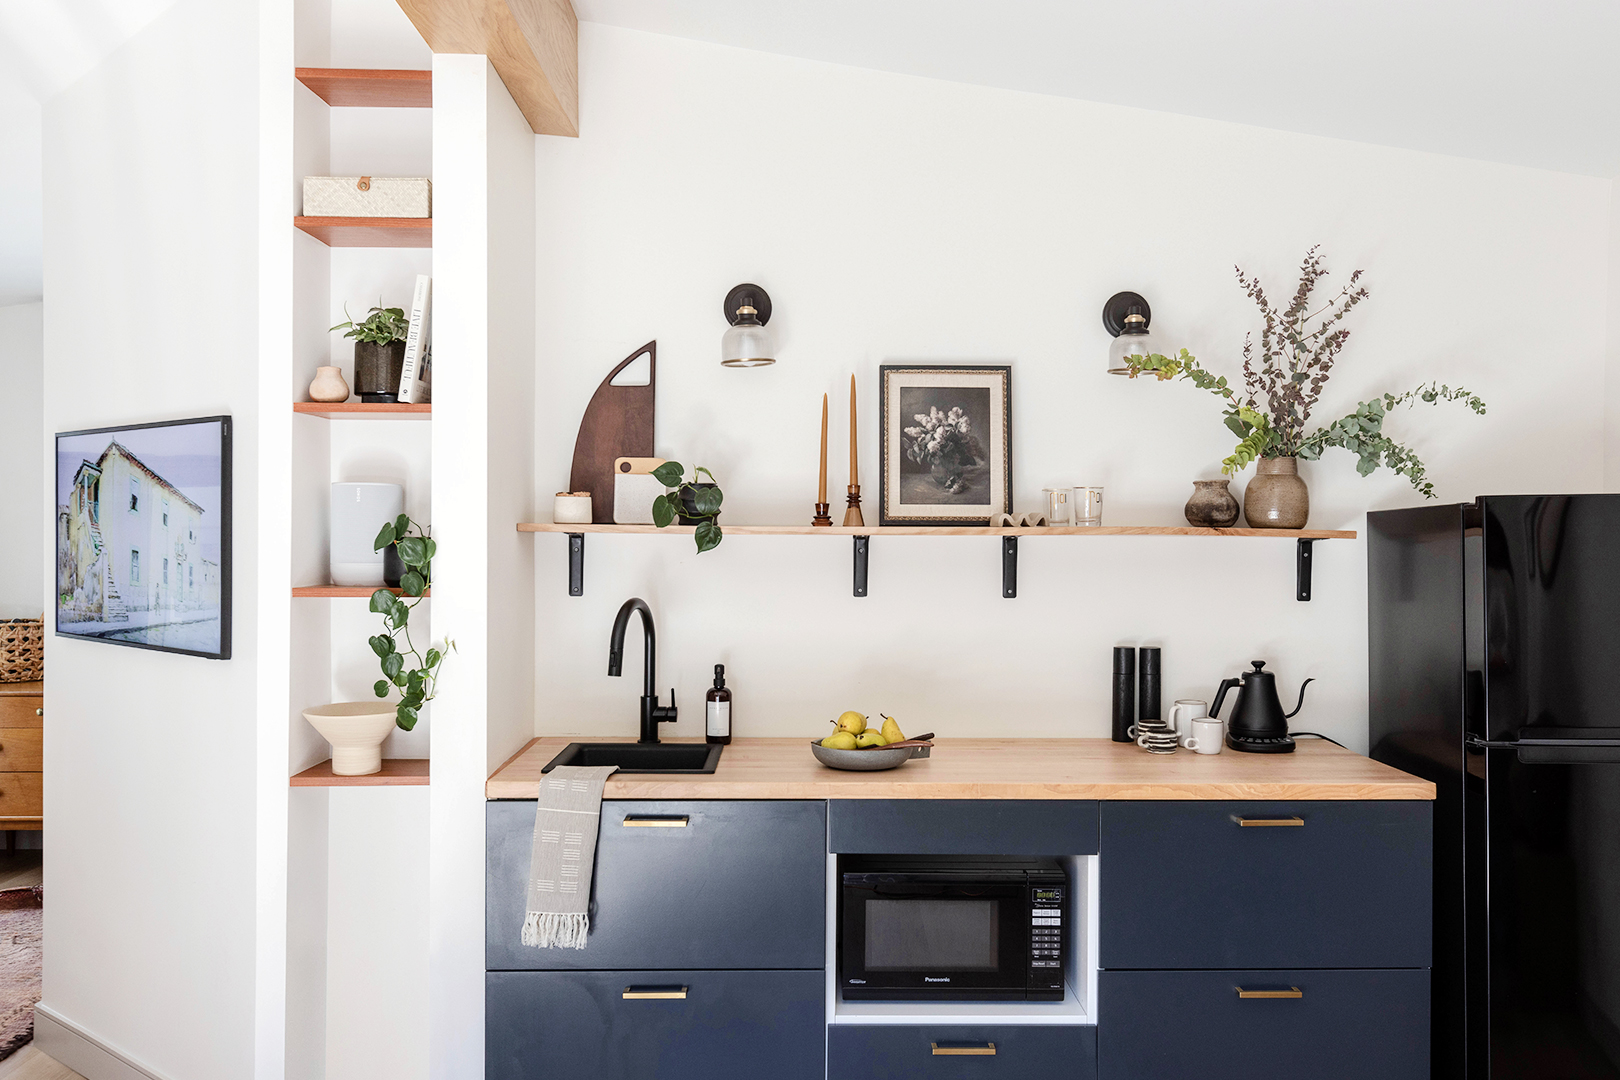
The DIY process involved three main steps. First, the Besta units were assembled according to IKEA's instructions. Subsequently, a rectangular frame was constructed from salvaged redwood 2-by-4s to provide a sturdy base underneath the units. Cross beams were added for additional support, and both a traditional torpedo laser and a laser level were used to ensure the frame's evenness and consistent seating height. The second step focused on securing the structure and enhancing its functionality. The two base frames were connected with wood screws, and the entire assembly was then securely attached to the wall using base plates. A support box, also made from 2-by-4s, was installed in the corner where the two benches met, allowing for comfortable seating in that area. The entire structure was then painted with Benjamin Moore’s Midnight using a paint sprayer to seamlessly match the existing kitchenette cabinets.
The final step involved creating the banquette's top and sides. Maple-wood boards were sourced from a local lumberyard and precisely cut to fit the dimensions of the structure. A key element of the design was achieving a seamless miter-edge joint for the waterfall effect, which required careful measurement and preparation. The couple consulted YouTube tutorials for guidance, emphasizing the importance of thorough planning to avoid material waste, especially given the cost of lumber. After applying wood glue to the undersides, the boards were carefully positioned and nudged into place with a hammer to ensure a snug fit. Once the glue dried, the custom banquette was ready for use, providing both seating and discreet storage solutions for the guesthouse. This project exemplifies how readily available IKEA products can be creatively adapted to meet specific design and storage needs within a budget, making it an accessible option for DIY enthusiasts looking to enhance their living spaces.
#IKEAHack #DIYFurniture #BanquetteSeating #SmallSpaceSolutions #HomeRenovation #StorageSolutions #GuestHouseDesign #BudgetDecor #IKEAHack #DIYFurniture #BanquetteSeating #SmallSpaceSolutions #HomeRenovation #StorageSolutions #GuestHouseDesign #BudgetDecor
0 comment in total
 No comments yet
You may also like
5 IKEA BESTA hacks that will transform your basic storage cabinets into stylish pieces with a high-end look
This 'Off the Shelf' Banquette Seating Looks So Custom |

These Designer Banquettes Are the Seating Solution You Need

Why Your Kitchen Needs A Built-In Banquette

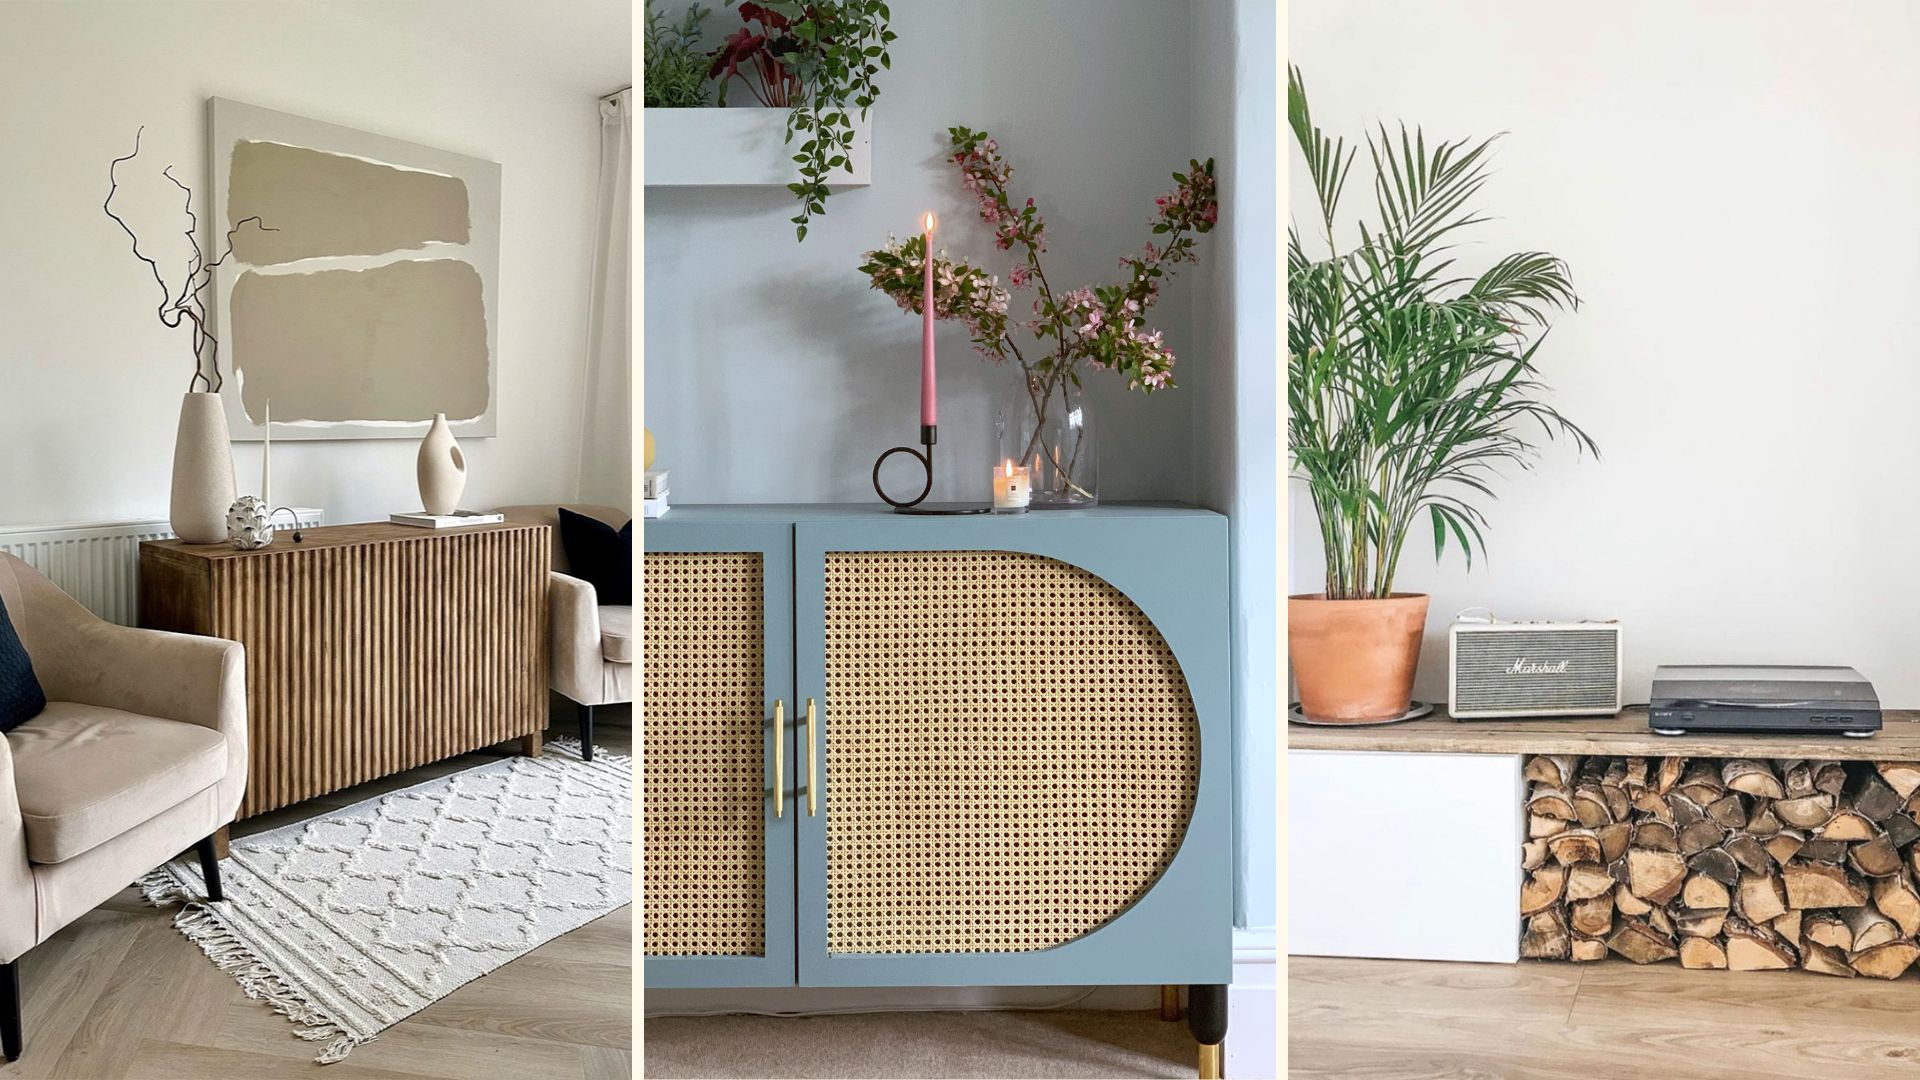
18 IKEA Besta hack ideas – bespoke storage solutions for every room

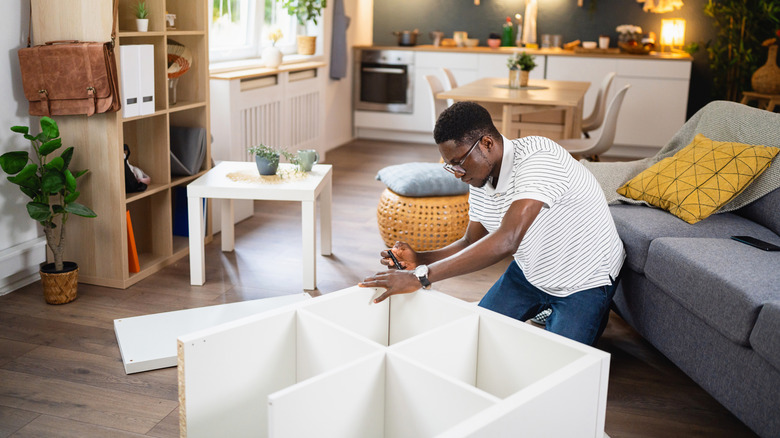
8 Brilliant IKEA STALL Hacks To Make Your Storage Look Luxe

The Clever Kitchen Storage Solution That Comes From An Affordable IKEA Hack
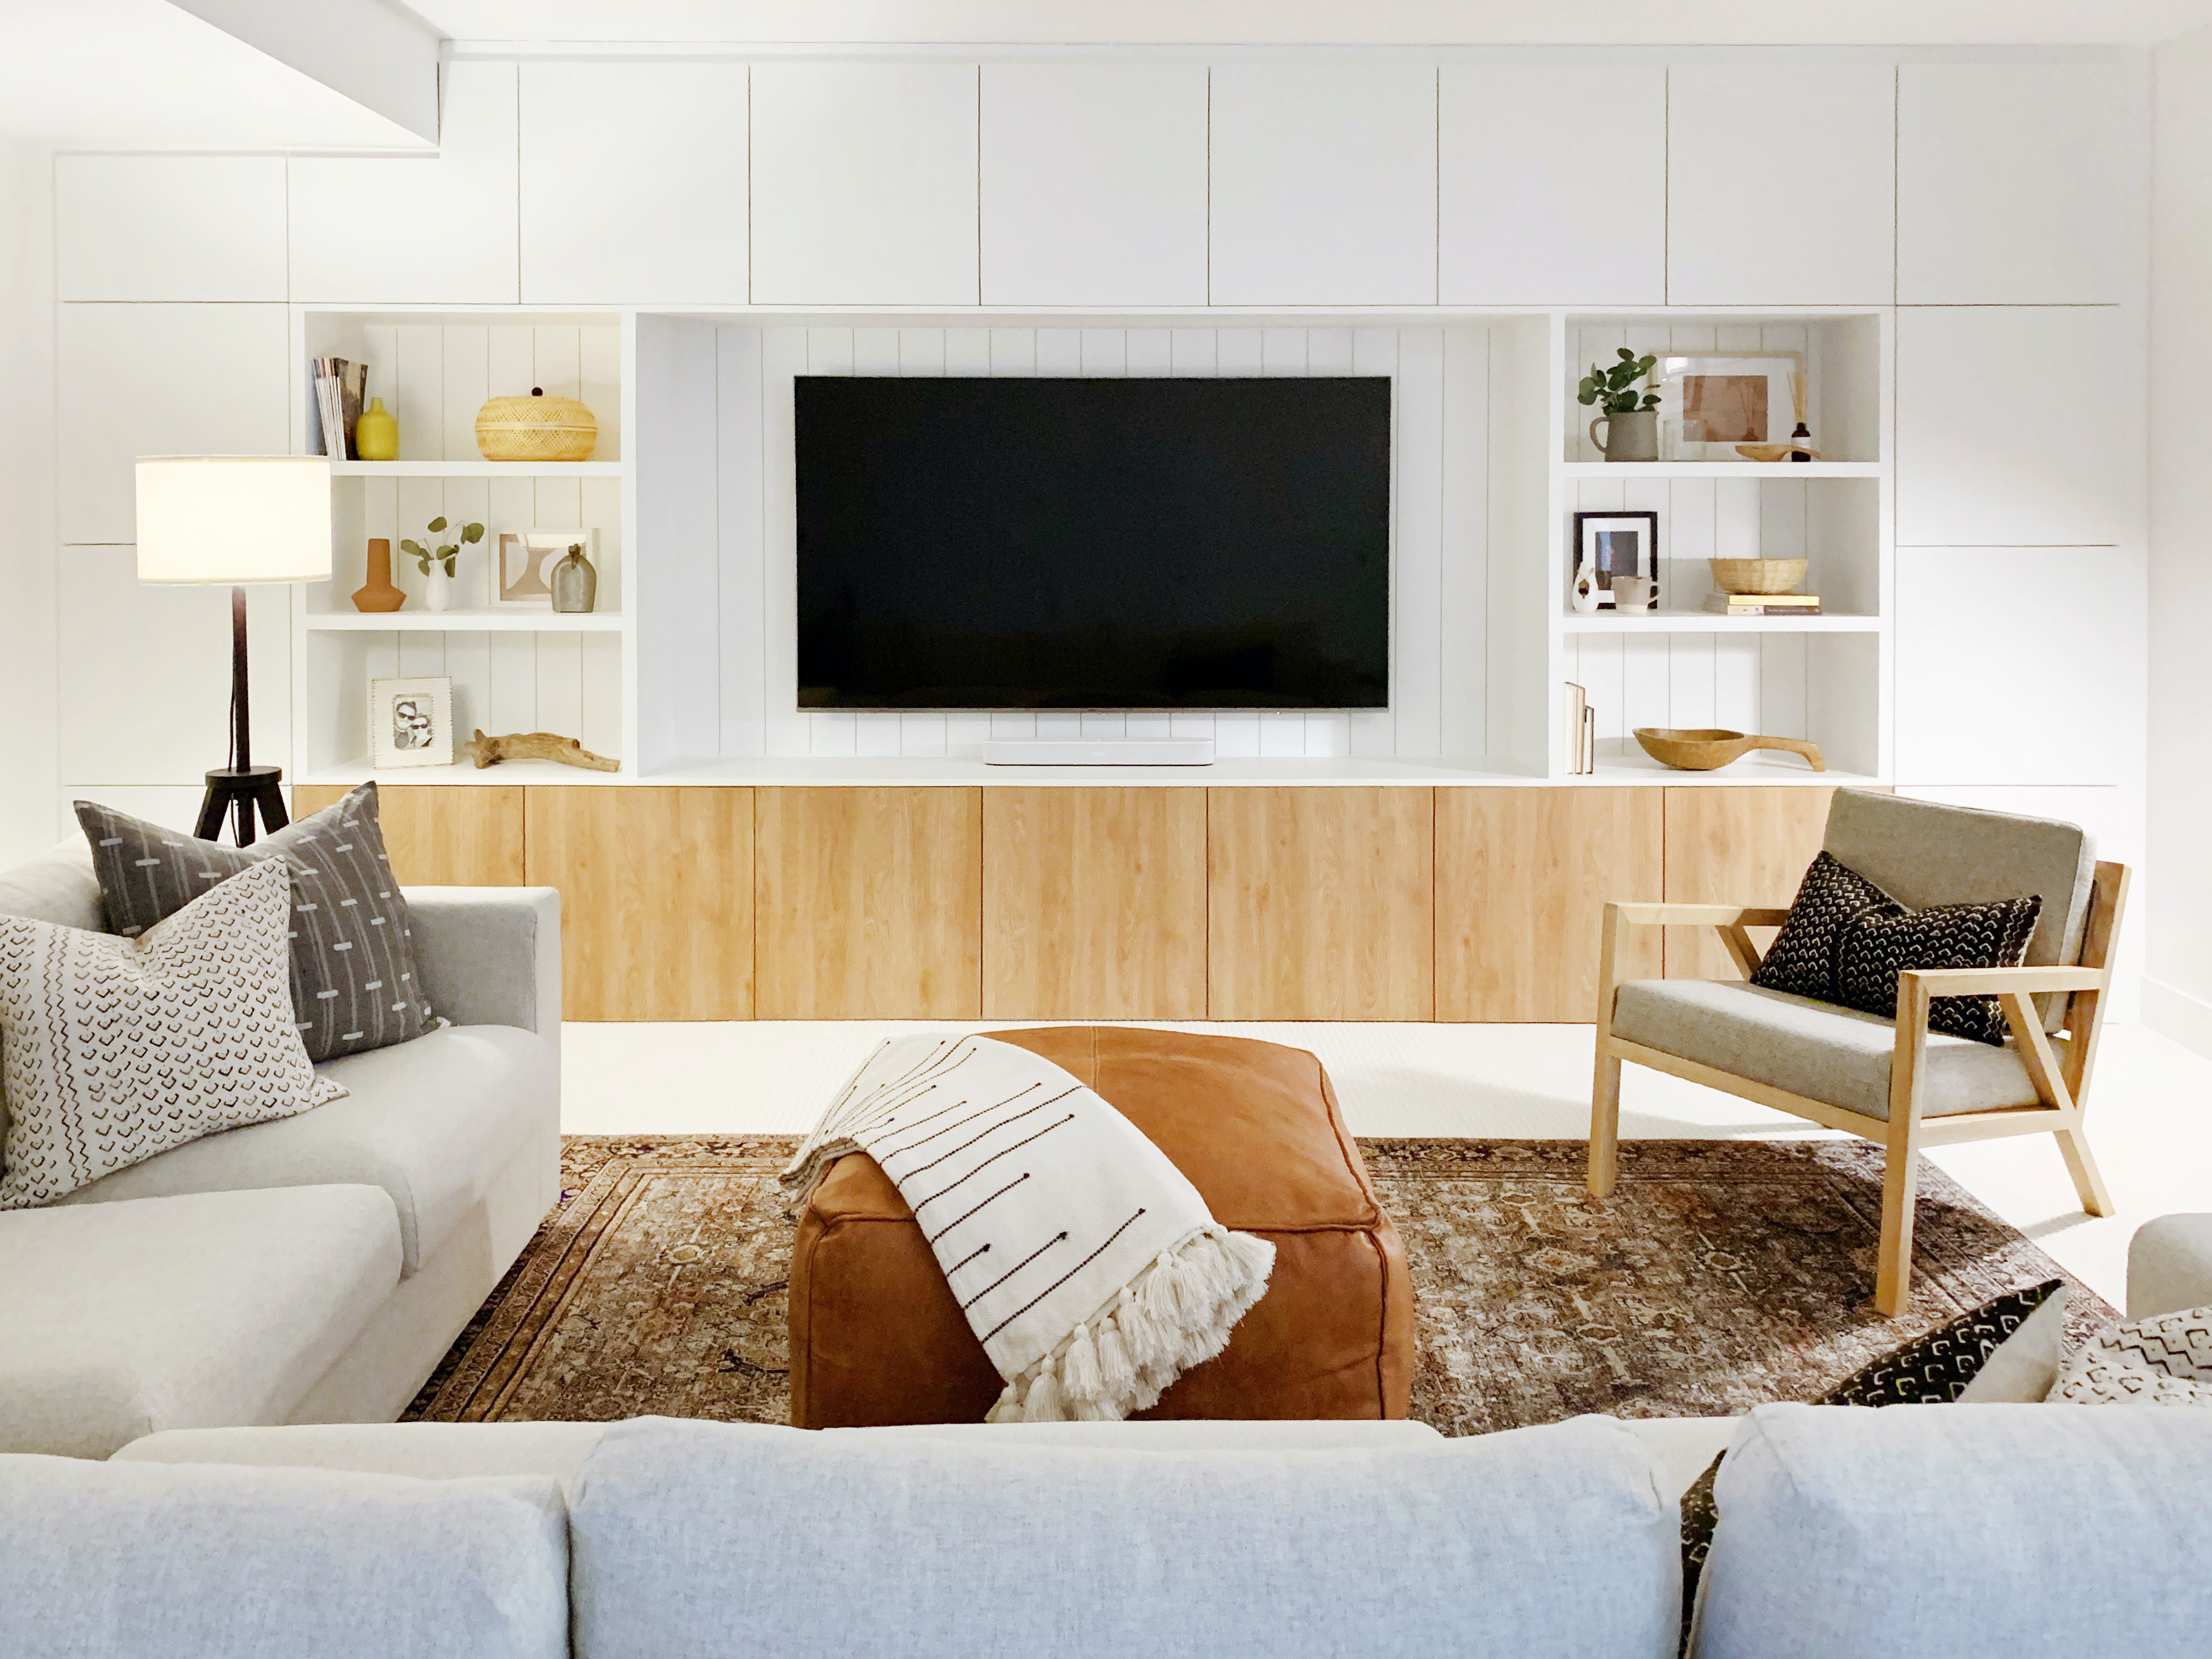
IKEA Built-In Hacks — 12 Inspiring Bespoke DIYs for Stylish Storage on a Budget
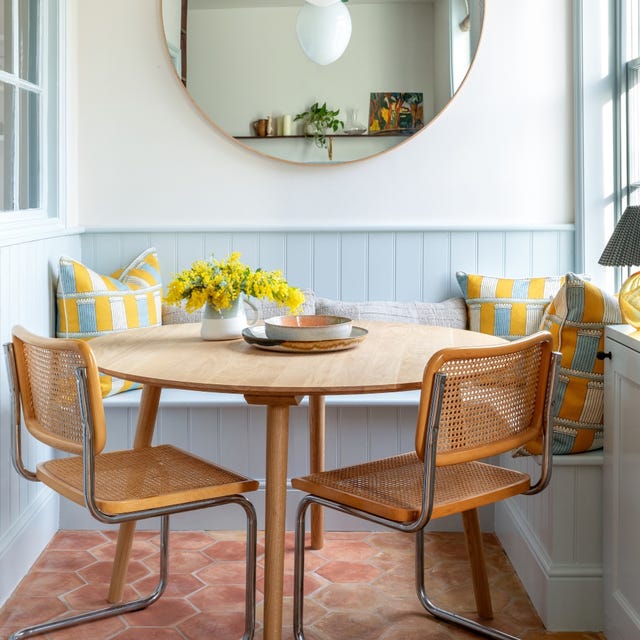
15 fabulous banquette seating ideas to inspire your next reno
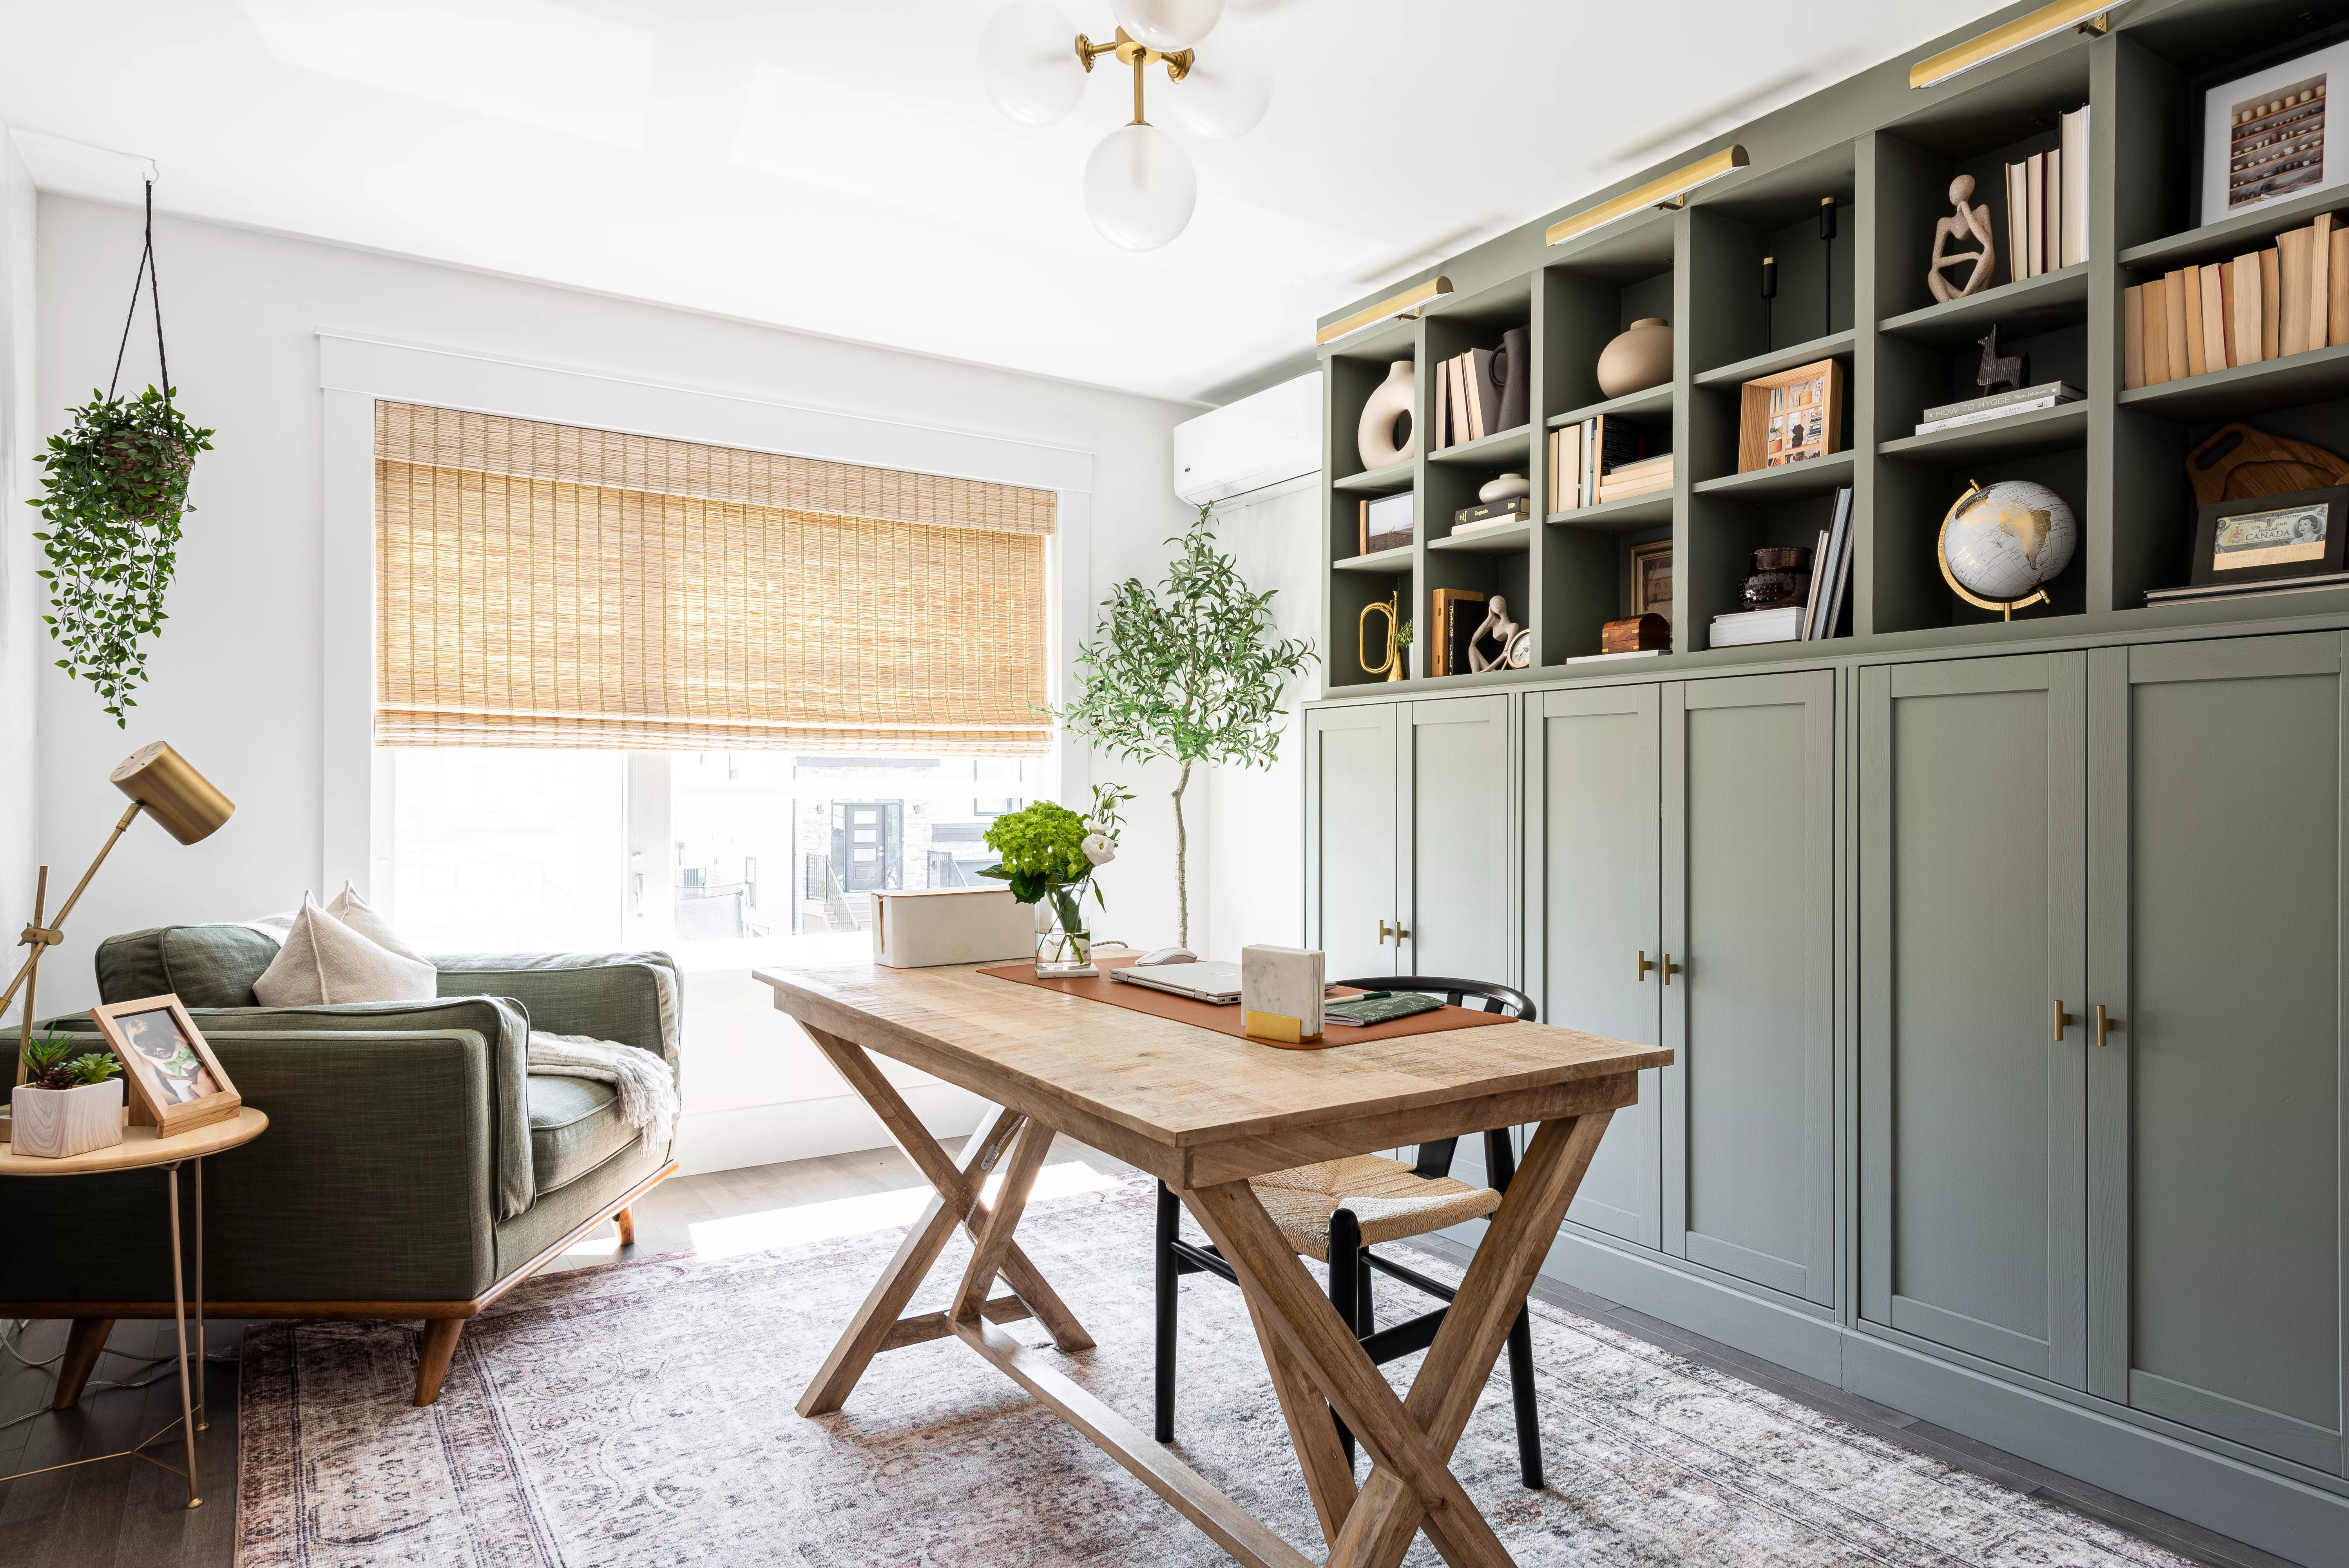
How to Use IKEA Furniture for Built-In Storage
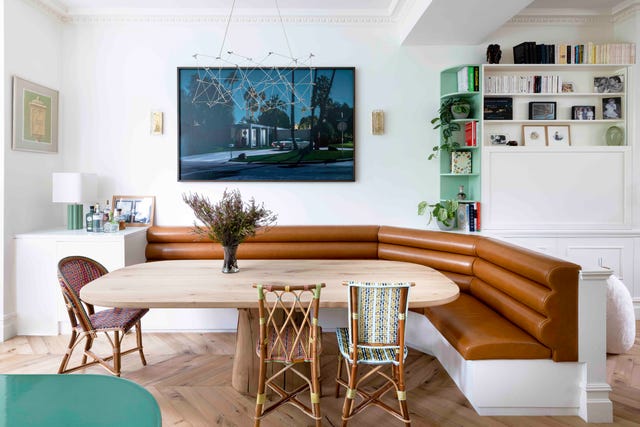
Clever banquette dining designs to inspire

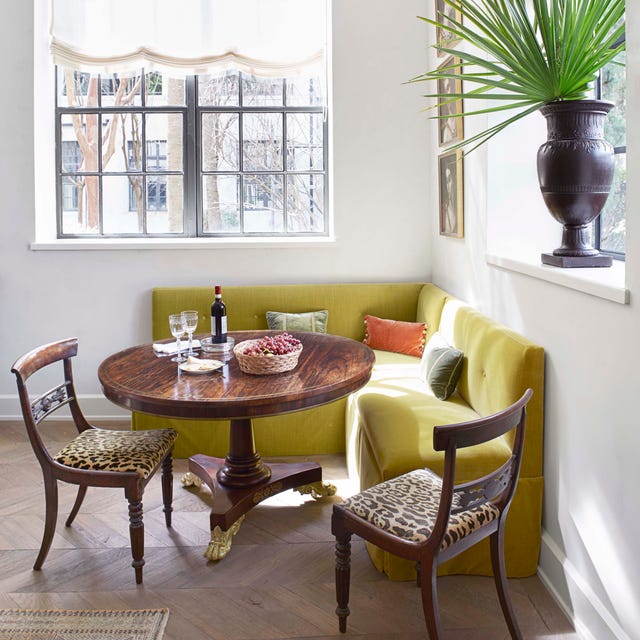
13 Plush Banquette Seating Ideas That Are Just As Cozy As They Are Chic

DIY An Innovative Storage Solution On An IKEA Budget With This Clever Hack
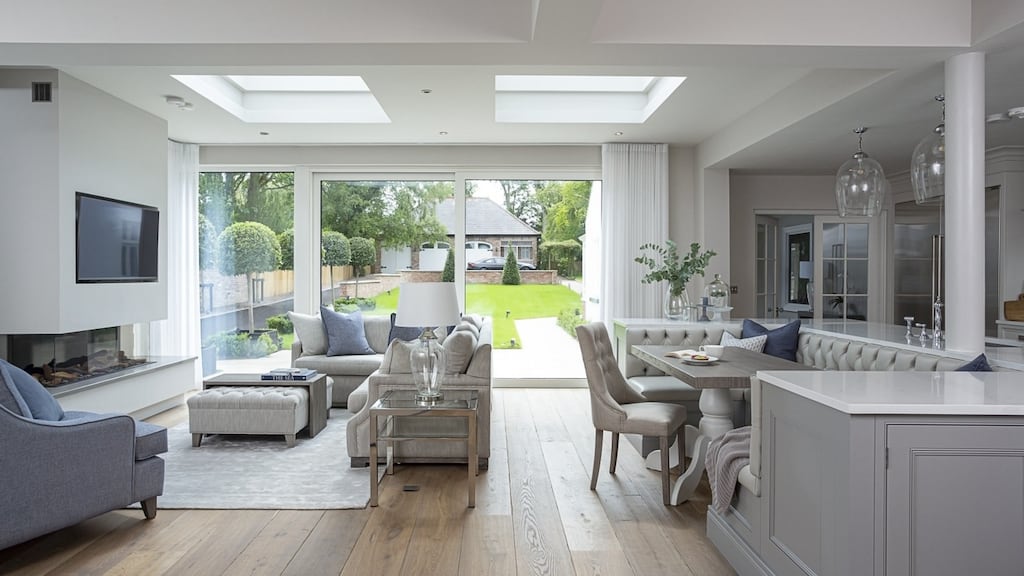
On trend: Choosing the perfect banquette for your home
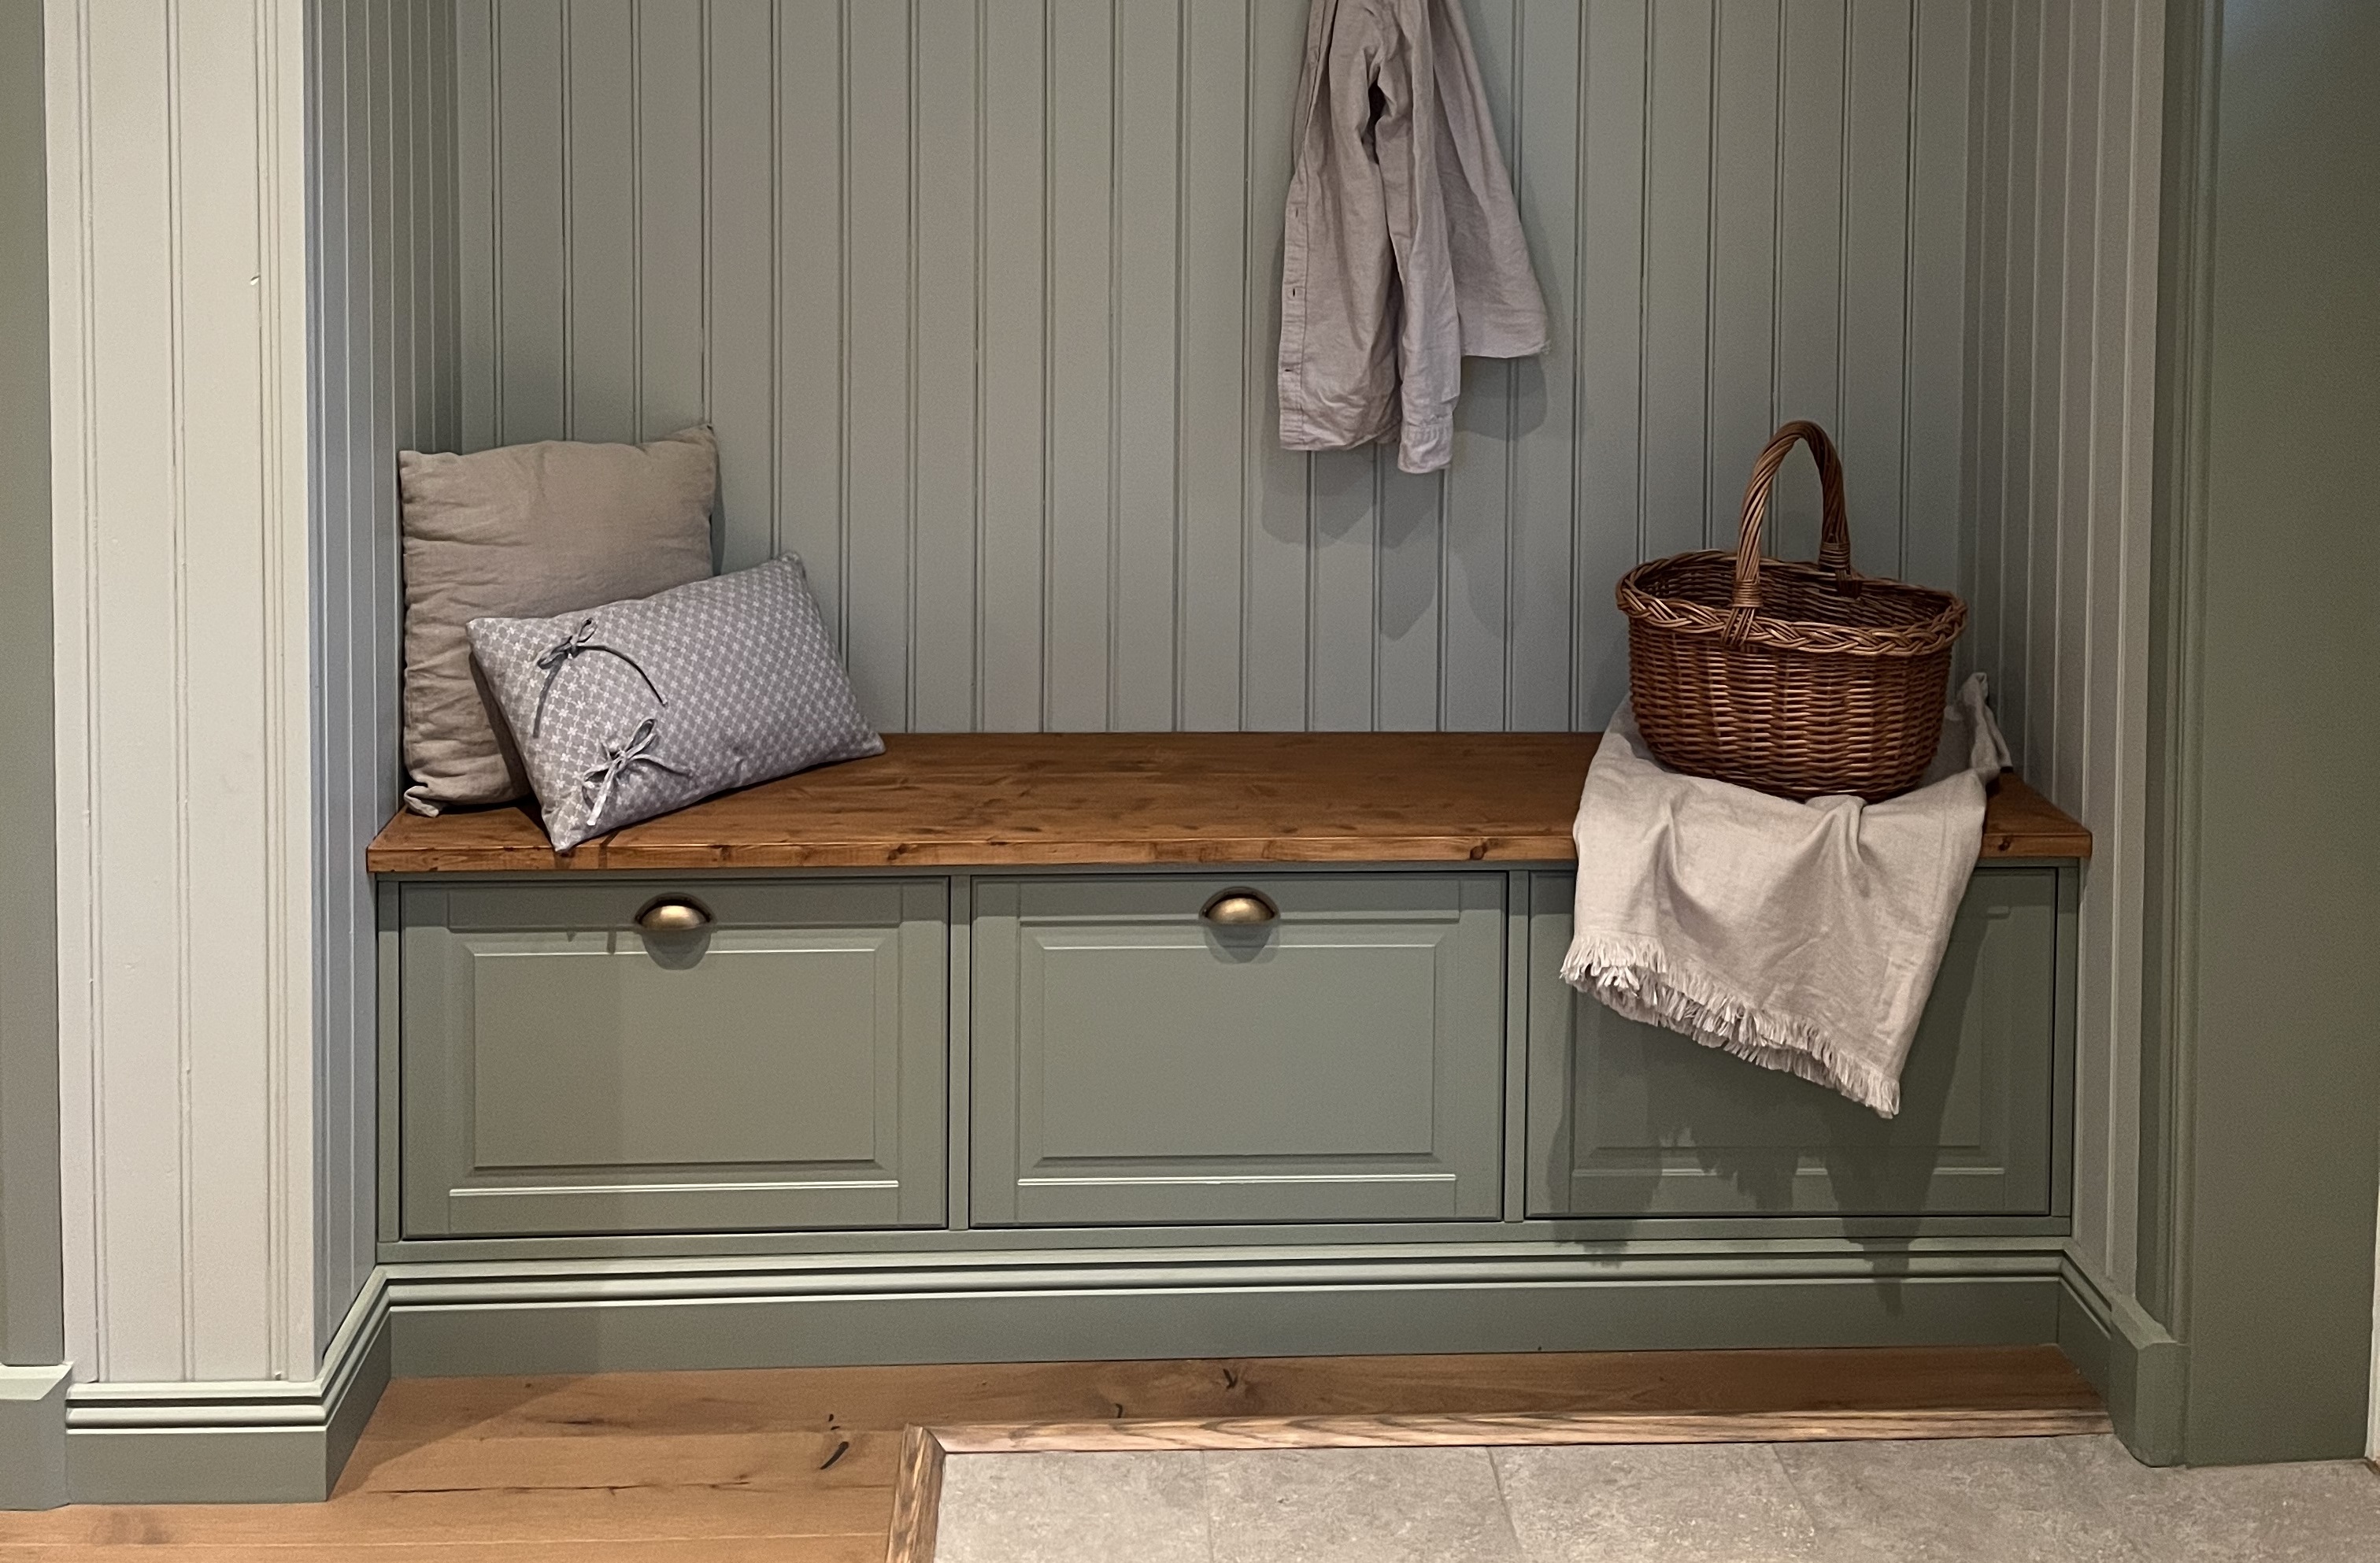
This IKEA entryway hack uses METOD kitchen cabinets to make clever built-in storage seating
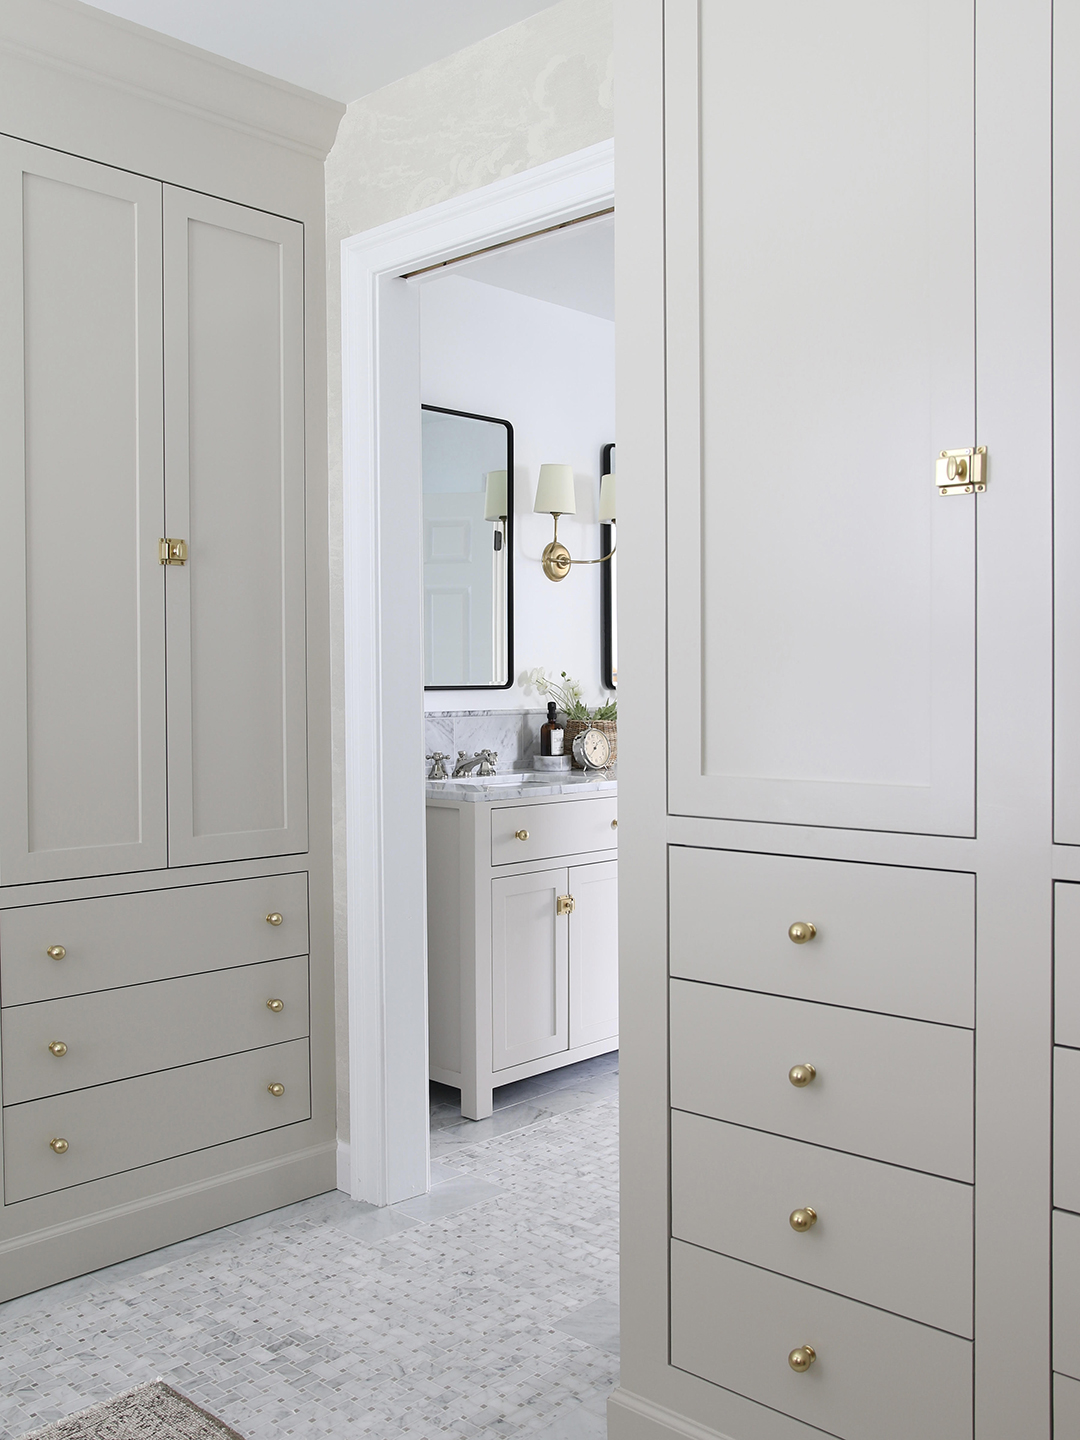
11 IKEA Built-In Hacks Clever Enough to Fool Any Millworker
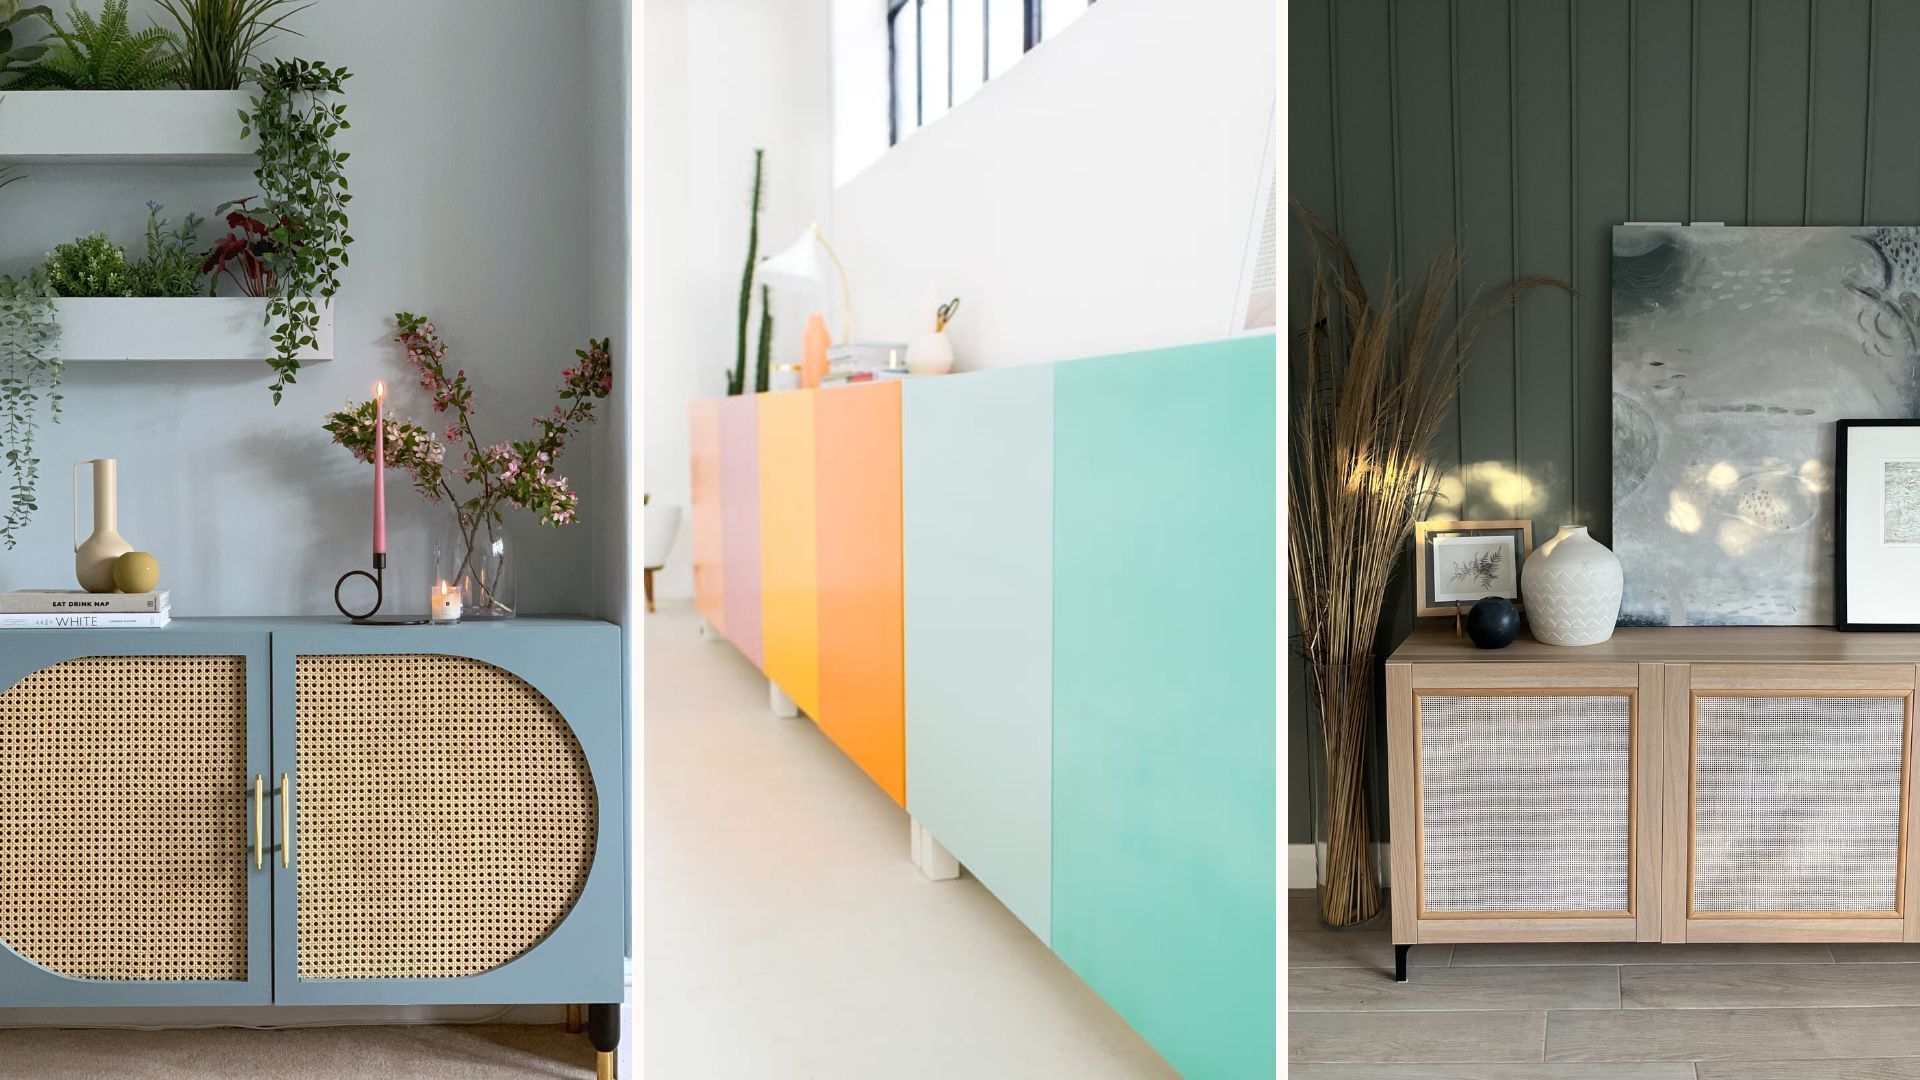
10 IKEA Besta hacks – bespoke storage solutions for every room
Genius IKEA hacks for every room | loveproperty.com
Is banquette seating replacing the kitchen island? Here's why this café-inspired look is trending in 2025
Brilliant IKEA BESTÅ Hacks To Take Your Home Storage To The Next Level