1/6
Construct a DIY Solar-Powered Water Feature for Your Garden
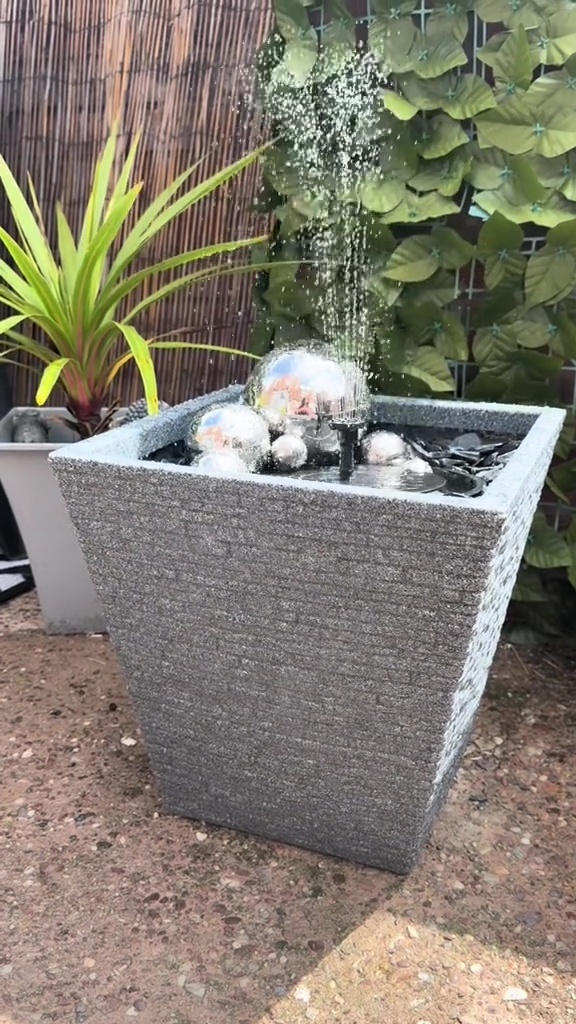
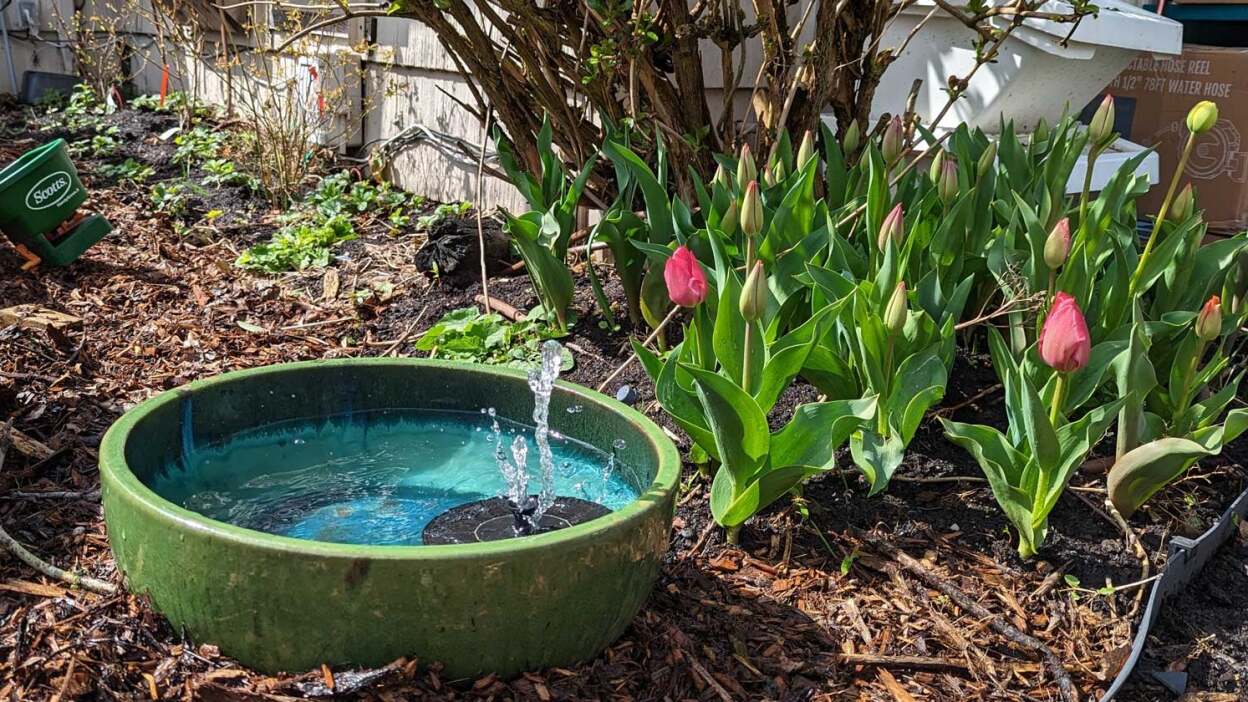
This article outlines several DIY methods for constructing solar-powered water features in a garden, catering to different complexities and budgets. It begins by describing a simple solar fountain using an inexpensive floating pump, which can transform any bird bath or large bowl into an attractive water source for local wildlife. The author initially experimented with a basic solar pump in a bird bath, observing that birds were significantly more drawn to the moving water than to still water.
The first project detailed is a basic solar fountain. This project requires a vessel capable of holding at least a gallon of water and receiving ample sunlight. The author suggests using inexpensive floating solar pumps, available for under $20, which come with various spray configurations. To maintain water levels, daily refilling is recommended, and the pump should be stored indoors during winter. The article also advises filling the basin with stones to provide safe landing and drinking spots for birds and bees. It is noted that most basic solar fountains operate only in direct sunlight, though some models with higher battery capacities can function after sunset, and some include lights.
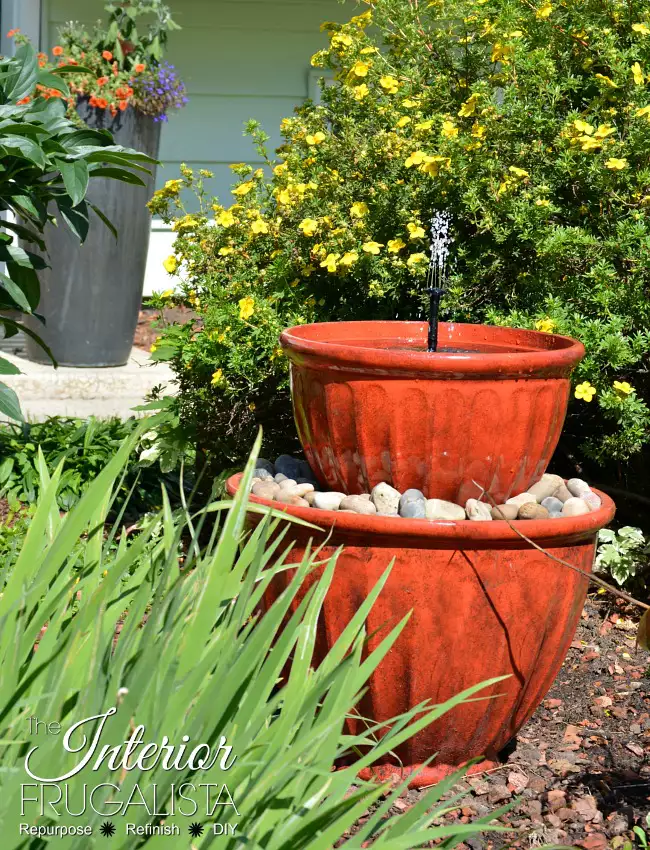
The second project is a solar spillover fountain, designed for providing water to land-based critters during hot weather. This project requires a different type of solar pump, one with tubing and sufficient power to push water upwards. The construction involves two planters of different sizes, with the bottom planter needing its drainage holes sealed with waterproof silicone and rocks. A small terra cotta pot, or a plastic pot with a drilled hole, is used to support the upper planter. The pond pump is placed in the larger basin, secured with silicone, and its tubing is threaded through the supporting pot and the bottom of the smaller bowl. River rock fills both planters, and moldable silicone (Sugru) is used to create a watertight seal around the tubing in the upper bowl. After a 12-hour drying period, the tubing is trimmed, angled, and both bowls are filled with water and rocks, allowing the top bowl to spill over and recycle water.
The third project focuses on creating a solar-powered bubbler fountain, a more ambitious endeavor due to the required water lift. The author explains the need for a solar pump with adequate Gallons Per Hour (GPH) and lift specifications. For continuous operation, even in winter or without direct sun, a battery is necessary to store solar energy. A critical component is a charge controller, which regulates the inconsistent electricity flow from the solar panel to the battery and pump, preventing damage. The article details the process of connecting the solar panel, controller, battery, and a DC pump. Safety precautions, such as avoiding simultaneous contact with positive and negative wires and wearing gloves, are emphasized. The final setup involves burying a pond liner, filling it with rocks, placing the pump, and threading a drilled rock onto a PVC pipe connected to the pump, creating a bubbling water feature. This method allows for a customizable, off-grid water feature that can power various garden elements.
#DIYGarden #SolarPower #WaterFeature #OutdoorLiving #HomeImprovement #GardeningHacks #EcoFriendlyHome #WildlifeFriendly #CreativeProjects #DIYGarden #SolarPower #WaterFeature #OutdoorLiving #HomeImprovement #GardeningHacks #EcoFriendlyHome #WildlifeFriendly #CreativeProjects
0 comment in total
 No comments yet
You may also like
10 Best Garden Water Features

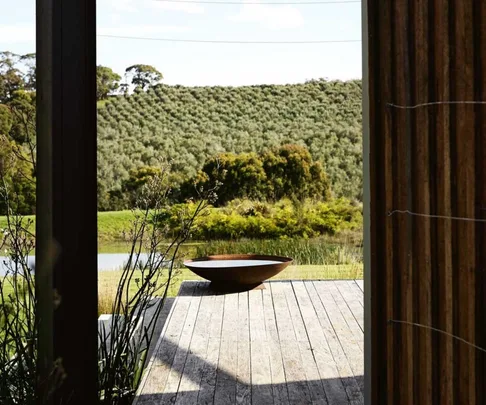
Outdoor water features to turn your garden into a zen oasis

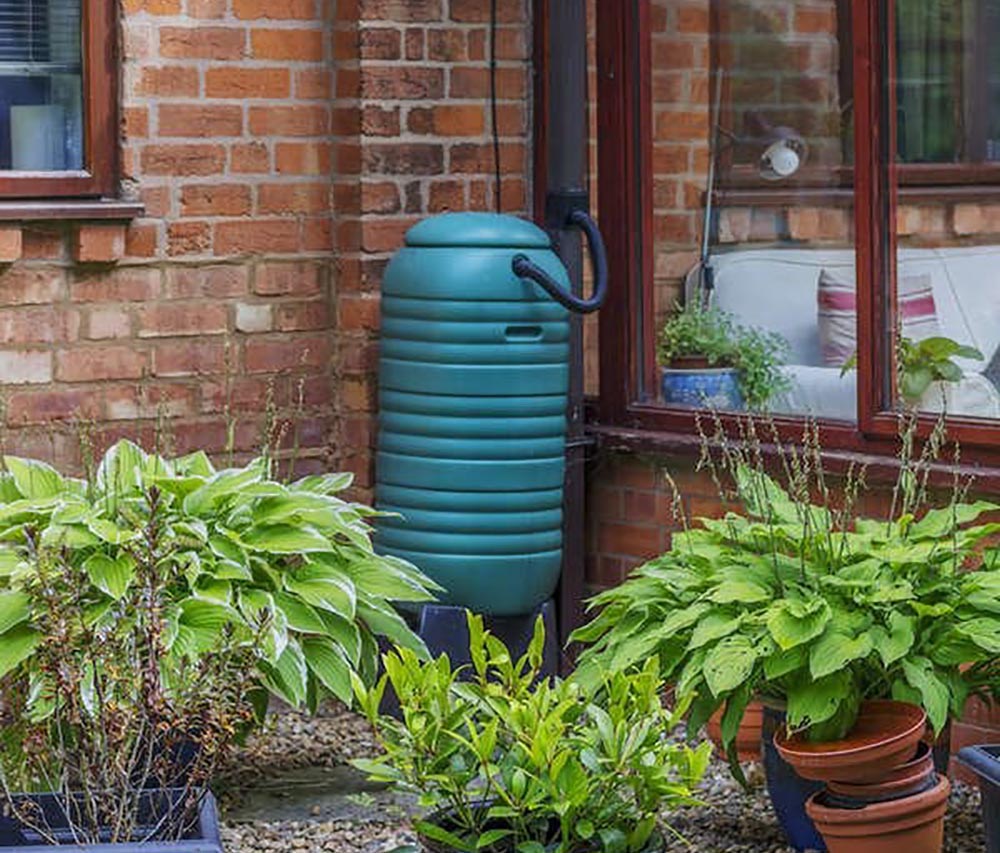
17 Rain Barrels That Make Water Conservation Stylish

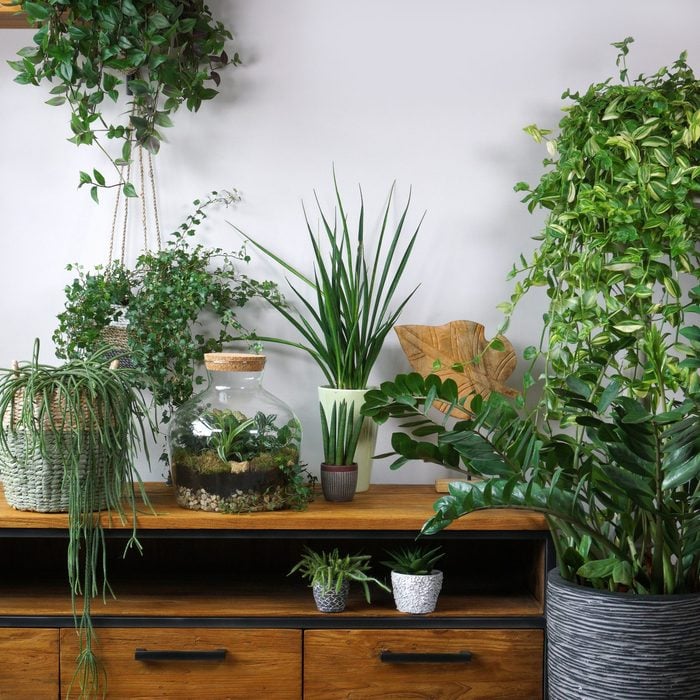
7 Indoor Garden Ideas To Elevate Your Home
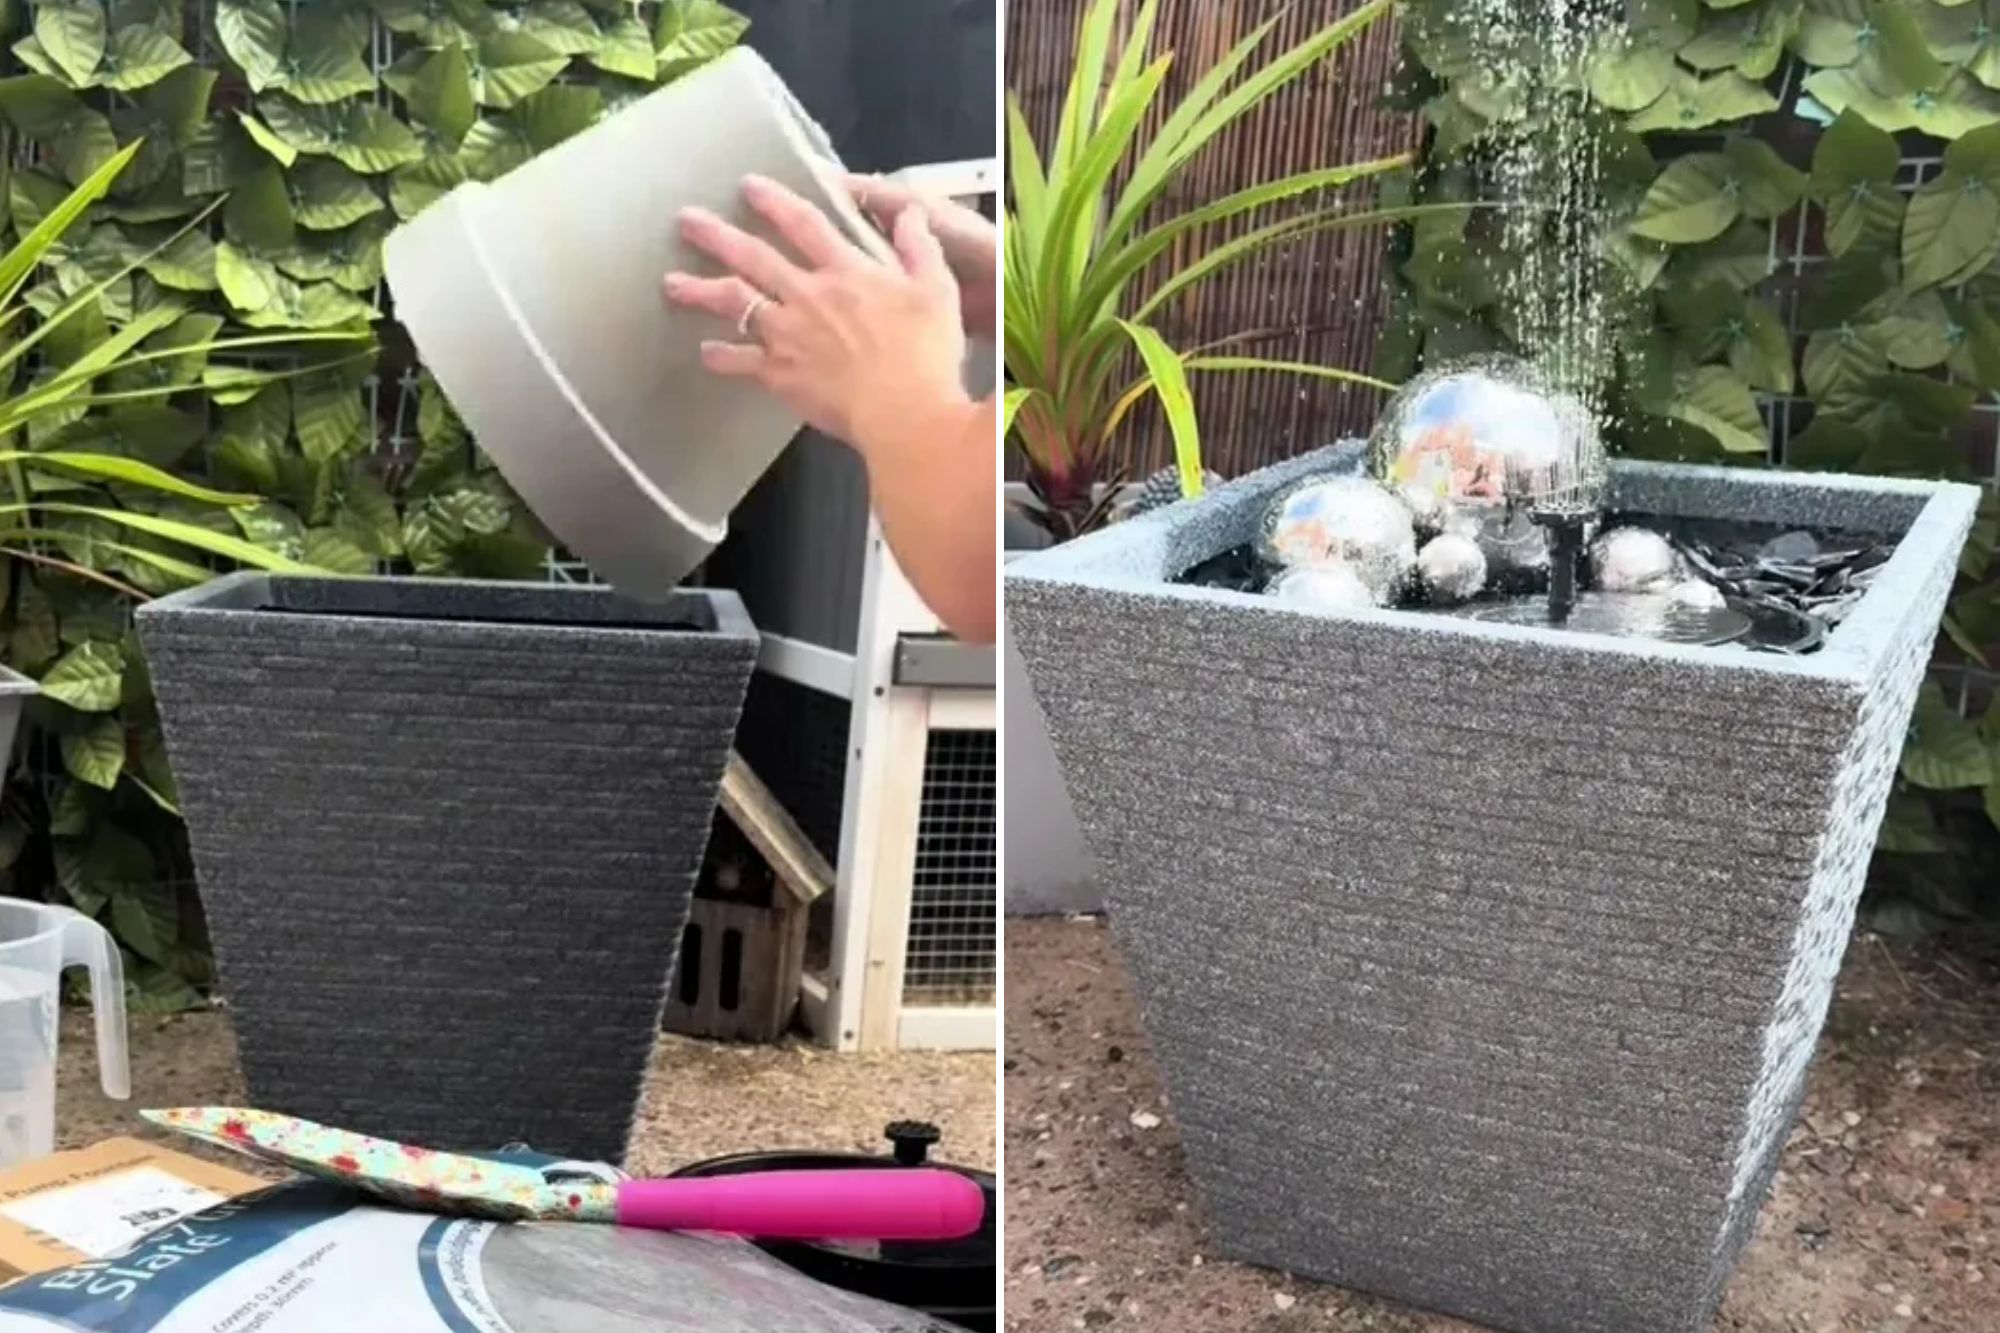
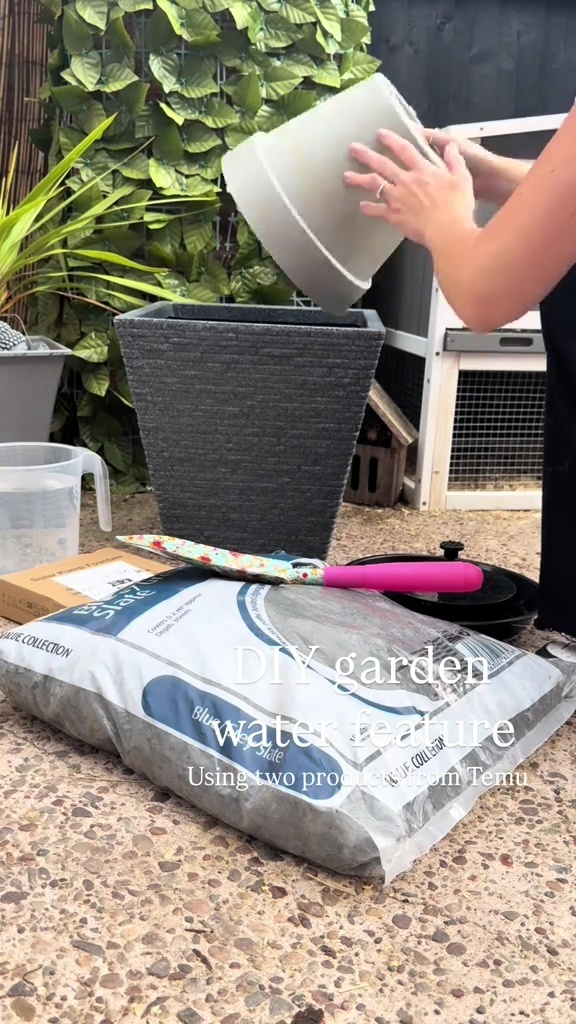
I turned a plant pot into a DIY water feature with Temu bargains - I spent £8.41

Lettuce Grow Farmstand Review: Is this Hydroponic Plant Stand Worth the Investment?
This Miracle Self-Watering Planter Kept My Plant Alive for Over 3 Years Now (Plus 5 More I Love)

30 Garden Lighting Ideas to Make Your Plants Shine

The 14 Best Self-Watering Planters for Even the Most Forgetful Plant Parents
Best solar water pumps for garden fountains

Outdoor Lights | Garden Lights

35 Outdoor Decor Pieces That’ll Make Your Neighbors Green With Envy
16 DIY Outdoor Fountain Ideas for Instant Peaceful Energy

Water feature ideas – 11 ways to add water to any backyard

13 Water feature ideas to add a new sense of flow to your garden

Best Indoor Smart Gardens for 2026


Attn: These Self-Watering Planters Will Turn You Into a Responsible Plant Mom
The best solar-powered lights for your garden

5 Ways to Use Indoor Plant Growing Systems to Help Your Crops Thrive — And That Look Amazing, Too

Want a Calm, Peaceful Backyard Escape? Start With One of These Water Fountains