How to Stain a Wood Deck: Instructions and Materials List
Maintaining a wood deck is essential to preserve its beauty and extend its lifespan. Over time, exposure to weather elements can cause a deck to show signs of wear, such as fading, splintering, and general deterioration. This guide outlines the straightforward process of staining a wood deck, a project easily managed by a novice DIYer over a weekend or two, to restore its appearance and protect it from further damage.
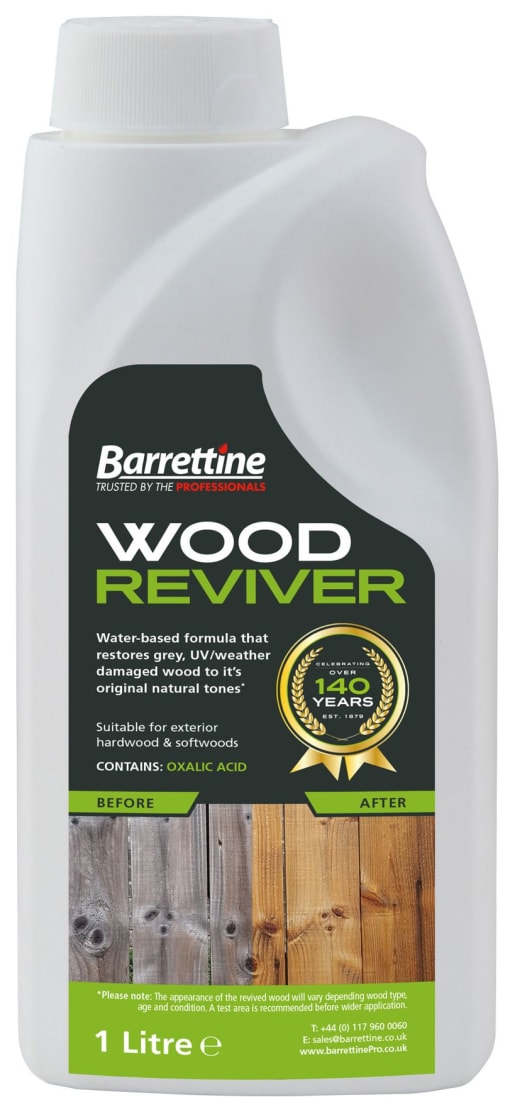
Before initiating the staining process, thorough preparation is crucial. The first step involves completely clearing the deck of all items, including furniture, planters, and any decorations. Once cleared, the entire surface should be swept meticulously to remove loose debris like leaves, twigs, pine needles, and branches. It's also important to dislodge any debris caught between the deck boards. Following the sweeping, the deck needs to be washed thoroughly using a specialized deck detergent. It is critical to select a detergent appropriate for the type of wood and to follow the manufacturer's instructions for optimal results. A stiff-bristle broom can be particularly effective in scrubbing away stubborn dirt, grime, and mildew stains, ensuring a clean surface for the stain application.
After the deck has been cleaned and allowed to dry completely, a careful inspection of the wood's condition is necessary. This step involves checking for any splintered, loose, or raised boards that may require repair or replacement. Addressing these issues before staining ensures an even application and a smooth, safe surface. If the wood surface appears significantly worn or weathered, a light sanding can help rejuvenate it. Sanding not only smooths out rough areas but also raises the wood grain, which improves the absorption of the stain and results in a more uniform finish.
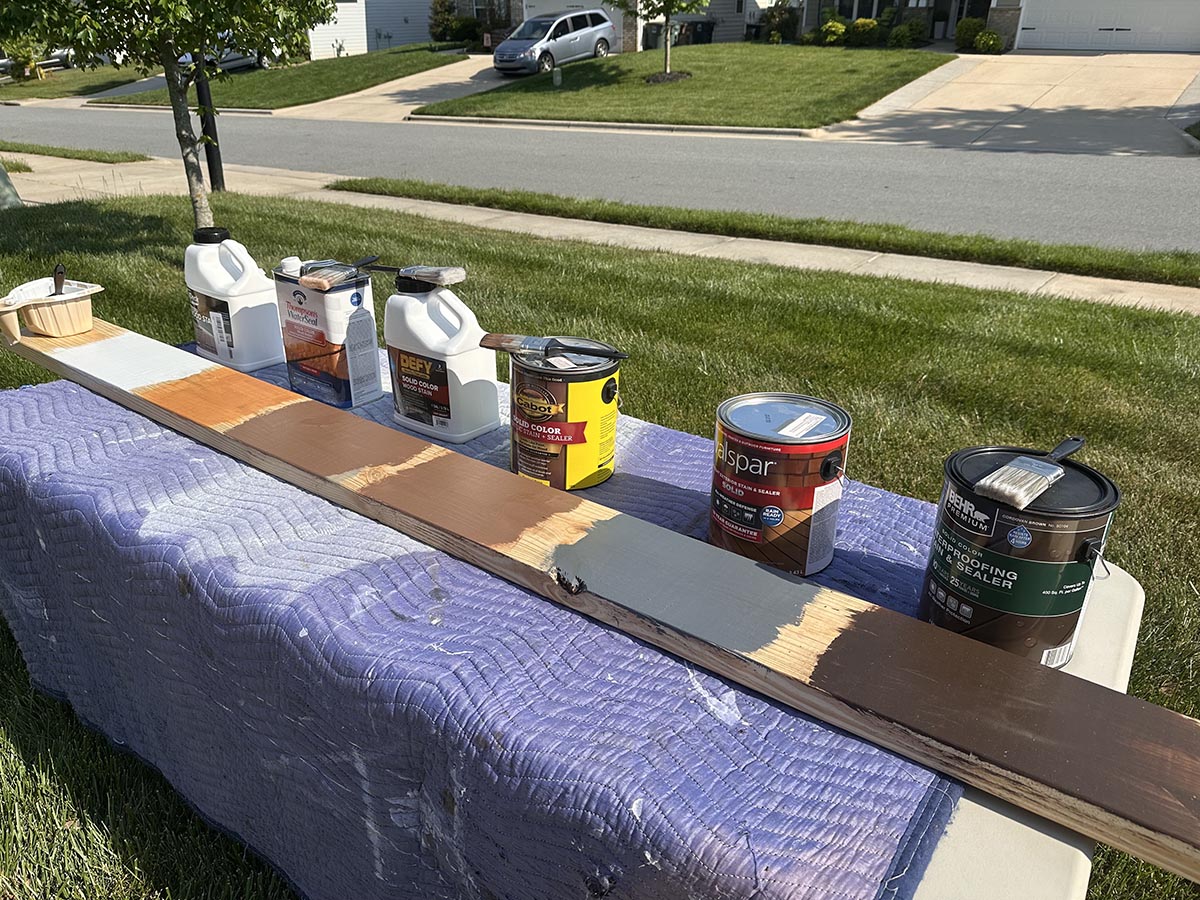
Weather conditions play a significant role in the success of a deck staining project. It is advisable to choose a weekend with a clear forecast, specifically avoiding any predicted rain, as moisture can compromise the stain's adherence and drying process. Additionally, applying stain in direct sunlight should be avoided if possible, as it can cause the stain to dry too quickly, leading to uneven coverage and lap marks. Before applying the stain to the entire deck, it is recommended to test a small, inconspicuous area. This allows for verification that the color is as desired and provides an opportunity to observe how the stain interacts with the wood.
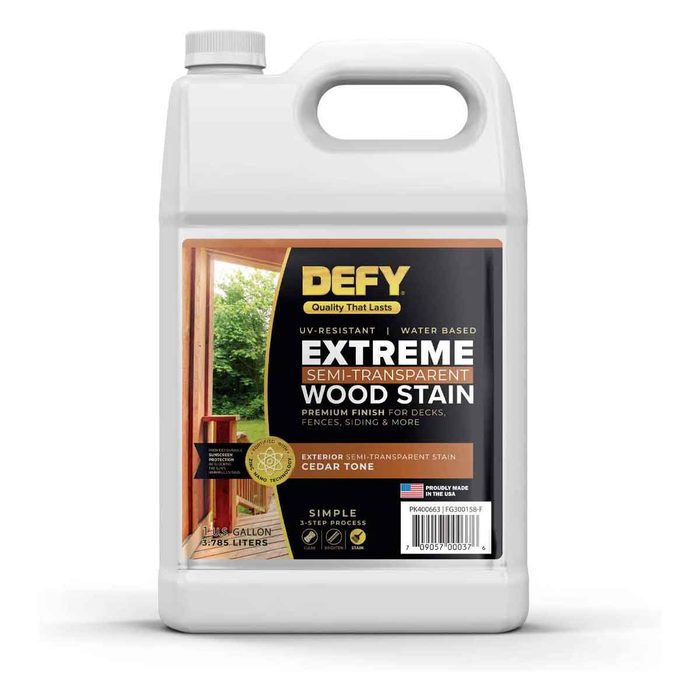
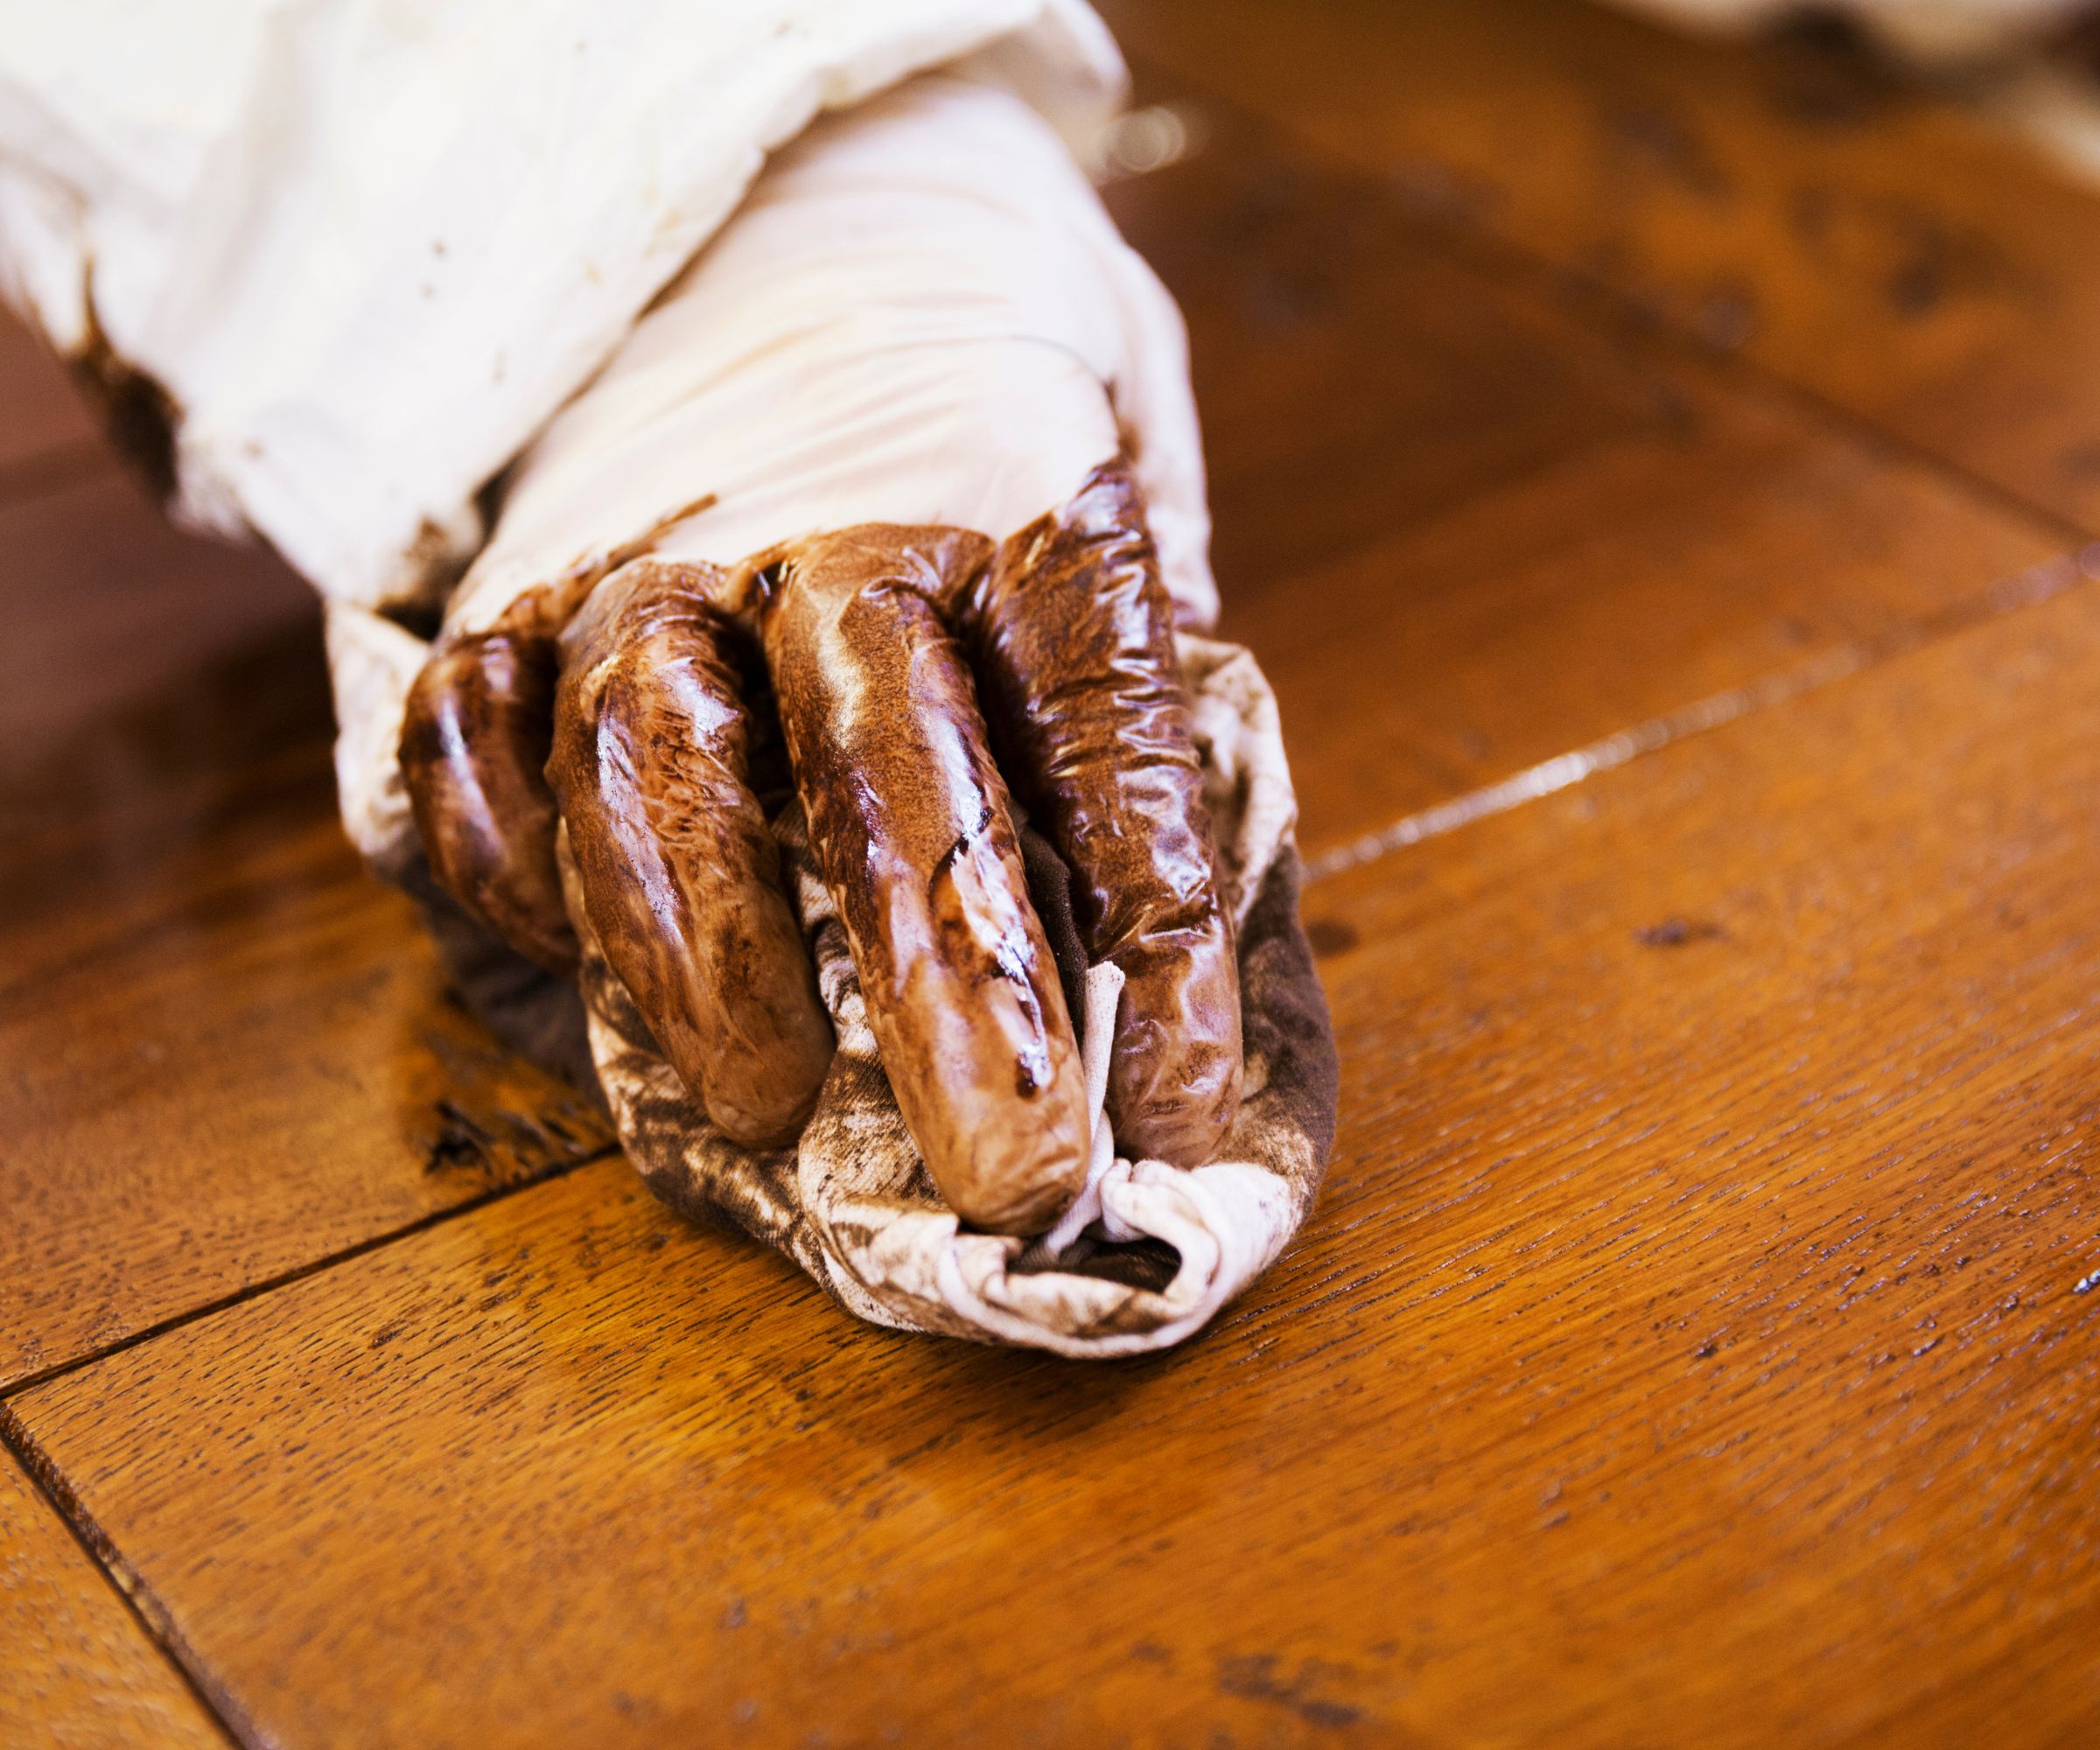
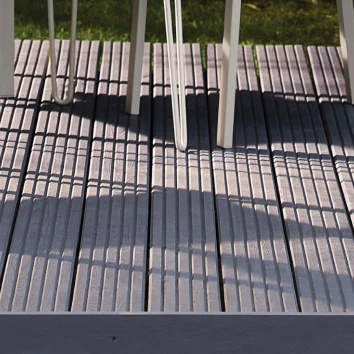
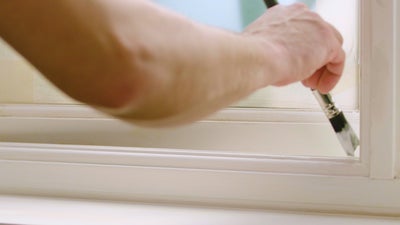
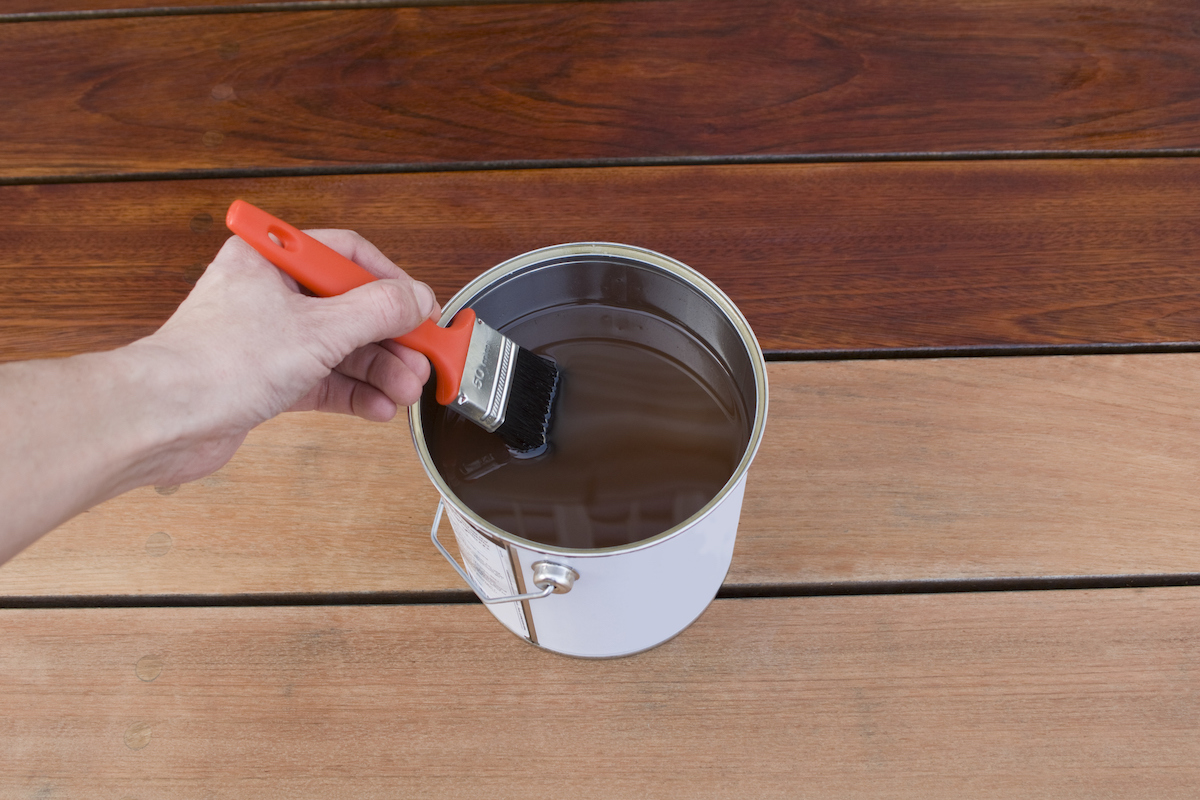

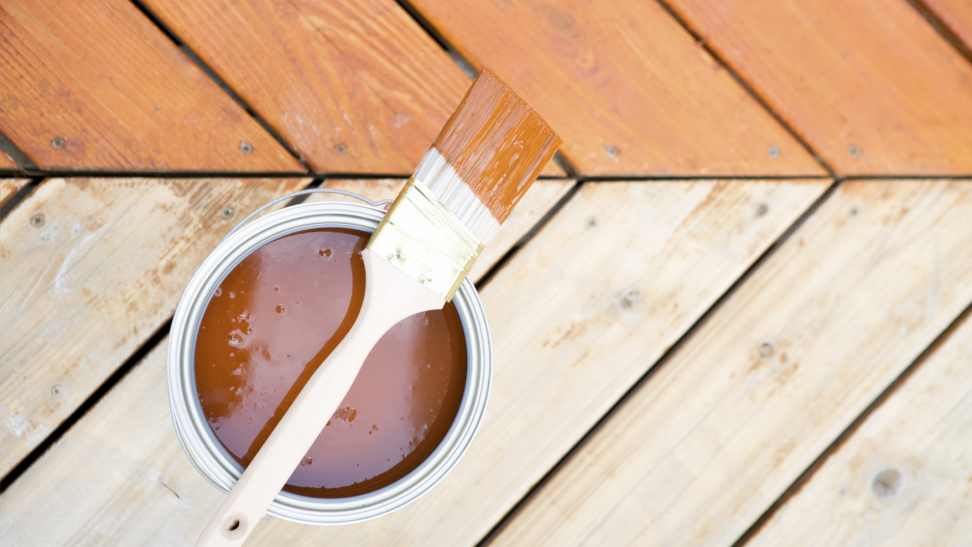
The application of the stain begins by using a bristle brush to heavily coat the open end grain of the deck boards. Subsequently, the stain should be applied to two to three boards at a time, working from one end to the other with long, smooth strokes. To prevent visible lap marks, which occur when wet stain is applied over partially dried stain, it is essential to maintain a wet leading edge. This means continuously working the wet stain into the previously applied wet stain. Only one coat of wood stain is typically sufficient, as applying too much can lead to issues such as peeling, cracking, or improper drying, especially when exposed to moisture. After application, the stain needs adequate time to dry. It is crucial to allow at least three days for the stain to fully cure before placing furniture back on the deck or putting the deck back into service. Regular seasonal maintenance is key to keeping the exterior wood deck in prime condition, with a simple water test serving as an indicator: if water beads on the surface, the existing stain or sealer is still providing effective protection.
#DeckStaining #WoodDeckMaintenance #HomeImprovement #DIYProjects #ExteriorHomeCare #DeckCleaning #WoodProtection #OutdoorLiving #DeckStaining #WoodDeckMaintenance #HomeImprovement #DIYProjects #ExteriorHomeCare #DeckCleaning #WoodProtection #OutdoorLiving
0 comment in total
 No comments yet
You may also like
Best Deck Paints and Stains for 2025

Best decking paint and decking stain
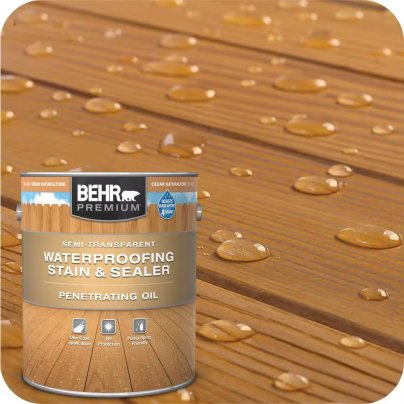
The Best Stains for Cedar Decks, Siding, Fences, and More
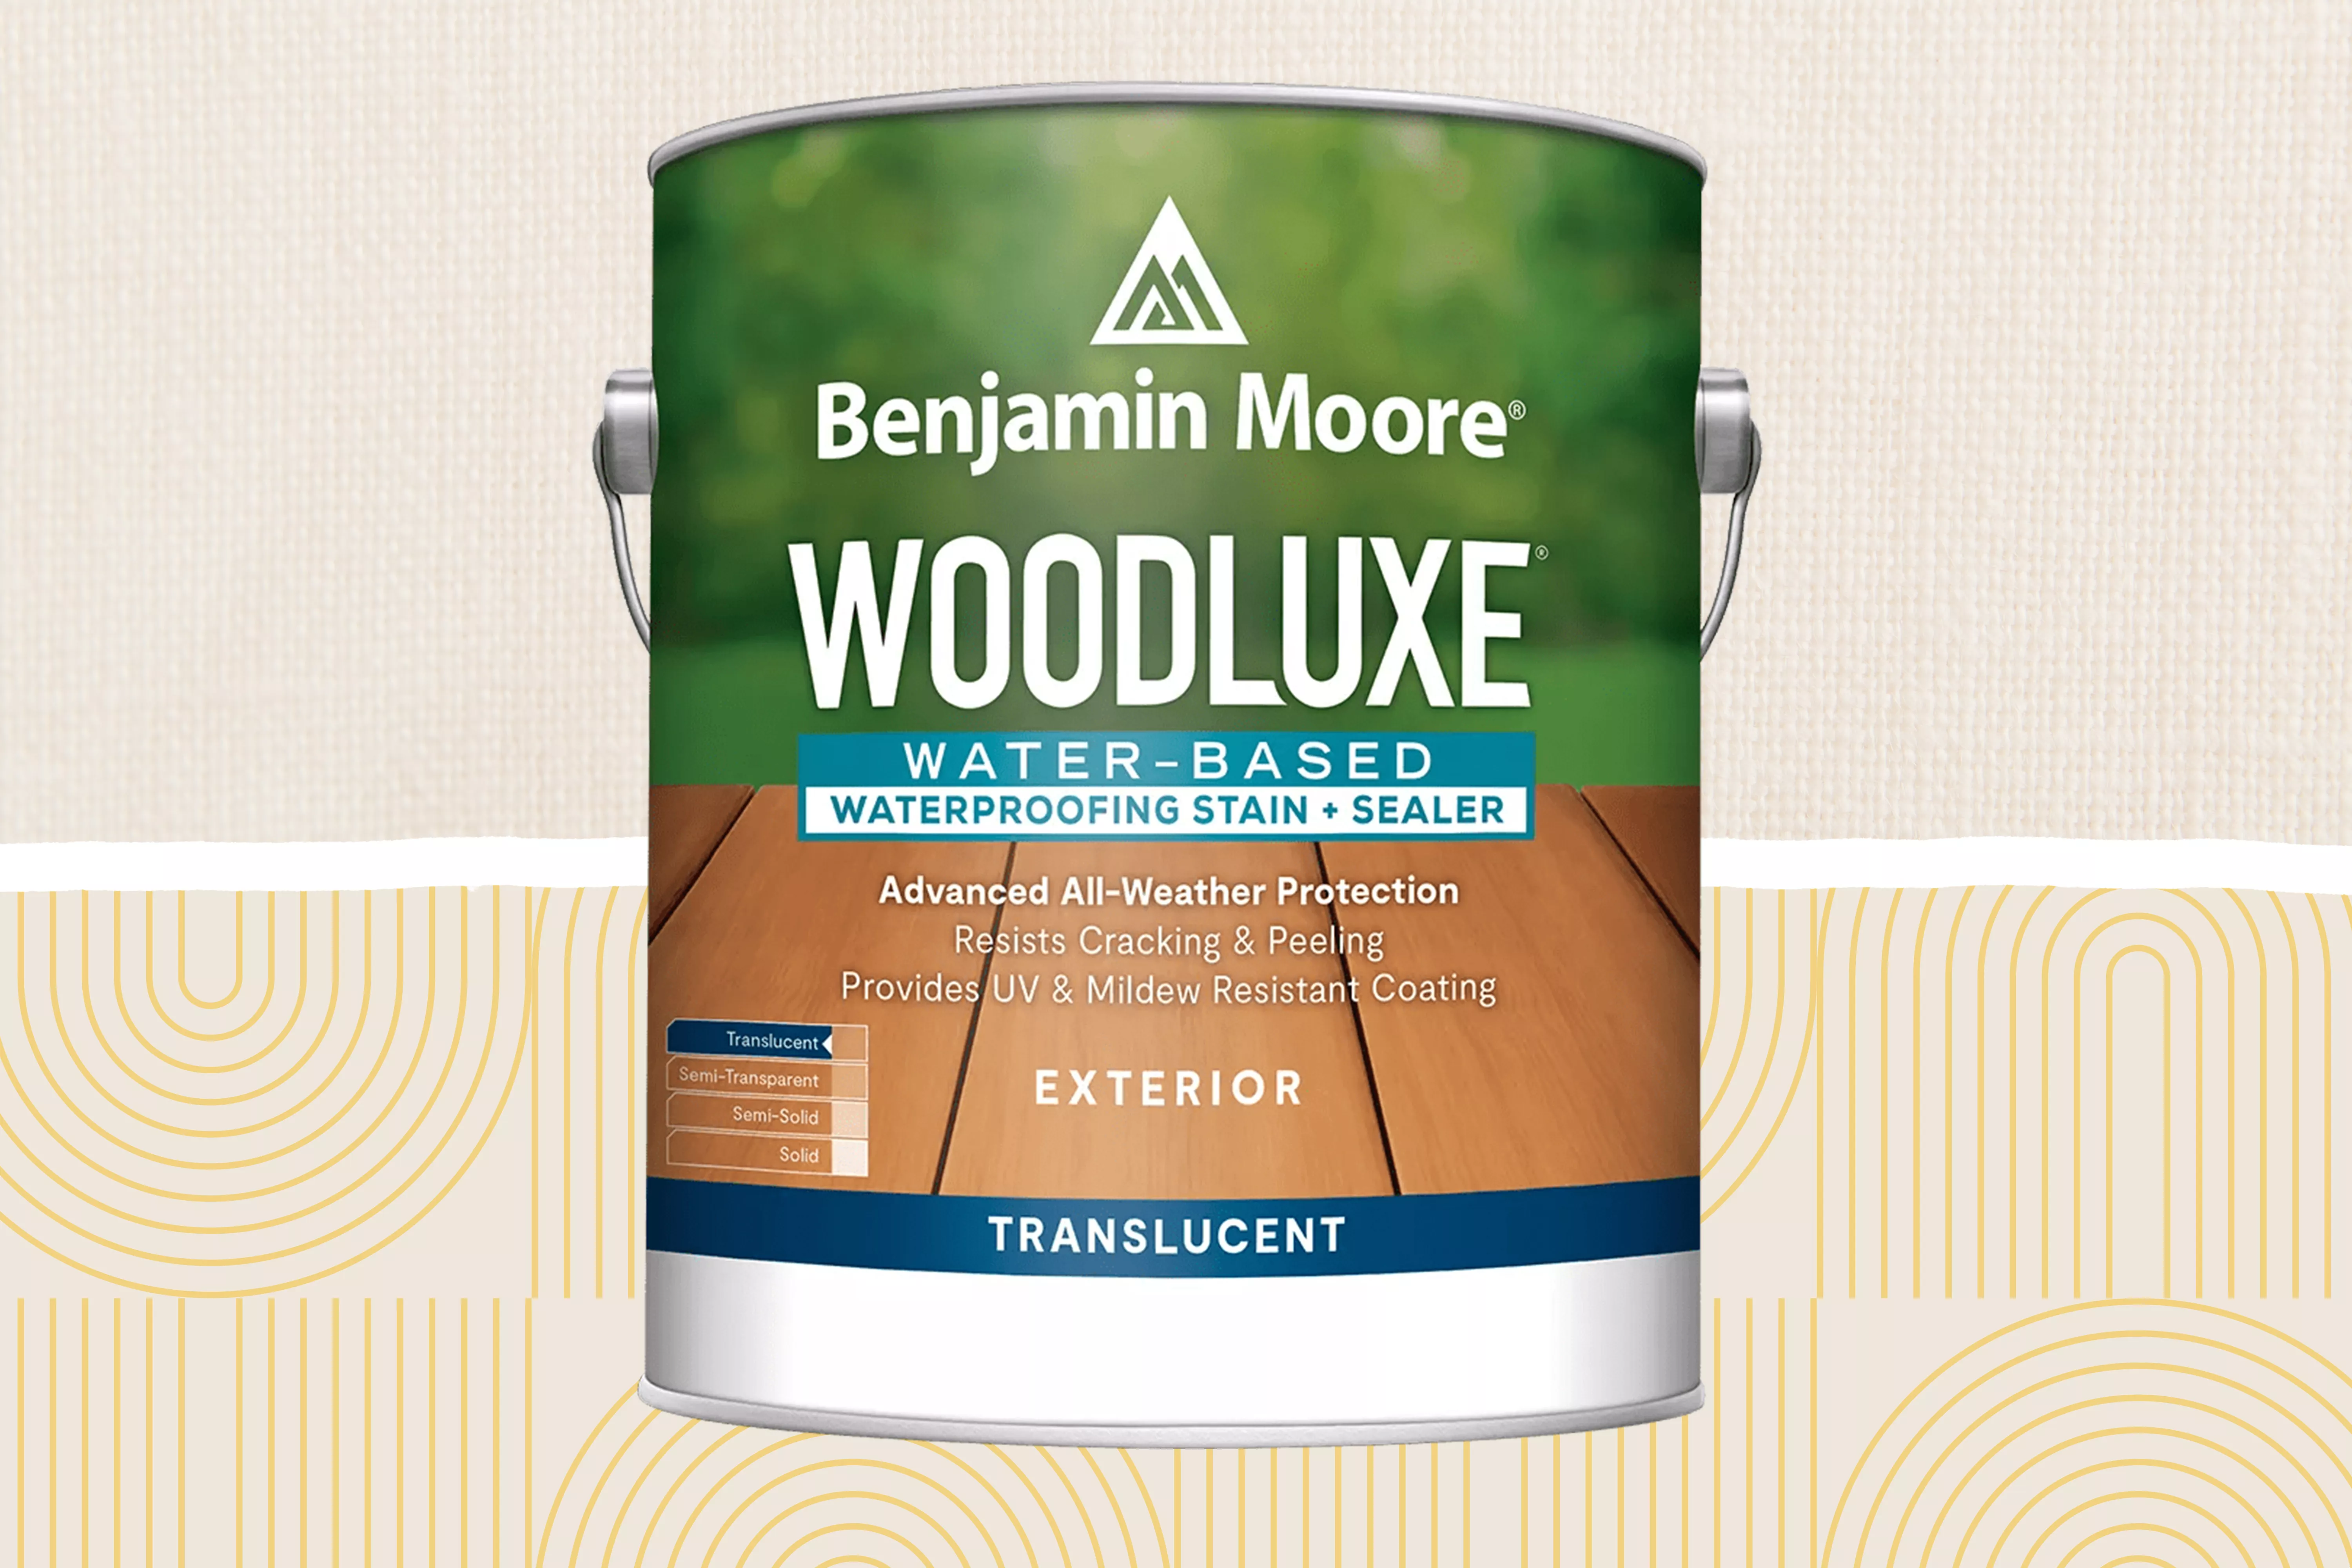
The 5 Best Deck Stains to Protect and Revive Your Deck


Deck color ideas – how to choose the color to stain or paint your deck

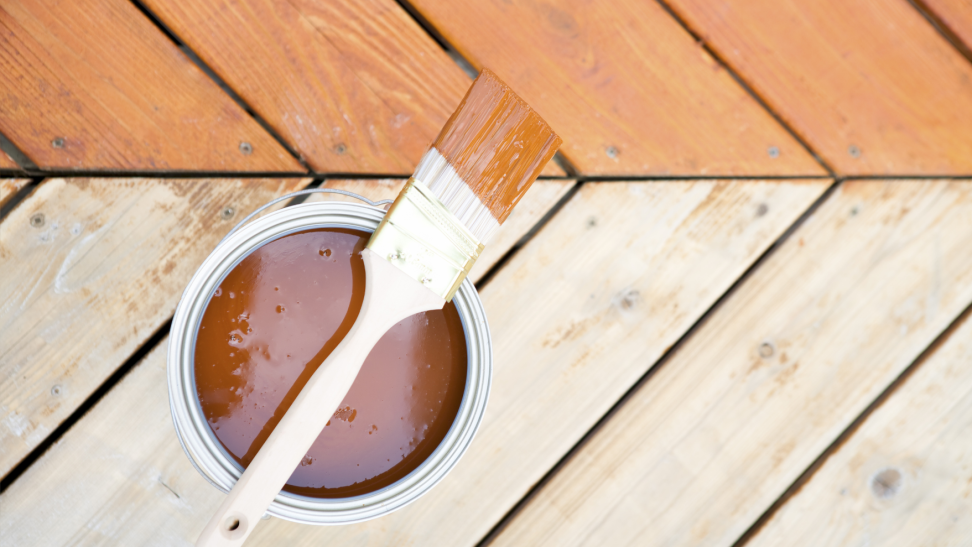
The Best Deck Stains of 2025

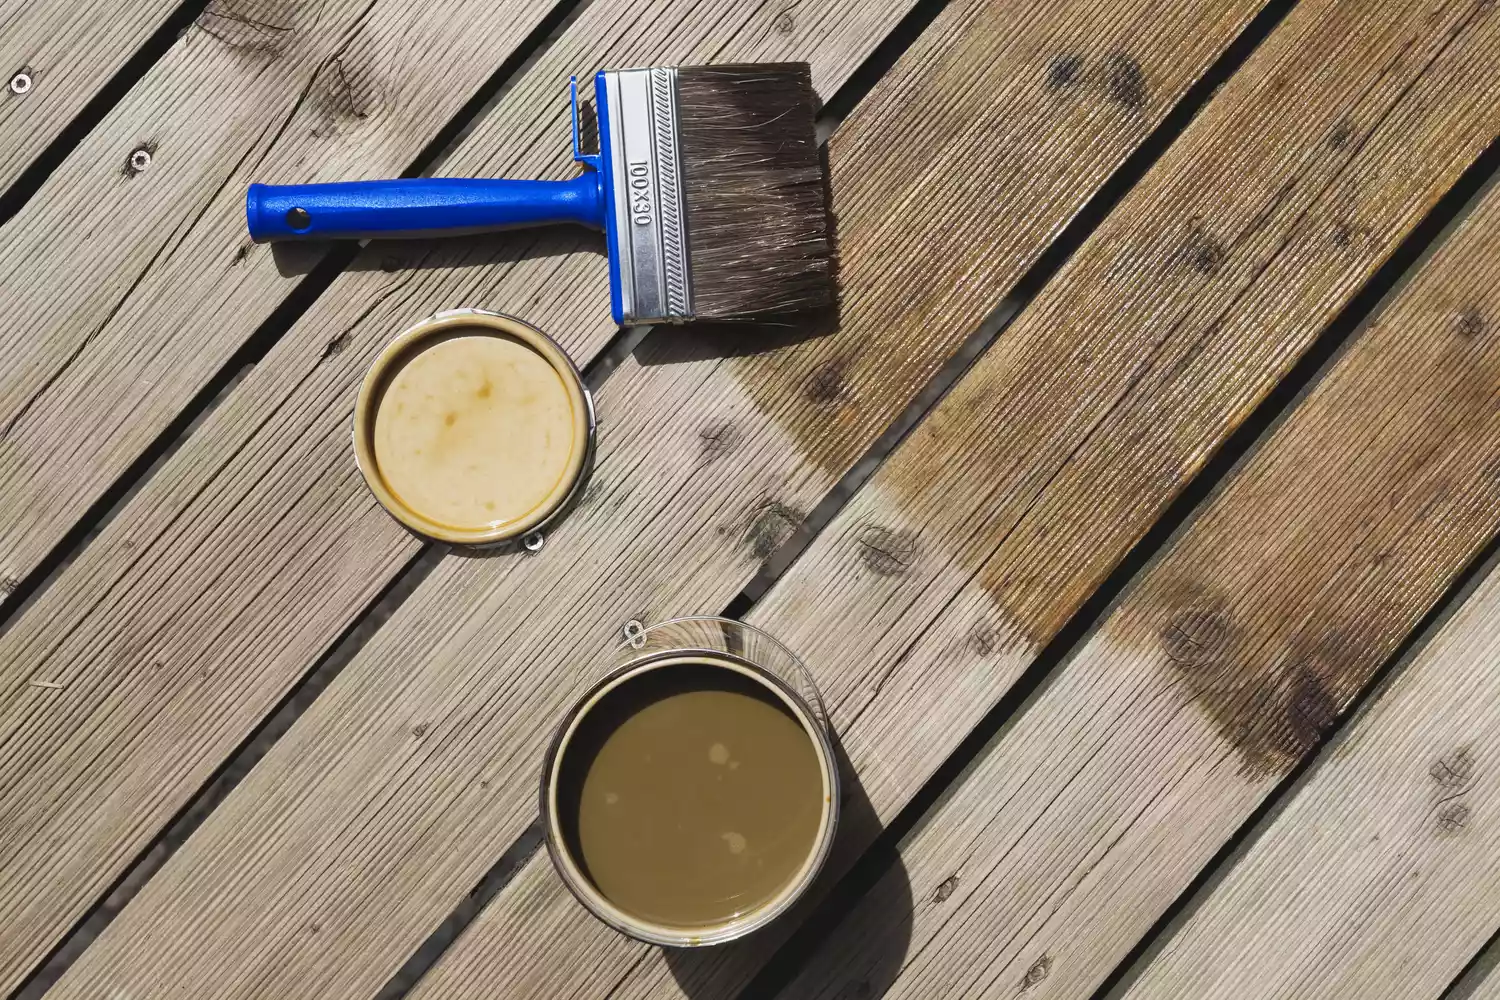
How to Stain Wood Like a Pro—and Get It Right the First Time
We Put the Best Exterior Wood Stains Through 40 Hours of Testing to Find the Top Picks
Best Wood Stain Colors For Interior And Exterior Surfaces
The best way to stain wood – 4 time-saving tips from the experts

Wood Dyes & Waxes | Wax for Unfinished Wood

Wood Treatments
How to stain a deck – 3 easy steps to a fresh new look
The Best Solid Deck Stains to Protect and Revitalize, Tested

Garden Furniture Paint & Stain

How to paint interior woodwork

Wood Stain | Exterior Wood Stain & Paints
The Best Deck Stains of 2026
The 7 Best Deck Paints You Can Get, Tested and Reviewed
Our Favorite Wood Stains Will Make Your Furniture Look Like a Million Bucks