1/12
How to fit a safe
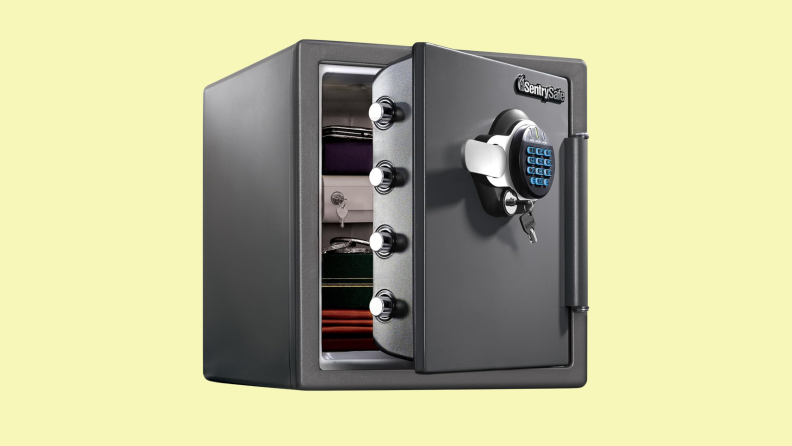
This guide provides comprehensive instructions on how to install a safe into a solid wall, emphasizing the importance of this task for securing valuable possessions and critical documents against theft. The article details the necessary tools, materials, and safety precautions, ensuring that even individuals with limited DIY experience can successfully complete the installation.
Before beginning, it is crucial to ensure the work area is clear and that all required tools, materials, and personal protective equipment are at hand. Safety is a paramount concern, particularly when using power tools. The guide advises unplugging power tools during setup or when changing accessories, and keeping the plug visible as a constant reminder to prevent accidental activation. Additionally, wearing protective gear such as ear defenders, goggles, and a dust mask is strongly recommended to safeguard against potential hazards during the drilling process.
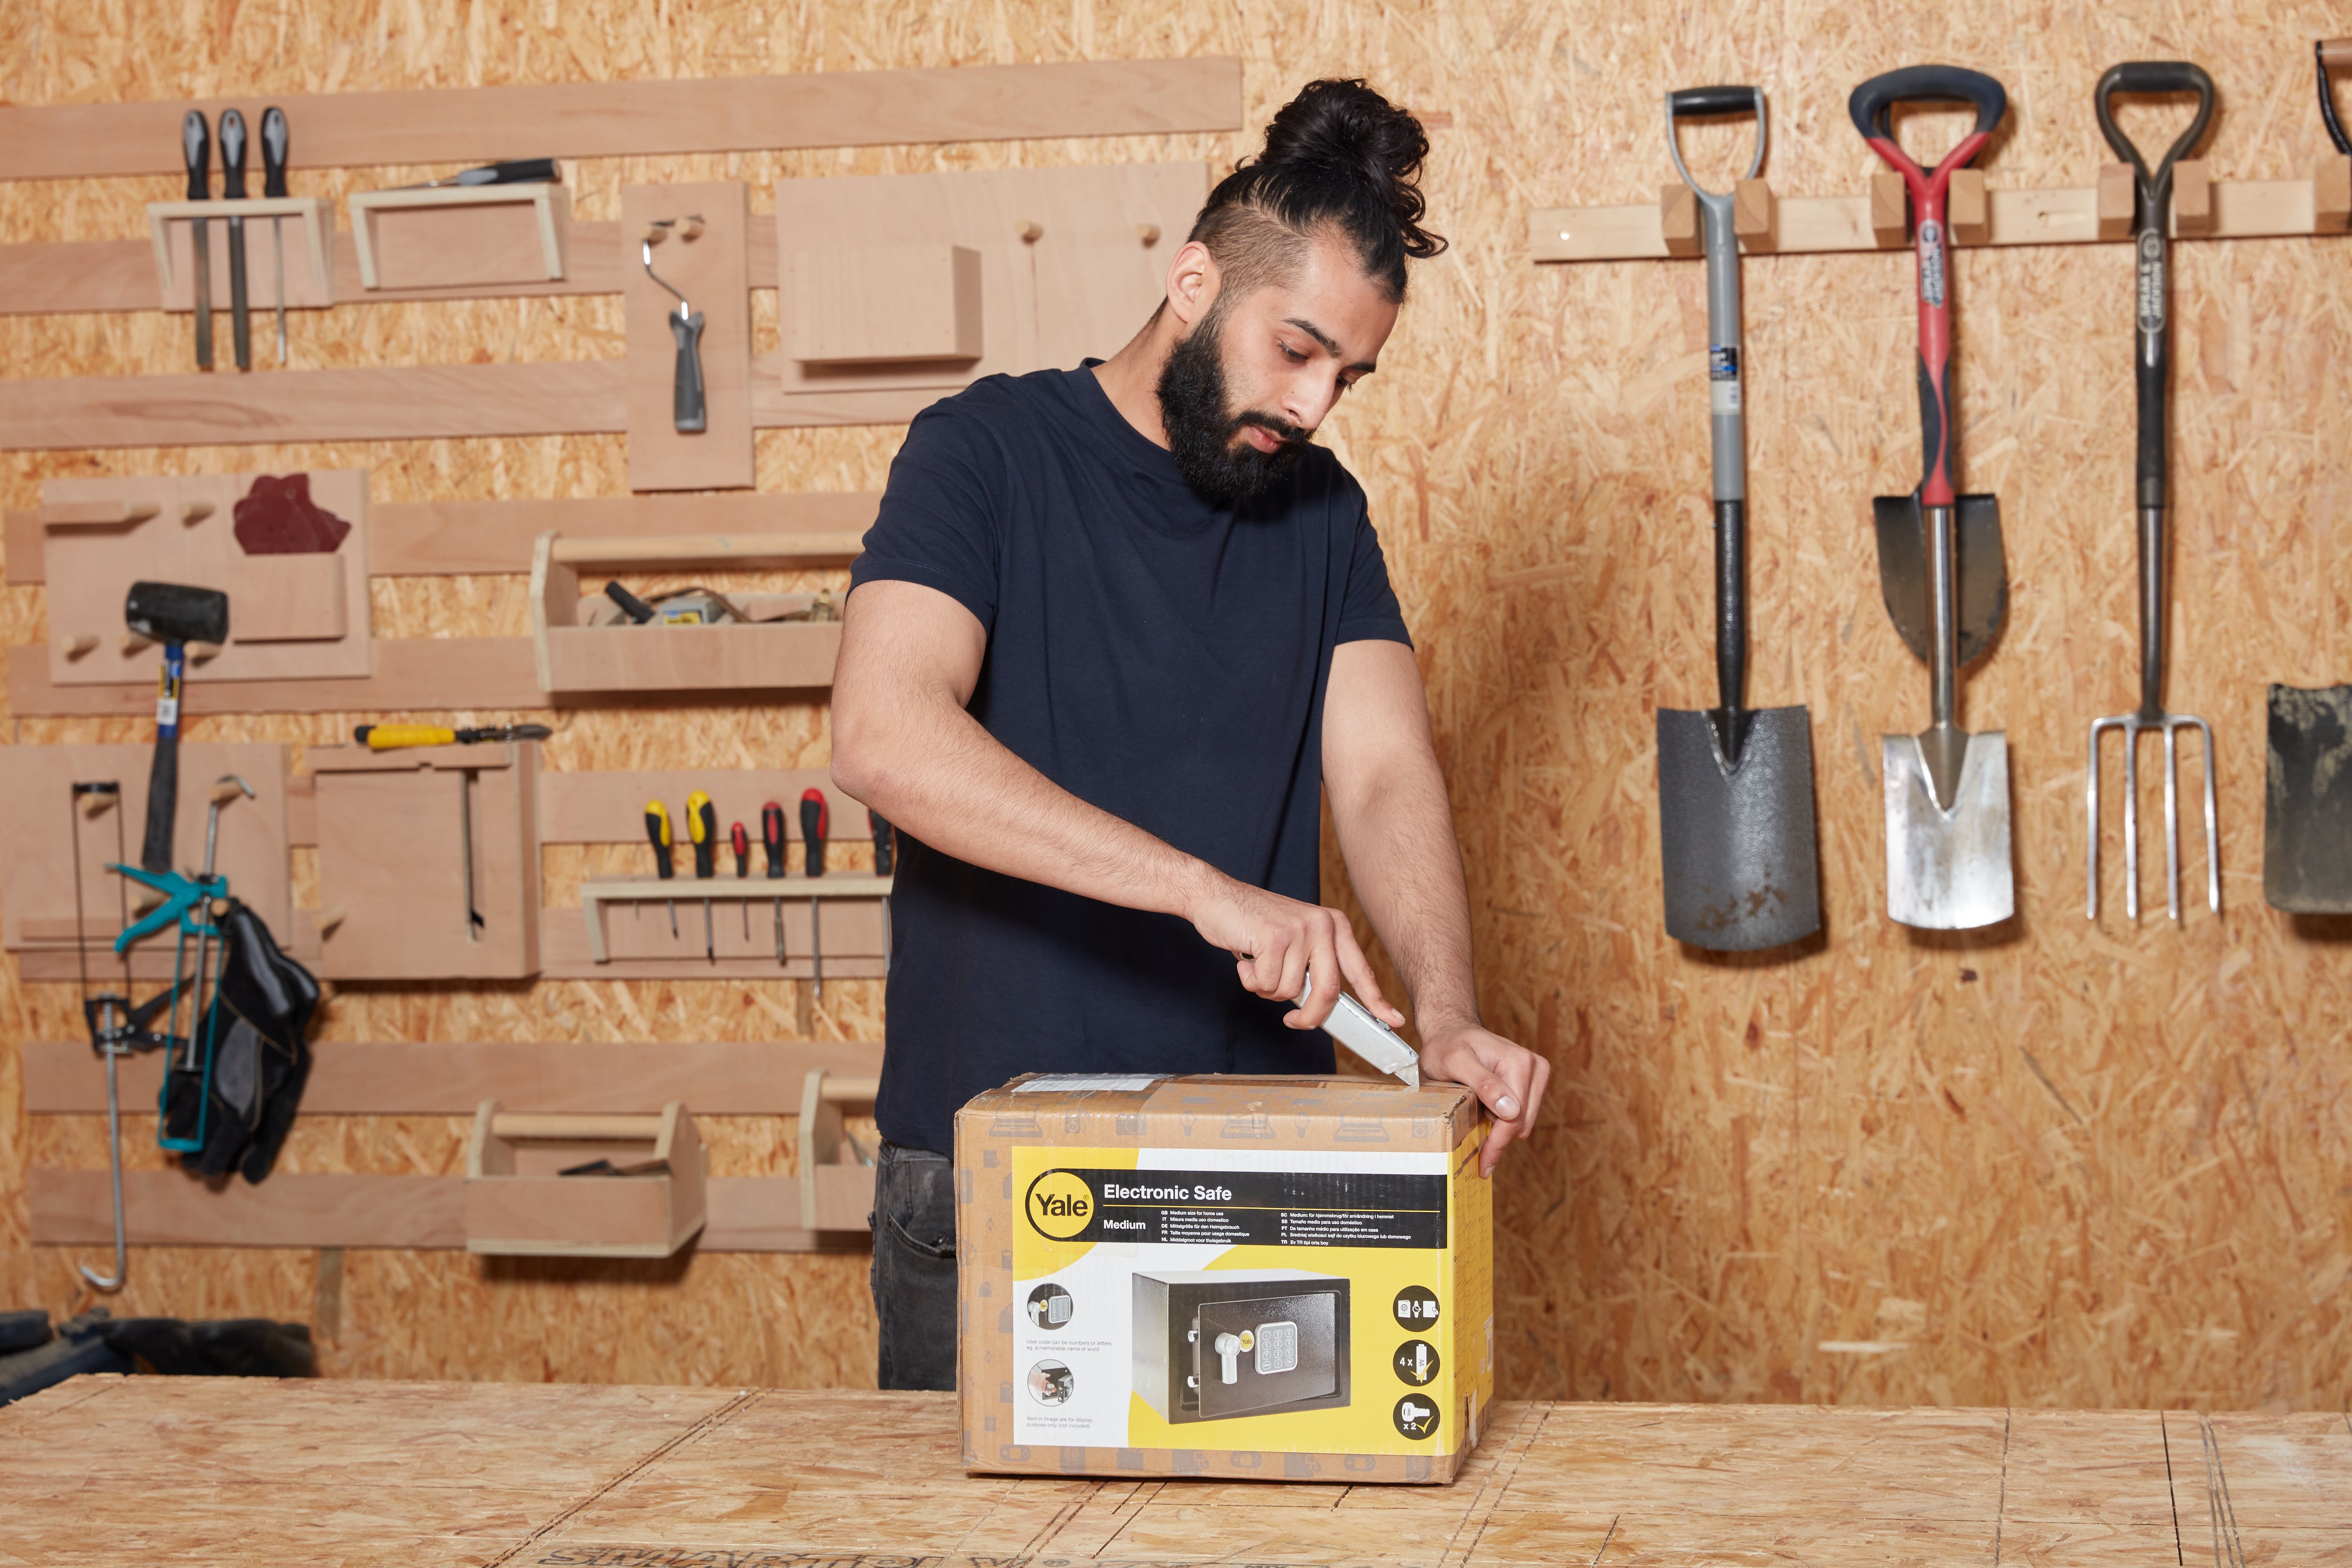
The installation process starts with unboxing the safe and verifying that the key operates the lock. Users are then instructed to insert the provided AA batteries into the safe's battery compartment and set their personalized unlock code. After confirming the code and locking the safe, the next step involves selecting an appropriate location on a solid wall for installation. Prior to drilling, a wire detector must be used to scan the chosen area, ensuring no pipes or electrical wires are present within the wall, thus preventing damage or injury.
Once the location is confirmed, the safe is held against the wall, and the four installation holes at its back are marked with a pencil. The safe is then temporarily moved aside to allow for drilling. A practical tip is offered: align a wall plug with the drill bit and mark the drill bit with tape at the plug's length. This helps ensure that the drilled holes are precisely deep enough to accommodate the wall plugs without over-drilling. The SDS drill is then used to create the four holes at the marked points. Following this, the provided wall plugs are inserted into the freshly drilled holes.
Finally, the safe is returned to its position against the wall. Screws, typically supplied with the safe, are fed through the interior of the safe and into the installed wall plugs. These screws are then tightened securely with a screwdriver, anchoring the safe firmly to the wall. Upon successful completion of these steps, the safe is fully installed and ready for use, offering an enhanced layer of security for important items.
#HomeSecurity #DIY #SafeInstallation #PowerTools #SafetyGuidelines #HomeImprovement #HomeProtection #SecureStorage #HomeSecurity #DIY #SafeInstallation #PowerTools #SafetyGuidelines #HomeImprovement #HomeProtection #SecureStorage
0 comment in total
 No comments yet
You may also like
The Best Fireproof Safes of 2025


Sleek Storage


Internal Storage Fittings

Custom storage: How to use built-ins to maximize small spaces

Best Hidden Safes: Is It Secret? Is It Safe?

Savvy Storage
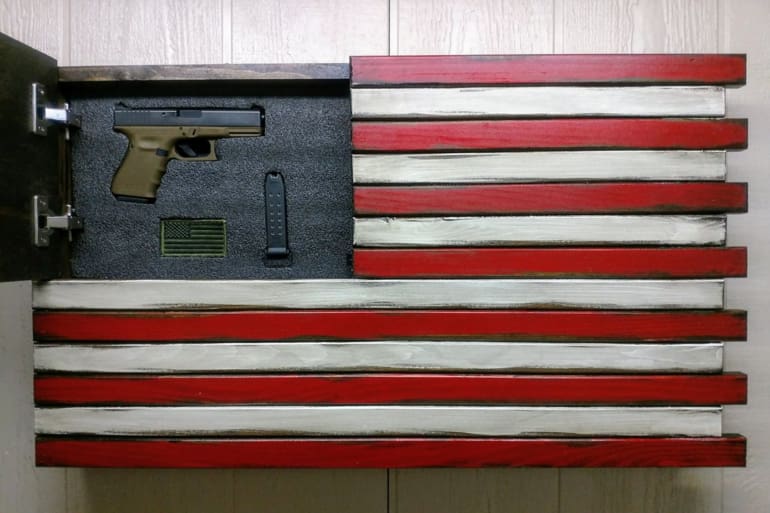
Hide in Plain Sight: Hidden Gun Safe Storage Options