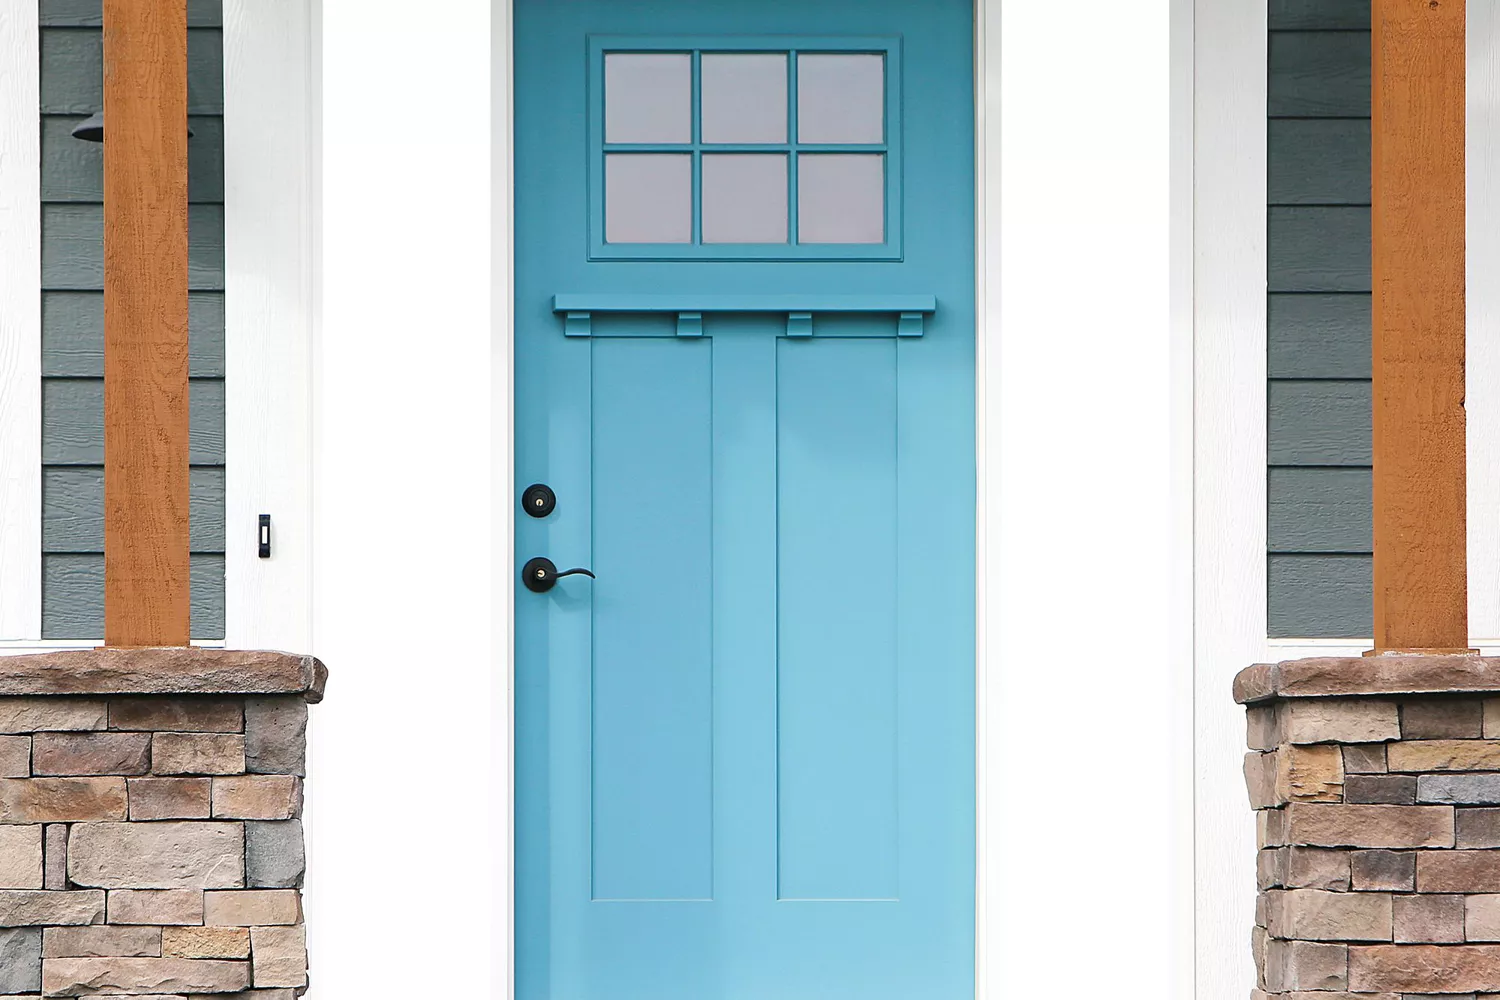
Experts Explain How to Paint a Front Door to Elevate Your Home's Curb Appeal
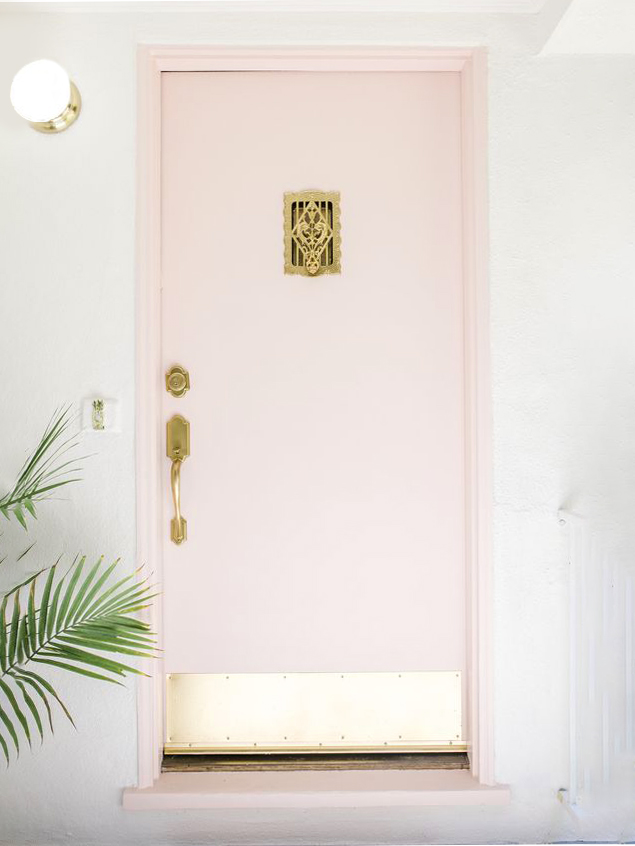
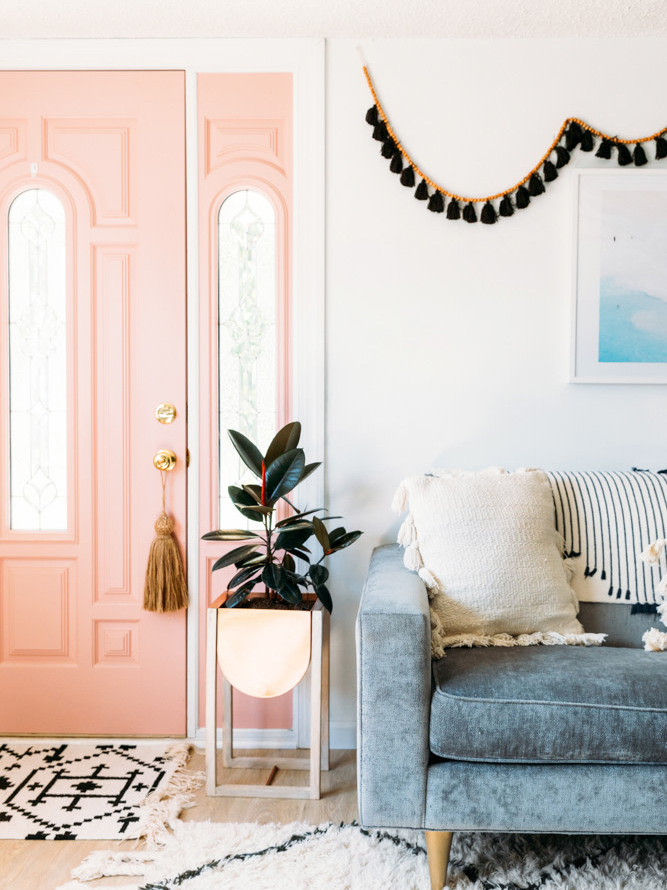
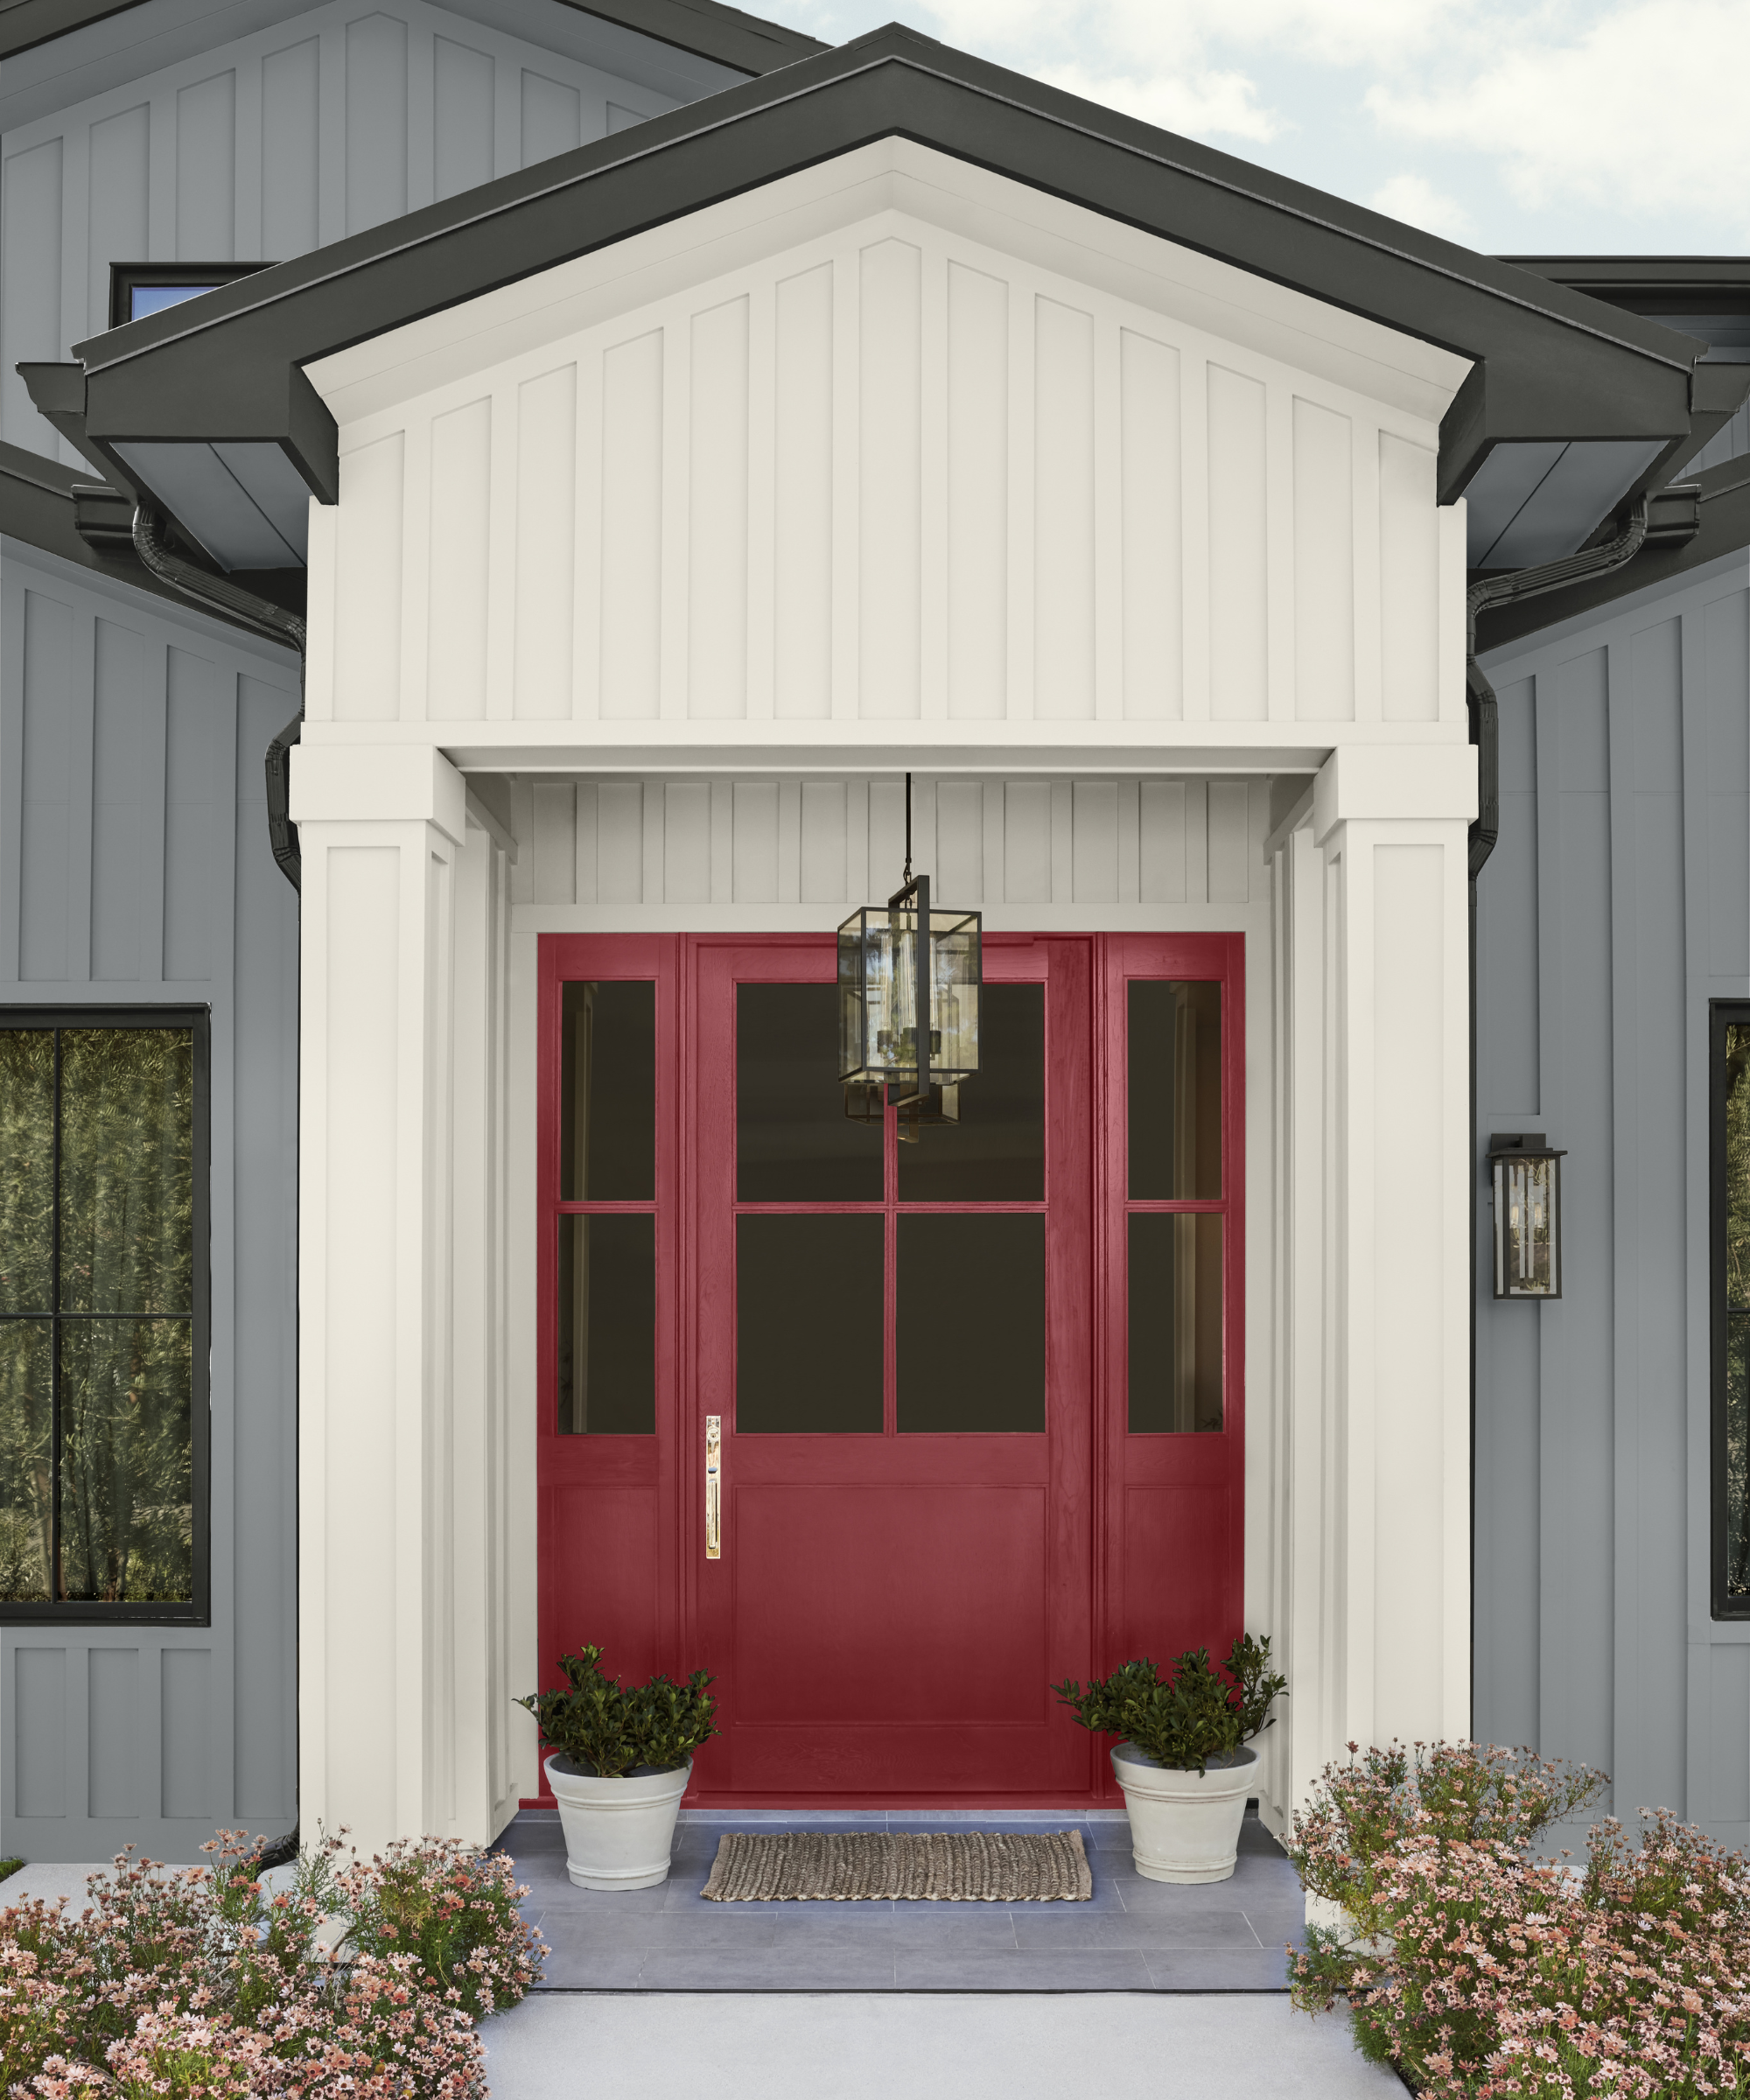
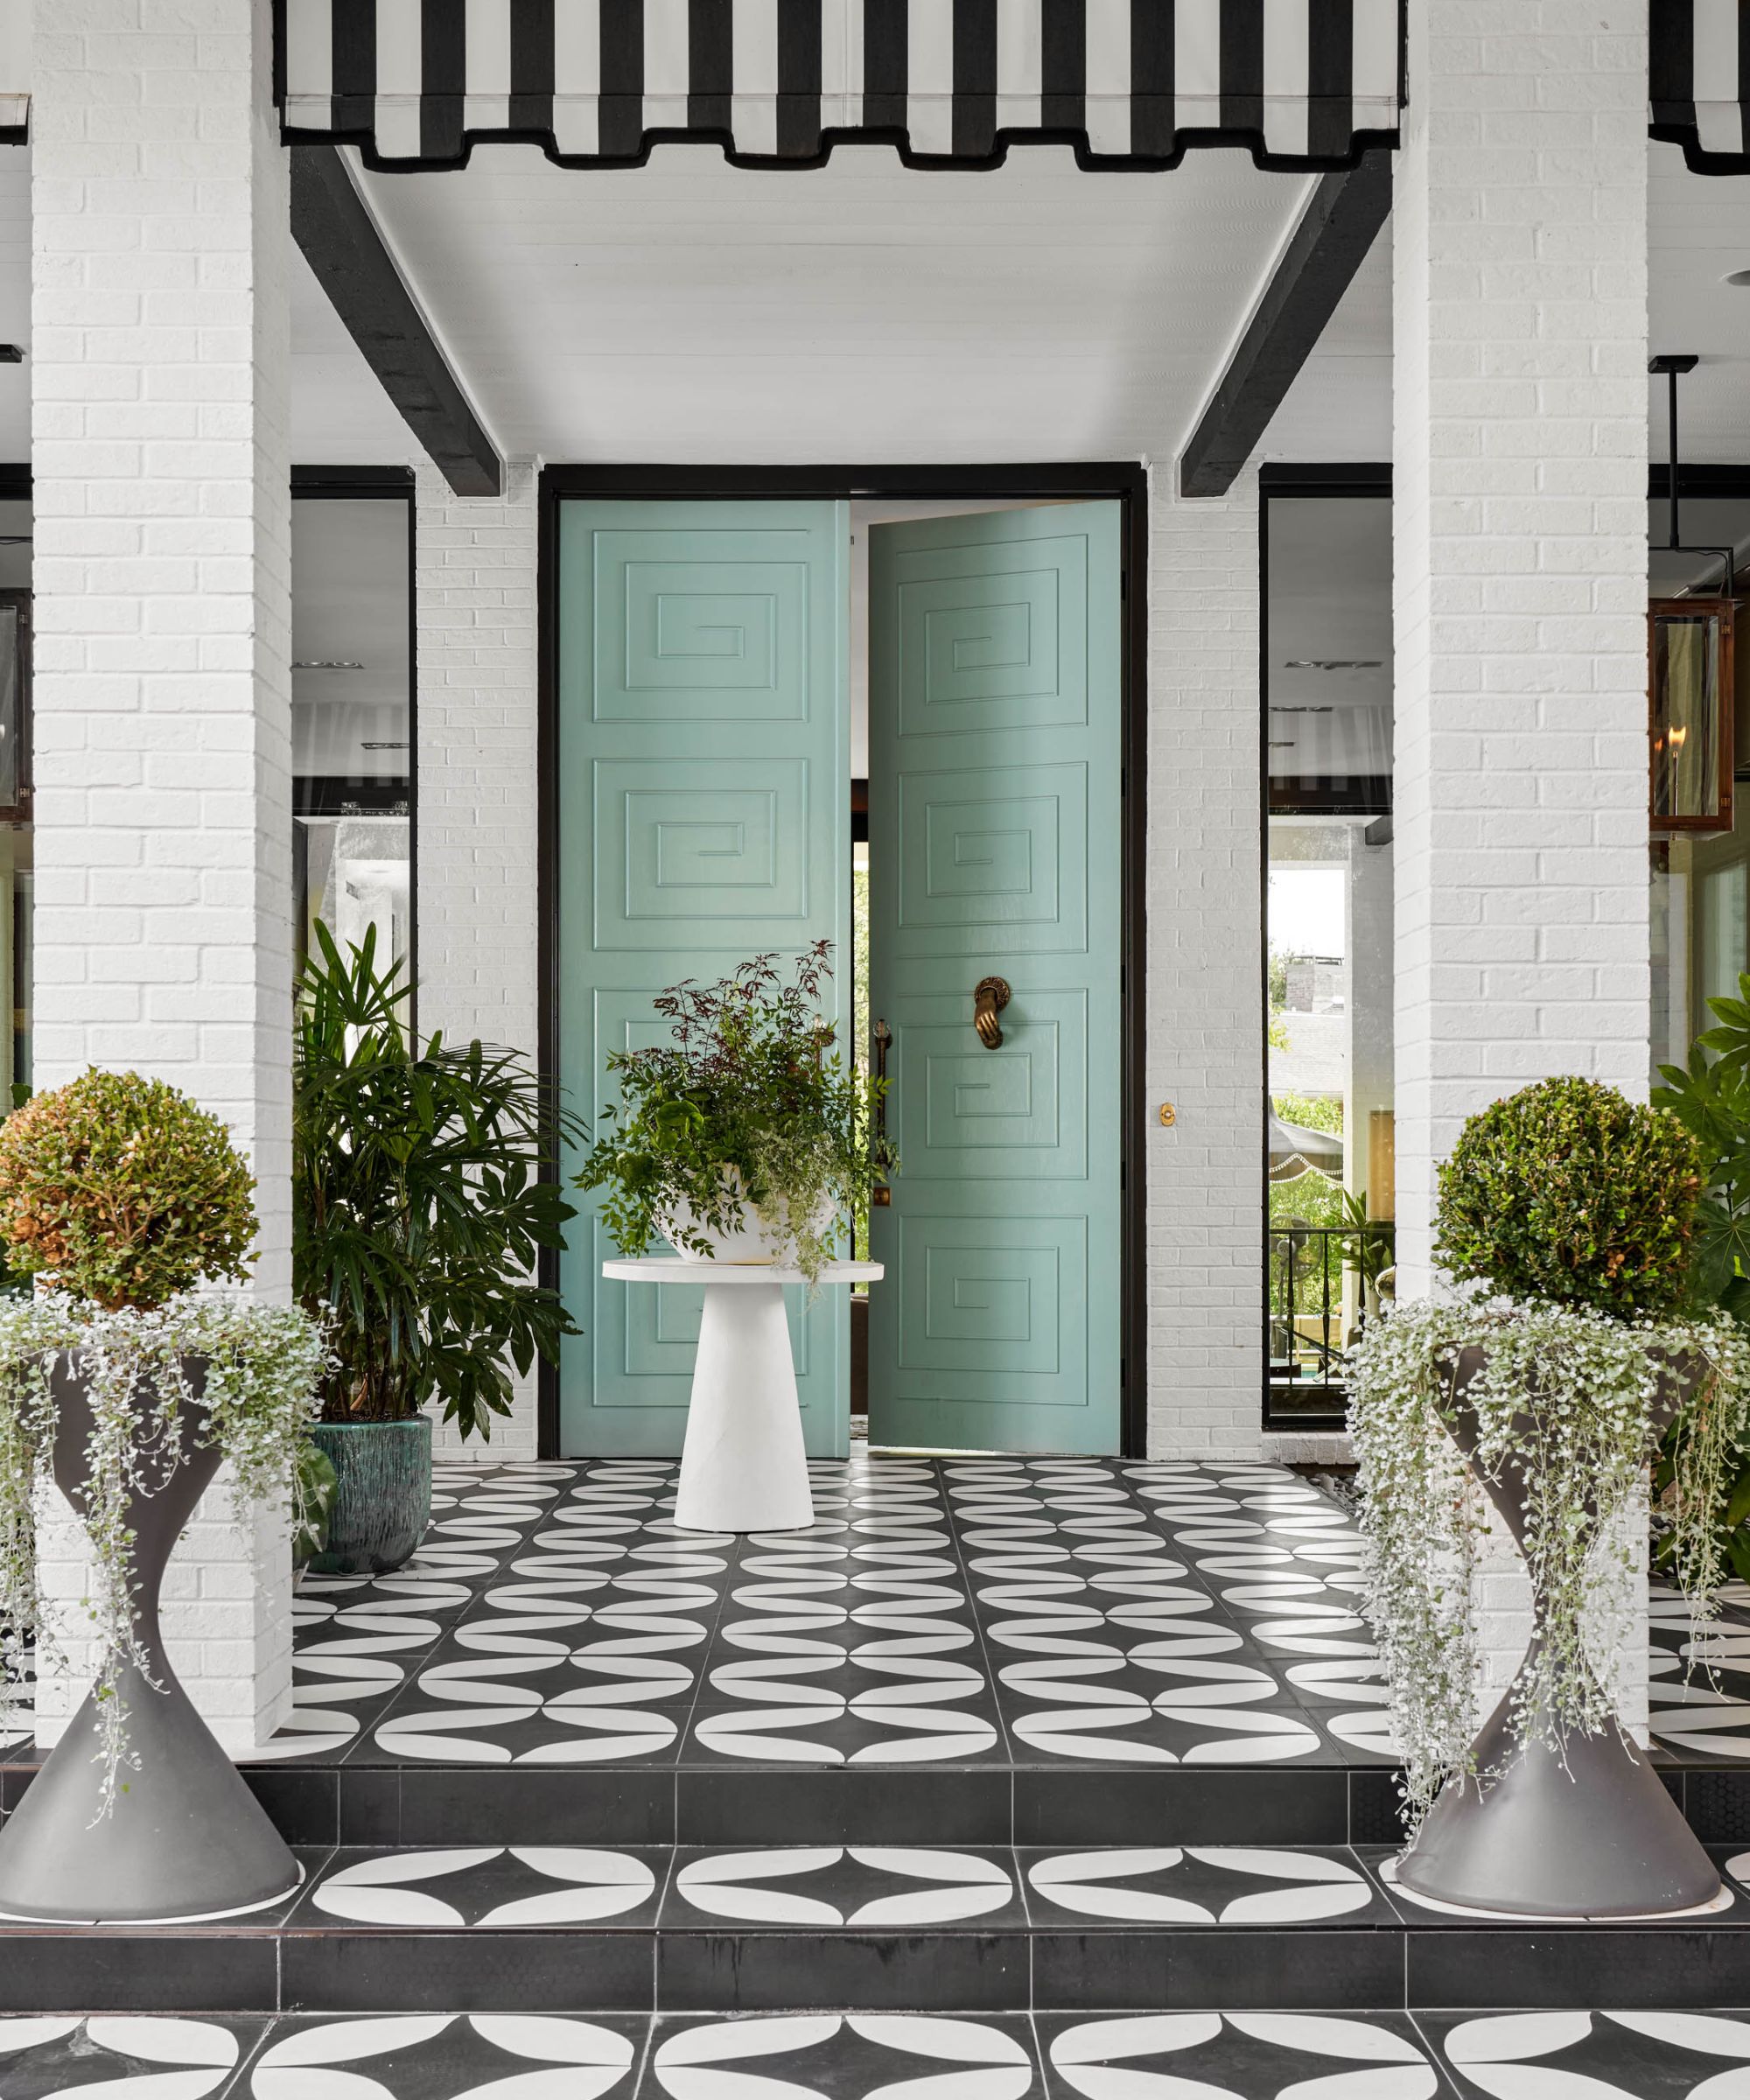
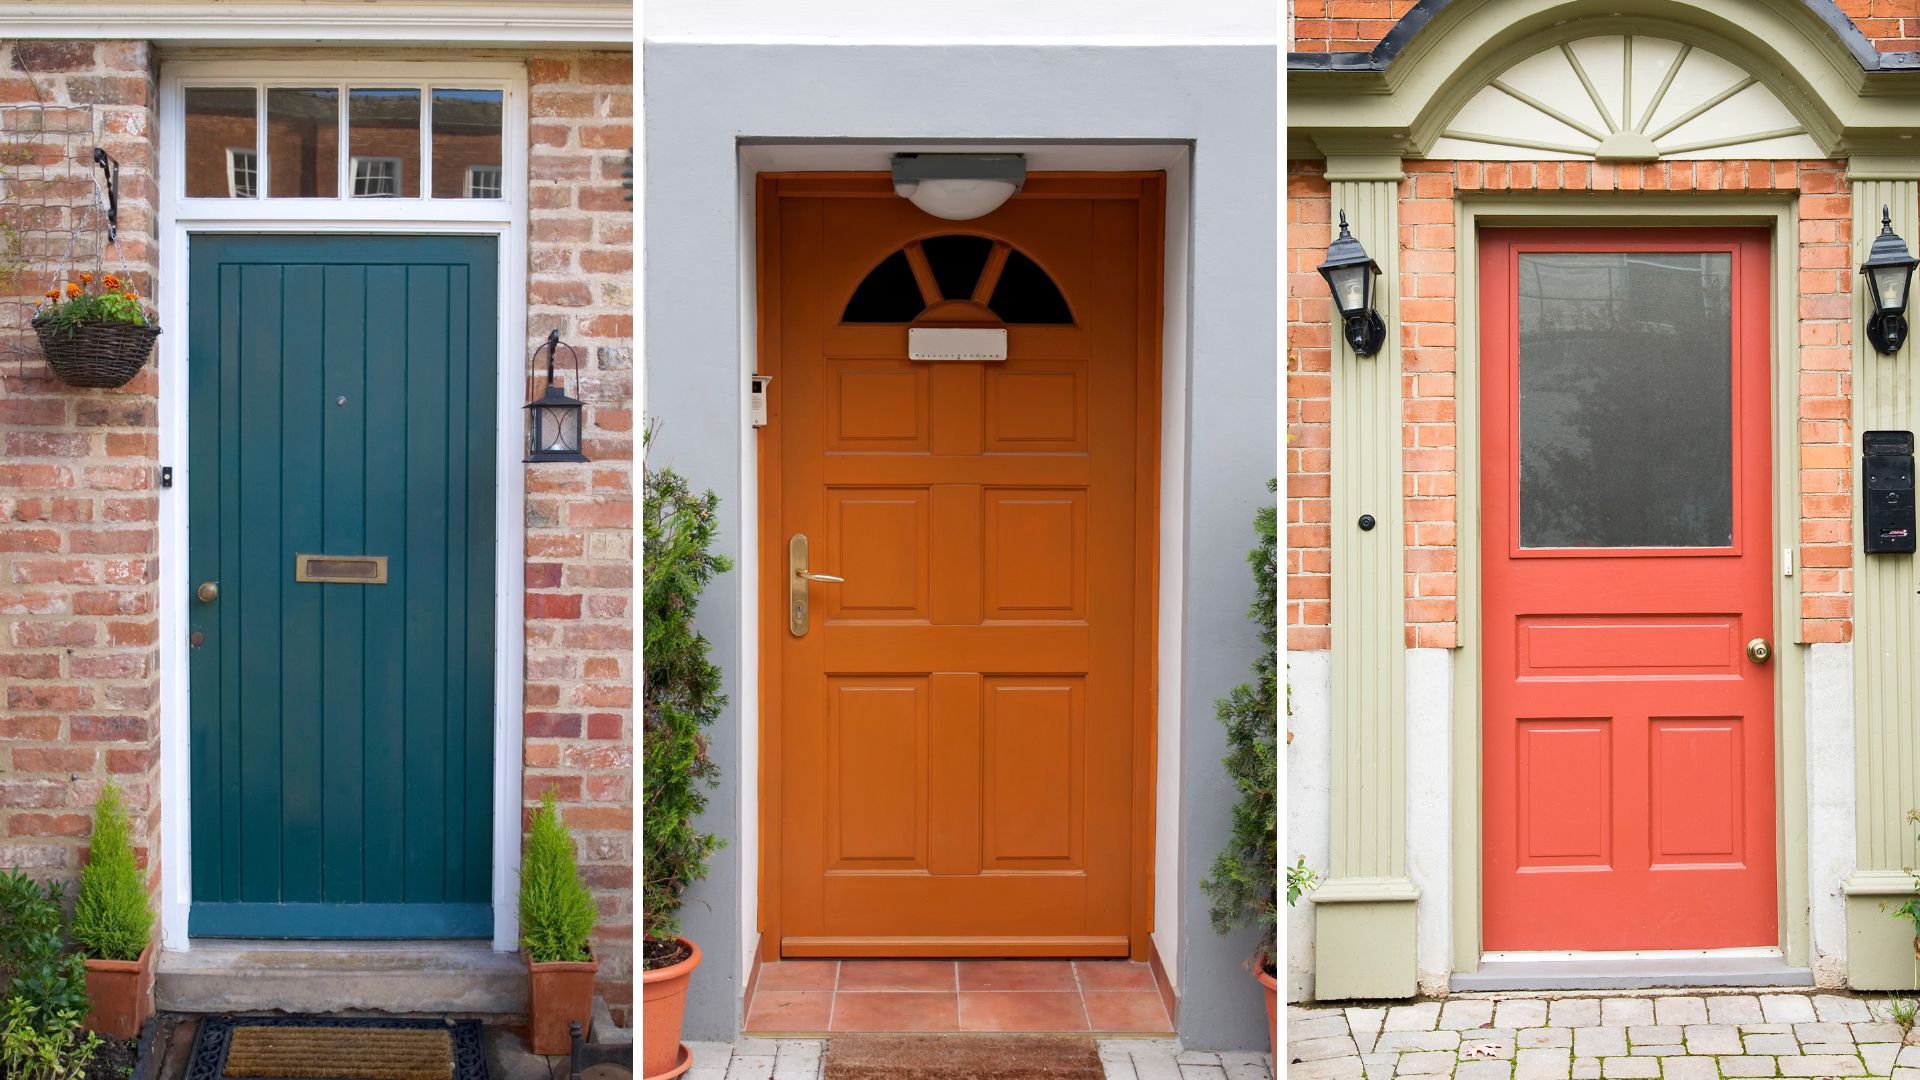
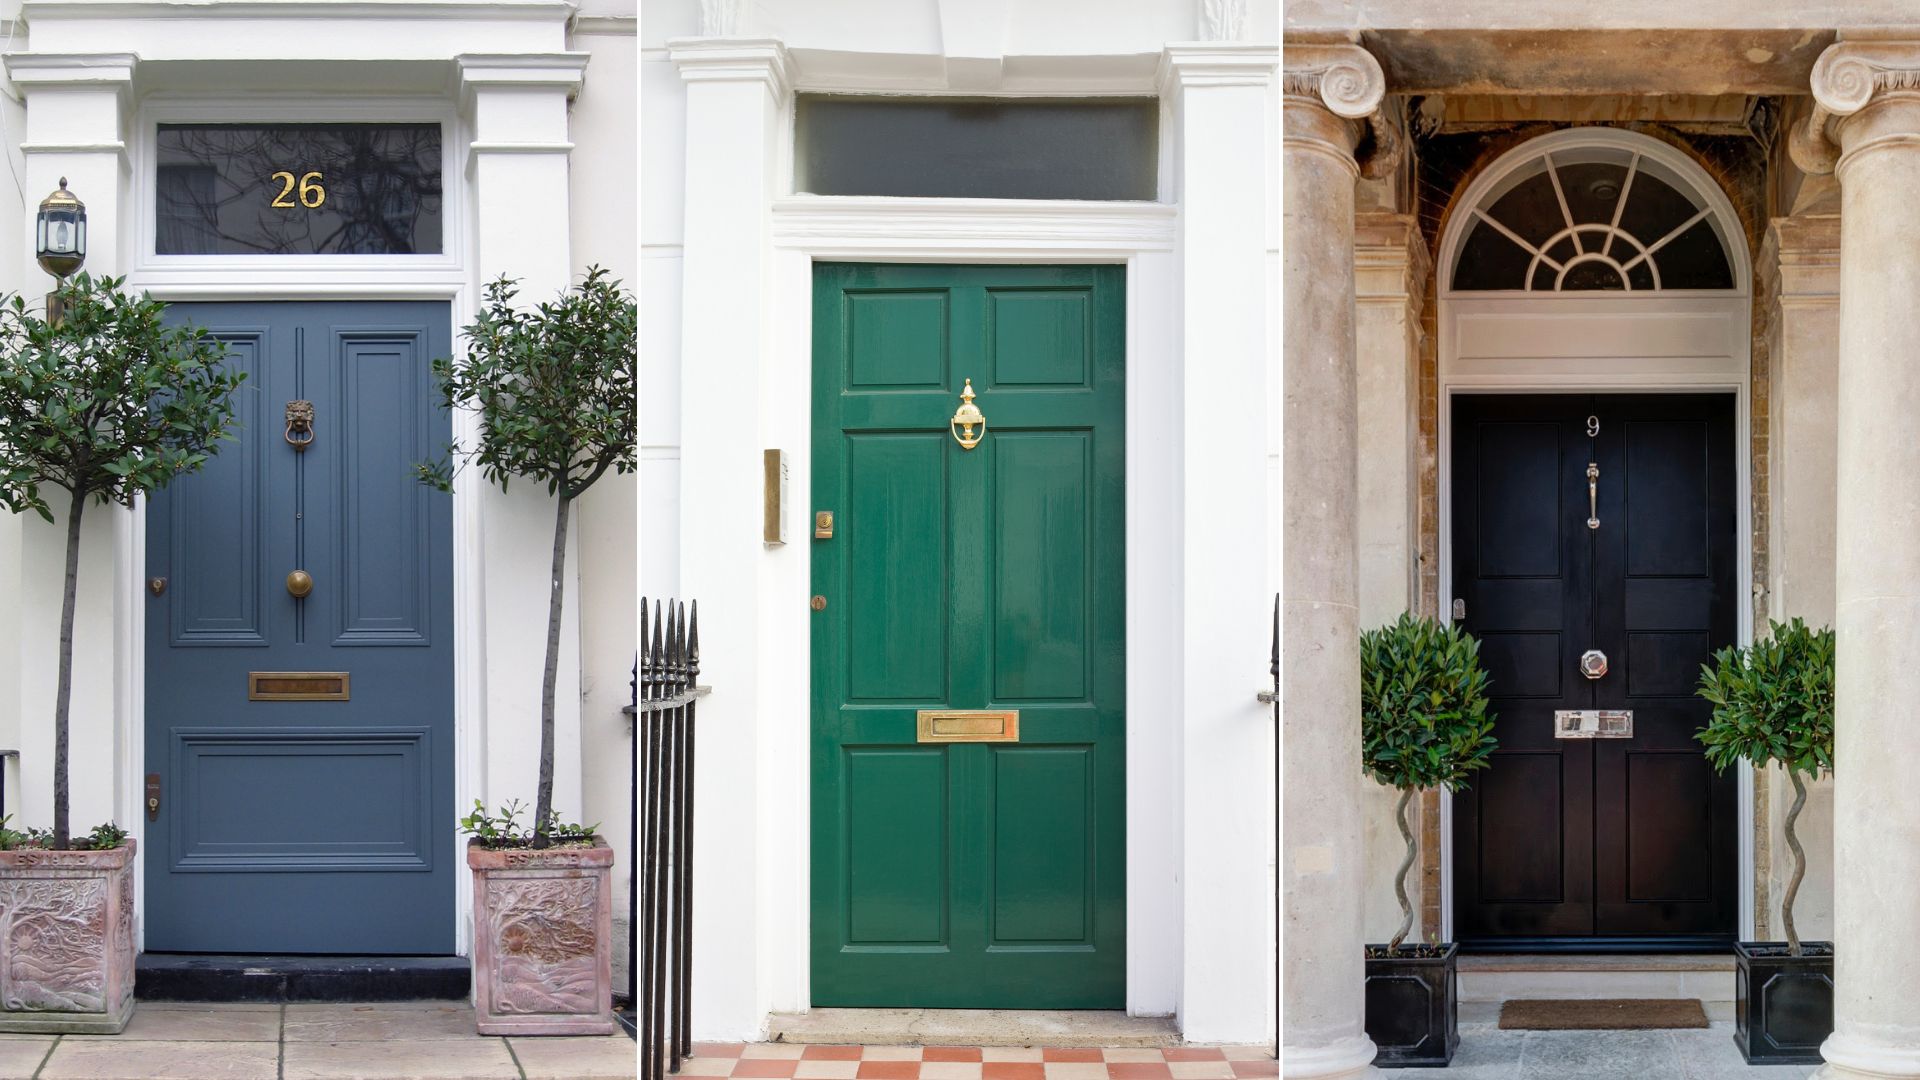
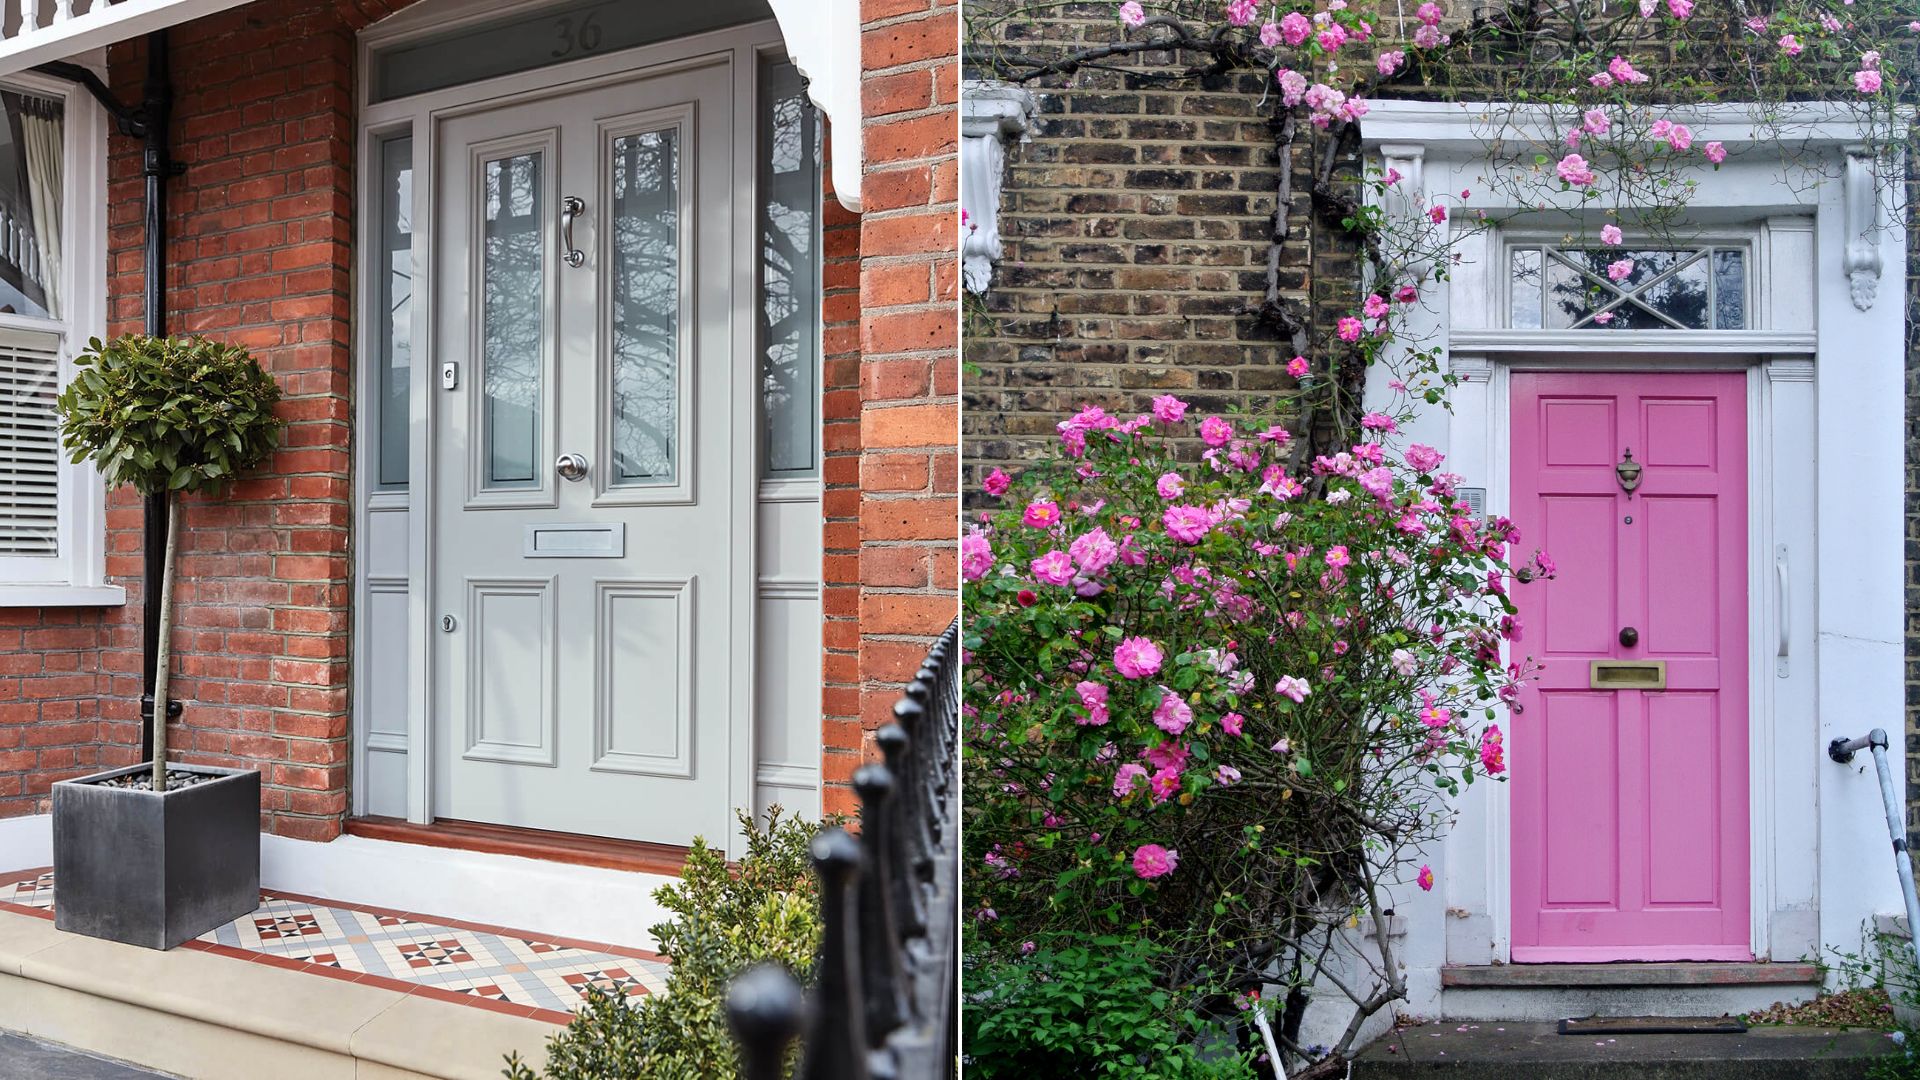
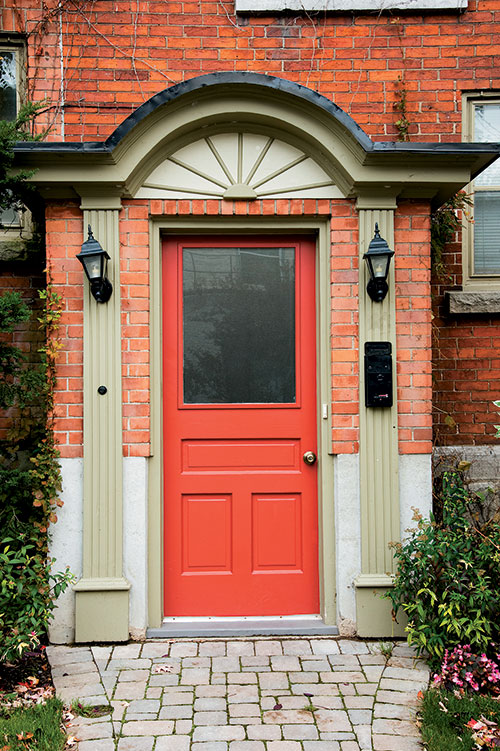
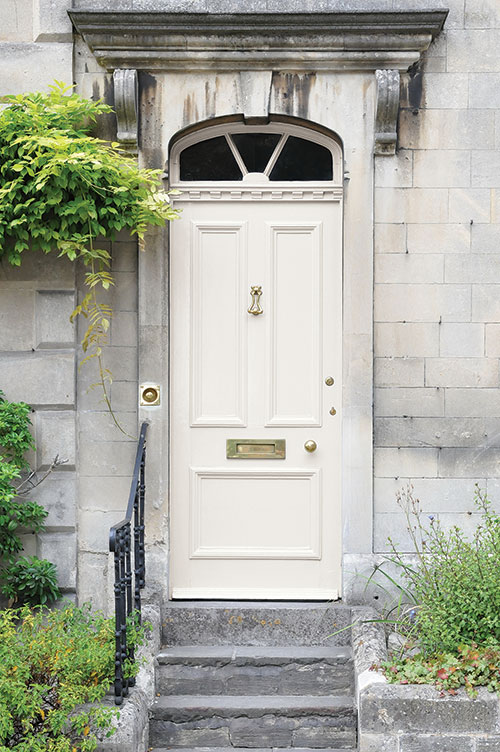
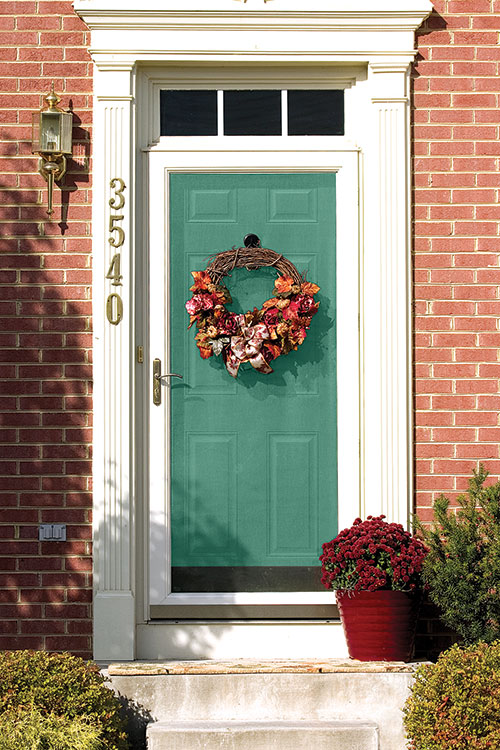
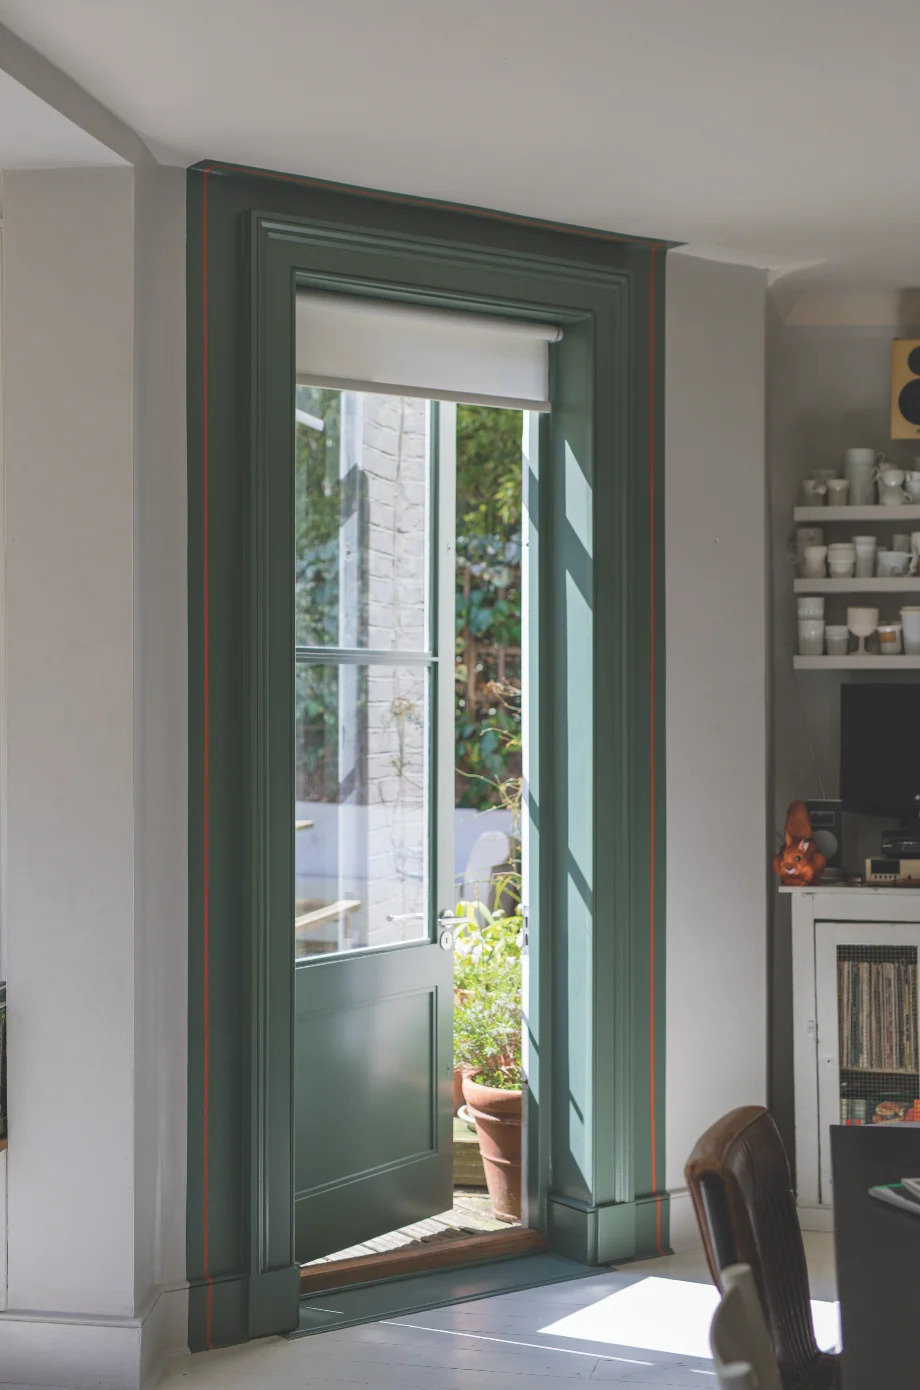
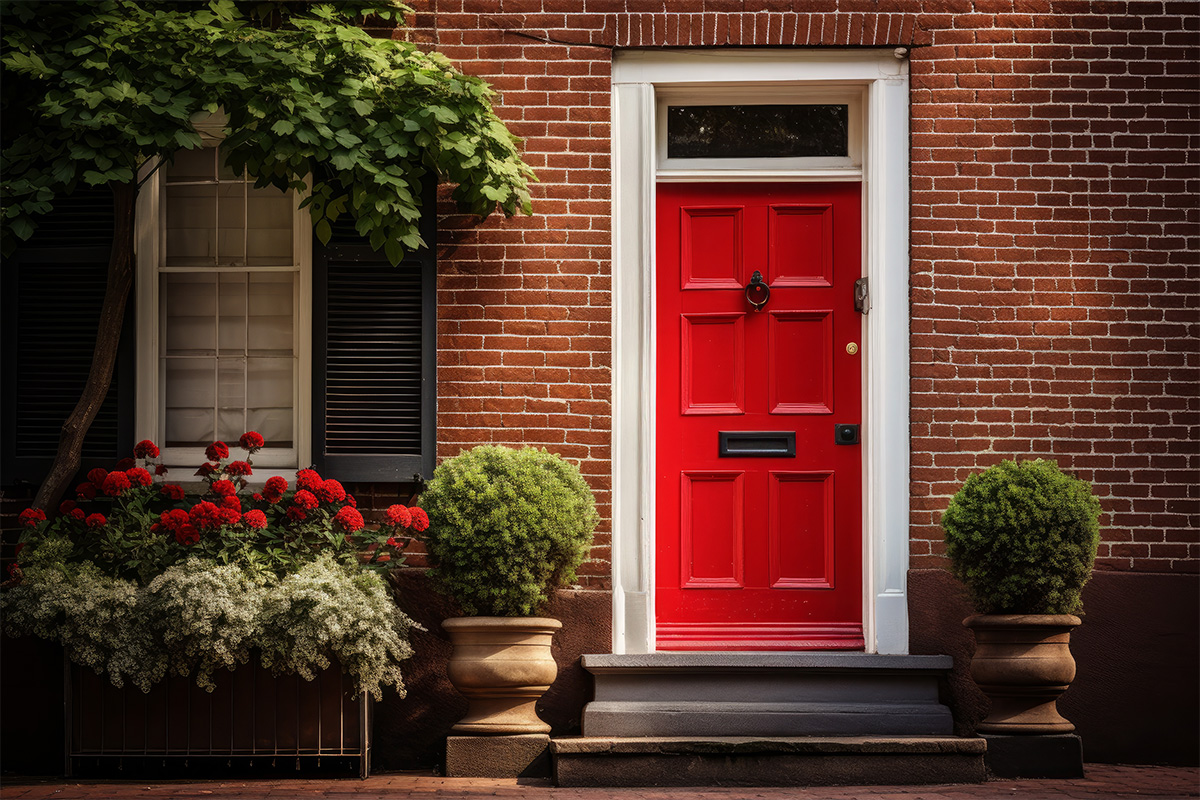
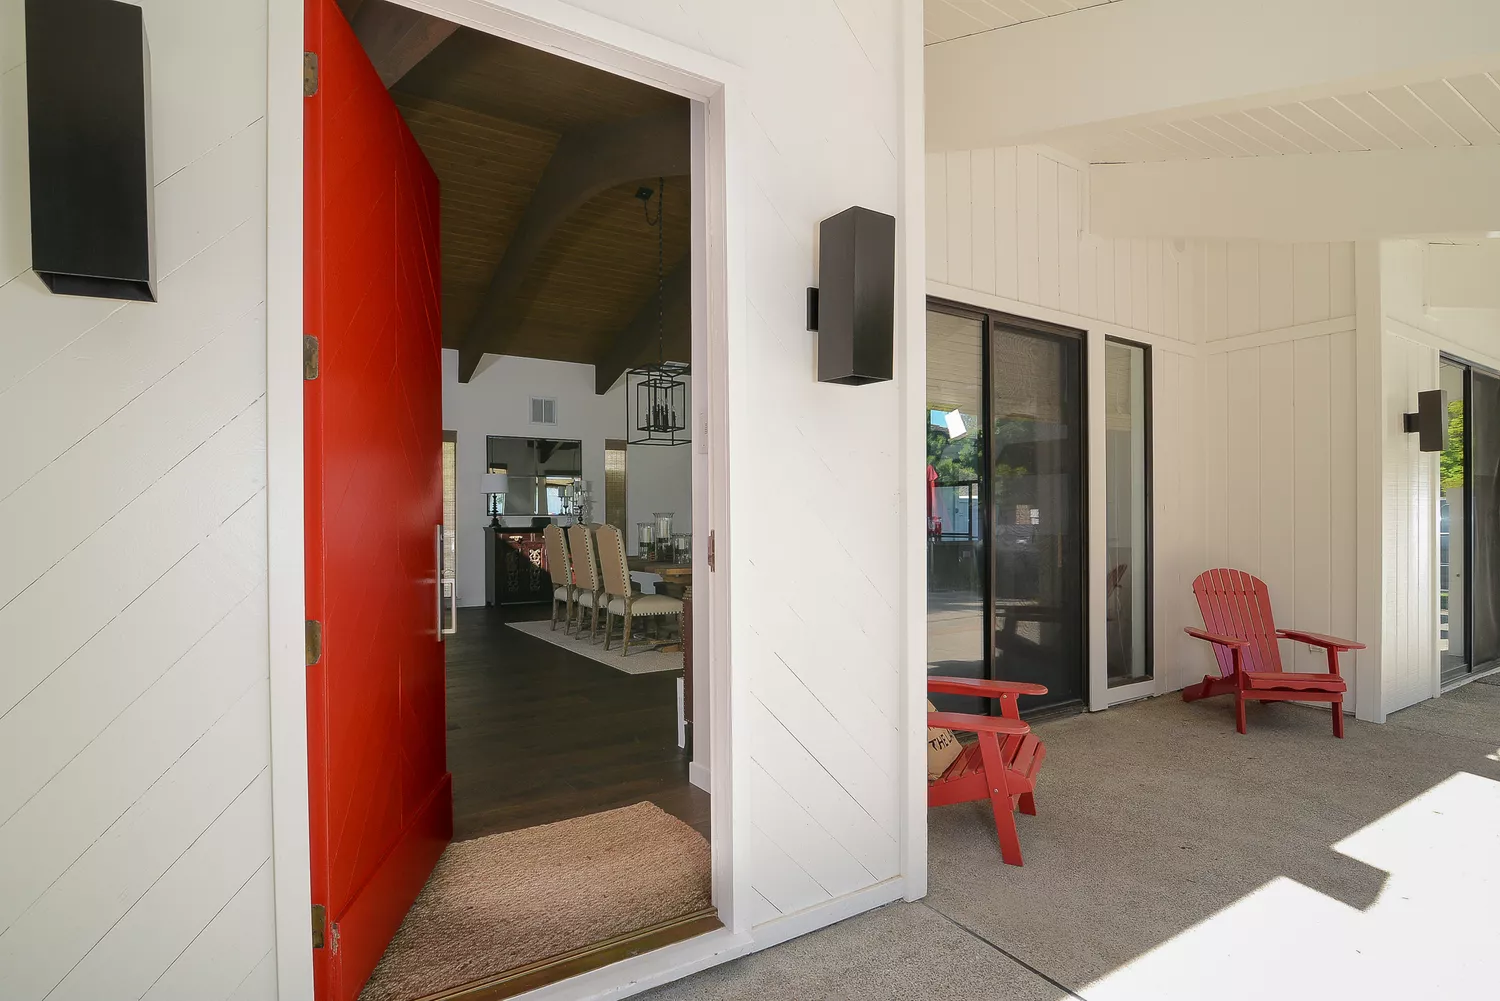
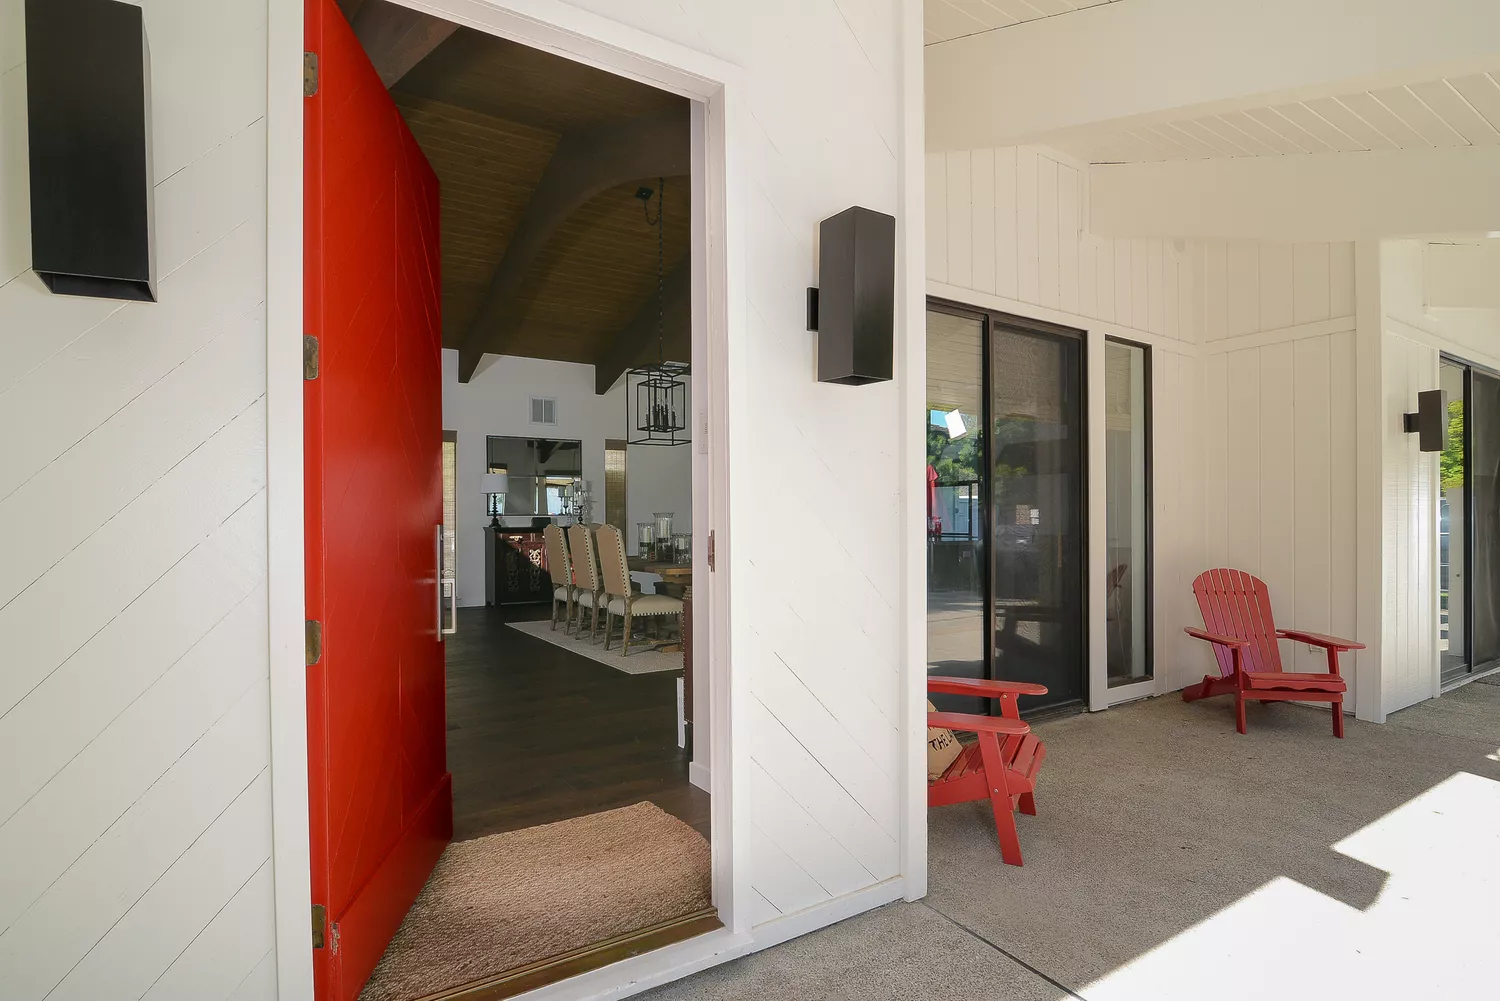
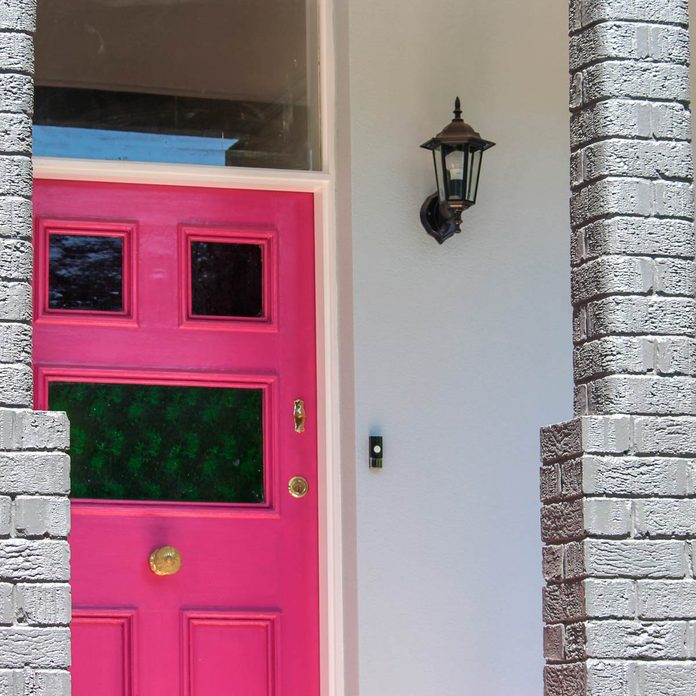
Painting a front door is an accessible home improvement project that can significantly enhance a home's curb appeal within a day or two. Expert advice emphasizes the importance of selecting the right conditions and materials for a successful outcome. Ideal painting weather involves spring or fall temperatures, avoiding extreme heat or cold, and ensuring dry conditions free from rain or snow. If unexpected precipitation occurs, protecting the freshly painted door with painter's plastic or a tarp is recommended. Choosing a high-quality exterior paint in a satin finish is crucial due to the door's exposure to elements, offering durability against fading, washability, and protection for high-traffic areas. While satin is recommended, semi-gloss or high-gloss options are available for a bolder look, though they may require more maintenance. The paint color choice is also critical, as it can drastically alter the home's aesthetic, ranging from vibrant hues that make the house 'pop' to darker shades for elegance and sophistication. Personal style is a key consideration when selecting a color.
Before embarking on the project, it is essential to check local city, neighborhood, or building codes, especially for homes within homeowner's associations or historical districts, as there might be strict regulations regarding paint colors or the necessity of permits. The required equipment and materials include a screwdriver, angled paintbrushes (2.5- or 3-inch), a 4-inch high-density paint roller, a cleaning cloth, 120-grit sandpaper, tack cloth, a drop cloth, painter's tape, primer, and exterior paint.
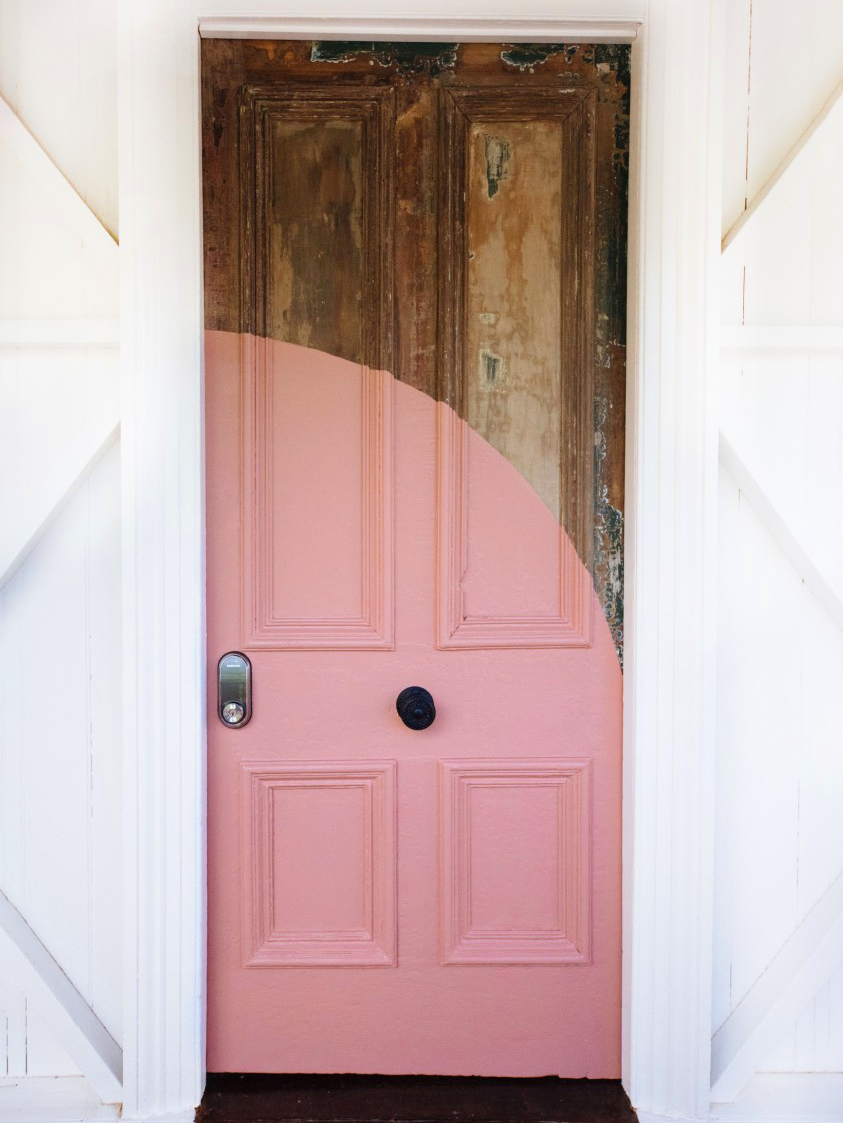
The painting process begins with preparing the door. Although optional, removing the door and its hardware (handle, lock) simplifies the job and leads to a more professional finish. If removed, the door can be placed on sawhorses in a covered, well-ventilated area to prevent drips and debris. Next, the door must be thoroughly cleaned with warm, soapy water to ensure a clean, dry, and dull surface, removing any residue with a scrubber sponge if necessary. A 24-hour drying period is advised to prevent moisture from causing future paint failures. Sanding is the subsequent step; a light sanding with 120-grit sandpaper is sufficient for doors in good condition, following the wood grain. For doors with peeling paint or deep scratches, a more intensive sanding process, starting with 80-grit and progressing to 220-grit, is needed, followed by tack cloth to remove all dust. Laying a drop cloth and applying painter's tape to protect unpainted areas are crucial steps before painting.
Priming is recommended for unpainted doors or when changing from a dark/vibrant color to ensure smooth coverage and adhesion. After the primer dries according to label instructions, two to three thin coats of exterior paint should be applied. Using an angled brush for moldings and panels, followed by a roller for a smooth finish, is advised. Ample drying time between coats is vital, considering humidity and temperature. A topcoat is generally unnecessary if high-quality exterior paint is used, as it already acts as a sealant. Finally, clean all tools, remove painter's tape, replace hardware, and re-hang the door if it was removed. Common mistakes to avoid include neglecting prep work, rushing drying times between coats, and using low-quality materials. Sanding can be skipped if the existing paint is smooth and intact, but any significant imperfections require sanding to prevent future flaking or cracking.
#HomeImprovement #FrontDoorPainting #CurbAppeal #ExteriorPaint #DIYHome #PaintingTips #HomeMaintenance #DesignTips #HomeImprovement #FrontDoorPainting #CurbAppeal #ExteriorPaint #DIYHome #PaintingTips #HomeMaintenance #DesignTips
0 comment in total
 No comments yet
You may also like
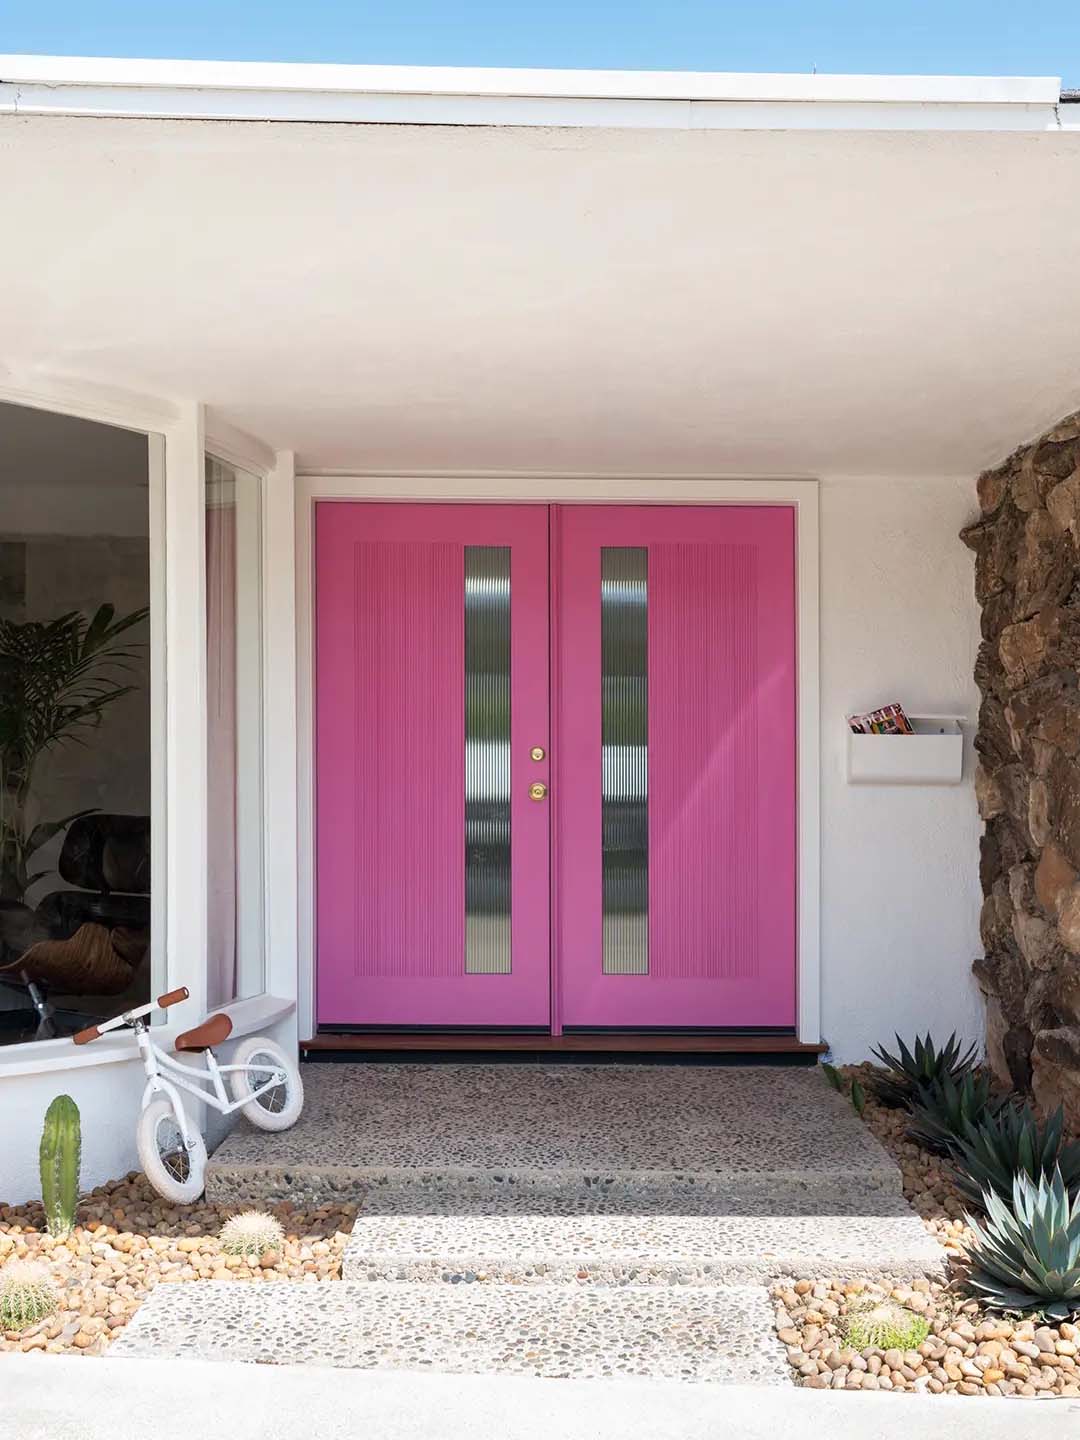
16 Front Doors That Make the Case for a Fresh Coat of Paint

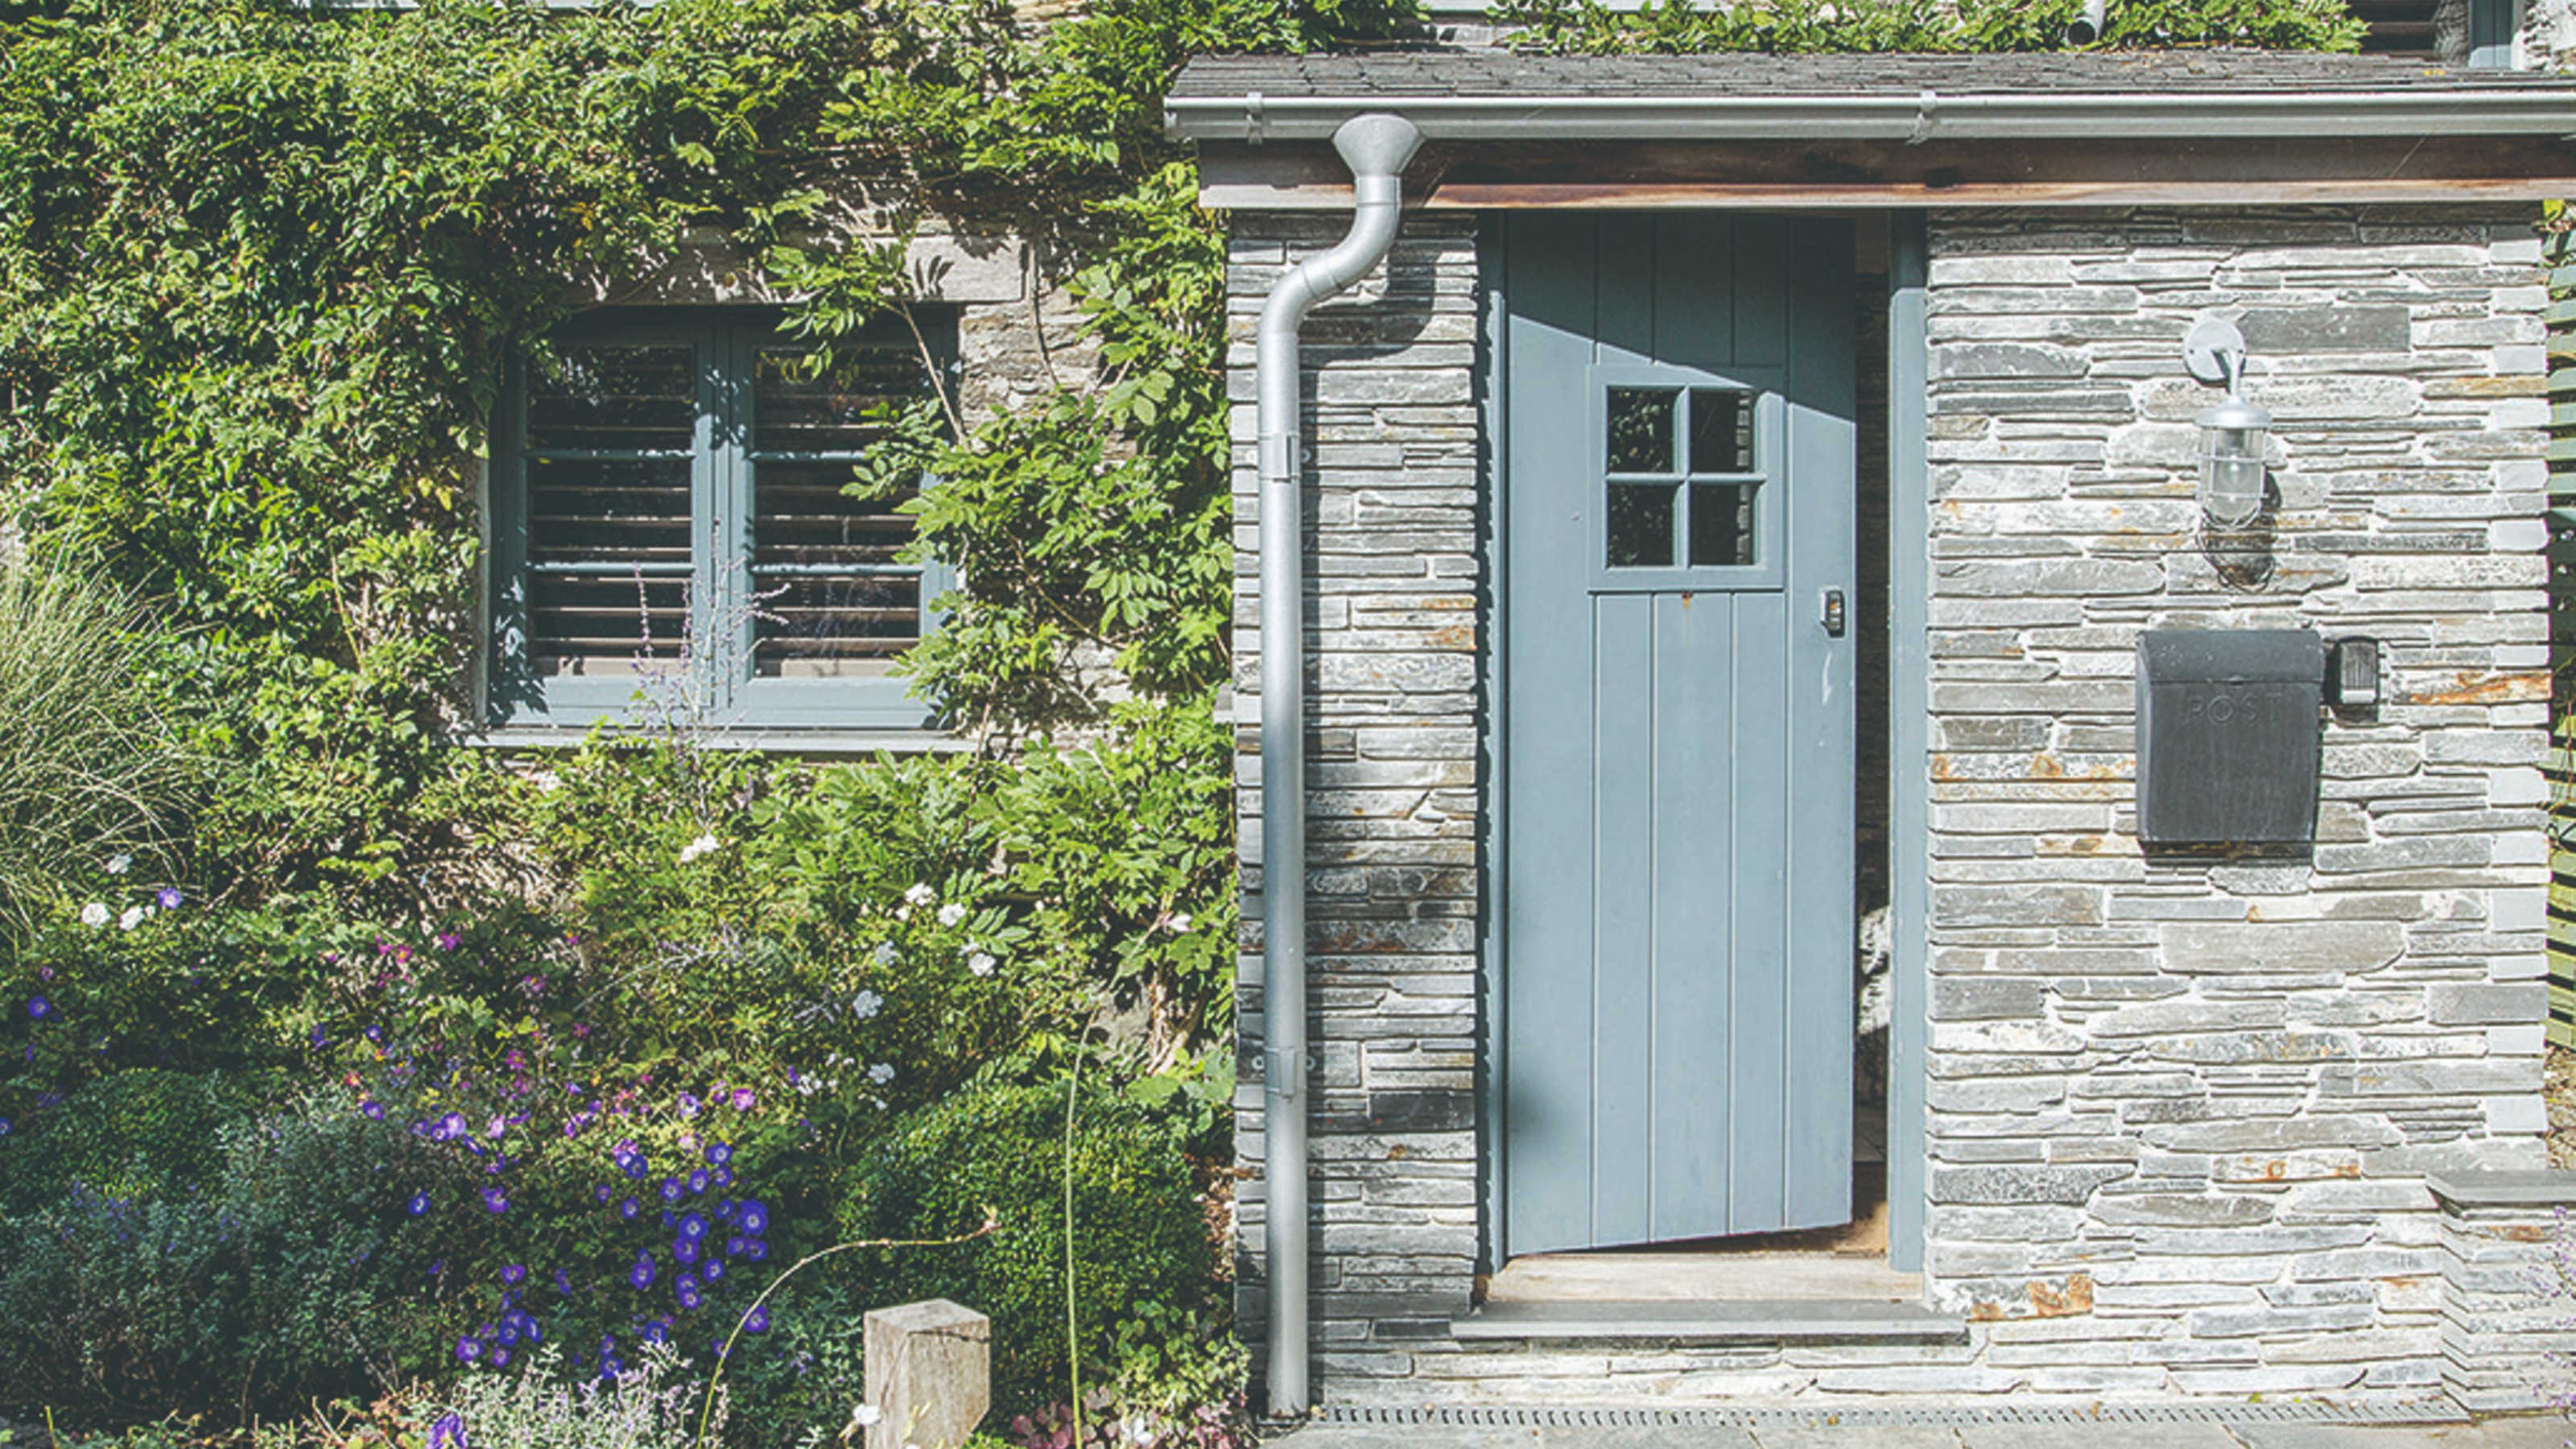
Front door colour ideas – 9 shades to elevate your home’s entrance and set it apart from the rest on your road

Kerry Washington’s front door color is among the sleekest ways to boost house value and curb appeal, say experts

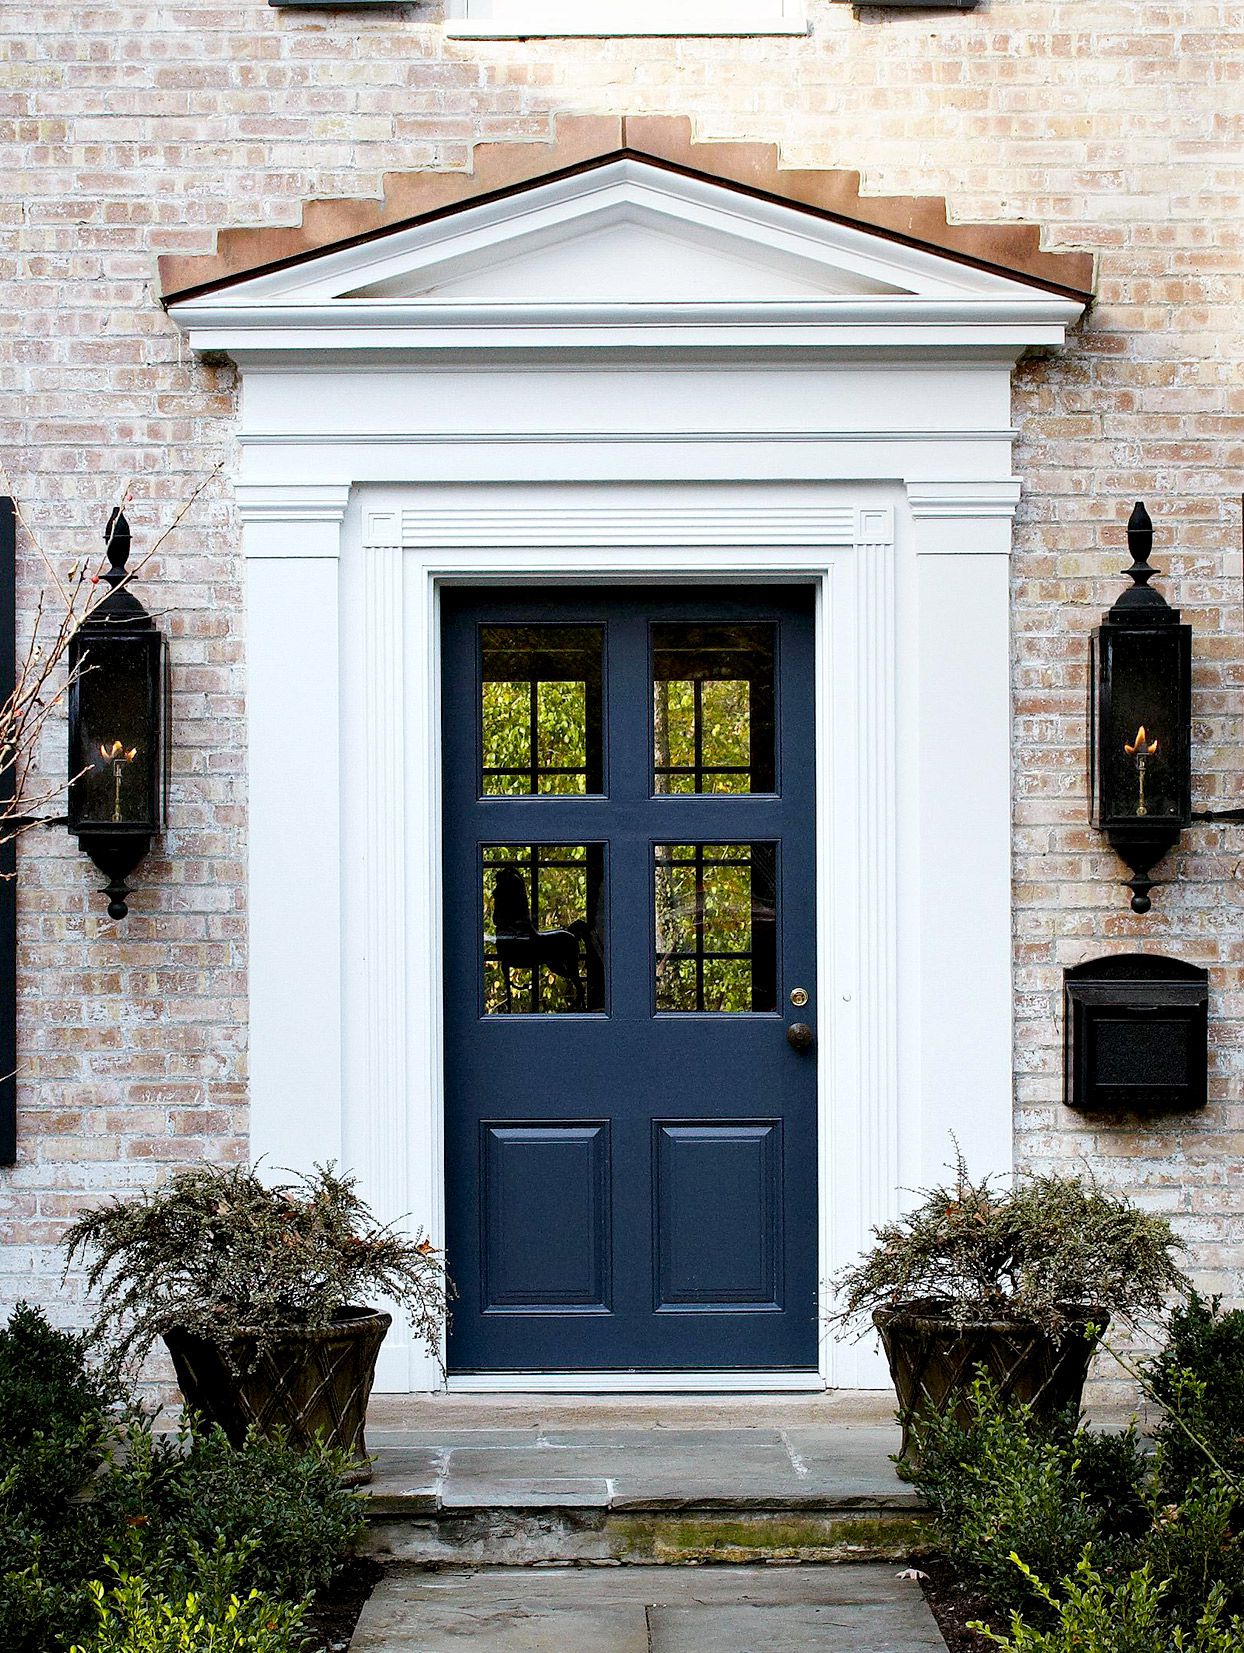
These Are the Top 10 Dos and Don'ts for Choosing Front Door Colors

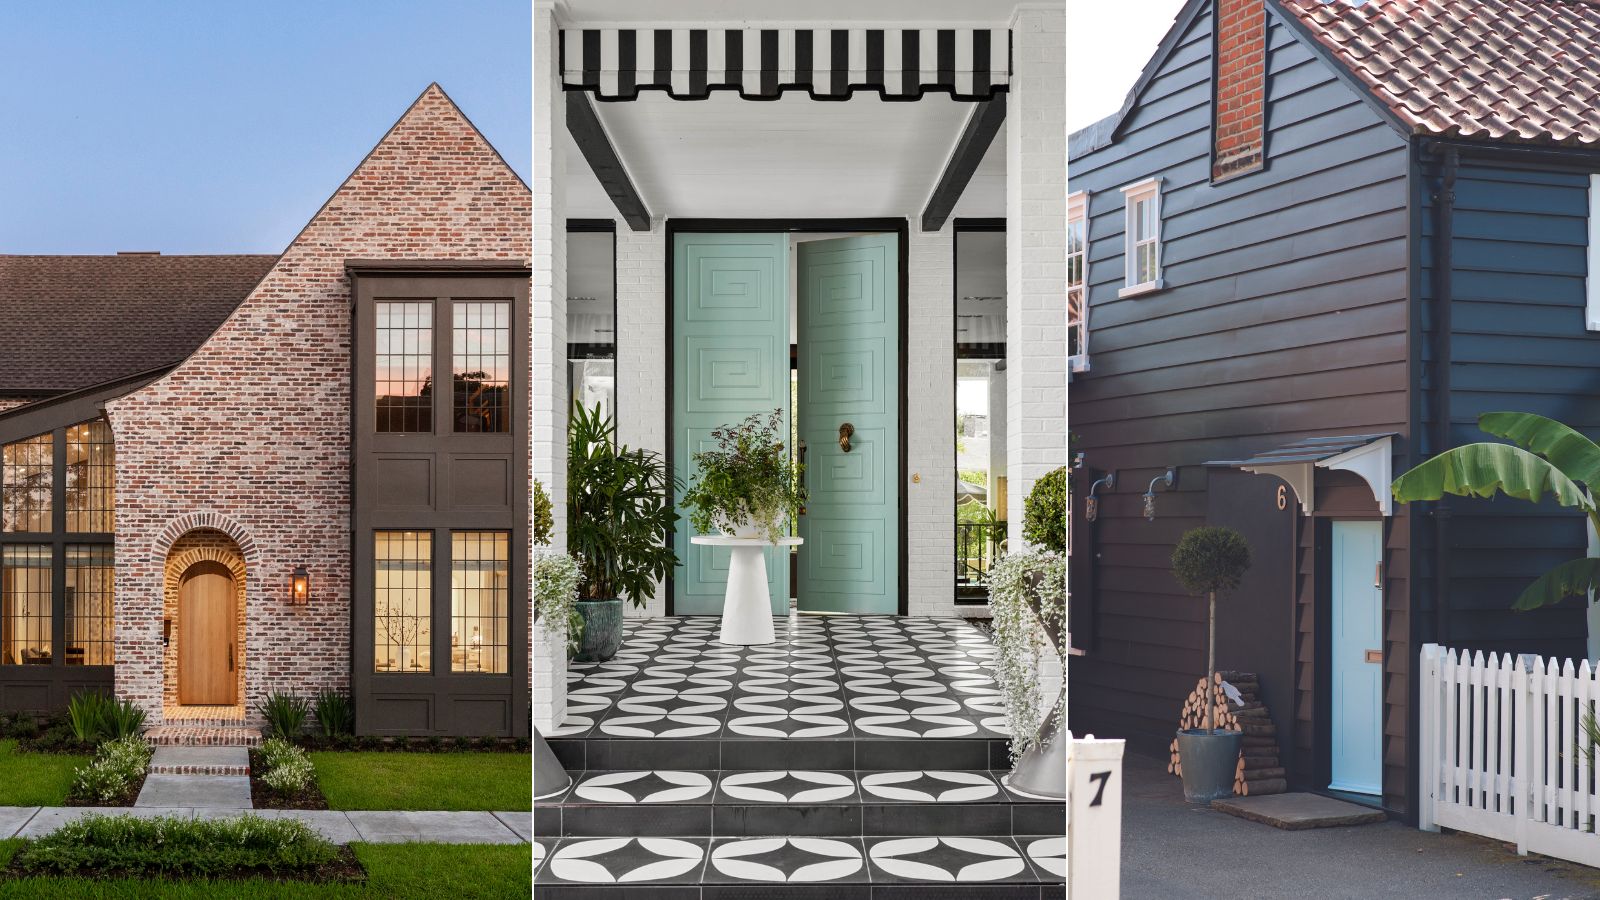
19 front door color ideas that are sure to boost your home's curb appeal
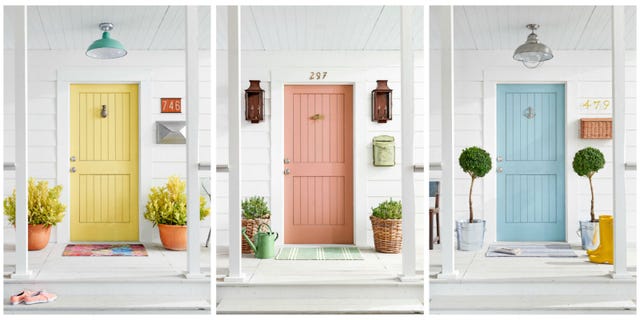
5 Easy Ways To Give Your Front Door a Colorful Makeover
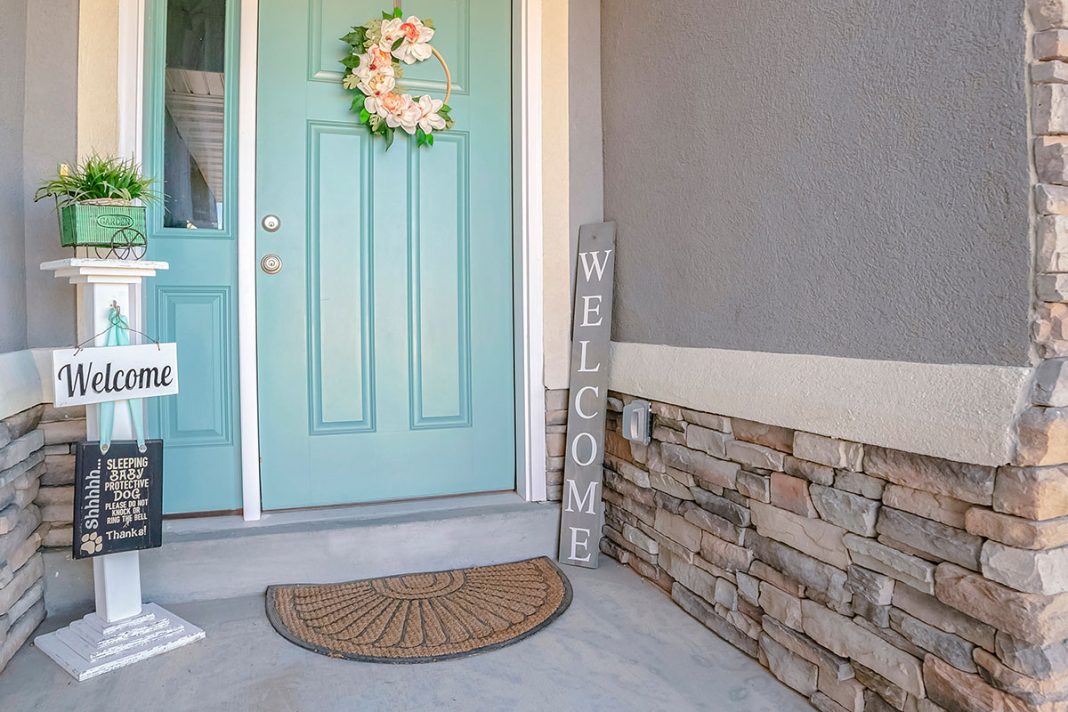
Update Your Front Door to Boost Your Westchester Home’s Curb Appeal

The Best Paint for Garage Doors to Upgrade Your Home’s Look

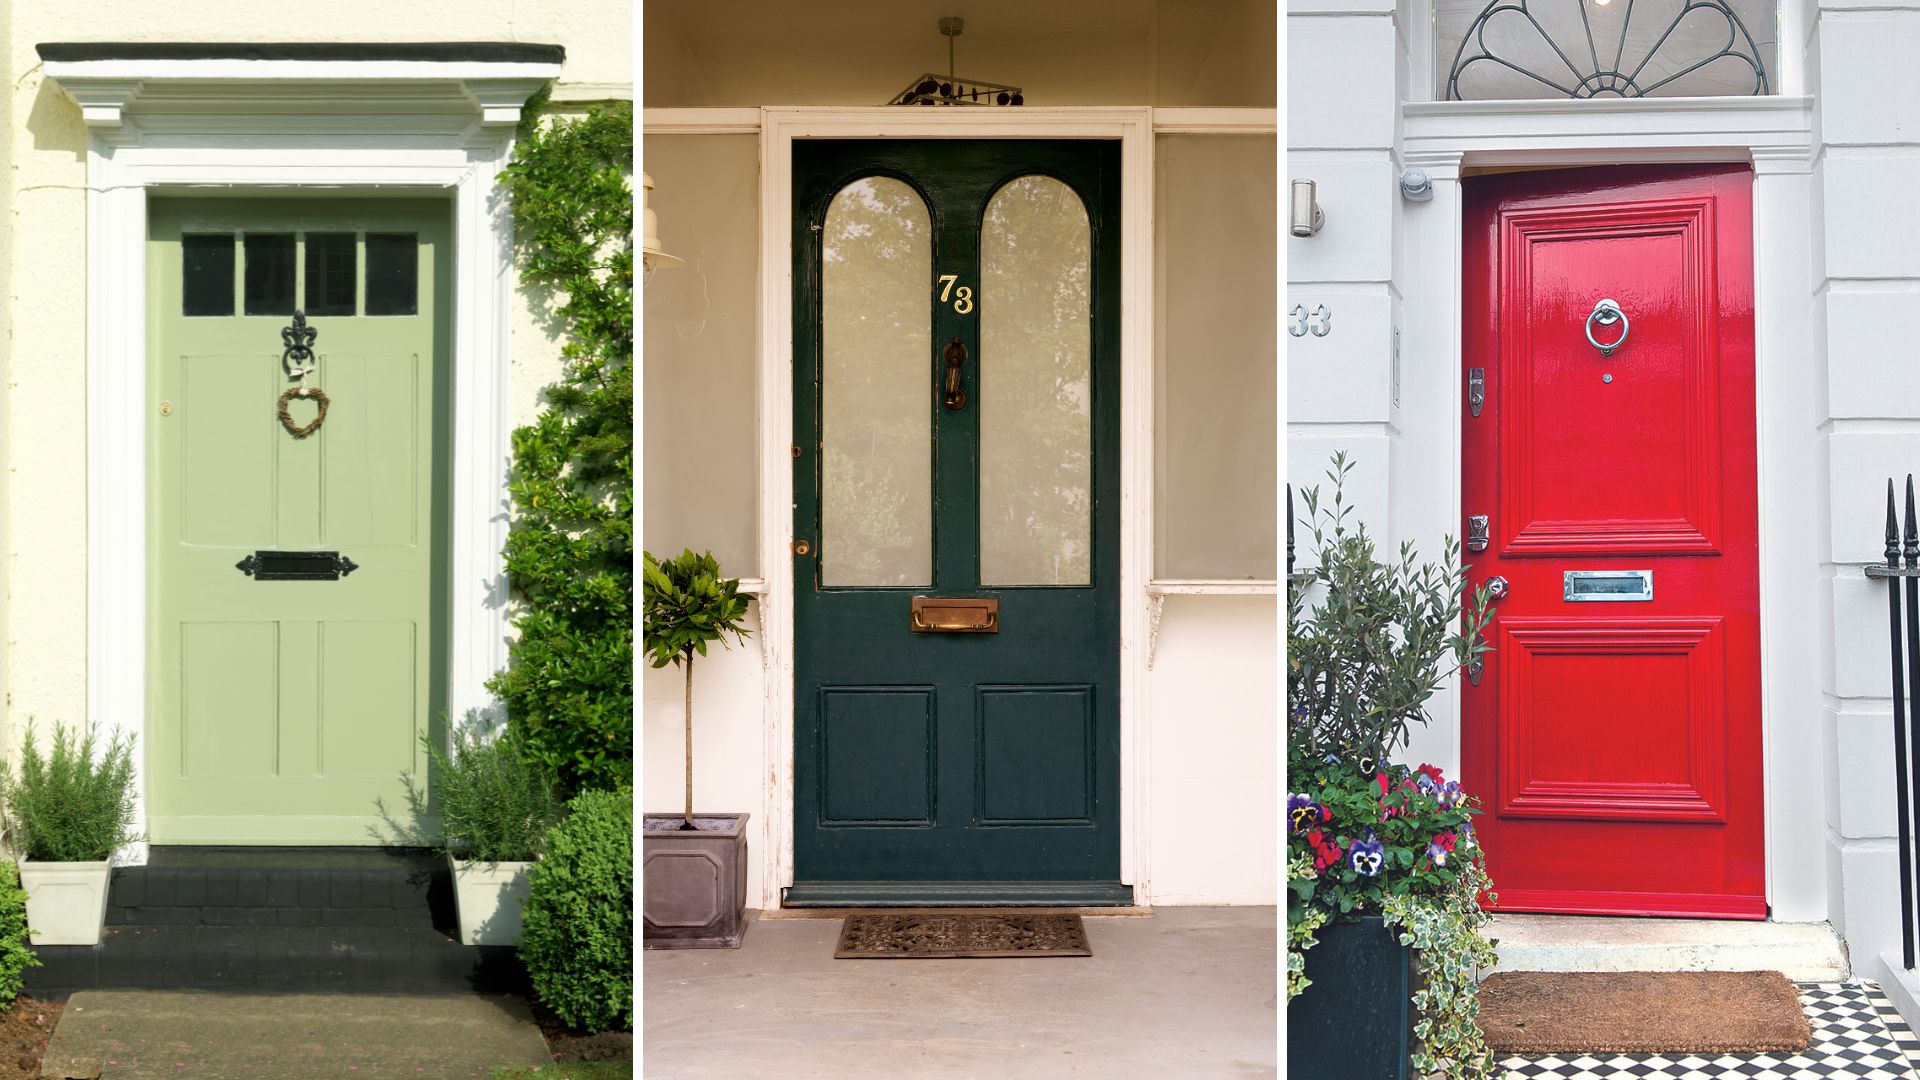
How to choose the best colour for a front door in 2024: 7 tips to boost your home's curb appeal

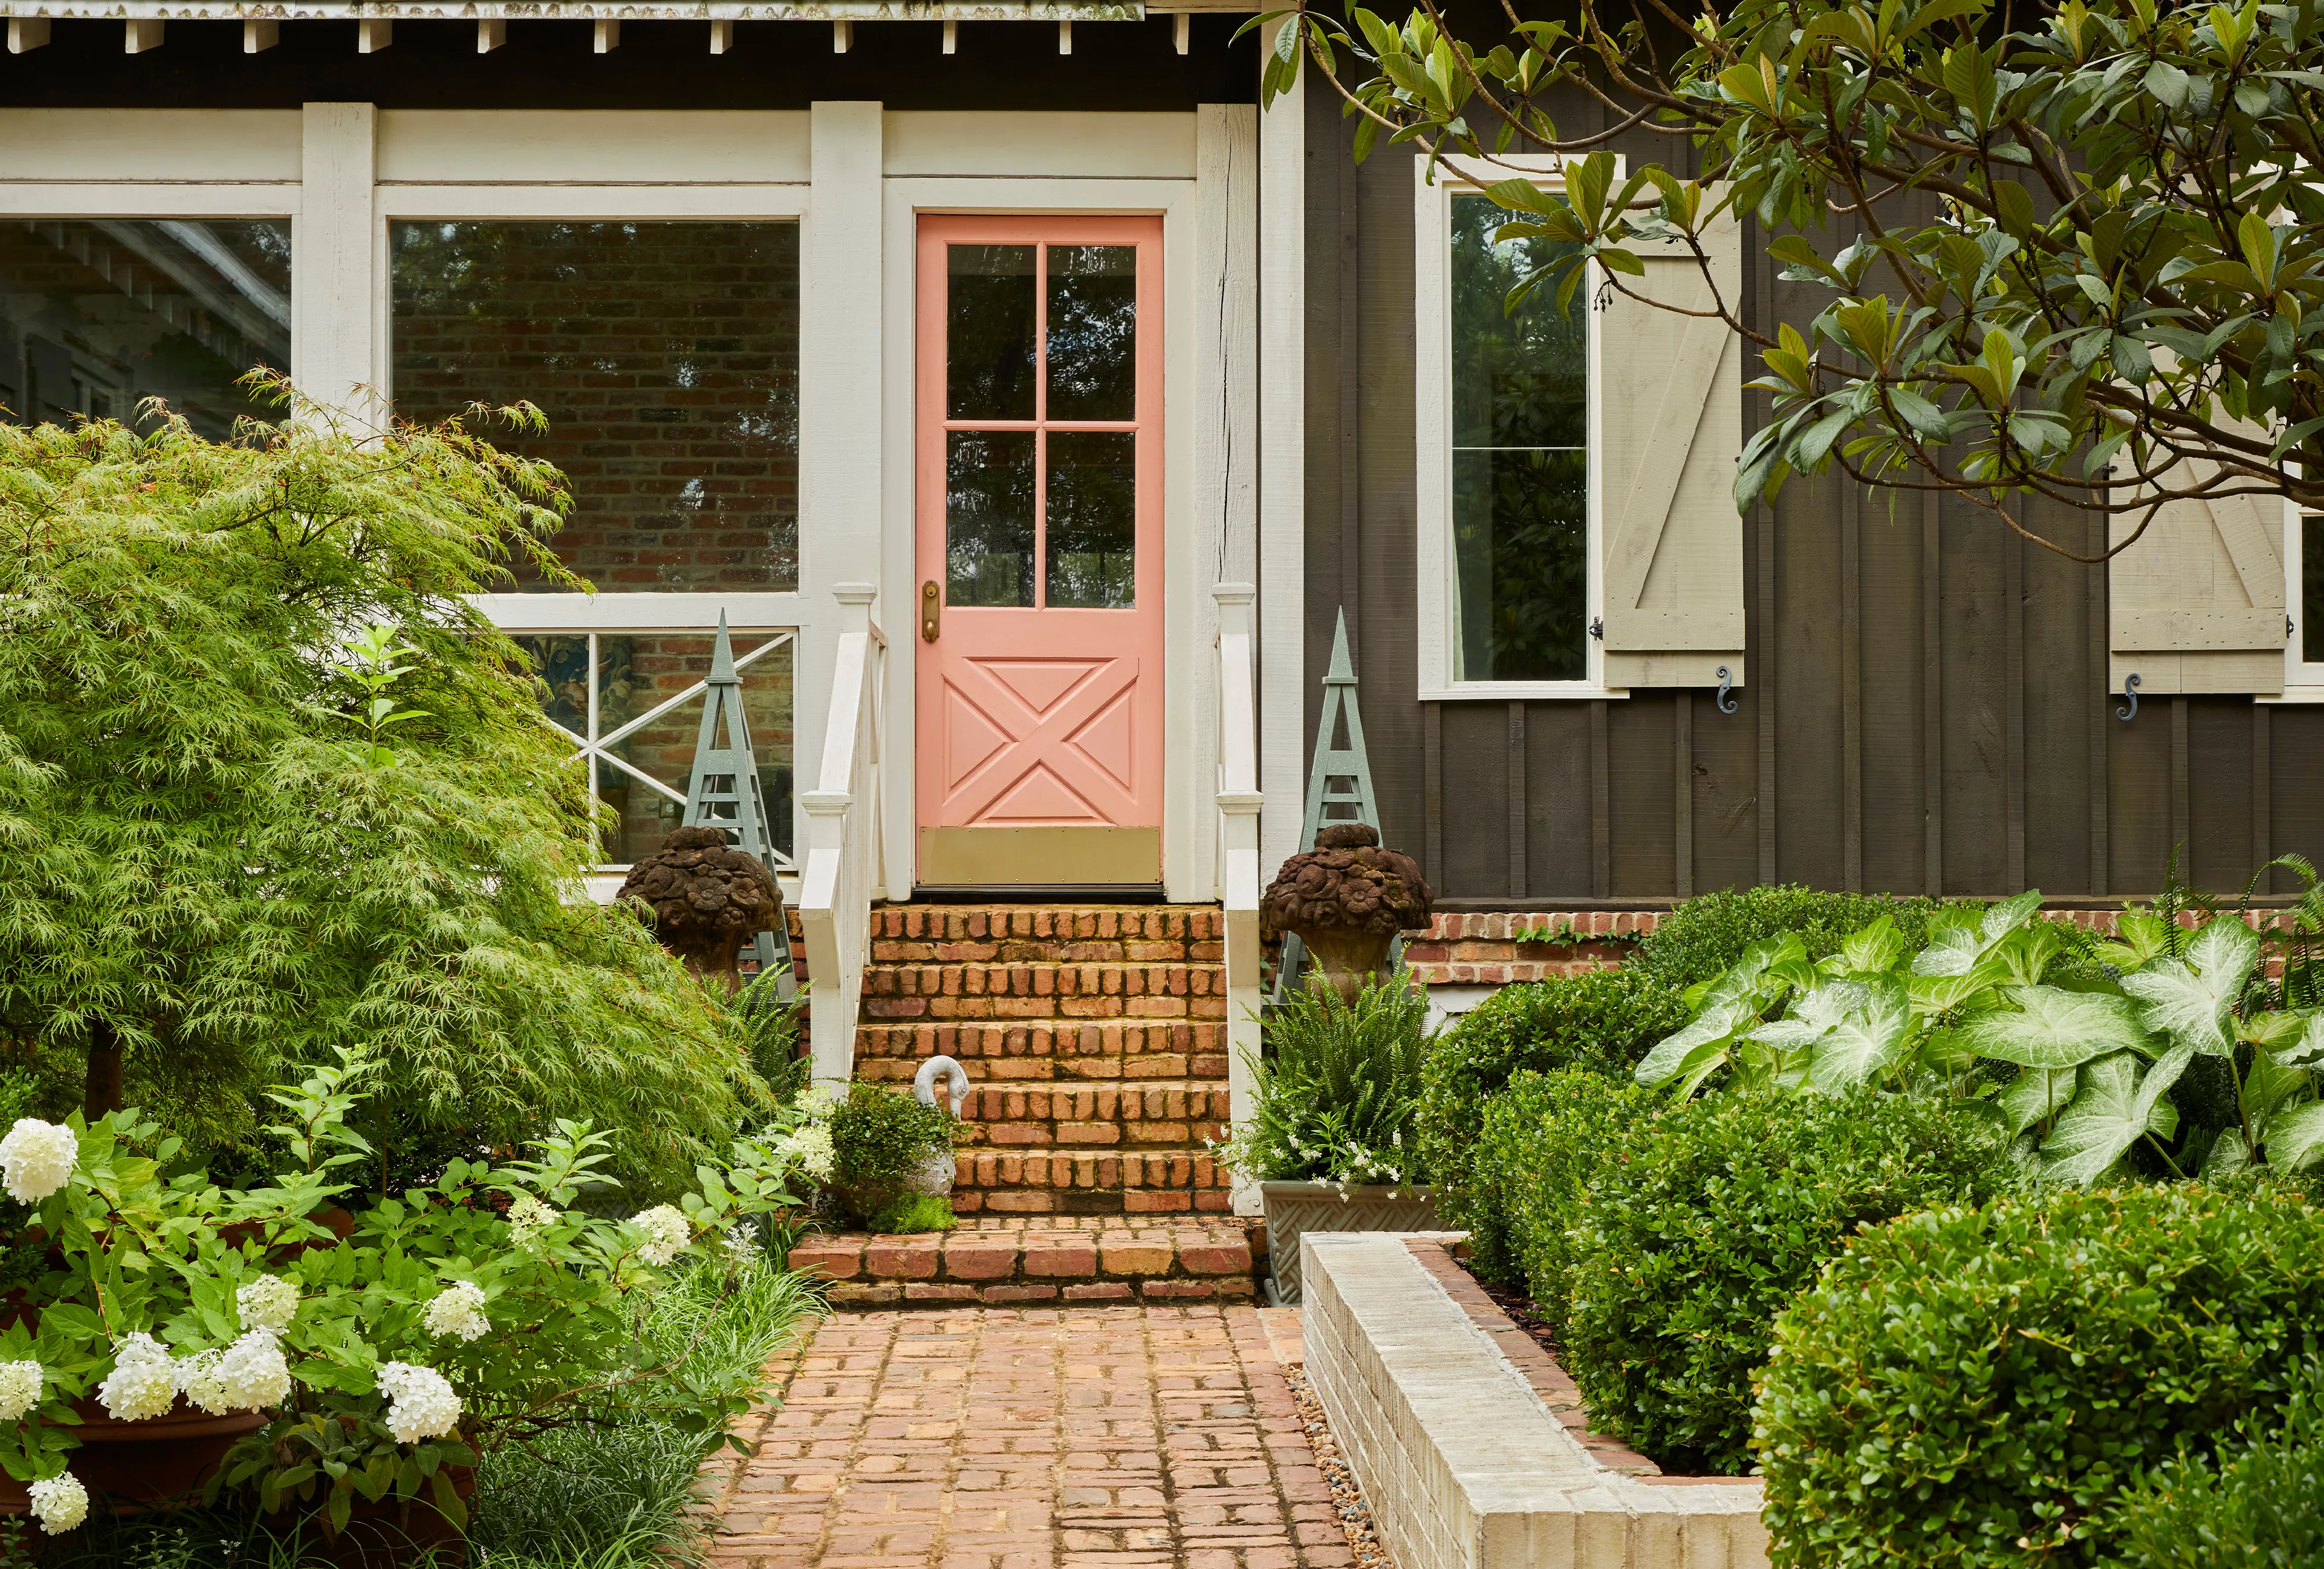
35 Colorful Front Door Ideas That Will Seriously Up Your Curb Appeal
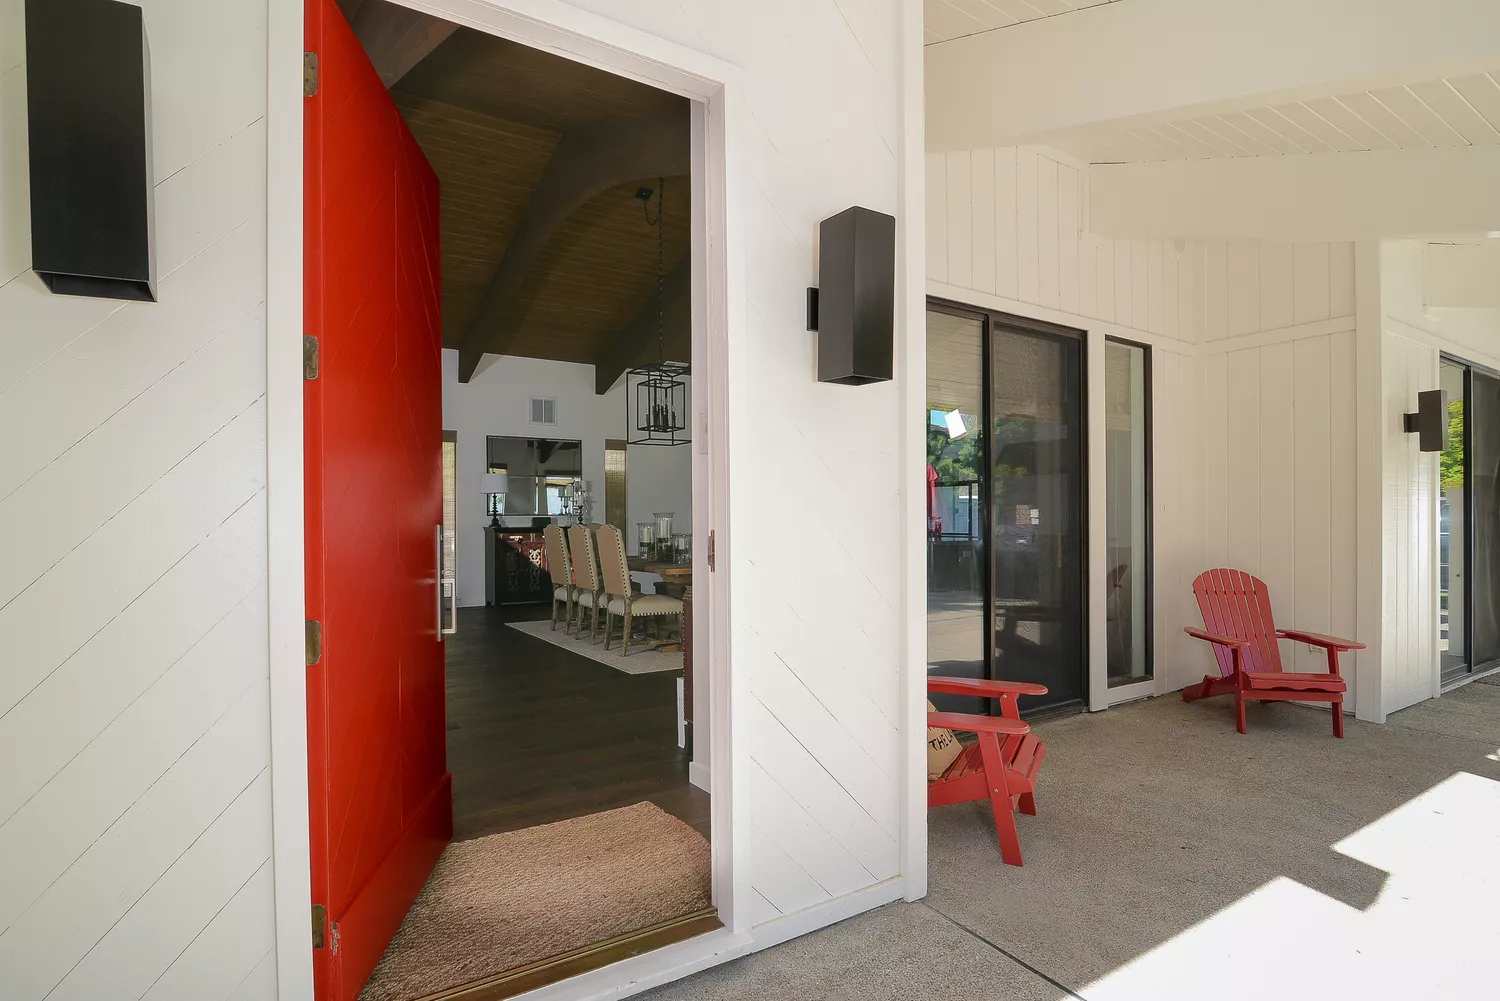
A Design Pro Shares Her Best Tips for Choosing a Timeless Front Door Color


Jamie Lee Curtis’ door color could raise your house value
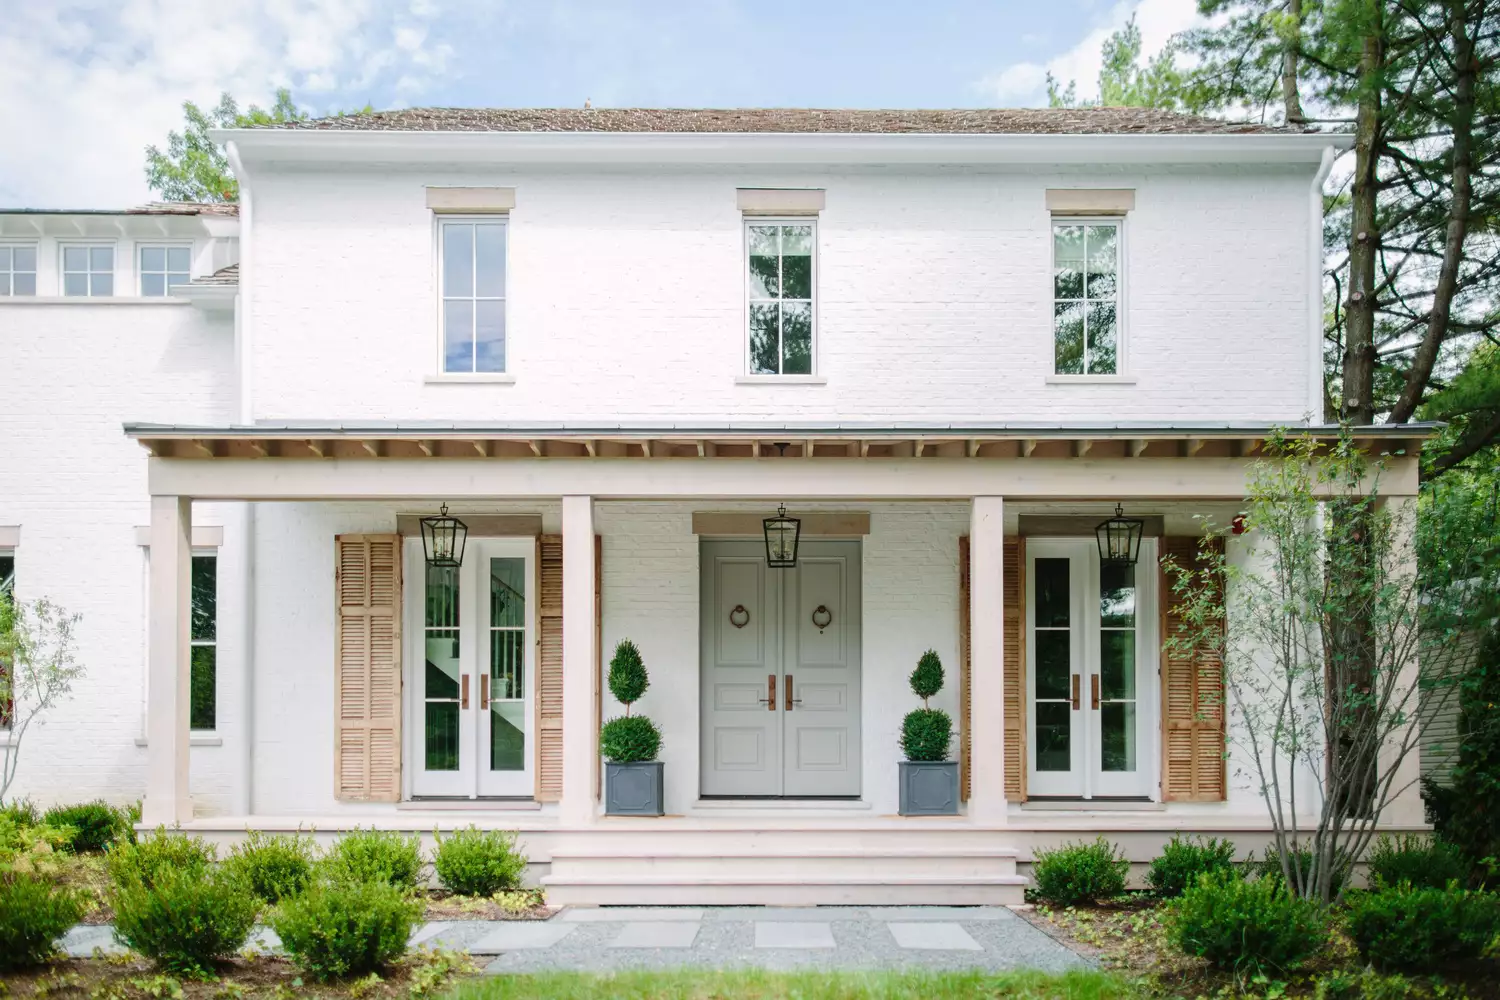
I Asked Two Real Estate Pros the Secret to Better Curb Appeal and They Said the Same Thing
How to choose the best exterior paint for doors and windows

Your Interior Doors Don’t Need to Be Stark White—Designers Love These 11 Rich Hues

Front door design: a guide to choosing a new front door
Bold & Bright. How to Make Your Front Door Colorful & Inviting

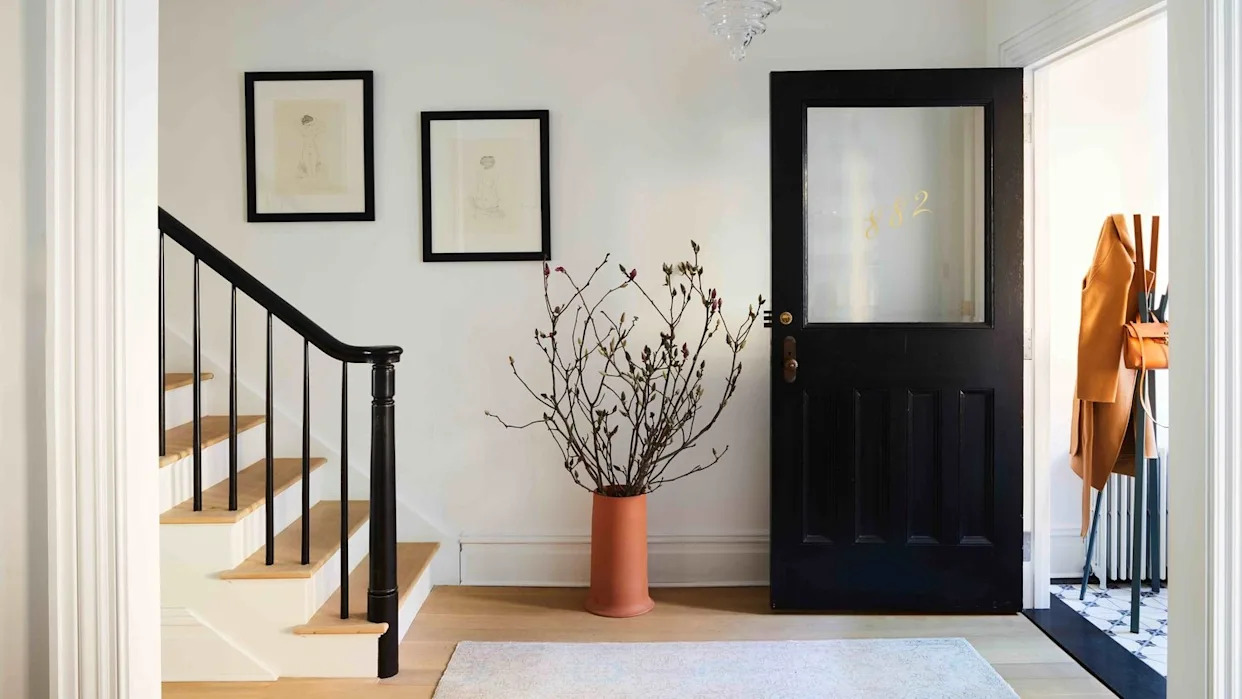
How to decide what color to paint the inside of your front door
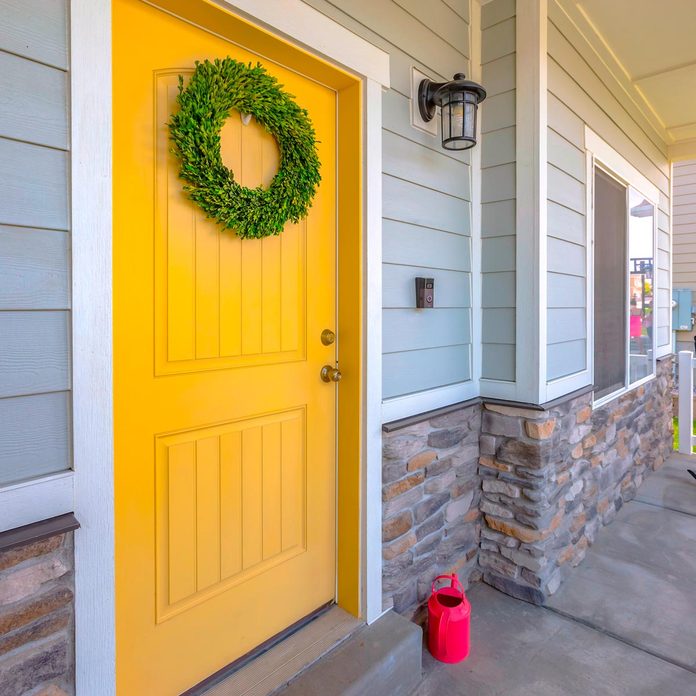
10 Modern Front Doors We are Loving Right Now

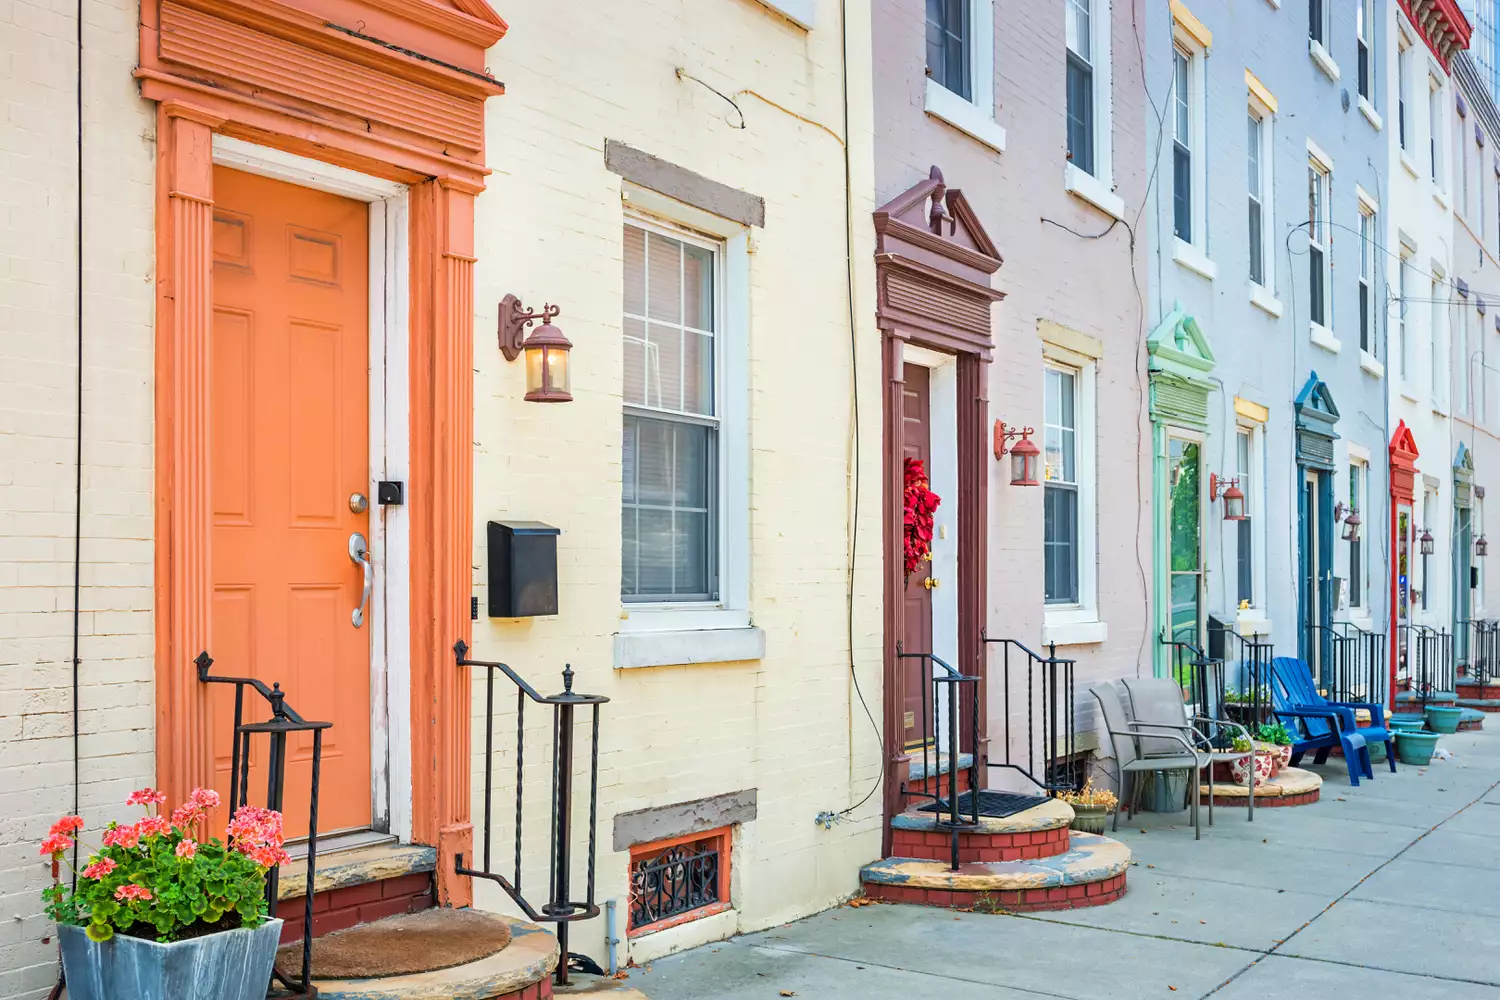
7 Front Door Colors That Could Help Your Home Sell for More