1/18
jenny komenda hacks the ikea pax wardrobe
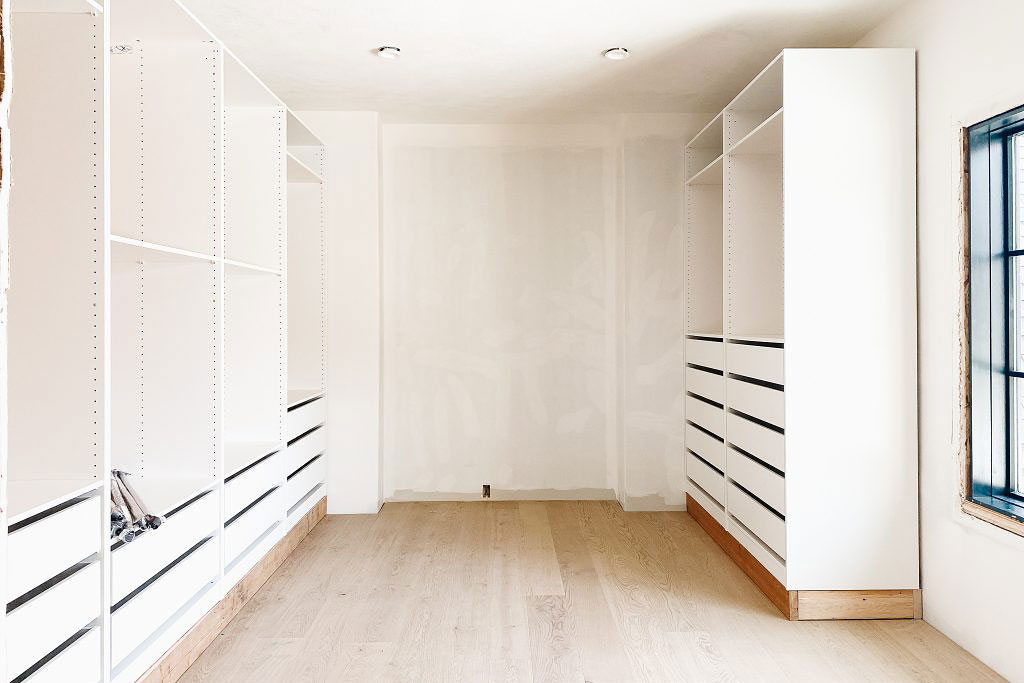
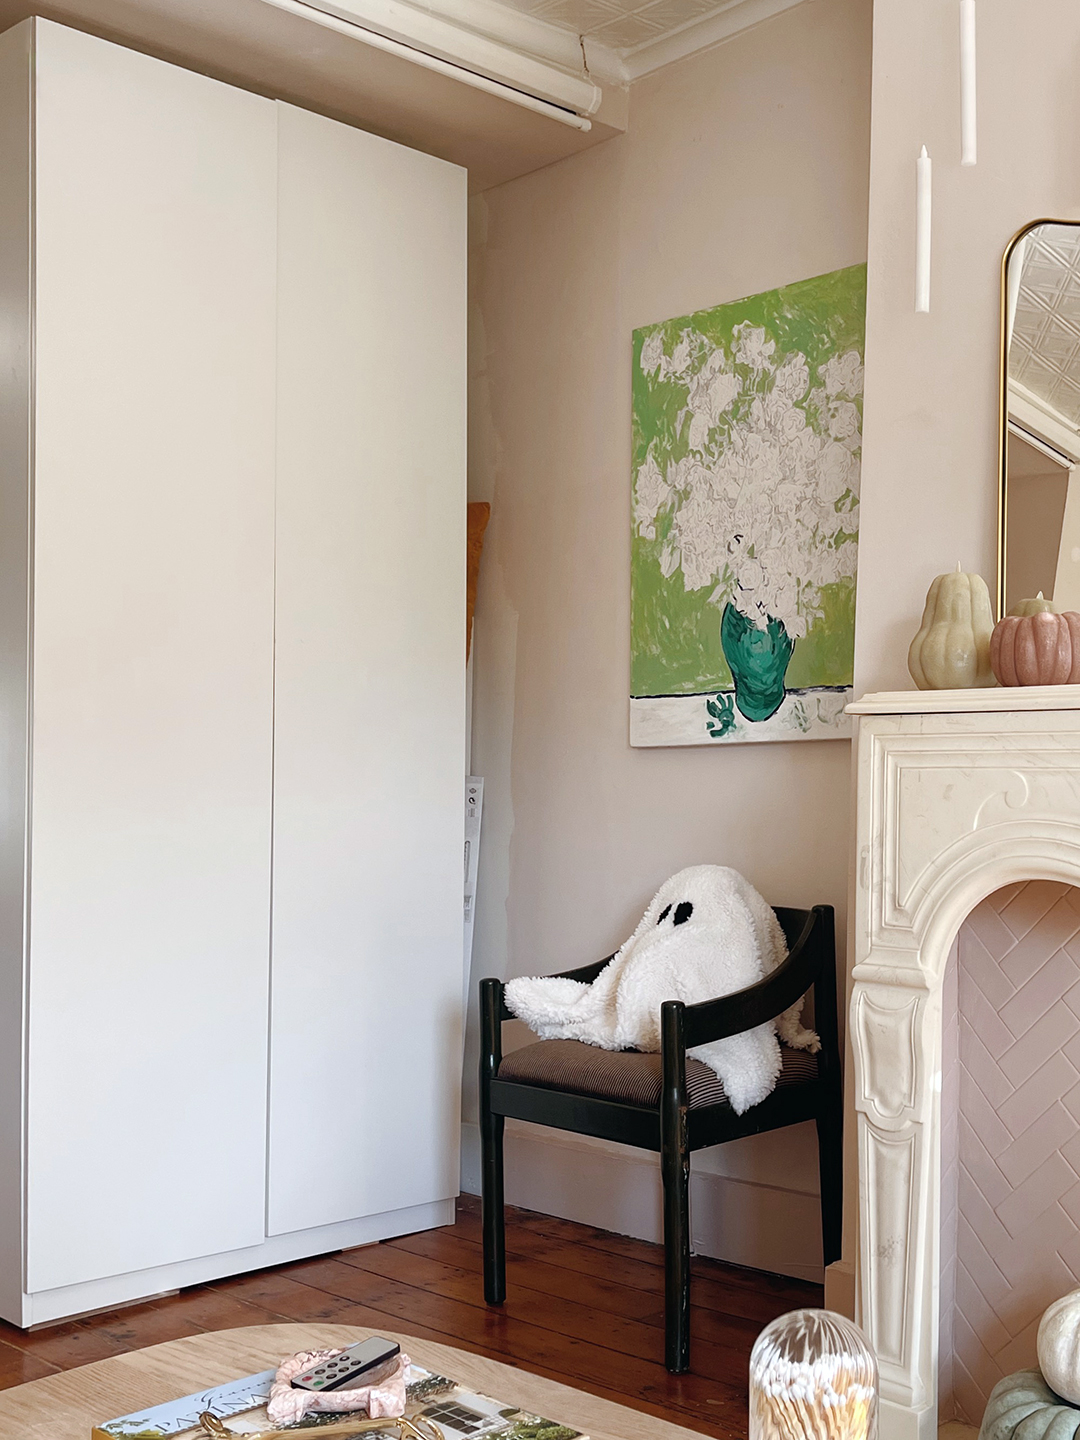
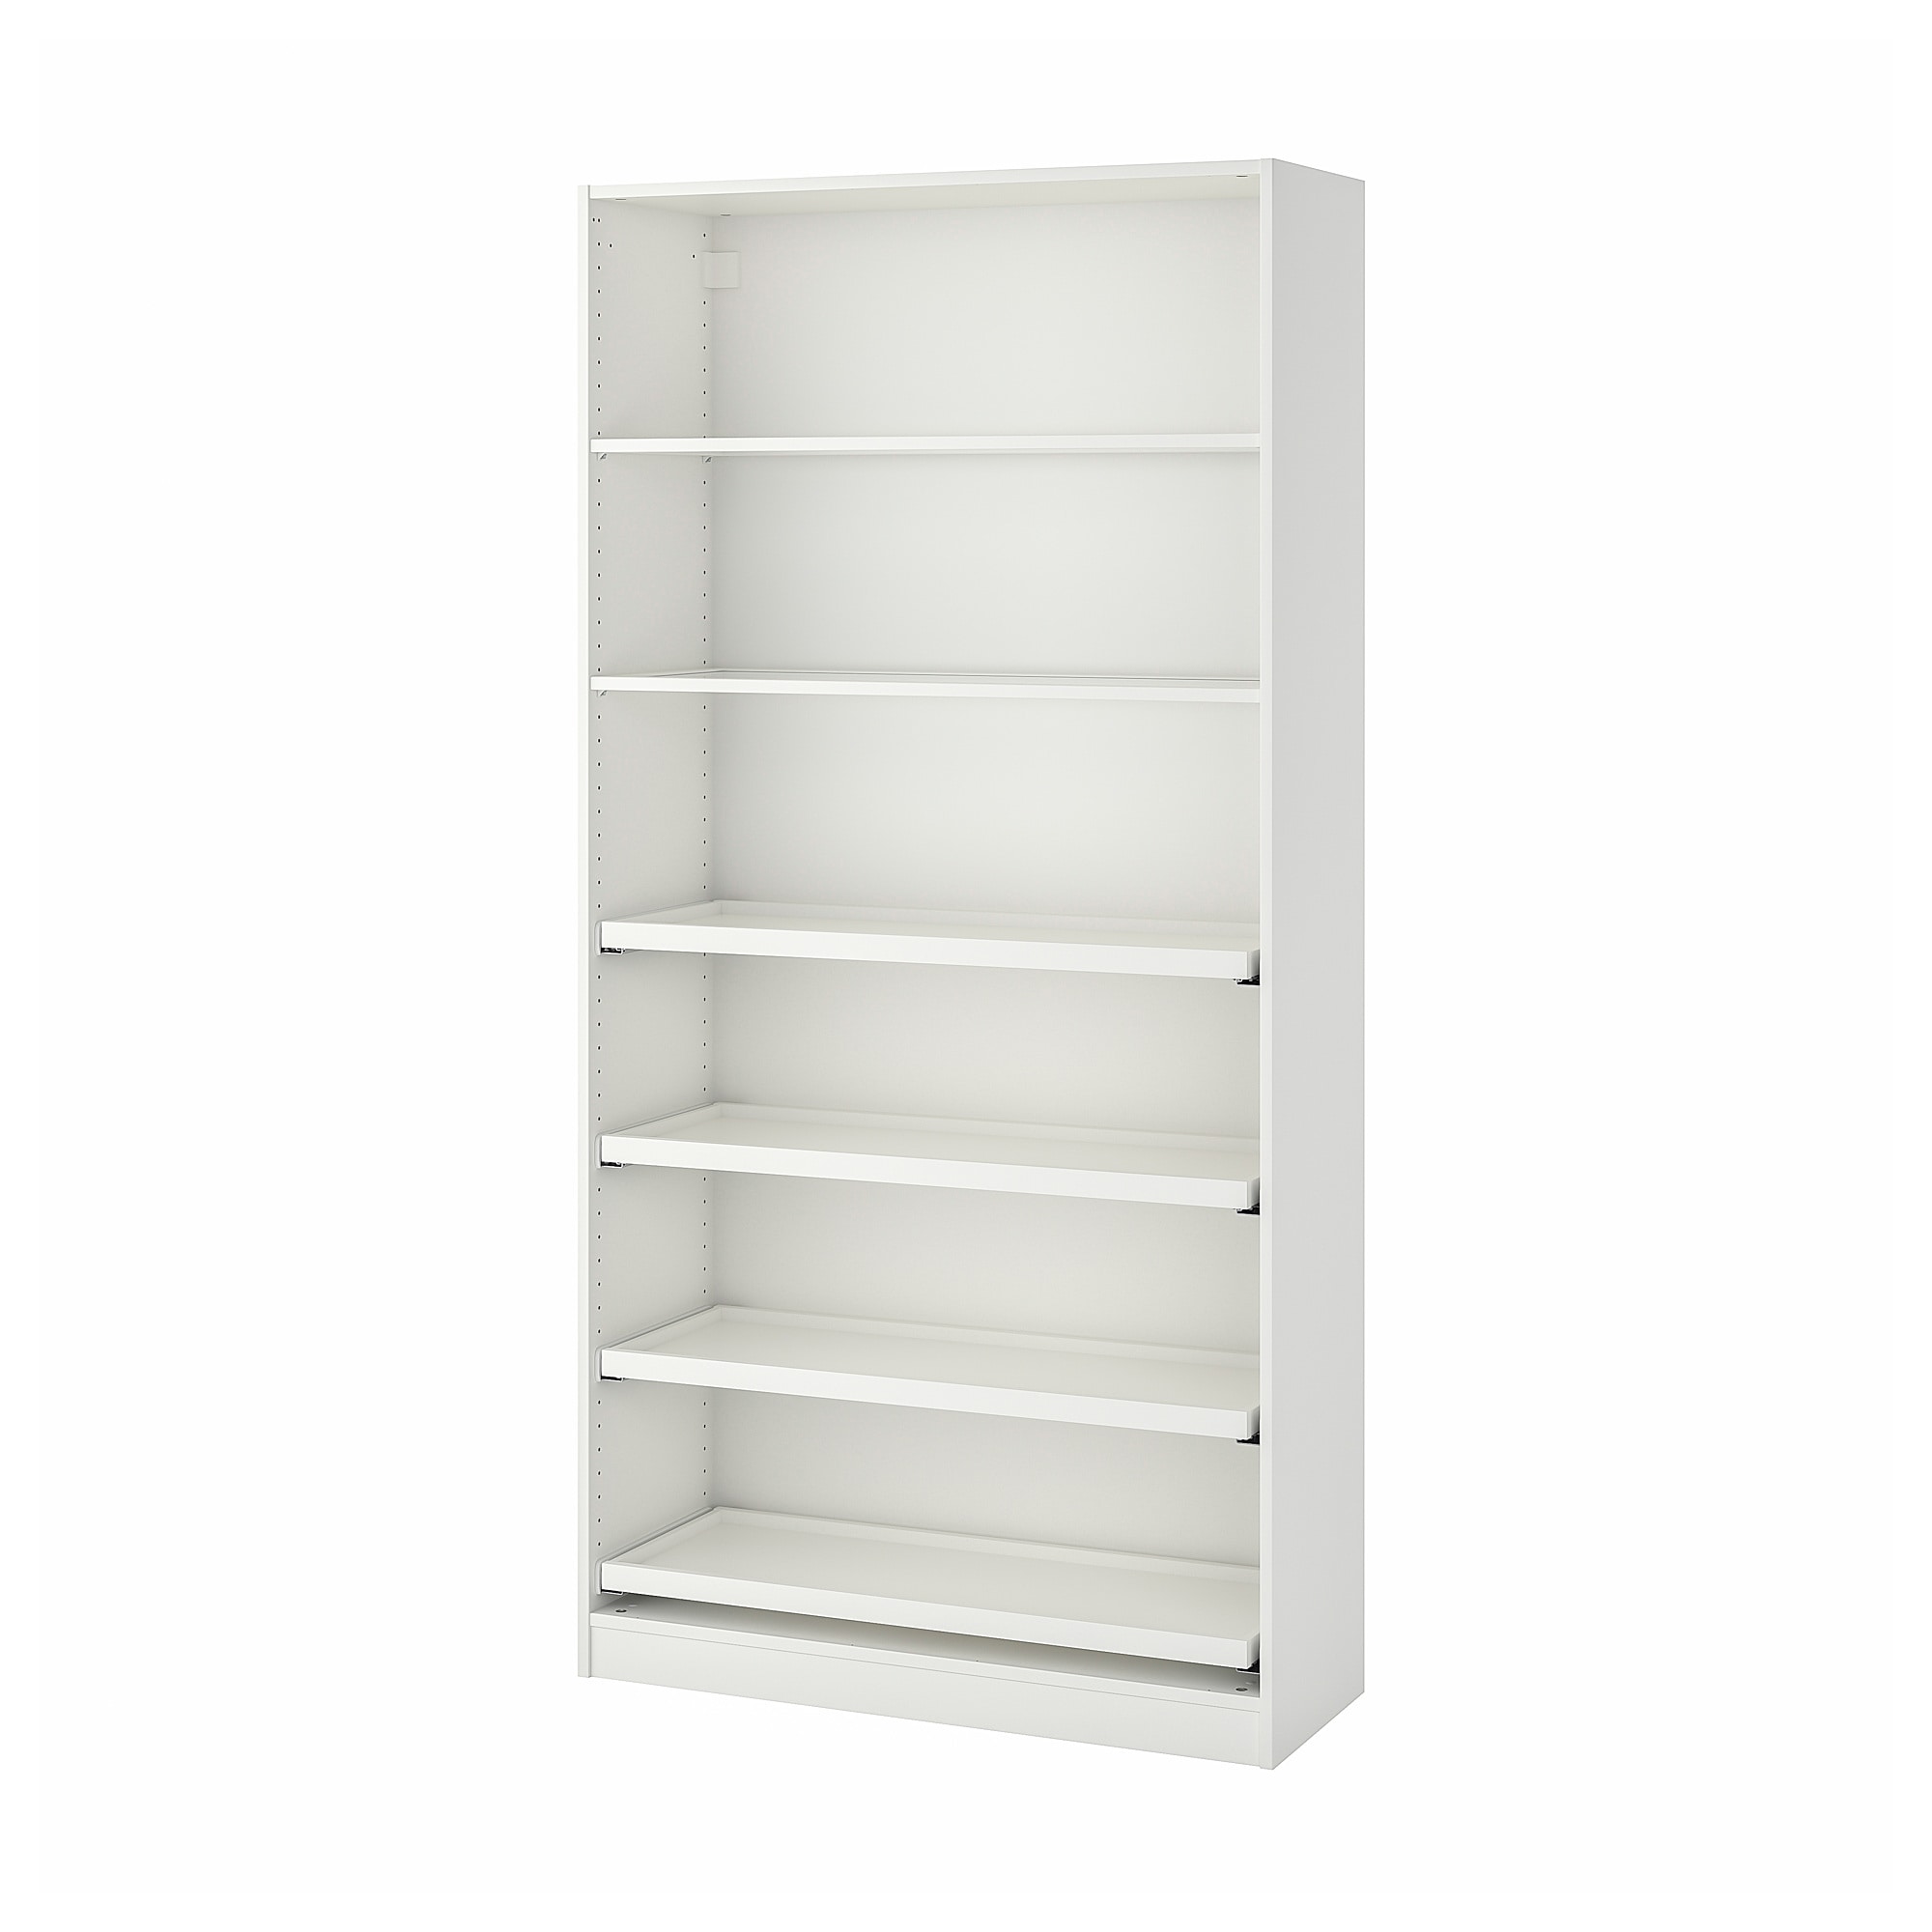
The author recounts her experience after a cross-country move, transitioning from a cozy Brooklyn home to a larger house in the desert. Despite the increased square footage and seemingly ample closet space, the family still faced significant storage challenges, leading to accumulating piles of clothes and shoes that were often forgotten. This prompted the author to seek a practical and aesthetically pleasing solution for organizing their belongings, specifically by customizing IKEA's modular Pax wardrobe system to achieve a more bespoke look and improved functionality.
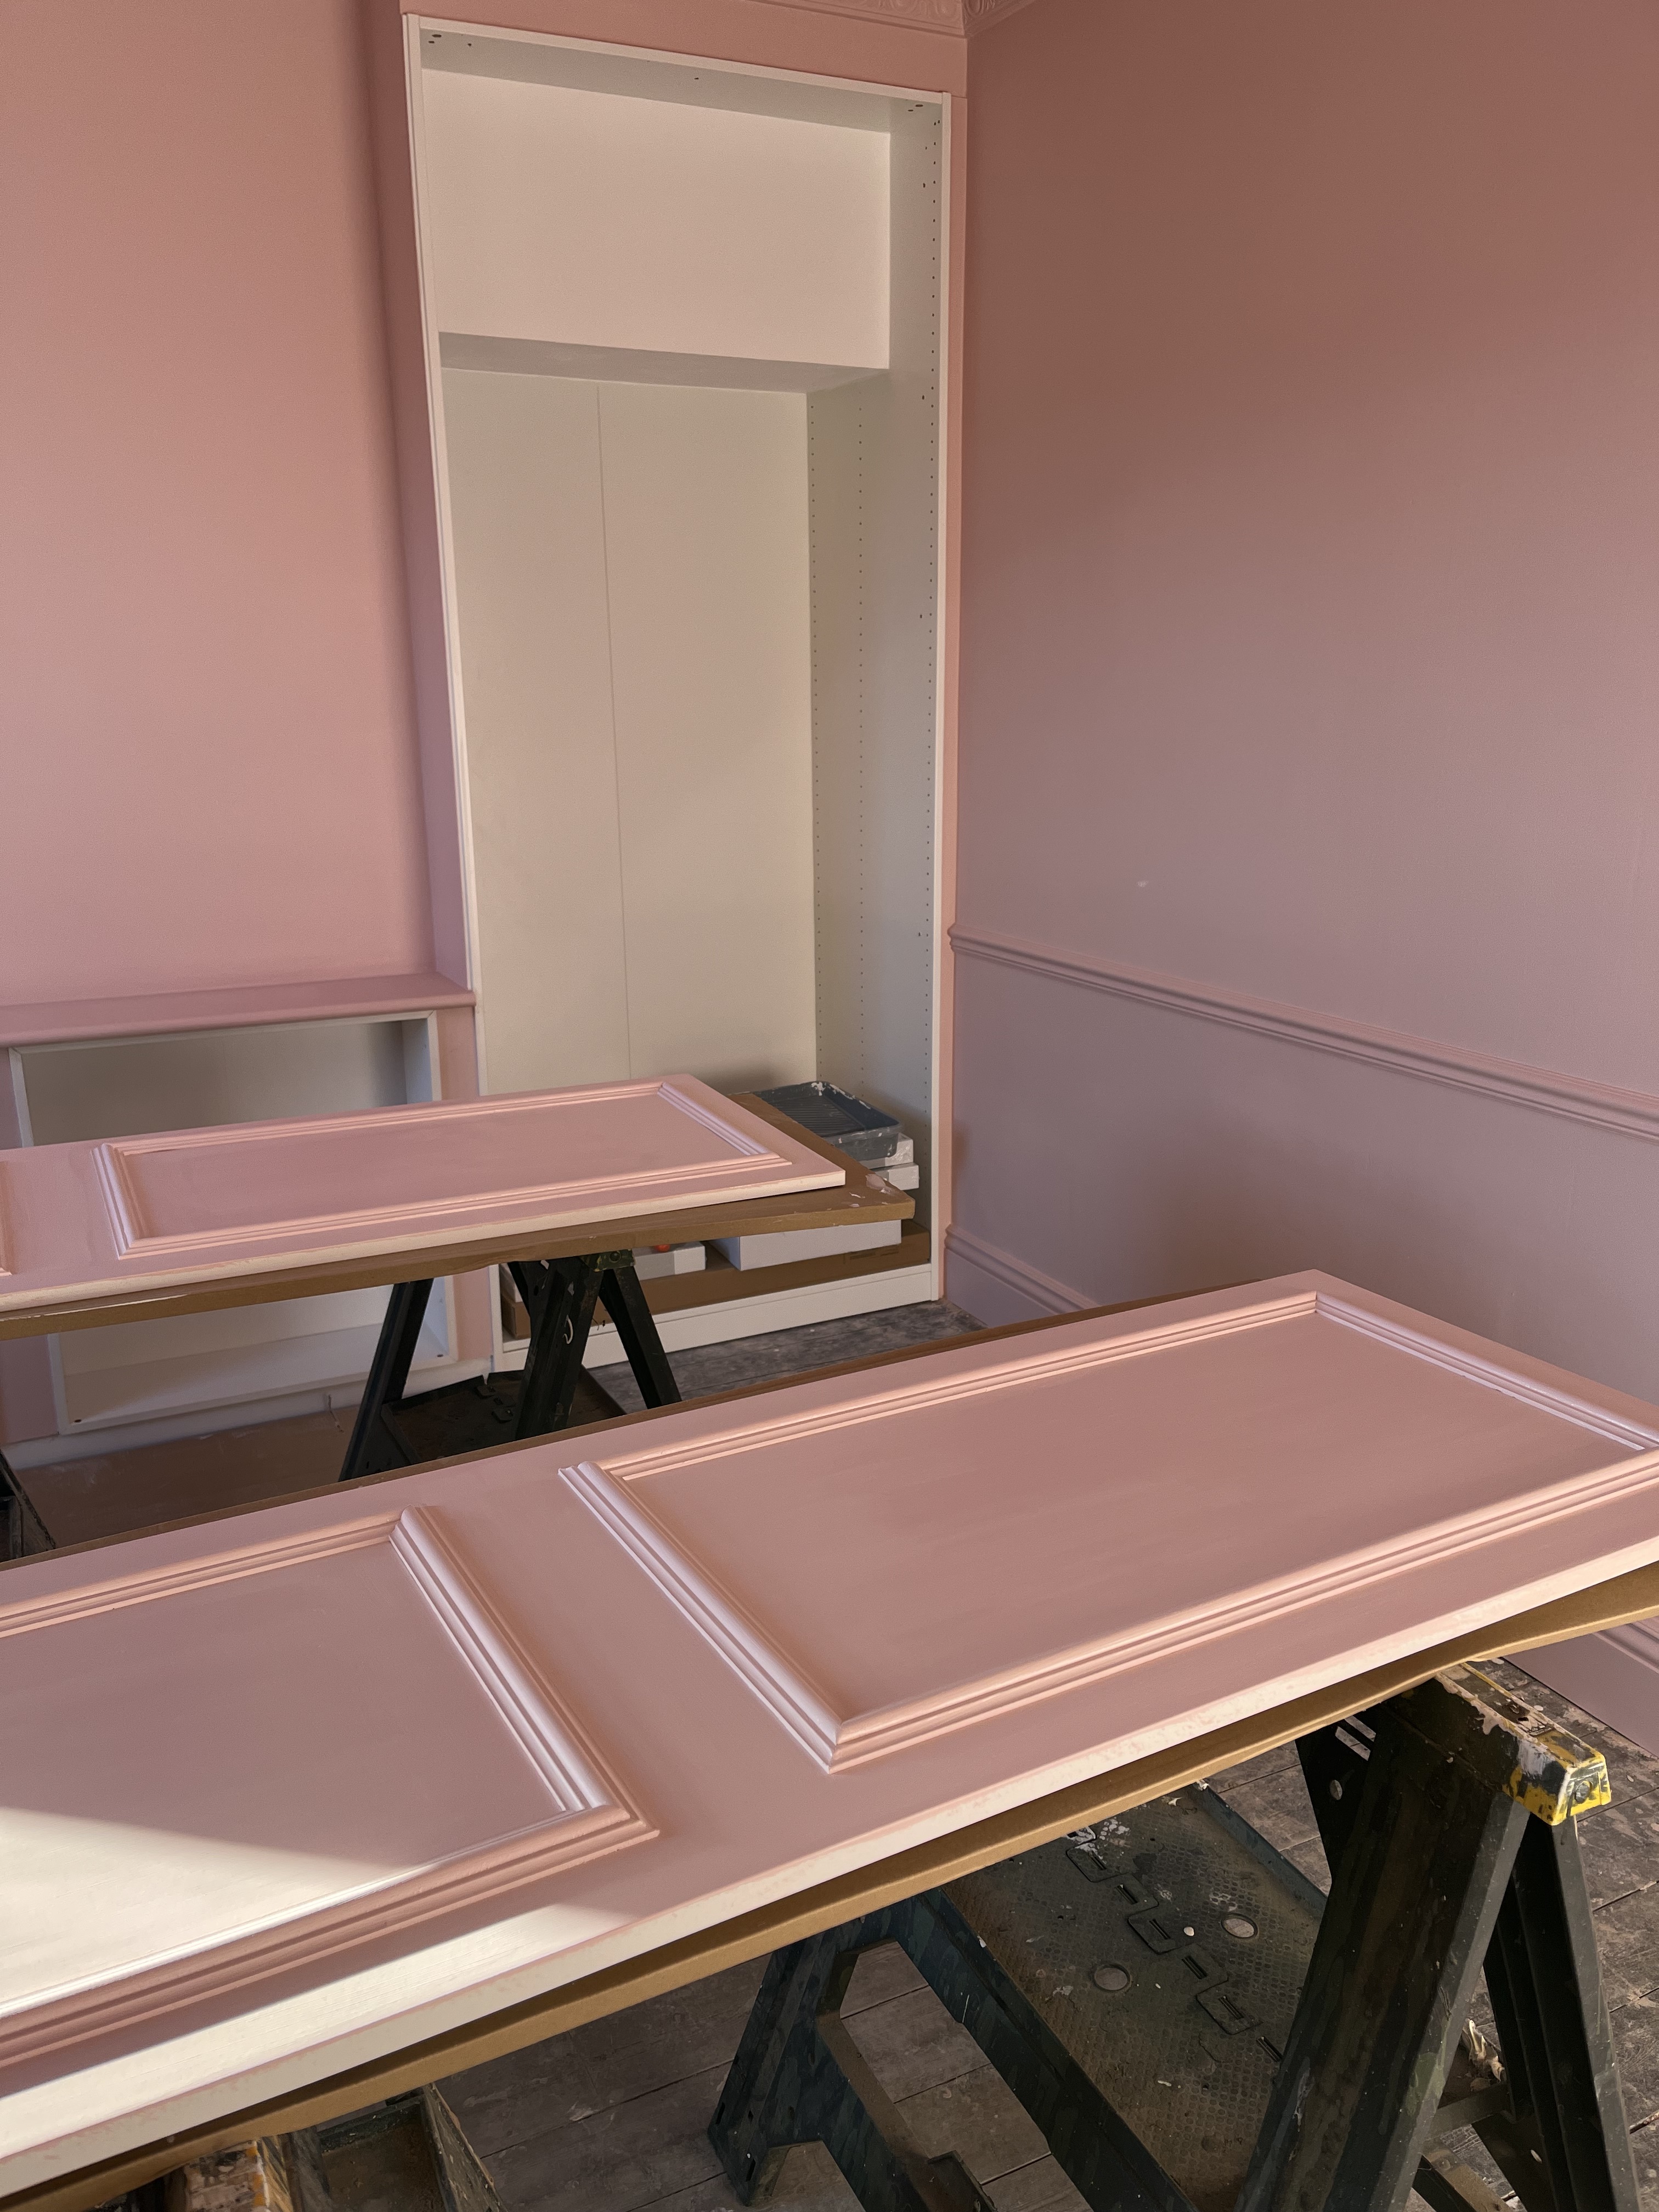
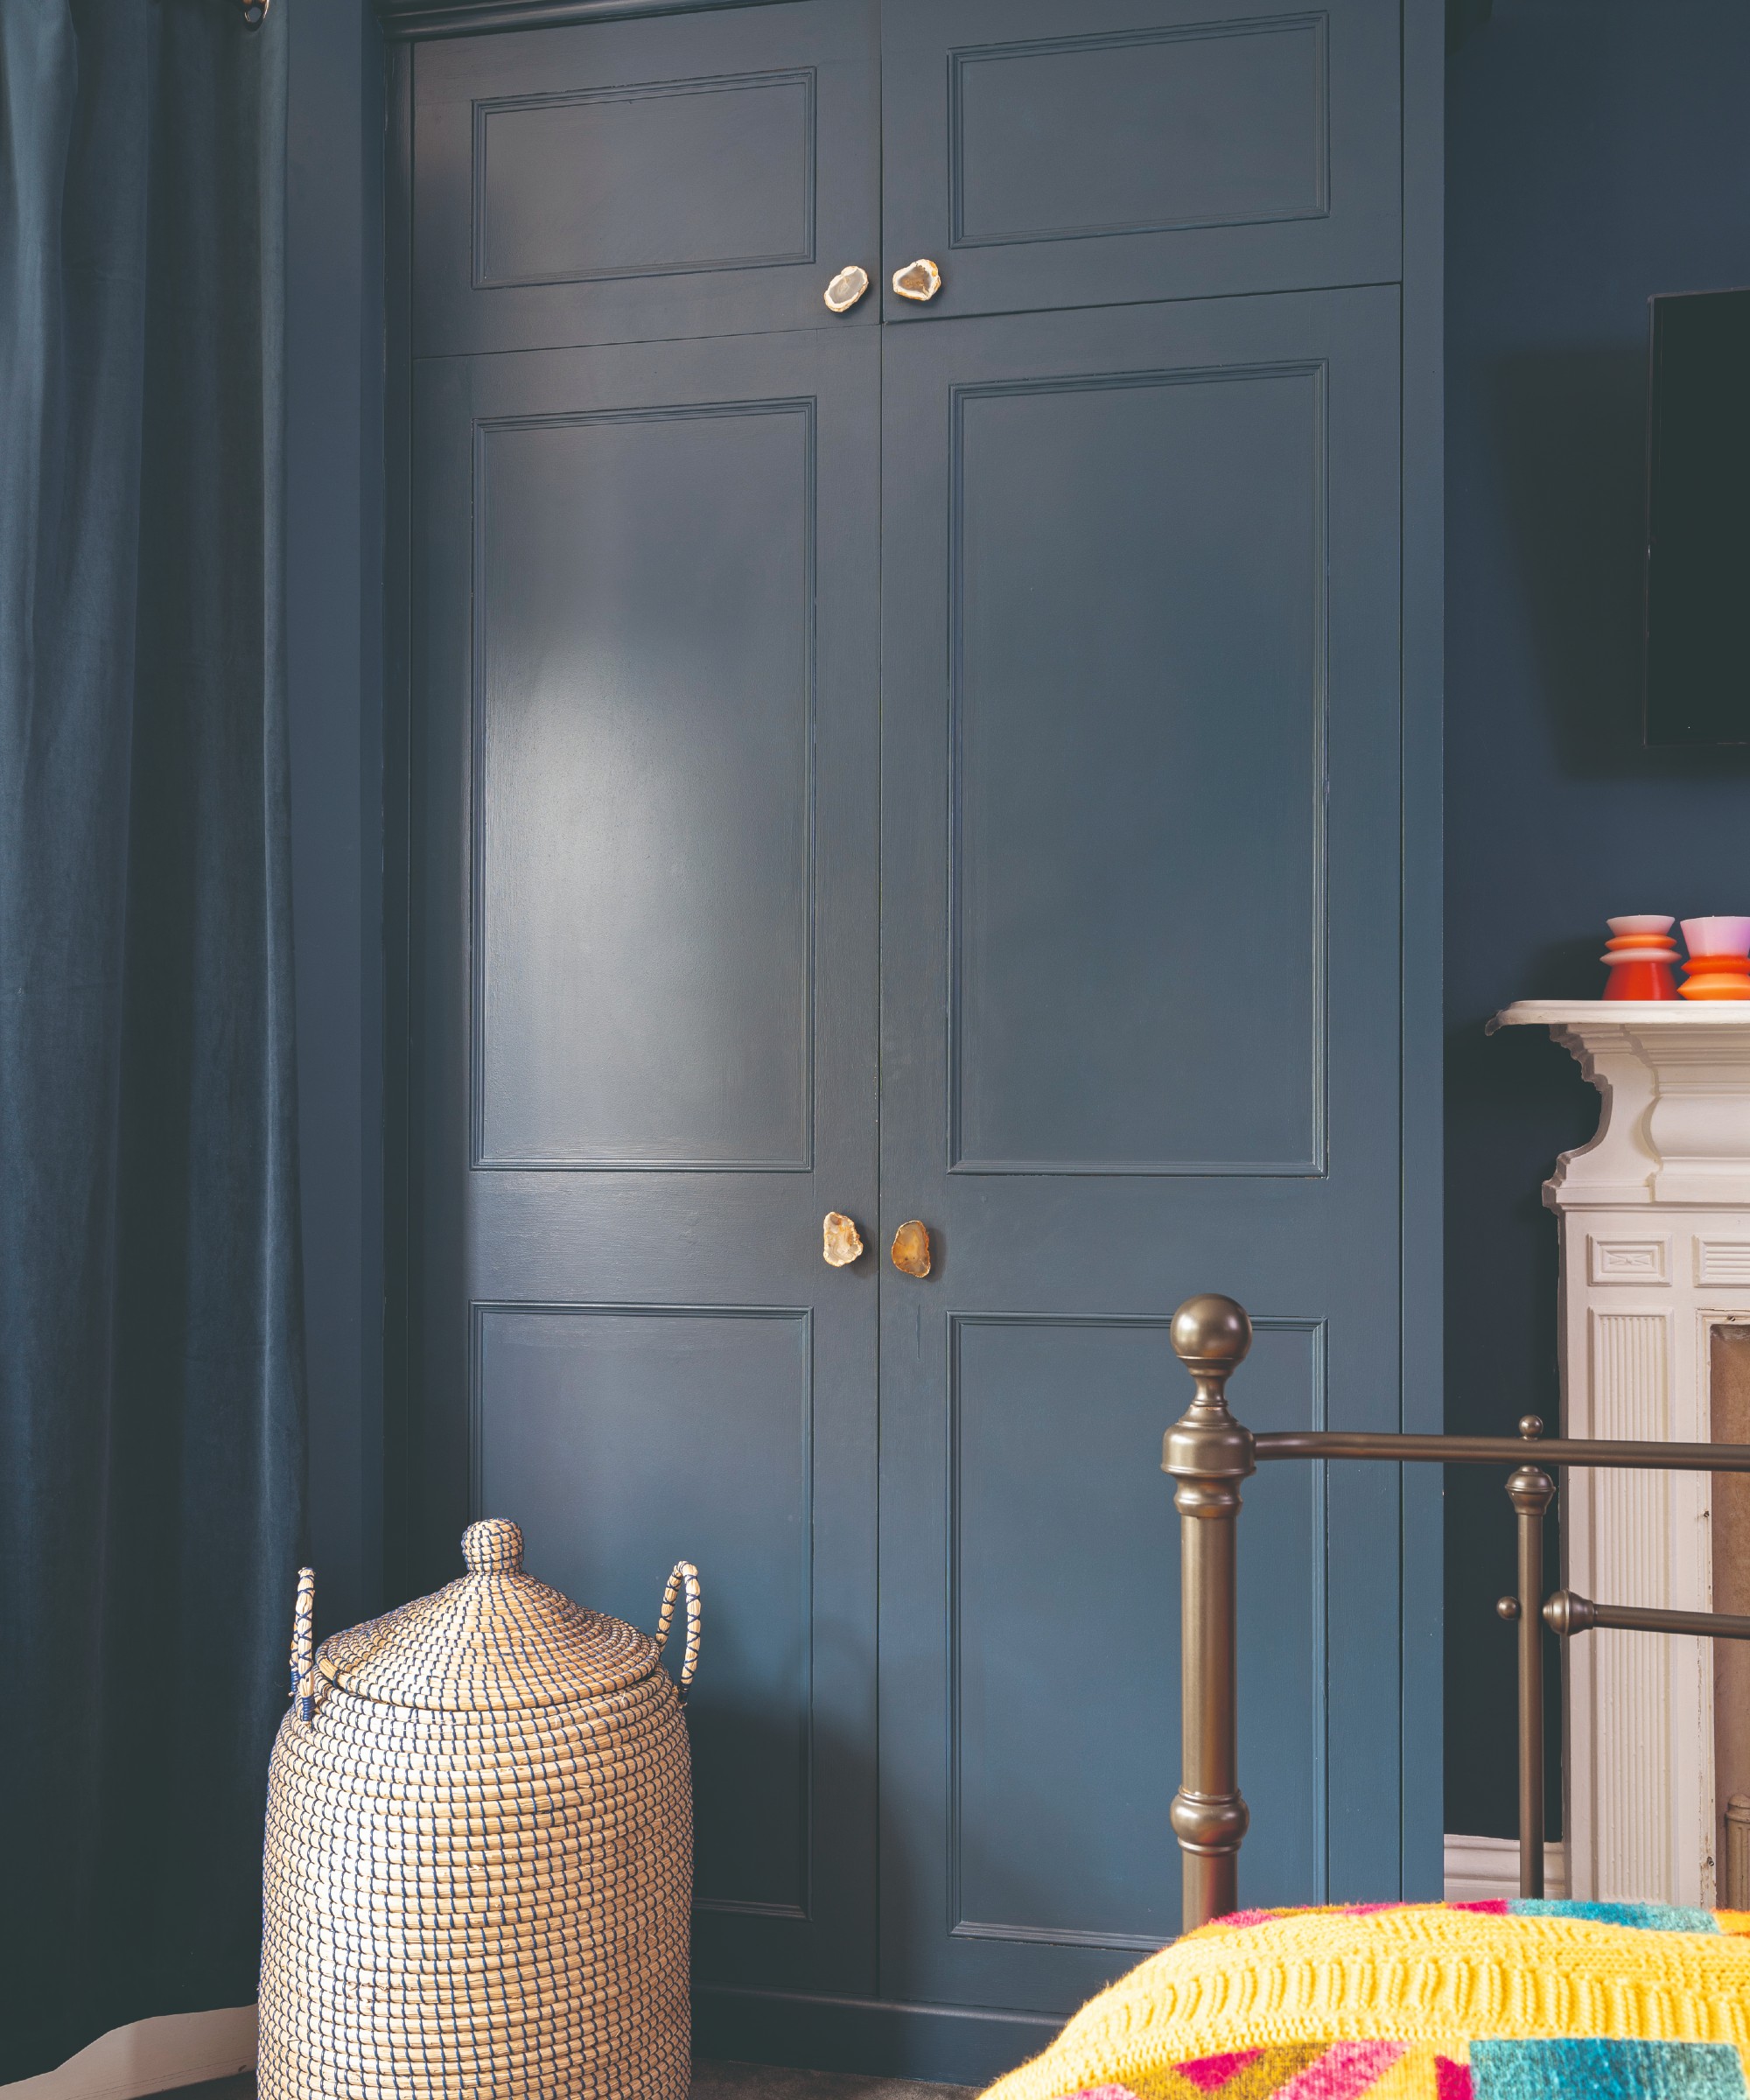
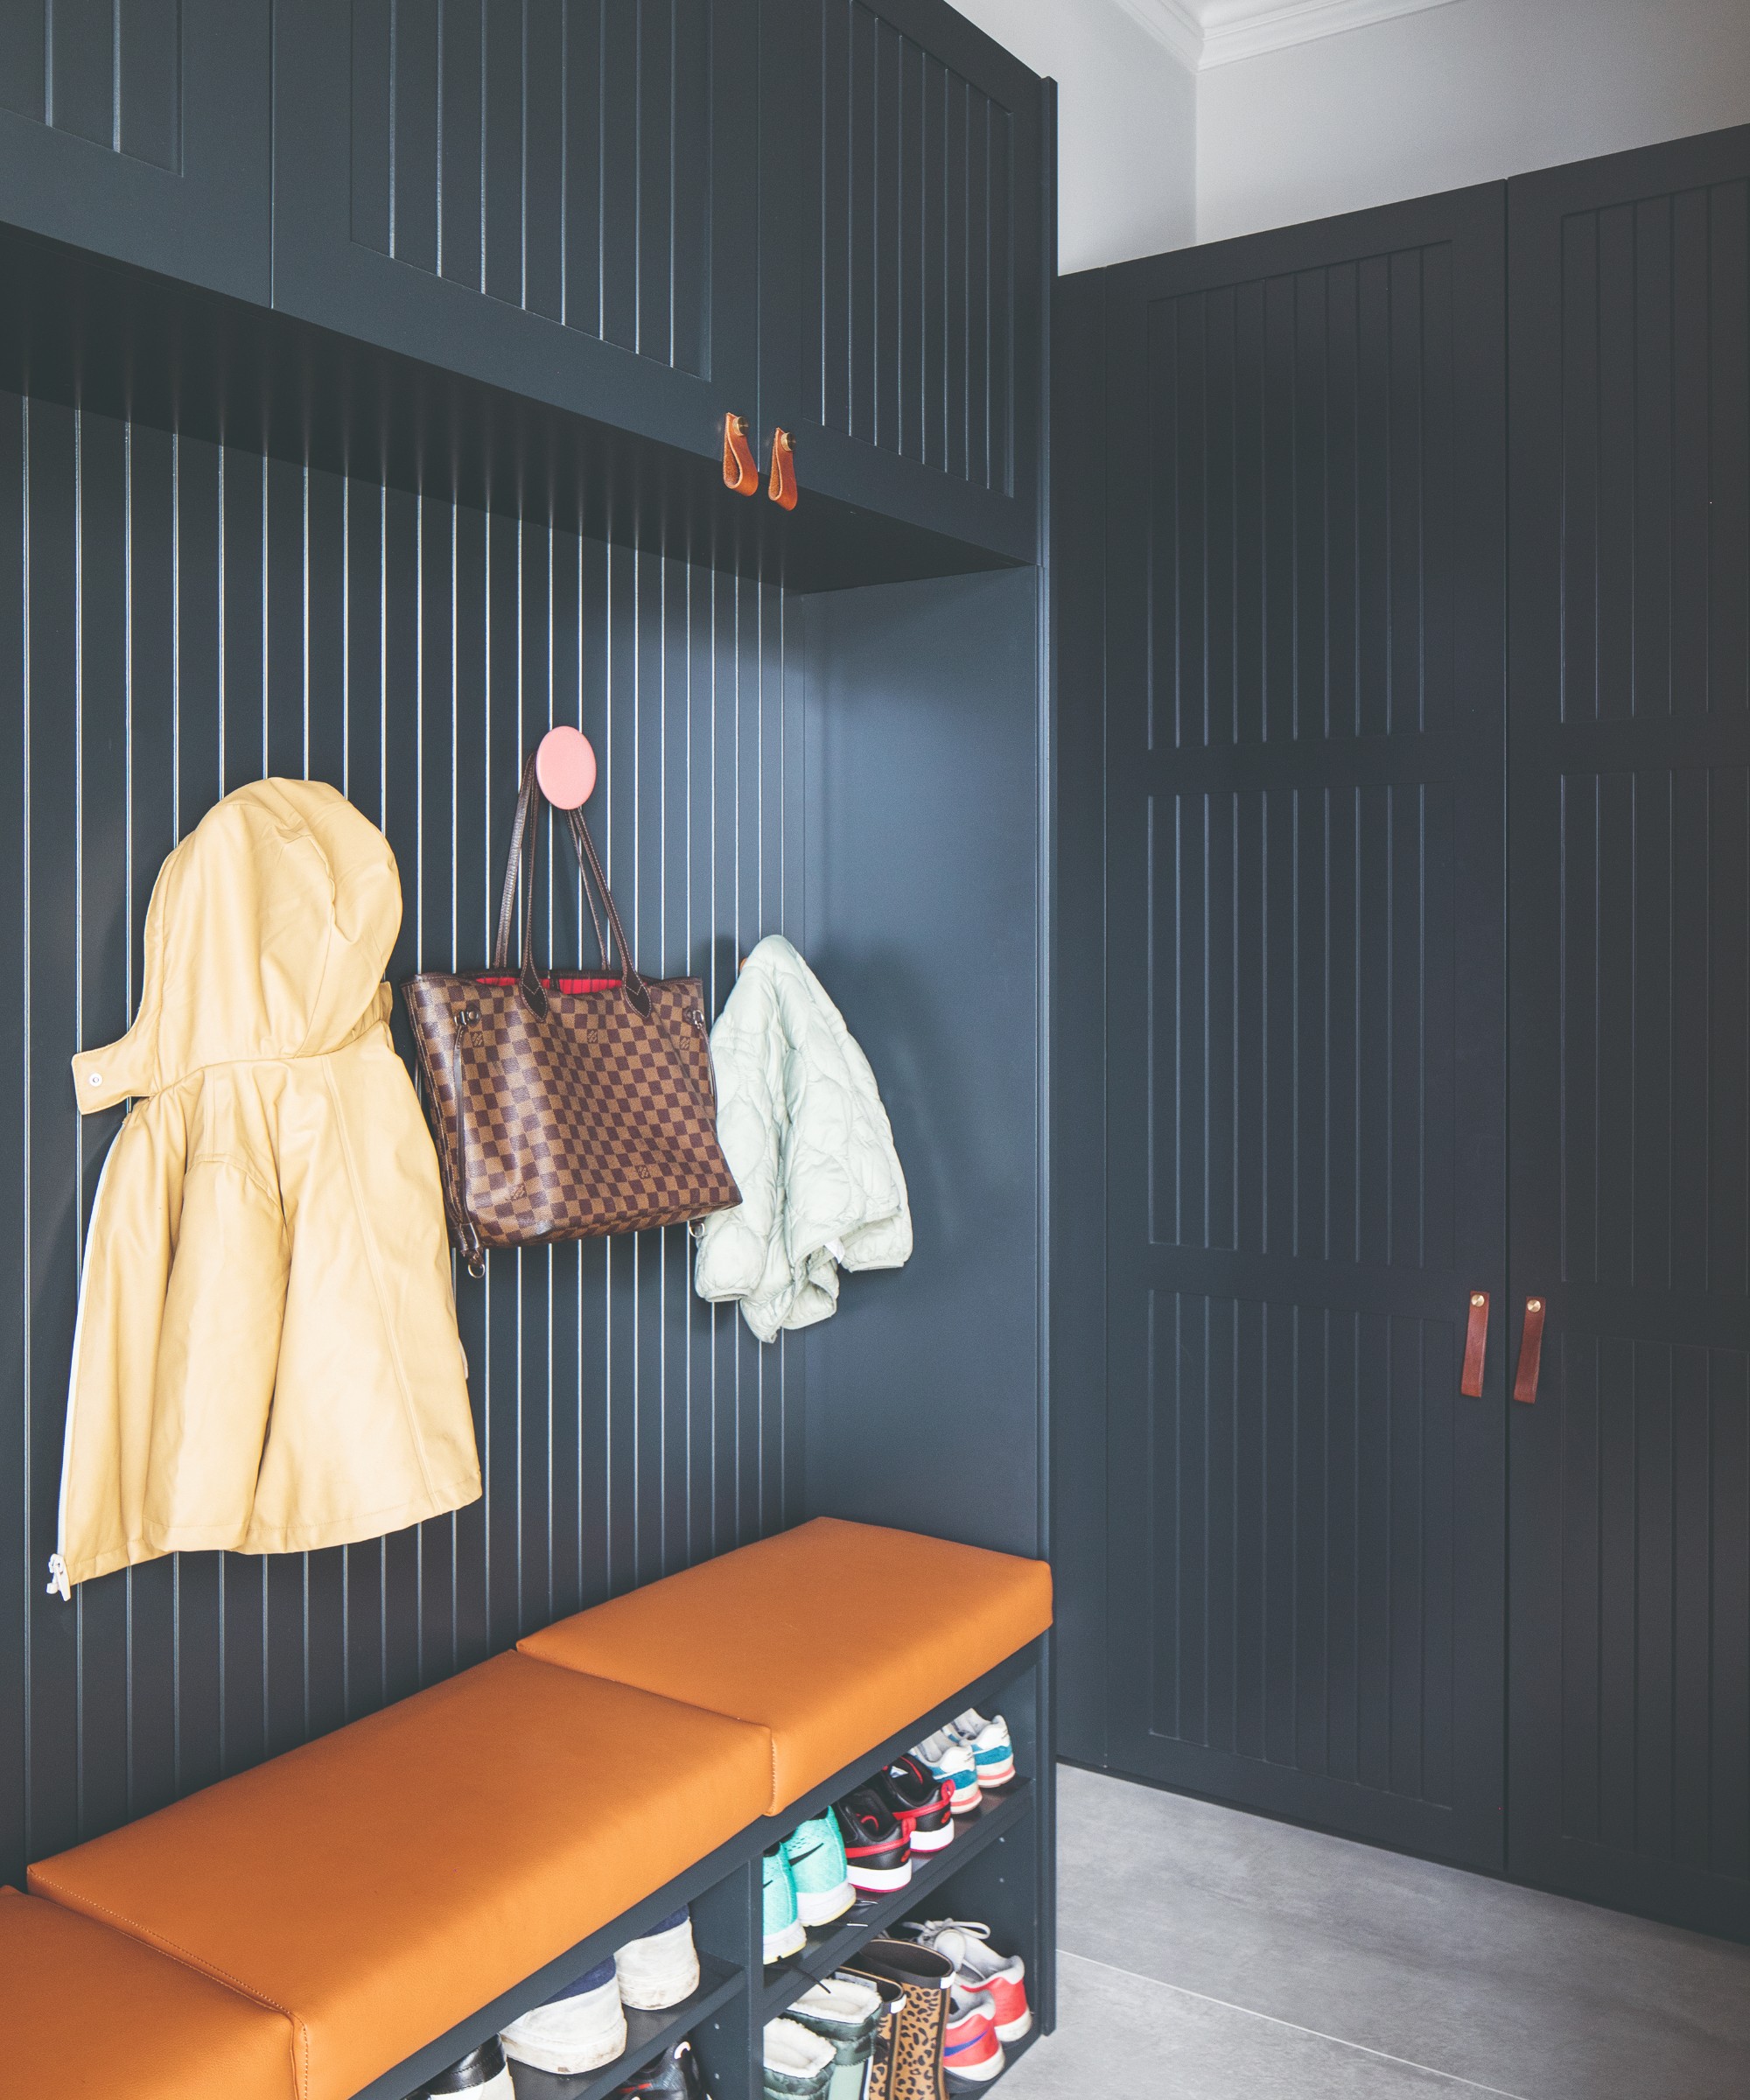
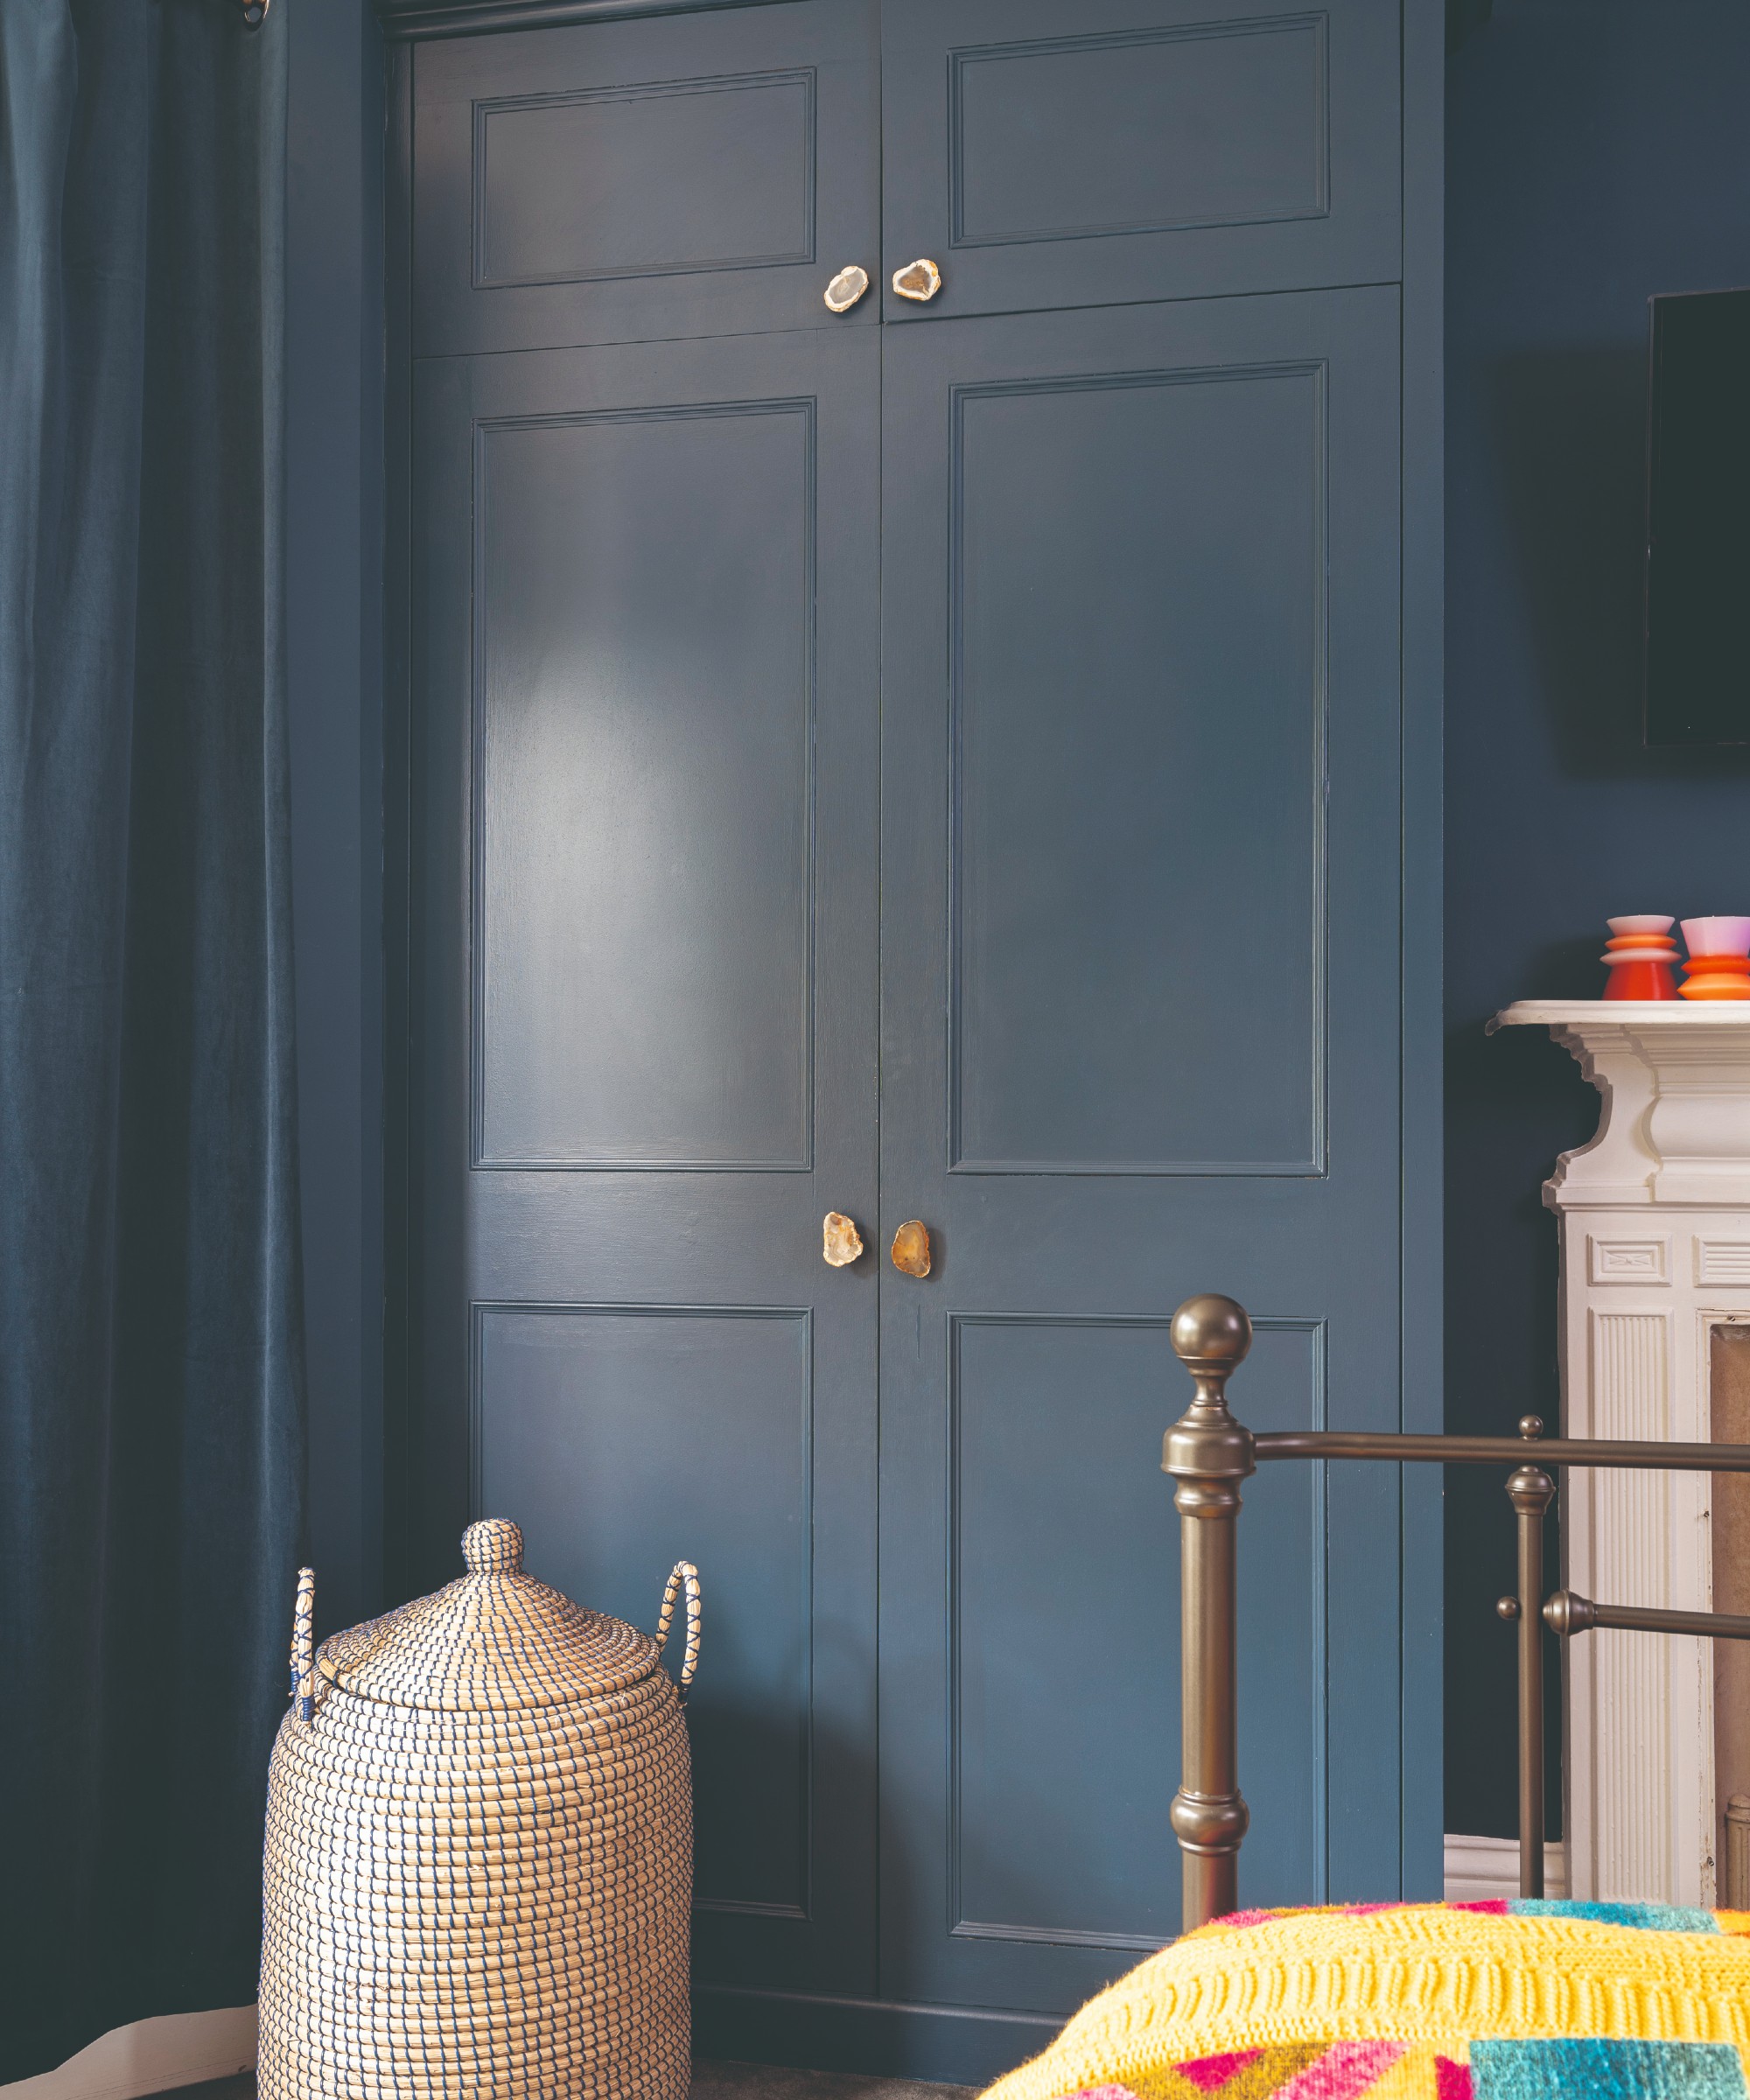
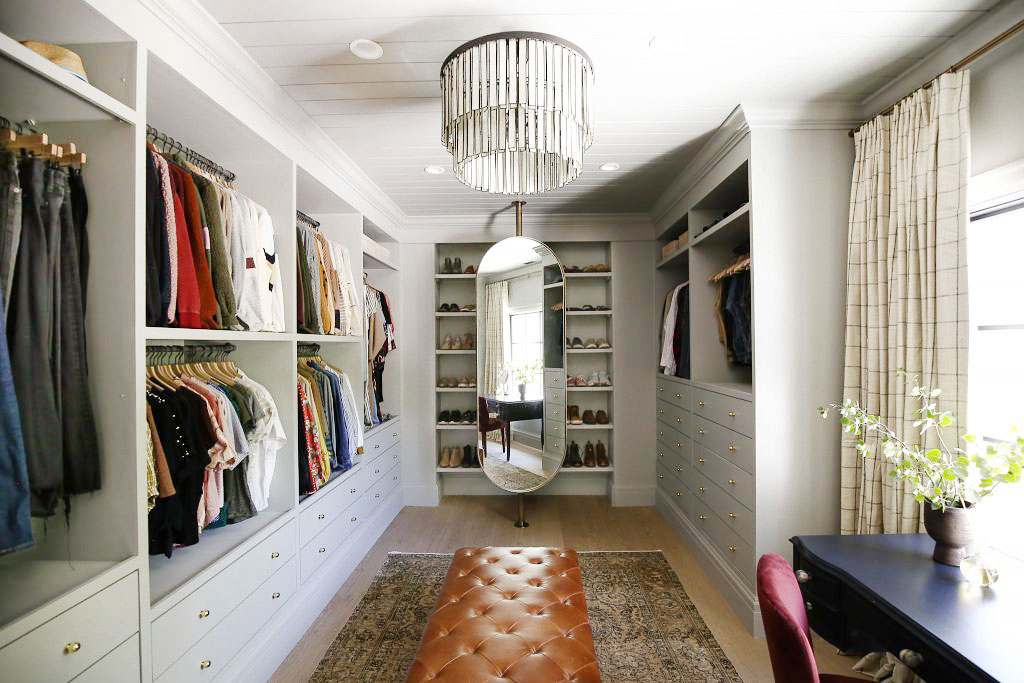
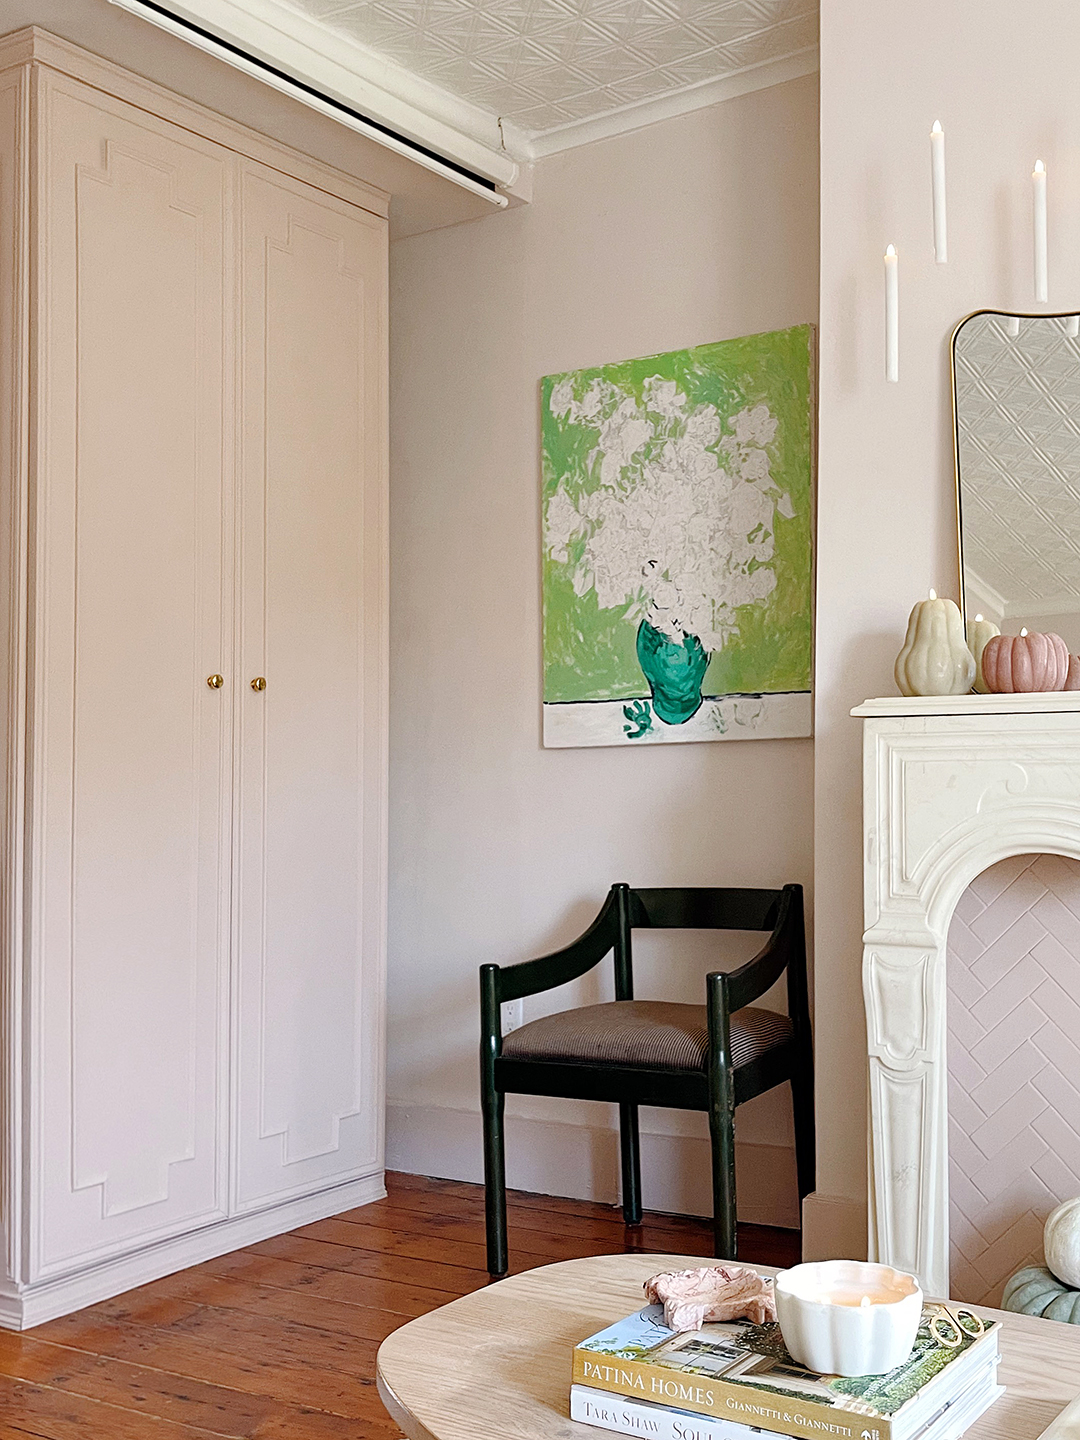
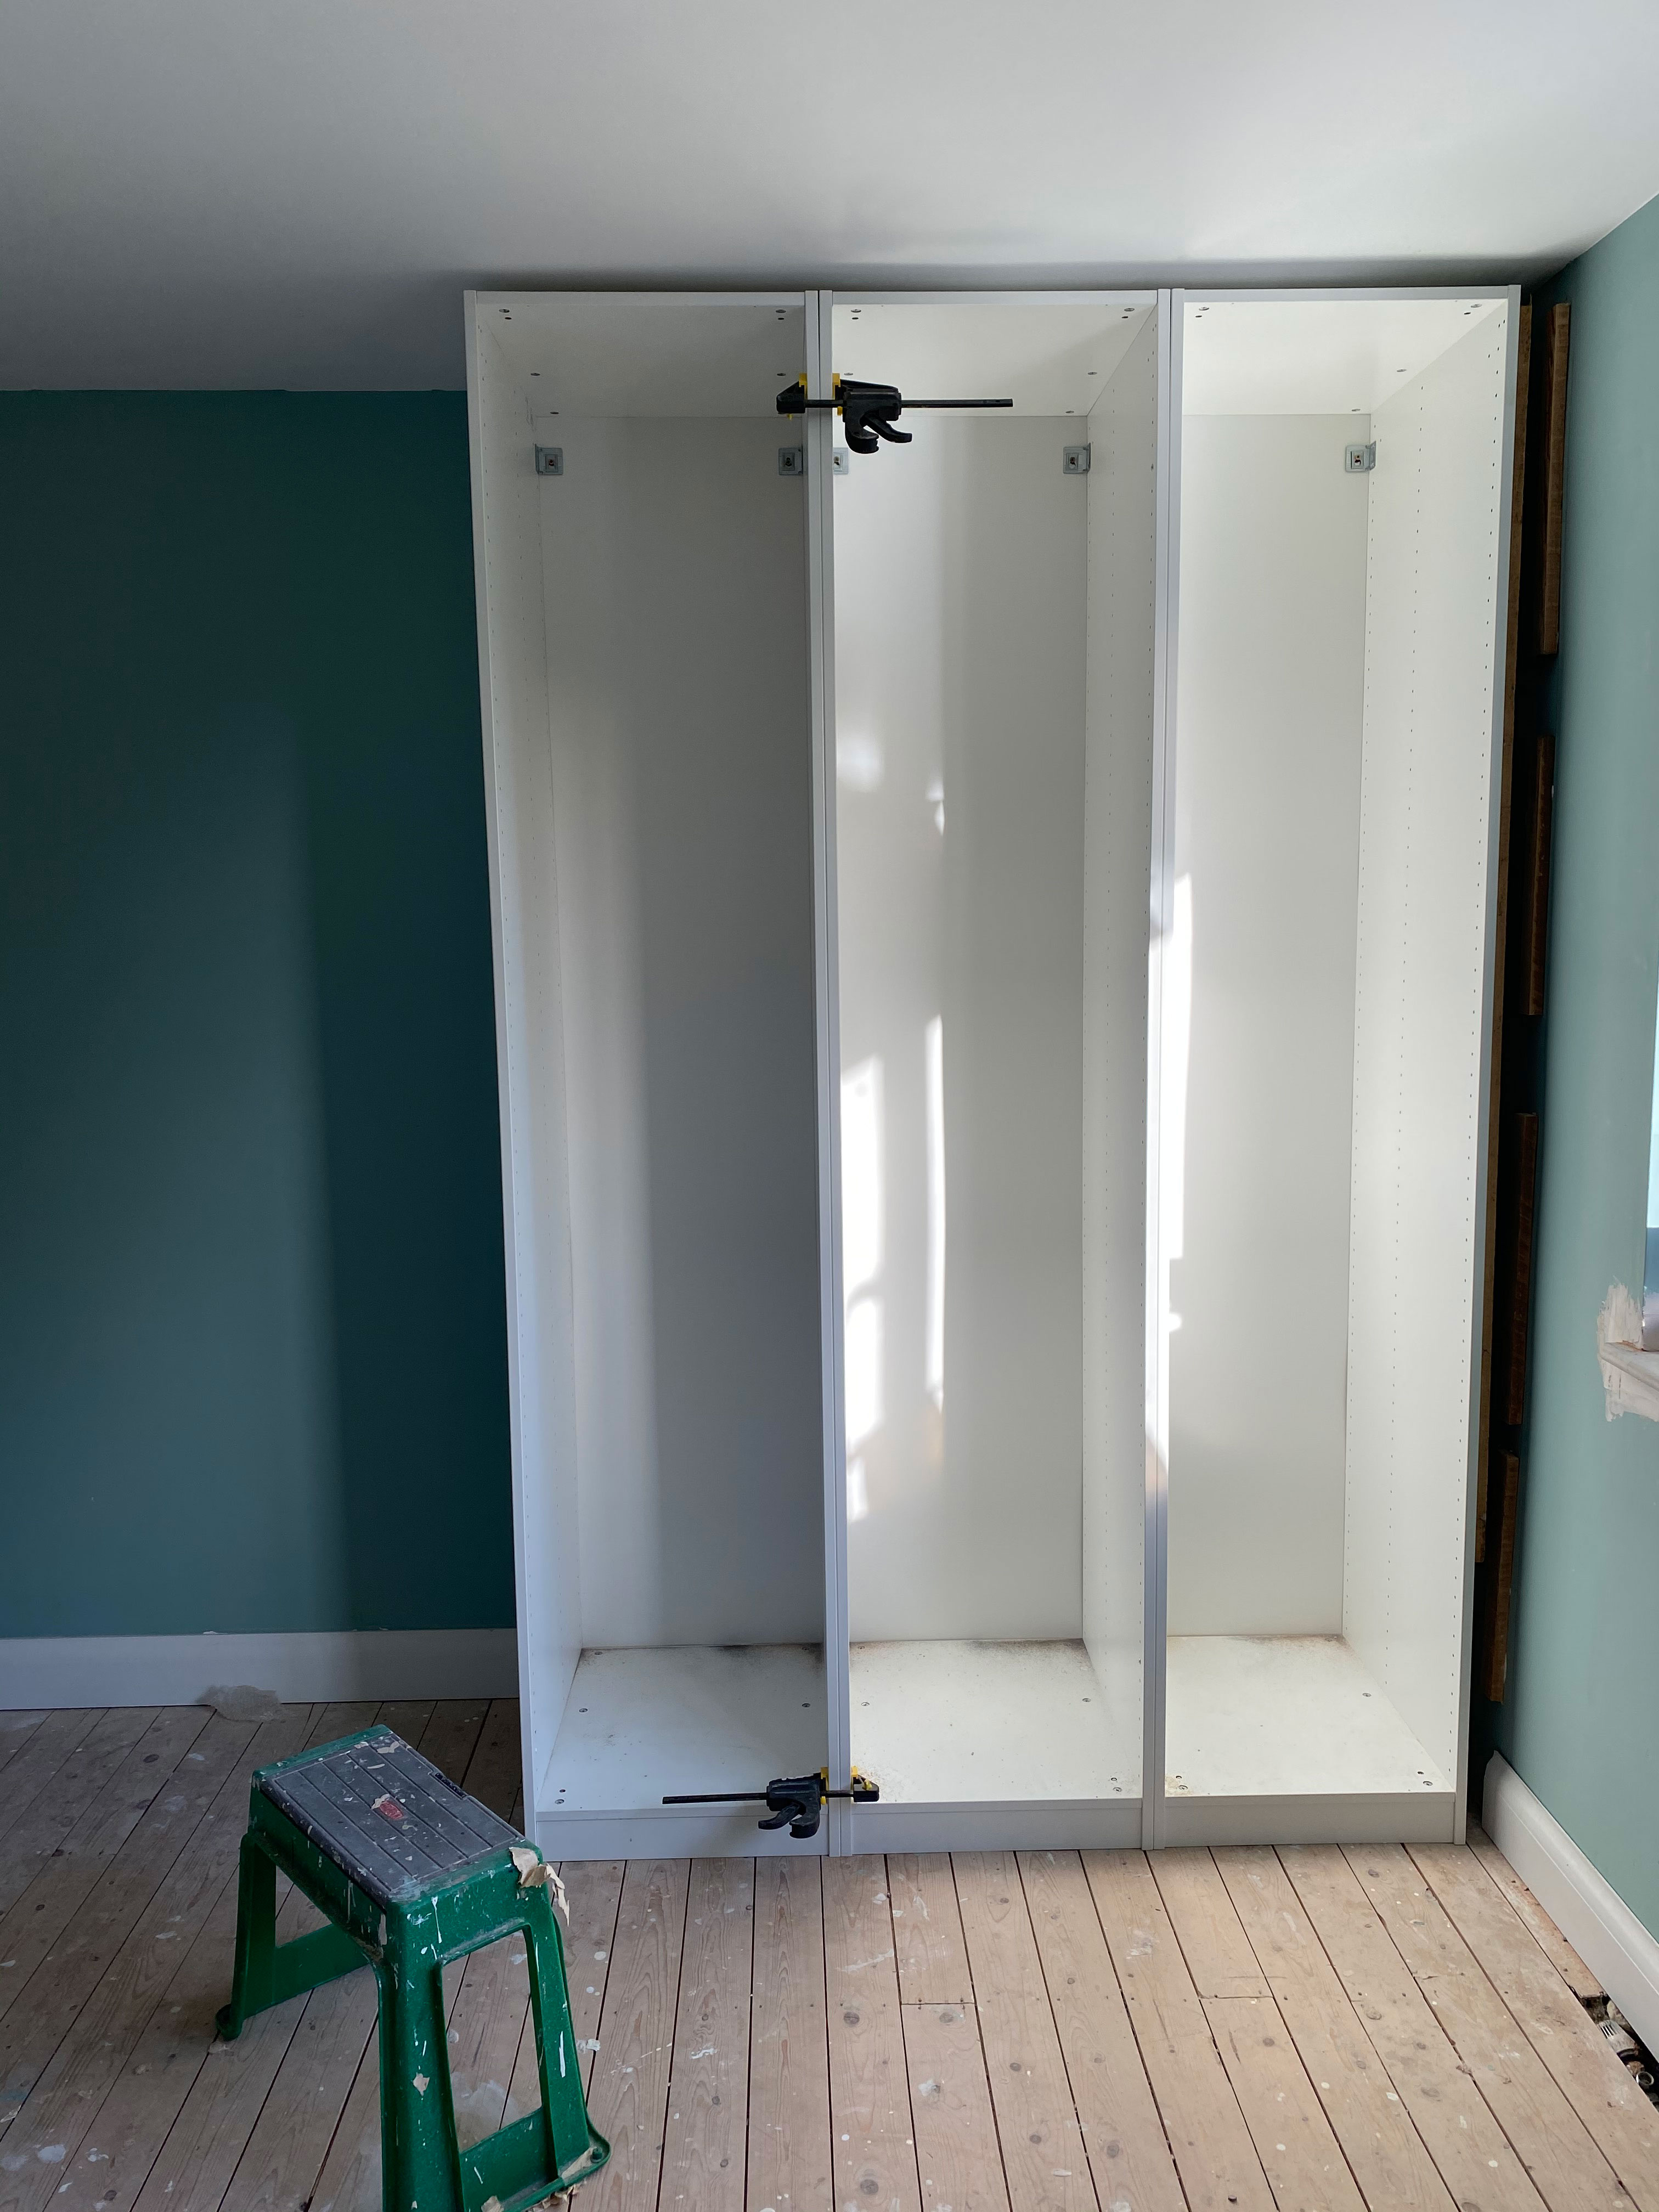
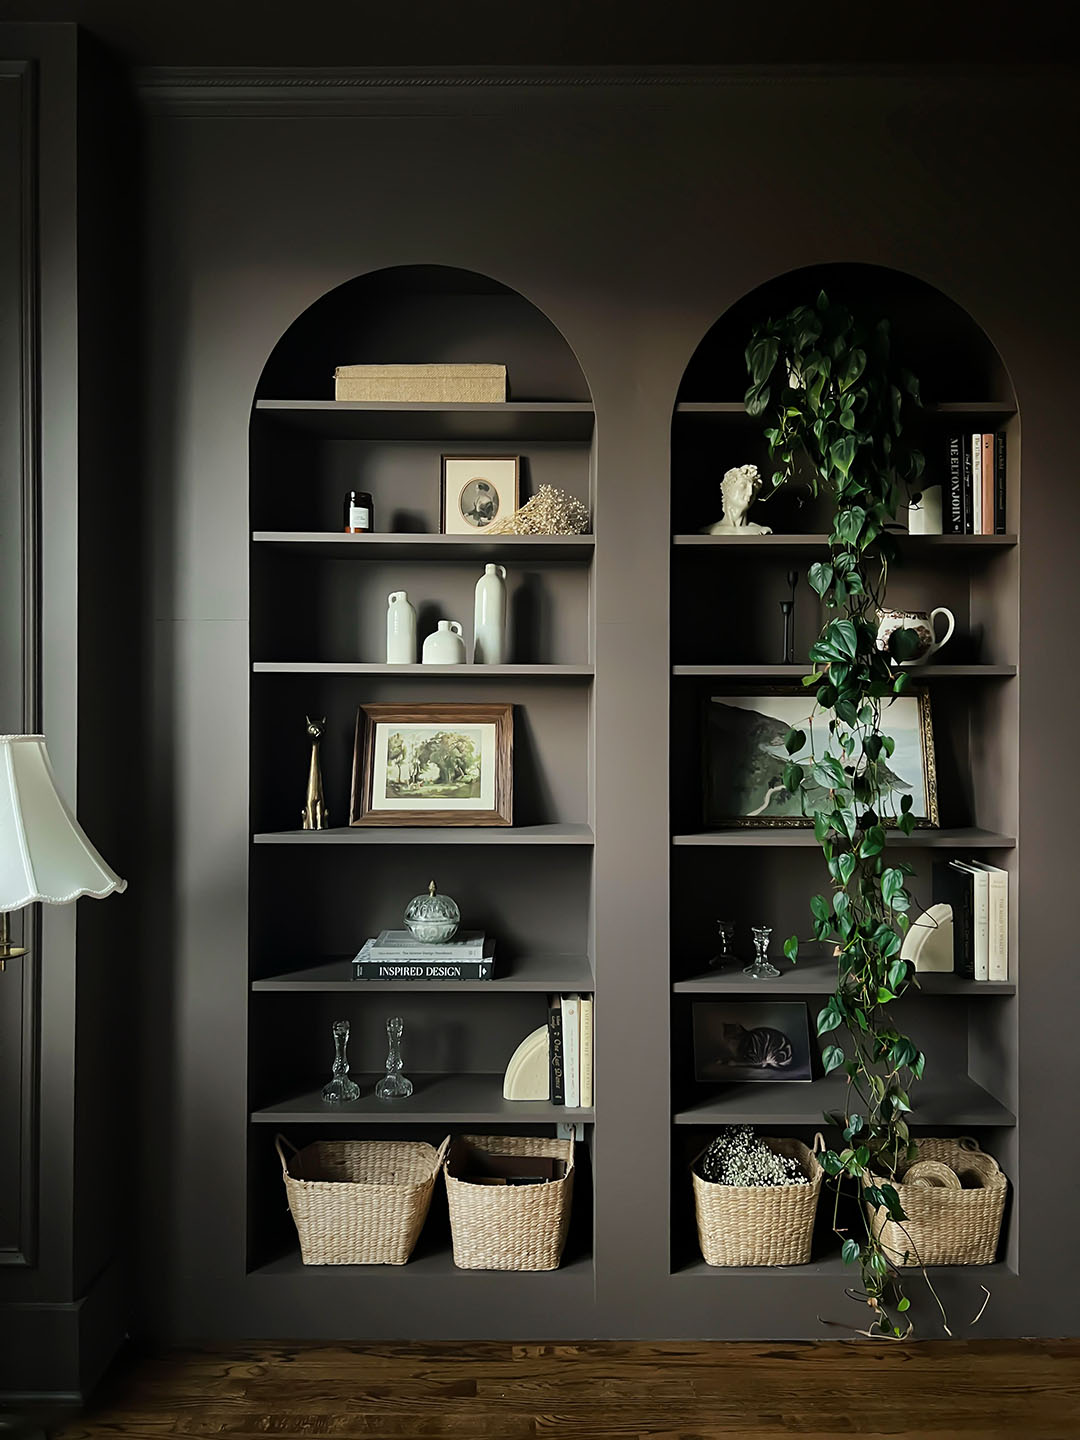
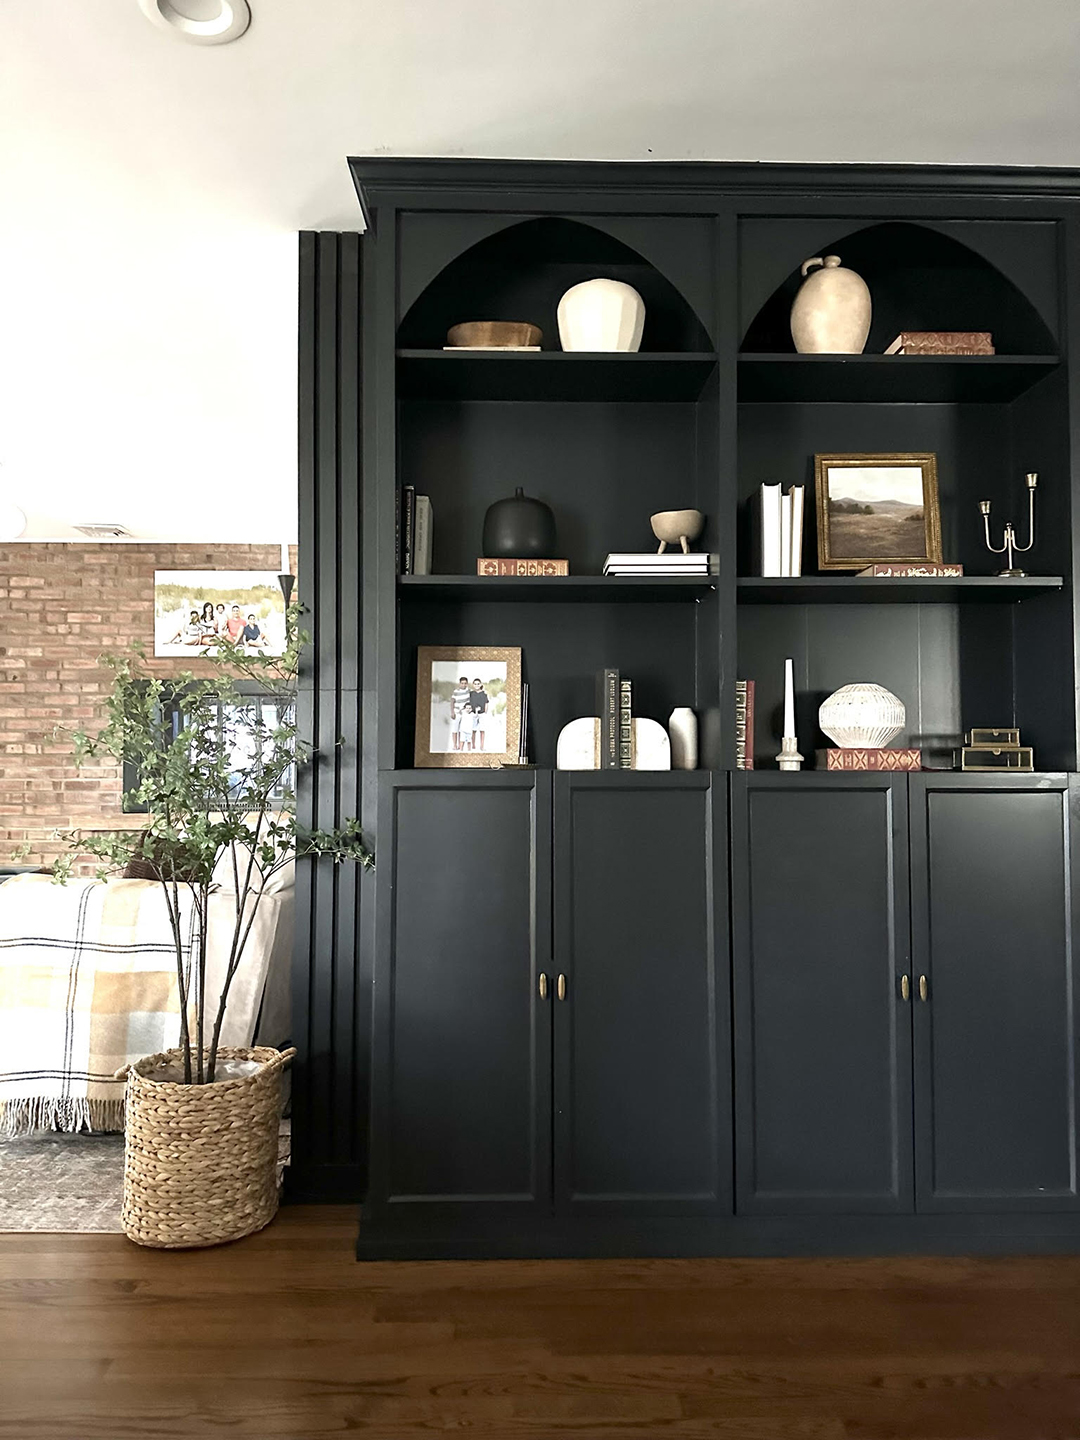
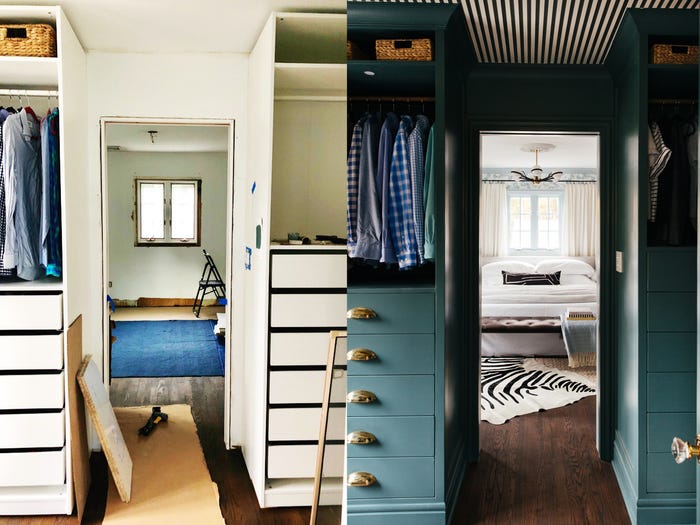
To transform the standard IKEA Pax wardrobe into a custom storage unit, the author outlines six key steps. The first step involves painting the wardrobe. Recognizing the difficulty of painting IKEA's slick surfaces, the author recommends using Zinsser’s shellac-based primer followed by a topcoat, specifically Benjamin Moore’s Advance line for furniture. She suggests painting the wardrobe the same color as the walls to help it blend seamlessly into the room, opting for Benjamin Moore’s Knoxville Gray, a dark blue-gray with green undertones, which she finds appealing and unlikely to tire of.
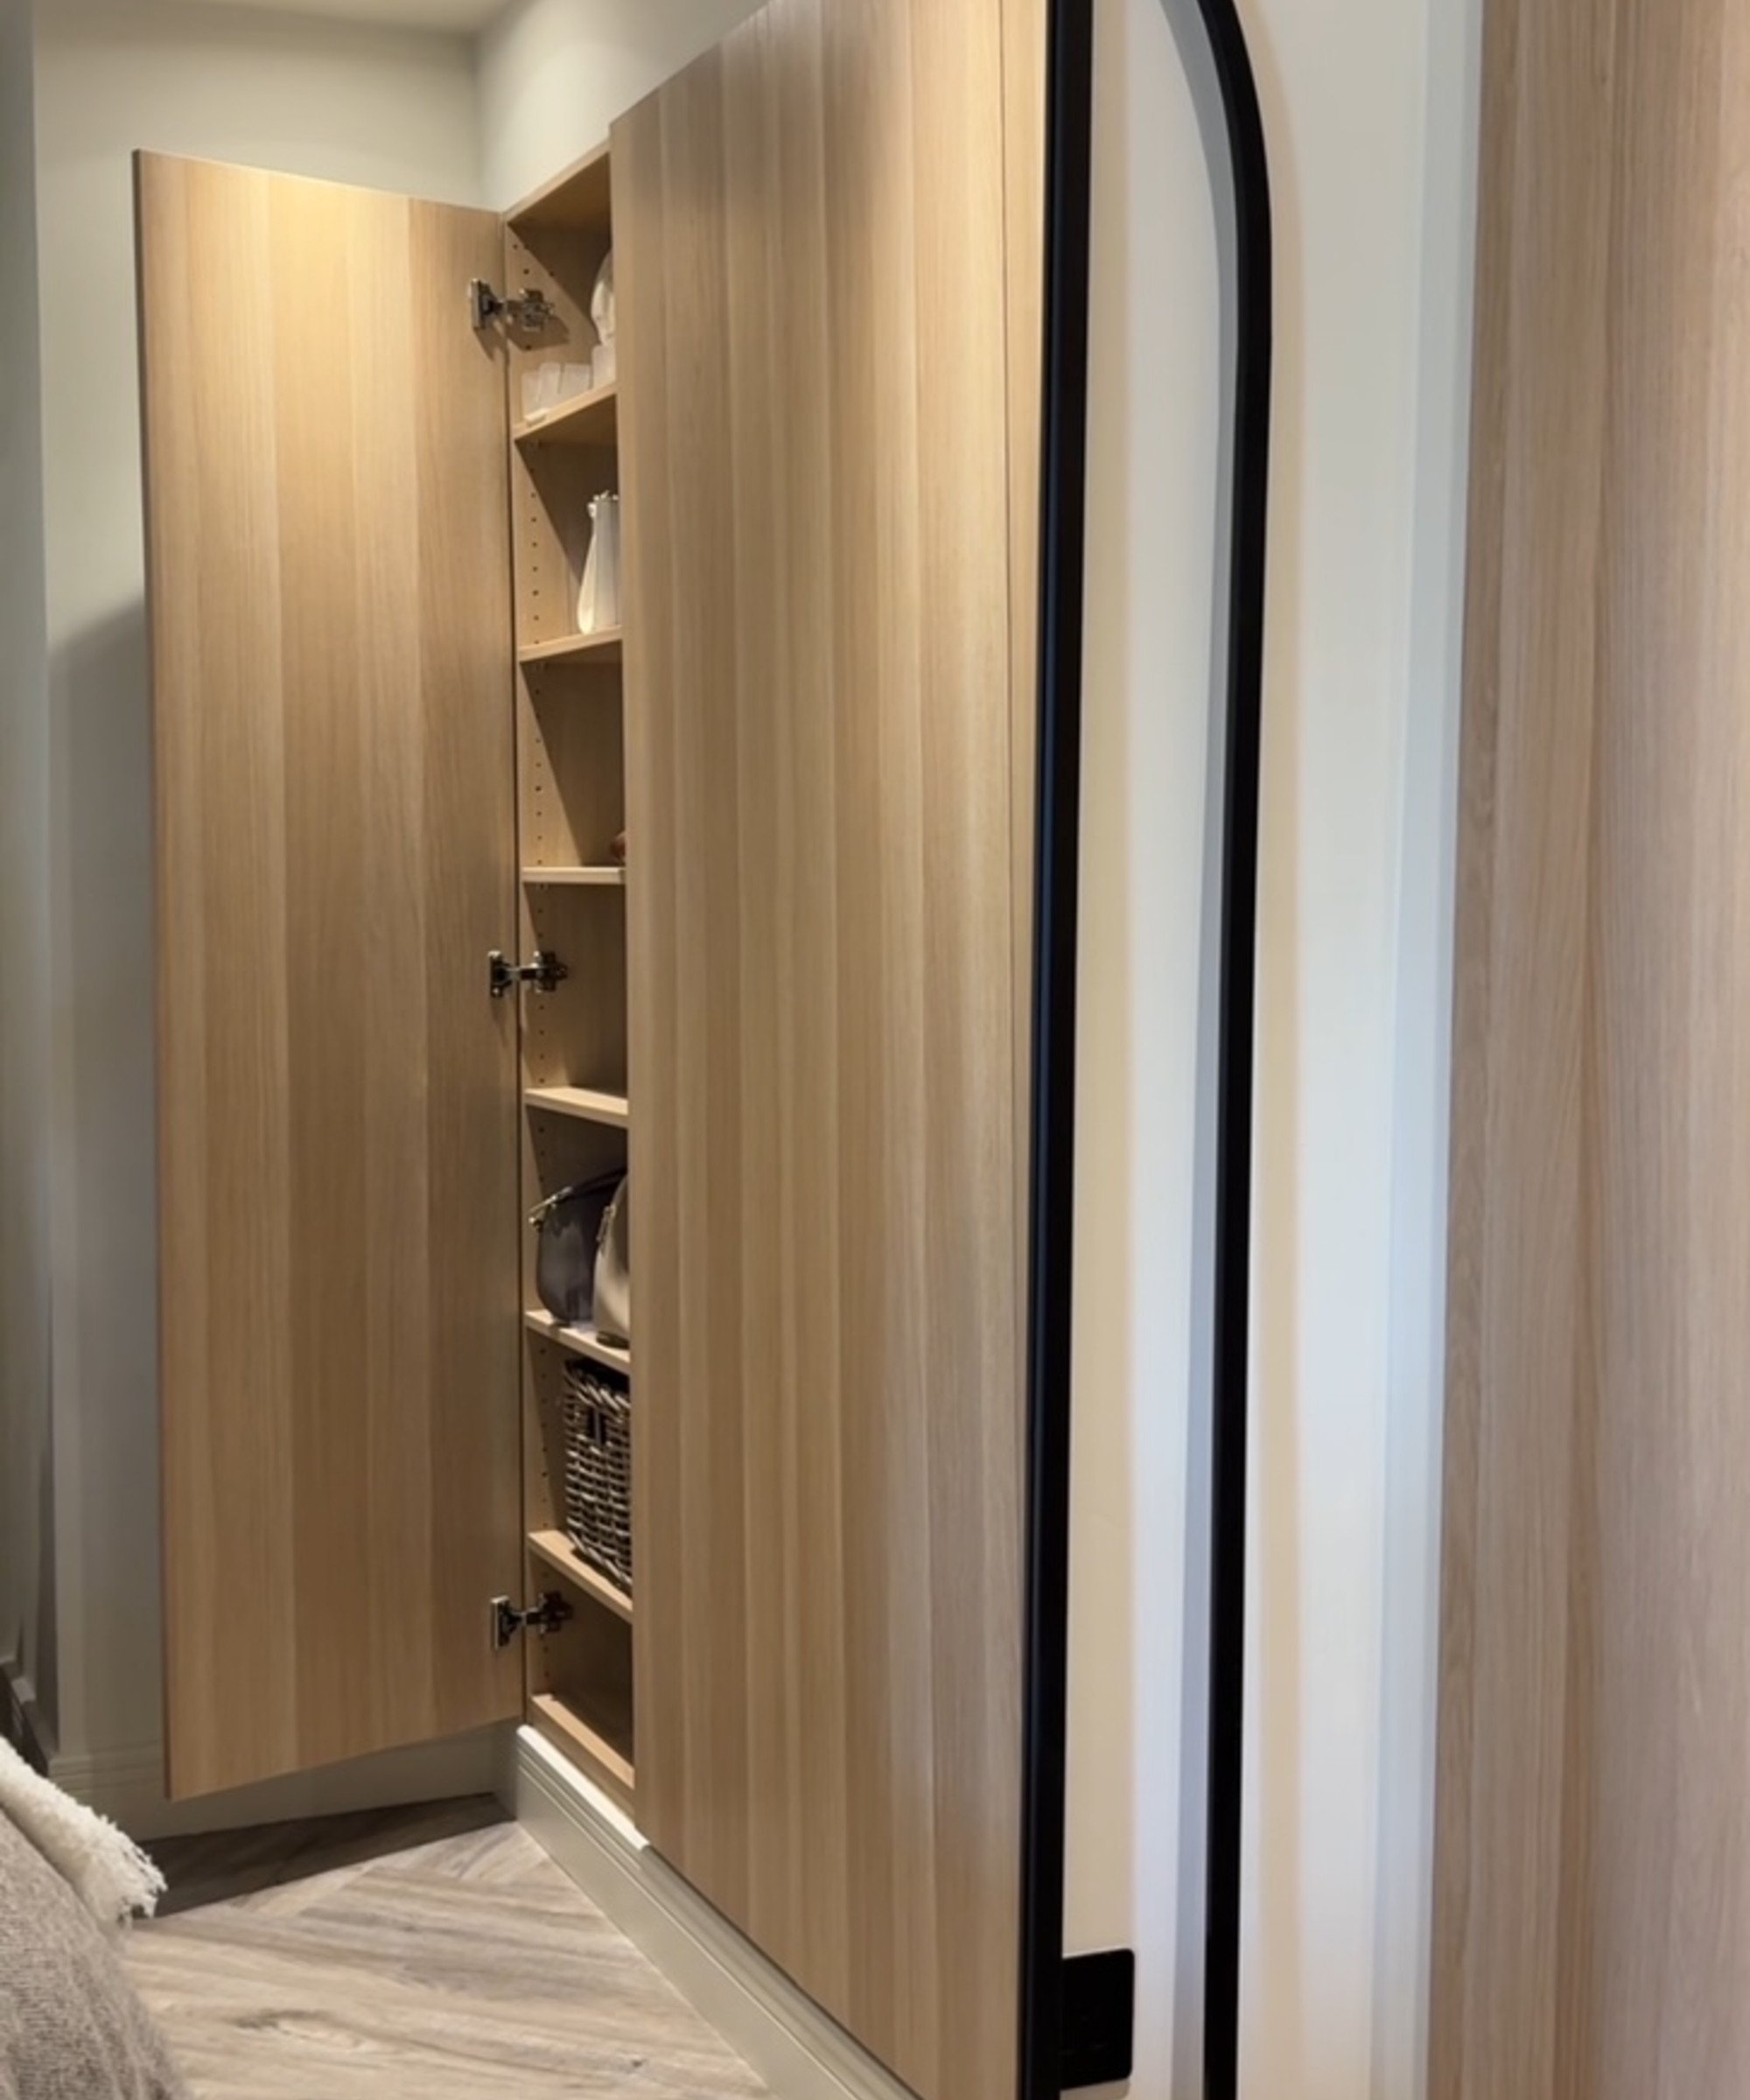
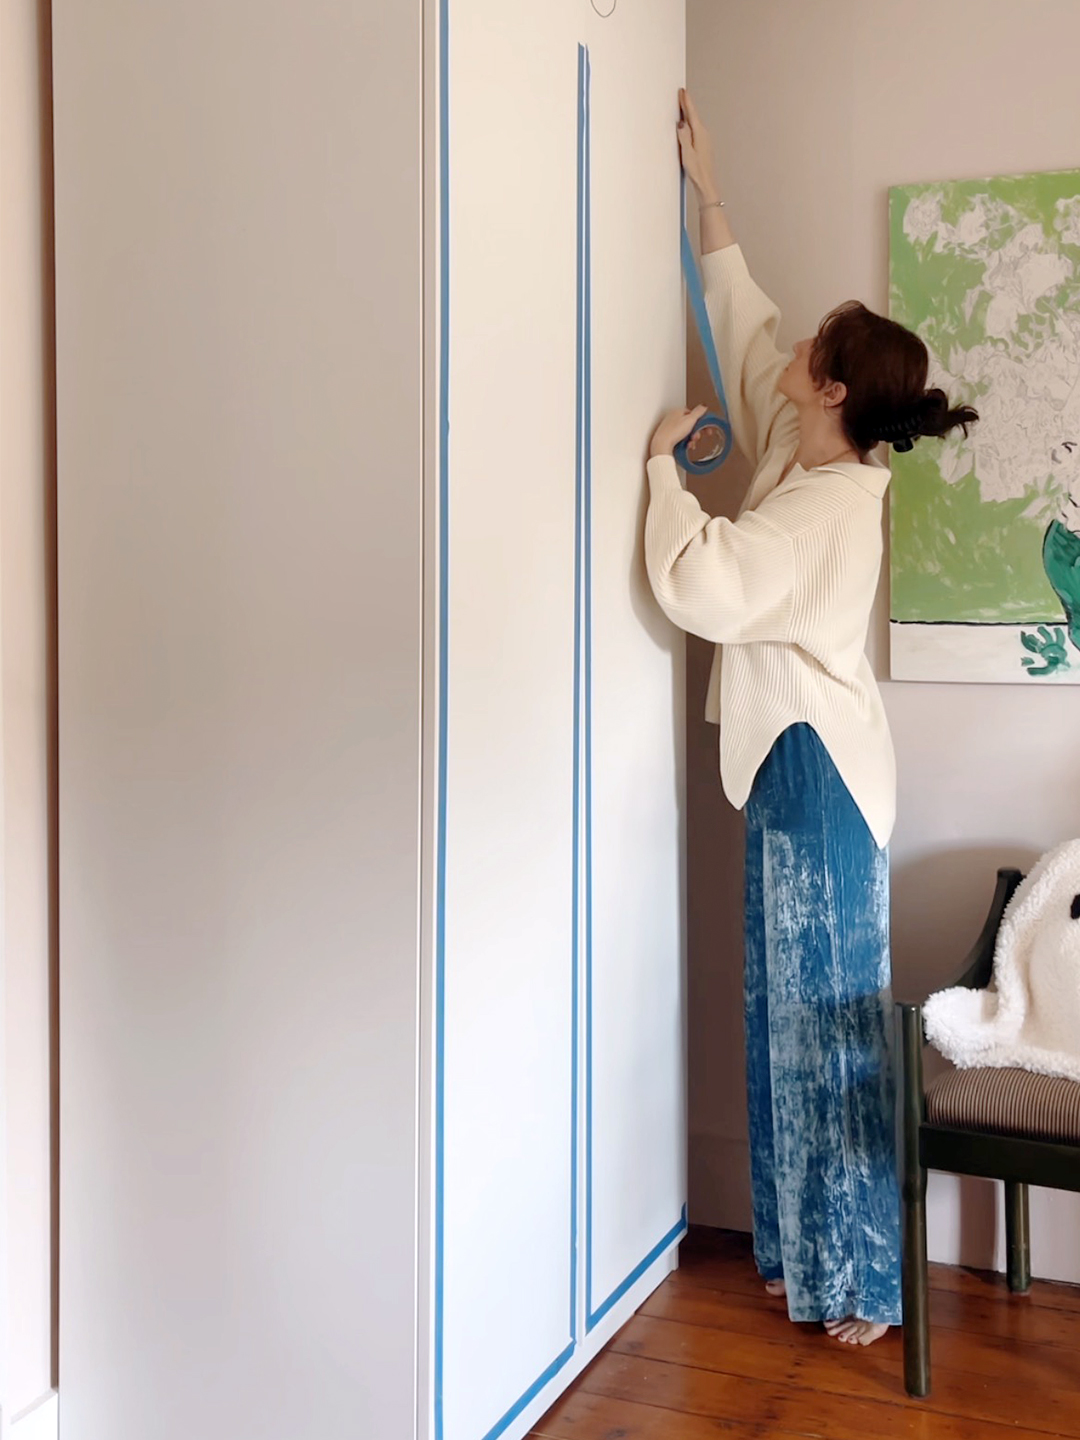
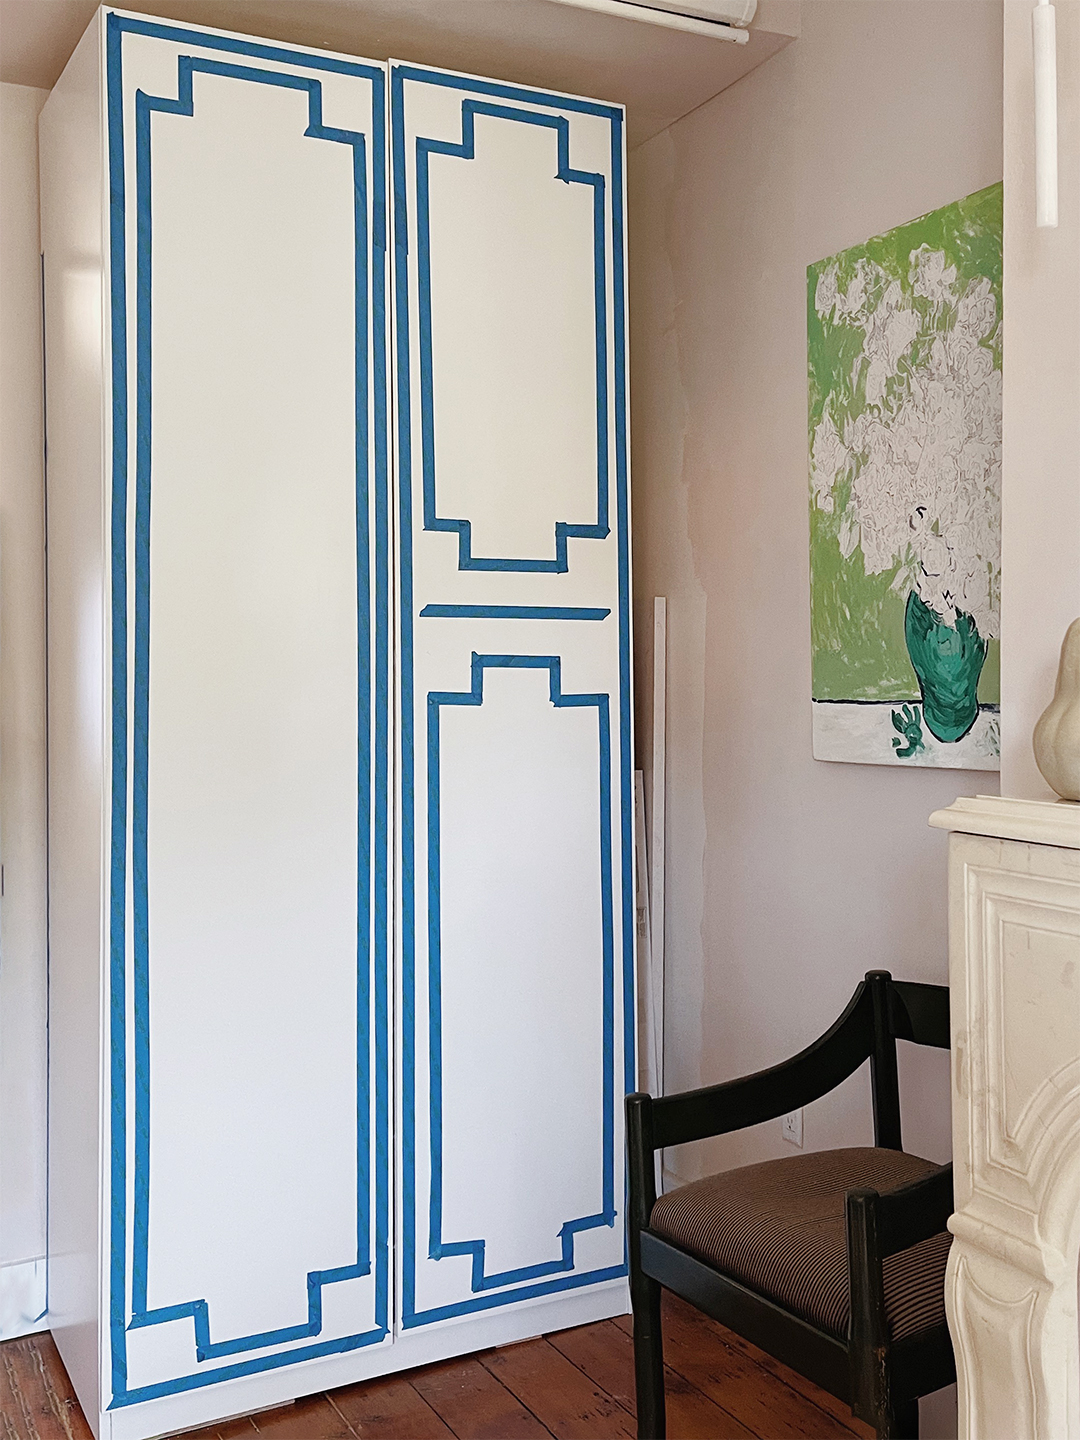
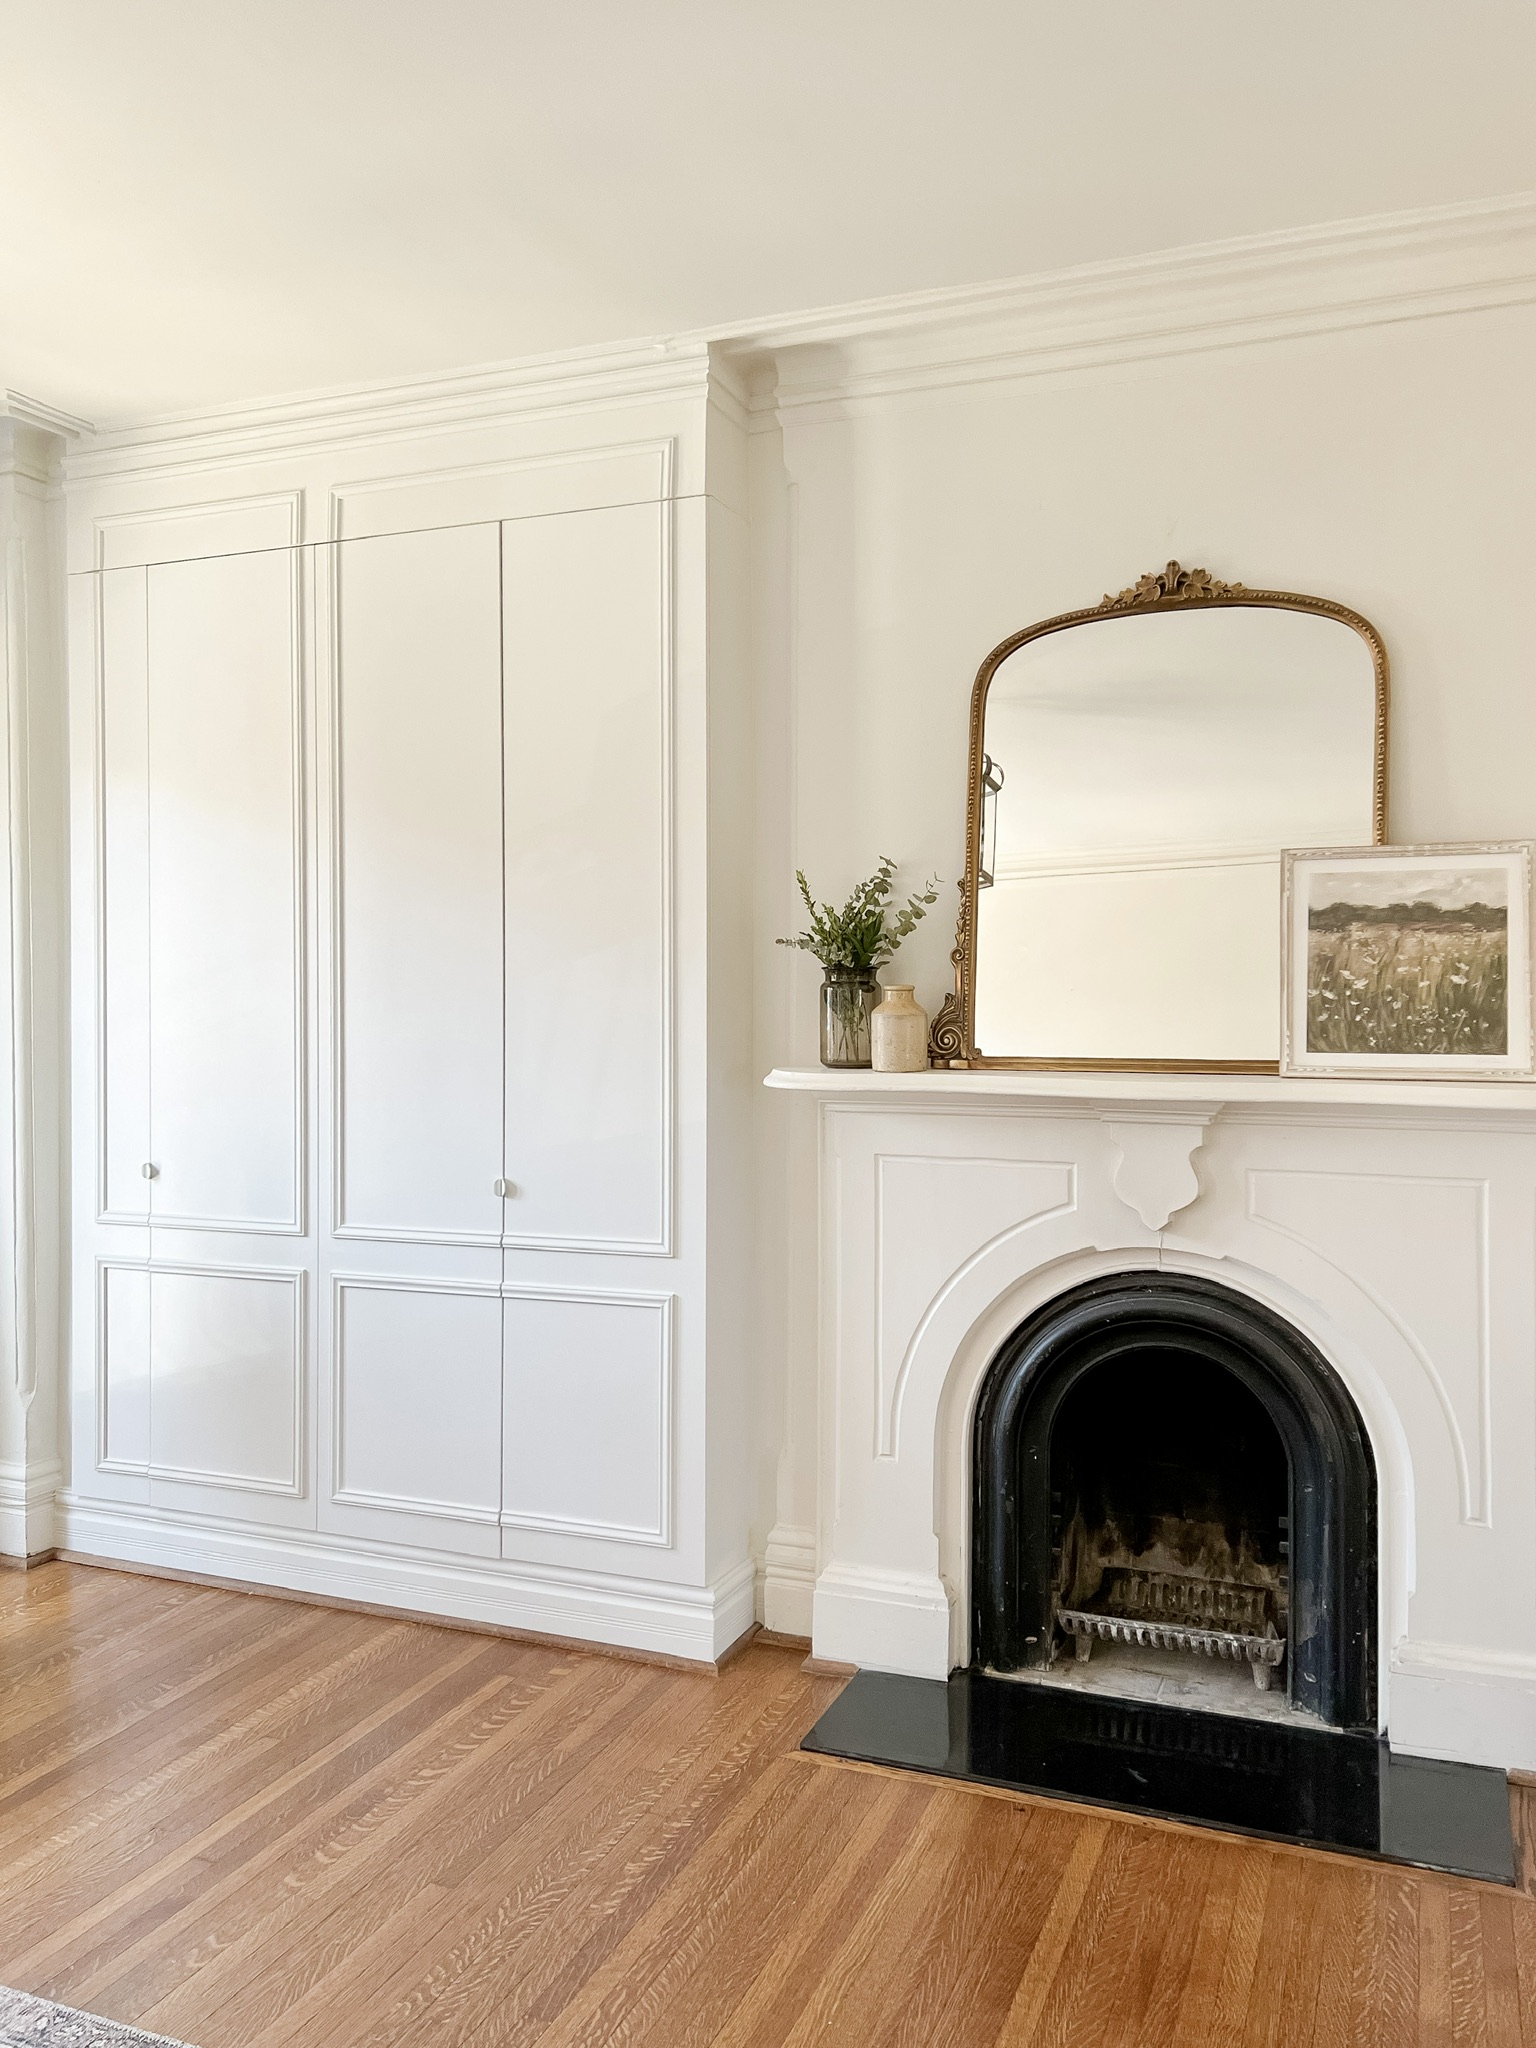
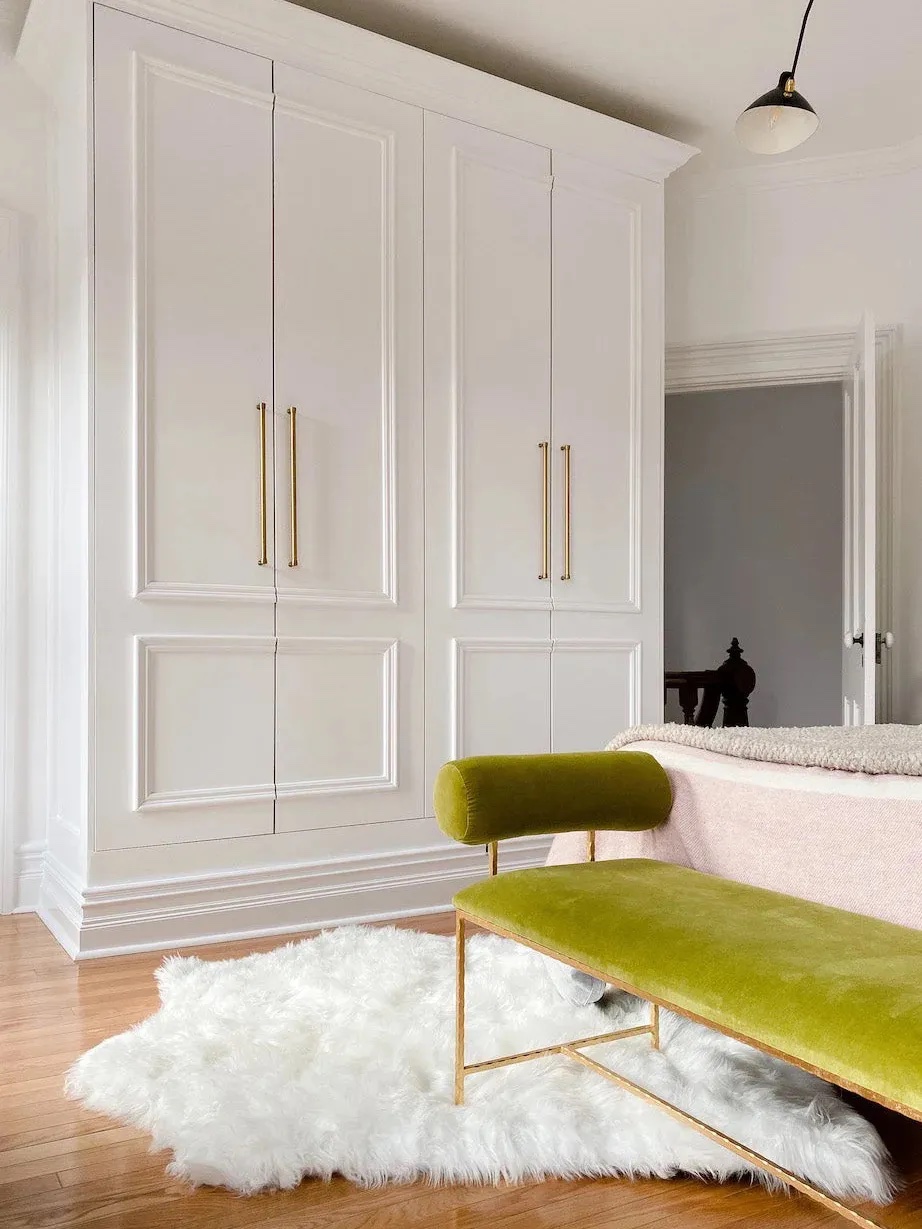
The second customization involves adding trim to the wardrobe. The author highlights the significant impact that a few inches of molding can make, specifically adding dentil trim to the top of her wardrobes to give them a more finished, crown-like appearance. The third step focuses on mirroring the doors. By selecting the less expensive Bergsbo-style Pax doors, the saved cost can be allocated to having custom-cut mirrors fitted by a glass shop and securely attached with mirror glue.
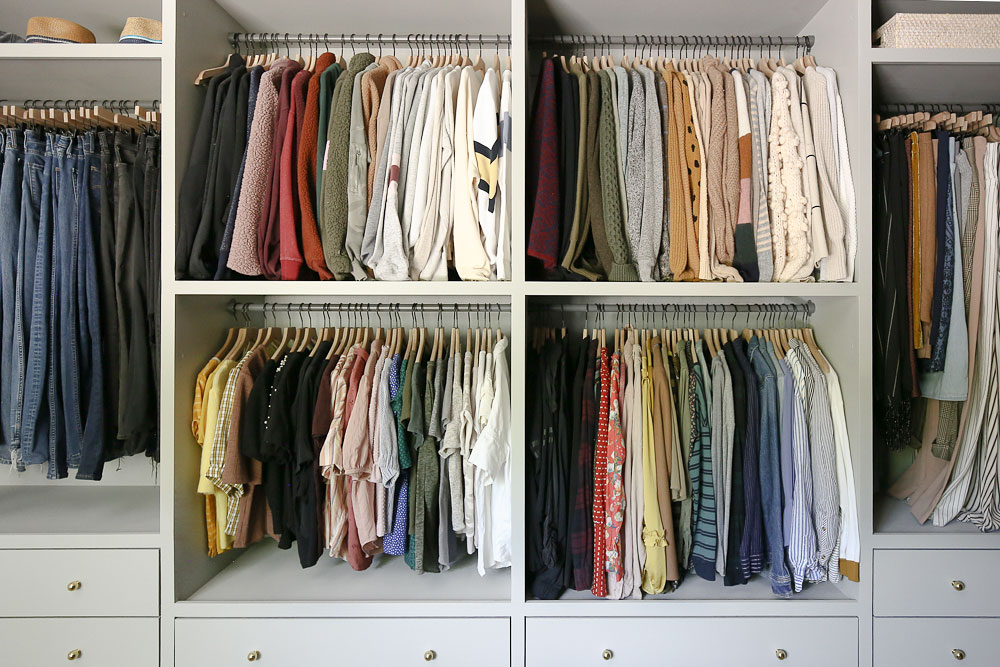
Fourth, the author suggests personalizing the hardware. Since many Pax wardrobes lack pre-installed door hardware, adding simple pulls can dramatically alter their appearance. She describes finding chunky pulls at a hardware store and spray-painting them gold to add a luxurious touch. The fifth step addresses an aesthetic concern within the wardrobe itself: the exposed holes for adjustable shelves. To mitigate this, the author recommends wallpapering the interior surfaces. She used an inexpensive grass cloth from Lowe’s and painted it the same Knoxville Gray as the wardrobe for a cohesive and seamless interior finish.
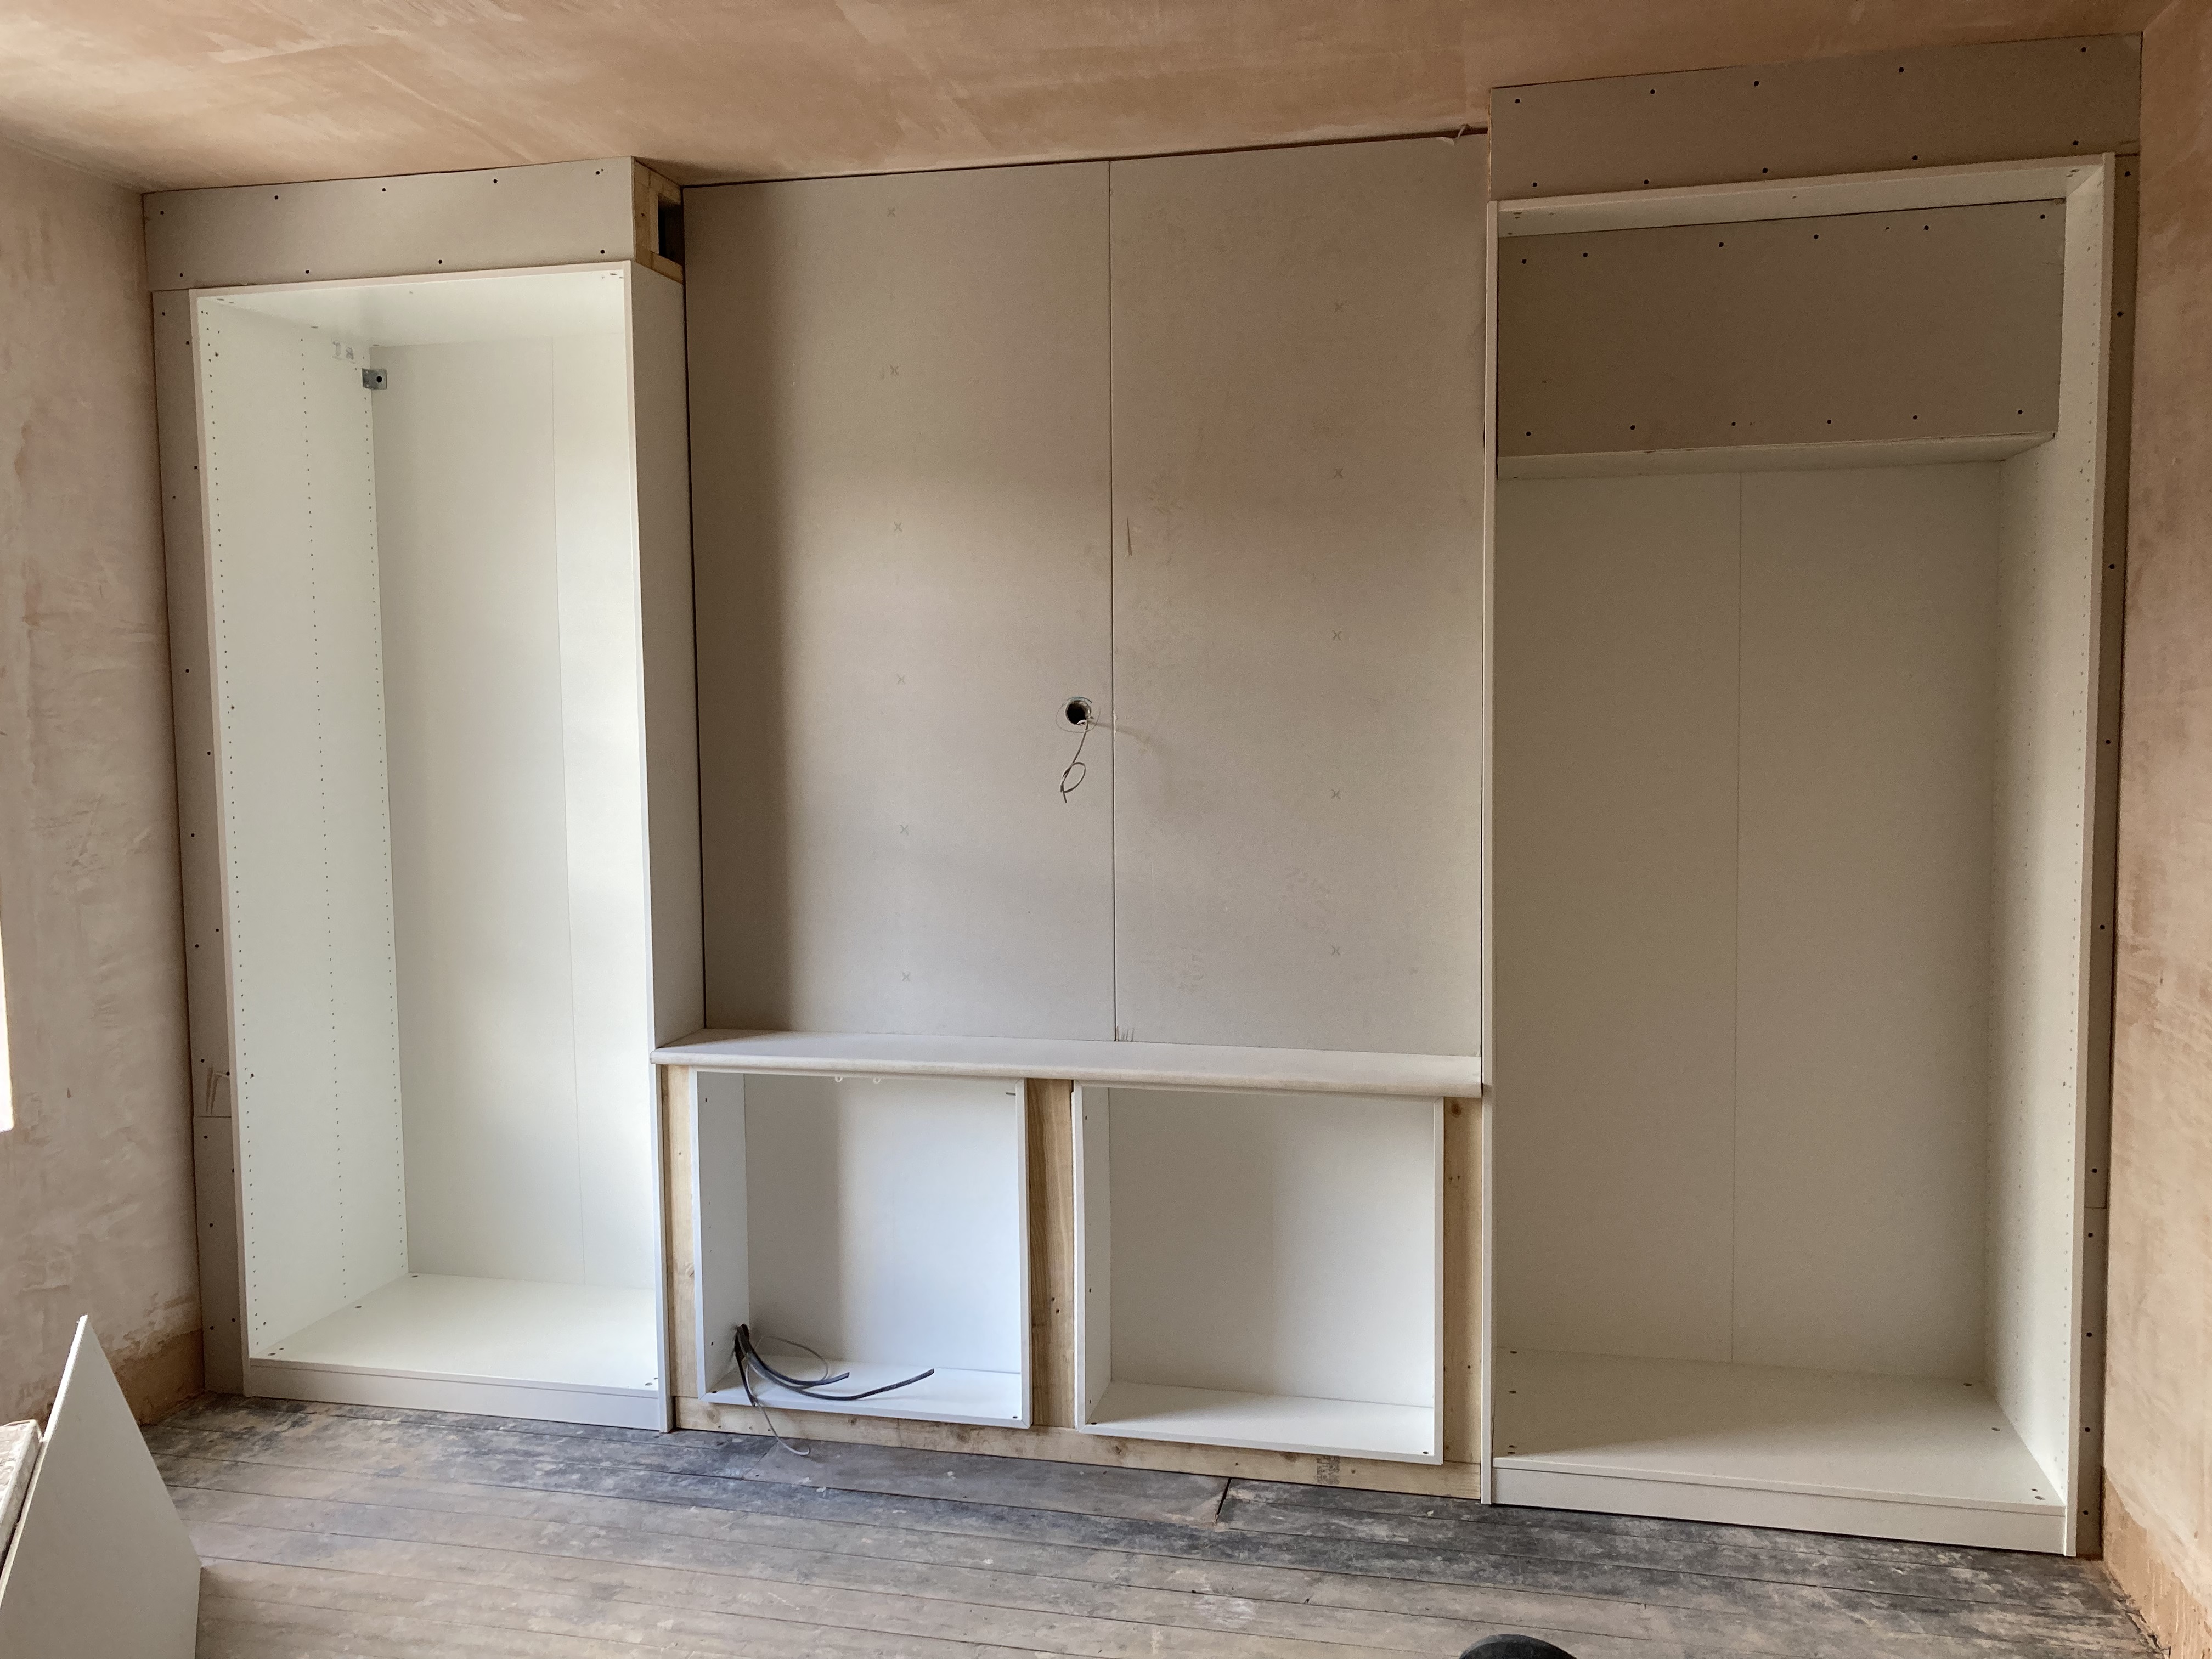
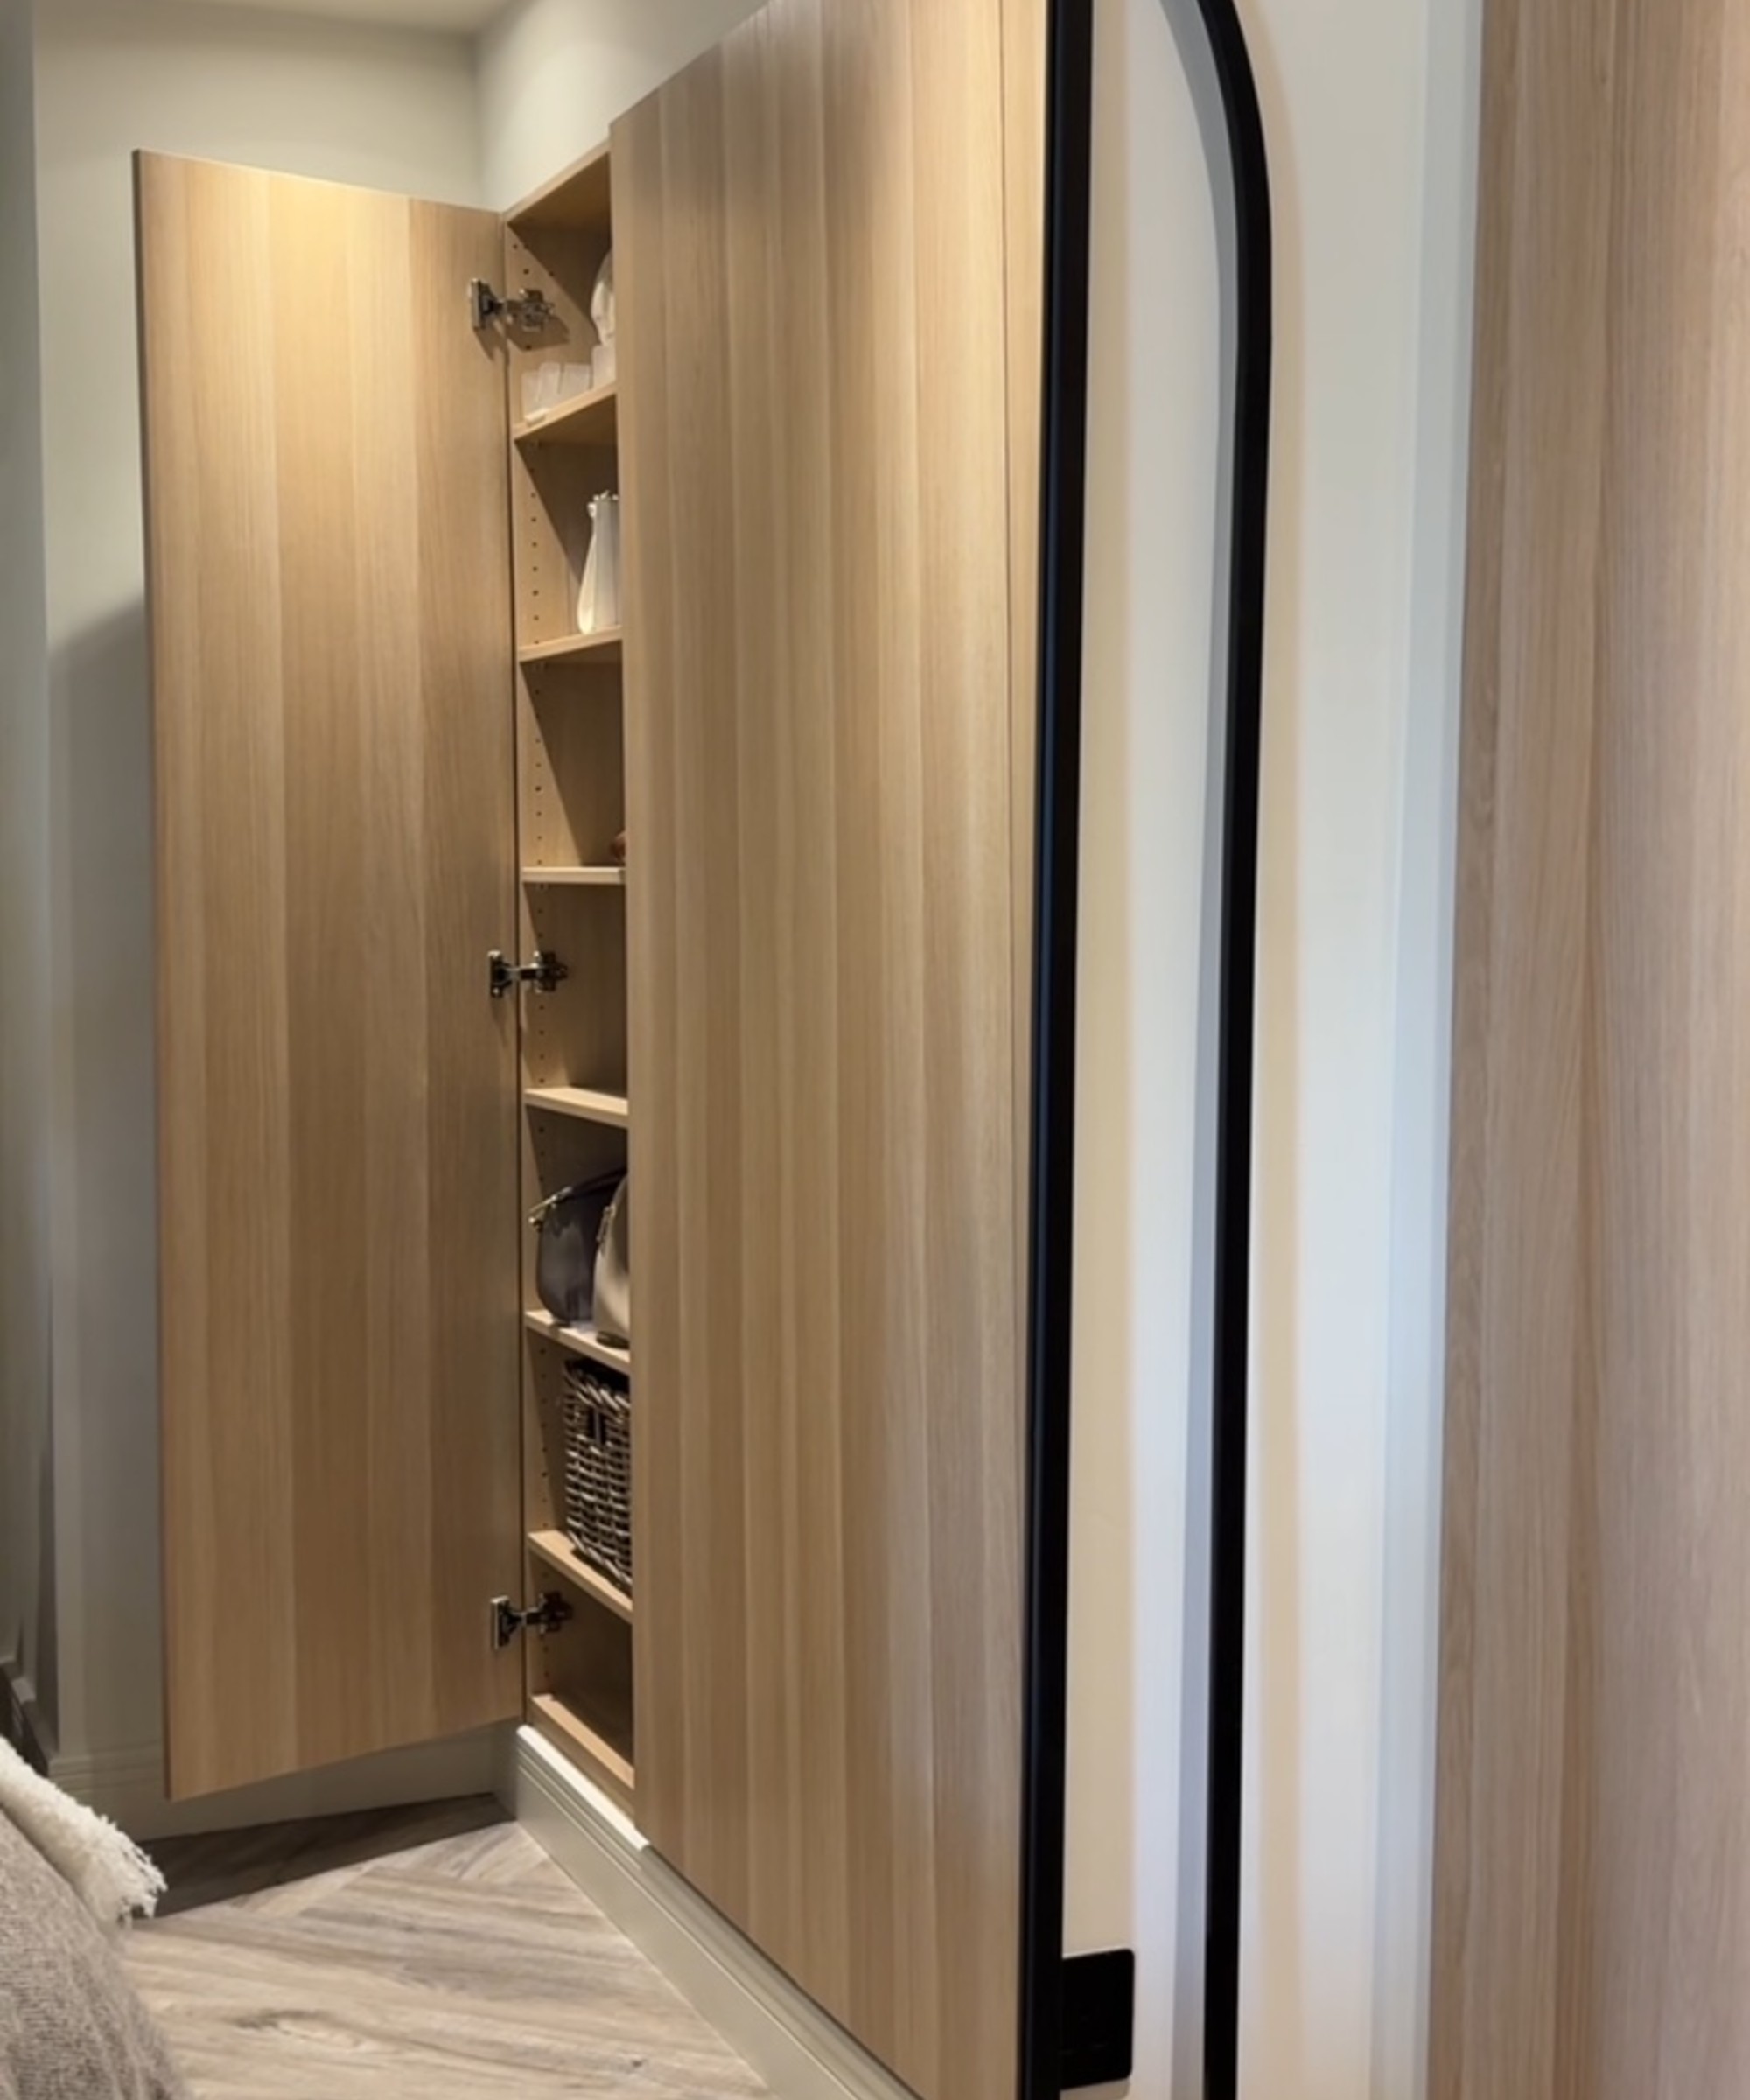
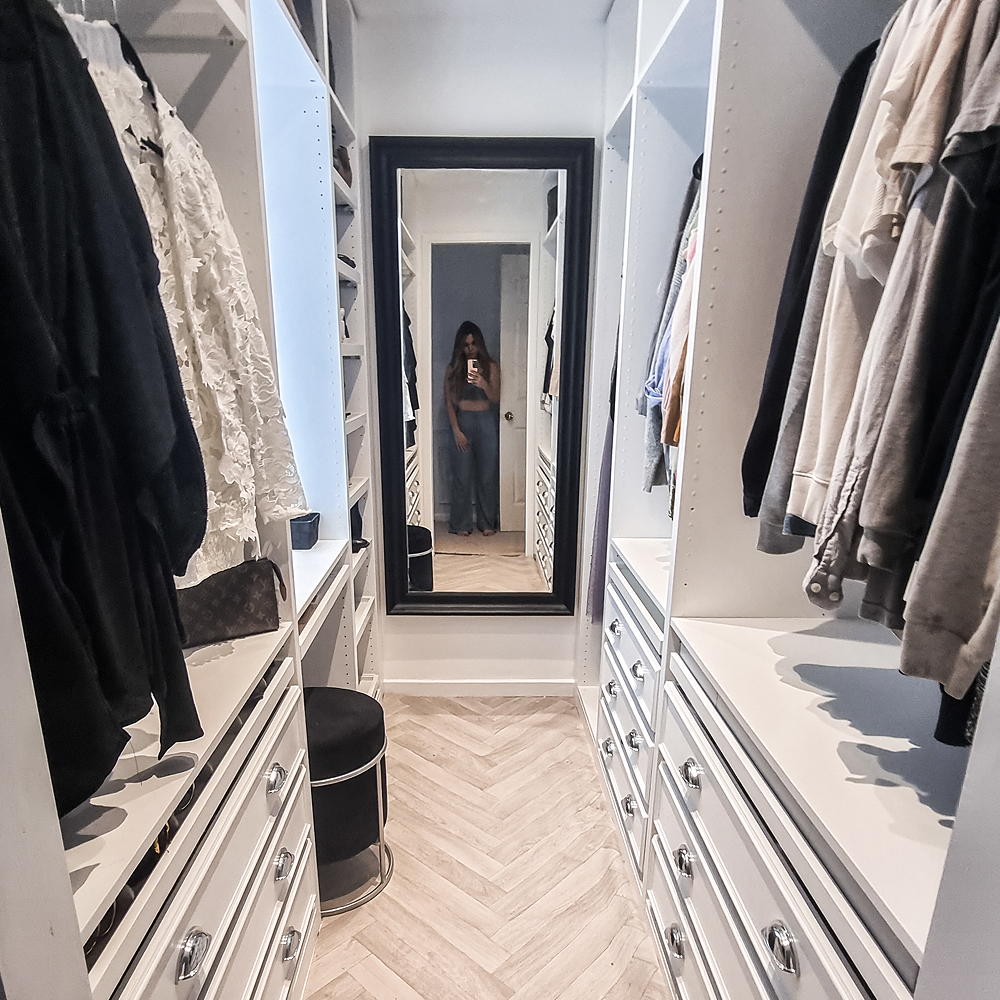
Finally, the sixth step details the creation of a dedicated vanity area for jewelry storage. This was achieved by installing one of the IKEA shelves at counter height, positioned above a series of drawers designated for clothing. A mirror was adhered to the back of the wardrobe to complete the vanity setup. For necklace organization, 40 small brass hooks were attached to a scrap piece of wood and hung inside. The author concludes by expressing her satisfaction with the transformation, noting a significant improvement in organization and the enjoyment derived from the new vanity. The enhanced organization has also freed up time to address other tasks around the house.
#IKEAHack #PaxWardrobe #DIYProject #HomeOrganization #CustomFurniture #InteriorDesign #WardrobeRenovation #VanityCreation #IKEAHack #PaxWardrobe #DIYProject #HomeOrganization #CustomFurniture #InteriorDesign #WardrobeRenovation #VanityCreation
0 comment in total
 No comments yet
You may also like
This IKEA Pax hack creates a built-in closet that looks authentically turn-of-the-century

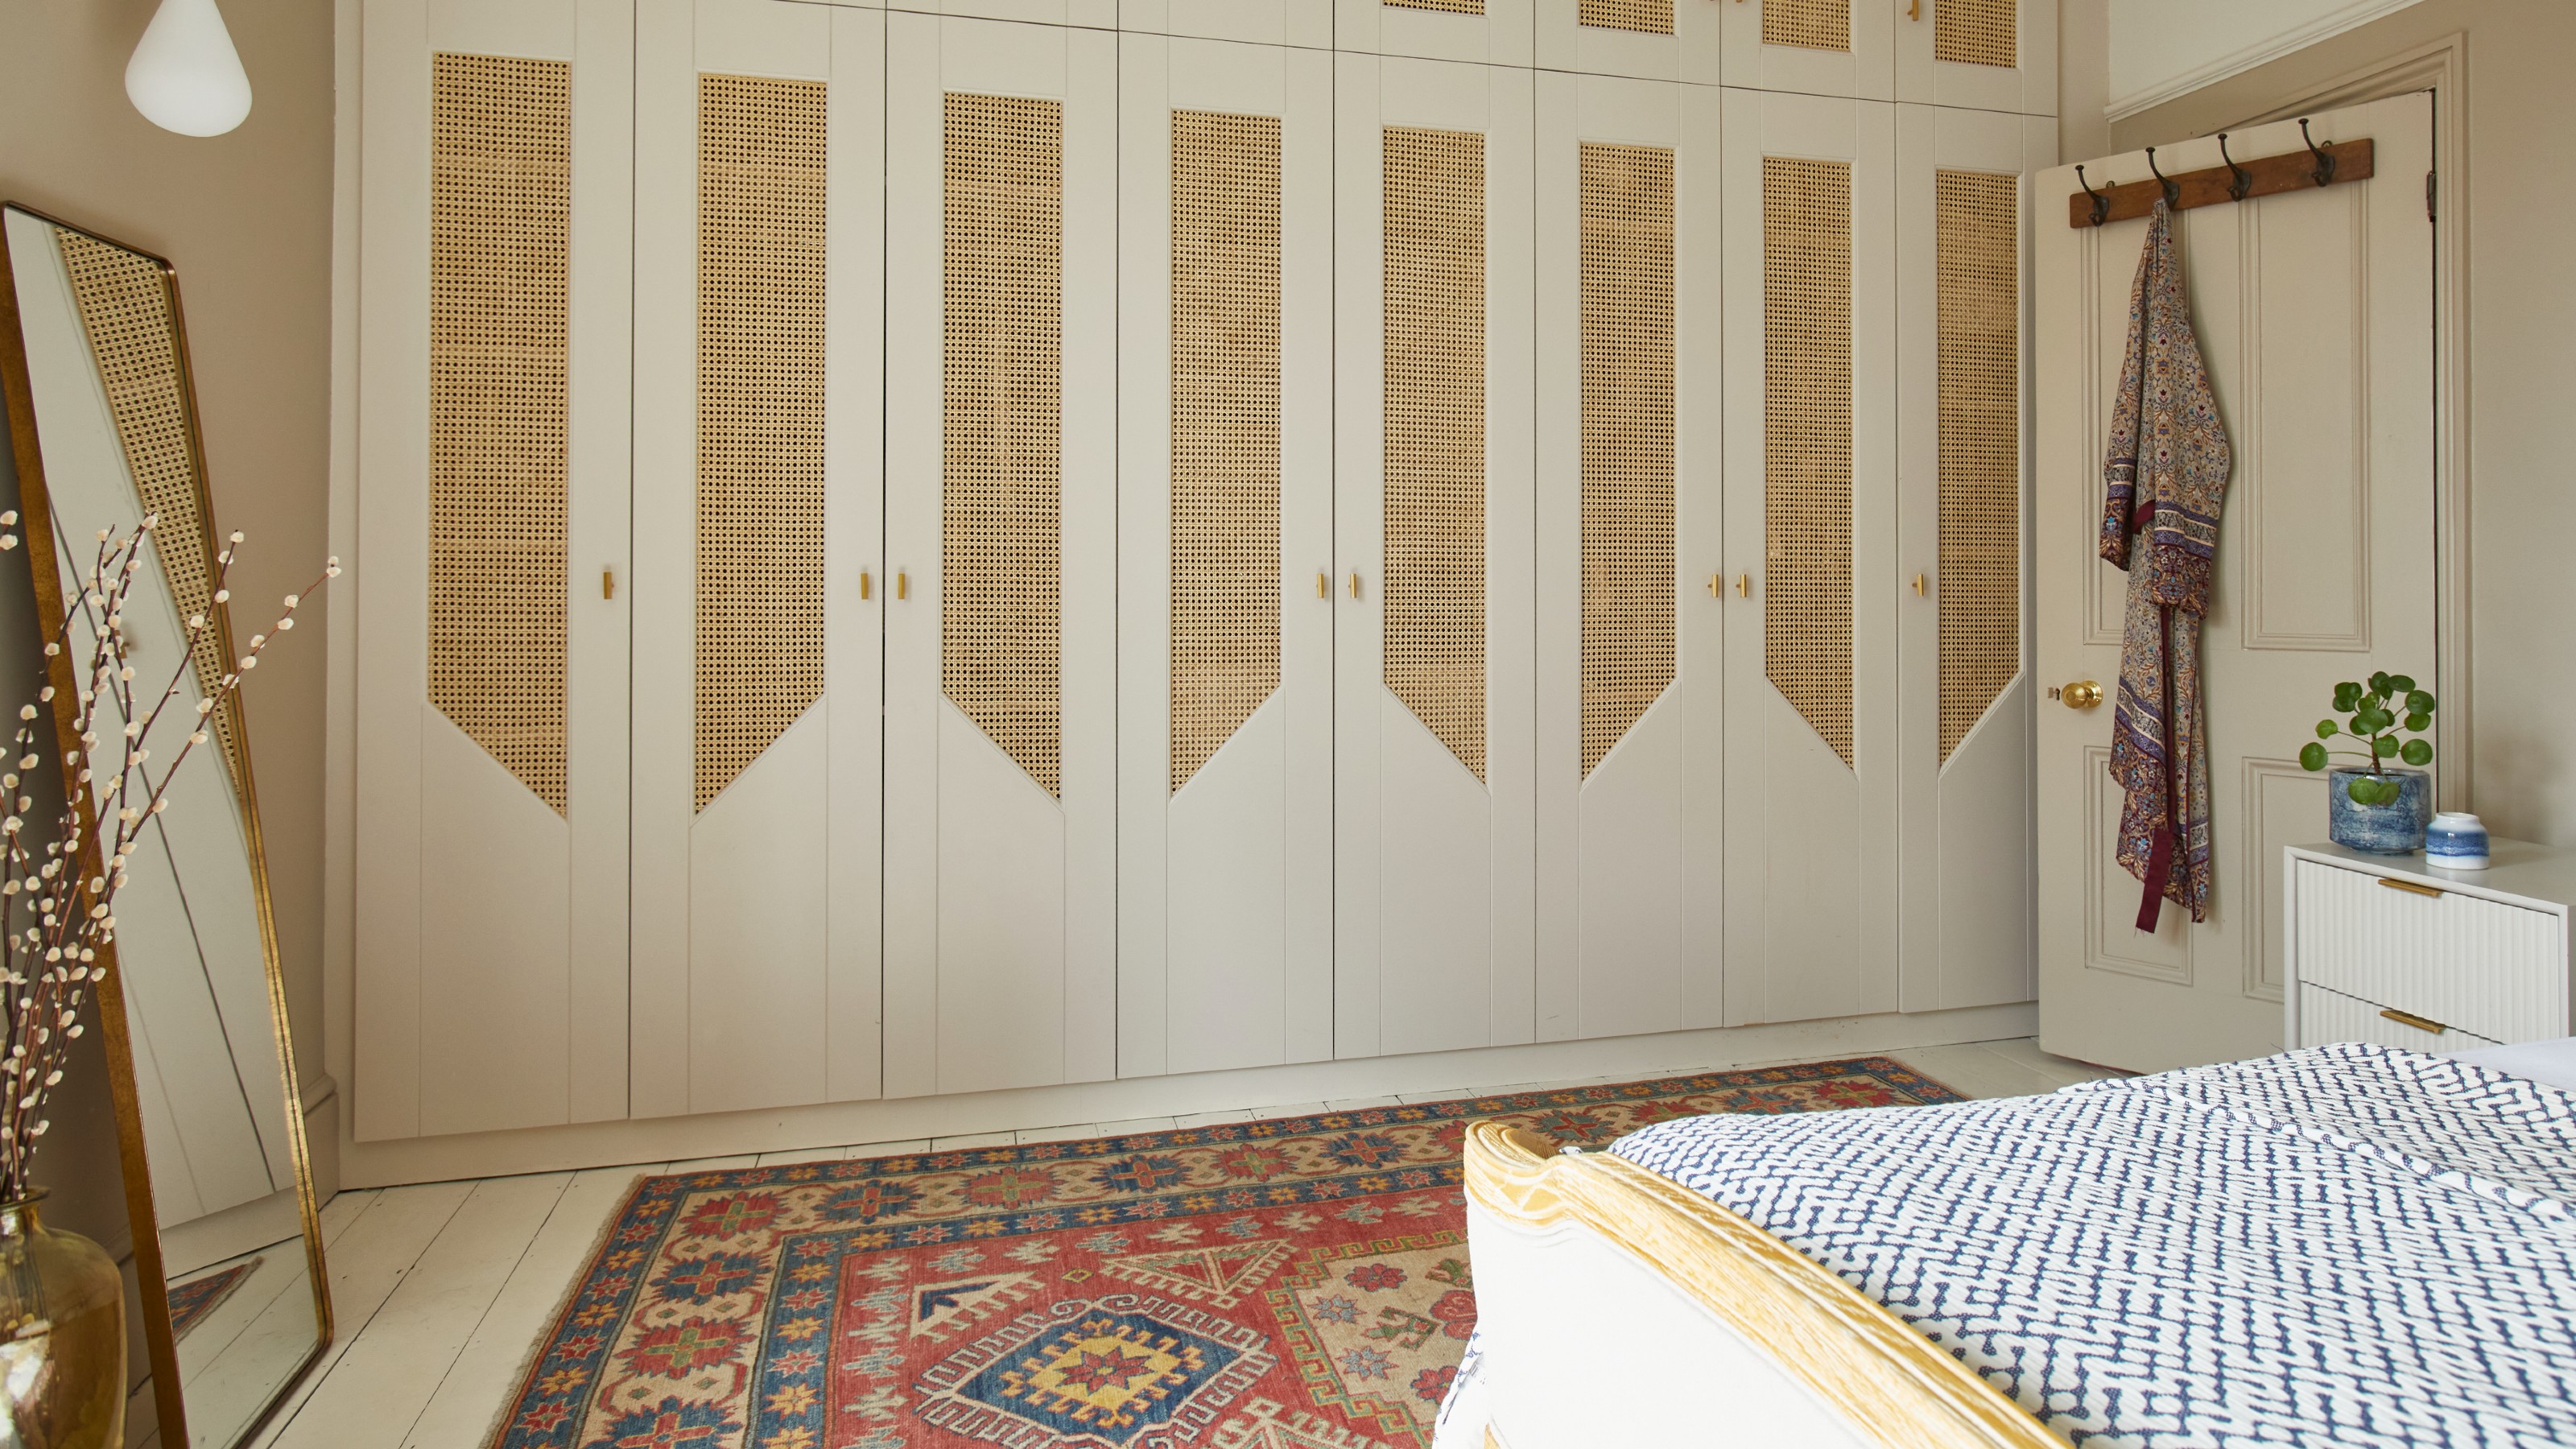
7 IKEA PAX hacks that transform the flatpack staple into bespoke and statement wardrobes
A Modular IKEA Wardrobe Keeps This Fashion Influencer’s “Cloffice” In Order


The IKEA PAX Wardrobe Alternative That's Perfect For Smaller Closets
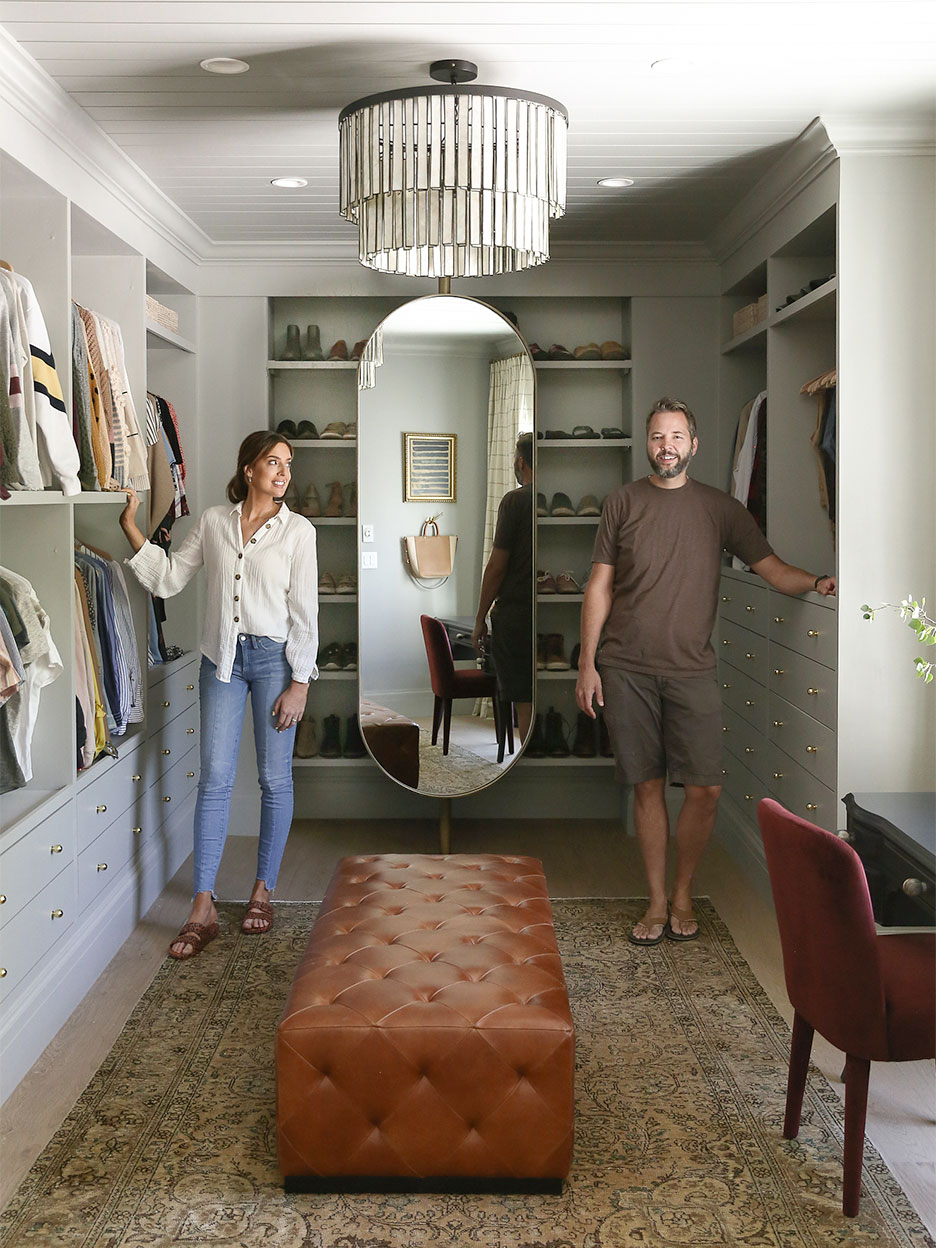
We Saved $27K on a Custom Closet by Hacking IKEA Pax Wardrobes
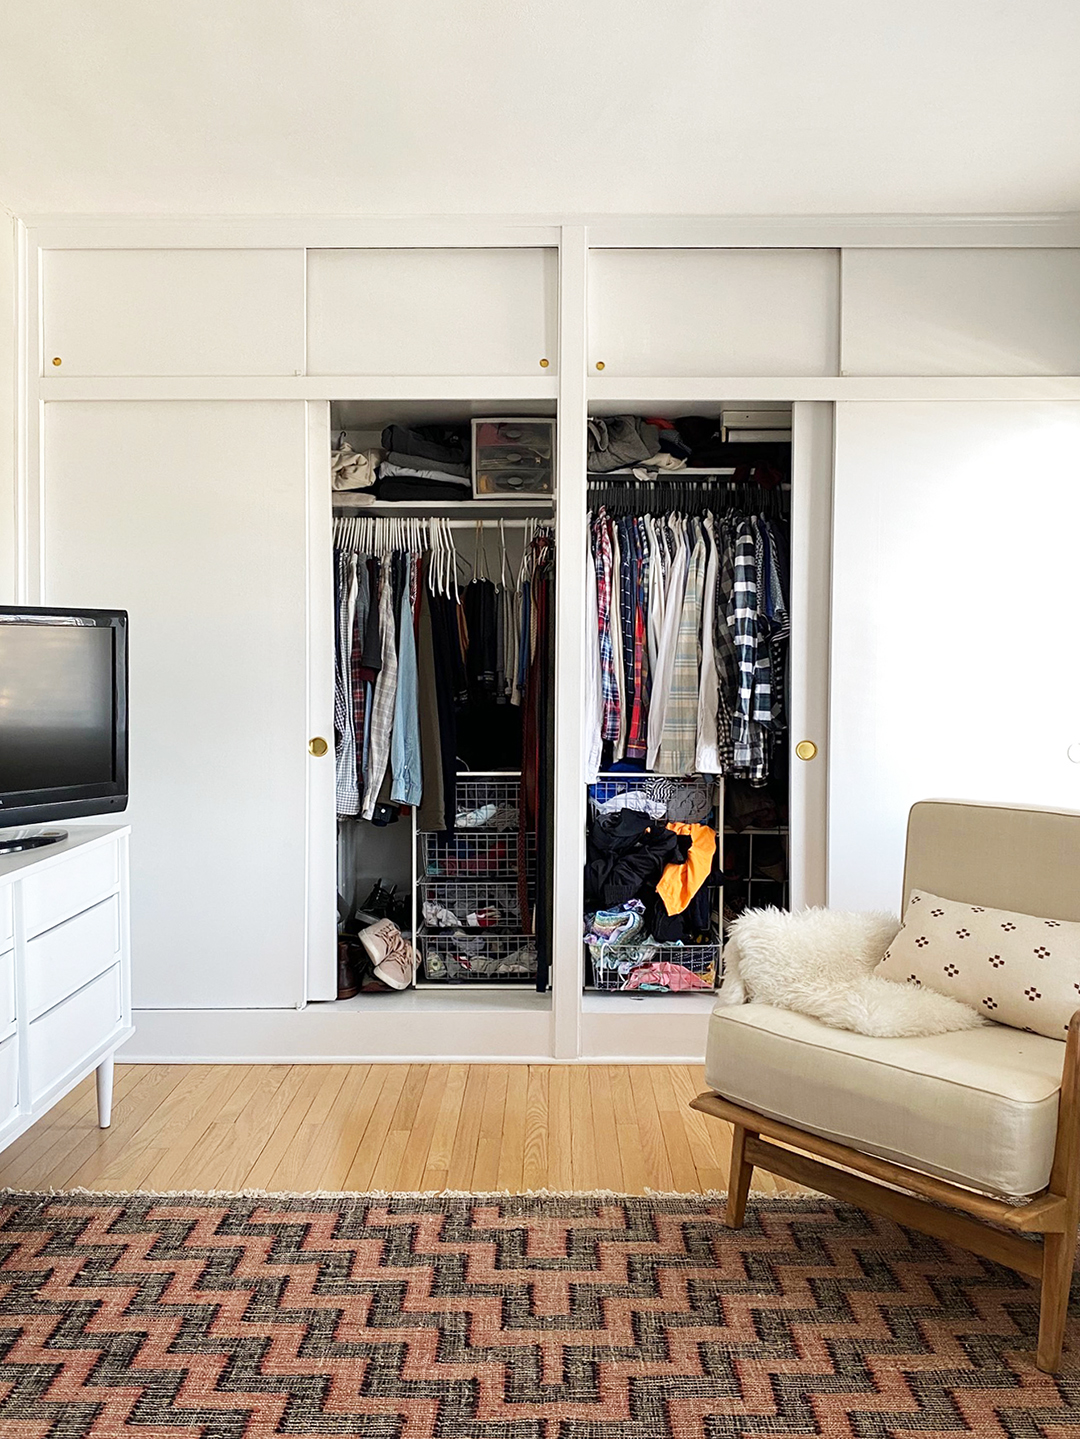
This Couple Saved $8K by Hacking an IKEA Pax System Into Their Dream Walk-In Closet


Catherine Zeta-Jones unveils mind-blowing walk-in wardrobe

Kim Kardashian reorganized her super zen walking pantry

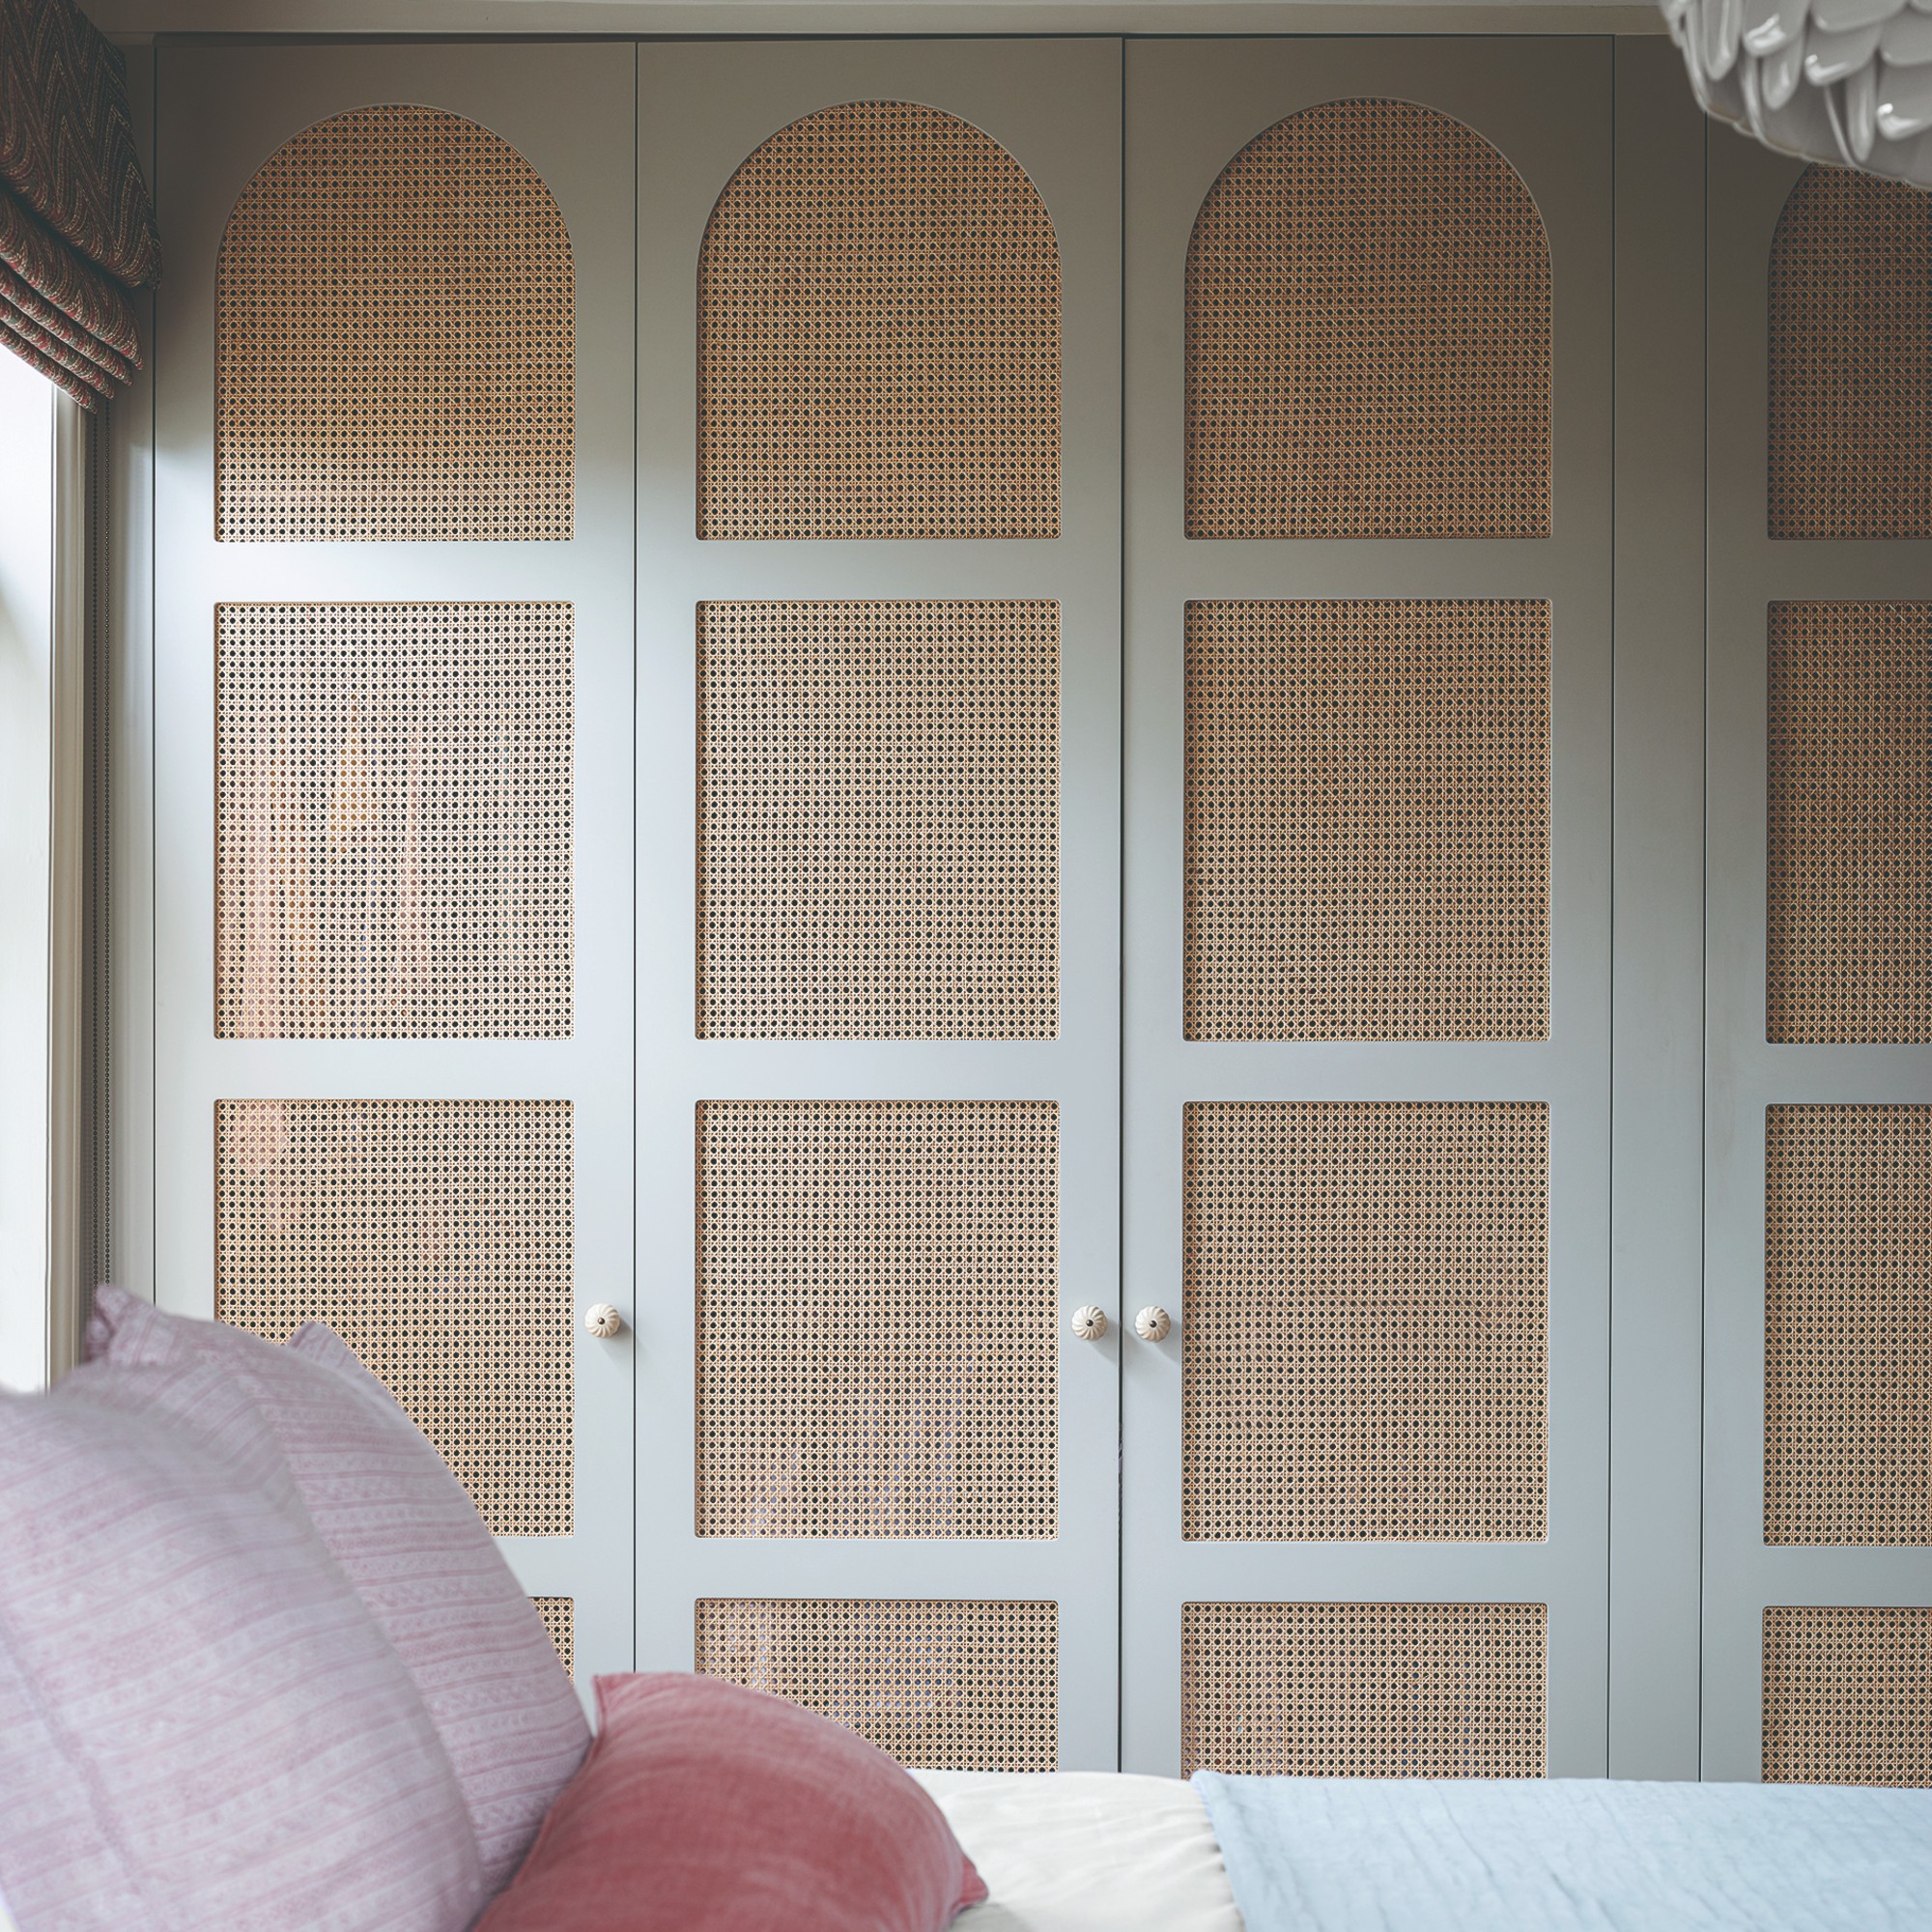
7 IKEA PAX hacks that transform the flatpack staple into bespoke and statement wardrobes
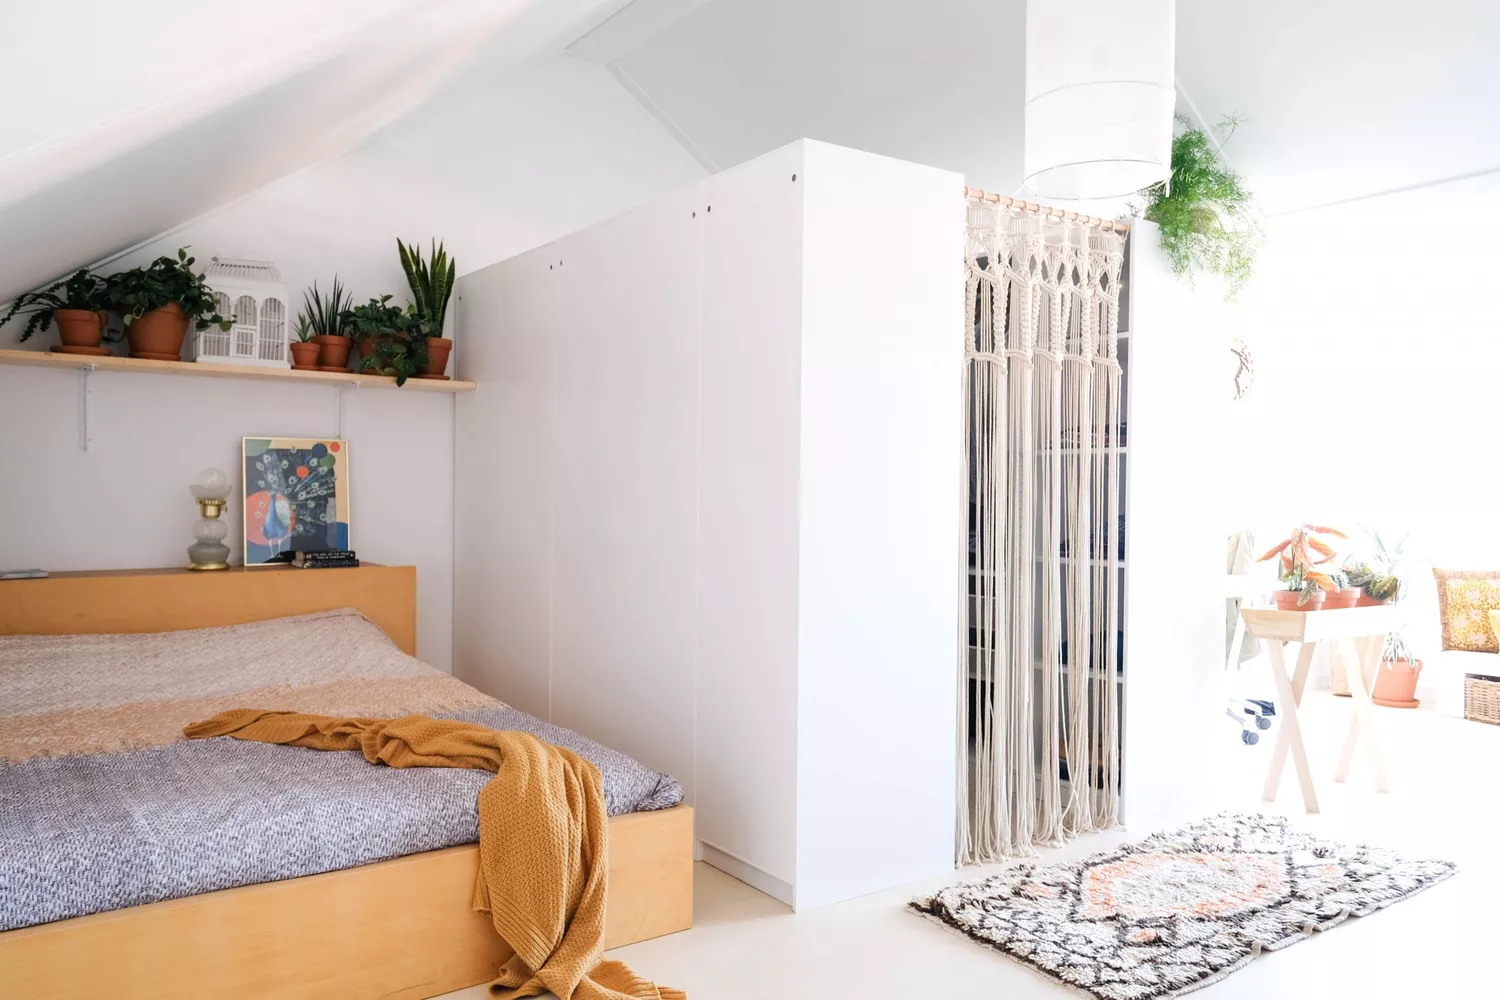
15 IKEA Pax Hacks for Your Best Closet Ever

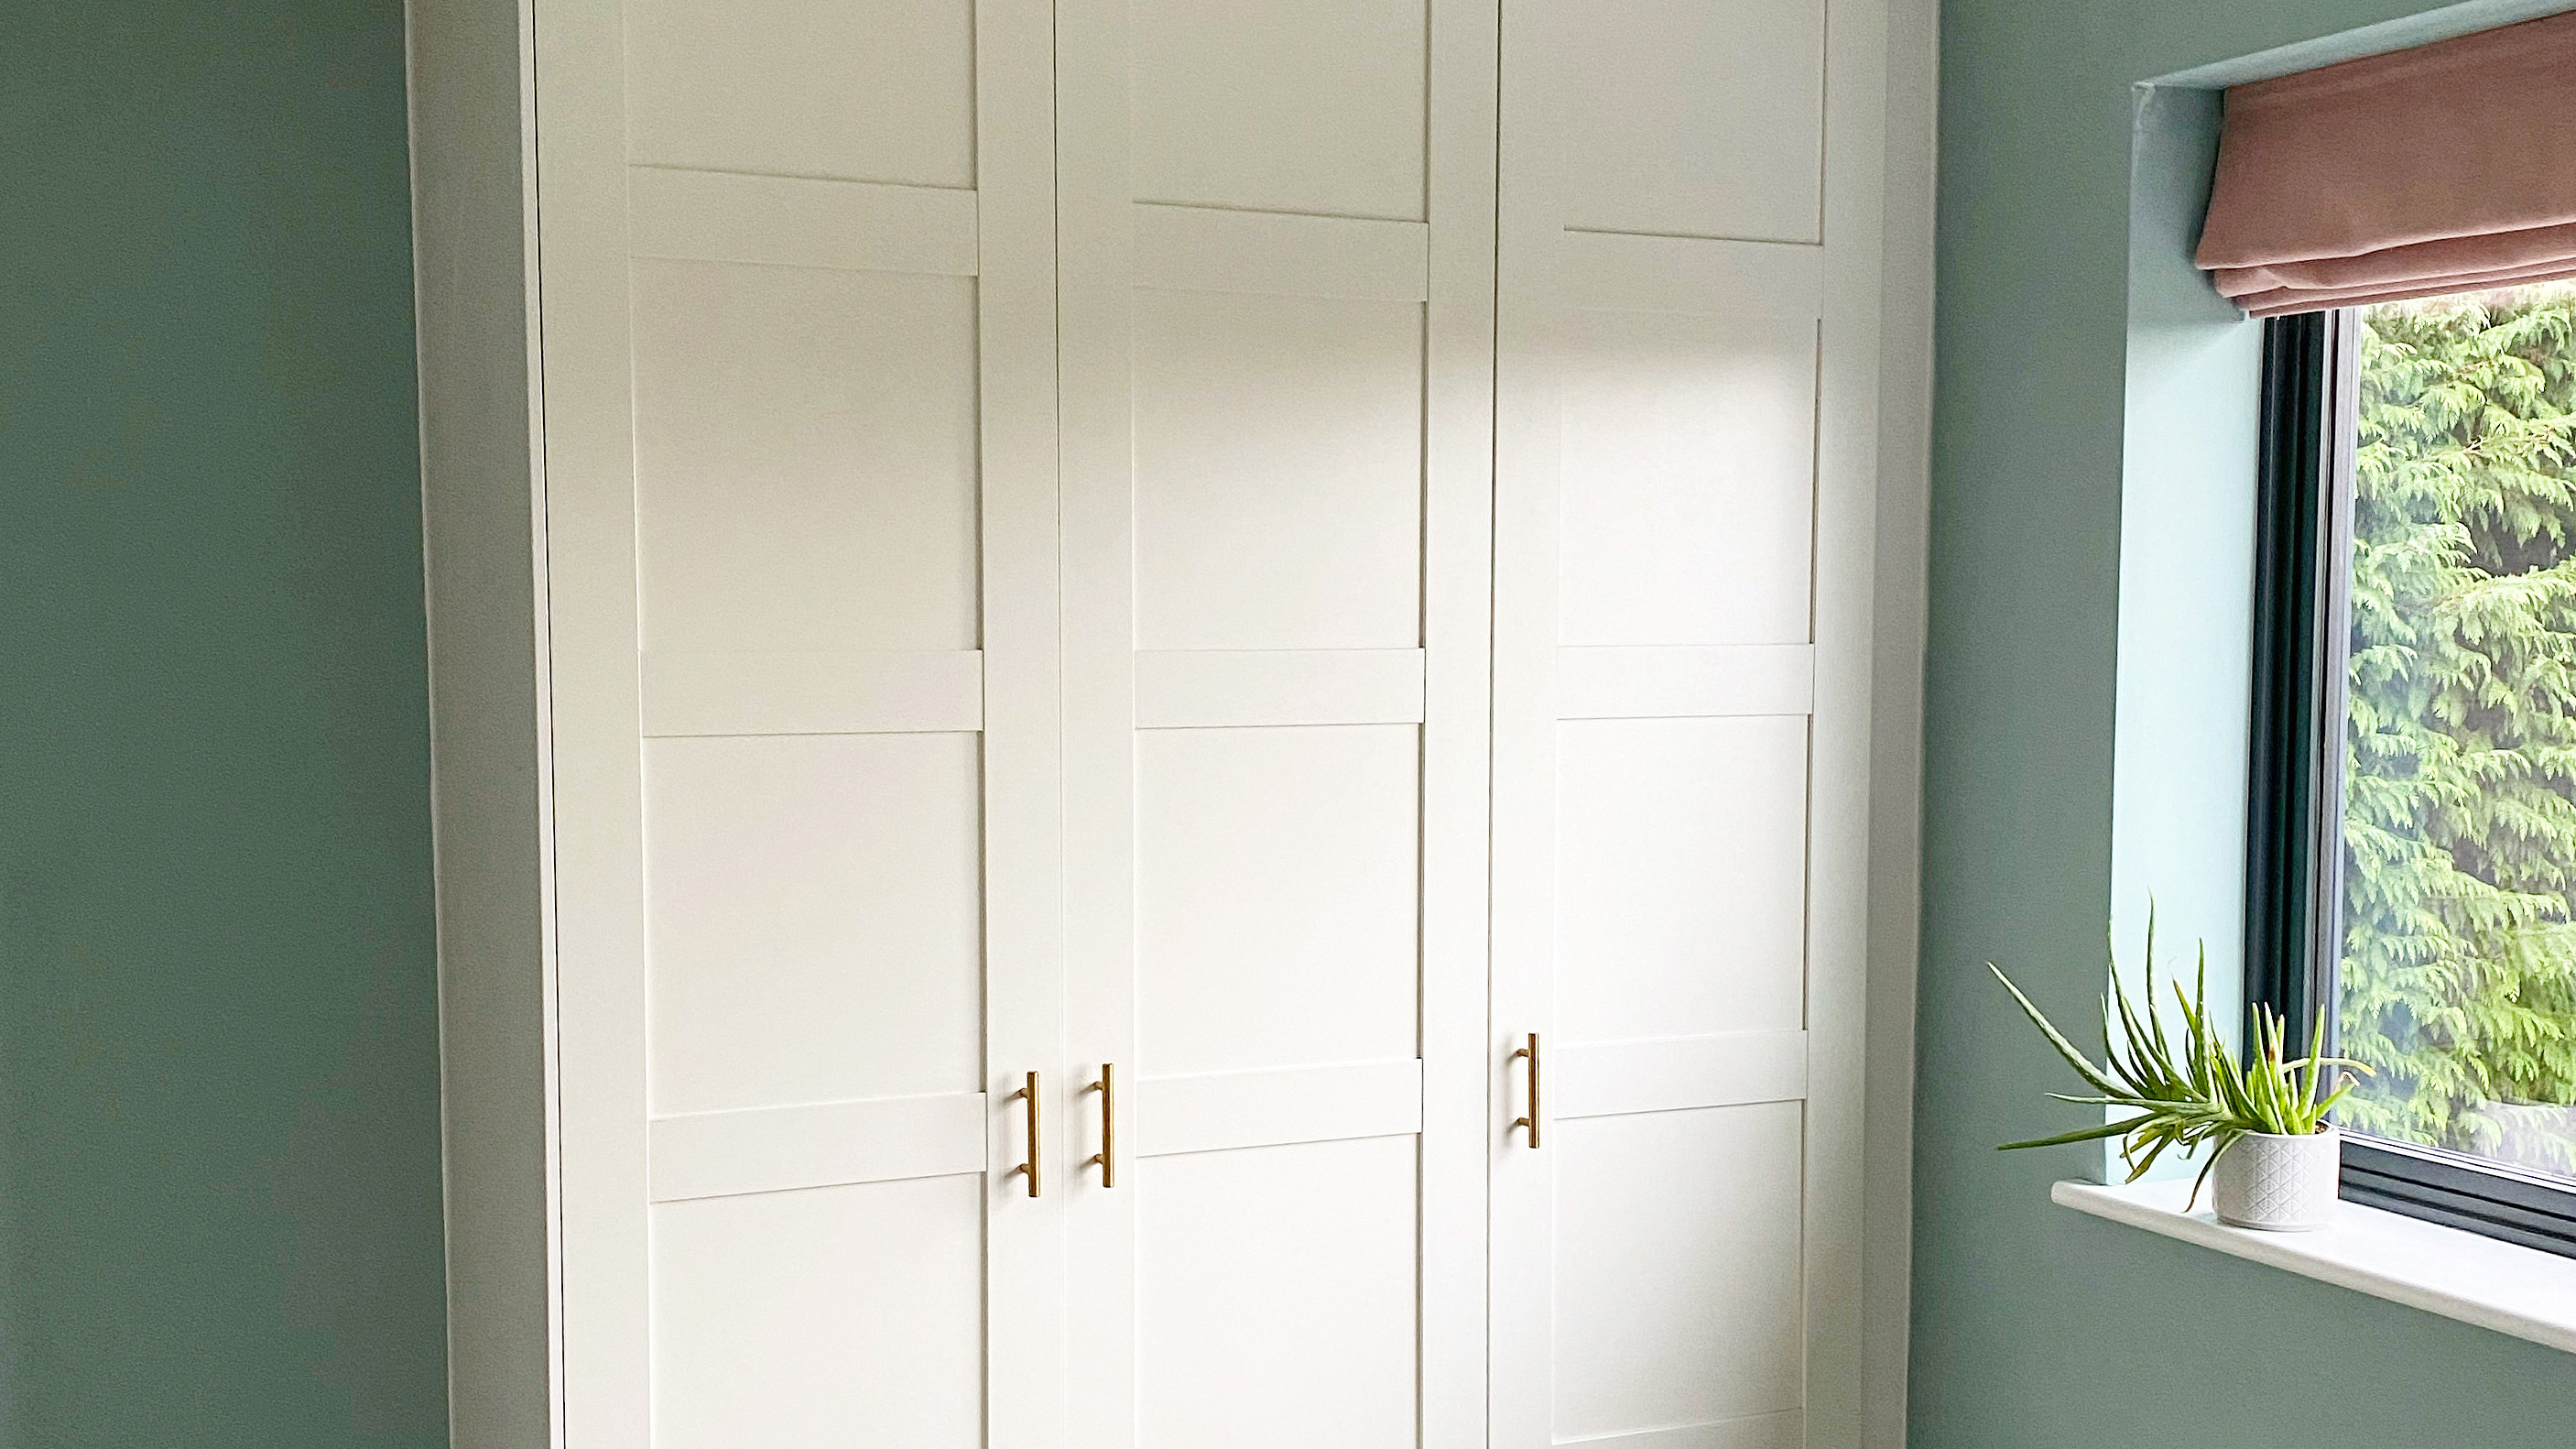
IKEA closet hack: See how one DIYer saved £1,200 on a built-in closet with this genius PAX hack

IKEA Built-In Hacks — 12 Inspiring Bespoke DIYs for Stylish Storage on a Budget
See how an interior designer hacked a basic Ikea Pax wardrobe into a lush, inky blue walk-in closet
12 IKEA Pax Hacks That Give Us Hope for Our Nonfunctional Closets
DIY-er saved £800 on glamorous bedroom makeover with a smart IKEA Pax walk-in wardrobe
11 IKEA Built-In Hacks Clever Enough to Fool Any Millworker
This $150 IKEA Pax Hack Stars Decorative Molding You Can Cut With Simple Shears

IKEA Is Quietly Replacing JoAnn for Fabric Lovers and Crafters Everywhere

The rainbow dressing room of dreams that you won't believe is IKEA
Woman's Creative IKEA Solution Keeps Vanity Clutter Neat And Organized