Ask the Builder: Clay paving brick is superior
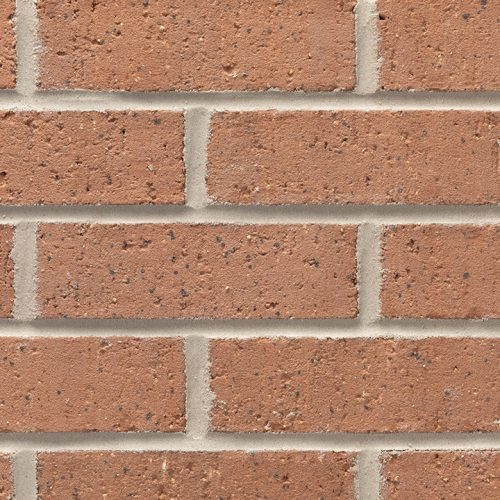
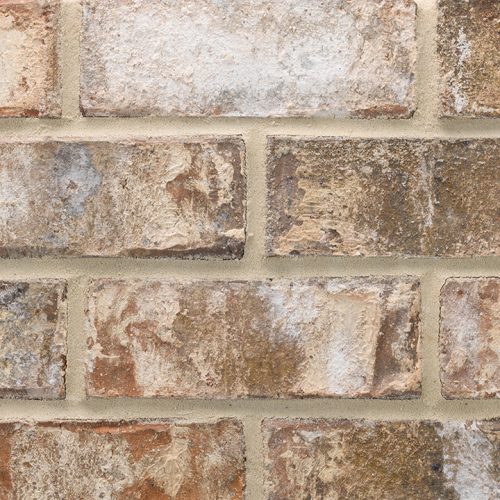
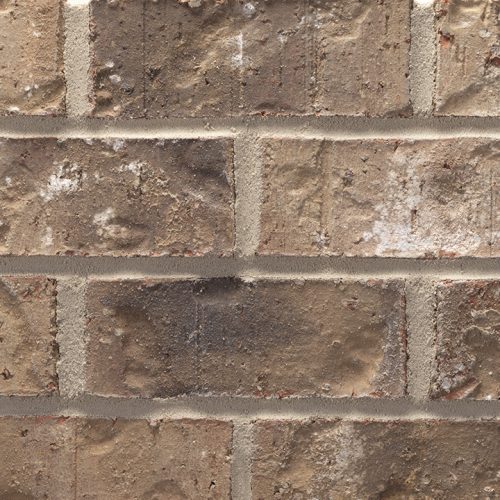
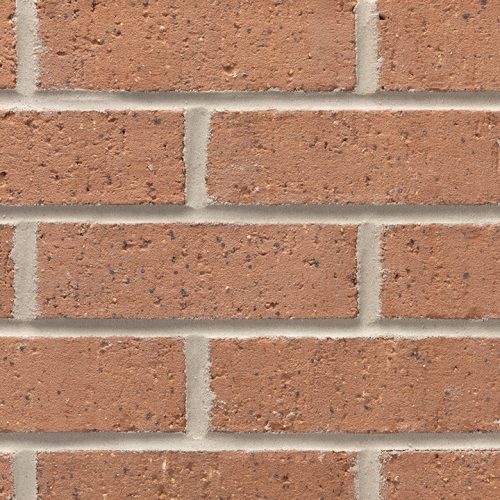
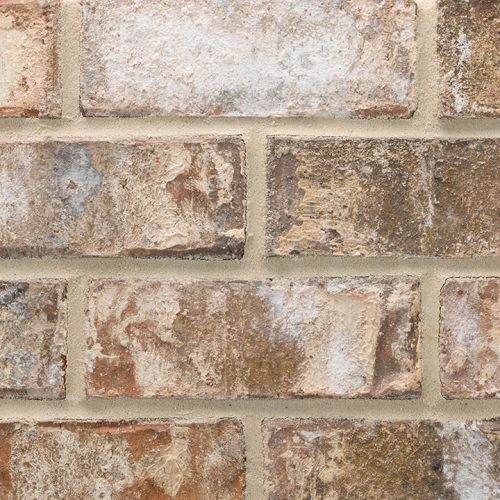
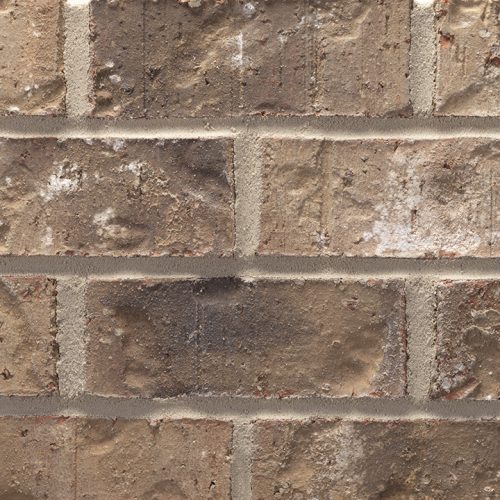
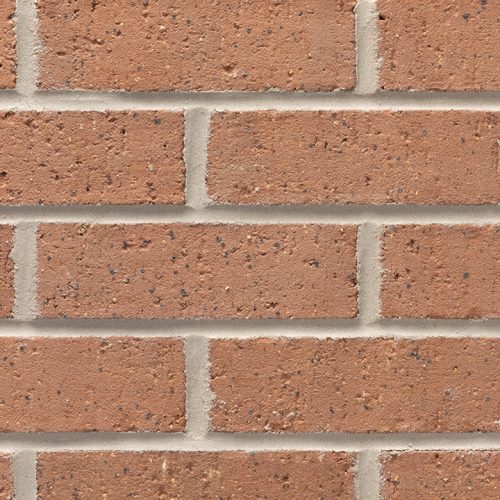
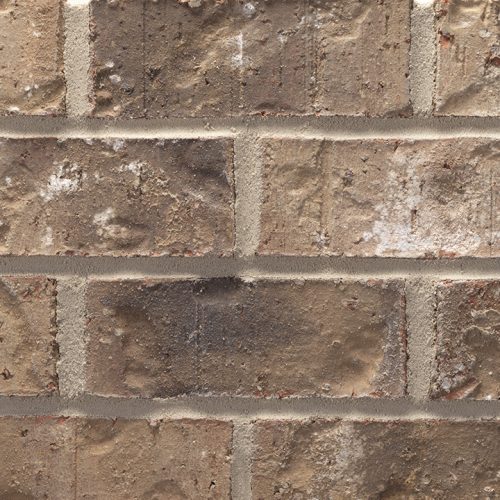
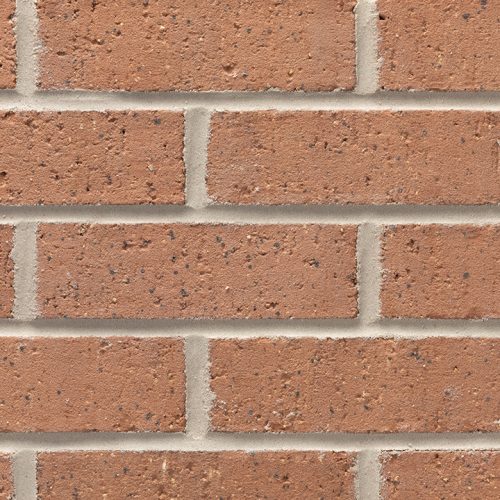
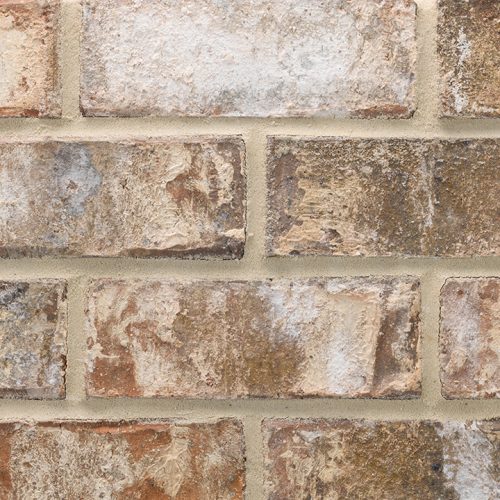
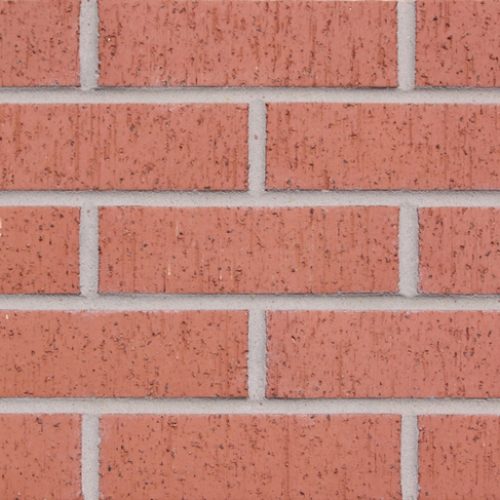
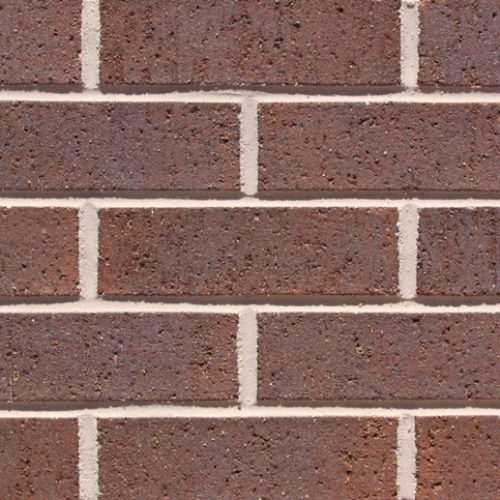
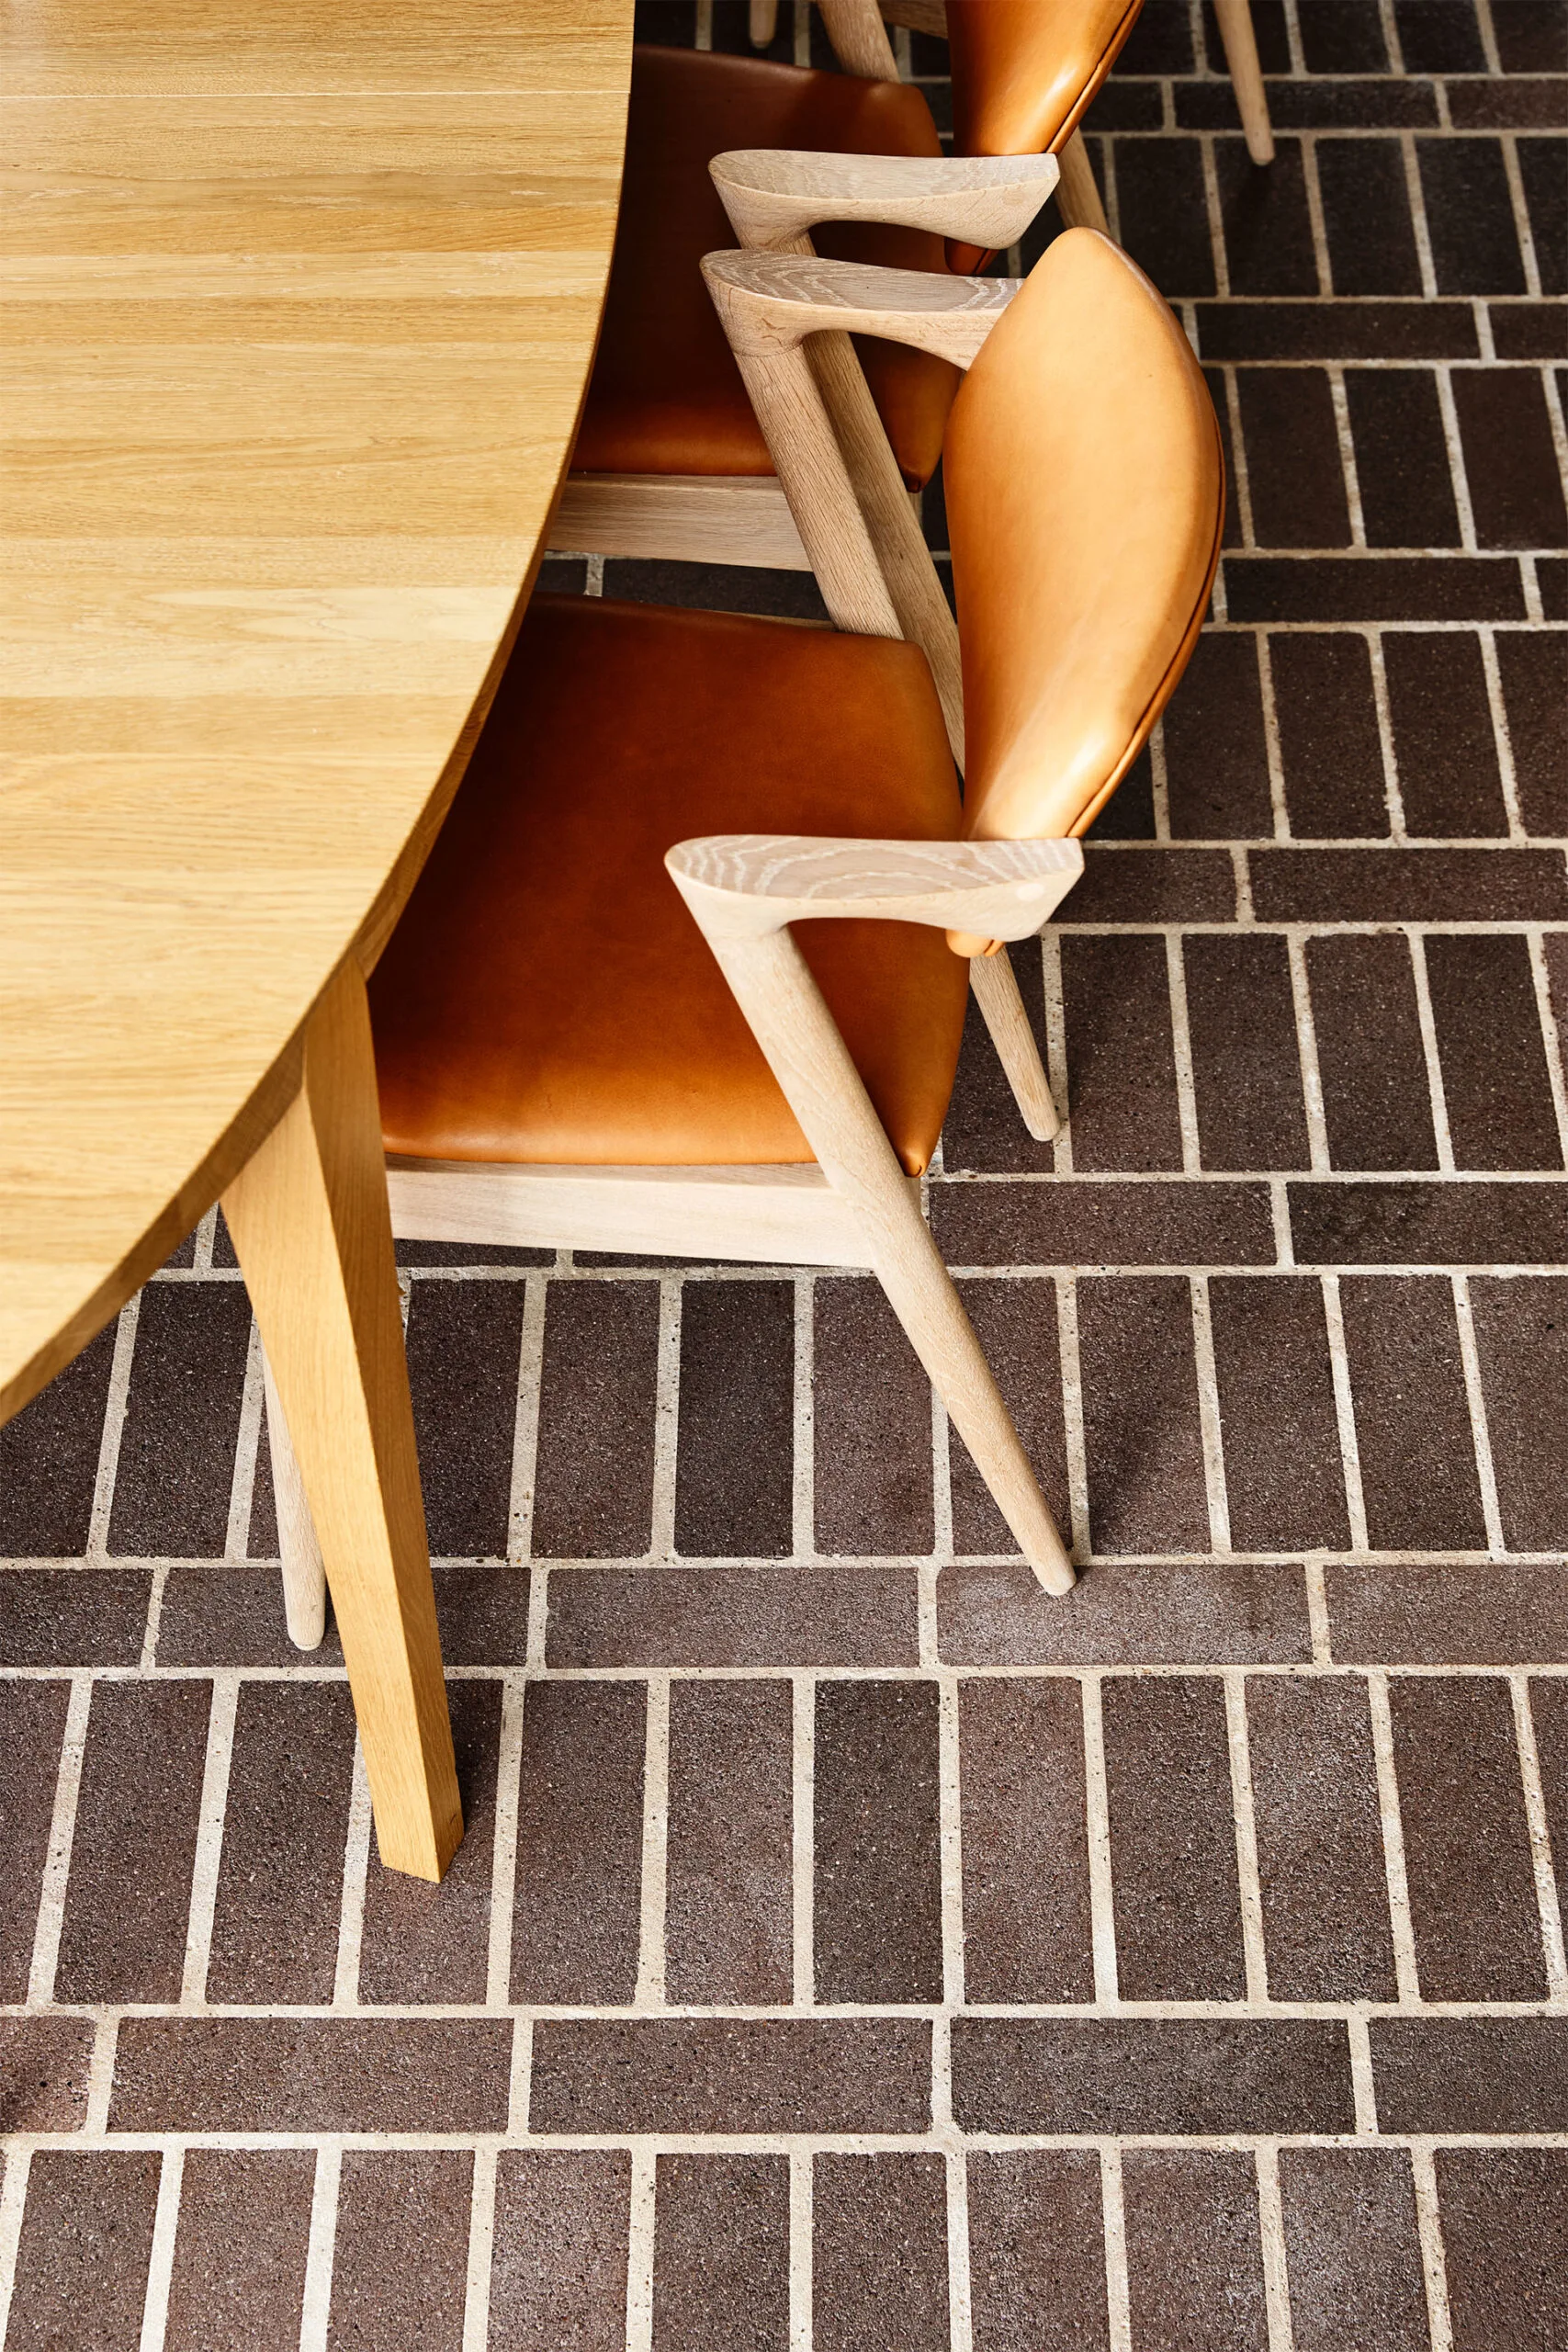
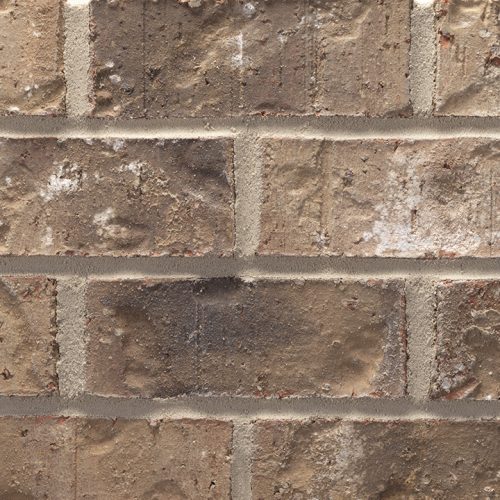
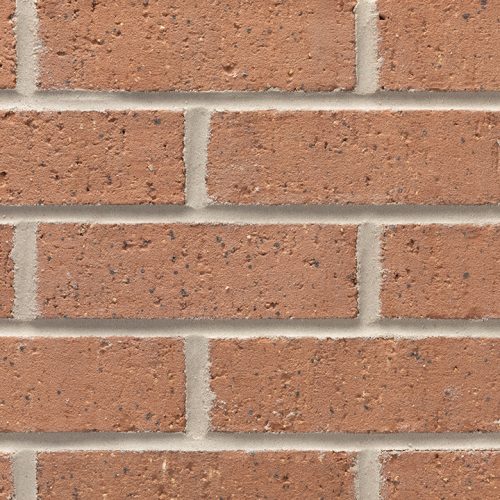
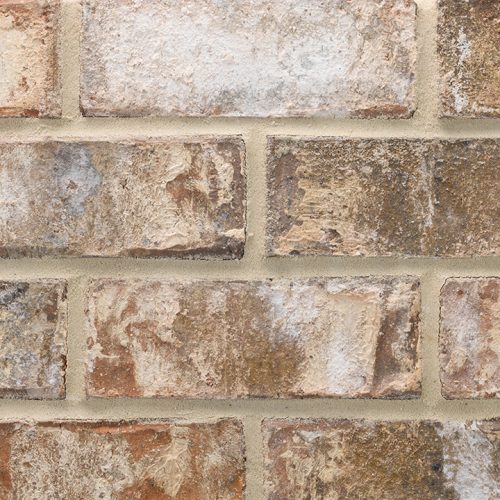
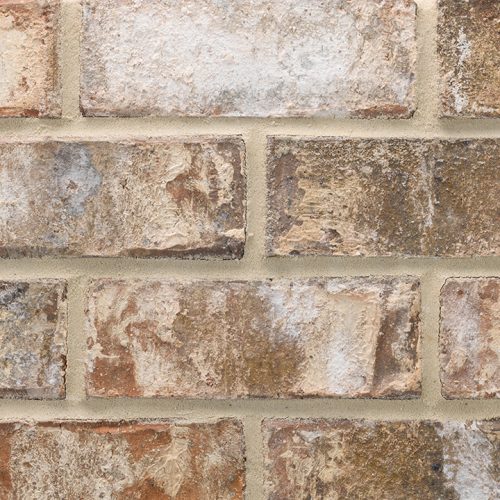
This article extols the virtues of clay paving brick as a superior material for outdoor surfaces, contrasting it with concrete pavers. The author, a seasoned builder, recounts his extensive experience with clay bricks, highlighting their durability and aesthetic longevity. He notes that concrete pavers often fade and deteriorate over time due to the degradation of their colored cement paste, especially under pressure washing. In contrast, clay bricks, made from natural clay fired in a kiln, retain their color indefinitely and exhibit consistent color and texture throughout their material, meaning chips do not reveal a different underlying color.
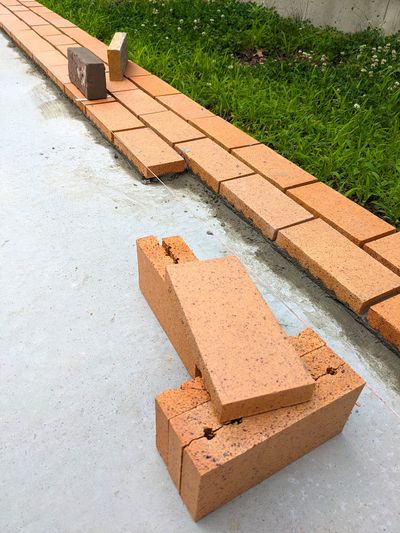
The author details a current project at his son's new home, where he is installing split clay paving bricks. He shares that this type of brick is so robust it's used for roadways, and he has successfully used similar clay bricks in his own previous homes for decades, with installations from the late 1970s still looking new. His introduction to clay pavers came through his mother-in-law and an experience installing a patio under the guidance of his future father-in-law, where he learned foundational techniques like creating a baseline for straight installations.
He emphasizes clay's abundance as a natural resource and its long history as a building material, citing examples like the historic Old Brick Road in Florida and numerous brick-paved streets in cities across the U.S., such as Athens, Ohio. For his son's patio, he is using split pavers, which are thinner than traditional paving bricks, measuring just under 4 inches wide by 8 inches long and slightly over an inch thick. While these can be set in a sand/cement base, he opted for a more robust method: mortaring each brick onto a steel-reinforced concrete pad. This method, while requiring a properly poured, flat concrete slab, ensures exceptional strength, capable of supporting a truck without cracking. He specifies a 5-inch thick concrete pour with 1/2-inch steel rebars placed two feet on center in both directions.
The installation process is described as surprisingly DIY-friendly, with the main challenge being the correct pouring of the concrete slab. The author outlines his preferred technique for laying bricks, starting with border bricks, especially for patios with curves. For square or rectangular patios, minimal cuts are needed, simplifying the process. He notes that the specific bricks he's using allow for an ideal layout where three rows equal 12 inches, leading to a patio with 45 rows composed entirely of full-sized bricks.
He then details the mortar and grout mixtures. The mortar is a simple blend of three parts fine sand to one part Portland cement, mixed to a wet applesauce consistency. Bricks are set in this mortar, allowing it to ooze up the sides. The joints are later filled with a strong grout made from one part very fine sand to one part Portland cement, applied with a specialized bag. This grout is designed for extreme durability, estimated to exceed 12,000 pounds per square inch, making it highly resistant to freezing weather for many decades. The author plans to release in-depth video guides on the installation process on his website in the fall.
#ClayPavingBrick #HomeImprovement #OutdoorPatio #Masonry #DIYProject #BuildingMaterials #PavingTechniques #HomeDesign #ClayPavingBrick #HomeImprovement #OutdoorPatio #Masonry #DIYProject #BuildingMaterials #PavingTechniques #HomeDesign
0 comment in total
 No comments yet
You may also like

Acme Brick, Tile and Stone – Abilene

Cement

12 brick floors that will take your breath away

Acme Brick, Tile and Stone – Monroe

Acme Brick, Tile and Stone – Shreveport

Acme Brick, Tile and Stone – Northwest Arkansas

From the Forum: Choosing a Finish for a Rear Brick Wall
Masonry reinvented: One brick at a time

Acme Brick, Tile and Stone – Jackson, TN
Acme Brick, Tile and Stone – Bluffton
Monroe
Another brick in the wall
Acme Brick, Tile and Stone – Memphis

Birmingham
Statement bricks are the latest design trend
Ten buildings animated by expressive brick facades
Acme Brick, Tile and Stone – El Paso
Long-format brick slips from Klay Tiles and Facades

Acme Brick, Tile and Stone – Tulsa
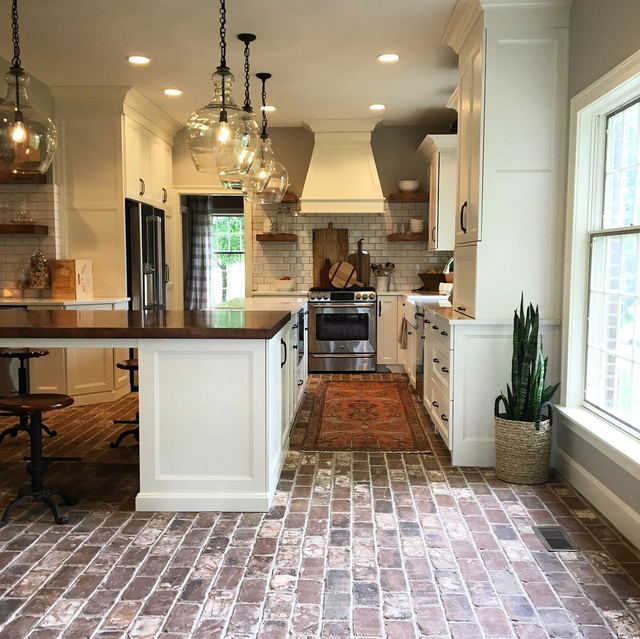
7 Things You Should Know Before Installing Brick Floors