1/14
The Best Leather Repair Kits
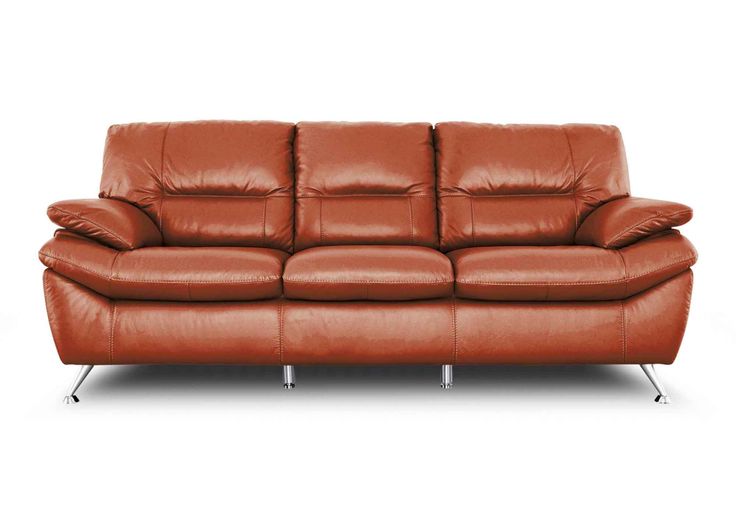
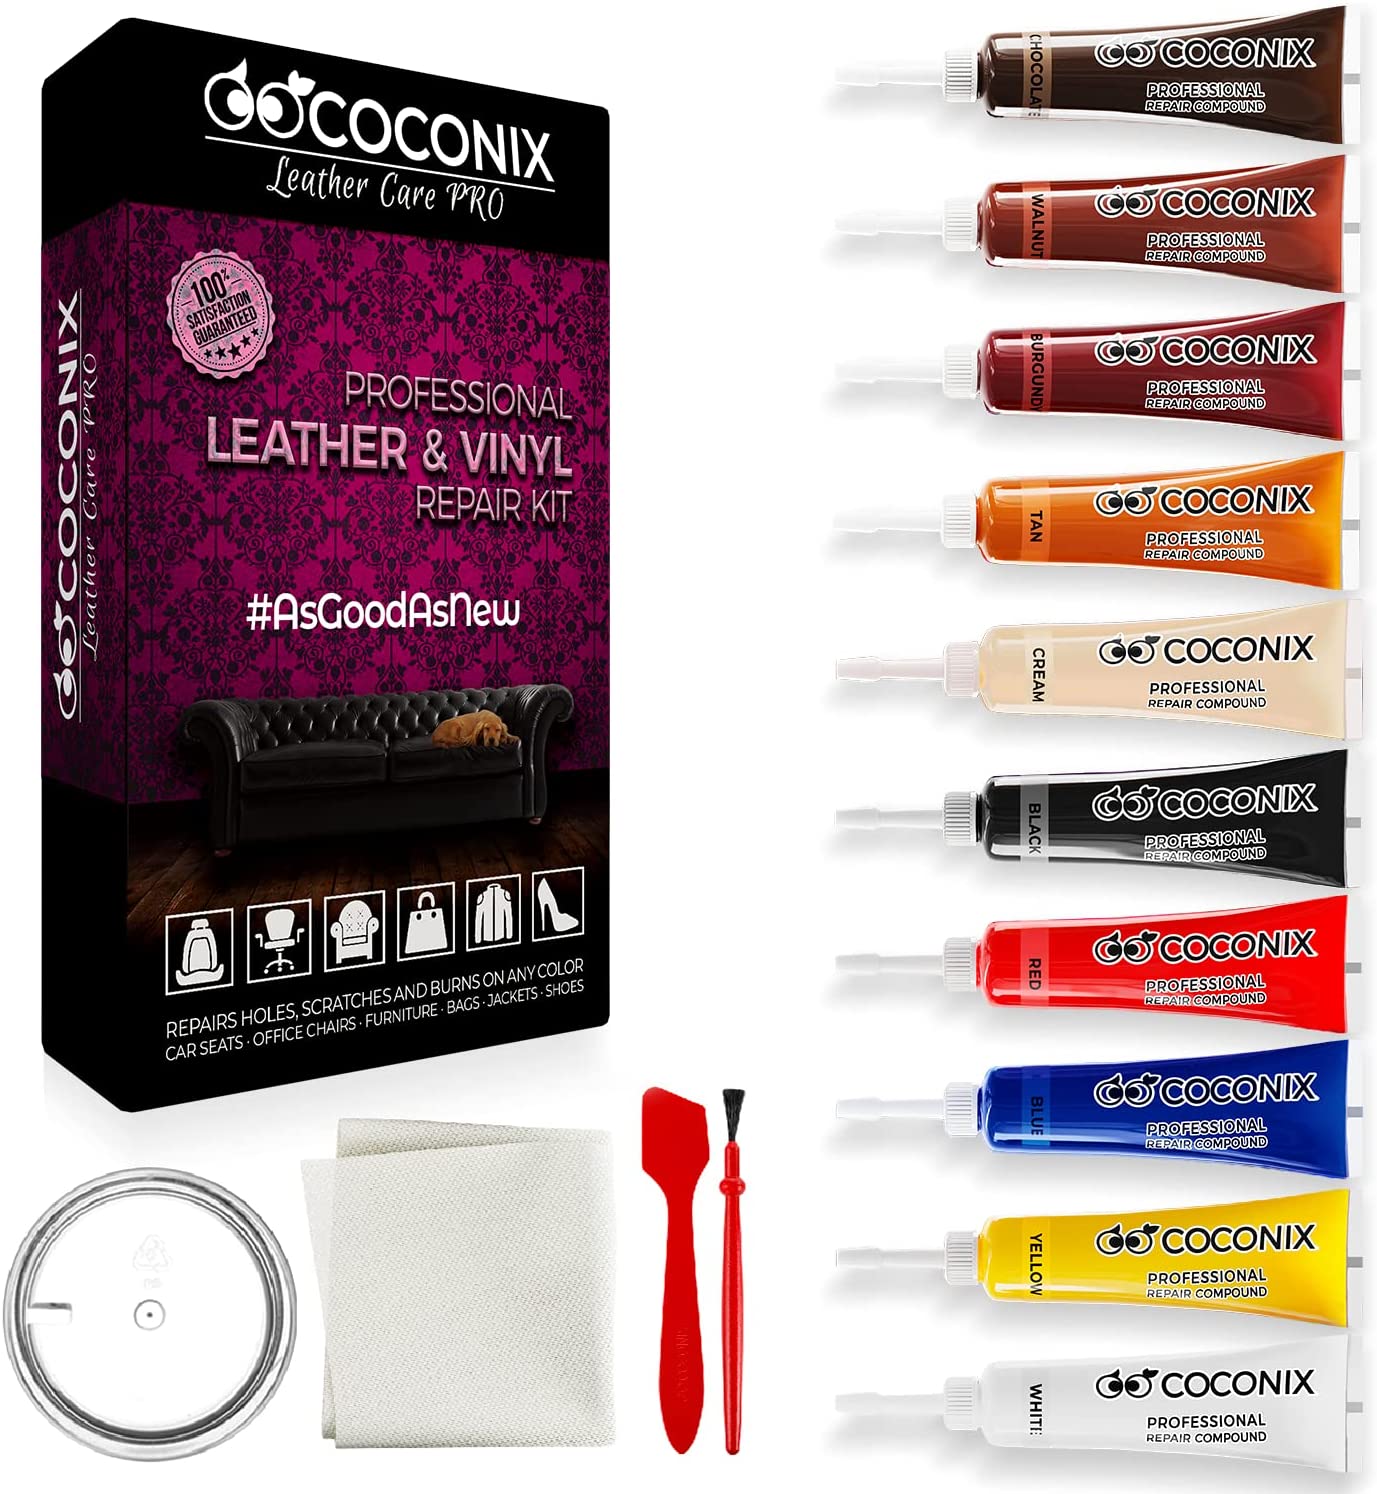
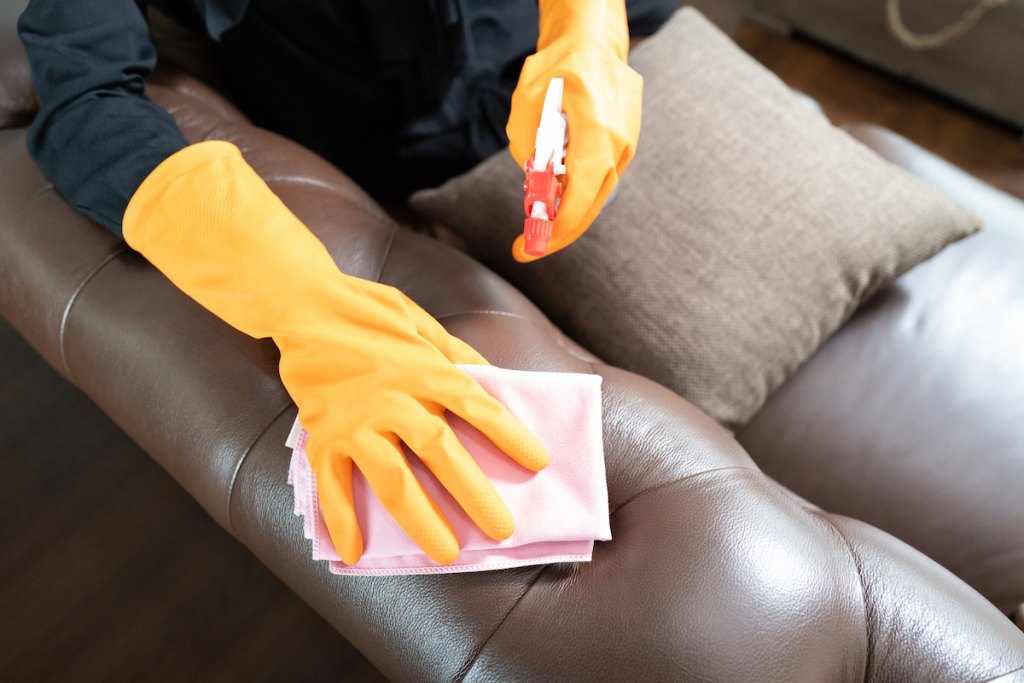
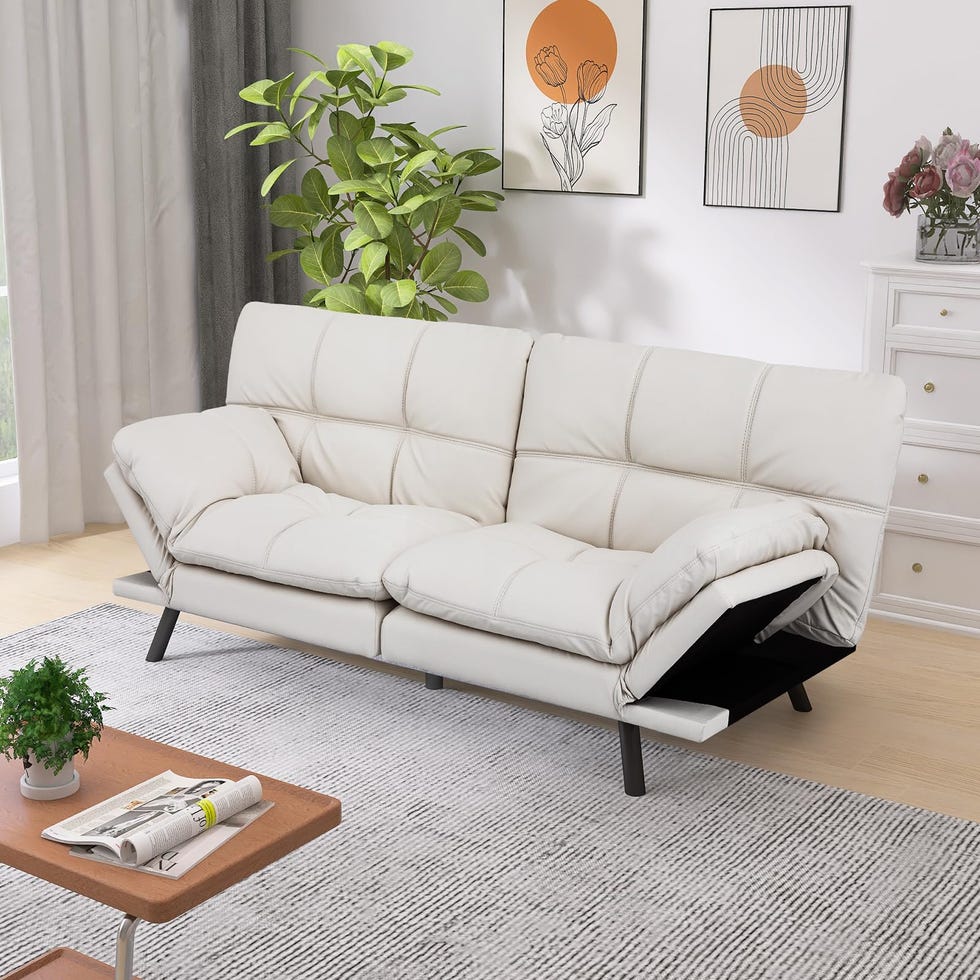
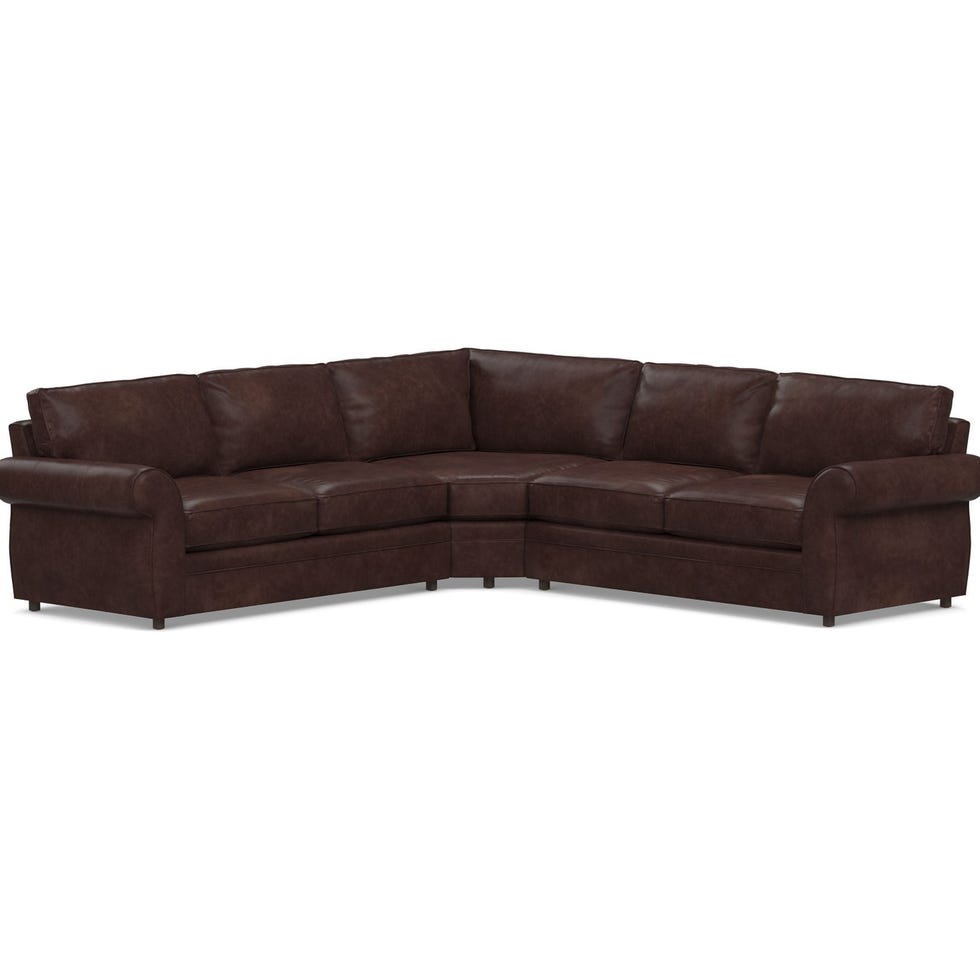
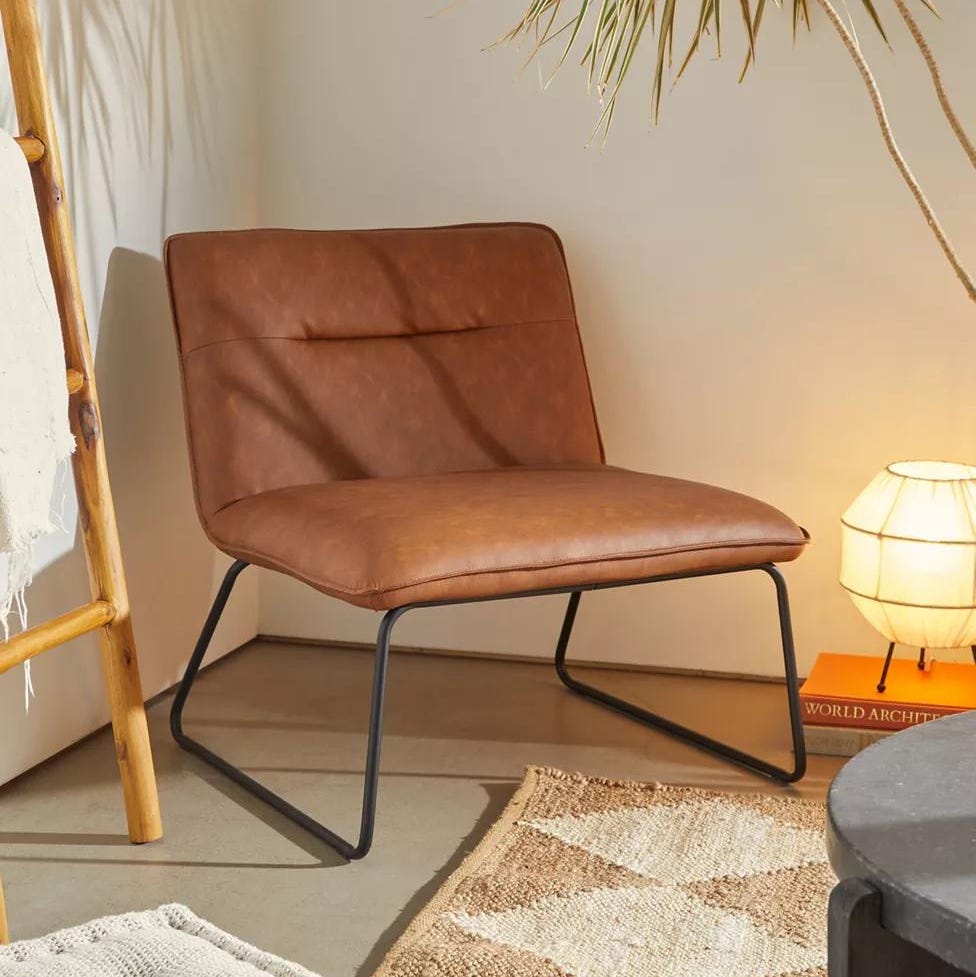
Leather furniture, while durable and stylish, can suffer damage from cuts, burns, scratches, tears, and general wear and tear. Instead of replacing an entire piece of furniture, which can be costly, individuals can opt for DIY leather repair kits. These kits offer a cost-effective and convenient solution to address various types of damage, often extending the lifespan of leather items.
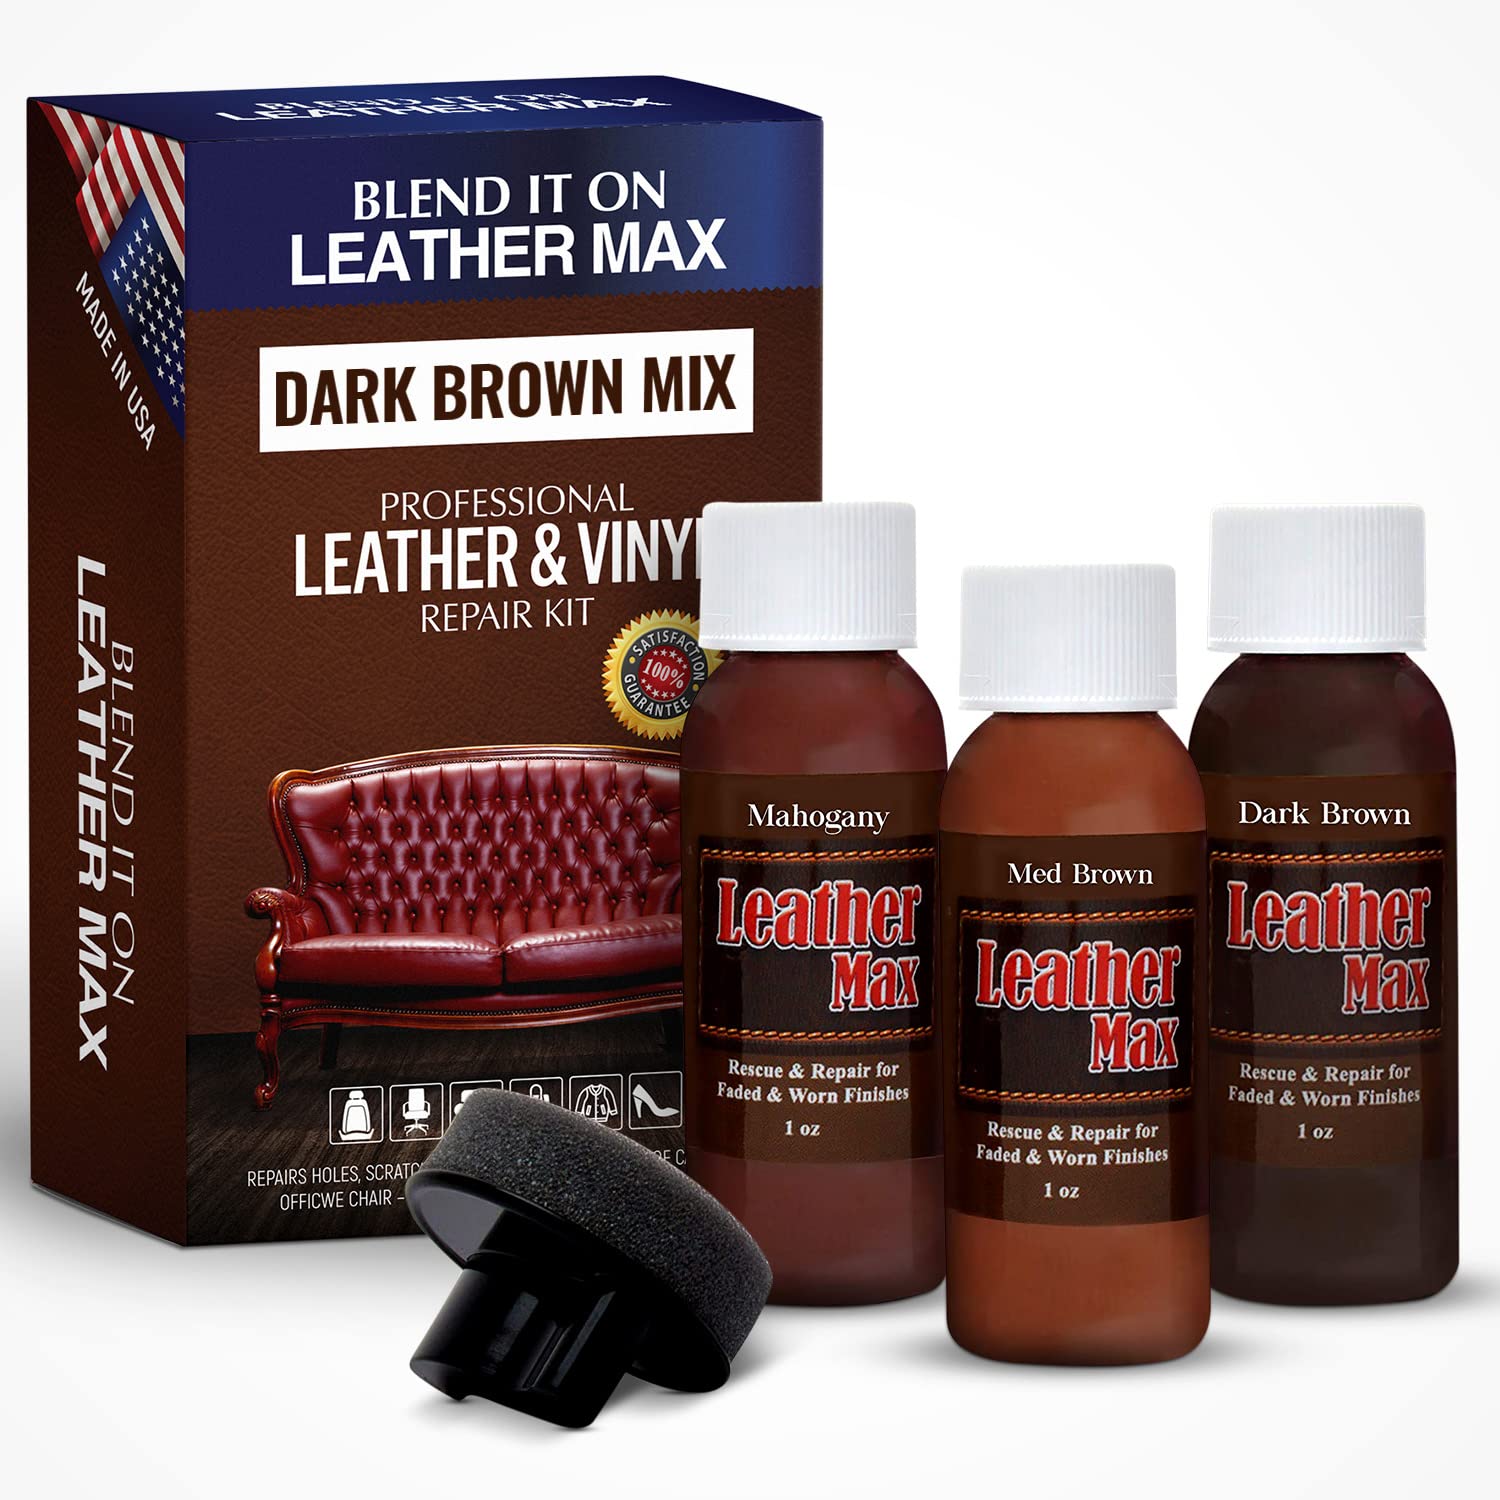
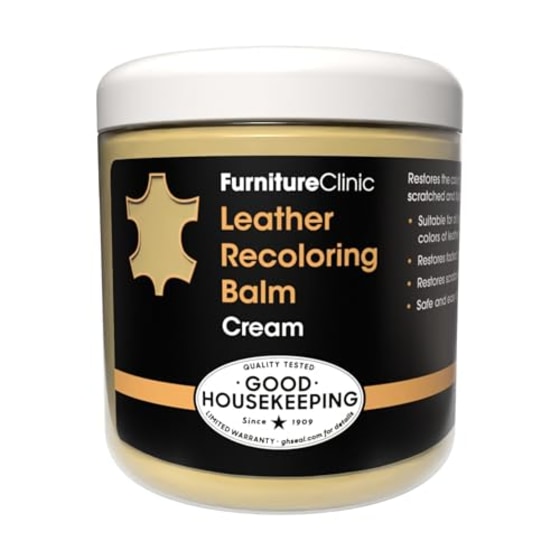
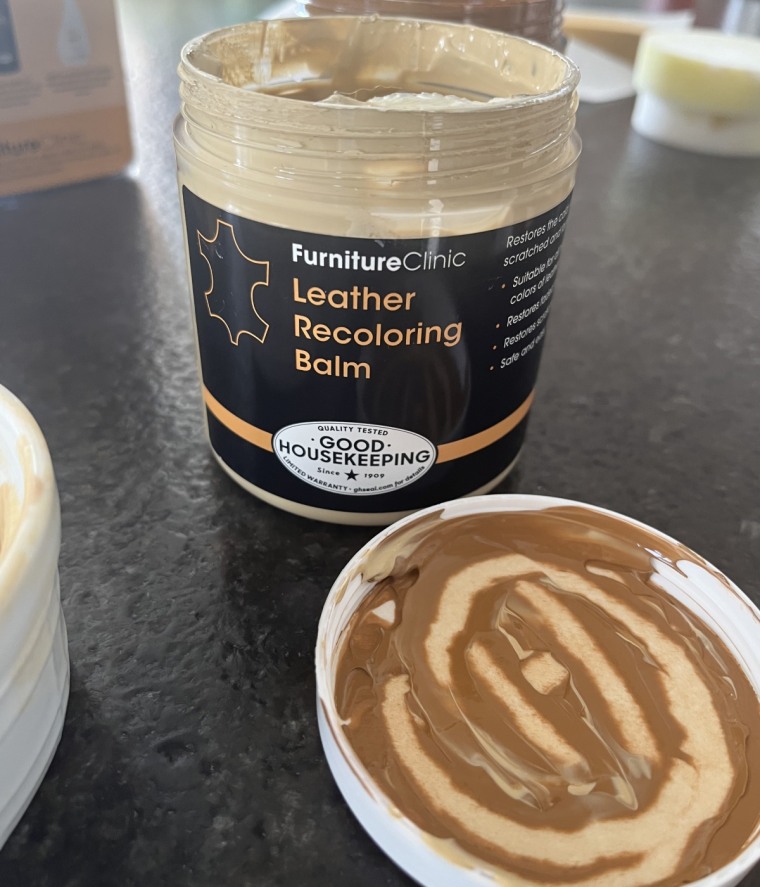
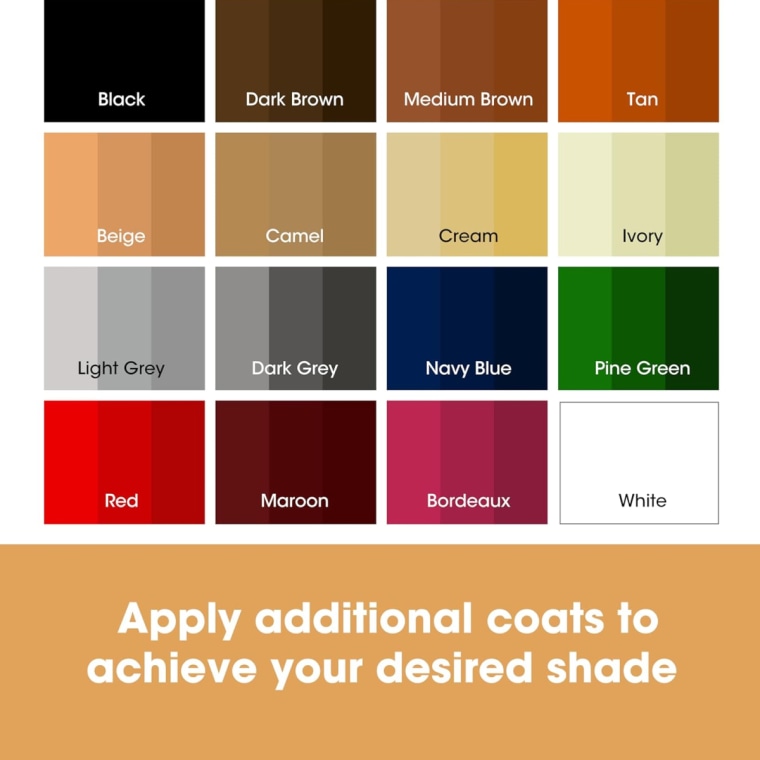
Choosing the right leather repair kit involves considering several factors, including color matching, application type, versatility, and included accessories. Color matching is paramount, with kits offering single colors, single dominant colors with mixing options, or multiple colors for extensive customization. Single-color kits are typically self-adhesive patches for quick fixes, while multi-color kits provide dyes and mixing tools for a more precise match. Application types vary, with specialized kits for cuts and tears (including patches, adhesives, and dye), abrasions and scratches (patches and dye applied over the surface), cracking (fillers and oils for flexibility), burns (material removal, gap filling, and patching), and color renewal (penetrating dyes, cleaners, and conditioners).
The versatility of a leather repair kit is determined by the range of materials it can repair and its application across different items. Some kits are highly specialized for specific leather types (genuine, Italian, bonded, bicast, PU, pleather, vinyl) or products (shoes, car seats), while others are designed for broader use on furniture, automotive upholstery, clothing, and accessories. It's crucial to ensure the chosen kit is compatible with the original material to achieve optimal results.
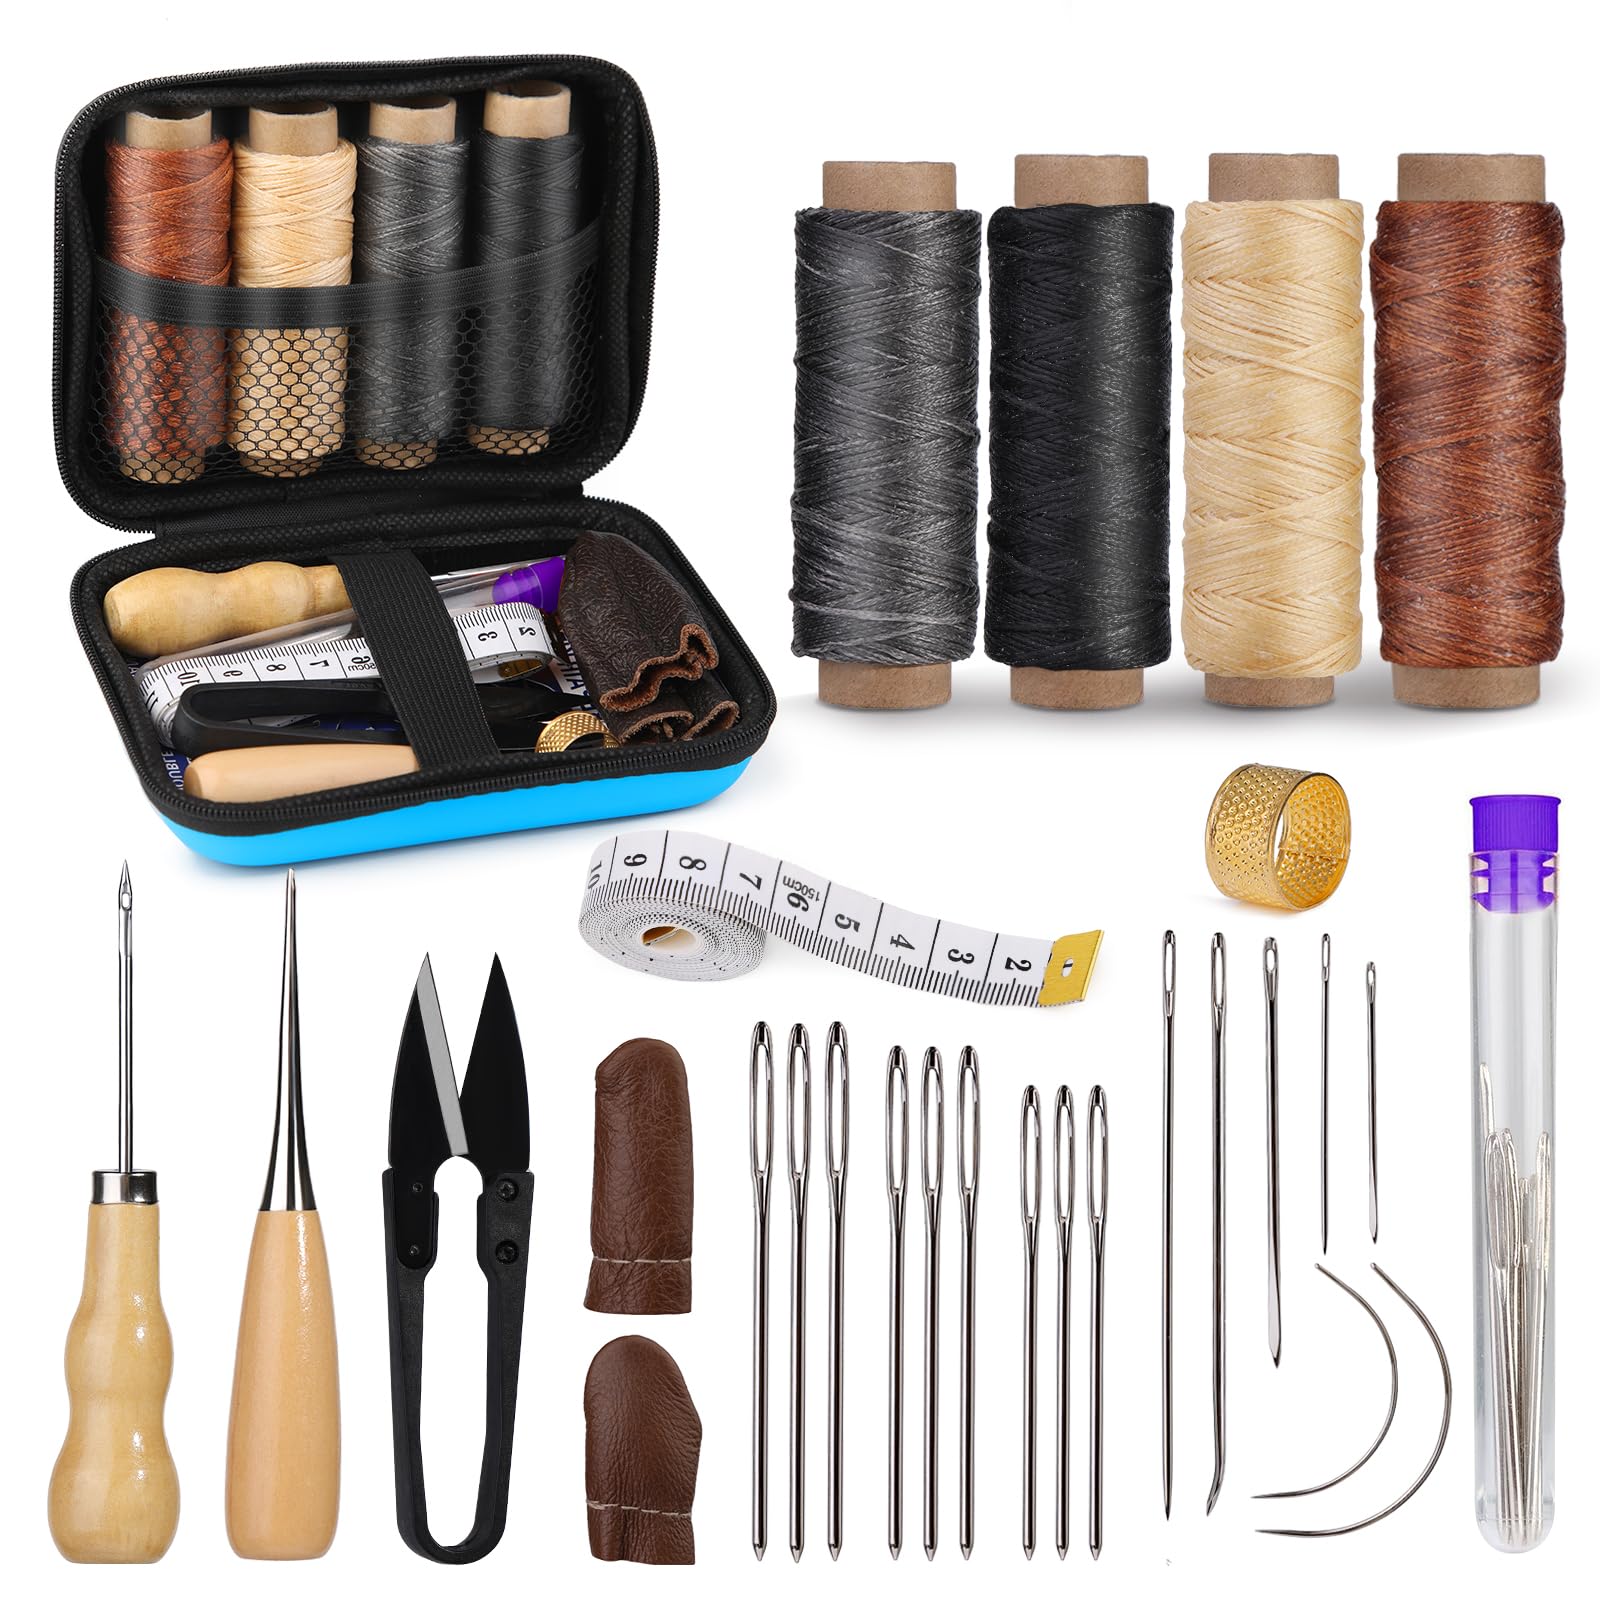
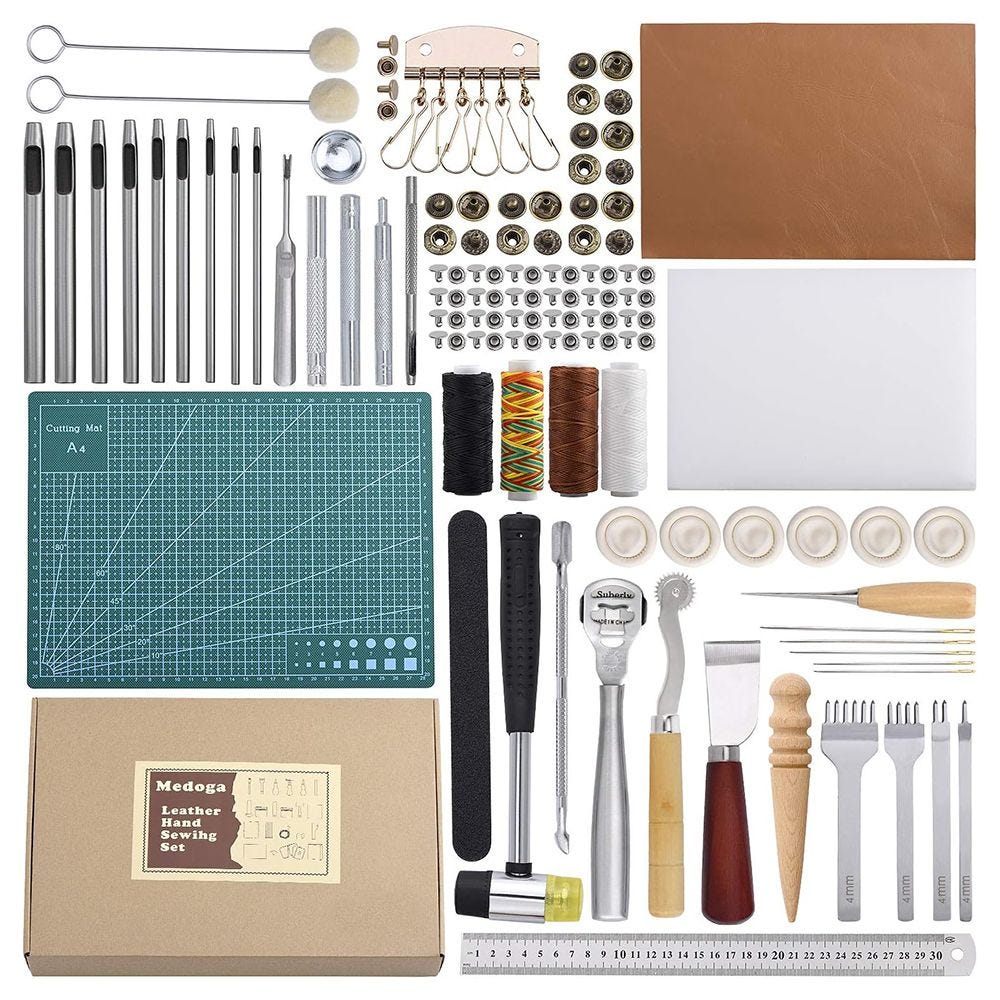
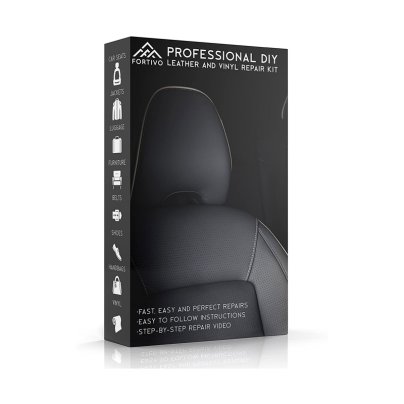
Accessories included in leather repair kits can significantly enhance the user's ability to perform effective repairs. These often comprise alcohol wipes, cleaning cloths, sandpaper, grain paper, leather adhesive, application swabs, backing fabrics, leather samples for patching, paints, dyes, sponges, mixing tools, bowls, brushes, dye pens, and glues. For those new to DIY repairs, kits with instructional videos and a wide variety of tools can be particularly beneficial, ensuring all necessary components for a successful repair are at hand.
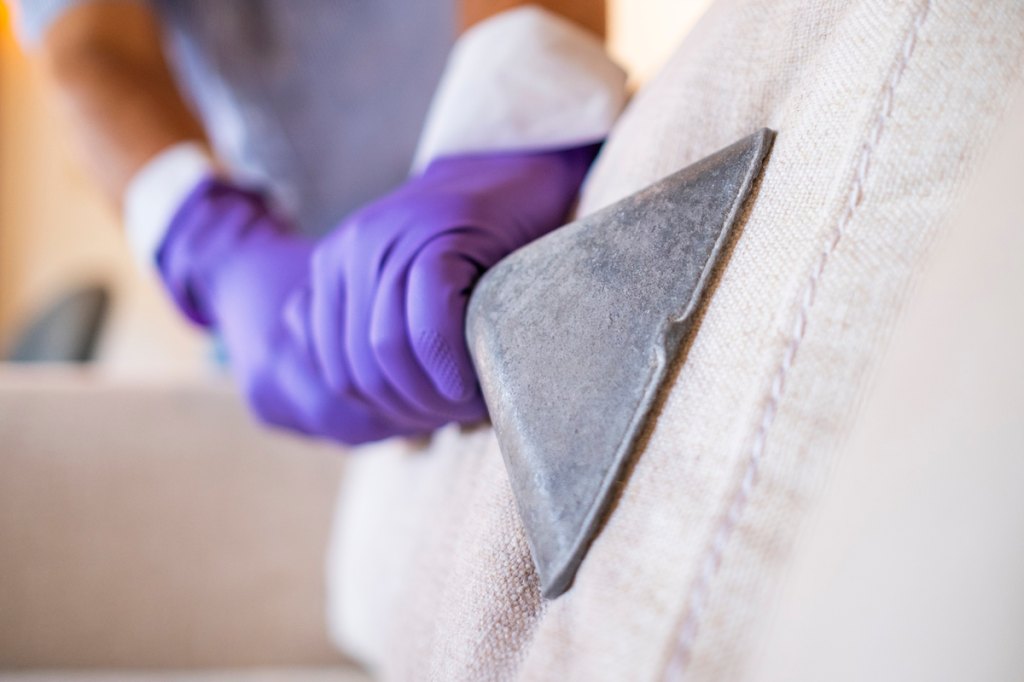
Using a leather repair kit effectively typically involves several steps: cleaning the leather, trimming damaged areas, inserting backing for large tears, applying a leather repair compound, texturizing the repair (graining), applying a sealer, mixing and applying the dye, and finally, sealing the leather. When executed correctly, a professional-looking repair can last as long as, or even outlive, the surrounding original leather. The longevity of the repair is dependent on proper application and adhesion.
While many kits utilize non-toxic ingredients, some may contain toxic components in their dyes and sealers. Consumers concerned about chemical exposure should consult the manufacturer's website or product description for ingredient information. The primary advantages of using a leather repair kit include cost-effectiveness compared to professional repair or replacement, the ability to restore furniture to a like-new appearance, and the flexibility to customize color matching for a seamless blend with existing leather.
#LeatherRepair #DIYHomeRepair #FurnitureMaintenance #HomeImprovement #LeatherCare #ProductReviews #InteriorDesign #HomeDecor #LeatherRepair #DIYHomeRepair #FurnitureMaintenance #HomeImprovement #LeatherCare #ProductReviews #InteriorDesign #HomeDecor
0 comment in total
 No comments yet
You may also like
Fixing Leather Damage Is Easier Than Ever—See the Repair Kits Our Experts Recommend

The 6 best polishes to revive your scuffed and worn out leather shoes at home
Where to Fix Your Best Stuff in the Twin Cities
The Right Way to Clean a Leather Couch

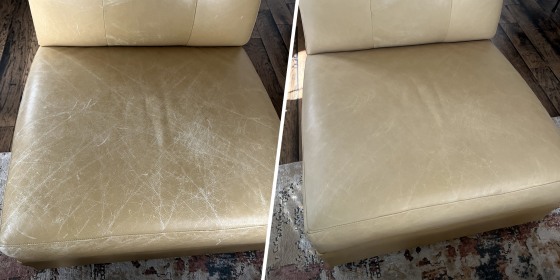
The Leather Furniture Repair Balm That Removed Years of Damage

Leather Sofas – Our Pick of the Best
We Tested Leather Cleaners, and These 6 Will Give Your Shoes a Professional Shine
These Are the Best Leather Sofas You Can Buy Online

The 14 best leather cleaners and conditioners, per experts
The 7 Best Leather Cleaners for Restoring Your Sofa, Car Seats, and Clothing
10 Genius Ways To Fix Scratches on Any Surface
The best leather couches for your living room in 2025
Need to Restore Your Leather? These Are the 7 Repair Kits We Swear By

The Best Leather Sectionals, Tested and Reviewed by Shopping Editors

Smooth, Supple, and Stylish — The Best Leather Sofas That Get Editor Points for Both Looks and Construction

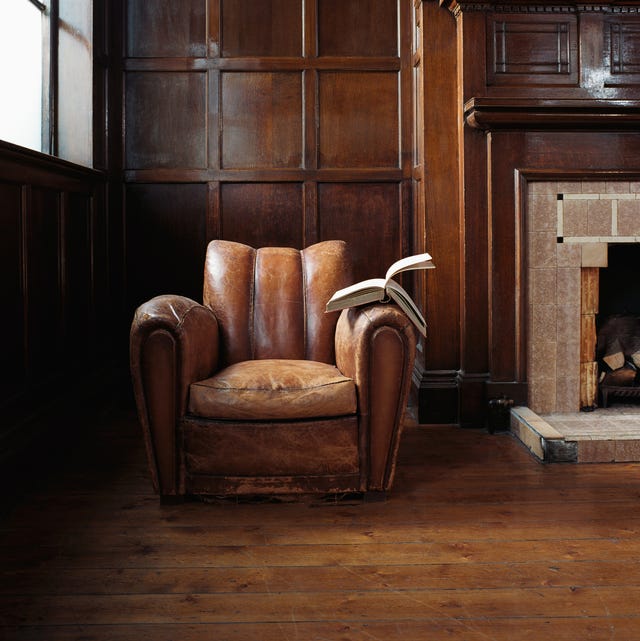
The 20 Best Leather Accent Chairs That Only Get Better With Time

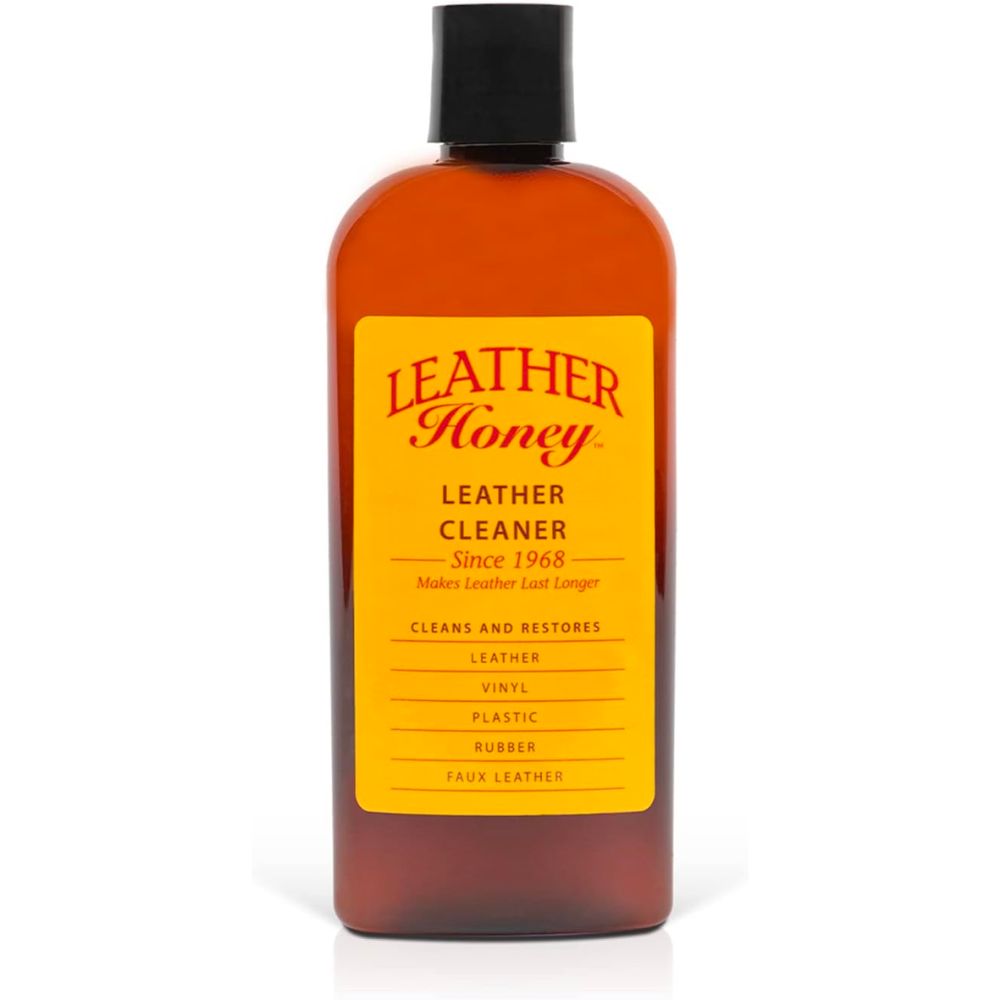
The Best Leather Cleaners for Cars and Furniture
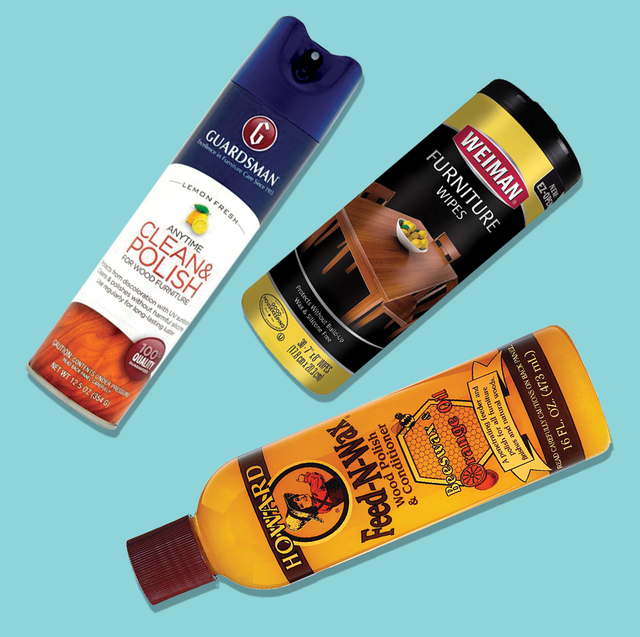
10 Best Furniture Polishes, Tested by Cleaning Experts


How To Deep Clean a Couch: Expert Tips for Getting It To Look Like New

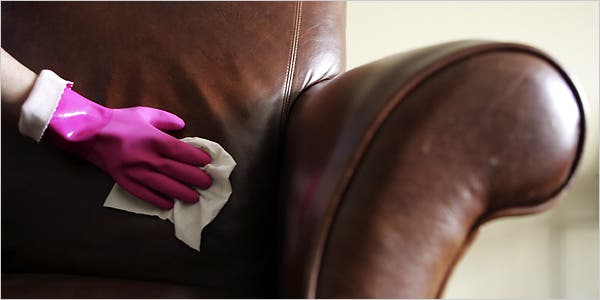
Room to Improve (Published 2007)