DIY: Use galvanized metal for light fixture
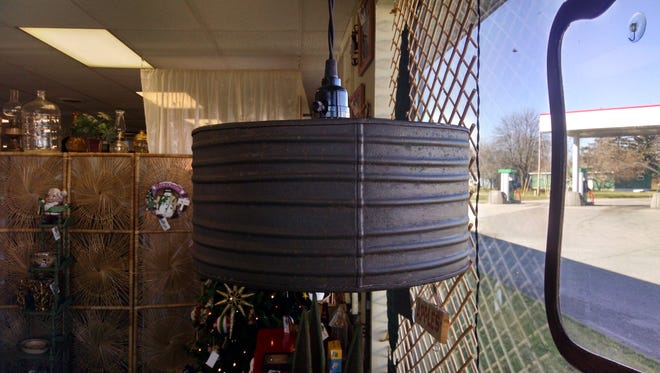
This article outlines a do-it-yourself guide for creating unique hanging pendant lamps using reclaimed galvanized metal, enamelware, wire baskets, or metal buckets. The inspiration comes from Christi Villneauve, a St. Augusta creator known for transforming "rusty, crusty" flea market finds into distinctive home decor. Villneauve emphasizes the appeal of creating one-of-a-kind items that stand out from mass-produced decor.
To begin the project, the first step involves selecting a suitable piece of galvanized metal or similar material to serve as the lampshade. The chosen item should have a minimum height and diameter of 6 inches to ensure adequate space for the light bulb. For larger shades, specifically those 8 inches or longer, it is recommended to use a longer bulb or multiple bulbs to provide sufficient illumination. Villneauve's own project involved a bottle light kit, which she purchased from a local hardware store to provide the necessary wiring component.
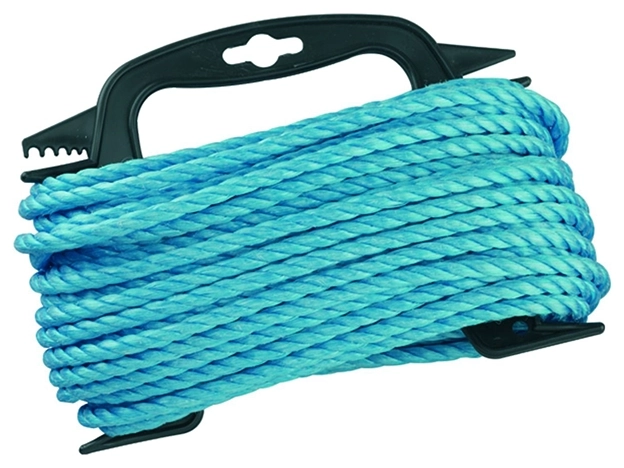
For aesthetic purposes, Villneauve opts to conceal the standard hanging chains or wires. Her preferred method is to wrap the wiring in an 8-strand braid of twine, with instructions for this technique readily available on YouTube. Alternatively, individuals can personalize their creations by using various materials such as ribbon, crafters' tape, yarn, rope, paracord, or a fabric sleeve to cover the cord. This step allows for significant creative expression and customization.
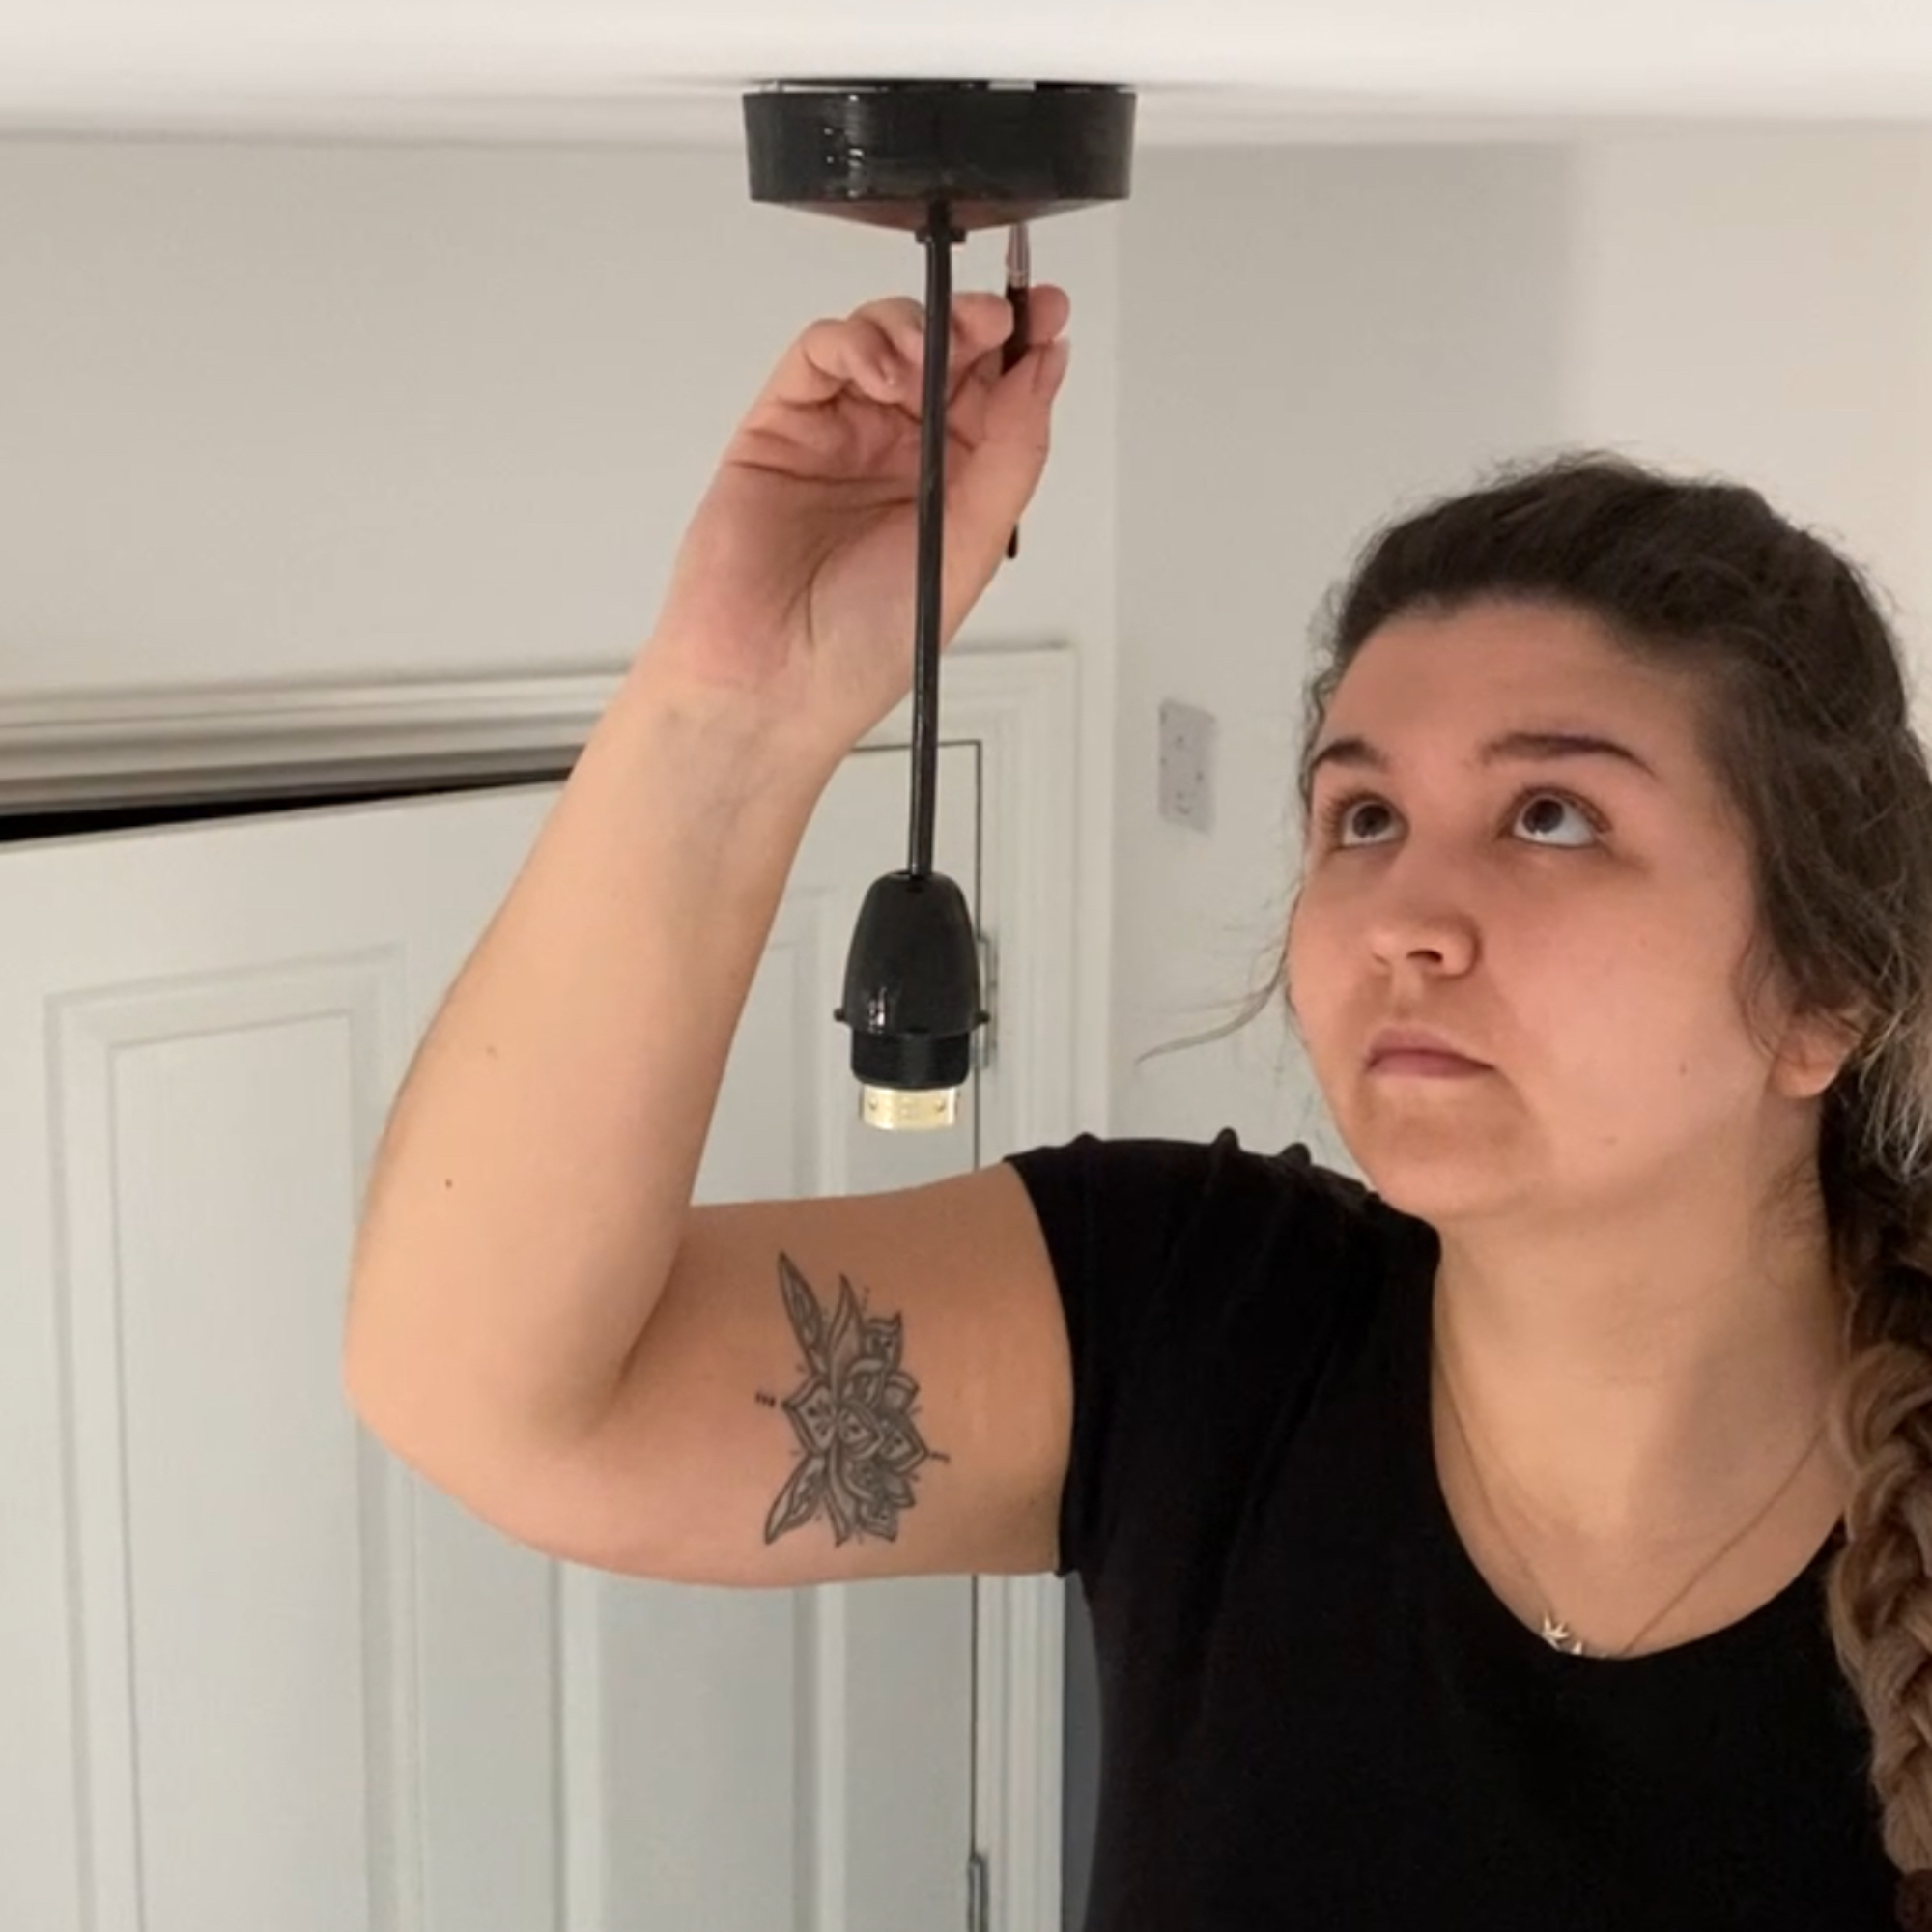
The next practical step is to create an opening in the metal shade for the pre-wrapped cord. If the chosen piece does not already have a suitable hole, one must be drilled, ensuring it is perfectly centered to maintain balance and proper alignment. Once the hole is made, the pre-wrapped cord is carefully fed through it. To alleviate strain on the electrical wiring and support the weight of the shade, Villneauve recommends knotting the wire at the base of the shade. This knot acts as a stopper, allowing the shade's weight to rest on it. Many commercially available light kits also include rubber stoppers that can serve this same purpose.
Finally, the light kit needs to be wired according to the manufacturer's instructions provided in the packaging. After the wiring is complete and securely assembled, the finished pendant lamp can be plugged into a wall outlet, transforming a found object into a functional and stylish home decor piece. This DIY project encourages creativity, recycling, and the creation of personalized home accents.
#DIYProjects #HomeDecor #GalvanizedMetal #FleaMarketFinds #Upcycling #LightingFixture #Crafting #HomeDesign #DIYProjects #HomeDecor #GalvanizedMetal #FleaMarketFinds #Upcycling #LightingFixture #Crafting #HomeDesign
0 comment in total
 No comments yet
You may also like
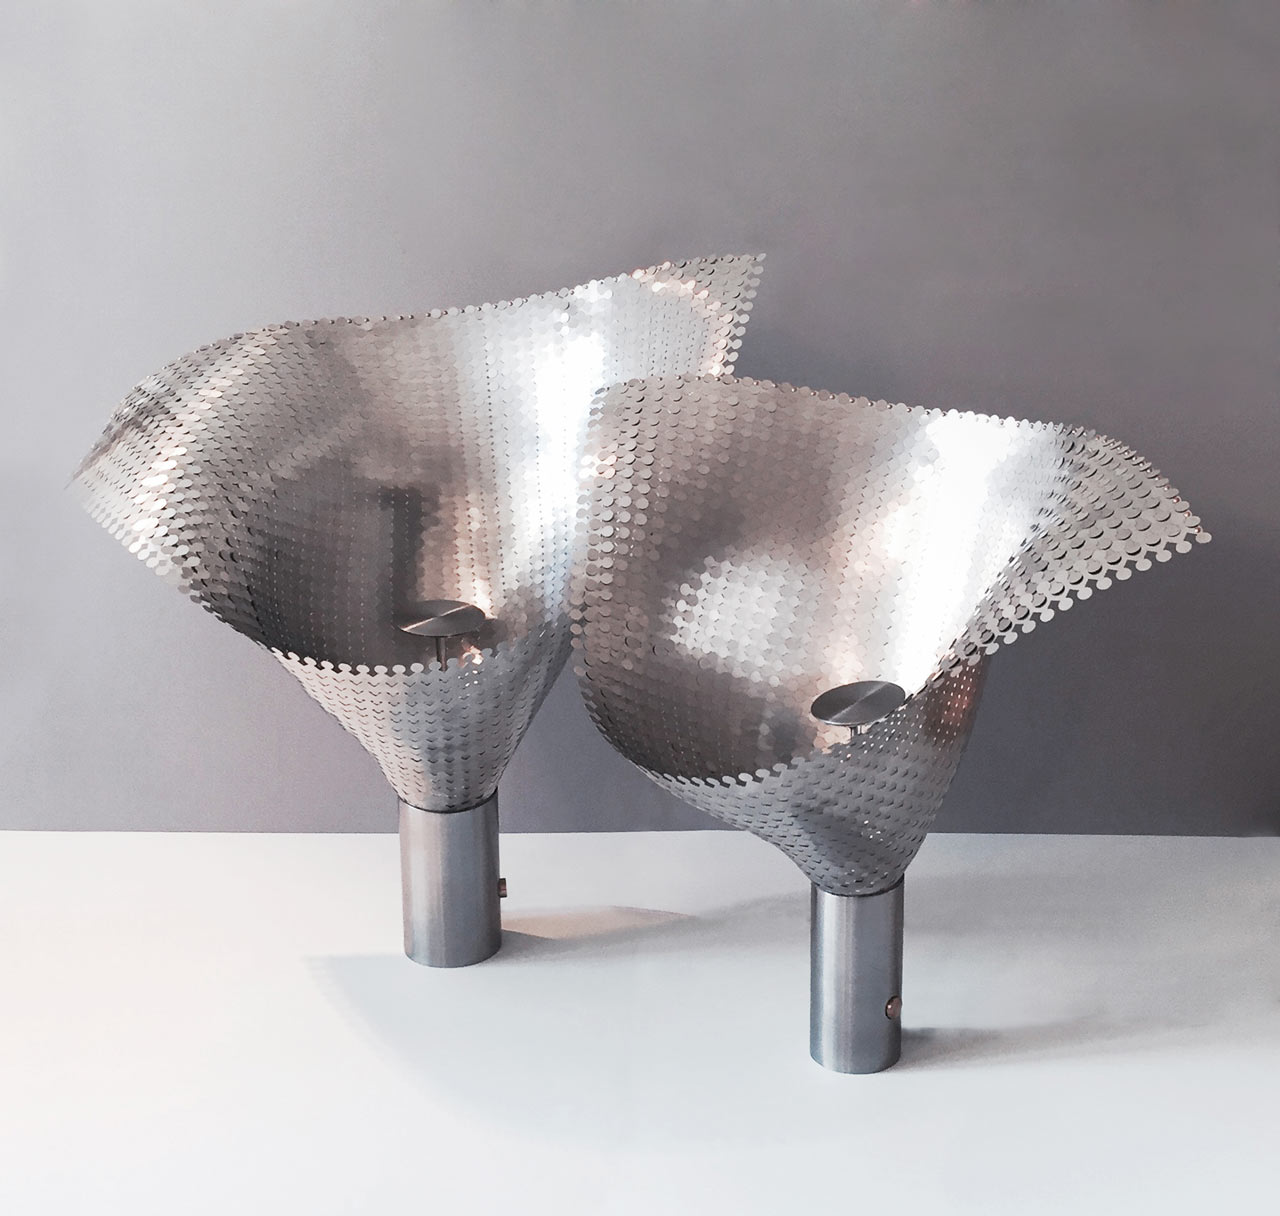
Lights Made From Woven Metal Fabric
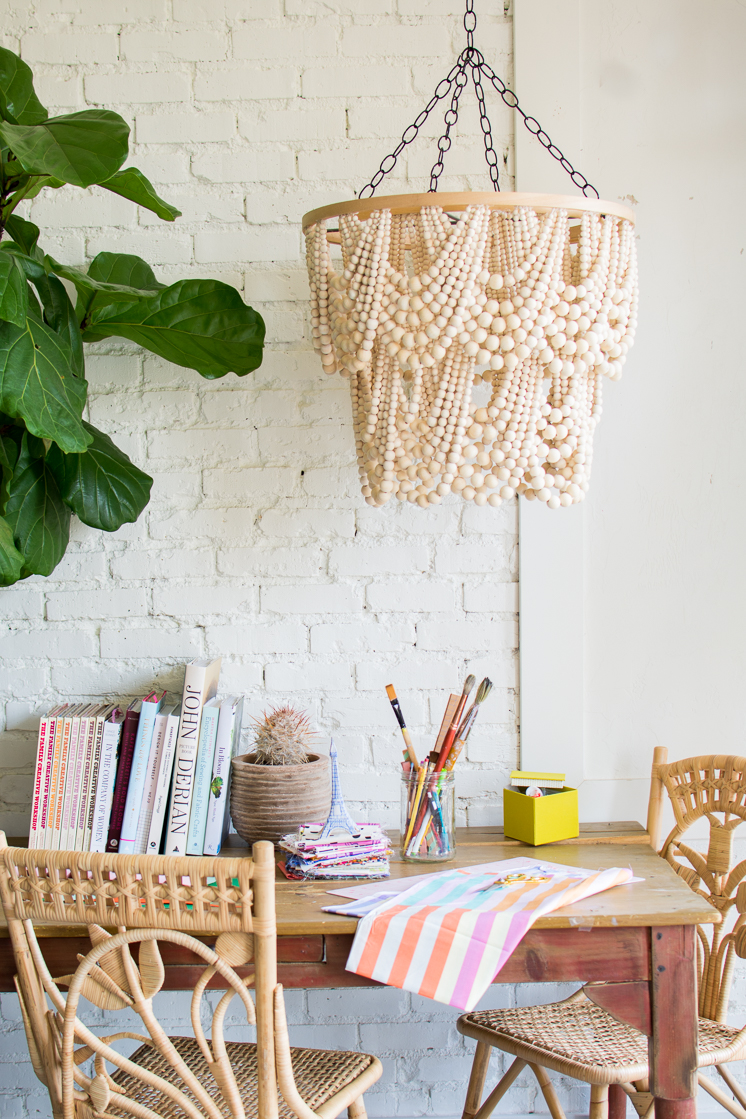
Your Weekend Project Is Here: 9 DIY Chandeliers You Can Make in an Afternoon

9 Unique Lamps That Honor the Beauty of Handmade Craft


Festive tips: Lanterns, hanging lights to brighten up the house
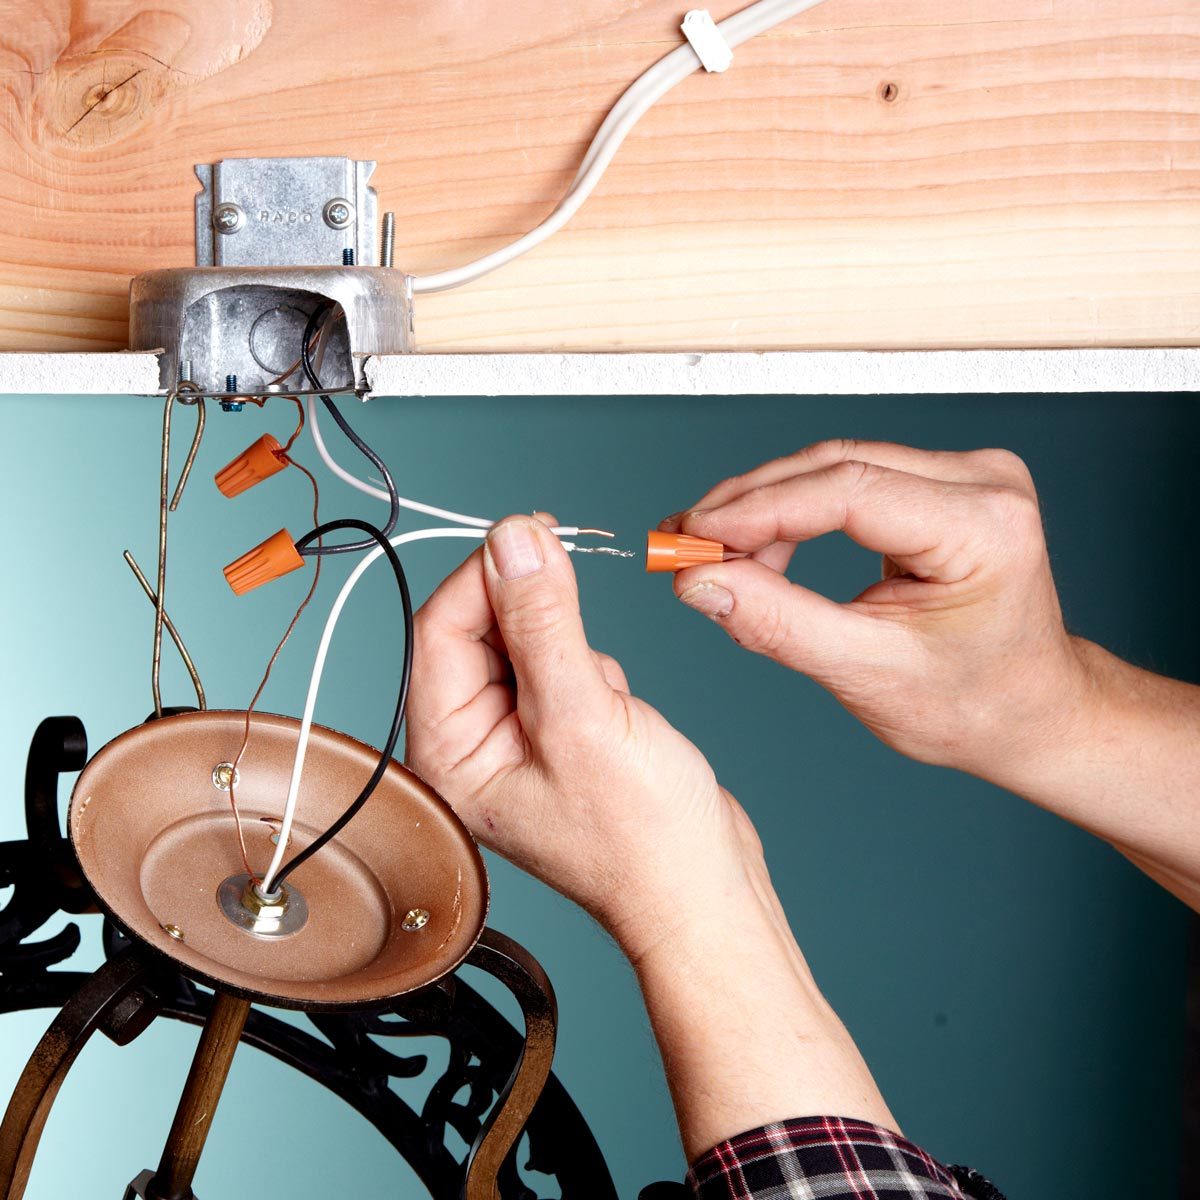
How to Change a Light Fixture

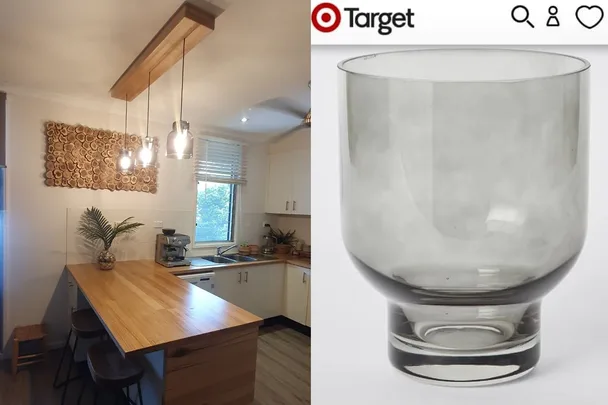
Reader project: How to make glass pendant lamps with a Target bowl

Why Won't Paint Stick to My Door?

This Simple Upgrade Can Give Your Garage a Complete Makeover

The Best LED Shop Lights of 2025
Renovators Swear by This Pendant Light Hack
Experts say to follow these 7 rules when mixing metals in your home


12 Metal-Clad Contemporary Homes

hagai vered launches a new collection of hand-made lighting fixtures
This DIY Lighting Solution is Perfect for Closets and Other Dark Spaces
Builders' Metalwork

10 Best Pendant Light Fixtures for Your Home

This Rustic Christmas Village Is Going to Be 2018's Hottest Holiday Collectible
Time to Shine: Let’s Restore All Your Rusty Metal

A simple DIY lighting hack made this hallway look so much more expensive

23 Mini Chandeliers to Brighten Any Big or Small Space