1/2
This $20 DIY hack adds instant character to any room, creating timeless picture frames and paneling
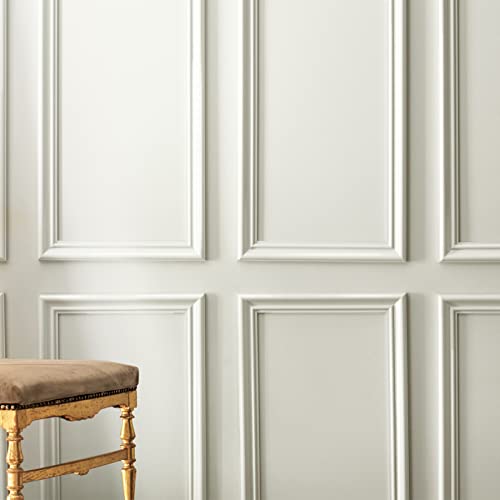
The article highlights an innovative and cost-effective DIY hack utilizing flexible molding to add character and a high-end look to any room. It emphasizes that this technique is a simple and budget-friendly way to introduce timeless, classic, yet chic and contemporary design elements. The author notes that traditional picture frame molding is currently popular, but flexible molding offers a unique and easier approach to achieving this aesthetic.
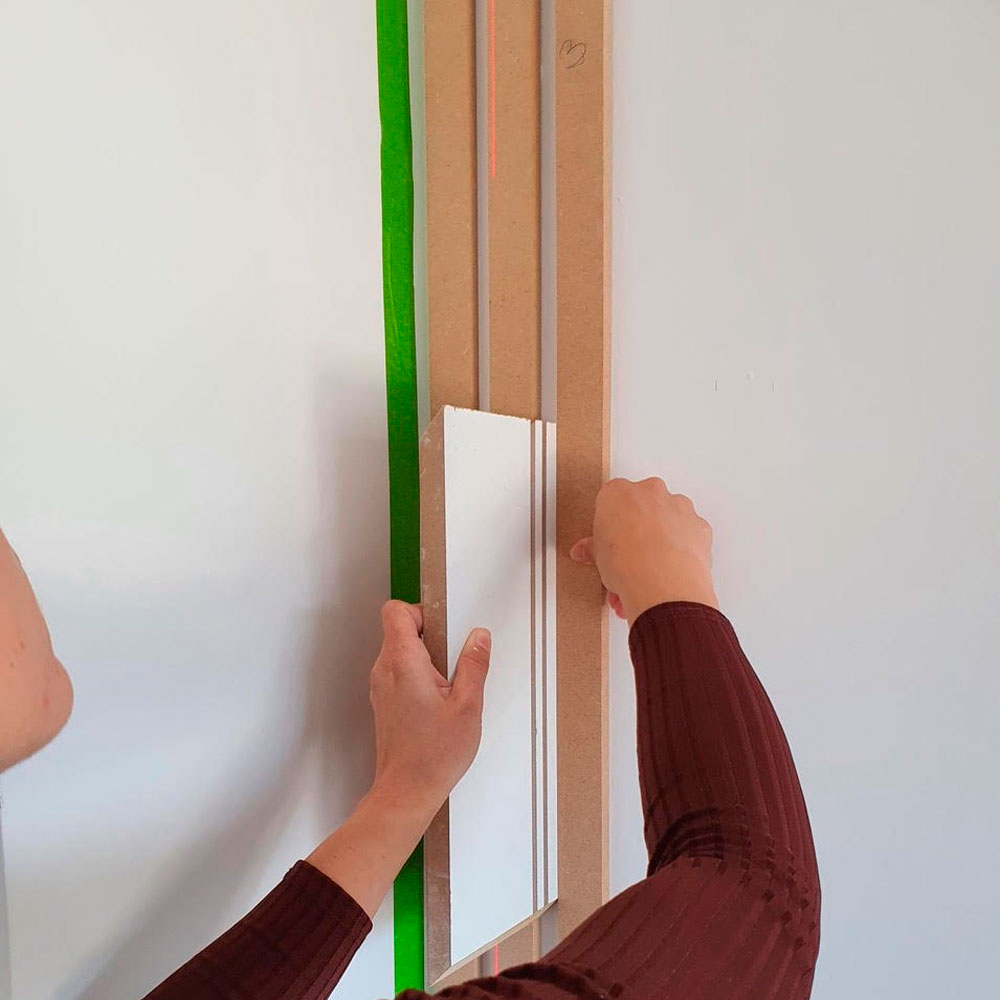
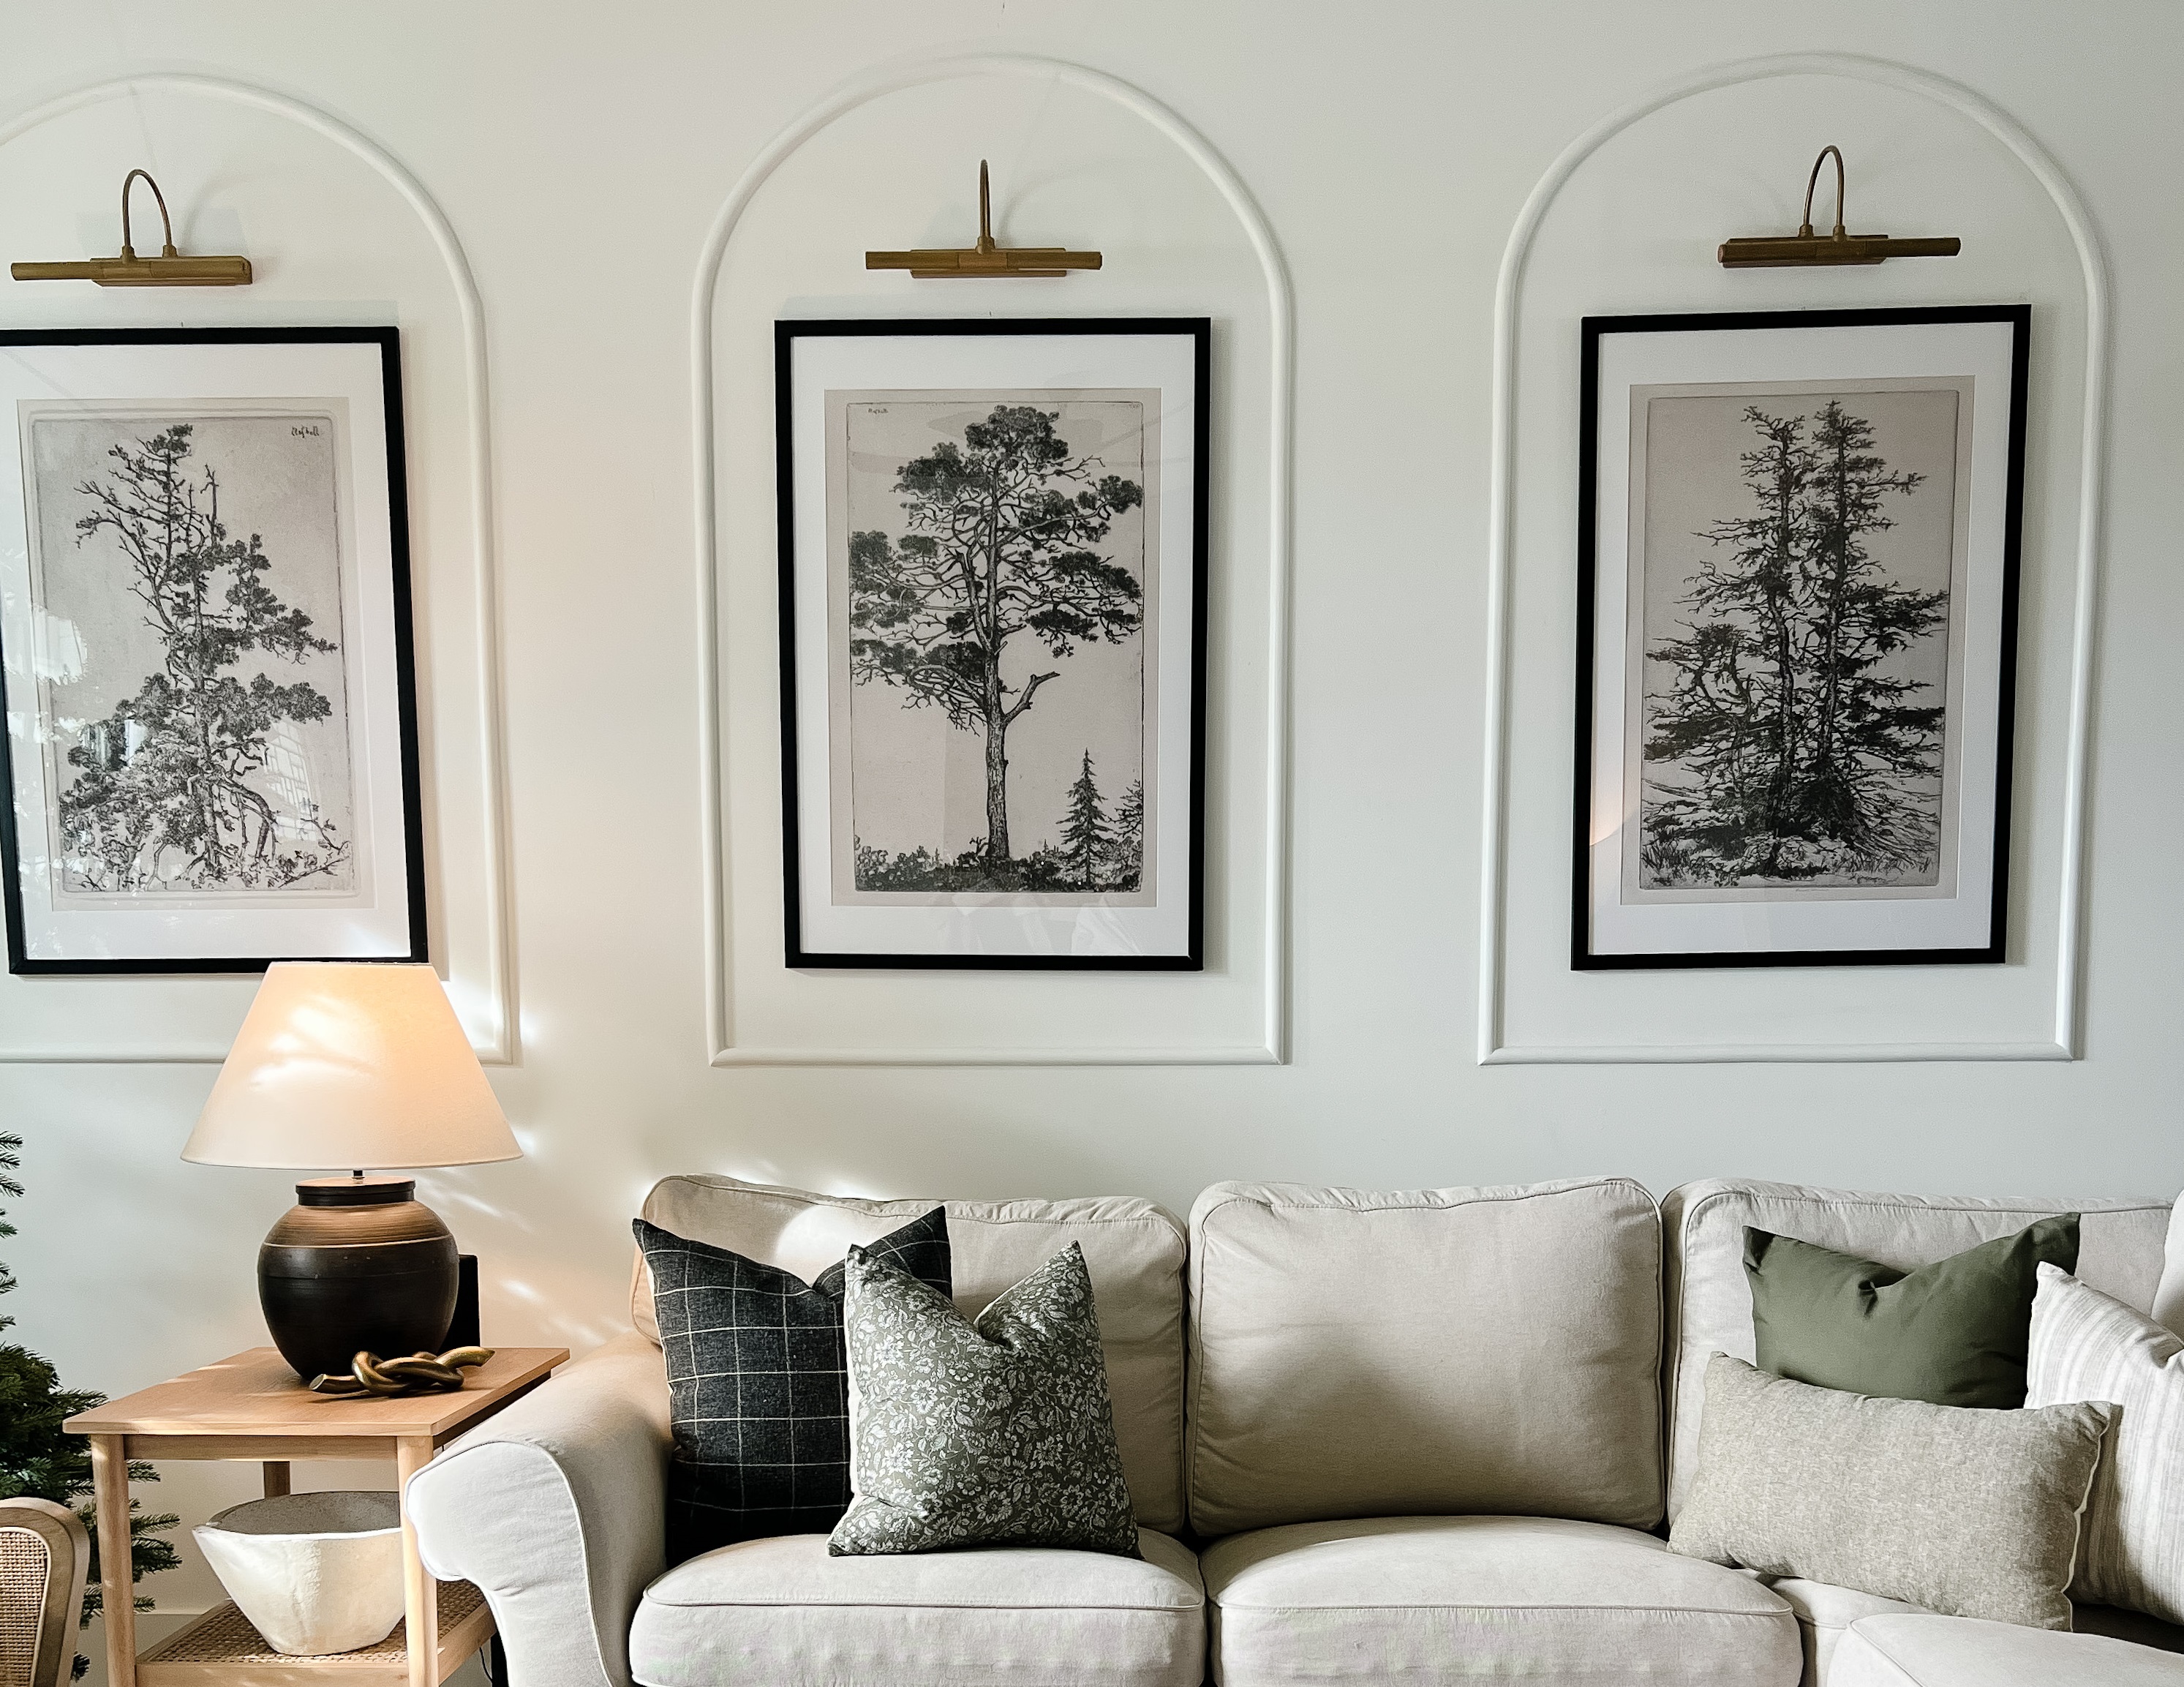
The core of the hack involves using flexible molding, a bendable polyurethane material that mimics the appearance and texture of real wood. This material significantly simplifies decorating tasks by eliminating the fiddly work often associated with traditional molding. Its flexibility allows for seamless shaping of trim and paneling, opening up new creative possibilities for DIY enthusiasts. Samantha Farmer, known as @oliveandoakhome on Instagram, is presented as an example of someone who successfully implemented this hack by creating arched picture frame molding in her living room.
Samantha's motivation for this project stemmed from her desire to personalize her 2020 builder-grade home, which featured white walls and simple fixtures. She aimed to create an eye-catching and unique focal point. Recognizing the trend of traditional picture frame molding, she opted for a distinctive arched design using the flexible material. She describes flexible molding as a rubberized, wood-like material that is sufficiently bendable to form arched shapes, while still being cut, shaped, and sanded with standard woodworking tools.
Her process began with taping the wall to visualize the size and number of arches, ultimately settling on three. Each arch was designed to be 35 inches wide and 44 inches tall, with the curves peaking 6 inches from the crown molding. For application, flexible molding can be attached using polyurethane construction adhesive, with pneumatic nailing also recommended for optimal results. Samantha specifically used Loctite's Premium Polyurethane Construction Adhesive and an eight-foot length of half-round flexible molding, available for under $20 on Amazon.
She cut the molding with a miter saw and secured it to the wall using a brad nailer and 2-inch brad nails. To ensure seamless transitions where pieces met, she mitered the corners at a 45-degree angle. After attachment, nail holes and mitered edges were filled with wood filler and sanded smooth. It's important to avoid sanding the rest of the molding, as it has a wood grain surface that can disappear. The final steps involved caulking the seams with latex caulk and painting the arches the same color as the wall, using Sherwin Williams "Pure White." To complete the look, large 24 x 30-inch picture frames and picture lights, sourced from Amazon, were added, with artwork from Etsy printed locally. This DIY project successfully transformed her living room by adding a unique and sophisticated focal point on a budget.
#DIYHomeDecor #FlexibleMolding #HomeRenovation #InteriorDesignHack #PictureFrameMolding #BudgetDecor #WallPaneling #LivingRoomDIY #DIYHomeDecor #FlexibleMolding #HomeRenovation #InteriorDesignHack #PictureFrameMolding #BudgetDecor #WallPaneling #LivingRoomDIY
0 comment in total
 No comments yet
You may also like
This New DIY Will Make Your Windows and Wall Treatments Look Way More Luxe and Fun
My editor swears by this framing trick to make any wall art look more expensive – I’m taking her advice on board, and so should you
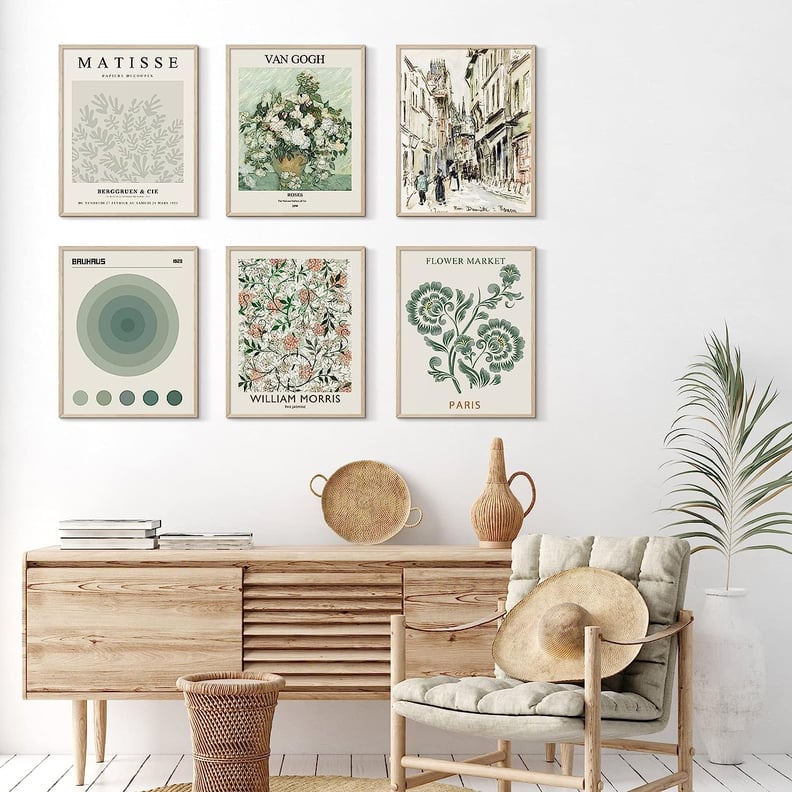
The Best Wall Decor From Amazon That'll Transform Your Space
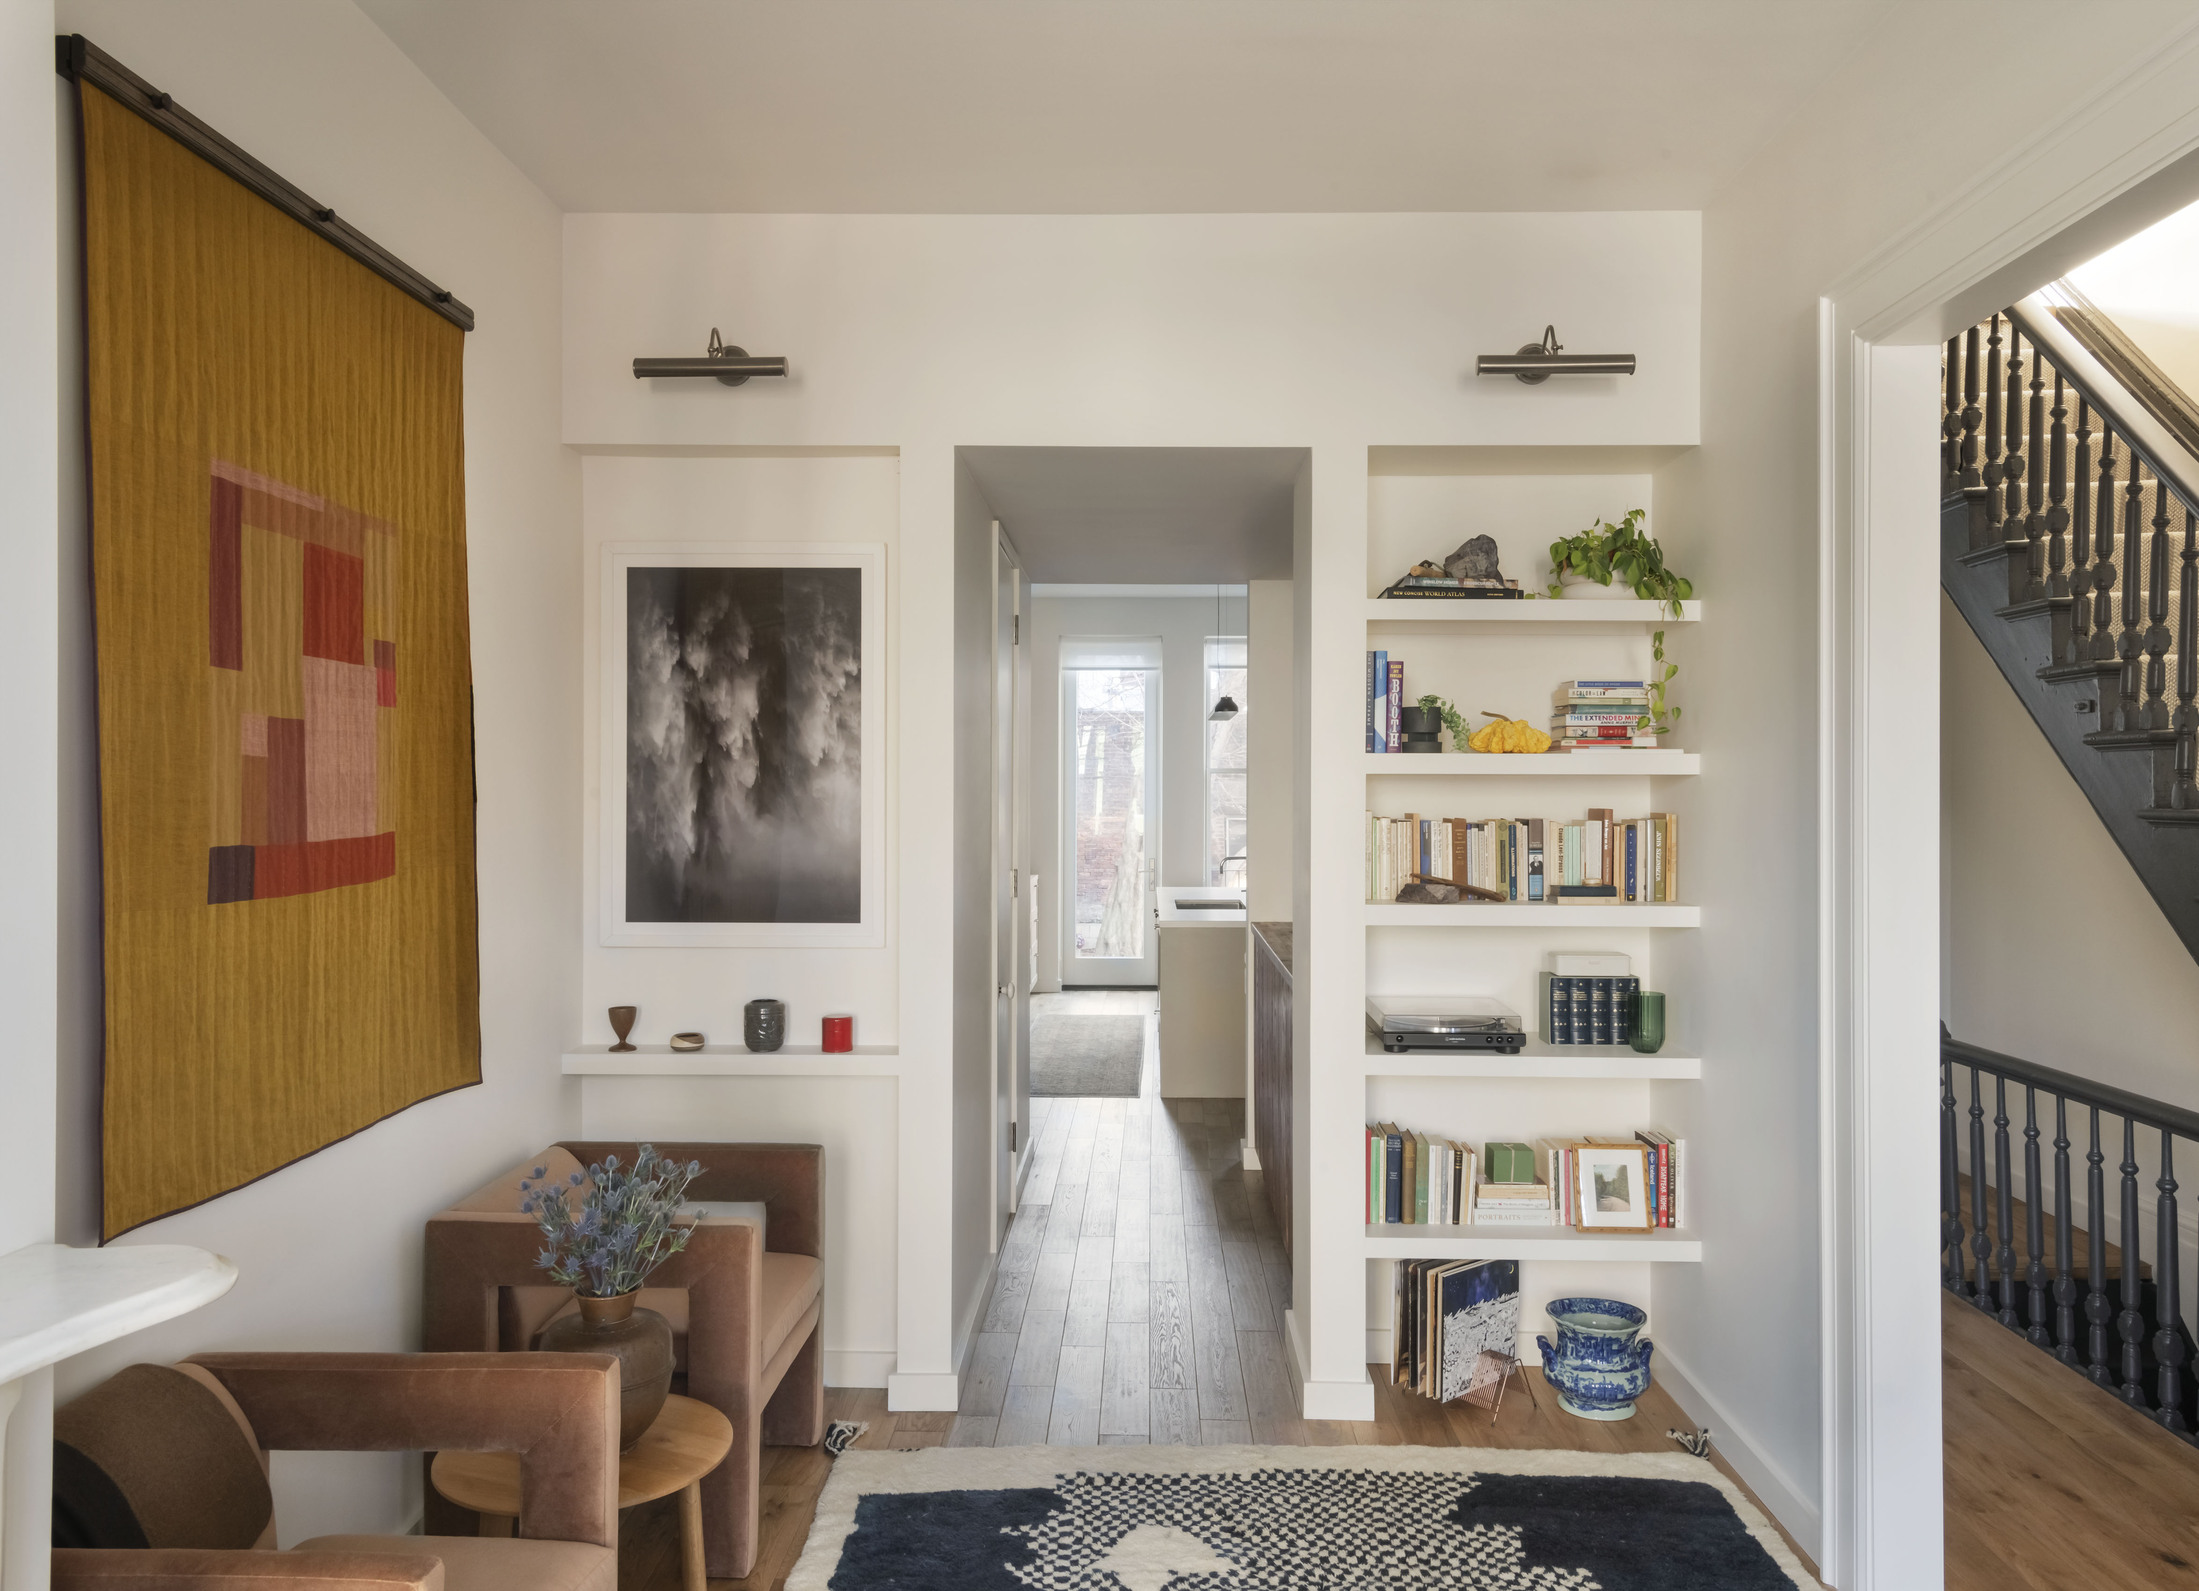
This DIY is a Genius Way to Make Custom Picture Frames to Display Your Favorite Art
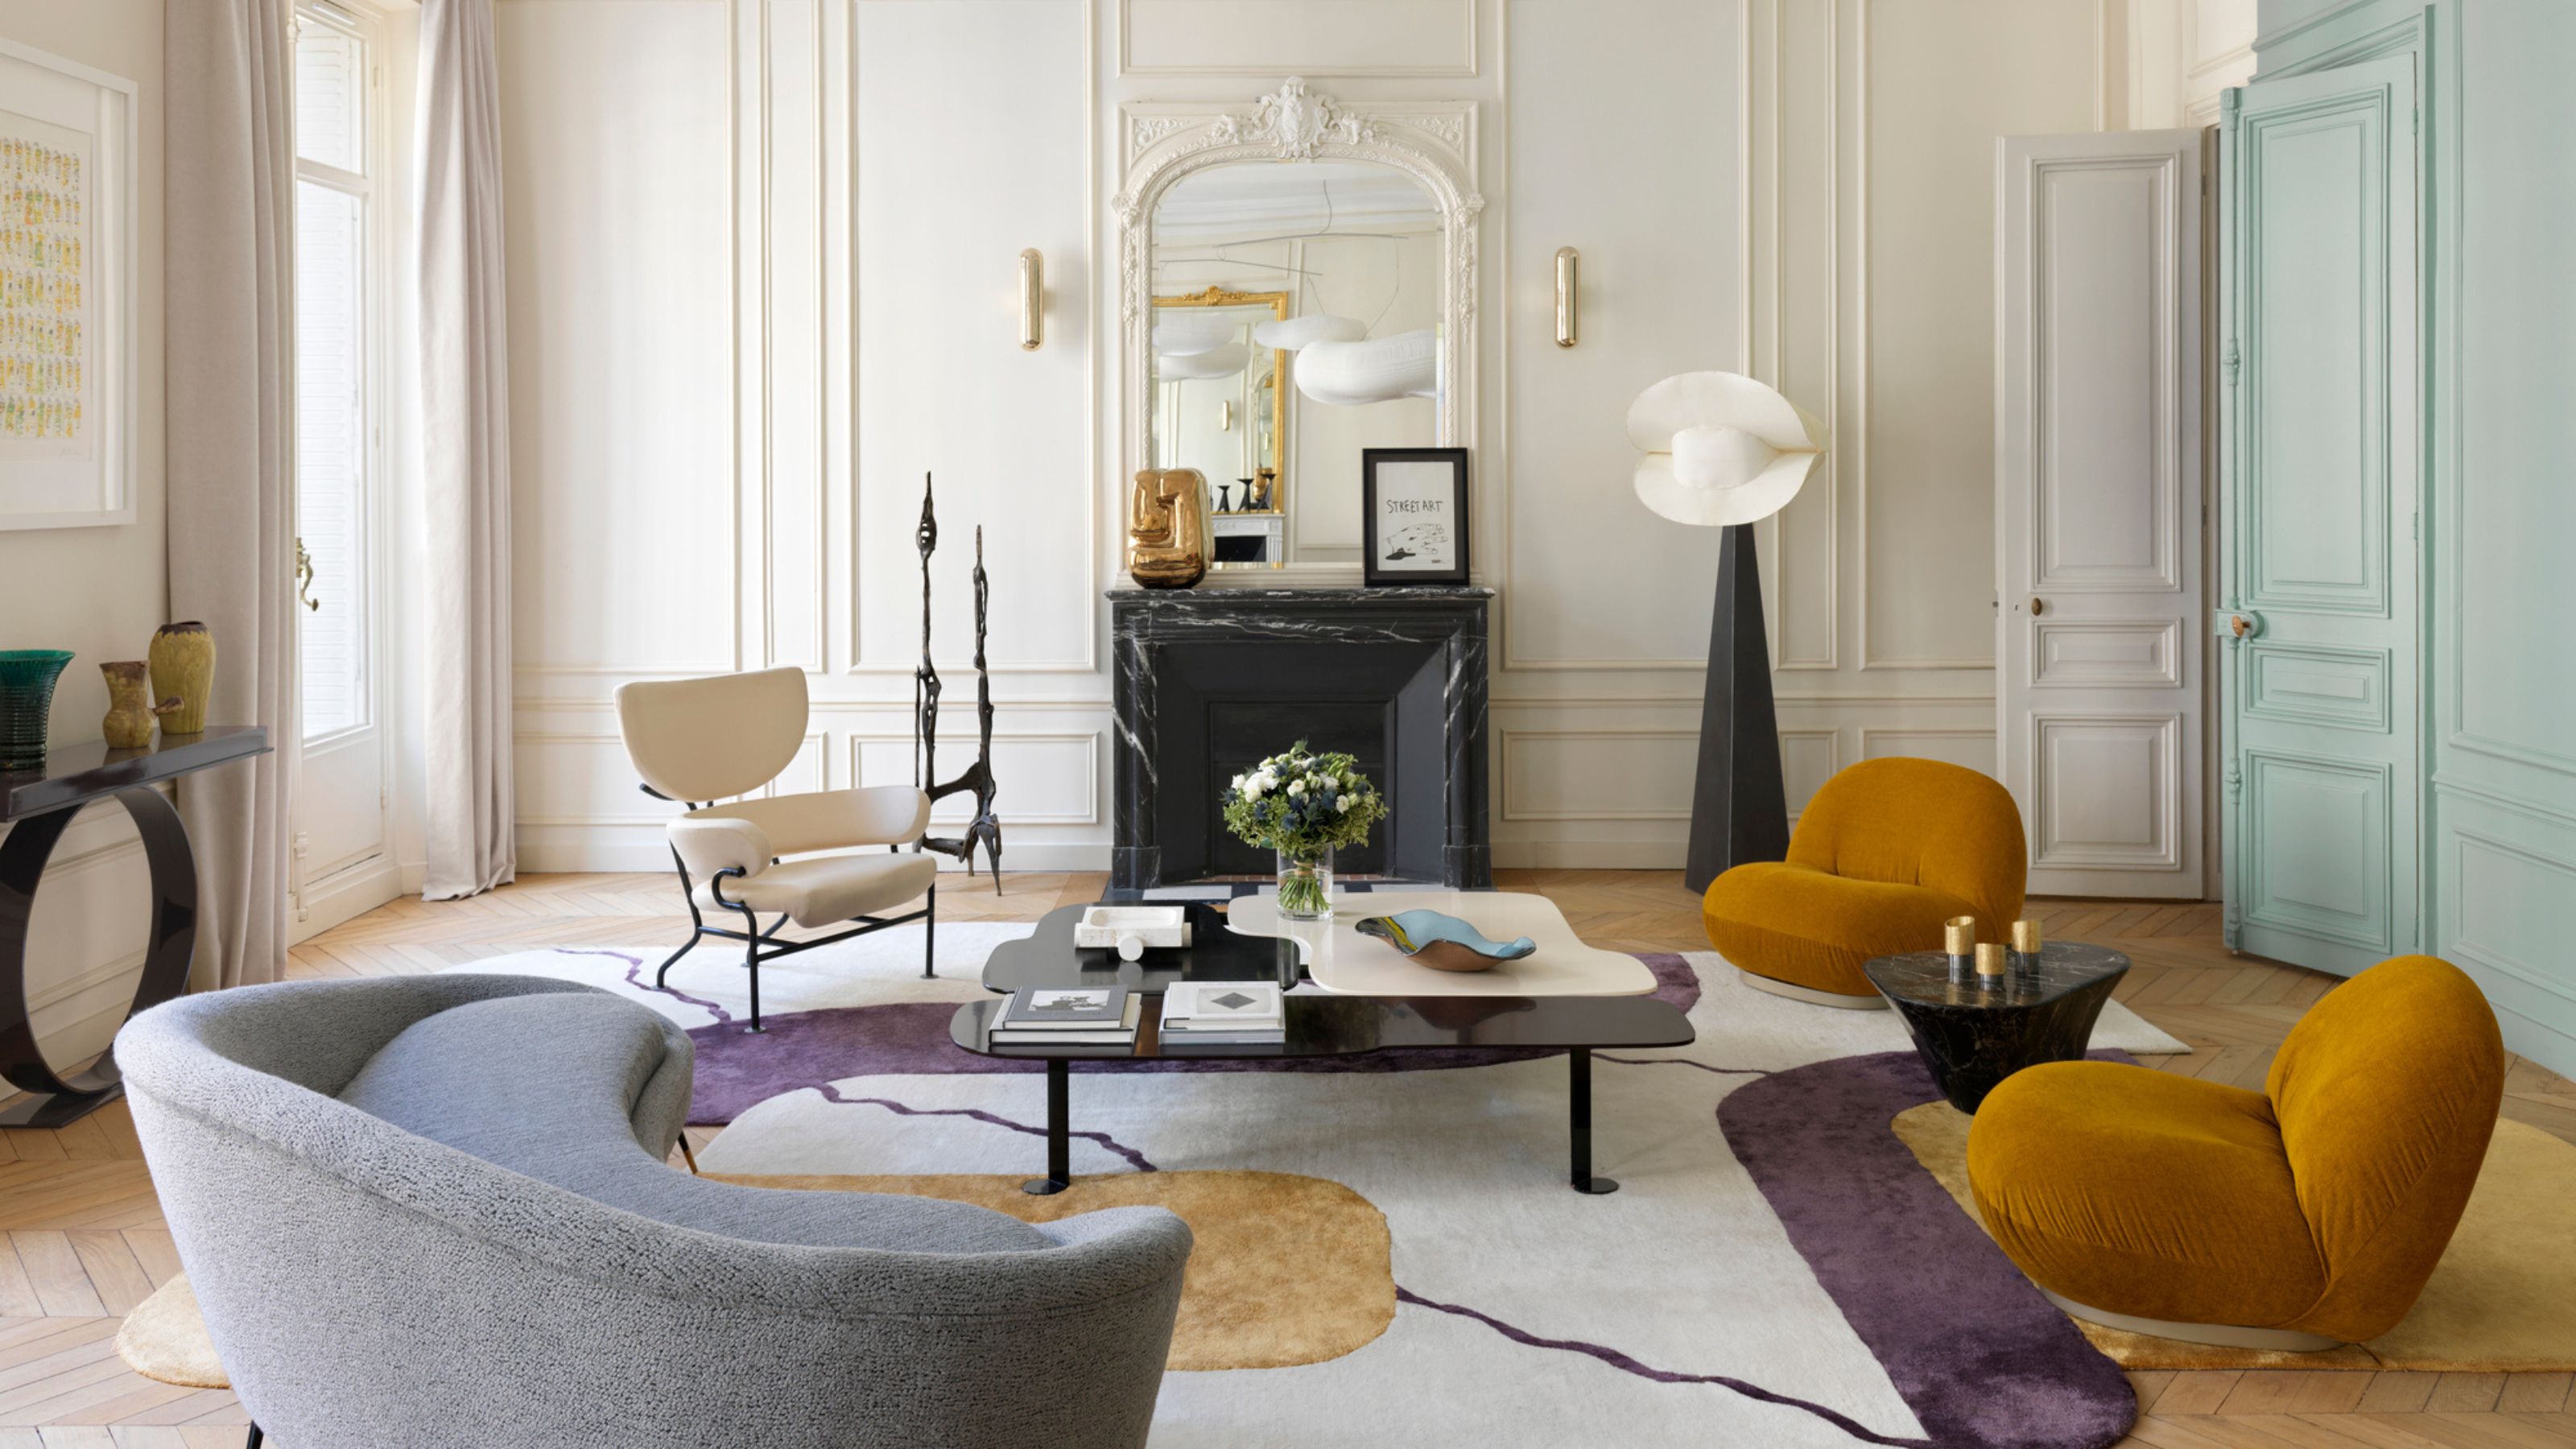
This Décor Hack is So Easy, It's Barely Even a DIY — But The Results Look *So* Bespoke (No Skills Required)
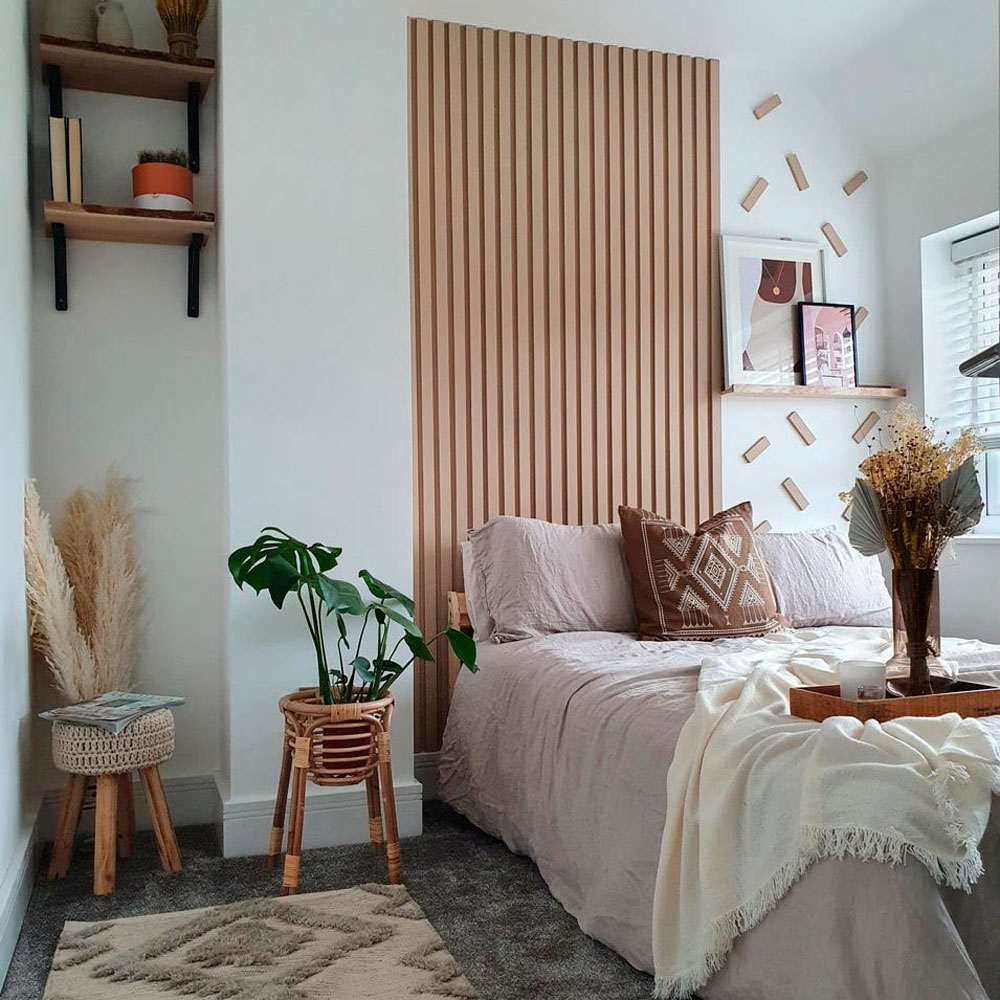
Homeowner wows with DIY version of latest feature wall trend – and the results are stunning!
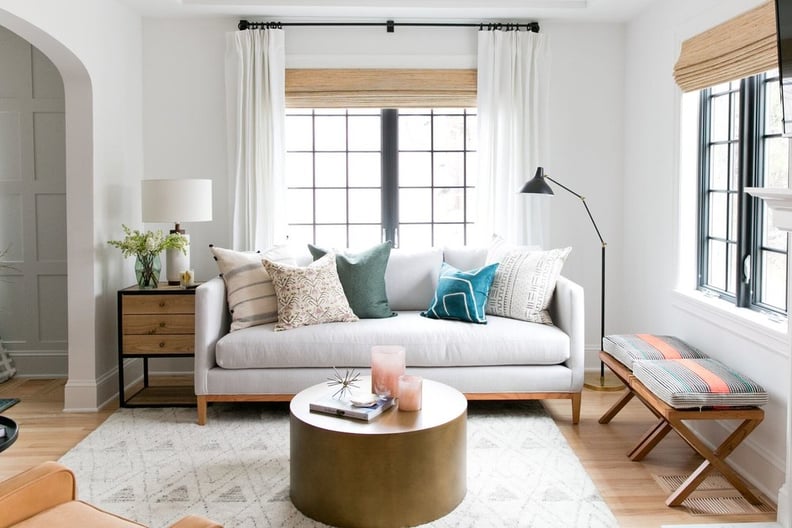
This Cheap Hack Makes Any Room Look Expensive
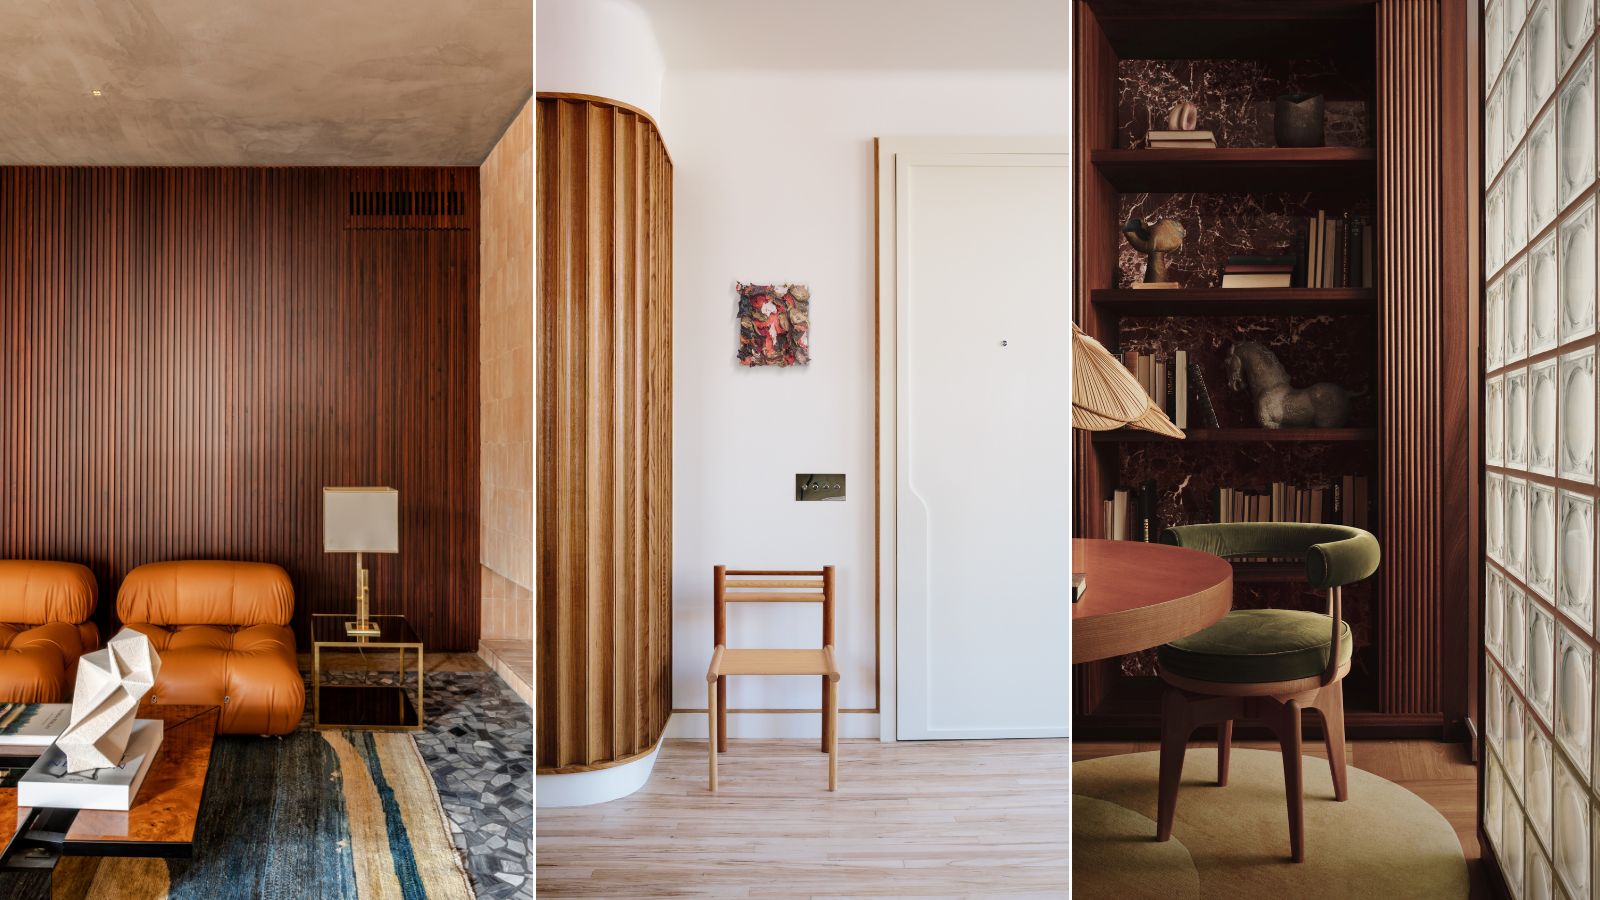
This paneling trend is a simple trick for making your walls look more expensive


This 1 Quick Decor Swap Can Instantly Usher Fall Into Your Home
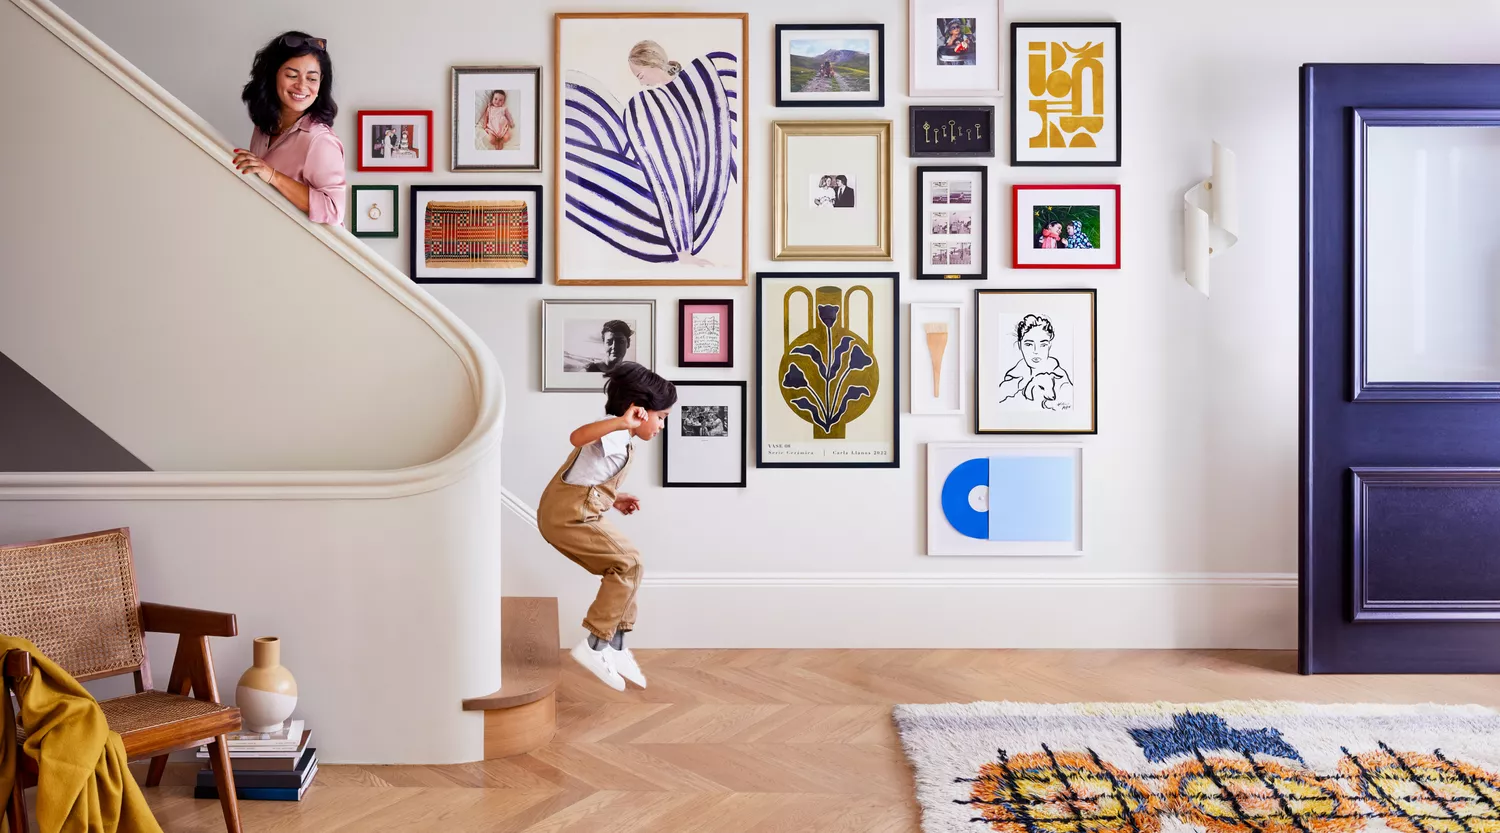
Focus on This Overlooked Decor Element To Instantly Transform a Room

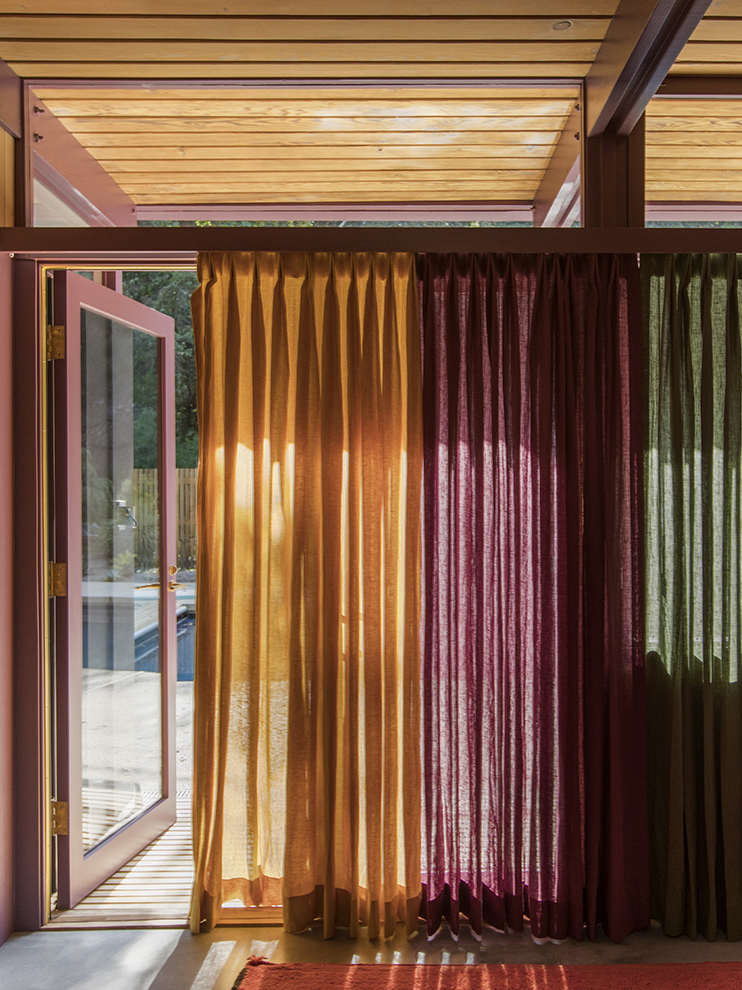
This Simple Curtain Trick Is an Instant Mood Booster

We created a posh wall panel in seconds using a sneaky stick-on hack - everyone is convinced it’s real wood

This Wall-Decor Hack Is Even Easier Than Peel-and-Stick Wallpaper
Skip Wallpaper in Favor of an (Almost) Free Painter’s Tape DIY
DIY Decor Ideas That Add Personality and Charm to Every Room

Peel On, Peel Off: The Indecisive Person's Cheap Solution To Trendy Home Decor

Designers Love This Clever Decorating Trick (It Takes Up Zero Space)

This Colorful Trick Is How Cool People Frame Their Pictures These Days
The Wood Paneling Trick That Makes Any Space Feel Instantly Homey

The Designer-Approved Alternative To Wall Art That Adds A Dose Of Glamour