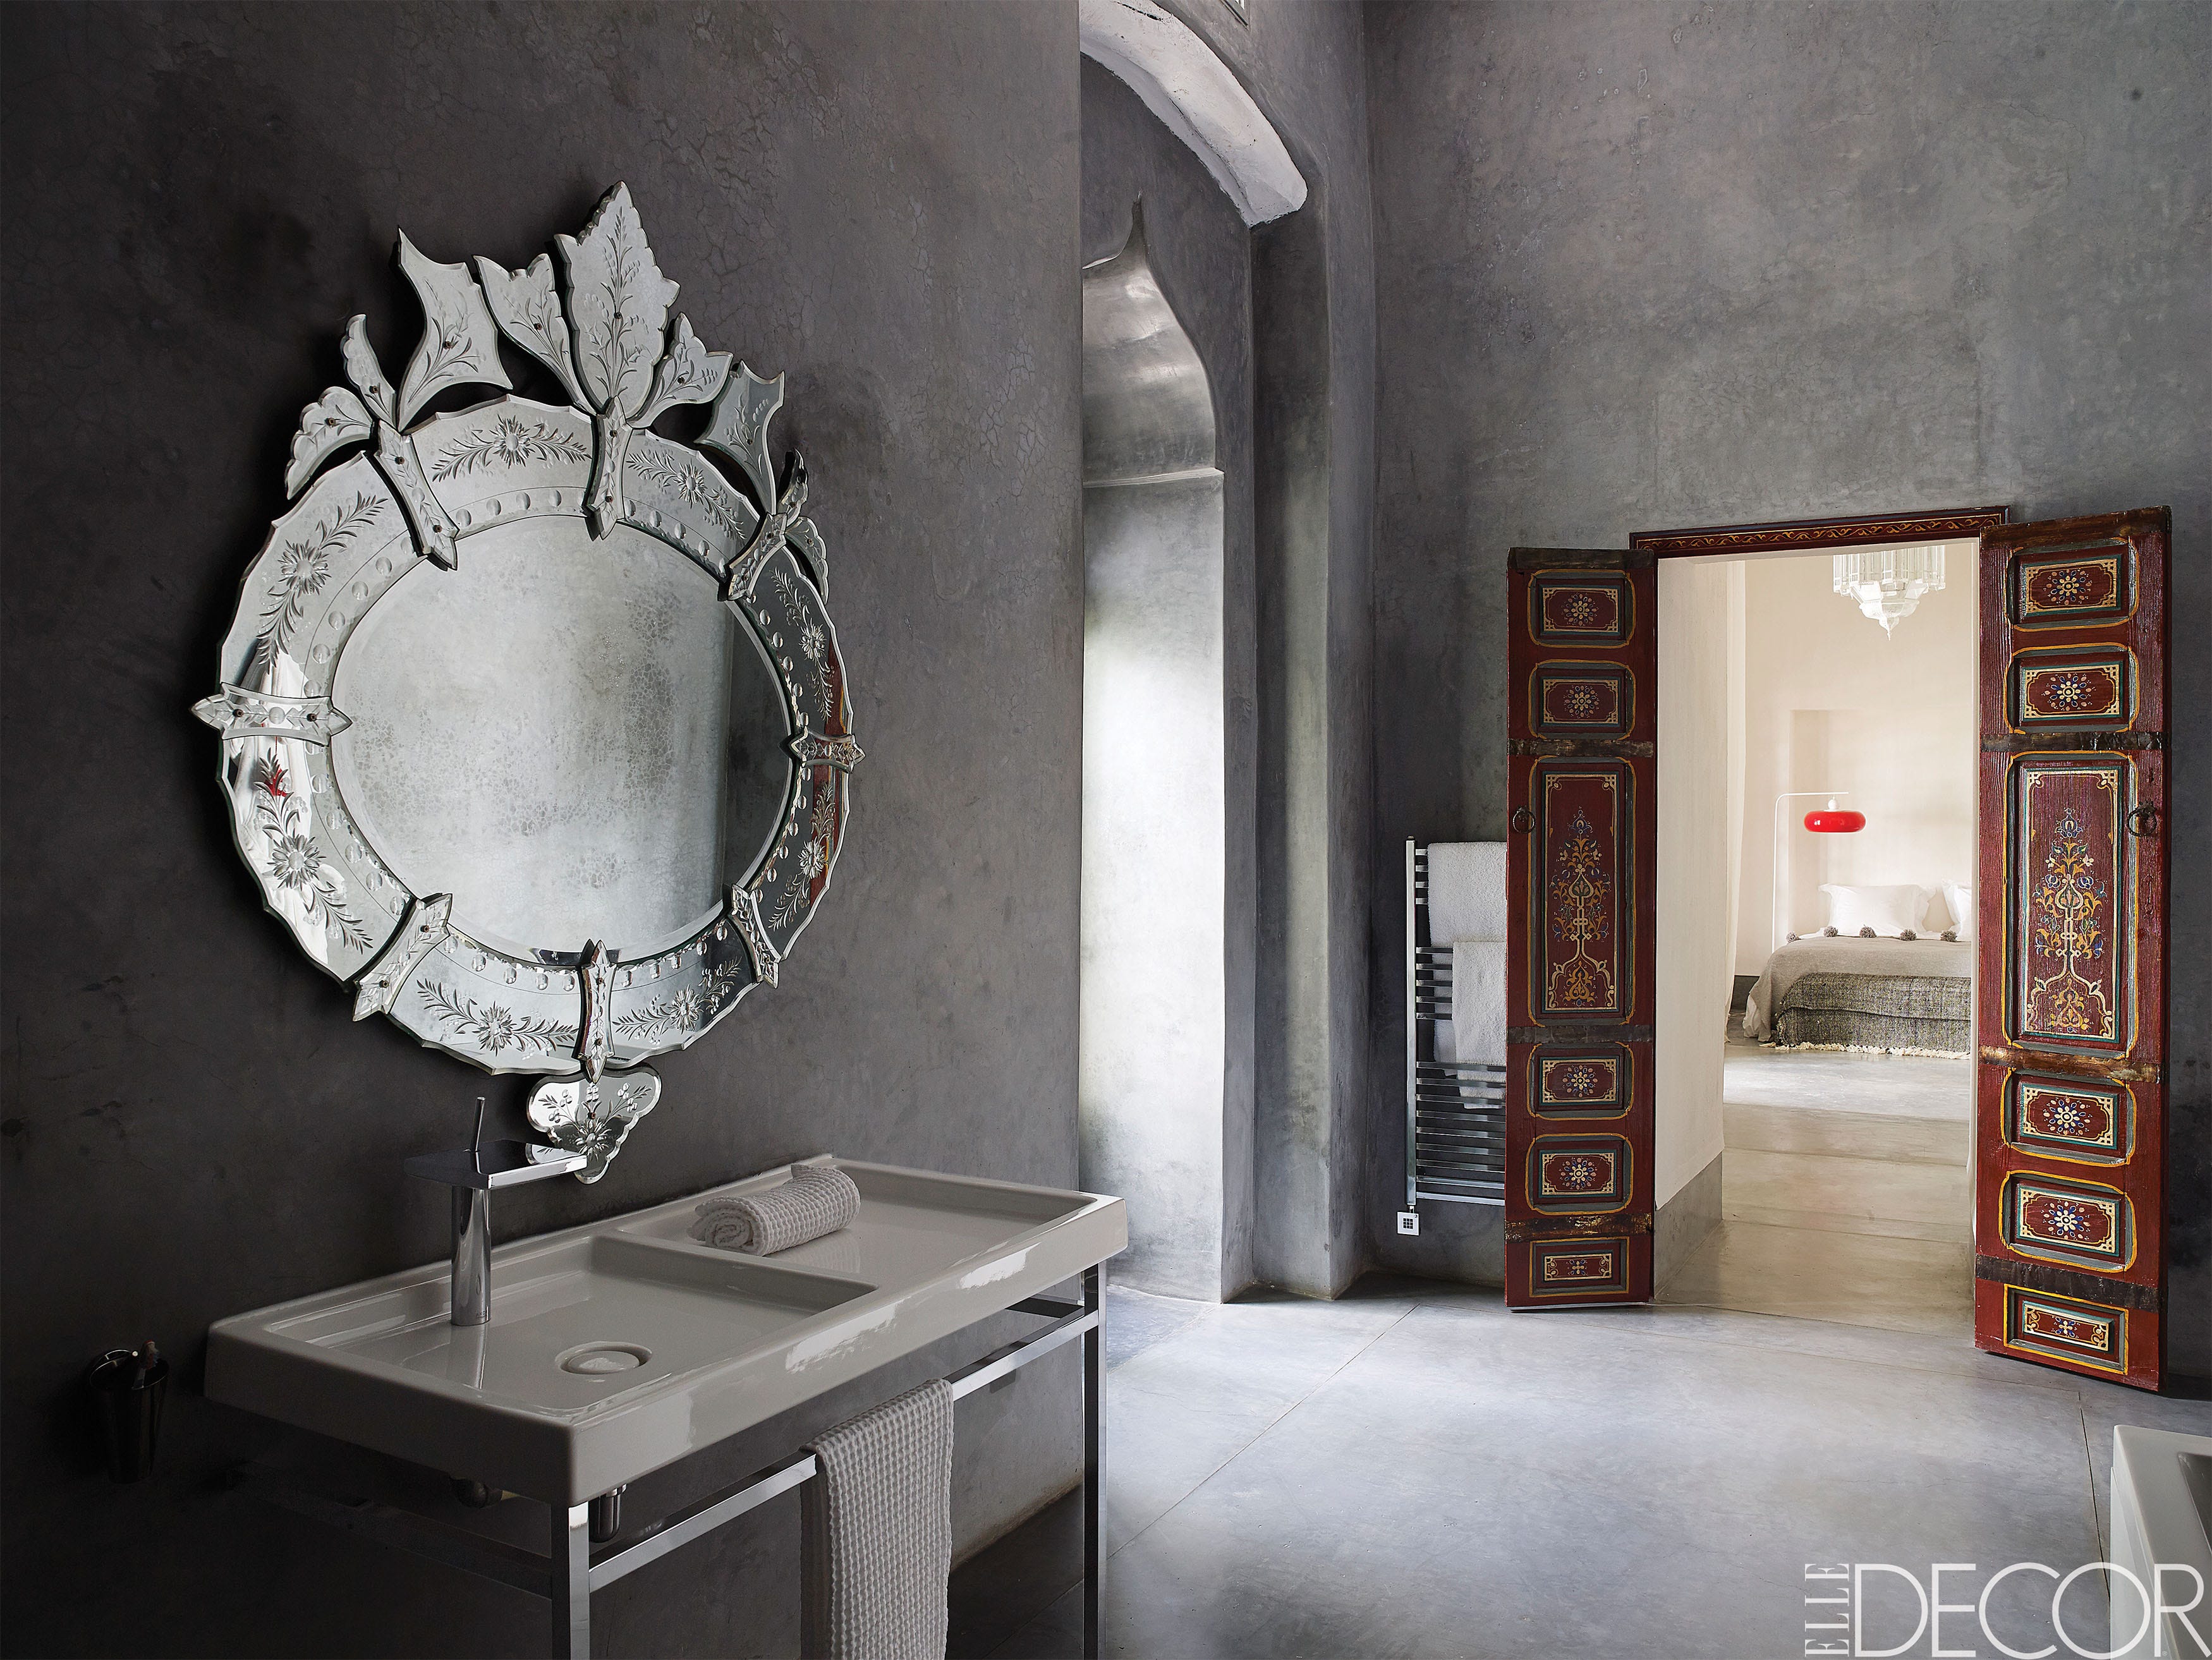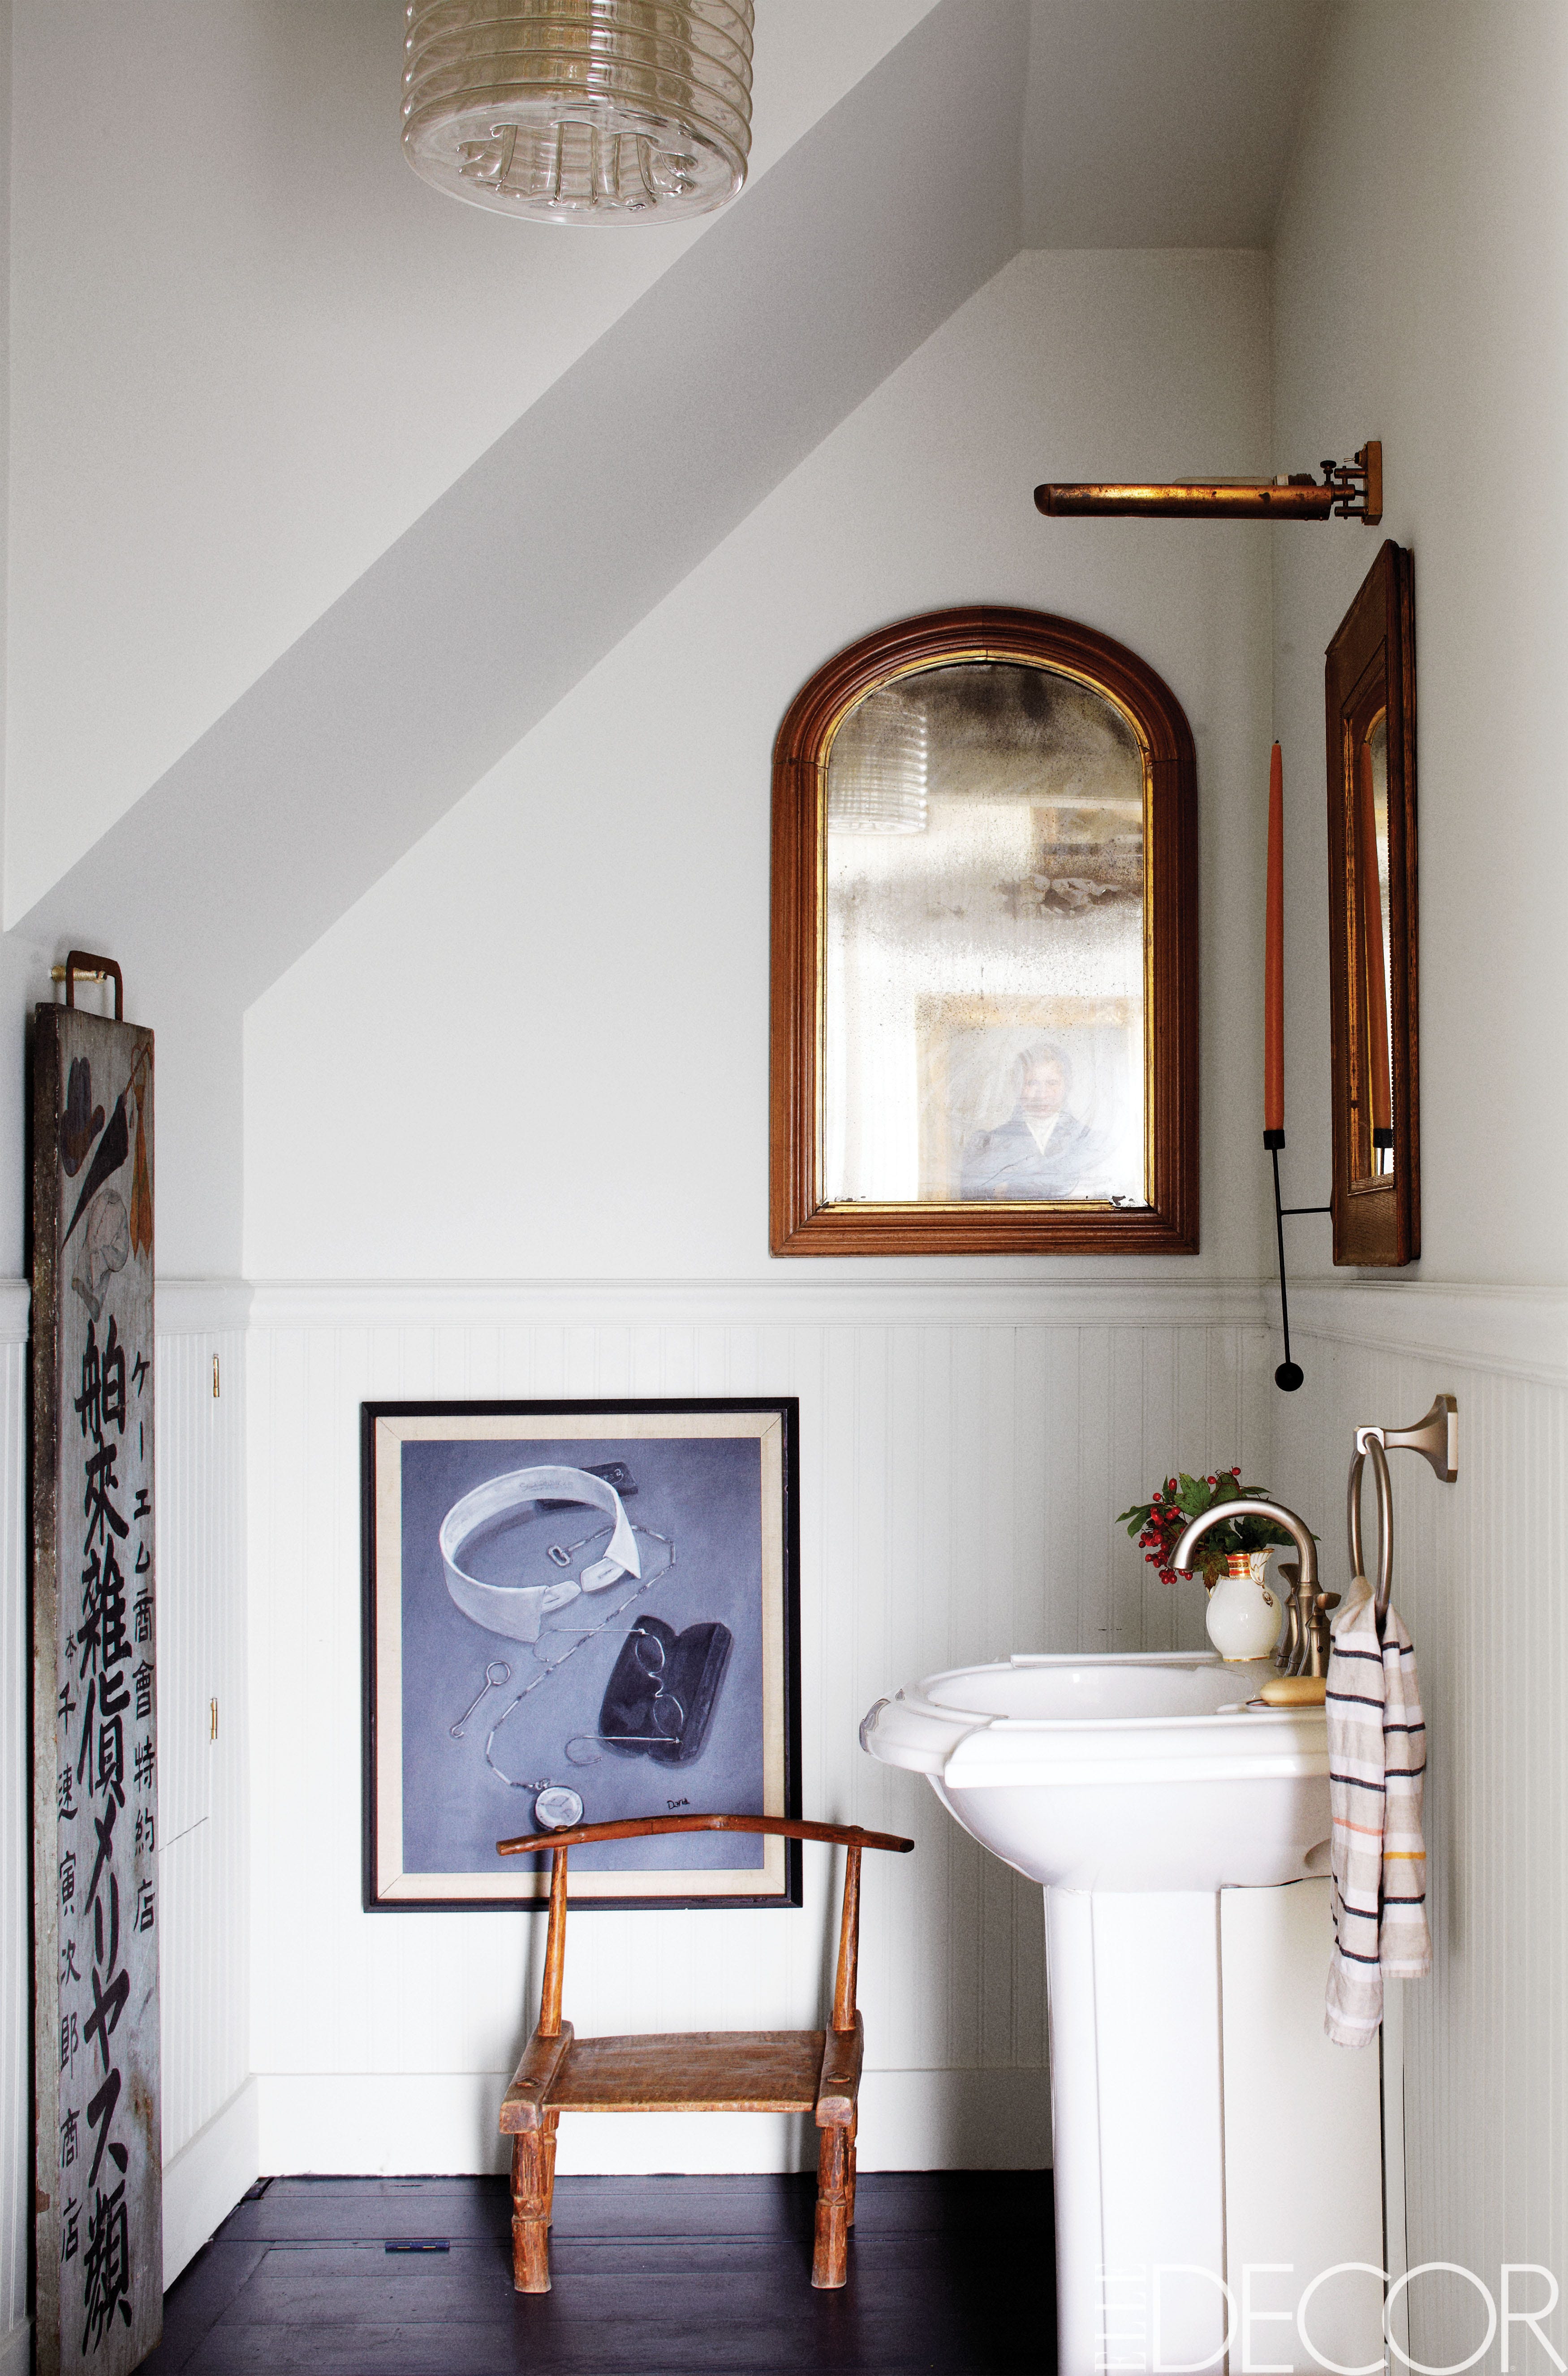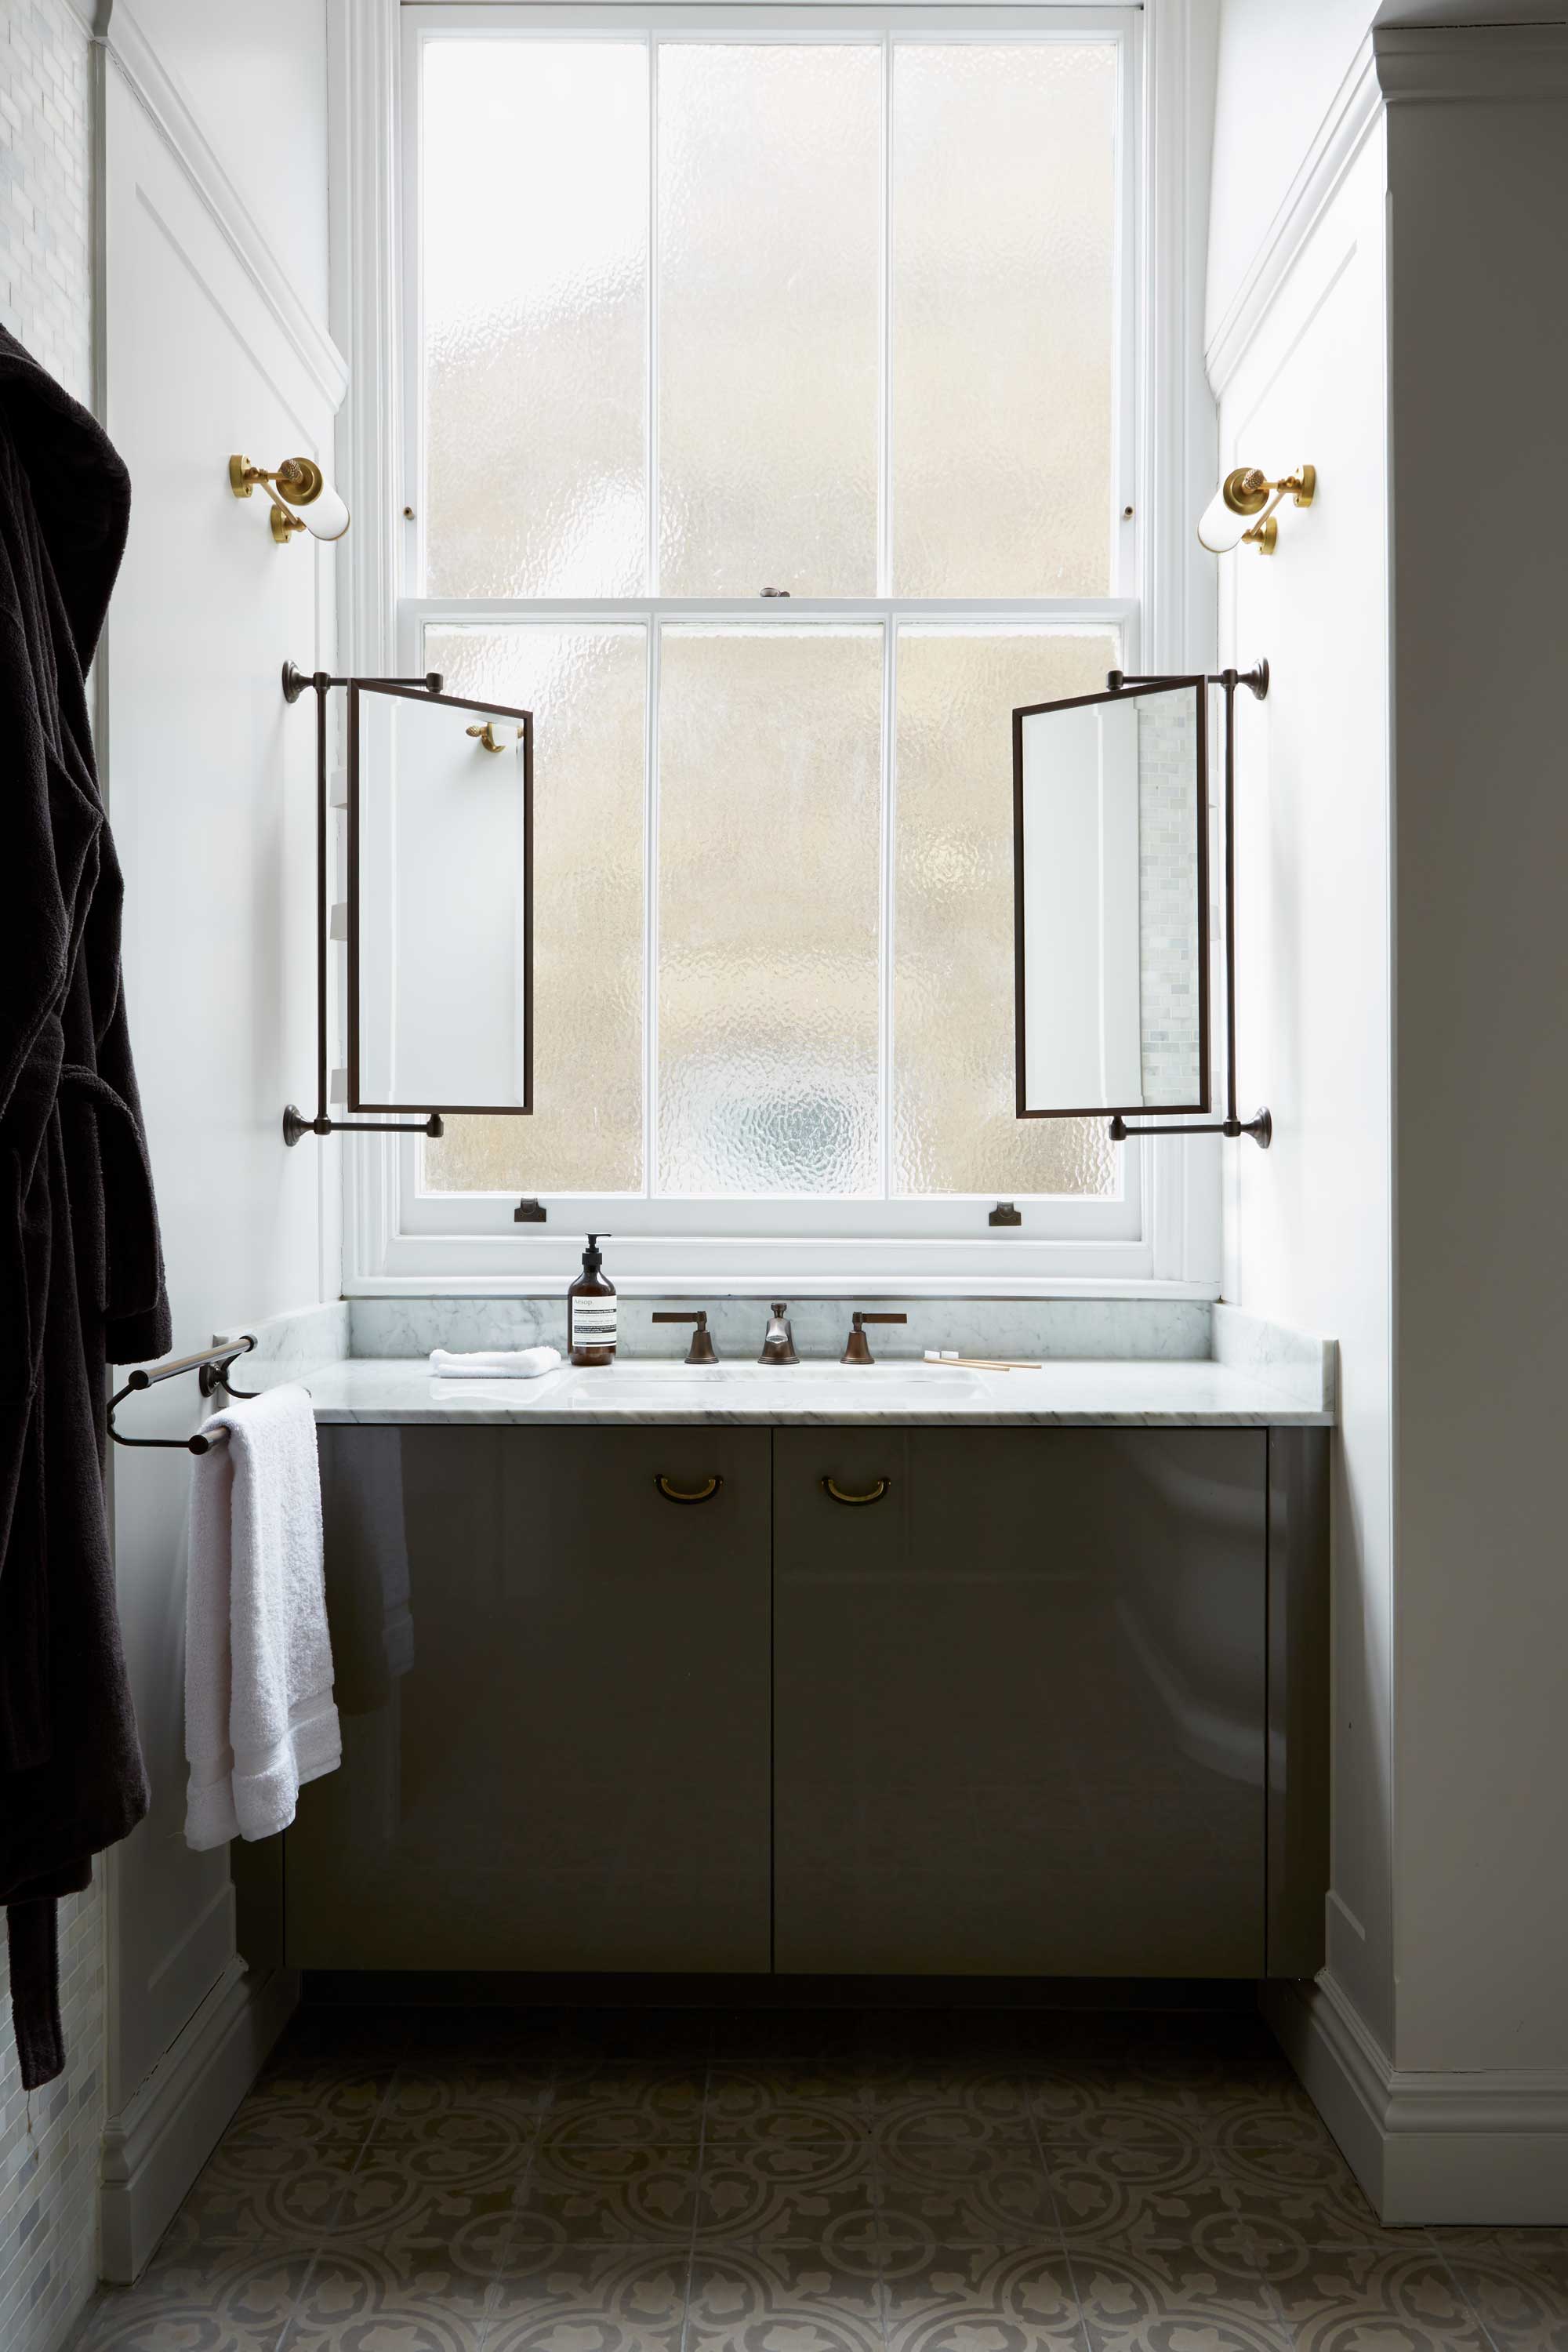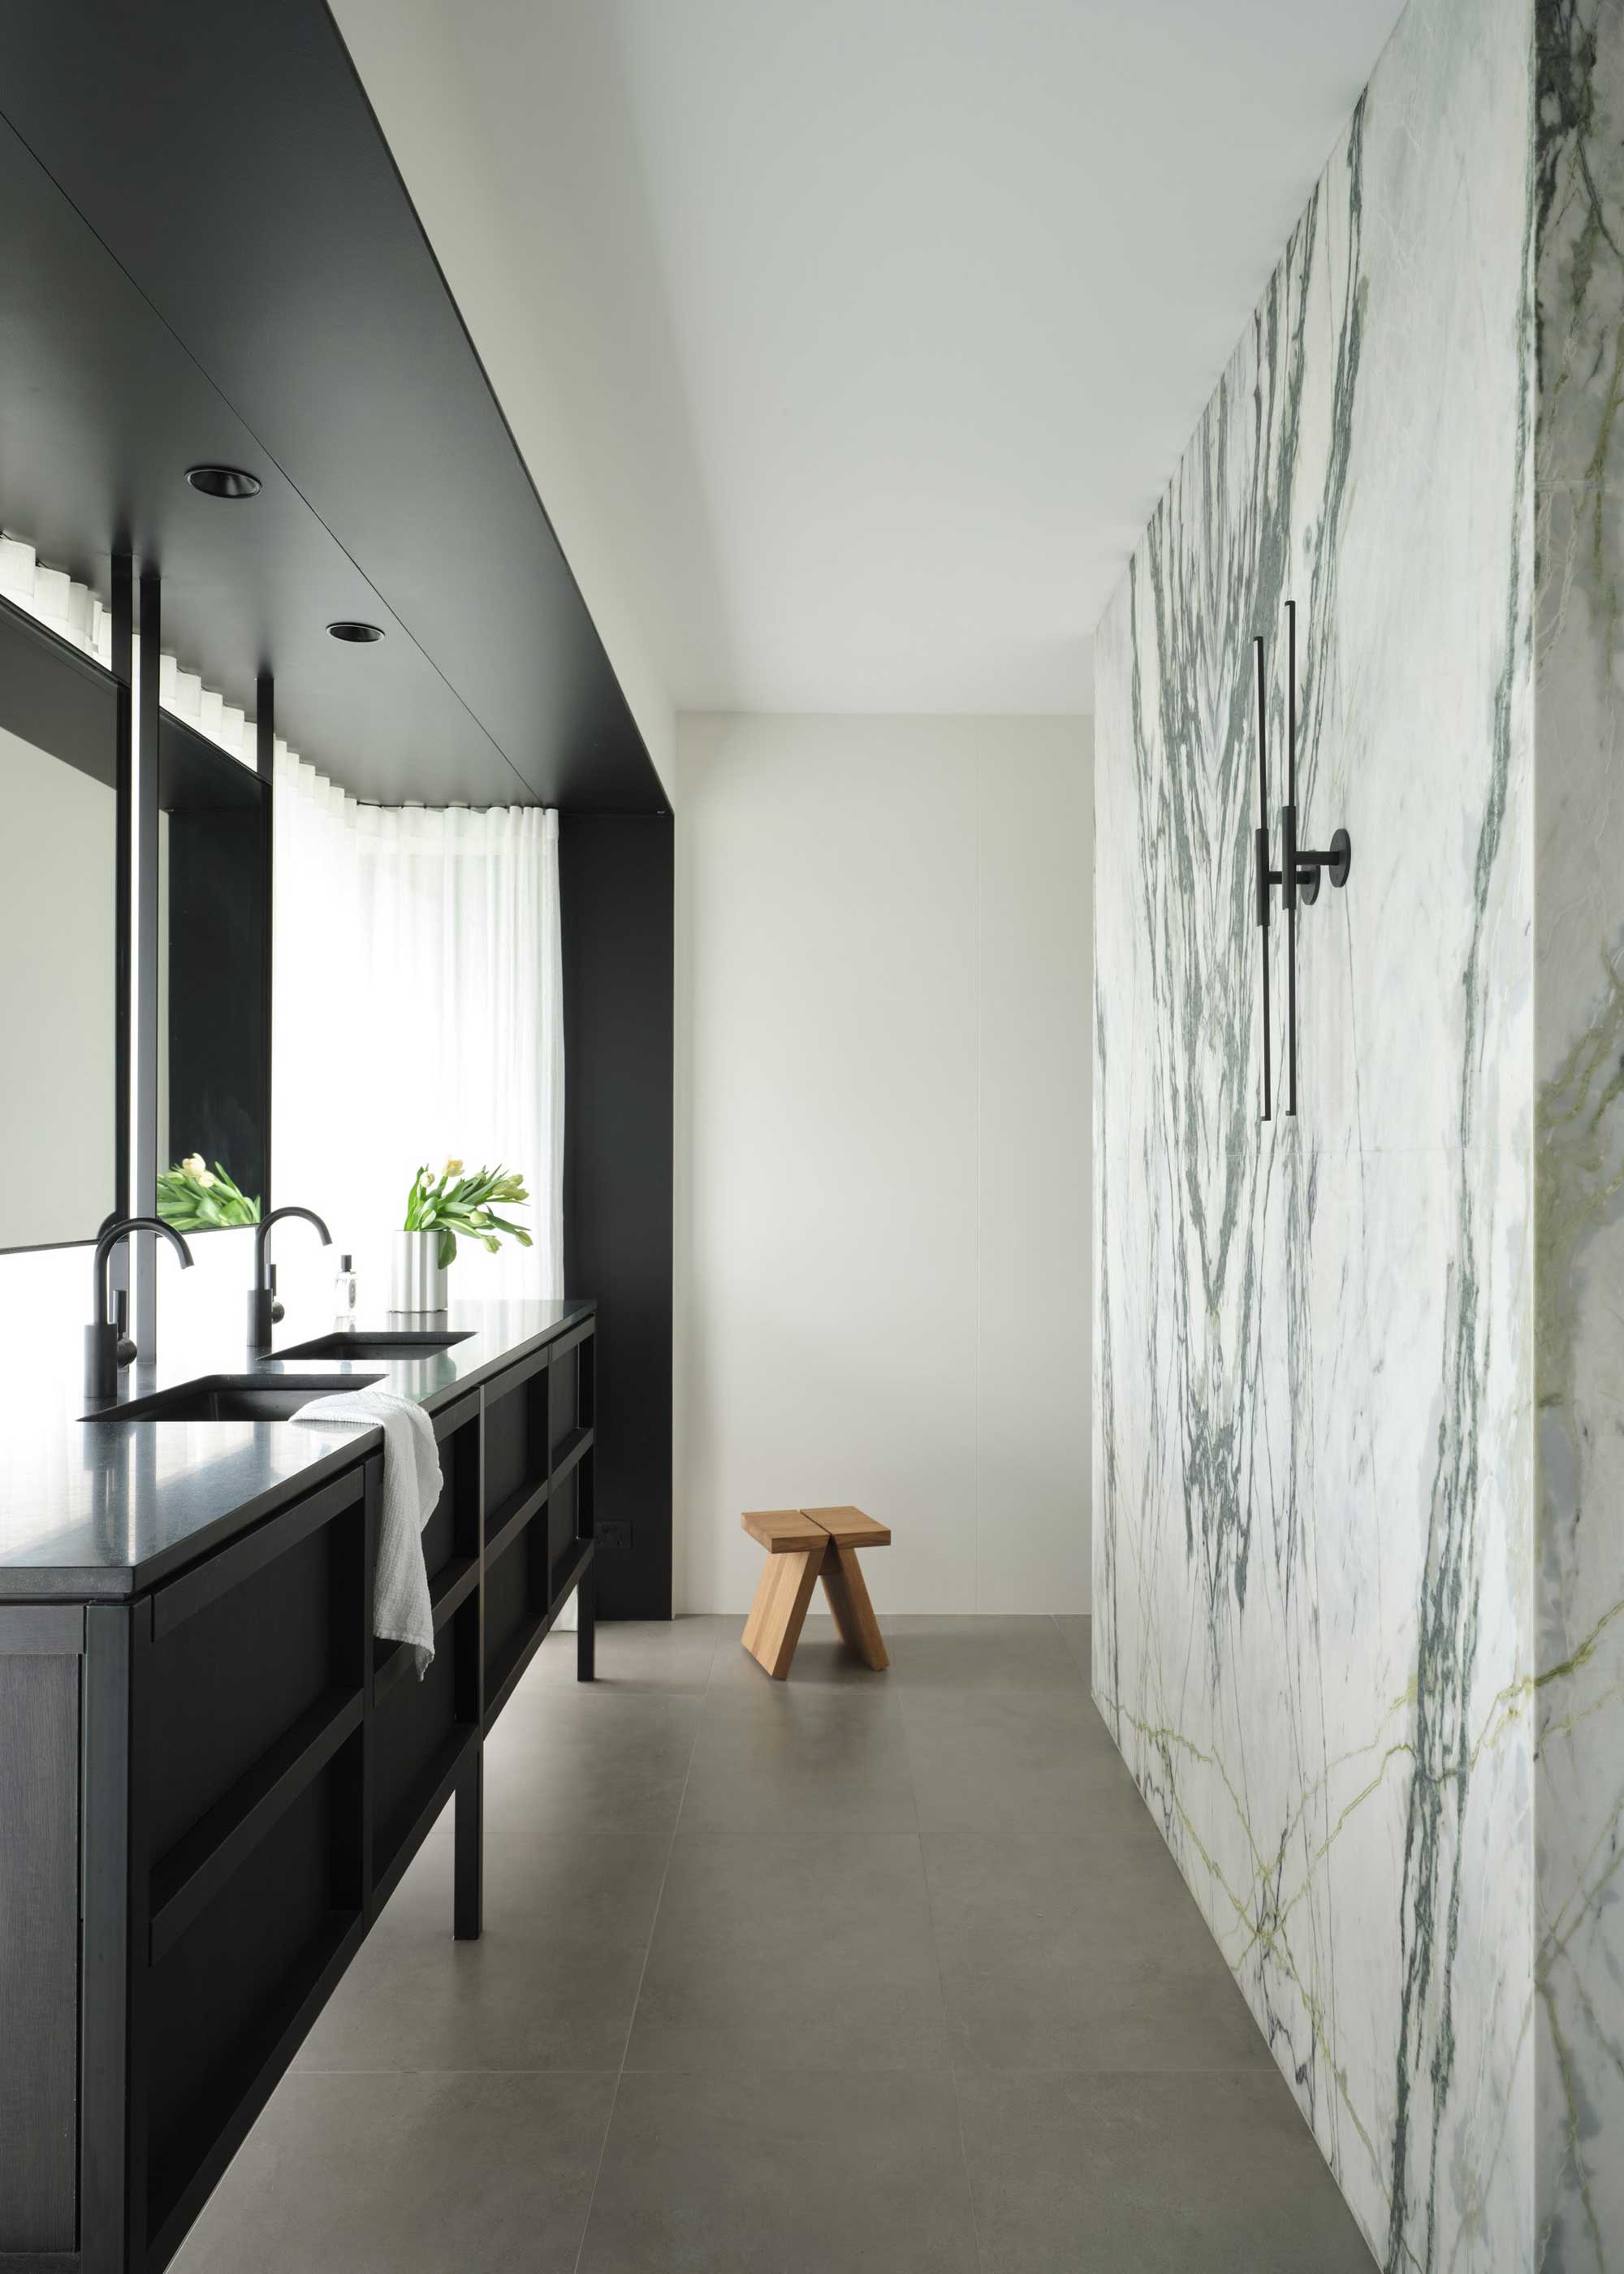
1/2
This IKEA Bathroom Mirror Hack Adds The Perfect Finishing Touch To Any Space
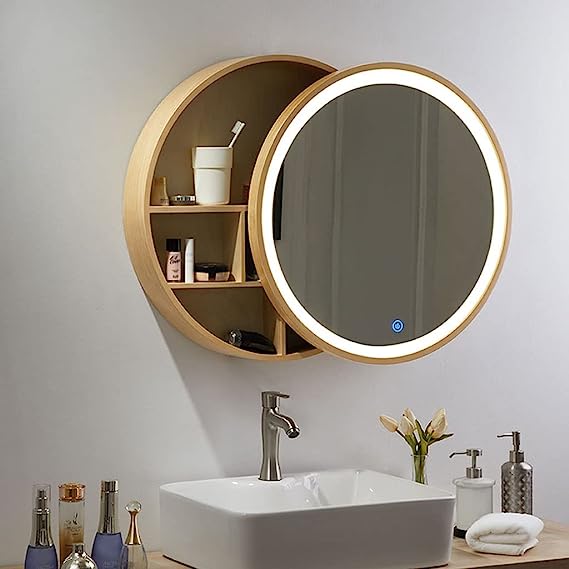
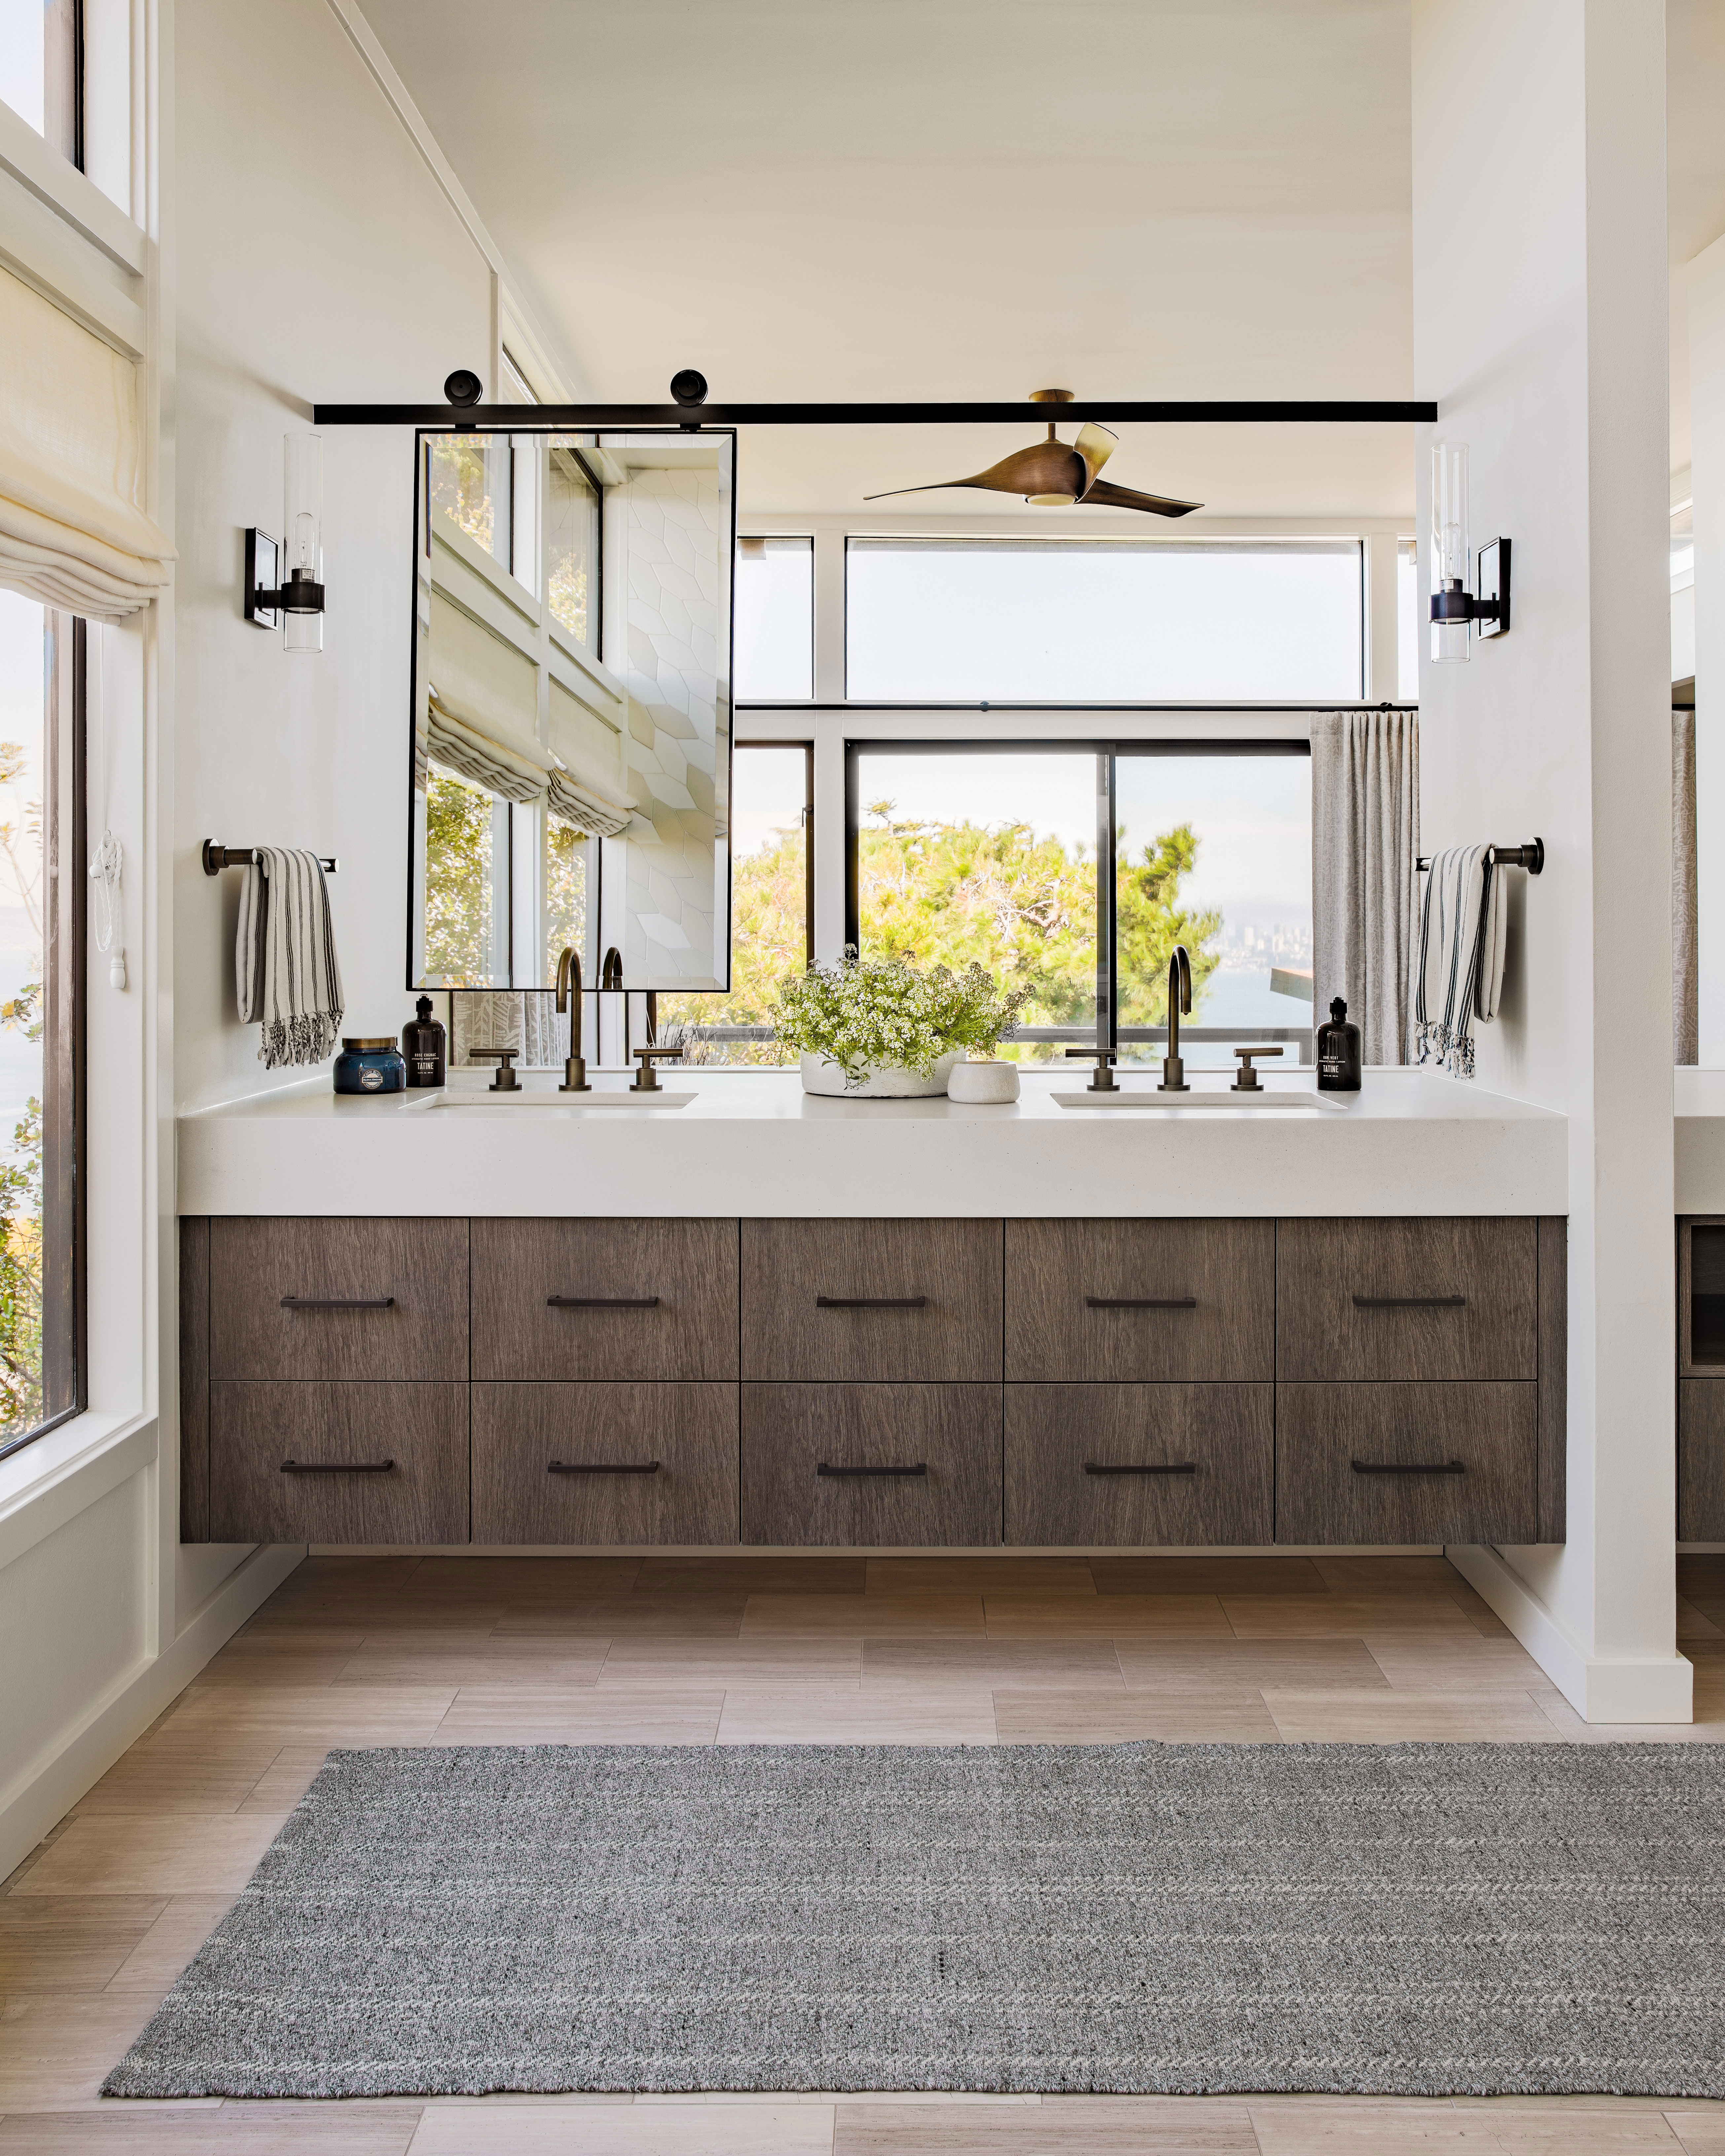
The article details a simple and budget-friendly home decor hack that can elevate the aesthetic of any bathroom: adding strip lighting to the back of an IKEA LINDBYN mirror. This DIY project is presented as an easy way to transform an ordinary mirror into a stylish and more expensive-looking fixture without a significant financial outlay. The IKEA LINDBYN detachable mirror, priced at $99.99, is specifically mentioned as an ideal candidate for this upgrade due to its design.
The benefits of incorporating backlighting into a bathroom mirror are manifold. The added lighting can enhance the depth and dimension of the space, making the room appear larger than it is. It also serves to complement existing natural light, creating a more balanced and well-lit environment. Beyond practical illumination, the discreet and lower ambiance of strip lighting can foster a calming and soothing atmosphere, turning the bathroom into a more tranquil oasis. Furthermore, this type of lighting provides functional illumination for daily routines such as cosmetic application or skincare, ensuring better visibility. From a design perspective, backlighting can significantly boost the style and perceived value of a bathroom without requiring a hefty investment.
To execute this hack, individuals need to acquire suitable strip lighting that matches the circumference of their mirror. The article suggests affordable options like the Zslaifu USB-powered light strips, available on Amazon for approximately $5, or the remote-controlled Onn LED light strip from Walmart for $4.88. The choice between multi-colored or single-color lighting is discussed, with cool shades recommended for a minimalistic and clean aesthetic, and warmer tones suggested for a softer, more welcoming ambiance, particularly beneficial for cosmetic tasks. The decision on lighting color should align with the bathroom's existing decor, color scheme, and personal preferences.
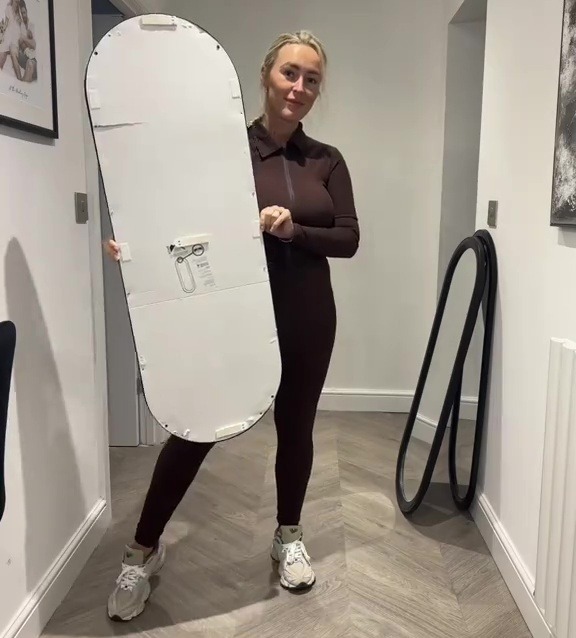
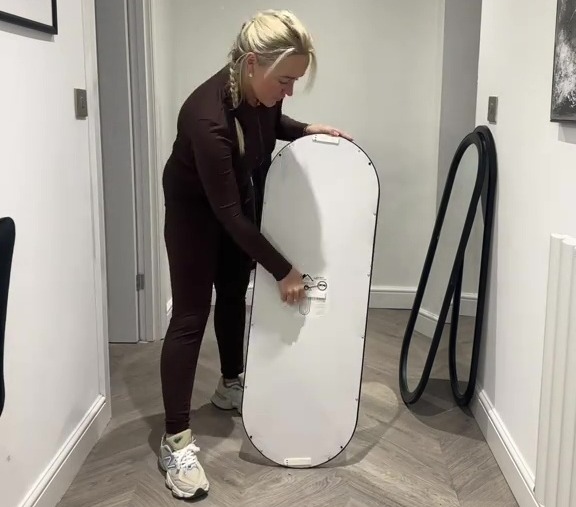
The installation process is straightforward: the mirror is either removed from the wall or taken out of its box, and the self-adhesive light strips are applied to the underside of the mirror's edges. Careful placement is emphasized to ensure the illumination is visible once the mirror is hung. A key challenge highlighted is managing the wiring, especially for plug-in or USB-powered strips. The article advises avoiding clunky battery boxes that might cause the mirror to hang unevenly. For a clean finish, cords should be pulled to the nearest outlet, and cable covers, such as the ZhiYo cord cover from Amazon, are recommended to conceal them. It's also suggested to run cables to outlets lower on the wall to minimize visibility. The overall aim is to achieve a professional look where the wiring is discreetly hidden, maximizing the visual impact of the illuminated mirror.
#IKEAHack #BathroomDecor #MirrorLighting #DIYHomeDecor #HomeImprovement #InteriorDesign #LEDLighting #BudgetFriendlyDecor #DesignHacks #IKEAHack #BathroomDecor #MirrorLighting #DIYHomeDecor #HomeImprovement #InteriorDesign #LEDLighting #BudgetFriendlyDecor #DesignHacks
0 comment in total
 No comments yet
You may also like
Best Mirror Makeovers with these Bathroom Mirror Ideas and Pivot Designs

20 Decorative Bathroom Mirror Ideas That'll Open Up Your Space, No Matter How Small

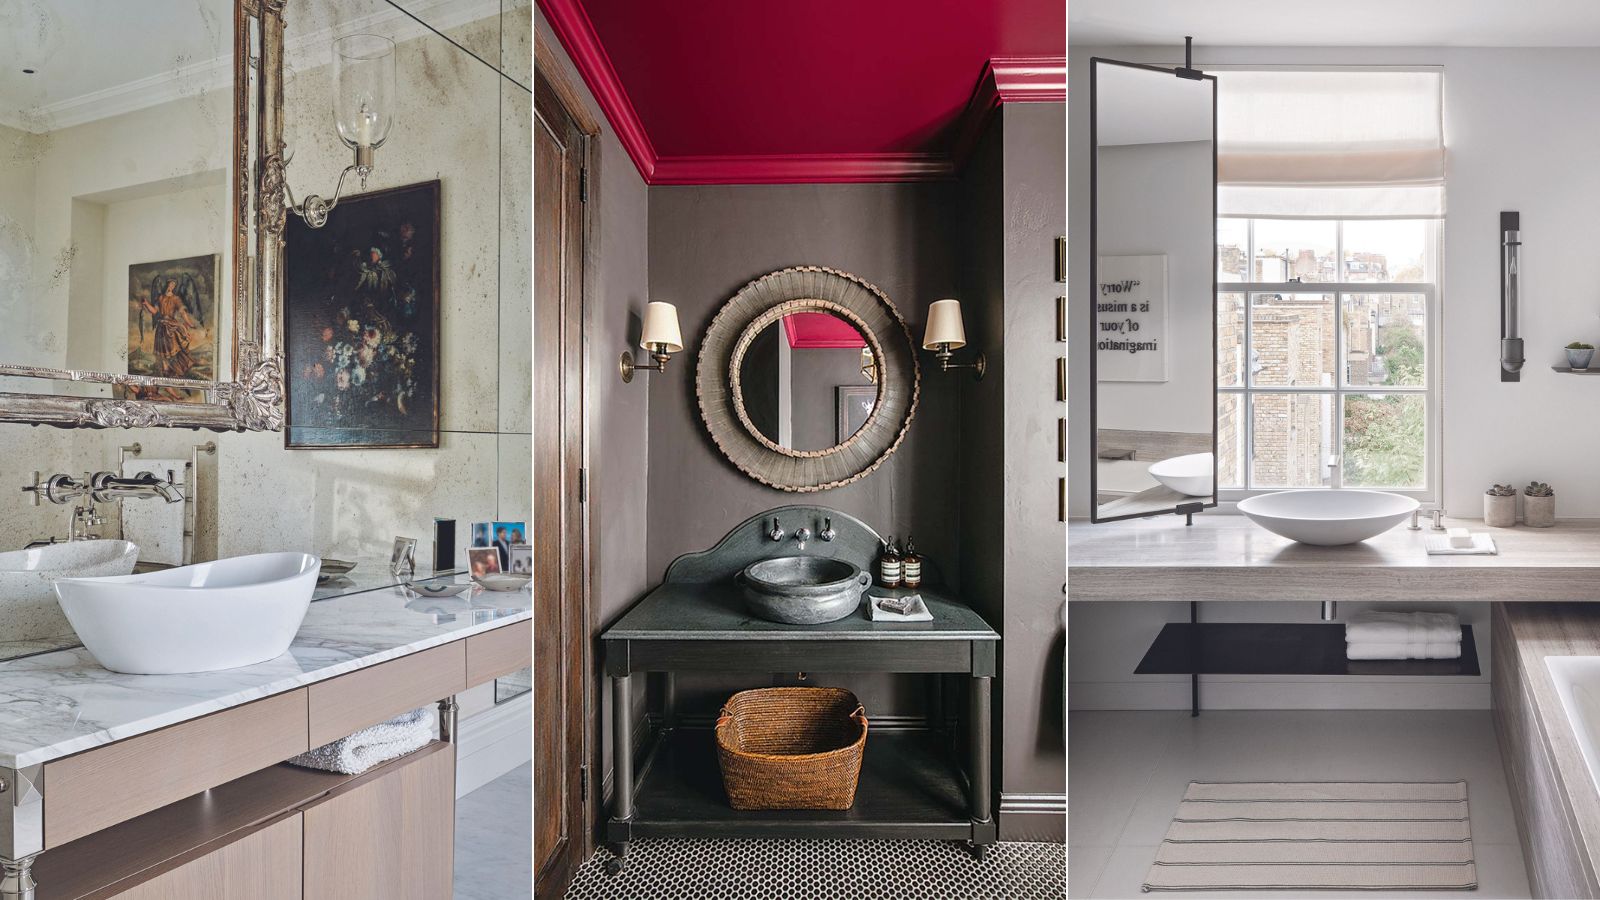
Bathroom vanity mirror ideas – 10 practically perfect looks
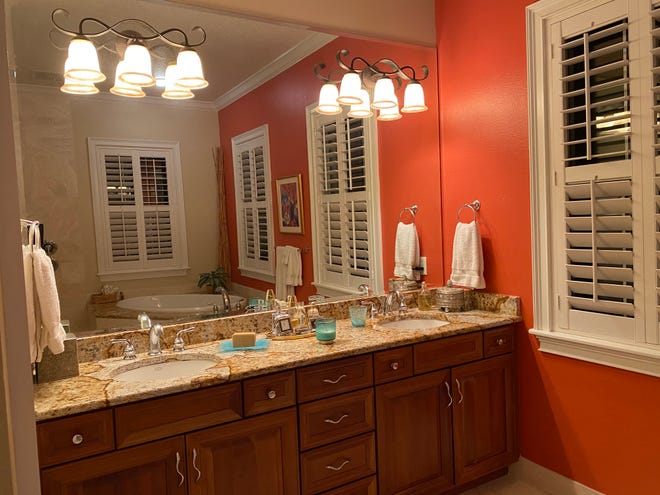
At Home with Marni Jameson: Renew that boring bathroom mirror

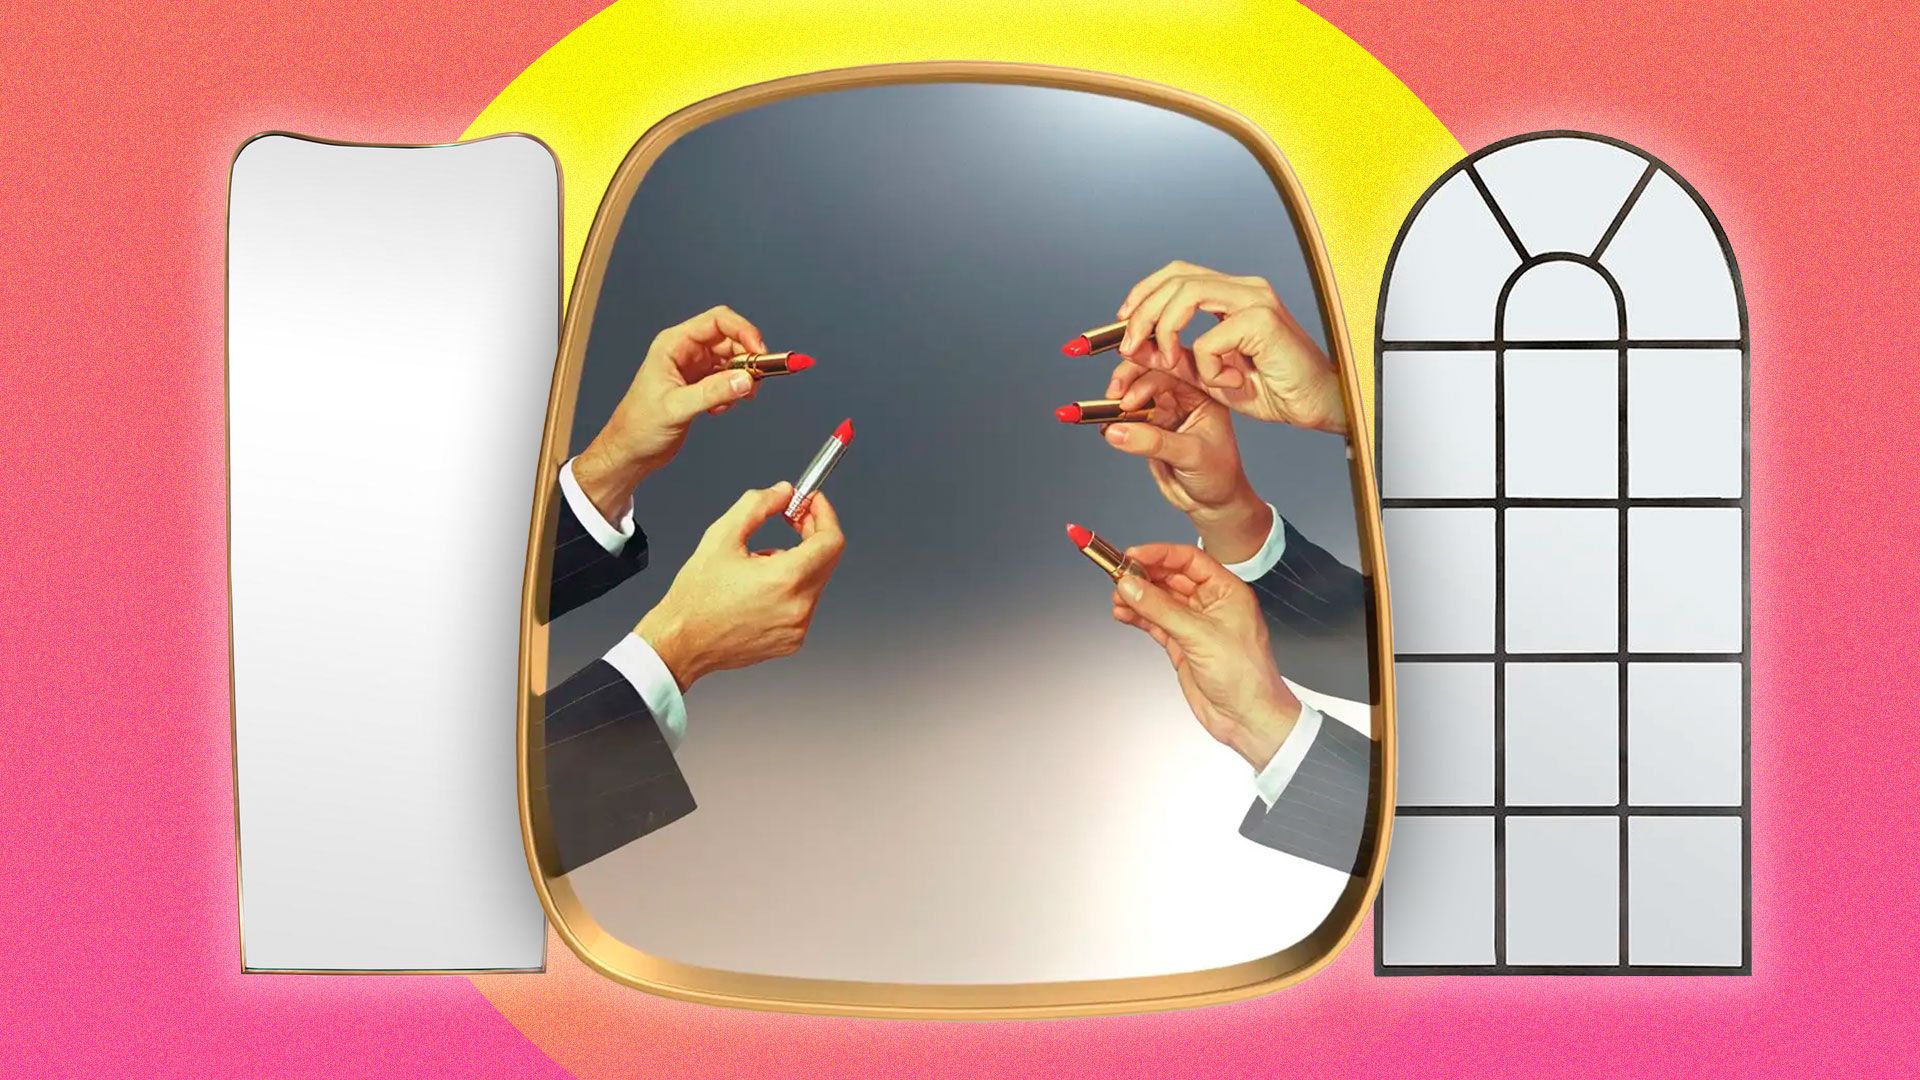
The best mirrors for a bright and roomy home
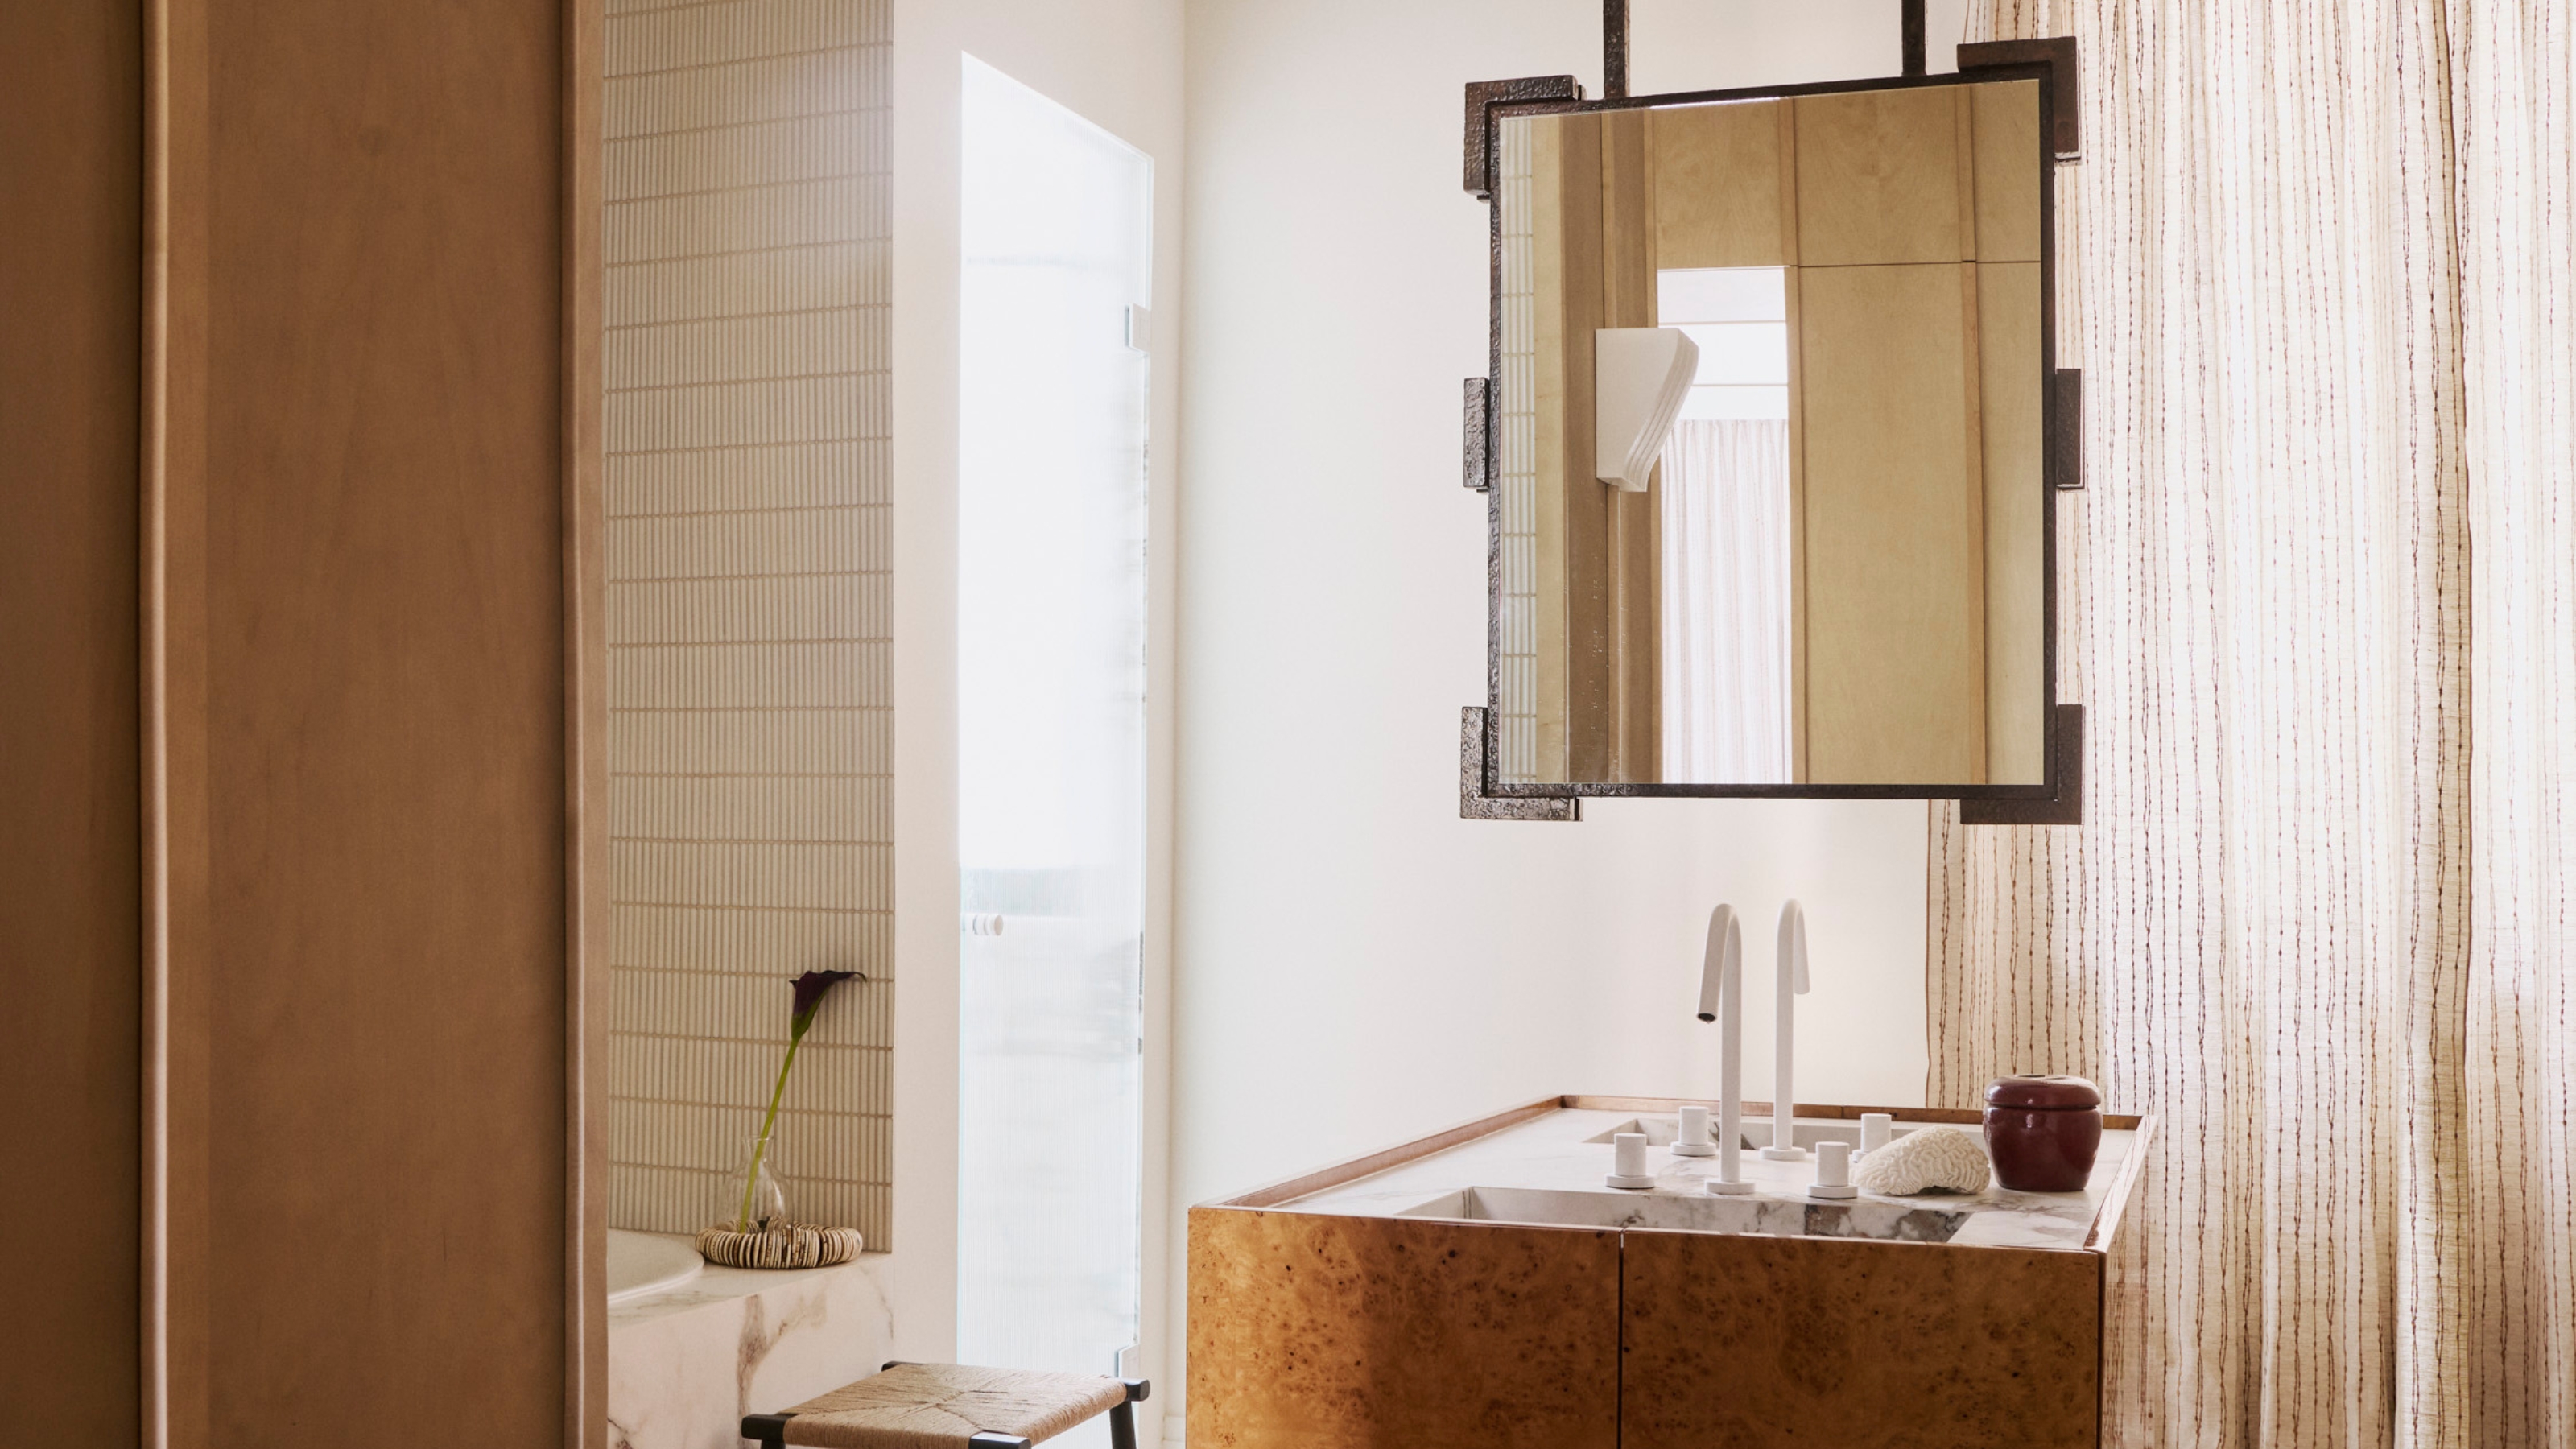
This 'Suspended' Mirror Trend Solves Your Bathroom Layout

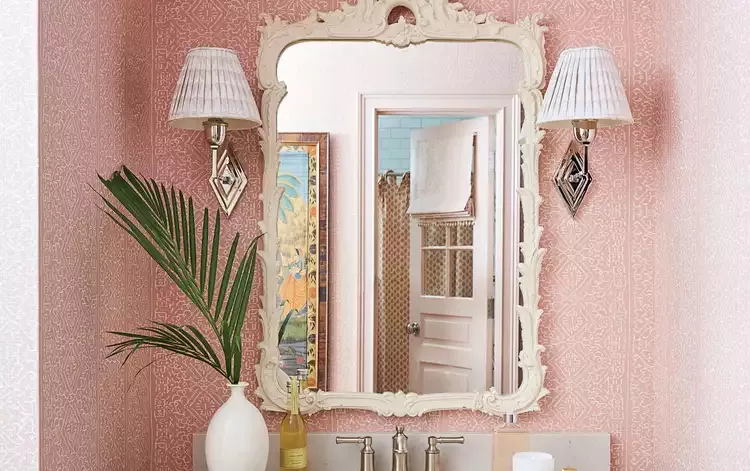
40 Bathroom Mirror Ideas To Enhance Your Space
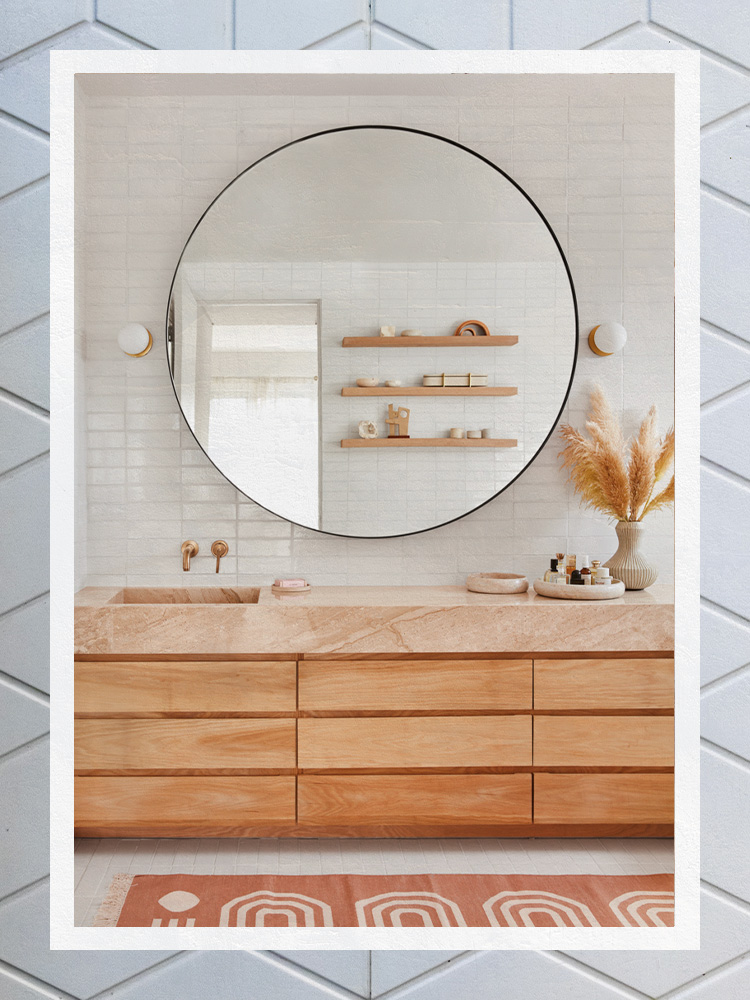
The Best Bathroom Mirrors Have These 4 Qualities, Above All Else

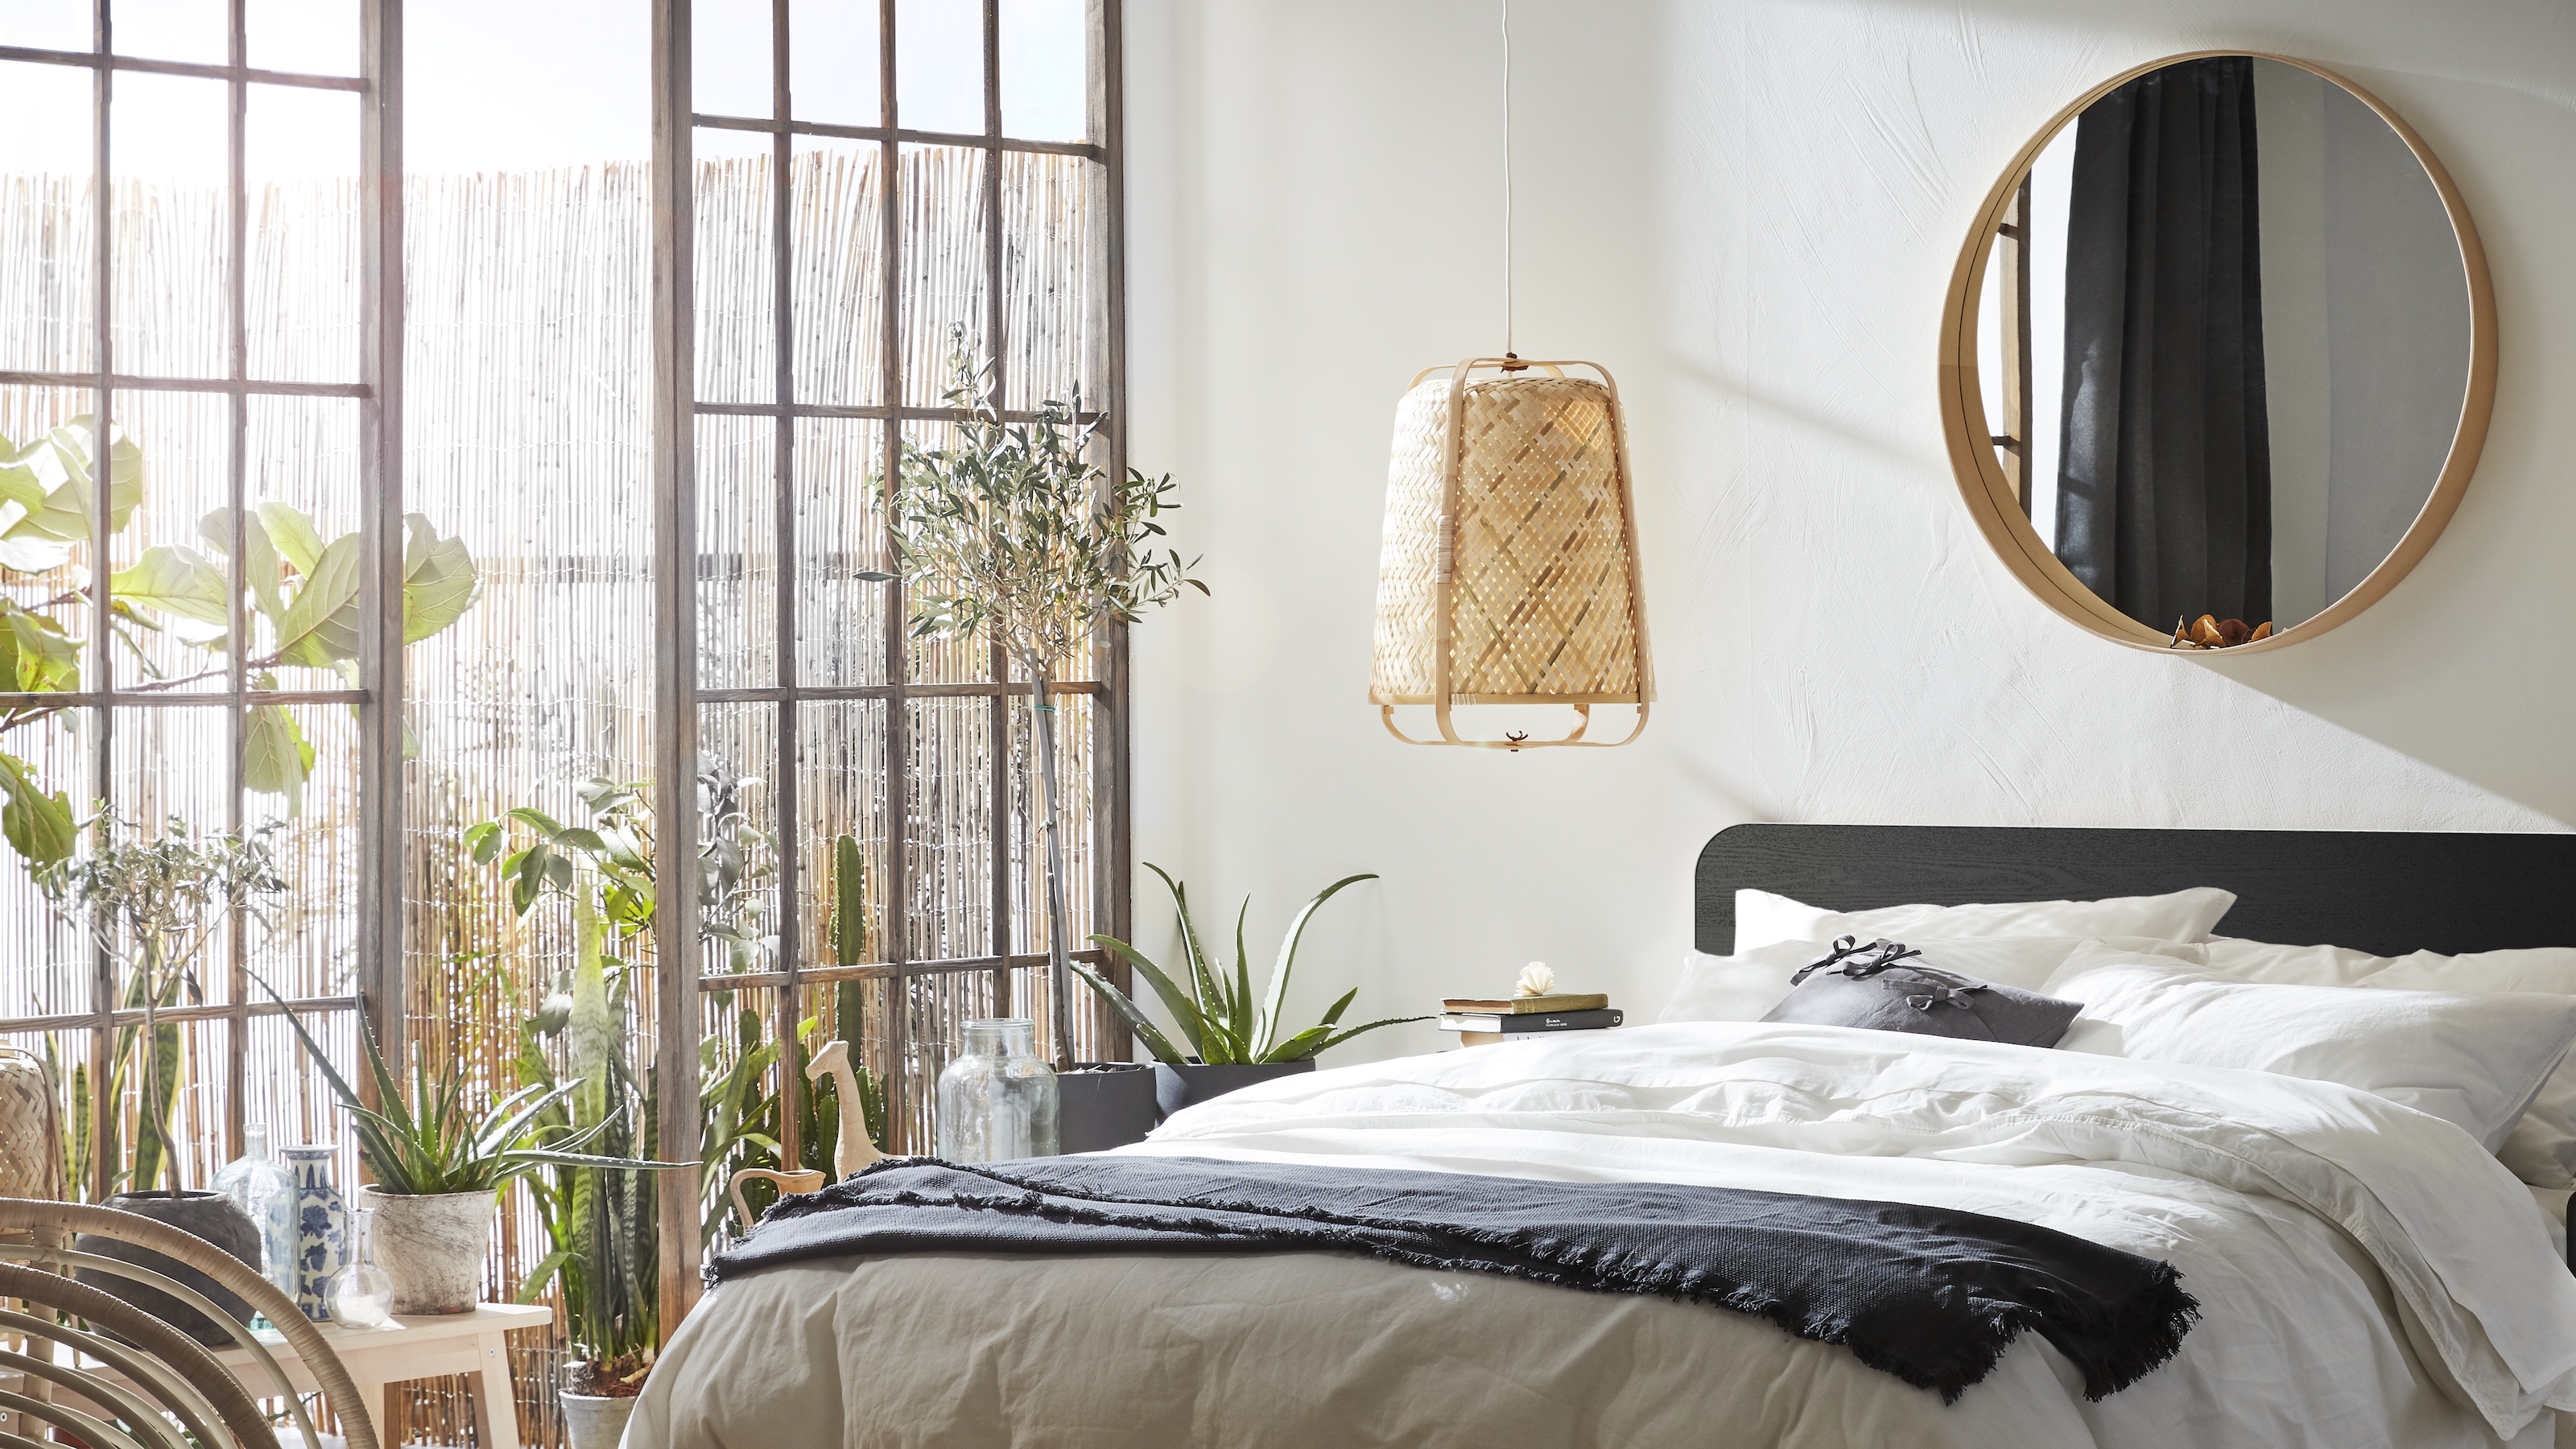
IKEA mirror hacks - the fairest of easy updates that won't blow the budget
You can hang with us - 31 Aug 2023 - ELLE Decoration - UK Magazine
Bathroom mirror ideas – 10 elegant styles to suit any space |
Is it okay to have more than one mirror in a room? This is the one instance designers say it's never okay
DIY A Showstopping, Affordable Vanity Mirror With TikTok's Easy IKEA Hack
20 Bathroom Mirrors That Completely Steal The Show

20 Design-Forward Mirrors to Majorly Upgrade Your Bathroom
19 Gorgeous Mirrors For Every Room of Your Home

12 Ways Decorating With Mirrors Can Take a Space From Static to Stylish, Shiny, and More Spacious
Should you put a mirror in front of a bathroom window? This trick can help you re-think a small bathroom layout
A Home Bargains buy made my hall look bigger, but everyone's saying the same

A Gorgeous IKEA Vanity Hack Transforms This Dated 2000s Bathroom