How to Use IKEA Furniture for Built-In Storage
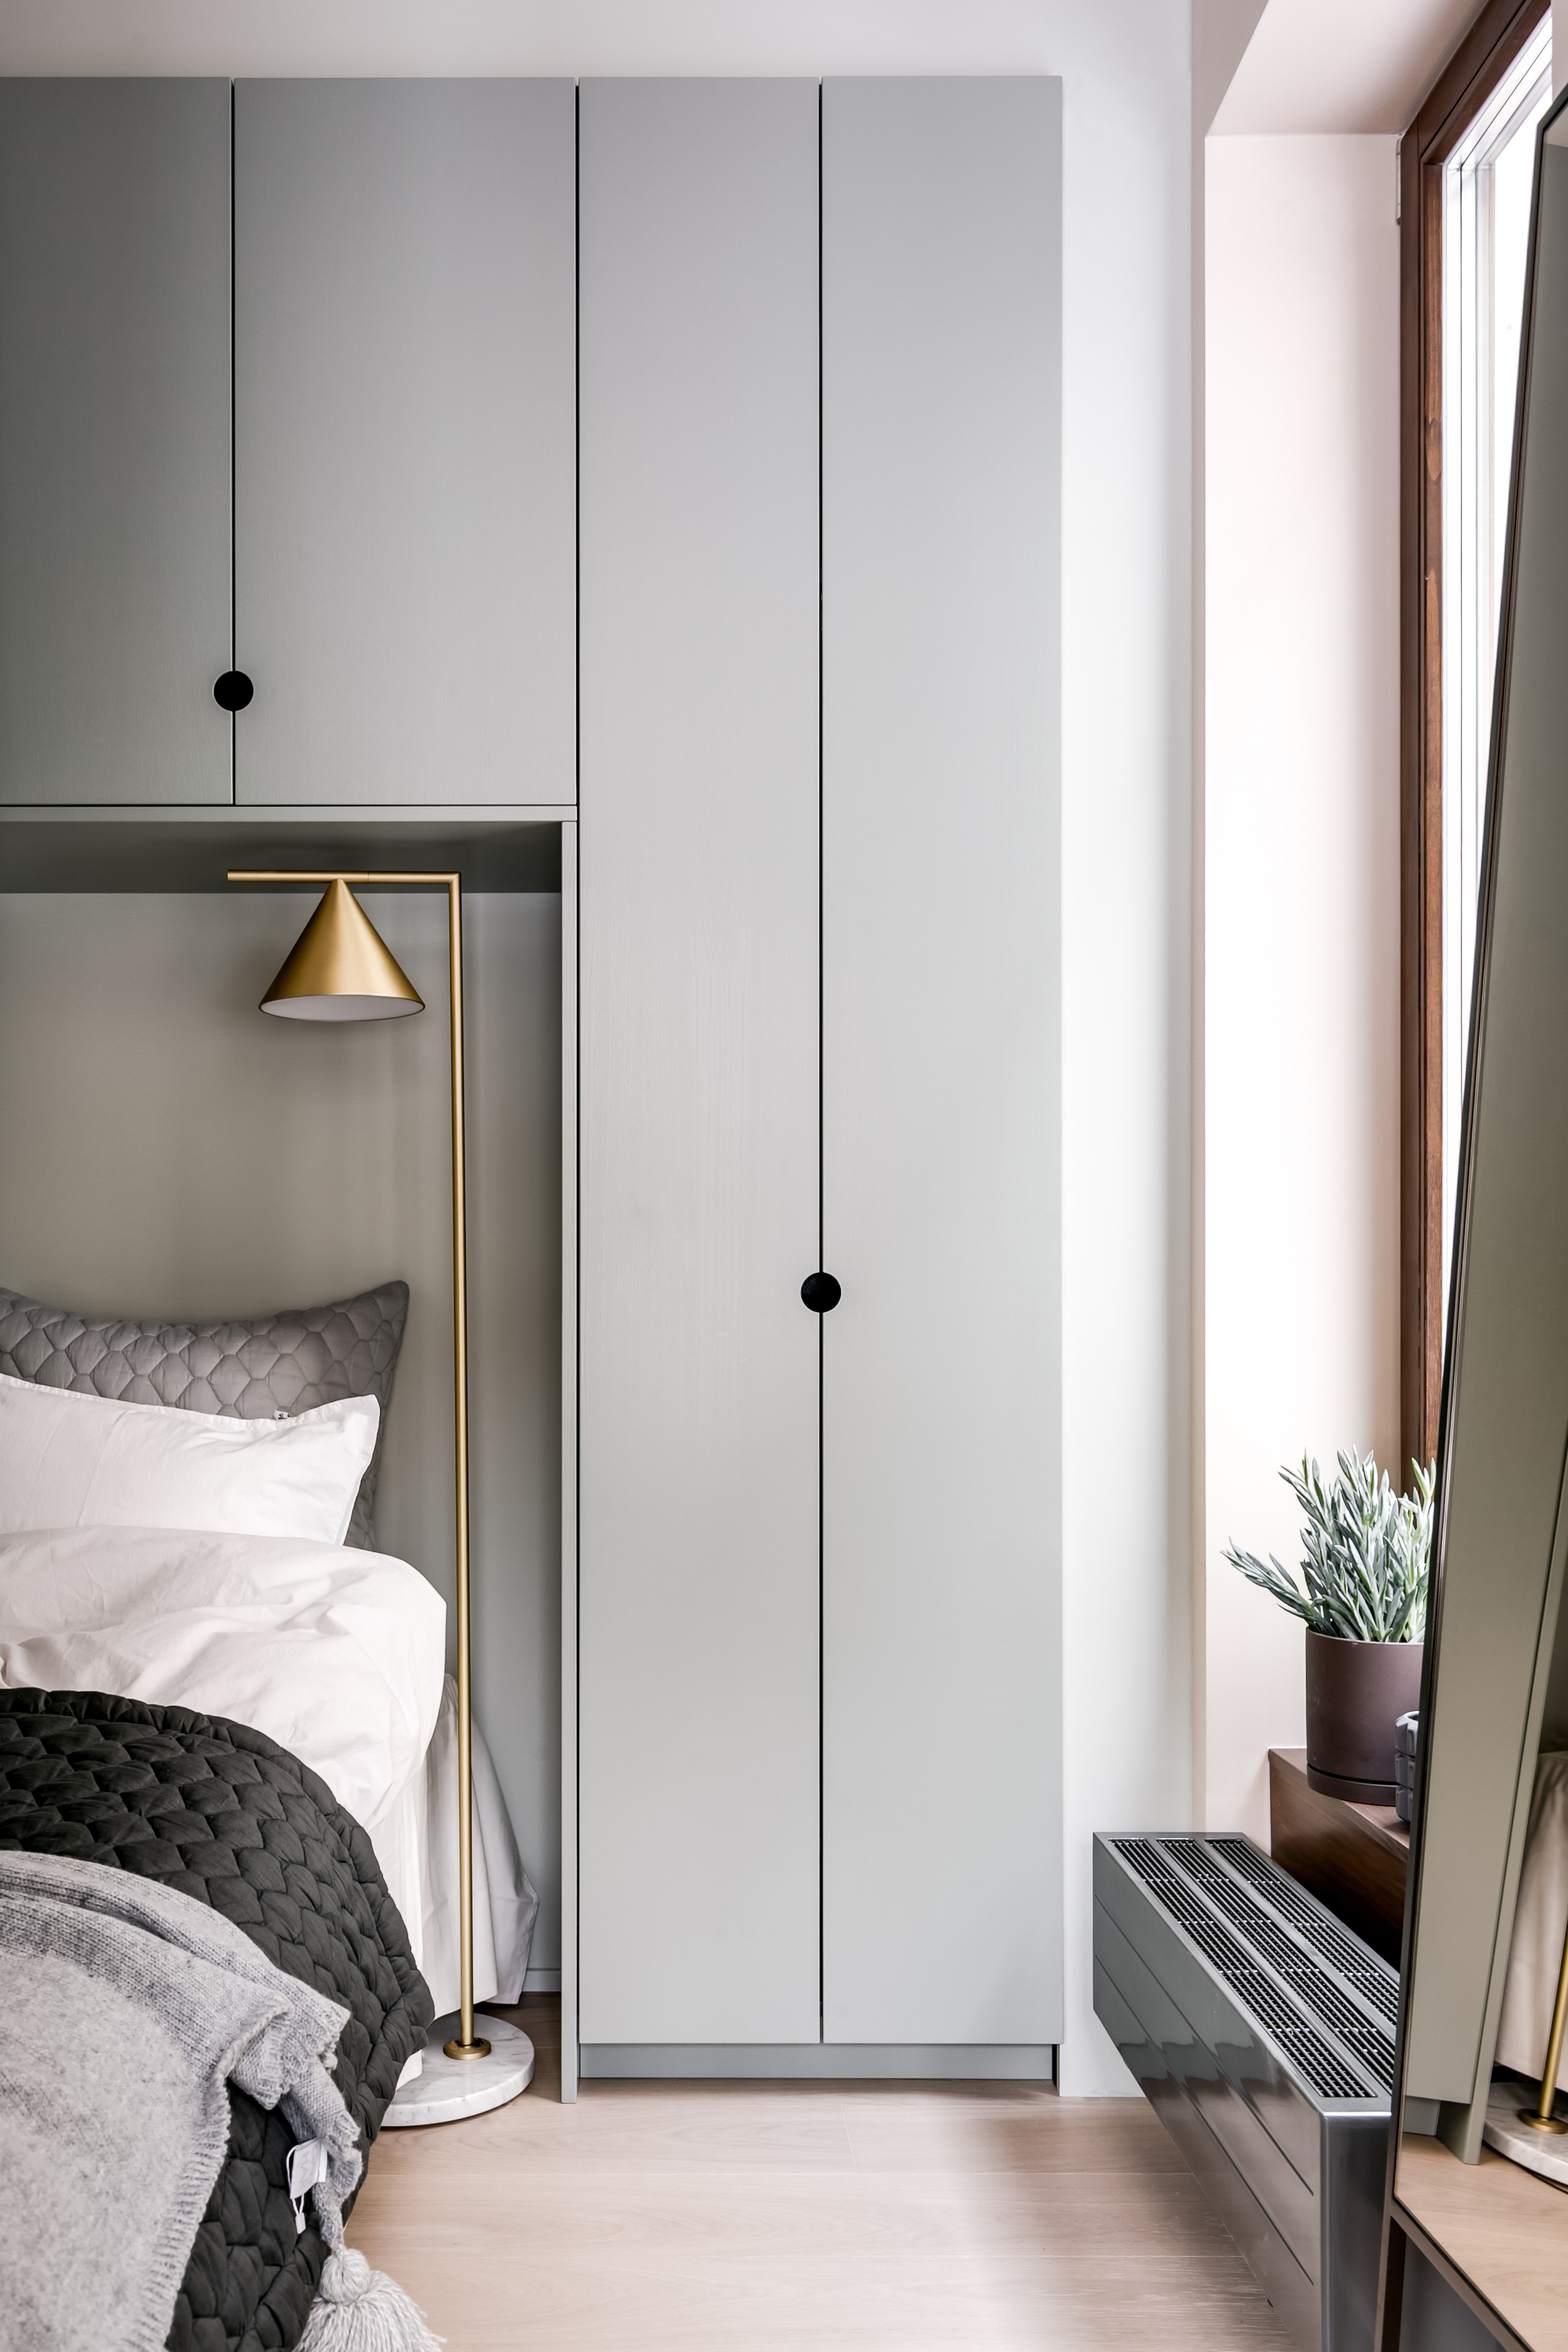
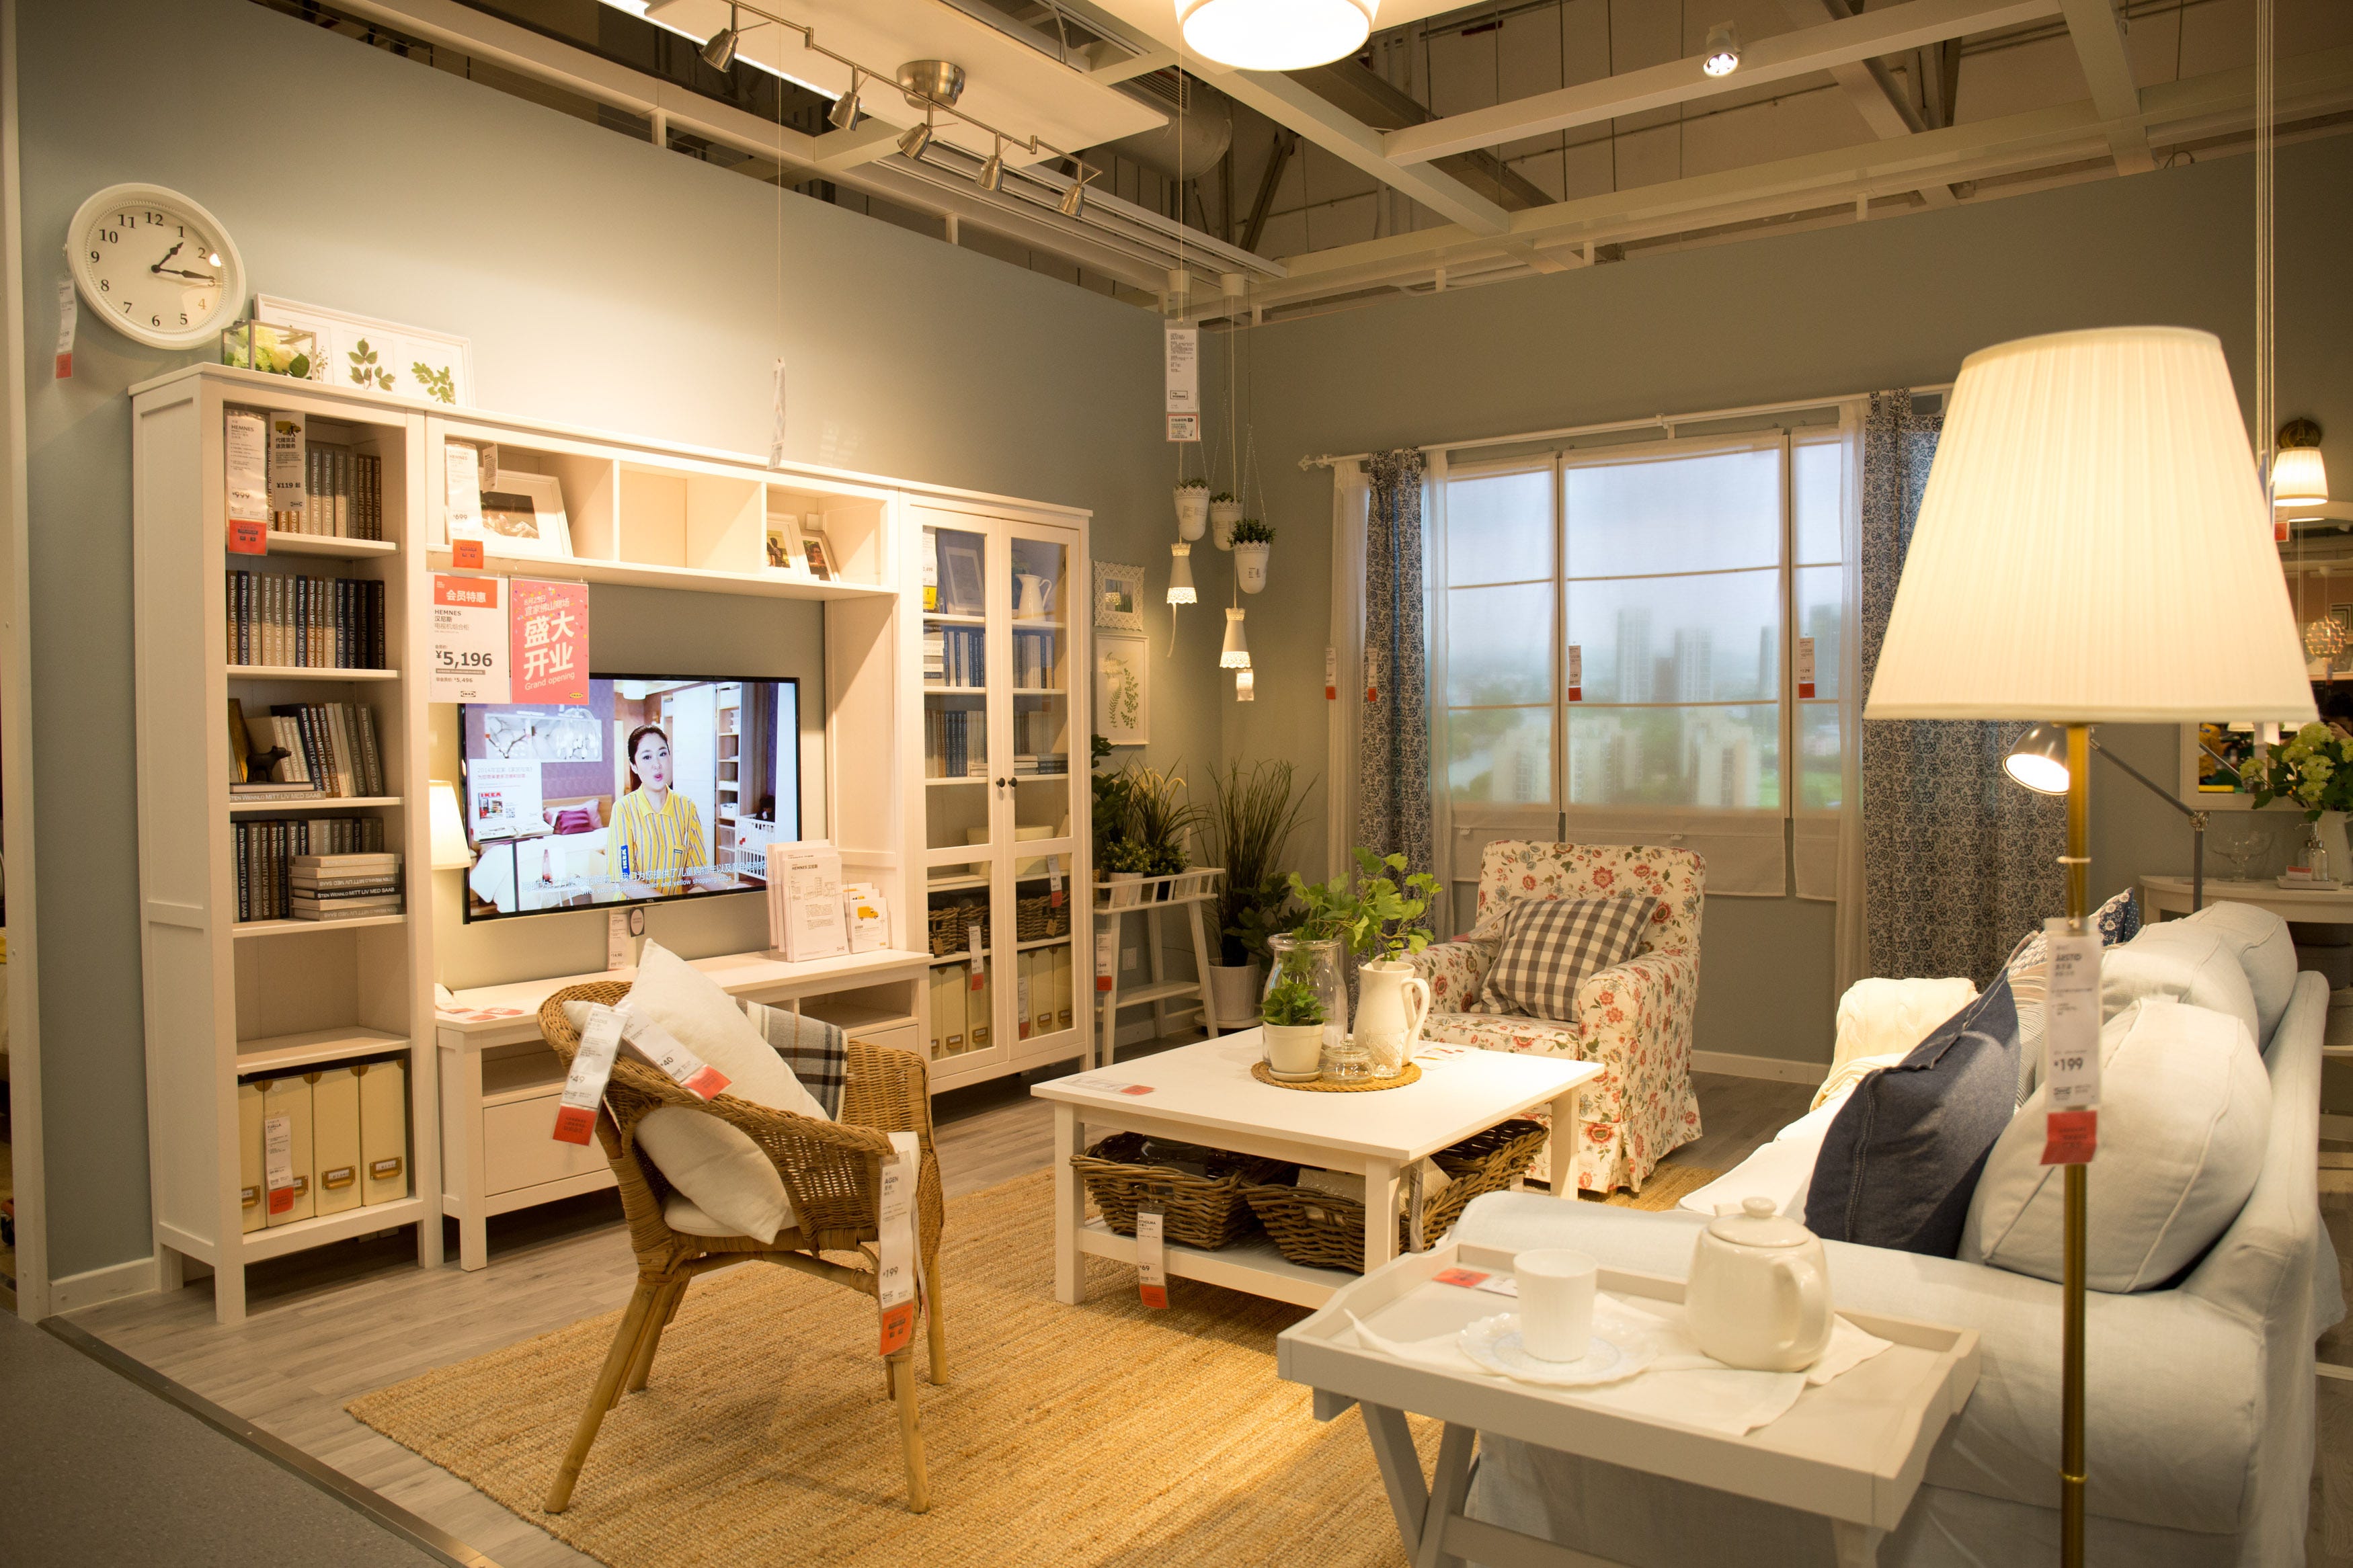
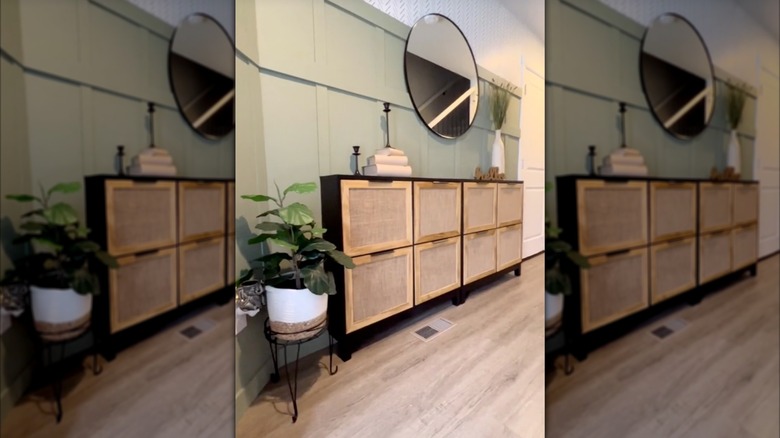
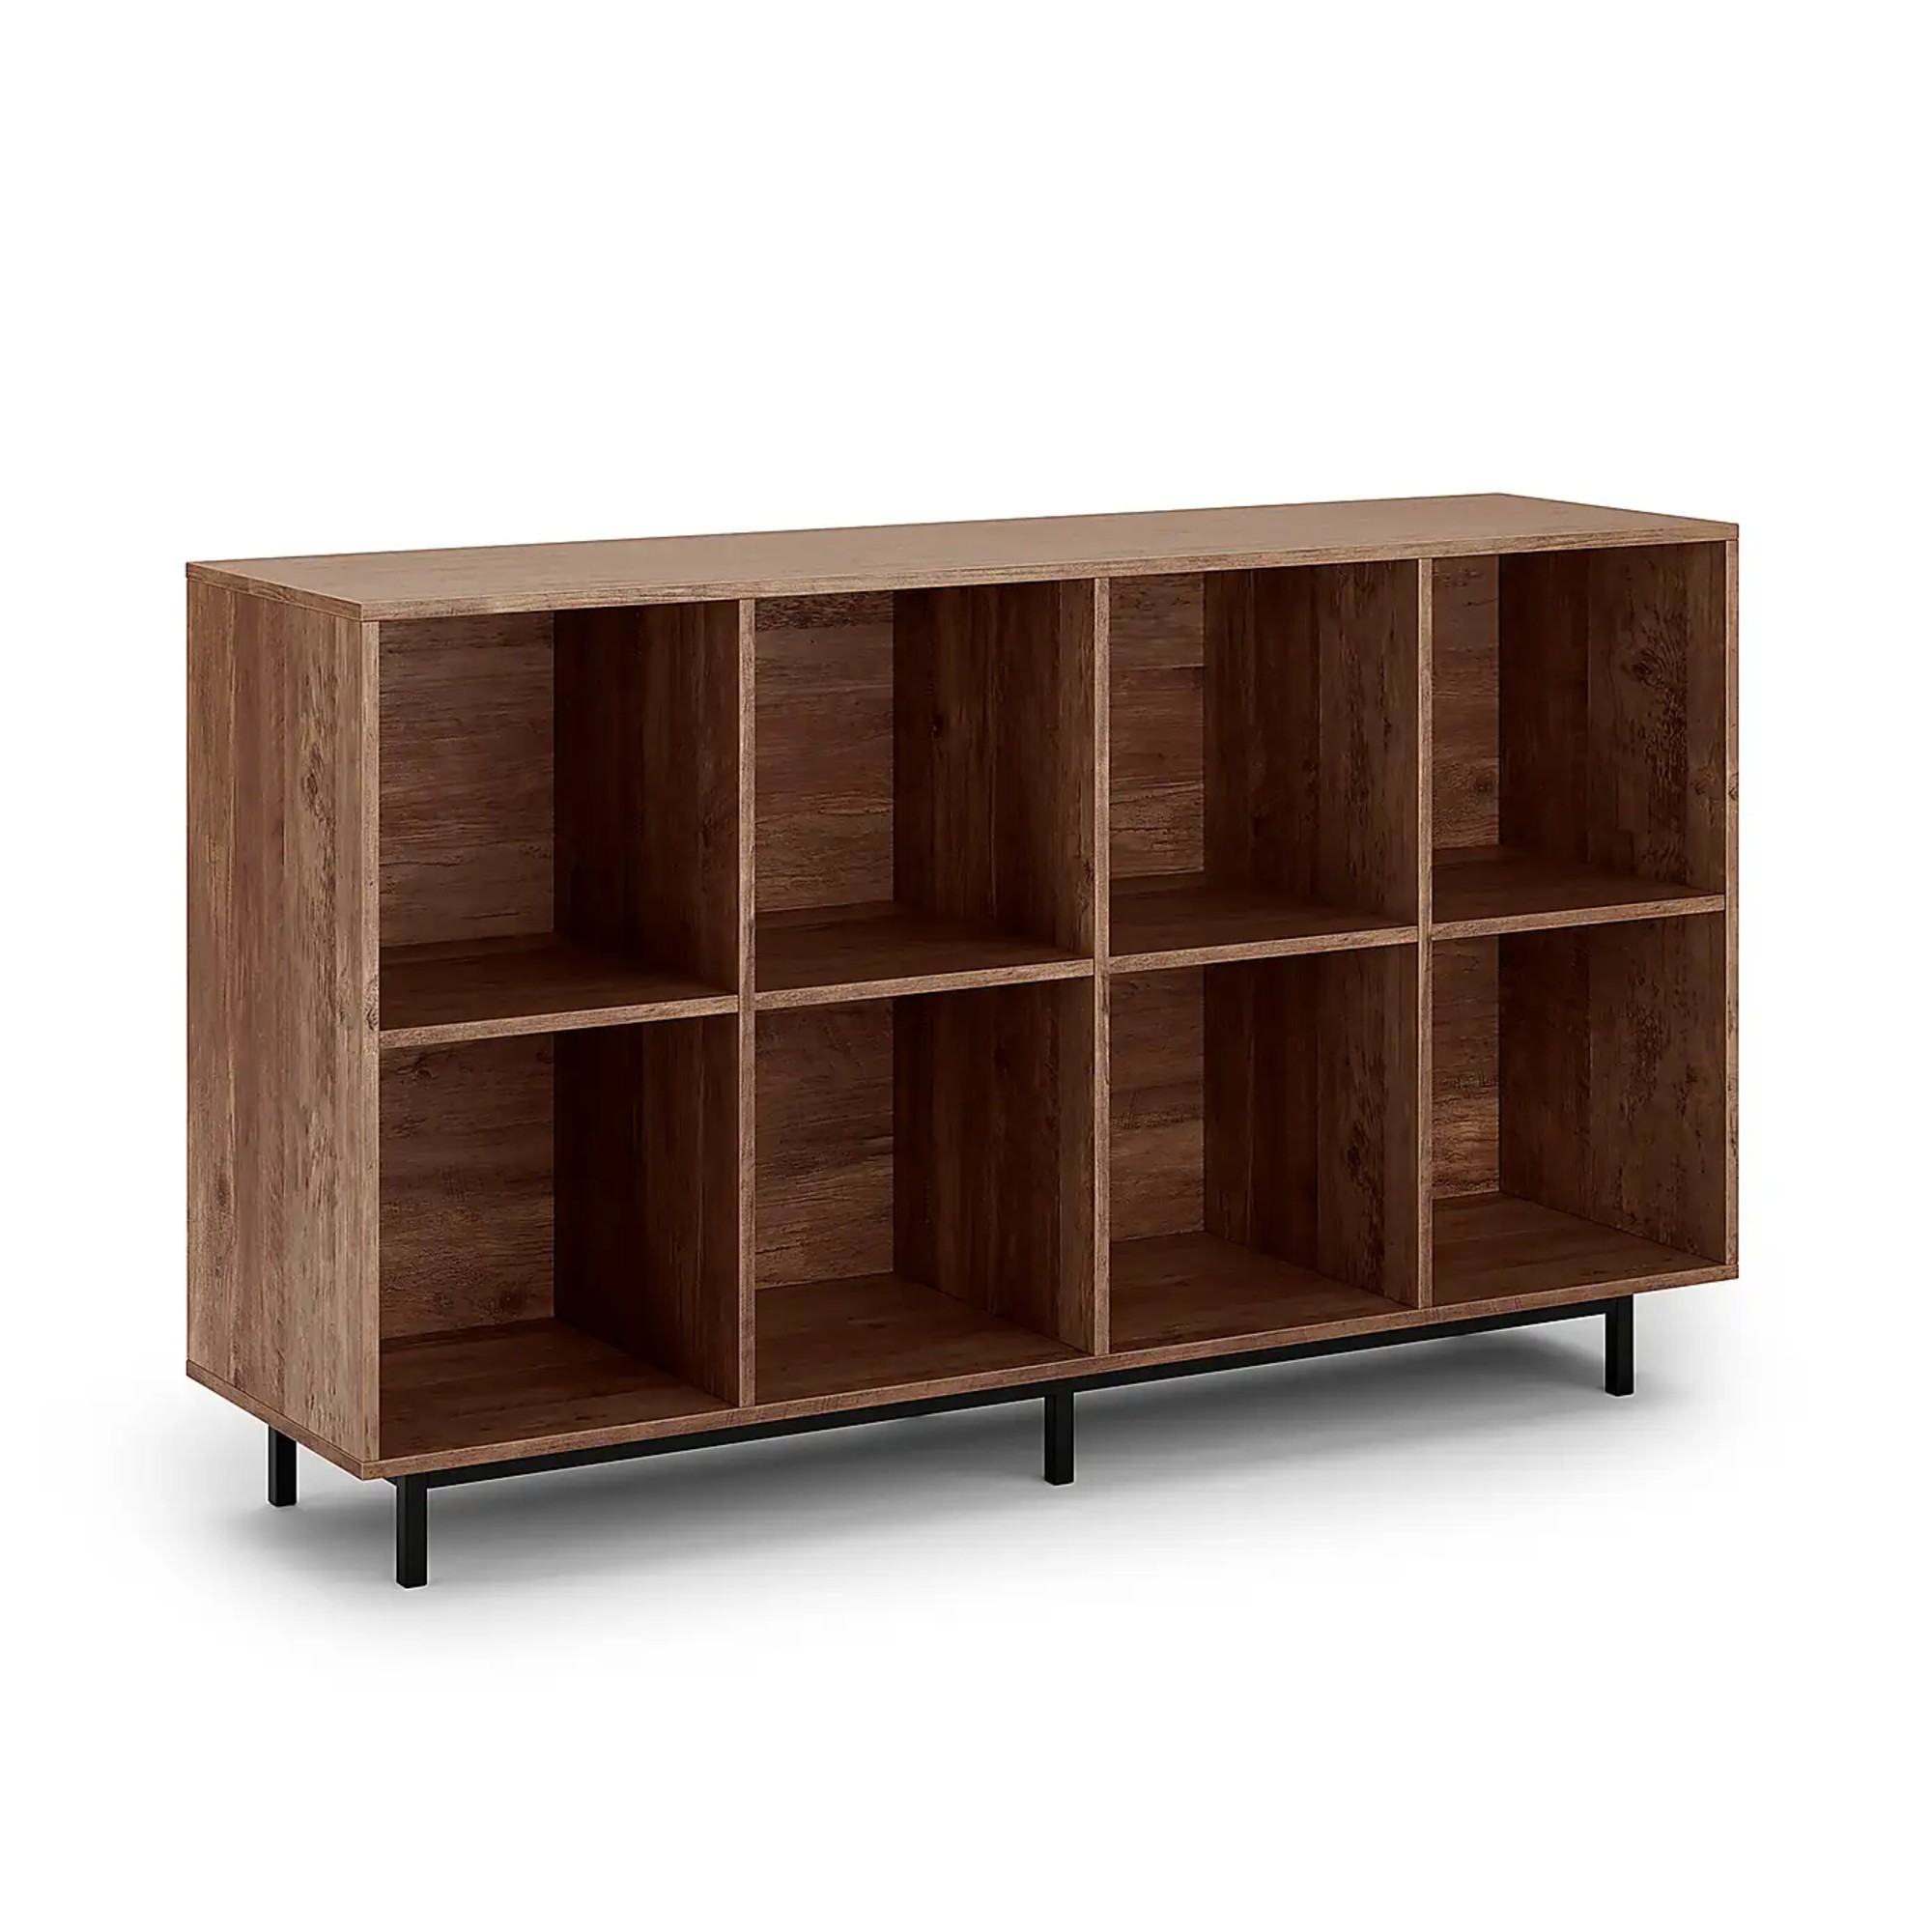
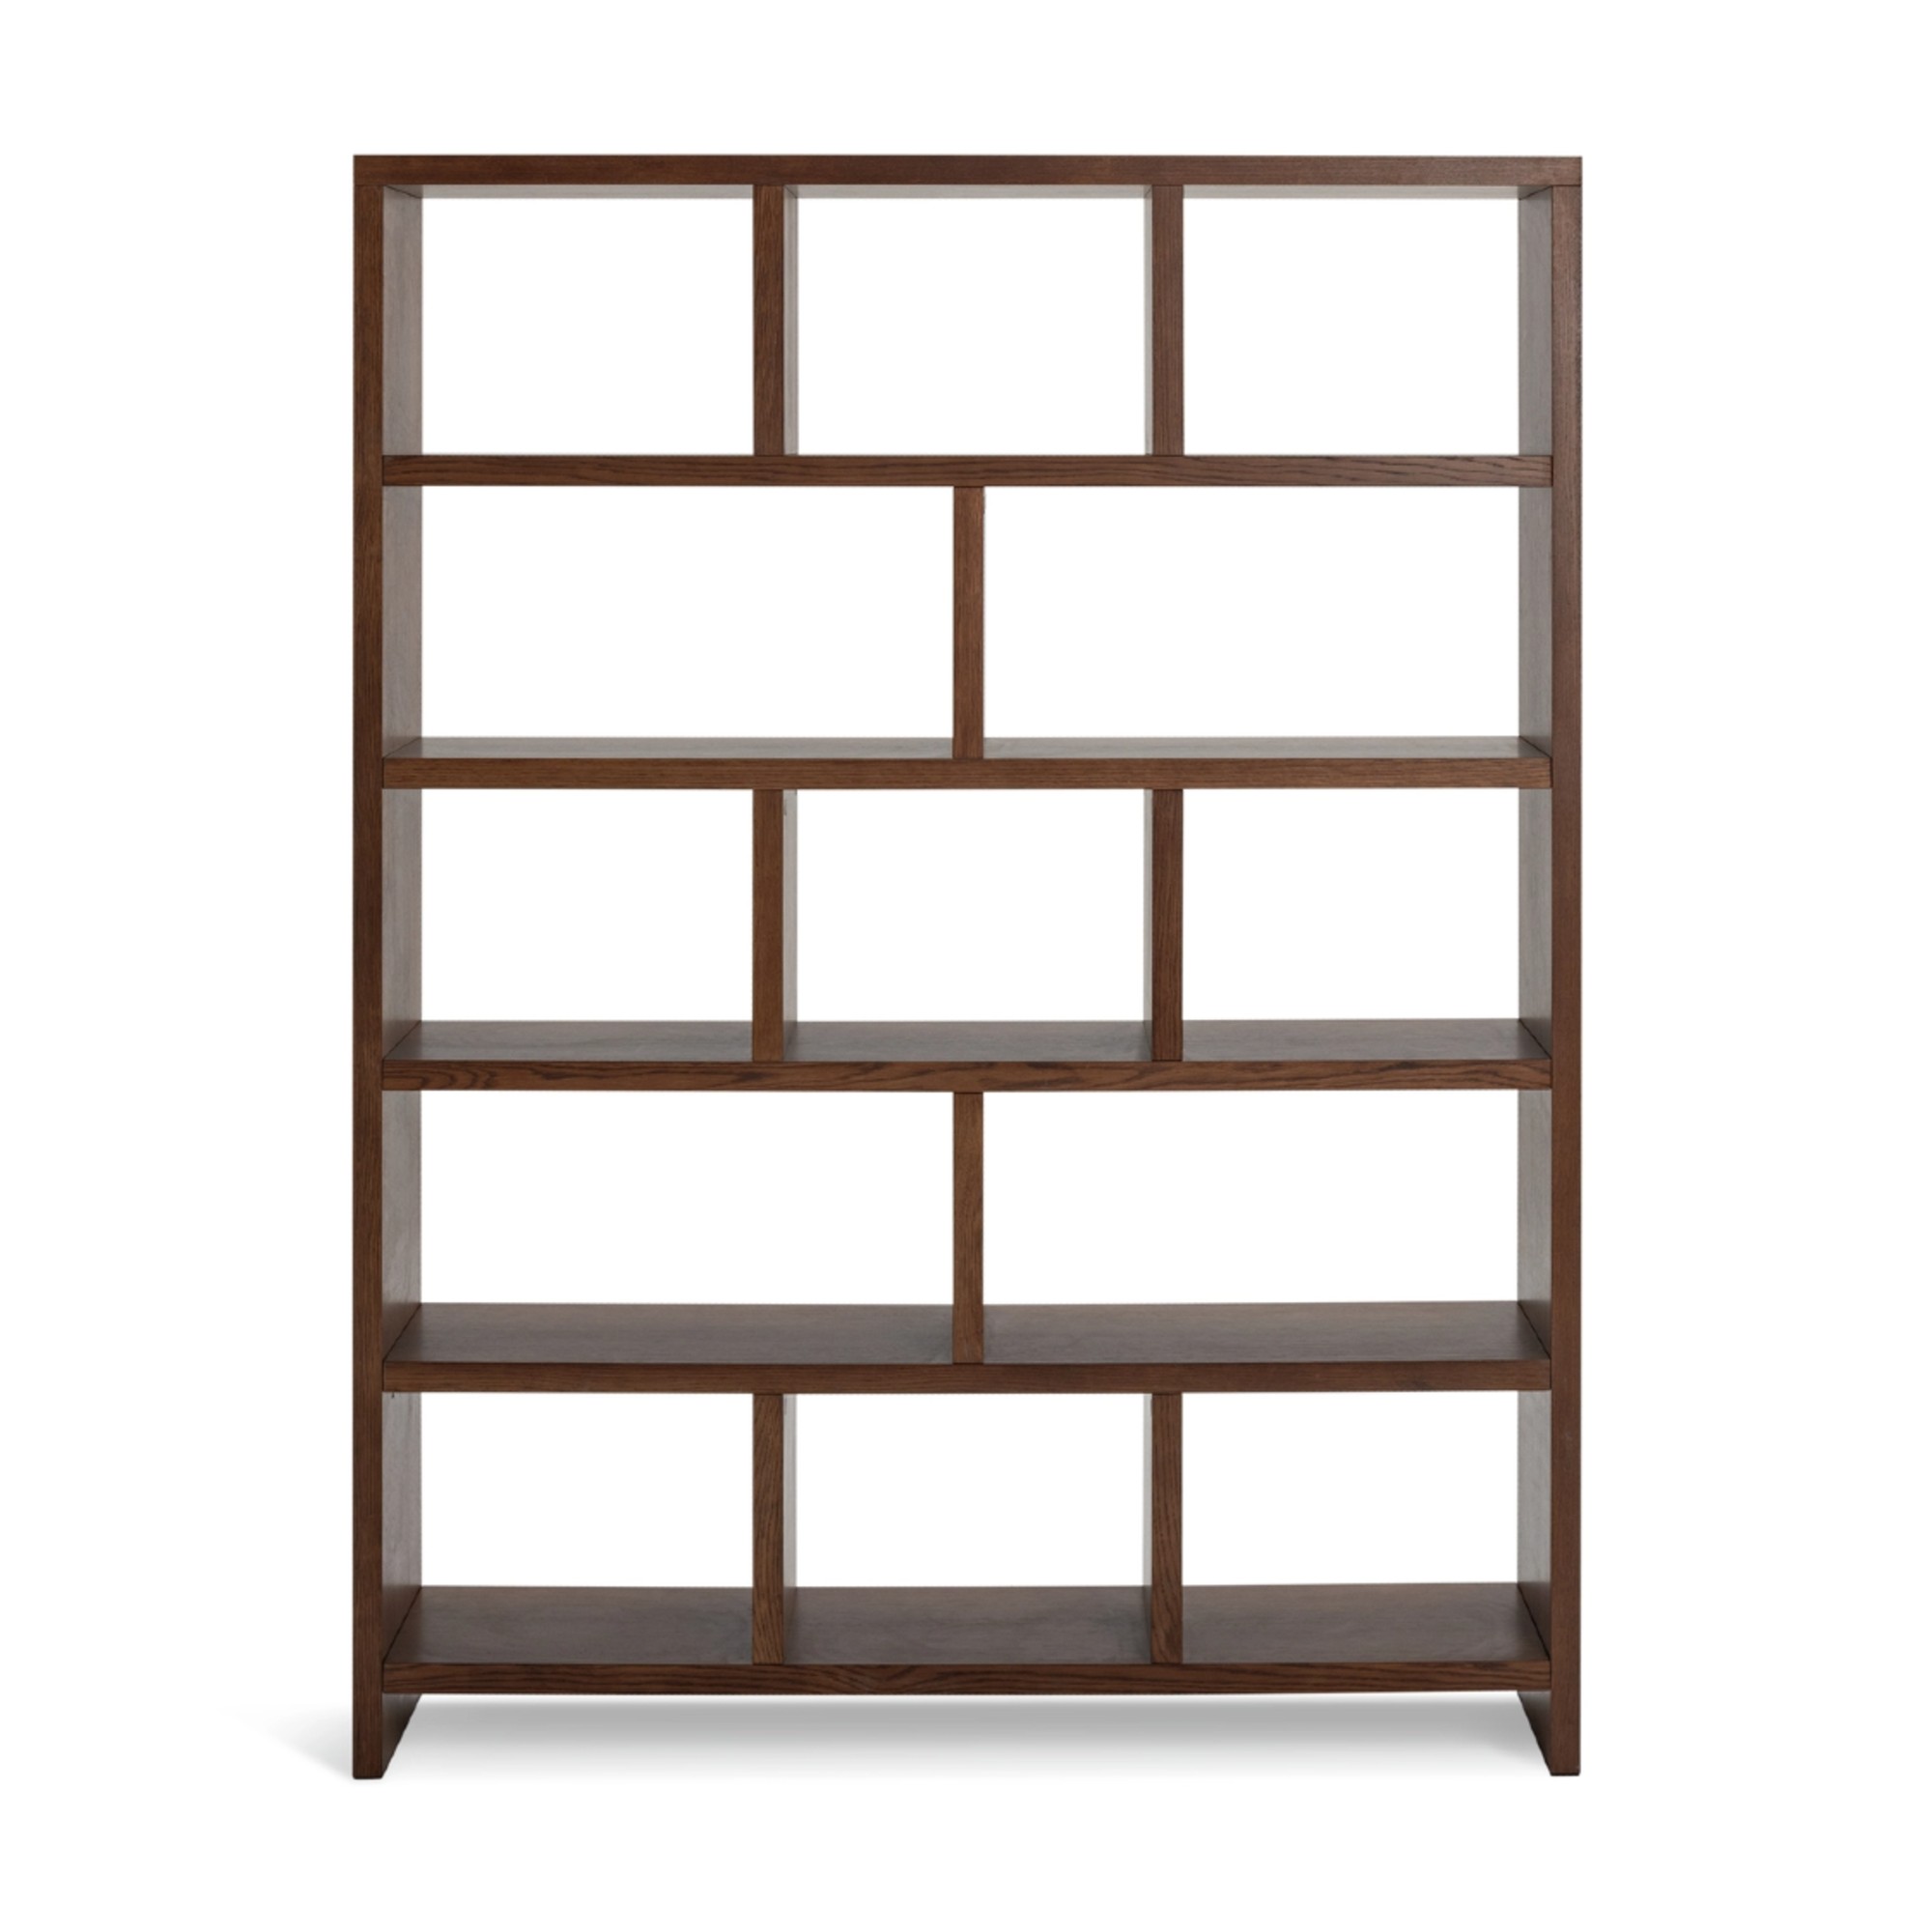
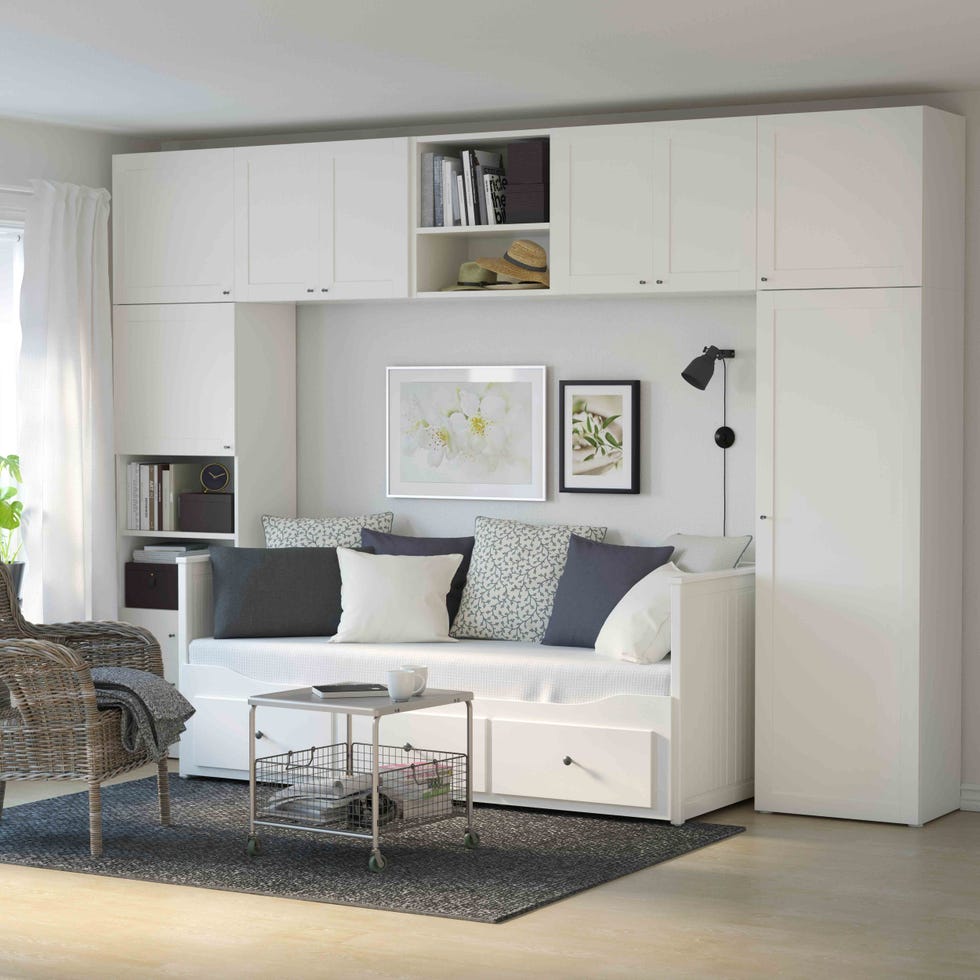
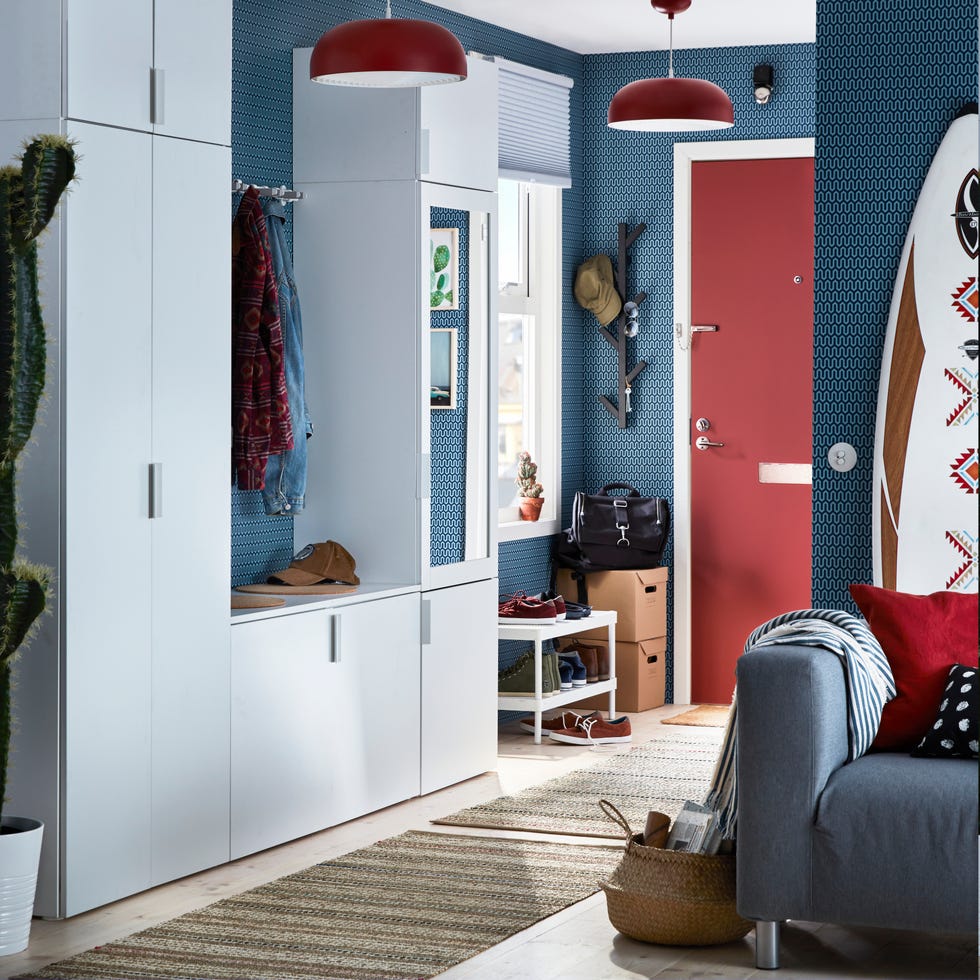
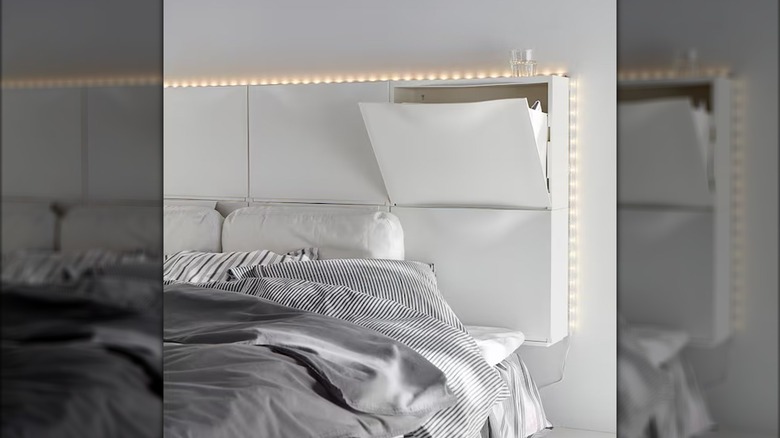
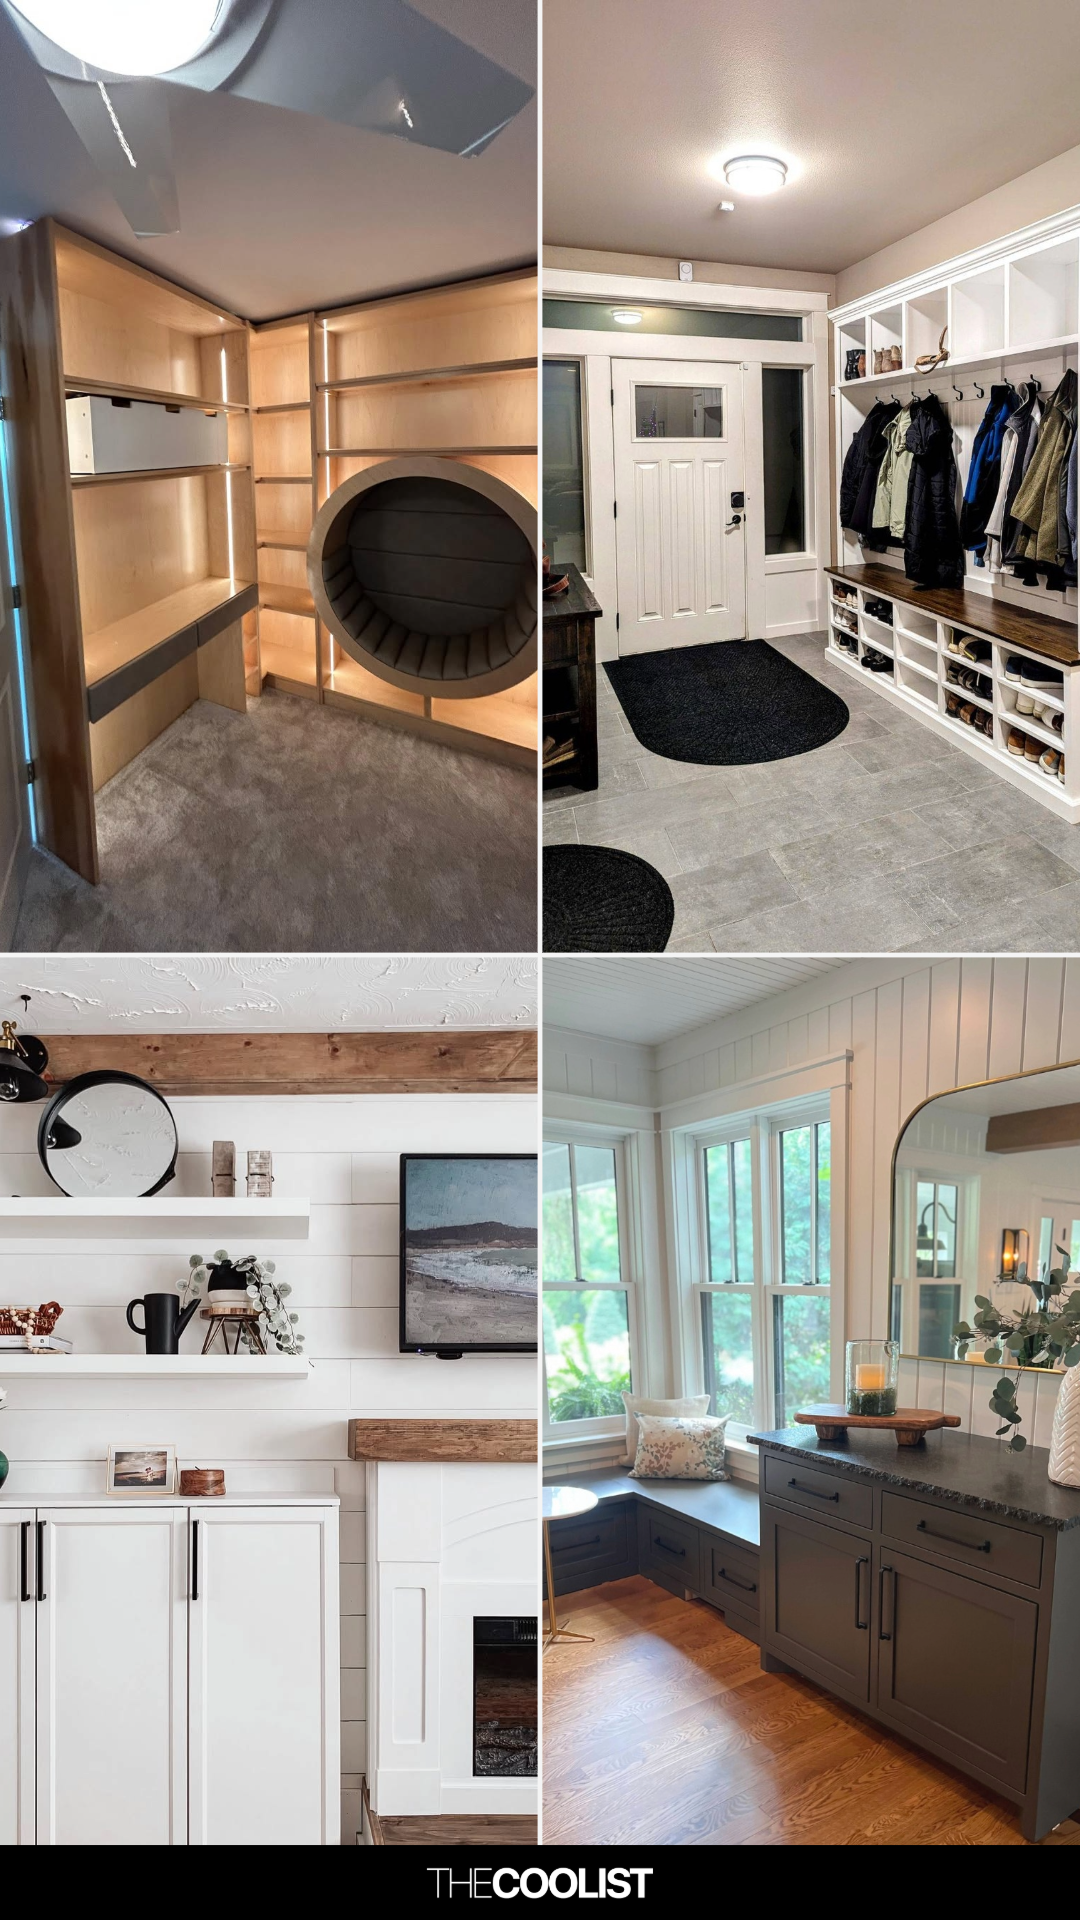
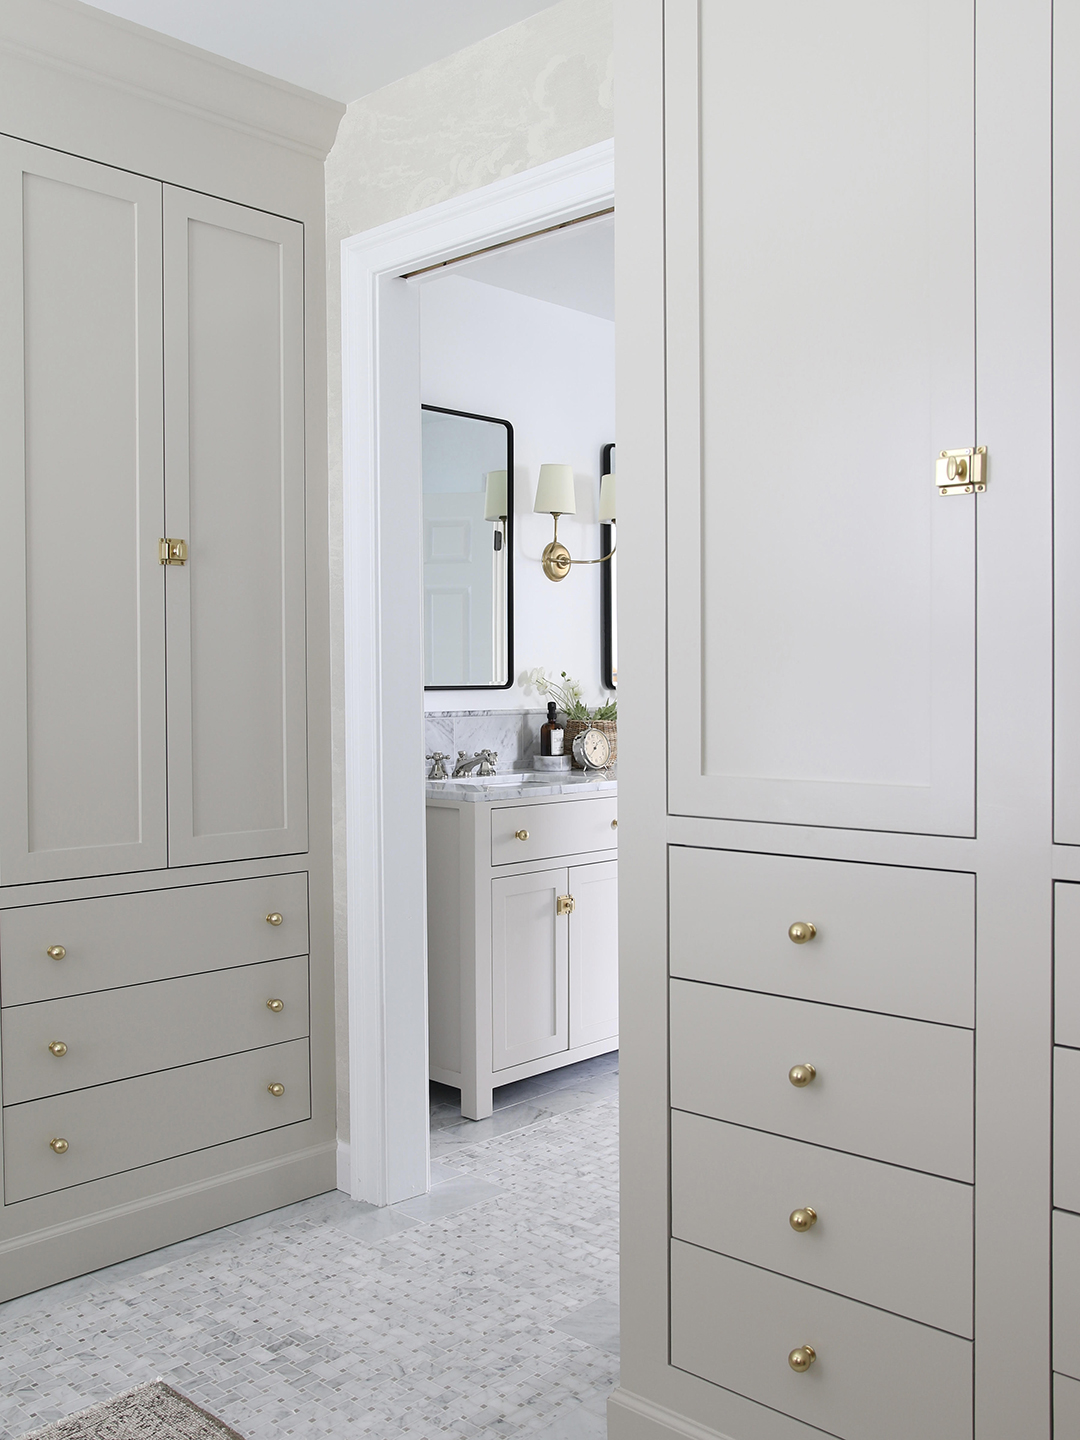
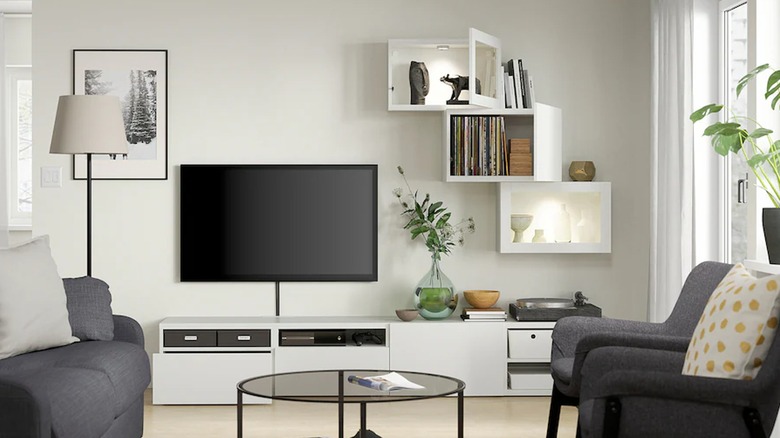
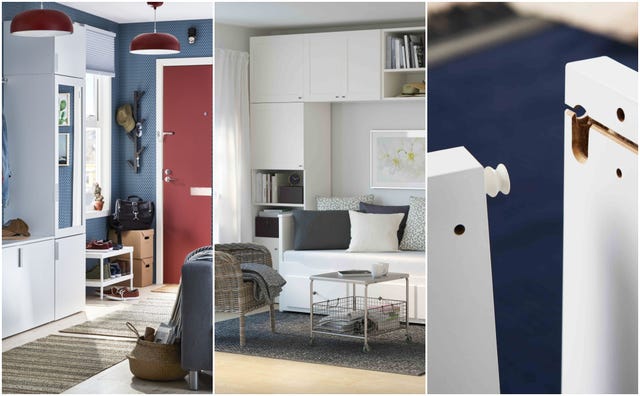
This article explores how to transform affordable IKEA furniture into custom-looking built-in storage solutions, offering a budget-friendly alternative to expensive bespoke options. It highlights popular IKEA pieces suitable for these DIY projects, including the BILLY bookcase, HEMNES bookcase, HAVSTA cabinets, RAST dresser, and PAX storage system. Each product is discussed in terms of its suitability for customization, material properties, and specific considerations for DIYers, such as finishes for painting or structural modifications like trimming legs or using height extensions.
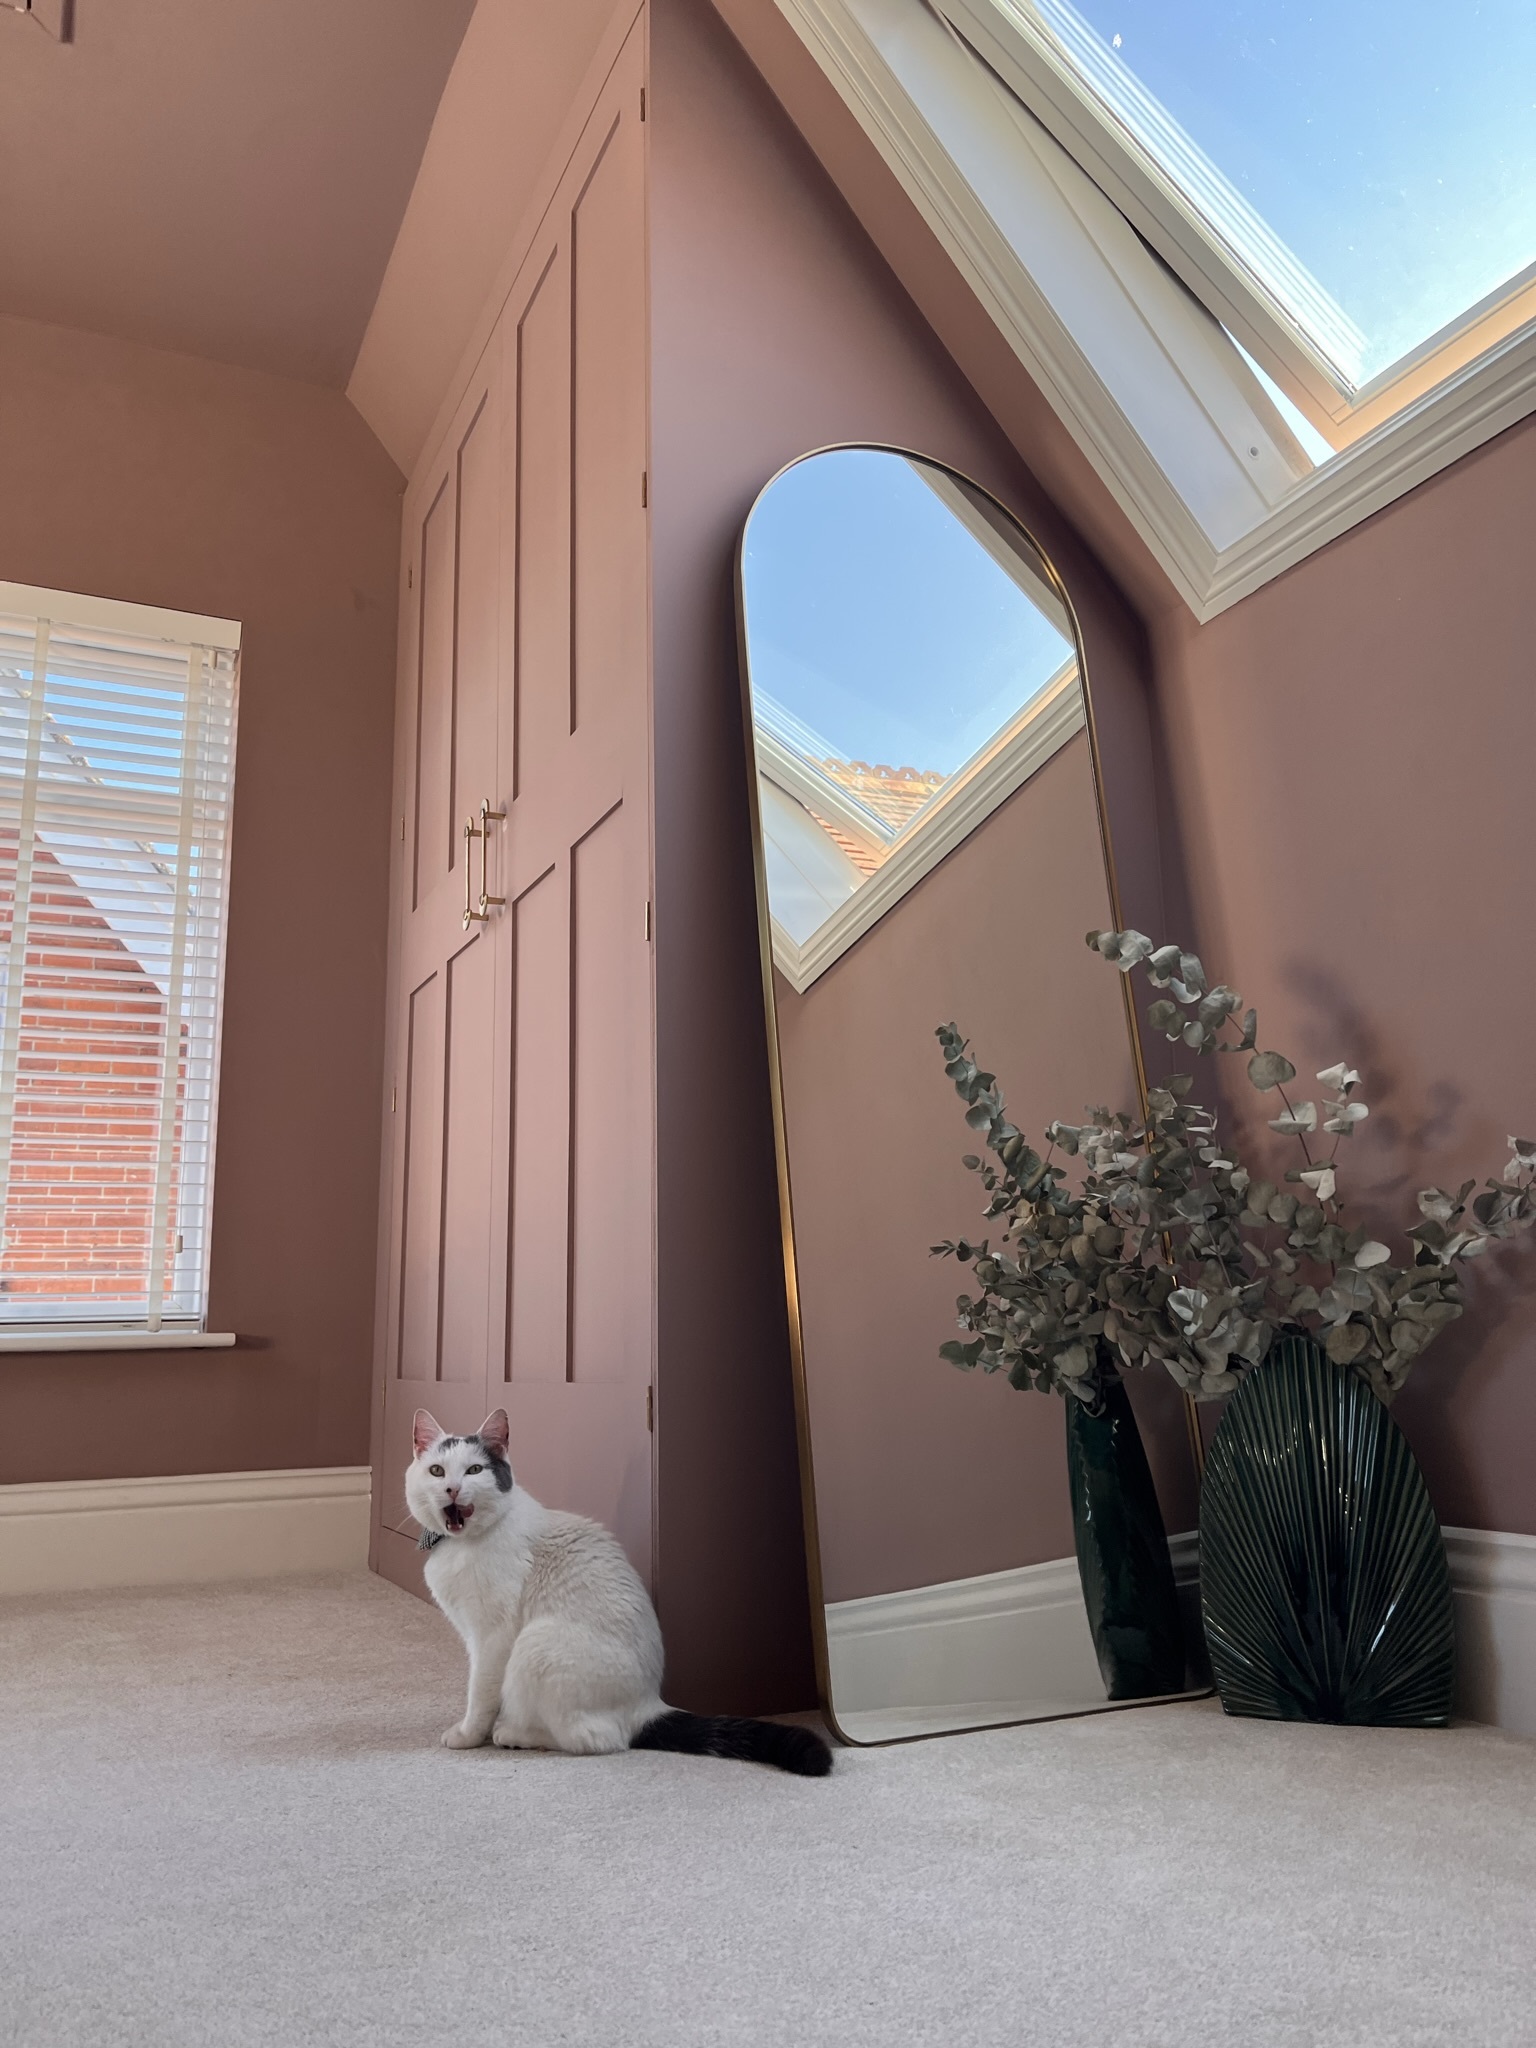
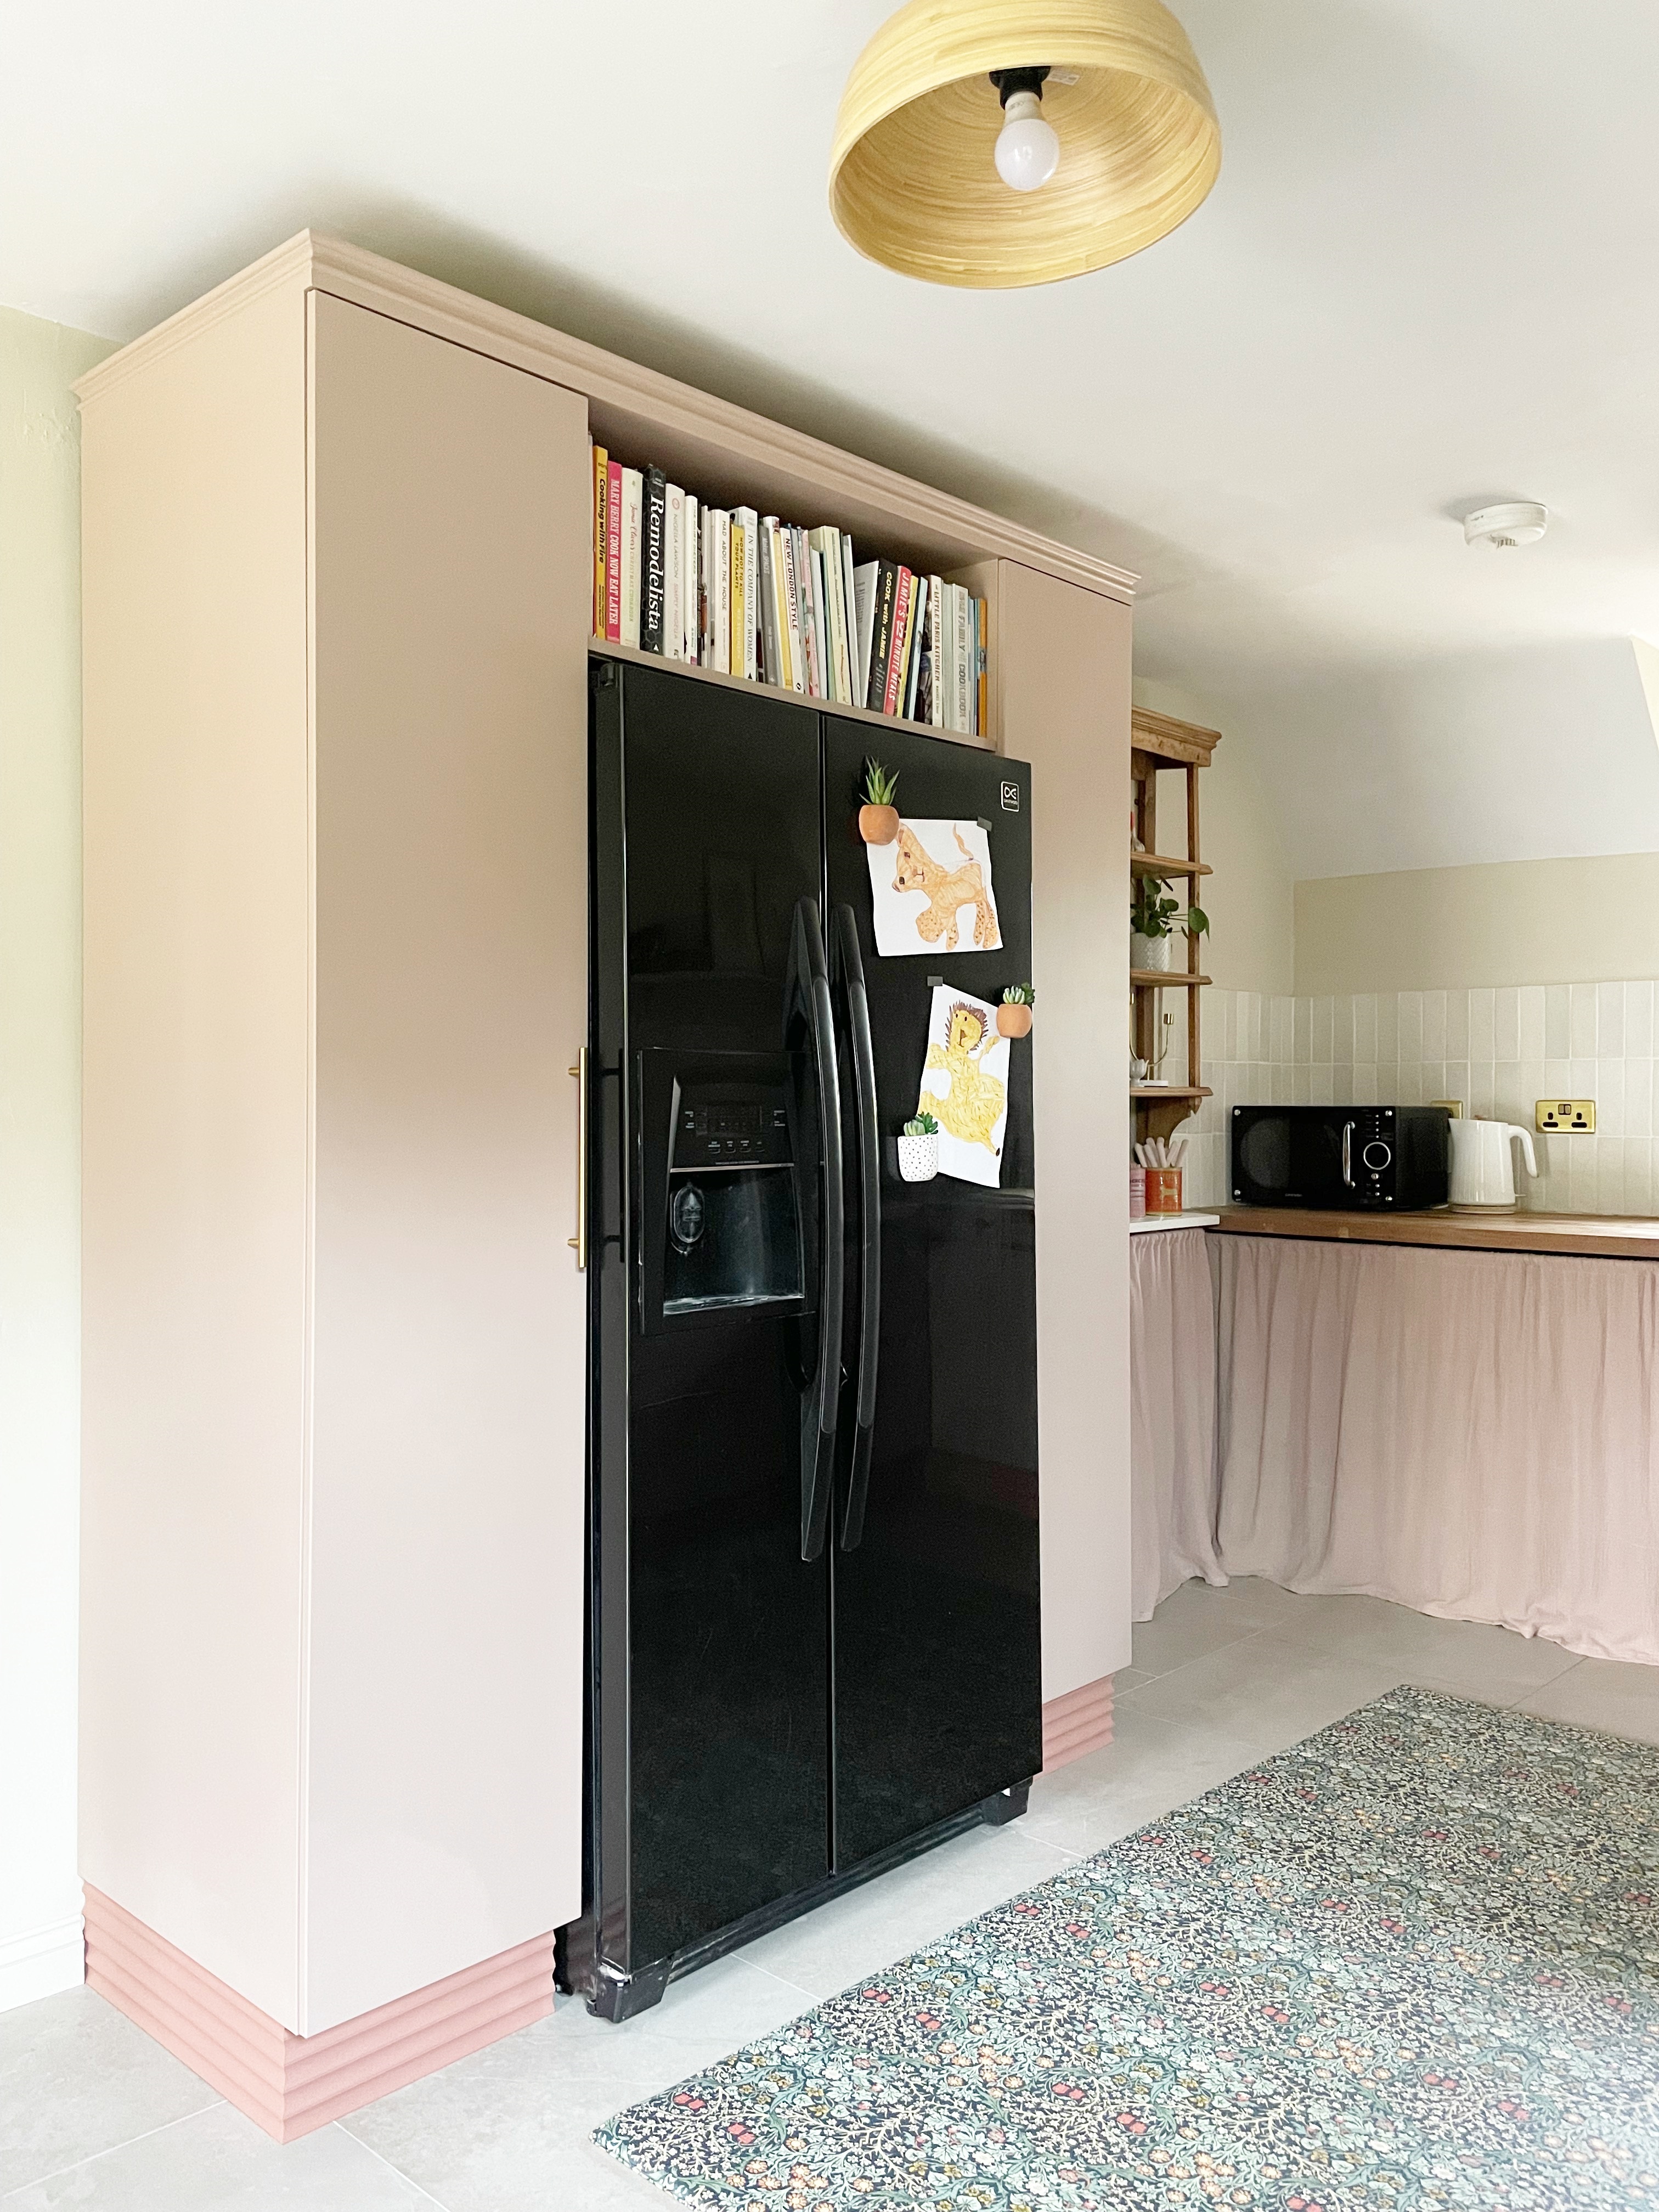
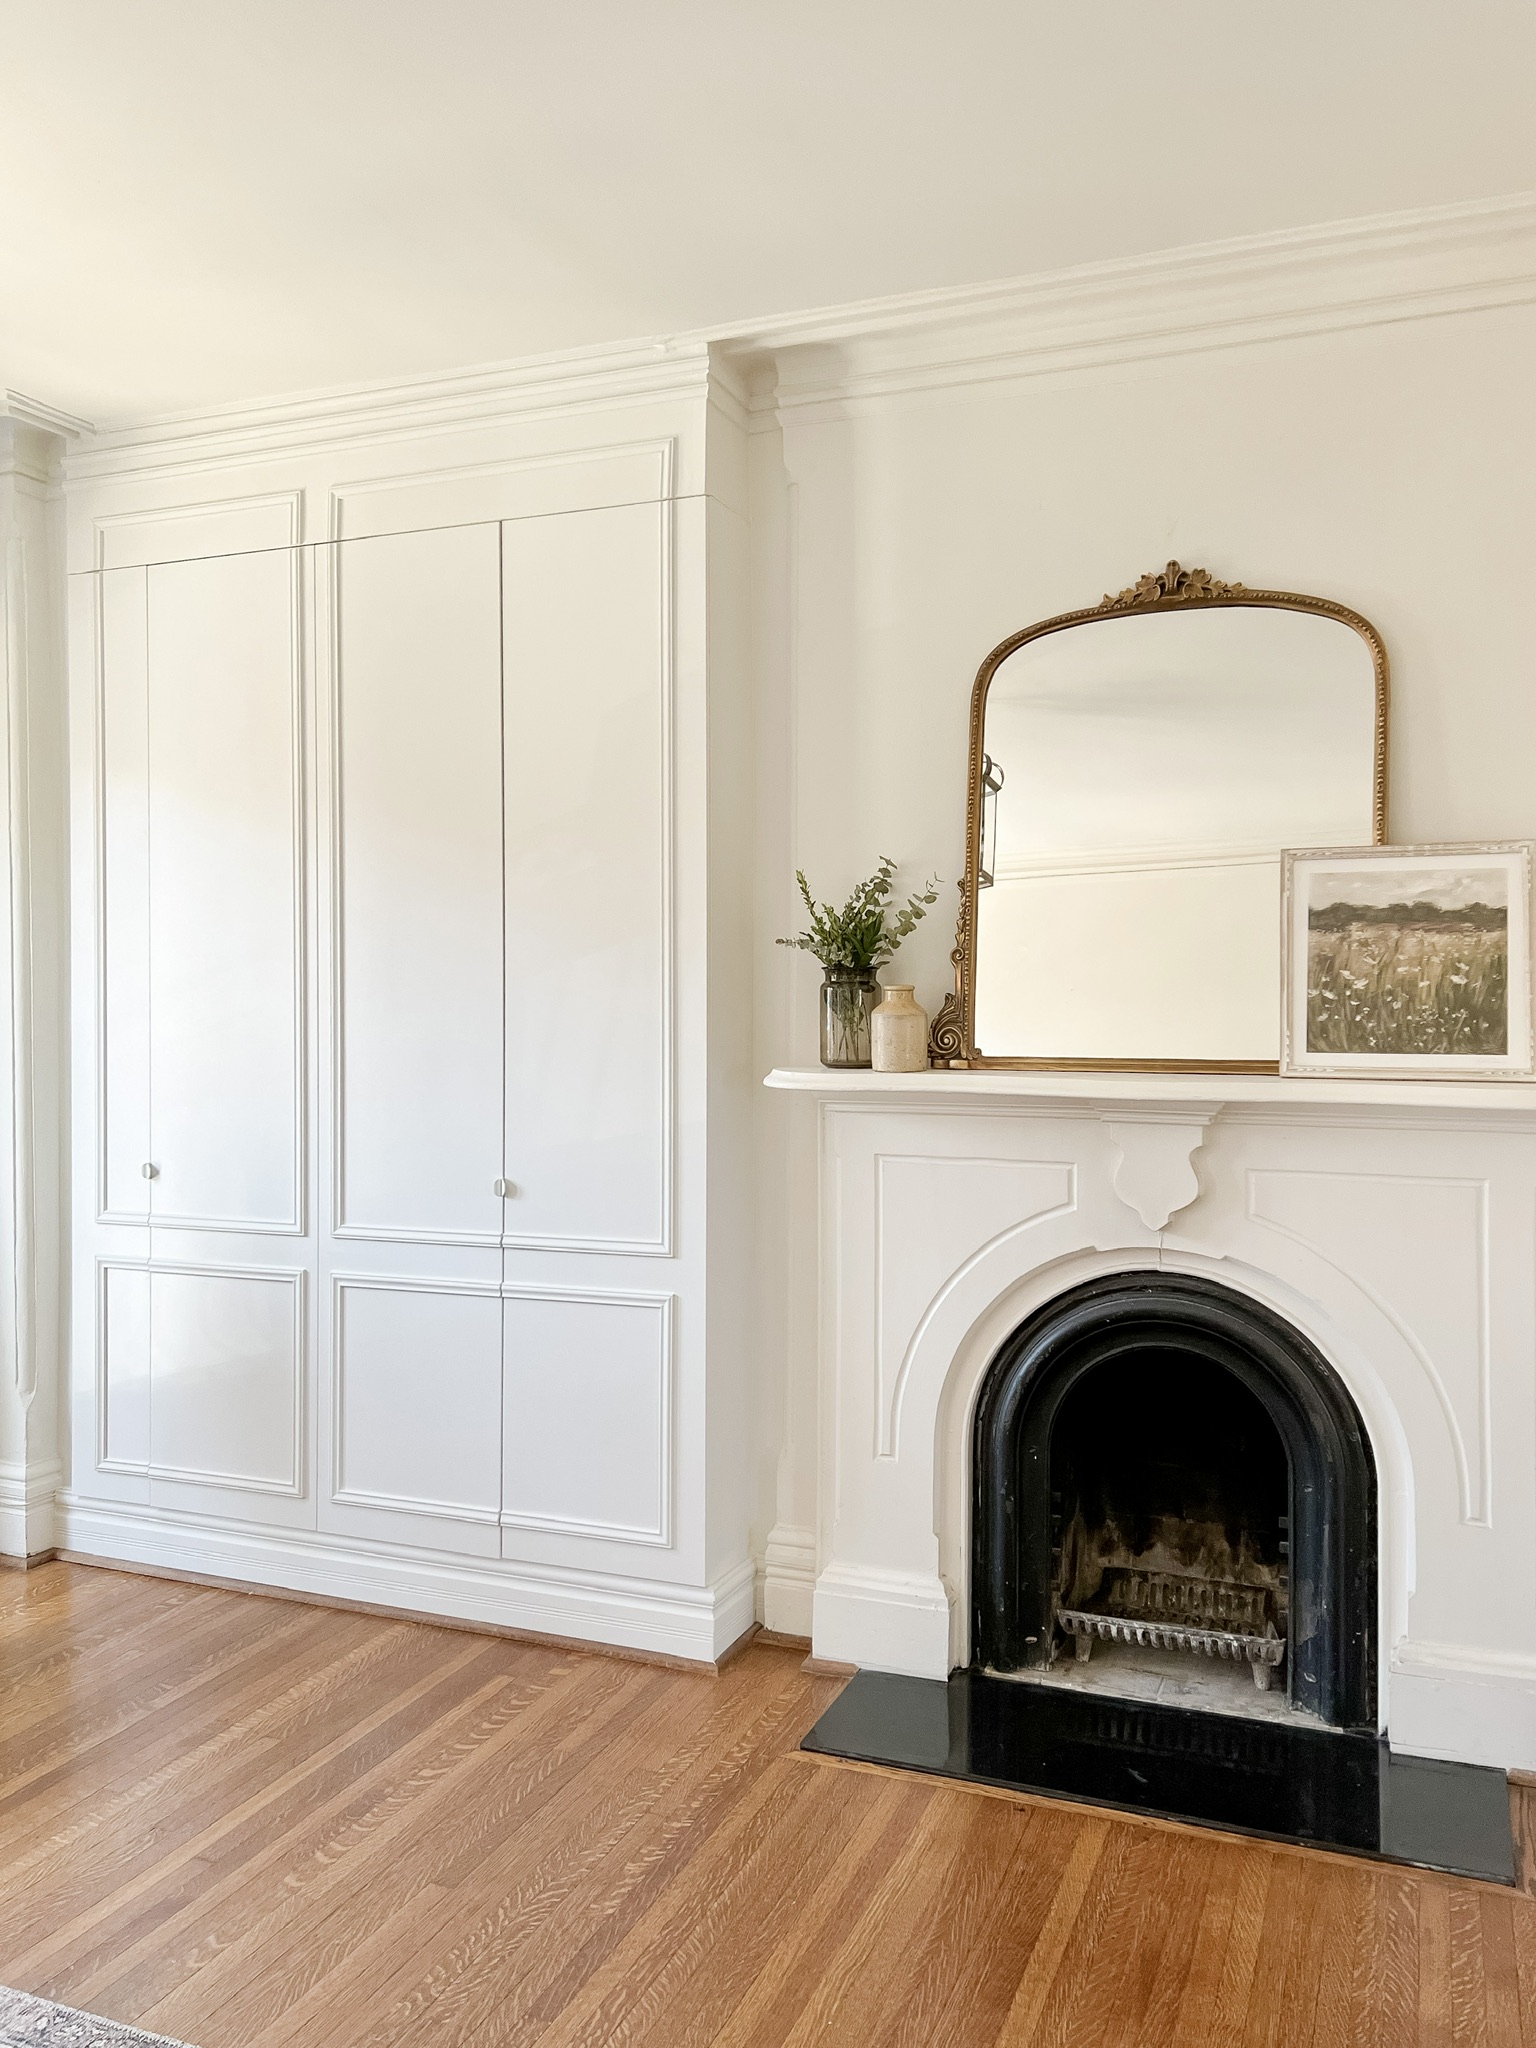
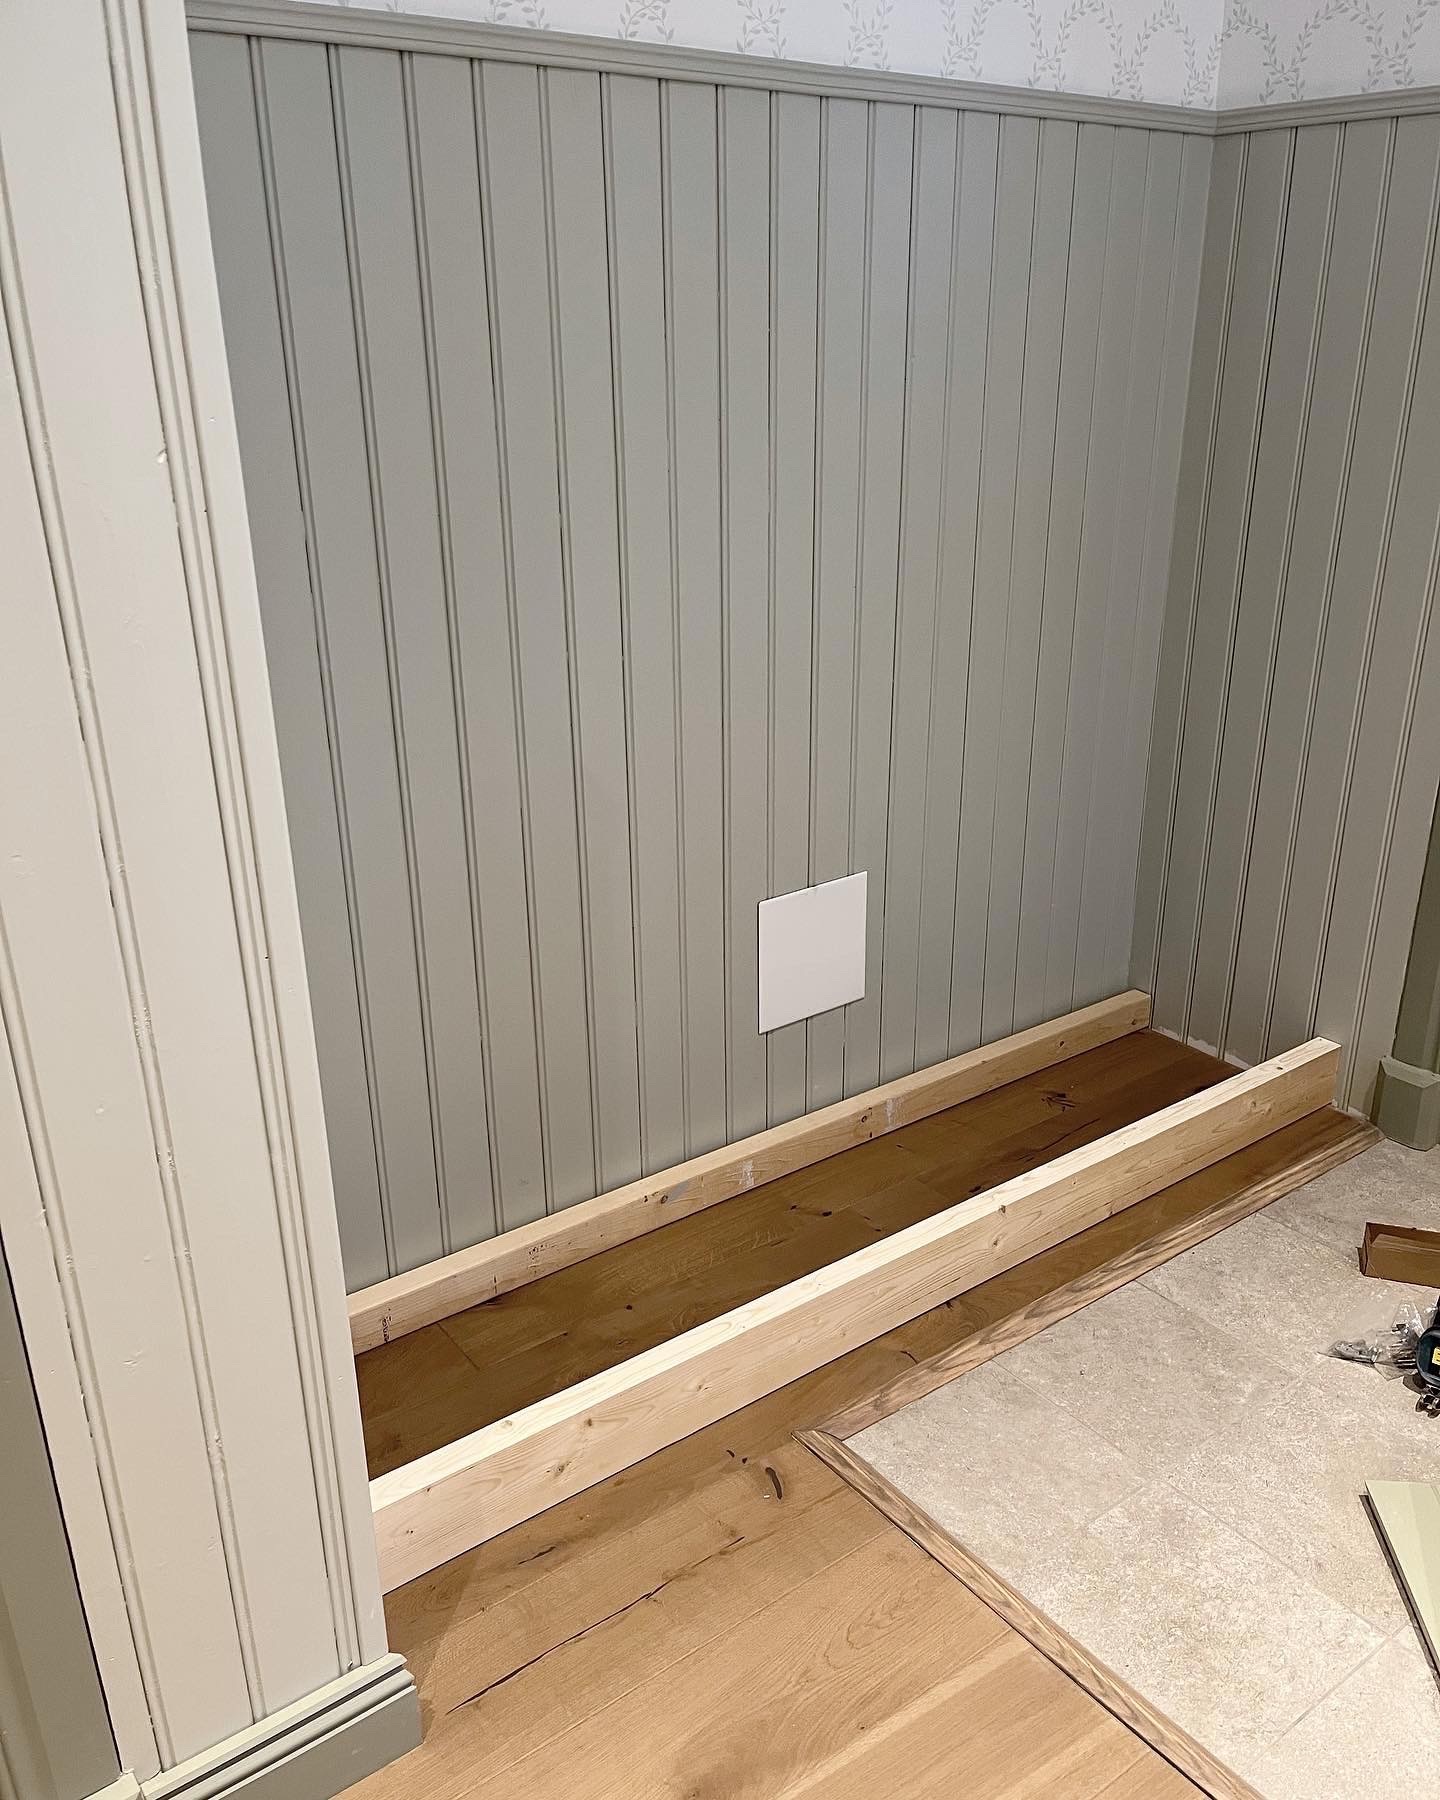
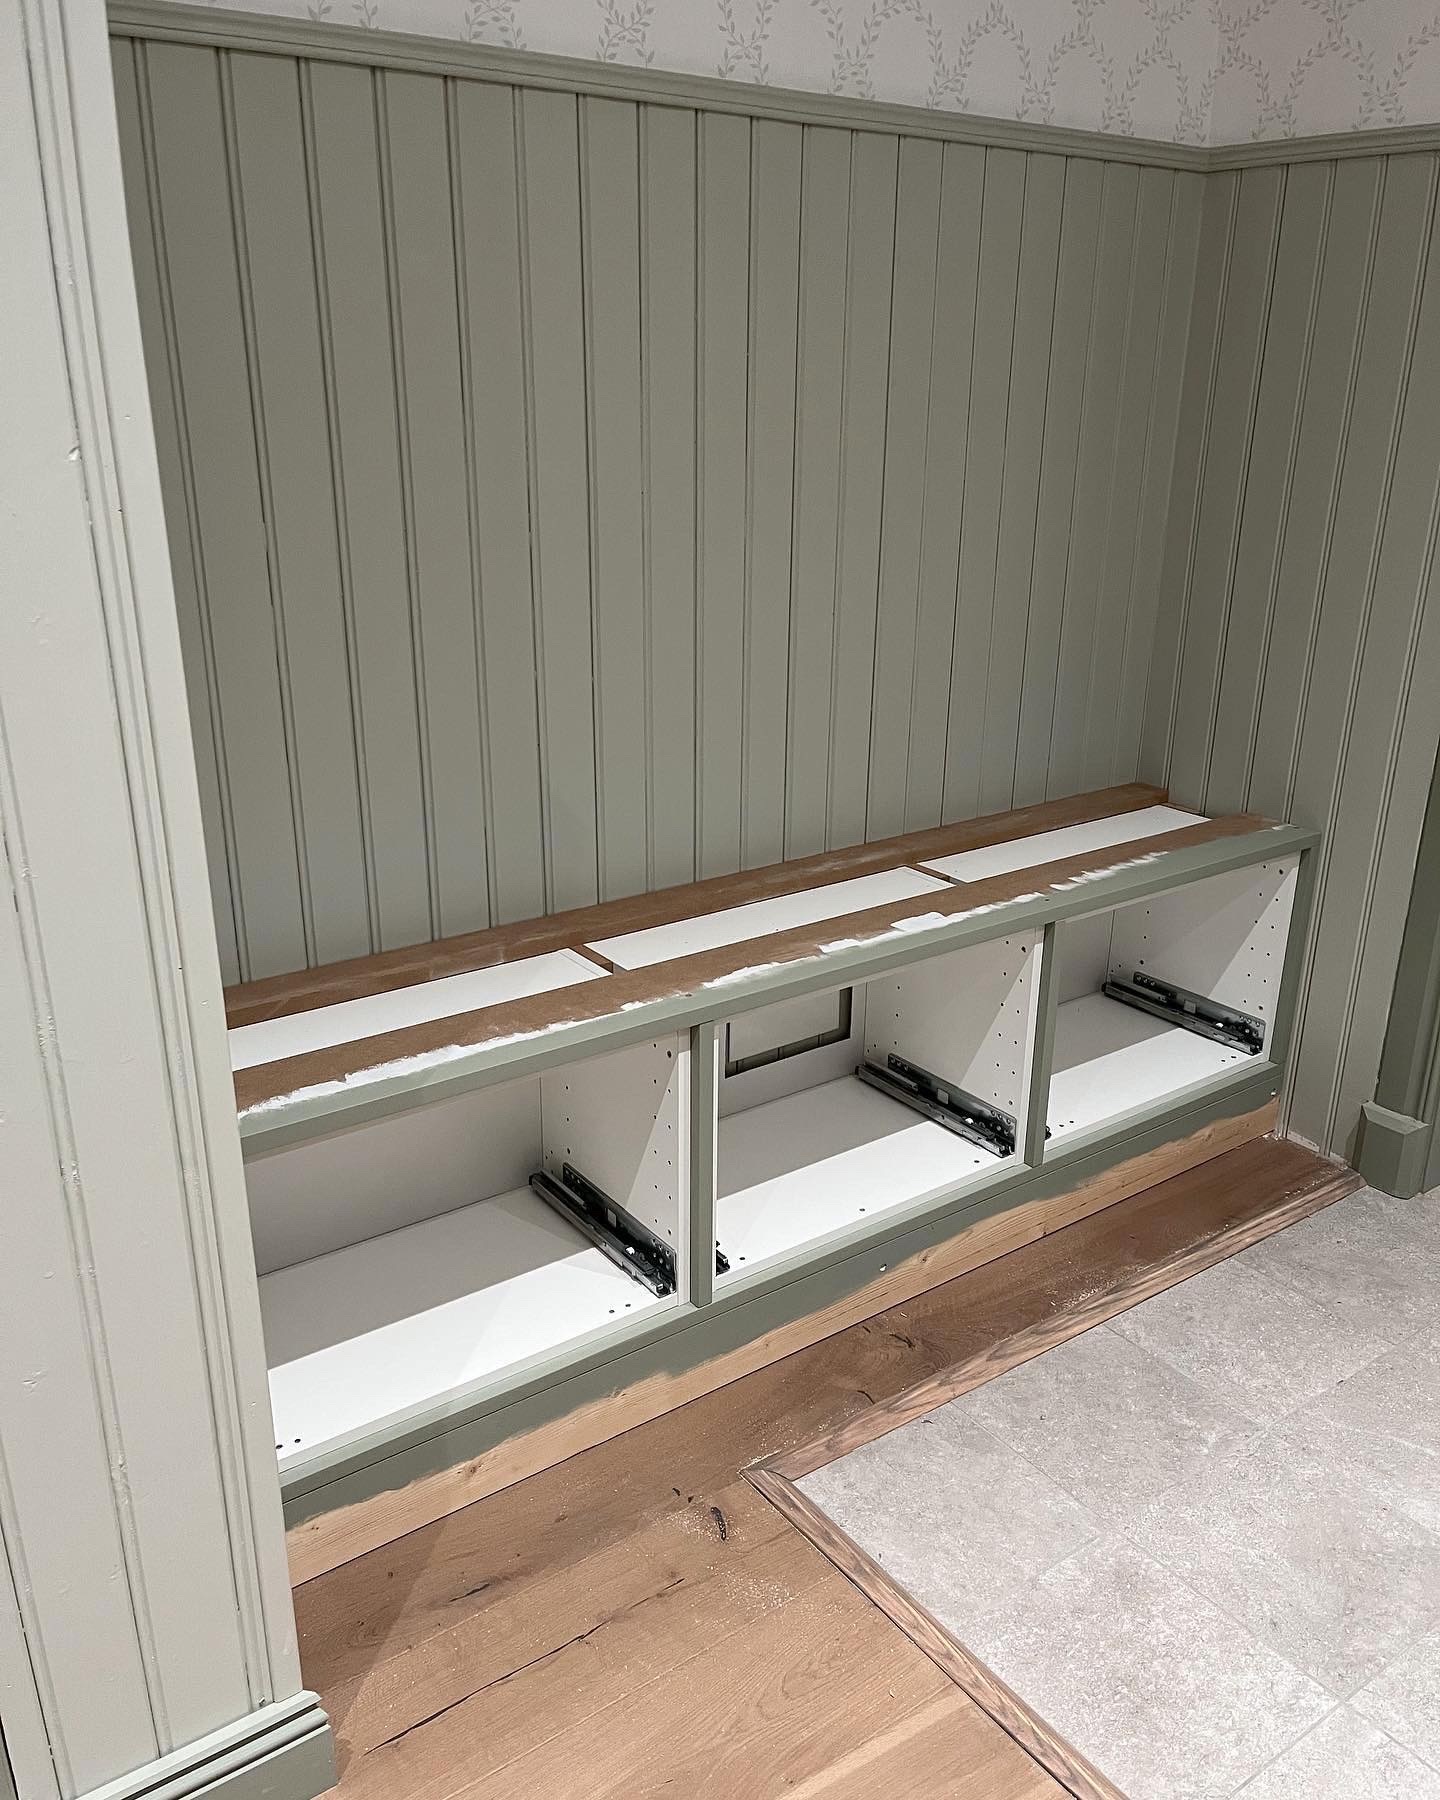
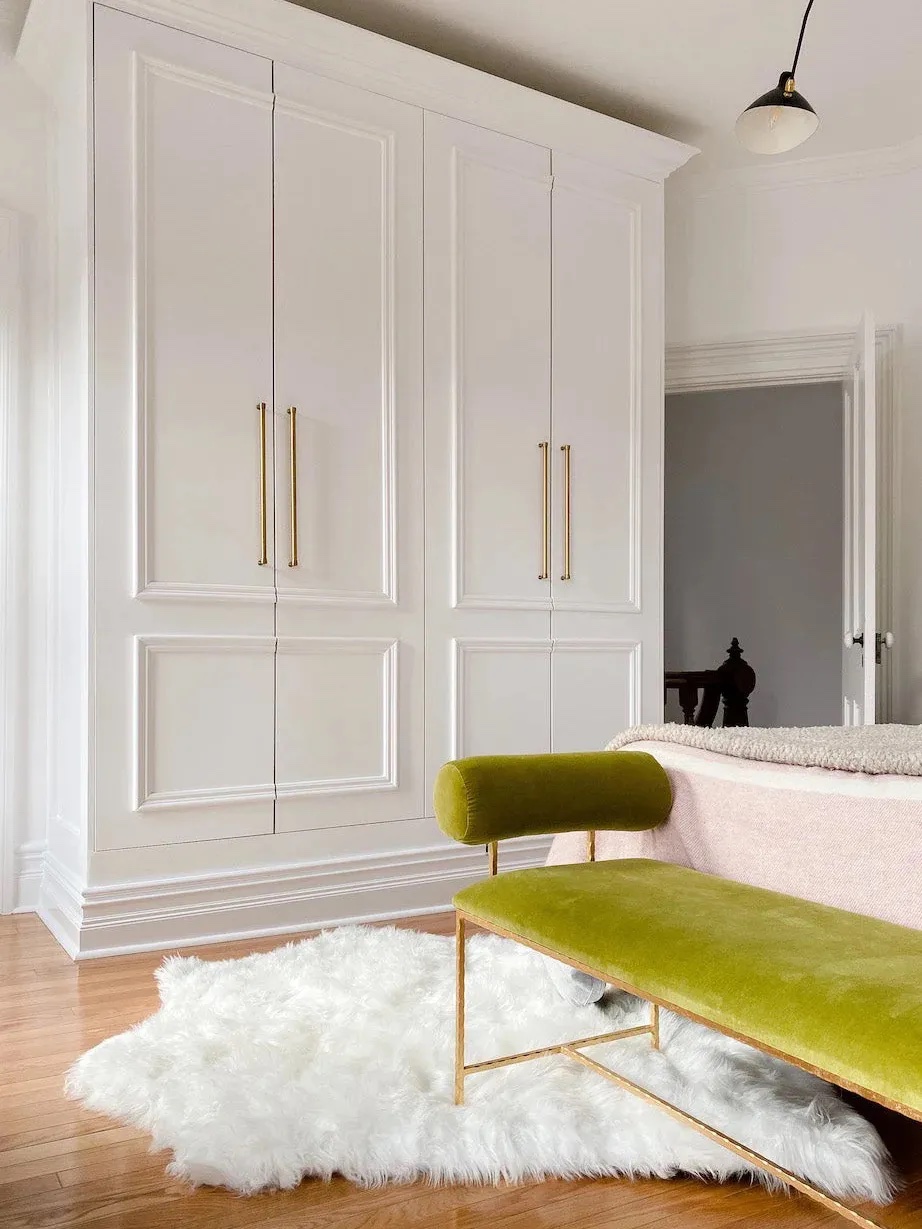
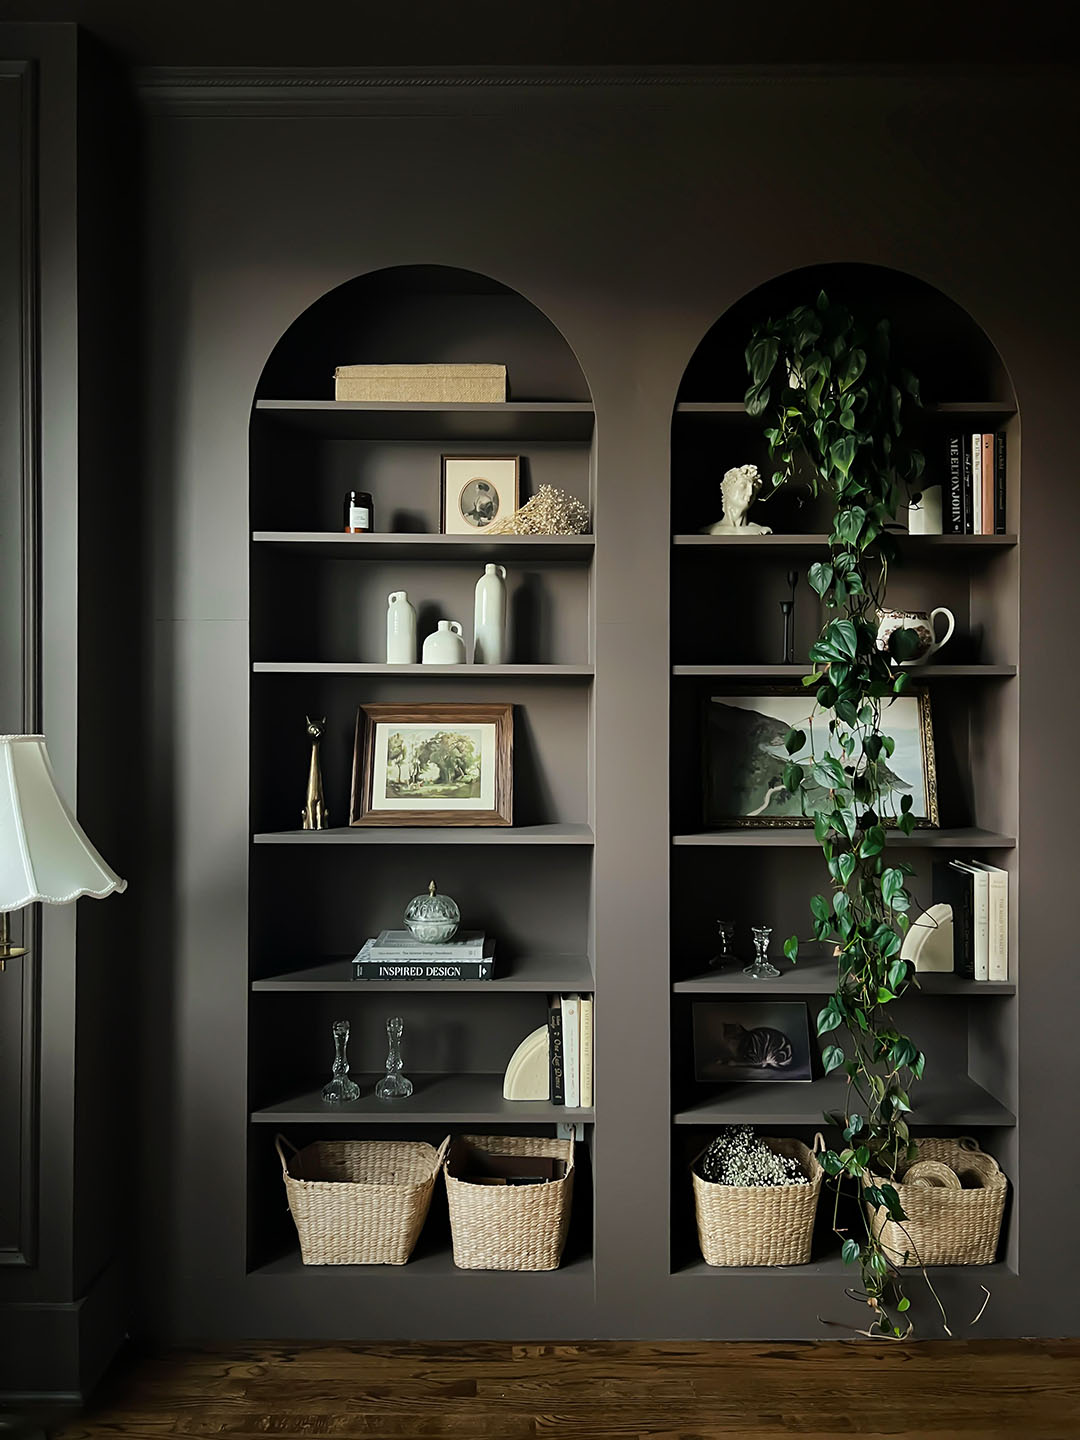
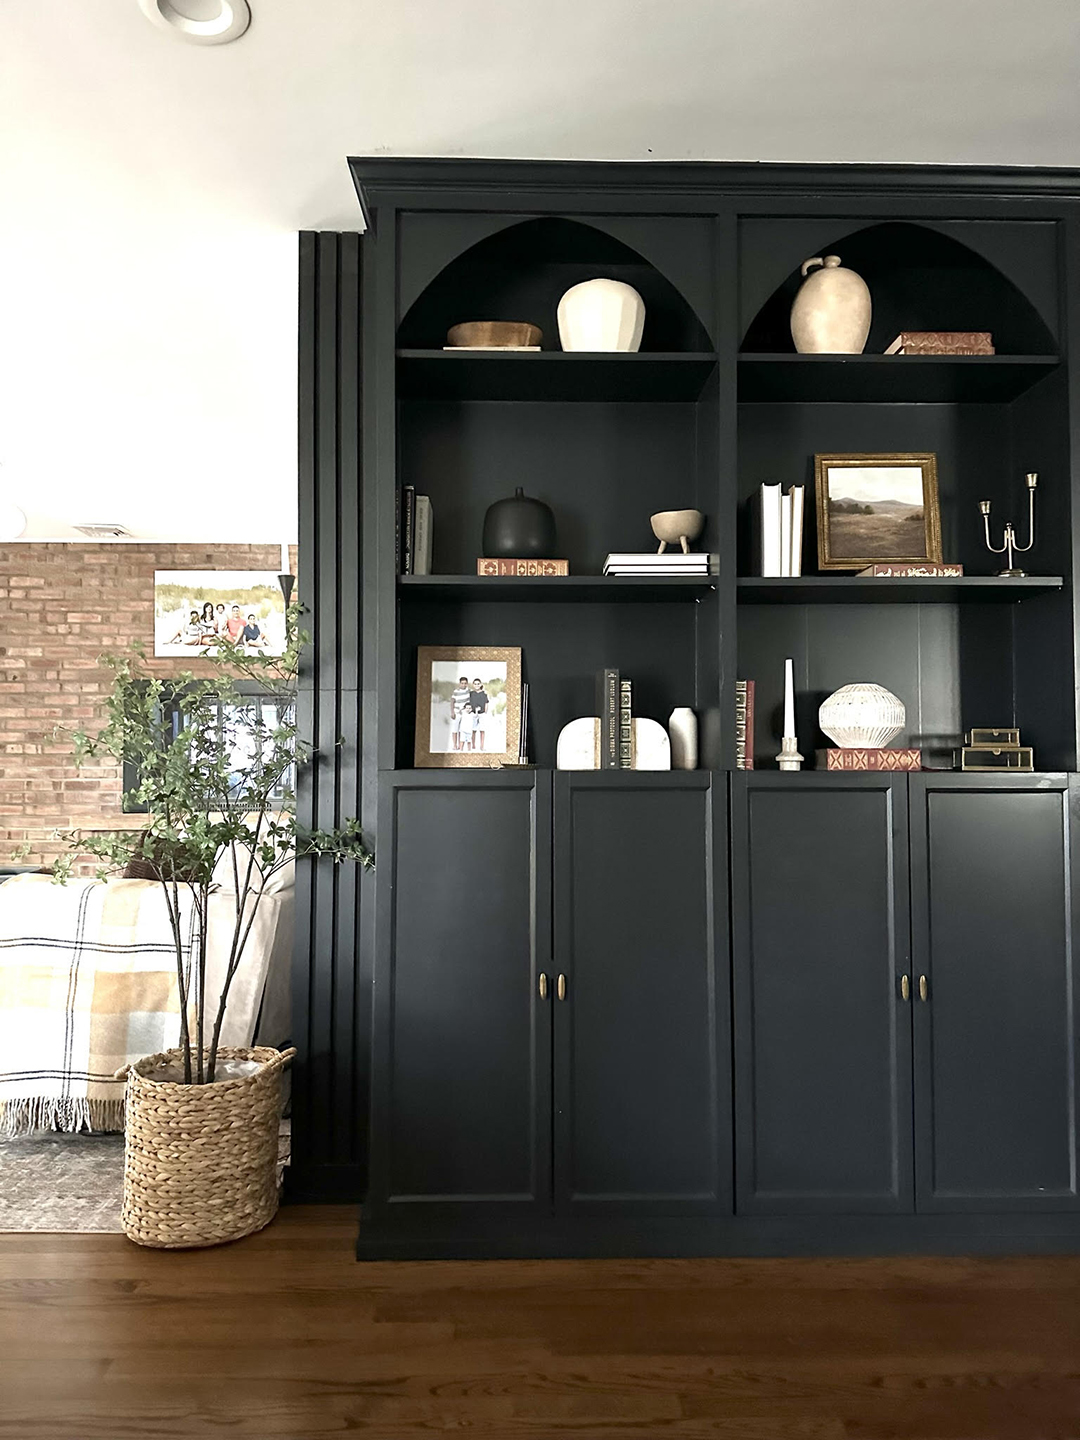
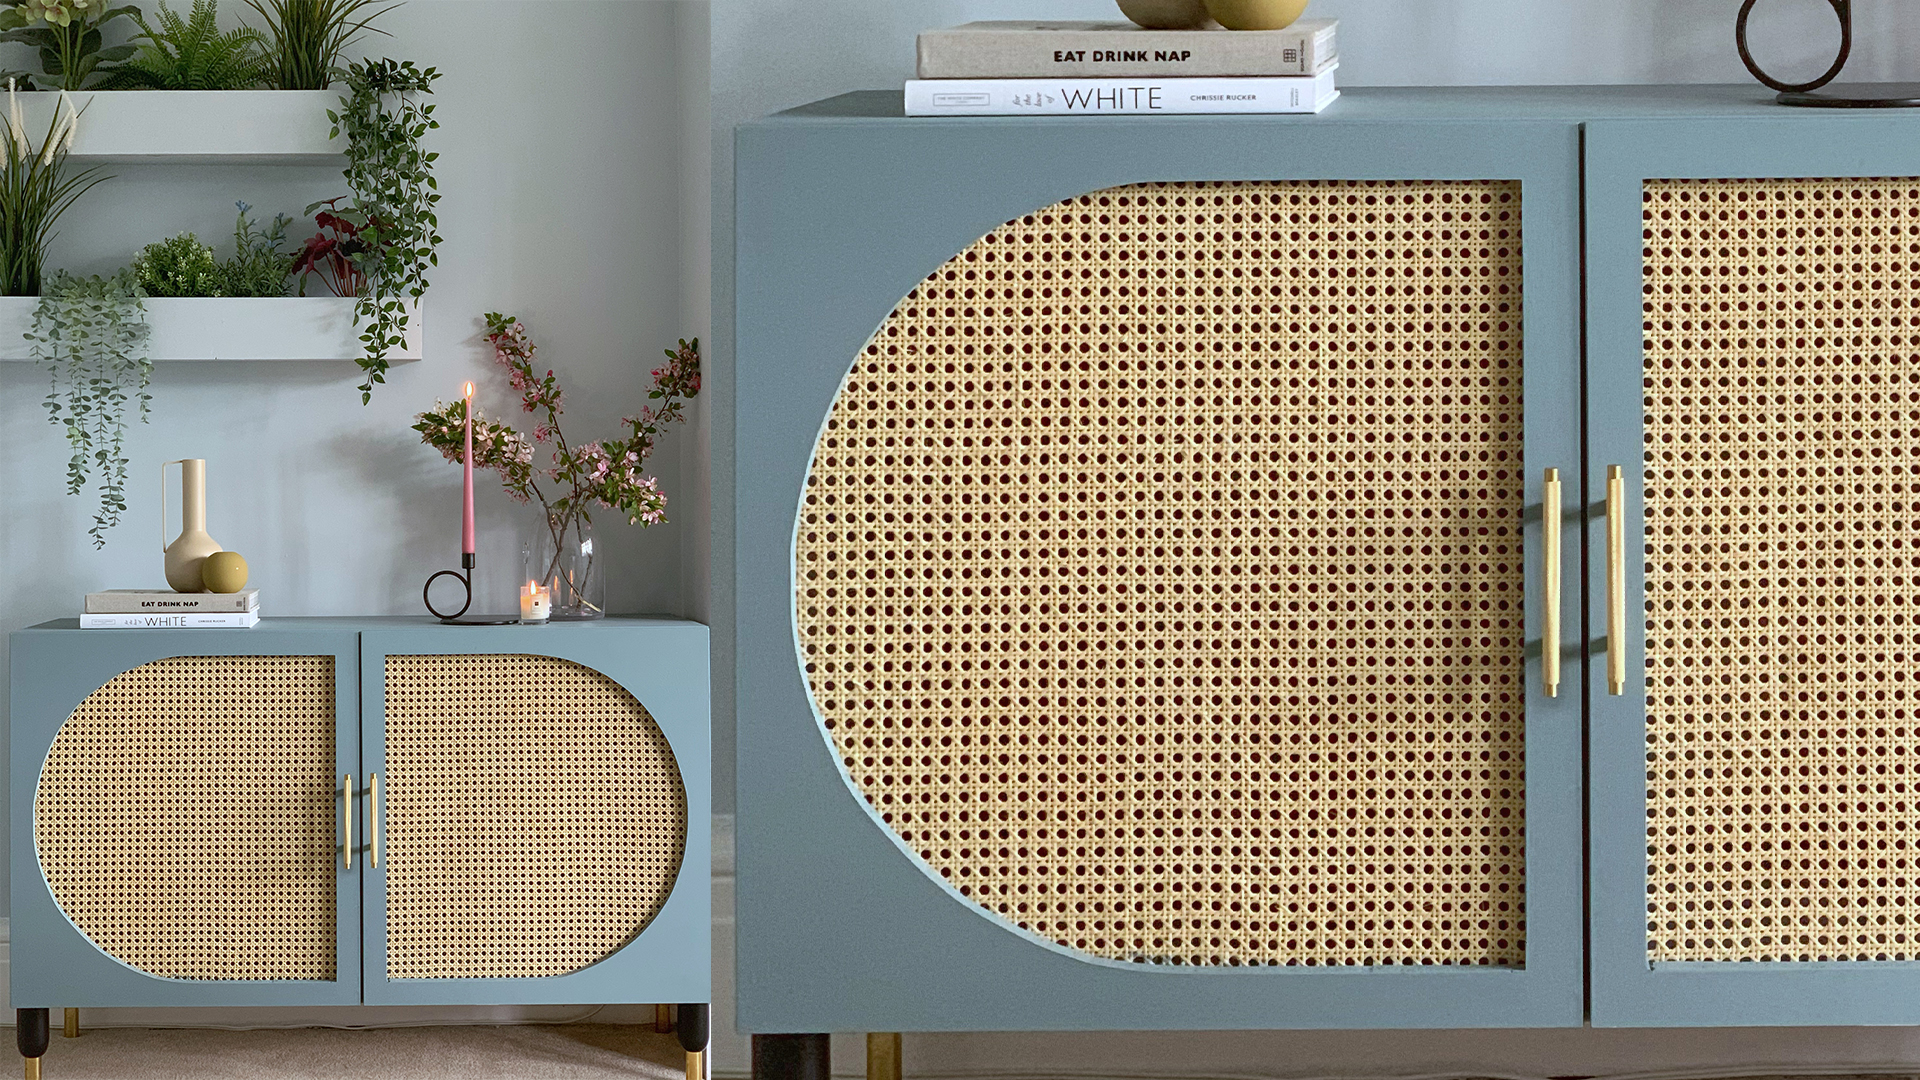
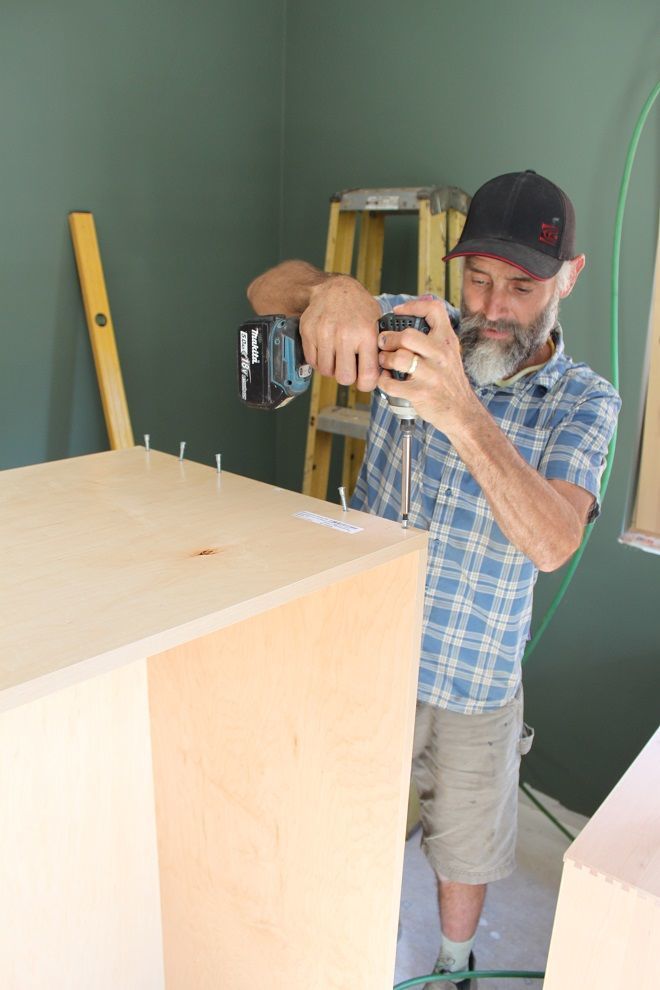
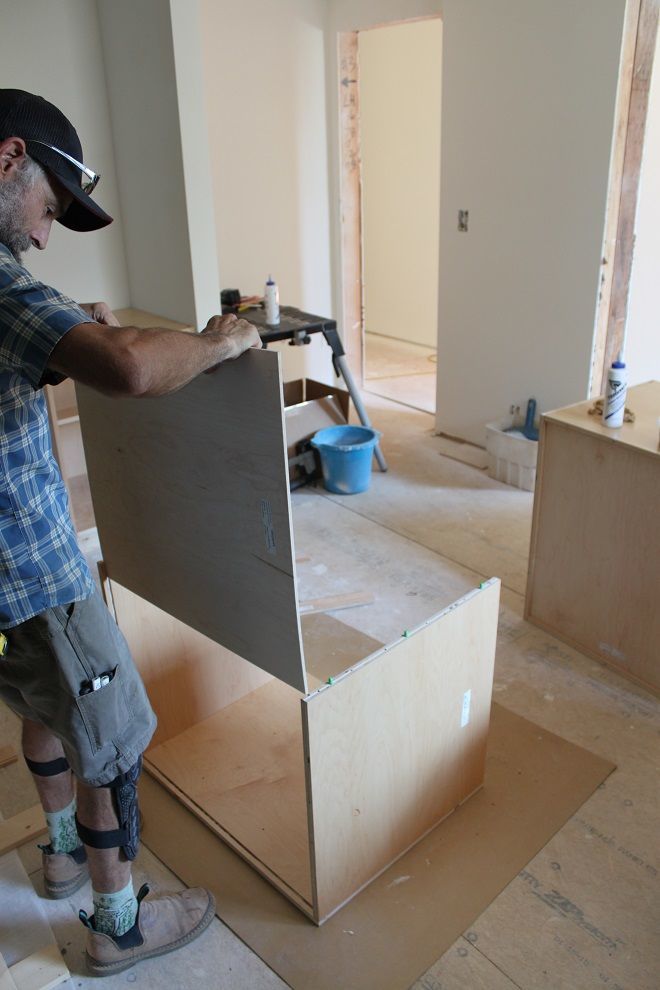
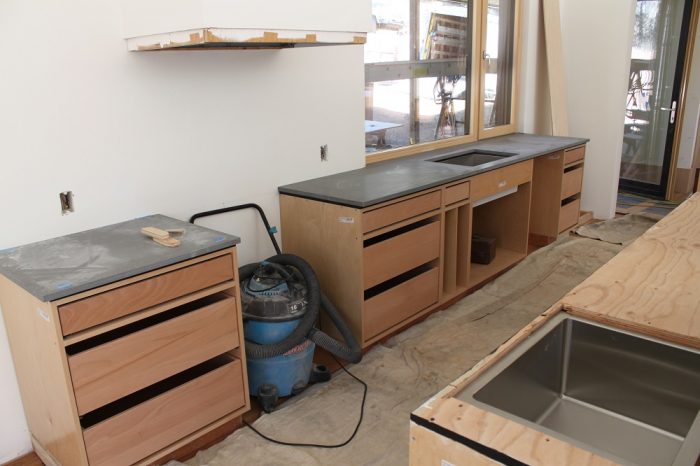
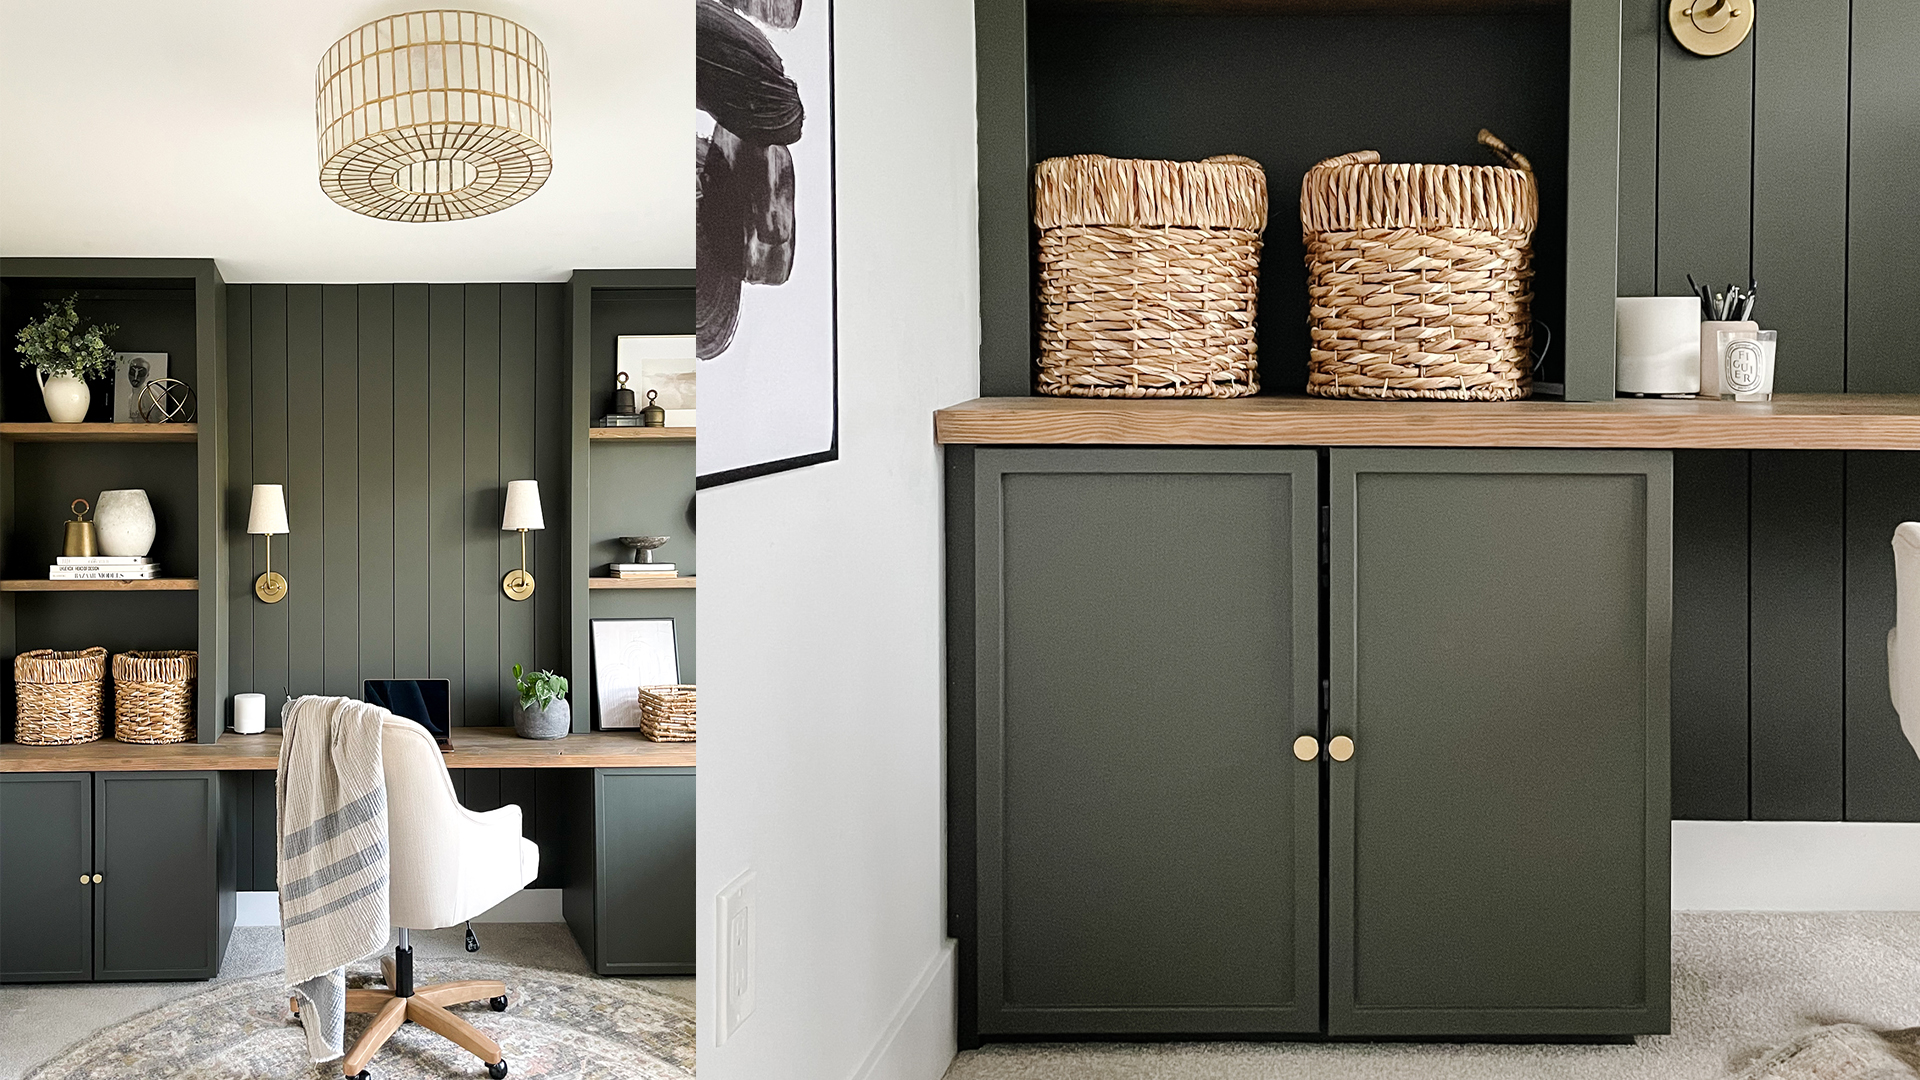
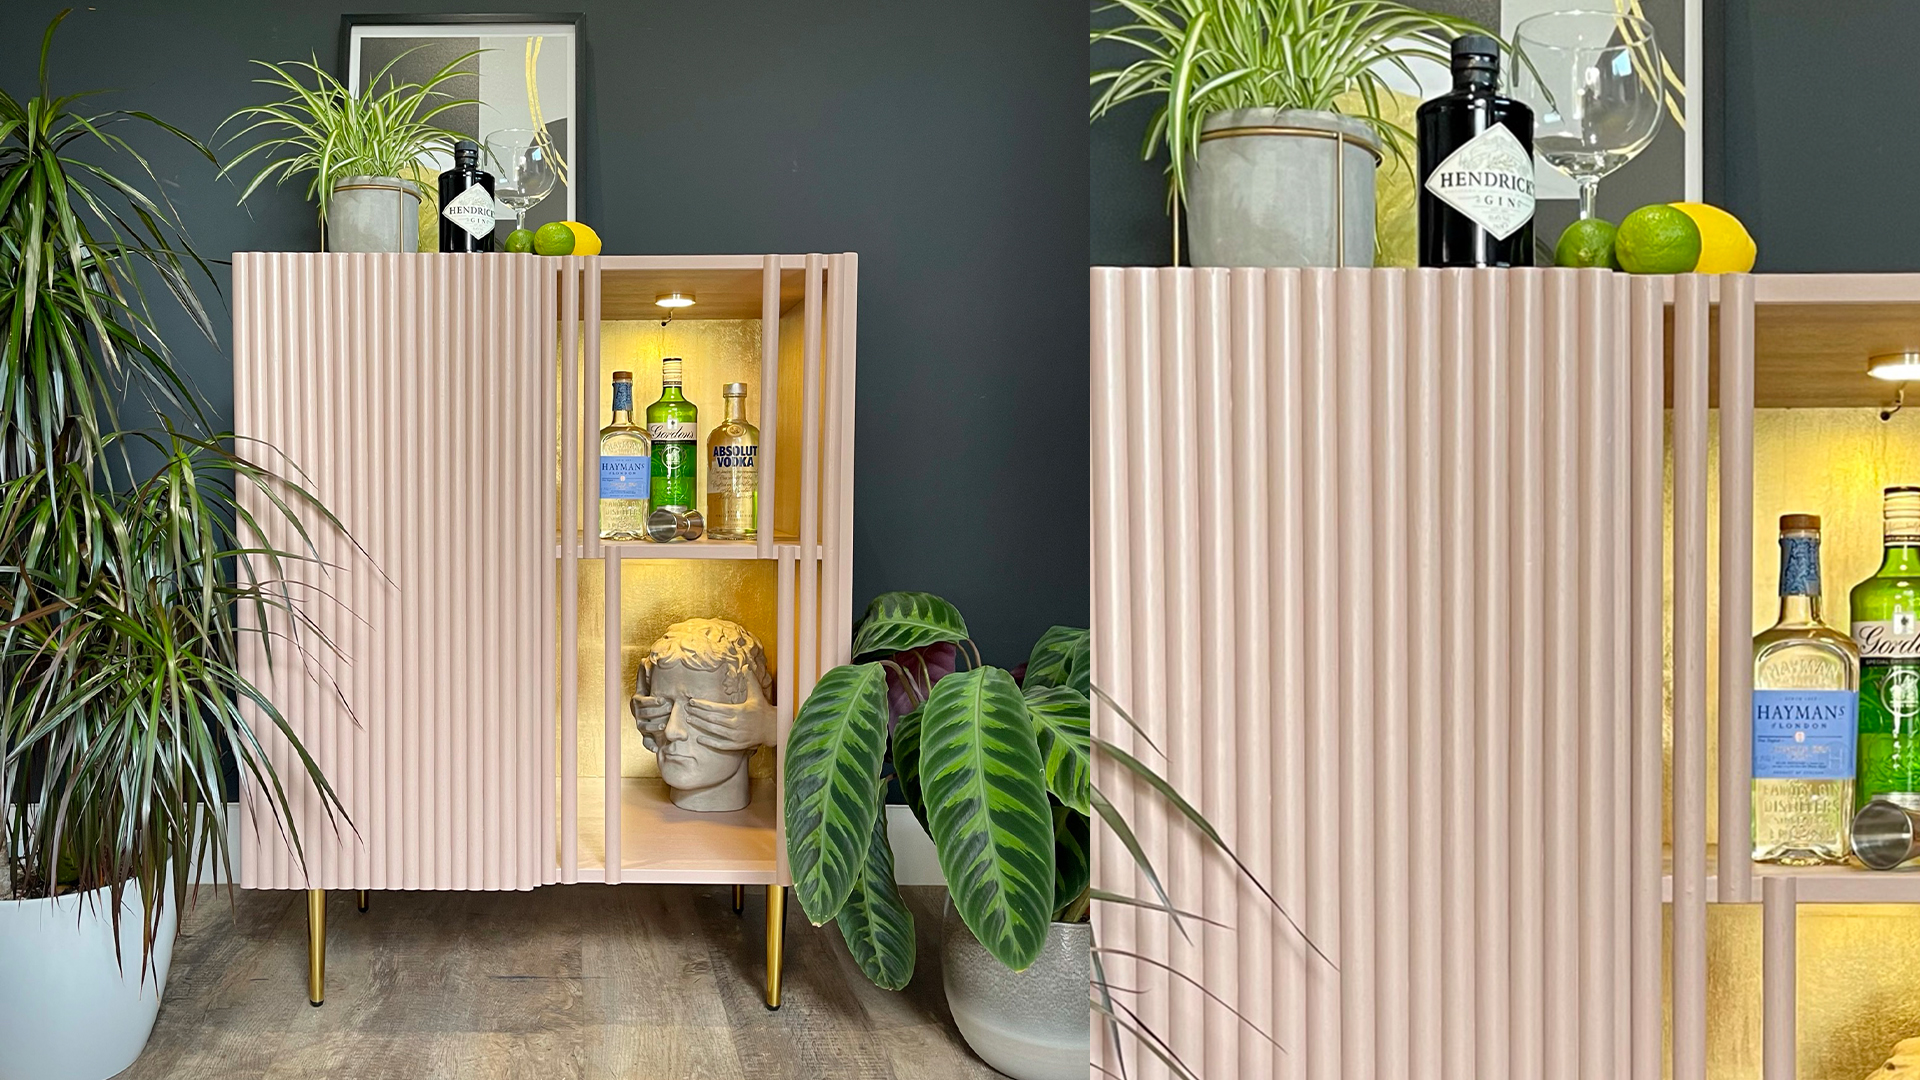
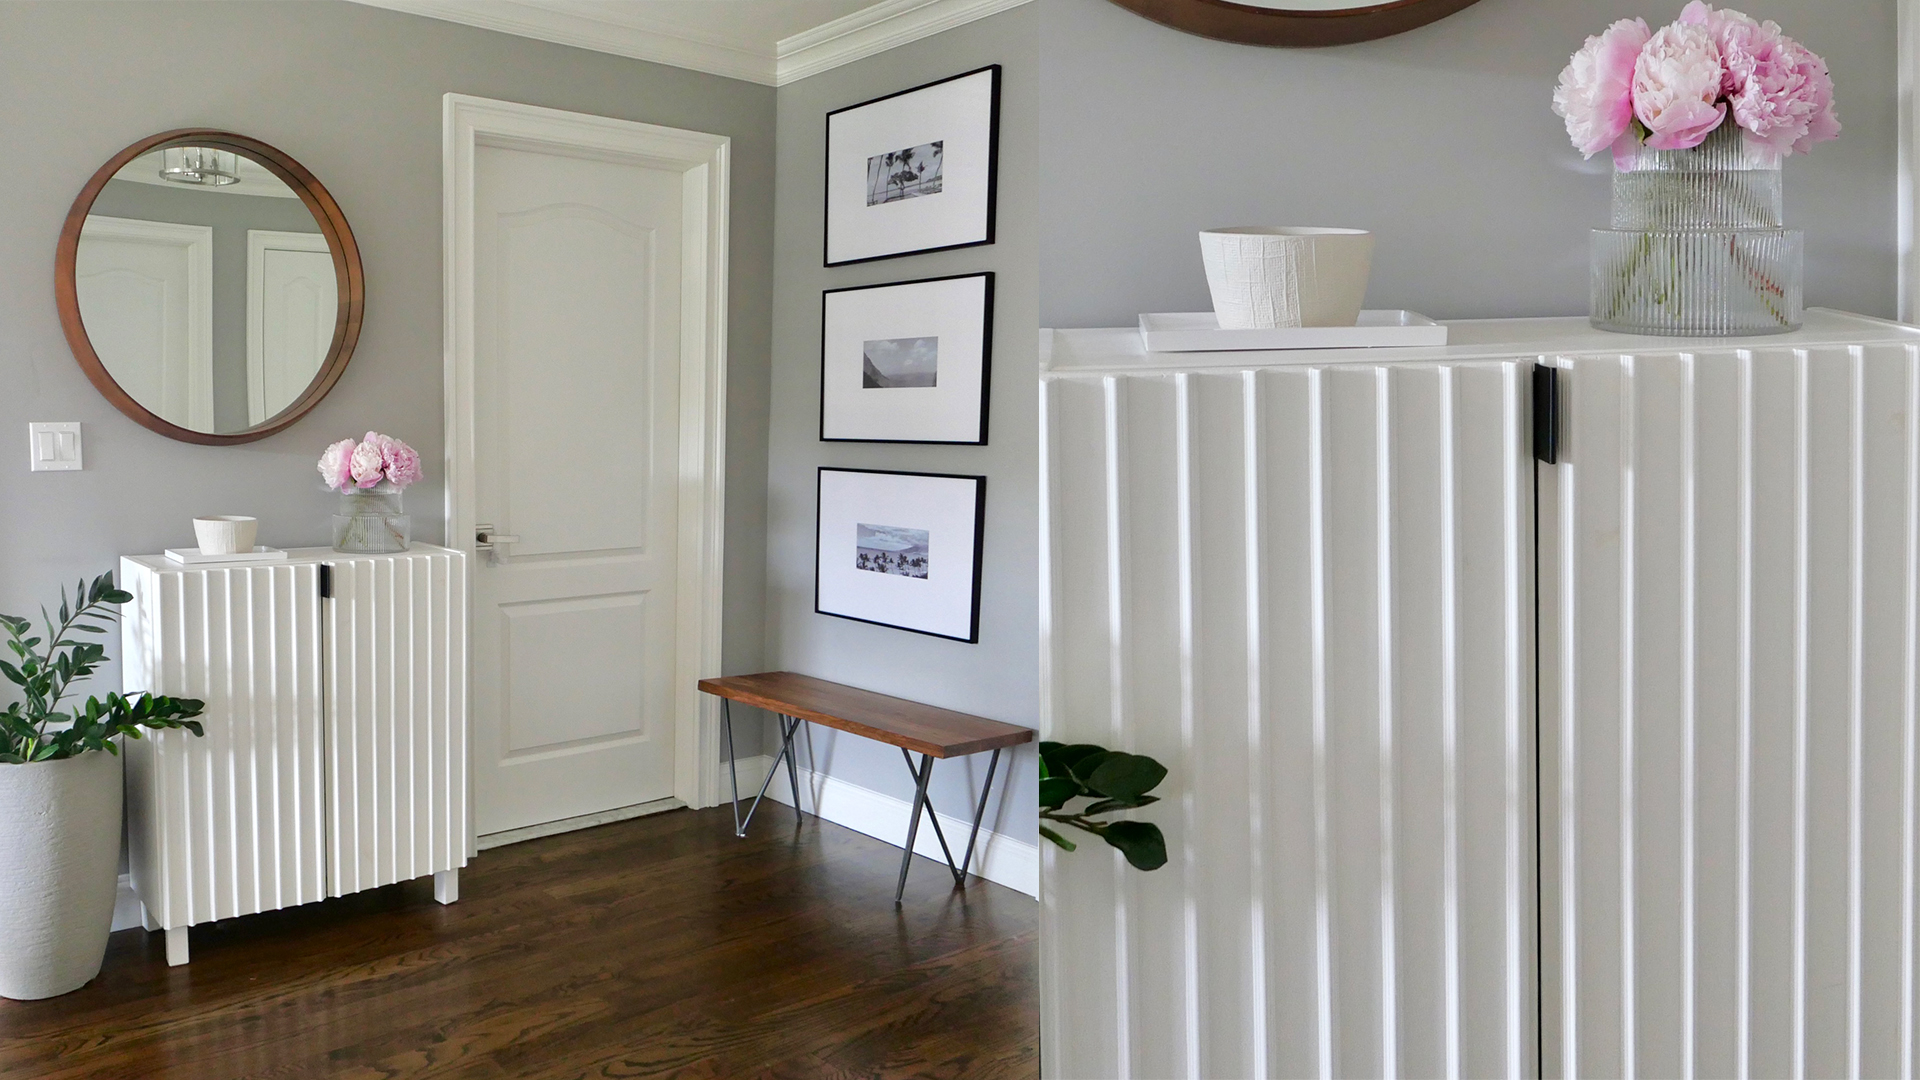
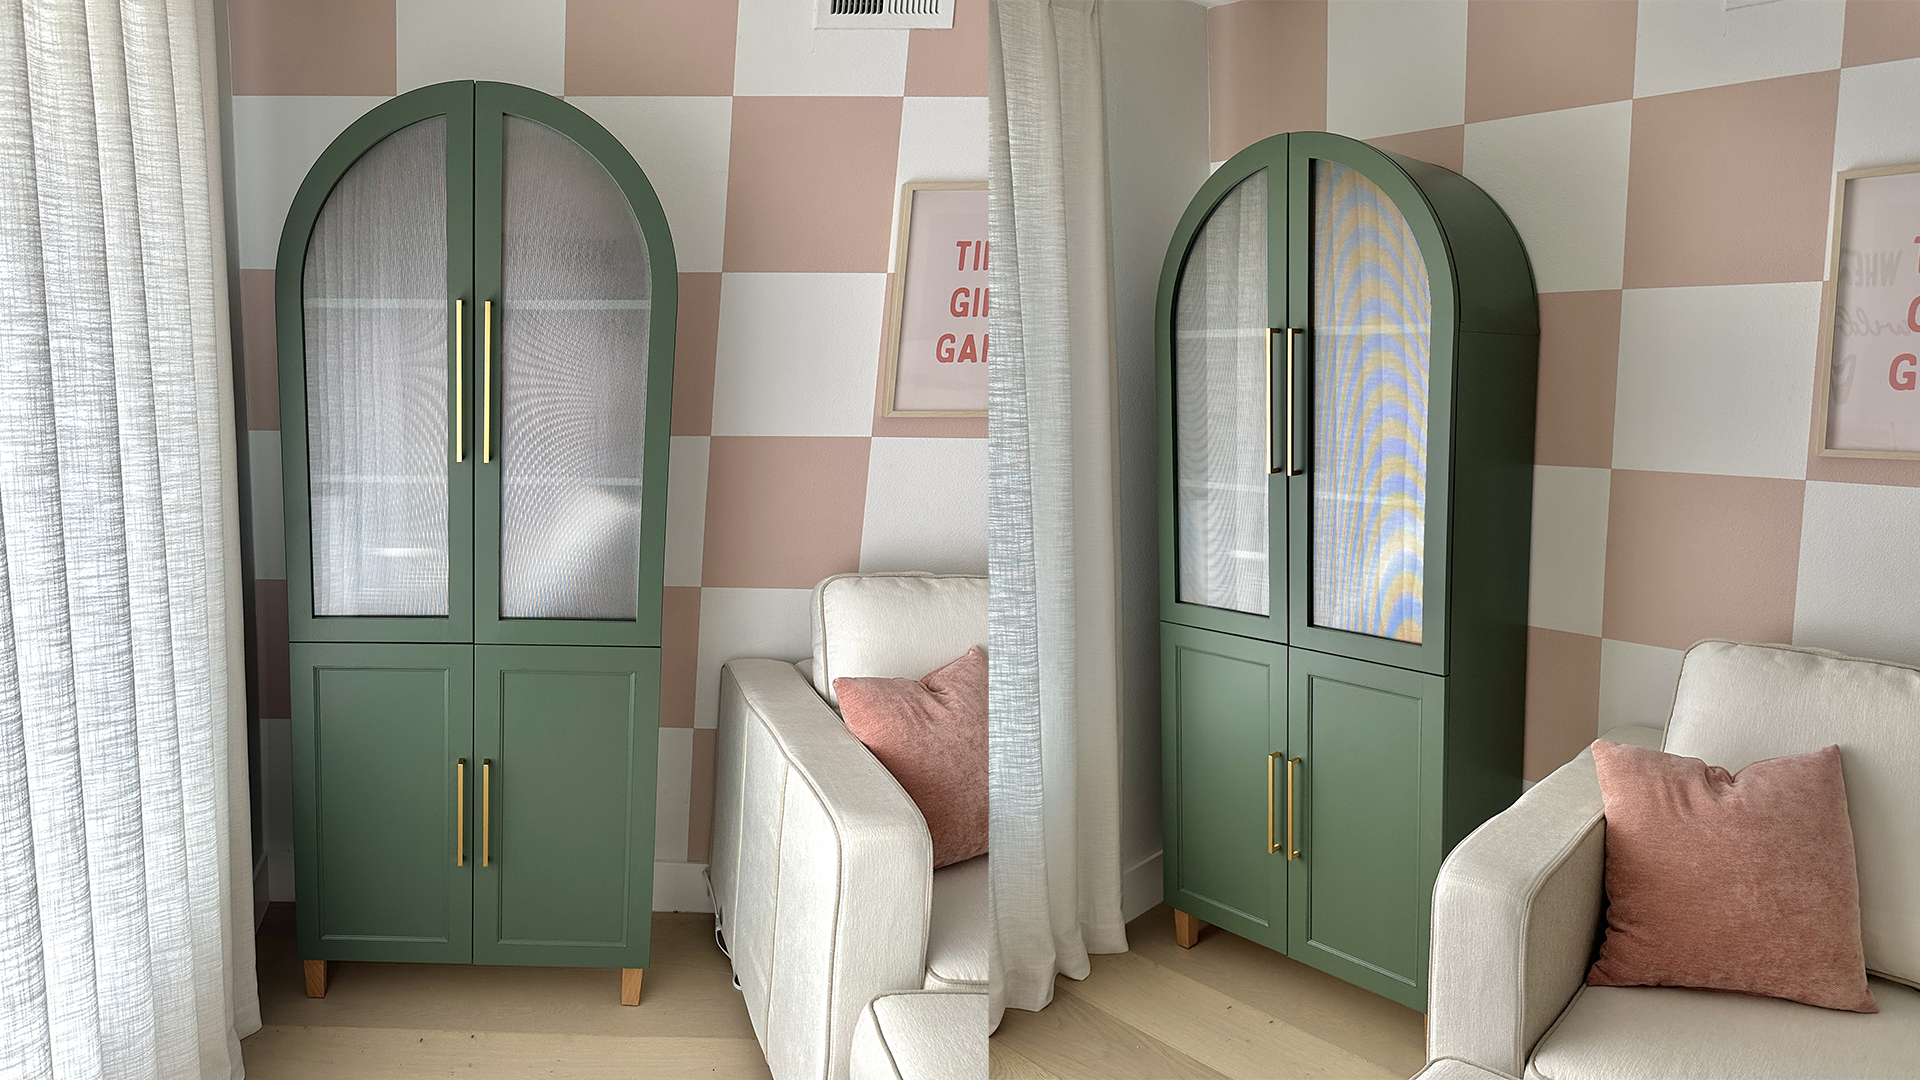
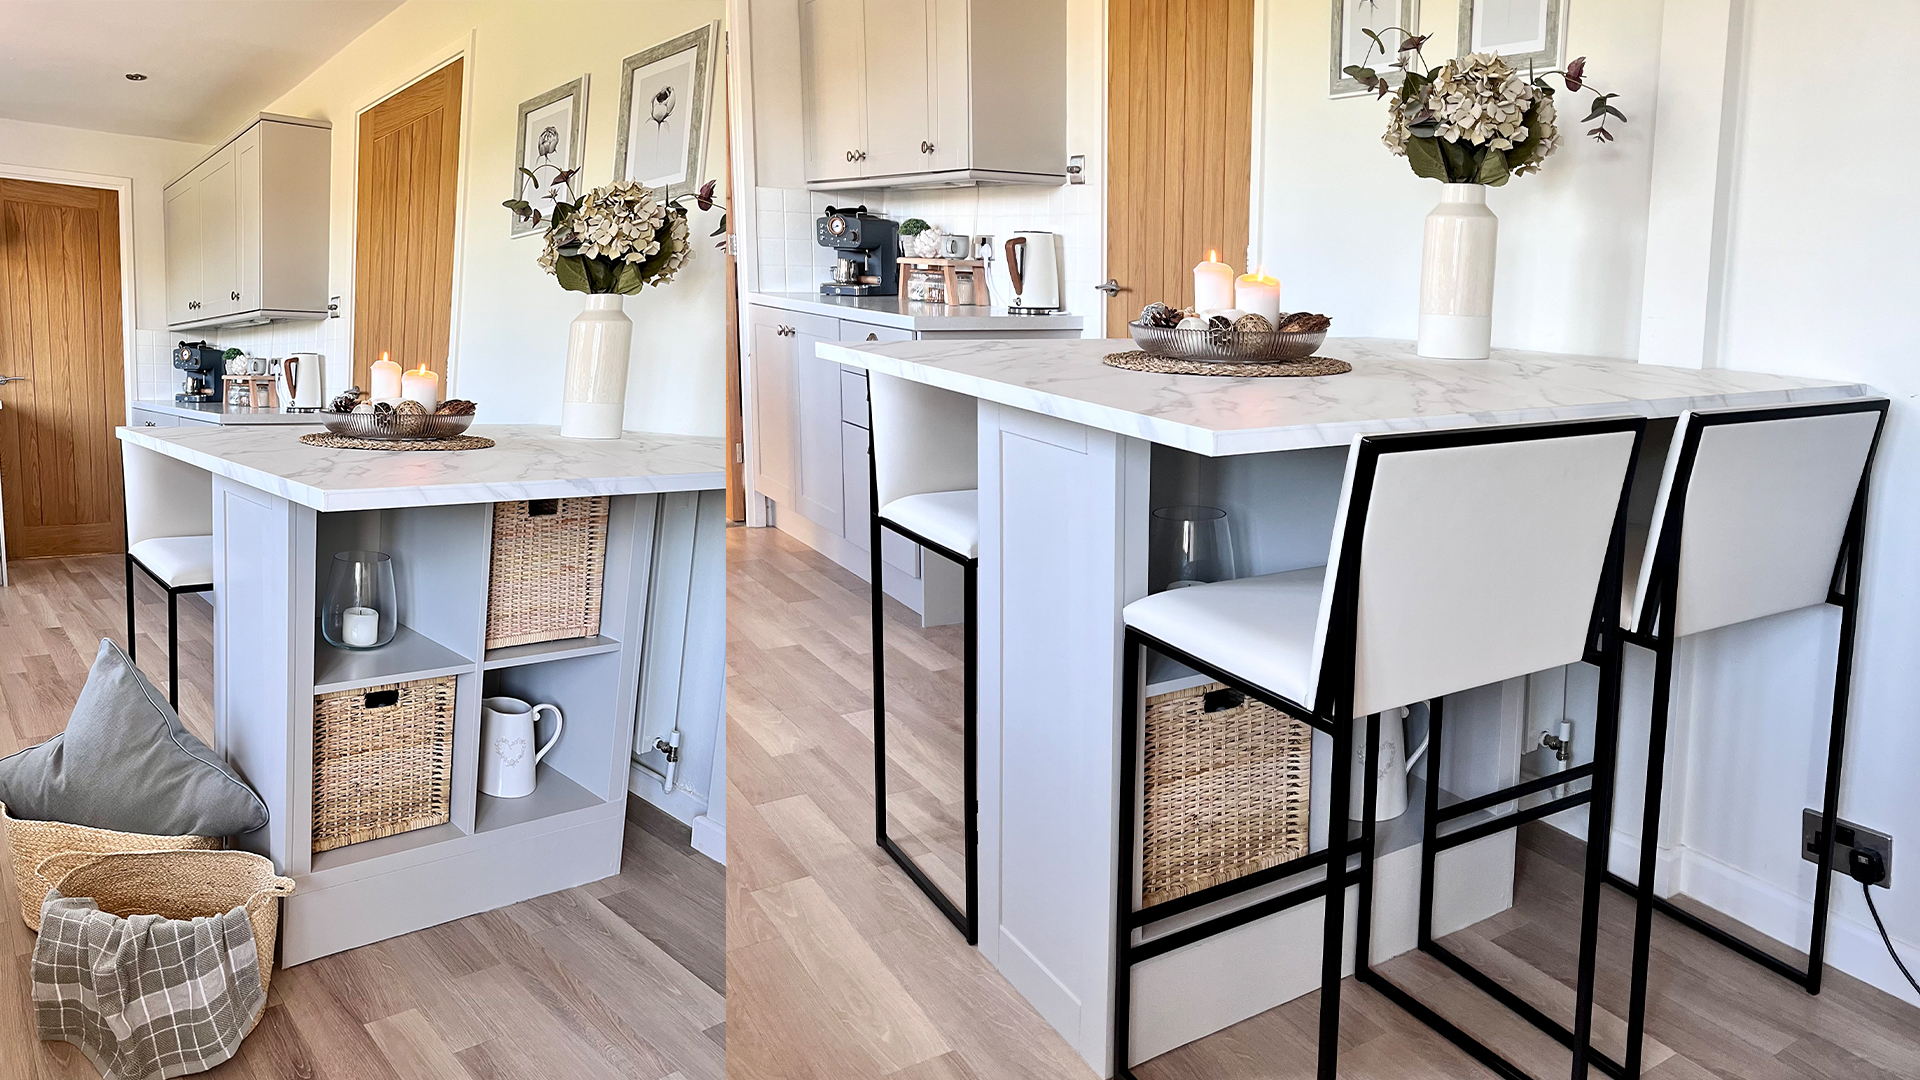
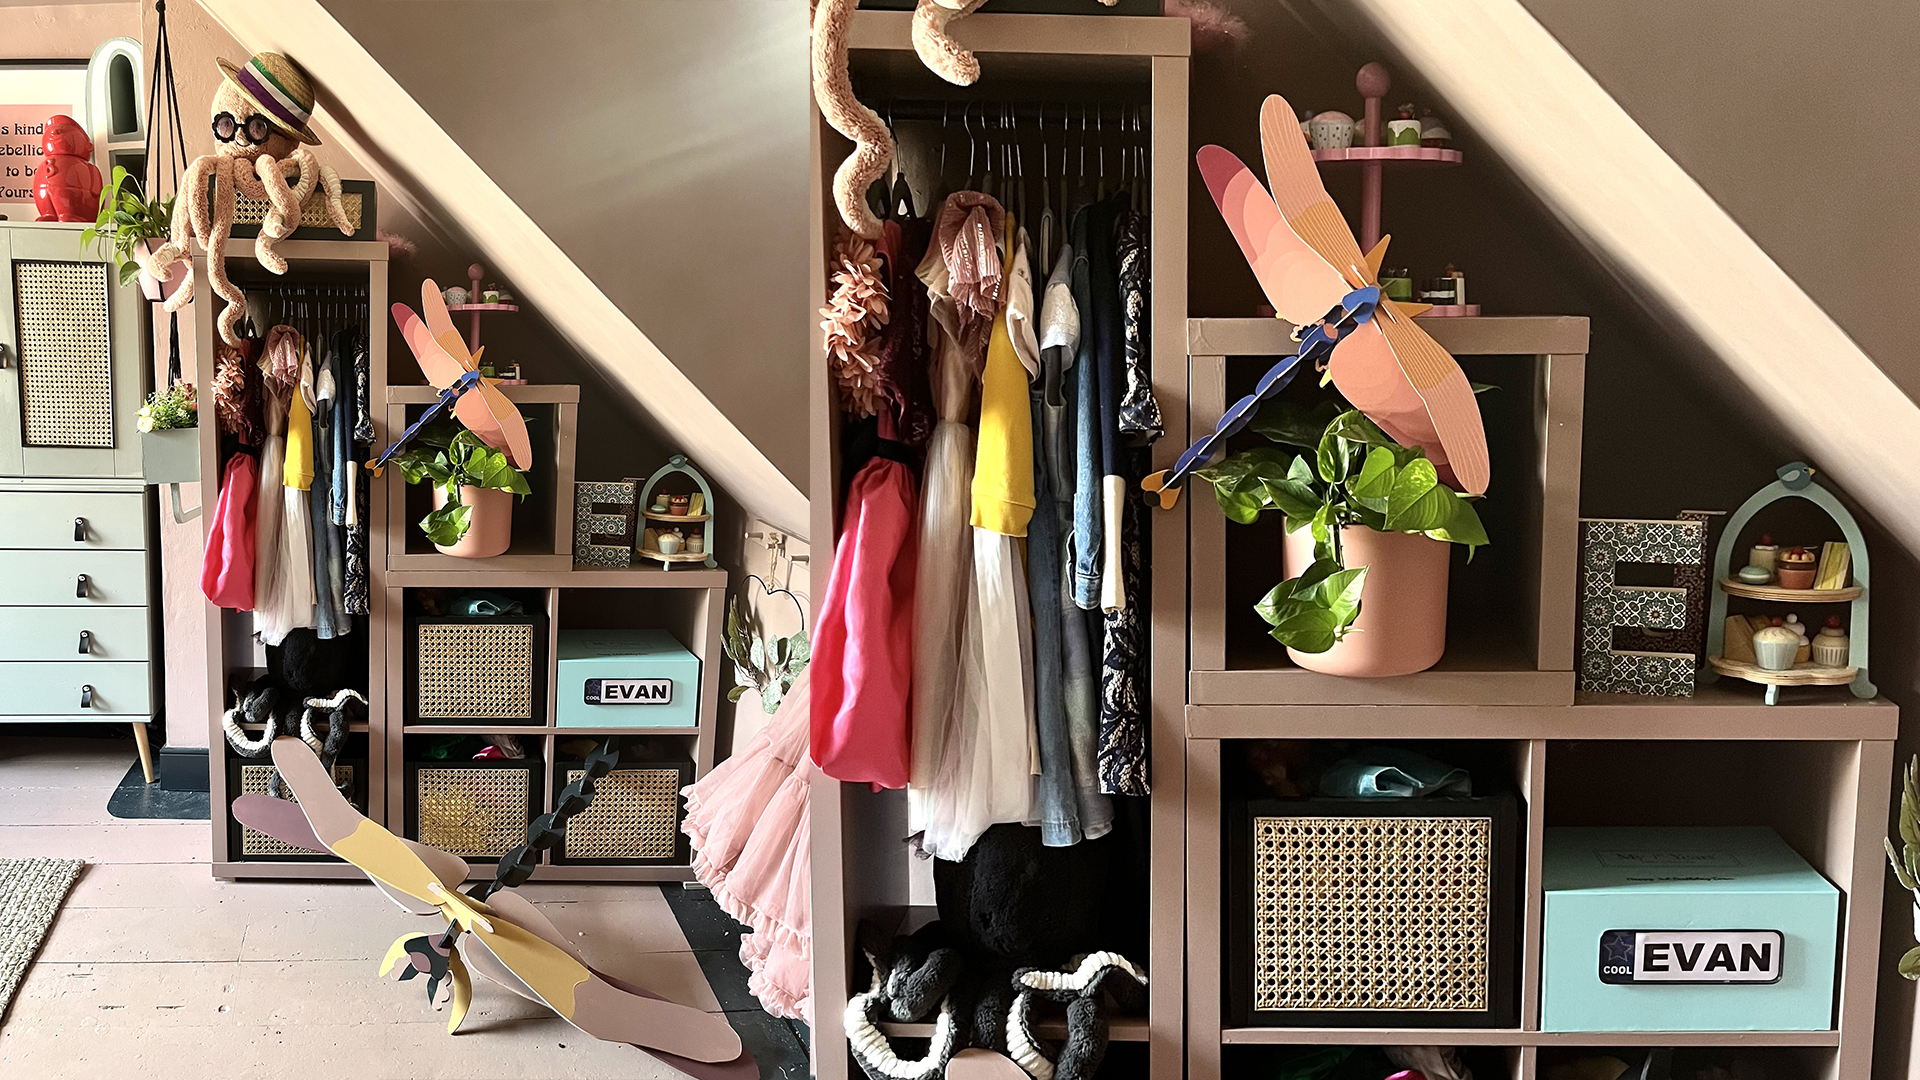
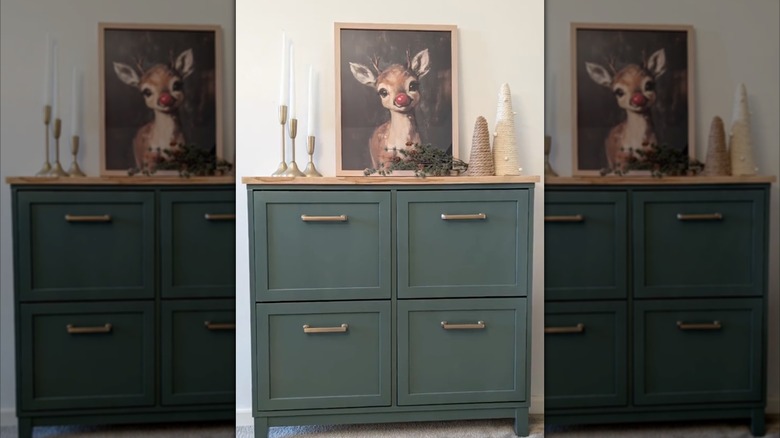
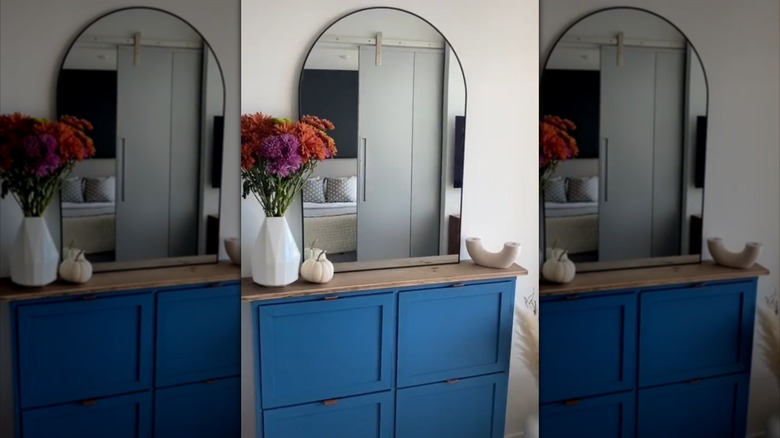
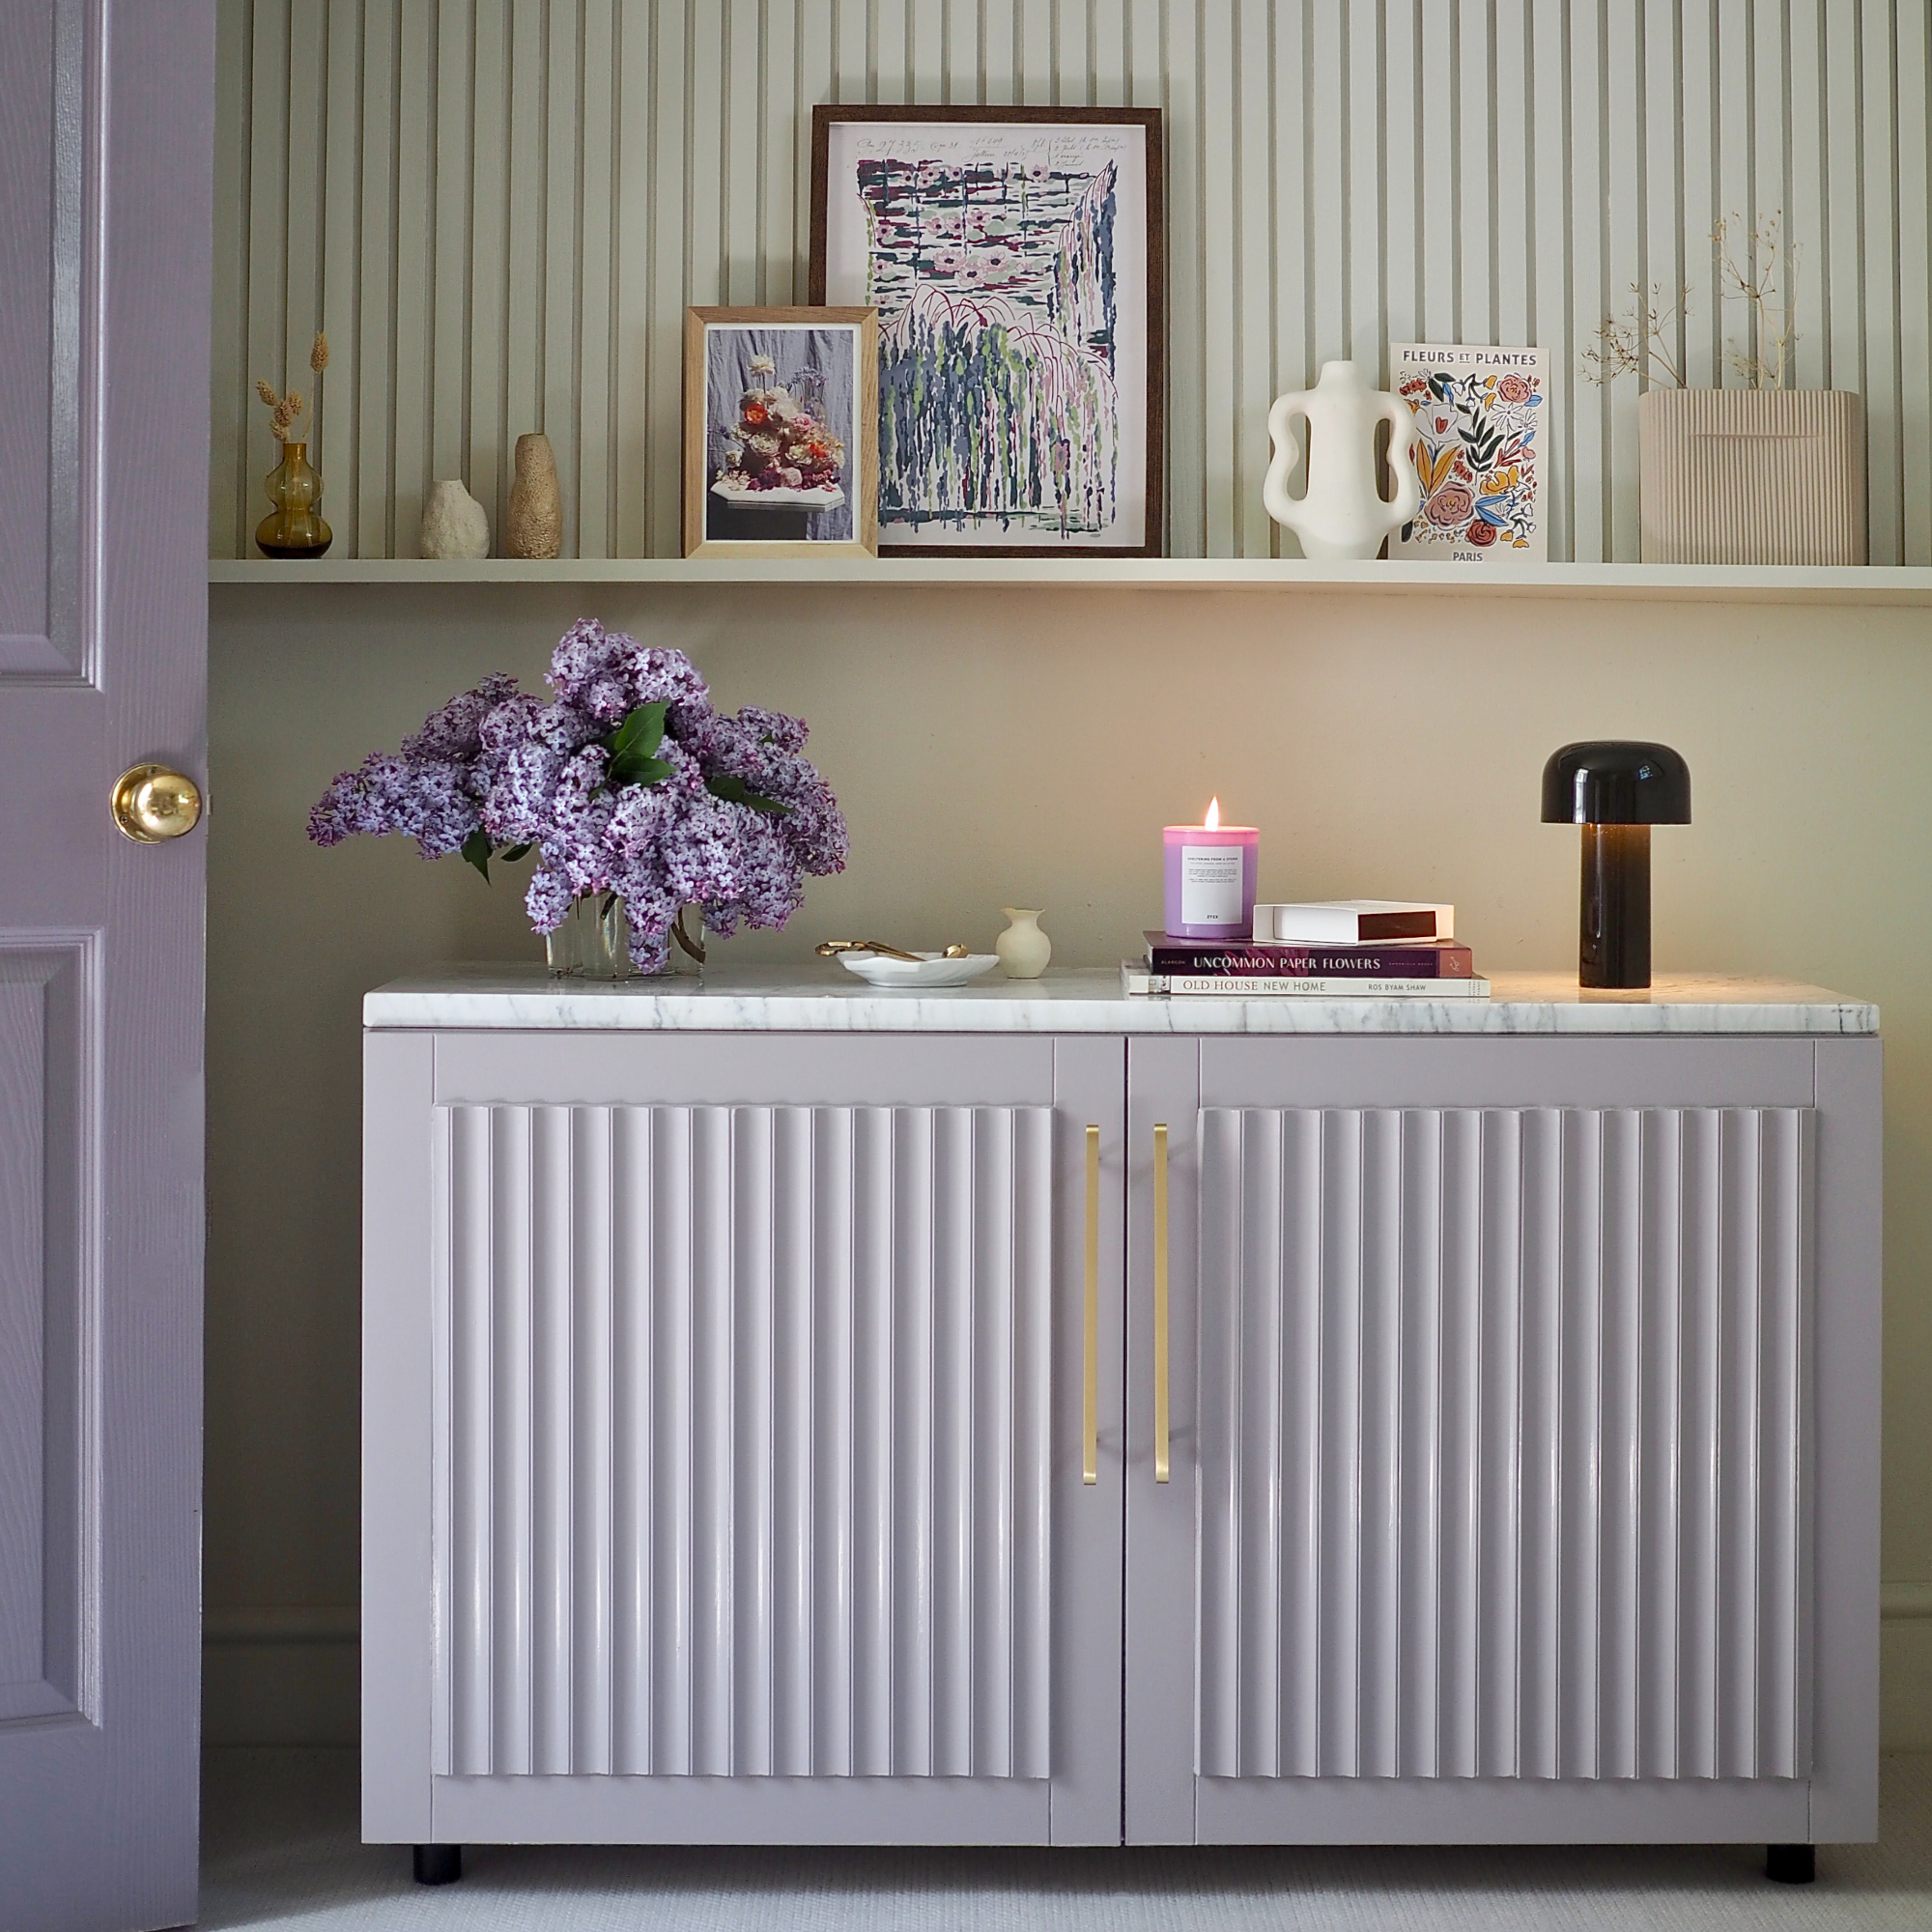
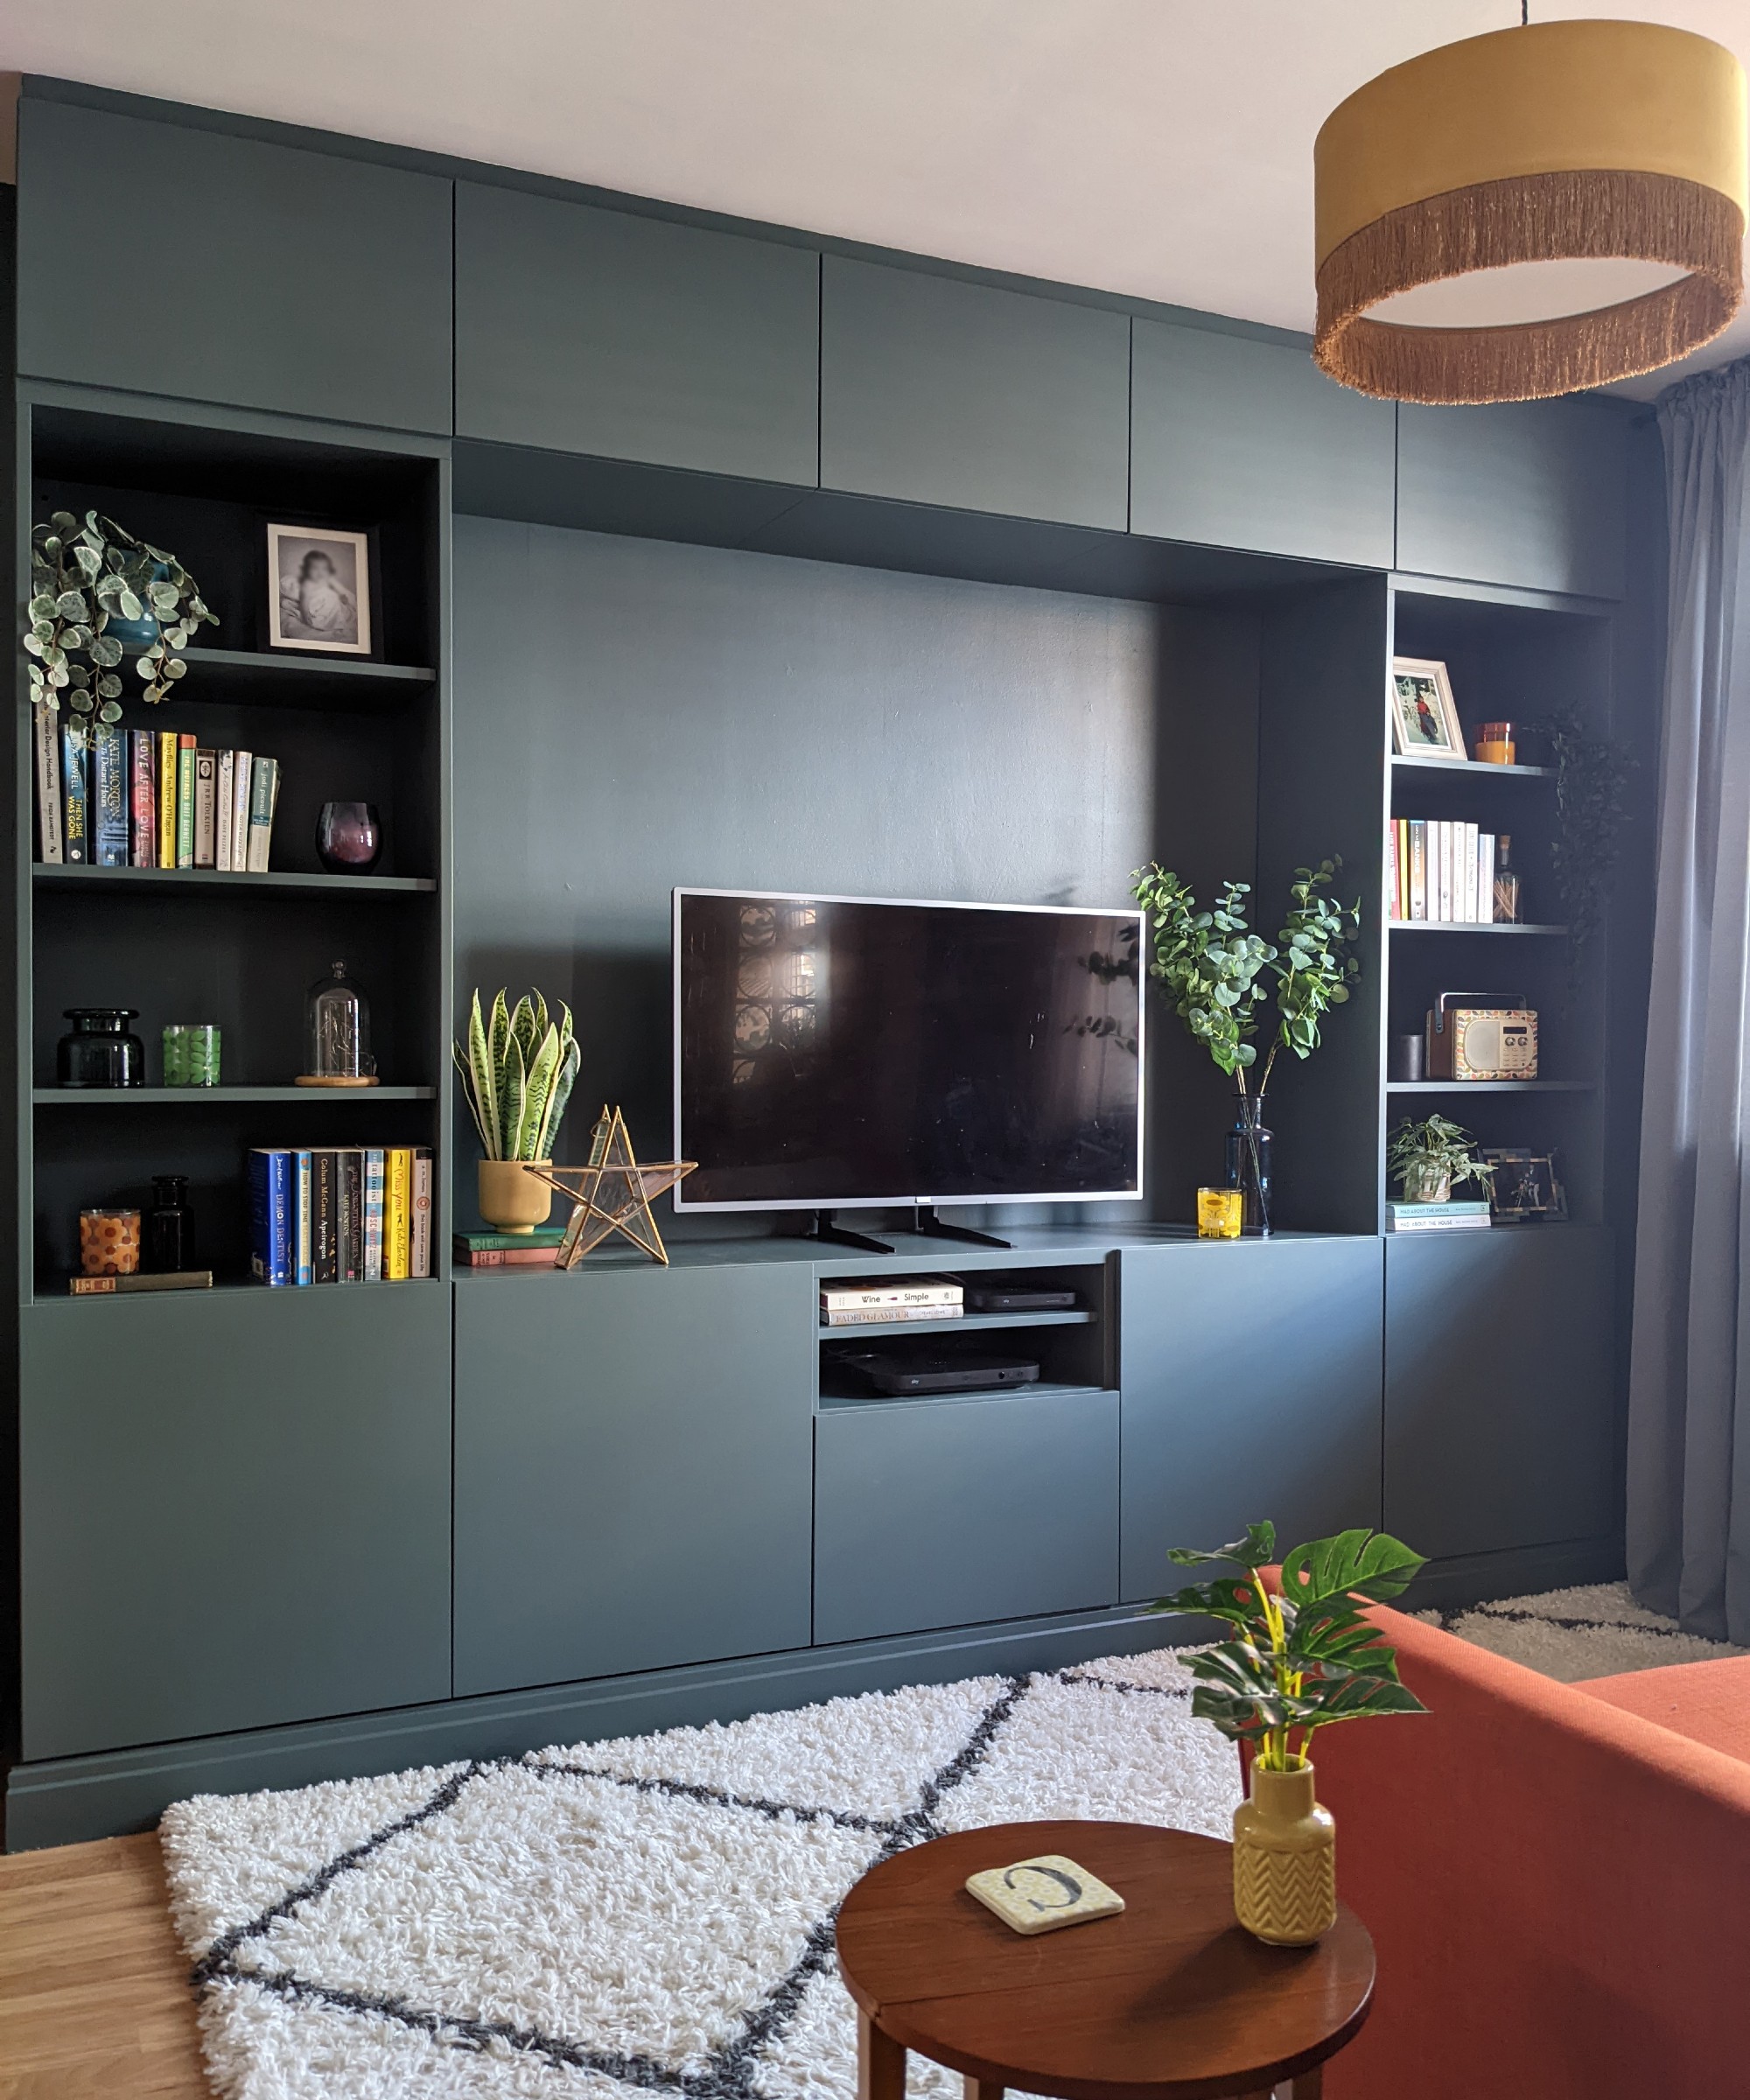
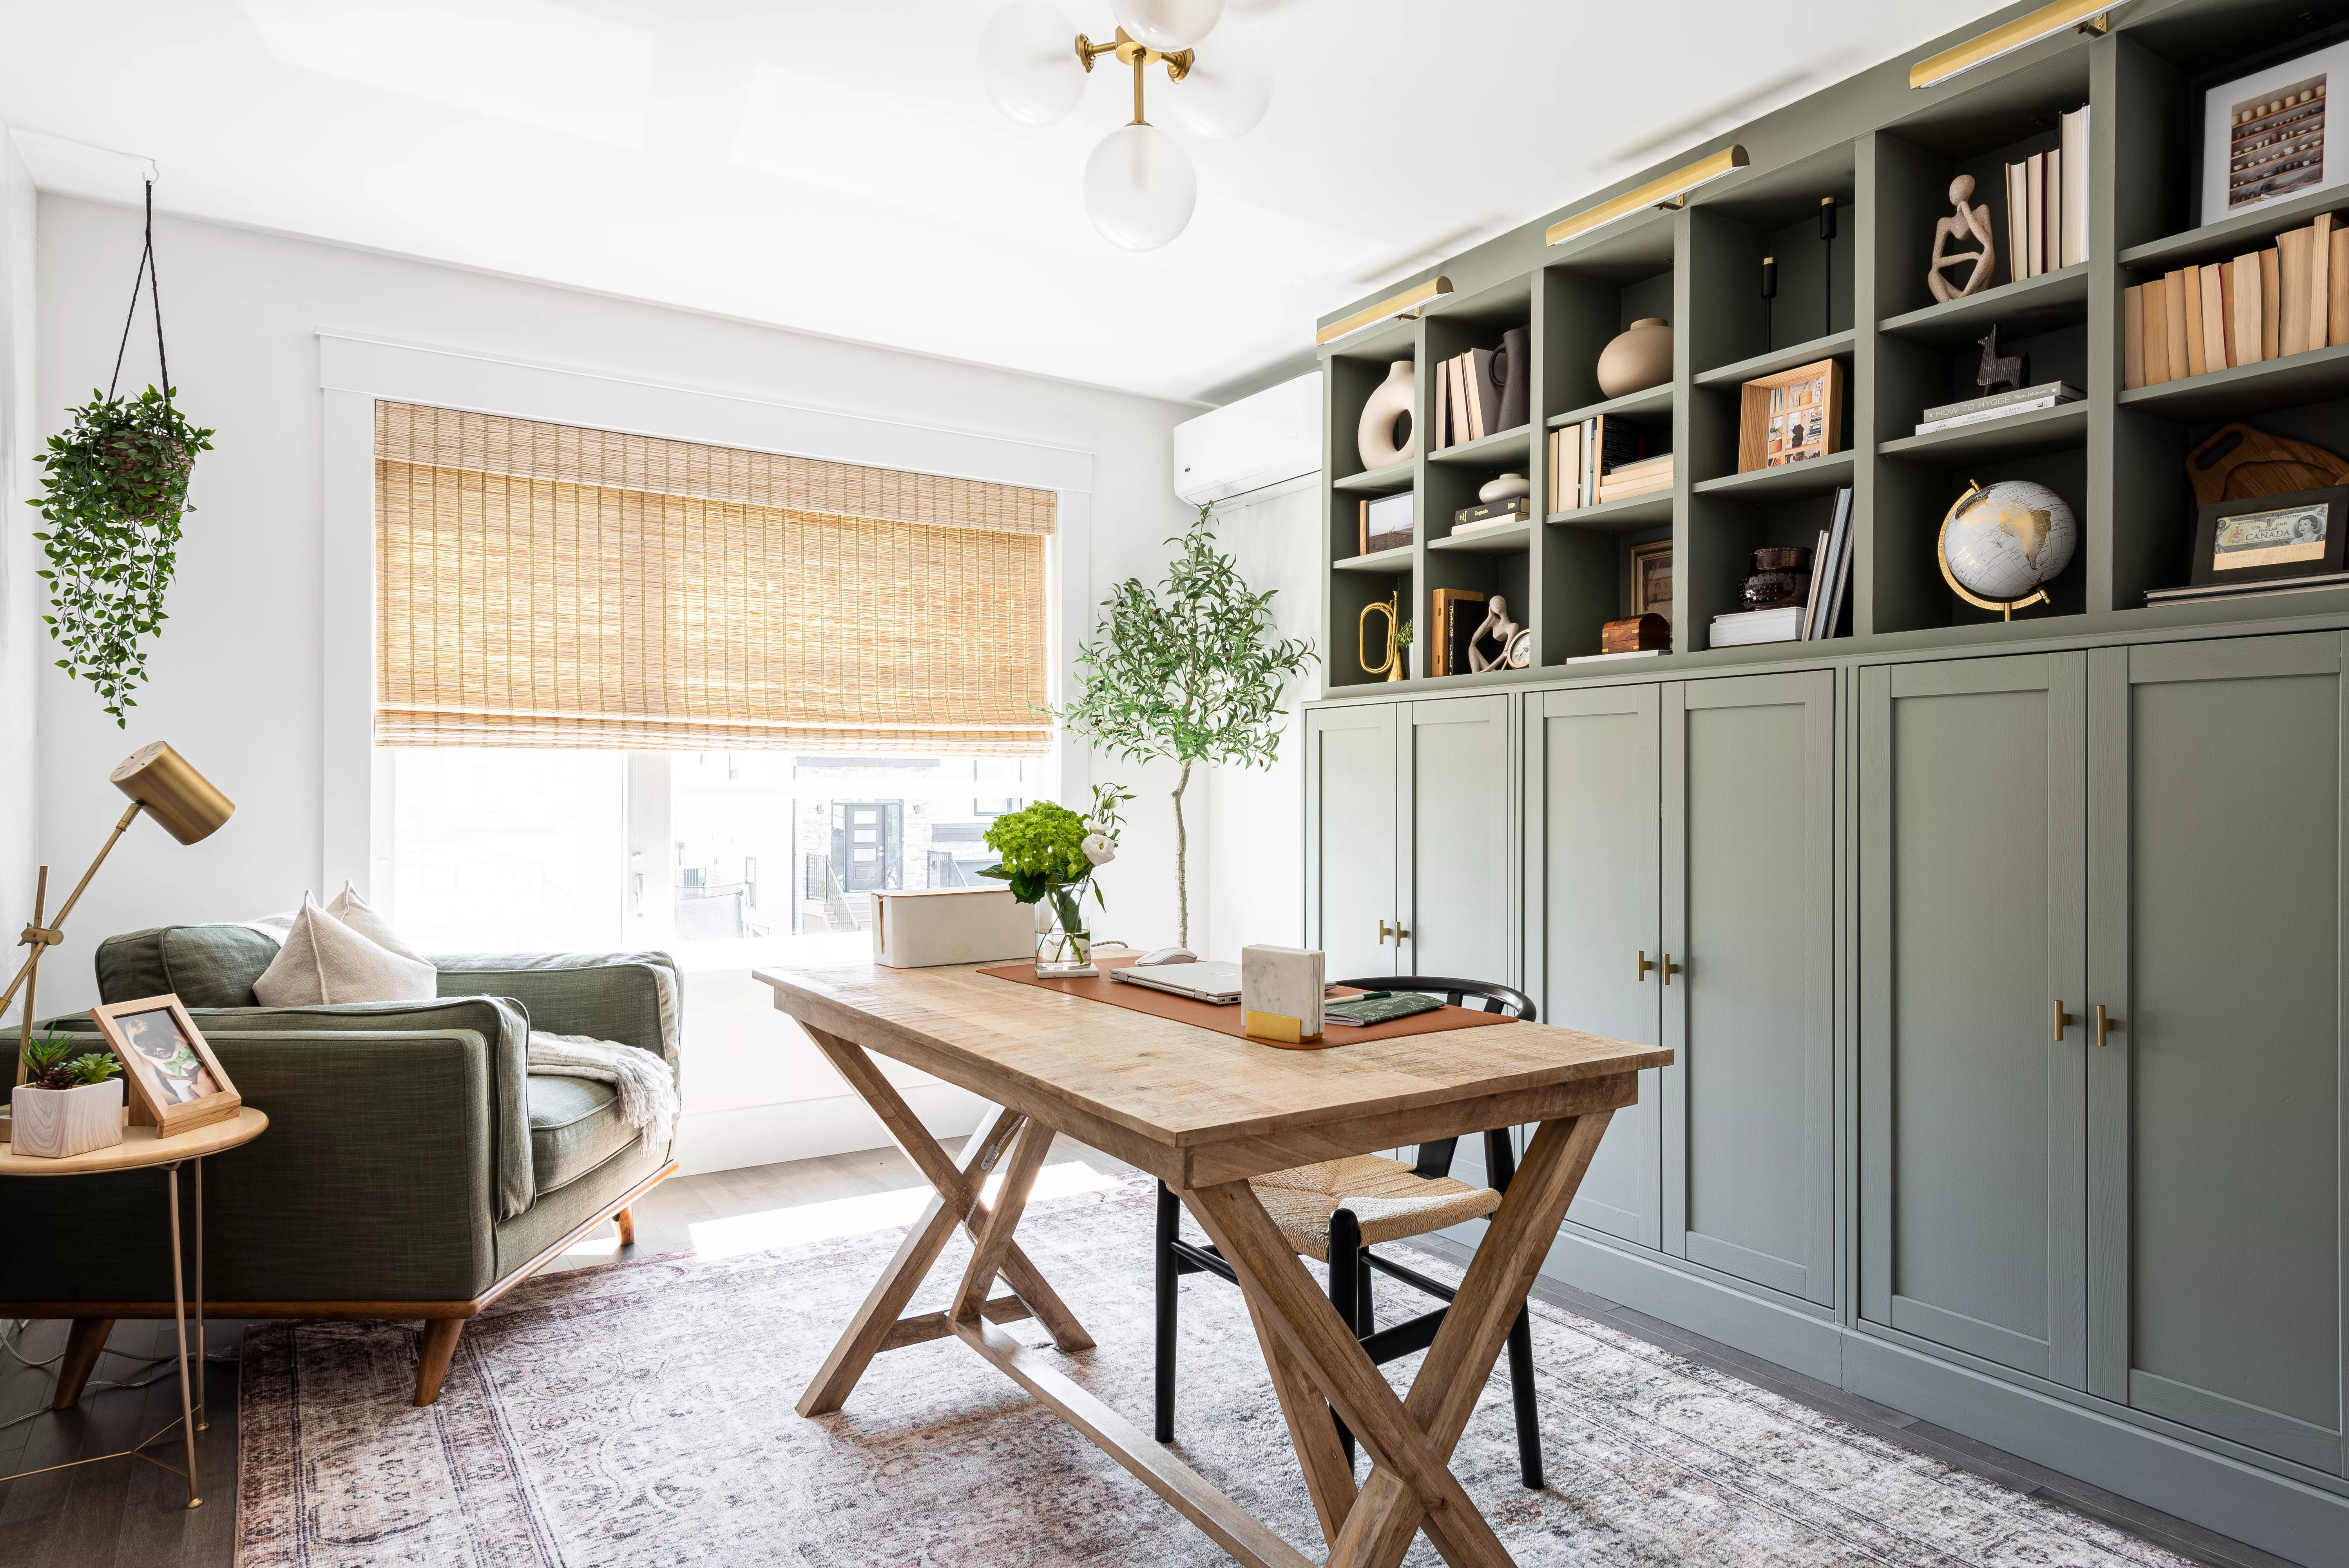
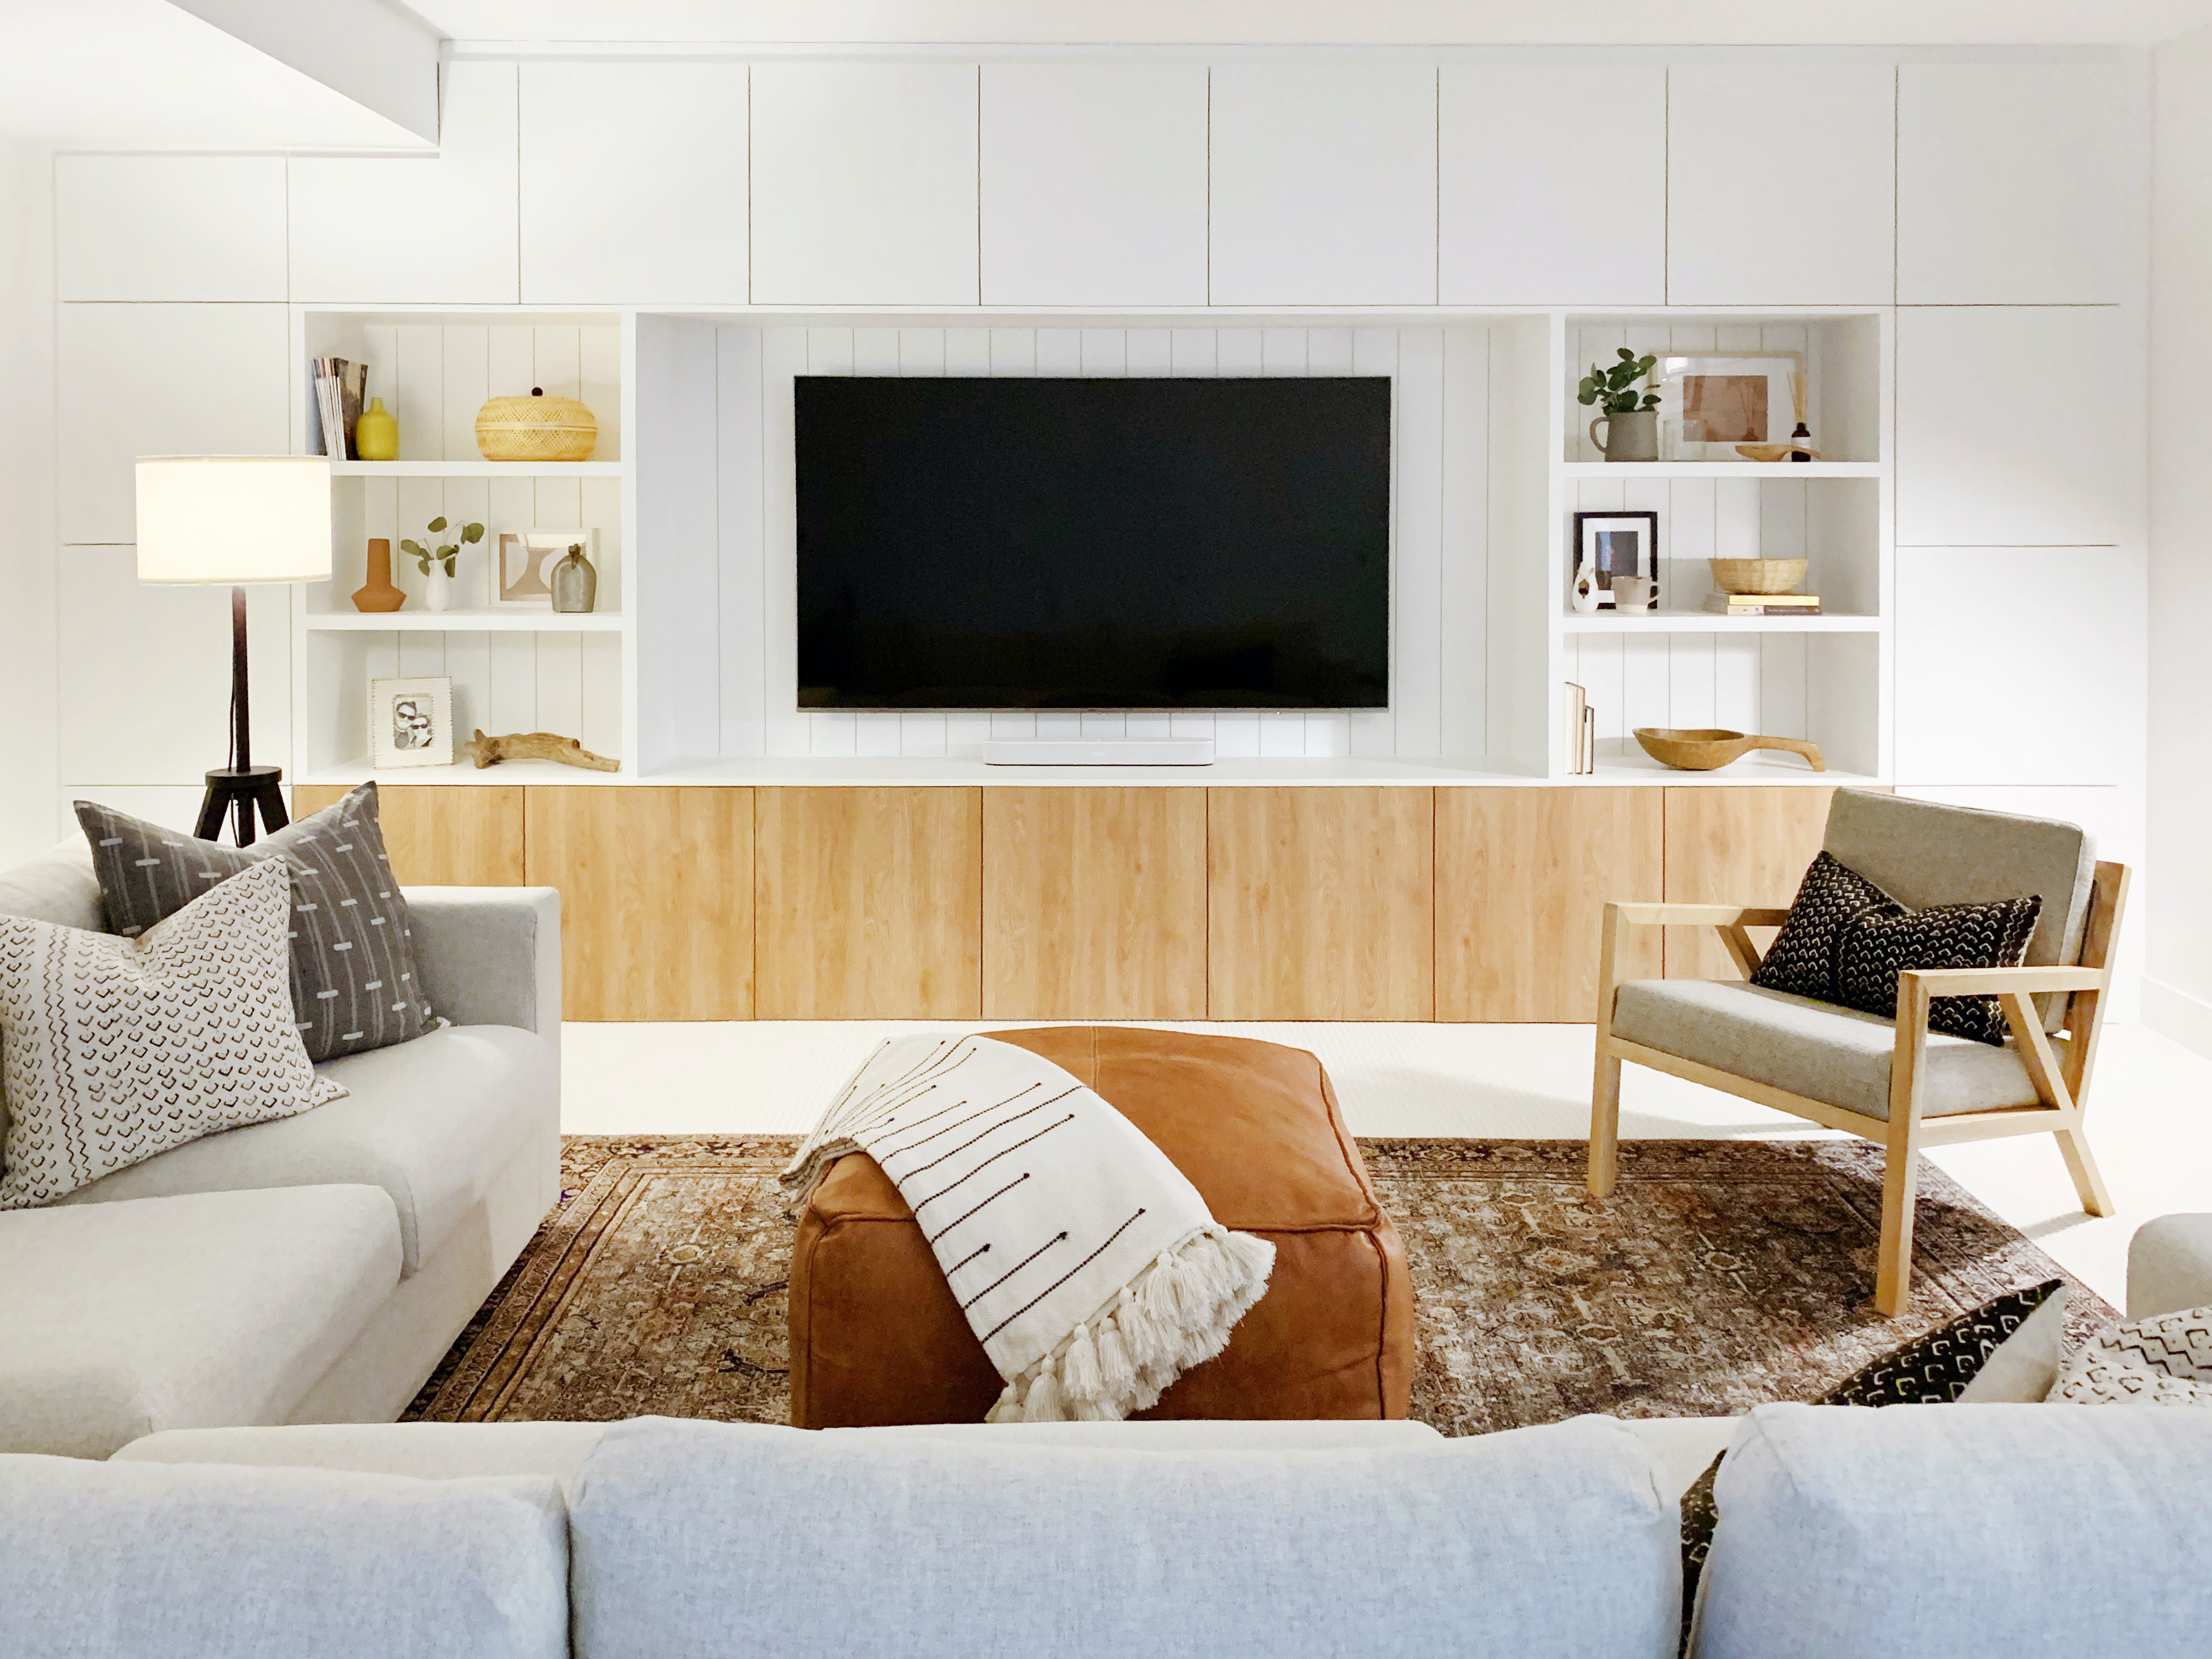
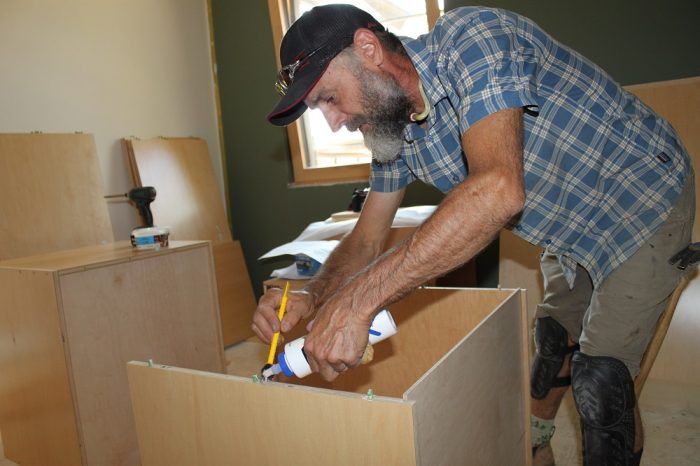
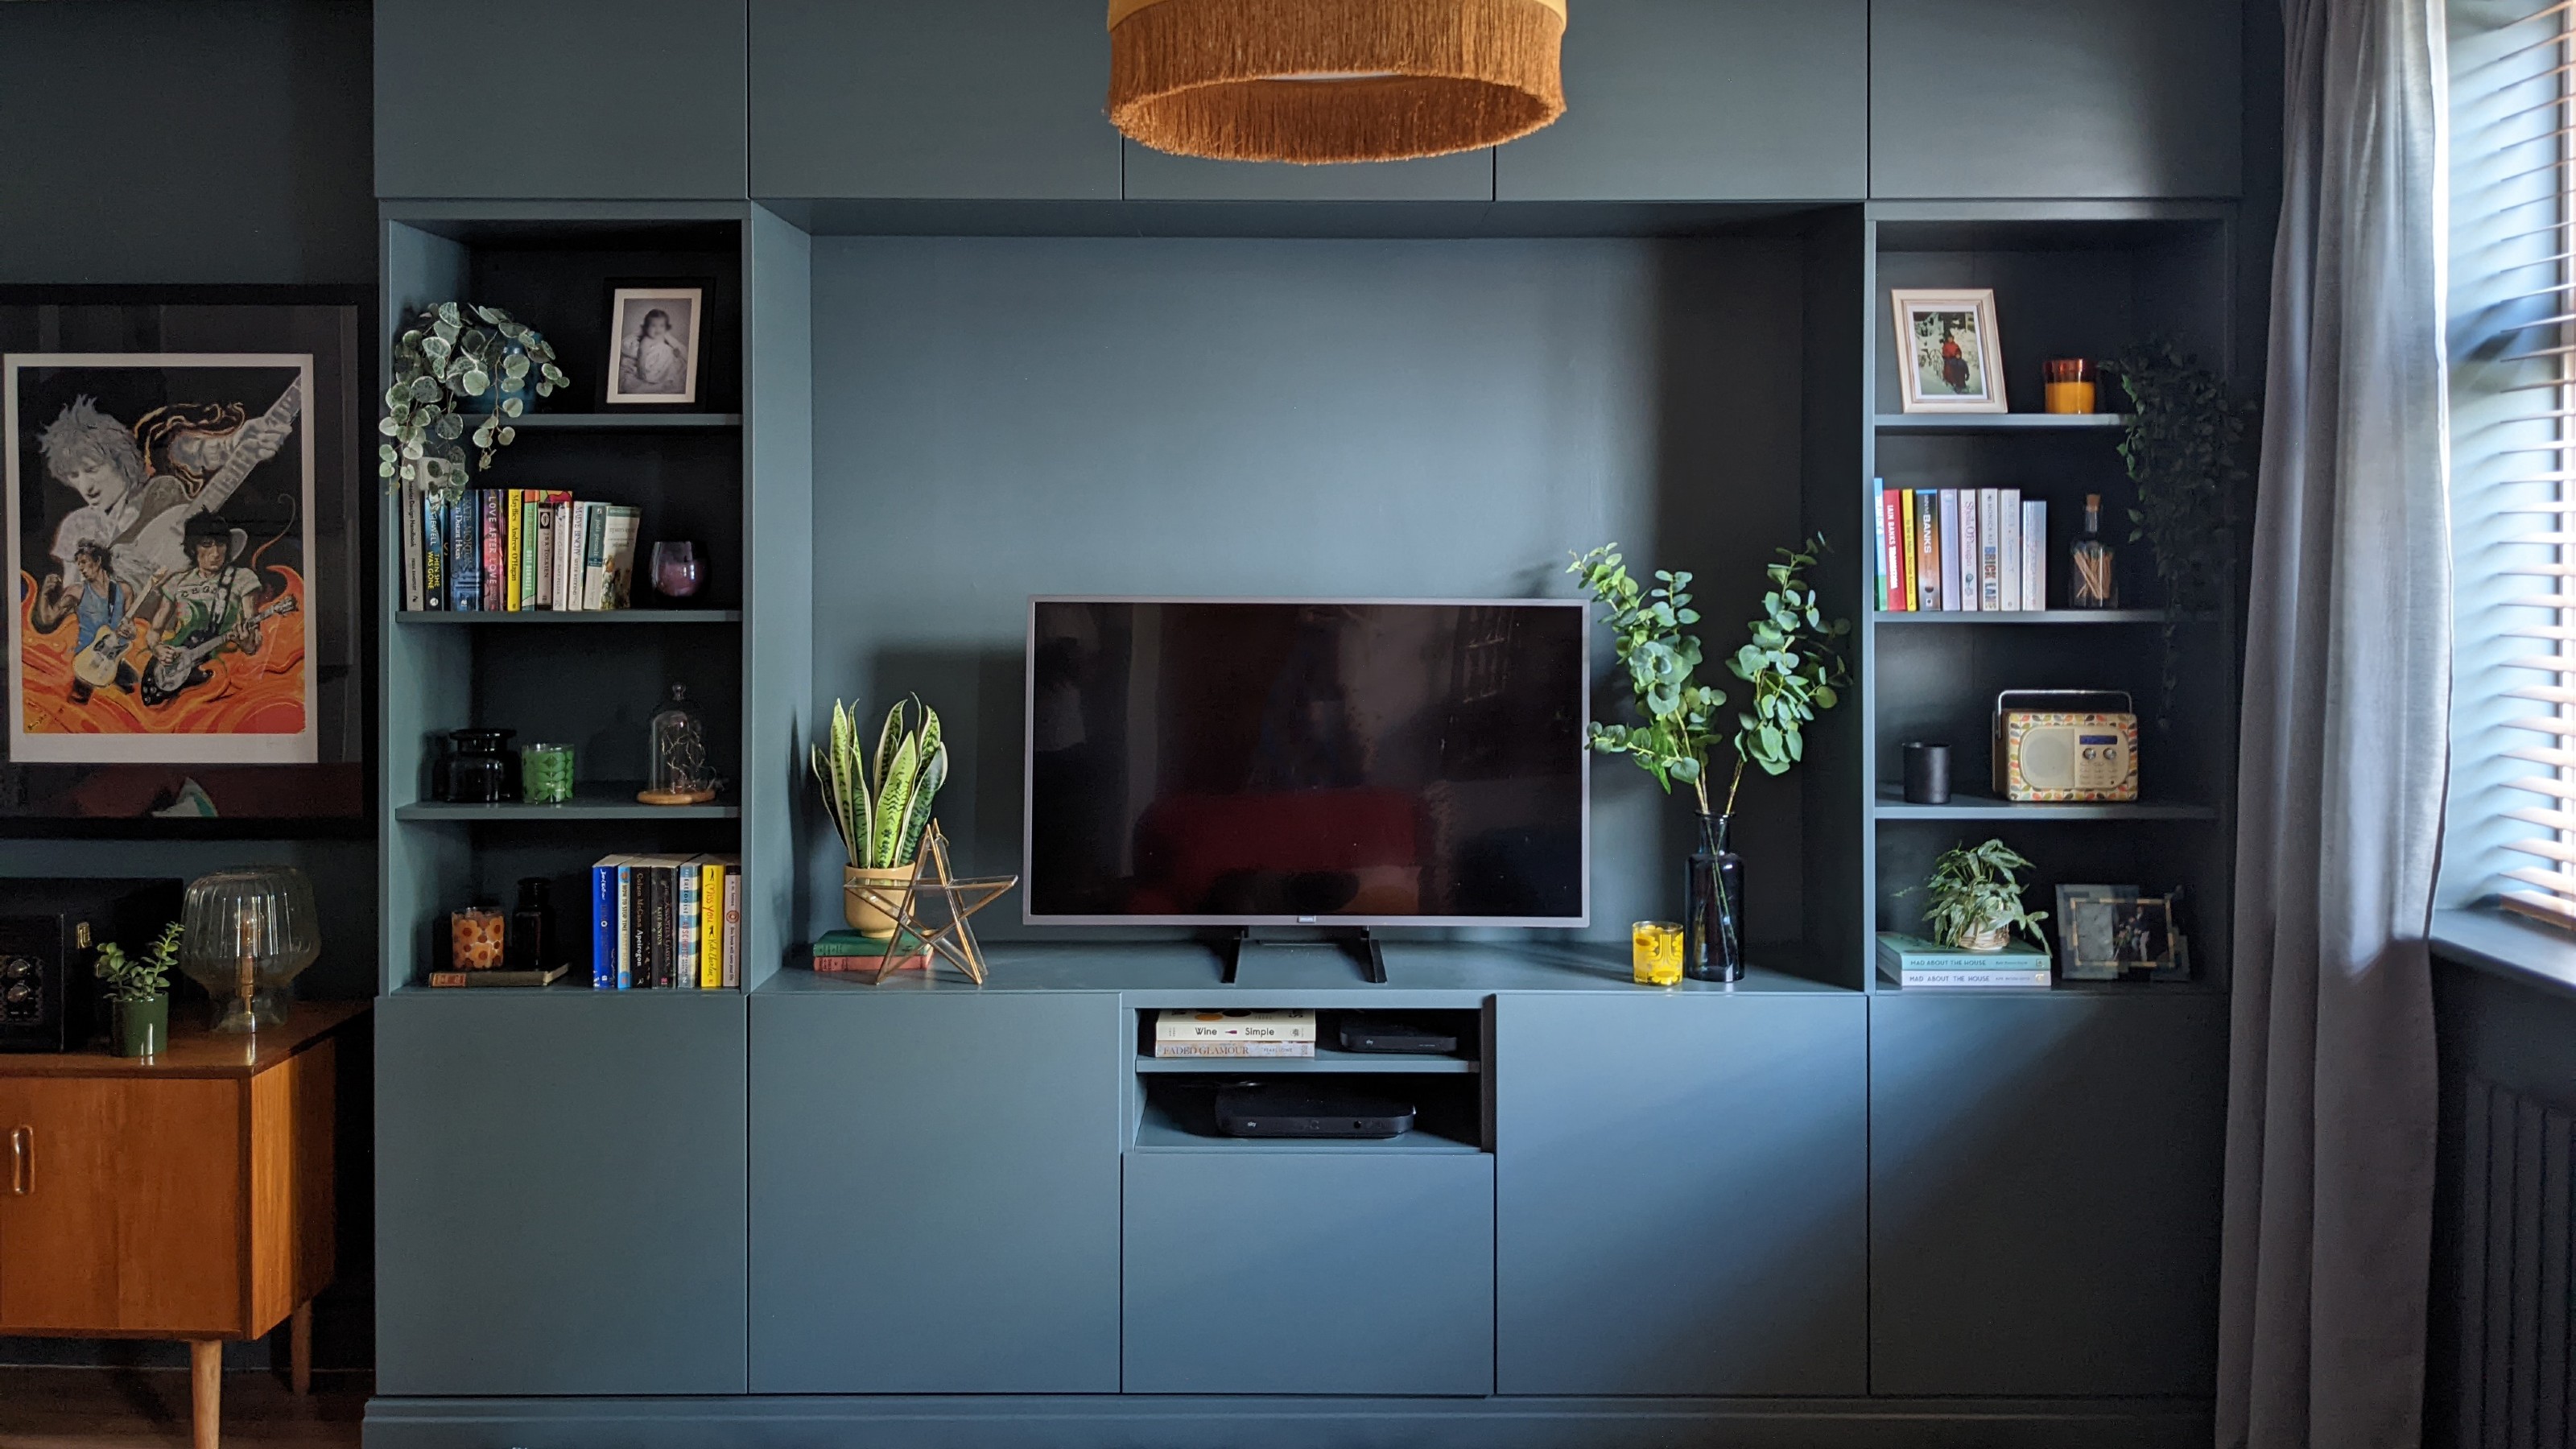
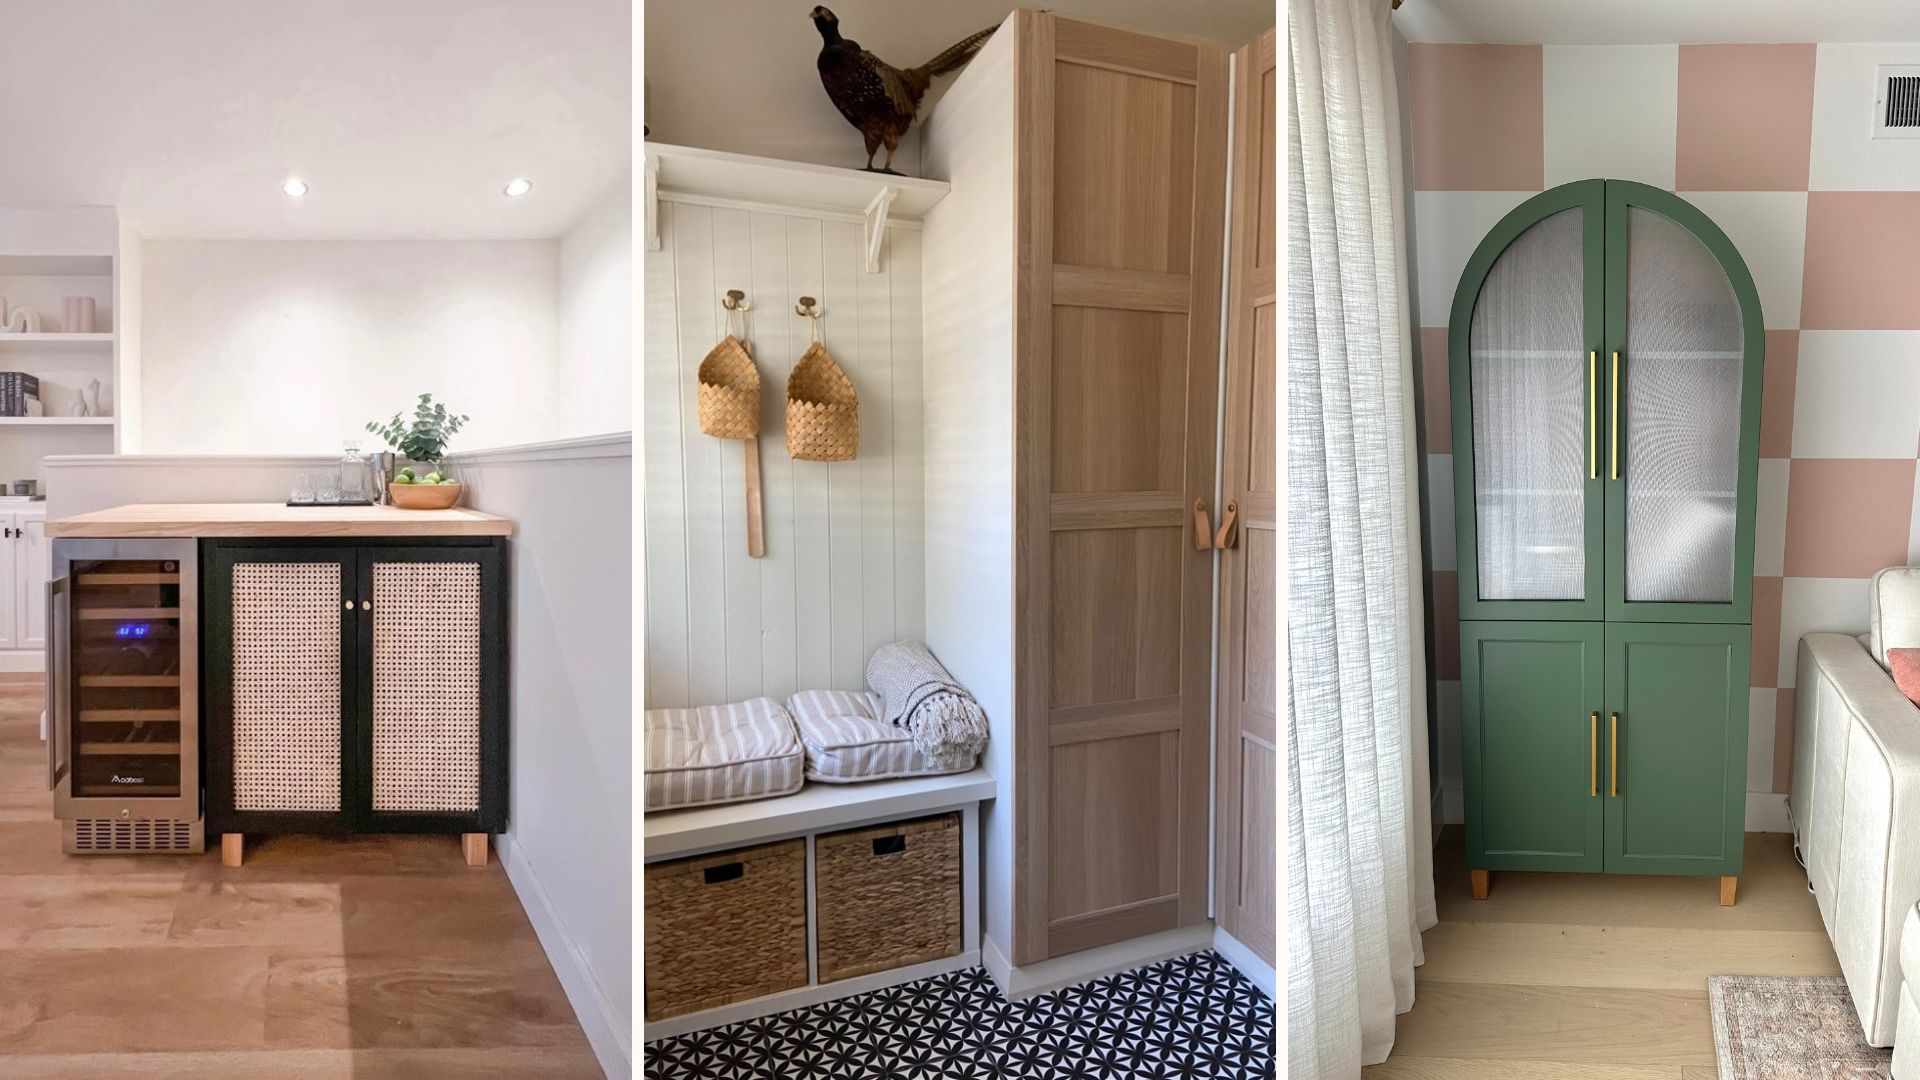
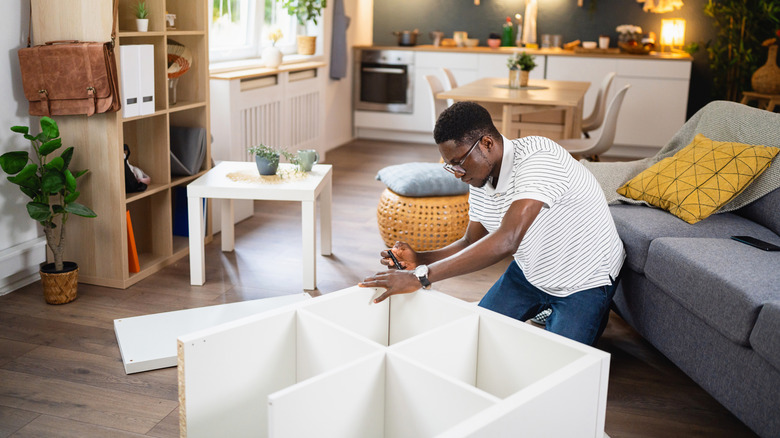
The article provides a step-by-step guide to transforming IKEA staples into integrated storage. This process begins with building a sturdy base using materials like 2x2s, 2x4s, or plywood to elevate the furniture and create the illusion of a built-in unit. It also suggests removing existing baseboards to ensure a flush fit against the wall. After assembling the IKEA pieces, they should be securely screwed together and anchored to wall studs. Creative customizations like adding arches, trim between shelves, or decorative frames to cabinet doors are also suggested to enhance the bespoke appearance.
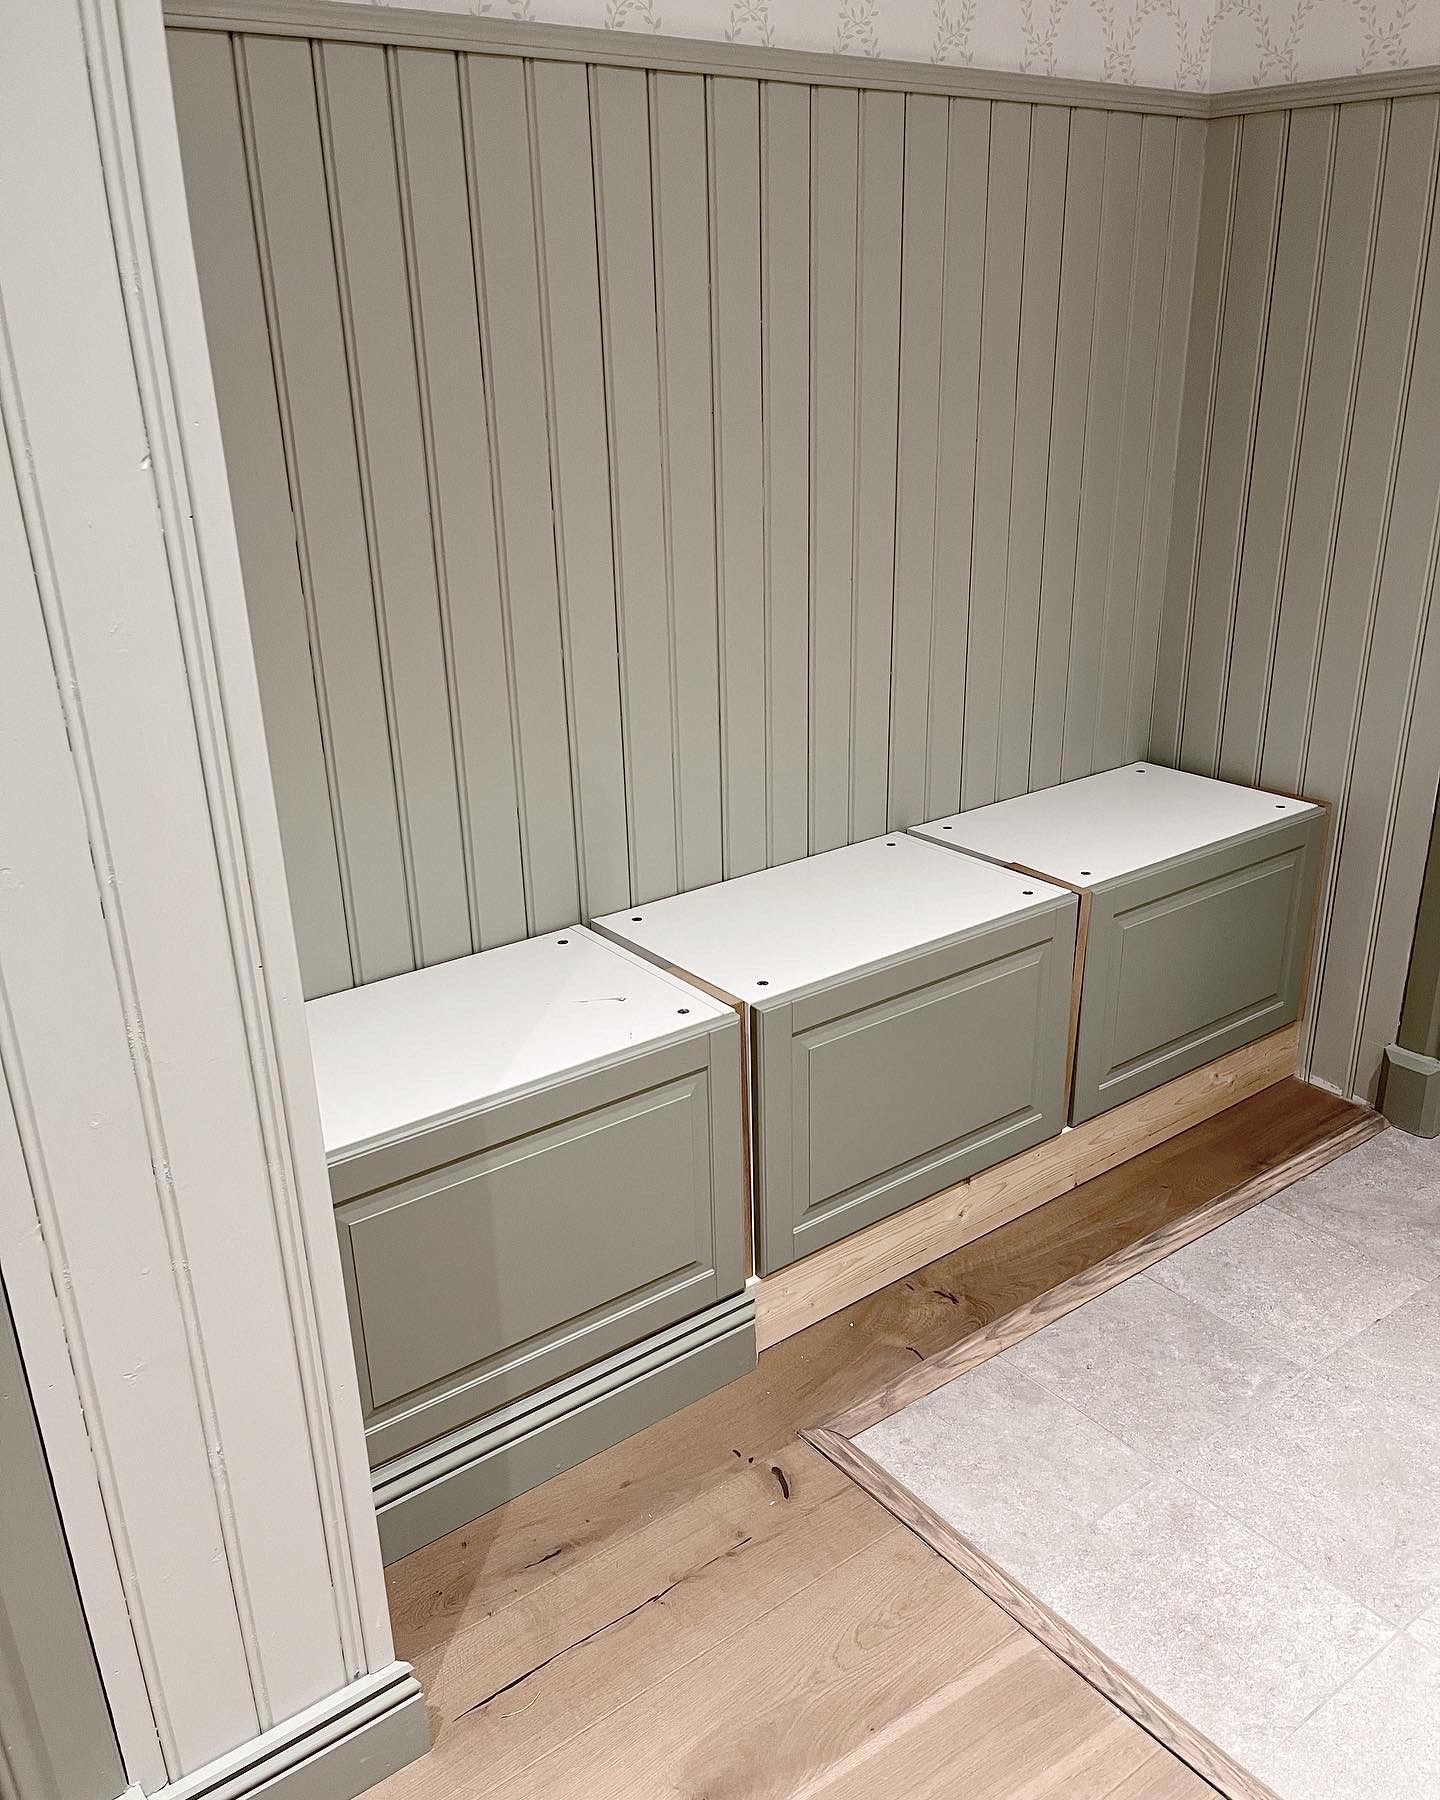
Pre-paint detailing is crucial for achieving a polished look. This involves filling exposed holes with surfacing compound, caulking seams where furniture pieces meet and where they connect to the wall to create a seamless finish. Installing baseboard molding that matches the existing room decor further integrates the unit into the space. The article emphasizes that even novice DIYers can undertake such projects, suggesting that local lumber stores can cut wood pieces and tool libraries offer affordable rentals for specialized equipment.
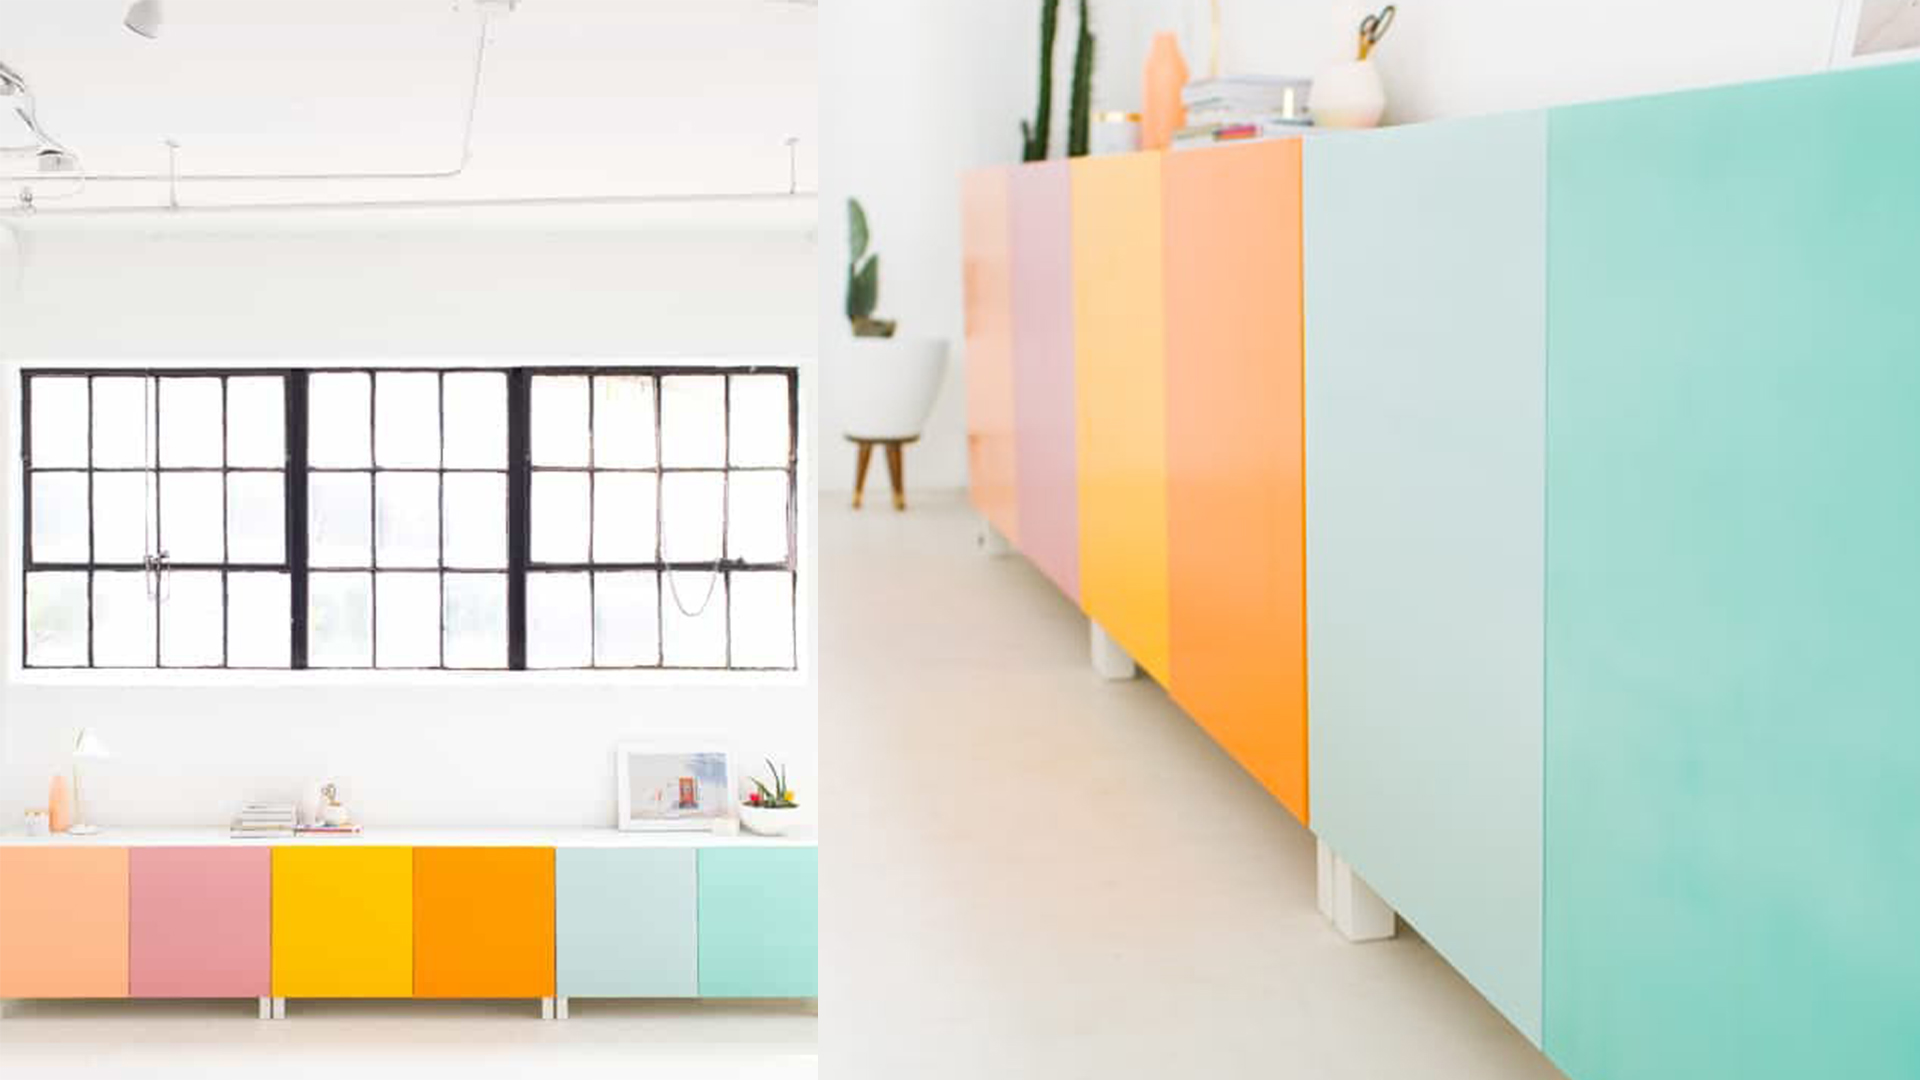
The painting process is detailed, recommending sanding surfaces, especially glossy ones, before priming to ensure proper paint adhesion. Shellac-based primers are suggested as an alternative to sanding for slick, laminate-like surfaces. The choice of paint, with water-based latex in a matte finish, is advised for durability and to hide imperfections. Painting the unit the same color as the walls can enhance its integrated appearance. The guide concludes with a multi-step painting process involving several rounds of sanding, painting, and drying, with at least 24 hours of drying time between coats, and a clear topcoat for protection. The use of a paint sprayer is recommended for a smooth, professional finish.
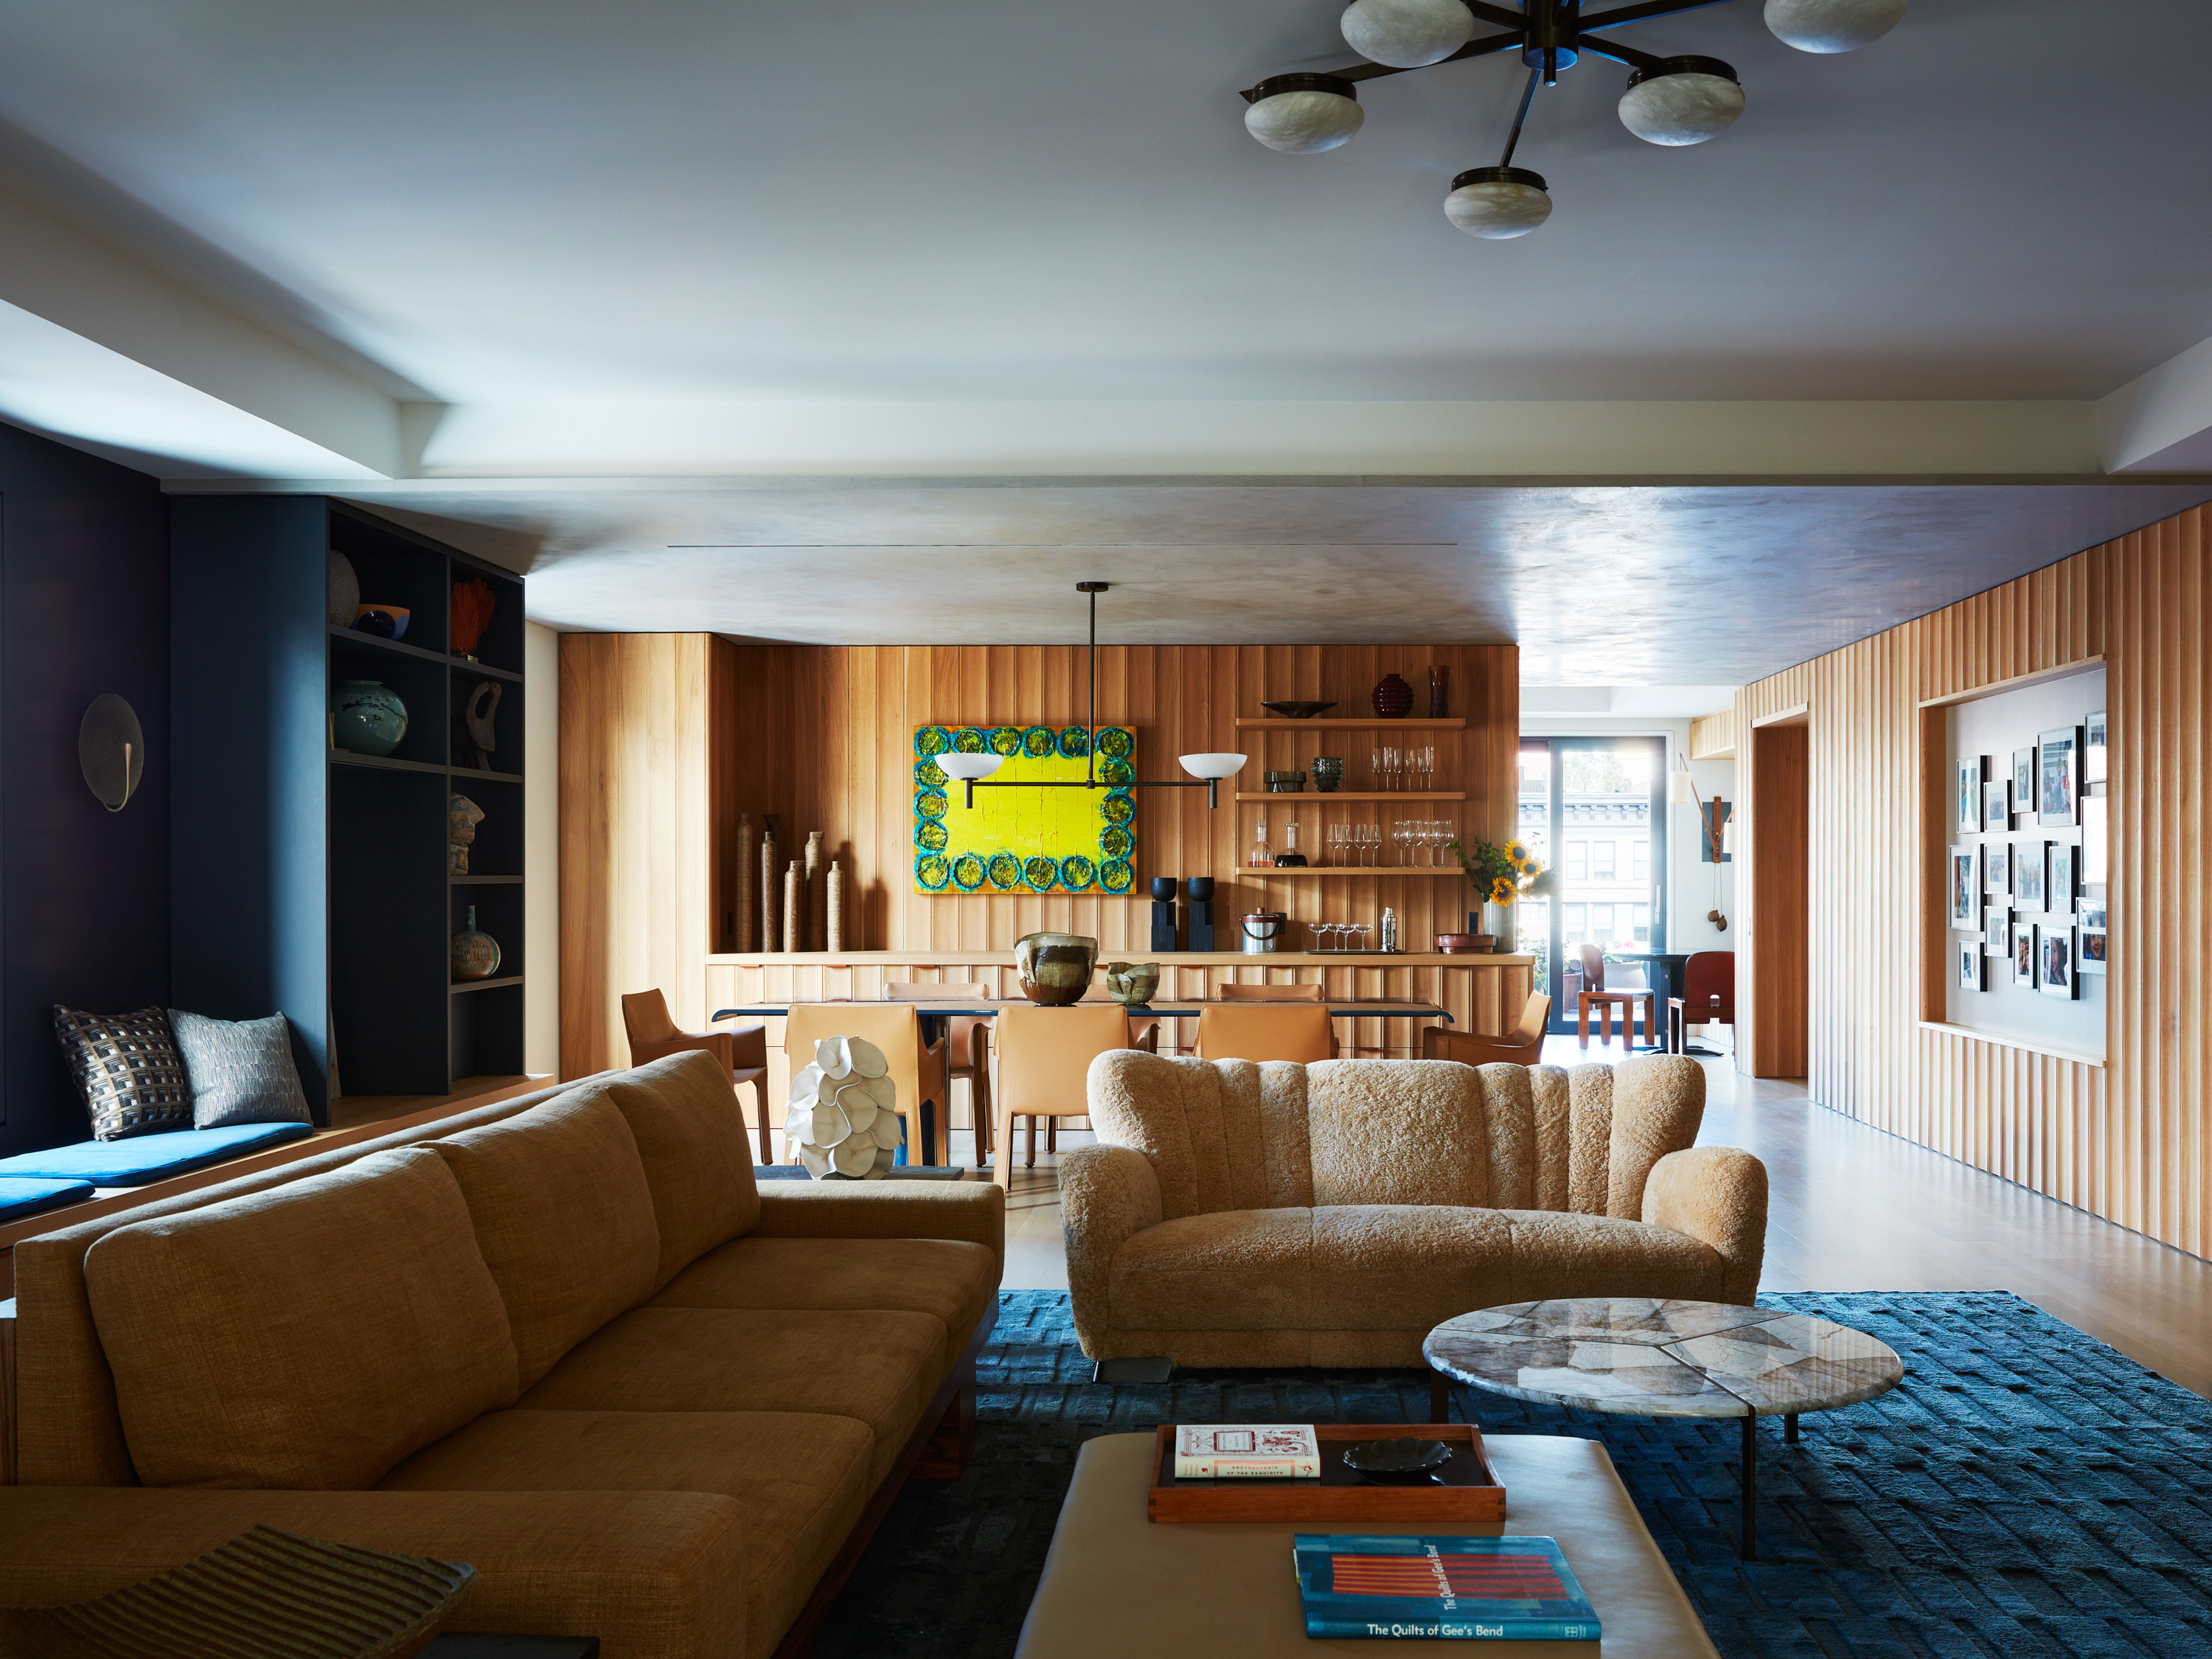
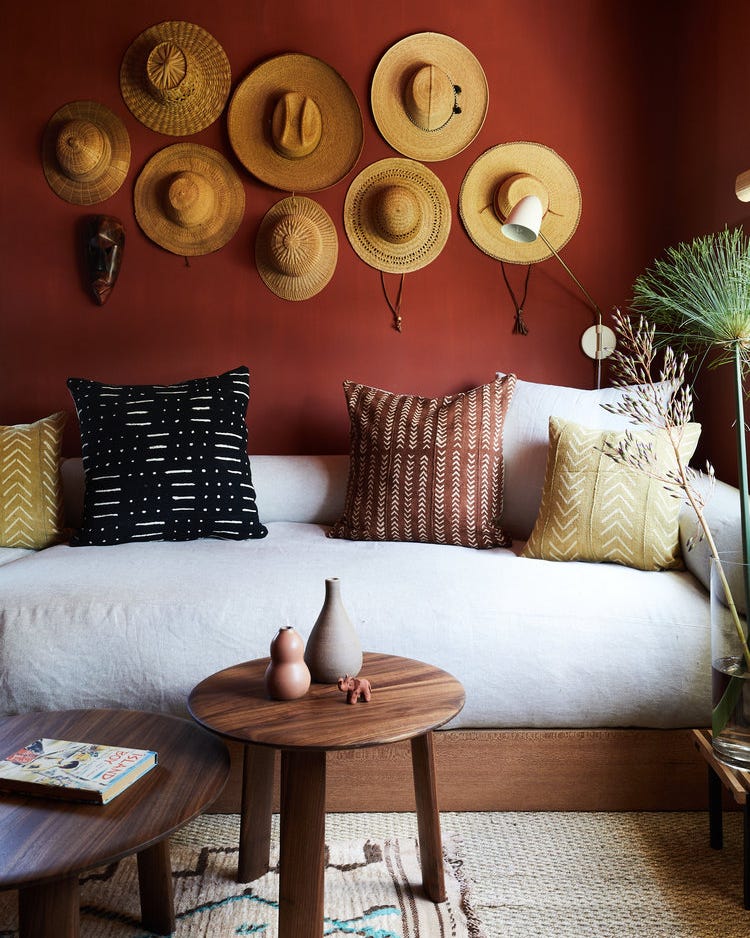
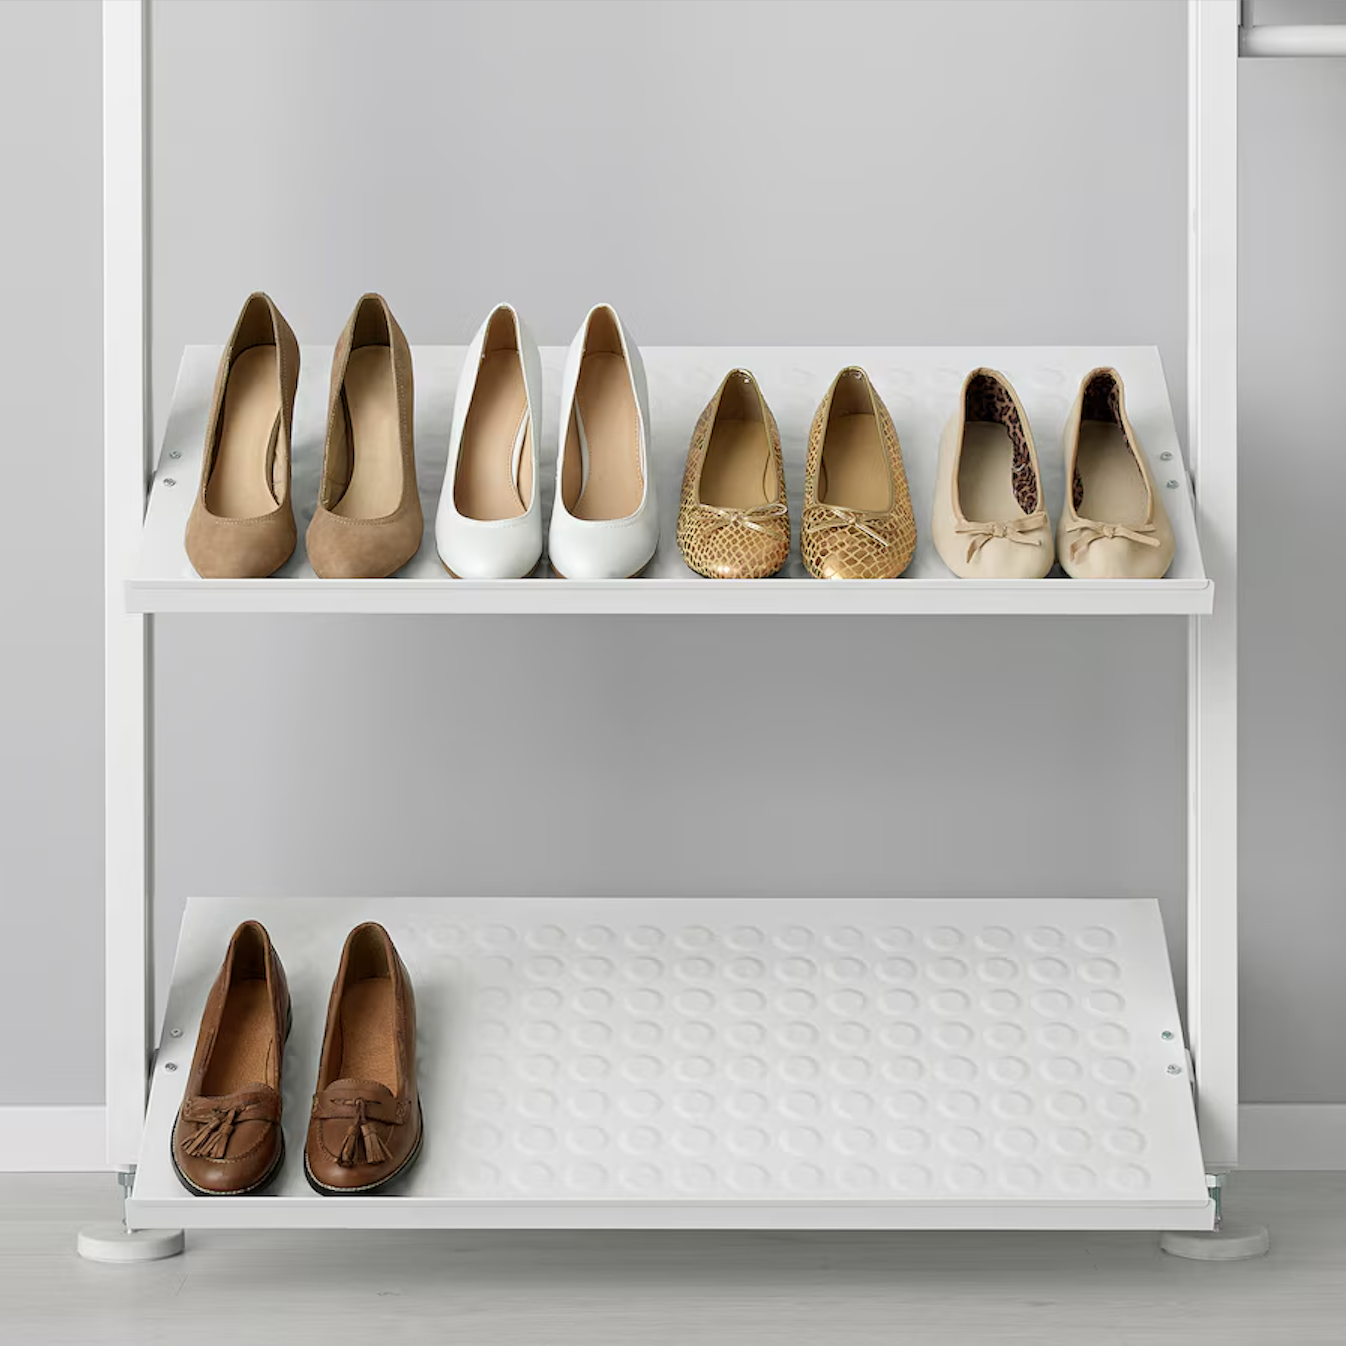
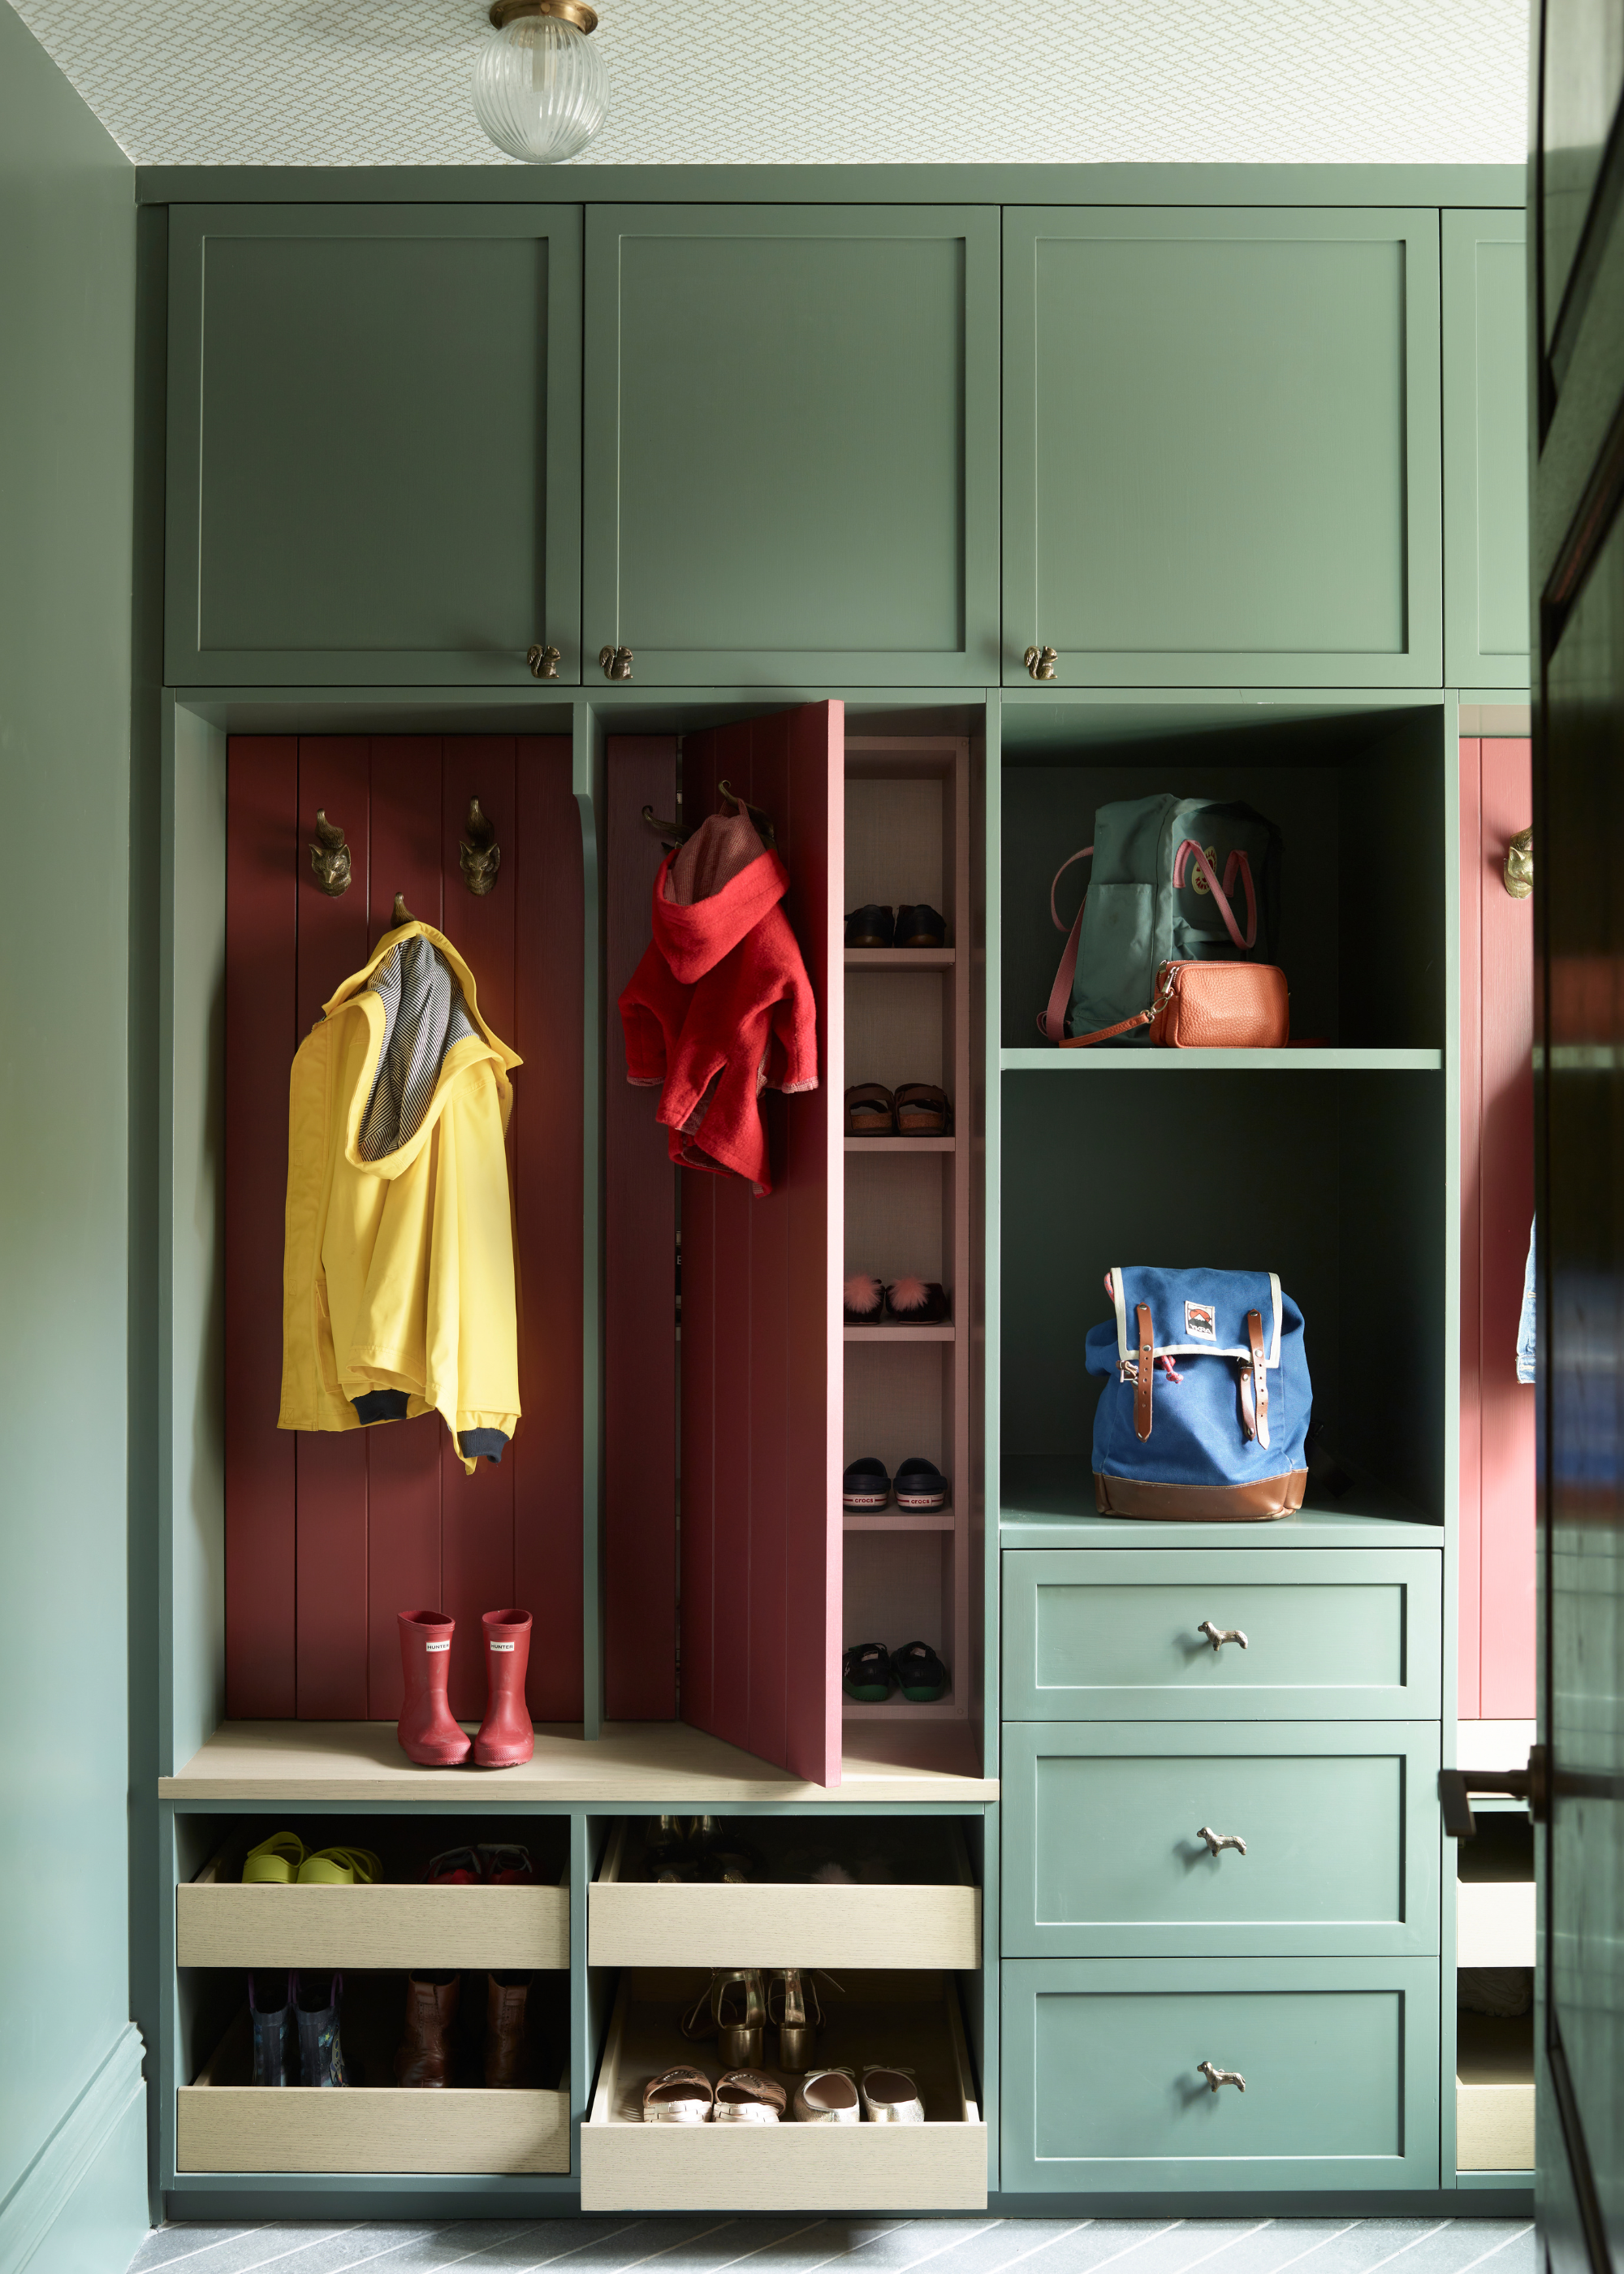
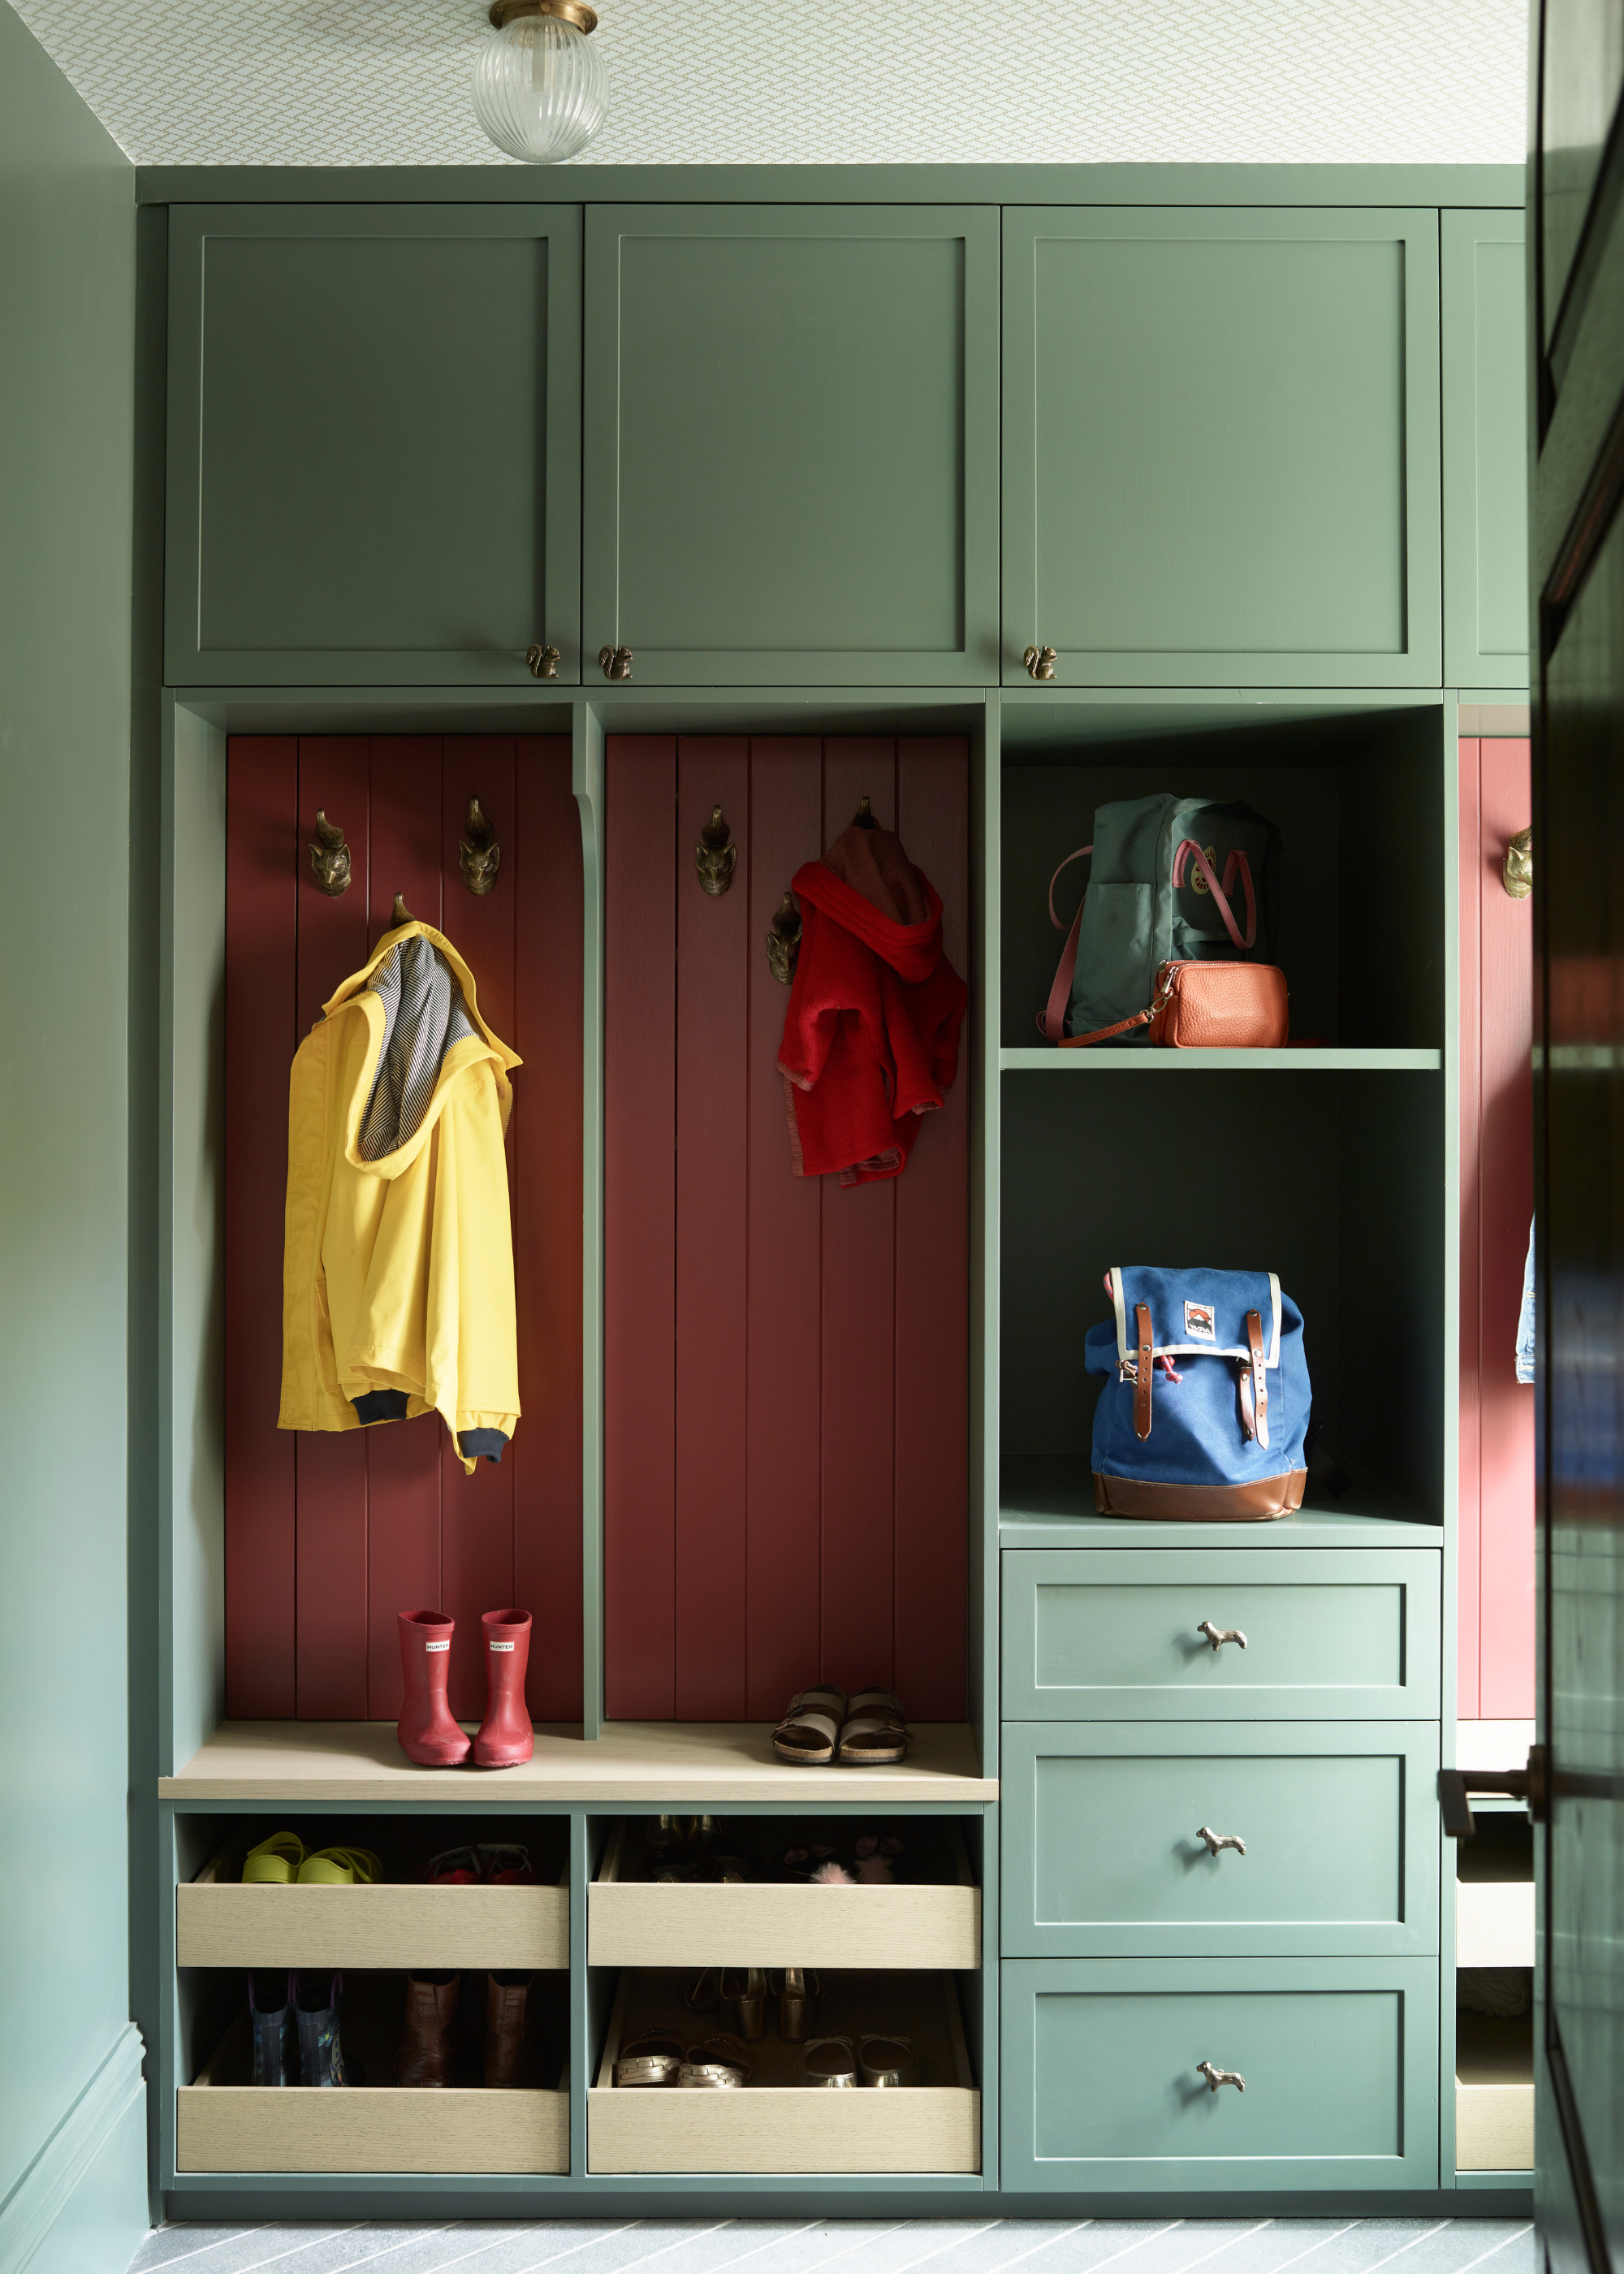
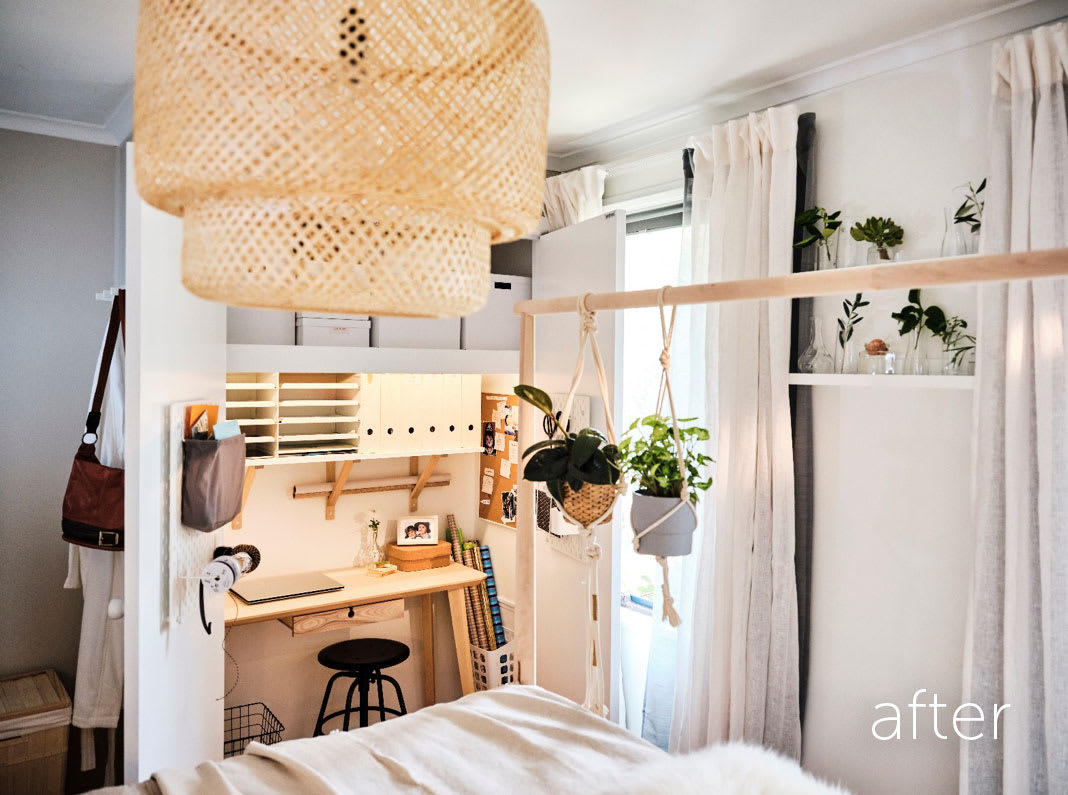
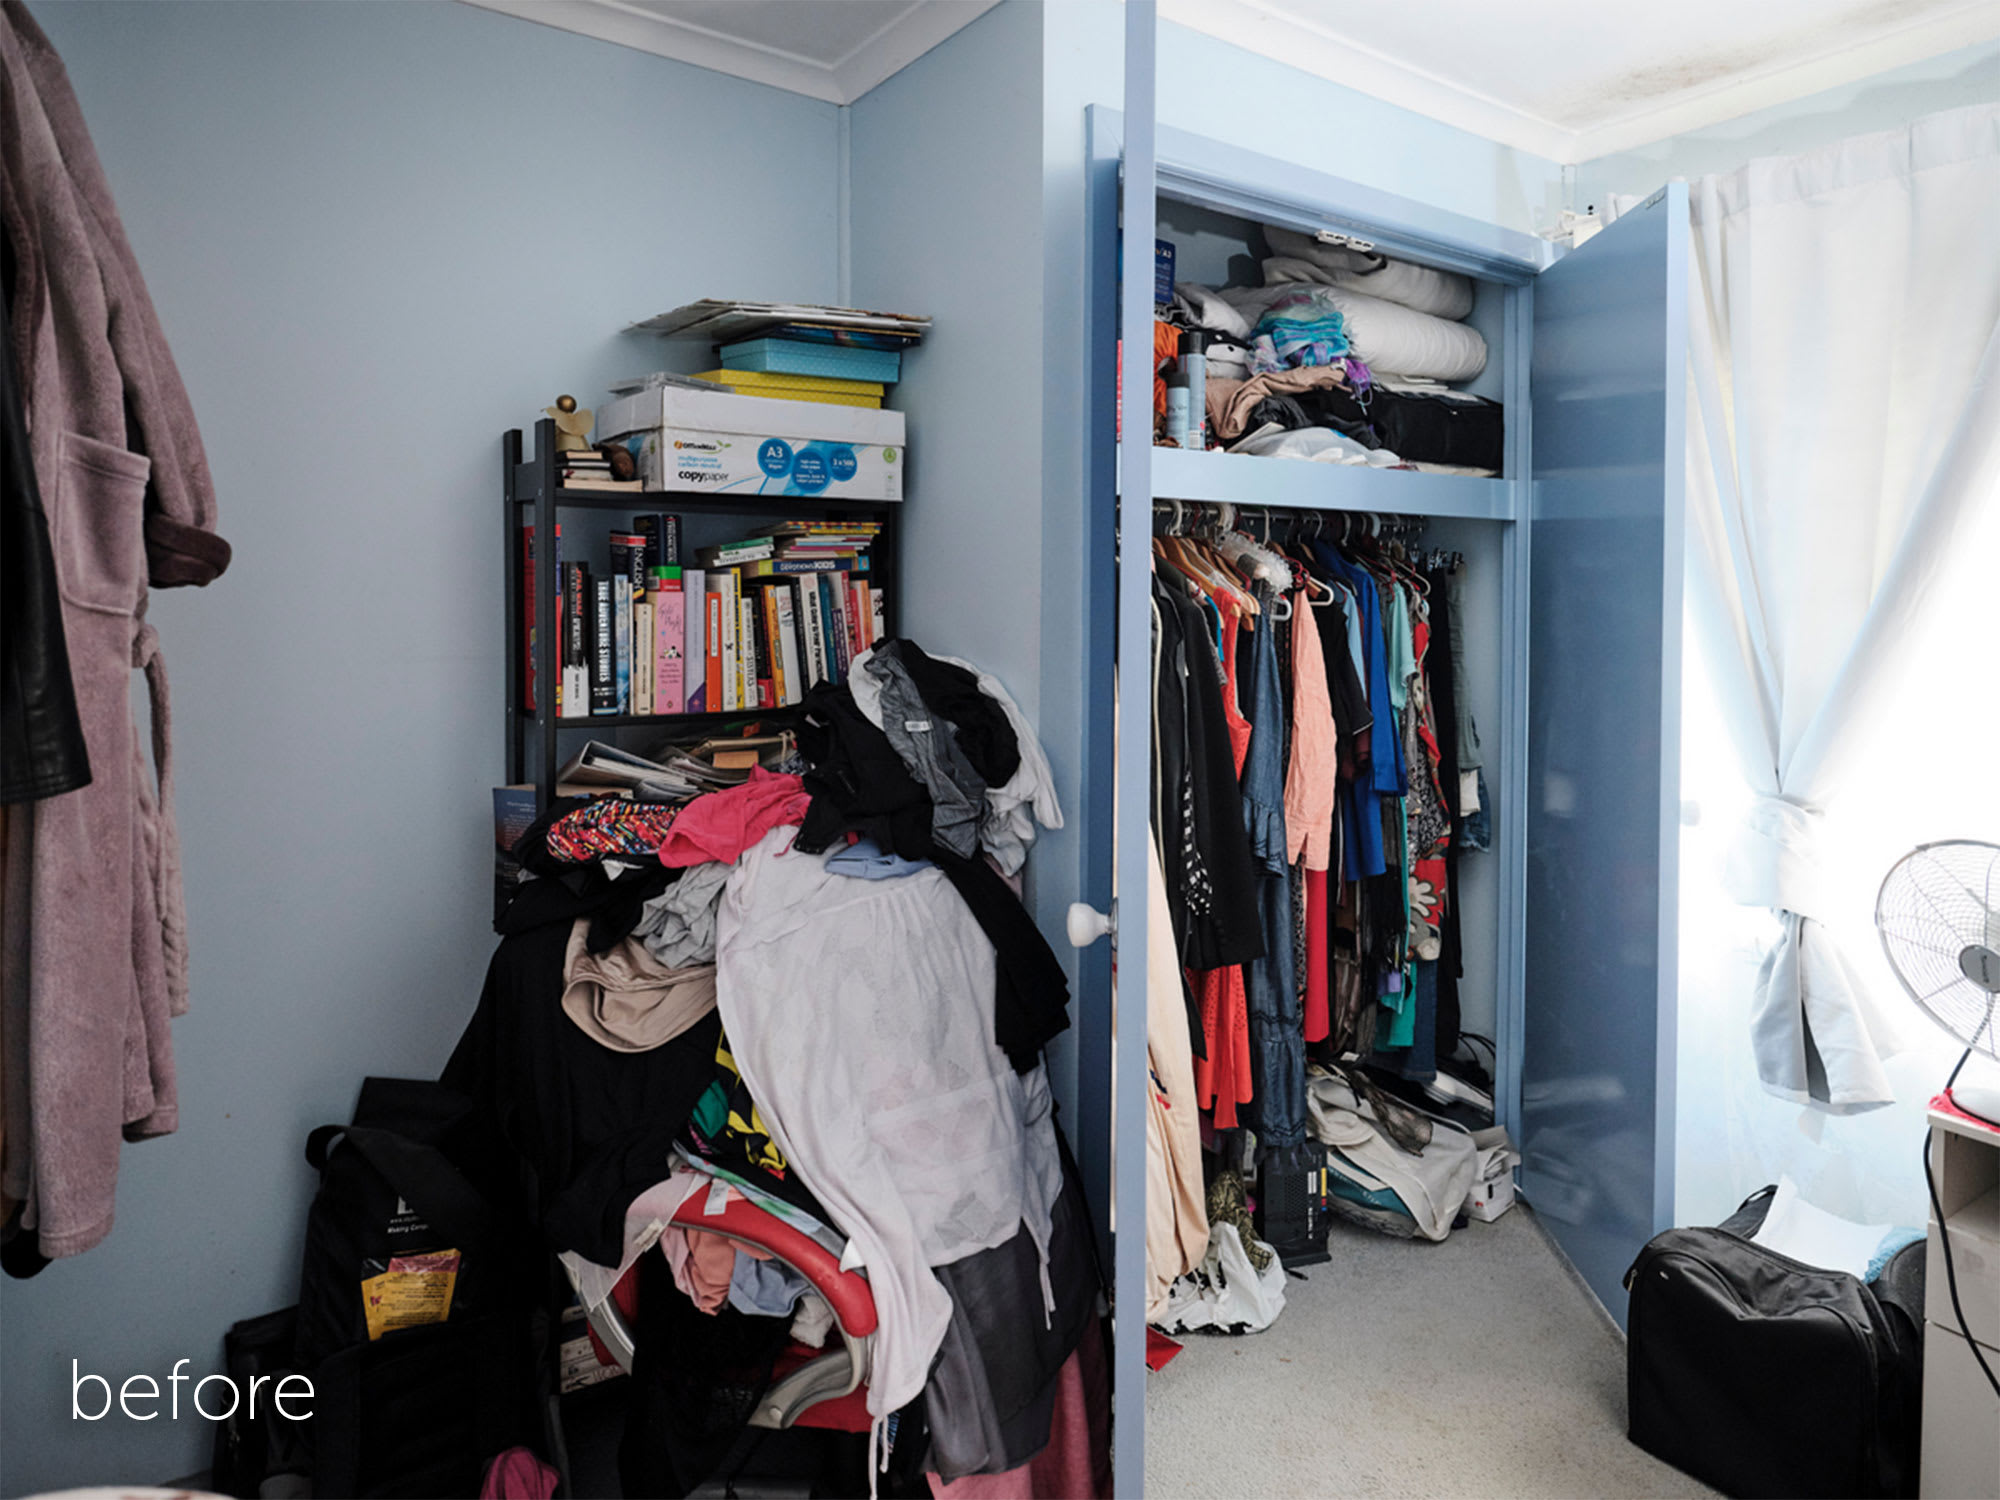
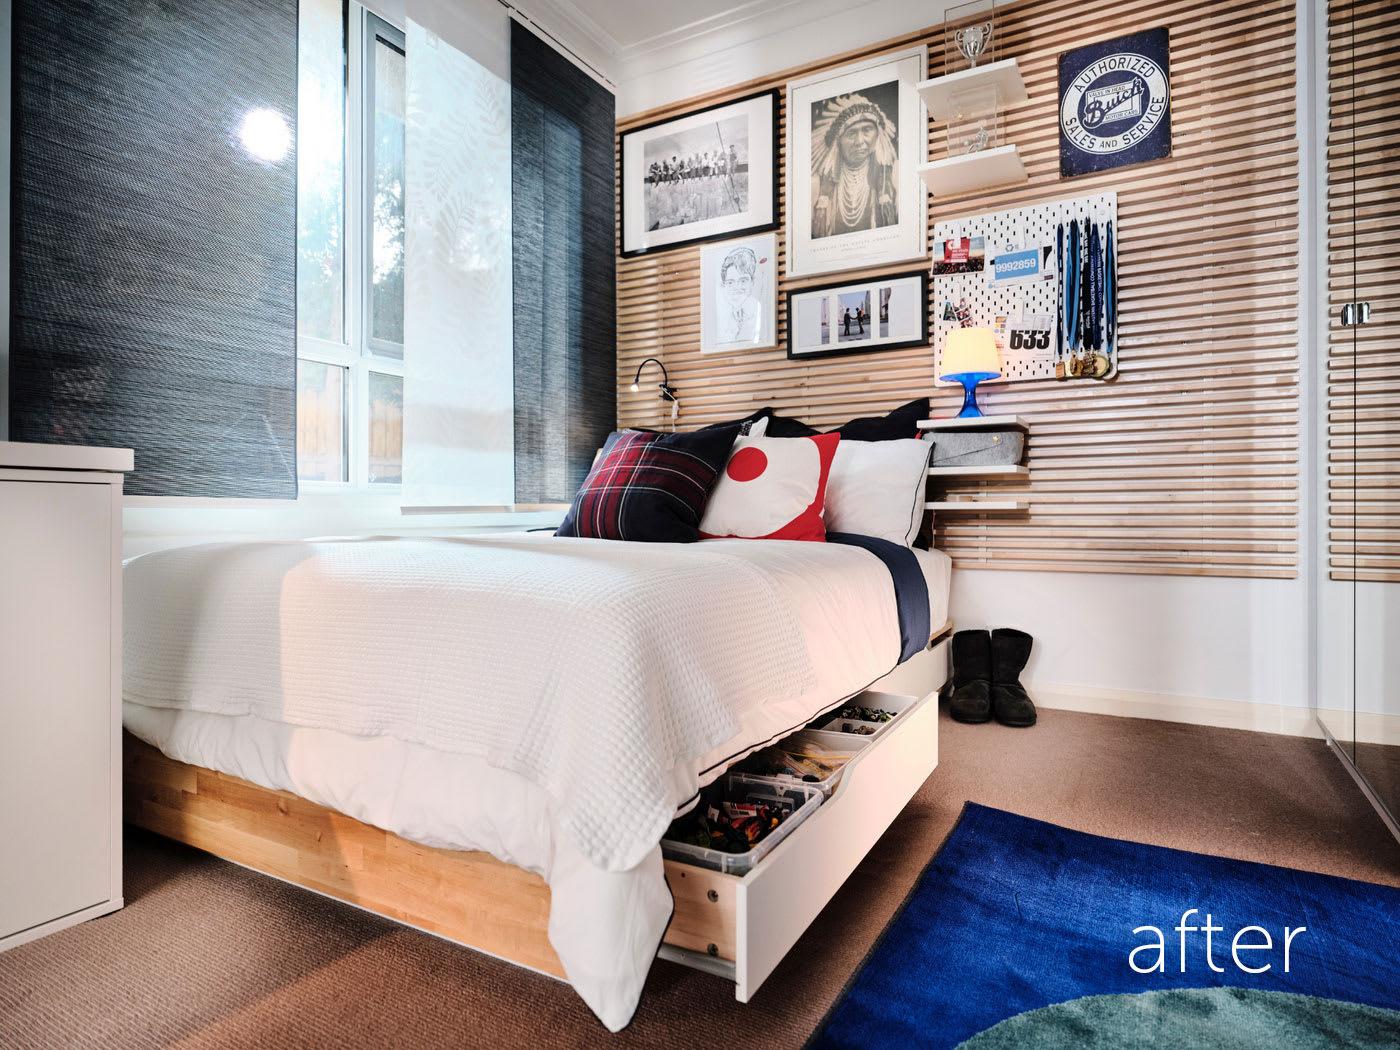
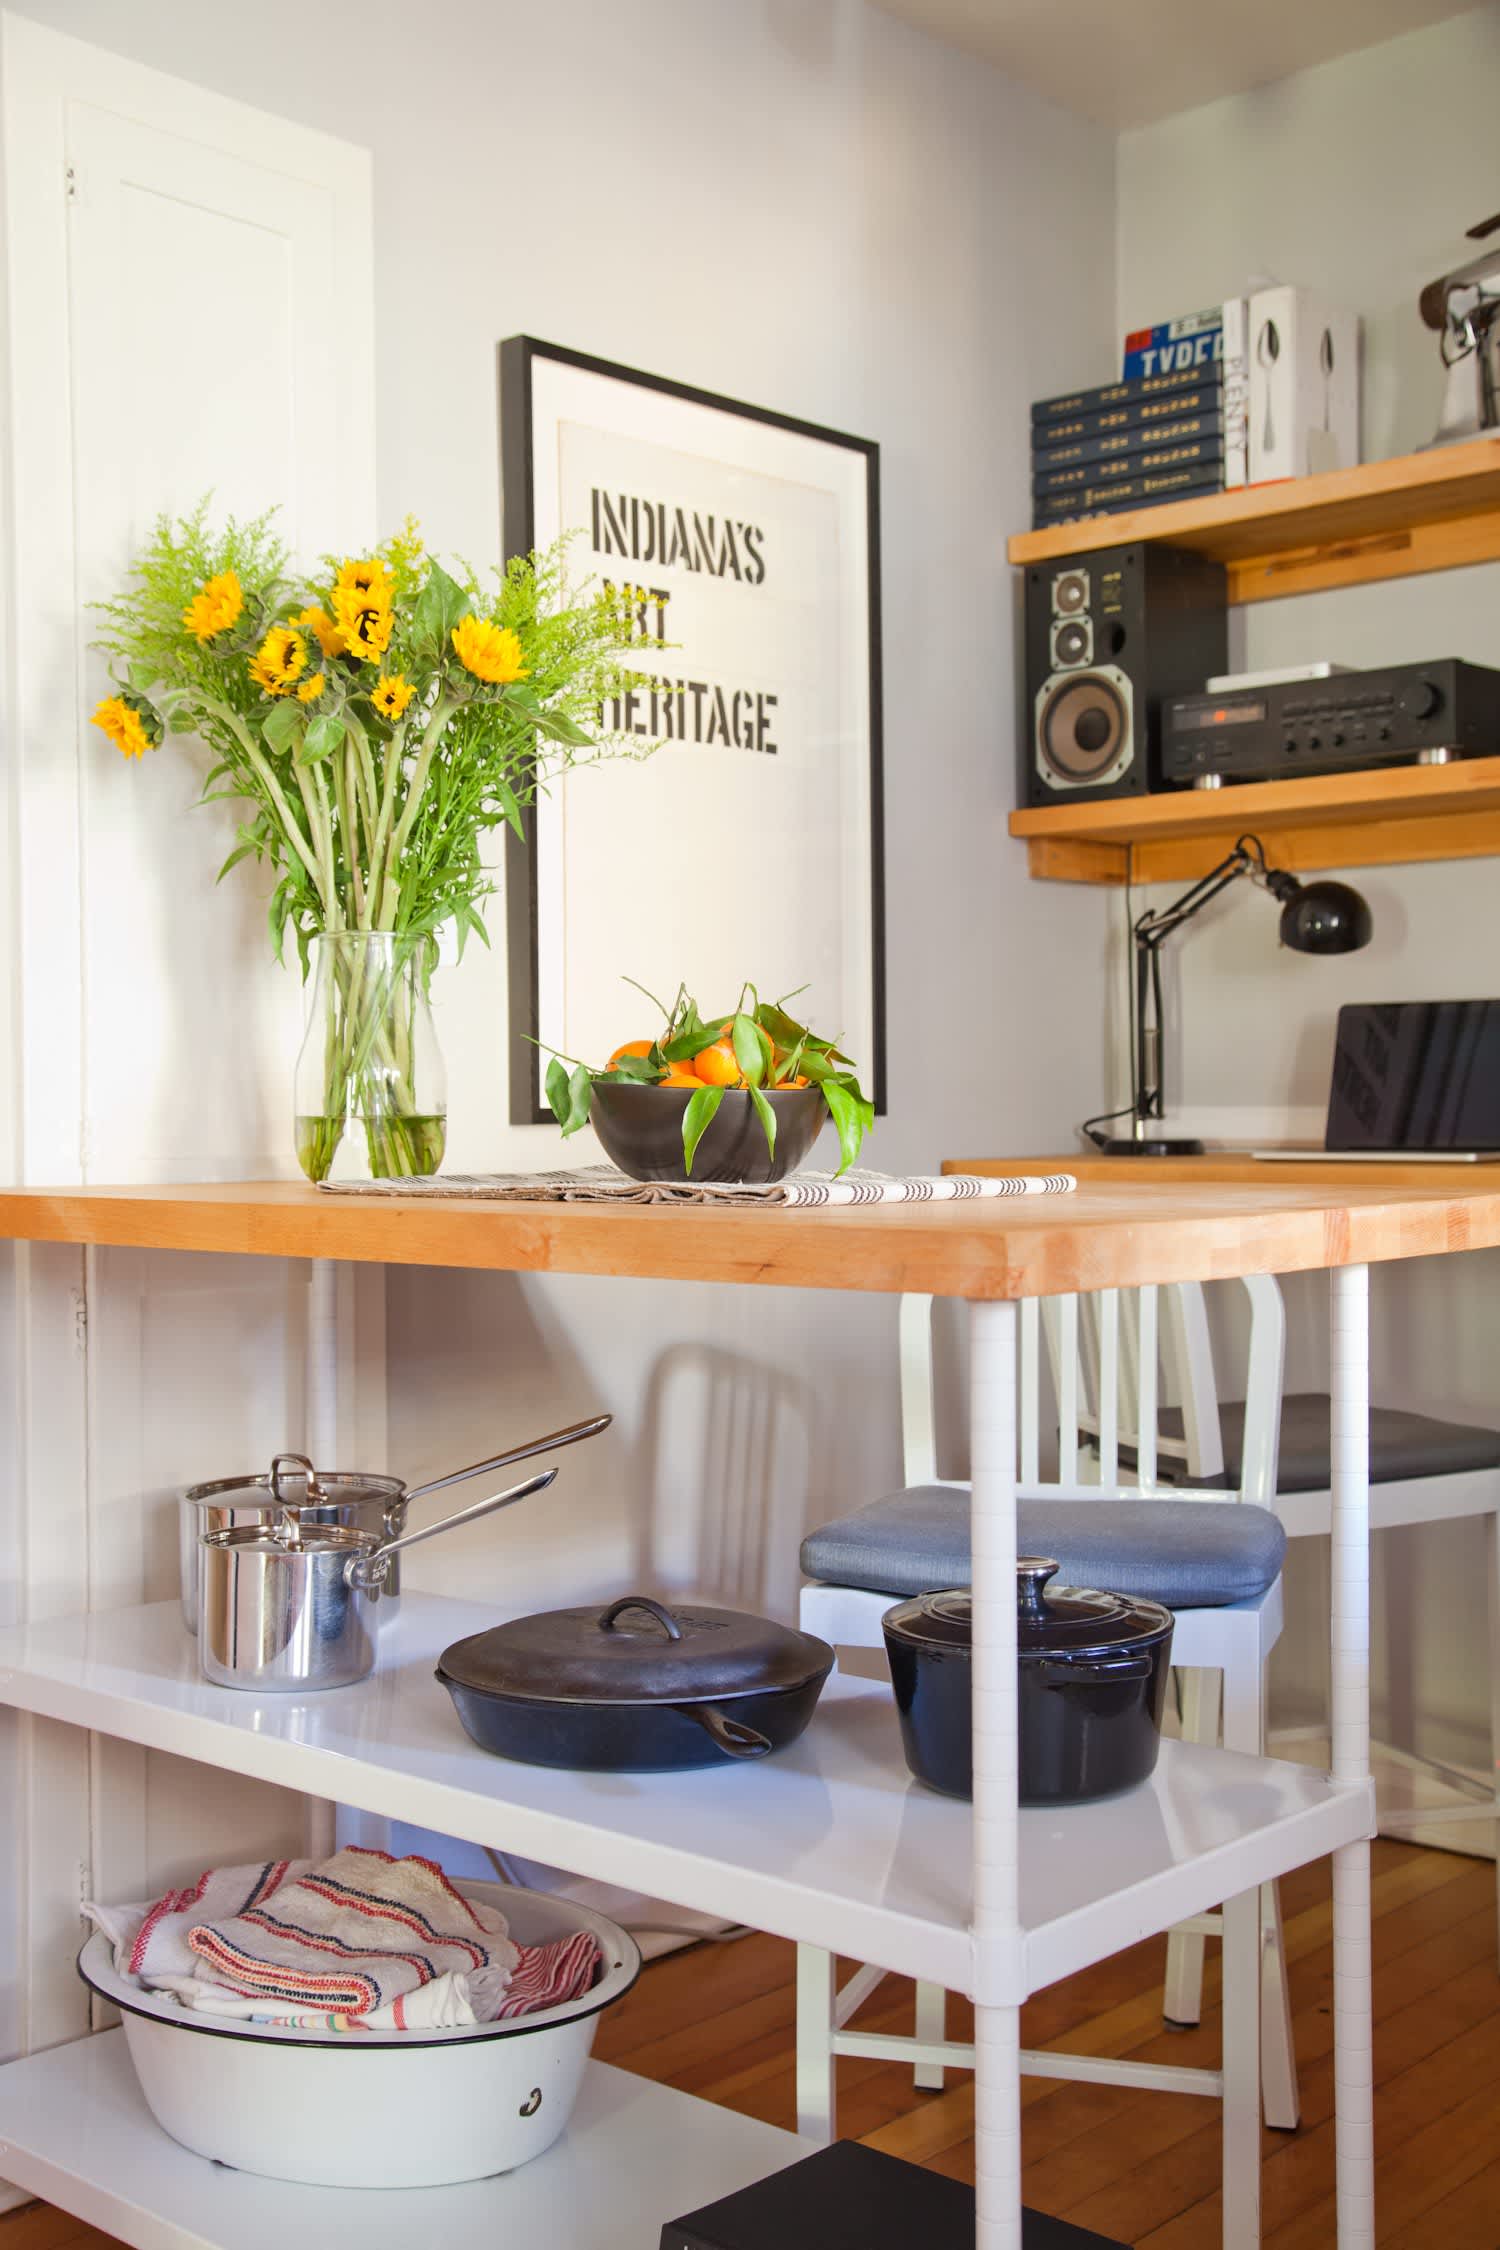
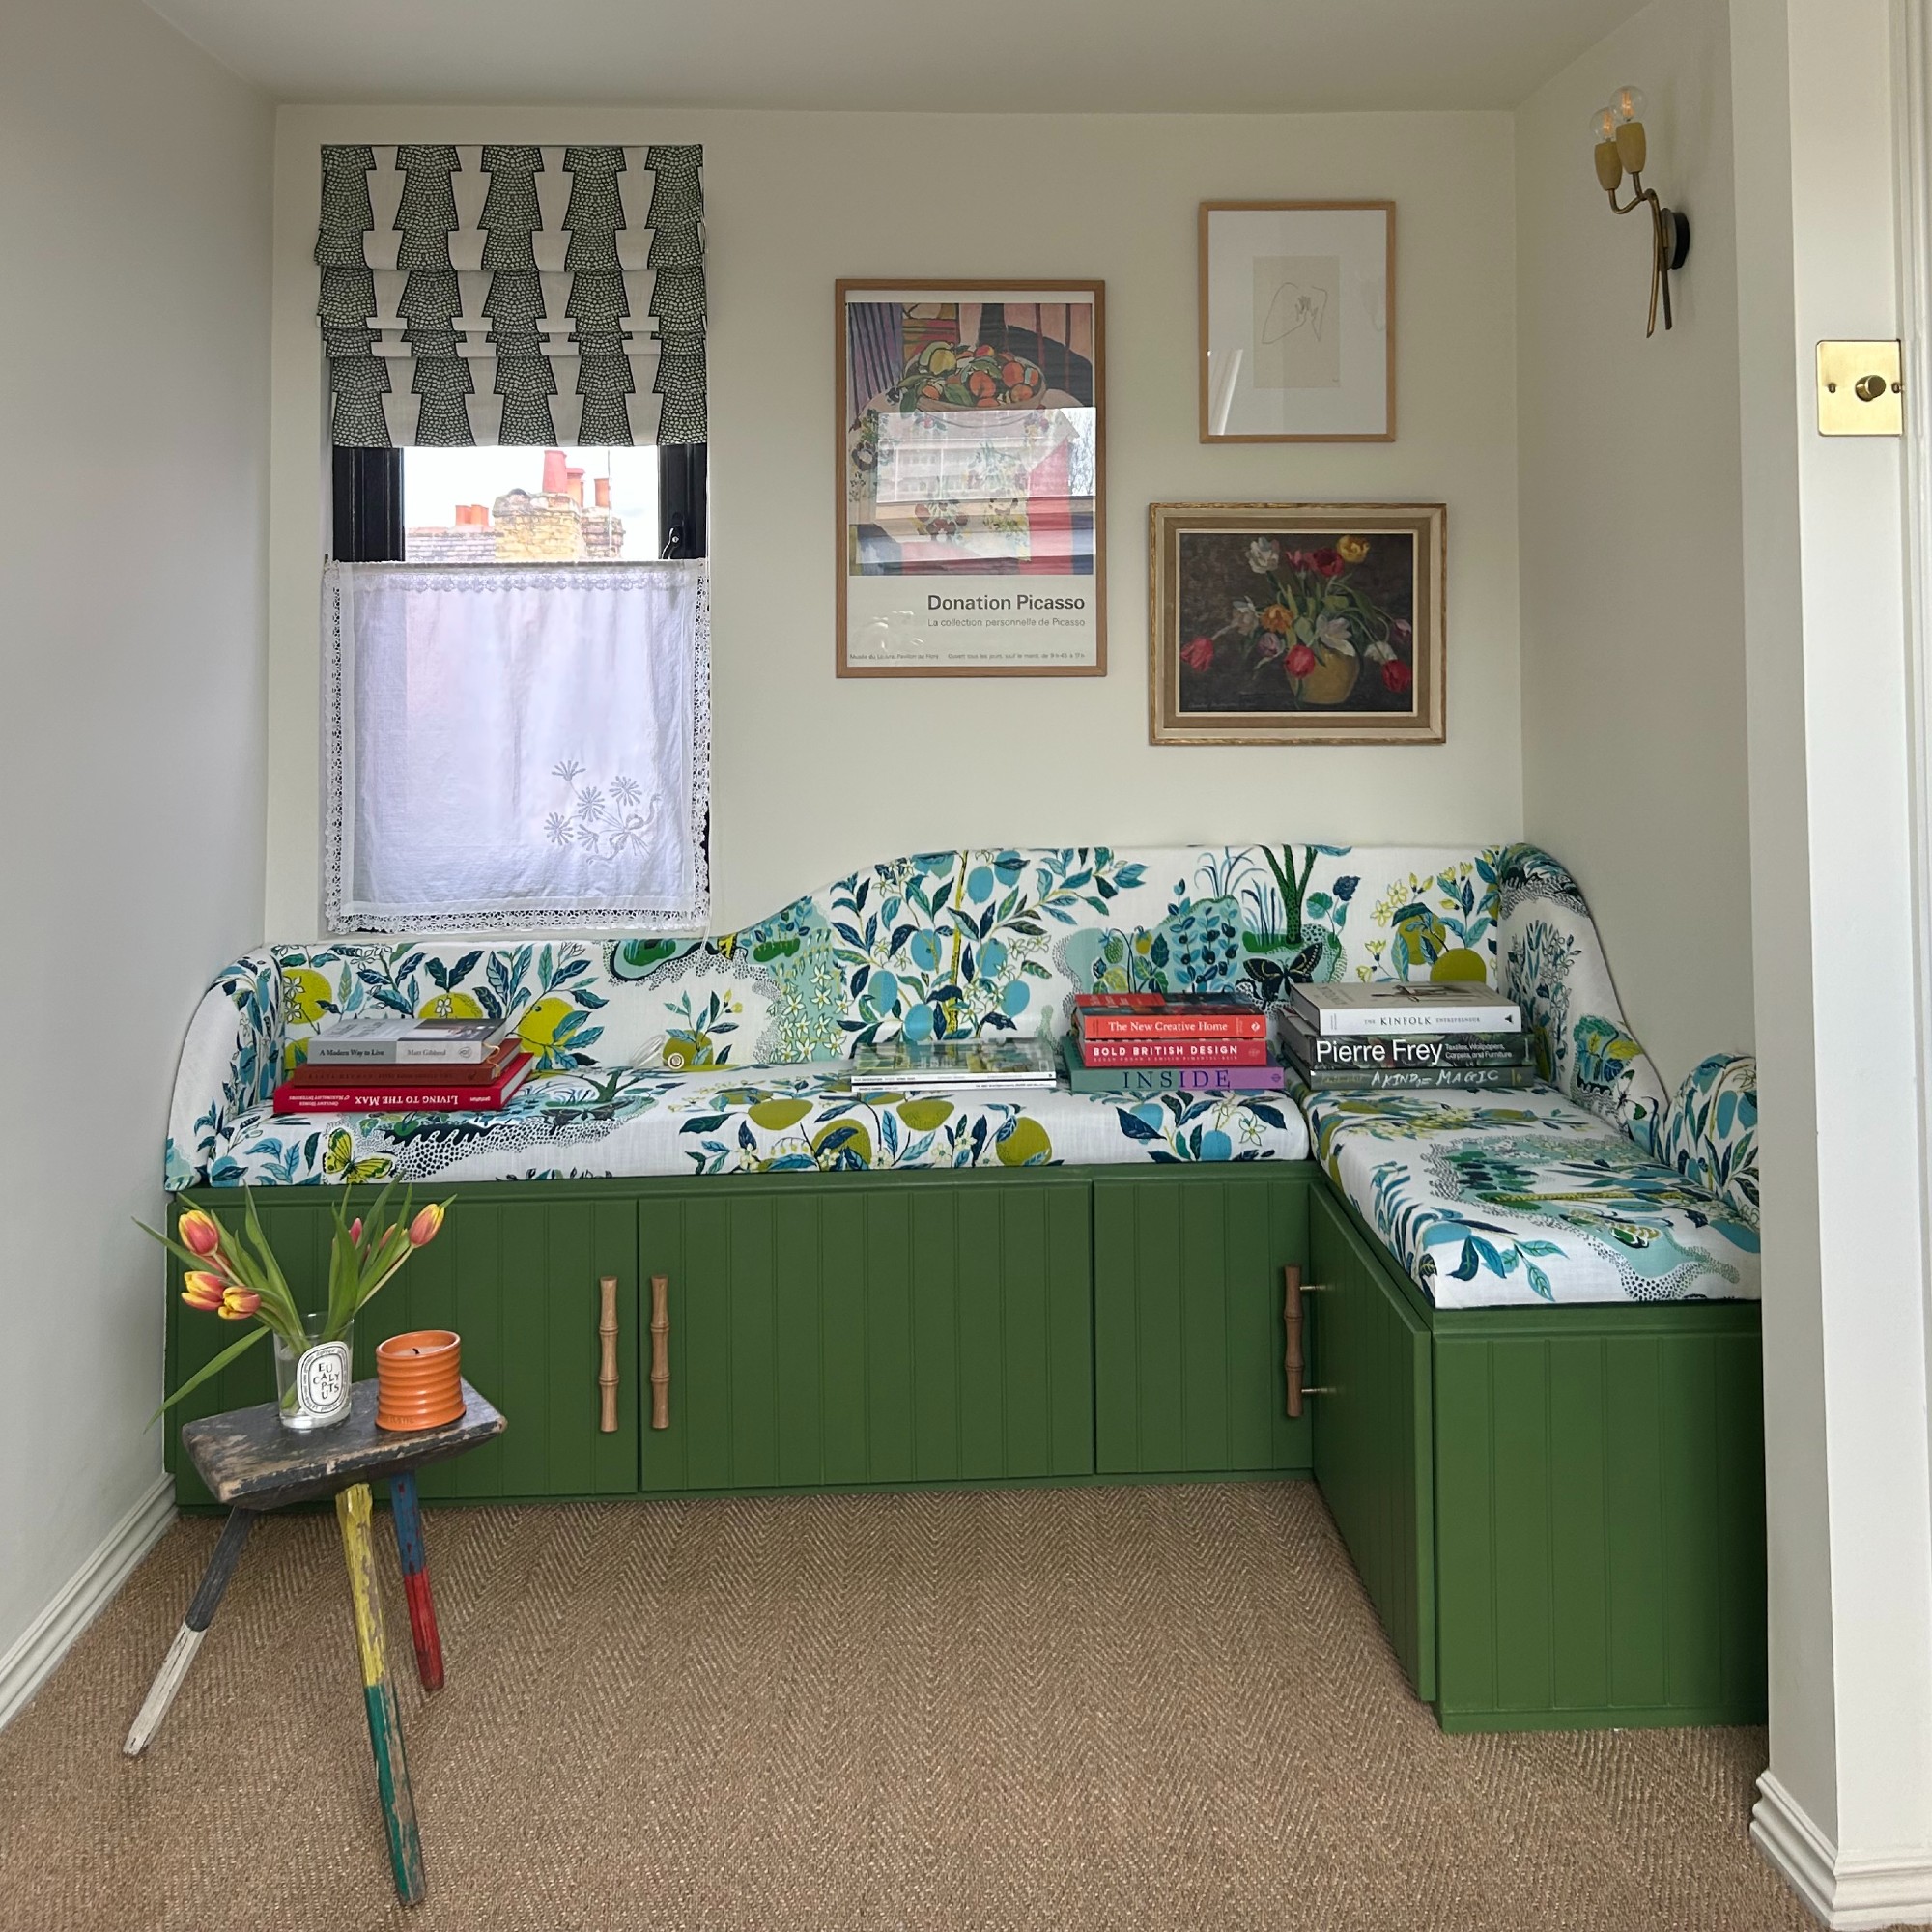
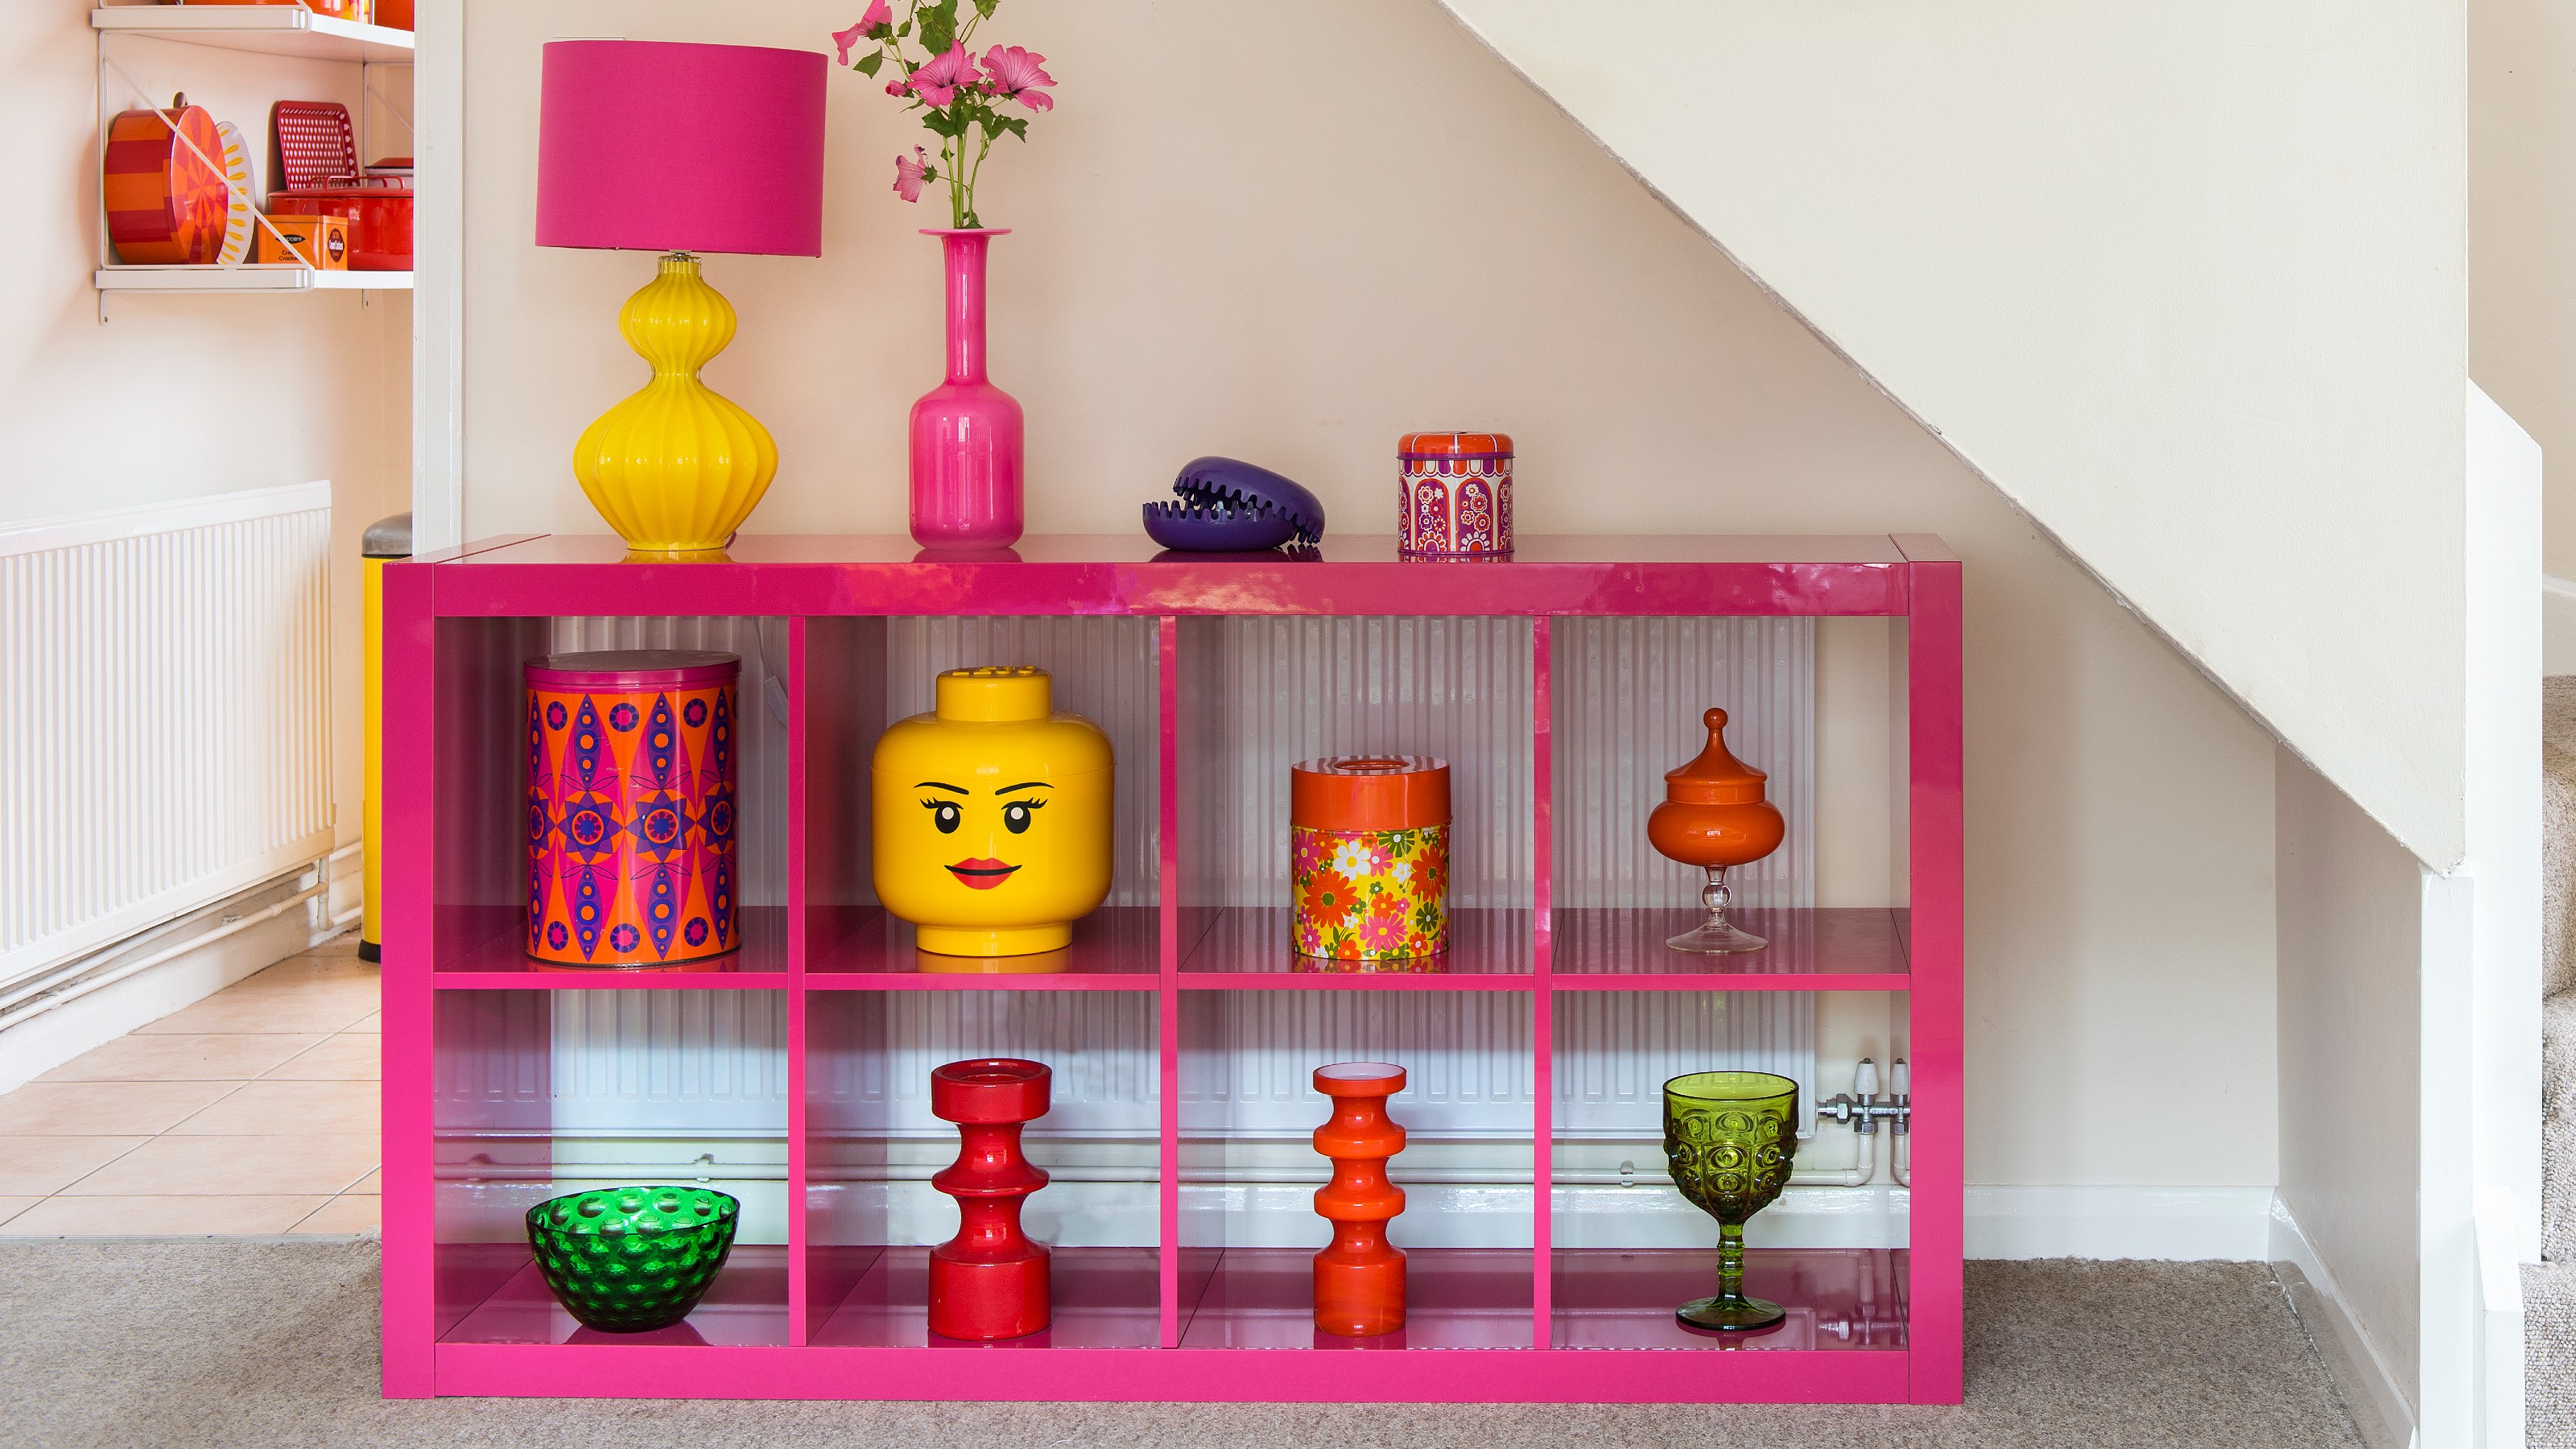
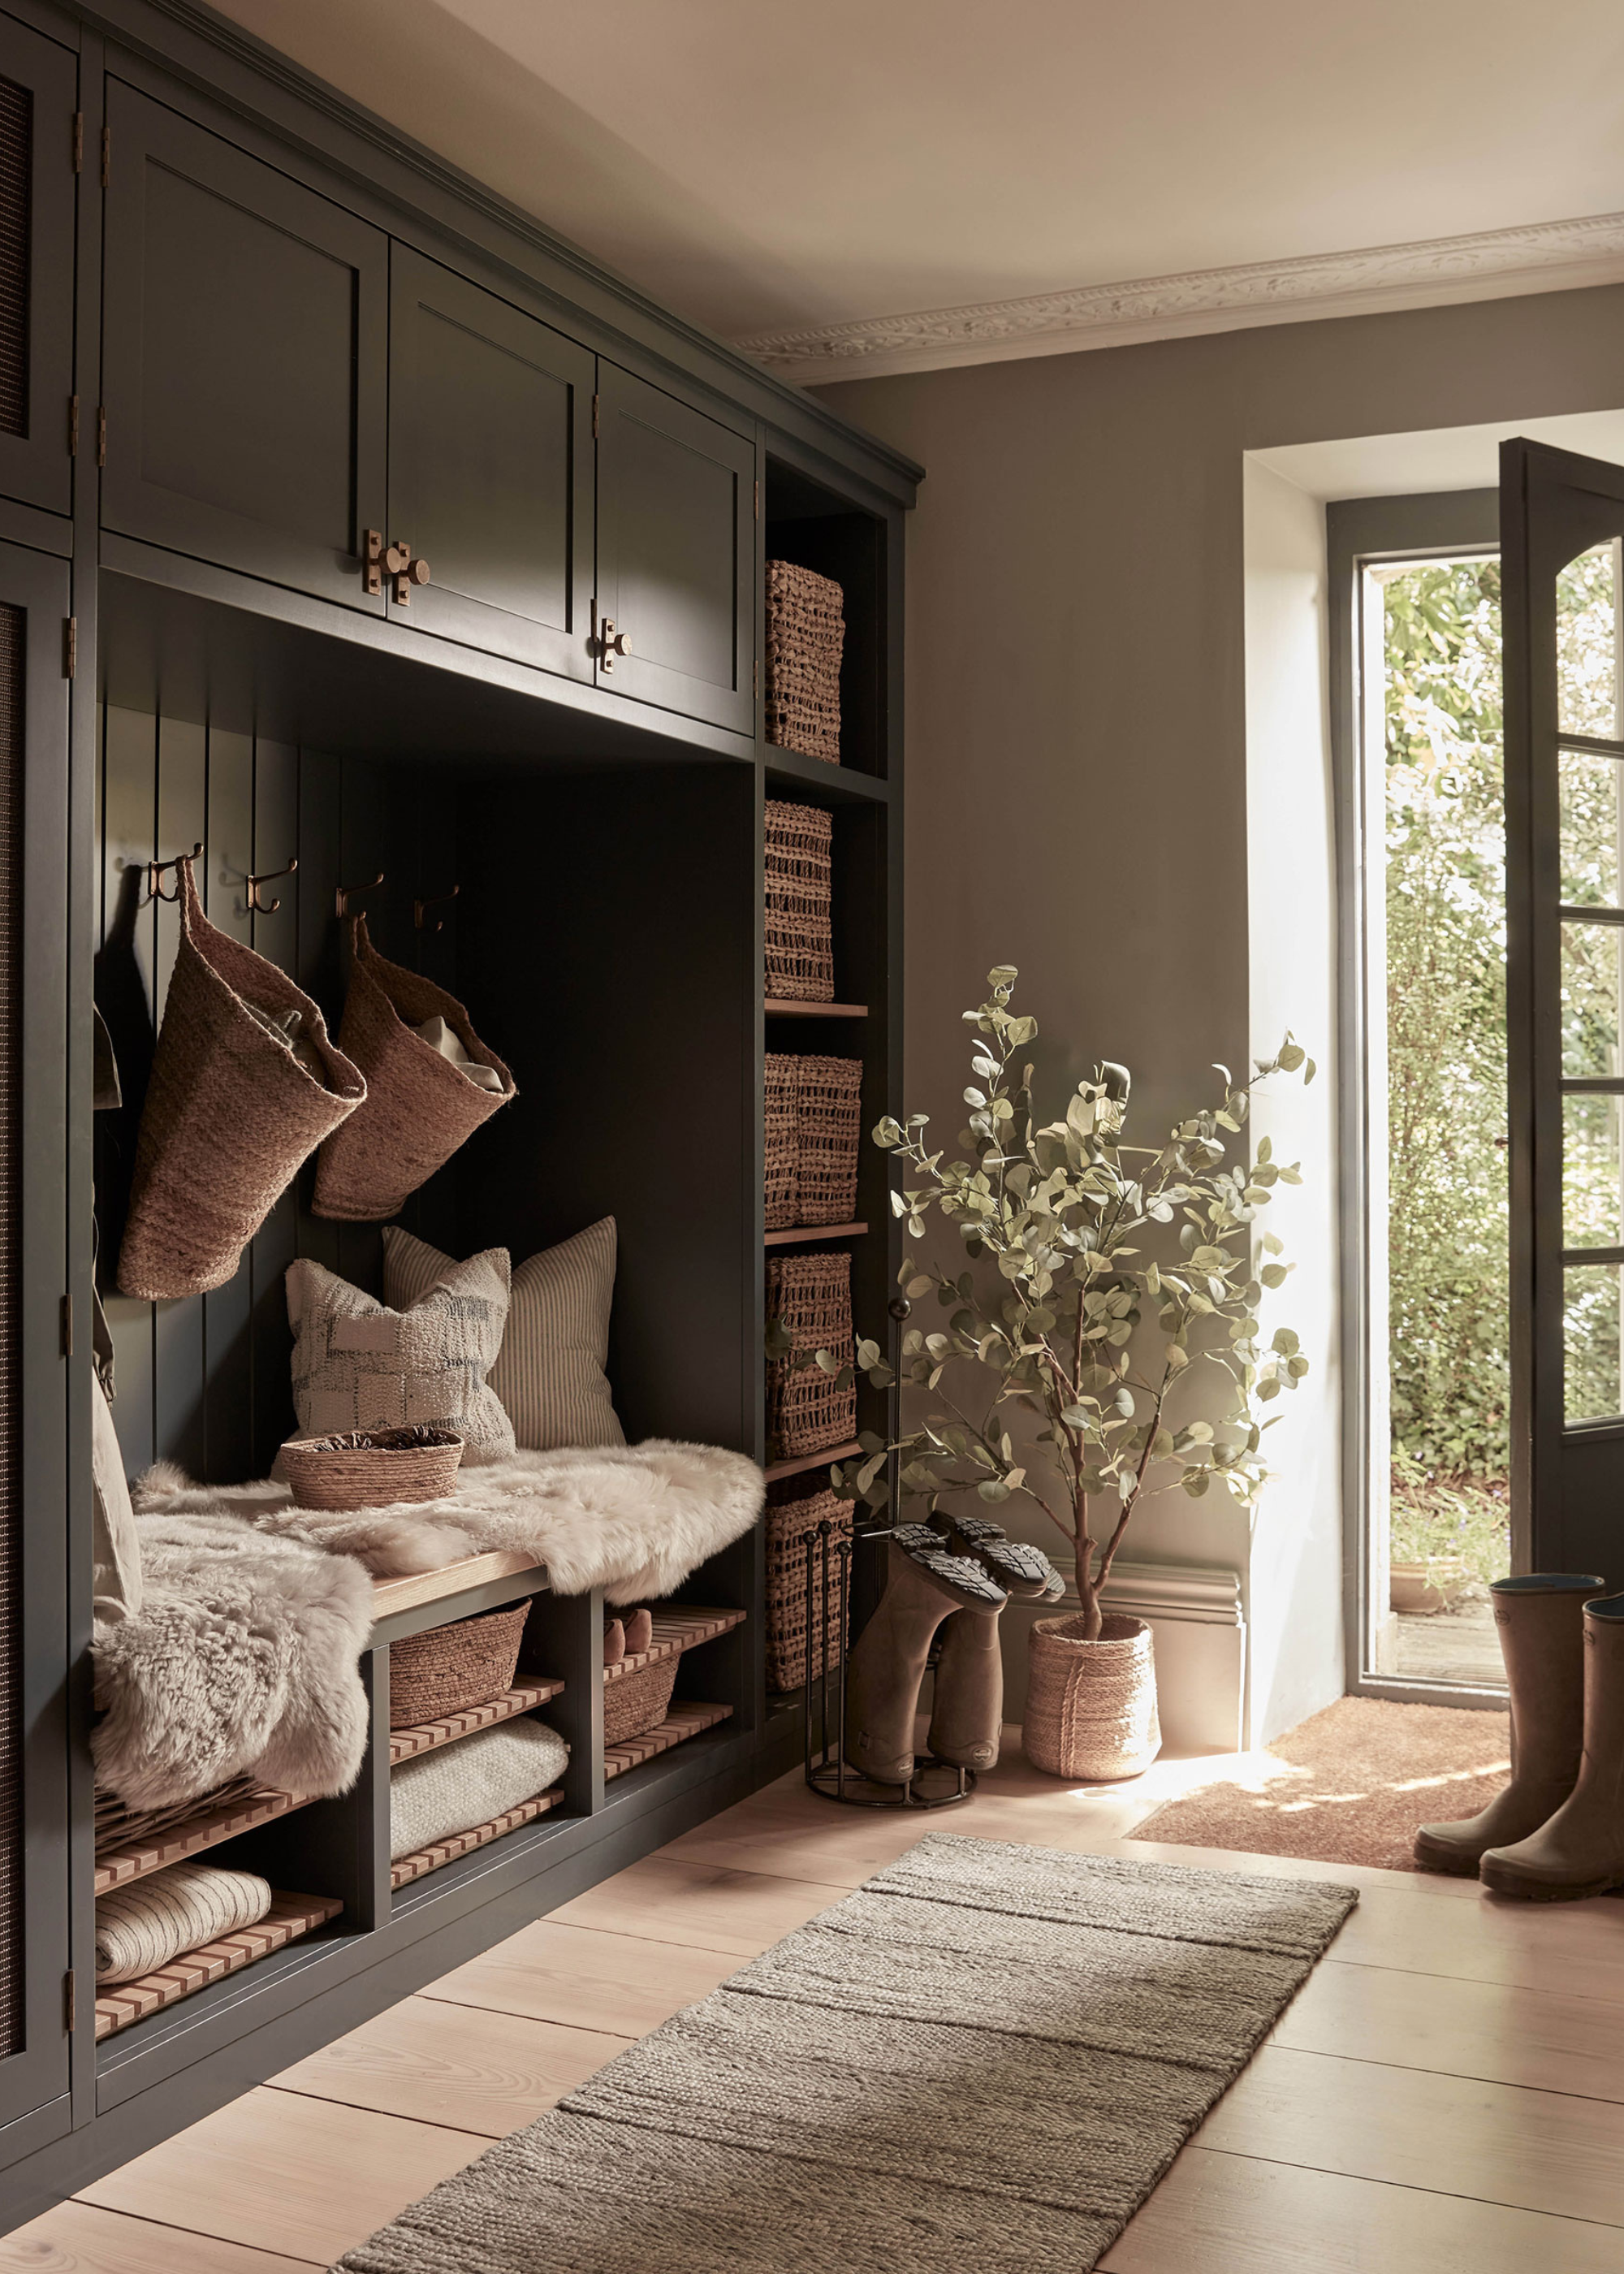
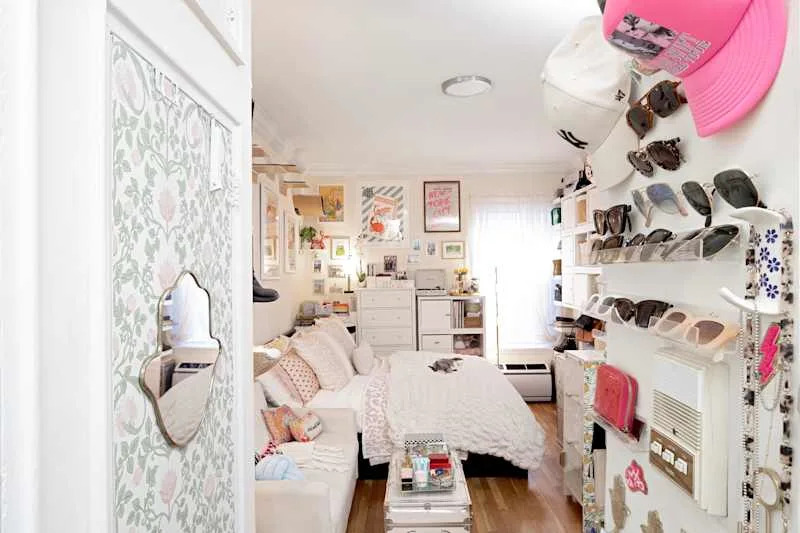
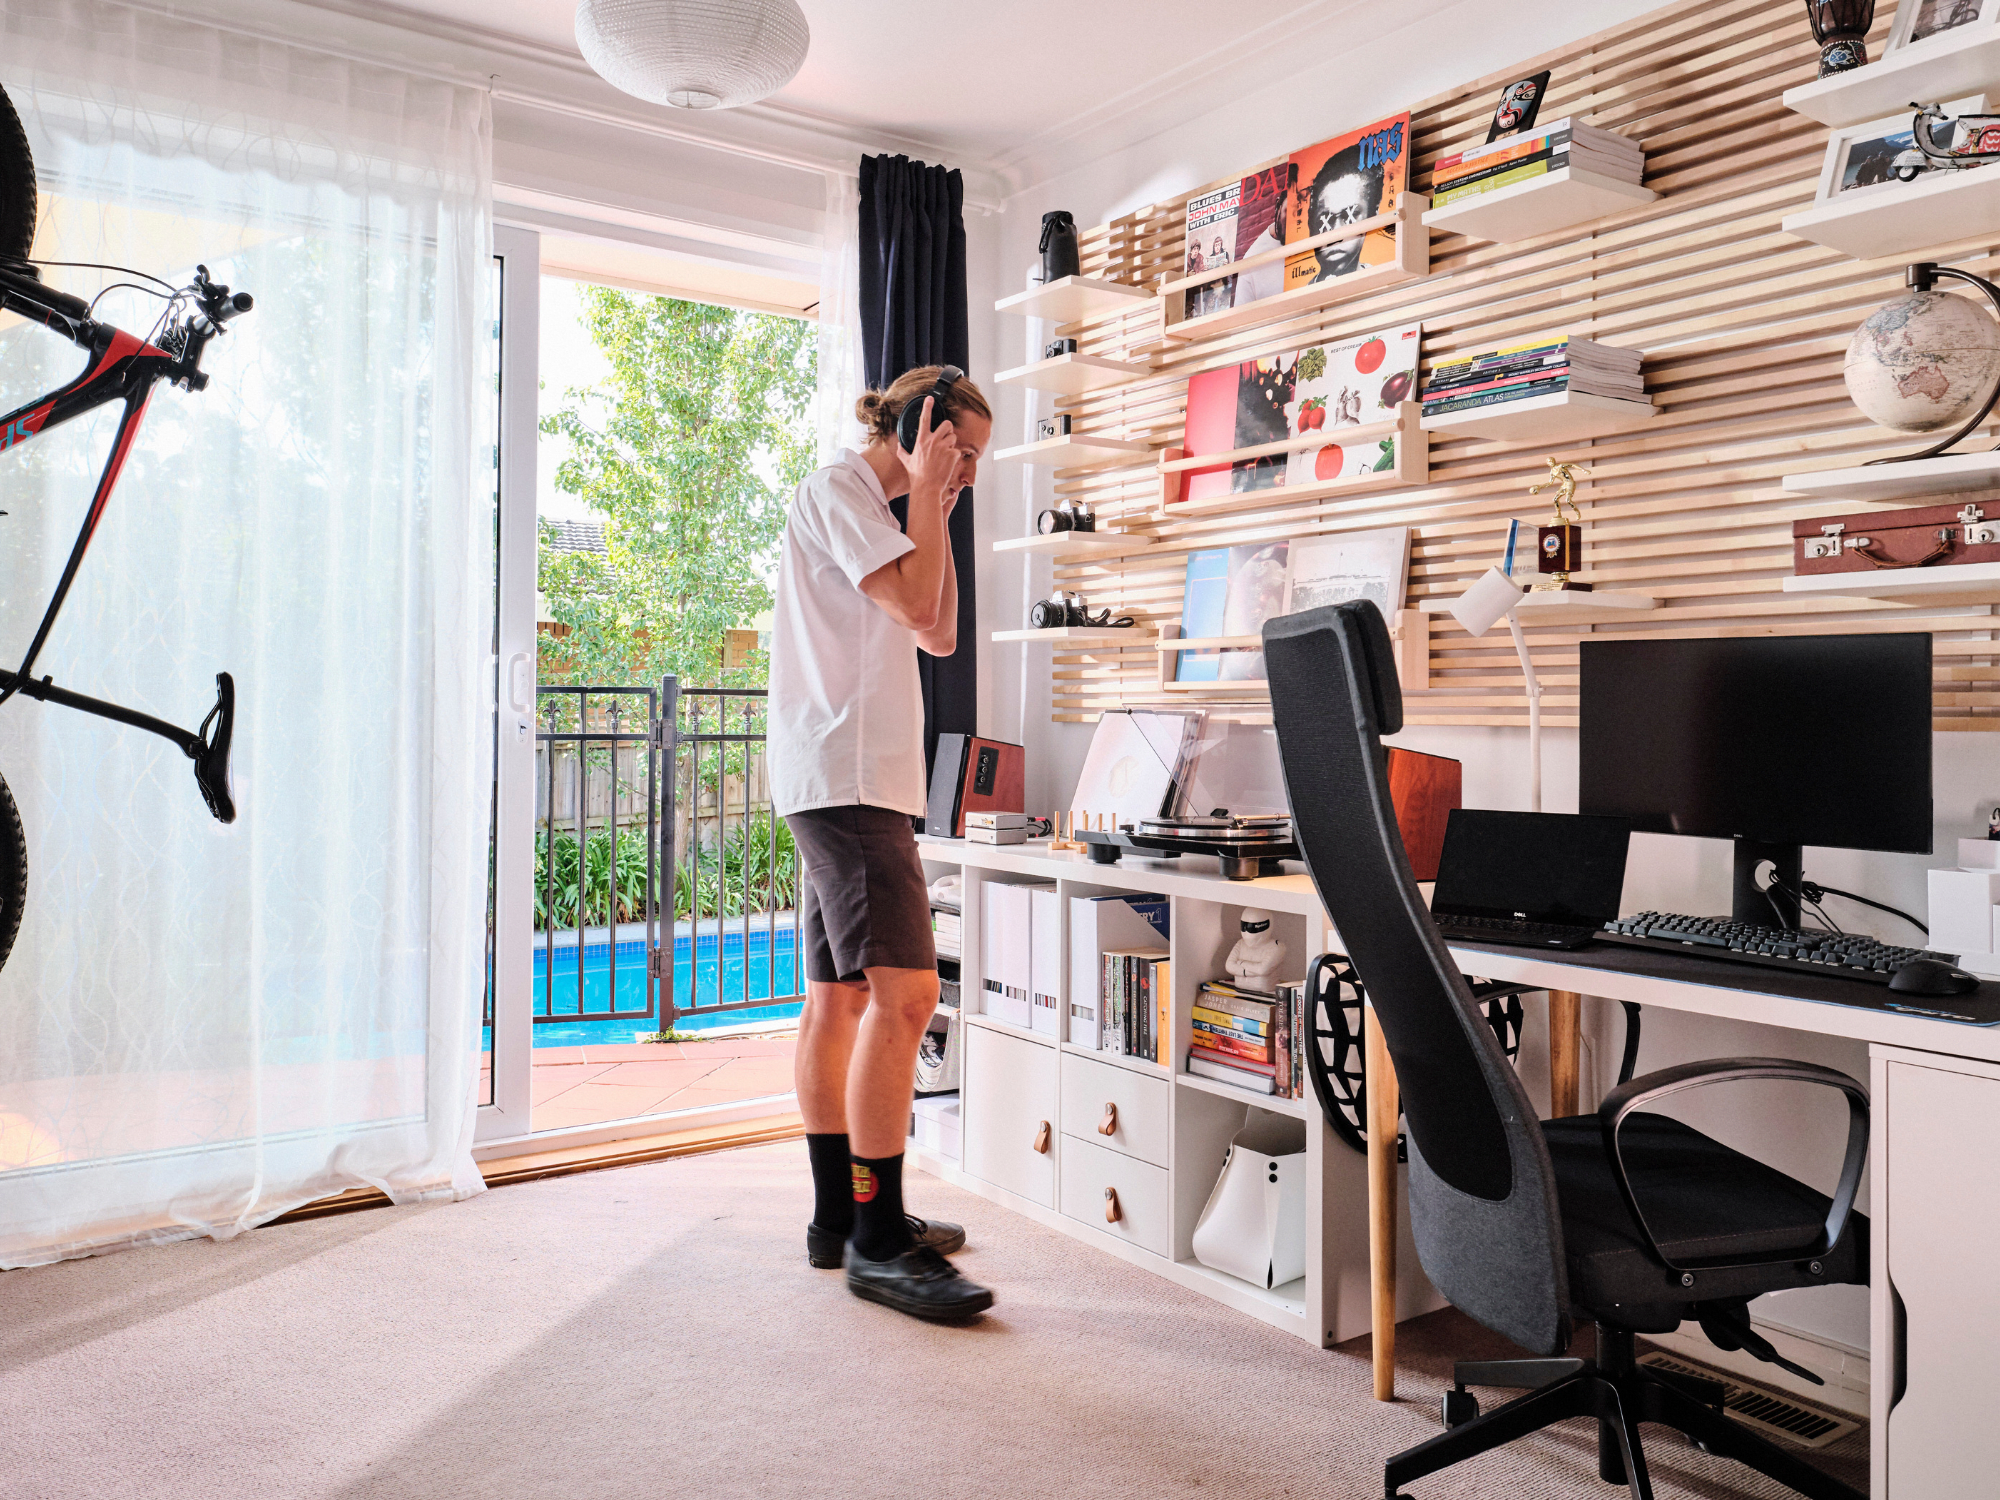
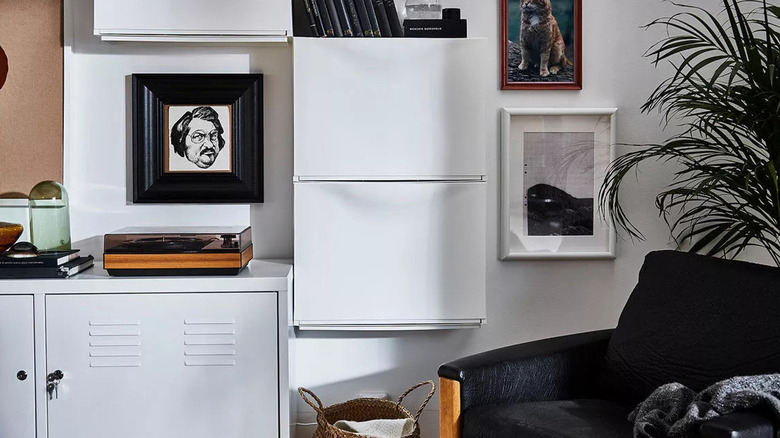
Finally, the article touches on styling the newly built-in cabinets, suggesting the addition of complementary hardware and smart organization solutions like baskets, bins, or drawer dividers. It encourages personalizing the shelves with a mix of books, art, vases, and personal treasures to create a stylish and functional setup. A frequently asked questions section addresses common concerns such as securely fastening IKEA pieces, the feasibility of disassembling and moving built-ins, and building on carpeted or uneven floors, providing practical solutions for each scenario.
#IKEAHacks #DIYBuiltInStorage #HomeImprovement #BudgetDecorating #FurnitureCustomization #StorageSolutions #InteriorDesign #HomeOrganization #DIYFurniture #IKEAHacks #DIYBuiltInStorage #HomeImprovement #BudgetDecorating #FurnitureCustomization #StorageSolutions #InteriorDesign #HomeOrganization #DIYFurniture
0 comment in total
You may also like
IKEA Built-In Hacks — 12 Inspiring Bespoke DIYs for Stylish Storage on a Budget


5 built-in storage ideas that can make any room look 100% better - 'they're the secret to tidier-looking homes'
I’m a Design Editor—And I Just Found the World’s Most Perfect IKEA Piece

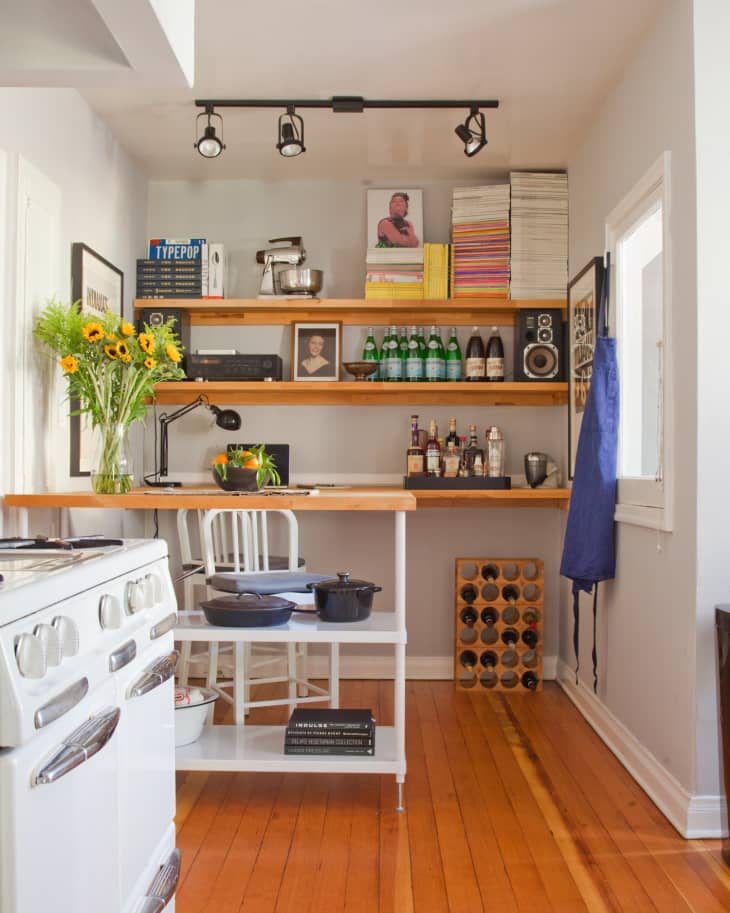
A Kitchen Island, More Storage, and a Home Office Workspace… All In One!

This IKEA entryway hack uses METOD kitchen cabinets to make clever built-in storage seating
A Houseful of Cabinets and Built-ins

30 Built-In Storage Ideas If You Want Hidden Storage Without a Remodel
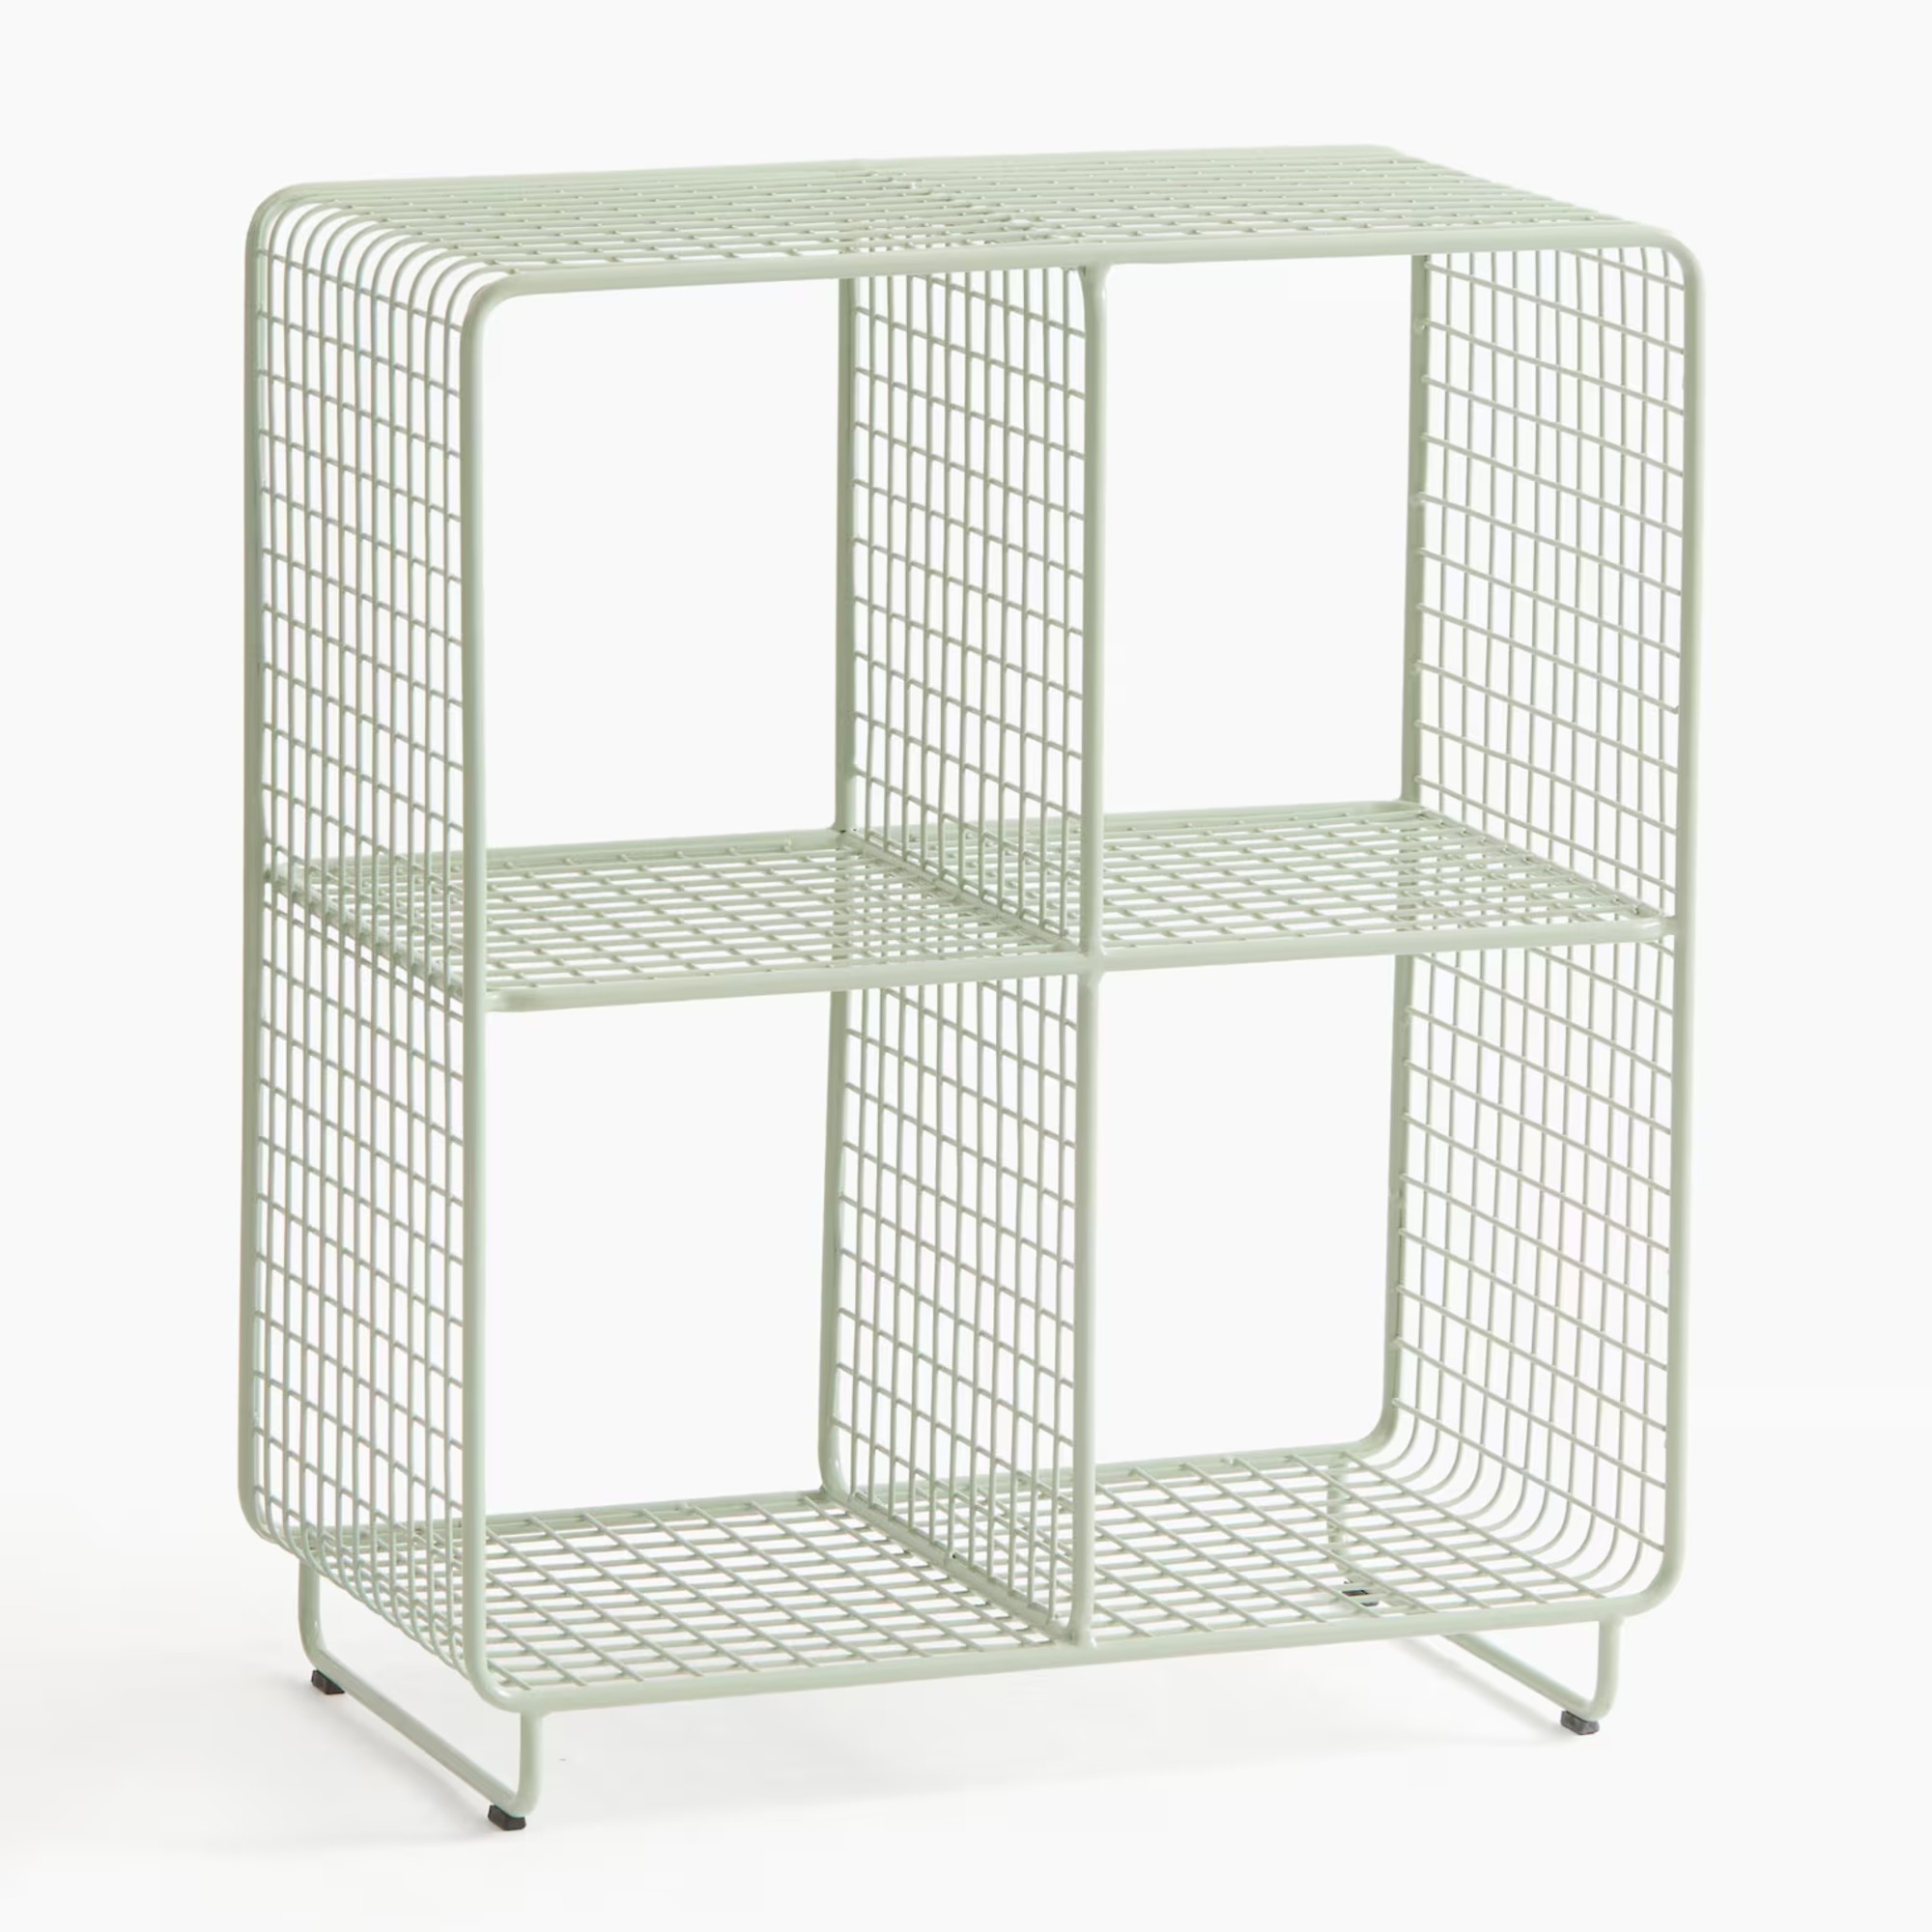
Move over KALLAX! I found 7 stylish alternatives for the popular IKEA cube storage system

11 IKEA Built-In Hacks Clever Enough to Fool Any Millworker

Brilliant IKEA BESTÅ Hacks To Take Your Home Storage To The Next Level
27 Storage Ideas for Every Space in the Home — The Ultimate Guide to Storing Your Life in Style in 2025
5 IKEA BESTA hacks that will transform your basic storage cabinets into stylish pieces with a high-end look
This Unexpected $150 IKEA Kitchen Find Doubled This Bedroom’s Storage


11 inspired IKEA IVAR hacks to transform home storage on a budget

5 Storage Solutions for a Bedroom-Meets-Study
7 reasons why PLATSA is one of Ikea's most important product ranges in recent years

10 IKEA Besta hacks – bespoke storage solutions for every room
IKEA Kallax hacks: 15 ways to create transformative home storage on a budget

8 Brilliant IKEA STALL Hacks To Make Your Storage Look Luxe
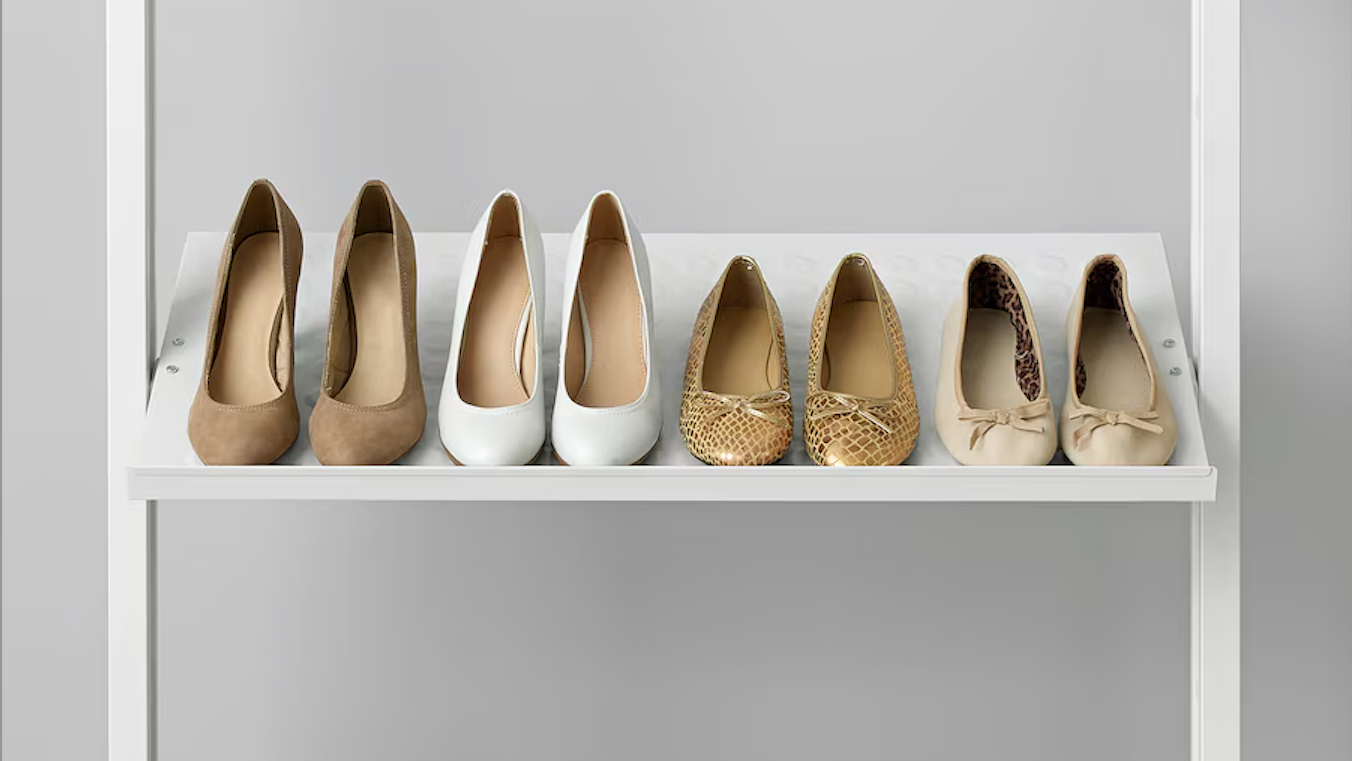
Clever Organization Hacks With IKEA Shoe Storage That Don't Involve Shoes