The Easiest Material To DIY A Shiplap Ceiling (& How To Do It)
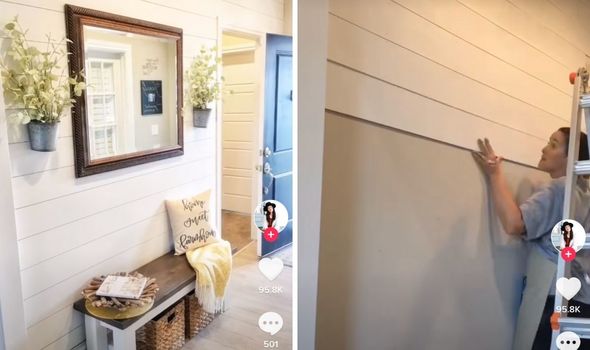
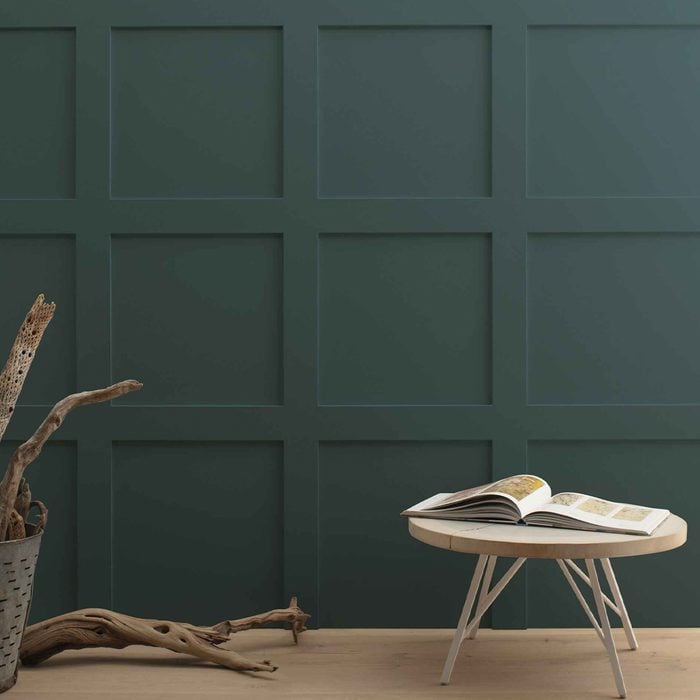
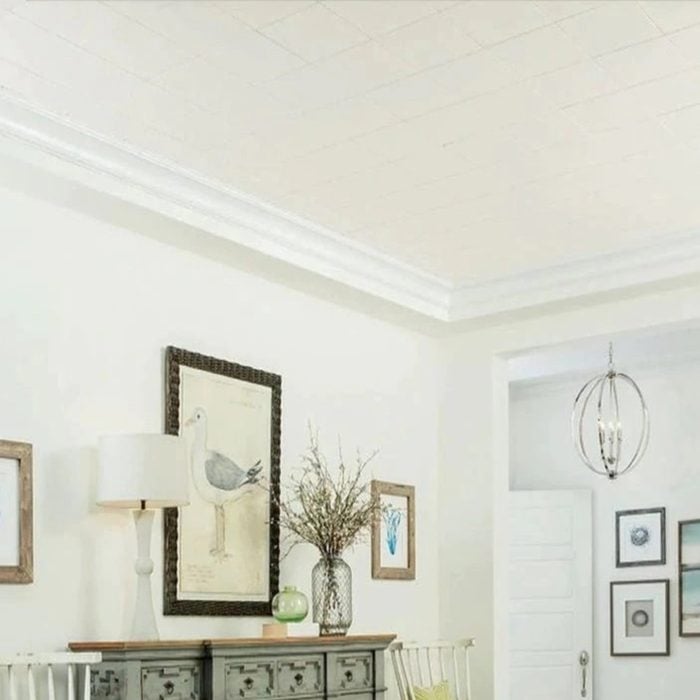
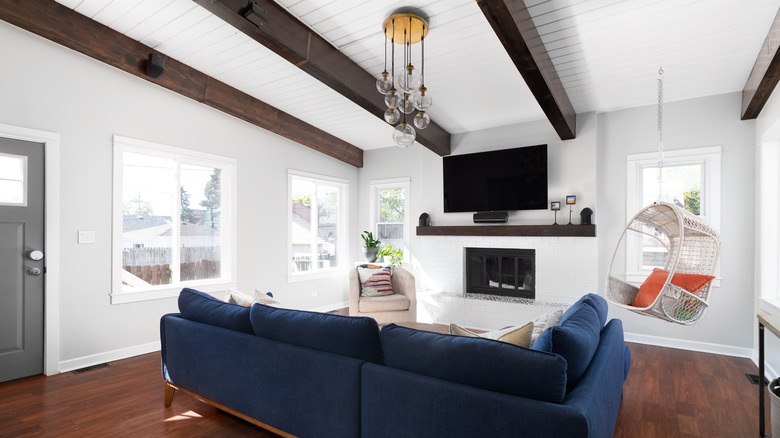
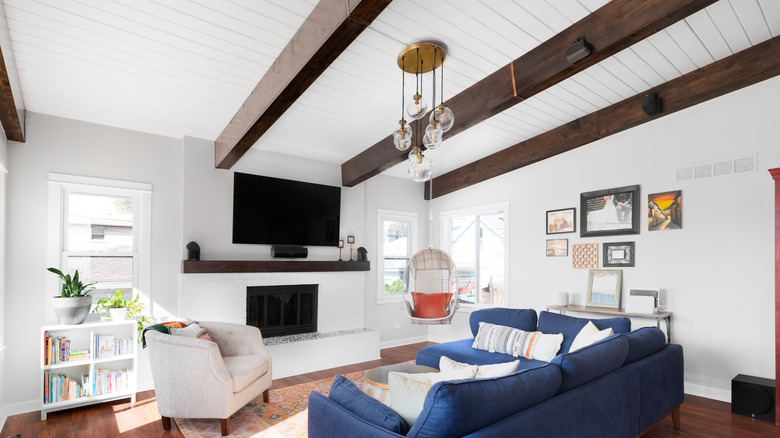
Shiplap, popularized by Joanna Gaines' "Fixer Upper," is a type of grooved paneling made of overlapping horizontal wood planks that add texture and modern farmhouse charm to a home. When considering shiplap for ceilings, the weight of traditional wooden boards can be a significant challenge during installation. However, PVC shiplap offers a much lighter alternative, making ceiling installation considerably easier.
Beyond its reduced weight, PVC shiplap boasts several advantages over traditional wood. It is 100% waterproof, making it an ideal choice for high-moisture environments such as bathroom or kitchen ceilings, where wooden shiplap might be prone to damage. Additionally, PVC shiplap is resistant to mold and mildew and does not warp over time, contributing to its low-maintenance nature. The material is also easy to cut with a jigsaw and can be painted, allowing for personalized statement ceilings.
PVC shiplap planks are readily available at major hardware stores. For example, Lowe's offers ECHON PVC shiplap planks in packs of three 8-foot boards, and Home Depot sells Everbilt PVC panel molding shiplap planks, also in three-pack 8-foot sets. Both products feature tongue-and-groove designs, which simplify the fitting process during installation.
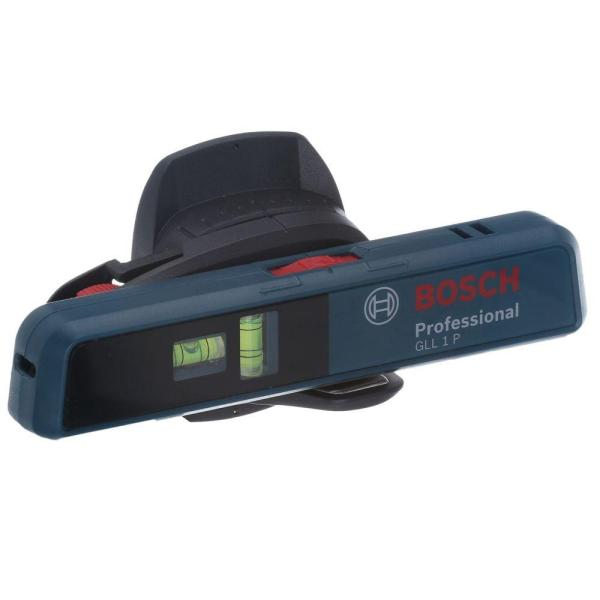
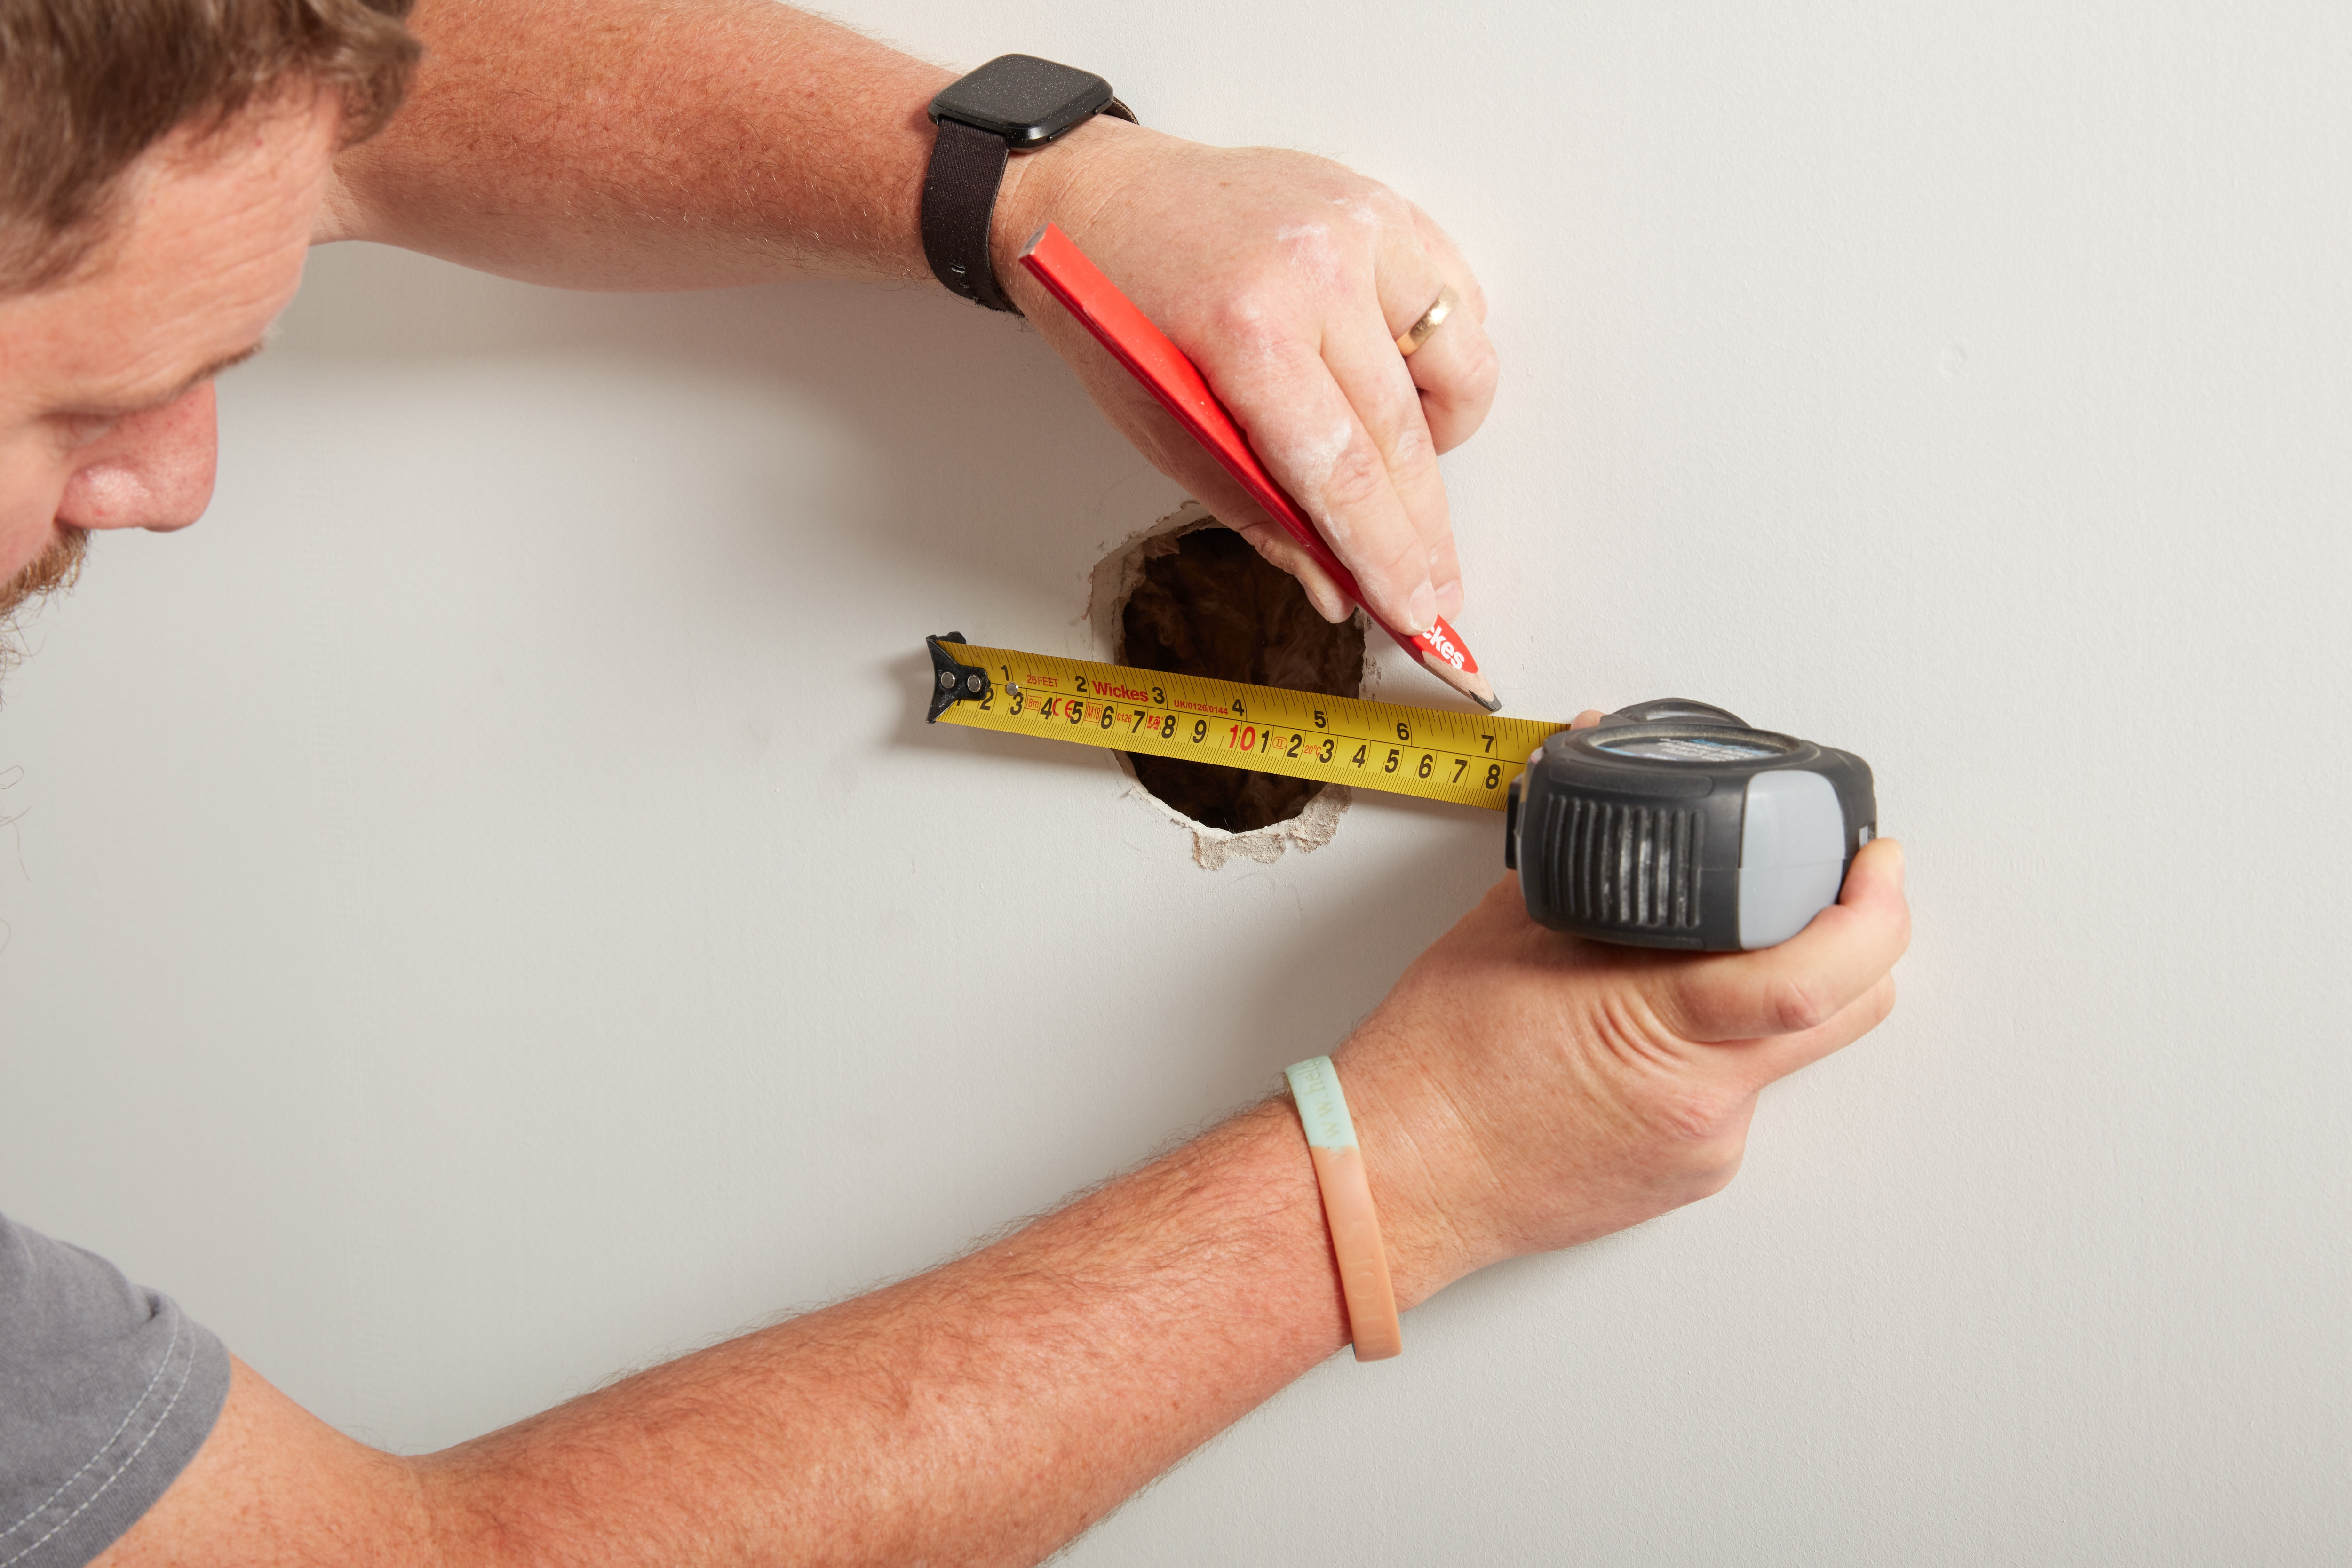
Installing PVC shiplap on a ceiling can revitalize a plain, chipped, or stained ceiling, or even provide a solution for covering a dated popcorn ceiling without the need for scraping. The installation process begins with accurate ceiling measurements, taking into account that rooms may not always be perfectly square. Shiplap can be attached directly to drywall or to furring strips. To ensure secure attachment, it's essential to locate ceiling joists using a stud finder and mark their positions. If using furring strips, these should be attached to the joists with 2 ½-inch screws, spaced 16 inches apart.
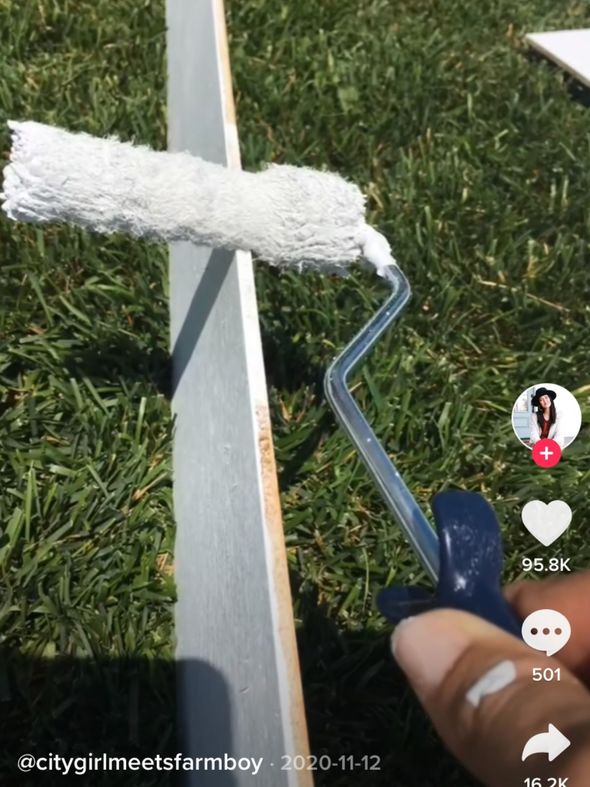
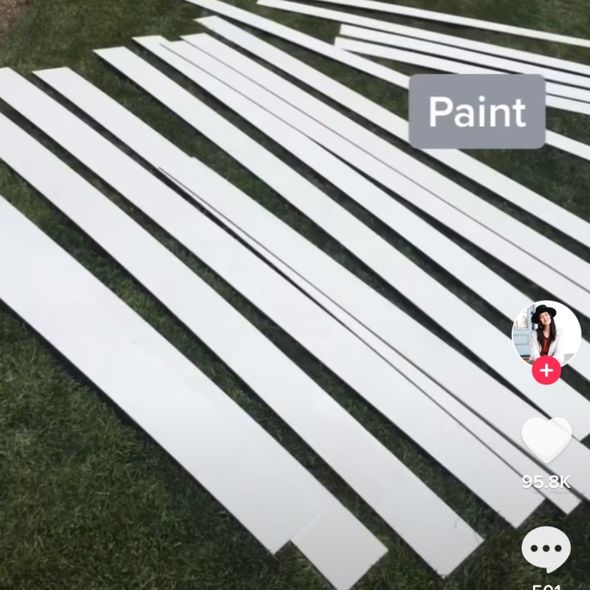
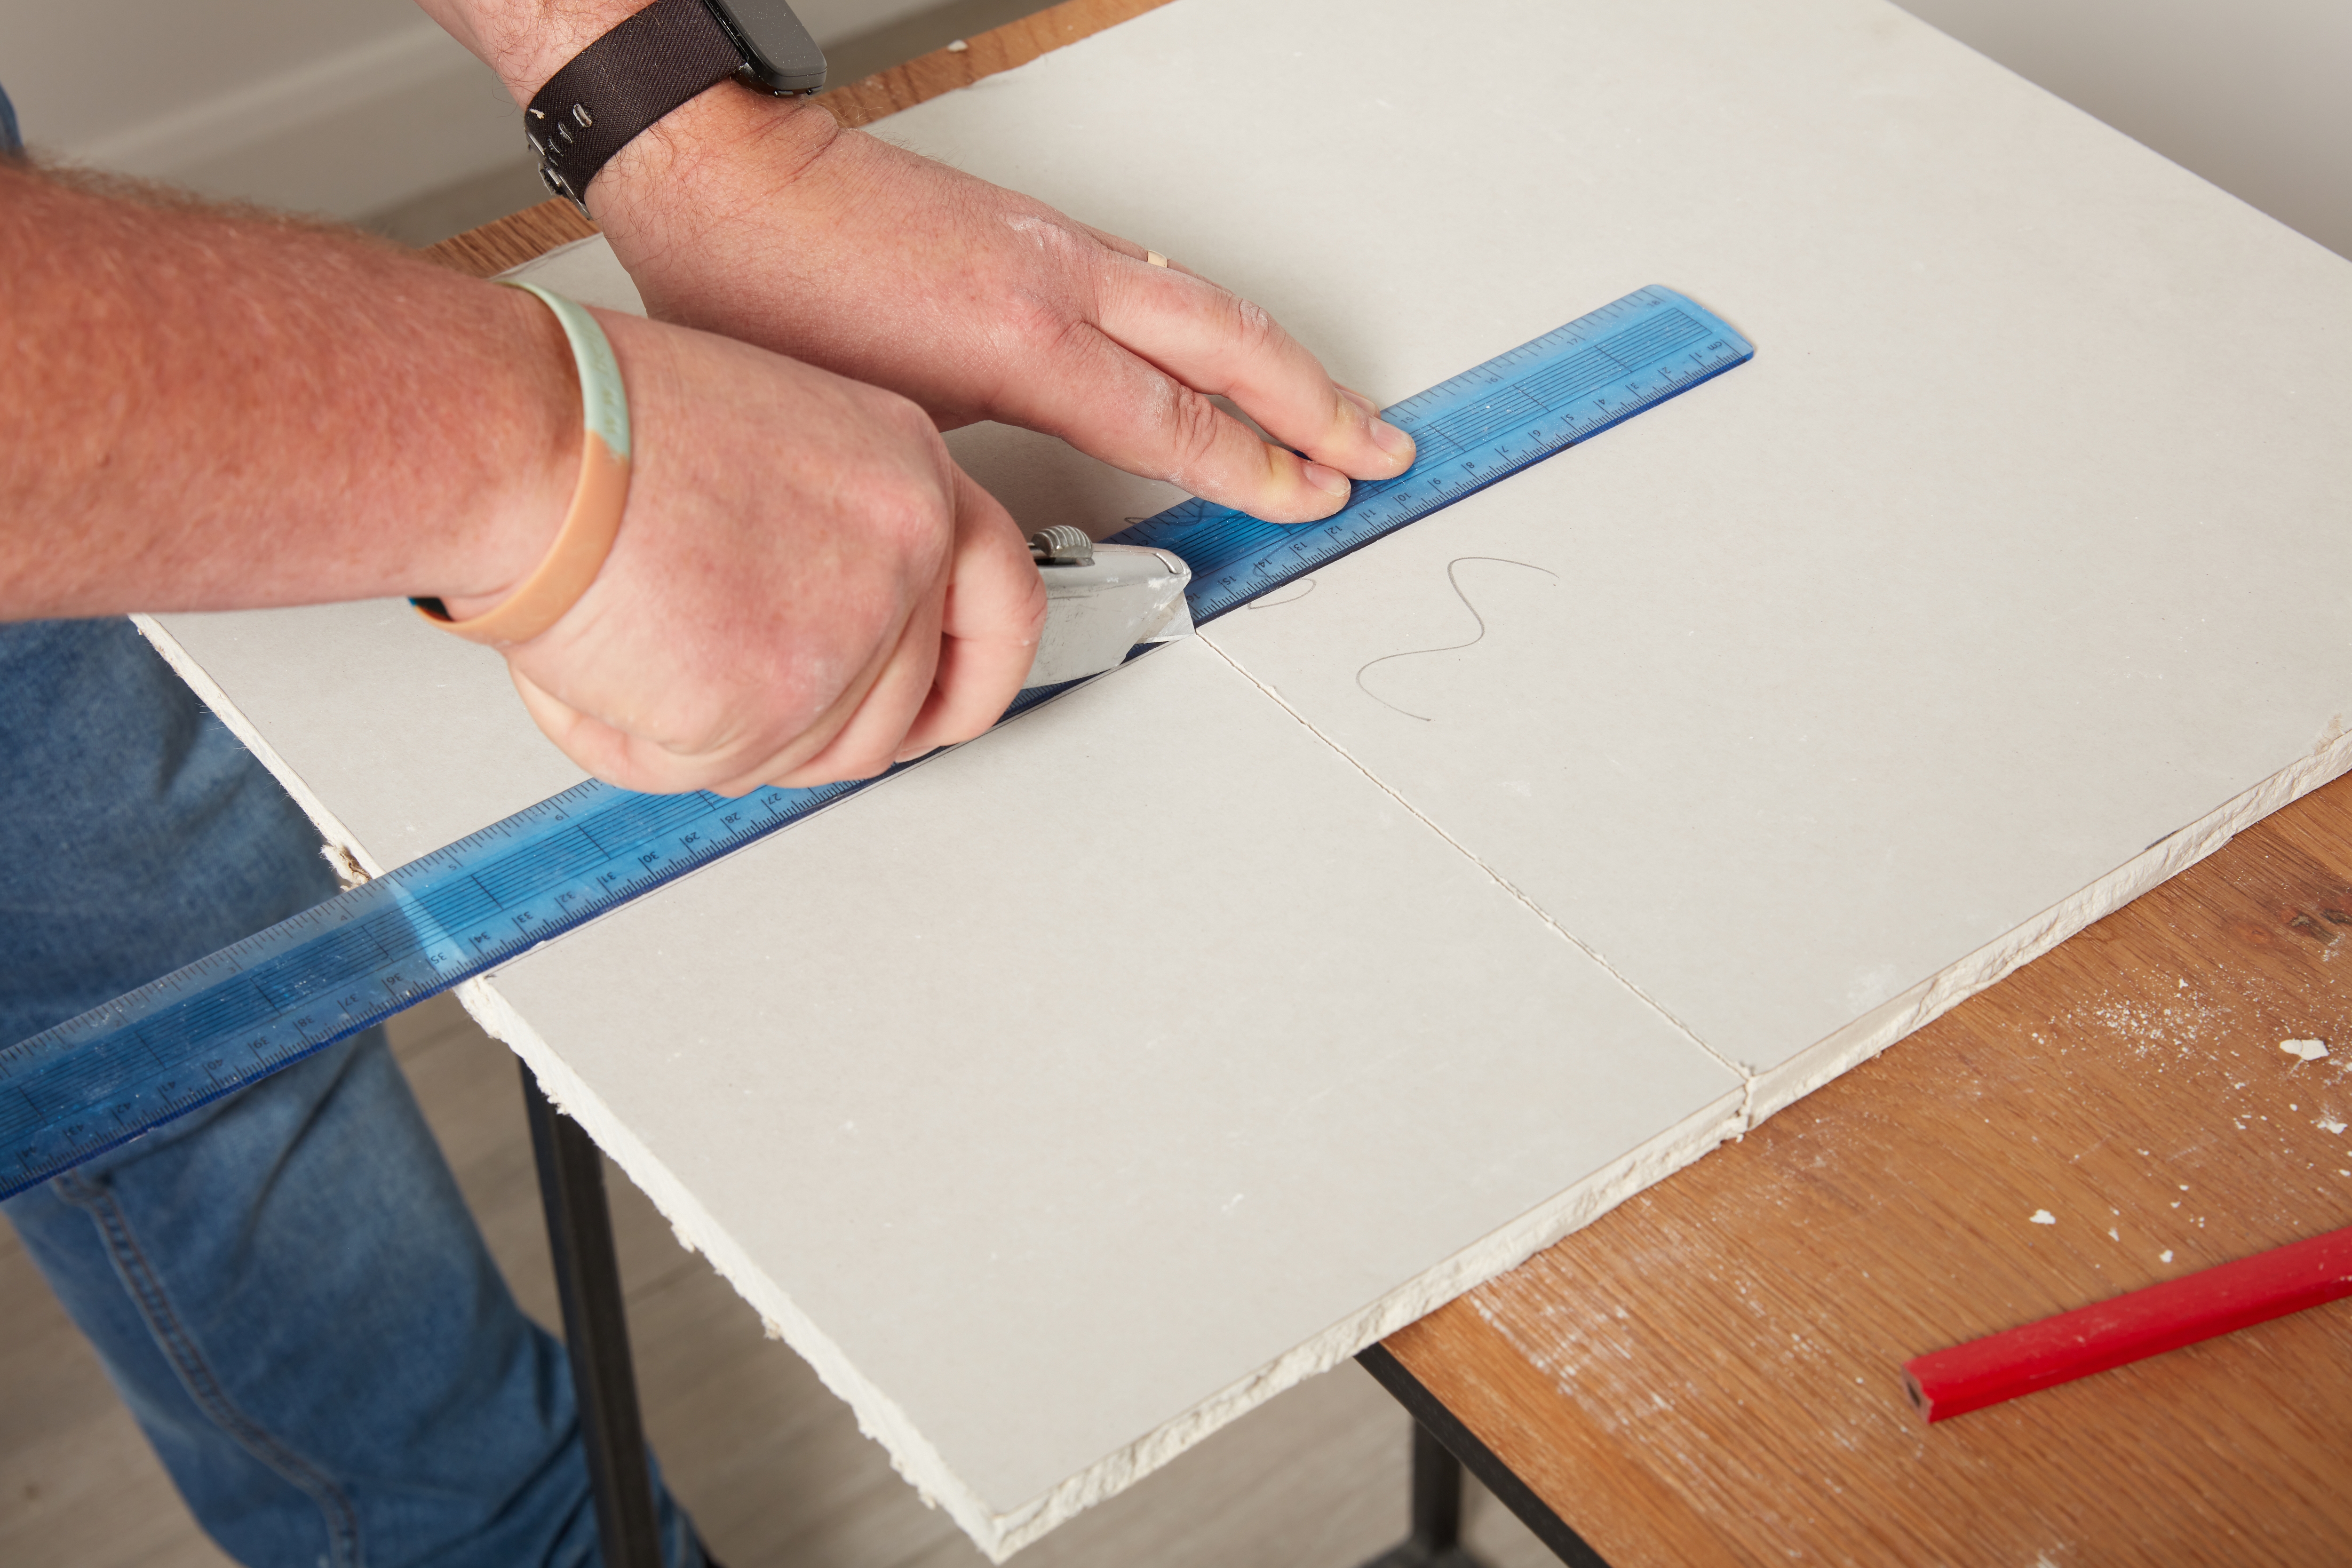
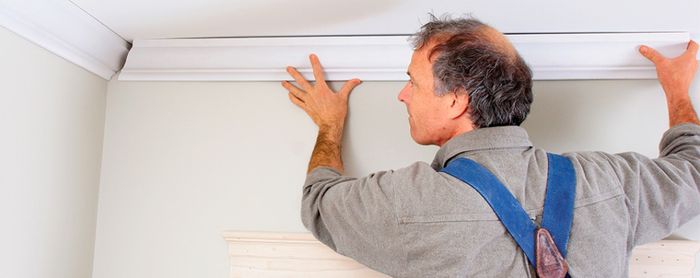
Once the shiplap boards are cut to the appropriate size, they are attached to the joists or furring strips using a brad nailer. Some DIYers opt to apply construction adhesive, such as Loctite Power Grab, to the back of each board before nailing for enhanced hold. When working around ceiling lights, the opening can be marked on the board and cut out with a jigsaw or hole saw. If the opening spans across two boards, clamping them together before cutting ensures a precise fit. After all boards are installed, they can be left white or painted to match the desired aesthetic, with a high-quality enamel paint recommended for PVC and typically requiring two coats for full coverage. To achieve a polished finish and conceal the transition between the shiplapped ceiling and the wall, installing crown molding is suggested.
#ShiplapCeiling #DIYHomeImprovement #PVCMaterial #CeilingDesign #HomeRenovation #ModernFarmhouse #InteriorRemodel #WaterproofMaterial #HomeDesign #ShiplapCeiling #DIYHomeImprovement #PVCMaterial #CeilingDesign #HomeRenovation #ModernFarmhouse #InteriorRemodel #WaterproofMaterial #HomeDesign
0 komentarzy łącznie
 Brak komentarzy jeszcze
Możesz również polubić
DIY shiplap walls: How to install shiplap on wall
Can't Stand Your Generic Basement Ceiling? This DIY Project Will Make It Stunning

Design Inspiration: Wall and Ceiling Panels

Ask the Builder: This ceiling-hugging suspended ceiling system is a winner

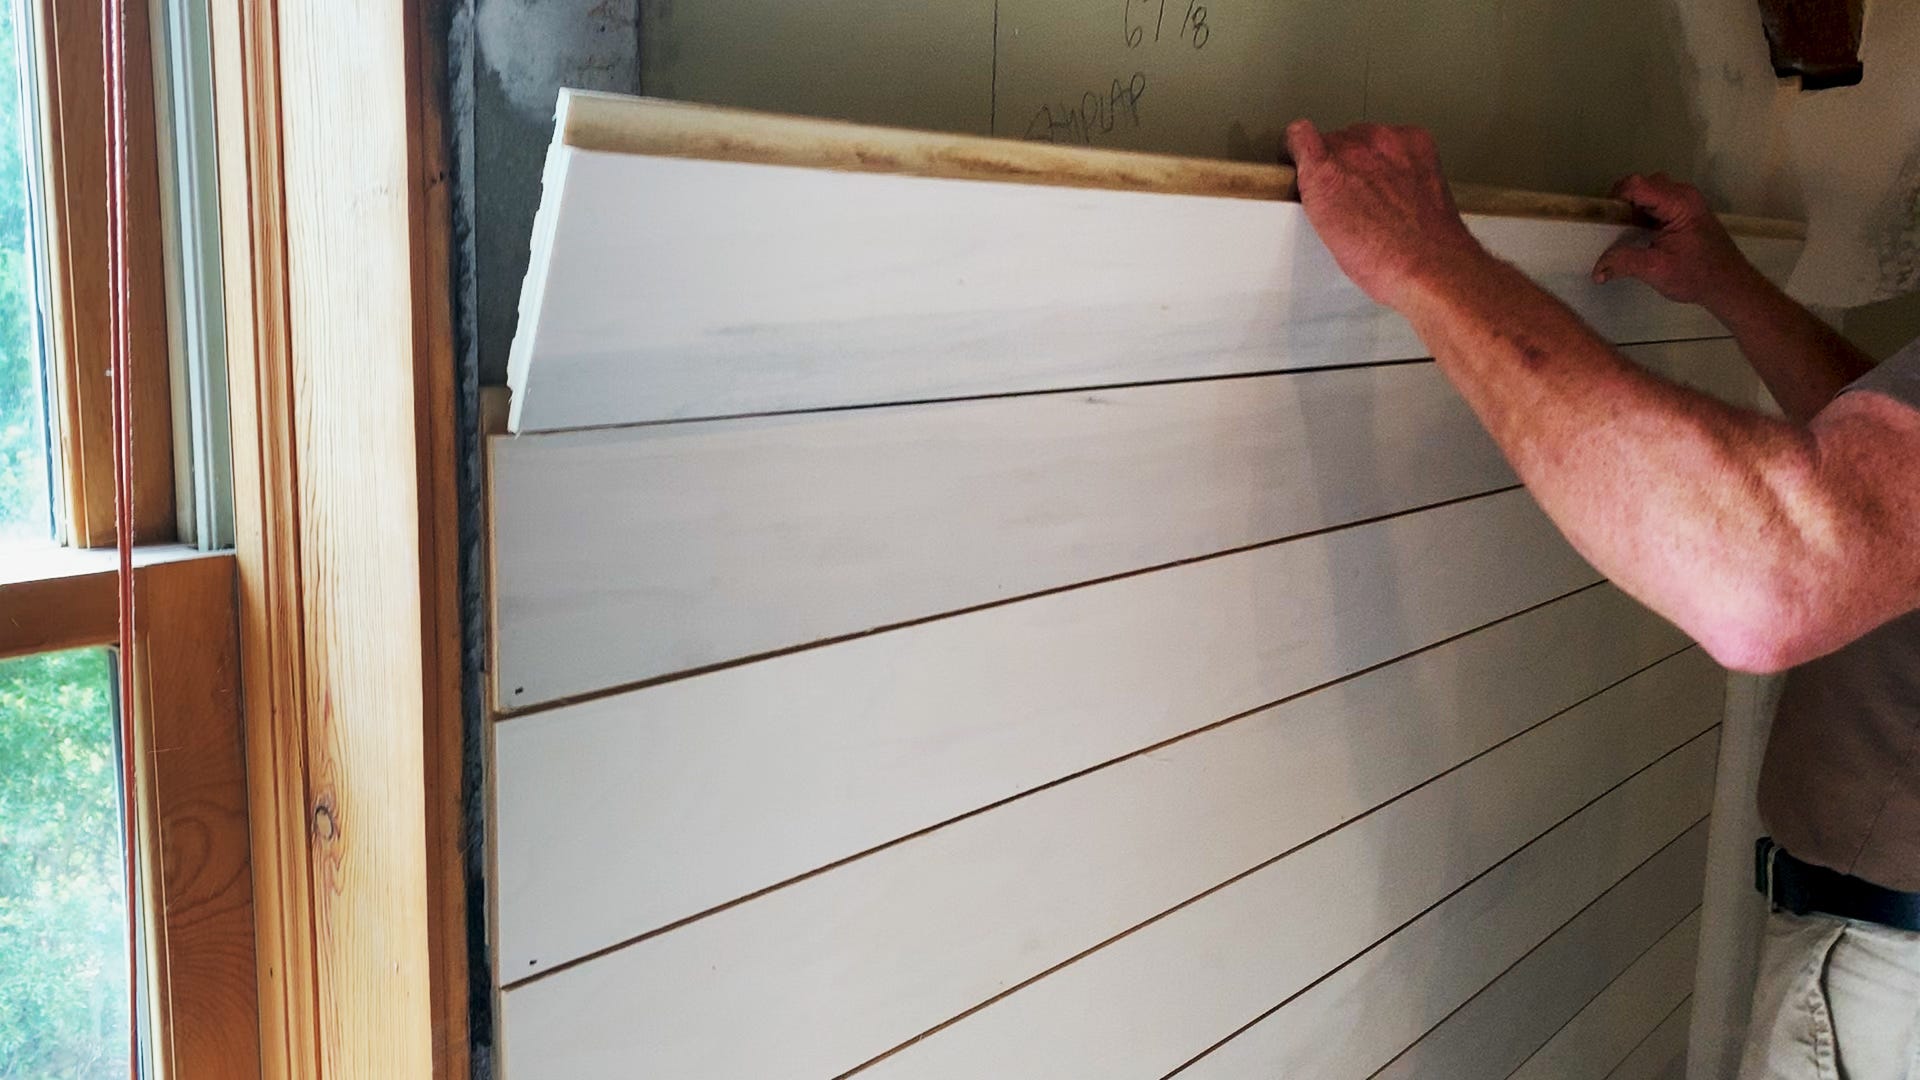
Here's Everything You've Ever Needed to Know About Installing Your Own Shiplap
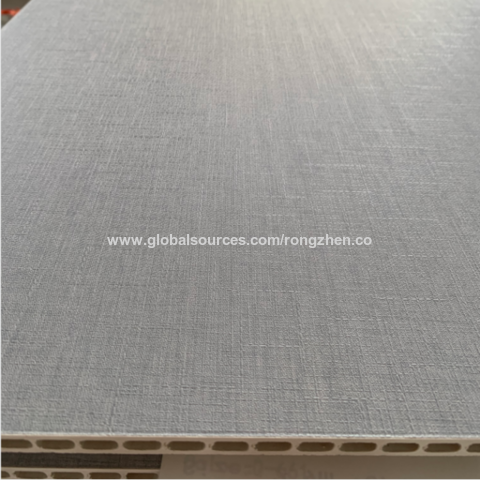
Easy install marble wood textile philippines ceiling wall pvc panel

Shiplap Cladding

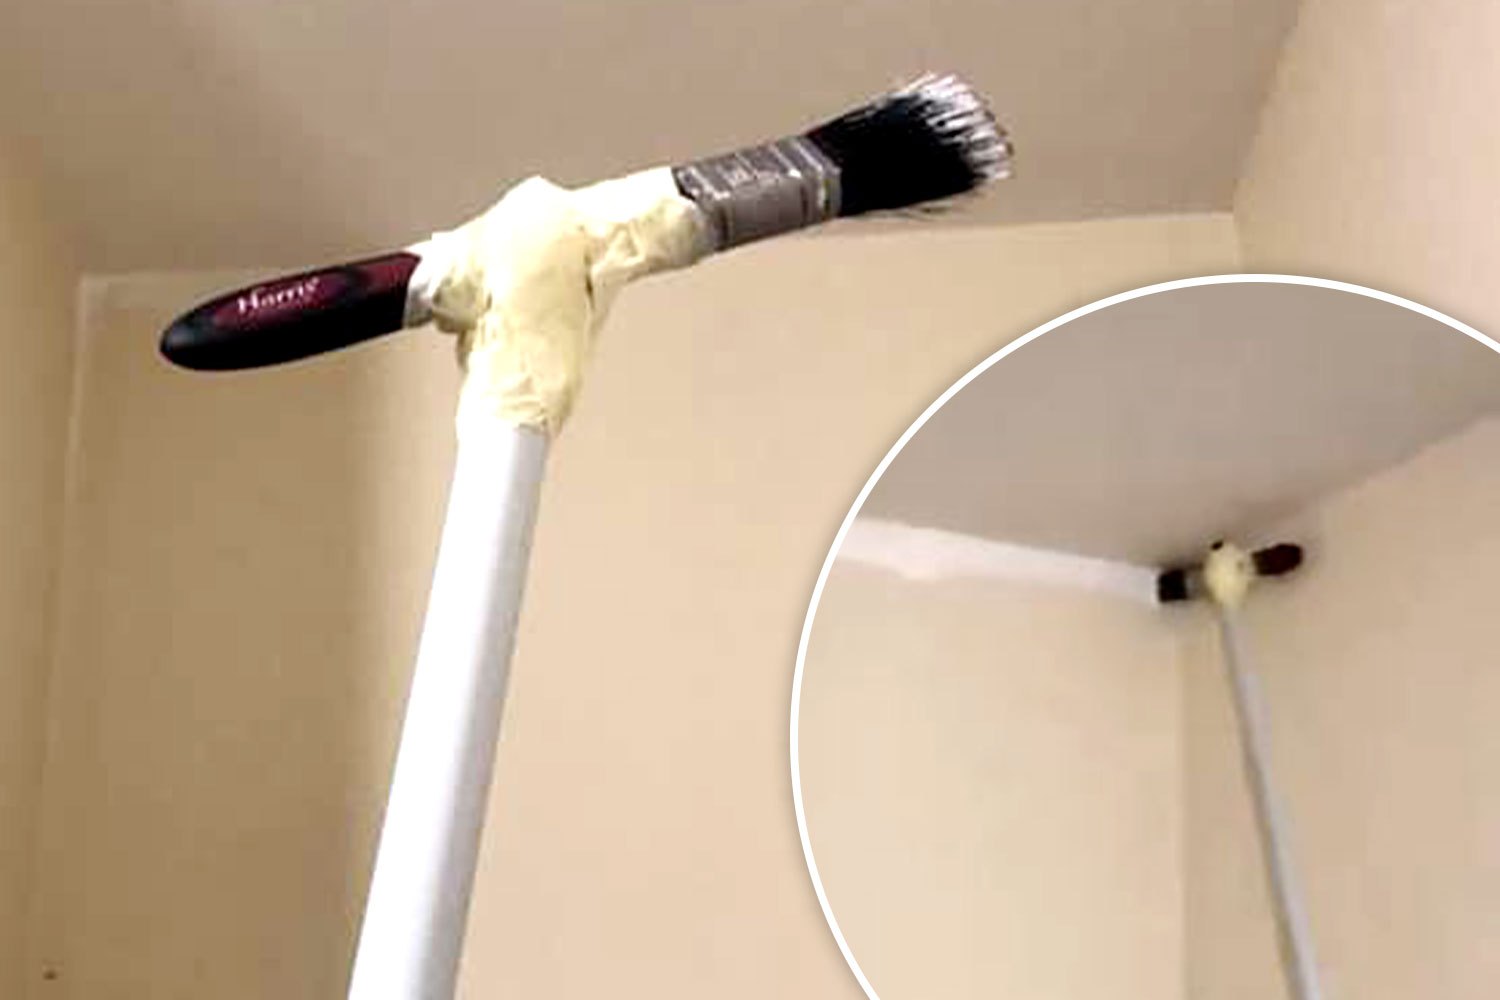
DIY fanatic shares the easy way she paints high ceiling corners WITHOUT having to balance on a ladder

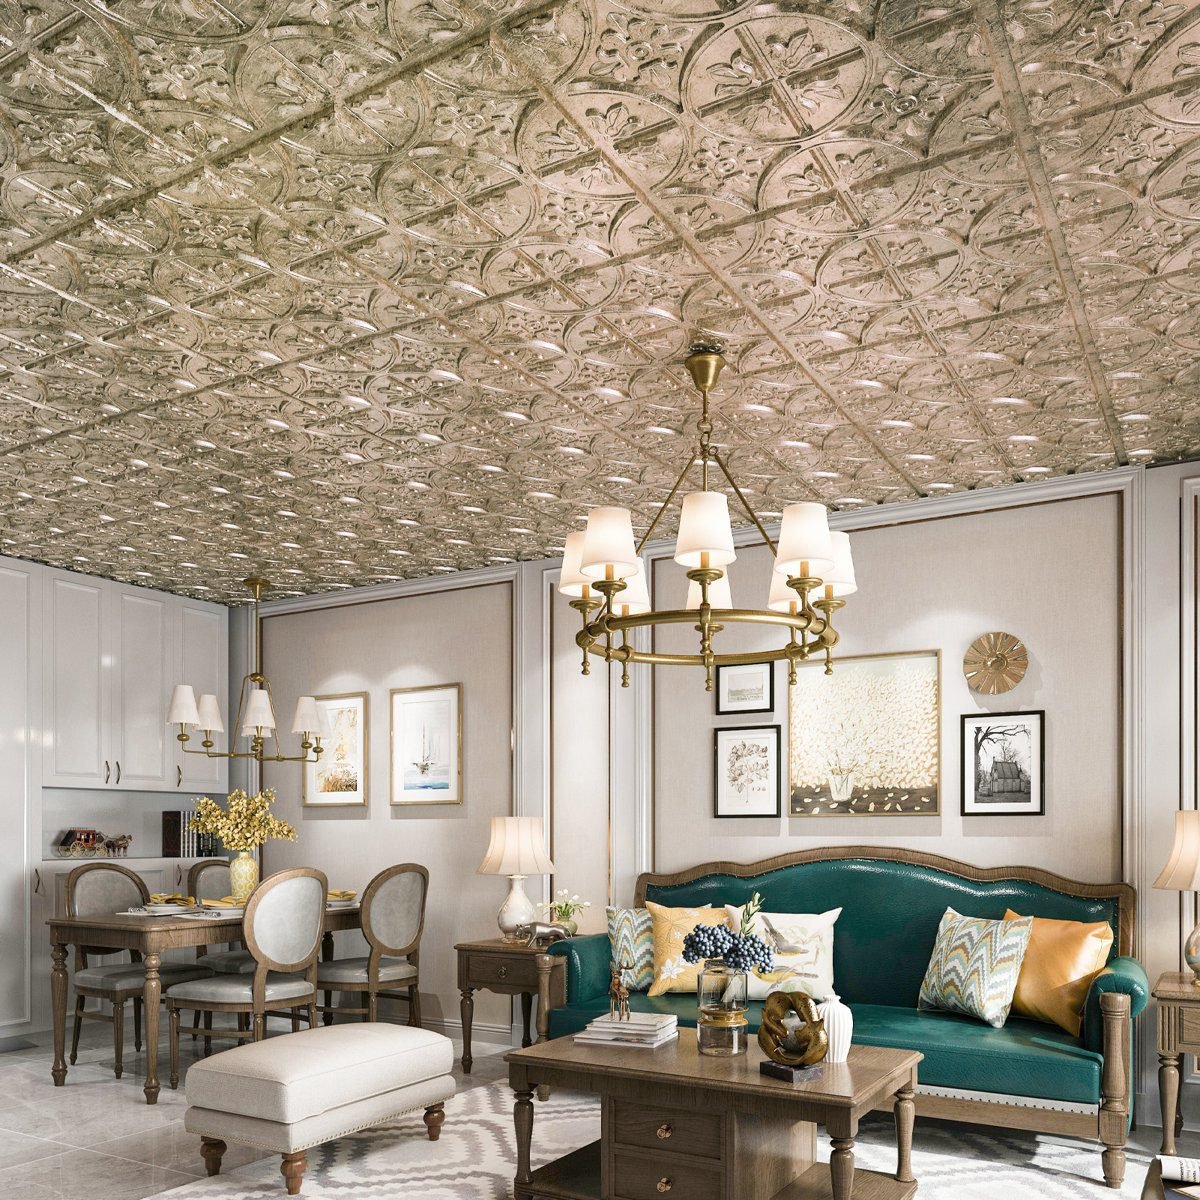
10 Ways to Cover a Hideous Ceiling That Anyone Can Do


Decorative and architectural ceiling solutions

Coving | Ceiling Coving

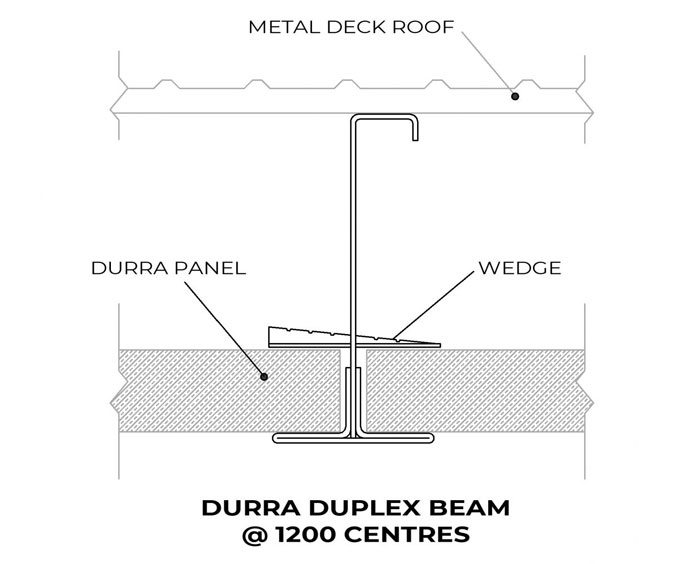
Roof and ceiling systems with versatile application
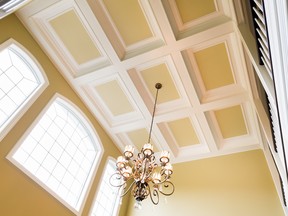
Handyman Hints: Creating the coffered ceiling


What To Know Before Recreating Fixer Upper's Staple Shiplap Look
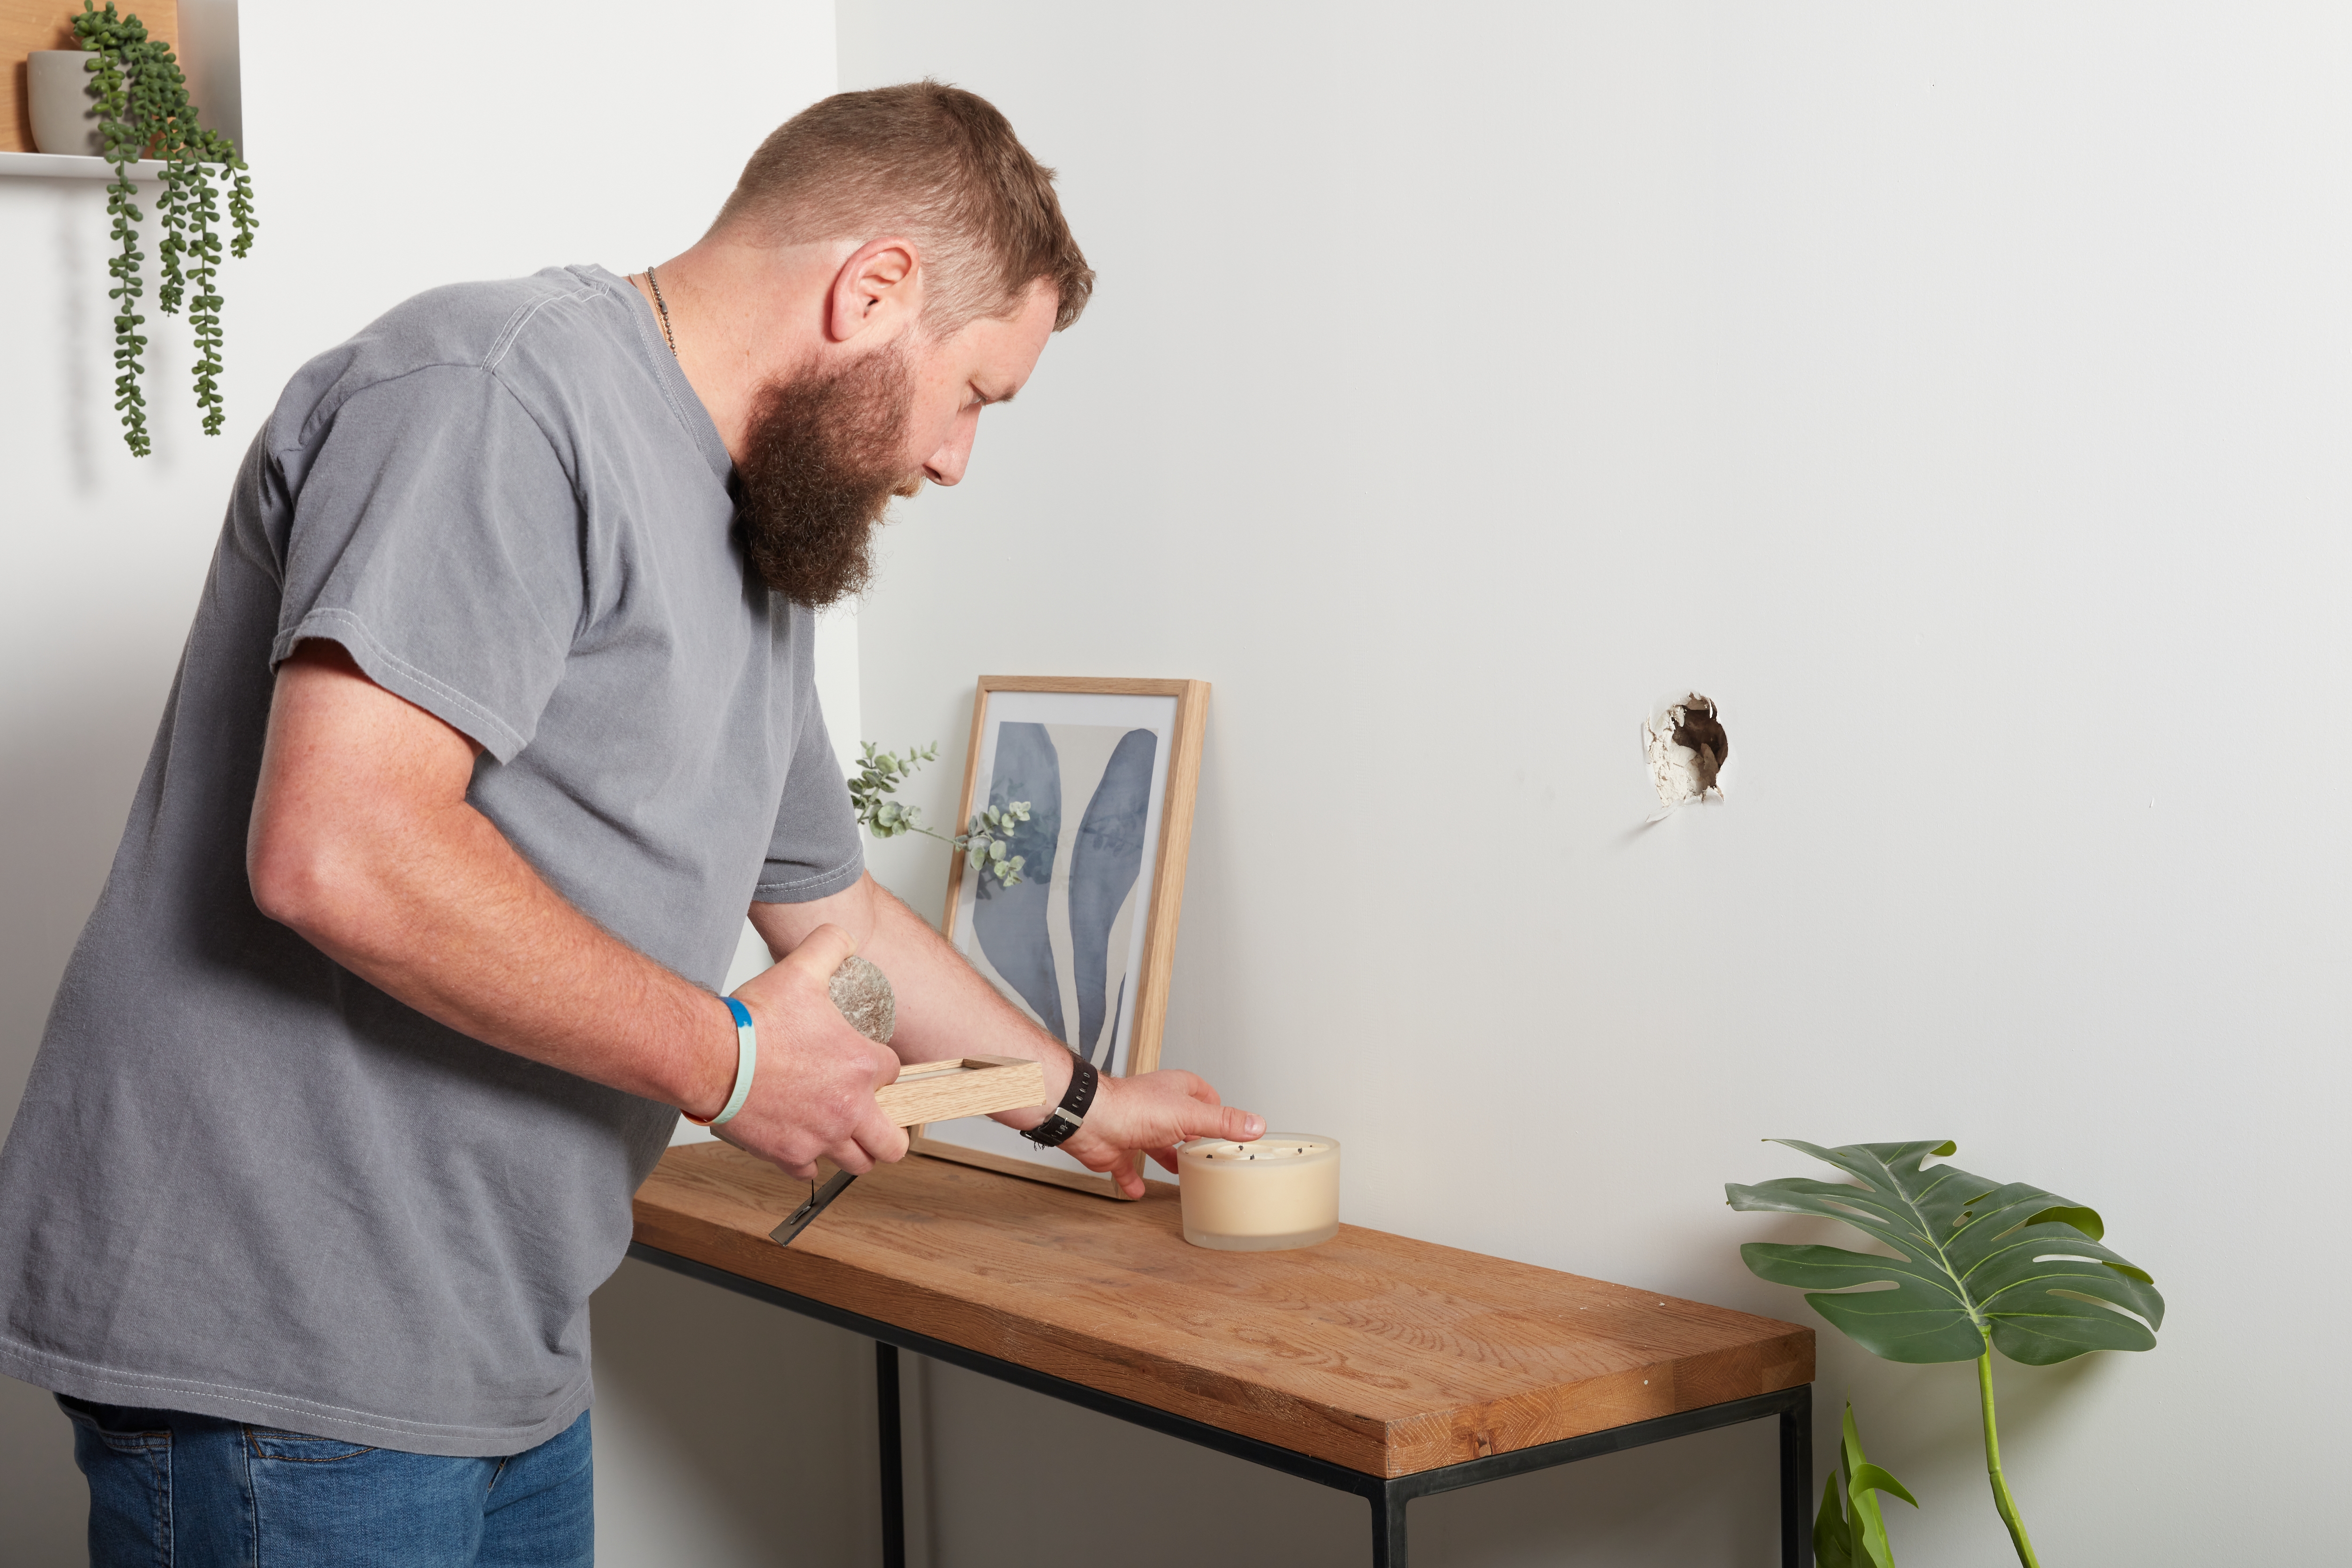
How to repair a wall or ceiling

Panelled ceiling ideas aren't just for trad styles – here's how to make them work with modern or minimalist decor


7 Glamorous Hacks to Transform a Boring White Ceiling

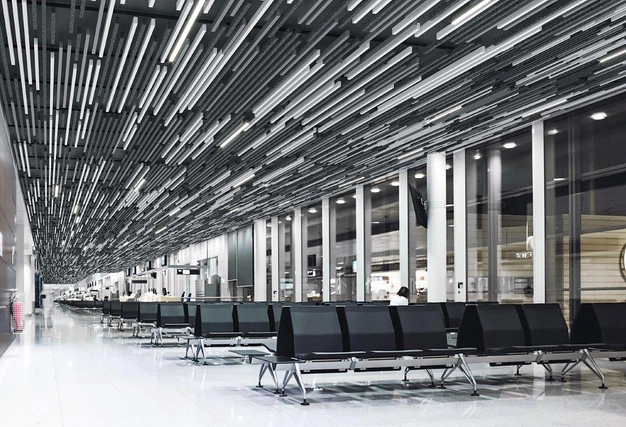
Ceiling Carrier System - Combi-Line from Hunter Douglas Architectural (Europe)

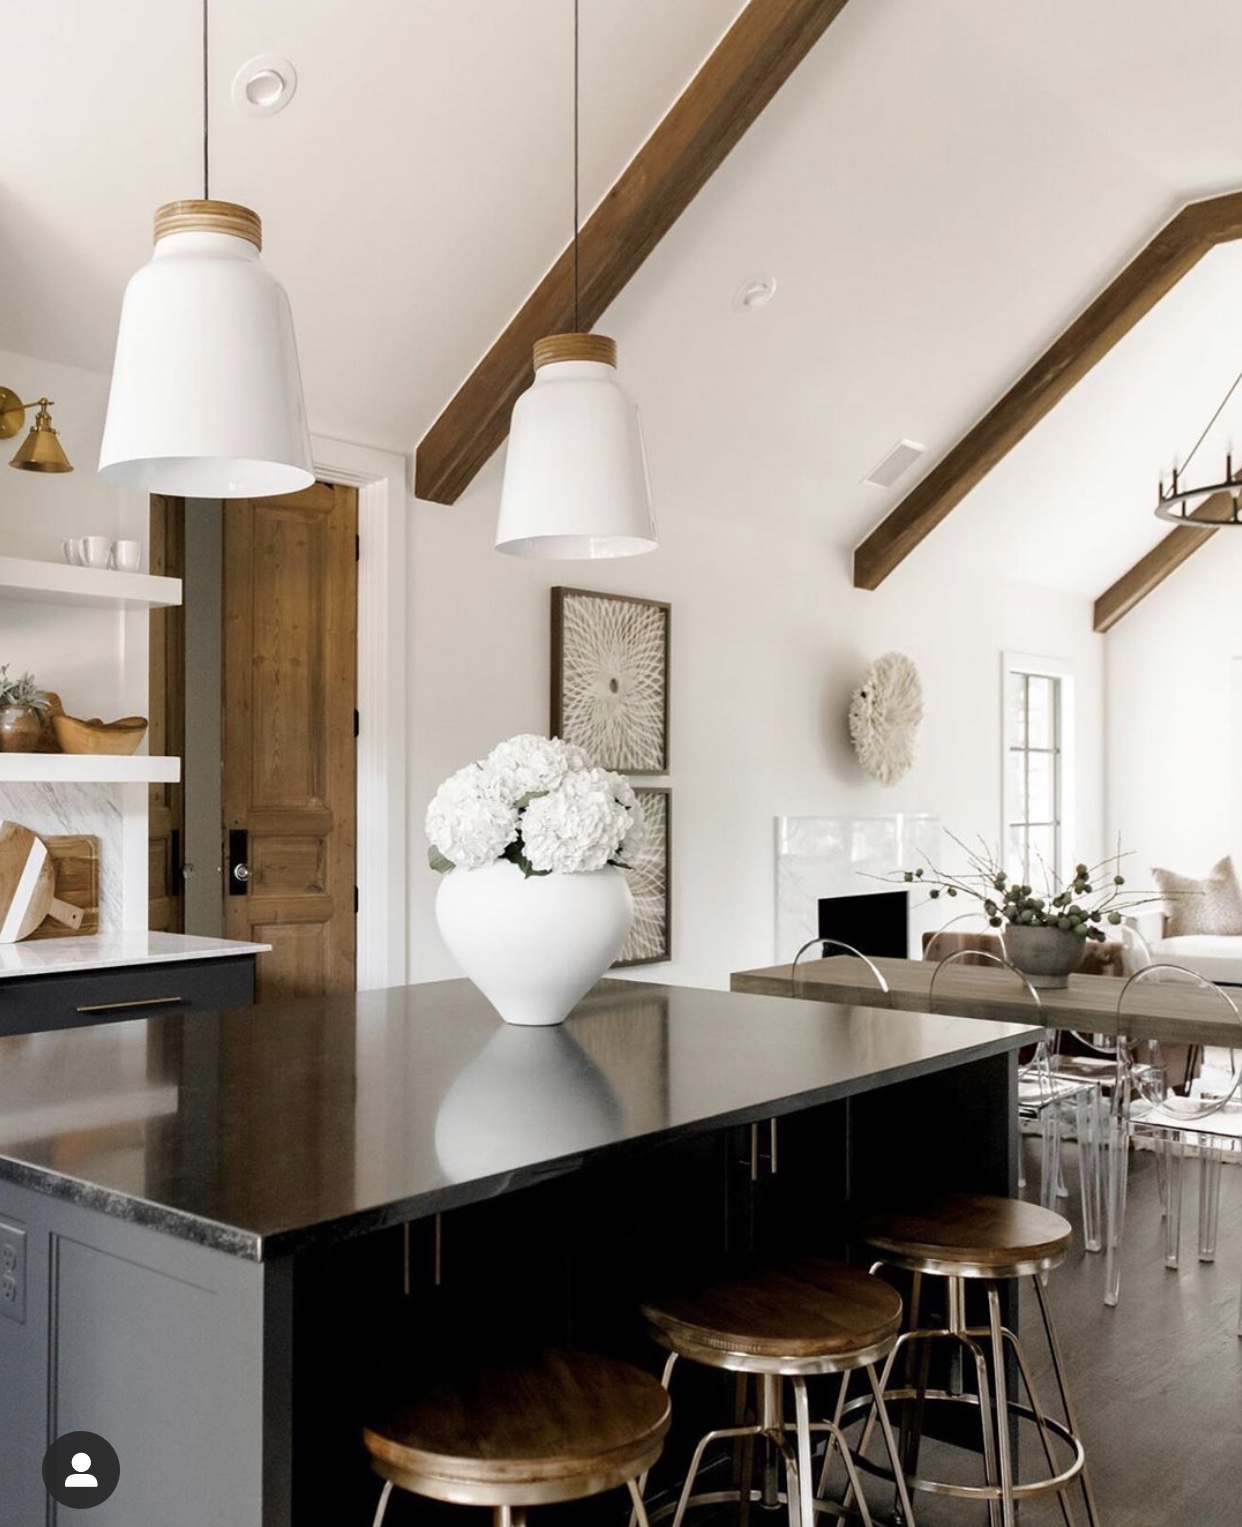
They're going viral! 7 faux beam tutorials that will convince you this DIY is exactly what your home is missing
Quick Coffered Ceilings