1/2
How to install LED strips for your under-cabinet lighting
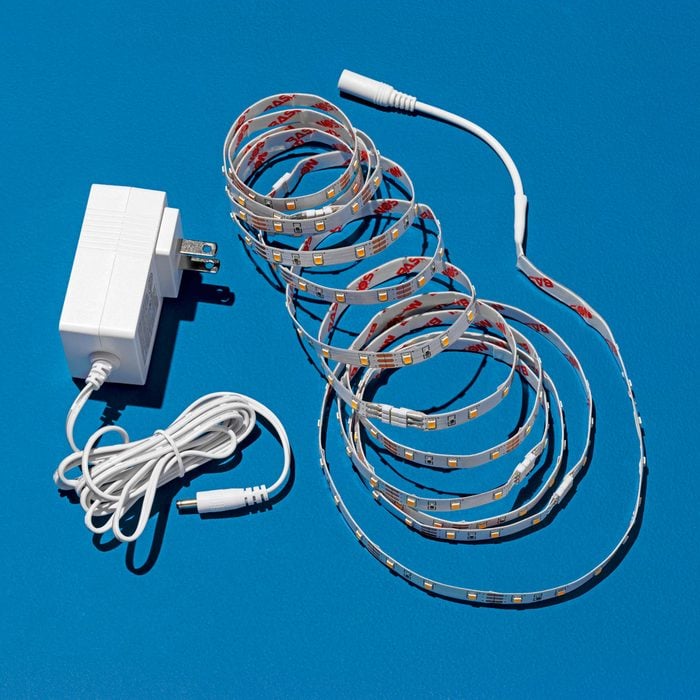
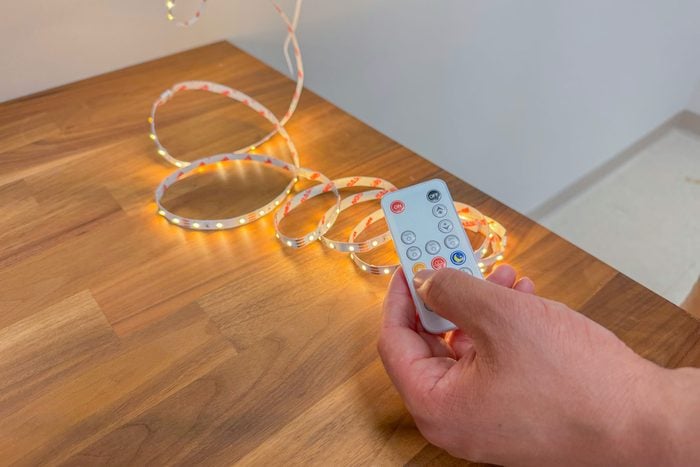
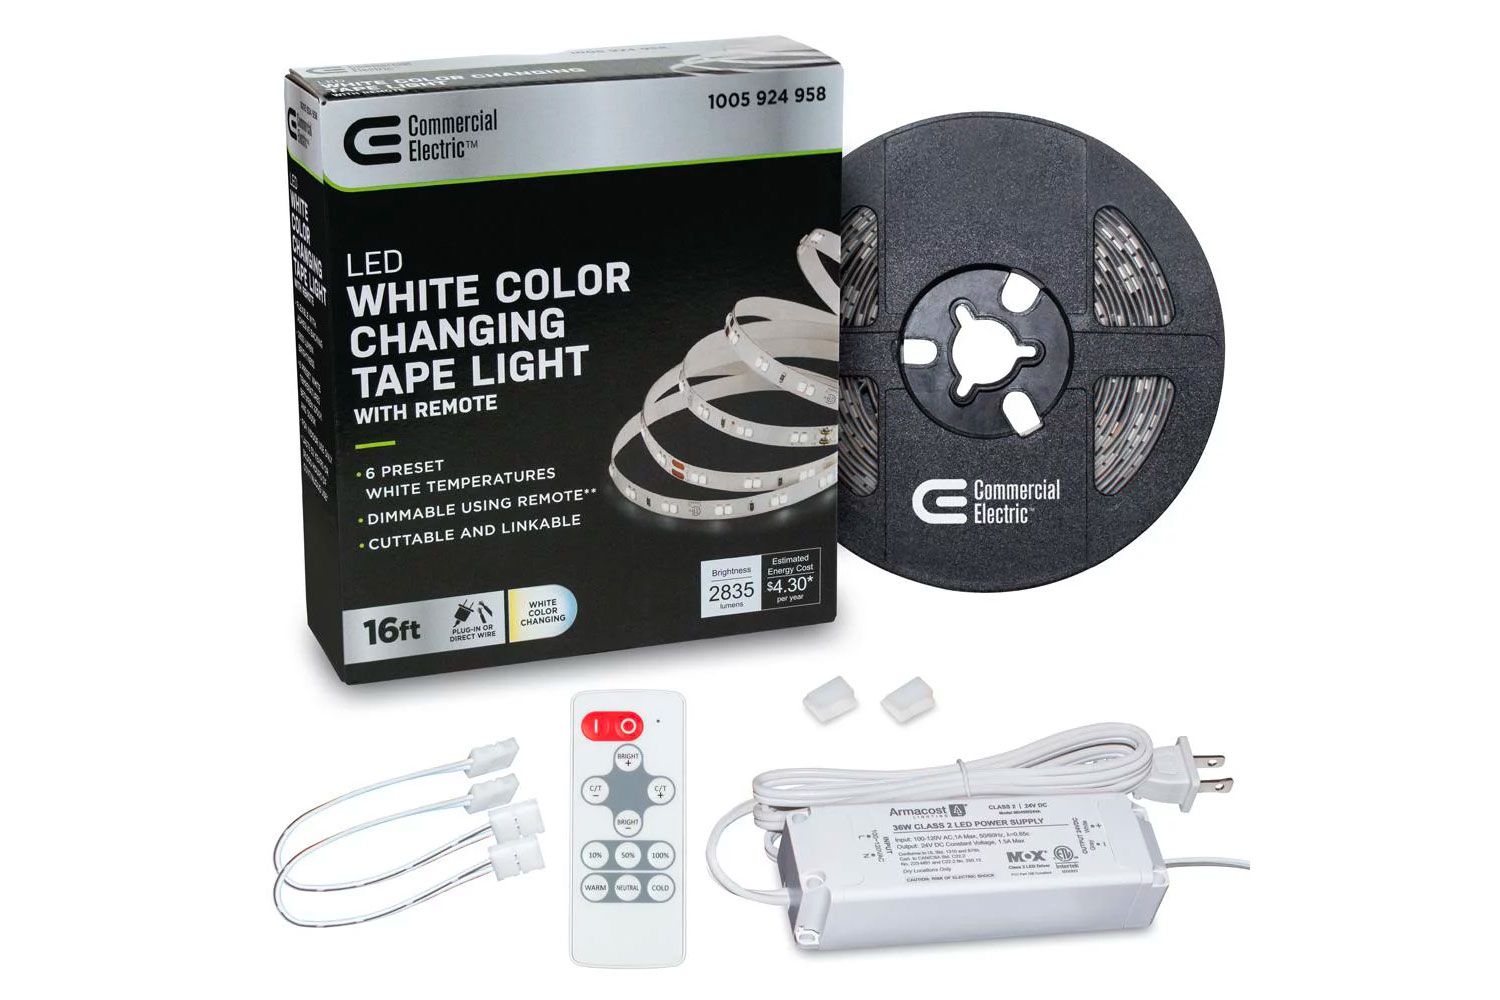
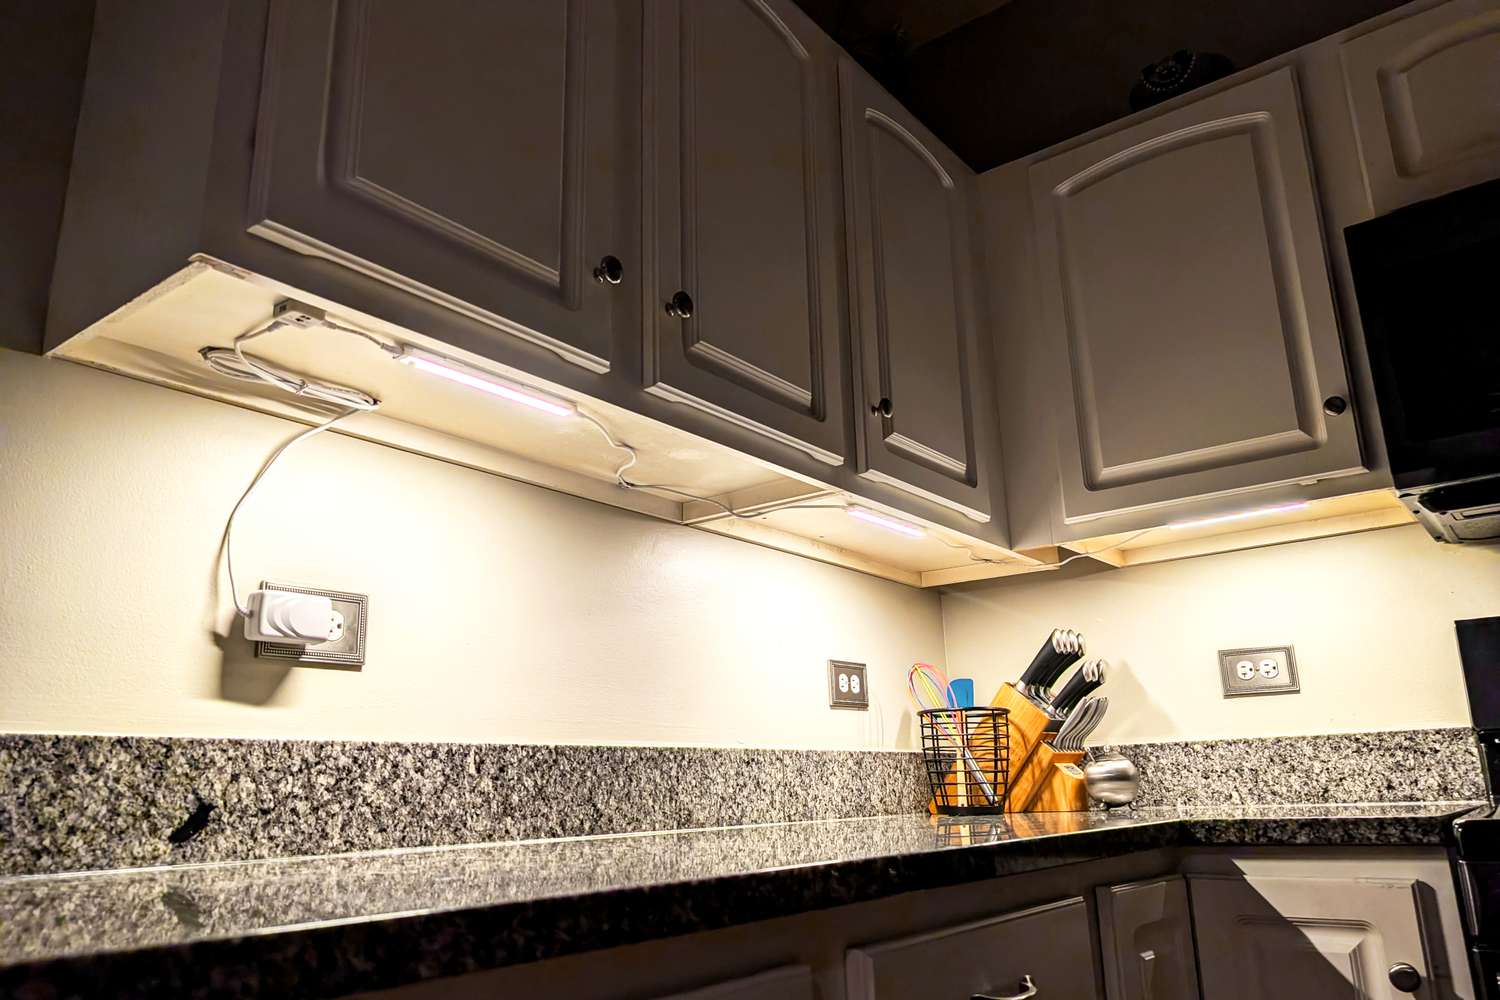
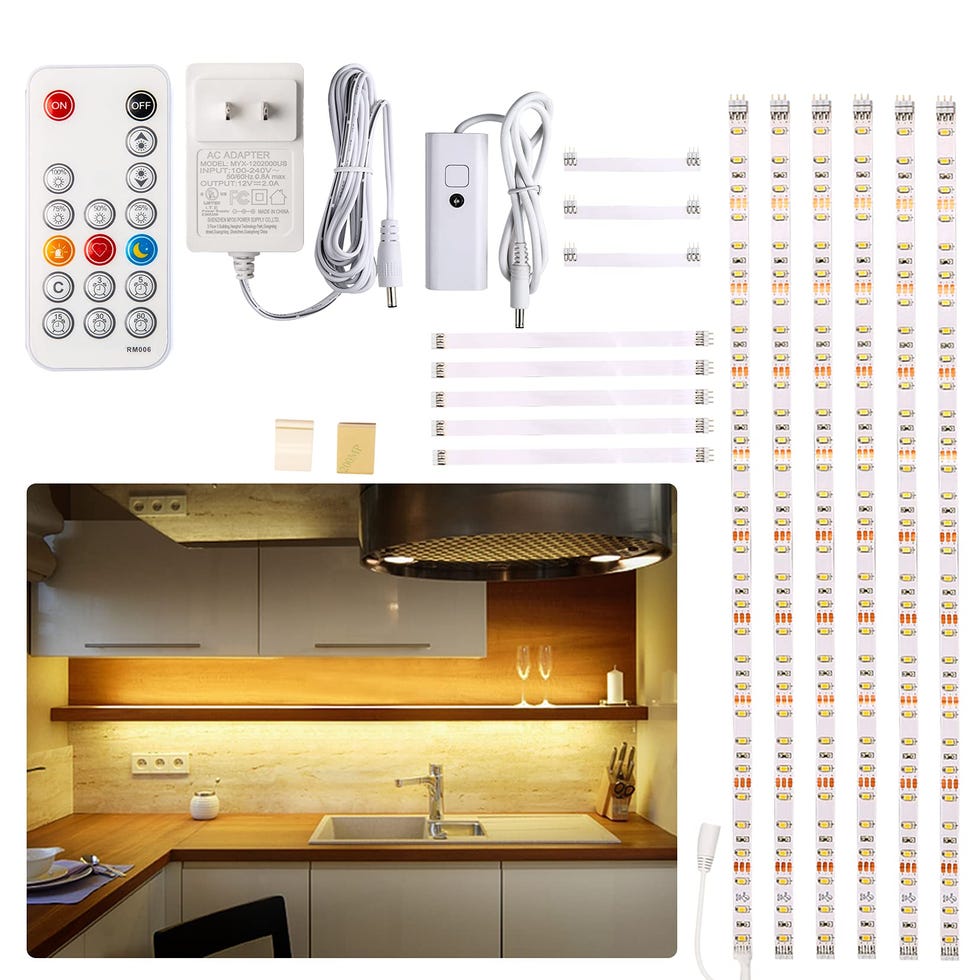
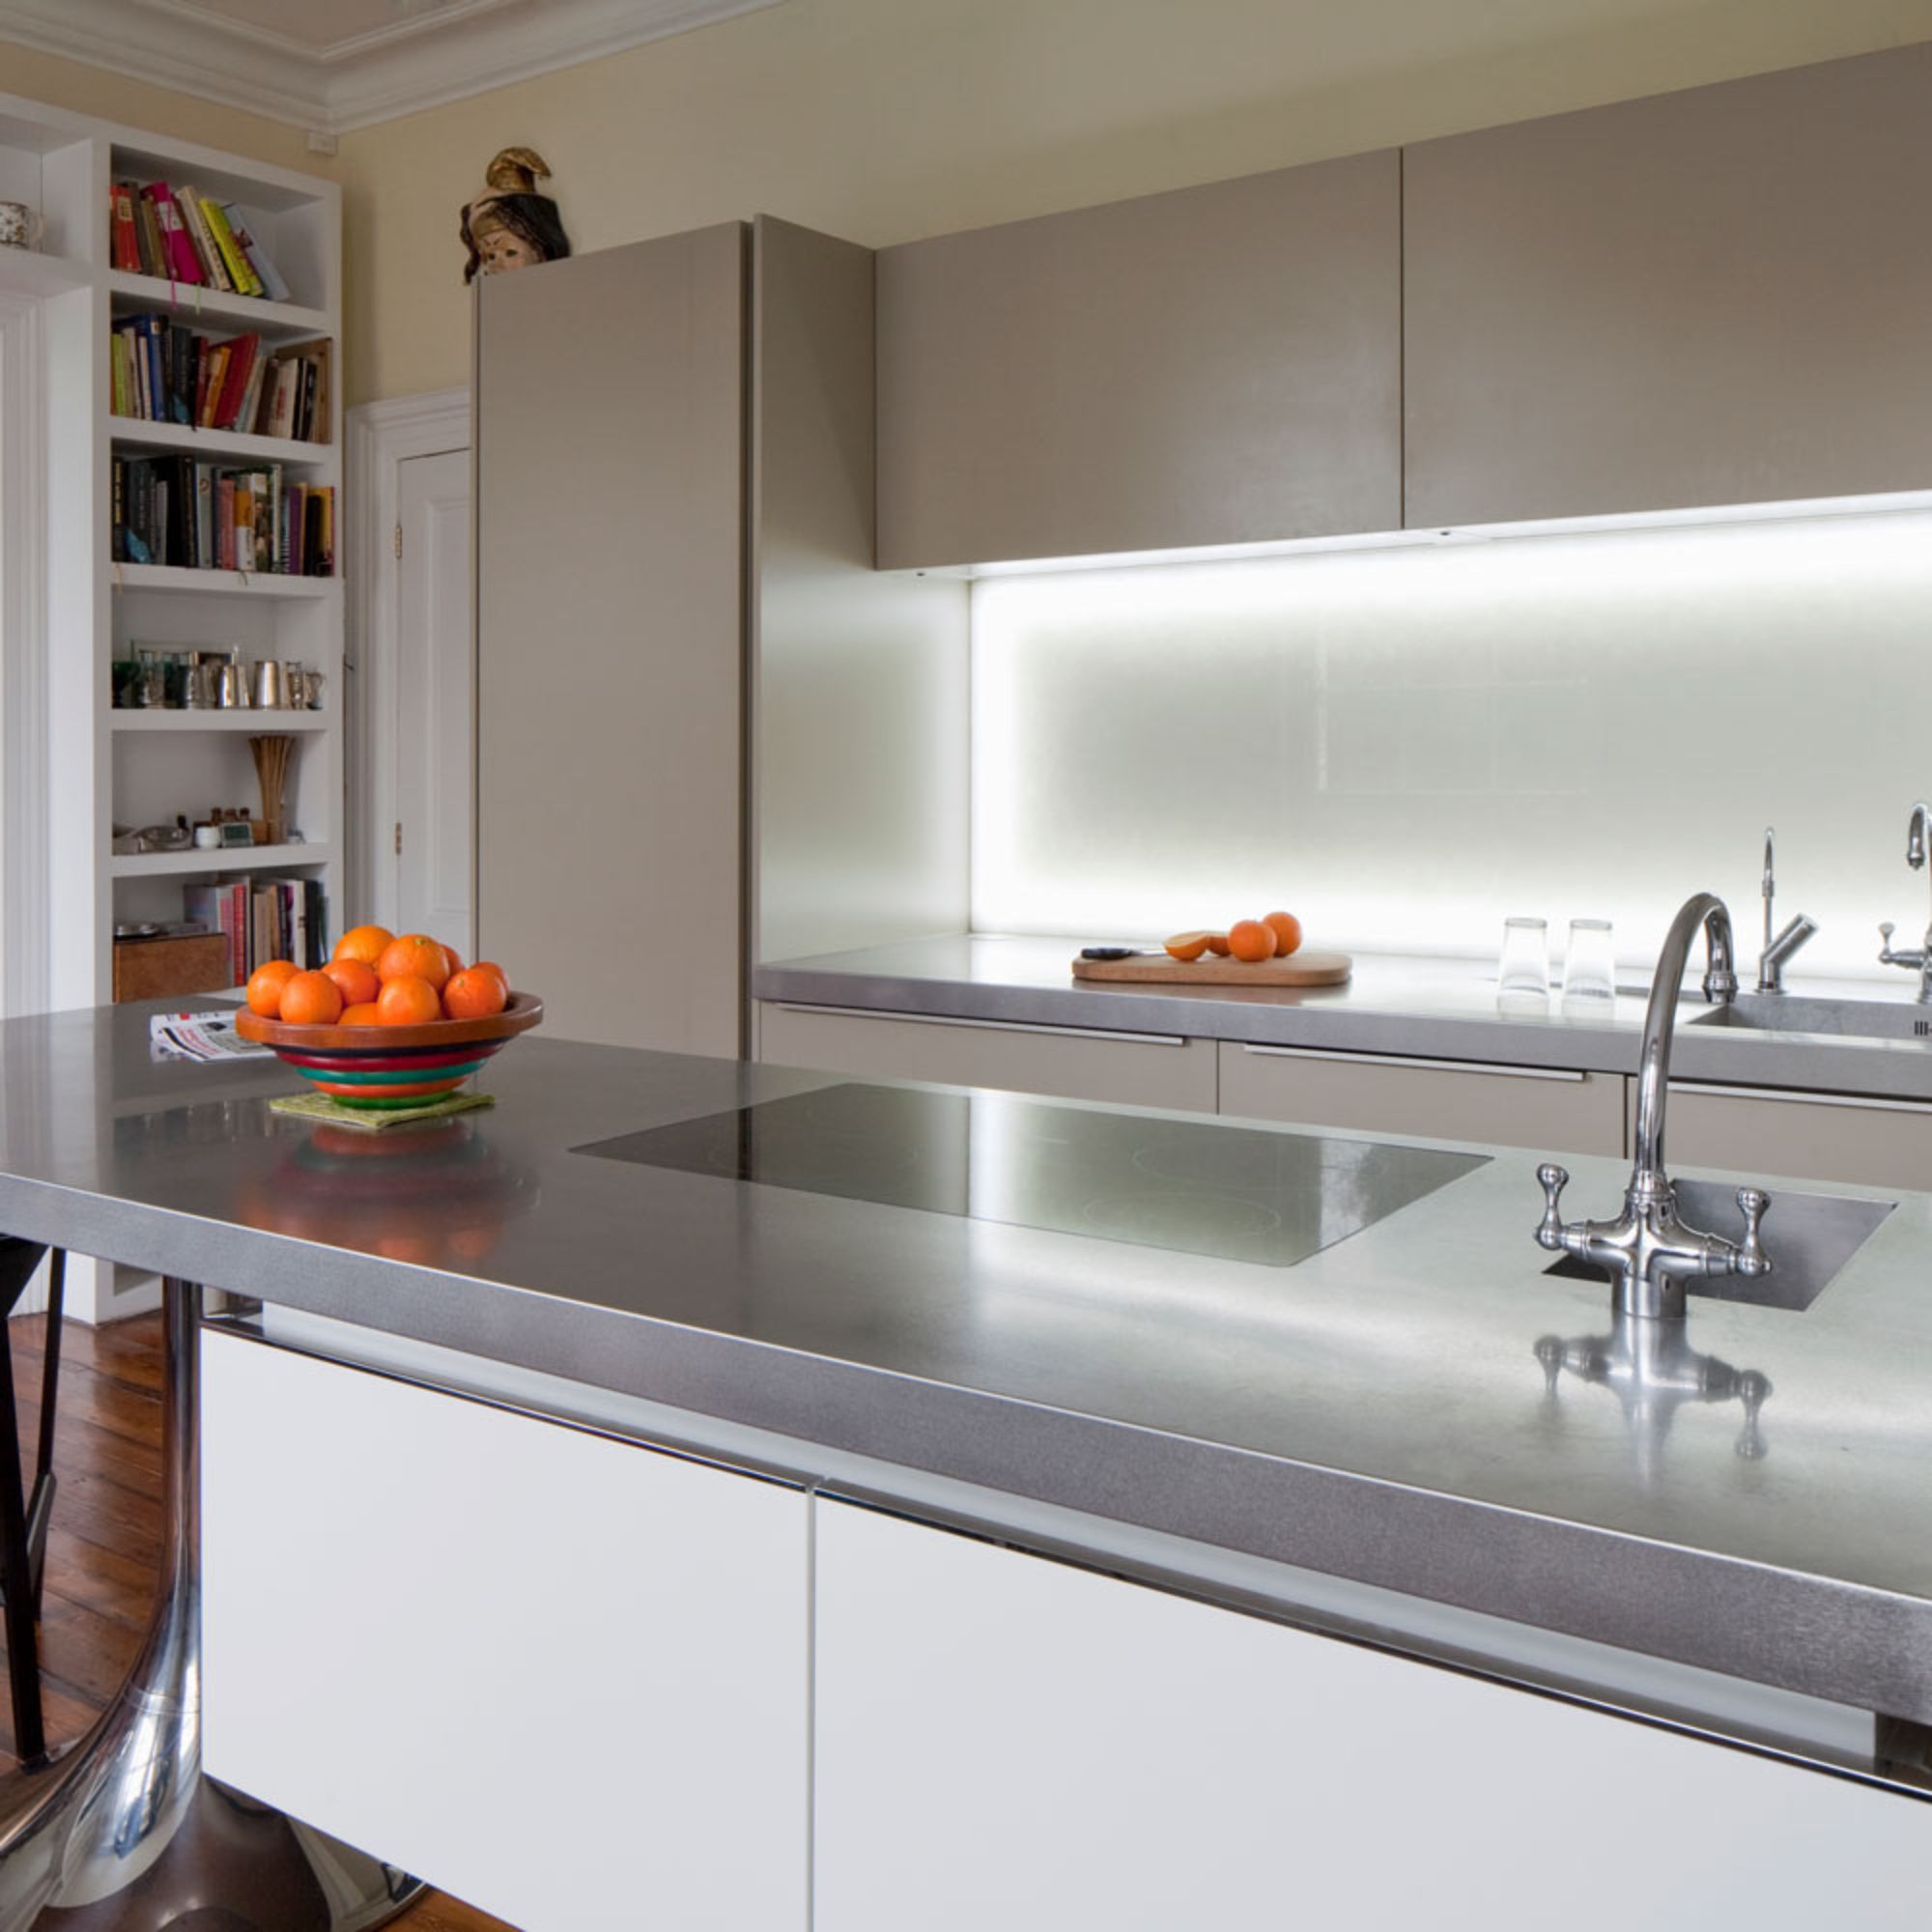
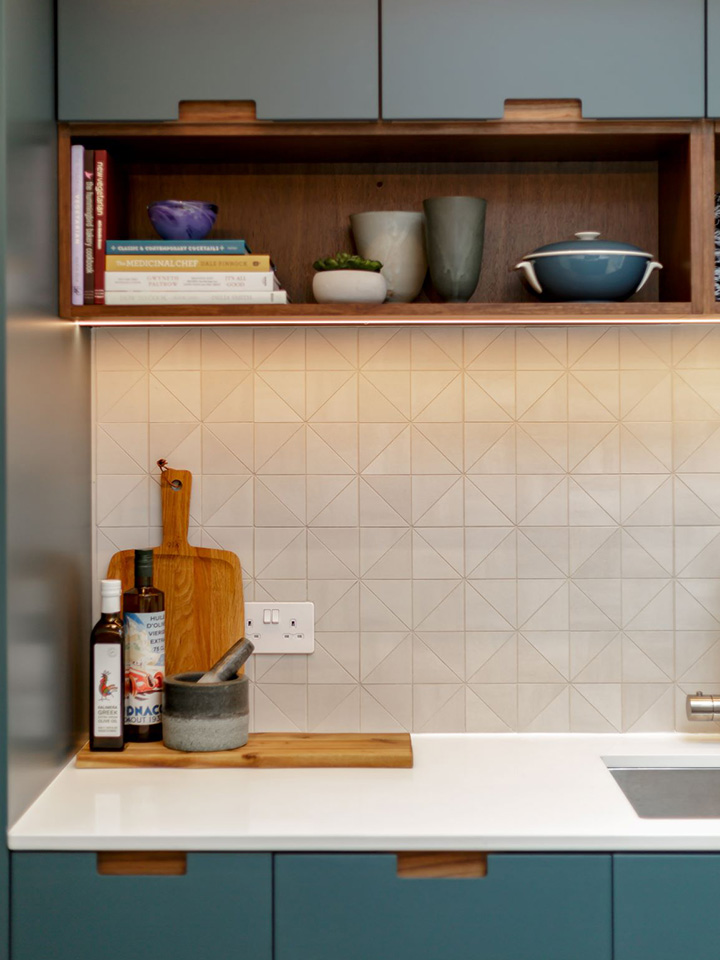
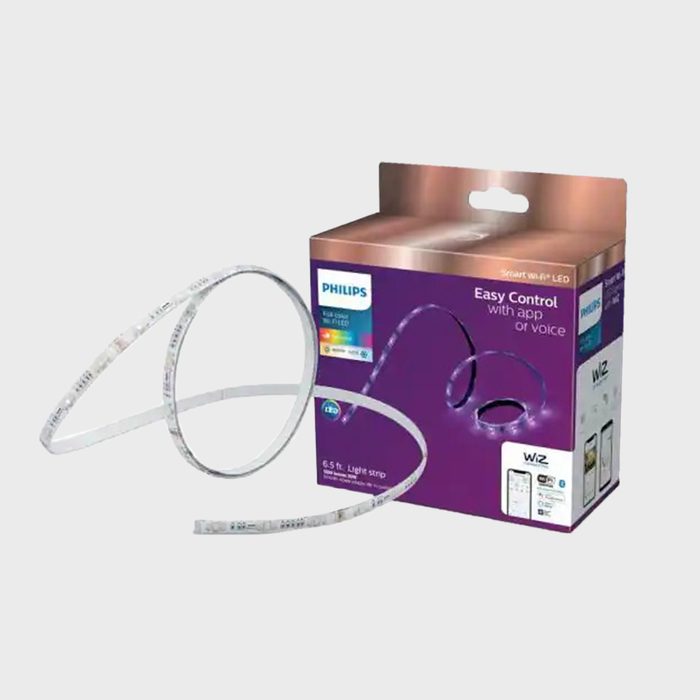
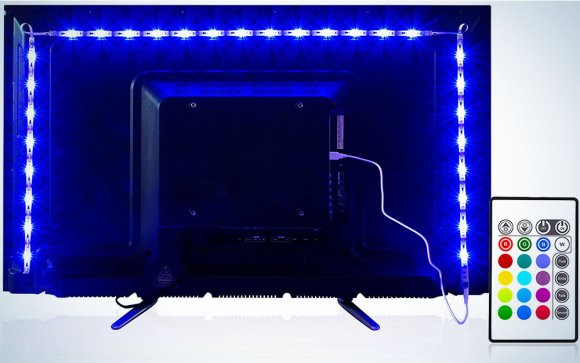
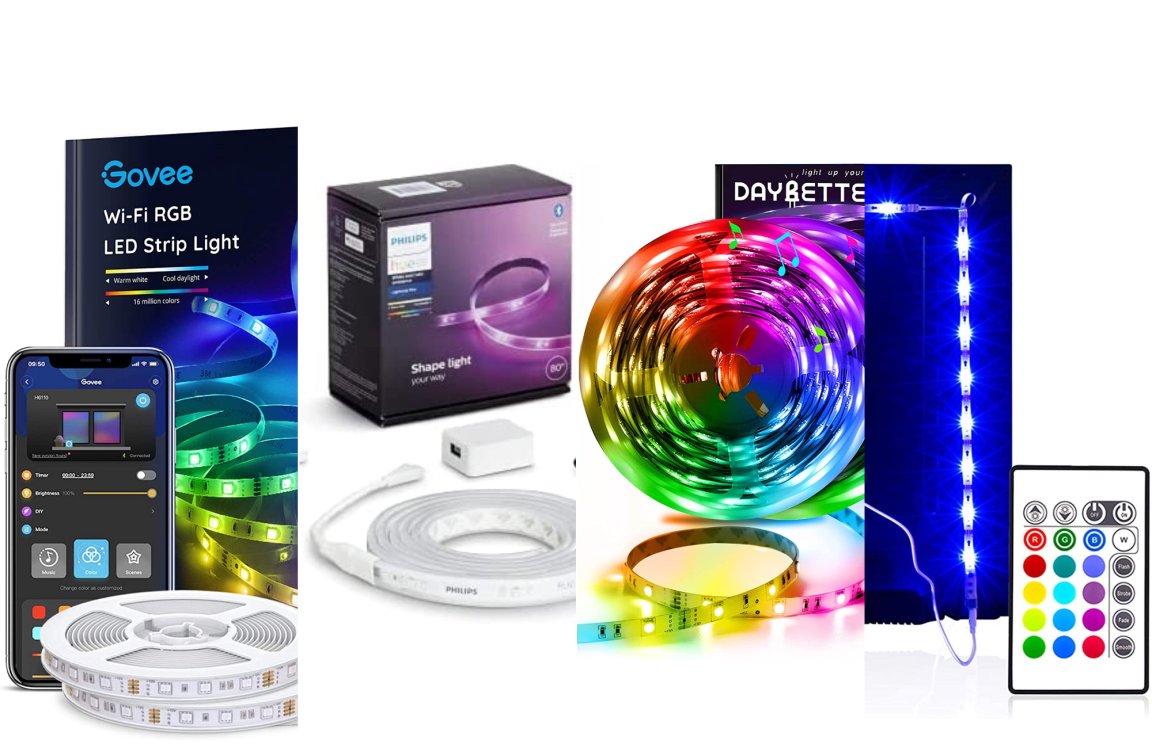
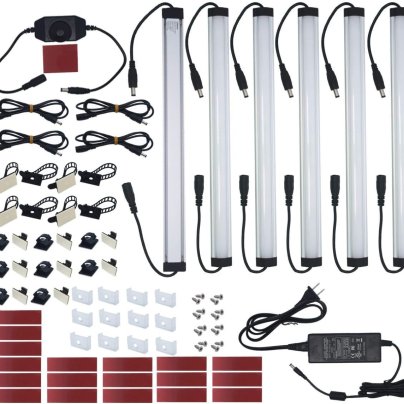
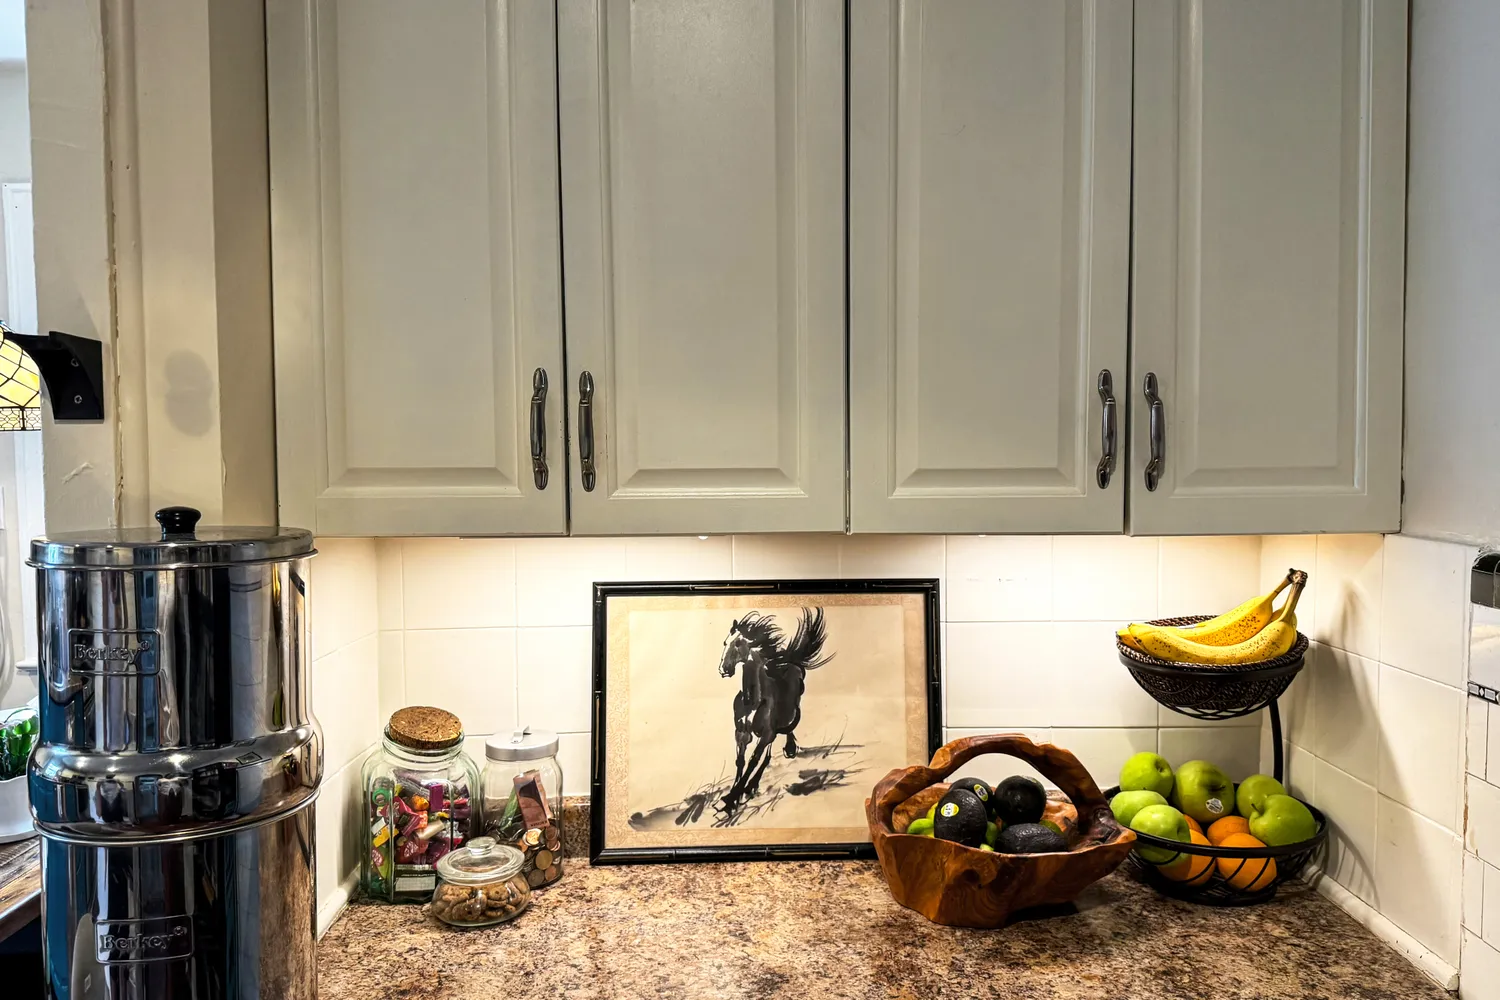
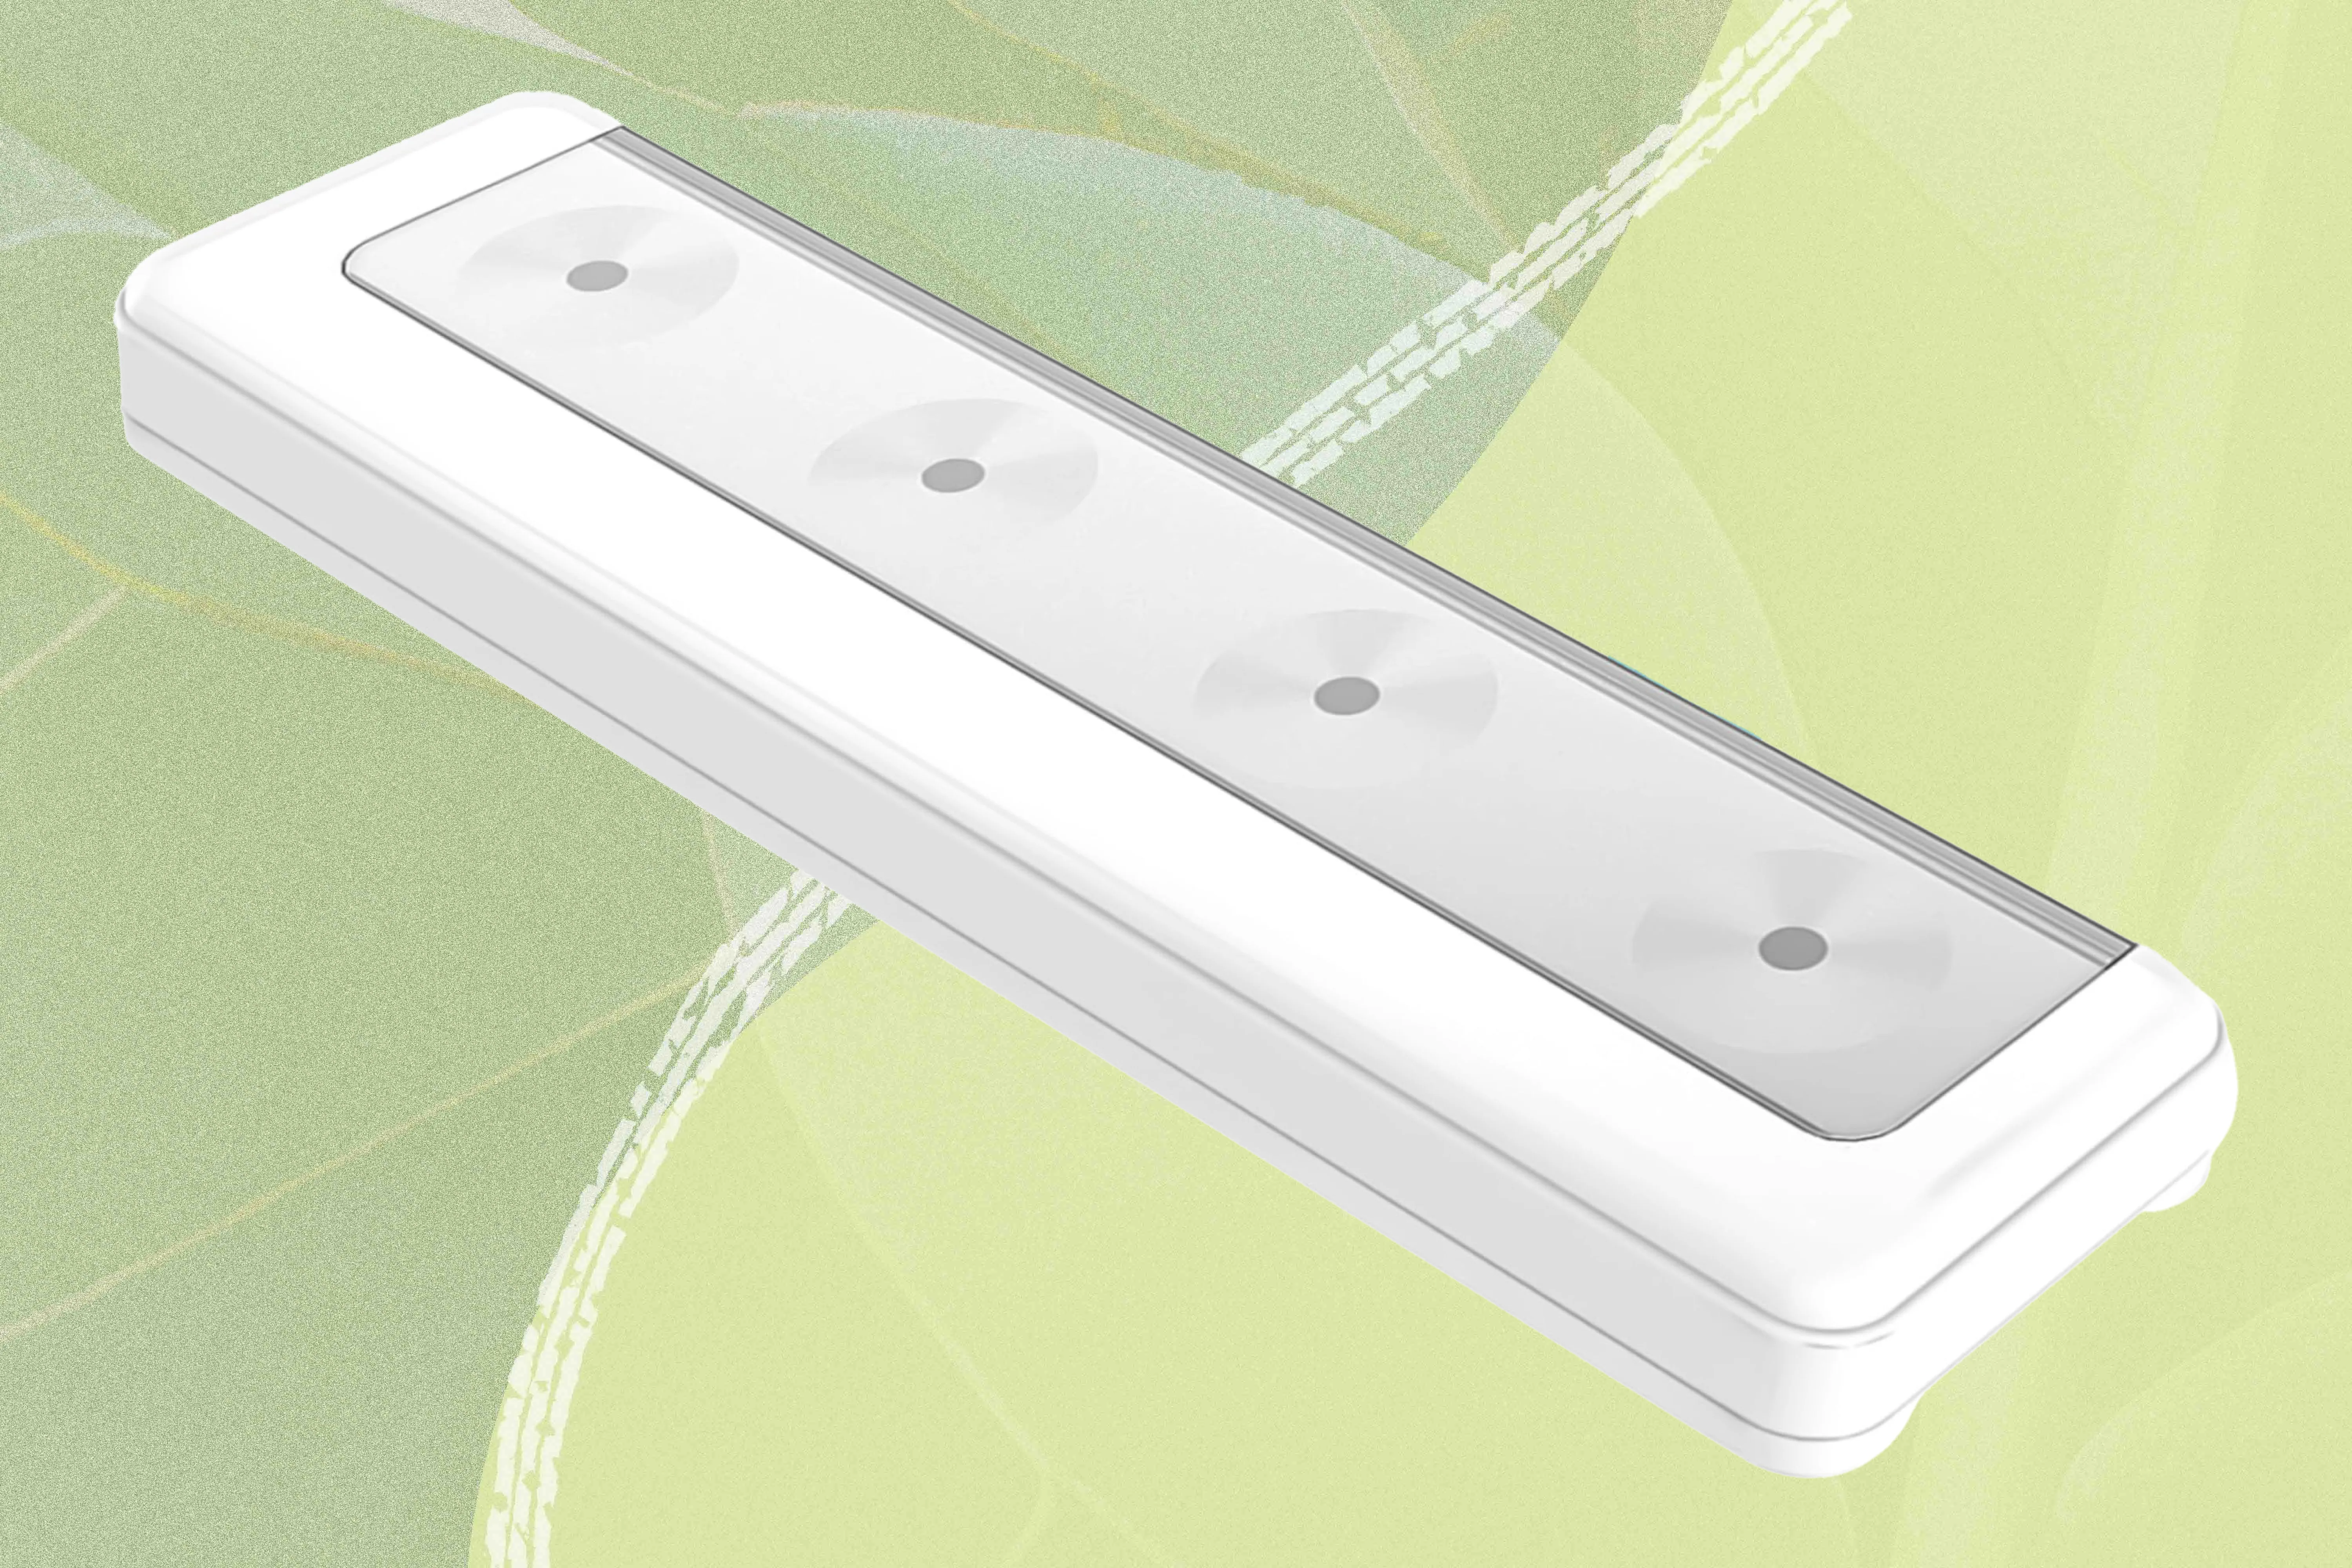
This guide details the process of installing LED strip lighting under kitchen cabinets, offering a modern, energy-efficient alternative to outdated 'puck lights'. The installation process begins with the removal of old lighting fixtures and thorough cleaning of the cabinet underside. Cleaning is crucial, especially for adhesive-backed LED strips, as it ensures better adhesion by removing grease and grime accumulated over time. The choice of LED strips is important; options include dimmable strips with remote controls, providing versatility for both task and accent lighting.
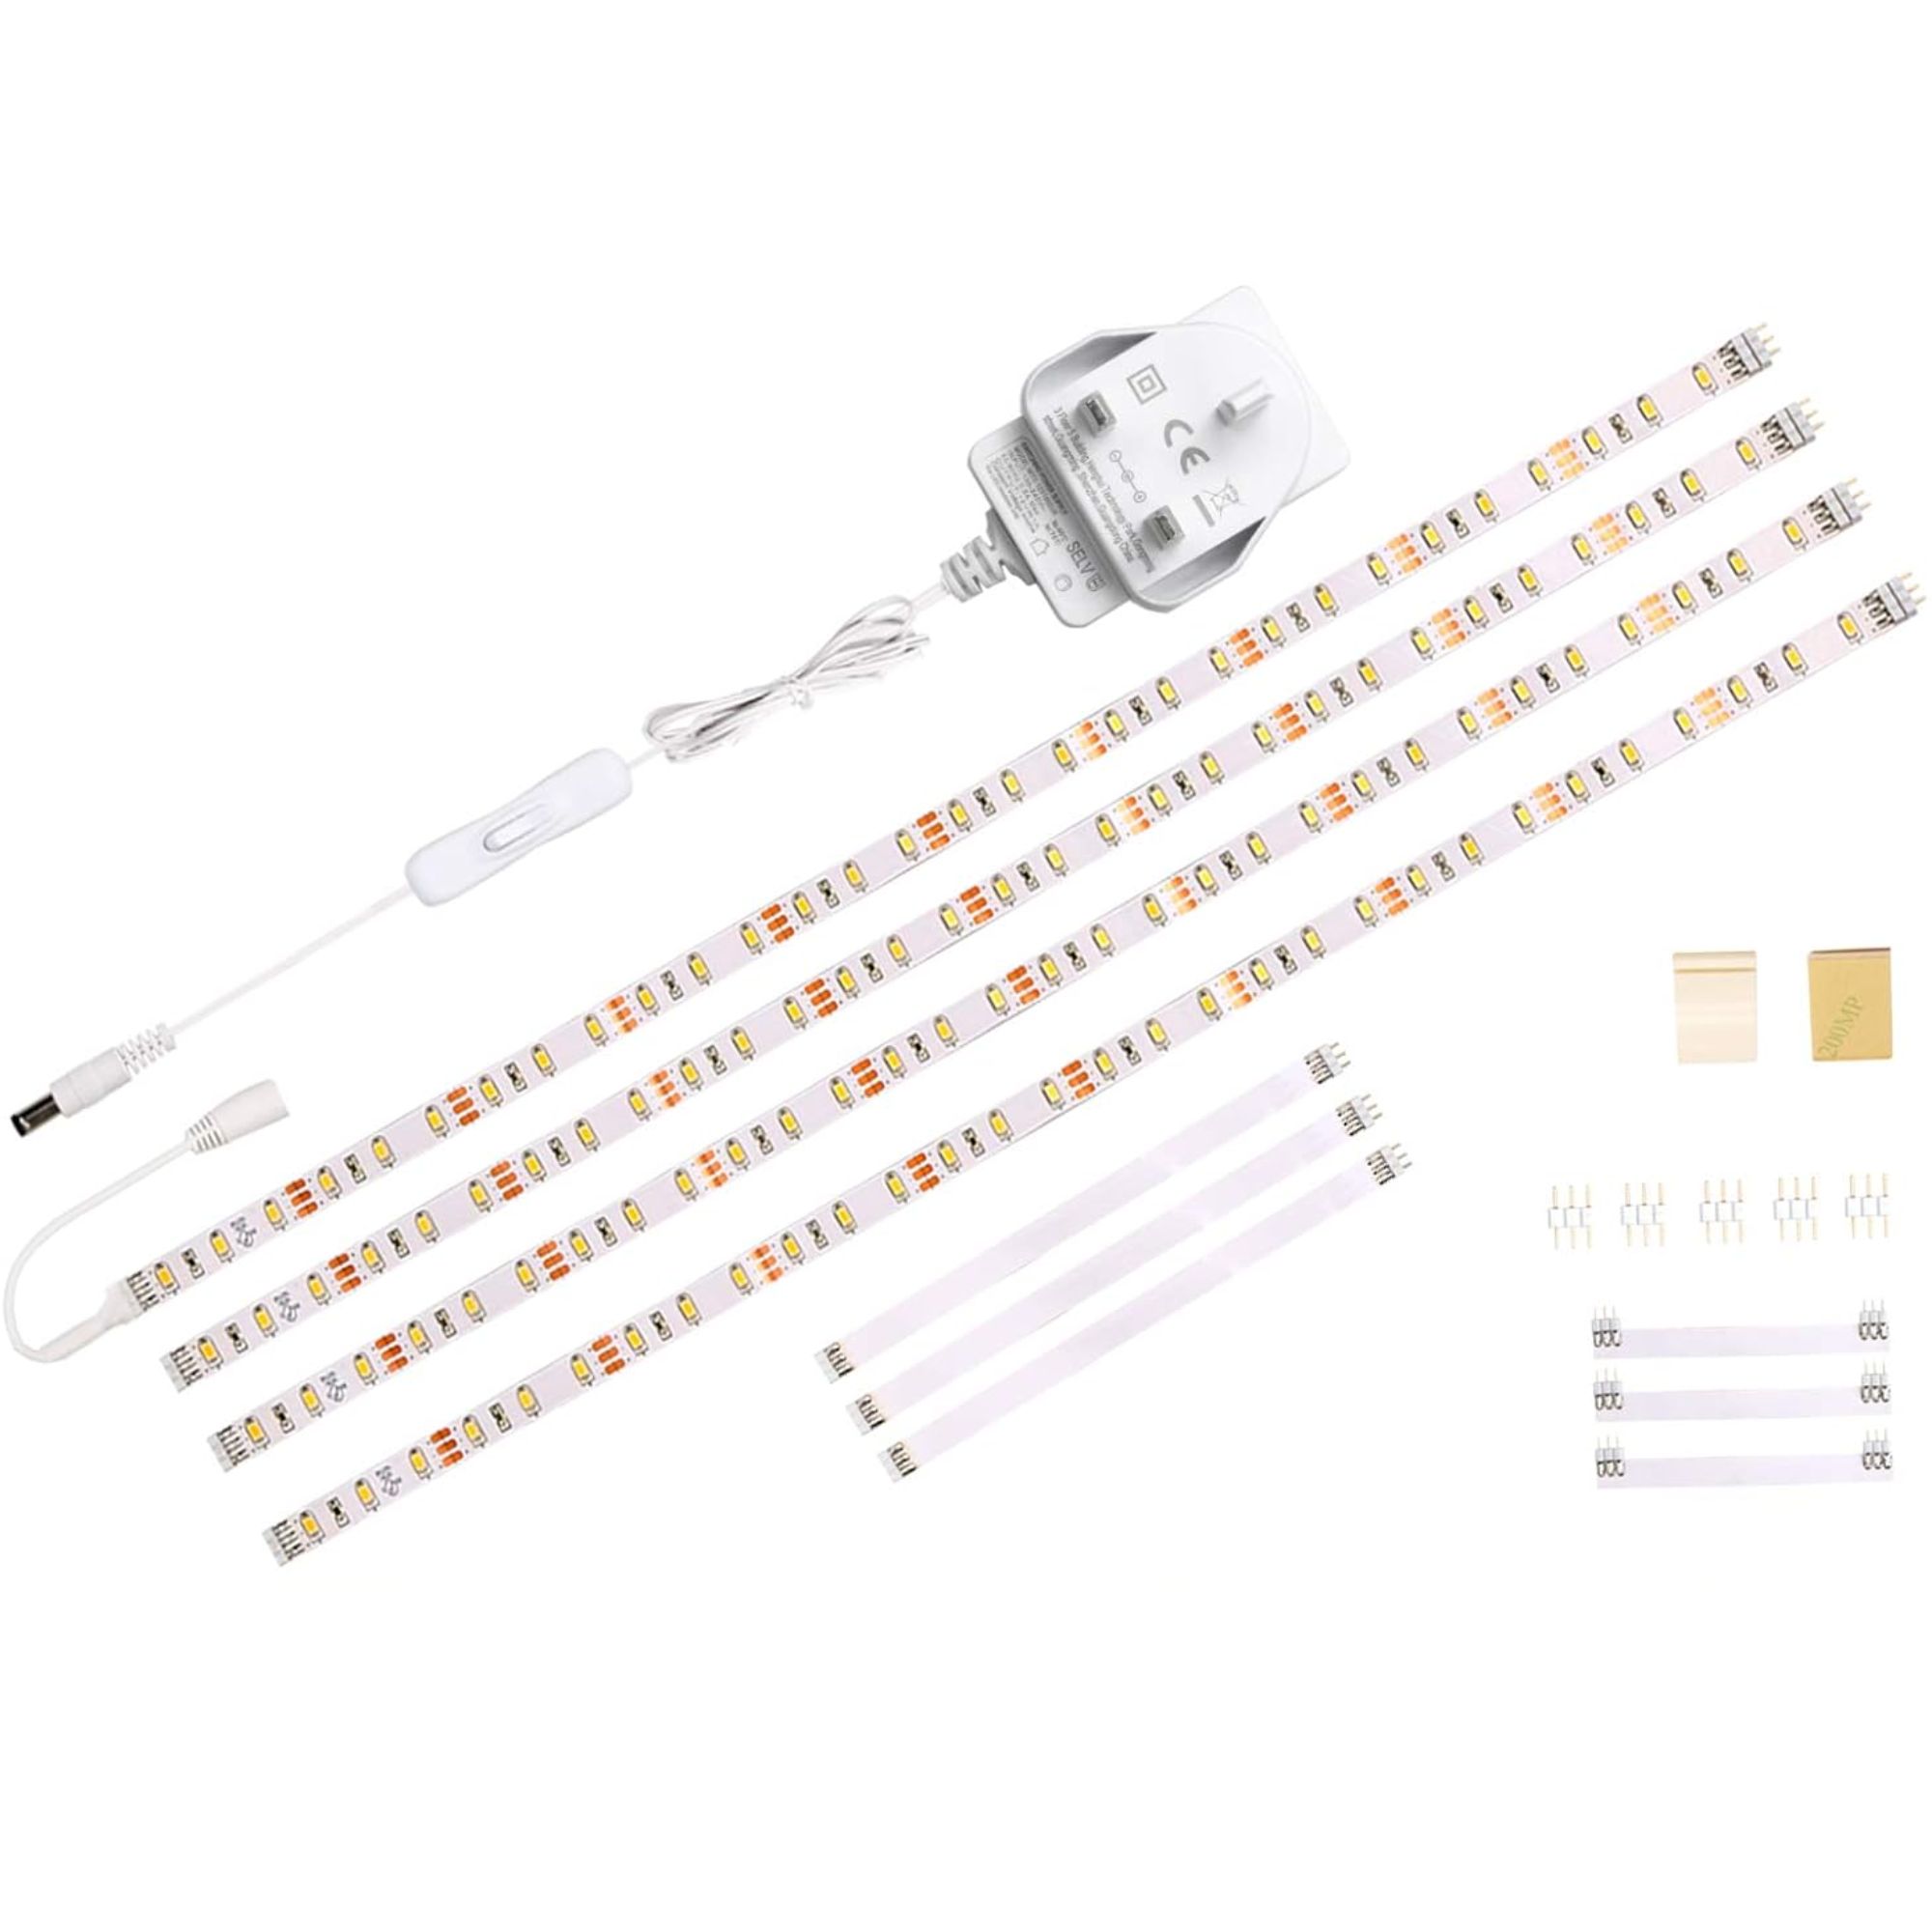
LED strips are user-friendly due to their peel-and-stick backing. Modern LED strips are connectable and flexible, allowing for installation around corners and angles. The article highlights the use of flexible connectors to create multiple rows of lighting, as demonstrated by the 'Jill of All Trades' segment which implemented three rows under the cabinet. The installation starts by measuring the first row and positioning the plug end near an outlet. While the chosen set offers hard-wiring capability, plugging them in directly is presented as an easier initial option, with the flexibility to hard-wire later if desired.
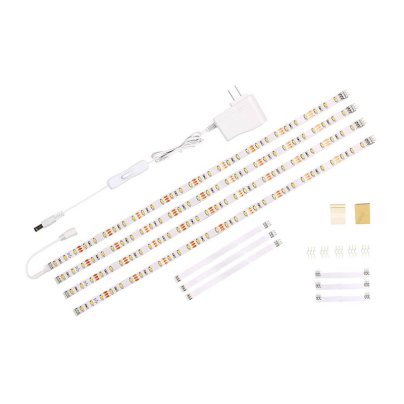
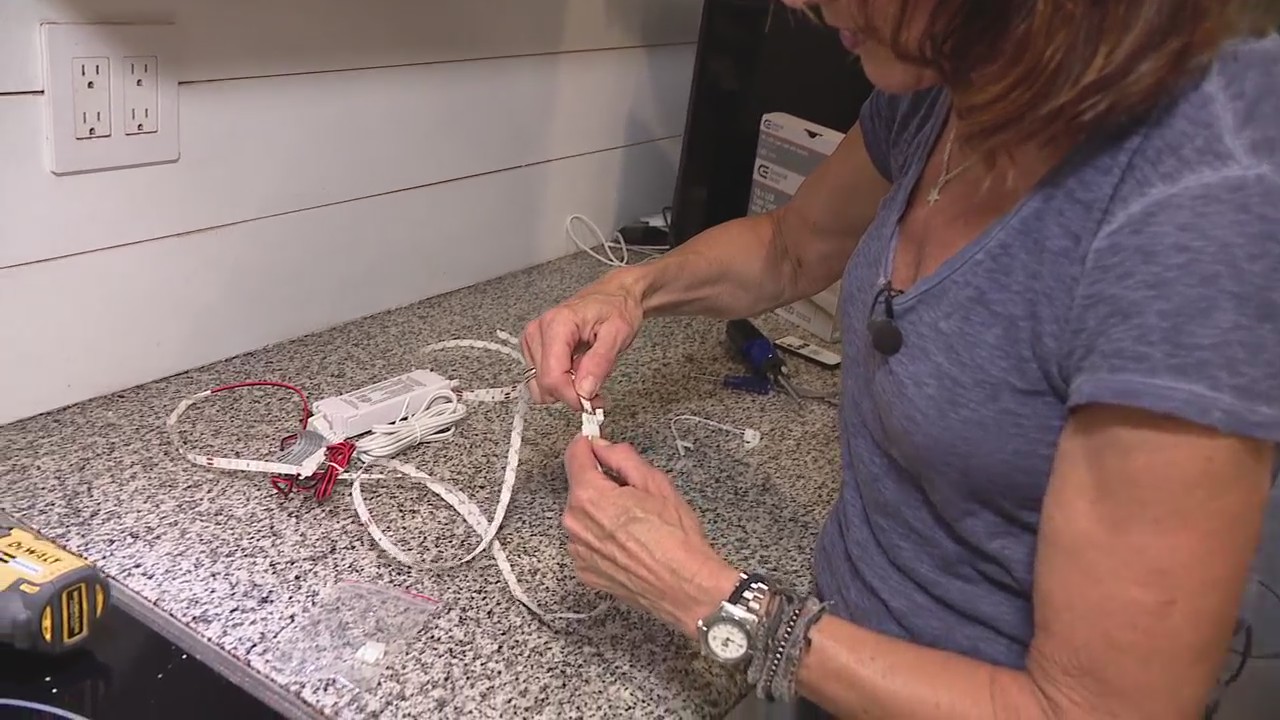
Accurate cutting of the LED strips is essential and must be done at designated copper strips, which serve as contact points for connectors. These markings indicate the precise halfway point for cutting with ordinary kitchen scissors. For installations requiring multiple light strips, connectors are used. These small plastic housings have a flap door that opens to reveal two metal clips. The ends of the light strips are inserted into these clips until the copper points make contact, then the flap is closed to secure the connection.
Once all connections are made, the strips are ready for attachment. The backing is peeled off, and the strips are carefully placed under the cabinet. Initial placement can involve light adhesion at a few points to verify positioning before fully smoothing out the entire length to ensure the adhesive sticks properly. After the light strips are in place, any visible wires from the connectors can be hidden using small stick-on plastic clips typically included in the light kit.
The control box for the LED system needs to be attached underneath the cabinet. While some boxes can be screwed in, using stick-on Velcro is presented as an easy and re-positionable alternative. Finally, any excess wiring should be neatly bundled and secured with Velcro to keep it out of sight, ensuring that no wires hang below the cabinet's edge. Once these steps are completed, the lights can be plugged in, providing functional and aesthetic under-cabinet illumination. The project is rated as 'Easy', indicating its suitability for DIY enthusiasts.
#LEDStrips #UnderCabinetLighting #HomeImprovement #DIYProjects #KitchenLighting #HomeDecoration #LightingInstallation #LEDStrips #UnderCabinetLighting #HomeImprovement #DIYProjects #KitchenLighting #HomeDecoration #LightingInstallation
0개의 댓글이 총 표시됩니다.
 아직 댓글이 없습니다
추가로 마음에 드릴 만한 콘텐츠
10 Best Under Cabinet Lighting

Our Kitchen Has Never Been More Functional Thanks to This Simple Product

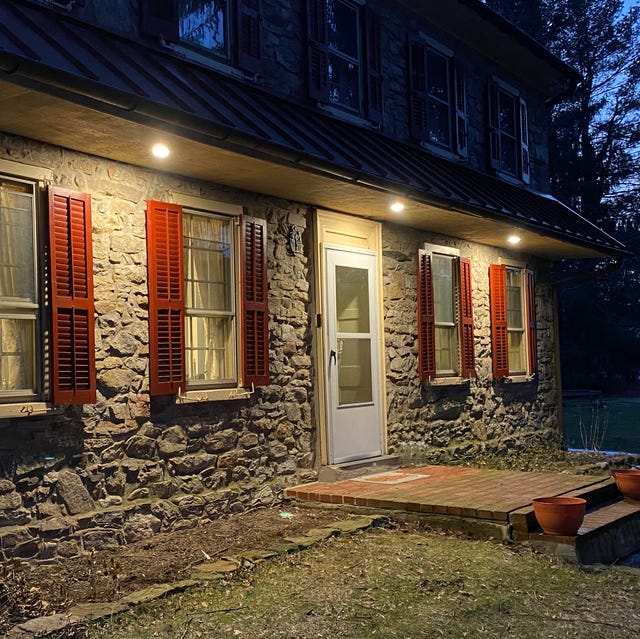
Installing Recessed Lighting Is Easier With Torchstar’s LEDs
The 7 Best Under‑Cabinet Lighting Options for Bright, Functional Kitchens
We Tested Under-Cabinet Lights—These Will Instantly Upgrade Your Kitchen

Under-Cabinet Lighting Is the Easiest Upgrade Your Kitchen Needs
The Best Under-Cabinet Lighting Has Nearly 4K Positive Reviews
We Tested Best LED Light Strips for Illuminating Any Location, See Our Favorites

RS Recommends: The Best Under-Cabinet Lighting for Your Studio or Home

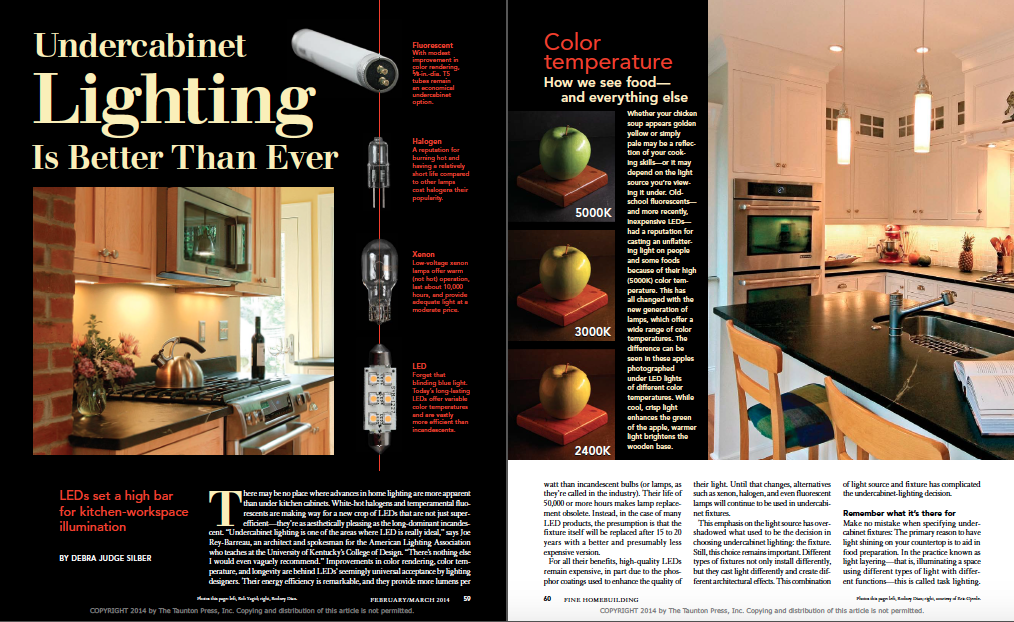
Undercabinet Lighting Is Better Than Ever

8 Best Kitchen Light Fixtures
Best LED Strip Lights 2024 for Vibrant and Customizable Lighting
These under-cabinet LED lights make for a cheap and renter-friendly kitchen upgrade
7 Creative Ways to Integrate LEDs in Cabinetry and Storage

How do you layout recessed lighting? Top designers answer your questions

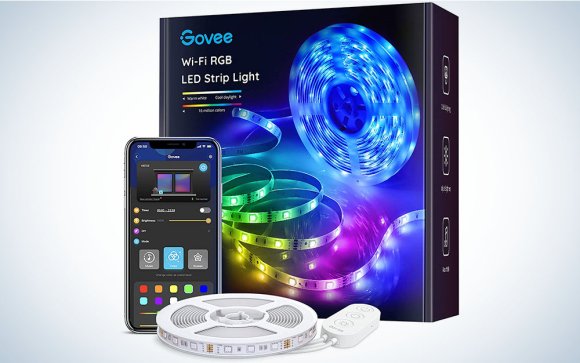
The best LED light strips for any space
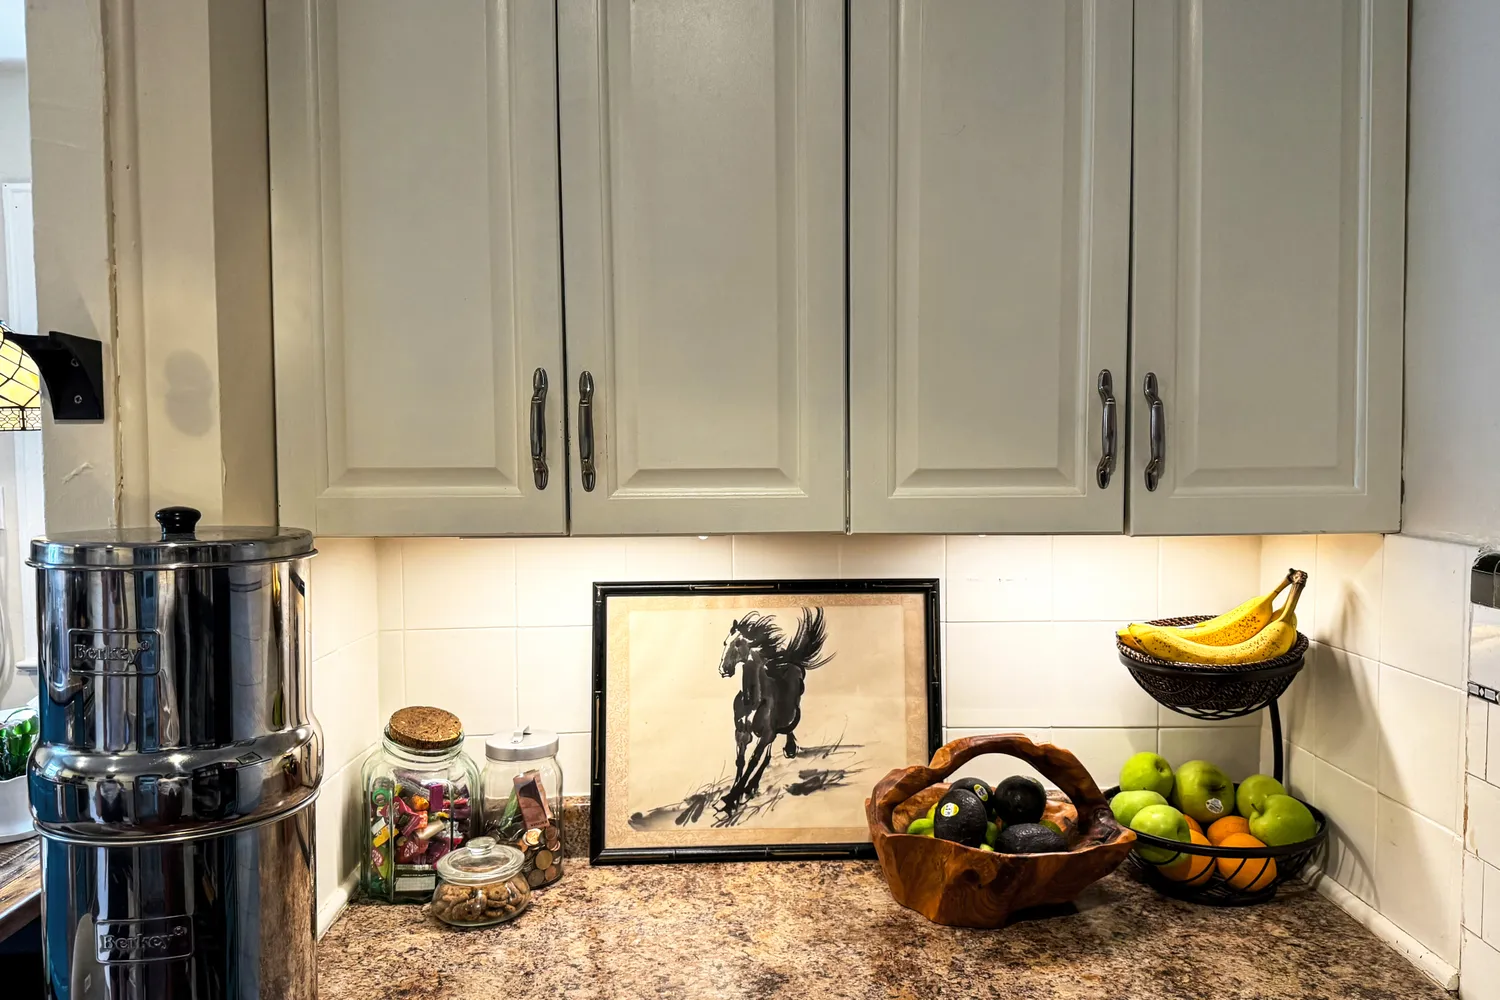
We Tested Dozens of Under‑Cabinet Lights, and These 8 Were the Brightest Winners


Fred Sirieix's clever and affordable lighting solution instantly elevates a kitchen – designers say it's a 'must-have'
Rollin Light Canless LED Recessed Lighting review – Yes, you can install these yourself!

The 7 Best LED Strip Lights to Illuminate Your Space