How To Press Flowers in 2 Minutes or Less! (+ DIY Pressed Flower Keepsake Frames)
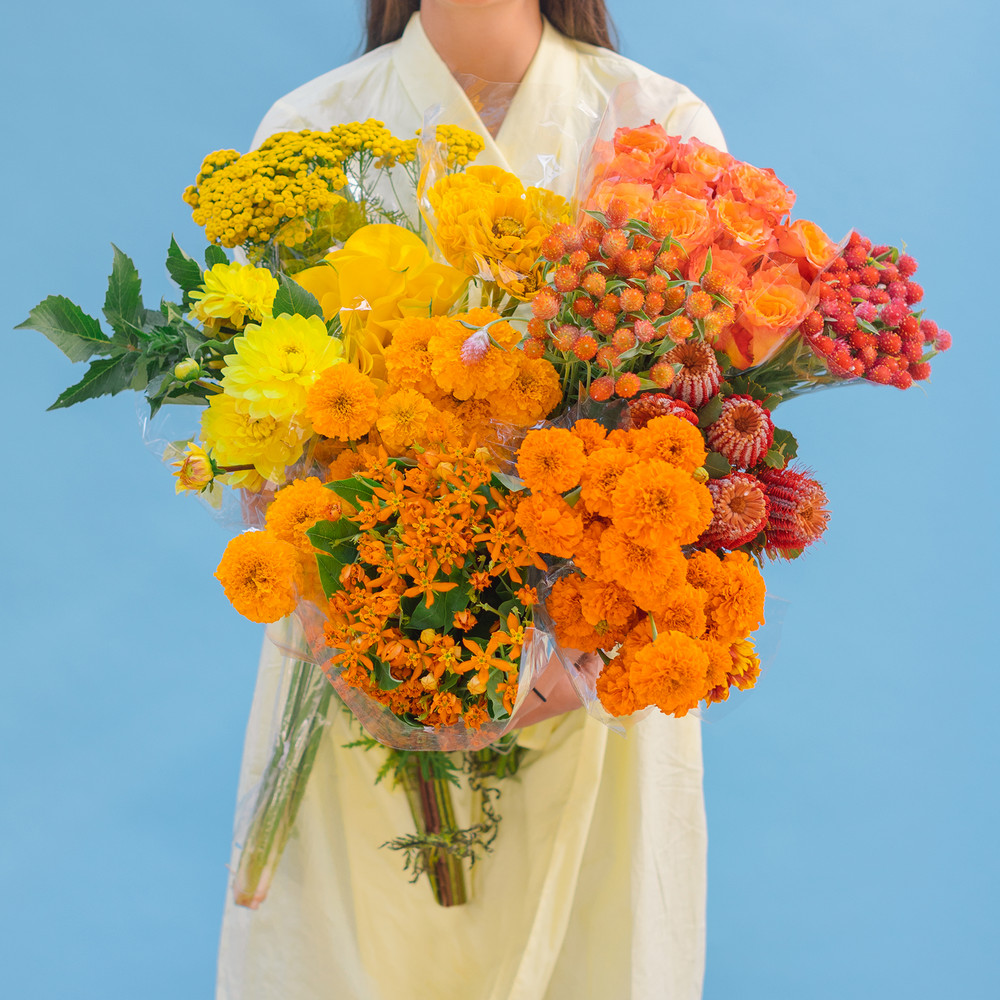
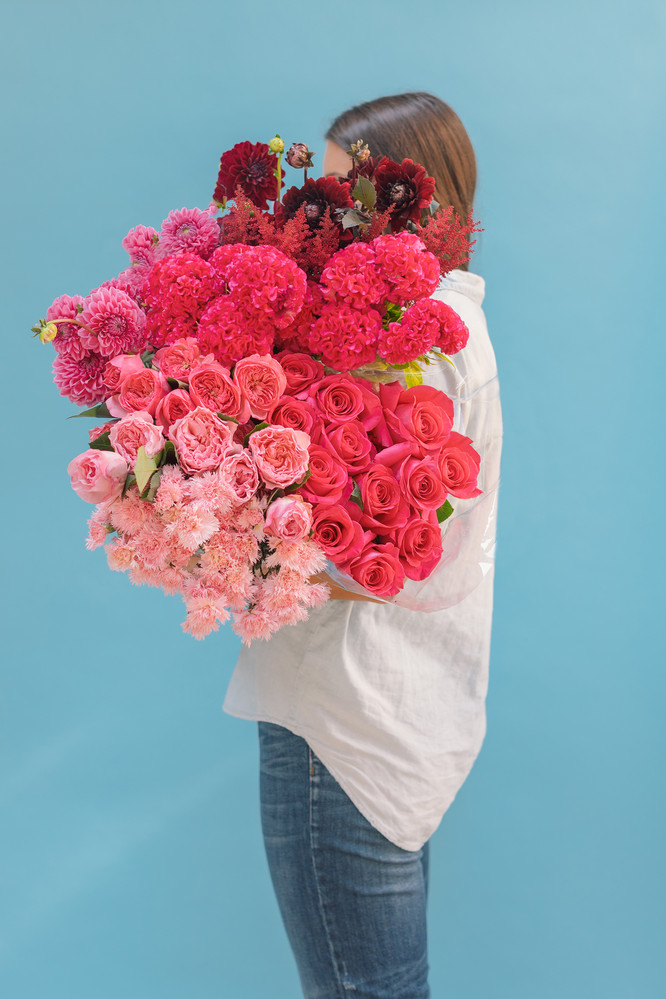
This guide provides instructions on how to quickly press flowers using a microwave and then transform them into keepsake frames. This DIY project is presented as an ideal way to preserve flowers from special occasions, such as those received for Mother's Day, extending their beauty beyond their fresh lifespan. The collaboration with Edible Arrangements, a company known for its chocolate-dipped fruit and fresh seasonal flower bouquets (FruitFlowers), is highlighted as the source of flowers for this project. A discount code for Edible Arrangements is also mentioned.
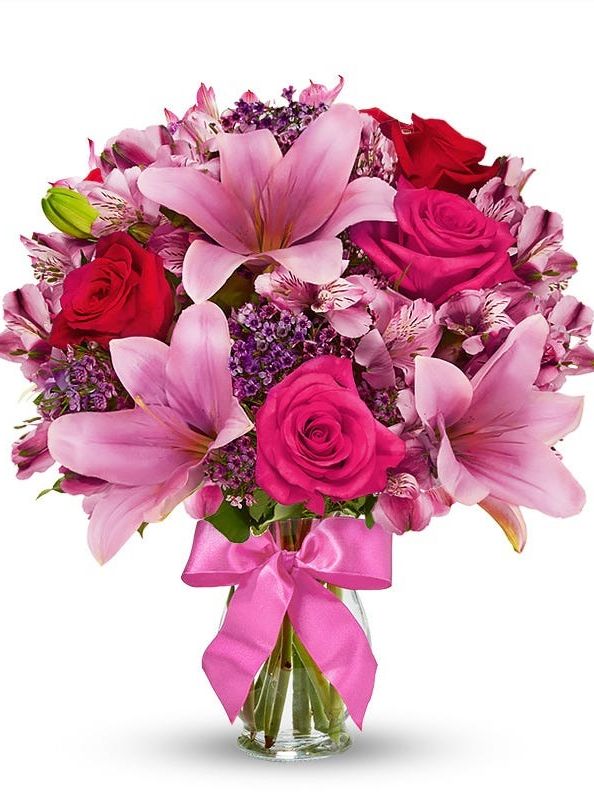
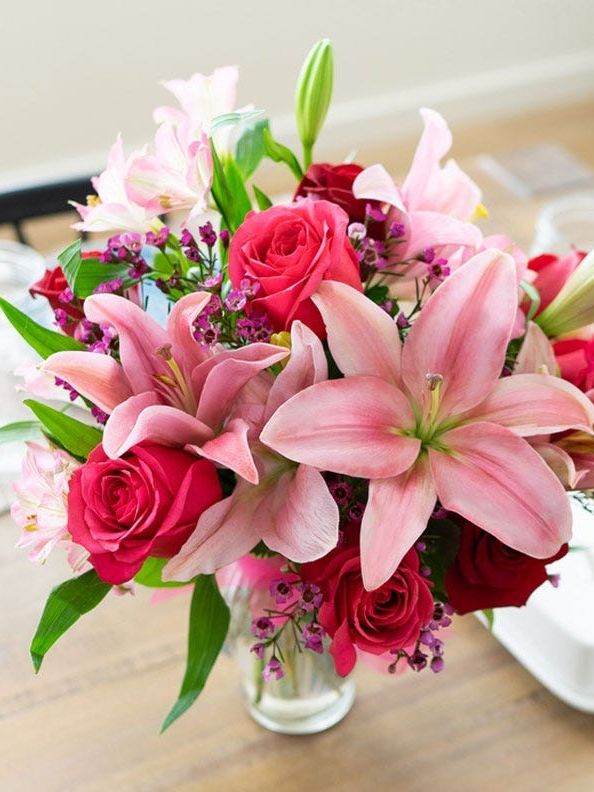
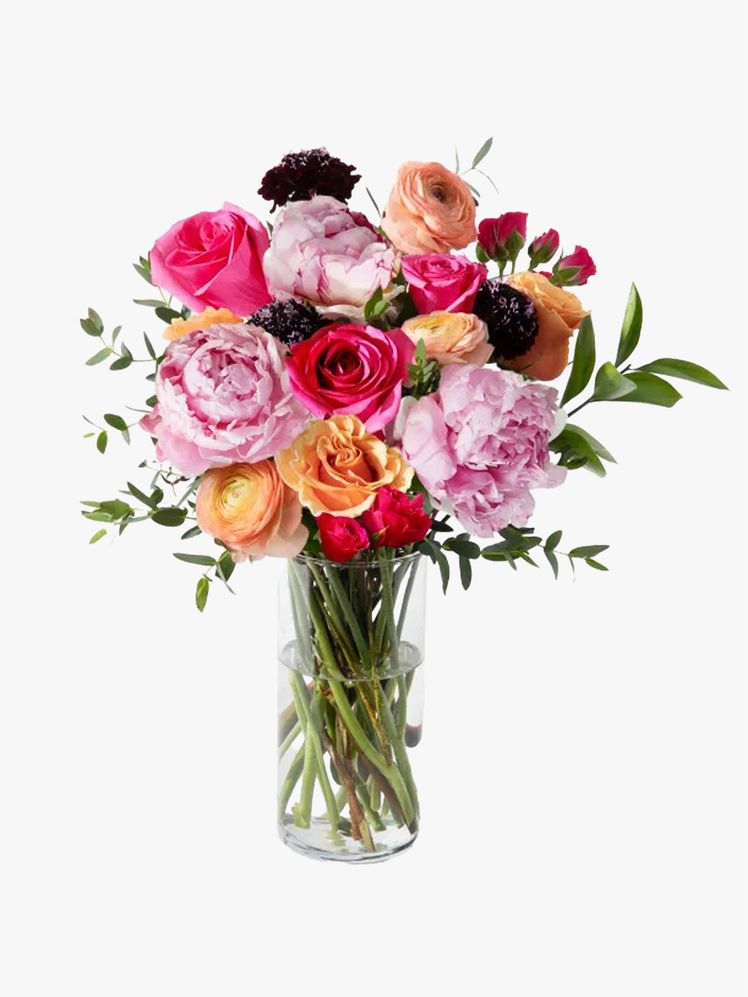
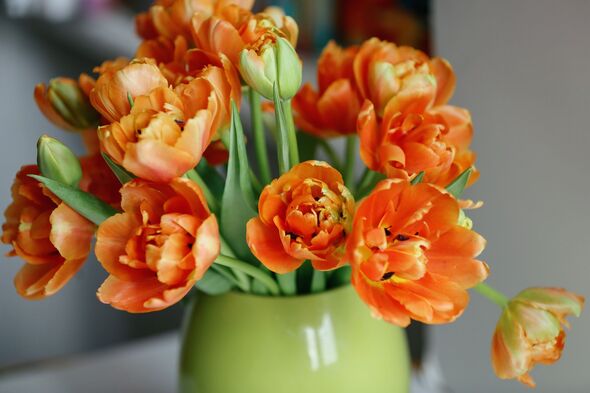
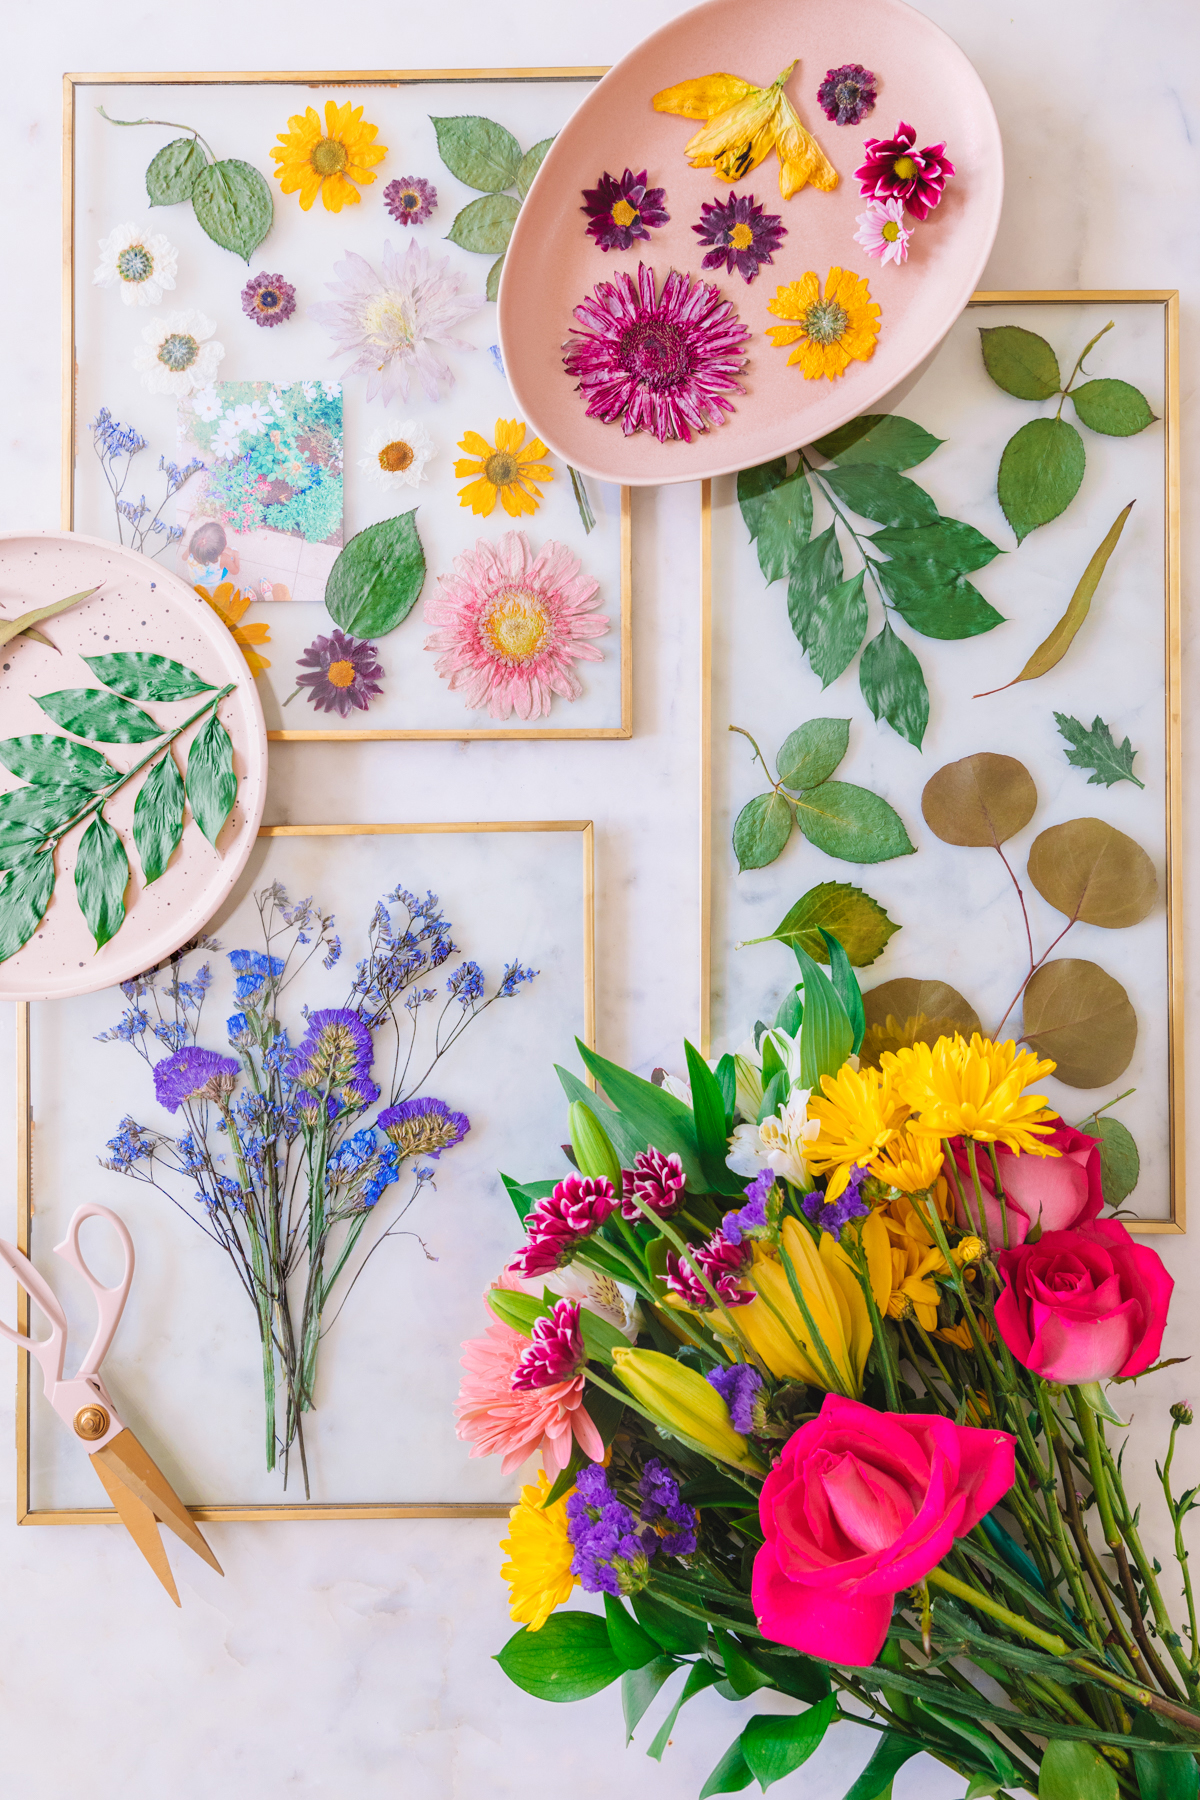
The process begins with selecting suitable flowers and greenery for pressing. While all flowers press differently, naturally flatter varieties like daisies, aster, and chamomile are generally easier to handle. Filler flowers, such as statice, also press beautifully while still on the stem. It is noted that flower colors may change during the drying process; yellow tends to retain its hue best, hot pinks may shift to purple, and pastels can lose some vibrancy. Similarly, some greenery, like myrtle and rose leaves, maintains color, while others, such as eucalyptus, may turn olive. Thicker flowers like roses are more challenging to press but can be done by cutting them in half or pressing individual petals. Experimentation with different types of flowers and greenery is encouraged to observe their unique drying characteristics.
To press flowers in the microwave, several materials are required: fresh flowers or greenery, paper towels or 100% cotton rags, a heavy microwave-safe dish to act as a weight, and a microwave. The step-by-step microwave pressing method involves cutting blooms and leaves to the desired length, ensuring they fit within the microwave. Flowers are then arranged flat on a paper towel or cotton rag, with petals smoothed out, and covered with another layer of paper towel or the other half of the rag. A heavy microwave-safe dish is placed on top to apply gentle pressure. The flowers are microwaved at half power for 90 seconds. After this initial period, the dish is removed, and the flowers are checked for dryness. If they still feel moist, they are returned to the microwave for additional 30-second intervals until they become dry and paper-like. The flowers are then allowed to cool, during which they will stiffen and fully dry, making them ready for use in various projects.
Once the flowers are pressed, they can be transformed into framed art using a floating frame. A specific frame from West Elm is suggested. Depending on the frame and flower thickness, a small amount of adhesive, such as a glue dot, might be necessary to secure the flowers. The article offers three creative ideas for arranging the pressed flowers within the frame: alongside a photo or card to create a collage preserving a memory, using only greenery for a neutral aesthetic with varying shapes and hues, or arranging them to resemble a dried bouquet by gathering stems at the bottom and allowing blooms to spread towards the top. The finished pressed flower art can be displayed by hanging it on a wall, either individually or as part of a gallery, or by leaning it on a mantle, shelf, or dresser. The article also suggests gifting a frame along with a fresh flower bouquet, such as those from FruitFlowers, to enable the recipient to create their own lasting floral keepsake.
#PressedFlowers #DIYCrafts #MicrowaveFlowerPressing #KeepsakeFrames #MothersDayGift #HomeDecor #FloralArrangements #MemoryPreservation #EdibleArrangements #PressedFlowers #DIYCrafts #MicrowaveFlowerPressing #KeepsakeFrames #MothersDayGift #HomeDecor #FloralArrangements #MemoryPreservation #EdibleArrangements
合計0件のコメント
 まだコメントはありません
あなたも好きかもしれません
15 Cut Flowers to Grow for Stunning Homemade Bouquets

The Best Flower Delivery Services & Subscriptions For The Ones You Love
The Easiest Way to Make Any Flowers Look Expensive
5 Simple Steps to Style Dried Flowers

Steal These Florists' Tips to Create Better Bouquets at Home
How to make your home bloom, plus 5 tips for the perfect floral display

Flower arrangement 101: How to make a bouquet from backyard flowers
The '3-5-8 Rule' Is Every Florist's Secret to Creating Stunning Flower Arrangements—and It's So Easy to Try at Home
5 Unexpected Ways to Display Flowers, No Vase Required
14 Fabulous Flowers That Are Easy to Grow From Seed

A NoVA Florist Explains How to Make the Perfect DIY Floral Arrangement
14 Flower Arranging Secrets That Will Help You Build a Better Bouquet

How to Make Eco-Friendly, Easy Flower Arrangements At Home

7 Flower Subscription Services Perfect for You (or Your Best Bud)

Flowers in vases will last 'few days' longer if placed in 1 unusual place in home

18 Low-Maintenance Flowers To Use Around Your Mailbox
This Viral "Japanese-Inspired" Flower Arranging Gadget Makes it Easy to Achieve the Perfect Vase of Blooms

Flower home decor ideas – 12 blooming looks that'll add instant cheer to your home

3 Tips For Making a Simple Yet Stunning Fall Flower Arrangement
Simple is best for floral centerpieces