1/2
DIY A Privacy Screen Planter To Elevate Your Outdoor Space
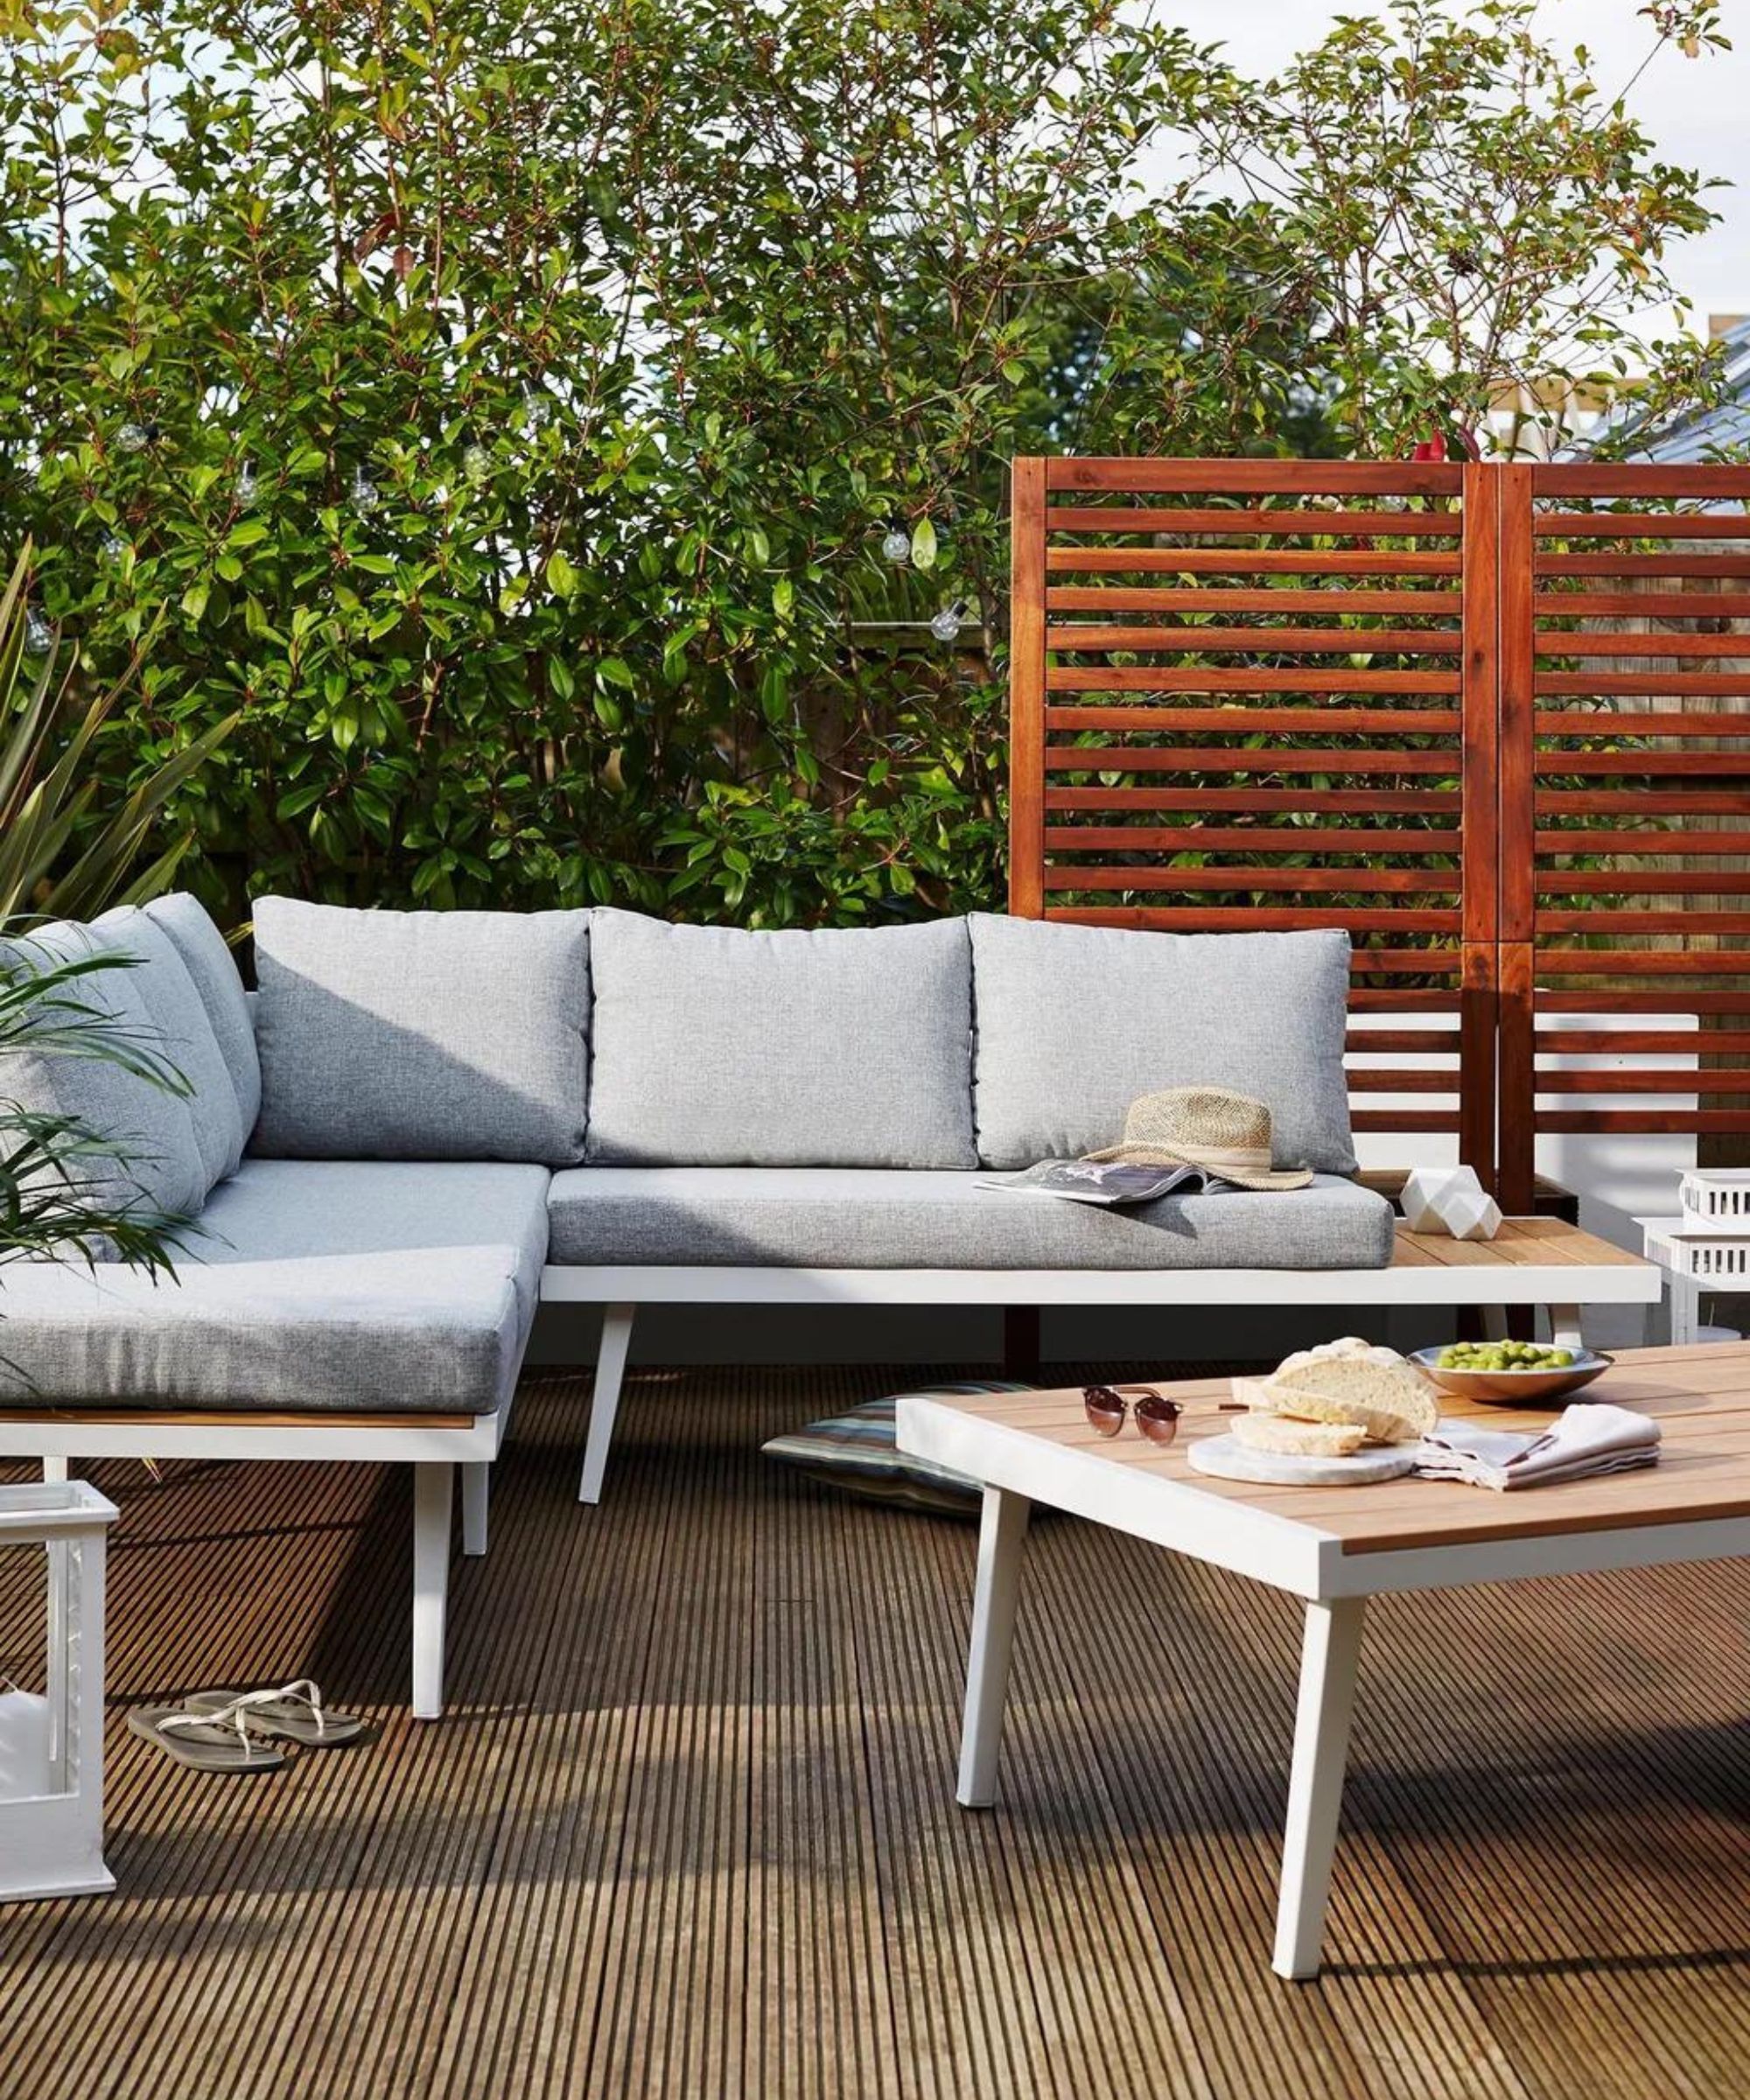
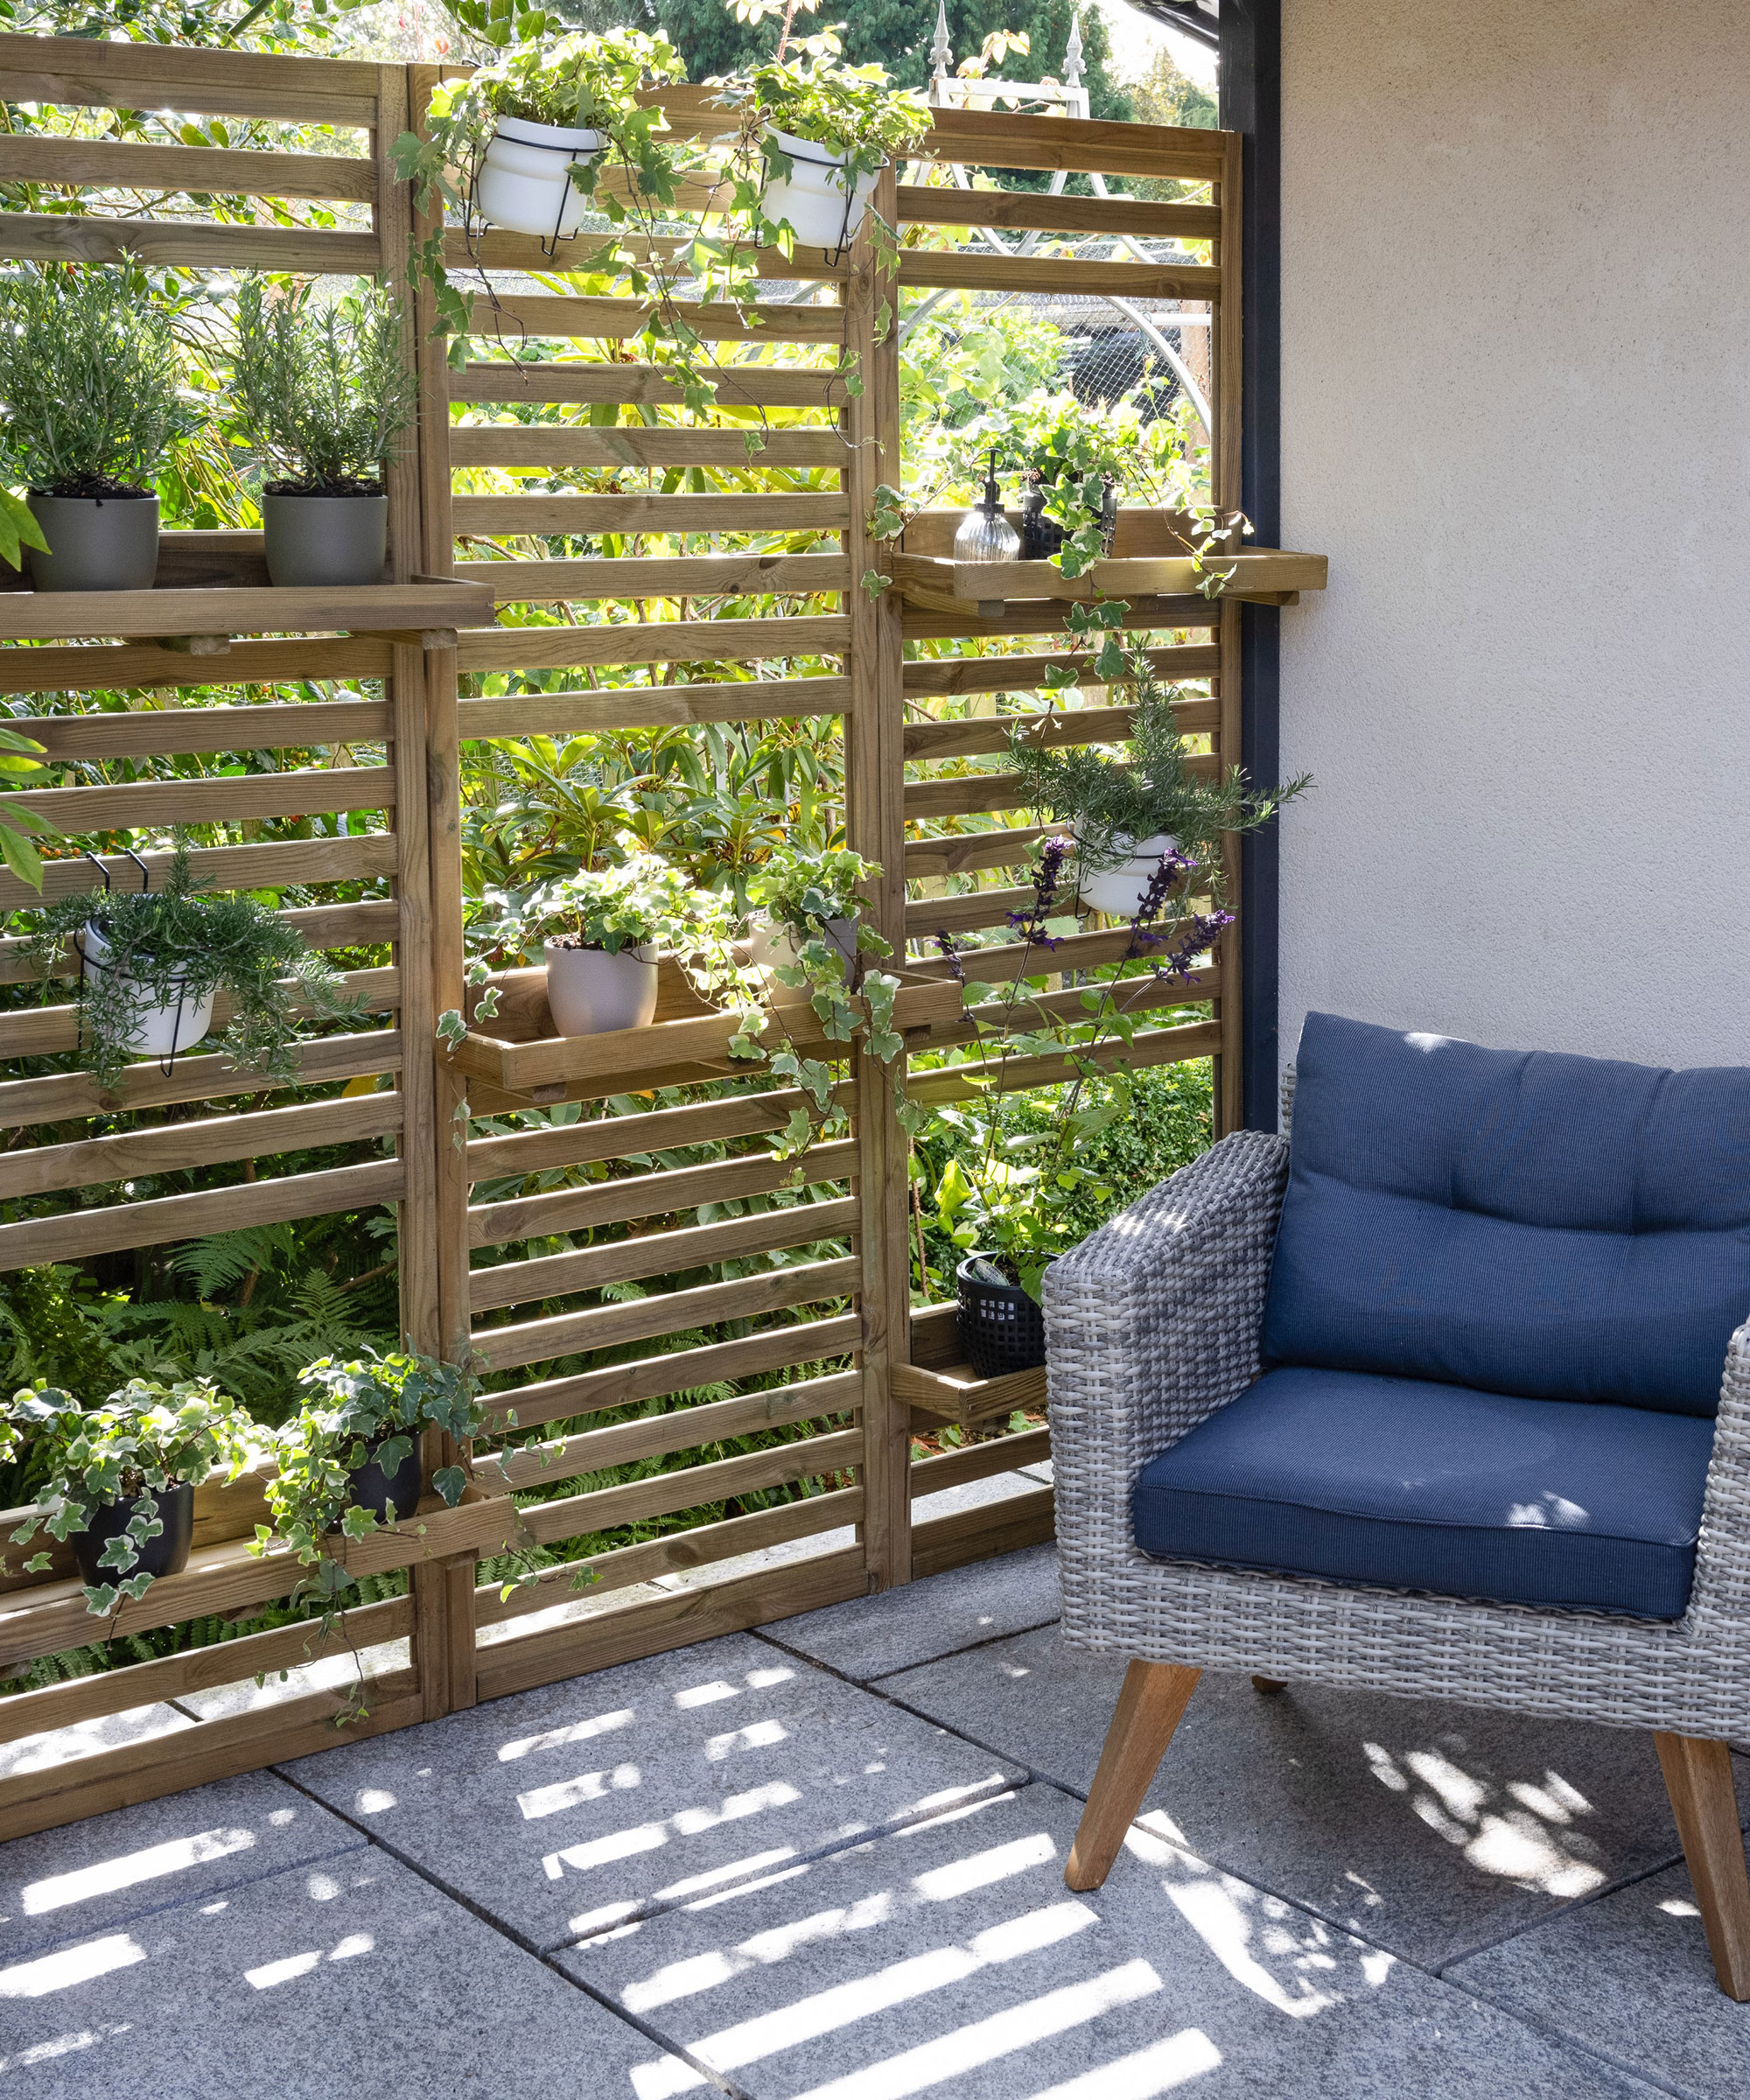
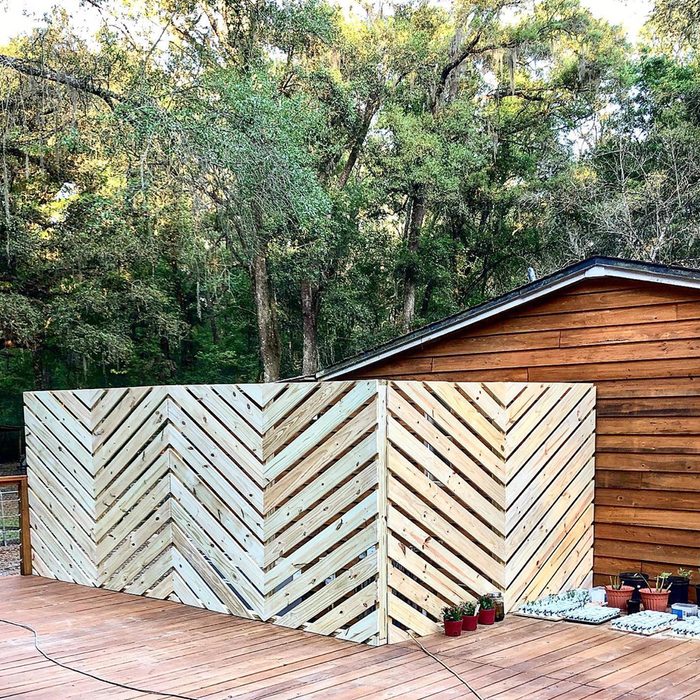
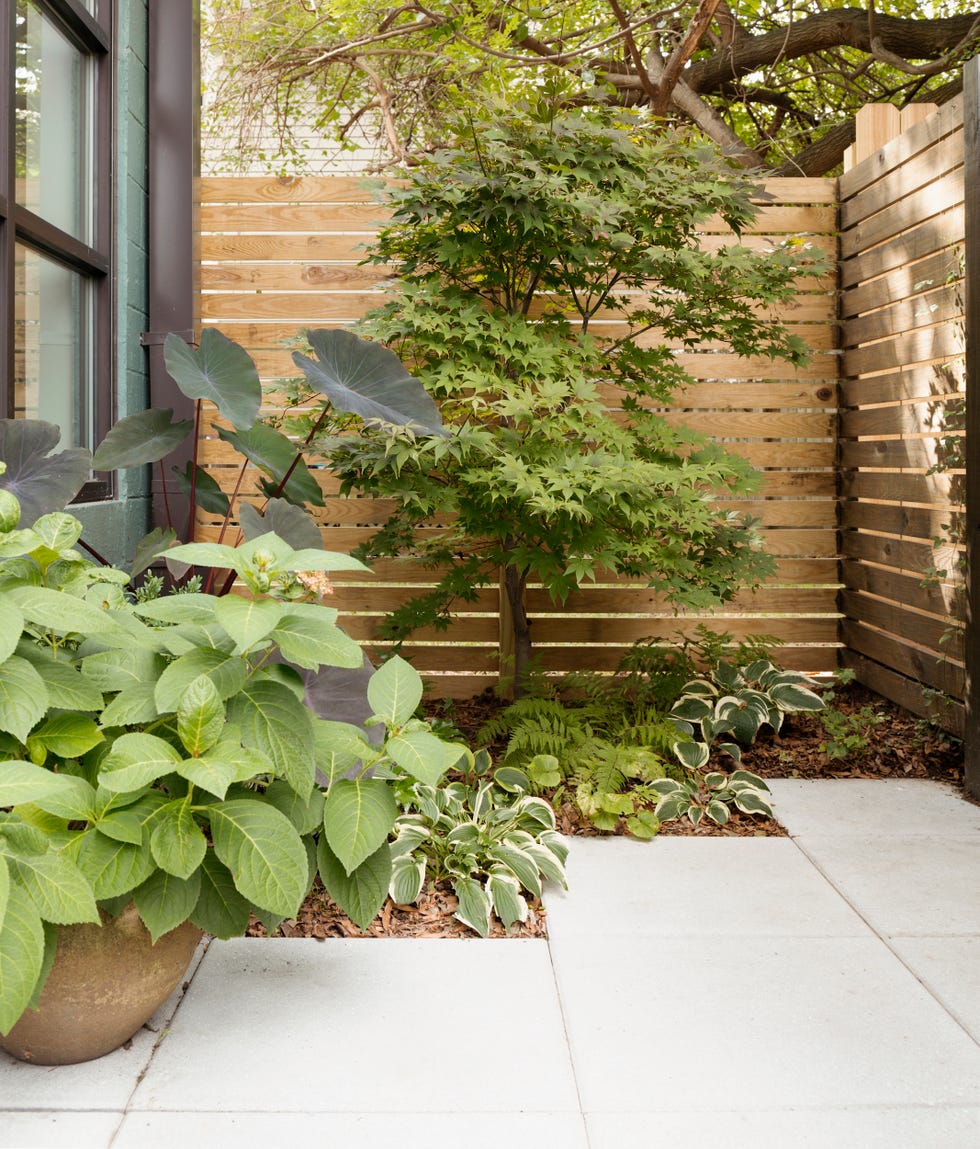
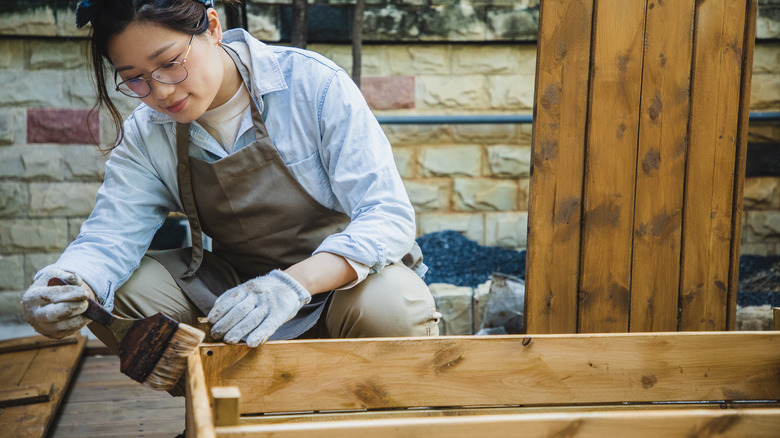
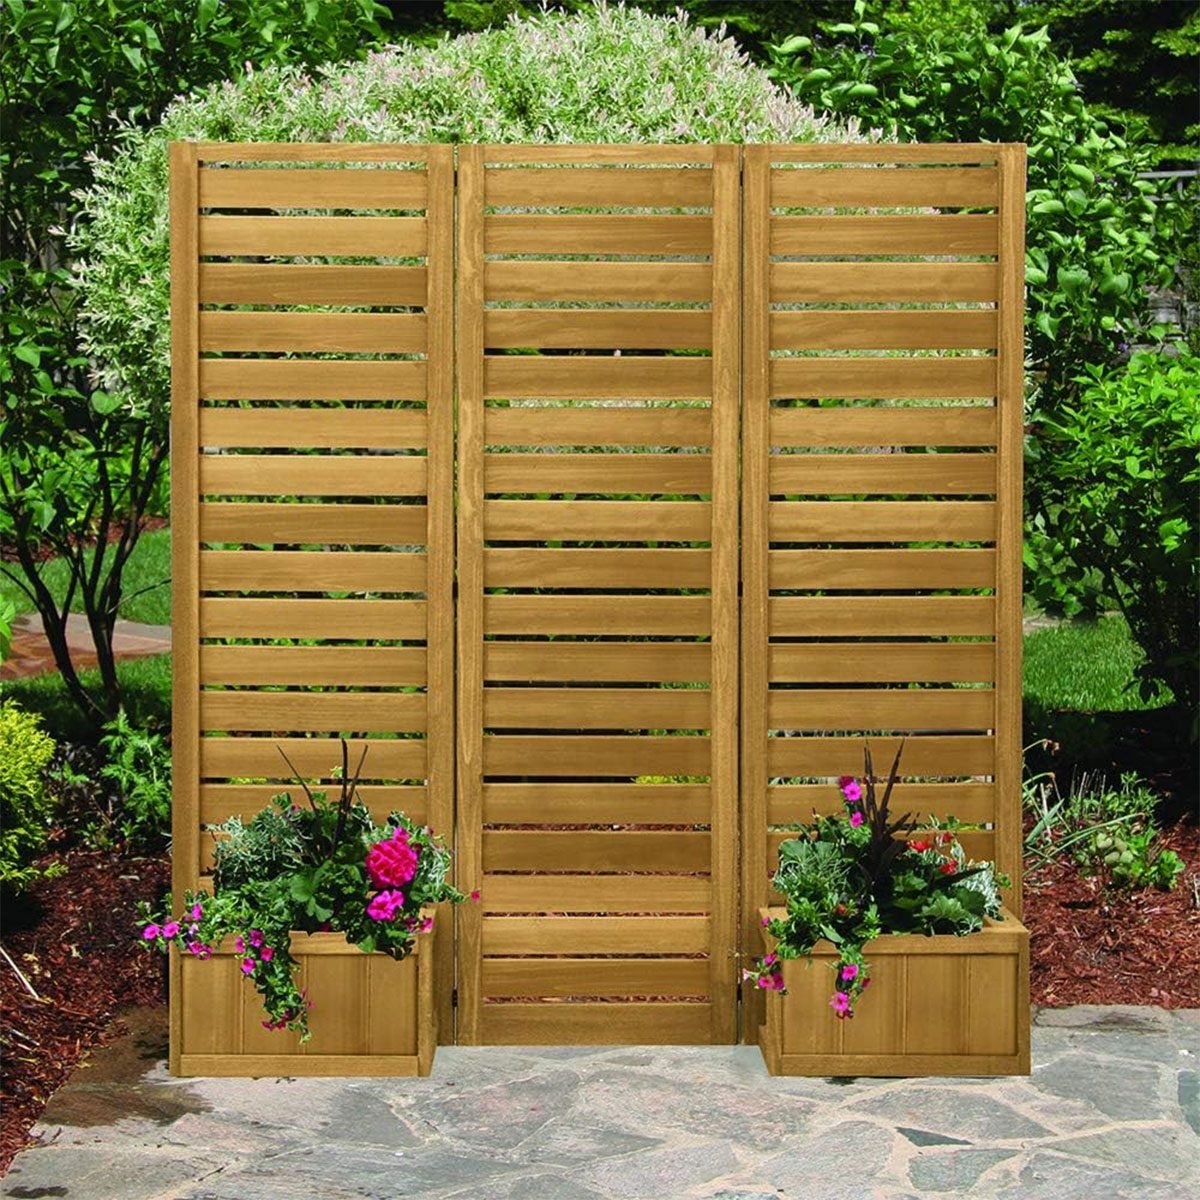
This DIY guide outlines the construction of a multi-functional privacy screen planter designed to enhance outdoor living spaces. The project aims to provide a barrier against prying eyes, serve as a planter box for greenery, and add a decorative element to backyards, patios, or balconies. The featured design measures 70 inches tall, 48 inches wide, and 20.5 inches deep, with customization options available for different space requirements. The article specifies the necessary lumber: four 1-inch by 8-inch by 8-foot boards, one 2-inch by 2-inch by 8-foot board, eighteen 1-inch by 2-inch by 8-foot boards, four 1-inch by 4-inch by 8-foot boards, and one 1-inch by 6-inch by 8-foot board. Required tools include a saw for cutting, 1¼-inch trim head screws or wood glue for assembly, a tape measure, and safety gear like goggles and masks. The project is estimated to be a weekend undertaking, completable within a few hours.
The construction process begins with precise cuts of the wooden planks. The 1-inch by 8-inch boards are cut into four 48-inch pieces, four 14¾-inch pieces, and two 46¼-inch pieces. The 2-inch by 2-inch board yields four 12¼-inch pieces and three 14½-inch pieces. Each of the eighteen 1-inch by 2-inch boards is cut in half, resulting in 36 slats. The 1-inch by 4-inch boards are cut into two 48-inch pieces, three 70-inch pieces, two 25½-inch pieces, and two ½-inch pieces. Finally, the 1-inch by 6-inch board is cut into two 48-inch pieces.
Assembly starts with forming the planter box. Two 48-inch long pieces and two 14¾-inch long pieces are used to create a standing rectangle, and a second identical rectangle is constructed. Four 12¼-inch long wood pieces are secured into each corner of one rectangle, and the second rectangle is placed on top to complete the planter box structure. The base of the planter is then built using two 46¼-inch long pieces placed atop three 14½-inch long pieces, spaced 2 feet apart, with an overhang at the edge. It is recommended to include drainage holes and line them with newspaper to prevent soil loss.
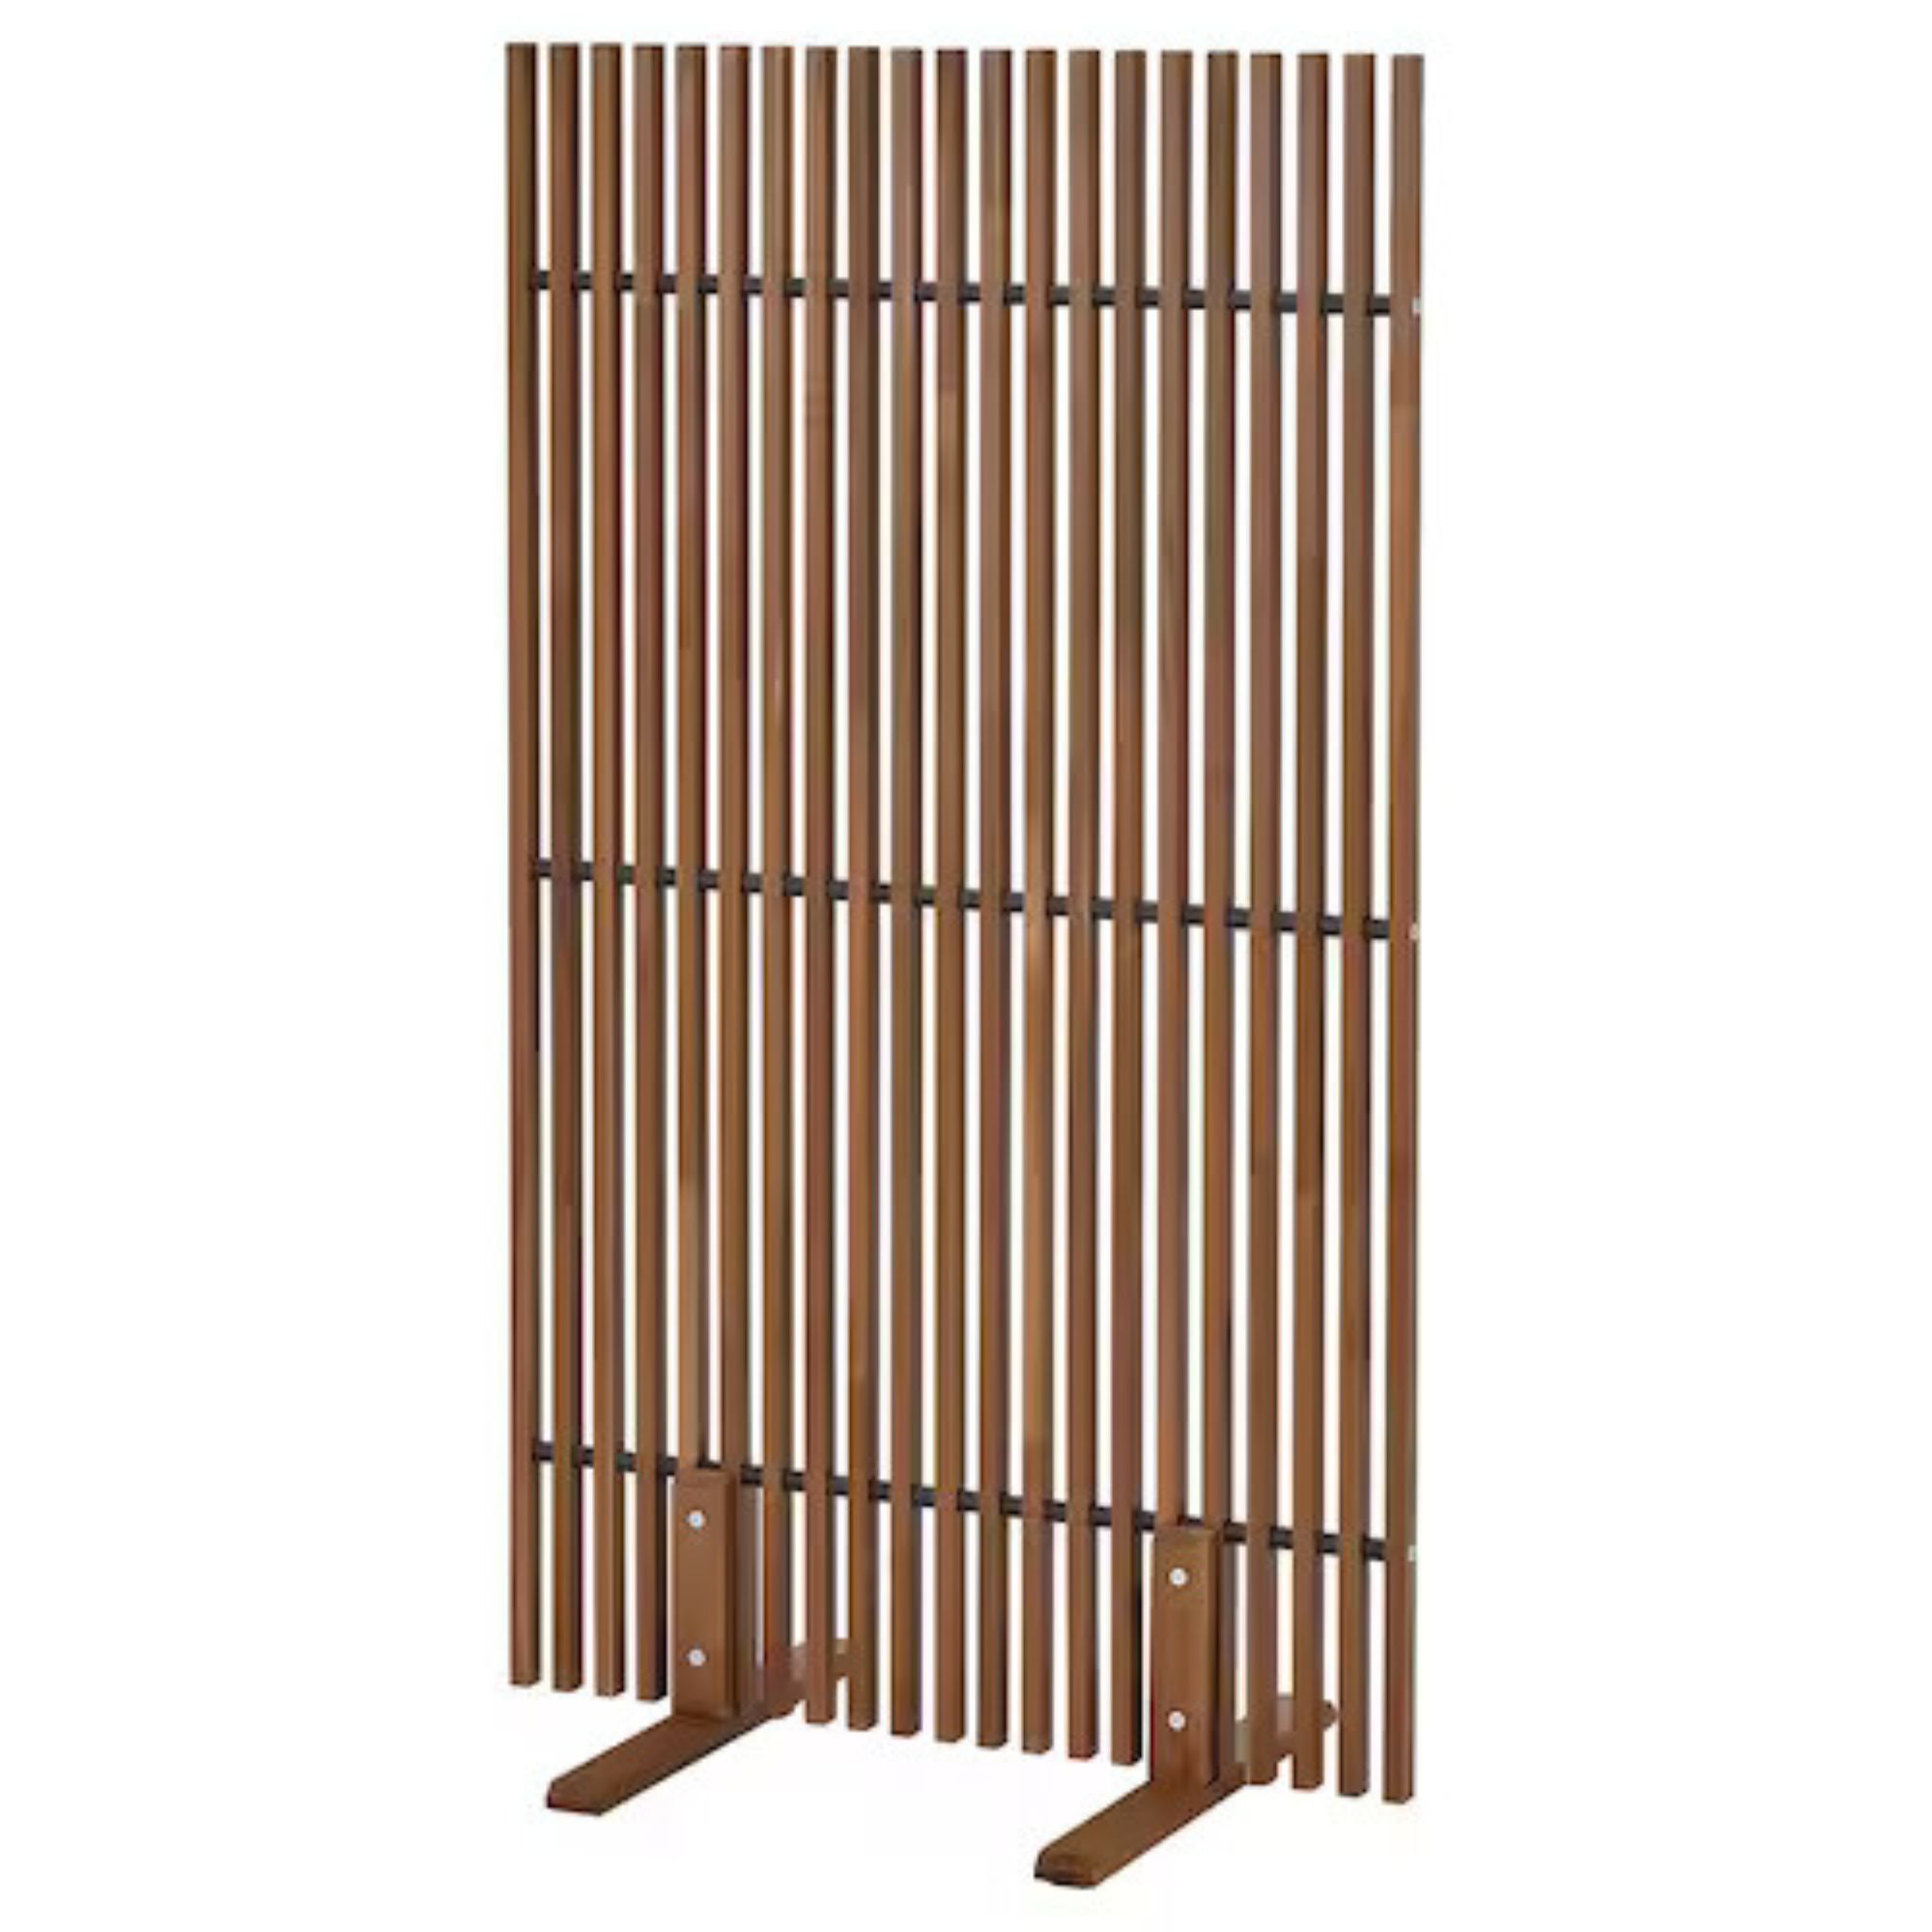
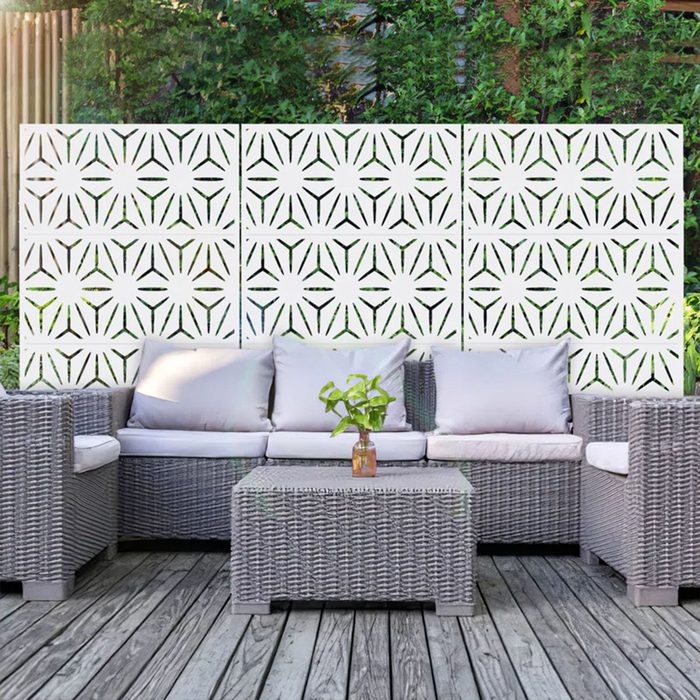
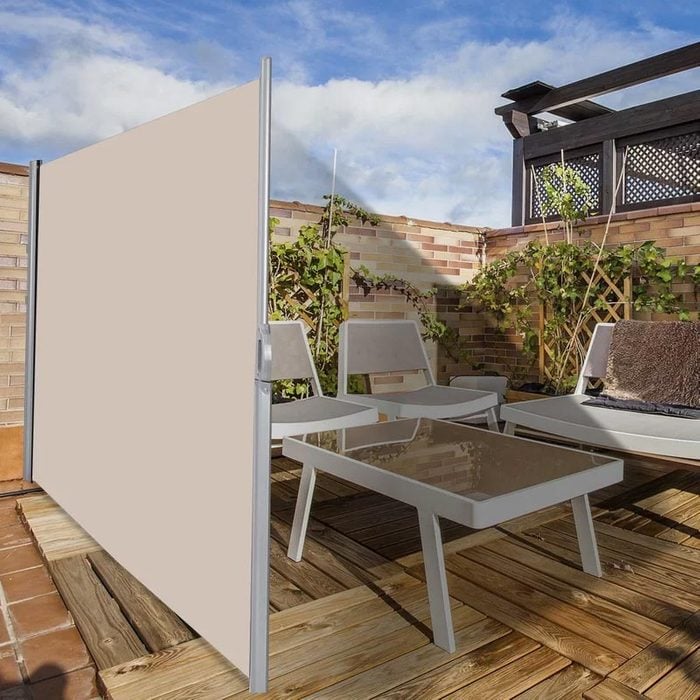
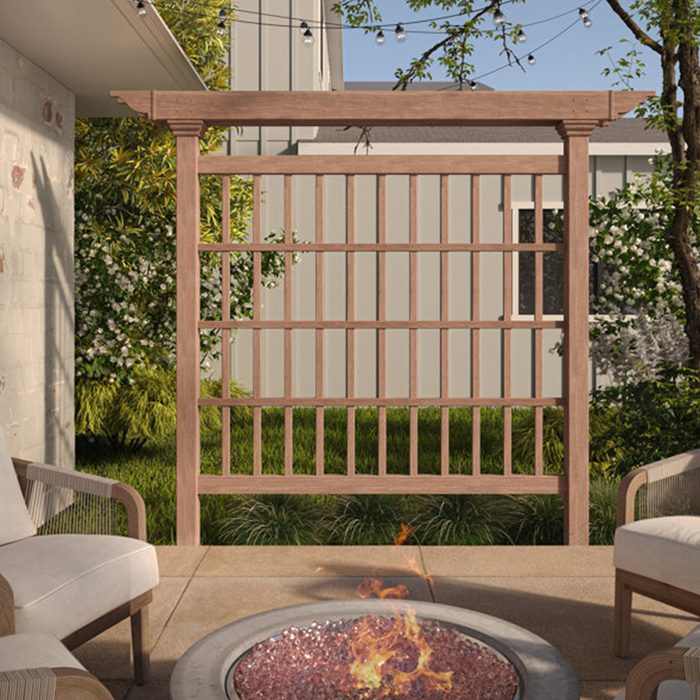
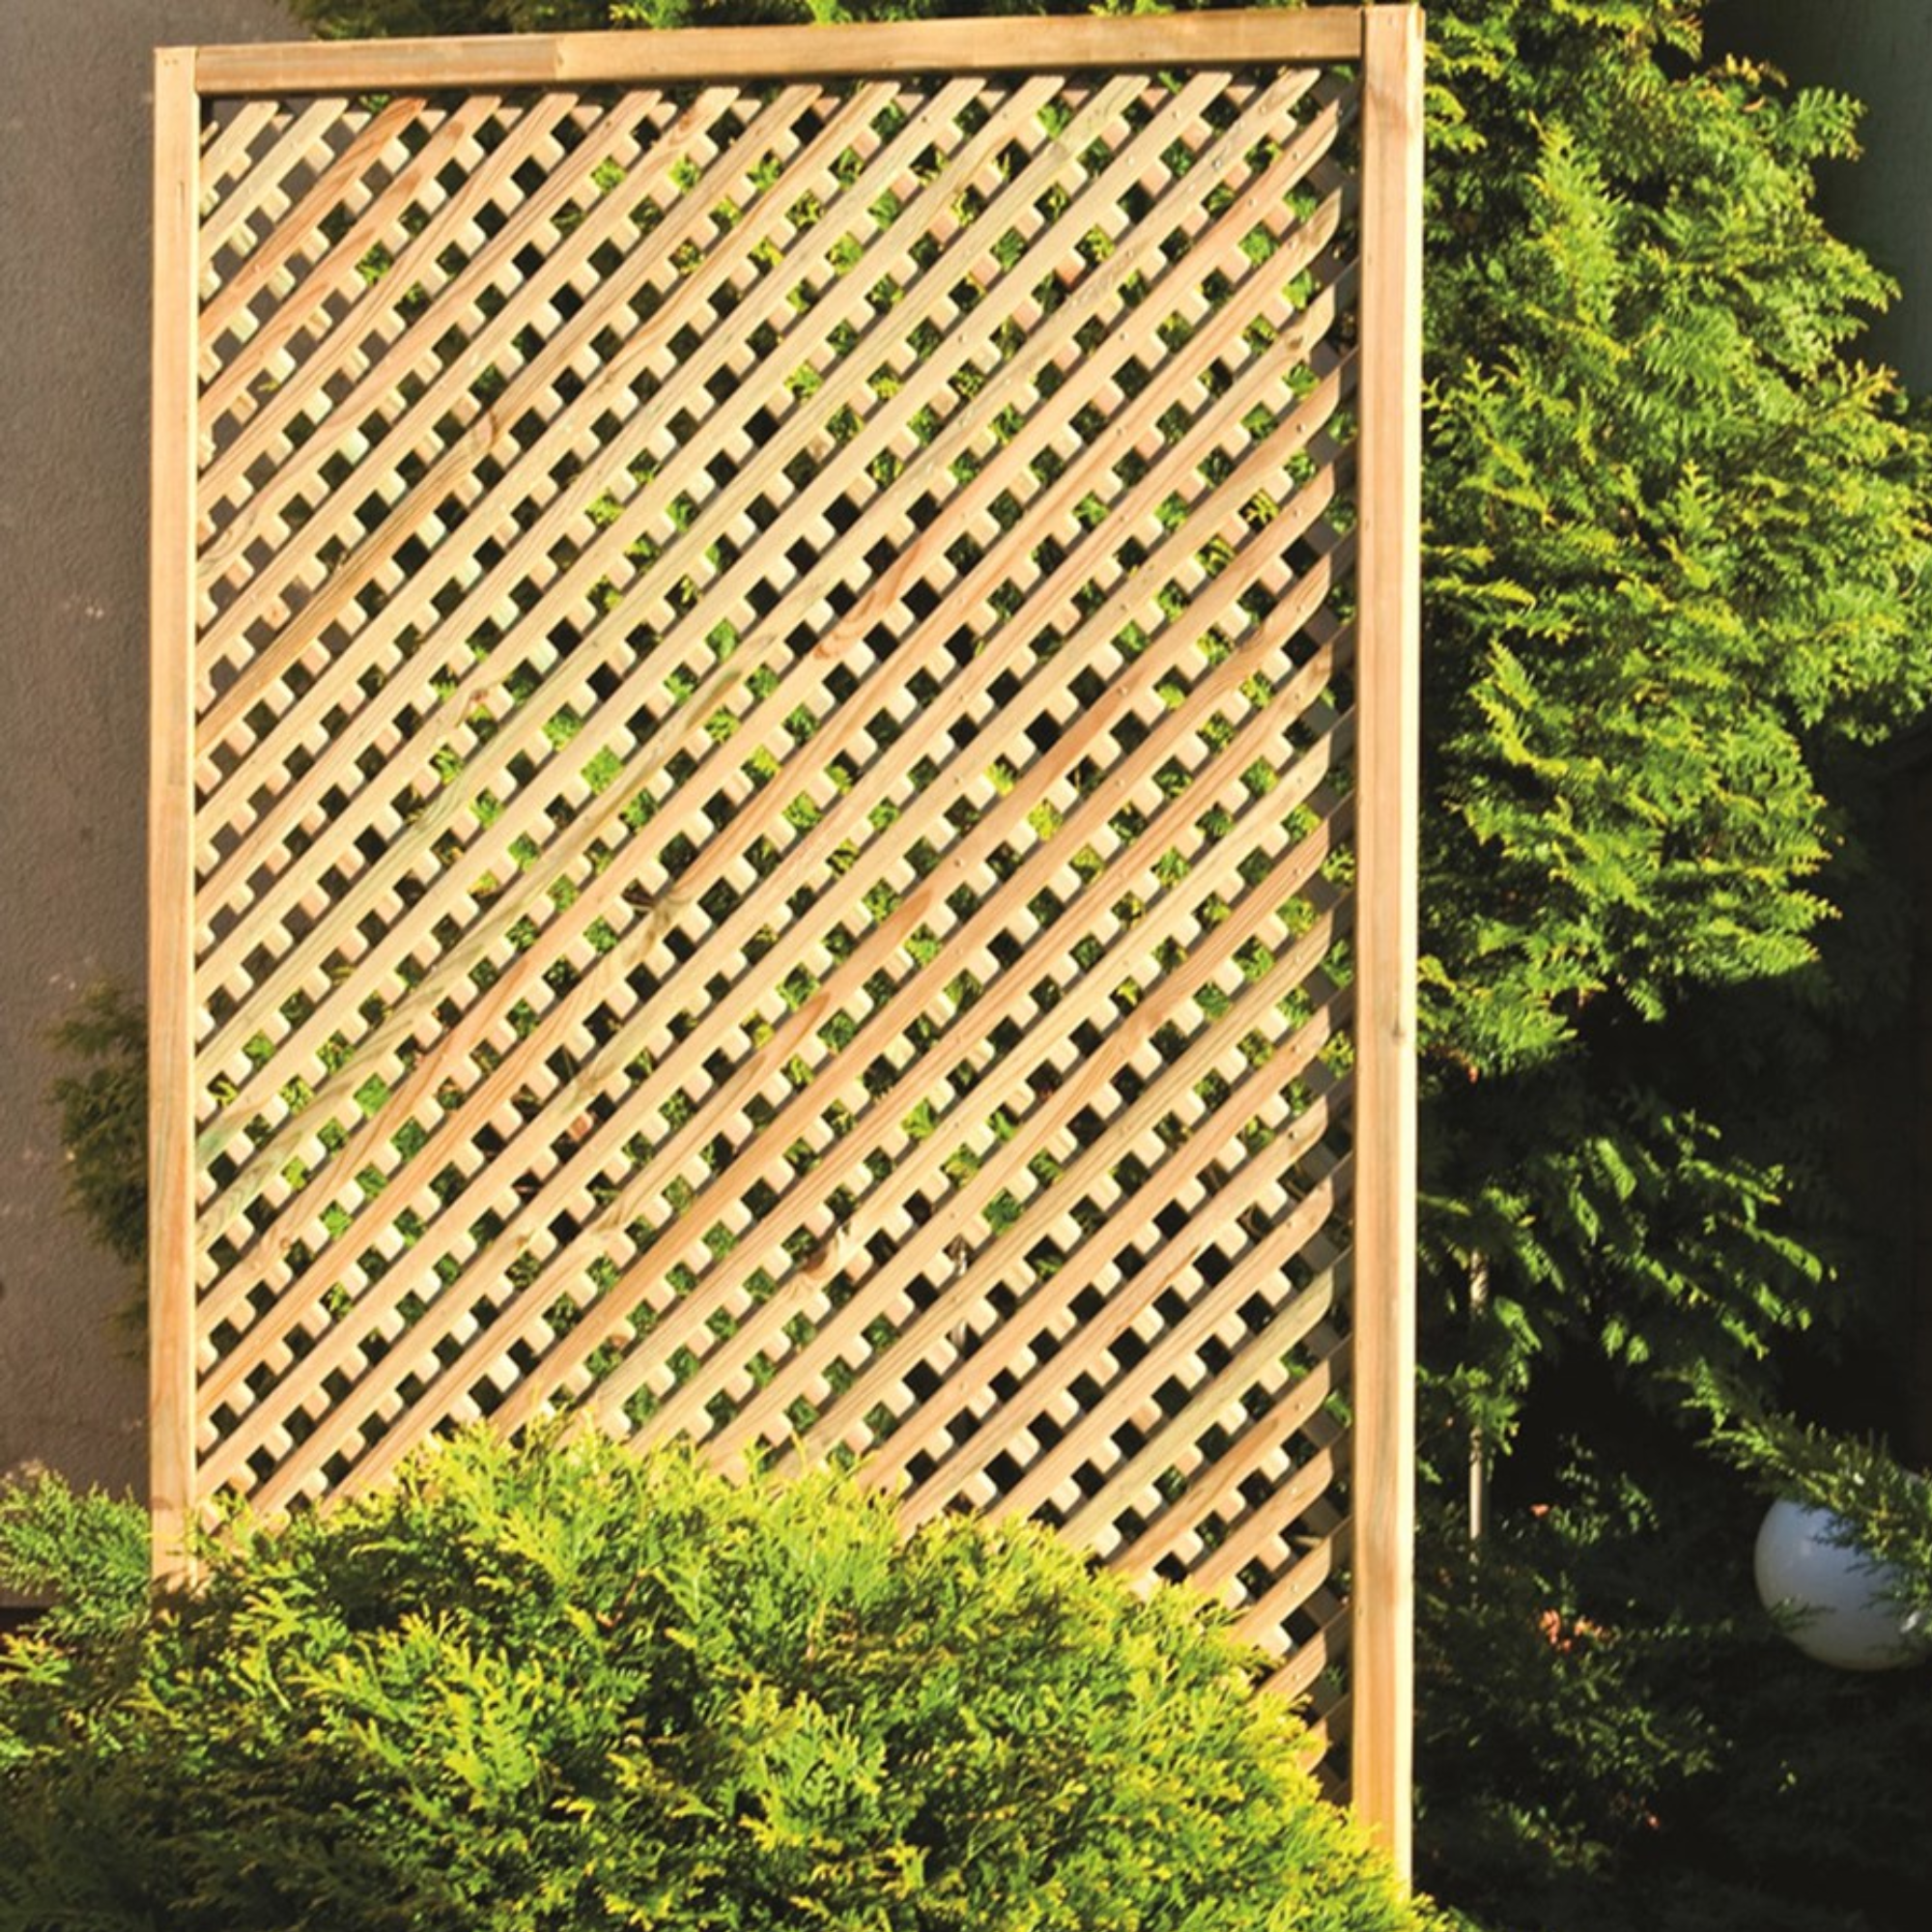
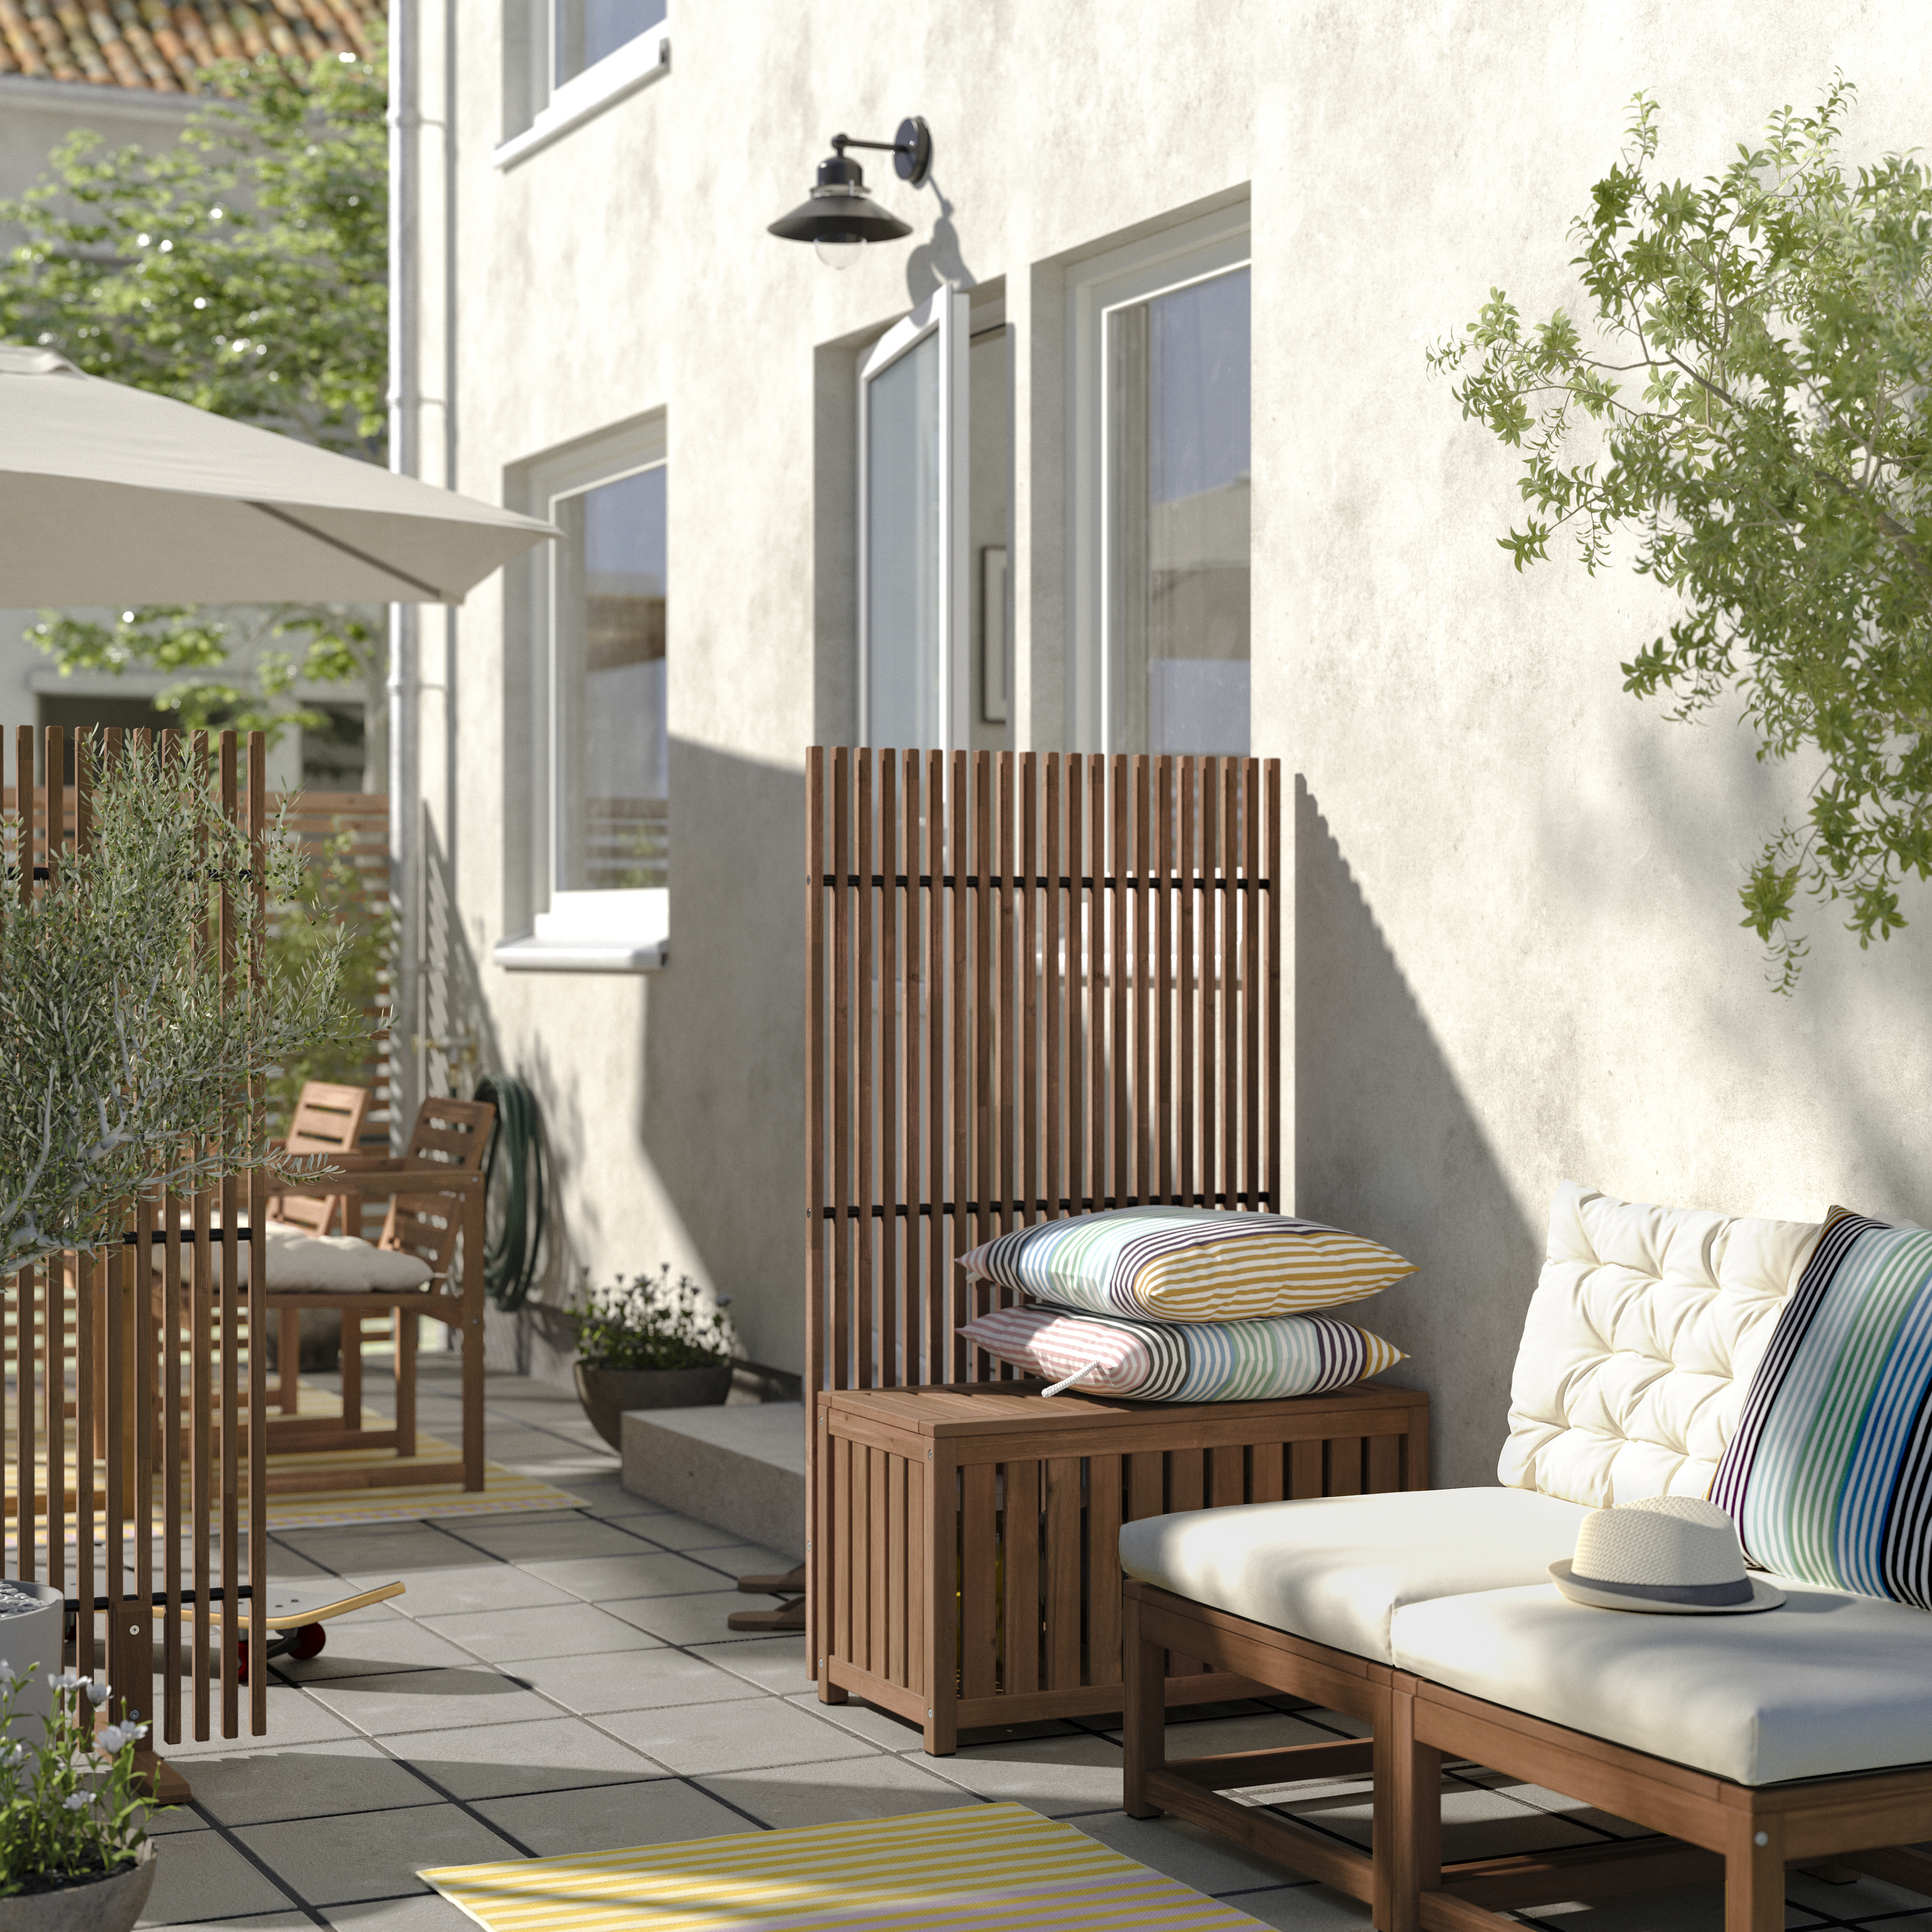
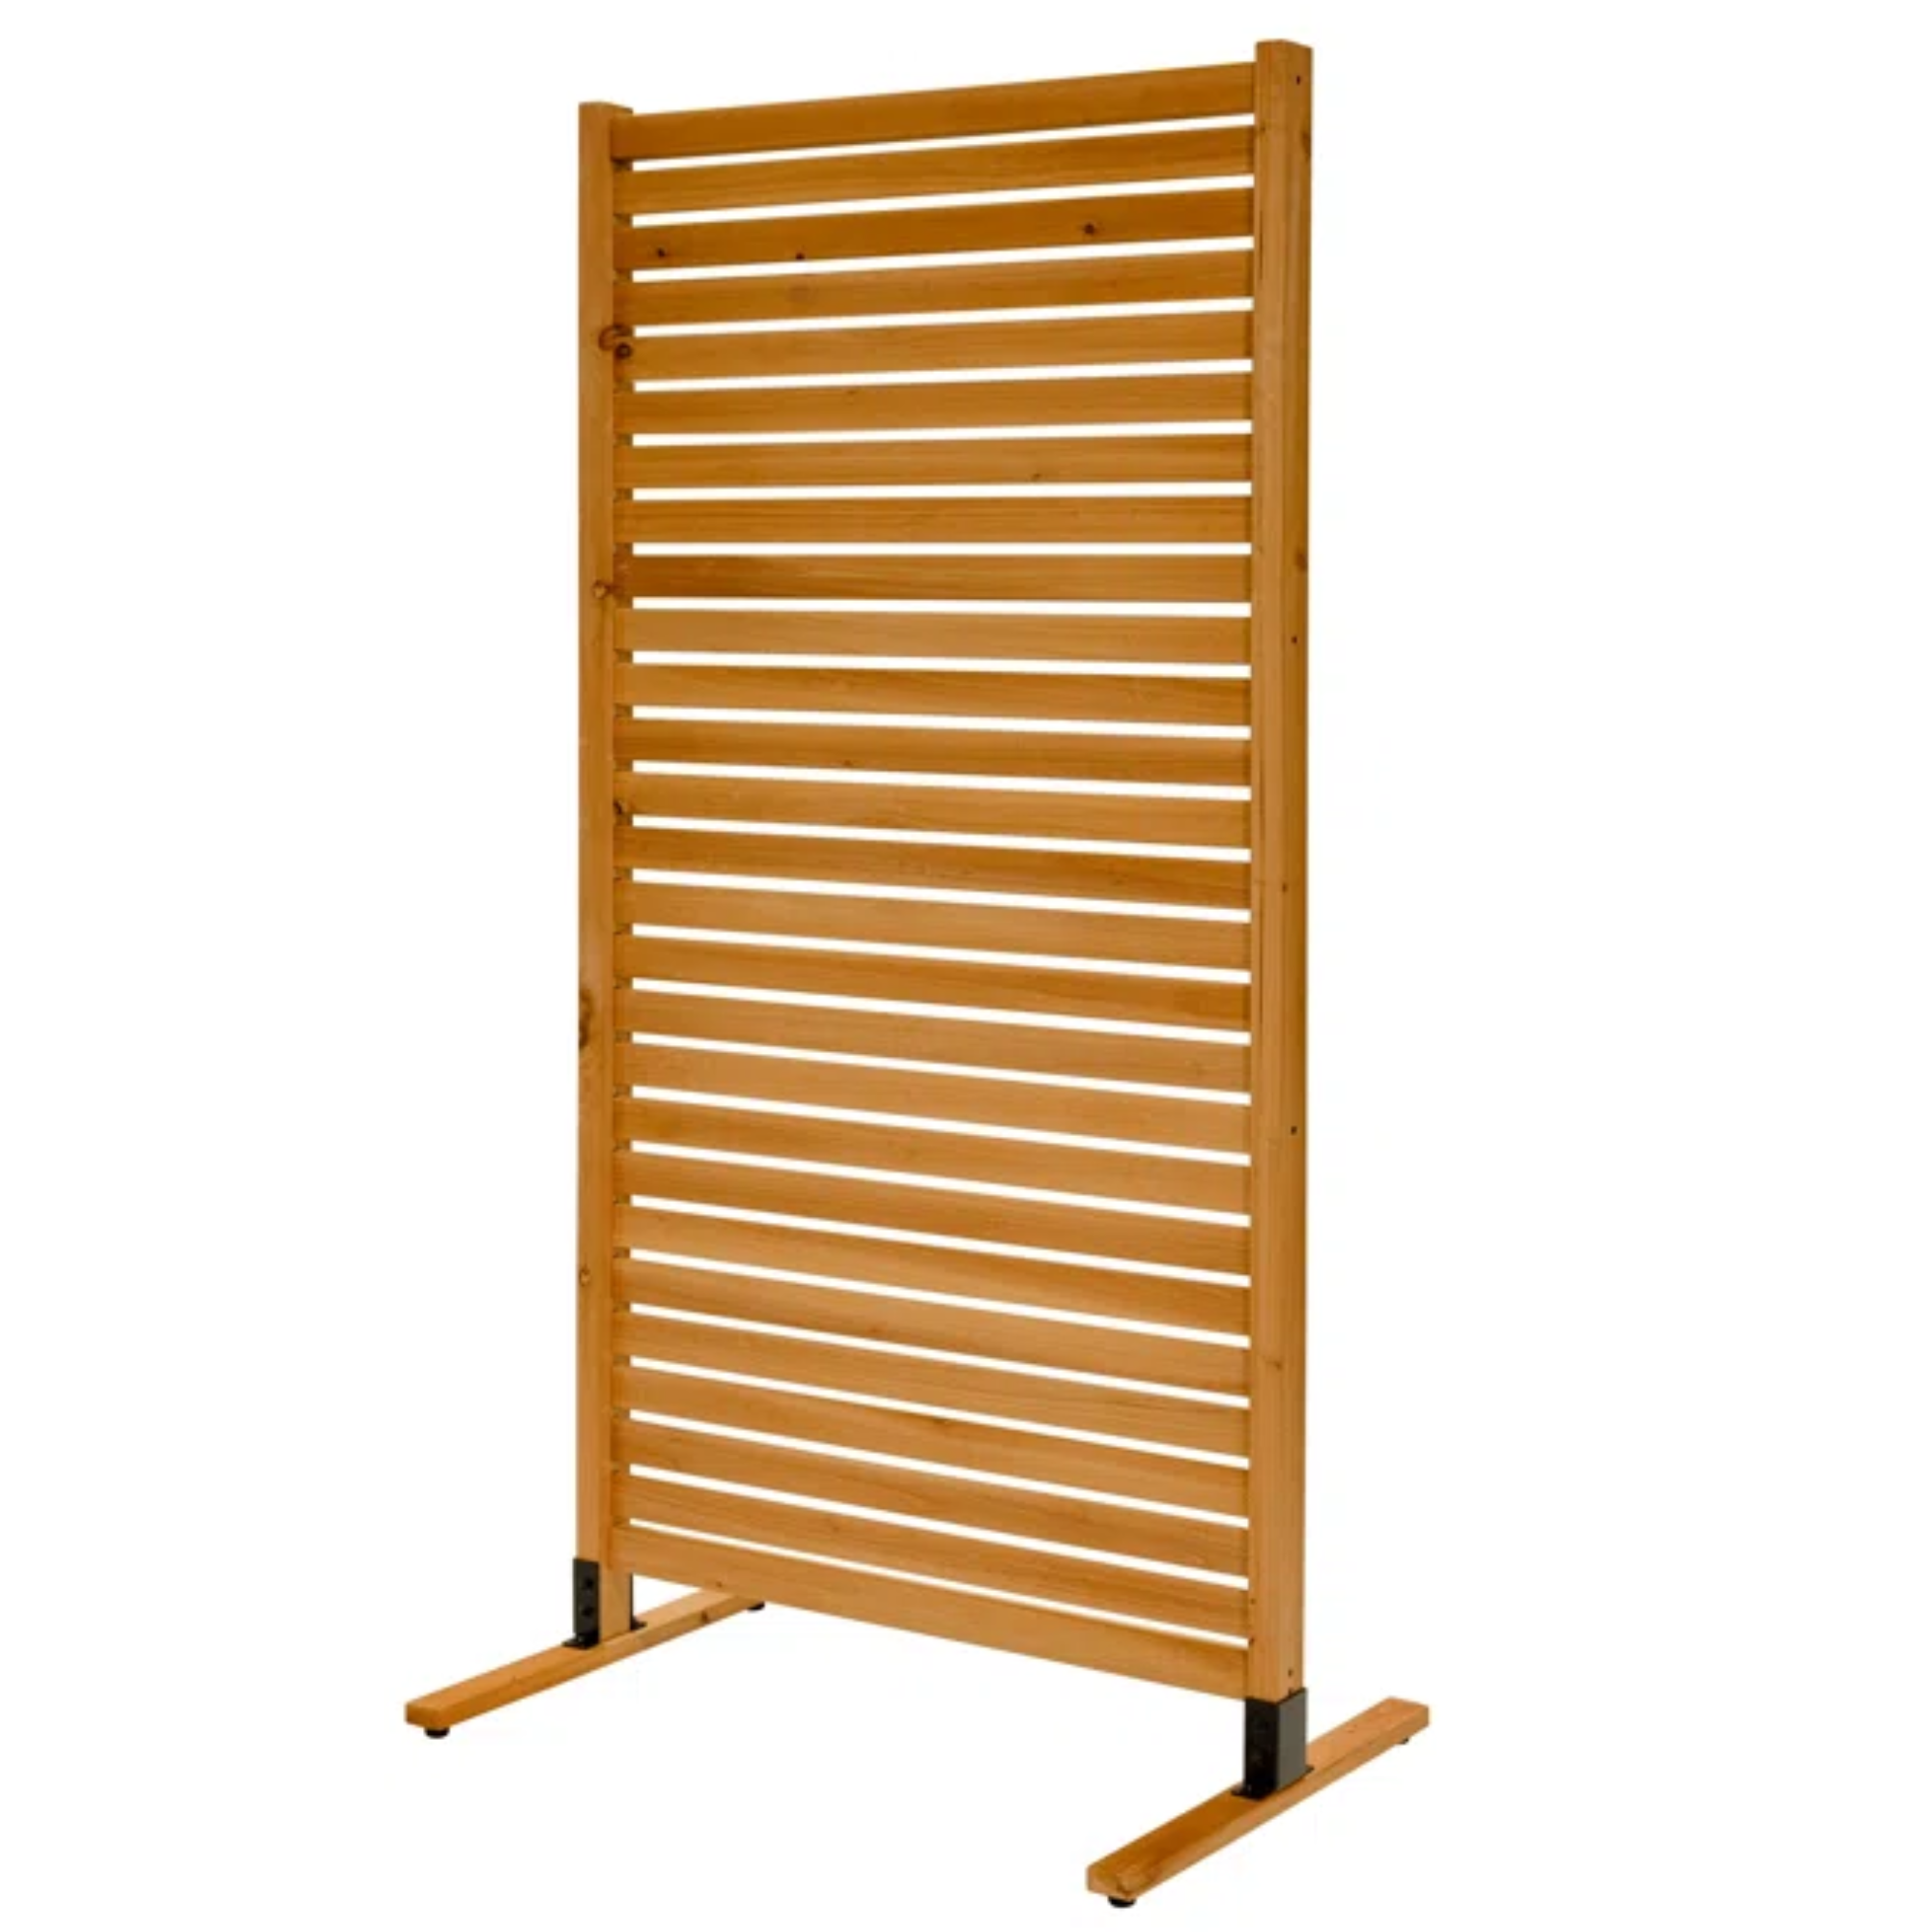
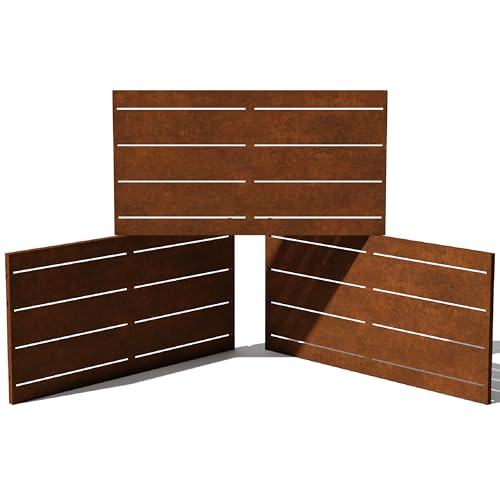
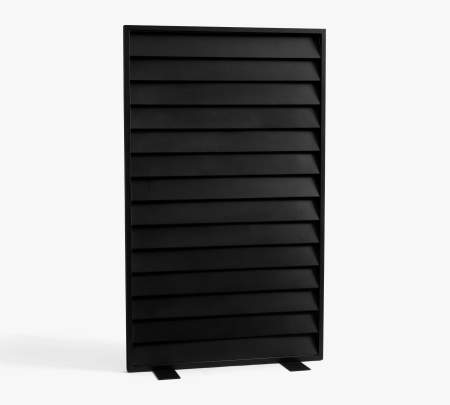
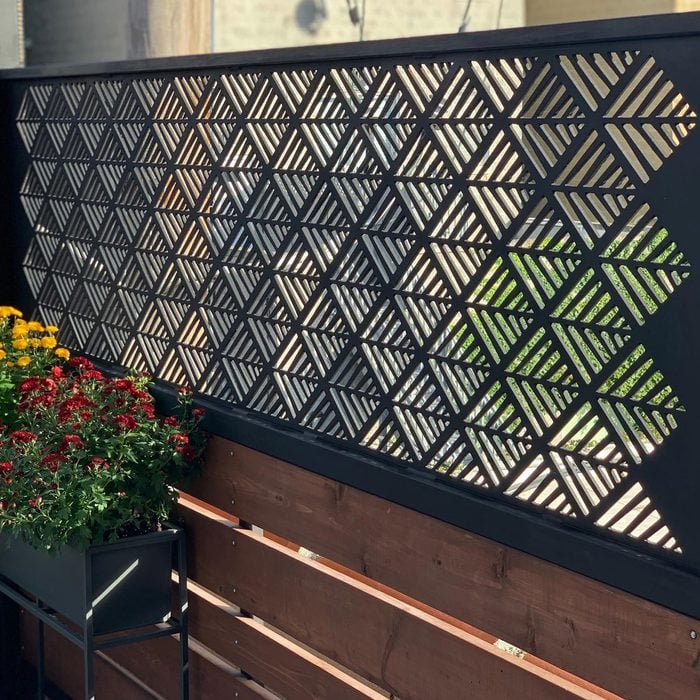
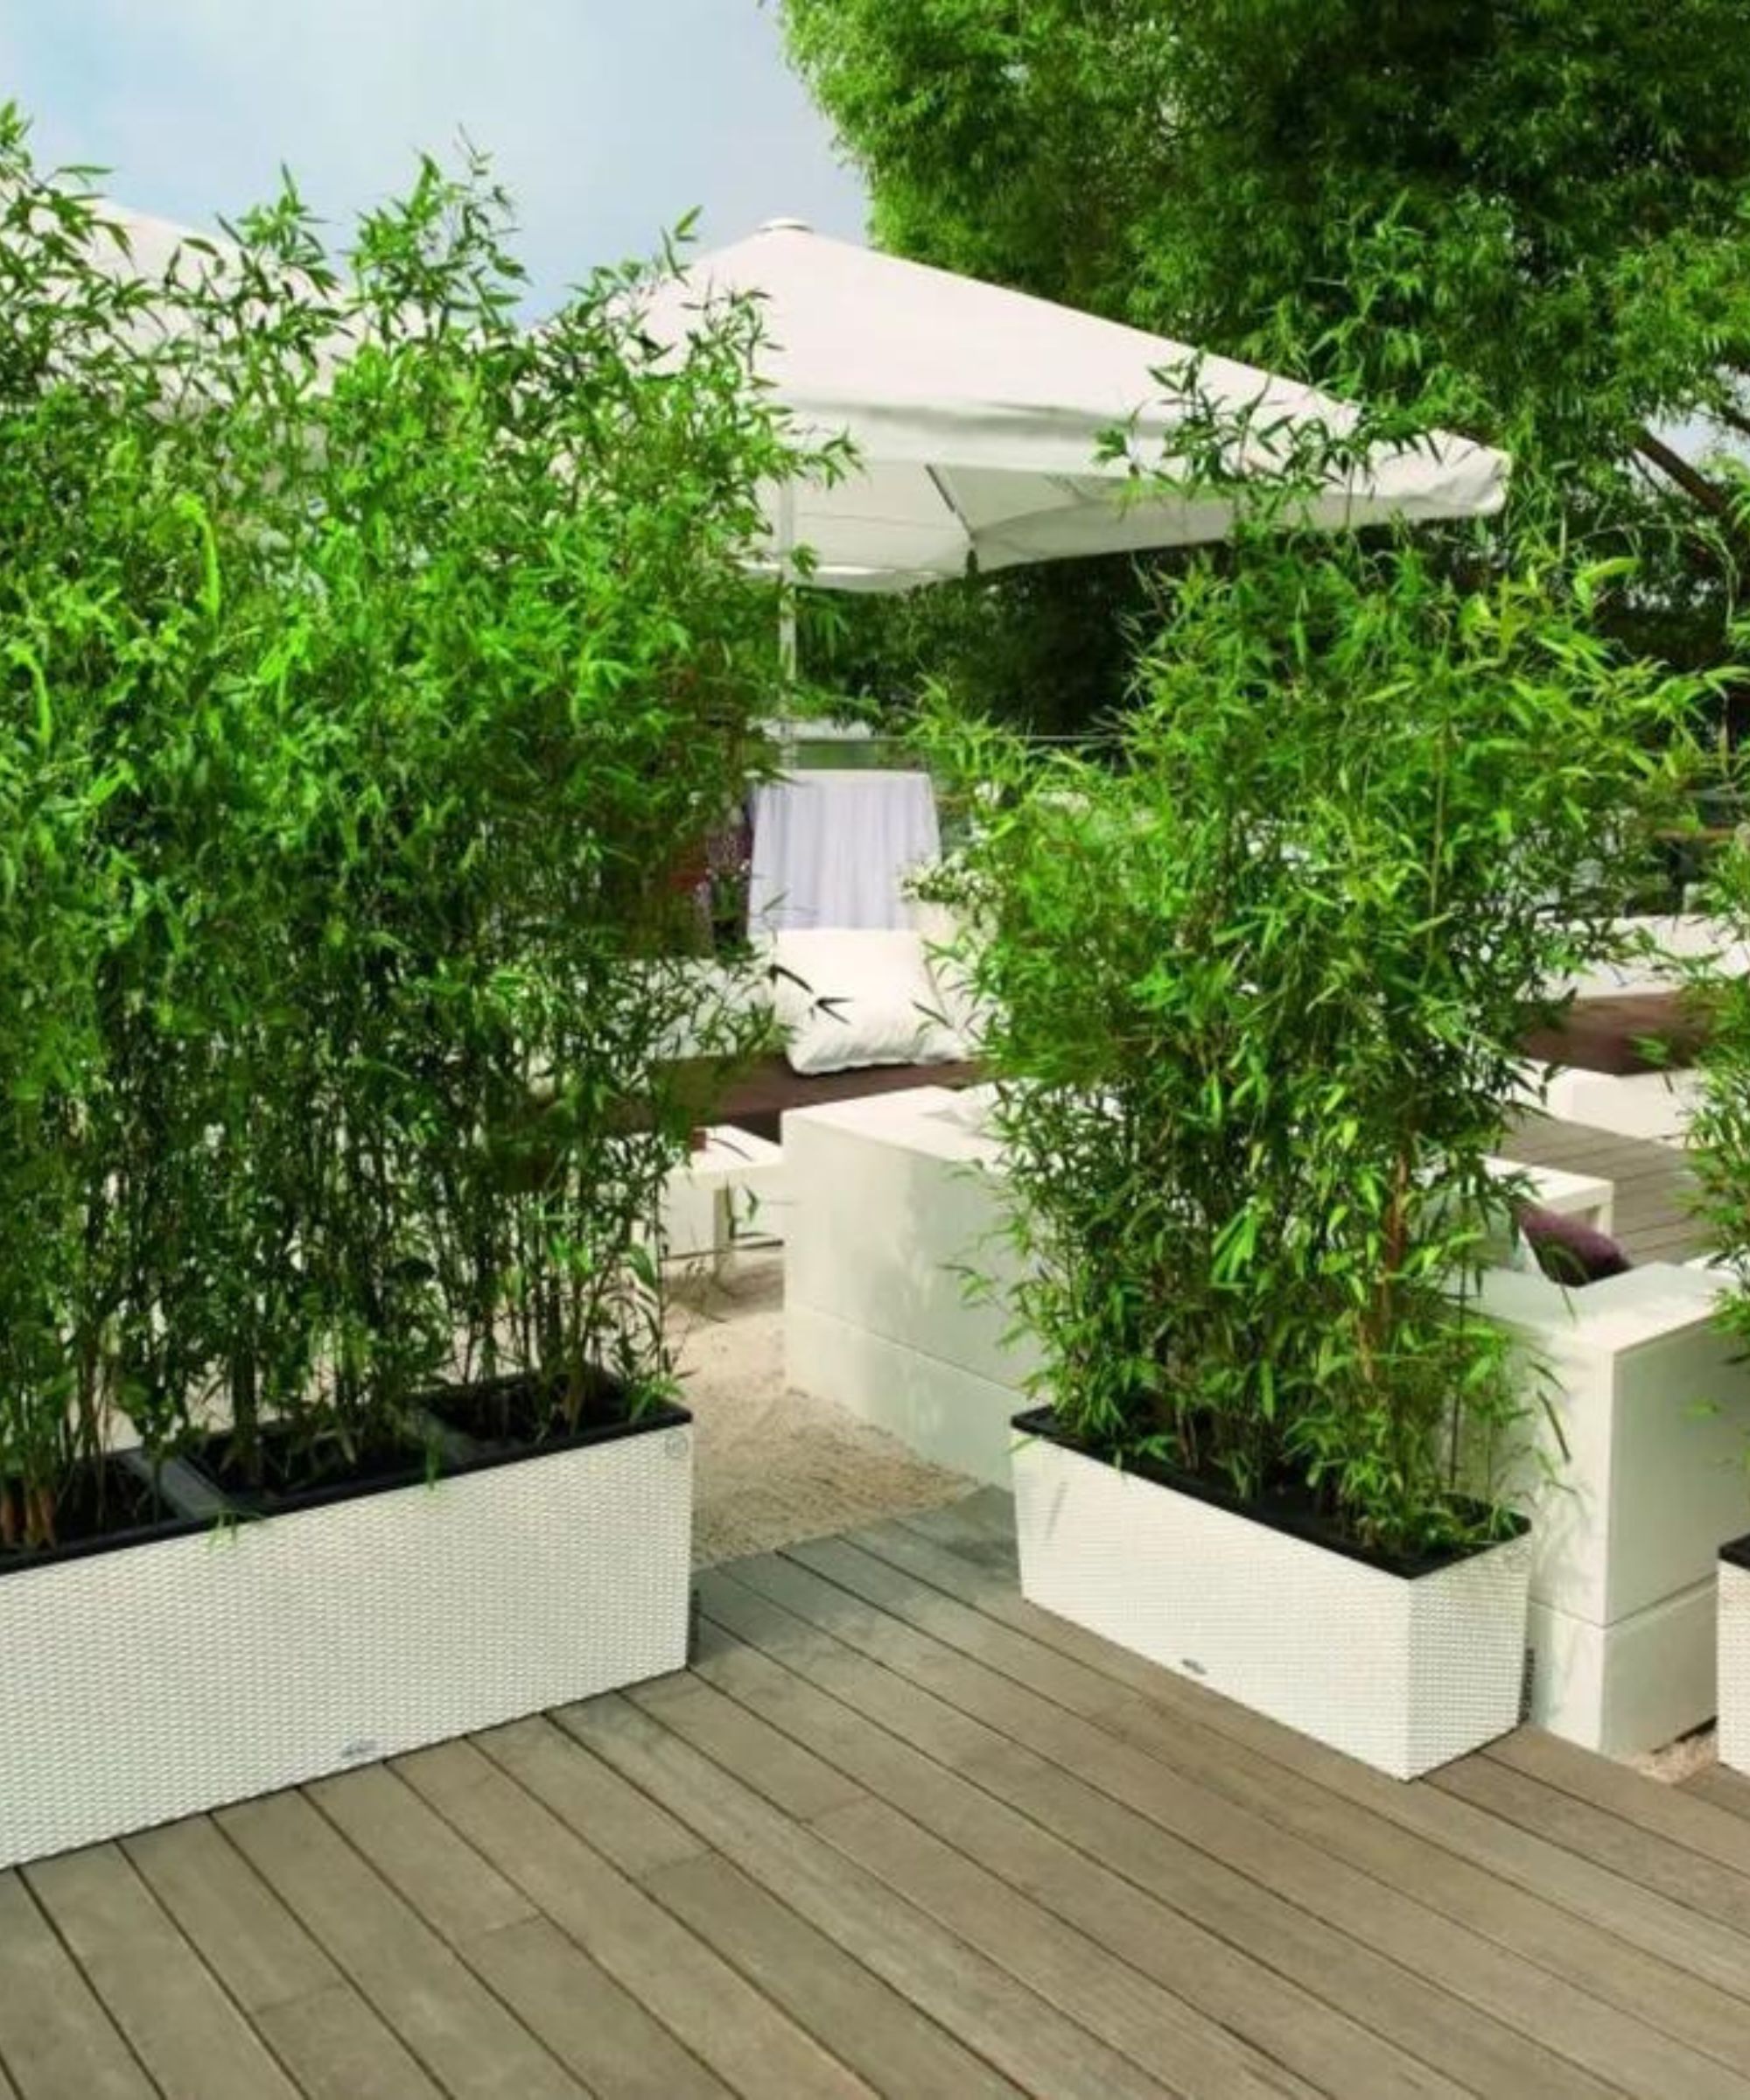
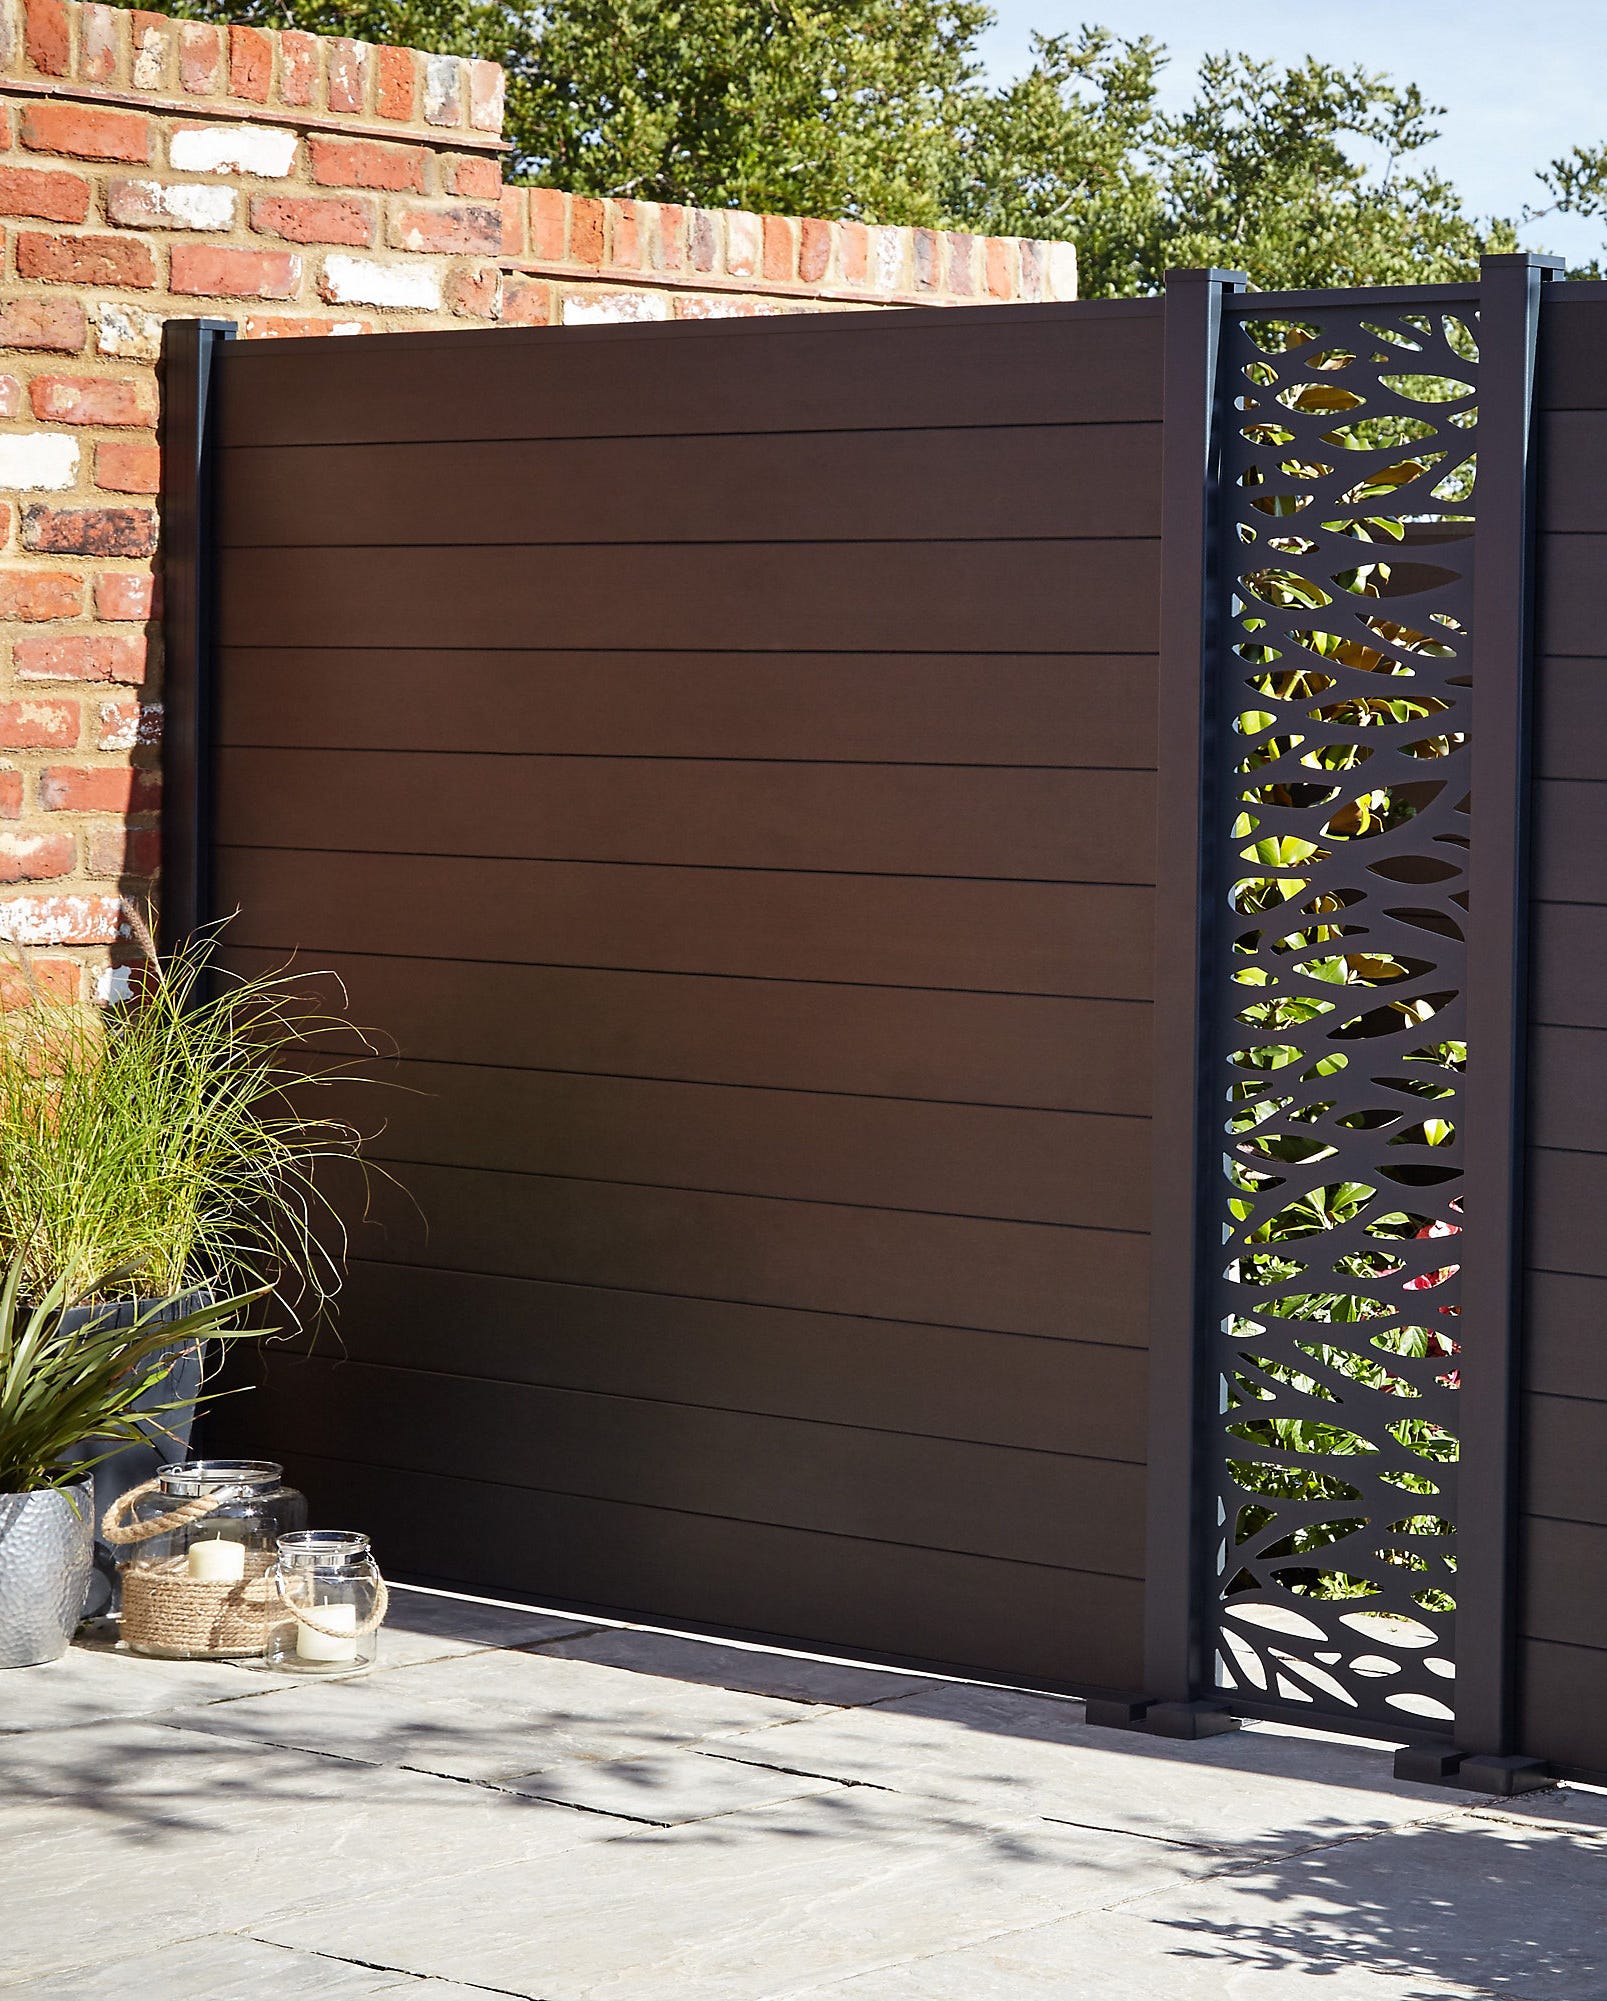
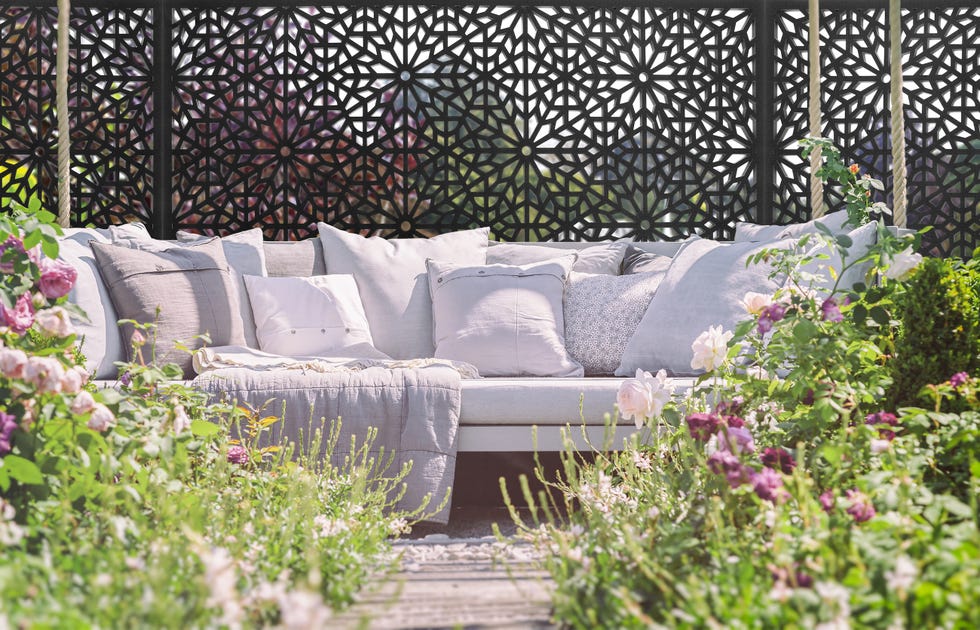
For the privacy wall, a frame is built using three 70-inch long pieces for the top, middle, and bottom, and two 48-inch long pieces for the sides. The remaining 36 1-inch by 2-inch slats are then secured onto this framework. The finished privacy screen is subsequently attached to the planter box. For individuals less confident in their DIY skills or preferring to avoid extensive cutting, alternative methods are suggested. This includes attaching a pre-made trellis to a simpler planter. Examples provided are IKEA's NÄMMARÖ Freestanding Privacy Screen for hard surfaces and Walmart's Outdoor Essentials Diamond Lattice Trellis for grassy areas. The article concludes by recommending plants like bamboo or other trellis-friendly varieties to maximize privacy and add greenery to the outdoor space.
#DIYHomeDecor #OutdoorLiving #PrivacyScreen #PlanterBox #Gardening #HomeImprovement #BackyardDesign #Woodworking #DIYProject #DIYHomeDecor #OutdoorLiving #PrivacyScreen #PlanterBox #Gardening #HomeImprovement #BackyardDesign #Woodworking #DIYProject
0 commentaire au total
 Aucun commentaire pour le moment
Vous aimerez aussi
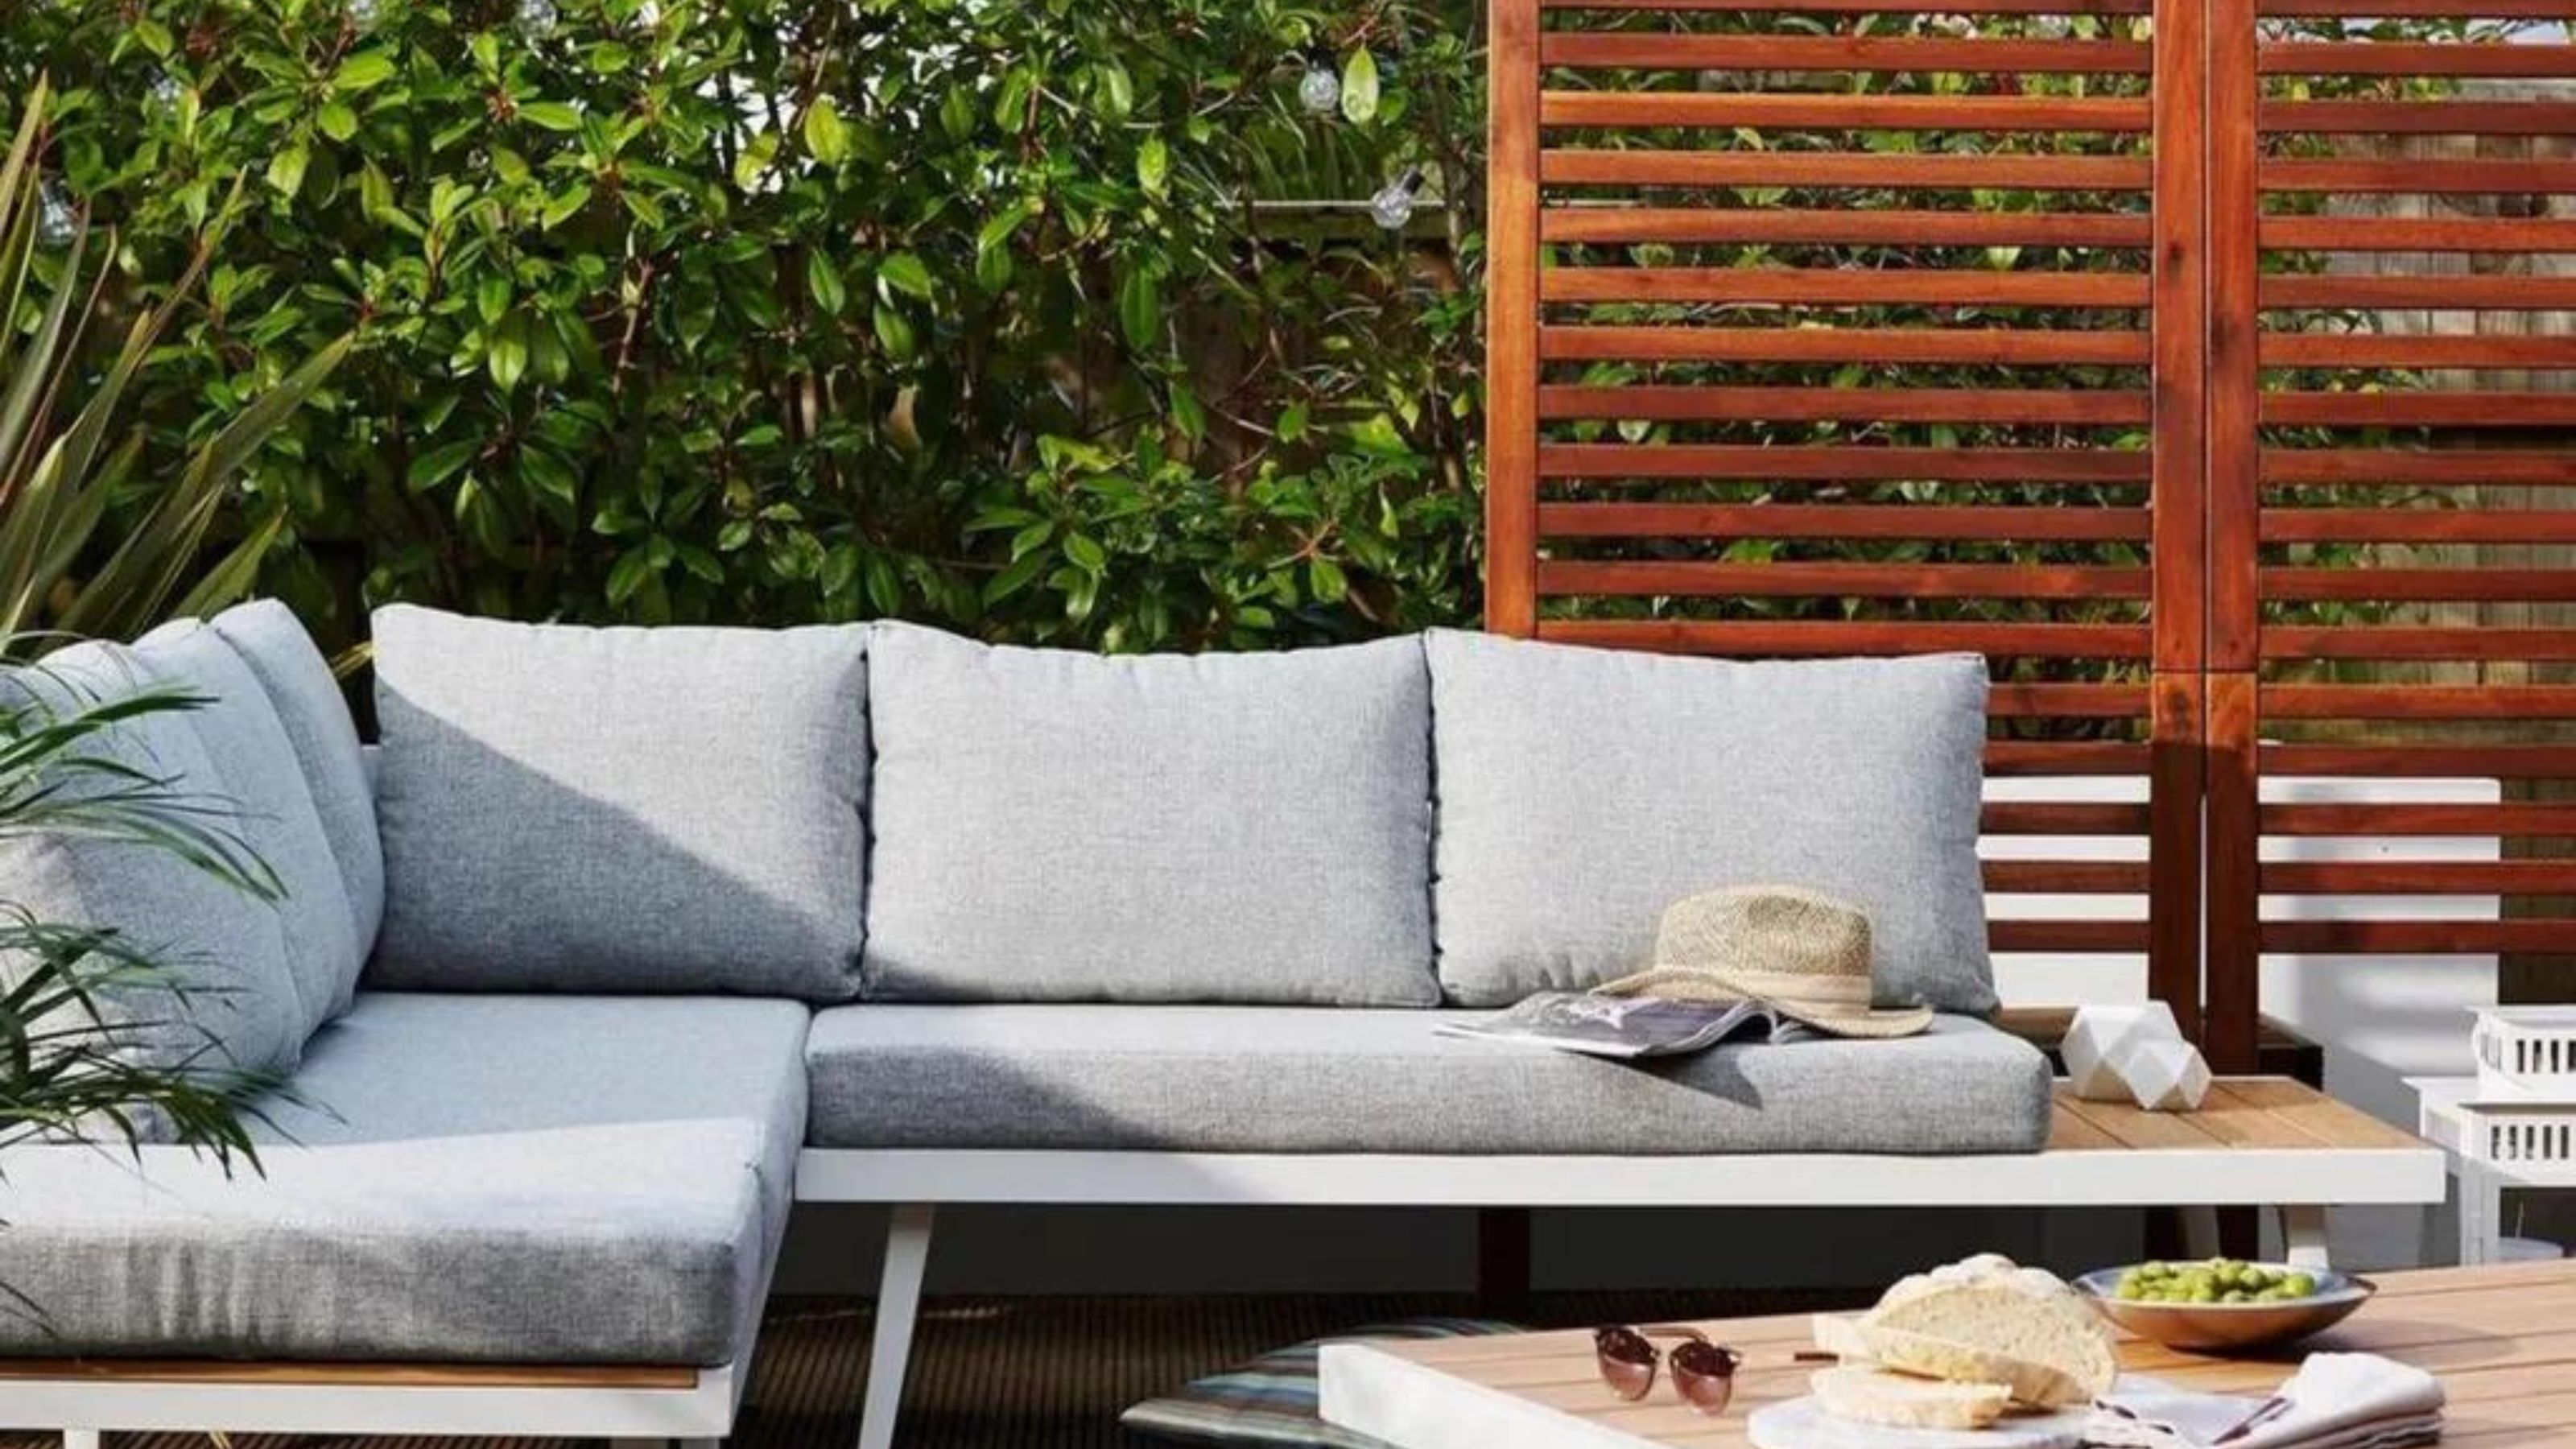
These 7 privacy screen ideas are pretty, practical, and perfect for creating a secluded outdoor space

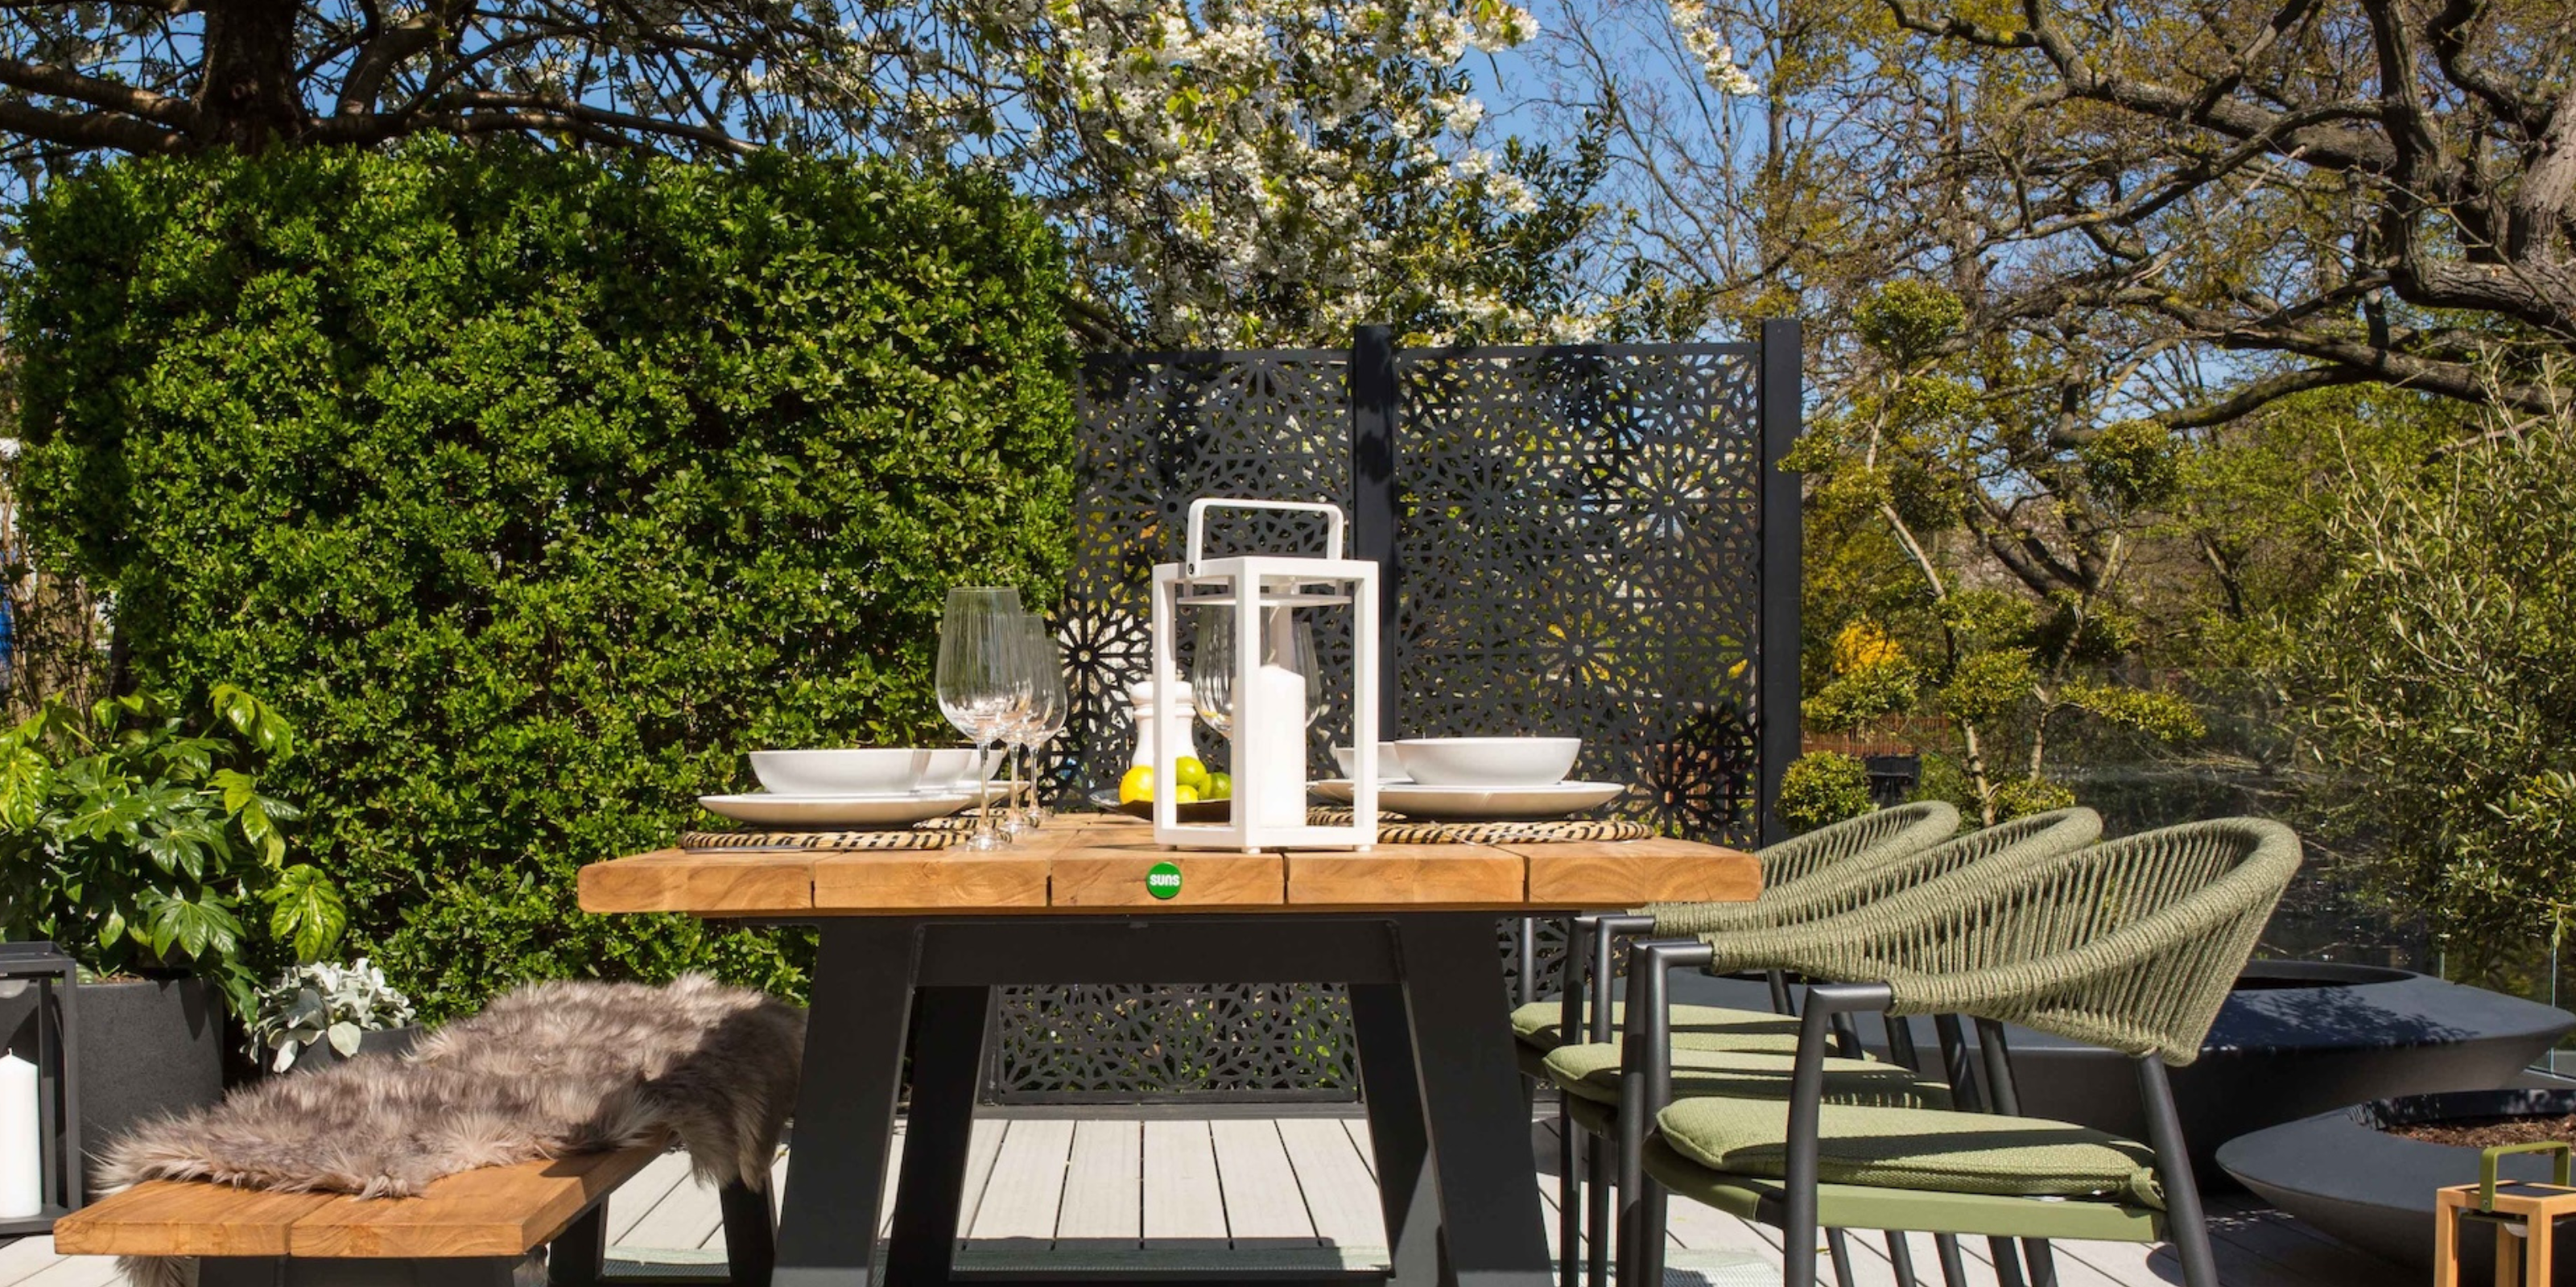
These Wayfair Privacy Screens Will Turn Your Backyard Into An Outdoor Oasis — And Keep Nosy Neighbors Away

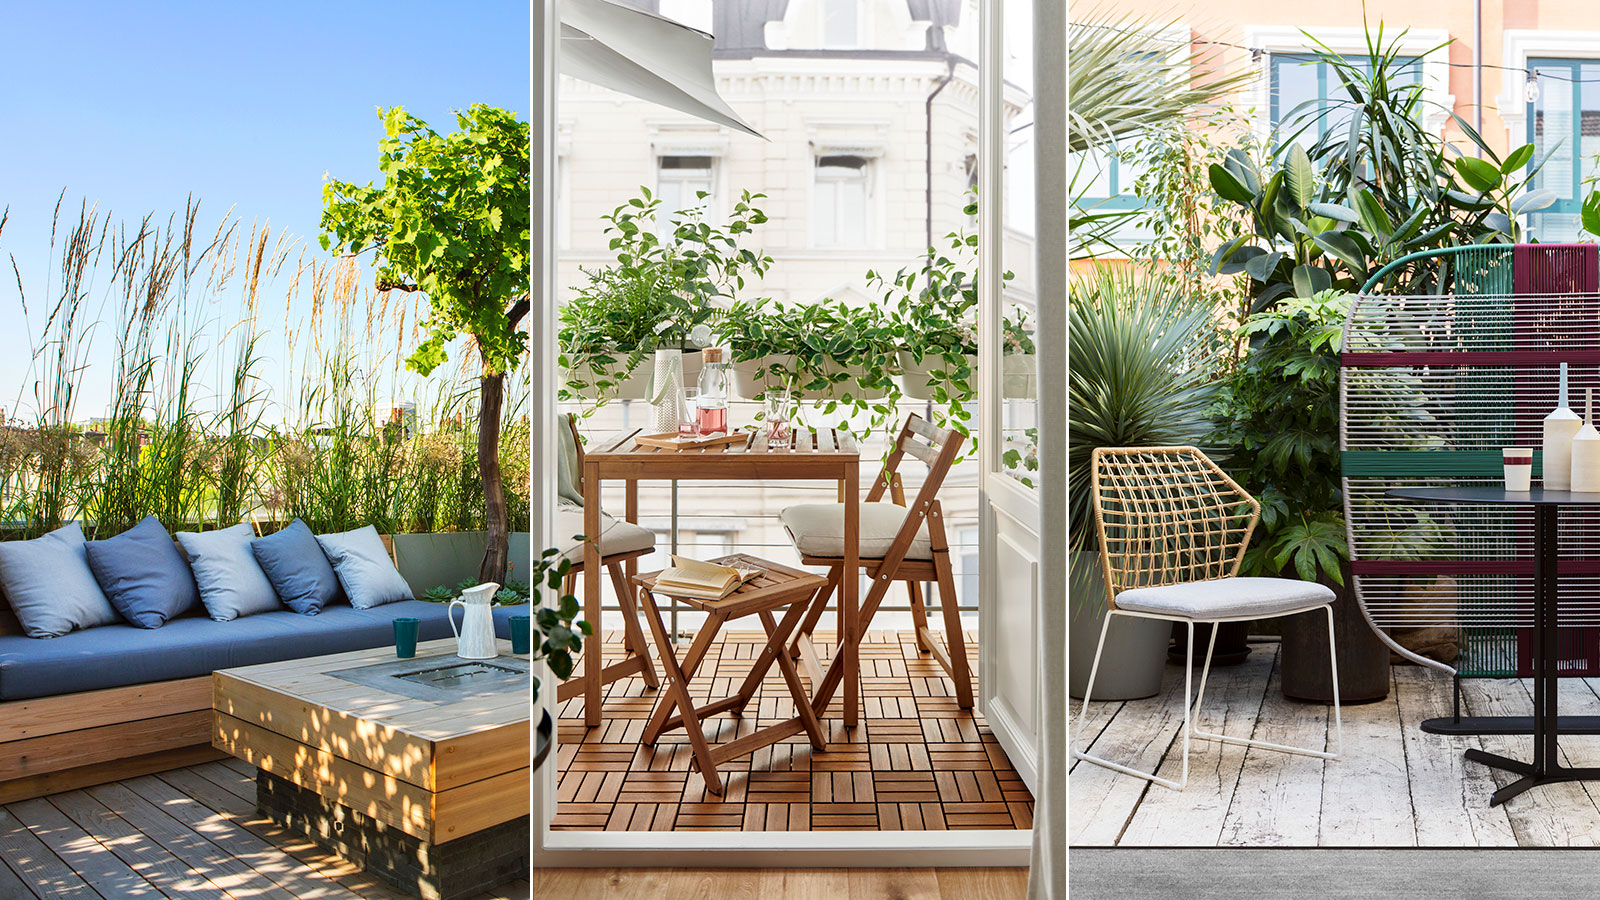
Balcony privacy ideas – 9 effective ways to create a private outdoor space

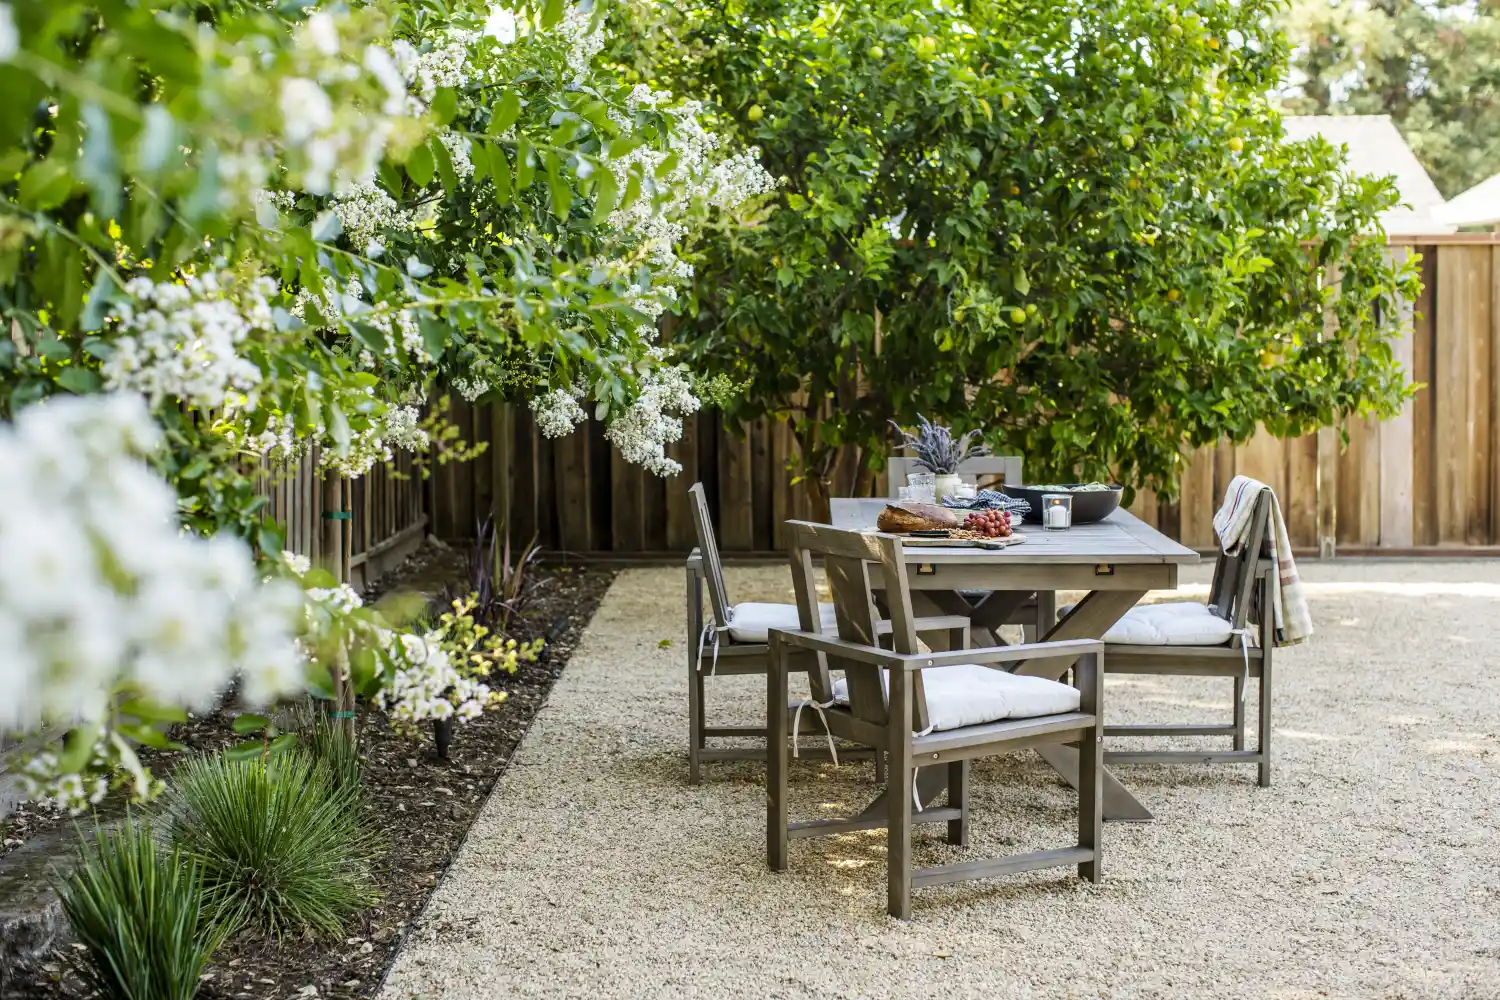
6 Backyard Privacy Ideas That Look Expensive—But Aren’t

Best Outdoor Portable & Free-standing Privacy Screens

7 Backyard Privacy Screens That Aren’t Eyesores for You or Your Neighbors

16 Easy Ways to Block a Neighbor's View of Your Yard
25 garden screening ideas for more privacy in your garden this year

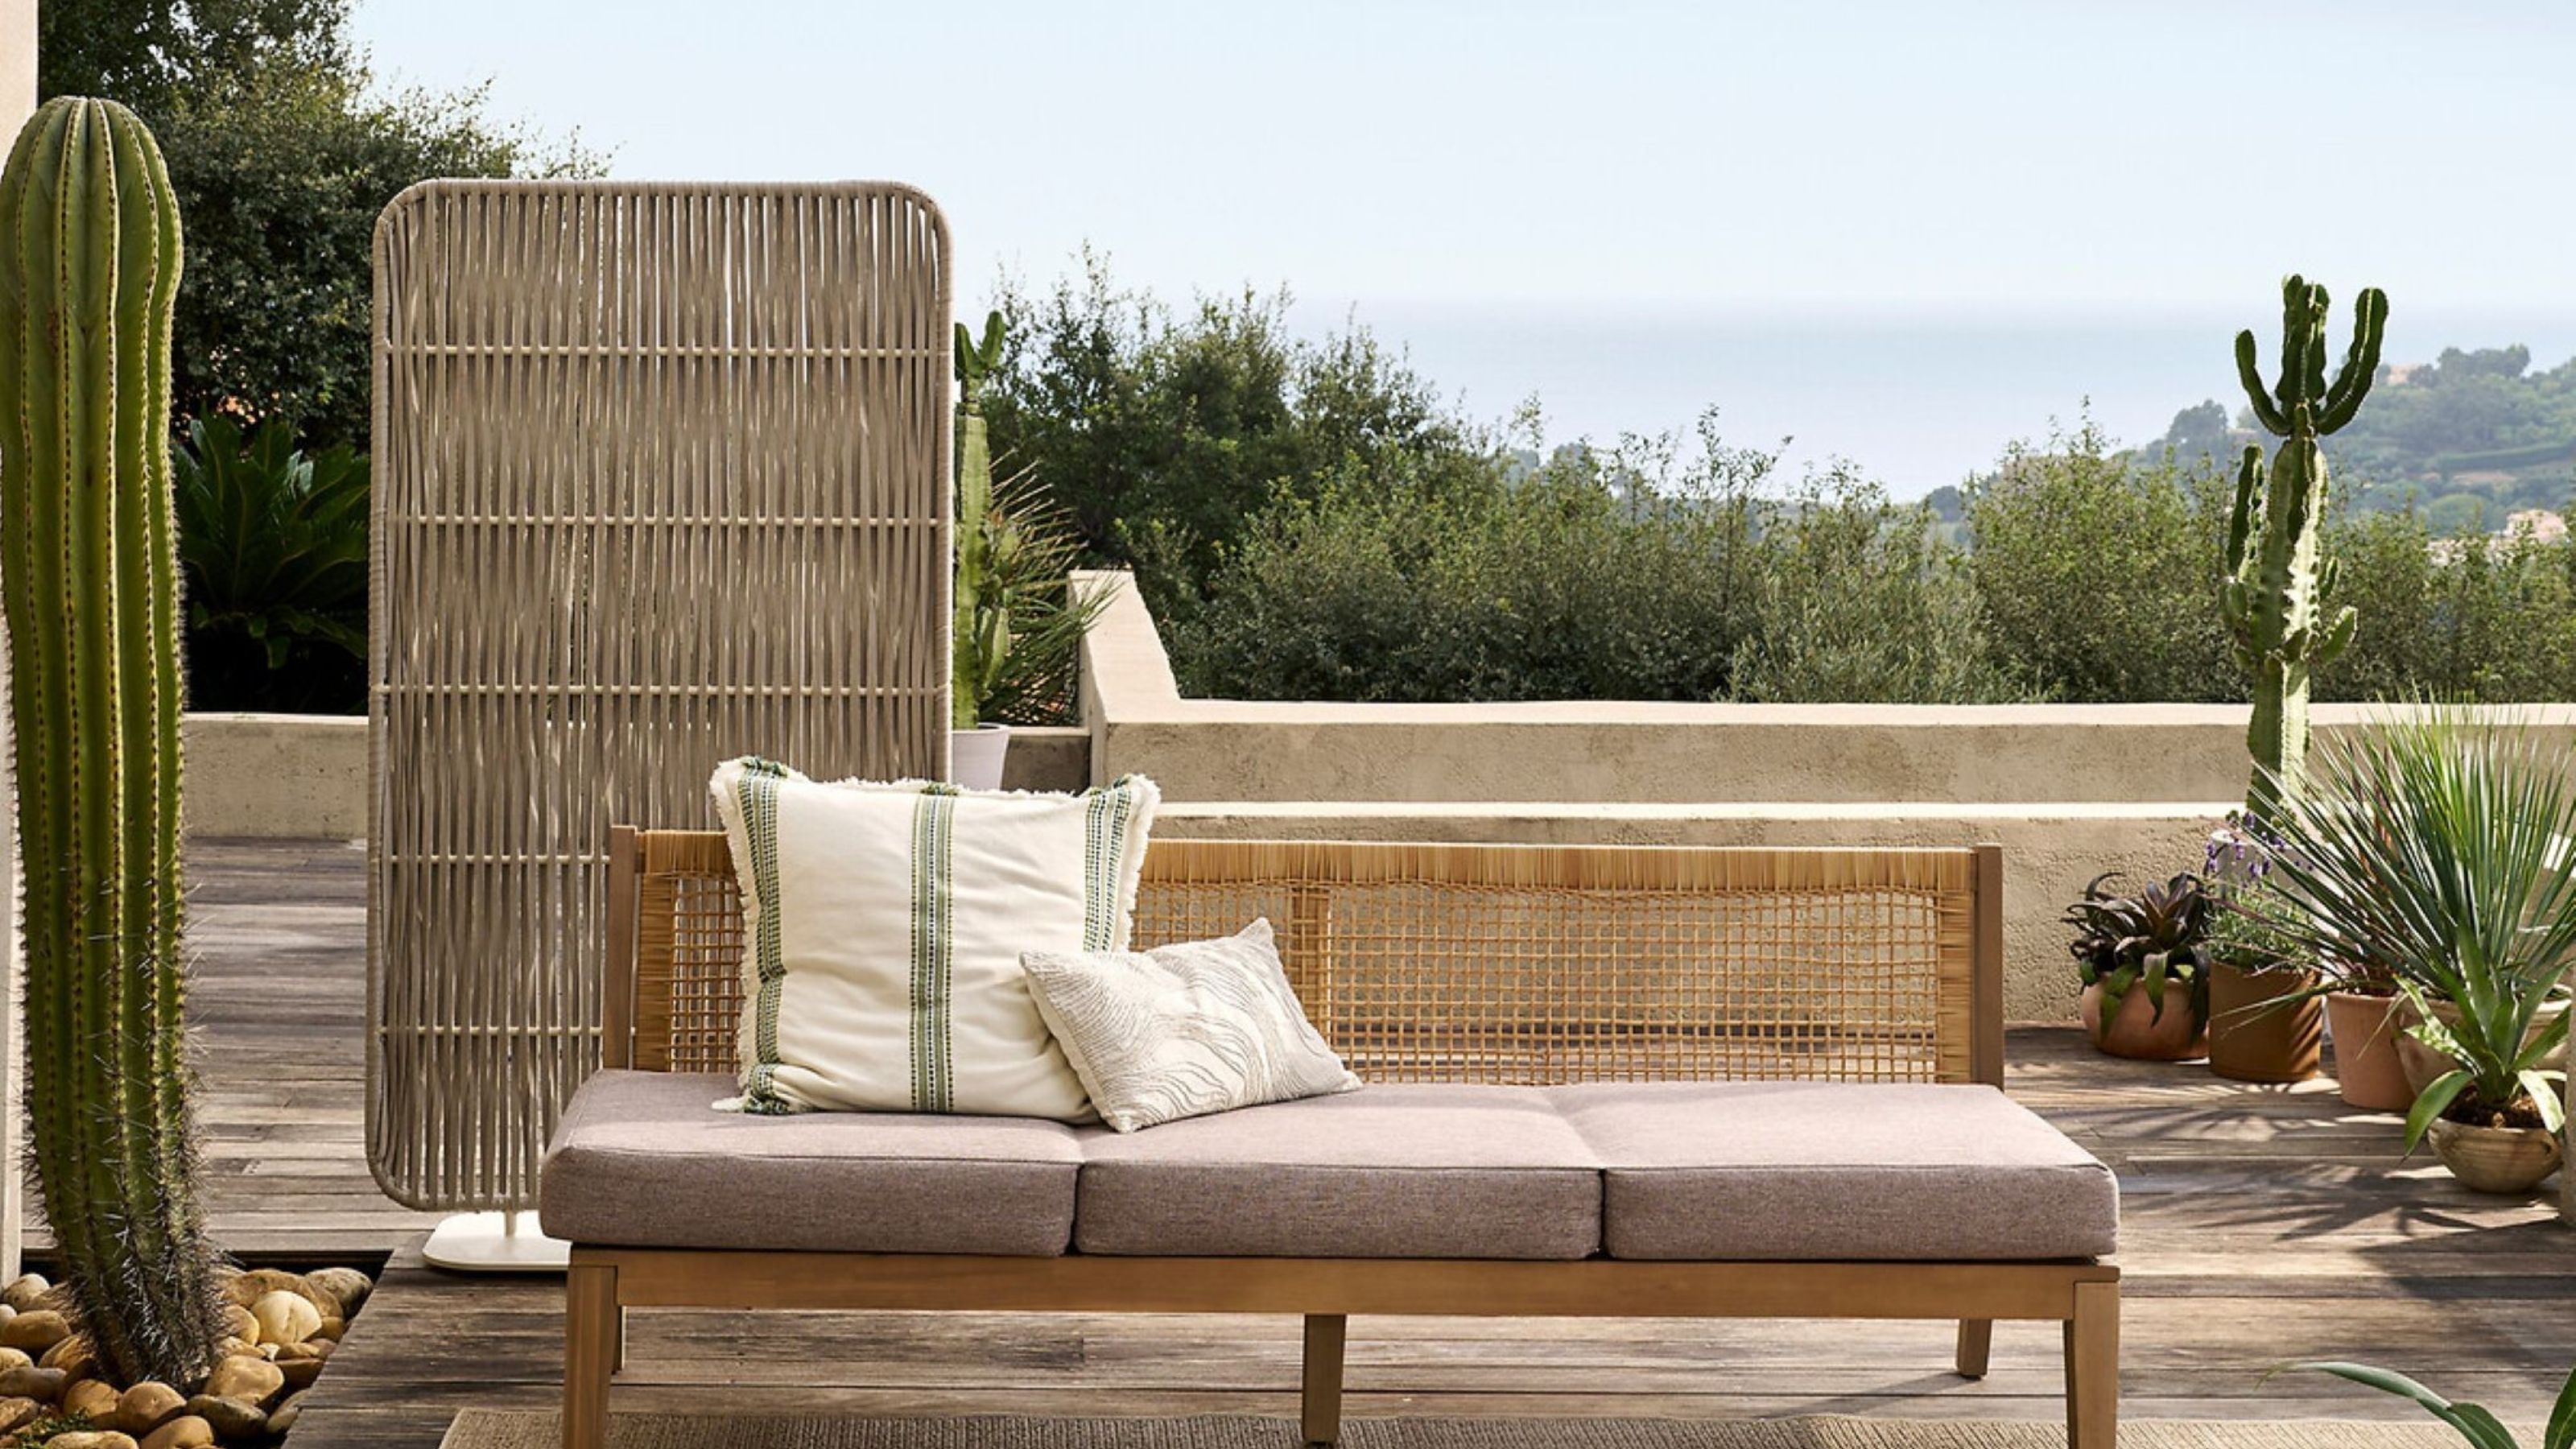
The Best Privacy Screens To Style in Your Outdoor Space |
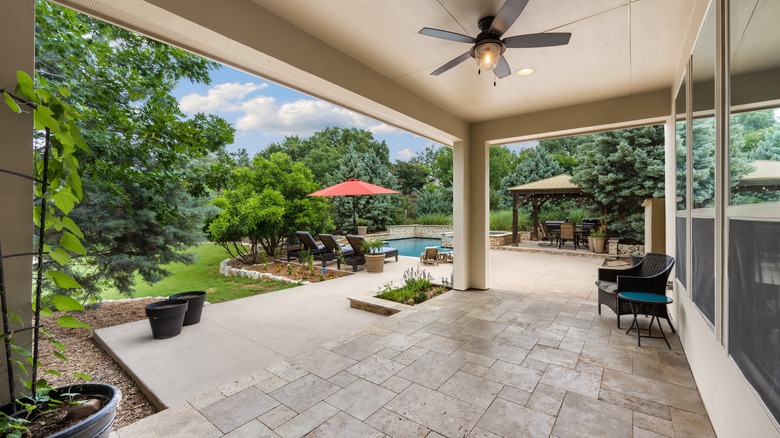
This Renter-Friendly Patio Privacy Solution Is Stylish (But Is It Right For You)?
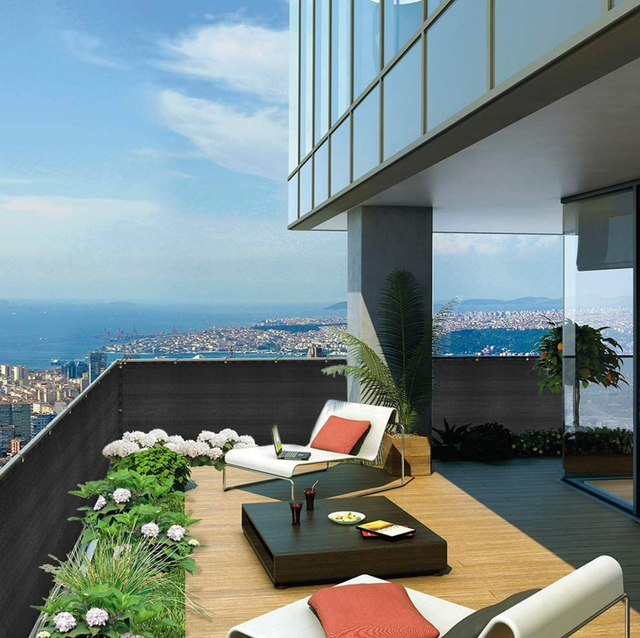
Amazon-Approved Balcony Screens for Guaranteed Privacy

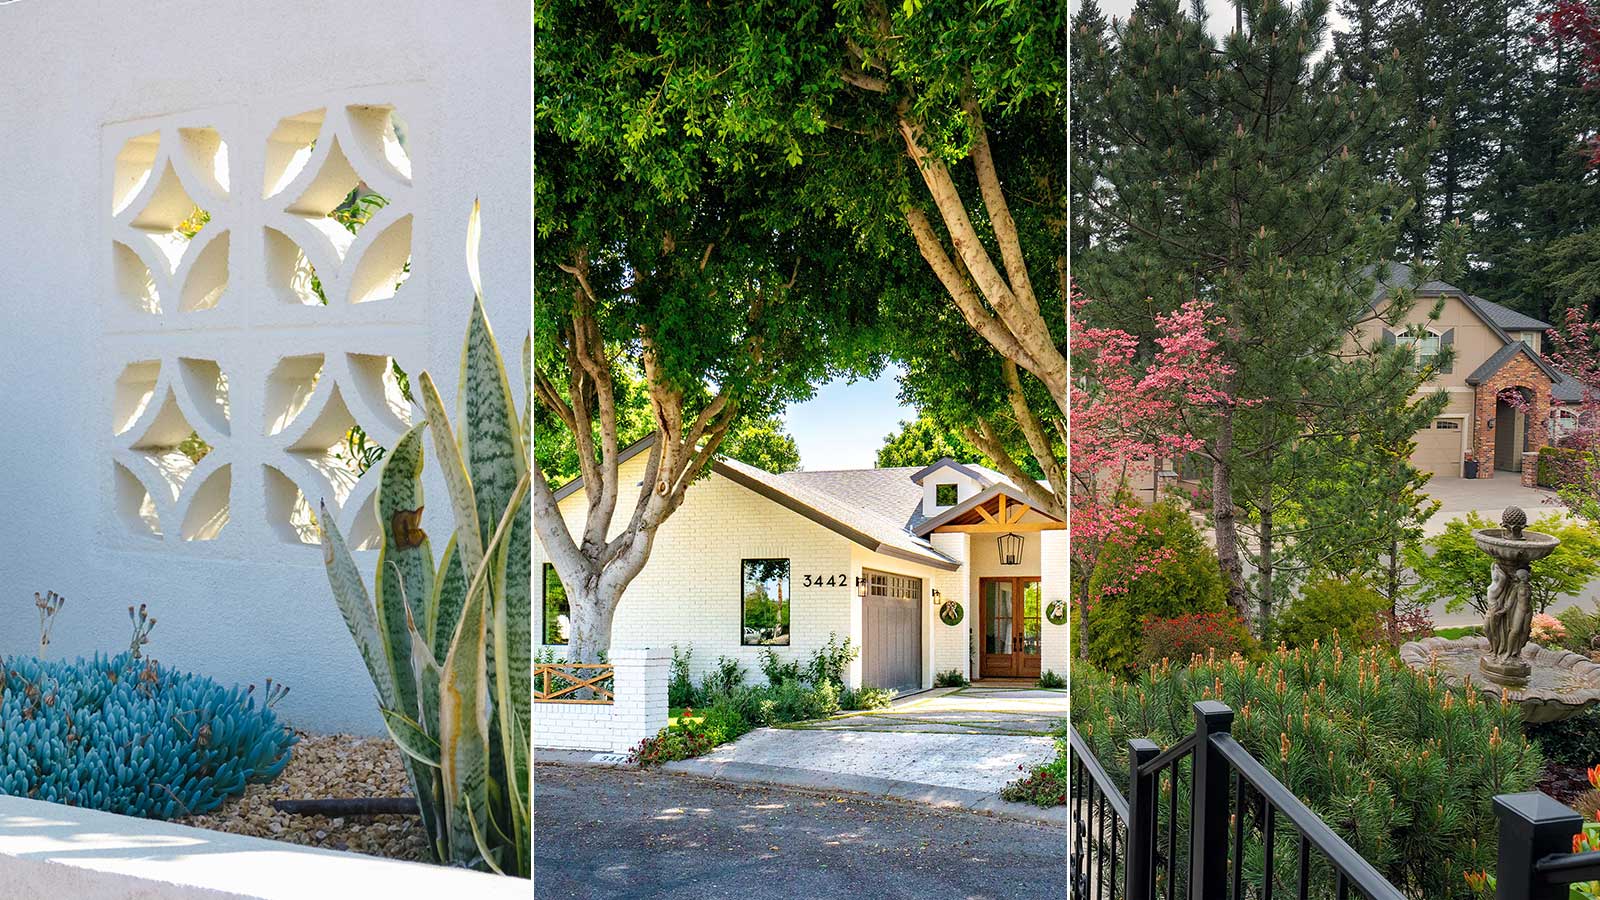
Front yard privacy ideas – 10 stylish ways to screen your home from the street
Patio Privacy Ideas to Help You Create an Outdoor Oasis

5 ways to hide outdoor eyesores – the tricks landscape designers use to disguise your backyard's worst features

7 ways to add privacy to your home in clever, creative ways that bring quick results
Garden screening ideas: 13 ways to create privacy in your garden

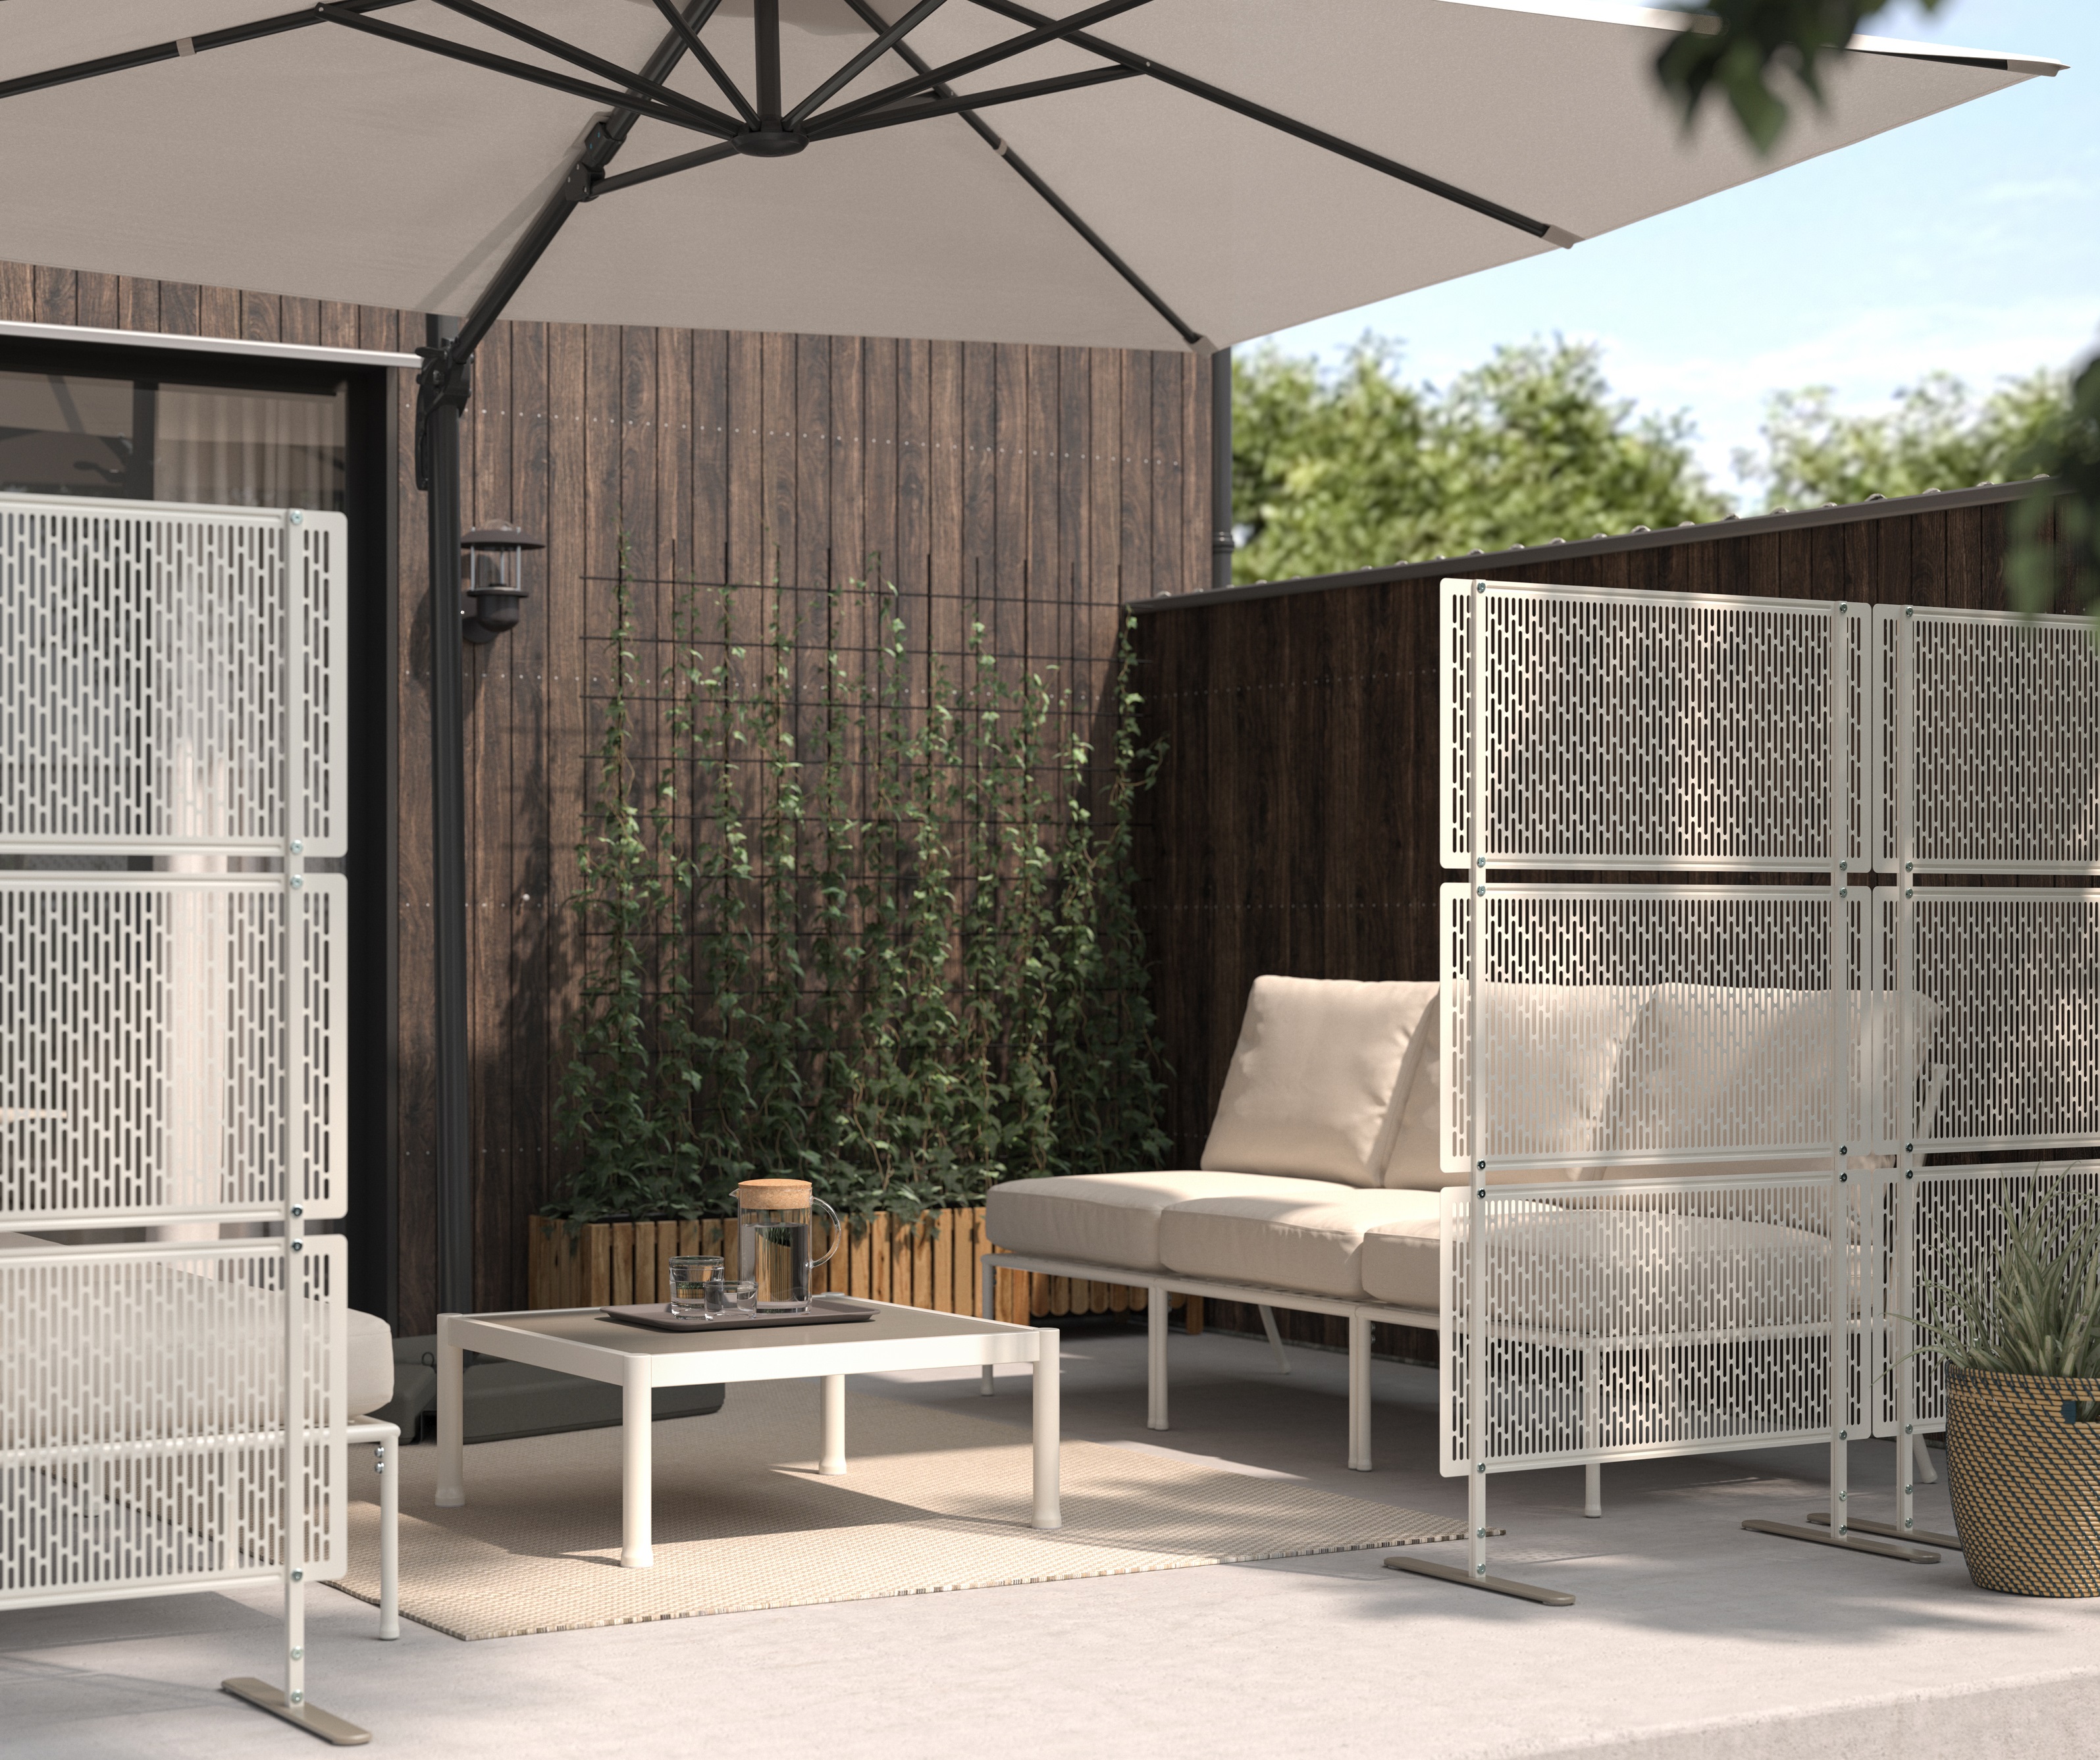
These stylish privacy screens are exactly what every overlooked backyard needs – and they're less than $100 at IKEA
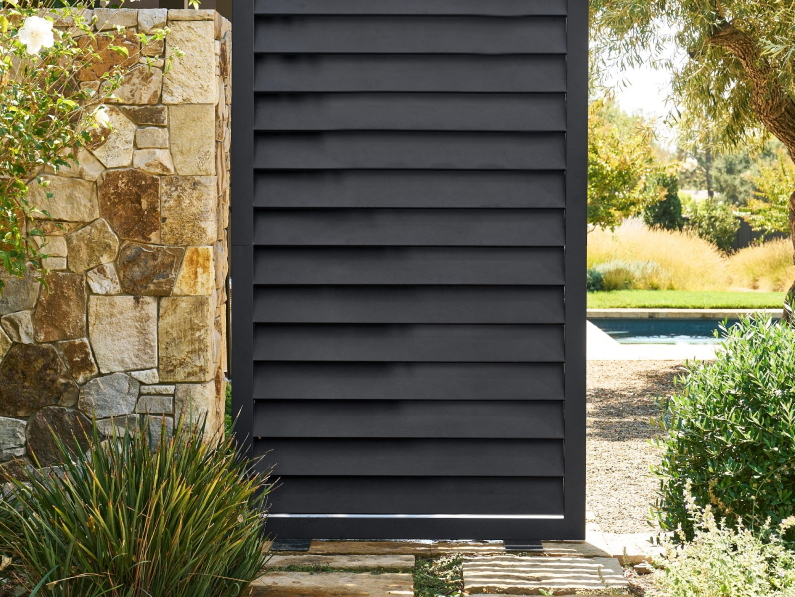
8 best privacy screens for your backyard, office & beyond
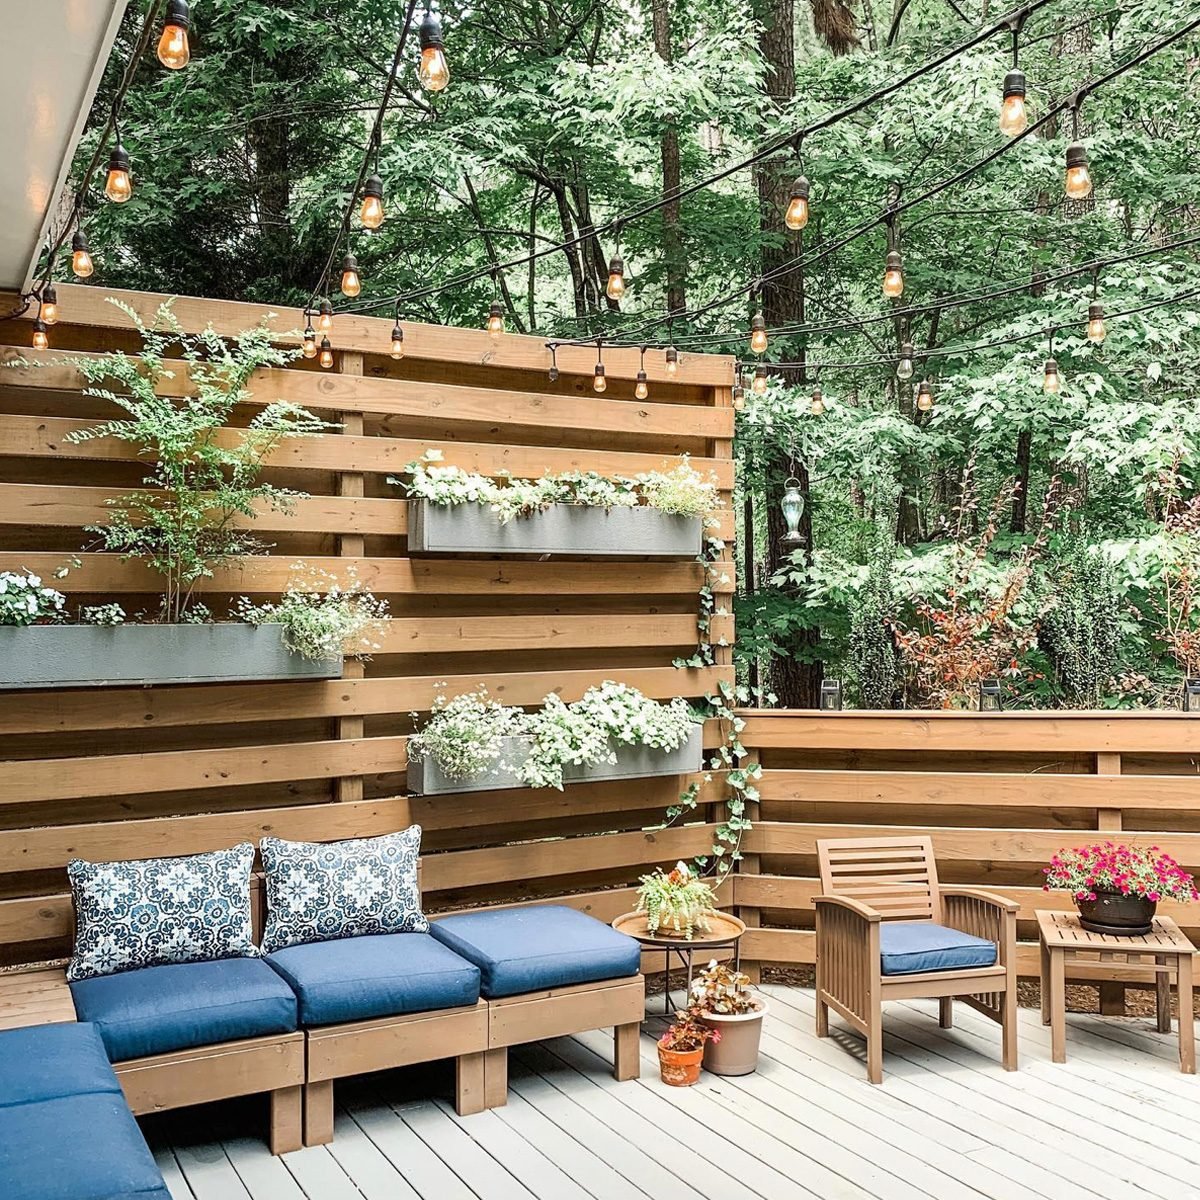
10 Privacy Fence Ideas for Your Yard
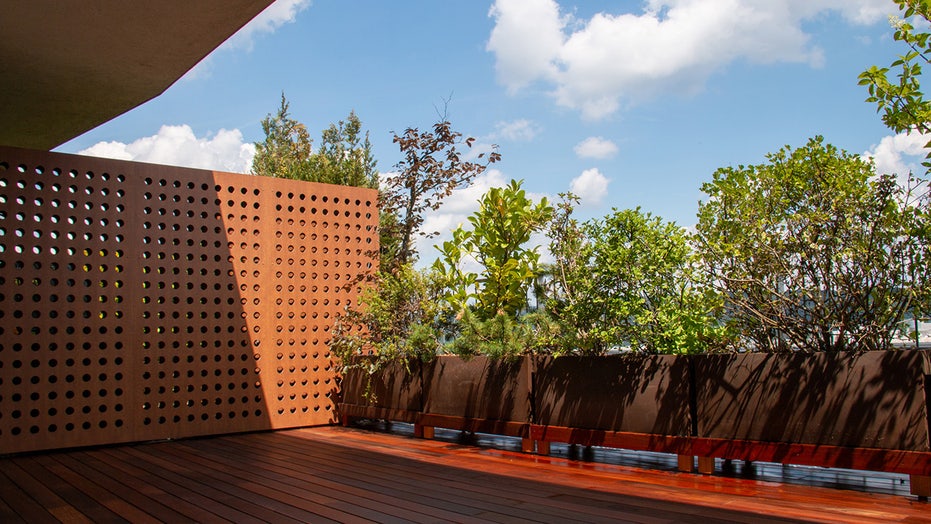
10 privacy fence options for your deck, patio or backyard