How to Make Life-Size Pinterest Boards That Double as Inexpensive Wall Decor
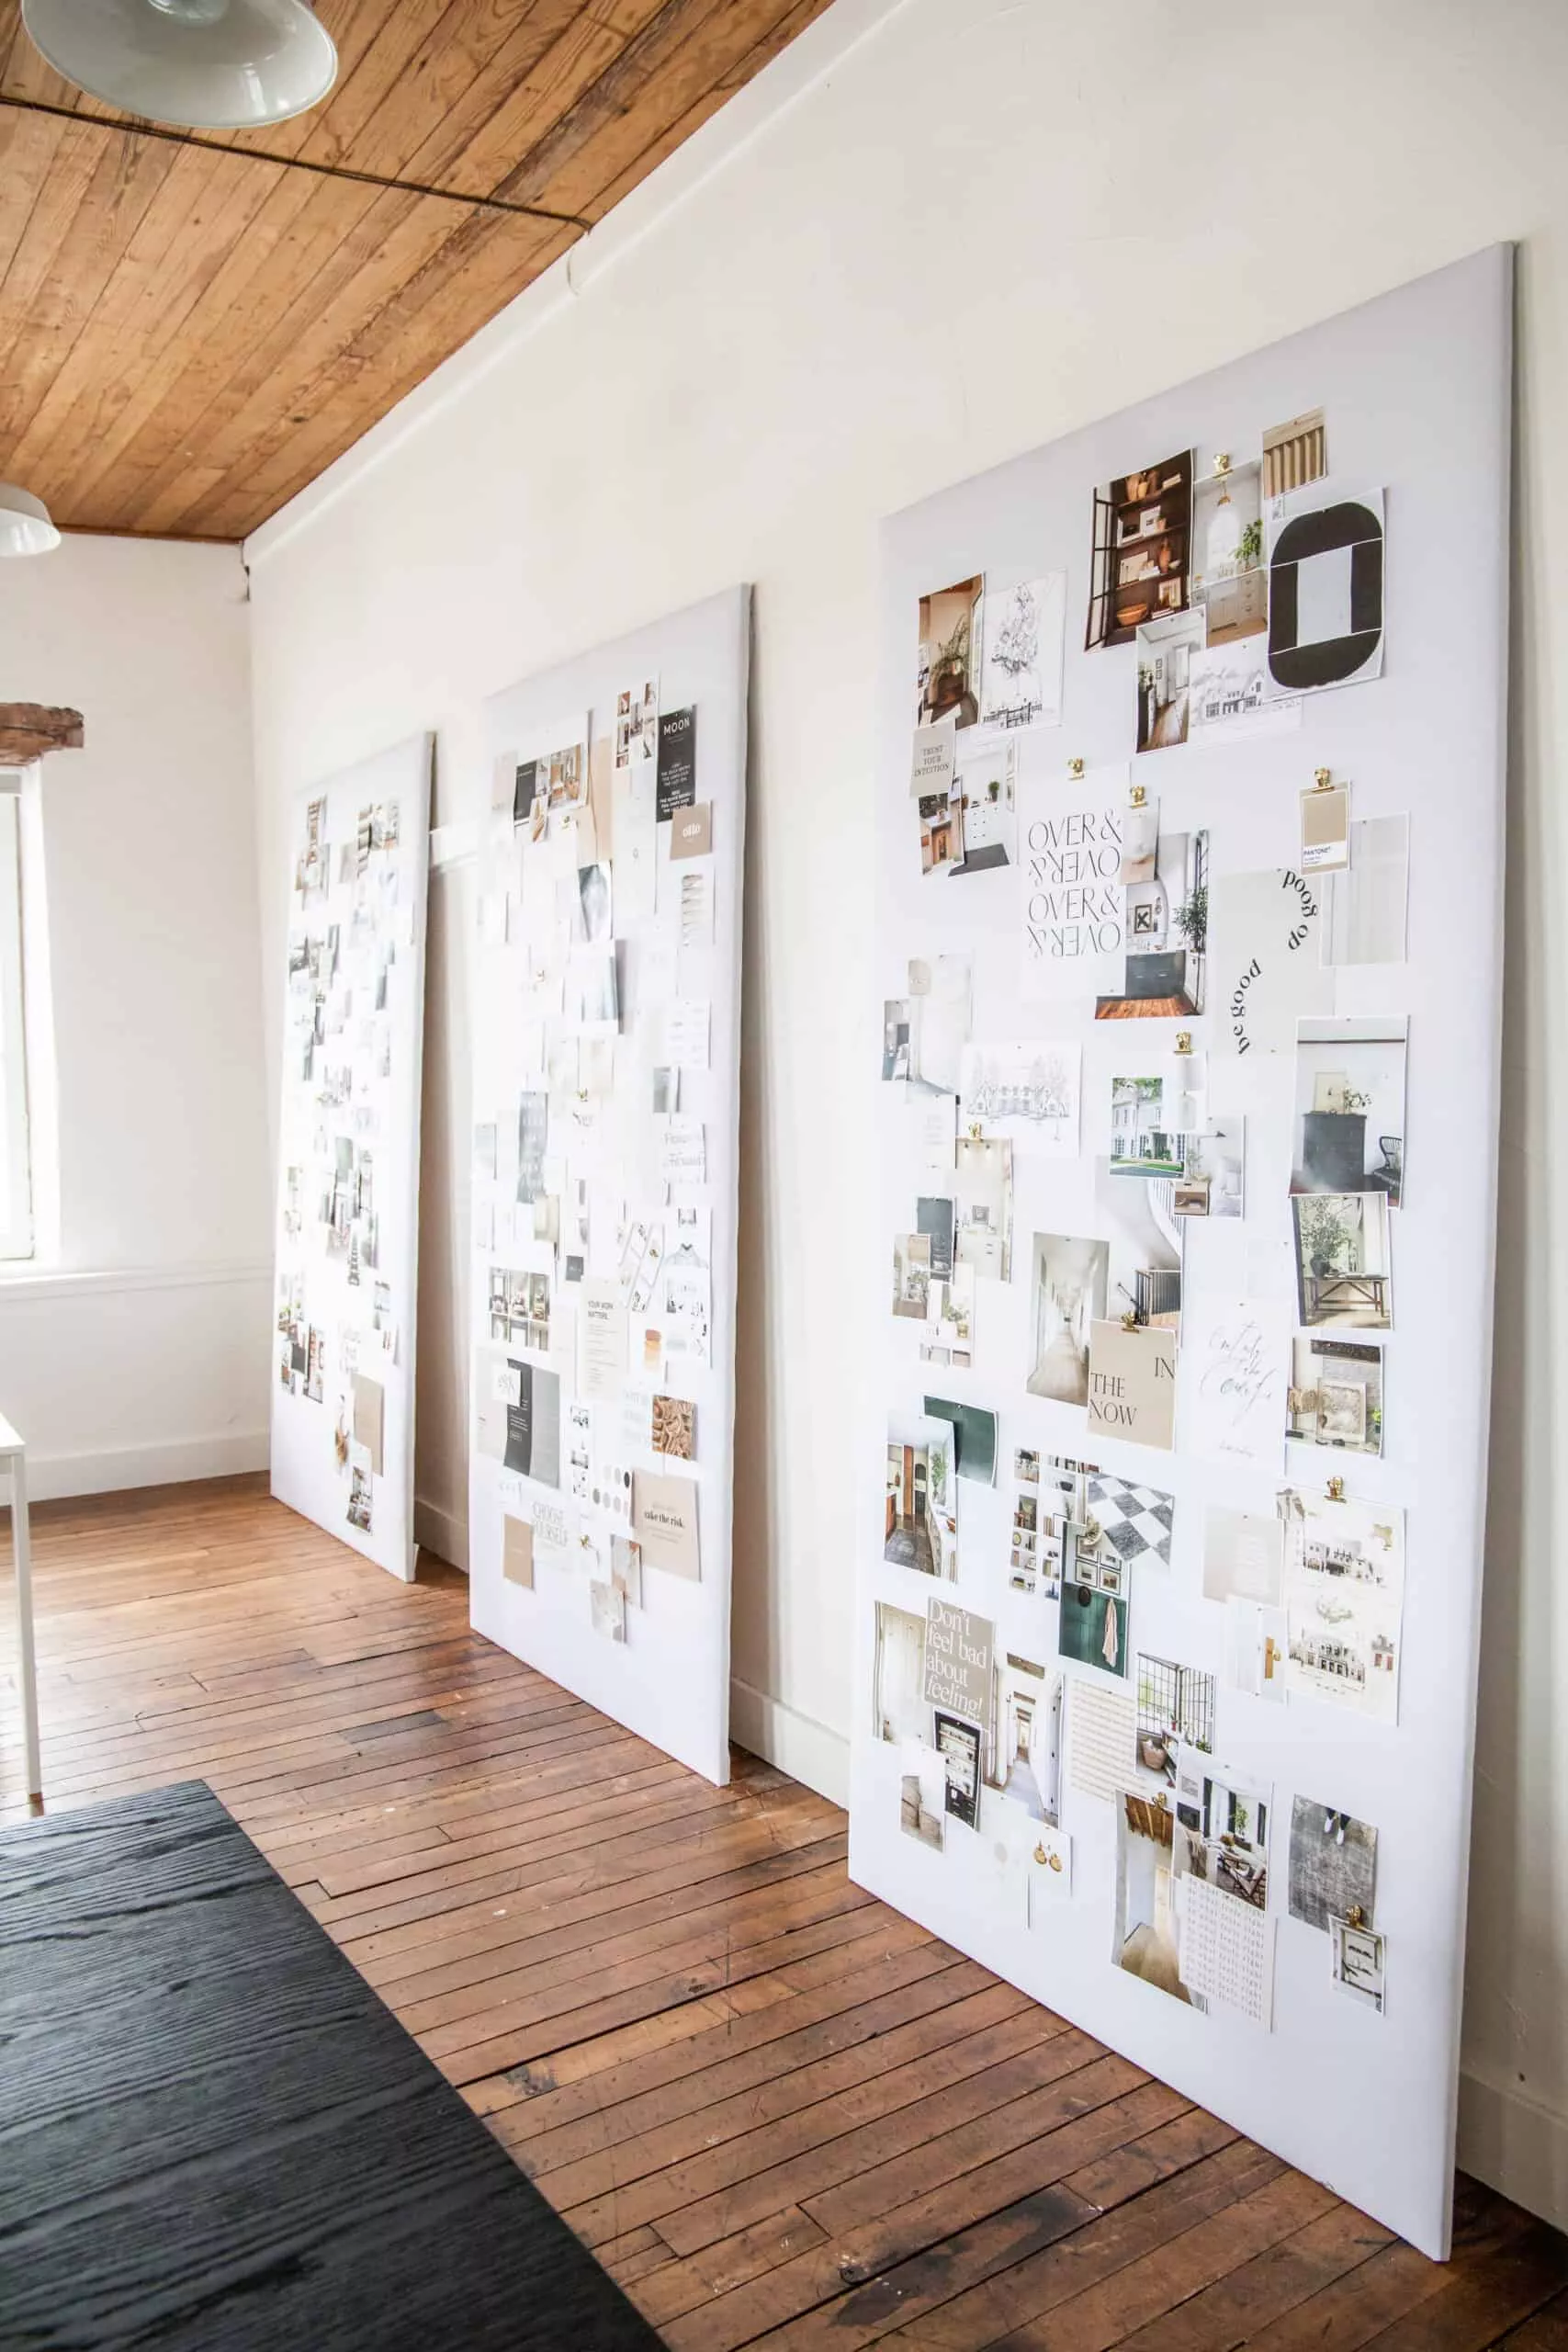
The article details a DIY project for creating life-size Pinterest boards that function as an inexpensive and versatile wall decor solution. This concept originated from interior designer Sophia Lee, who sought an affordable alternative to traditional large-scale artwork for her office space. Faced with blank walls and high costs associated with art, Lee, an avid Pinterest user, developed a method to translate her digital design inspiration into physical, tangible display boards. These boards not only serve as a creative outlet for showcasing design ideas but also add a personalized touch to any room.
The project is designed to be simple and budget-friendly, making it accessible even for those who do not consider themselves experienced DIYers. The primary materials required include plywood boards, fabric, batting, an iron, a stapler or staple gun, matching pins, and optional wall brackets. The initial step involves measuring the designated space to determine the appropriate size and number of plywood boards needed. Lee herself used three 4x8-foot plywood pieces for her high-ceilinged office, highlighting the adaptability of the project to various room dimensions.
Following the measurement phase, the next step focuses on selecting the fabric and batting. A fluffy batting is recommended, with a preference for thicker options, and the fabric should be chosen with enough excess to wrap around the plywood board. Lee opted for a crisp white fabric to ensure the pinned images remain the focal point, but individuals can select colors or patterns that align with their personal aesthetic and existing decor. The article emphasizes the importance of a wrinkle-free fabric by suggesting ironing it before assembly.
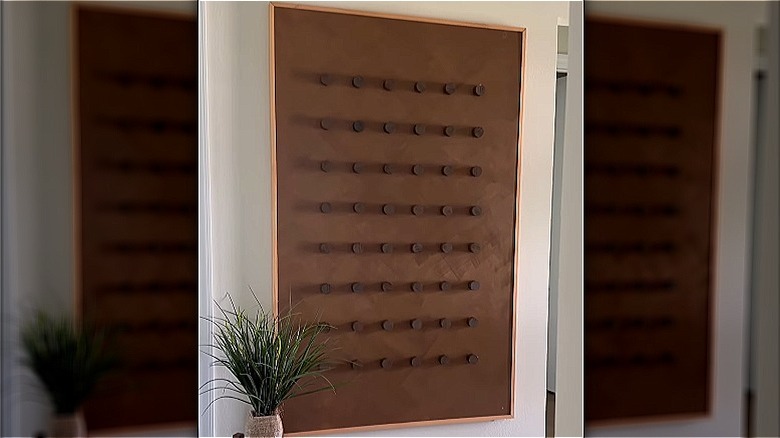
The assembly process begins by laying out the wrinkle-free fabric, followed by the batting, which may need to be arranged in multiple horizontal strips for larger boards. The plywood board is then placed centrally on top of the batting and fabric. A key technique involves tightly pulling the fabric across the board and stapling it securely around the edges, with corners folded neatly like wrapping paper to achieve a professional finish. Assistance from another person can be beneficial to maintain fabric tautness during stapling.
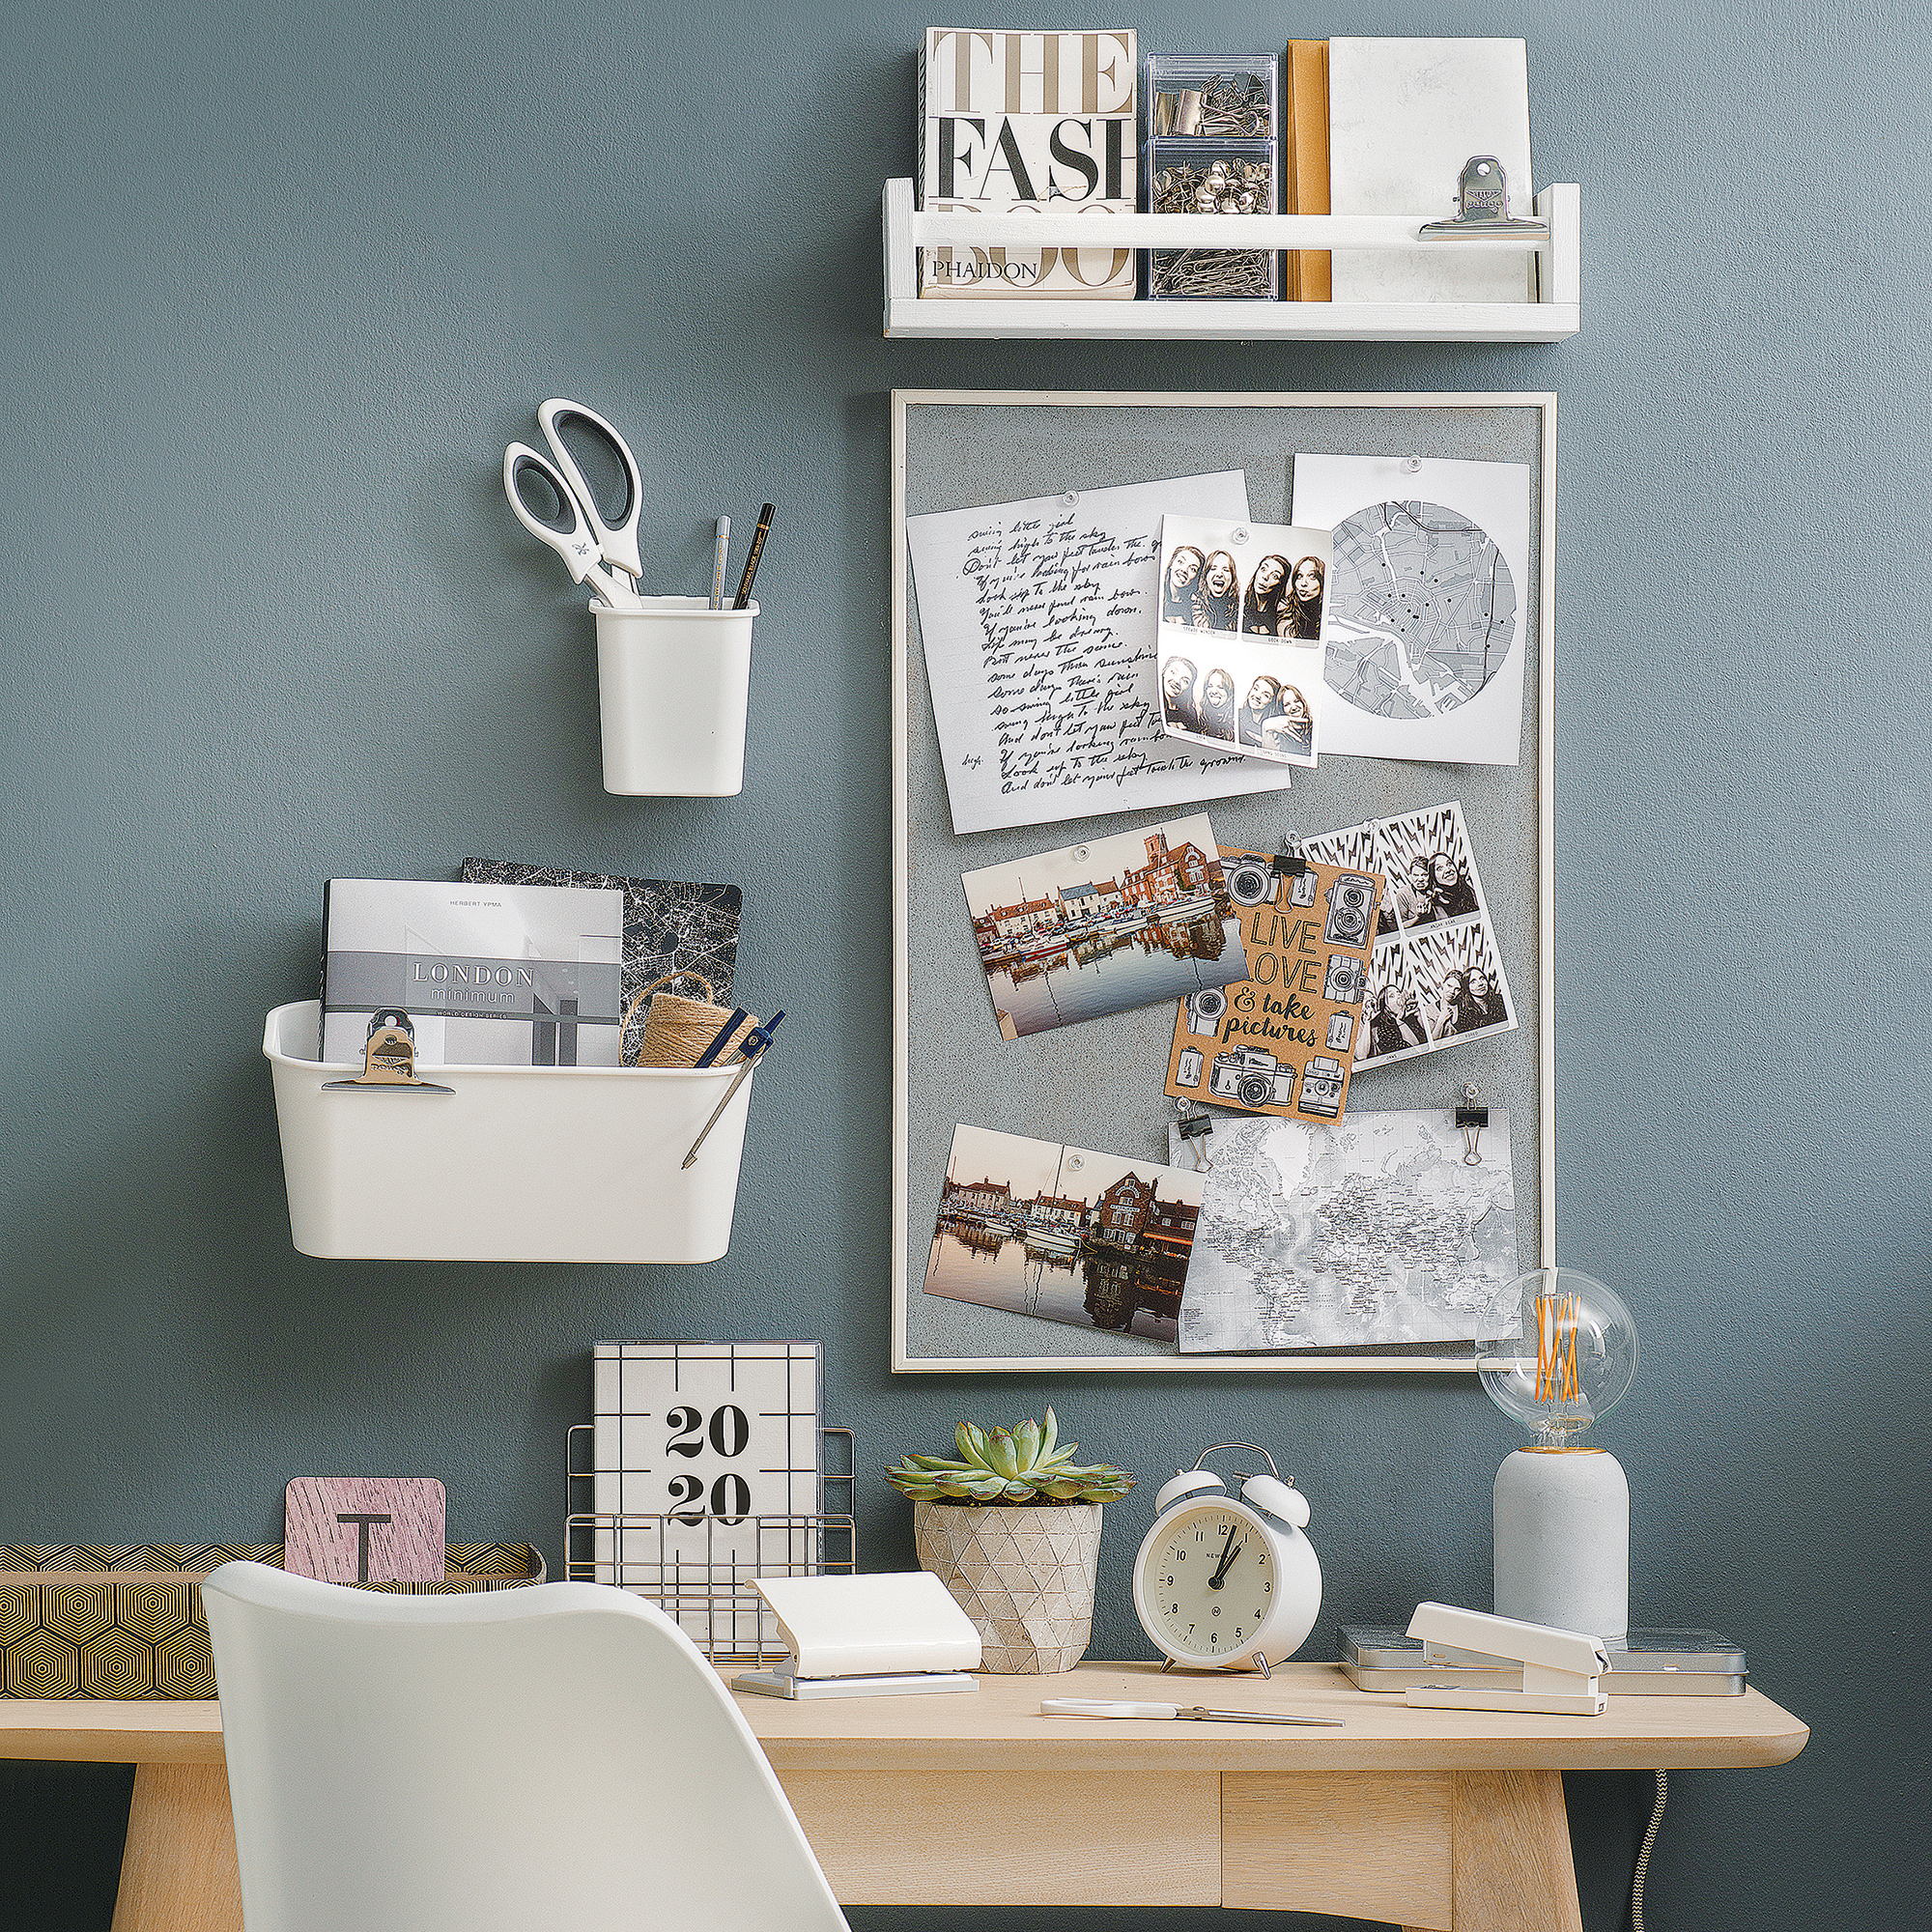
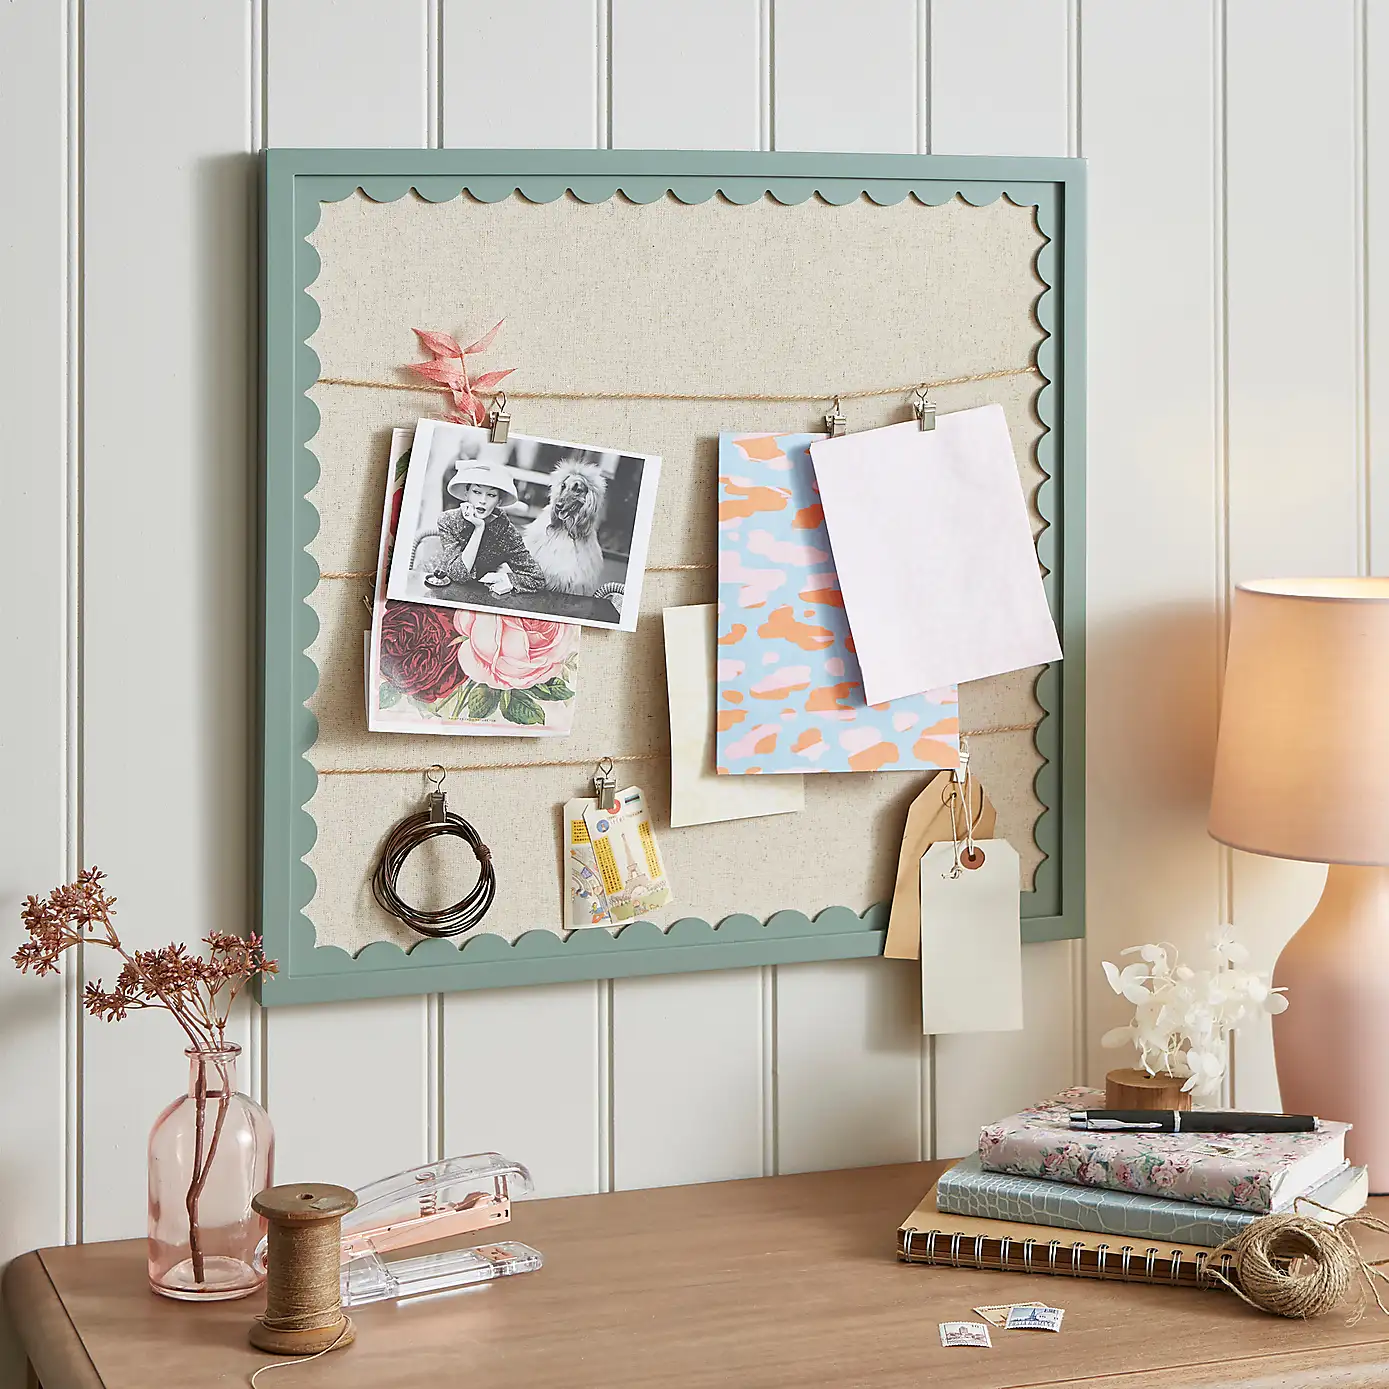
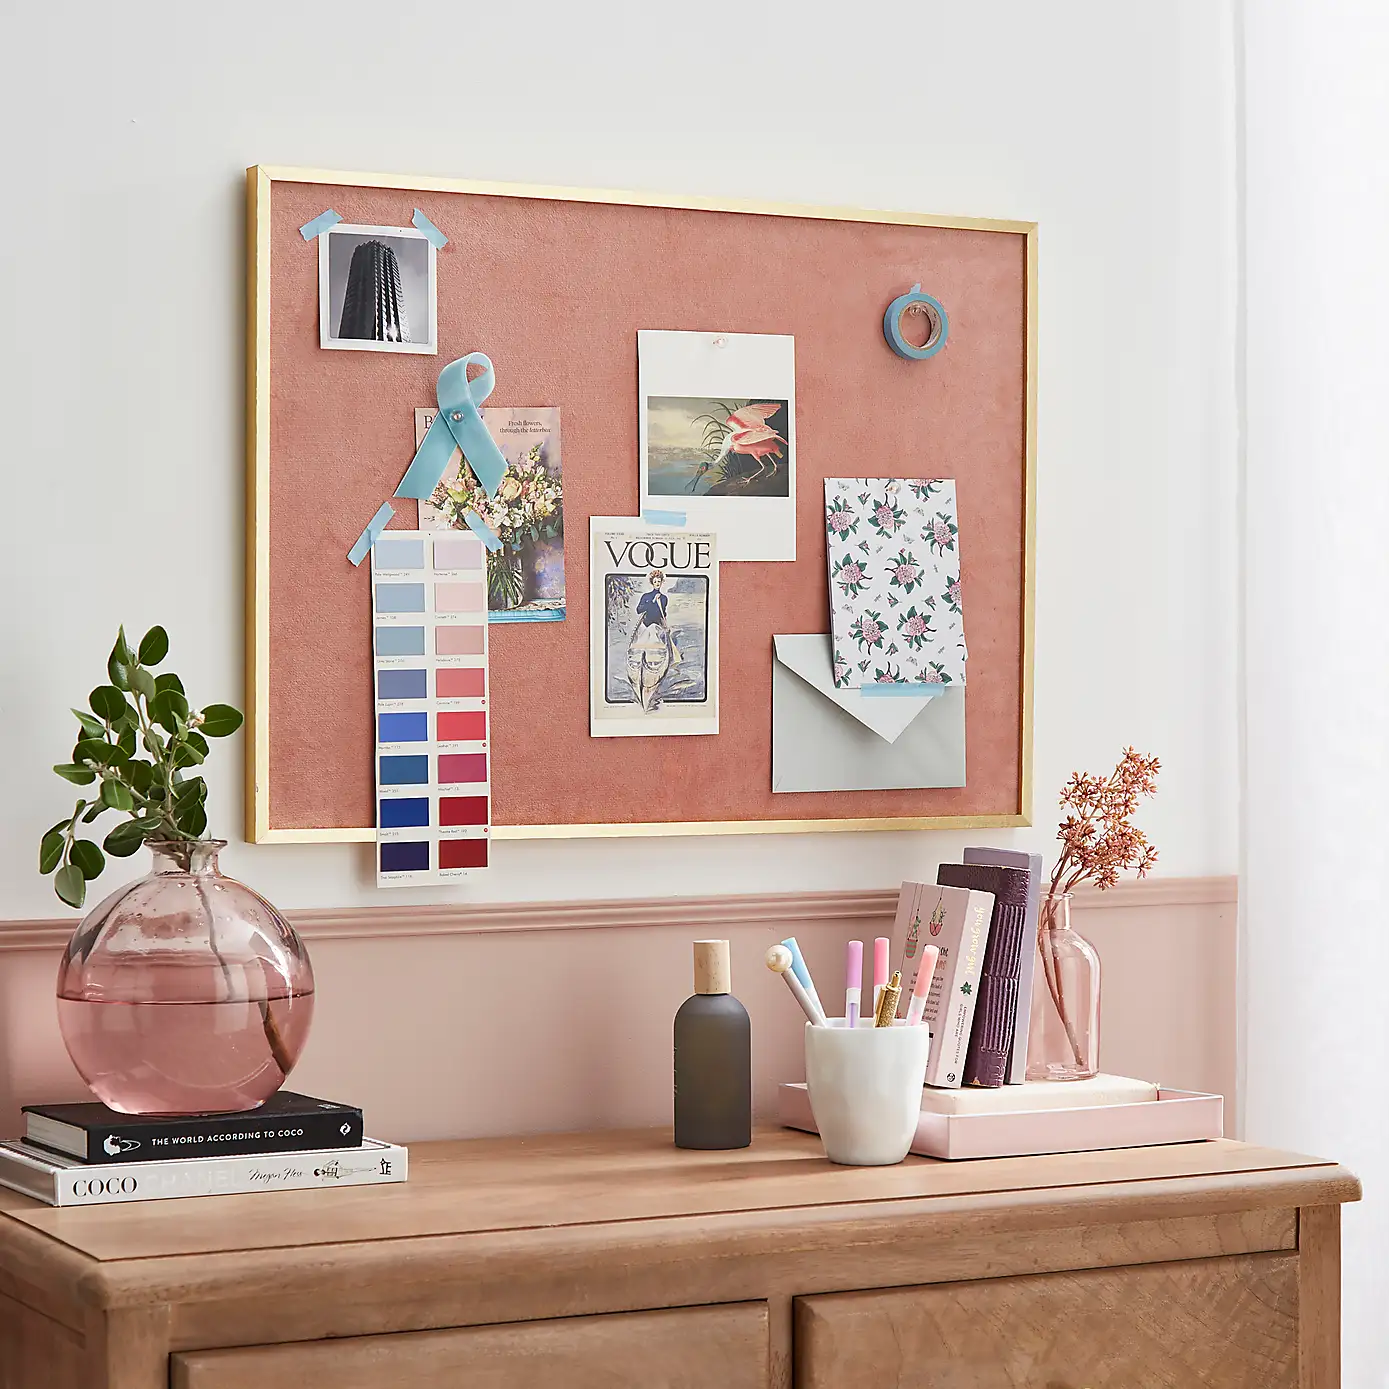
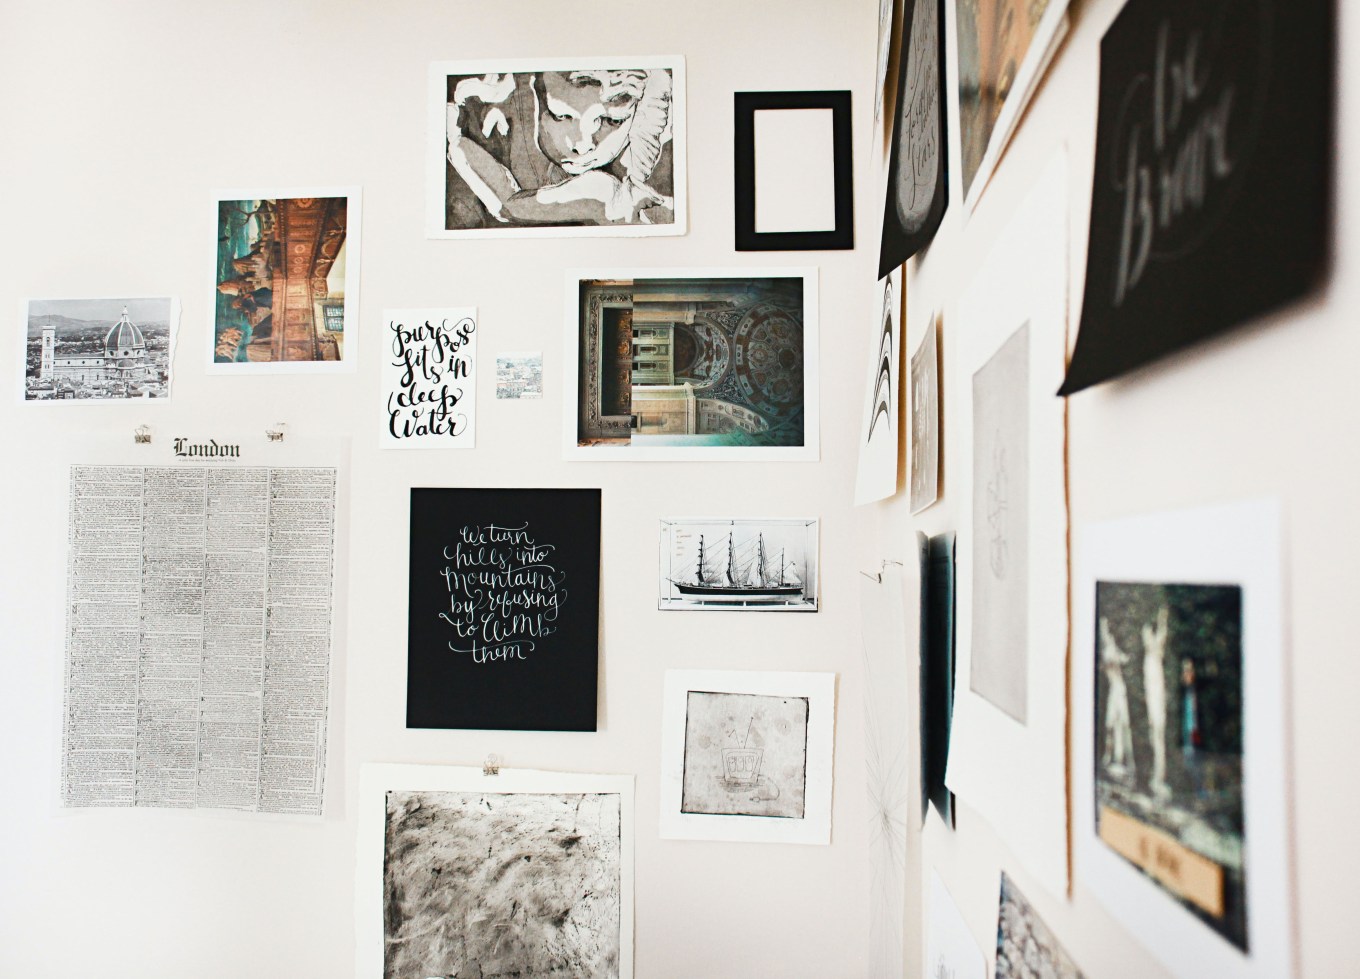
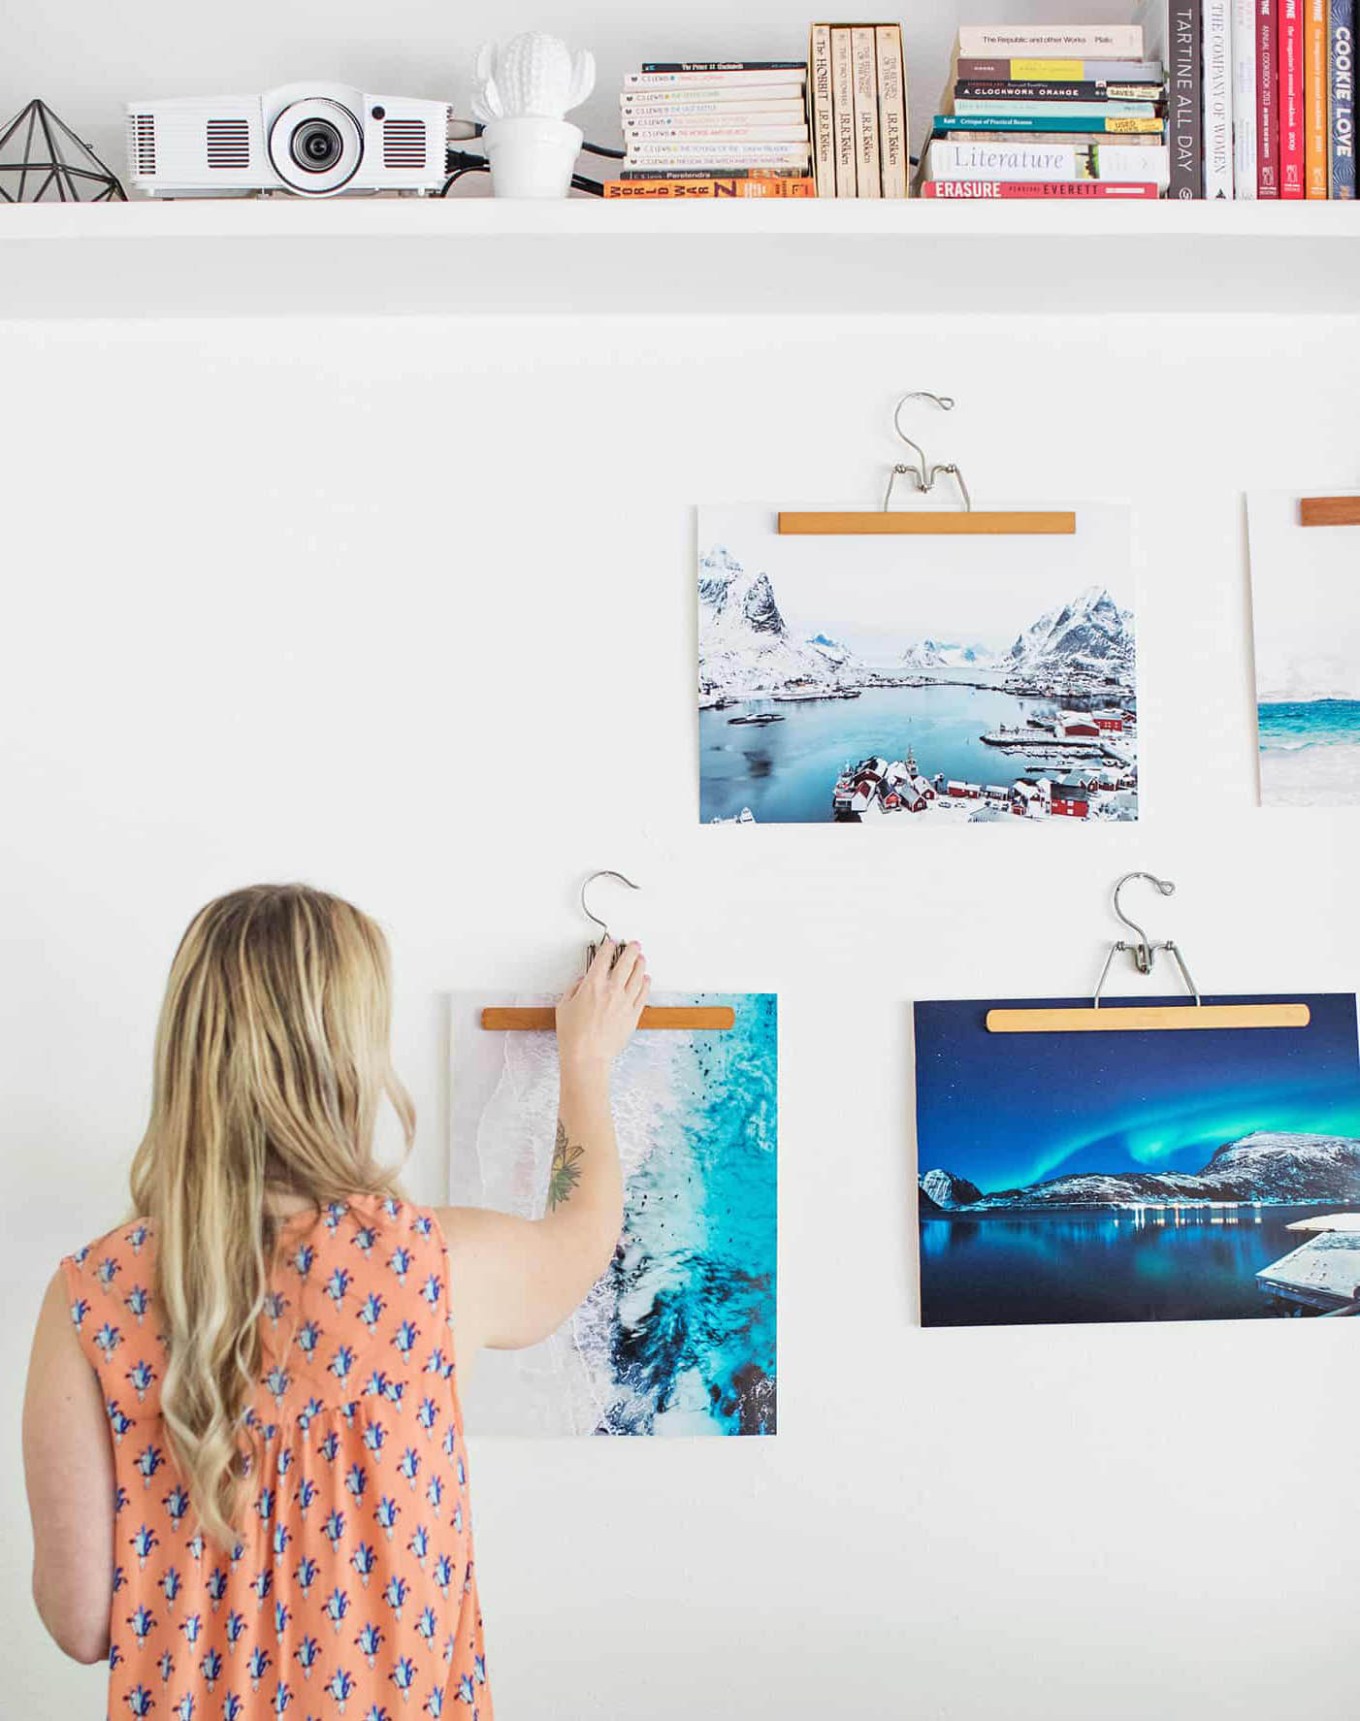
The final stages involve adding personal inspiration and deciding on the display method. The boards are meant for showcasing photos, quotes, and other design elements that resonate with the creator's vision. Printing images on cardstock and using matching pins contribute to a polished appearance. Lee also incorporates fabric swatches and paint chips to add texture and dimension, adapting the content to suit specific design projects. For display, the boards can either be leaned against a wall, as Lee did due to their size, or mounted using French cleat wall brackets. If hanging, the article advises using a stud finder to locate studs for secure attachment or employing drywall anchors when studs are unavailable. A significant advantage of these DIY boards is their portability, allowing for easy relocation, which is particularly useful for individuals in temporary living or working spaces.
#DIYDecor #WallArt #HomeOffice #BudgetFriendly #InteriorDesign #PinterestInspired #VisionBoard #DecoratingIdeas #DIYDecor #WallArt #HomeOffice #BudgetFriendly #InteriorDesign #PinterestInspired #VisionBoard #DecoratingIdeas
0 Kommentare insgesamt
 Noch keine Kommentare
Das könnte Ihnen auch gefallen
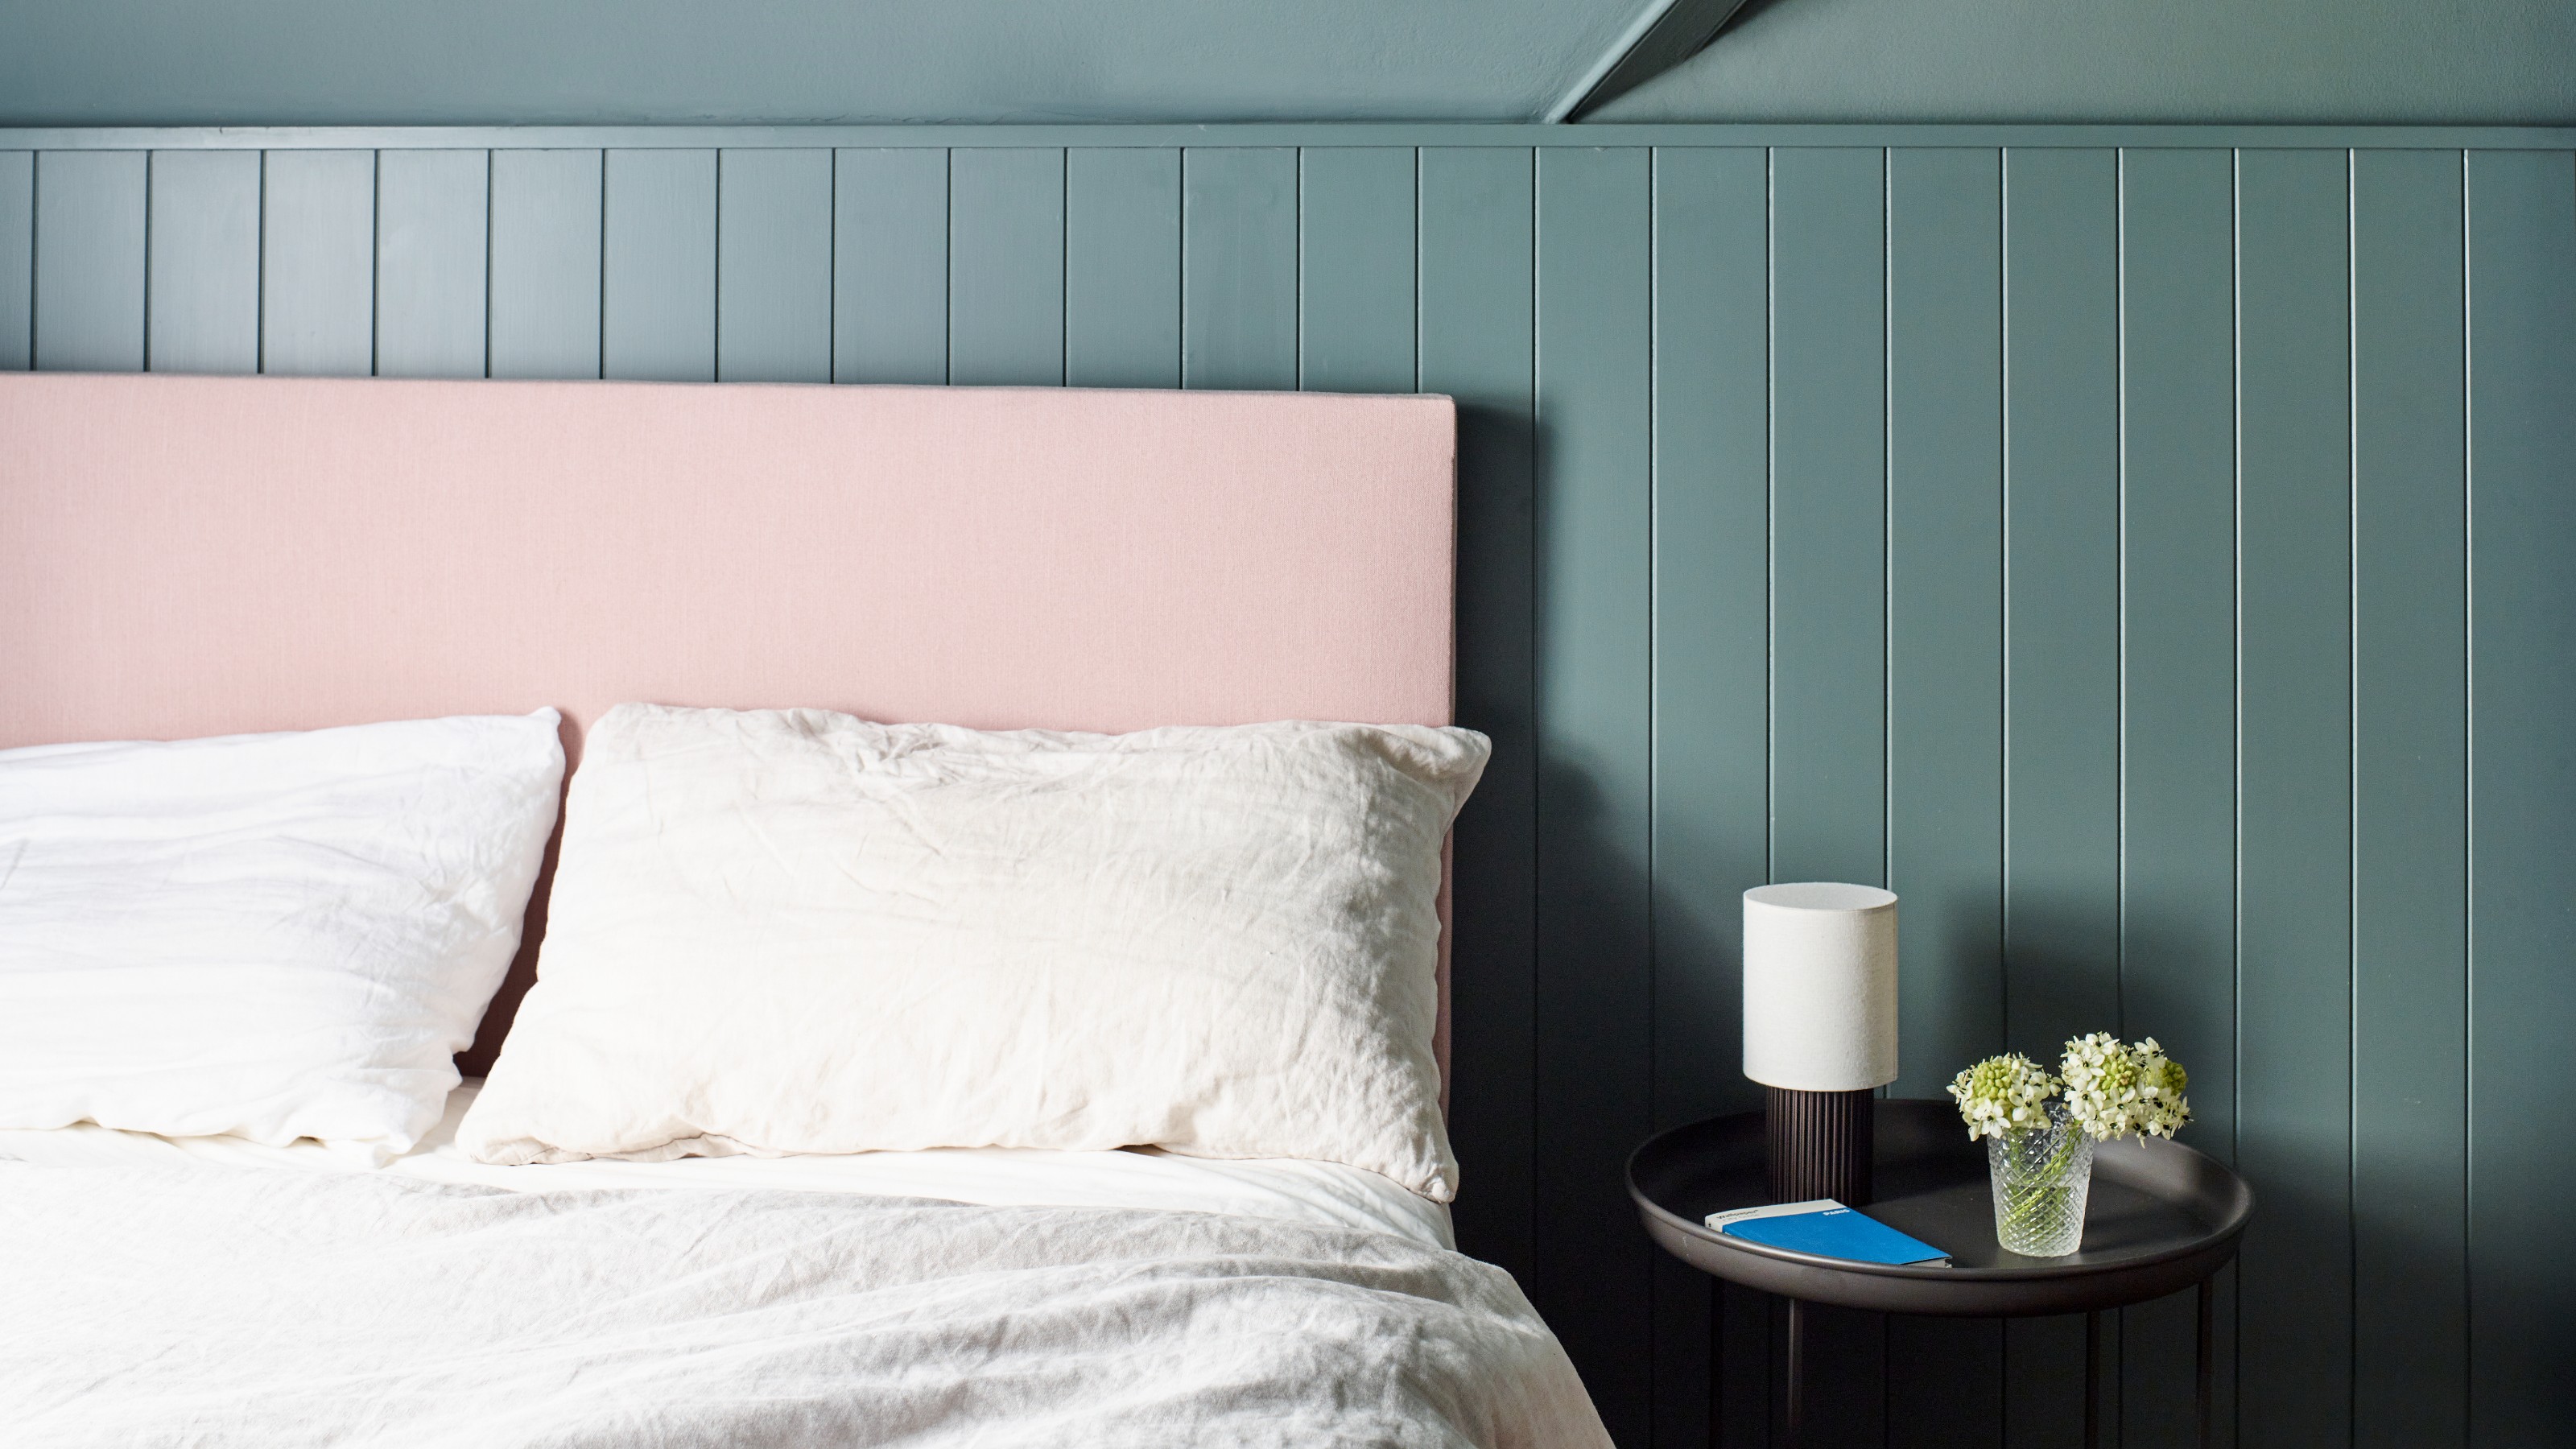
6 ways to fake wall panelling and create the sought-after look on a budget
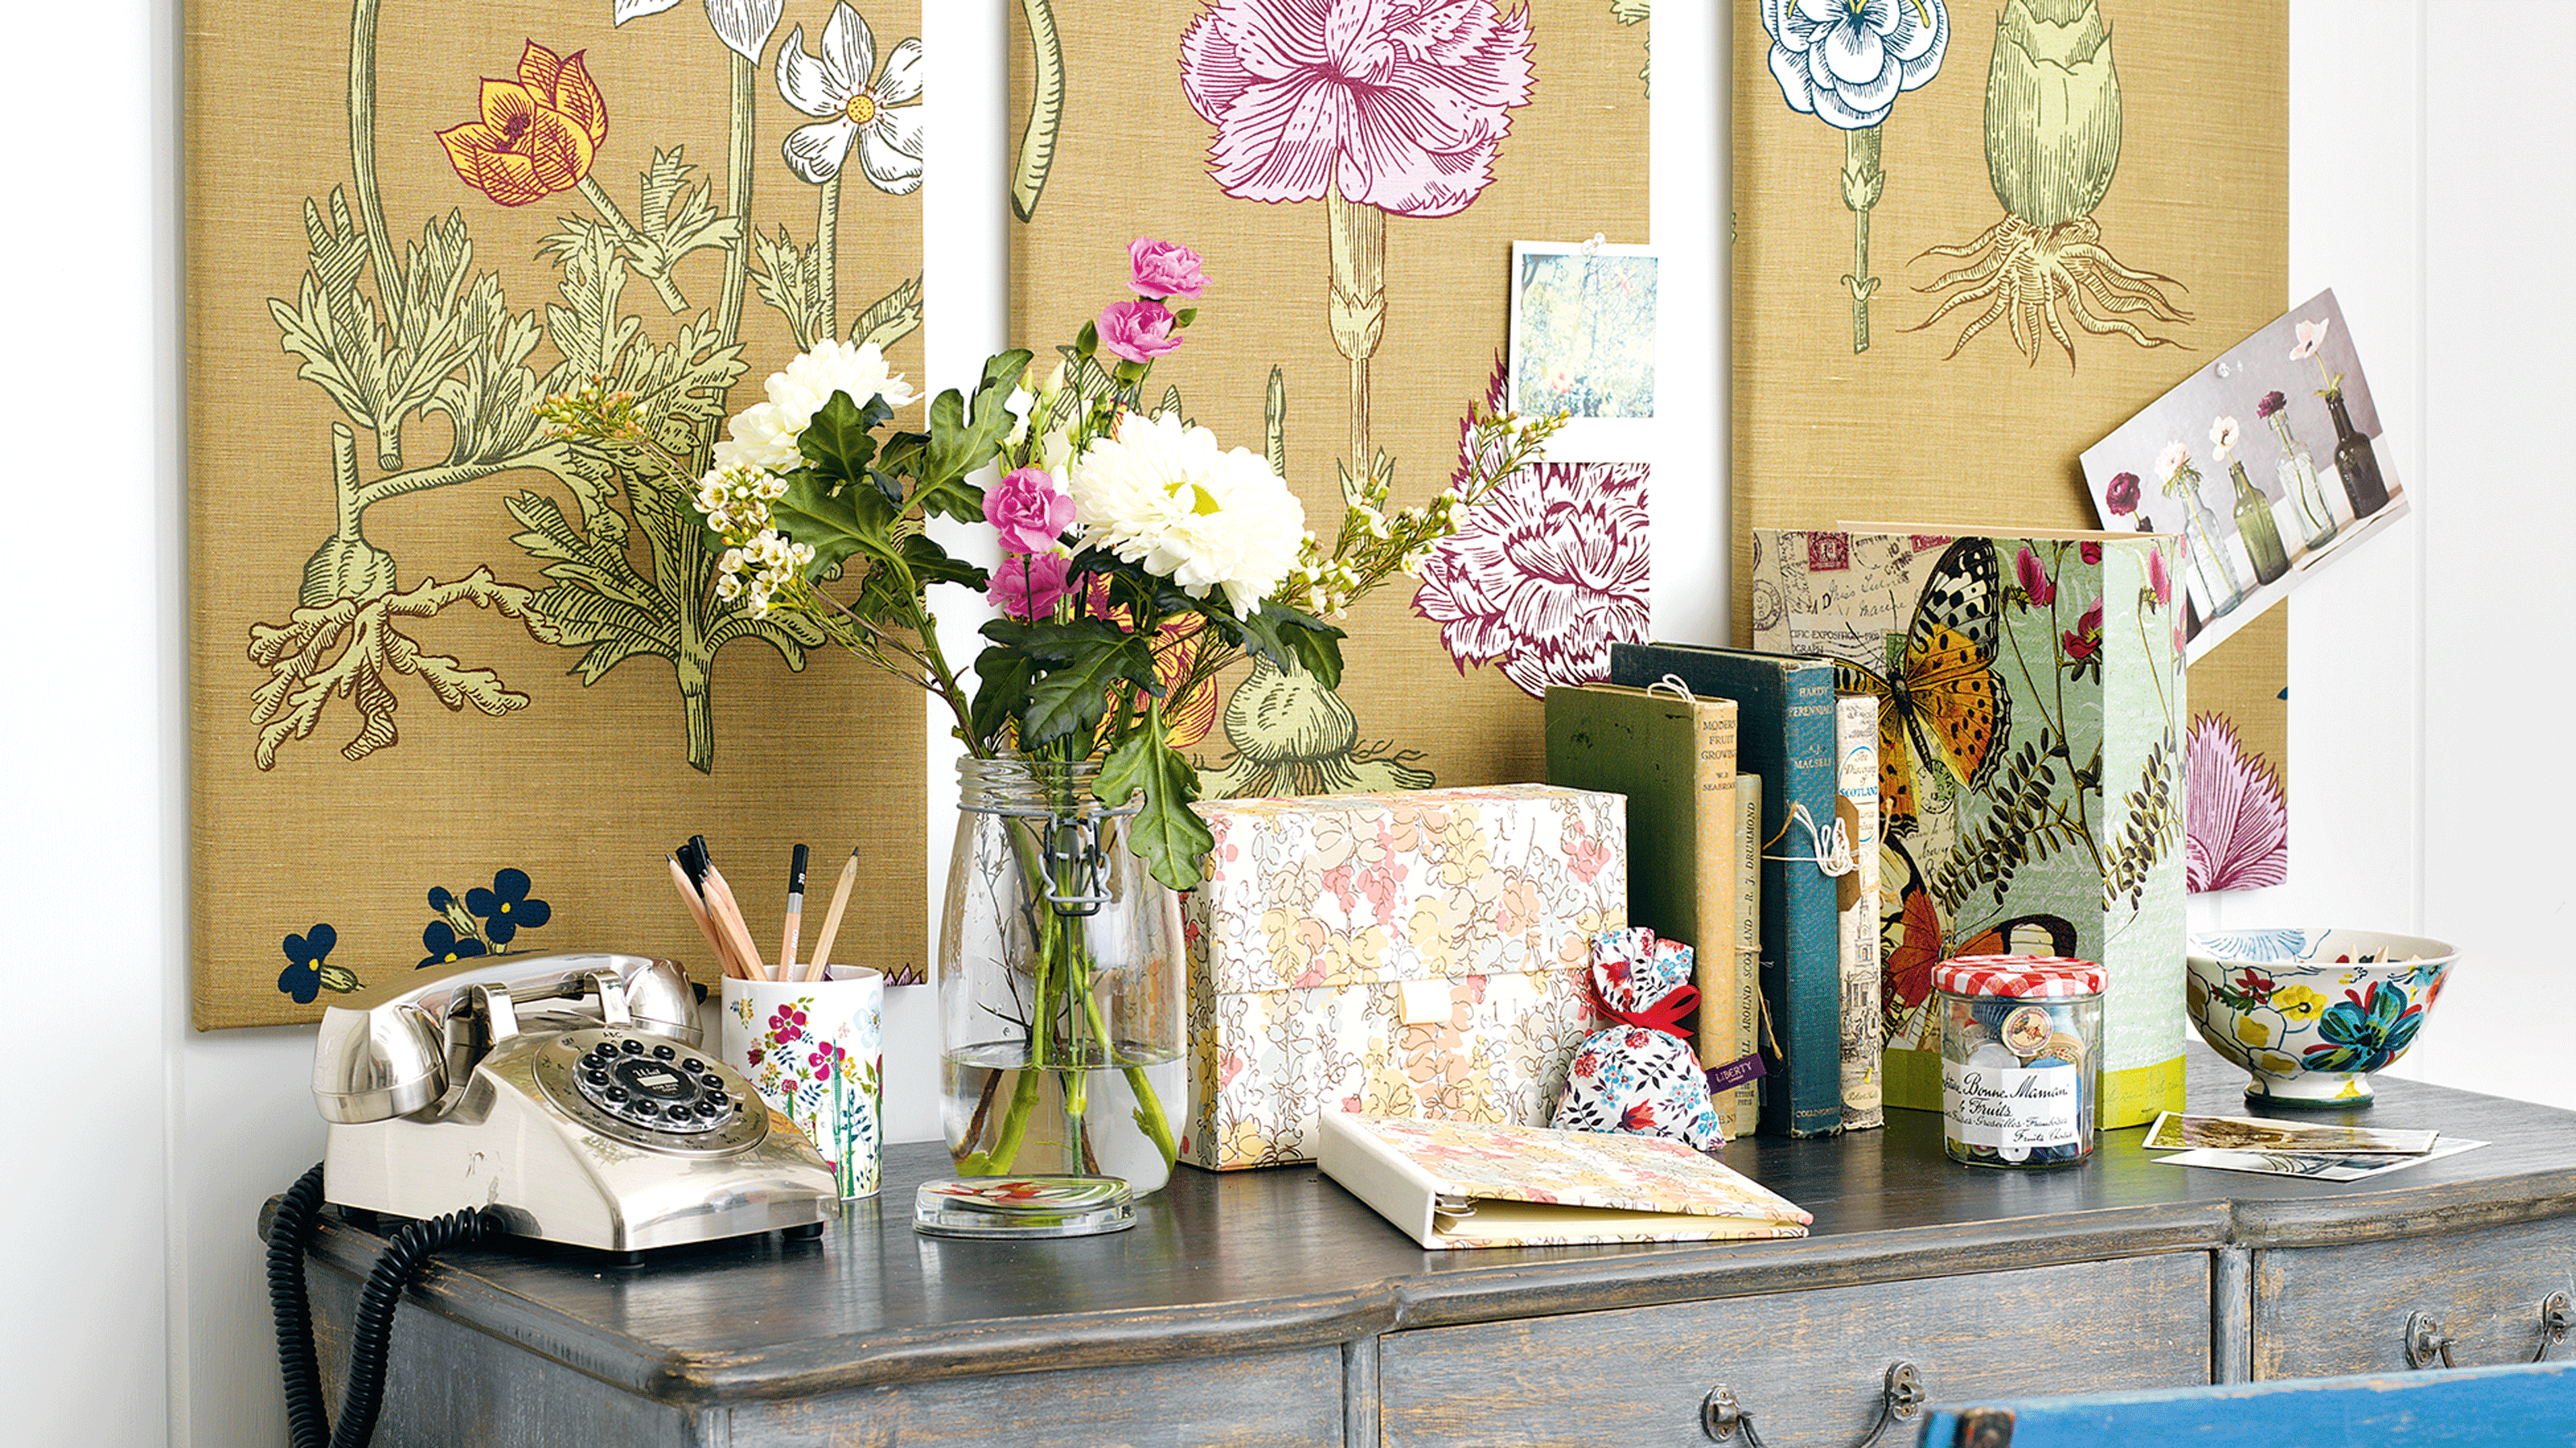
8 aesthetic pinboard ideas – pretty and functional ways to elevate a simple cork board into something inspiring
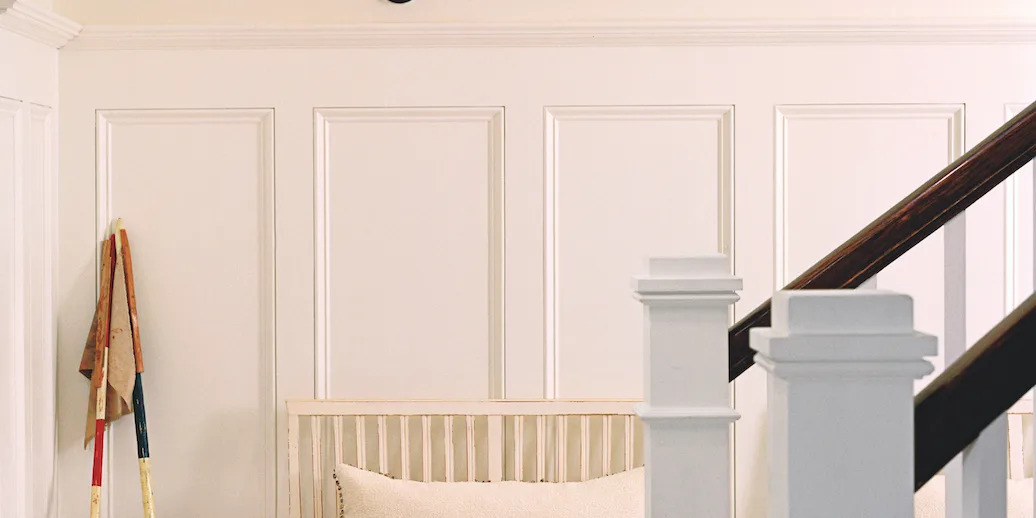
Wainscoting Is Hot Again—Here's What It Costs To Add It to Your Walls

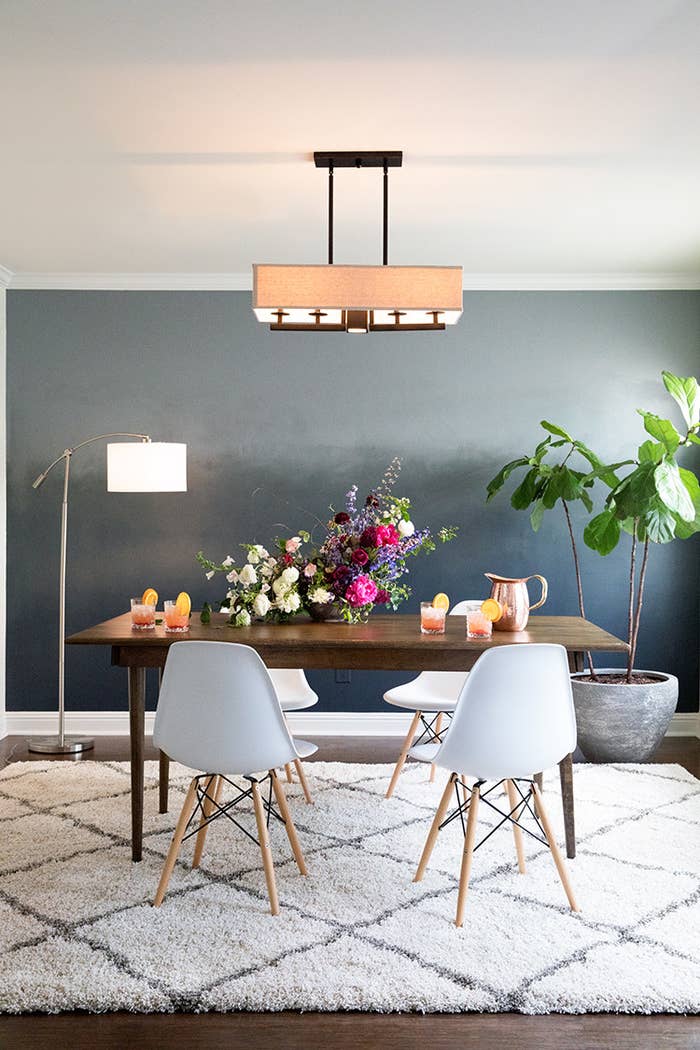
25 Ways To Transform Your Boring, Empty Walls Into Something You'll Actually Want To Look At
'No forking way!' – this genius hack might have just solved our biggest problem with hanging art on a wall
How to hang wall perfectly: Use a fork

34 Creative DIY Wall Art Ideas to Decorate Your Space

Unexpected Kmart buy turns into expensive-looking artwork for just $10

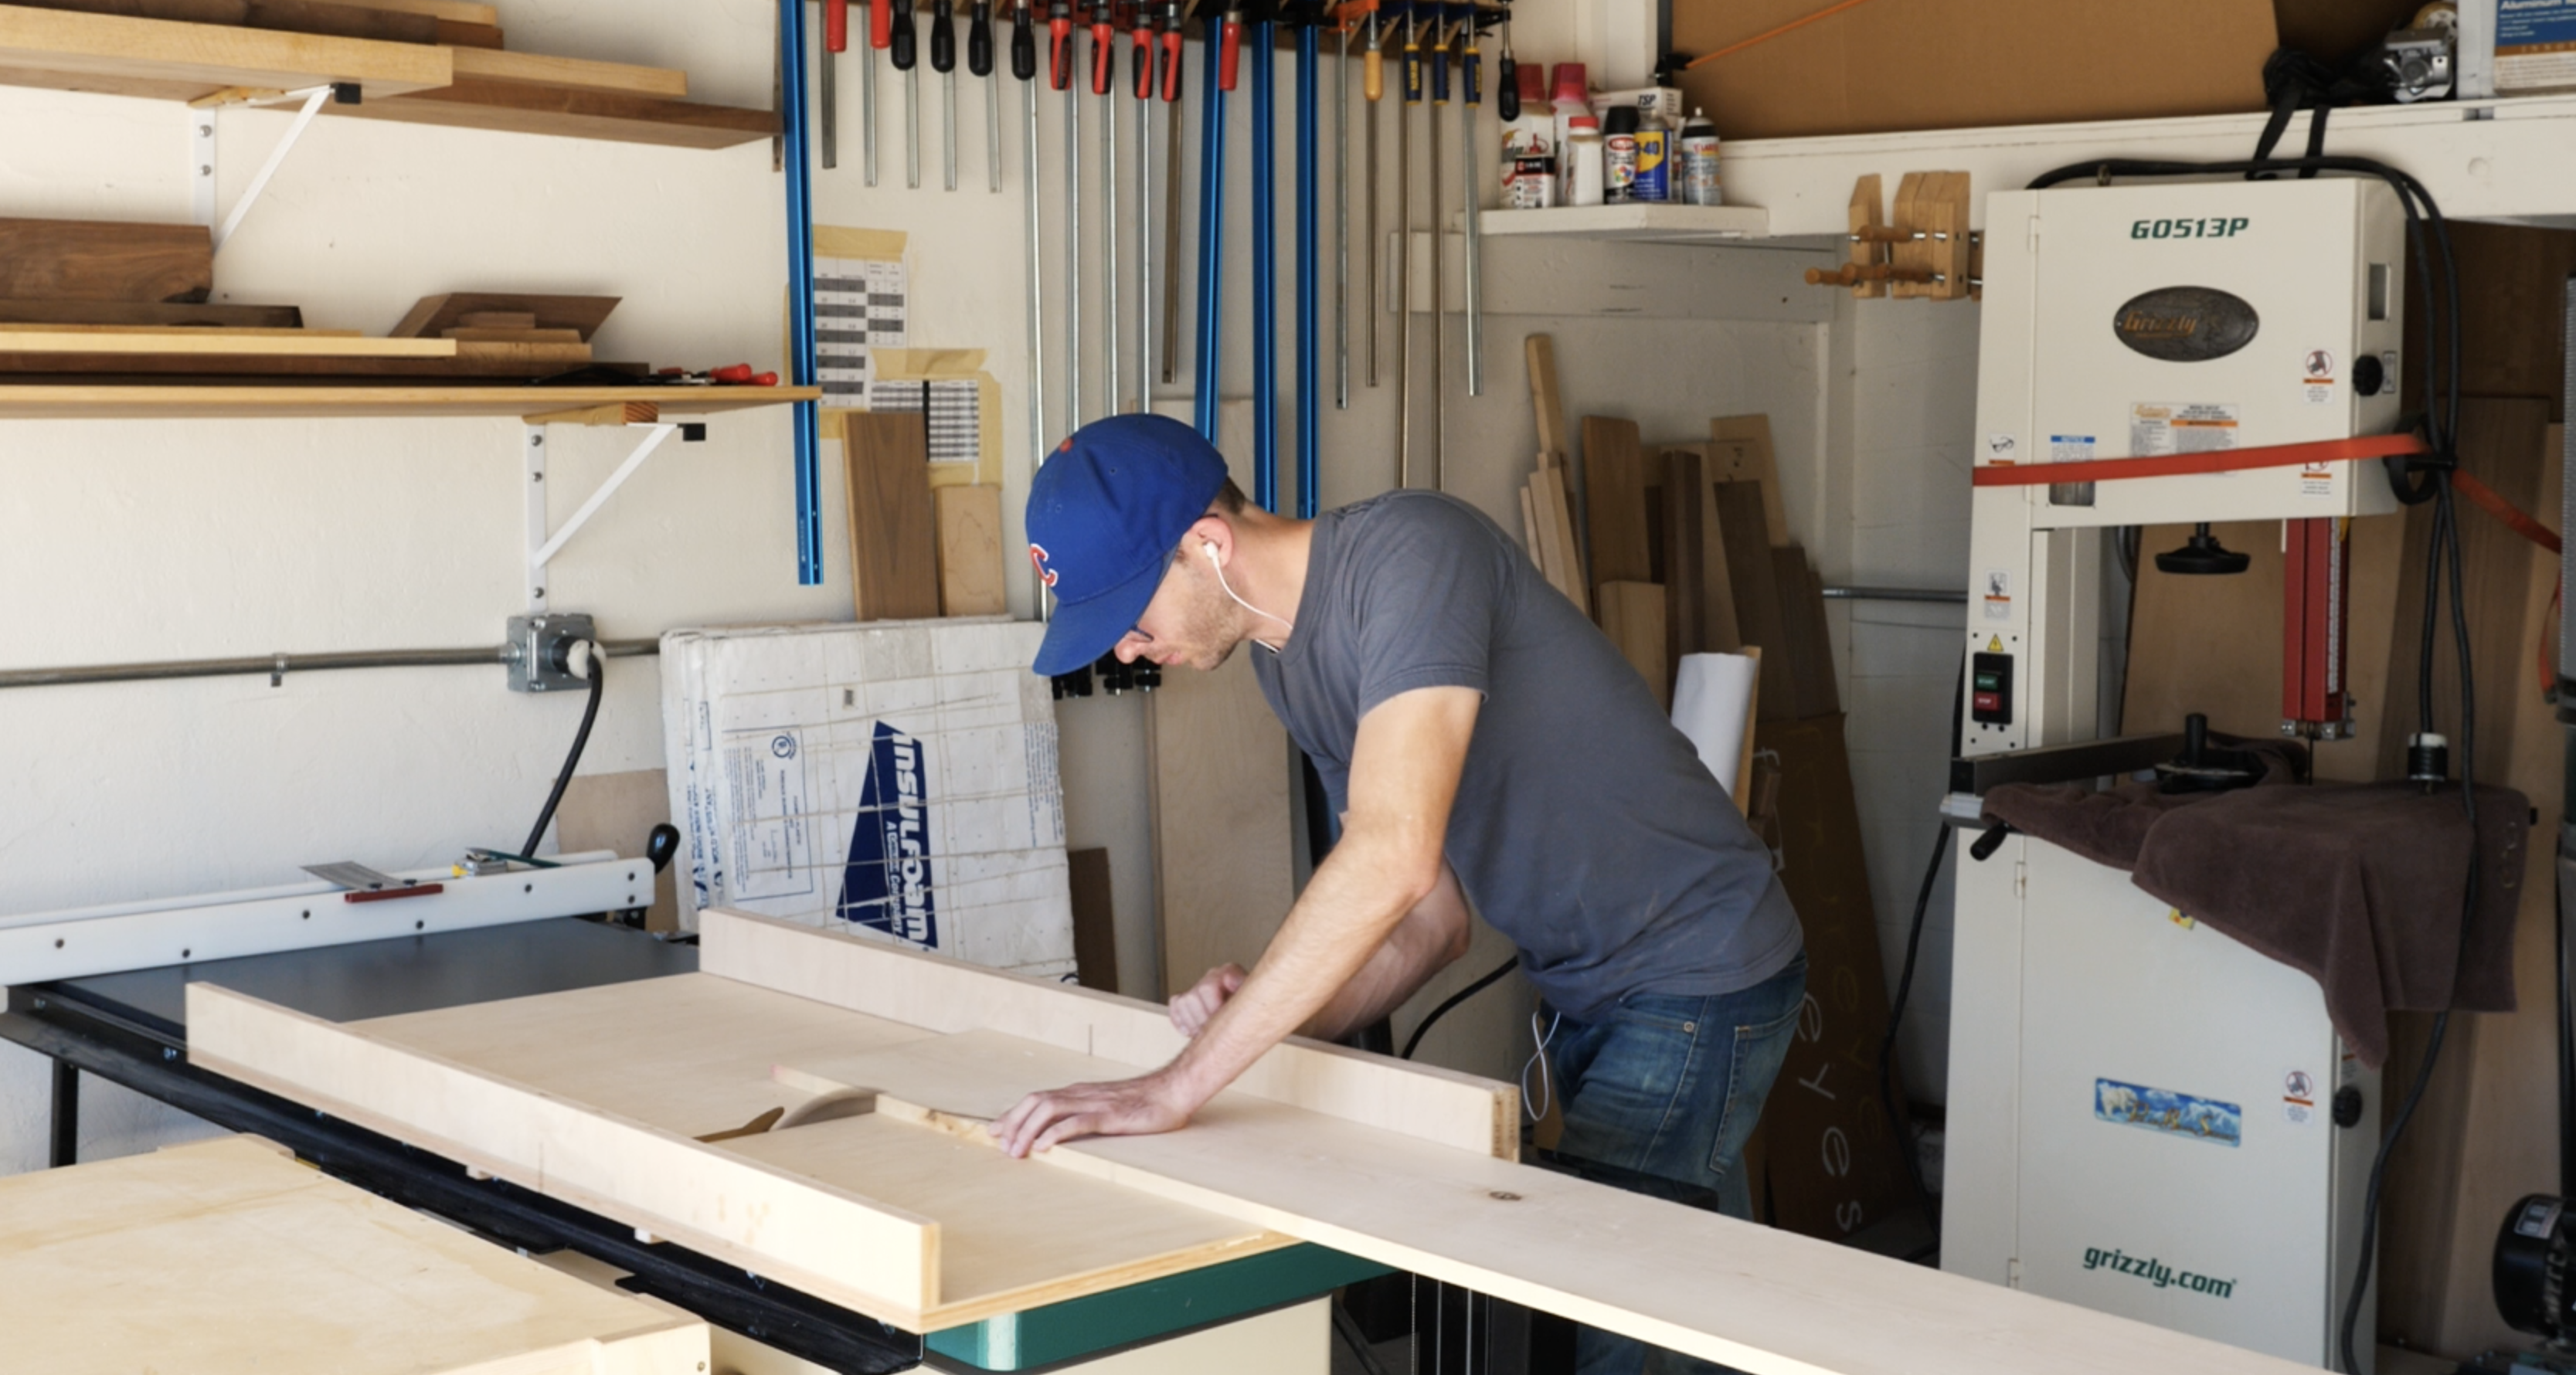
Dwell Made Presents: DIY Picture Wall

This Wall-Decor Hack Is Even Easier Than Peel-and-Stick Wallpaper
5 Renter-Friendly Ways to do Wall Decor — Add Personality to Your Home, Without Ruining the Walls

19 Budget-Friendly Wallpapers

Woman Shares Budget-Friendly DIY For Luxurious Home Decor: 'This Is STUNNING!'
21 Wall Art Ideas That Will Give Your Home Some Major Personality
My editor swears by this framing trick to make any wall art look more expensive – I’m taking her advice on board, and so should you
Cool Home Decor Brands That Won’t Wreck Your Budget
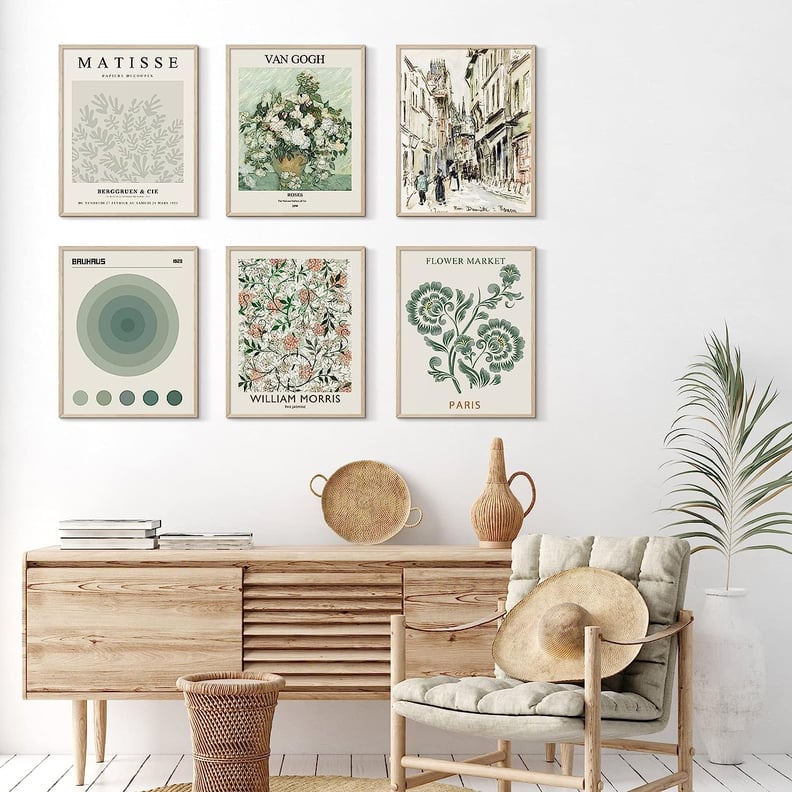
The Best Wall Decor From Amazon That'll Transform Your Space
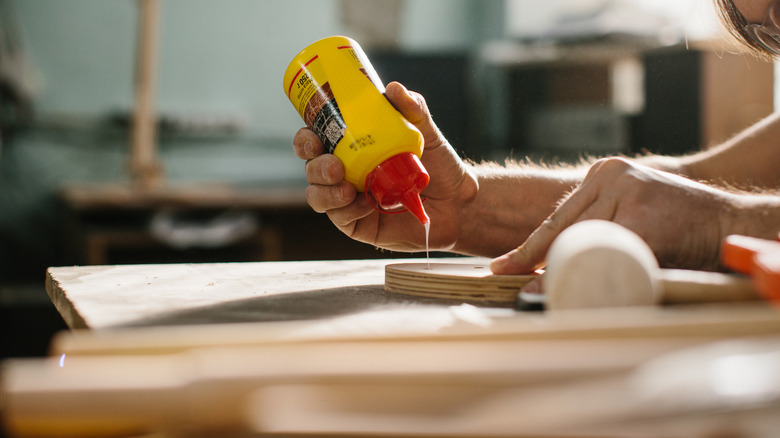
17 Chic Dollar Tree DIYs You Can Create Using A Cutting Board
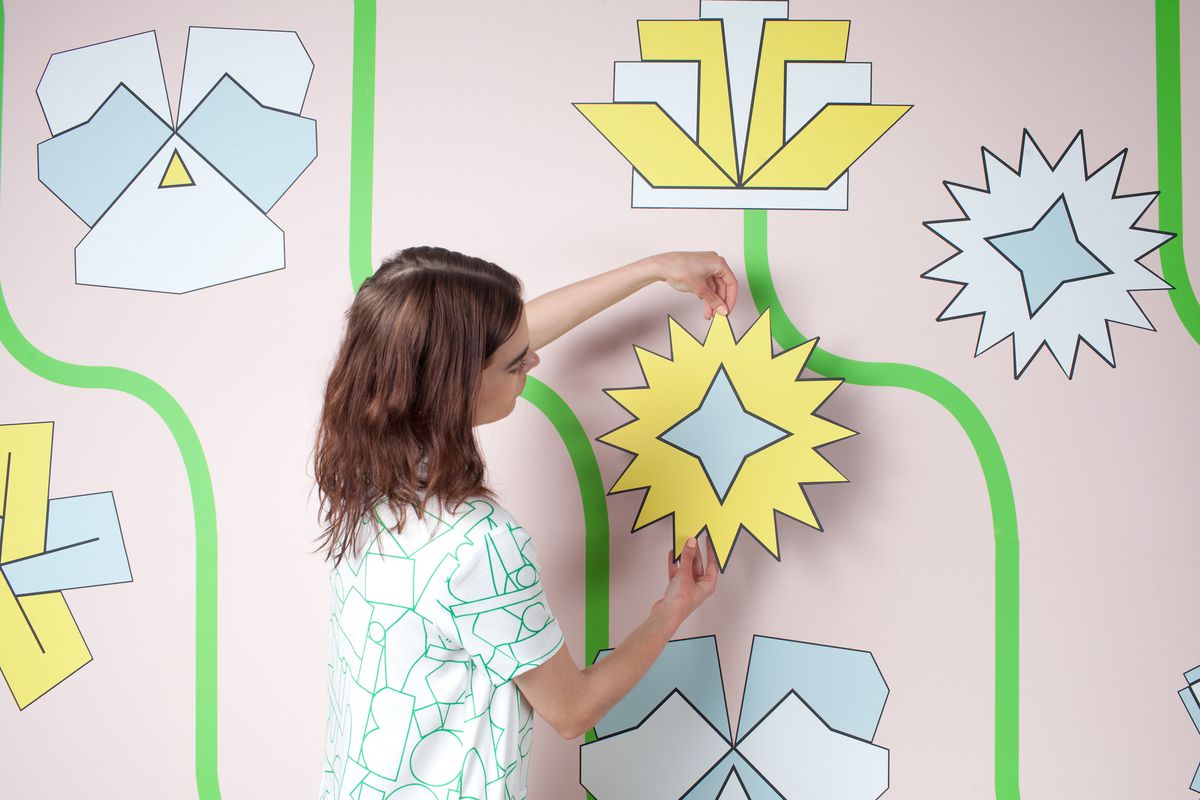
5 wall decor ideas perfect for renters and DIY lovers
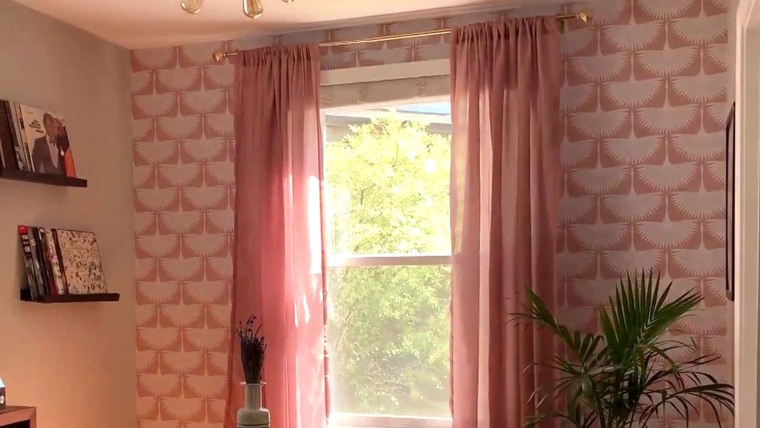
Transform your room with peel and stick wallpaper