




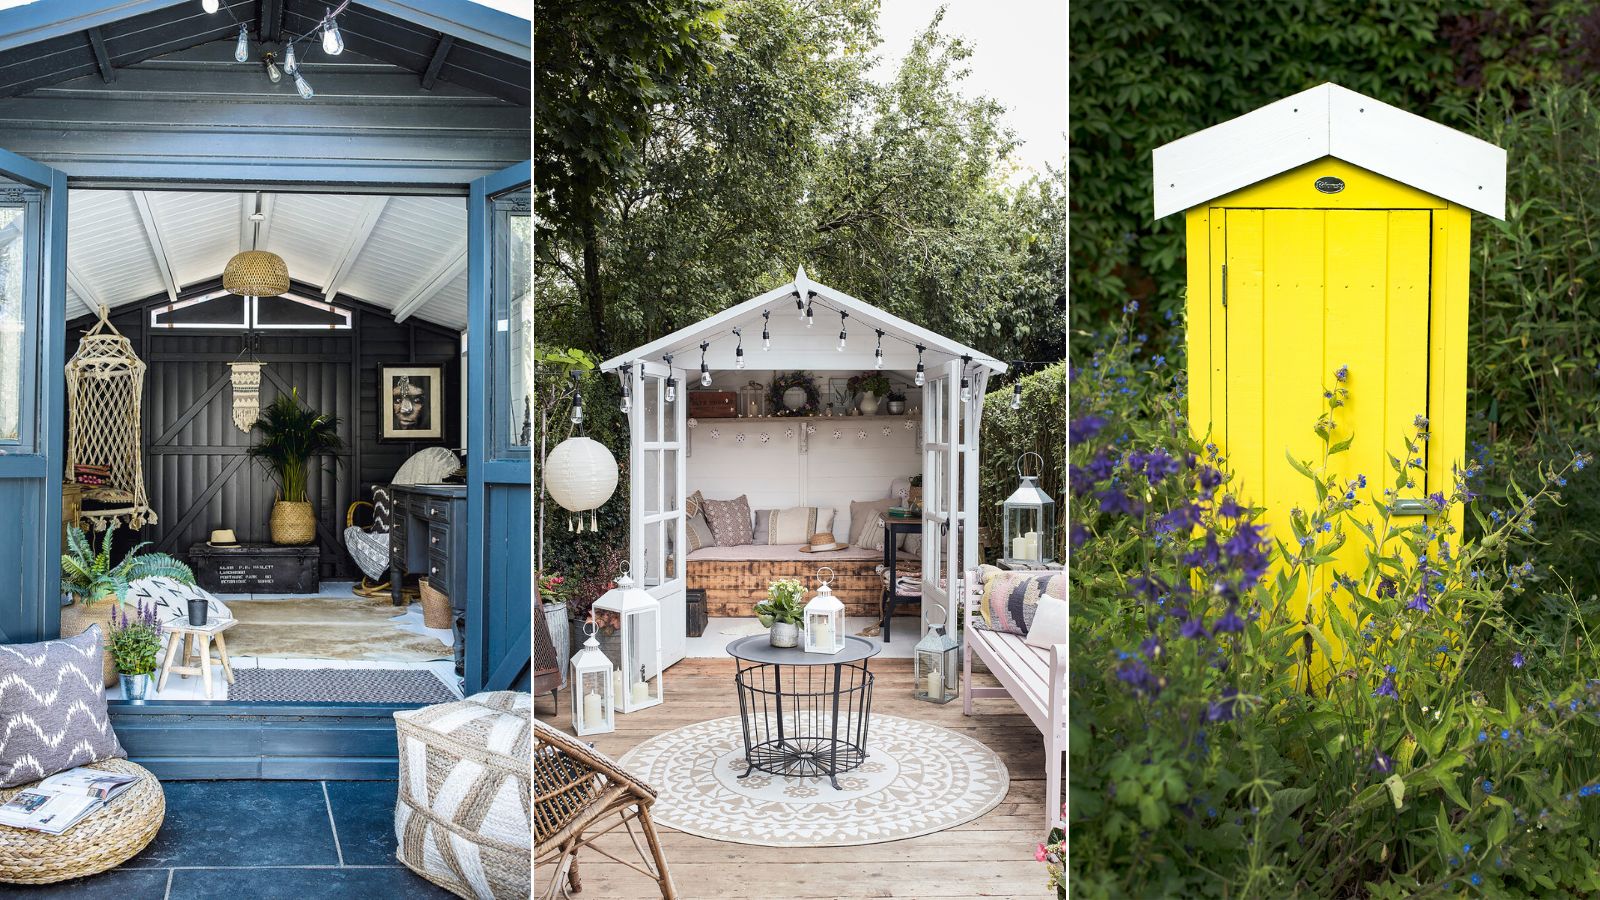
1/2
Give your tired garden shed a summer makeover – how to paint a shed in 5 easy steps
This article provides a detailed, step-by-step guide on how to paint a garden shed, aiming to help readers achieve a professional-level finish and extend the life of their shed. It emphasizes the importance of proper preparation and using the right tools and materials for the job, regardless of whether the shed is made from wood, metal, or vinyl. The guide is structured into five main steps, covering everything from protecting the surrounding area to applying multiple coats of paint.
The first crucial step highlighted is protecting the area around the shed. This involves clearing any nearby plants or objects and laying down plastic tarps or drop cloths to prevent paint splatters. For sheds located on dirt, it's recommended to dig out the area 6 to 10 inches past the base to ensure comprehensive protection. This initial preparation sets the foundation for a clean and efficient painting process.
Next, the article delves into preparing the shed surface for painting, noting that the method varies slightly based on the shed's material. For aluminum or plastic sheds, the process includes moving all obstructions, pressure washing to remove dirt and debris, followed by using a cleaning solution like Simple Green to tackle grime. The shed must then be thoroughly hosed down and allowed to dry completely. For wooden sheds, cleaning with mild soapy water and a wire brush is advised, along with filling any small holes. Old paint should be sanded off, and all dust removed. Optionally, painter's tape can be applied to sections intended for a secondary color.
Priming the surface is presented as a critical step before paint application. The article stresses the importance of using a primer specifically designed for the shed's substrate (wood, metal, or vinyl) to ensure proper adhesion and a durable finish. In cases where a specialized primer isn't available, an all-purpose primer is suggested. An additional step is mentioned for galvanized sheet metal, which requires treatment with an etching solution before priming.
The fourth step involves applying the paint. For optimal results, a combination of a roller and a paintbrush is recommended. A roller is ideal for covering large surface areas, while a paintbrush is suitable for fine touches and trim work, especially if different colors are used. After the first coat, it is essential to allow the paint to dry completely.
Finally, the guide recommends applying a second coat of paint. This is advised to provide a stronger barrier against outdoor elements, ensuring a longer-lasting and more aesthetically pleasing finish. Once the second coat is applied and dry, painter's tape should be carefully removed. The article concludes by suggesting that refreshing a shed can inspire other outdoor projects, such as painting a fence or a concrete patio, to maintain a cohesive and attractive outdoor living space.
#ShedPainting #DIYProject #GardenMaintenance #HomeImprovement #ExteriorPainting #GardeningTips #PaintApplication #ShedPainting #DIYProject #GardenMaintenance #HomeImprovement #ExteriorPainting #GardeningTips #PaintApplication
 Noch keine Kommentare