


How to Use Vidu Q3 in Interior Design for Cinematic Space Presentations
The world of interior design is no longer static. While beautiful 3D renders remain a cornerstone of client presentations, the new frontier is dynamic, immersive video that tells a story. Homeowners and clients now crave the ability to feel a space before construction even begins. This shift has been powered by accessible AI, with tools like Ideal House empowering users to instantly remodel rooms and visualize styles from a single photo. Now, a new wave of technology is emerging to take those final designs and turn them into cinematic experiences. One of the most talked-about tools in this space is Vidu Q3, an advanced AI model that is changing how designers think about presenting their work.
For professionals and enthusiasts already using AI to generate design concepts, the next logical step is animating those visions. Vidu Q3 offers a powerful solution for creating high-fidelity video walkthroughs, mood animations, and dynamic presentations that were once the exclusive domain of expensive animation studios. This article explores how Vidu Q3 works and how interior designers can leverage it to bring their creative concepts to life.
What is Vidu Q3?
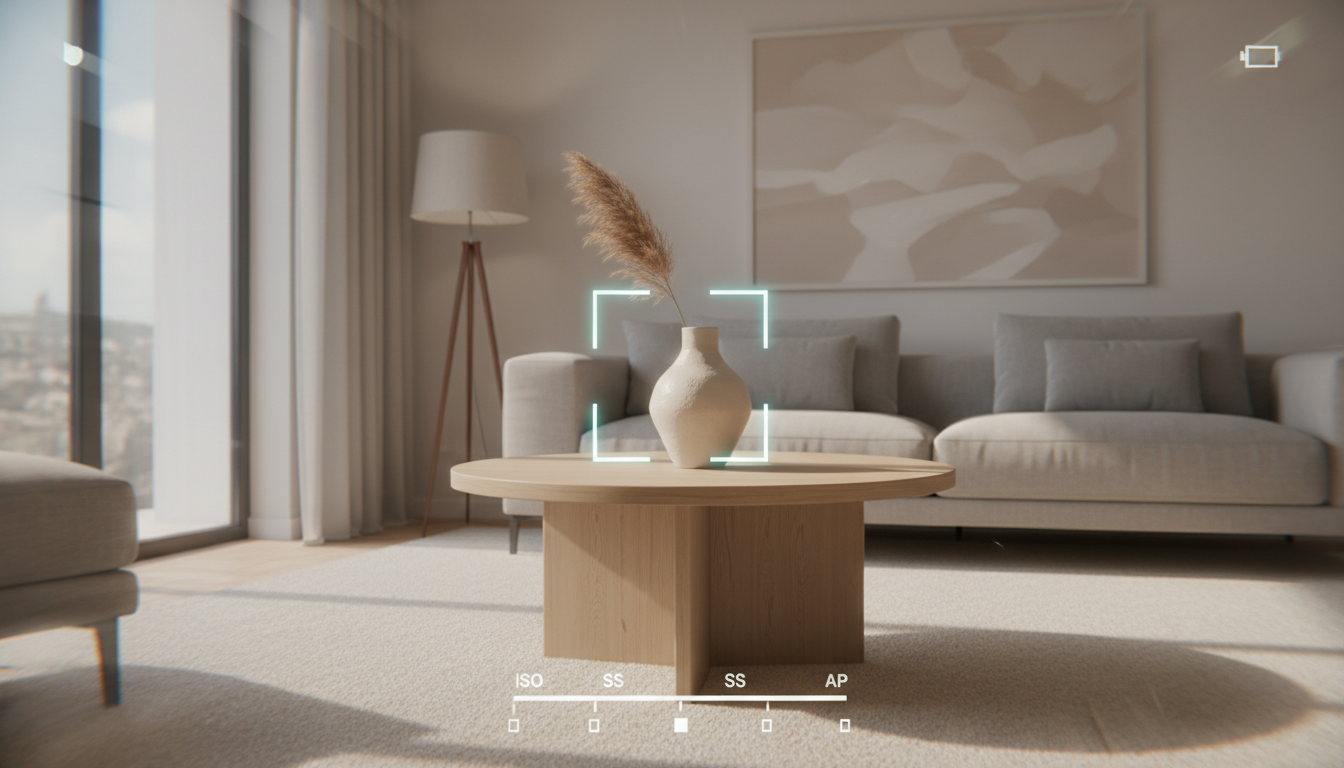
Vidu Q3 is a sophisticated AI video generation model created by Shengshu Technology. At its core, it is designed to transform text descriptions and static images into high-quality, coherent videos up to 16 seconds long. Unlike simple animation tools, Vidu Q3 incorporates features like native camera control, synchronized audio generation, and multimodal inputs, making it particularly well-suited for detailed work like architectural and interior visualization.
Why Vidu Q3 is a Game-Changer for Interior Designers
For design professionals, Vidu Q3 isn't just a novelty; it's a tool that can solve real-world presentation challenges. By translating a final render or even a simple design concept into a moving video, you can communicate atmosphere, flow, and scale in a way static images cannot.
Create Cinematic Walkthroughs from Renders
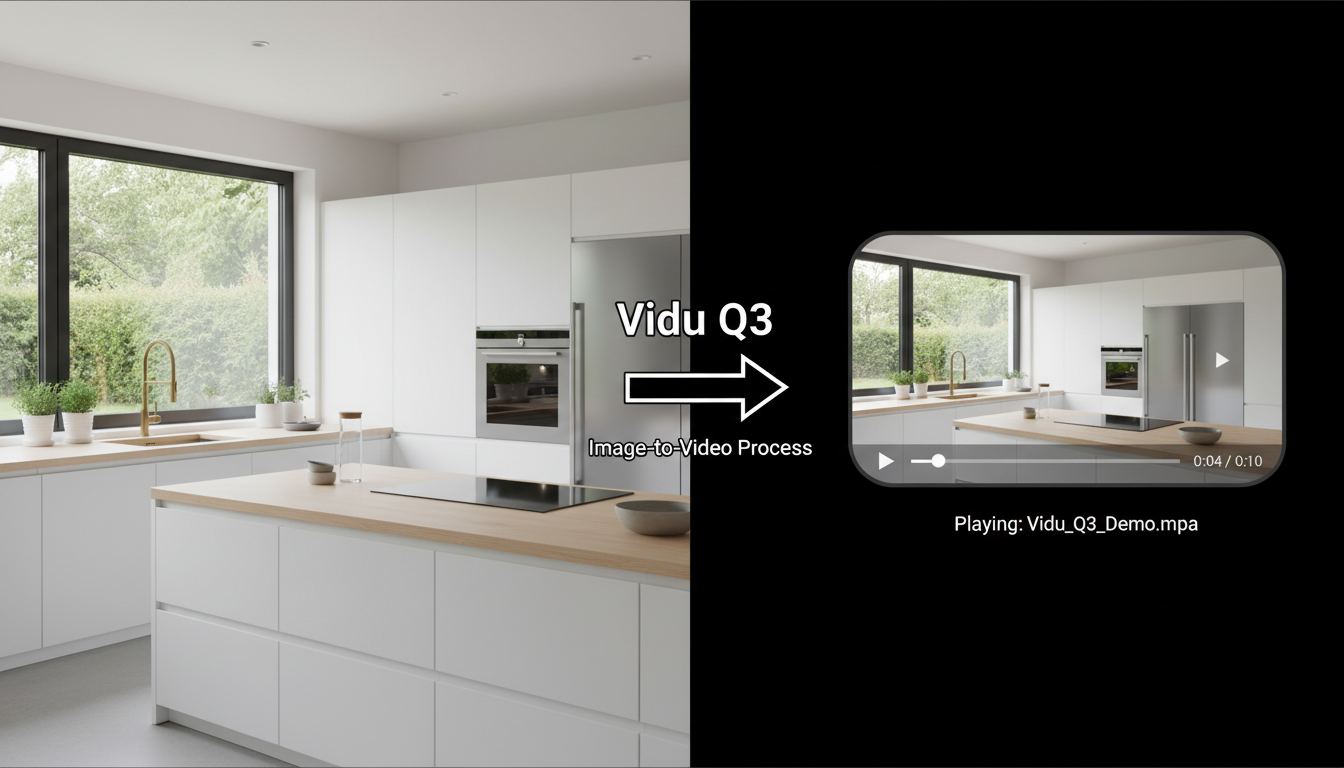
The most direct application for interior designers is Vidu Q3's image-to-video capability. You can take a final, polished render of a room and use a text prompt to animate it. Imagine feeding the AI a beautiful image of a kitchen design and instructing it to create a slow pan across the marble countertop, with light glinting off the brass fixtures. This turns a single asset into a dynamic AI interior design walkthrough.
Direct the Shot with Native Camera Control
One of Vidu Q3's standout features is its ability to understand cinematic language. Instead of random, unpredictable movement, you can specify camera actions directly in your prompt. This gives you a level of directorial control that is crucial for professional results.
Useful commands for interior visualization include:
slow dolly forward through a hallwaysmooth gimbal tracking shot around a central sofatilt up from the herringbone floor to reveal the vaulted ceilingsubtle push-in on a detailed decor vignette
This allows you to guide the viewer's eye and highlight the specific features you want them to notice, creating a more intentional and polished AI-generated architectural animation.
Animate the "Before and After"
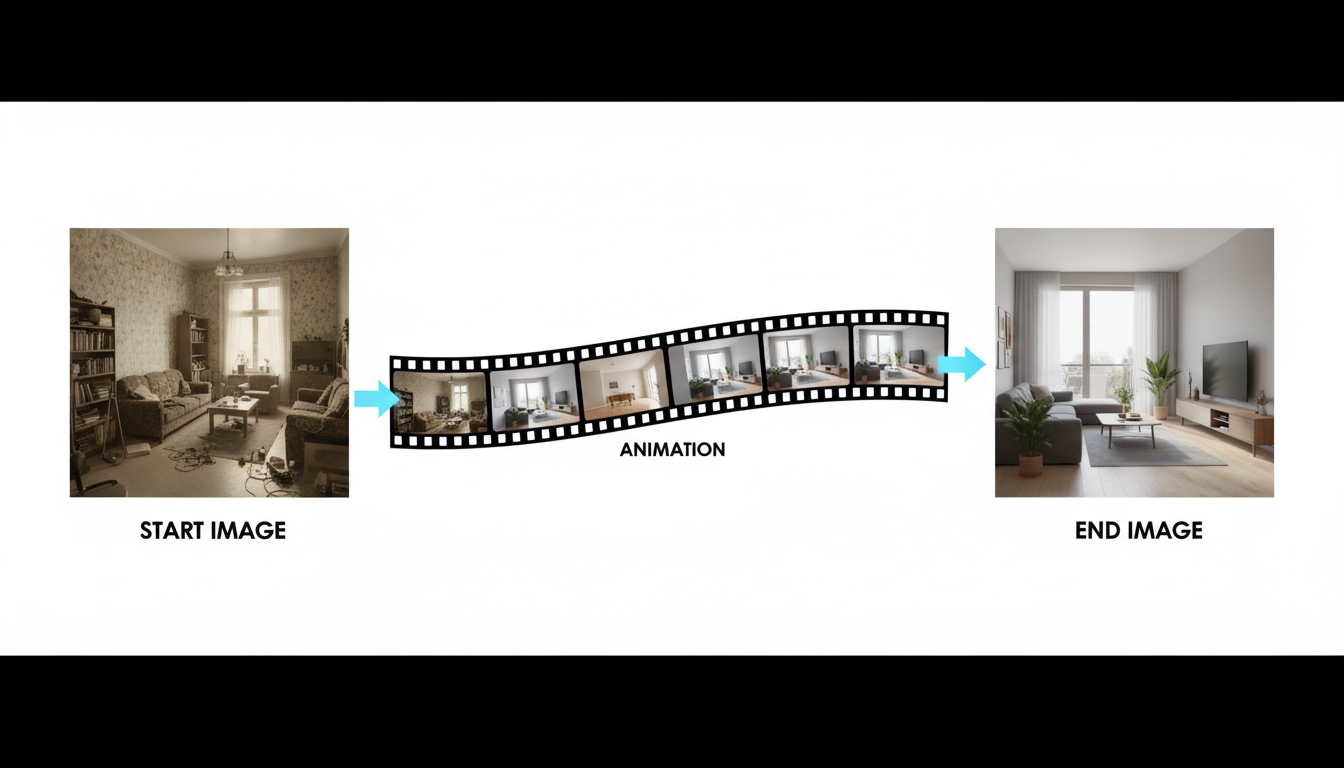
Vidu Q3 supports a "start-end-to-video" mode, which is perfect for showcasing transformations. A designer can provide an image of the original, dated space as the start frame and their final design render as the end frame. The AI can then generate the transitional footage, creating a powerful visual narrative of the redesign process that is perfect for client presentations and marketing portfolios.
Build Atmosphere with Integrated Audio
A space is more than just visuals; it's also about sound. Vidu Q3 can generate native audio that is synchronized with the video. When prompting, you can describe the soundscape to make the scene more immersive. For an interior scene, you could include cues like:
- "soft sound of rain tapping on the window"
- "a crackling fire in the fireplace"
- "distant city ambiance from a high-rise apartment"
- "quiet footsteps on a hardwood floor"
This audio layer adds a profound sense of realism and helps the client connect with the space on an emotional level.
A Practical Guide: Prompting Vidu Q3 for Interior Design
Getting a high-quality result from Vidu Q3 depends heavily on the quality of your prompt. A well-structured prompt that provides clear, layered instructions will consistently outperform a vague one.
The Interior Design Prompt Recipe
For best results, structure your prompts using a clear hierarchy. Think of it as briefing a junior motion designer.
Subject → Scene → Action → Camera → Style → Audio
Here is a template you can adapt:
- Subject: Start with the primary focus. E.g., "A Japandi-style living room..."
- Scene: Describe the environment and lighting. E.g., "...featuring a large picture window with afternoon sunlight streaming in, creating long, soft shadows on the floor."
- Action: Detail any movement within the scene. E.g., "Dust motes float gently in the light beams, and the leaves of a potted fiddle-leaf fig tree sway slightly."
- Camera: Define the camera's movement and lens feel. E.g., "Camera starts low and performs a slow tilt-up, 35mm lens feel, with no shaking."
- Style: Specify materials, colors, and overall mood. E.g., "The style is minimal and serene, with a color palette of beige, cream, and natural oak. Materials include bouclé fabric, light wood, and matte black fixtures."
- Audio (Optional): Add sound cues for more immersion. E.g., "Audio includes the quiet rustle of leaves and the faint sound of turning pages." For official feature expectations and current limitations, we check the Vidu Help Center so we’re not chasing a setting that doesn’t exist in the current build.
Troubleshooting Common Issues
- Warped Furniture or "Melting" Objects: This often happens when the prompt is too complex or the requested action is unnatural. Simplify the prompt by focusing on a single, slow movement. Add a safeguard phrase like "no object deformation" or "consistent furniture shape throughout."
- Chaotic Camera Movement: If the camera is too wild, become more prescriptive. Replace vague terms with specific commands like "locked-off tripod shot" or "subtle push-in at 10% speed."
- Unrealistic Materials: To get better textures, use specific keywords. Instead of just "wood," try "weathered oak floorboards" or "glossy walnut veneer." Adding terms like "photorealistic materials" and "accurate reflections" can also help.
Vidu Q3 in the Designer's AI Toolkit
It's important to understand where a tool like Vidu Q3 fits into the overall design workflow. It is not a design tool itself but a presentation tool. It excels at adding a final layer of polish to an already-conceived design.
A modern AI-driven workflow might look like this:
- Ideation & Conceptualization: Use a tool like Ideal House’s Interior Remodel to rapidly generate dozens of style variations for a client's space from a single photo.
- Refinement & Layout: Use an AI floor plan creator or traditional CAD software to refine the spatial layout and furniture placement based on the chosen style.
- Visualization: Create a high-quality 3D render of the final design.
- Presentation: Feed that final render into an AI video generator like Vidu Q3 to create a cinematic walkthrough for the client presentation, complete with camera movement and ambient sound.
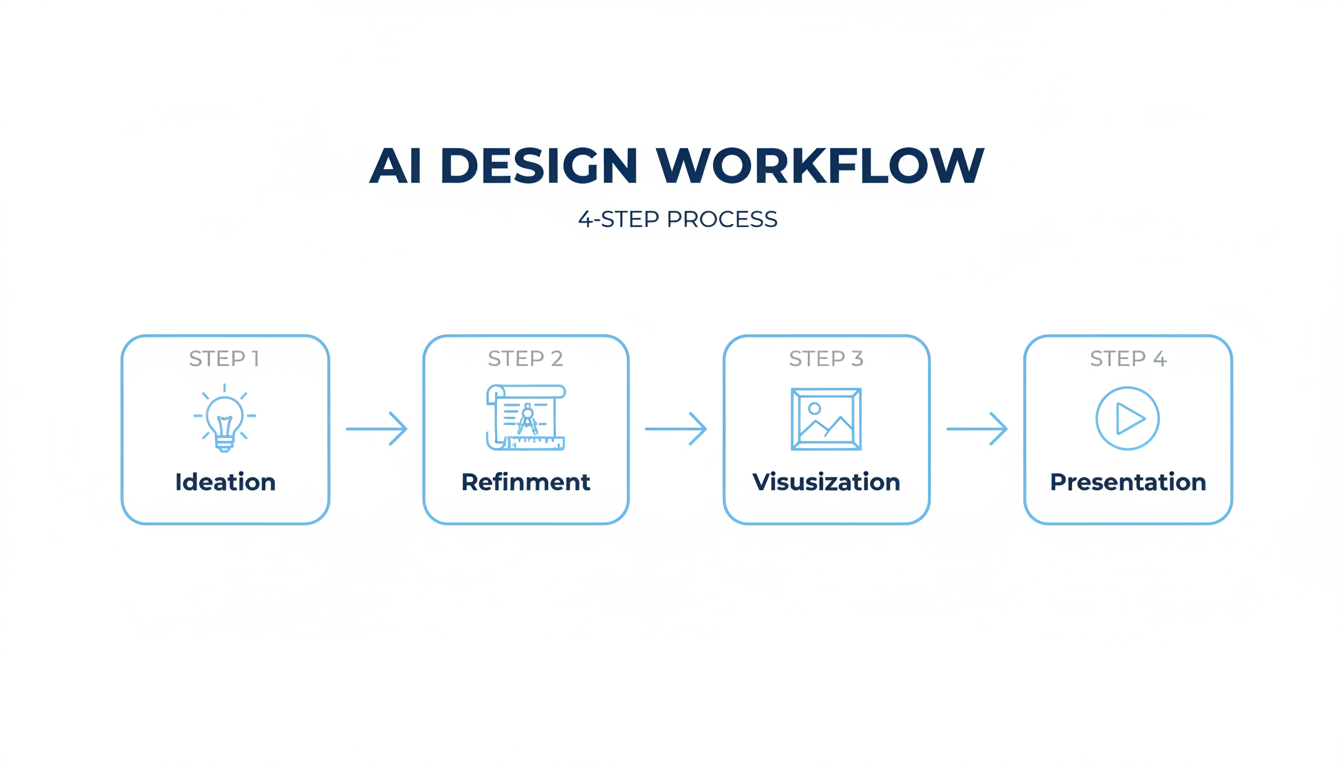
This workflow leverages different AI tools for what they do best: rapid iteration at the beginning and high-fidelity presentation at the end.
Frequently Asked Questions (Vidu Q3 for Interior Design)
Can Vidu Q3 create a video directly from my floor plan?
Not directly. Vidu Q3 needs an image to start with. To animate a floor plan, you would first need to convert it into a 2D or 3D visual representation (a render). You could use a tool to create a 3D model from your floor plan, generate a render of the interior, and then use that image as the input for Vidu Q3's image-to-video feature.
How do I ensure my design's specific furniture and materials remain consistent?
Consistency is achieved through precise prompting and iteration. Use "safeguard" phrases in your prompt like "same object design throughout" and be very specific about materials ("bouclé fabric," "Carrara marble"). If an object is still changing, simplify the camera movement or the action in the scene. Using a fixed "seed" number during regeneration can also help maintain consistency while you tweak the prompt.
What is the best camera movement for an interior design walkthrough?
For professional-looking results, less is more. Stick to slow, deliberate movements. "Slow dolly-in," "smooth gimbal tracking shot," and "gentle orbit around subject" are reliable choices. Avoid rapid pans or chaotic handheld effects unless a specific creative style calls for it. The goal is to make the space feel calm and inviting.